 BERNINA Corporate Blog -
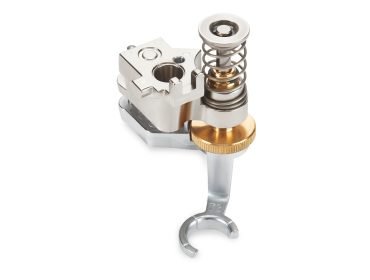
The adjustable stipplingfoot is such a joy to work with. It gives you a good view on your work, because of the opening in the front. Because of the easy height adjustmant, it is ideal to start free motion quilting with the adjustable stipplingfoot 73
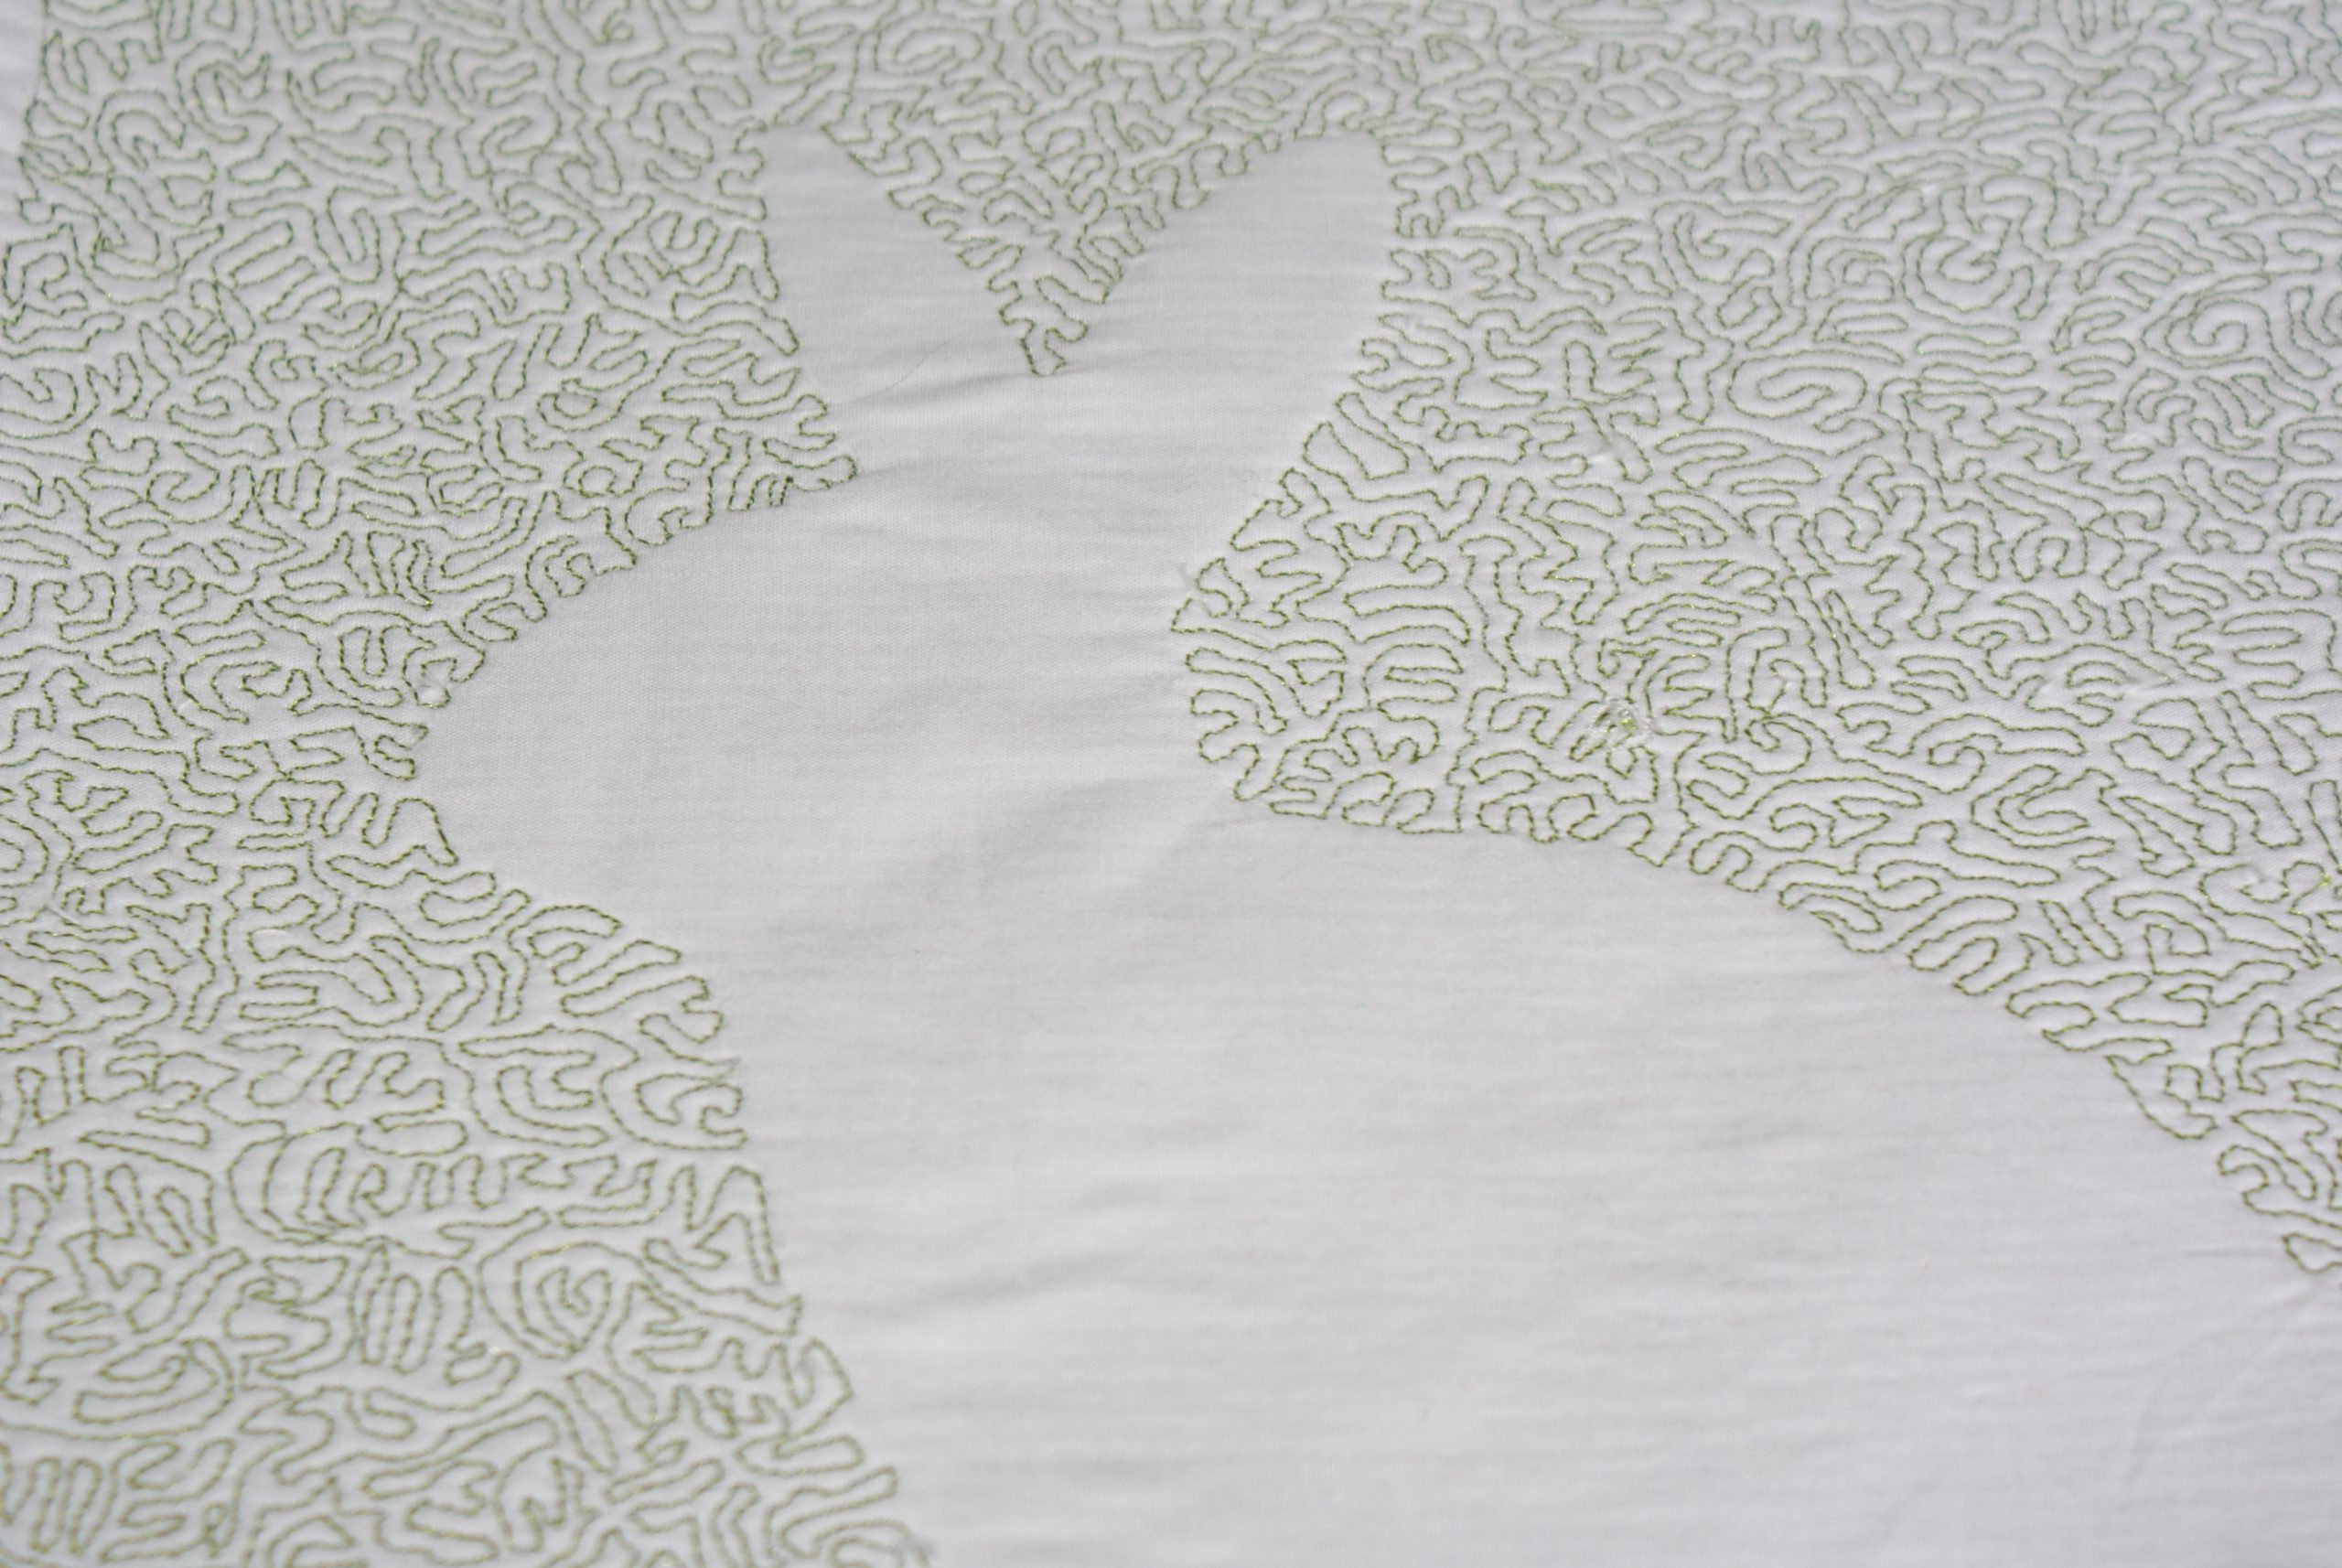
With the stippling technique you make small curvy lines and curls to fill a shape. During a quilt’s club midweek, we trained the stippling technique. I hadn’t tried since August 2021, but now it’s the time to try again and discover the Adjustable Stippling Foot #73 myself.
Find more information in this video:
Get prepared for stippling:
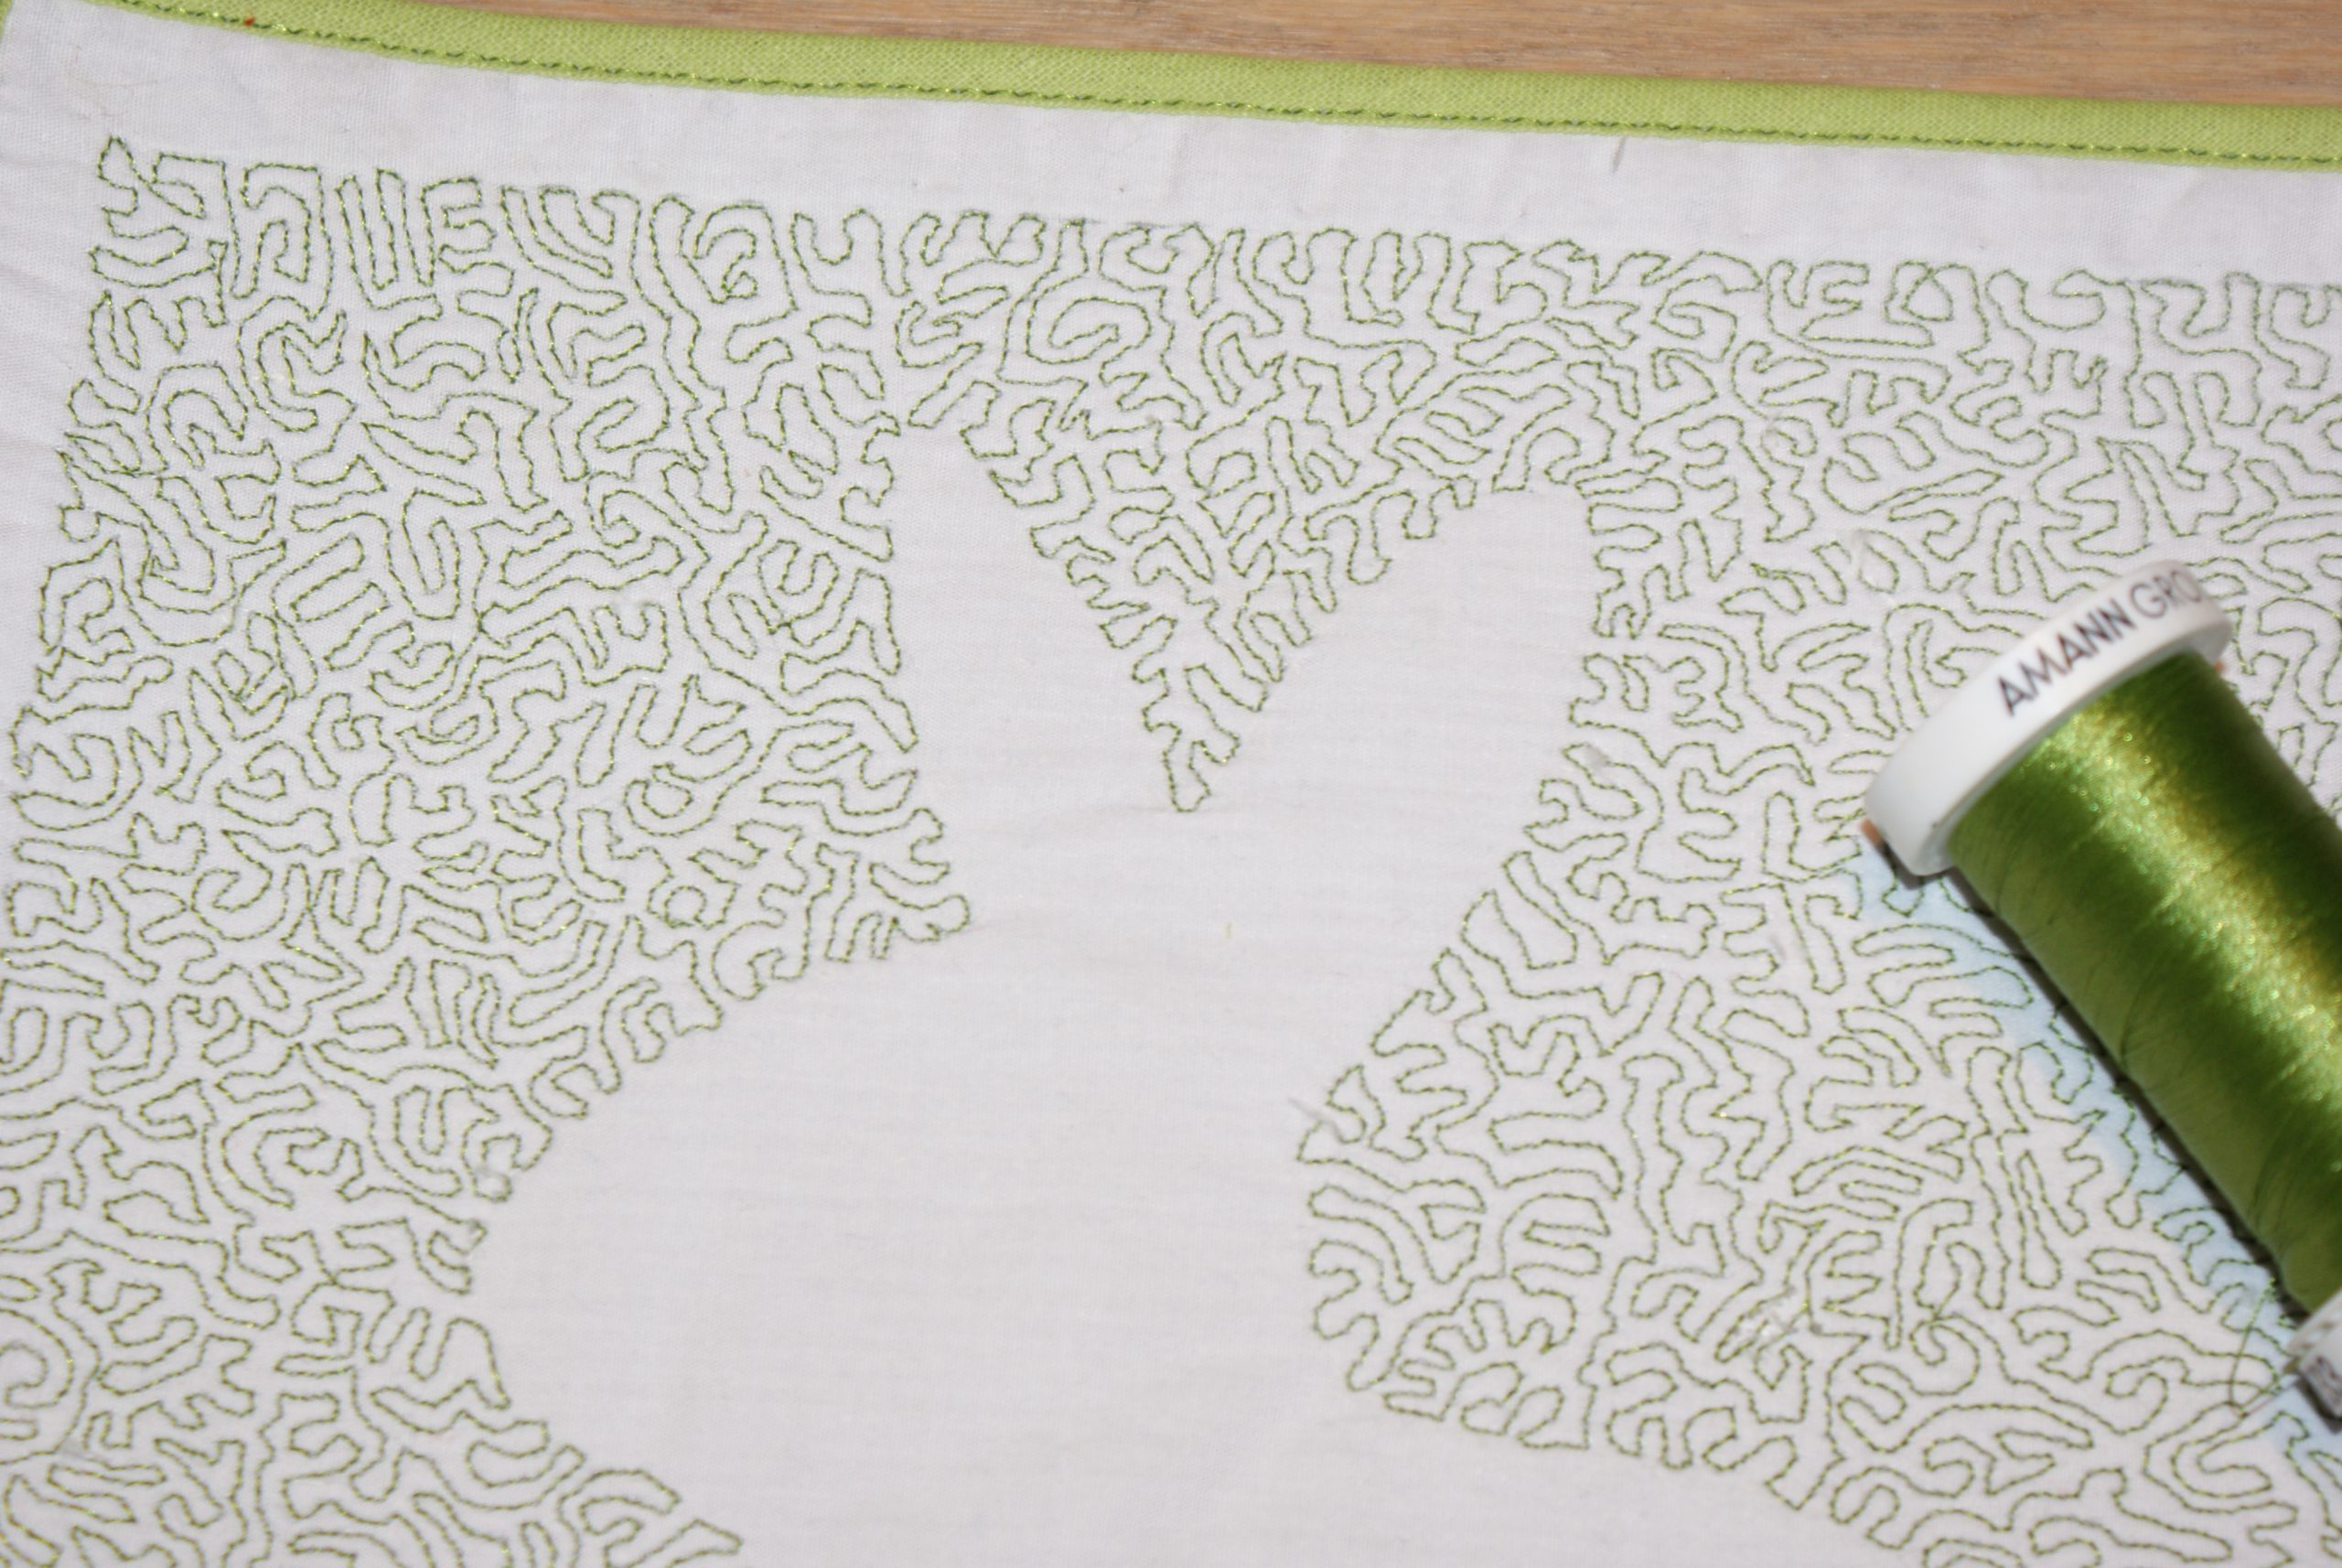
Take a sheet of paper and a pencil. Draw lines in all directions to train to create a fluid movement. You will feel how to draw to fill a shape and not to touch other lines. Try smaller and bigger curves in stippling. When choosing for micro stippling, you will work longer to fill a shape, but you can follow the outline with much more accuracy. In this project, I wished to fill the shape with a dense stippling stitch.
Click here to print the drawing.
Don’t use this bunny outline for commercial uses, only for a personal purposes.
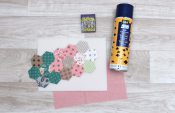
Supplies for Free Motion quilting with the adjustable stipplingfoot 73:
- Plain cotton fabric 28 x 28 cm for the front, same size for the back (the back could be an old sheet or duvet cover, or a left over fabric from an other project, it’s hidden in the end).
- Find an extra scrap of fabric 28 x28 cm to cover the stippling after finishing, this fabric could be decorative.
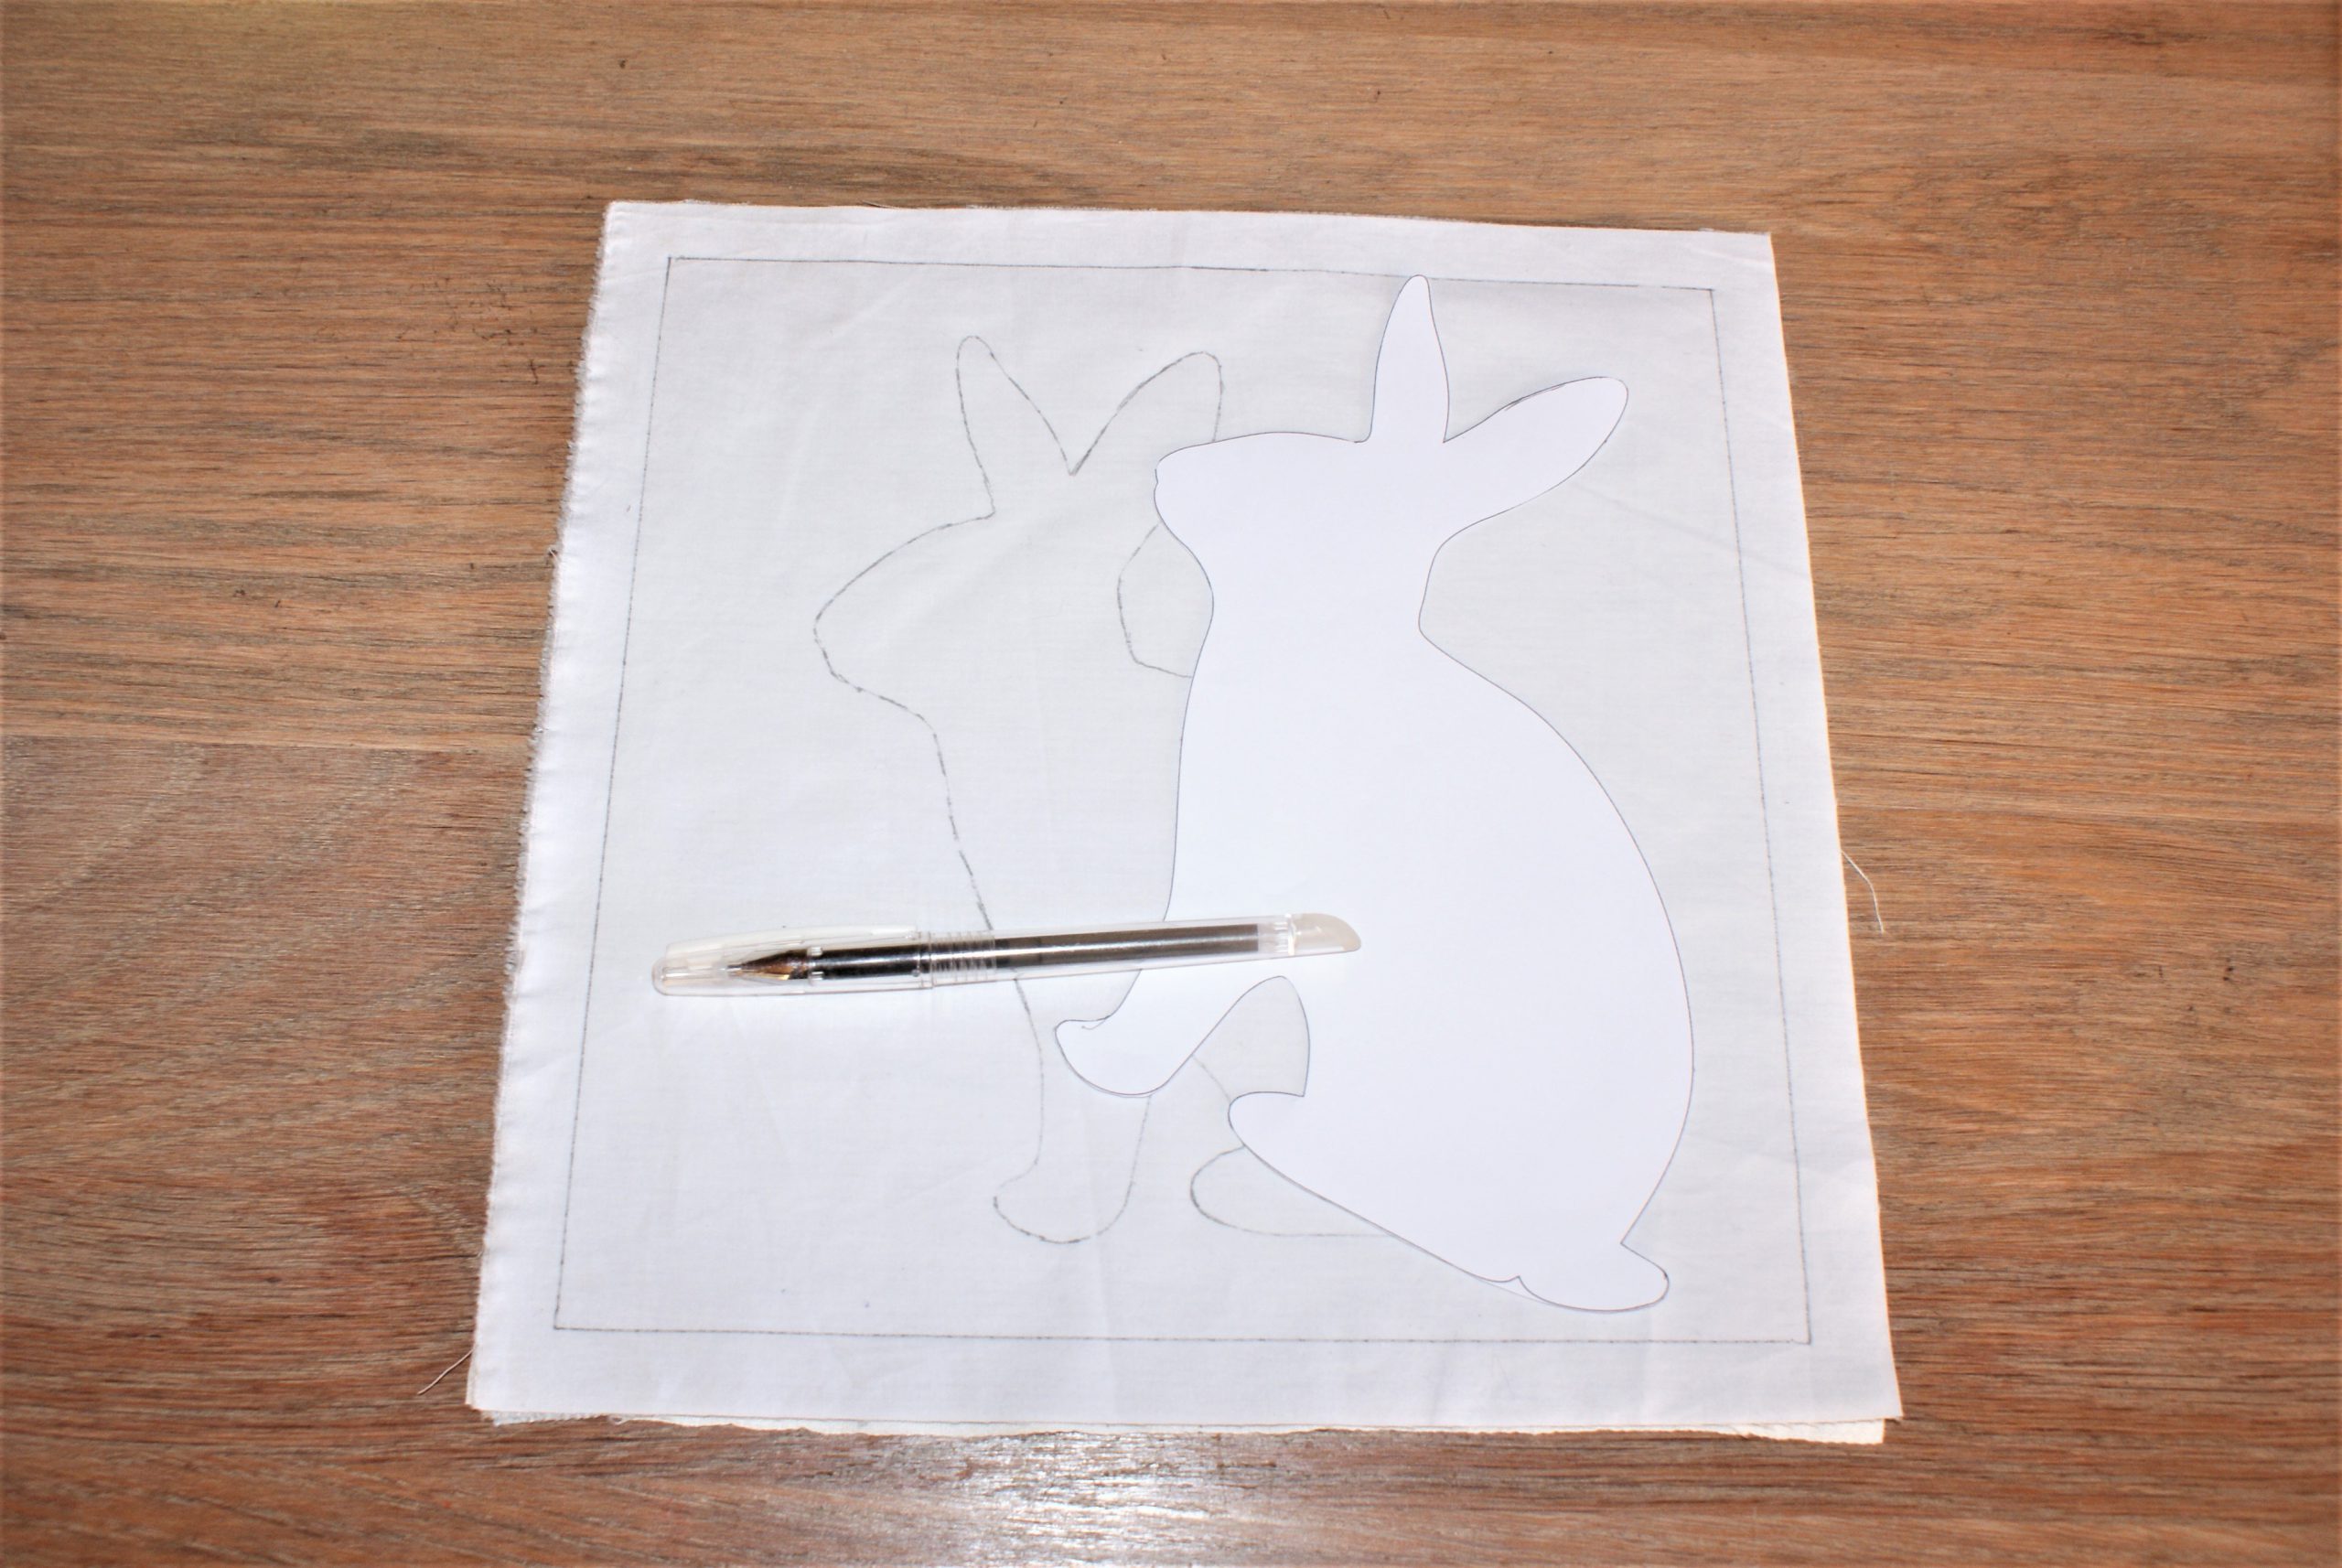
- A heat erasable pen.
- Mettler Poly Sheen thread of Mettler Seralon thread
- Mettler Web Bond temporary adhesive spray is optional and useful.
- Batting or a soft thick fabric as filling.
- Biaistape to finish.
- A rotary cutter, ruler and cutting mat are useful.

Start to sew the stippling stitches:
Draw the bunny on the fabric that will be used for the front. Draw a 25,5 x 25,5 cm square around it.
Put the batting between the two layers of fabric and baste it. Temporary adhesive spray can be useful.
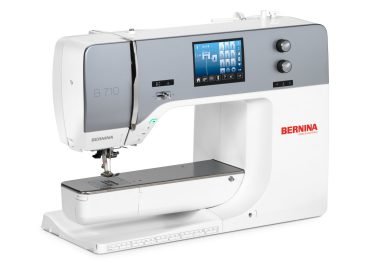
Lower feed dogs of your sewing machine. I use the BERNINA 710 . Set the sewing speed lower and prepare to sew with a full bobbin. The Straight stitch needle plate is useful.
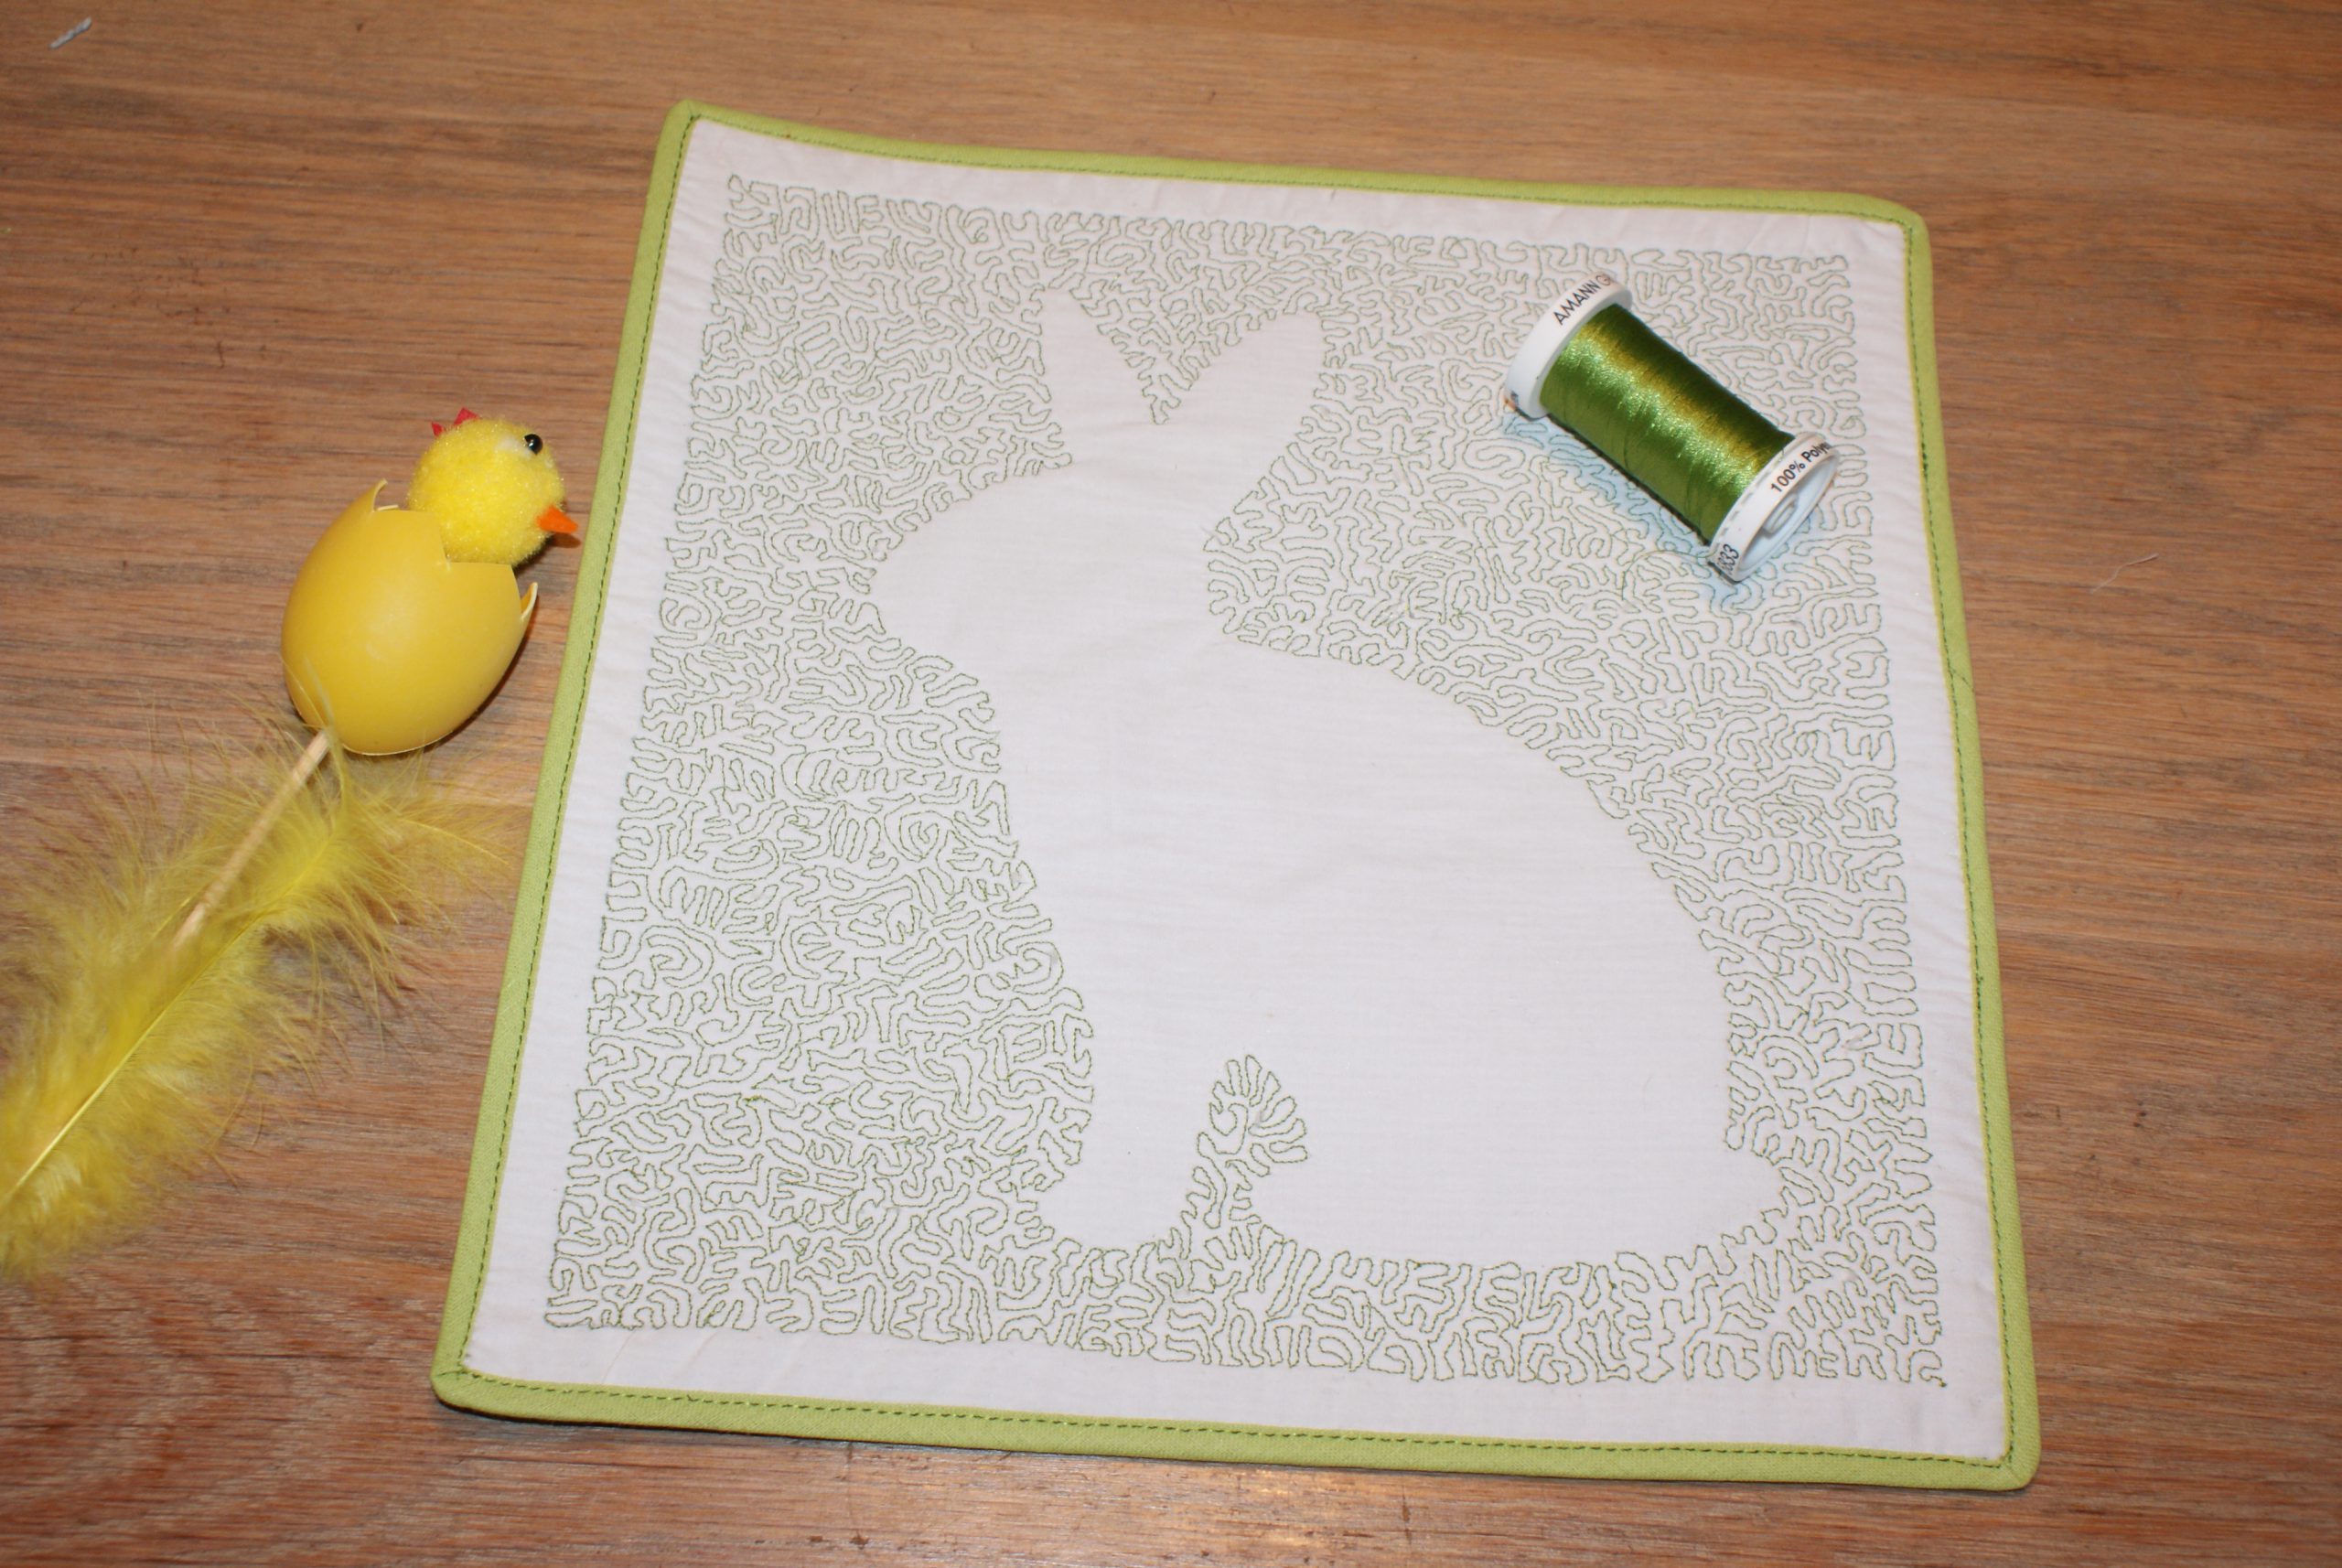
Start to stitch in a corner and fill the space around the bunny with the stippling sewing lines.

Fill the place in between the bunny-outline and the square with stippling curves.
When finished, you will remove the basing stitches, cut the fabric tot 1,5 cm from the square and iron away the pen-lines.
Add the decorative fabric to the back of the project.
Sew all 4 layers together with a zigzag stitch over the edge. Add biastape in a matching colour to finish the edges.
The stippling Easter decoration is finished.
Are you looking forward to start stippling? I hope you enjoy it as much as I do.

0 Responses