 BERNINA Corporate Blog -
It’s time for week four in quilting our One Two Tree QAL. That means when you finish quilting trees 7 and 8, you are half way there!
To the other side
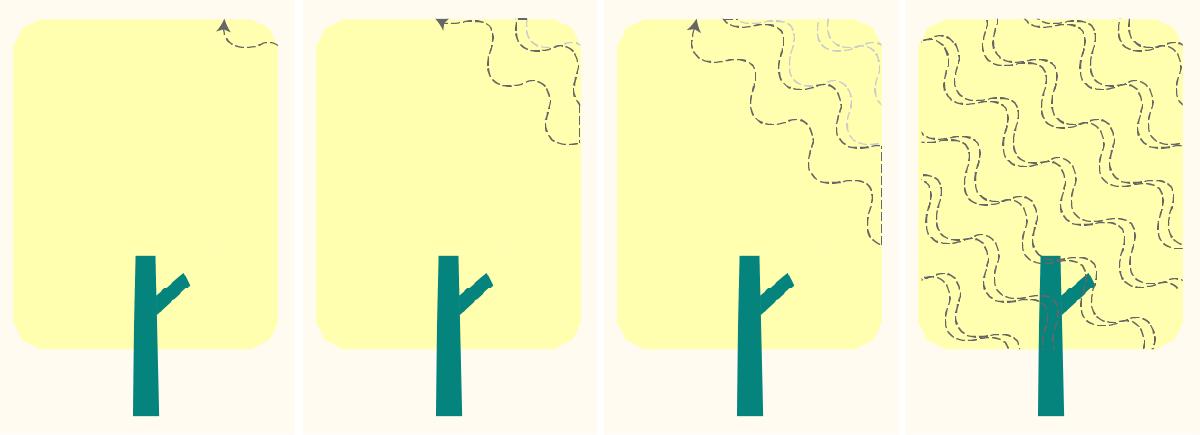
In trees 7 and 8 we are going to quilt patterns that you can make from one side of a quilt to the other. They are a kind of decorative line patterns. These patterns are fun to make as overall patterns on a quilt as well and are very easy to scale. You can make them as big/long as you want. But for now, we will just fill our trees with these patterns.
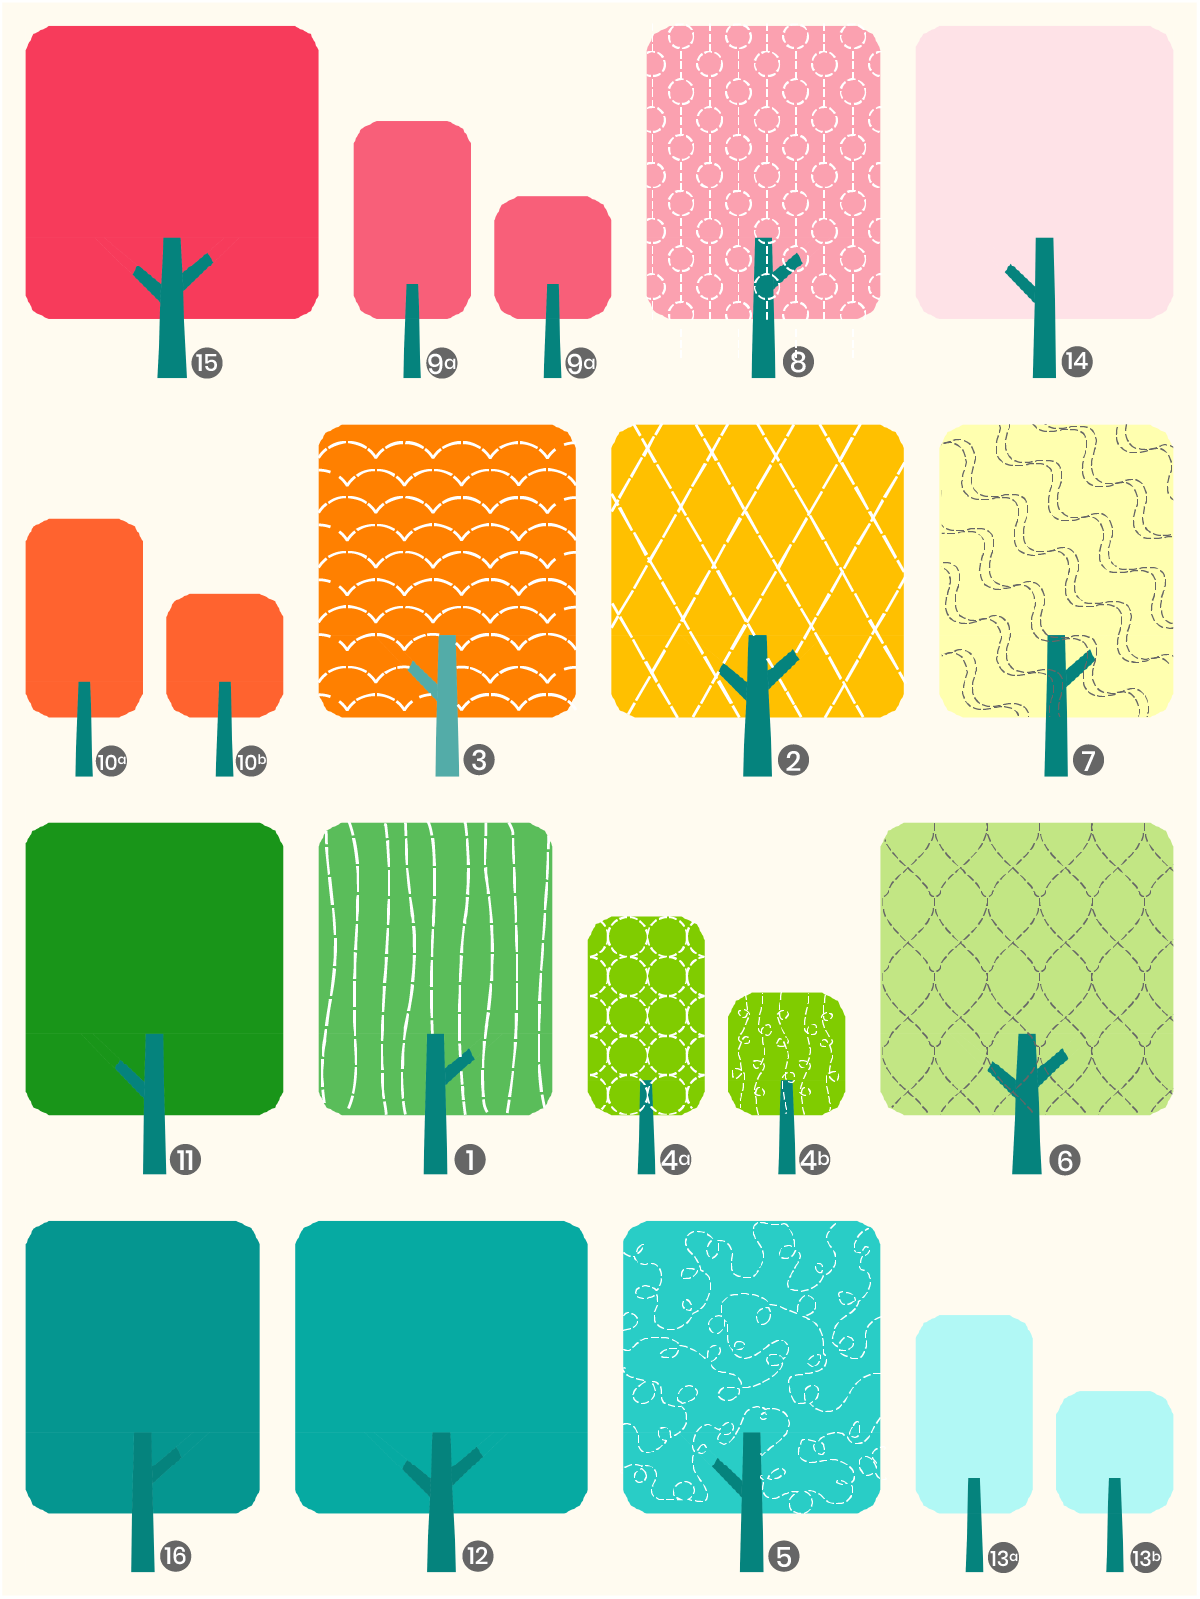
Here is the overview of the One Two Tree Quilt to see where we are going to quilt.
Video instructions
In this weeks video you will see me quilting two patterns with rulers. I’ll be using a wavy ruler and the mini lollipop rulers. There will be alternatives given in this blog post to go free motion.
Quilting Tree 7
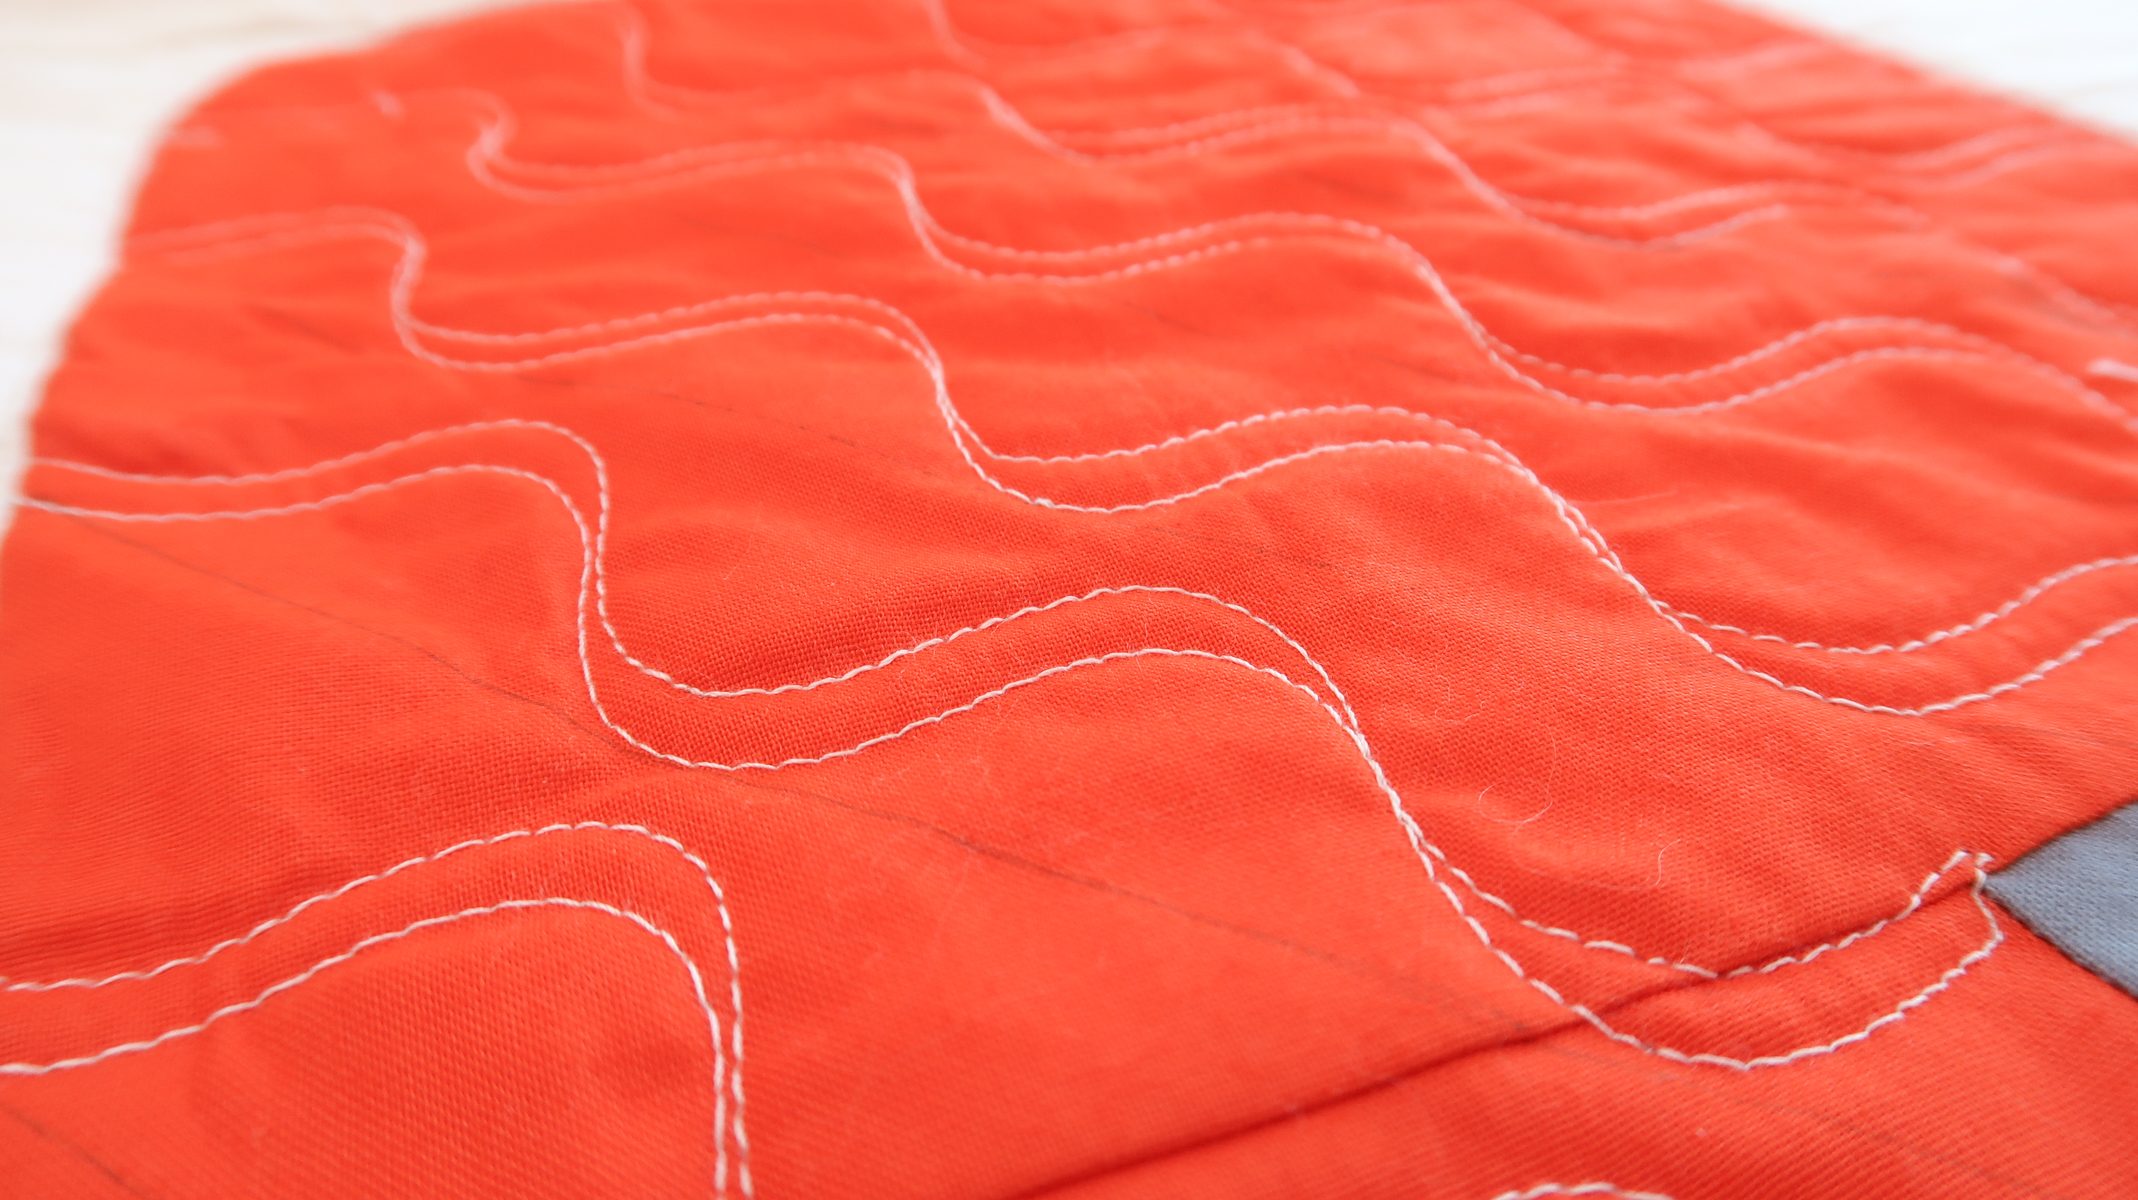
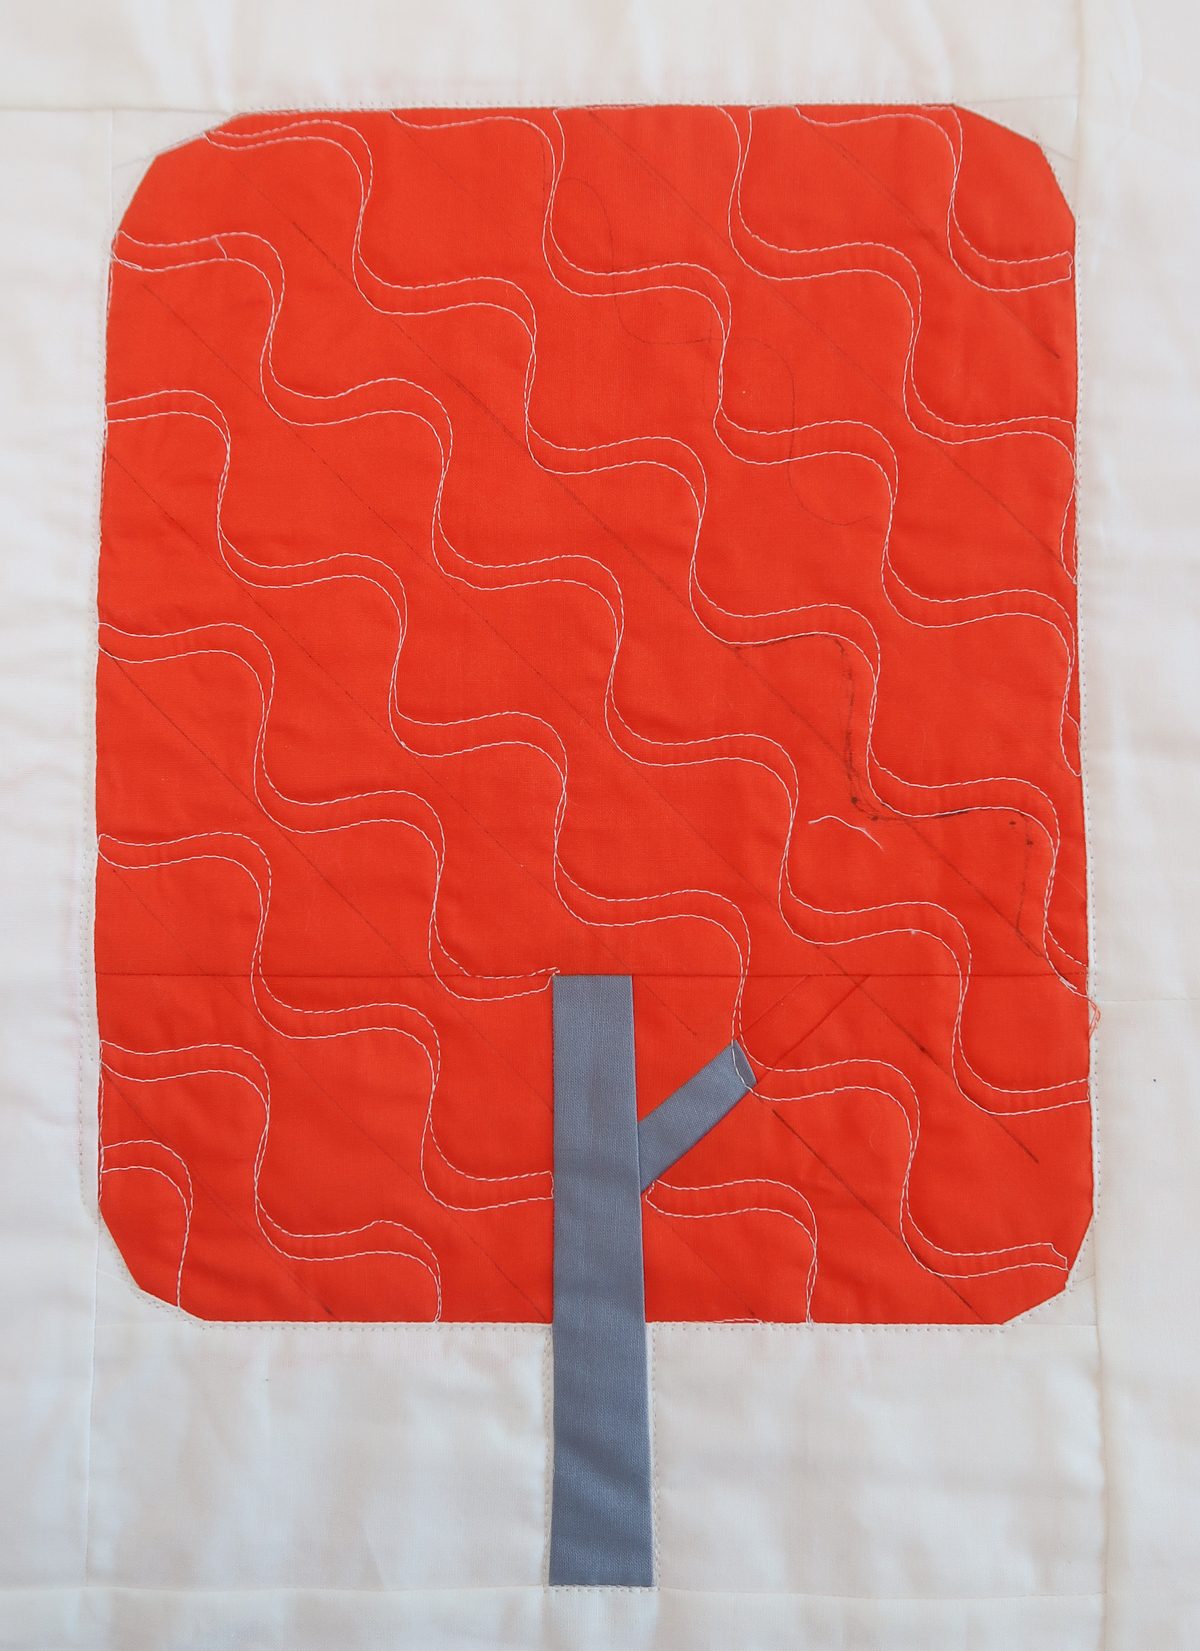
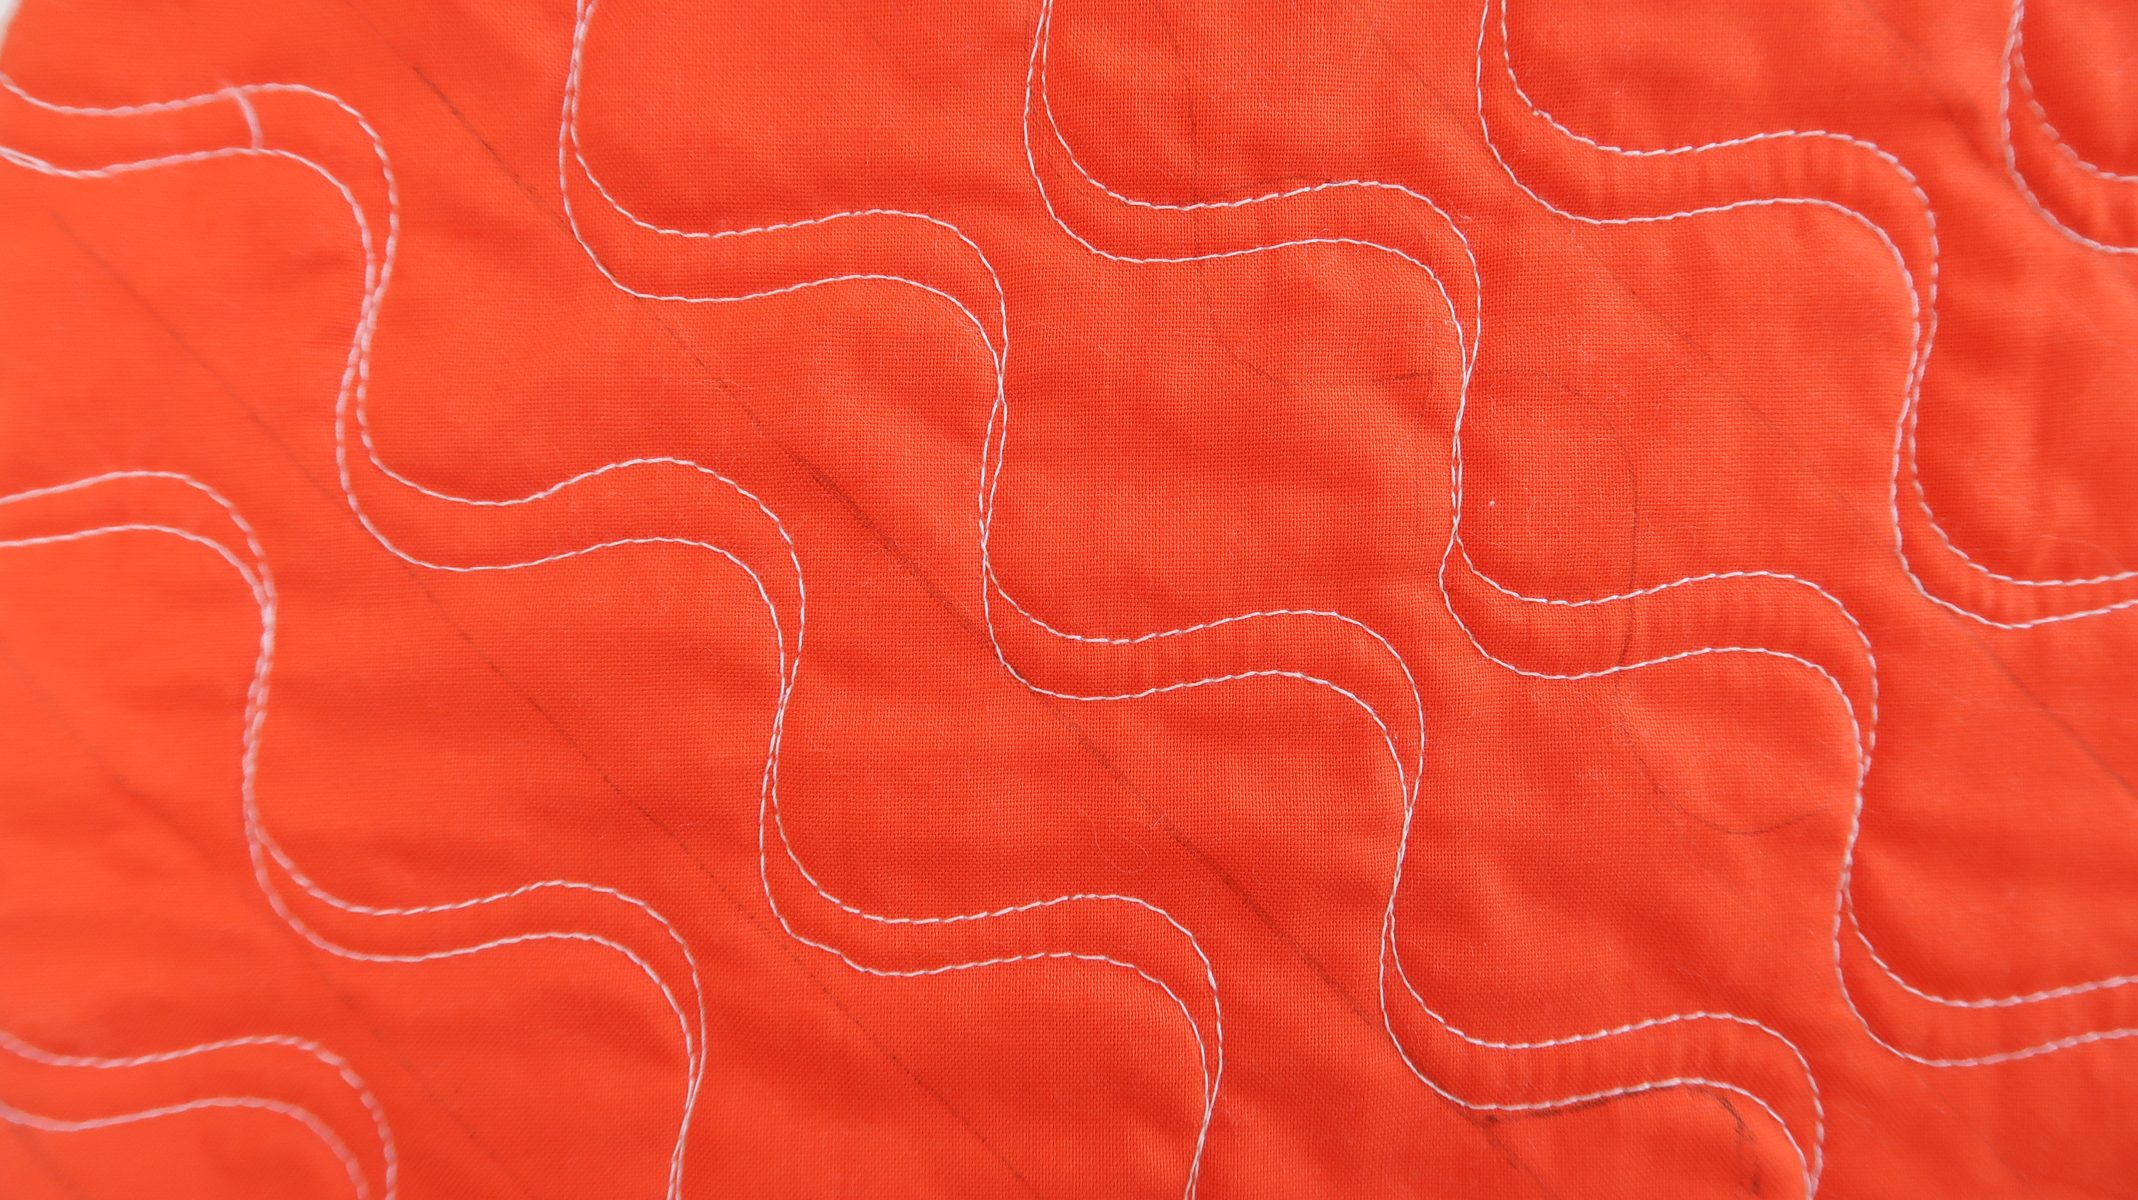
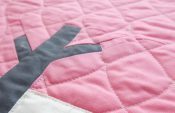
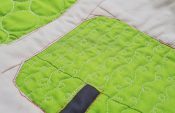
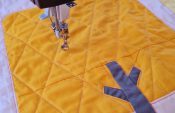
For this design you will mark a 45 degree lines on your tree. I am working with the 1 inch wavy ruler from the Every Wave ruler set bu Amanda Murphy. And I marked my lines 1 1/2 inch apart.
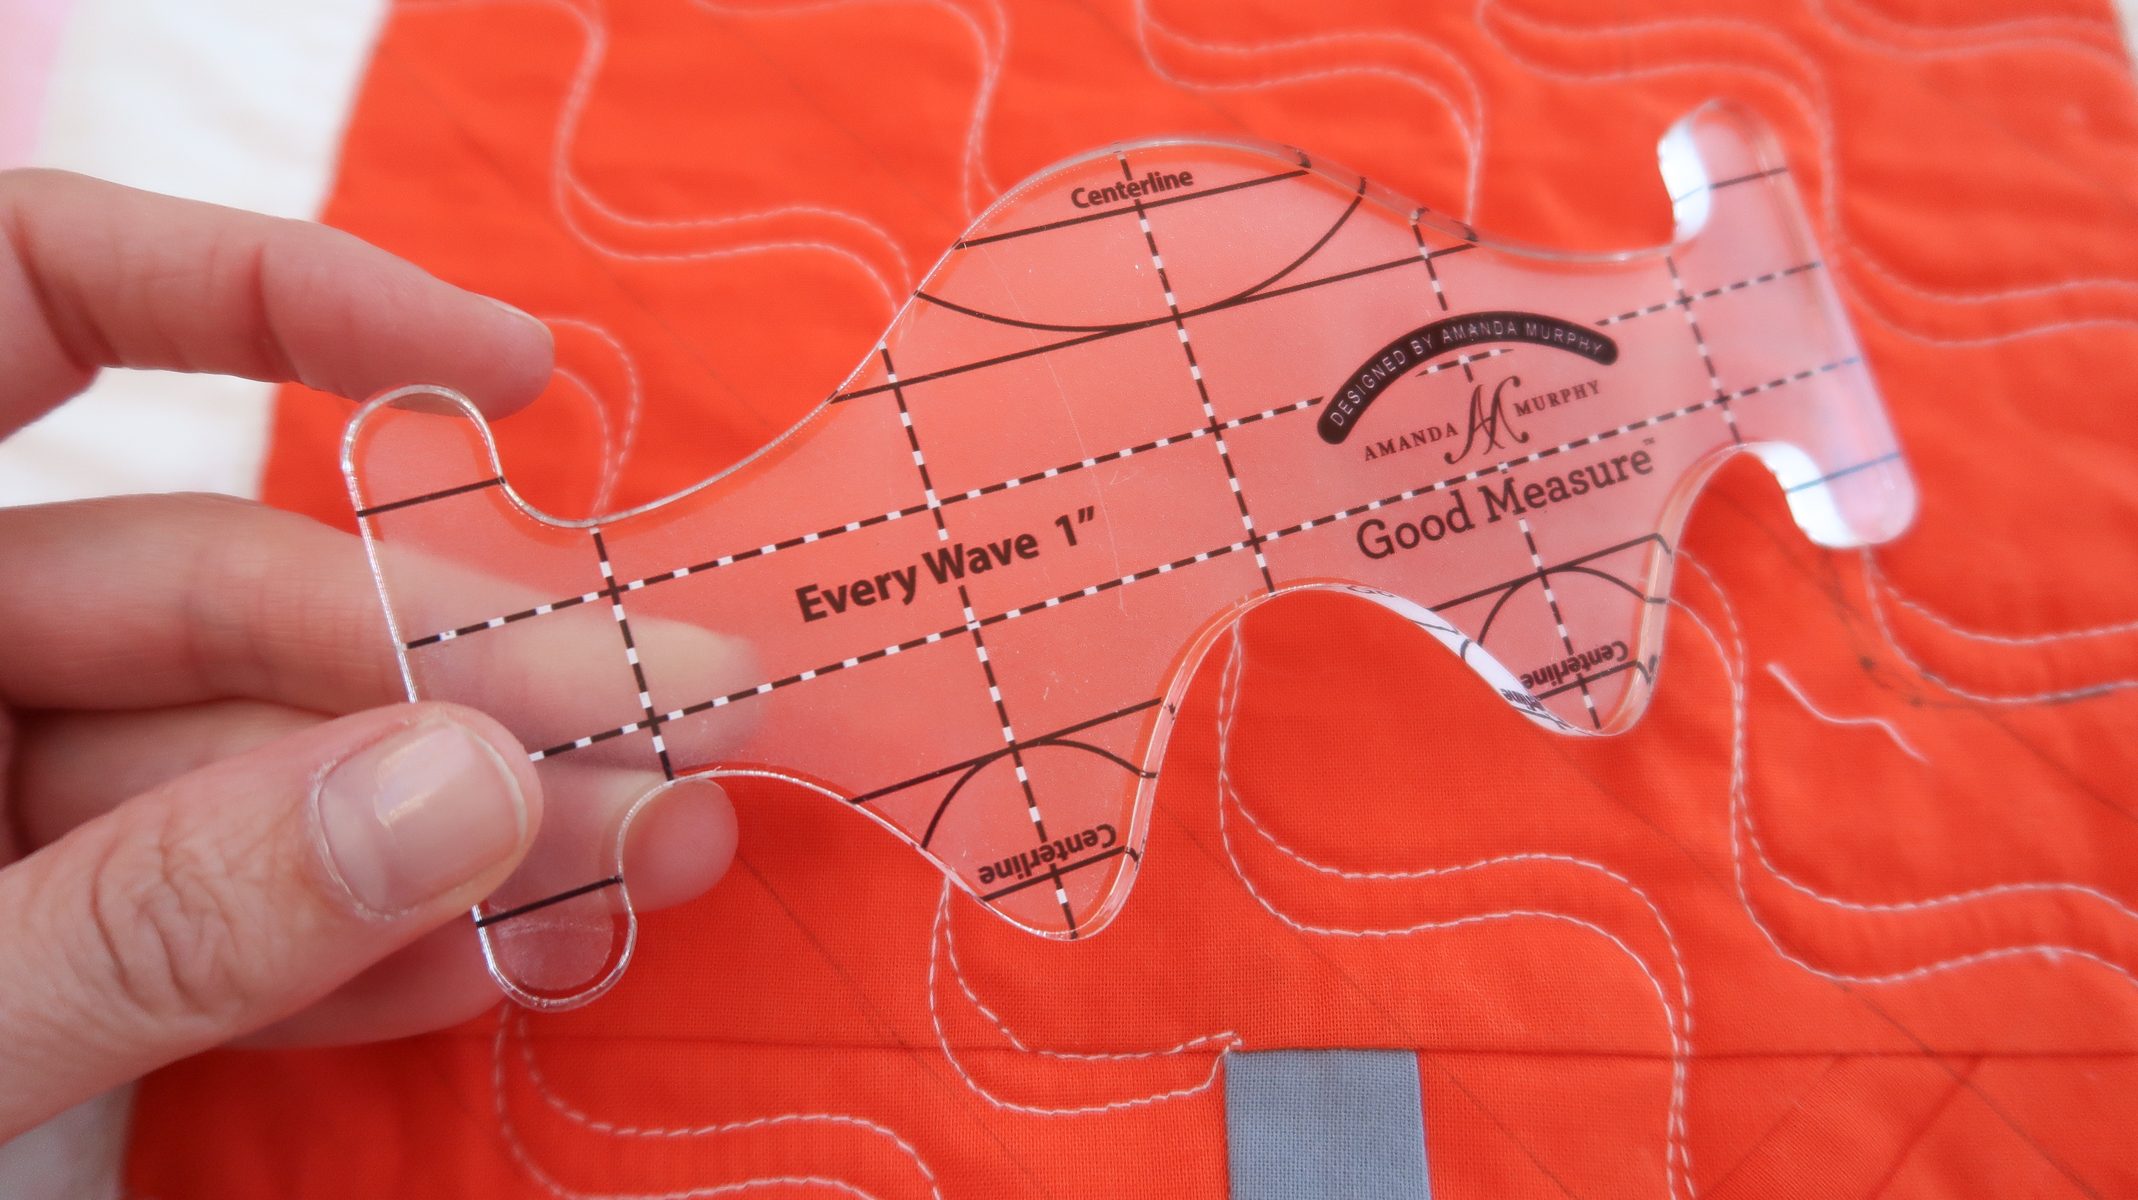
We will make a double wave on each marked line to create a ribbon effect. The second wave you quilt is shifted just a little bit, about 1/4 of an inch up and 1/4 of an inch to the side.
In this weeks video you can see how I position my ruler for this pattern.
It might take some practice to make your waves nicely overlap to create that ribbon effect. I think it’s a great exercise to practice your eye on the 1/4 inch space between your ruler and the needle.
Alternative
When you don´t have a wavy ruler, you can mark lines on a 45 degree angle on your tree and free motion wavy lines around the marked lines. With this you can practice making consistent waves.
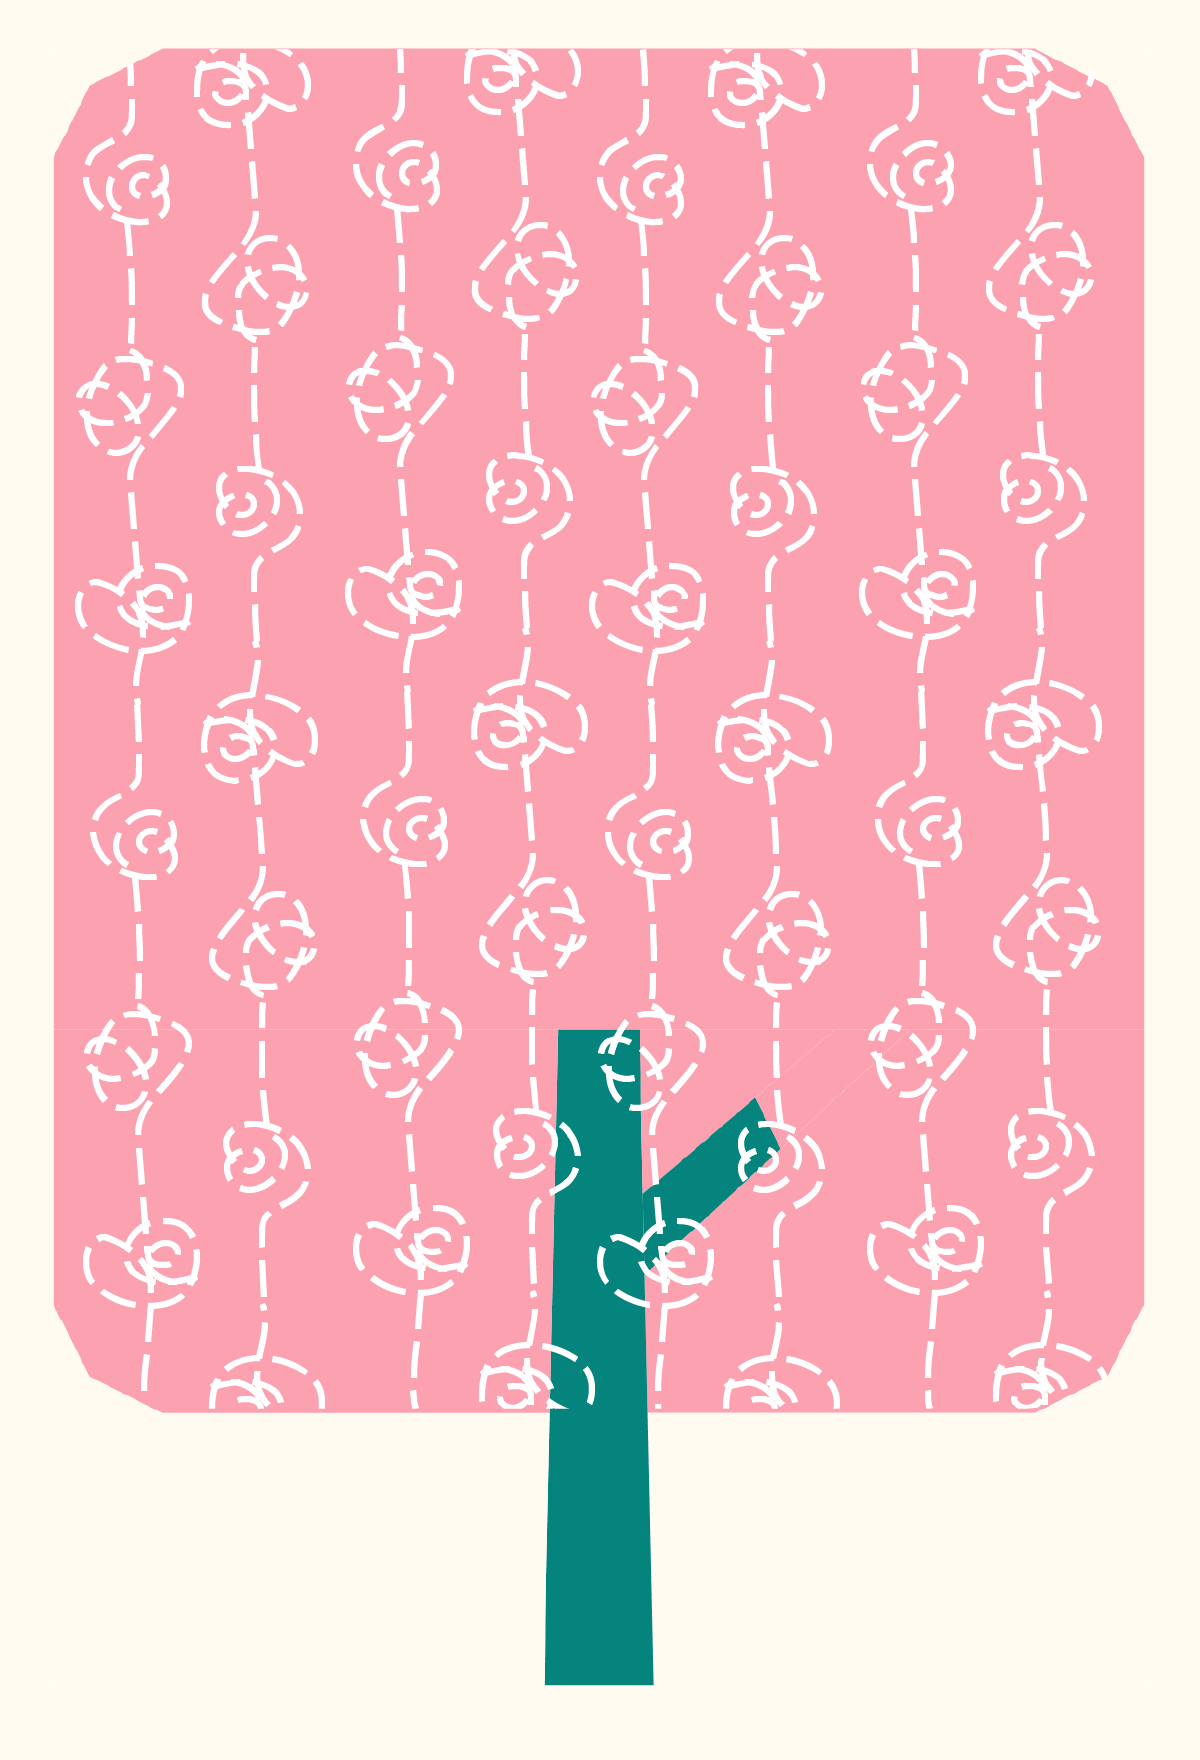
Quilting Tree 8
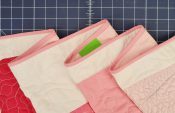
Time to use then lollipop ruler! If you have the ruler set for the QAL you might have been curious about the lollipop ruler set. I sure was when I first saw those rulers. We will be using those rulers a few times in the QAL. Today we will make lines from top to bottom with the round lollipop ruler.
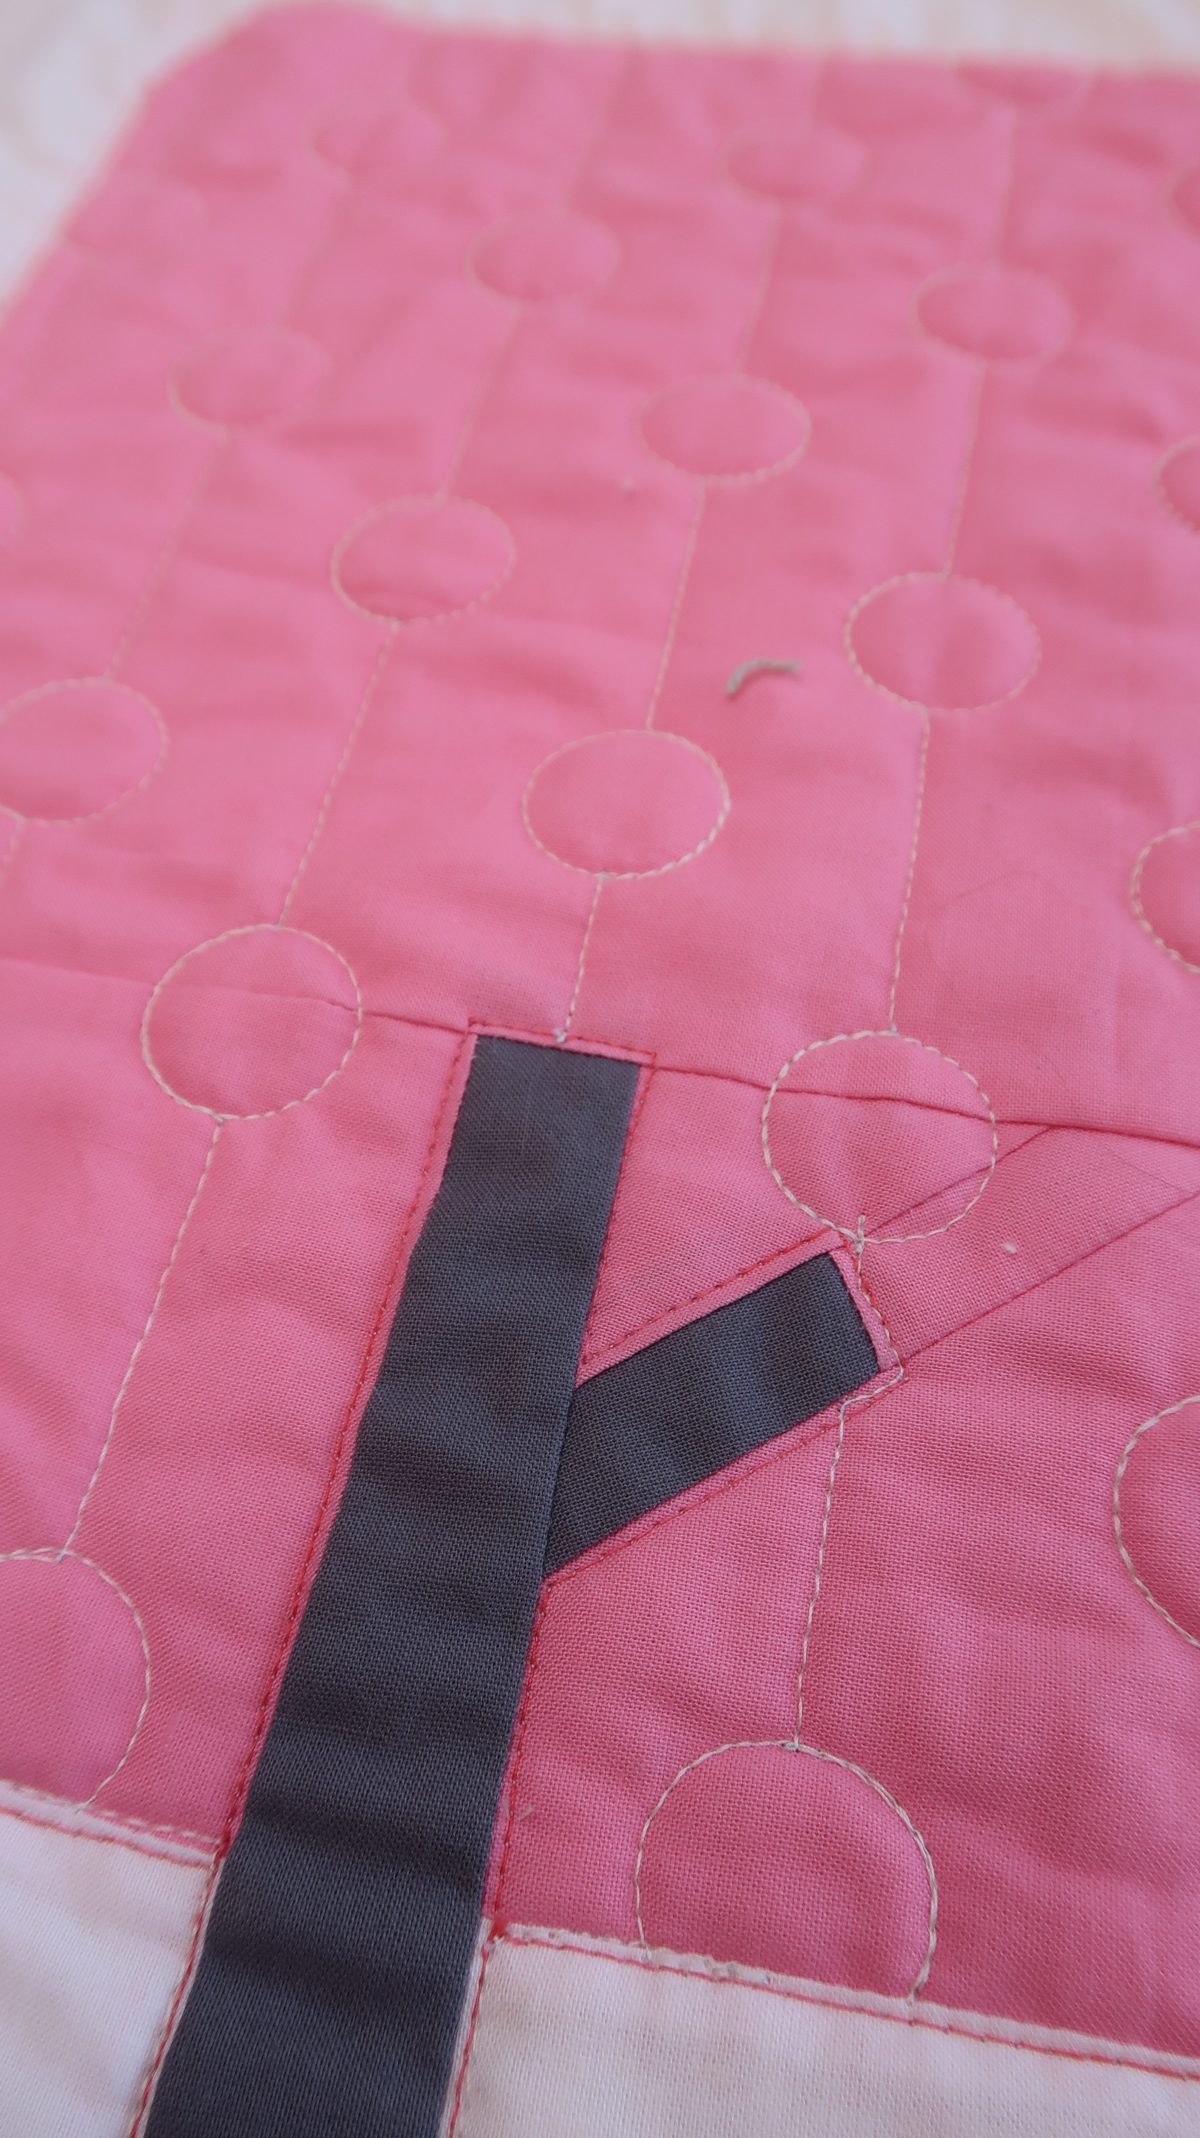
The lollipop rulers have a straight part and a geometrical shape. We will use the straight line part to move up and down our tree. And the circle to make little circles that break those lines.
Start with a vertical line marked in the center of you tree. I’m starting at the tree trunk.
First quilt straight up for a few stitches and then make the circle. You will need to make 1 and a half circle to end up at the top of the circle. From there you can continue the straight line.
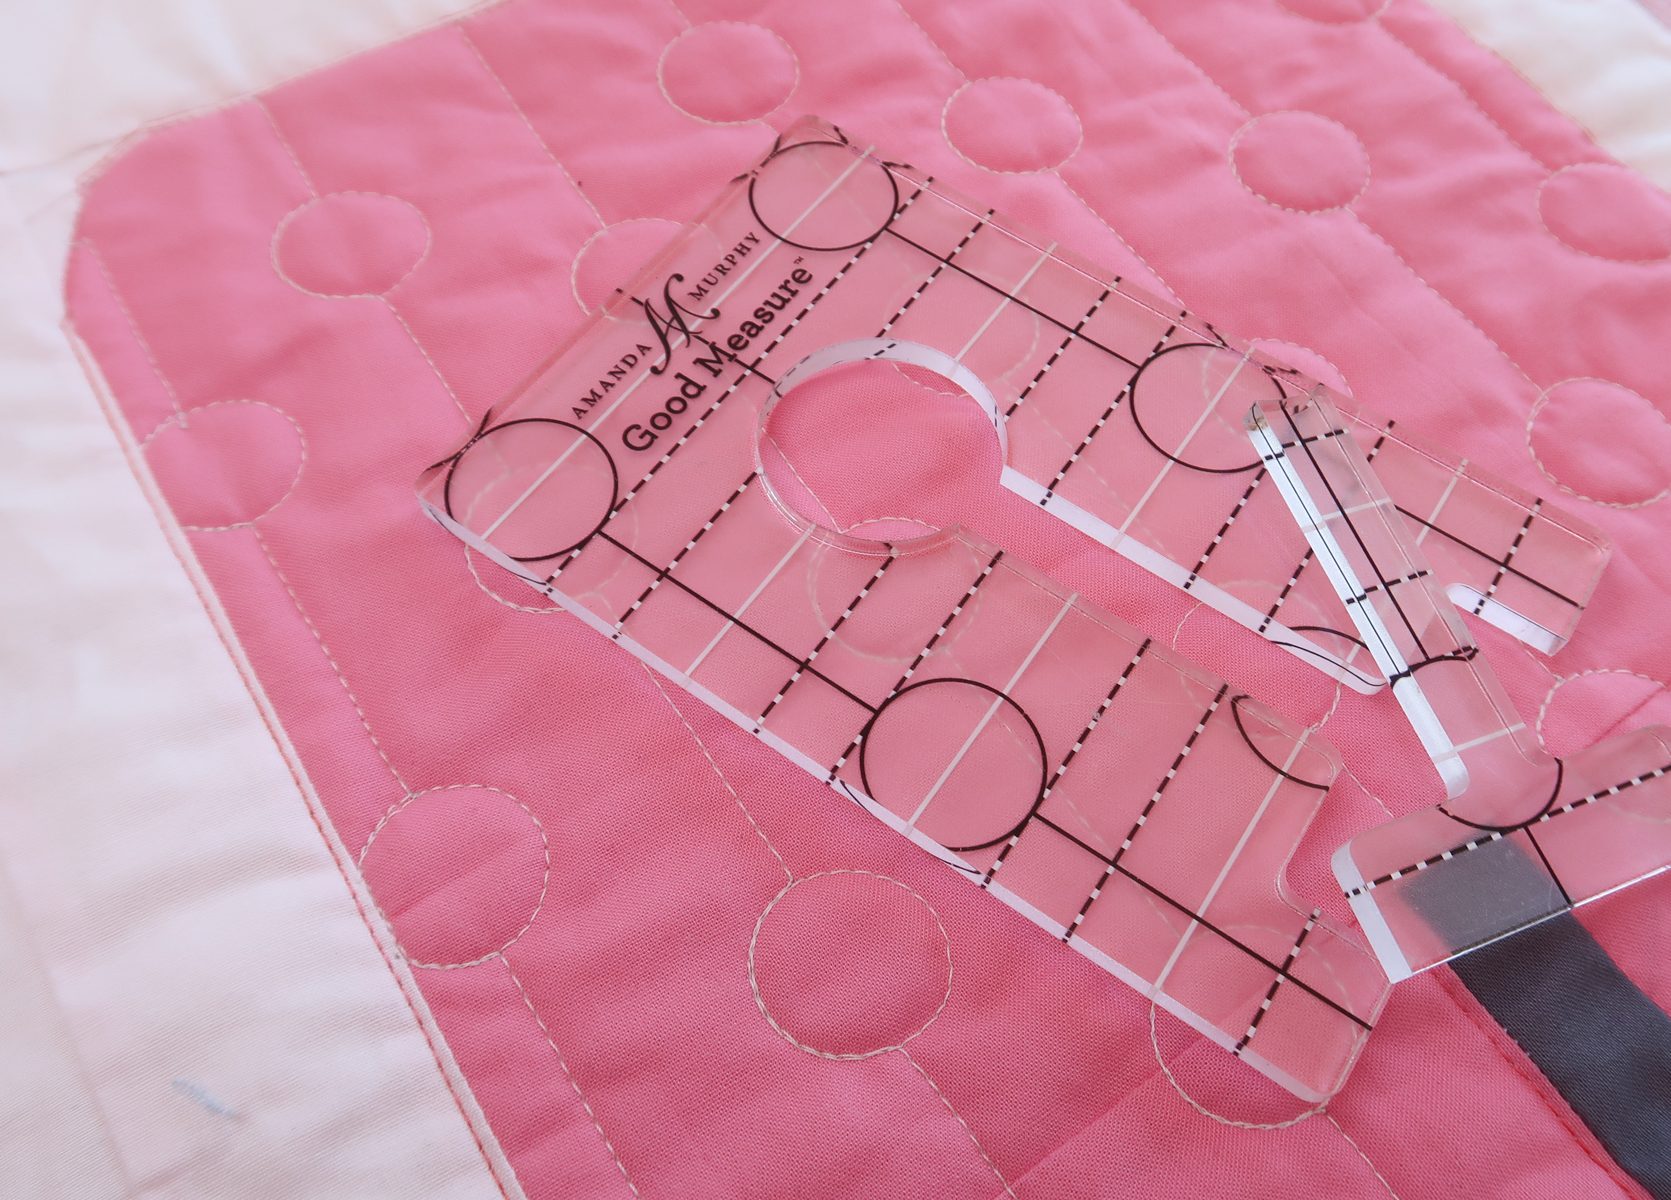
There are lot’s of markings on the lollipop ruler to help you space out the circles evenly over your tree. Place the black circle line on the previously quilted circle to know where you need to make the next one.
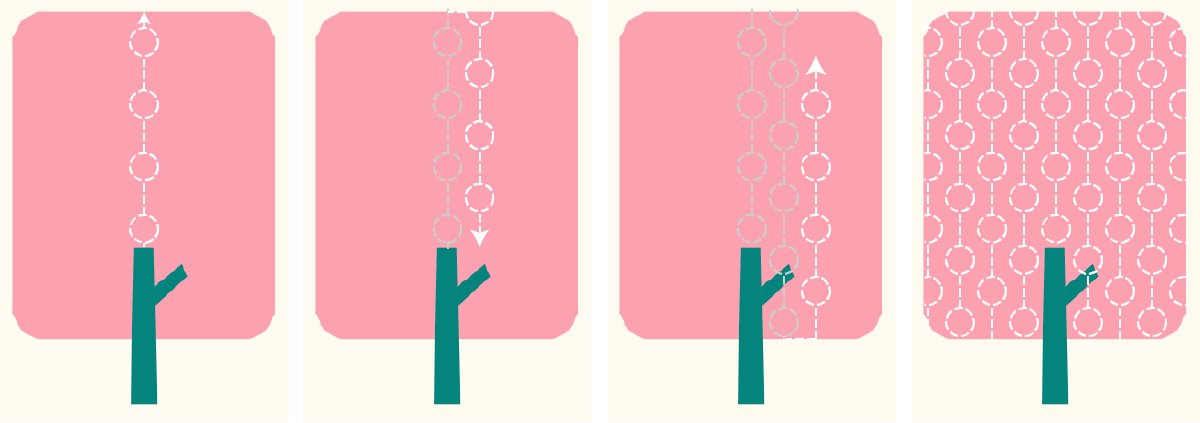
When you get to the top you move over to the side until you’re in the right spot to make your next line down. Again, you can use the black markings on the ruler to know where you need to position it.
Alternative
If you have the lollipop set you can pick any shape you like for this design, or you can mix them up. You don’t have to use only the circle lollipops.
When you don’t have the lollipop ruler, you could create this design by using a straight ruler to go up and down and make a free motion scribbles every now and then. This can also be done without a straight ruler to give it an even more organic effect.
 Next week
We will take a little break next week. This will give you some time to catch up with the first 8 quilted blocks. Or you could use this week to outline all the remaining trees.
In the week after that we will quilt four little trees with super fun designs in the theme ‘Flower Power’.
See you in two weeks!
Irene
Thankyou Irene, I have finally caught up with all the quilting. This is my second ever quilt and my first real experience doing free motion quilting. I am very happy that you have given some alternatives to try as I do not have a ruler foot or any rulers. With your guidance I have managed with my walking foot and Bernina BSR foot and although my stitching and spacing is a bit wobbly I have just gone for it and had fun. Can’t wait to follow you through the second half of the quilt.
Thankyou Irene, your quilting is beautiful!
Very nice work.
Thanks Irene, got to do a little practice and used the Bernina waves ruler(maybe not called that!) I find the lollipops the easiest for me.
Devastated! I received my first email for this QAL today. So far behind, I’ll try & catch up next week