 BERNINA Corporate Blog -
MY INSPIRATION FOR THIS WORK
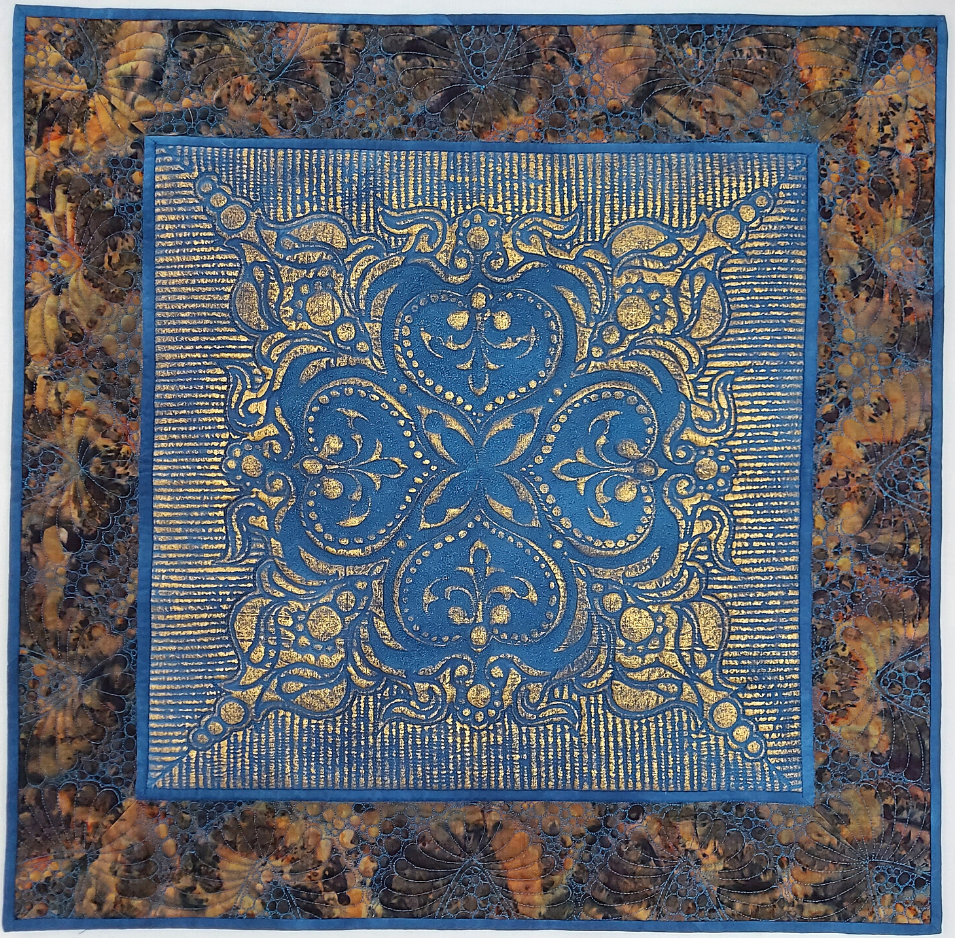
A good friend of mine, *Telene Jeffrey, designs her own stencils that are easy to use. I saw some of her work and purchased her stencil #49002, Amy’s Elegance. The combination of blue and gold is very appealing to me so I decided to use blue fabric, blue thread and gold paint. The border fabric that I used, enhance the colour of the quilt. The name of the quilt, EGOLI…Place of Gold represents the place where I live, Johannesburg, place of gold.
* You can find out more about Telene’s work at www.ladyjanequilting.co.za
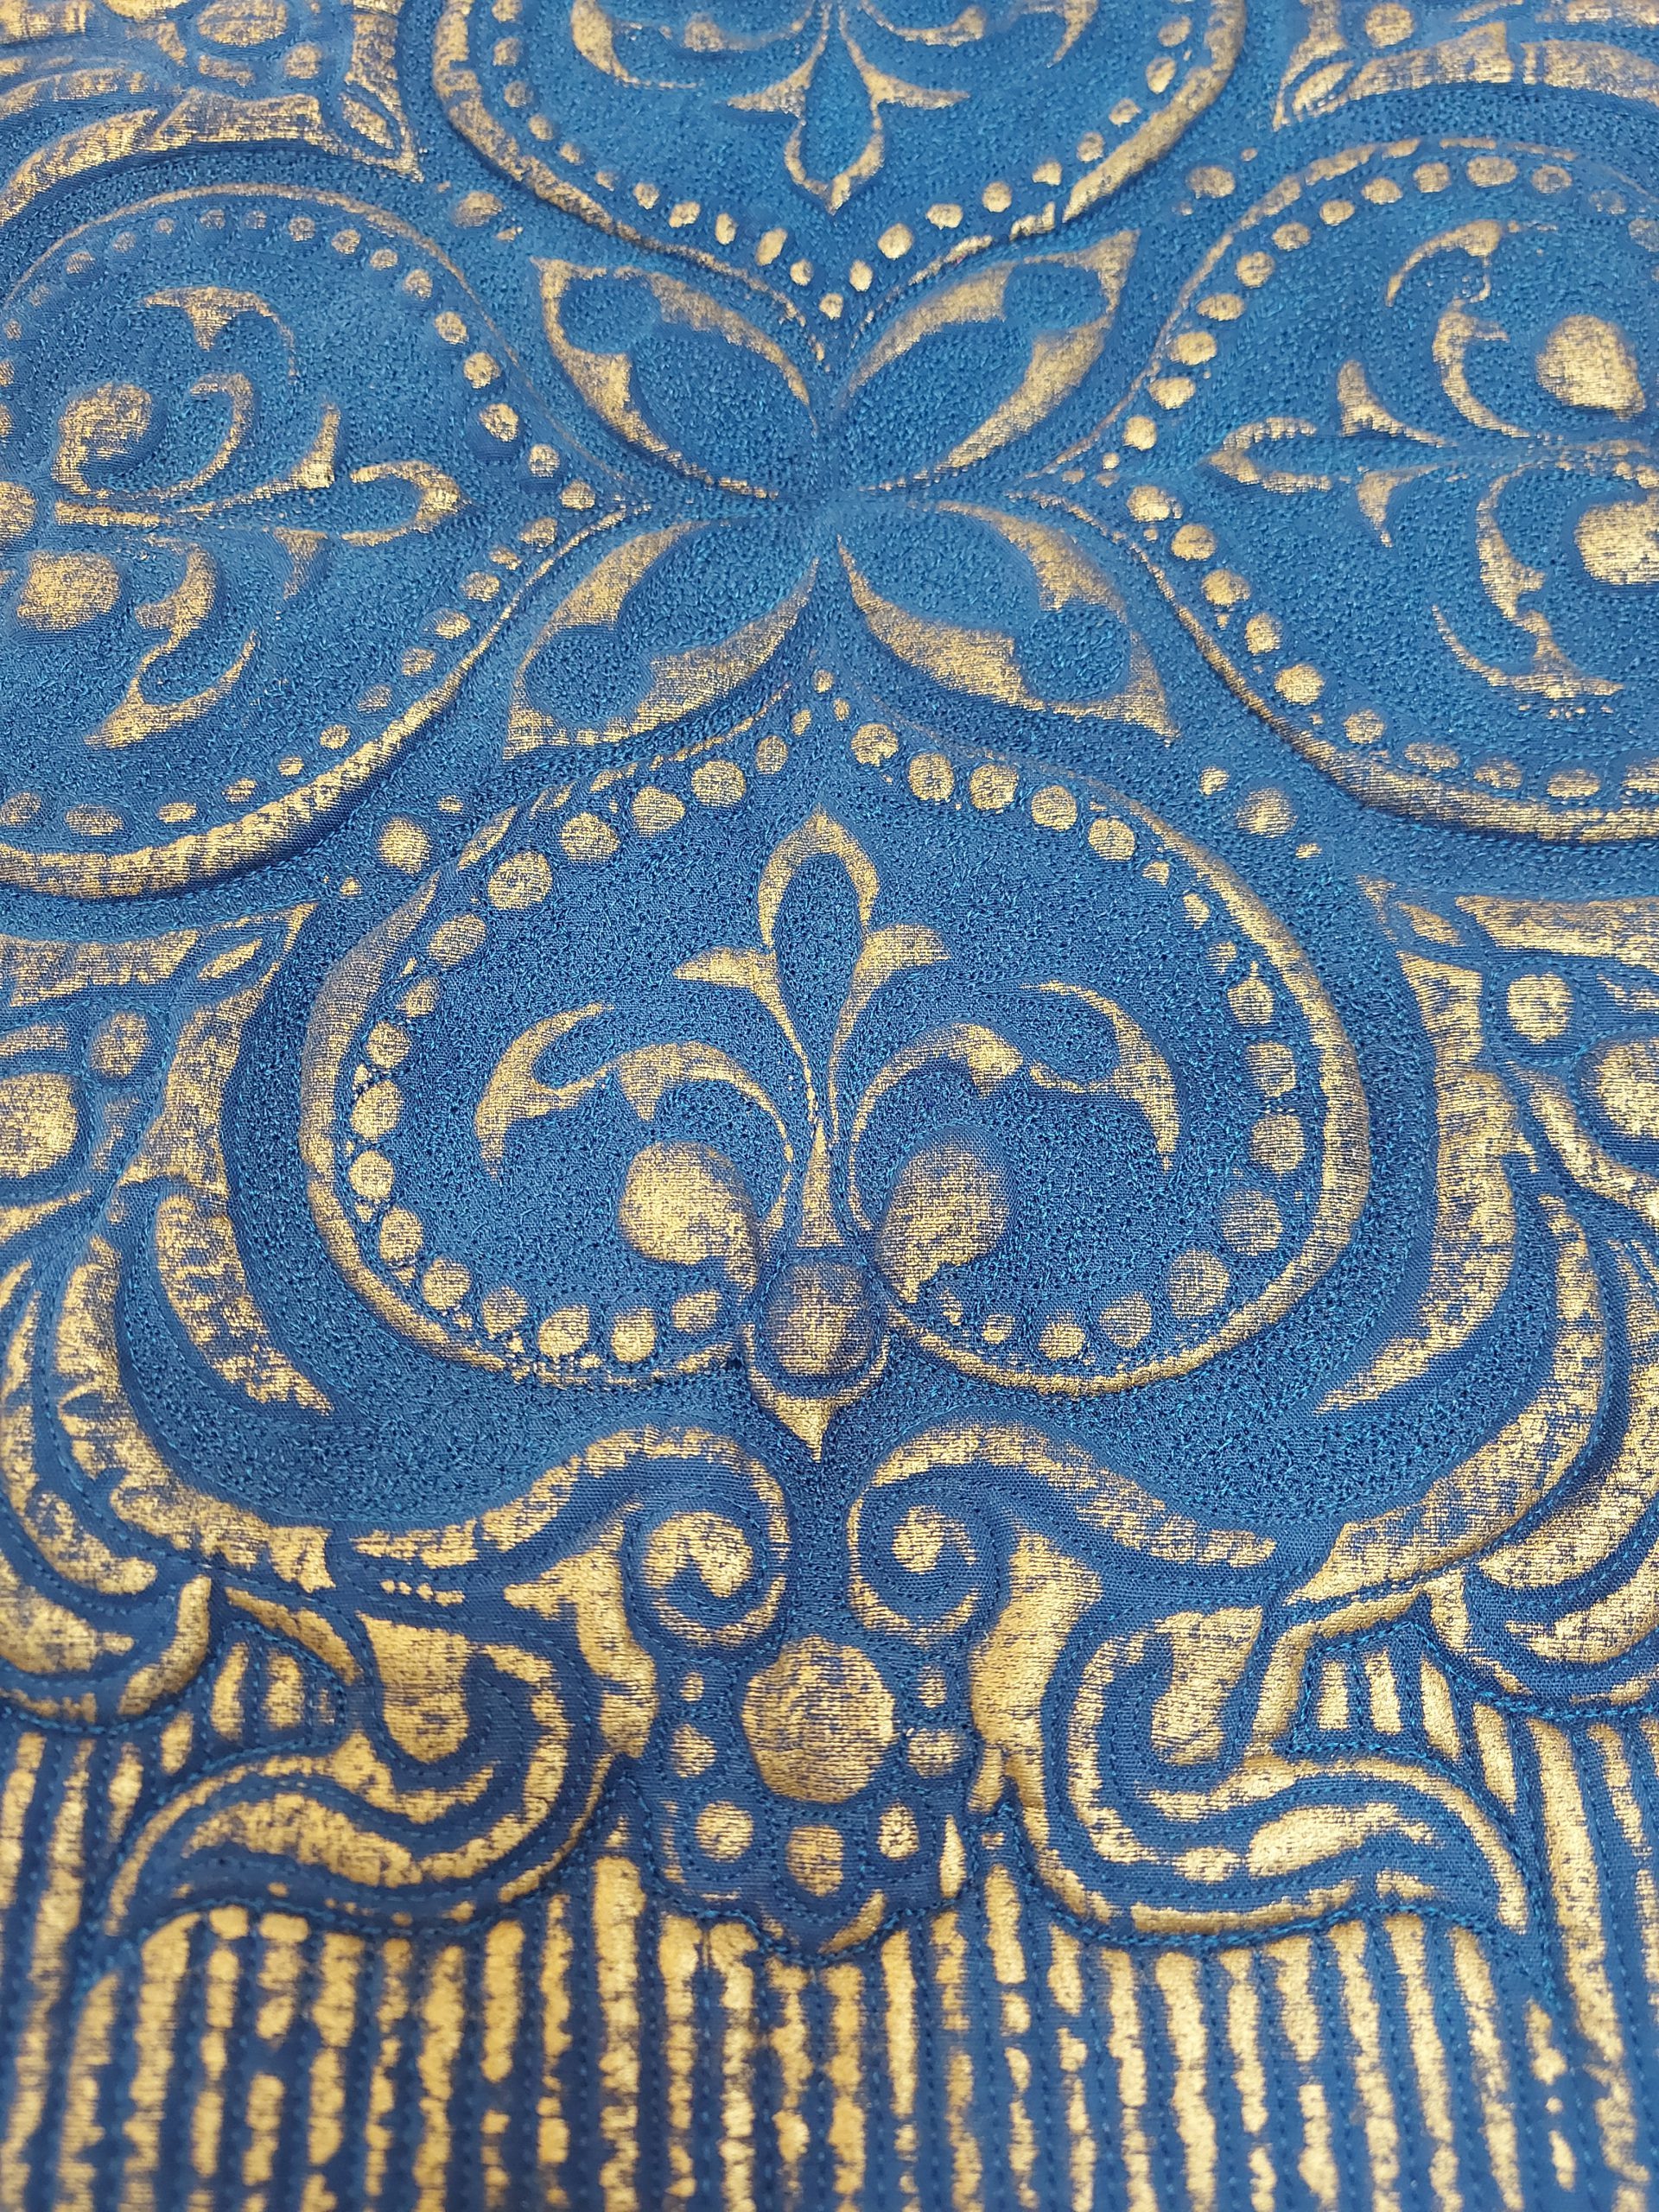
Some Serious Filler Stitch!
YOU WILL NEED
- 100% cotton fabric in a solid colour of your choice
- 100% cotton for the border
- Two layers of Loomtex batting
- Suitable backing
- Isacord machine embroidery thread that is exactly the same colour as the background fabric
- Isacord machine embroidery thread to compliment the border fabric
- A stencil and a Quilt Pounce pad with chalk
- Spray glue and/or quilt safety pins
- Markal or Shiva oil paint stick
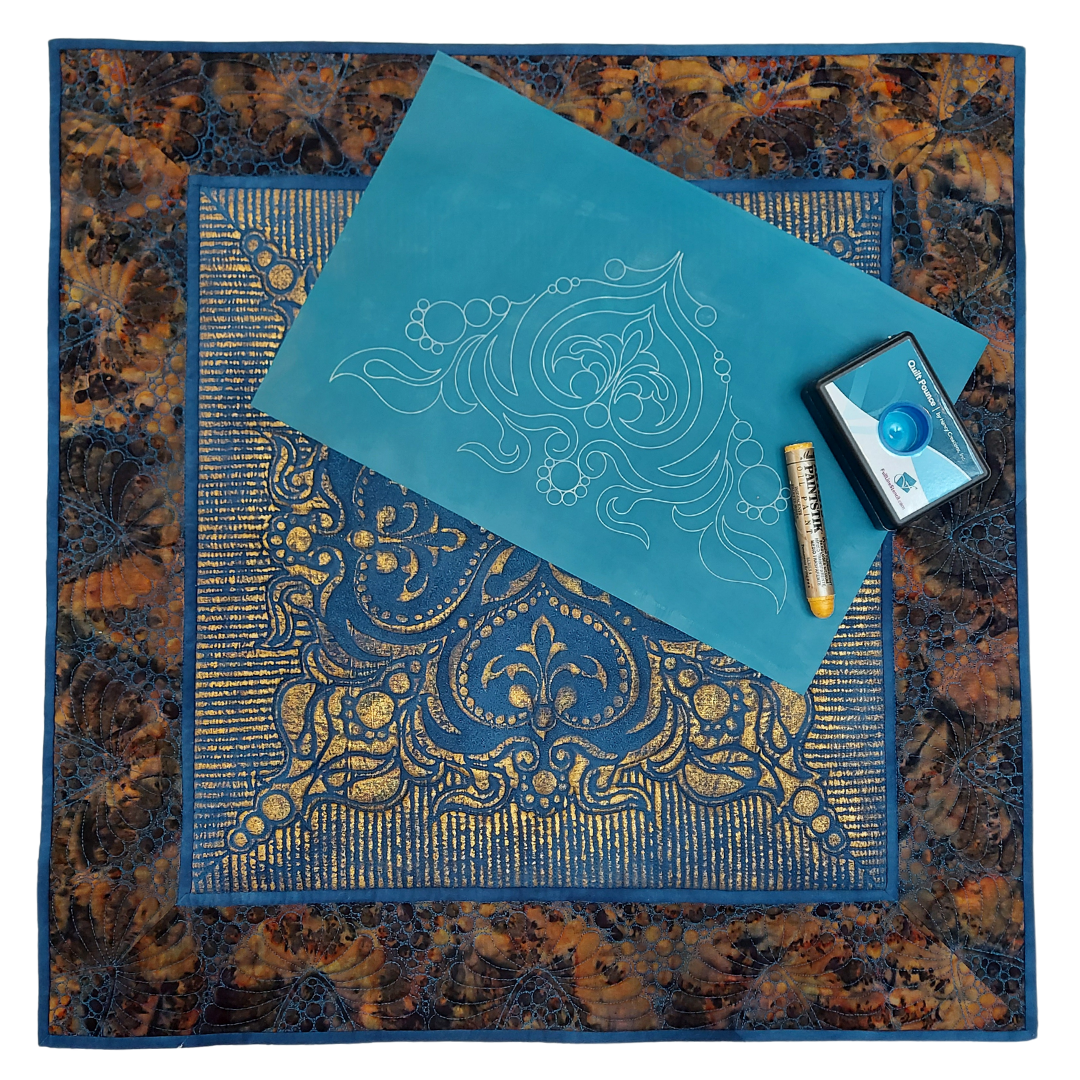
Stencil, Pounce pad and Gold Markal Paintstick
HOW TO GO ABOUT DESIGNING, PAINTING and SEWING YOUR QUILT
Sew the border fabric on all four sides and mitre the corners.
Position the stencil to form a pattern that is pleasing to you but be sure to avoid the border fabric.
Use the Quilt Pounce Pad with Chalk and mark out the pattern on your 100% cotton solid coloured background fabric.
Use spray glue and /or quilt safety pins to keep the backing, batting and quilt top together.
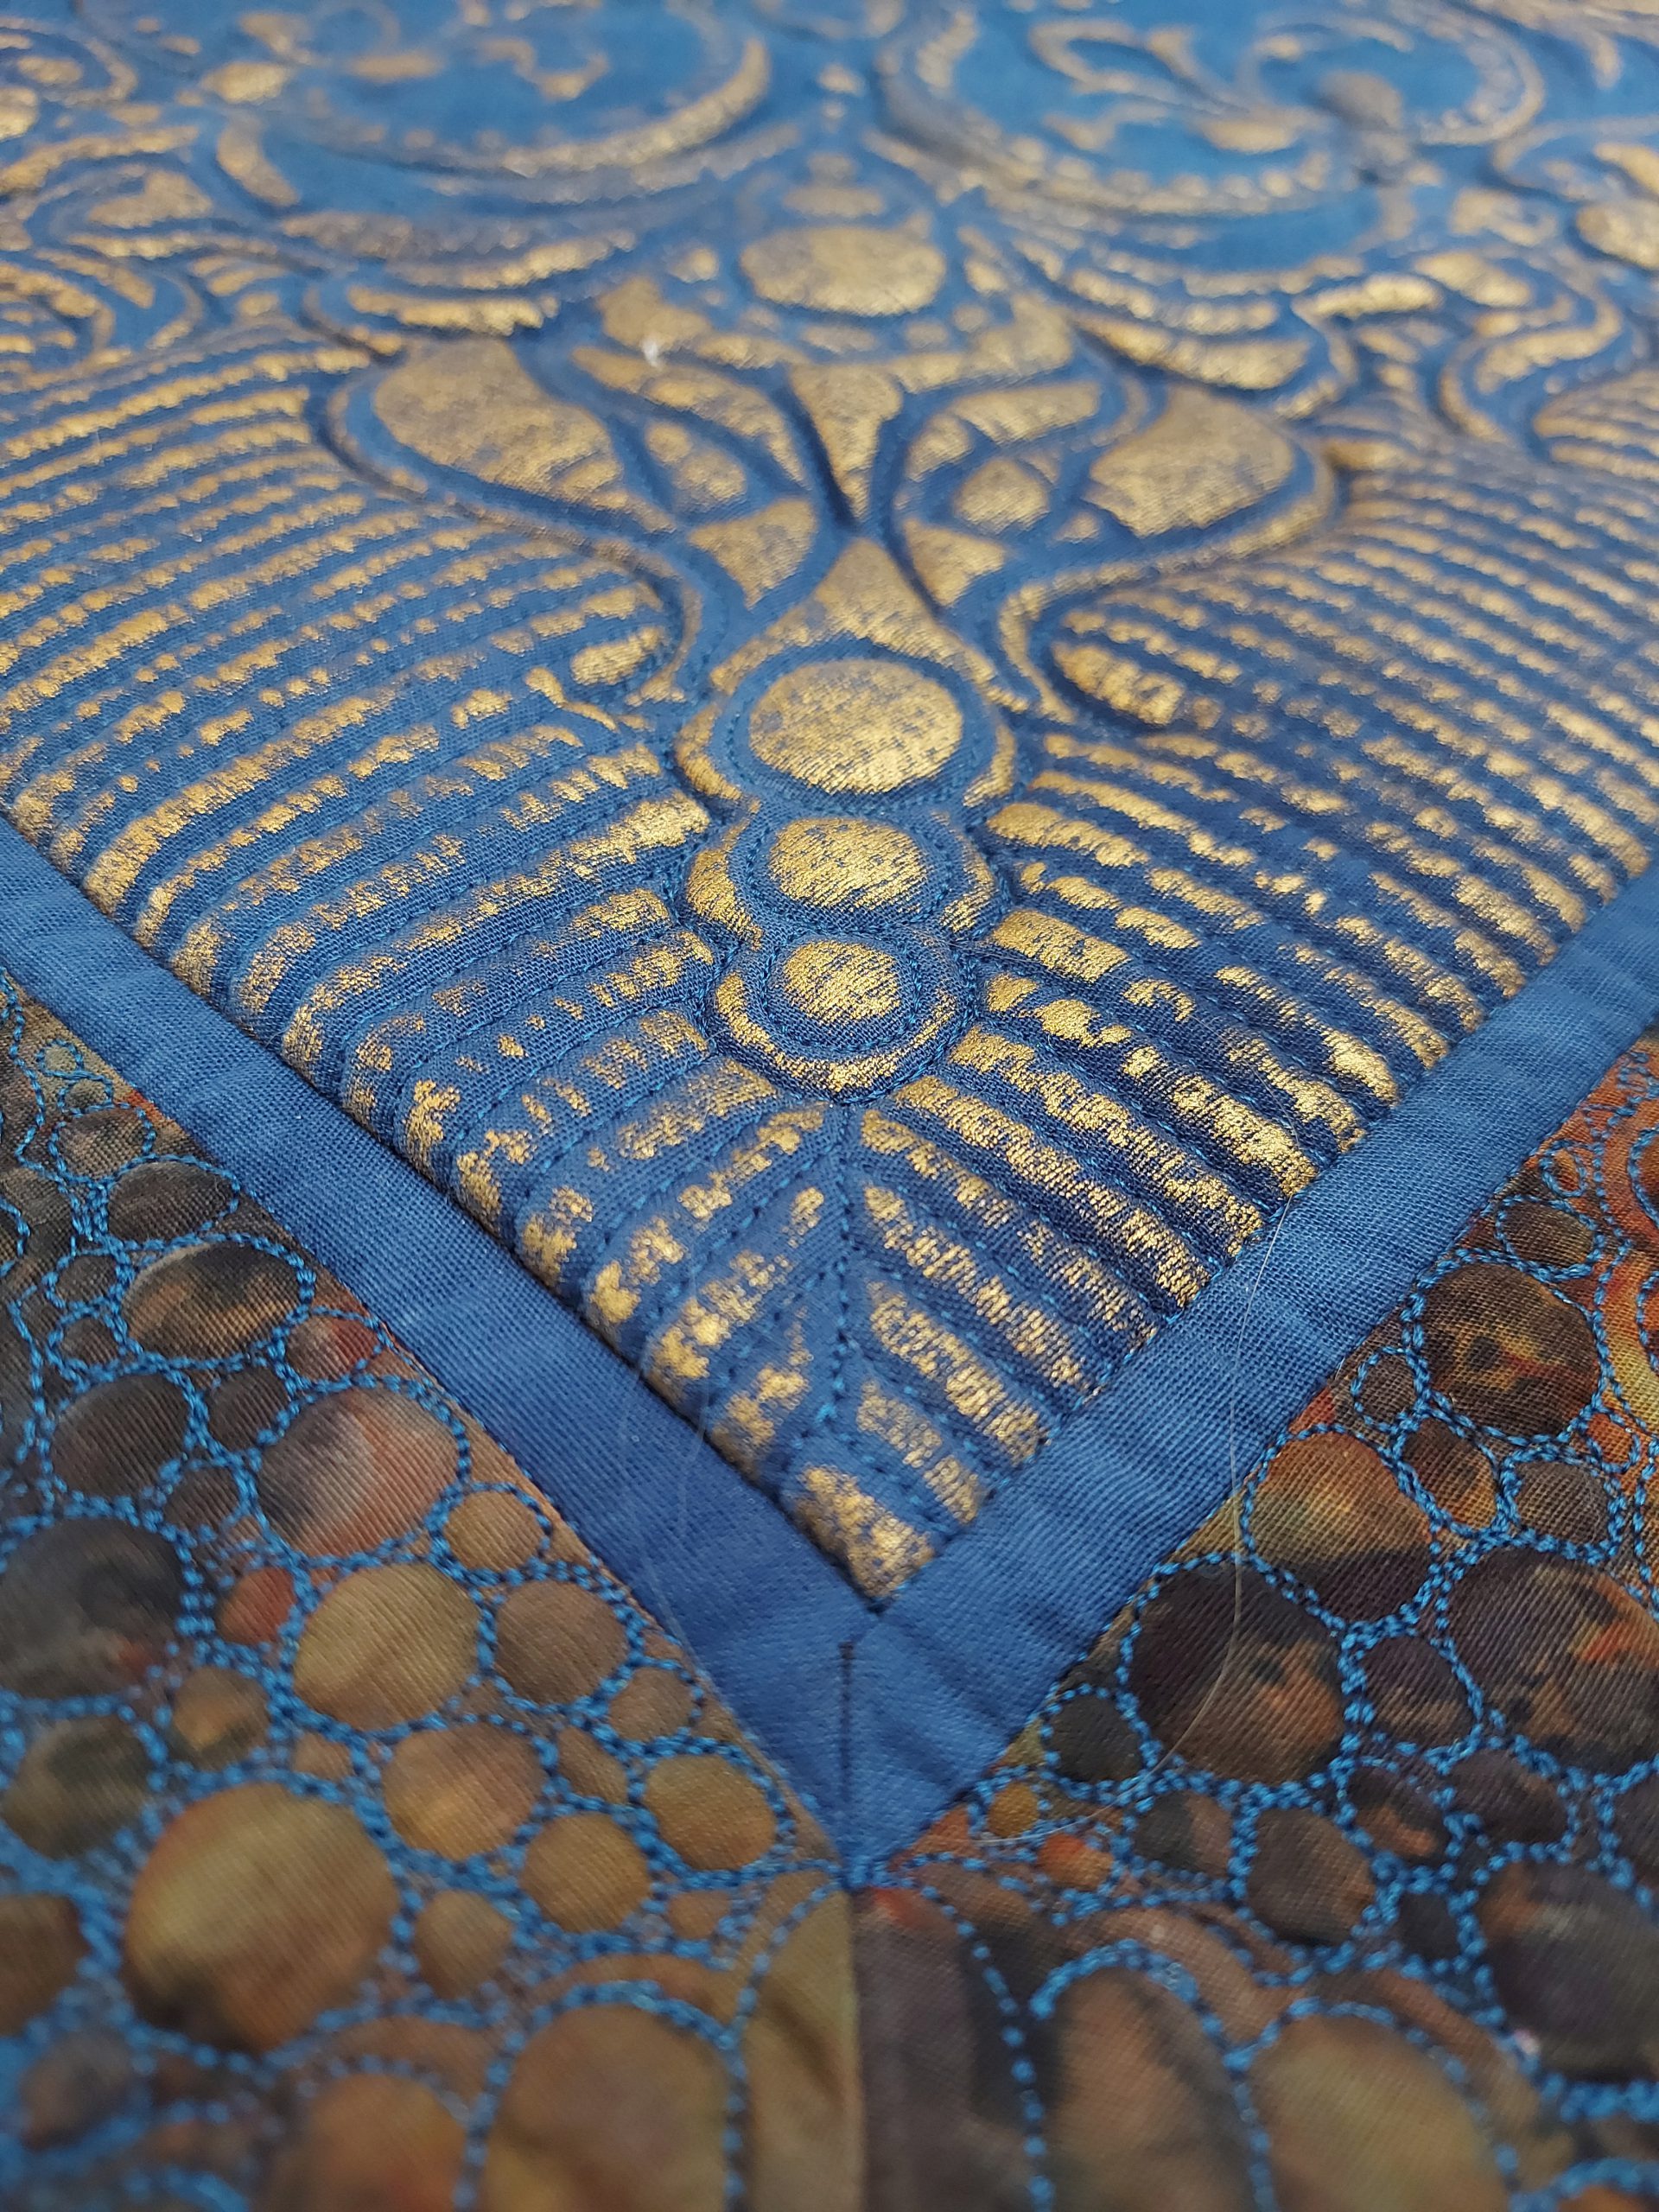
Mitre the Corners
Thread your machine top and bobbin with exactly the same colour thread as the background fabric.
Quilt the outlines first.
Heavily quilt the areas that you want to recede.
Change thread and quilt the border.
Use the oil paint stick in a horizontal manner to ‘paint’ the top of your quilt without painting the border fabric. You might want to mask the border fabric before you start painting.
Allow to dry for 48 to 72 hours.
Sew a binding on.
Sew a hanging sleeve and label on the back of your work and enjoy your own quilted and painted wall-hanging!
If you are passionate about textiles and want to learn more about how to incorporate my innovative techniques into your work, follow me on Instagram @tillydeharde and Facebook, Tilly de Harde Fibre Artist & Teacher and visit my website www.tillydeharde.com & subscribe to my mailing list. Please don’t forget to leave a comment in the comment box below!
Lovely stencil work!
Thank you Karen! I really enjoyed creating this quilt! Normally I prefer to do work that is more arty and not so structured but this was really fun to do! Have you tried your hand at stencil work? Please let me know and perhaps post a photo on Facebook. Love, Tilly