 BERNINA Corporate Blog -
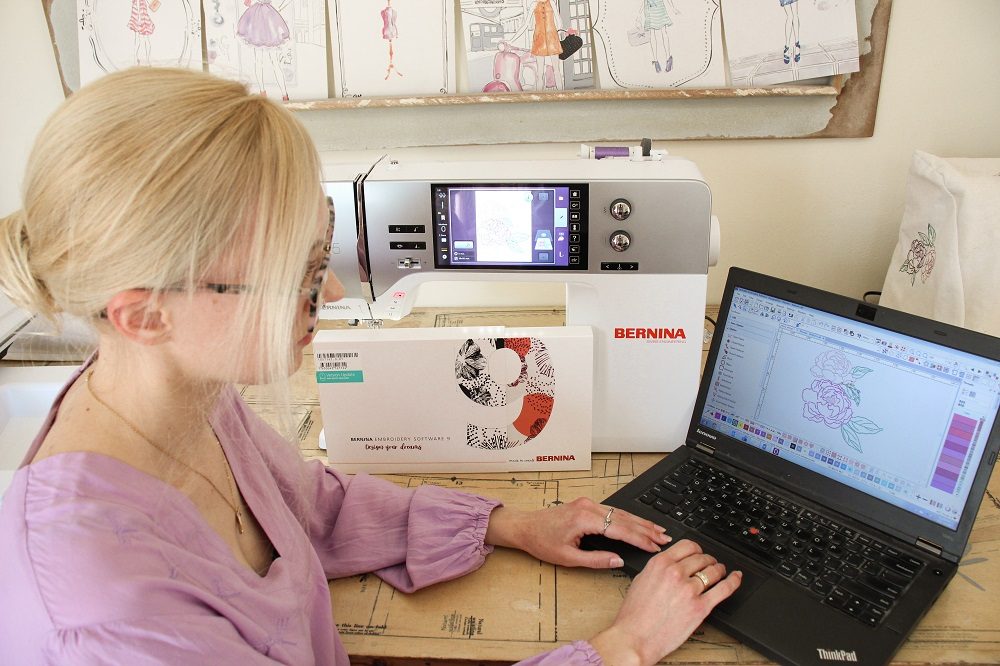
I recently signed a new contract with Bernina as their V9 Embroidery Software Ambassador!
In turn I received the incredible new BERNINA Embroidery Software 9 and awesome Wi-Fi connector Device!
This software is an amazing addition to the new B735 Sewing Machine & Embroidery Module L that I also received from Bernina.
One of the new features of the V9 Software that I wanted to try is the Branching Tool. It creates the most efficient stitch sequence and minimizes jump stitches of the selected Run or Fill stitches.
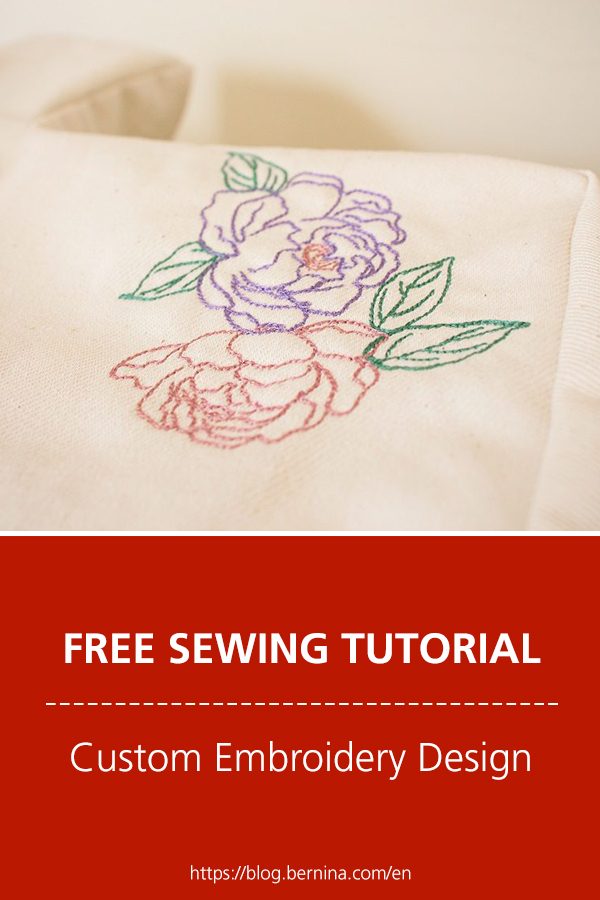
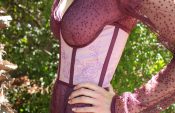
I wanted to create a Peony design inspired by my Peony Wall that has featured in some previous blog posts such as the Embroidered Aida Blouse and Leni Bag.

My Peonie wall
What will be needed:
- Embroidery Software Designer Plus V9
- Pattern piece or piece of fabric you’re going to embroider
- Phone/Camera
- A design template
Create a custom Embroidery Design
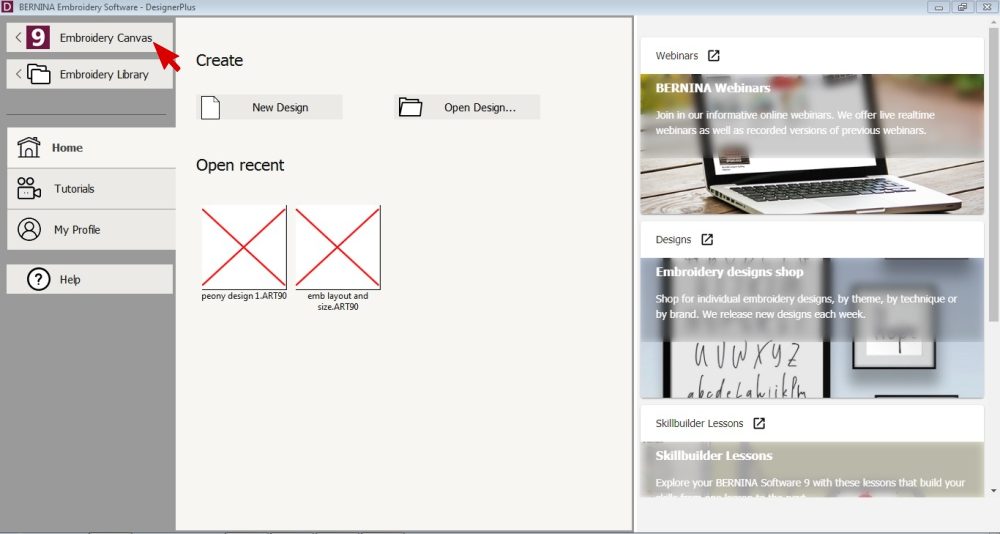
One of the most noticeable differences of the V9 software is a new Welcome Screen/Homepage.
You can see recent projects that you have been working on and have easy access to Tutorials, Skill Building Lessons, Webinars and Embroidery Designs Shop.
To start a new design, just click on the Embroidery Canvas Tab in the top left.
Insert the Artwork
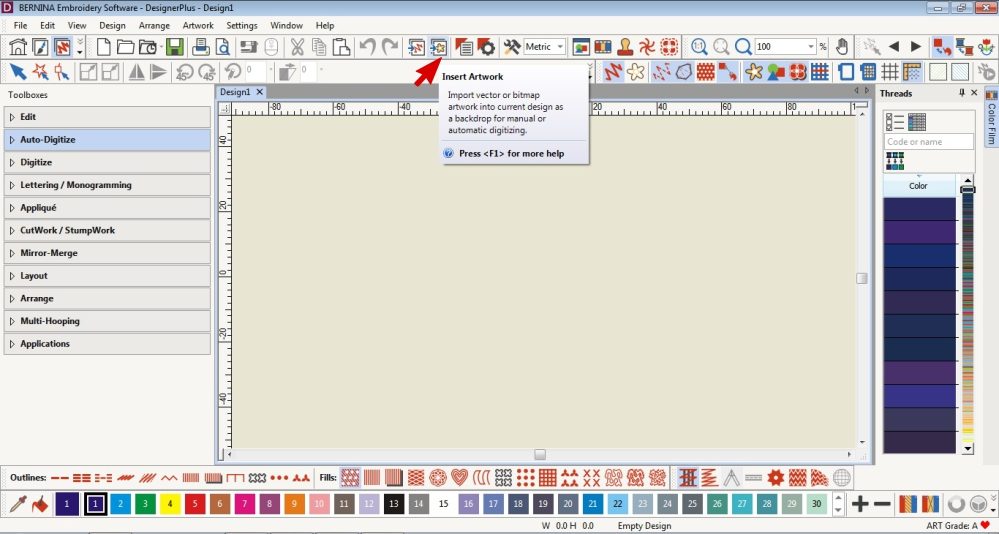
1. Insert the picture you want to use as a template from your documents.
I found this beautiful artwork on Vecteezy
Digitize your Design
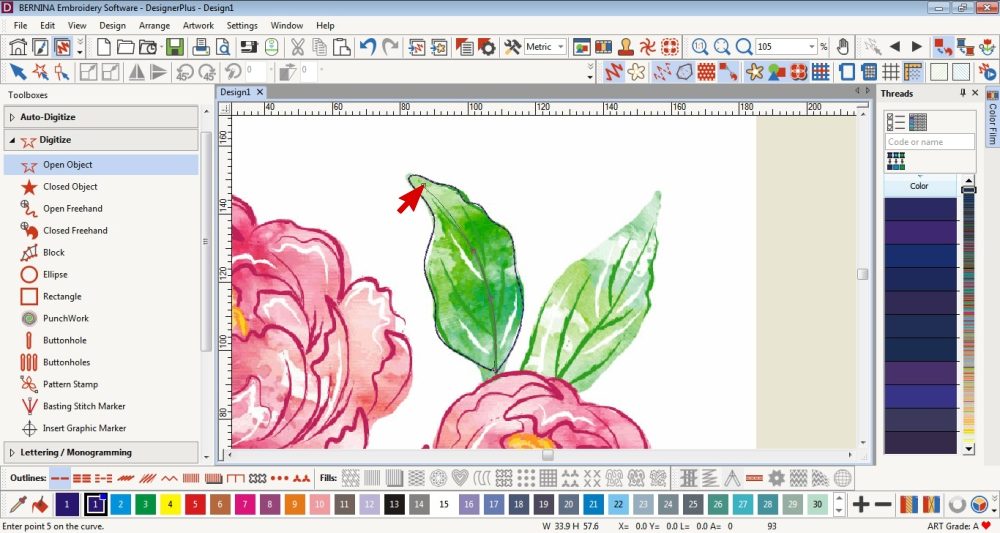
I started by digitizing the leaves of one of the Peonies.
Closed Object

2. Open the Digitize Toolbox on the left and select Closed Object.
Ensure one of the Outline Stitches is selected on the bottom Toolbox (I prefer to use the Single Outline Stitch for digitizing and change it later if needs be).
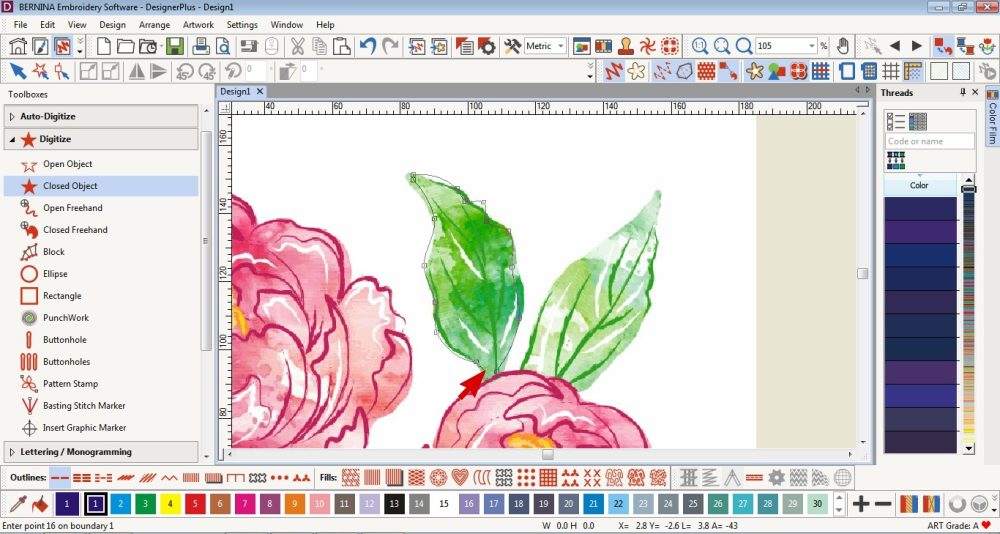 3. Right click make a curved lines and left click makes a straight line.
Press Enter on your keyboard before reaching the original click point and the software automatically closes the object.
I found it best to place a node at every concave and convex curve to create the organic leaf shape.
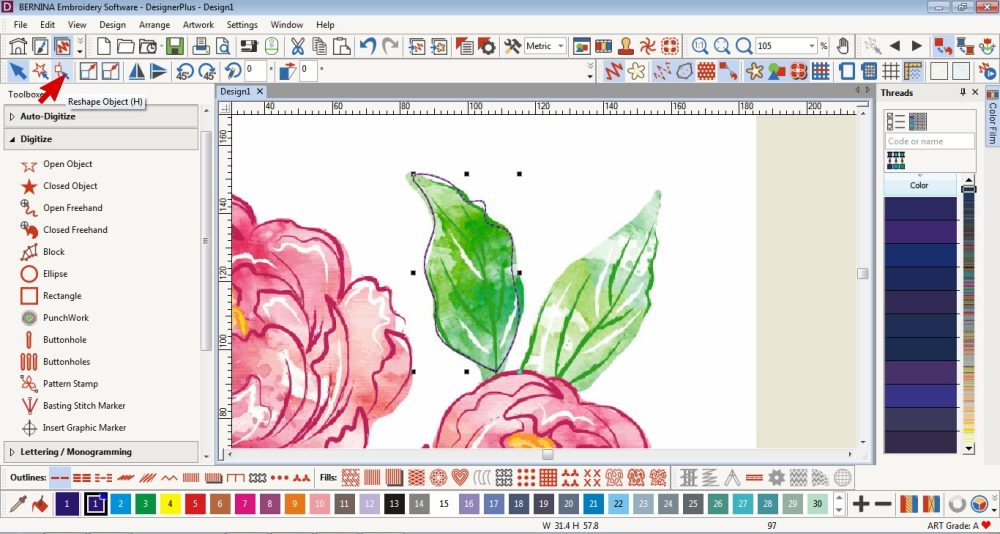 4. Select the digitized design and click on the Reshape Tool to be able to edit the shape and move the nodes.
 5. Click on a node to select it. You can move it, delete it or change it to a straight or curve by pressing the Space Bar.
You can also add more nodes.
Open Object
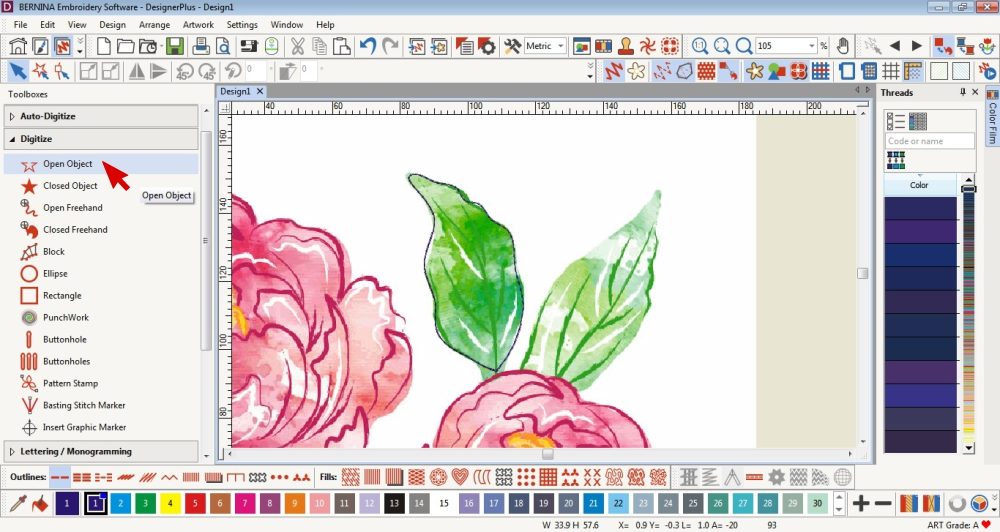 6. Select Open Object from the Digitize Toolbox on the left.
 7. Create nodes by clicking with your mouse. Right click make a curved lines and left click makes a straight line.
Press Enter on your keyboard to end the design at your last click point.
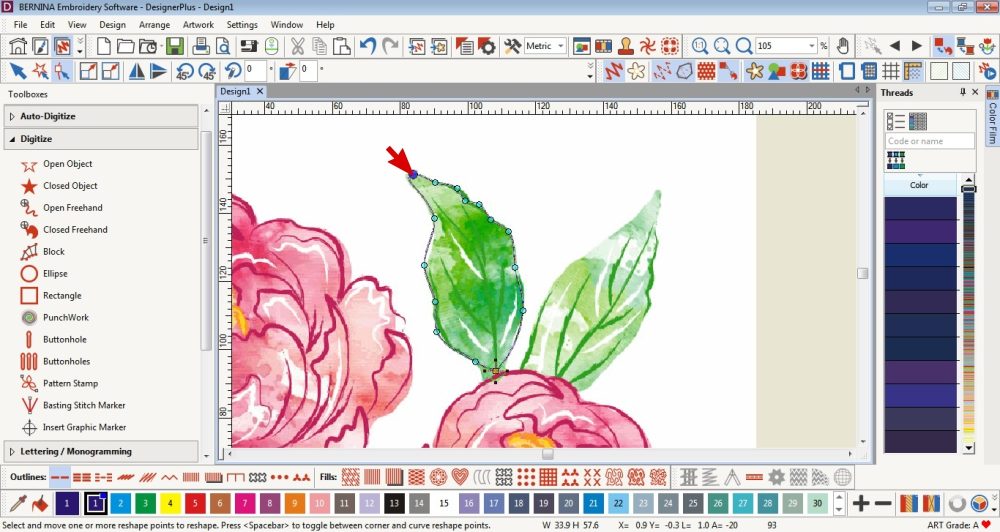
 8. Select the digitized design and click on the Reshape Tool to edit the shape and move the nodes.
Click on a node to select it. You can move it, delete it or change it to a straight or curve by pressing the Space Bar.
You can also add more nodes.
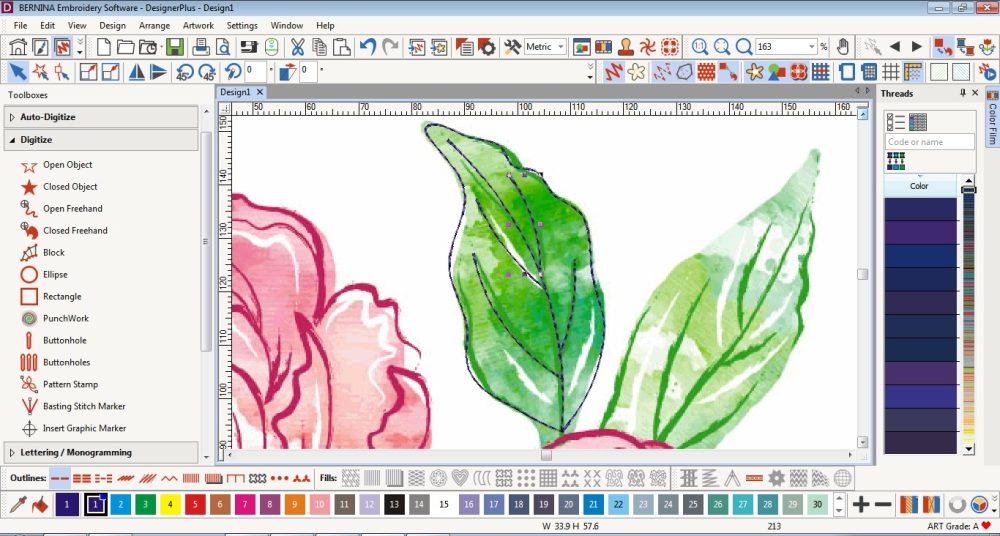 9. I repeated steps 6-8 to complete the veins of the leaf. I made sure to overlap all the lines of the small veins with the large vein so that I would be able to use the new Branching Tool. I also made the start of the large vein overlap with the base of the leaf.
Branching Tool
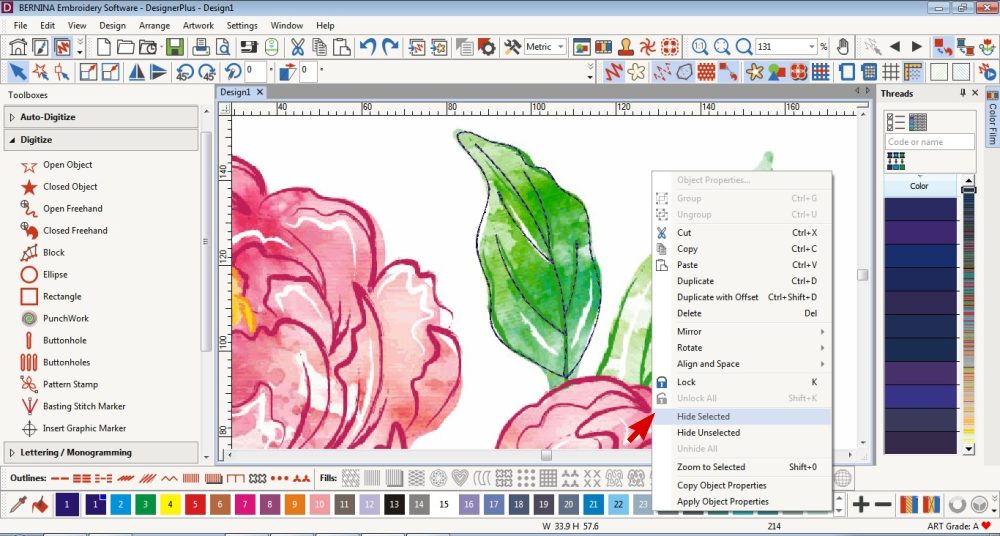 10. Hide the background Artwork.
Right click on the picture and choose Hide Selected.
 11. Deselect Show Artistic View in the Top Toolbar.
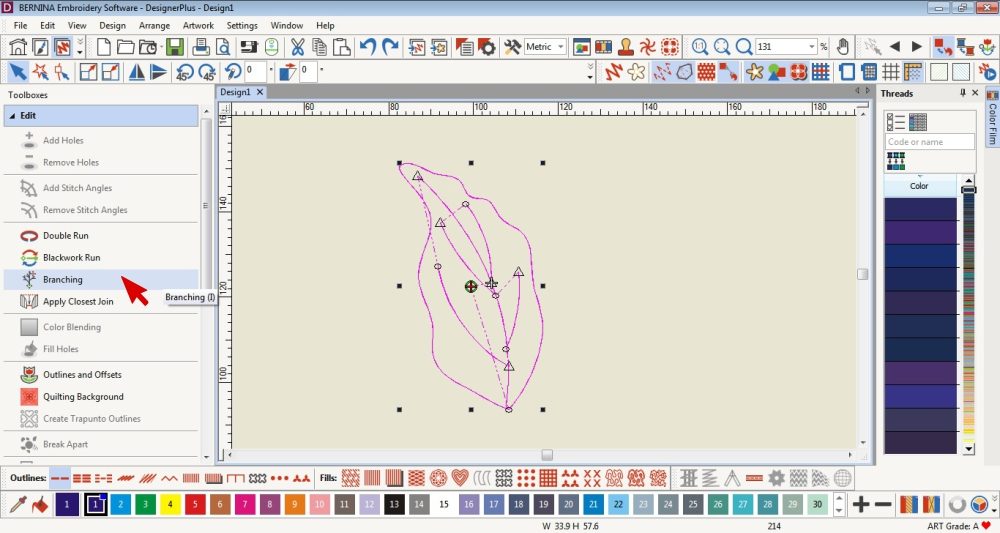 12. Select all the digitized lines and shapes.
Open the Editing Toolbox on the left and select Branching.
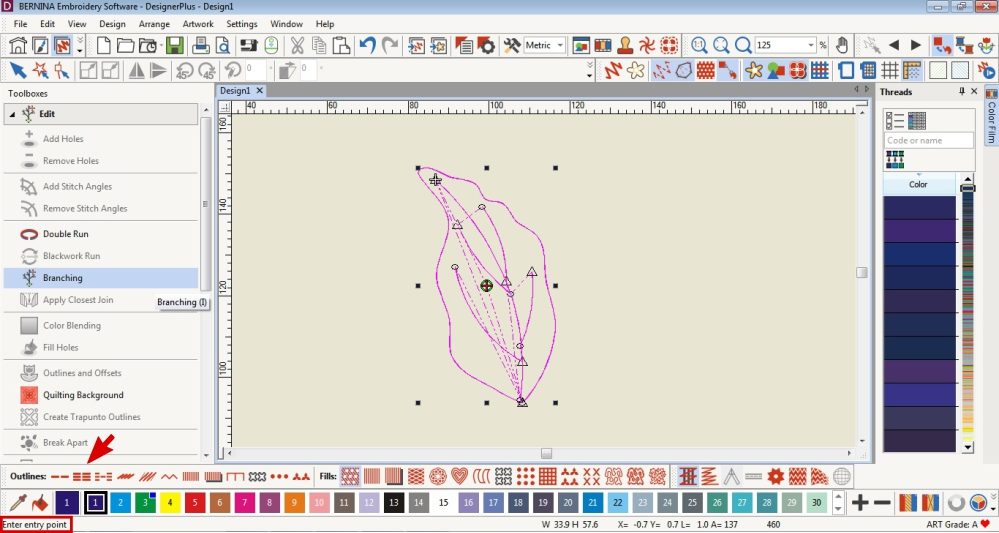 13. You will be prompted to choose an Entry Point and an Exit Point.
If you are unsure, let the software choose by clicking the Enter key twice.
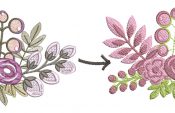
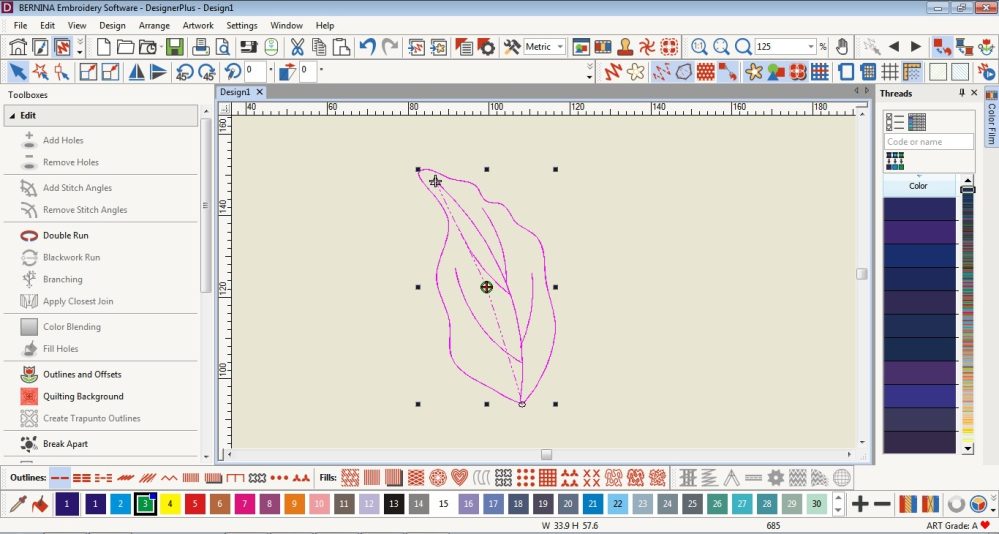 14. Now you can see how the Jump Stitches have been minimized making for a neater embroidery design. The software also automatically creates the most efficient sequence for the design to be stitched. All the lines and shapes of the design have also be grouped.
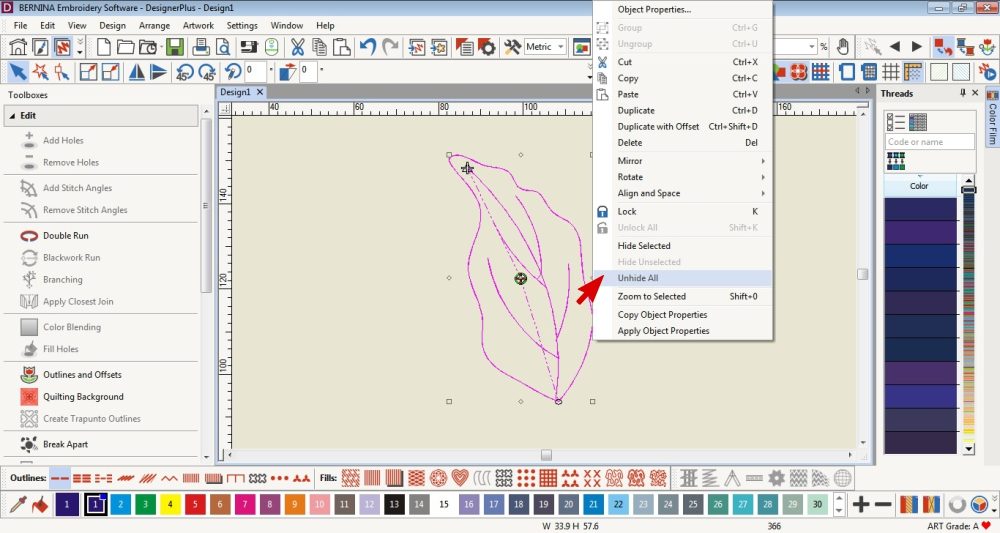 15. In order to Unhide the background picture, right click on the digitized artwork and select Unhide All.
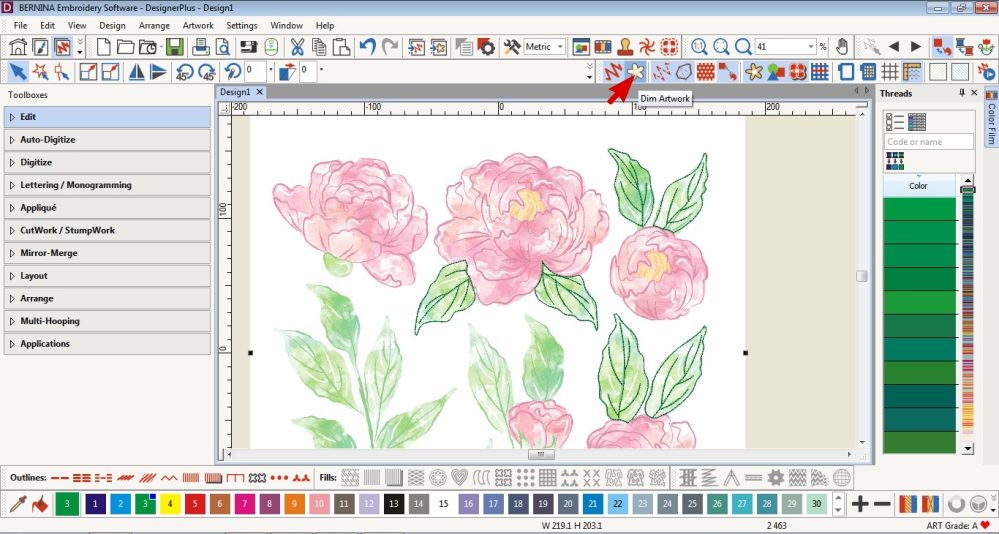 I repeated the above steps to digitize each of the leaves I want to use.
(I dimmed the background image by selecting Dim Artwork in the top Toolbar.)
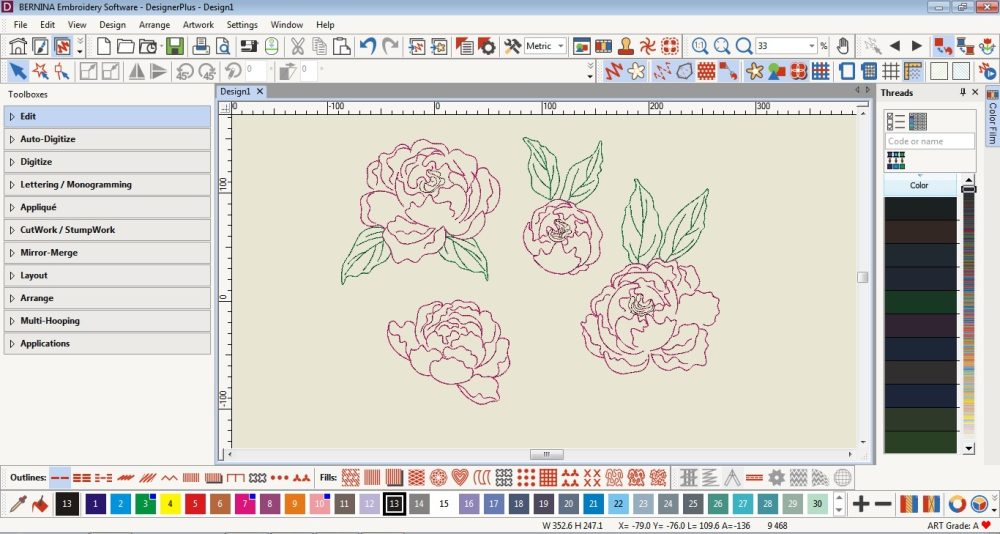 Following the same steps using the Open Object Tool I created the petals of my Peonies. I also used the Branching Tool even though the lines didn’t overlap. This means that there will still be some jump stitches but the stitch sequence is the most efficient.
Stitch Selection
 16. You can of course choose which style of stitches you want to use already at step 2. However, I like to digitize using the Single Outline Stitch and see which style of stitches works well with my design once it has been digitized.
If you right click on the Stitch Type in the bottom Toolbar, you can edit the Stitch Properties.
When choosing the Stitch Type, if all parts of the design are selected, they will be the same Stitch Type. You can use different Stitch Types in one design by selecting different parts of the design and choosing different styles for each.
You can also change the thread colour for each part of the design.
Amending size & placement
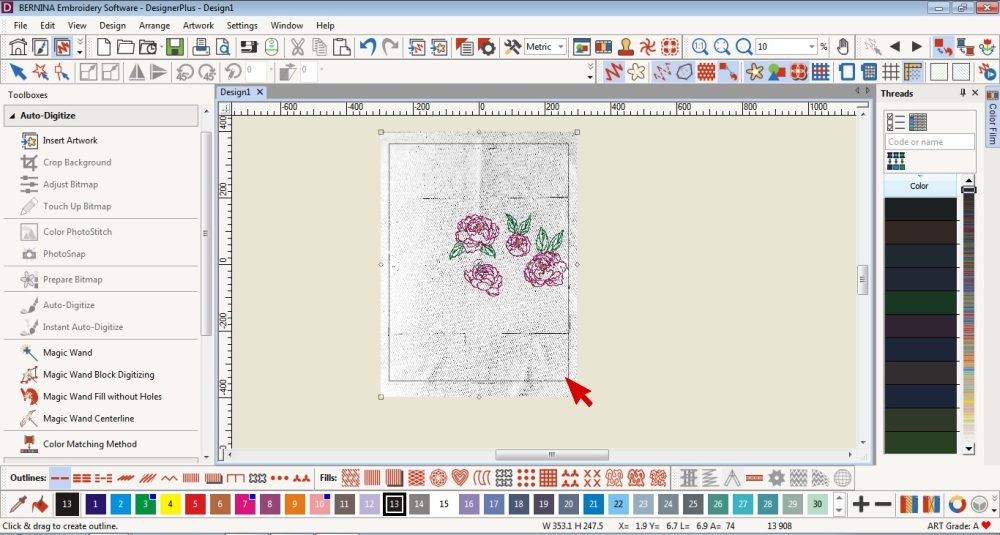
In order to help me figure out the size and where to place the embroidery design on my fabric, I inserted a picture of my piece of fabric.
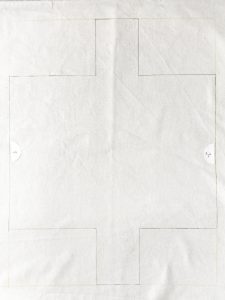 17. Take a photo of the pattern piece or piece of fabric you plan to embroider.
Lay it on a flat surface.
You want the phone to be as parallel to the surface as possible.
Use the grid feature on your phone’s camera to help you get an accurate photo.
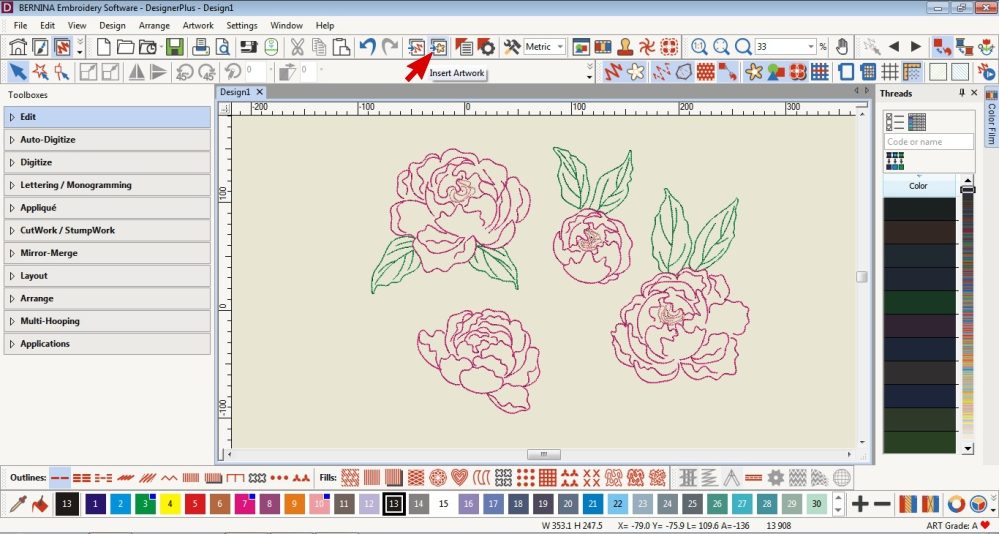 18. Import the photo to your computer.
Click Insert Artwork in the top Toolbar.
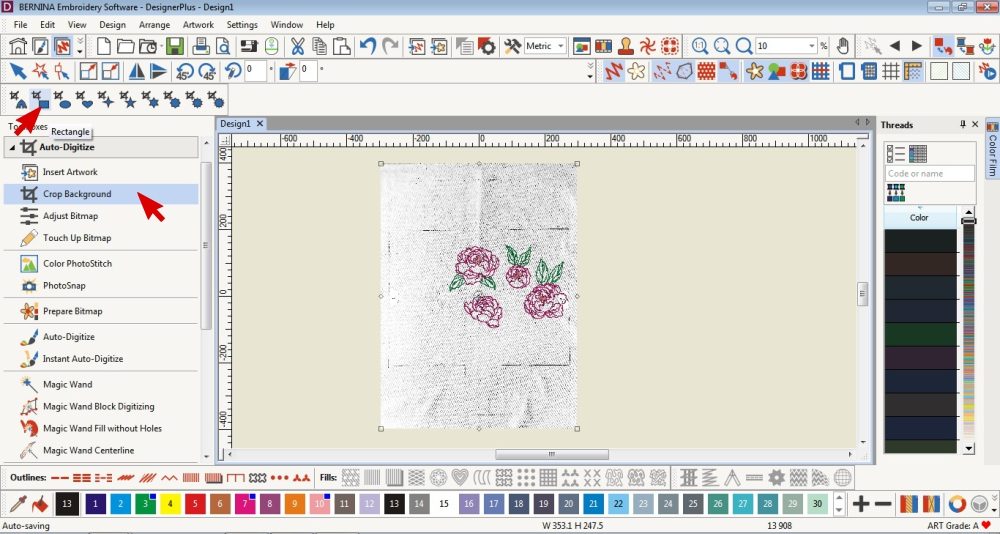 19. Crop the image by opening the Auto Digitize Toolbox and selecting Crop Background.
Select the shape you want to crop the image to, then click and drag the shape on your image.
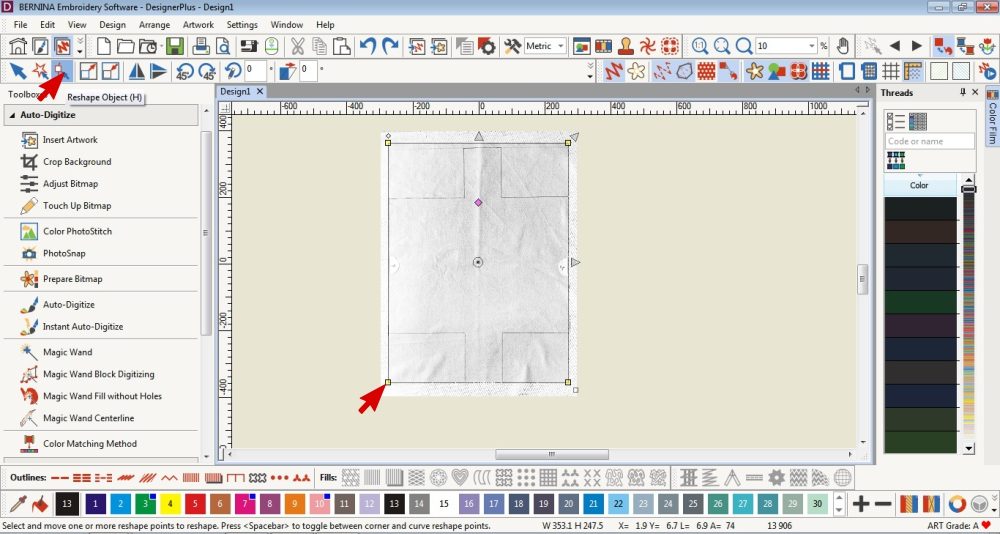 20. If you need to edit the shape of the crop, select the Reshape Tool and move the nodes.
To move more than one node at a time click on a node, hold shift and select another node.
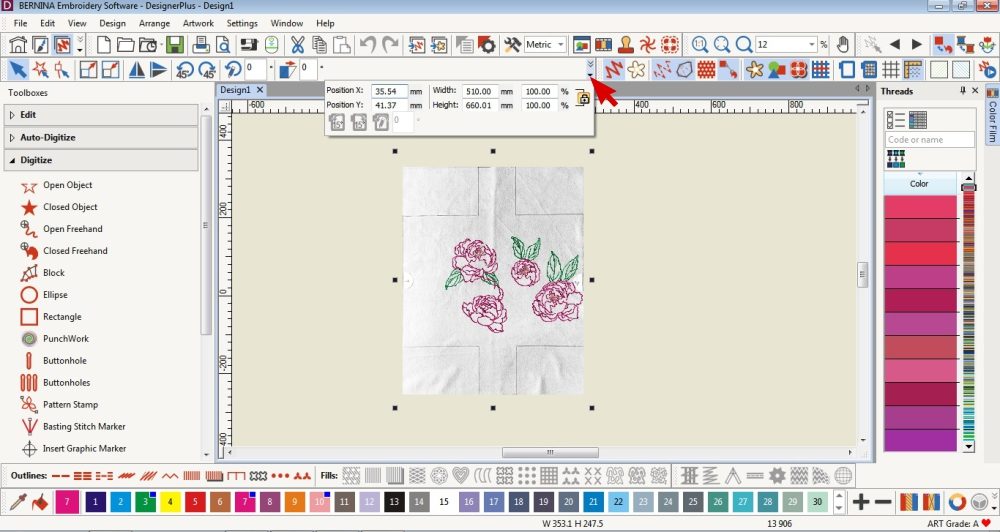 21. Change the size of the background image to the real life dimensions.
Select the background image, click on the small black arrow for more Toolbar Options, enter in the dimensions and click Enter.
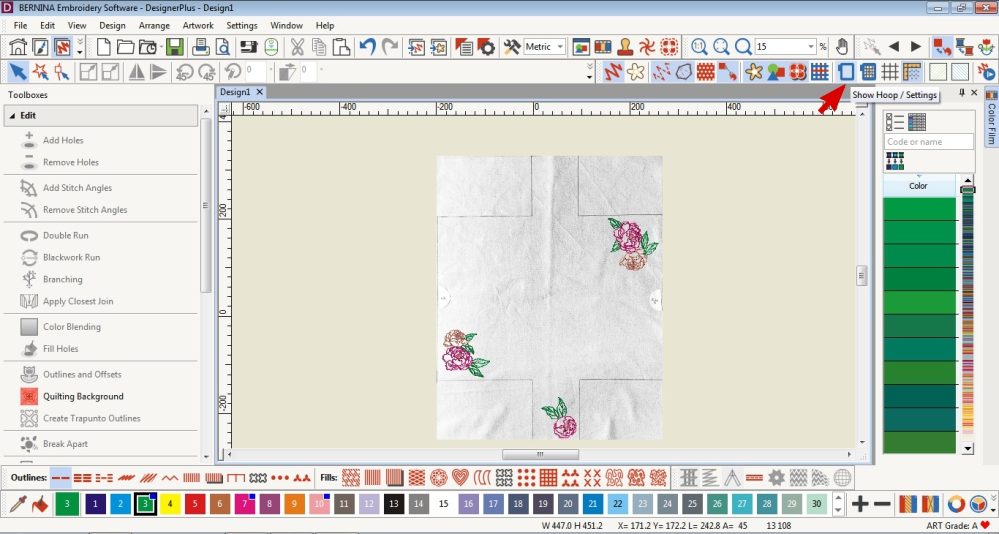 22. Arrange your digitized designs and resize as needed.
Confirm that each design will fit in your available hoops (refer to the Hoop Settings Tool to check the sizes of the hoops).
Finishing Touches
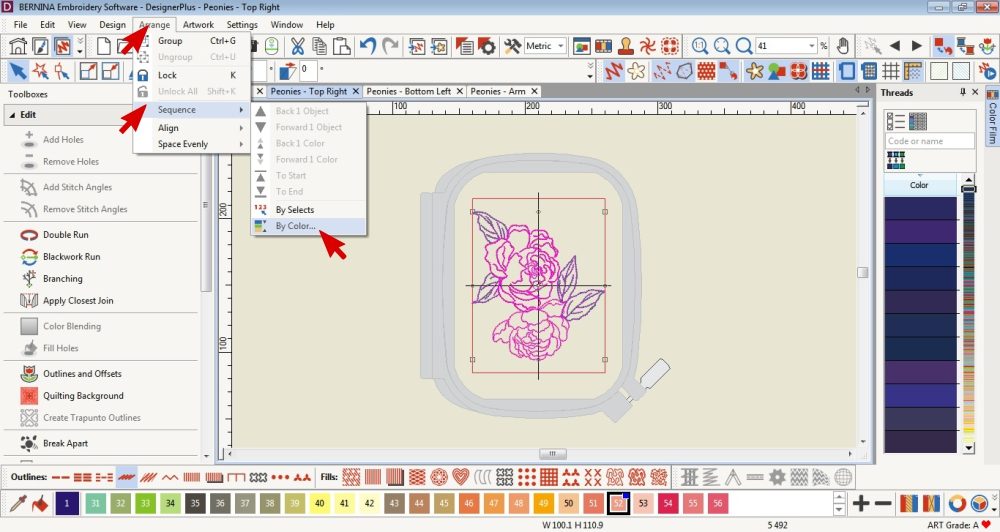 23. Copy and save each design in their own document and check the Stitch Sequence.
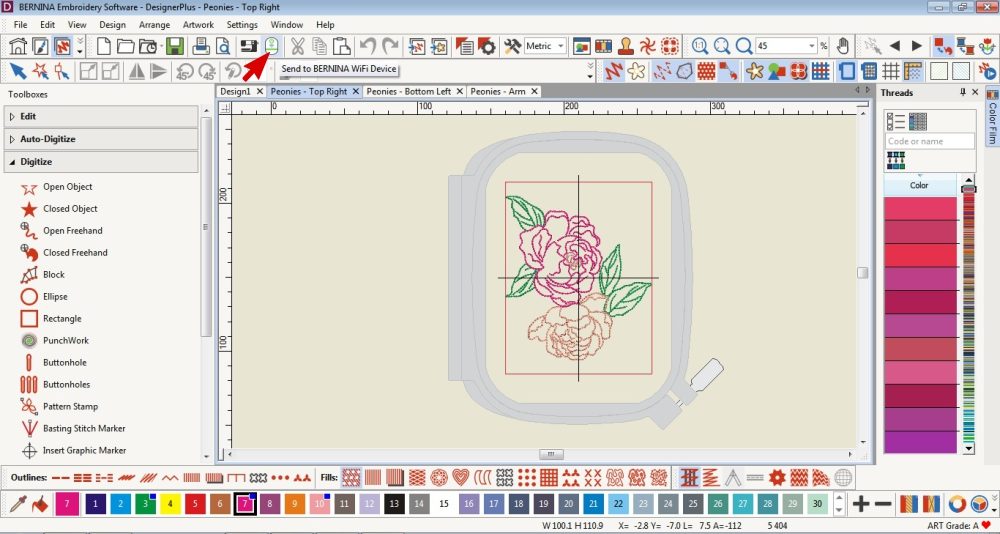 24. Send each design to your Bernina via the Wi-Fi Device.
Click on the Wi-Fi Device icon in the top Toolbar.
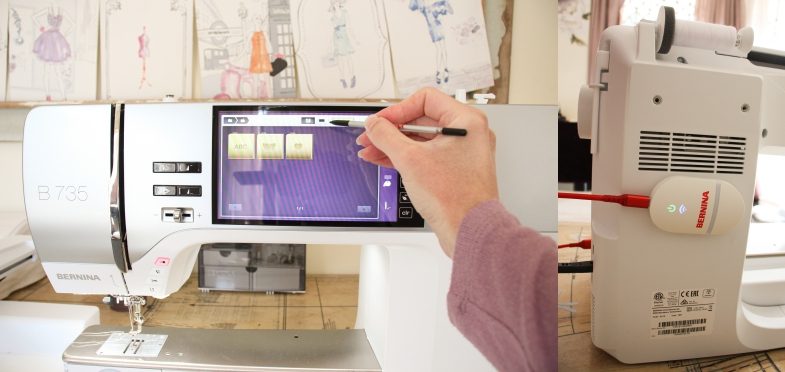
25. On your Bernina machine, the Wi-Fi device is recognised as a USB stick so you can find your designs by clicking on the USB icon.
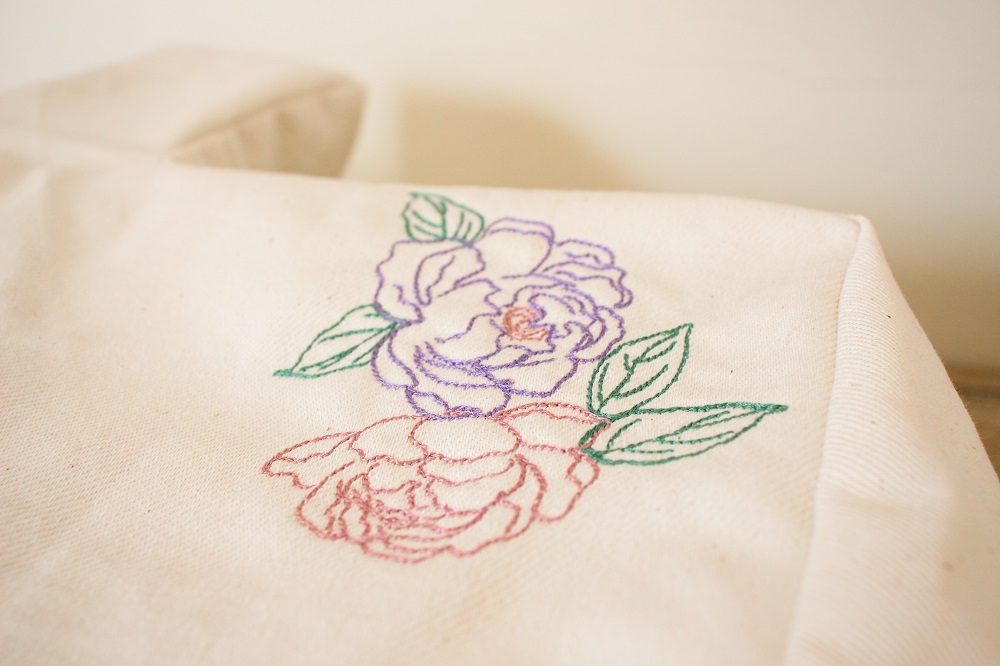
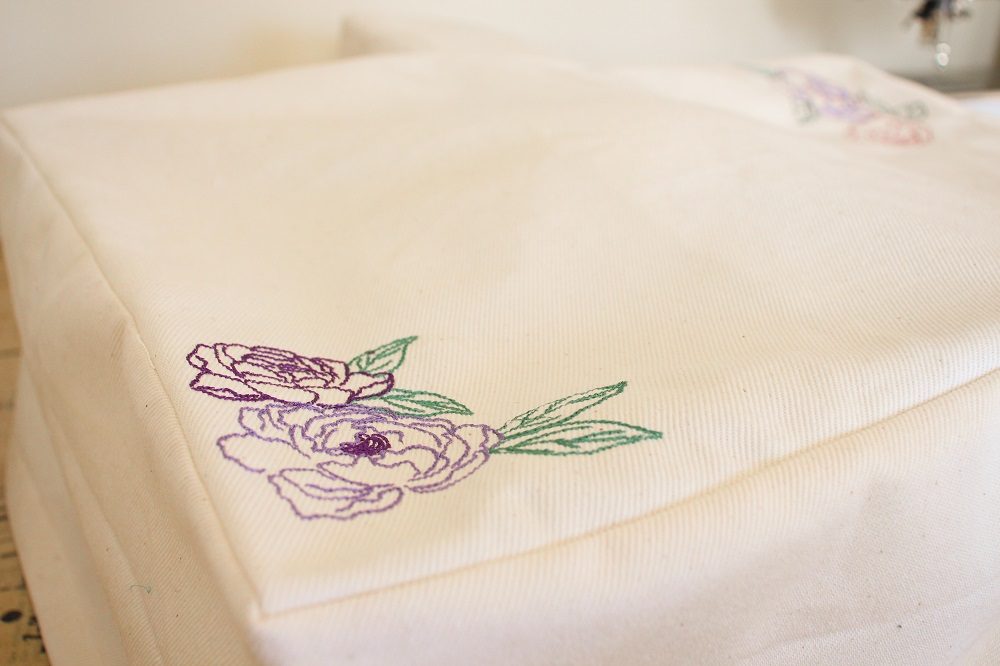
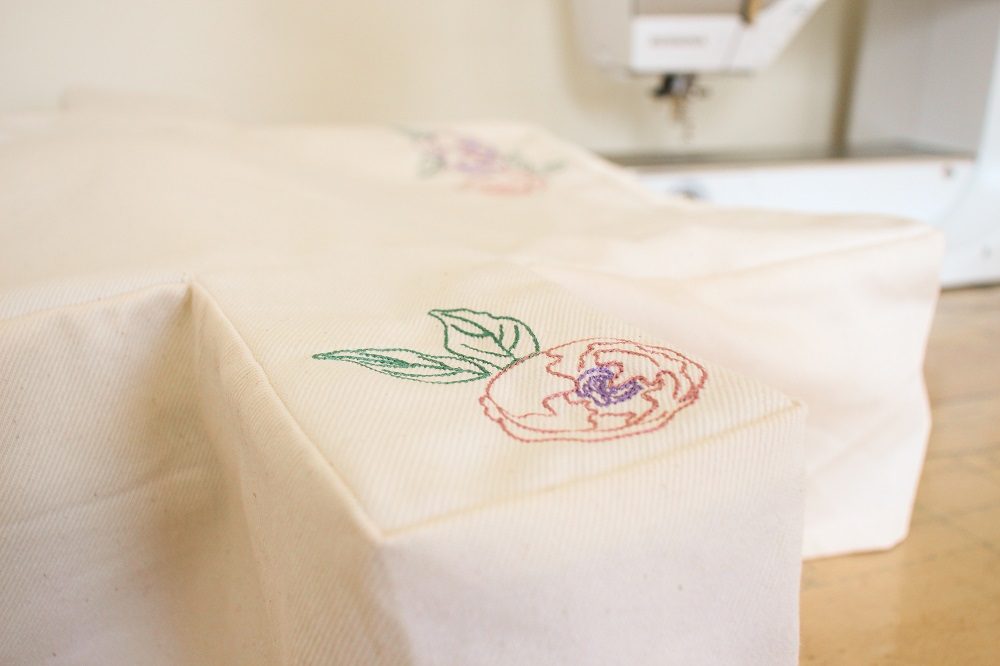
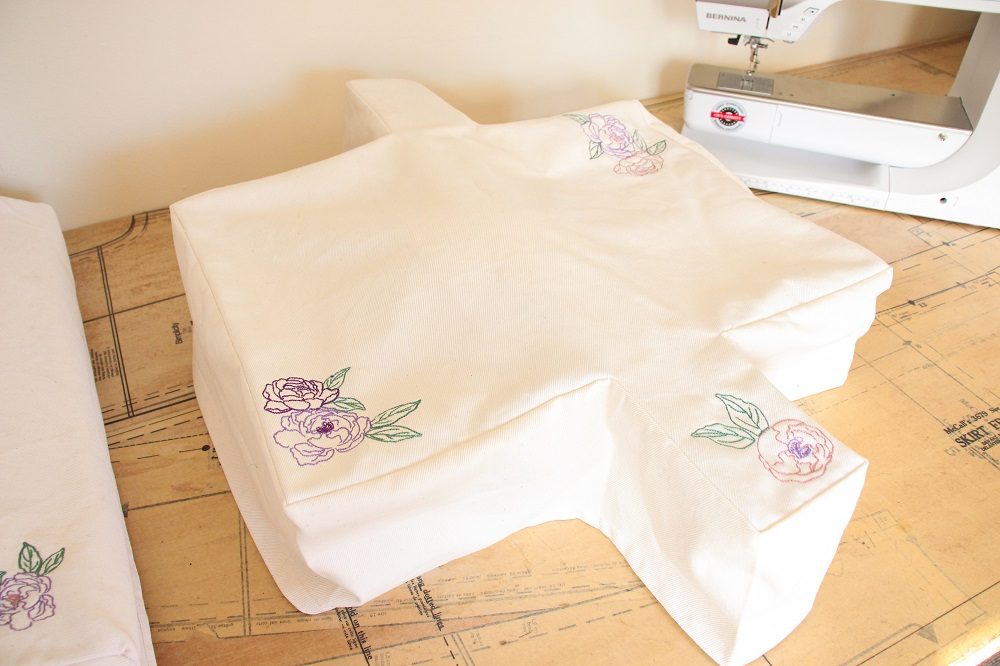
To see the Embroidery Module Covet I made with these custom designs, check out my other blog post: DIY Embroidery Module Cover
Tips
- Objects must be touching or overlapped to form a single branched object without jump stitches.
- As the object is grouped, it will all be 1 thread colour
- If you need to ungroup the branched object, select the object then click on the Break Apart Tool found in the Edit Toolbox on the left.
- You can still reshape the object once it has been branched.
I would love to see what you make, please feel free to share with me!
Instagram
Facebook
-Hannah-Rose


I love sewing and I don’t have a machine to sew please if you can help me to begin my project 🥺
Hi there
That’s wonderful that you have a love of sewing.
Perhaps have a look for a second hand machine on Facebook market place, second hand/thrift stores or your local classifieds (like Gumtree).
Otherwise Bernina dealerships every so often have sales of their demo machines, so you can get a Bernina machine at a lesser price but in great condition. Contact your local dealership to see if they have any sales coming up.
😉