 BERNINA Corporate Blog -
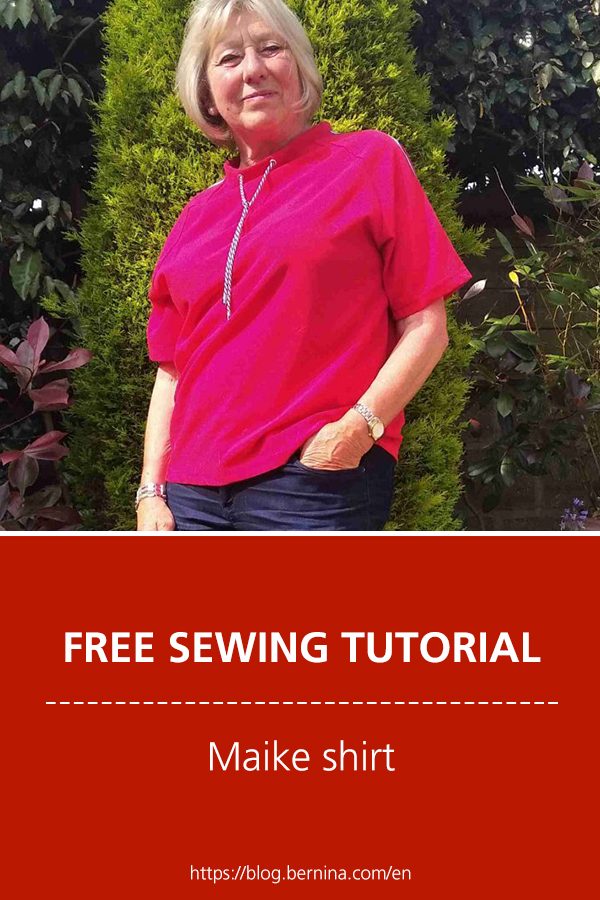
May Maike Shirt Make
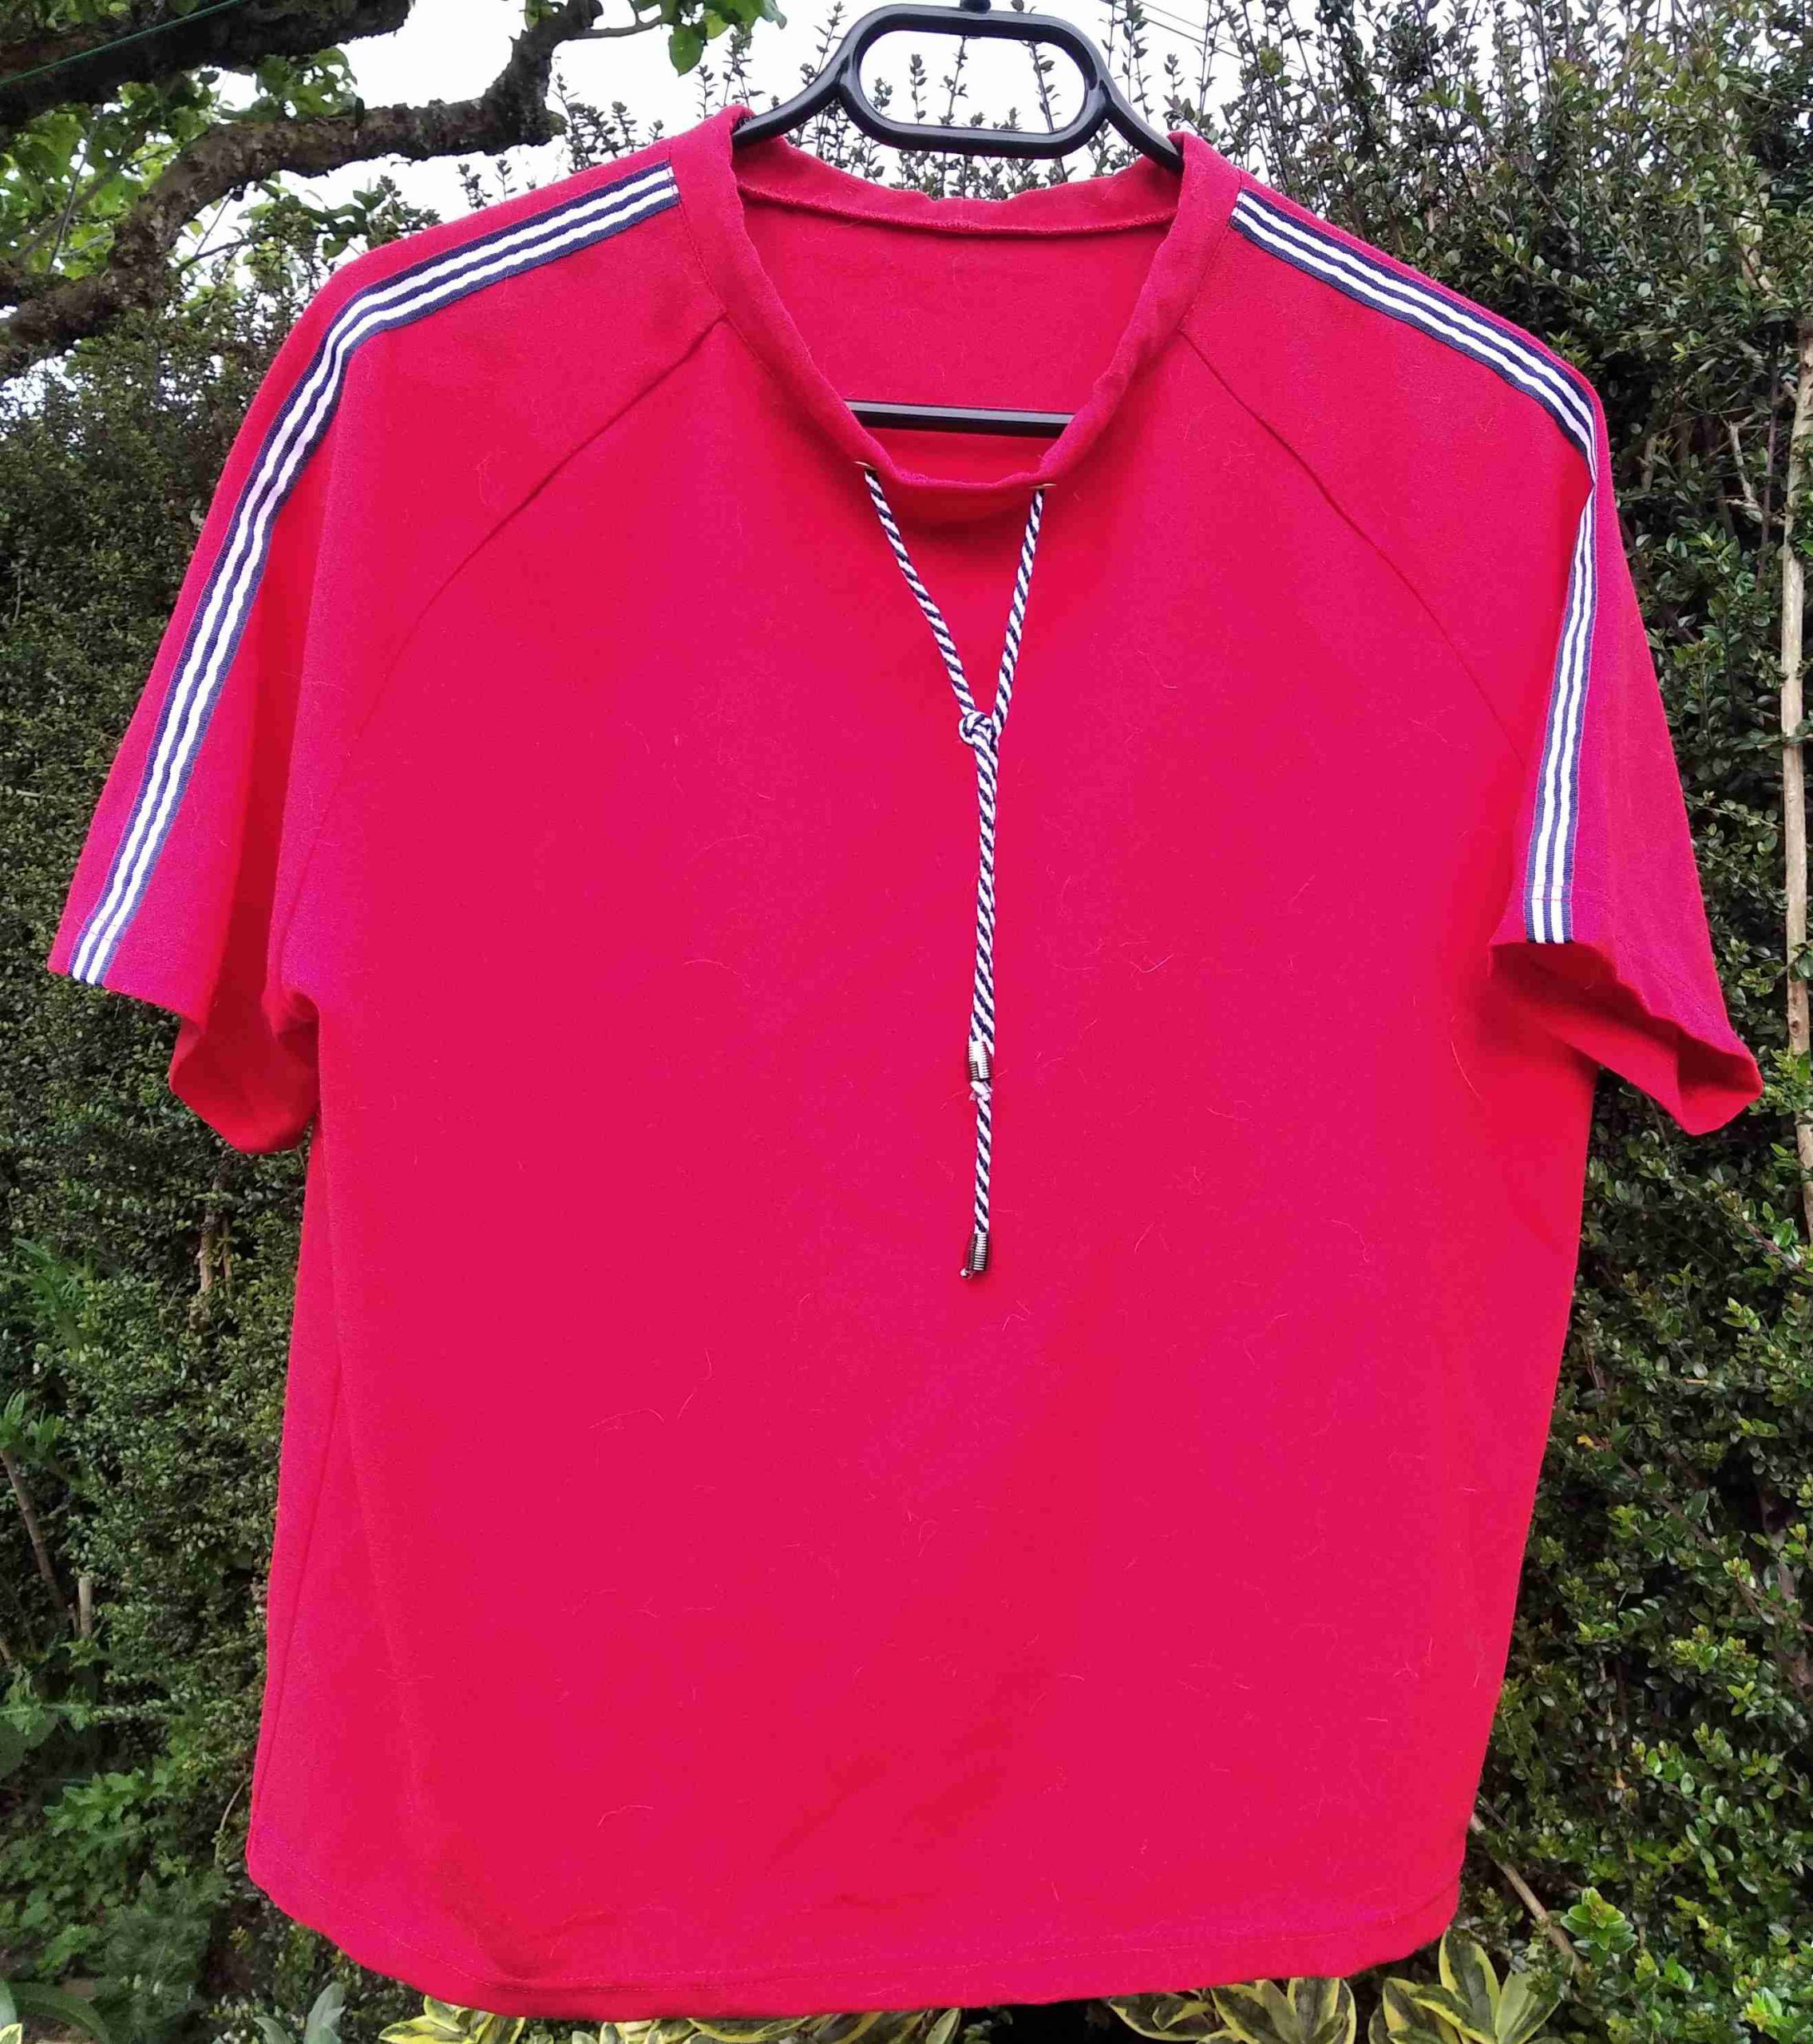
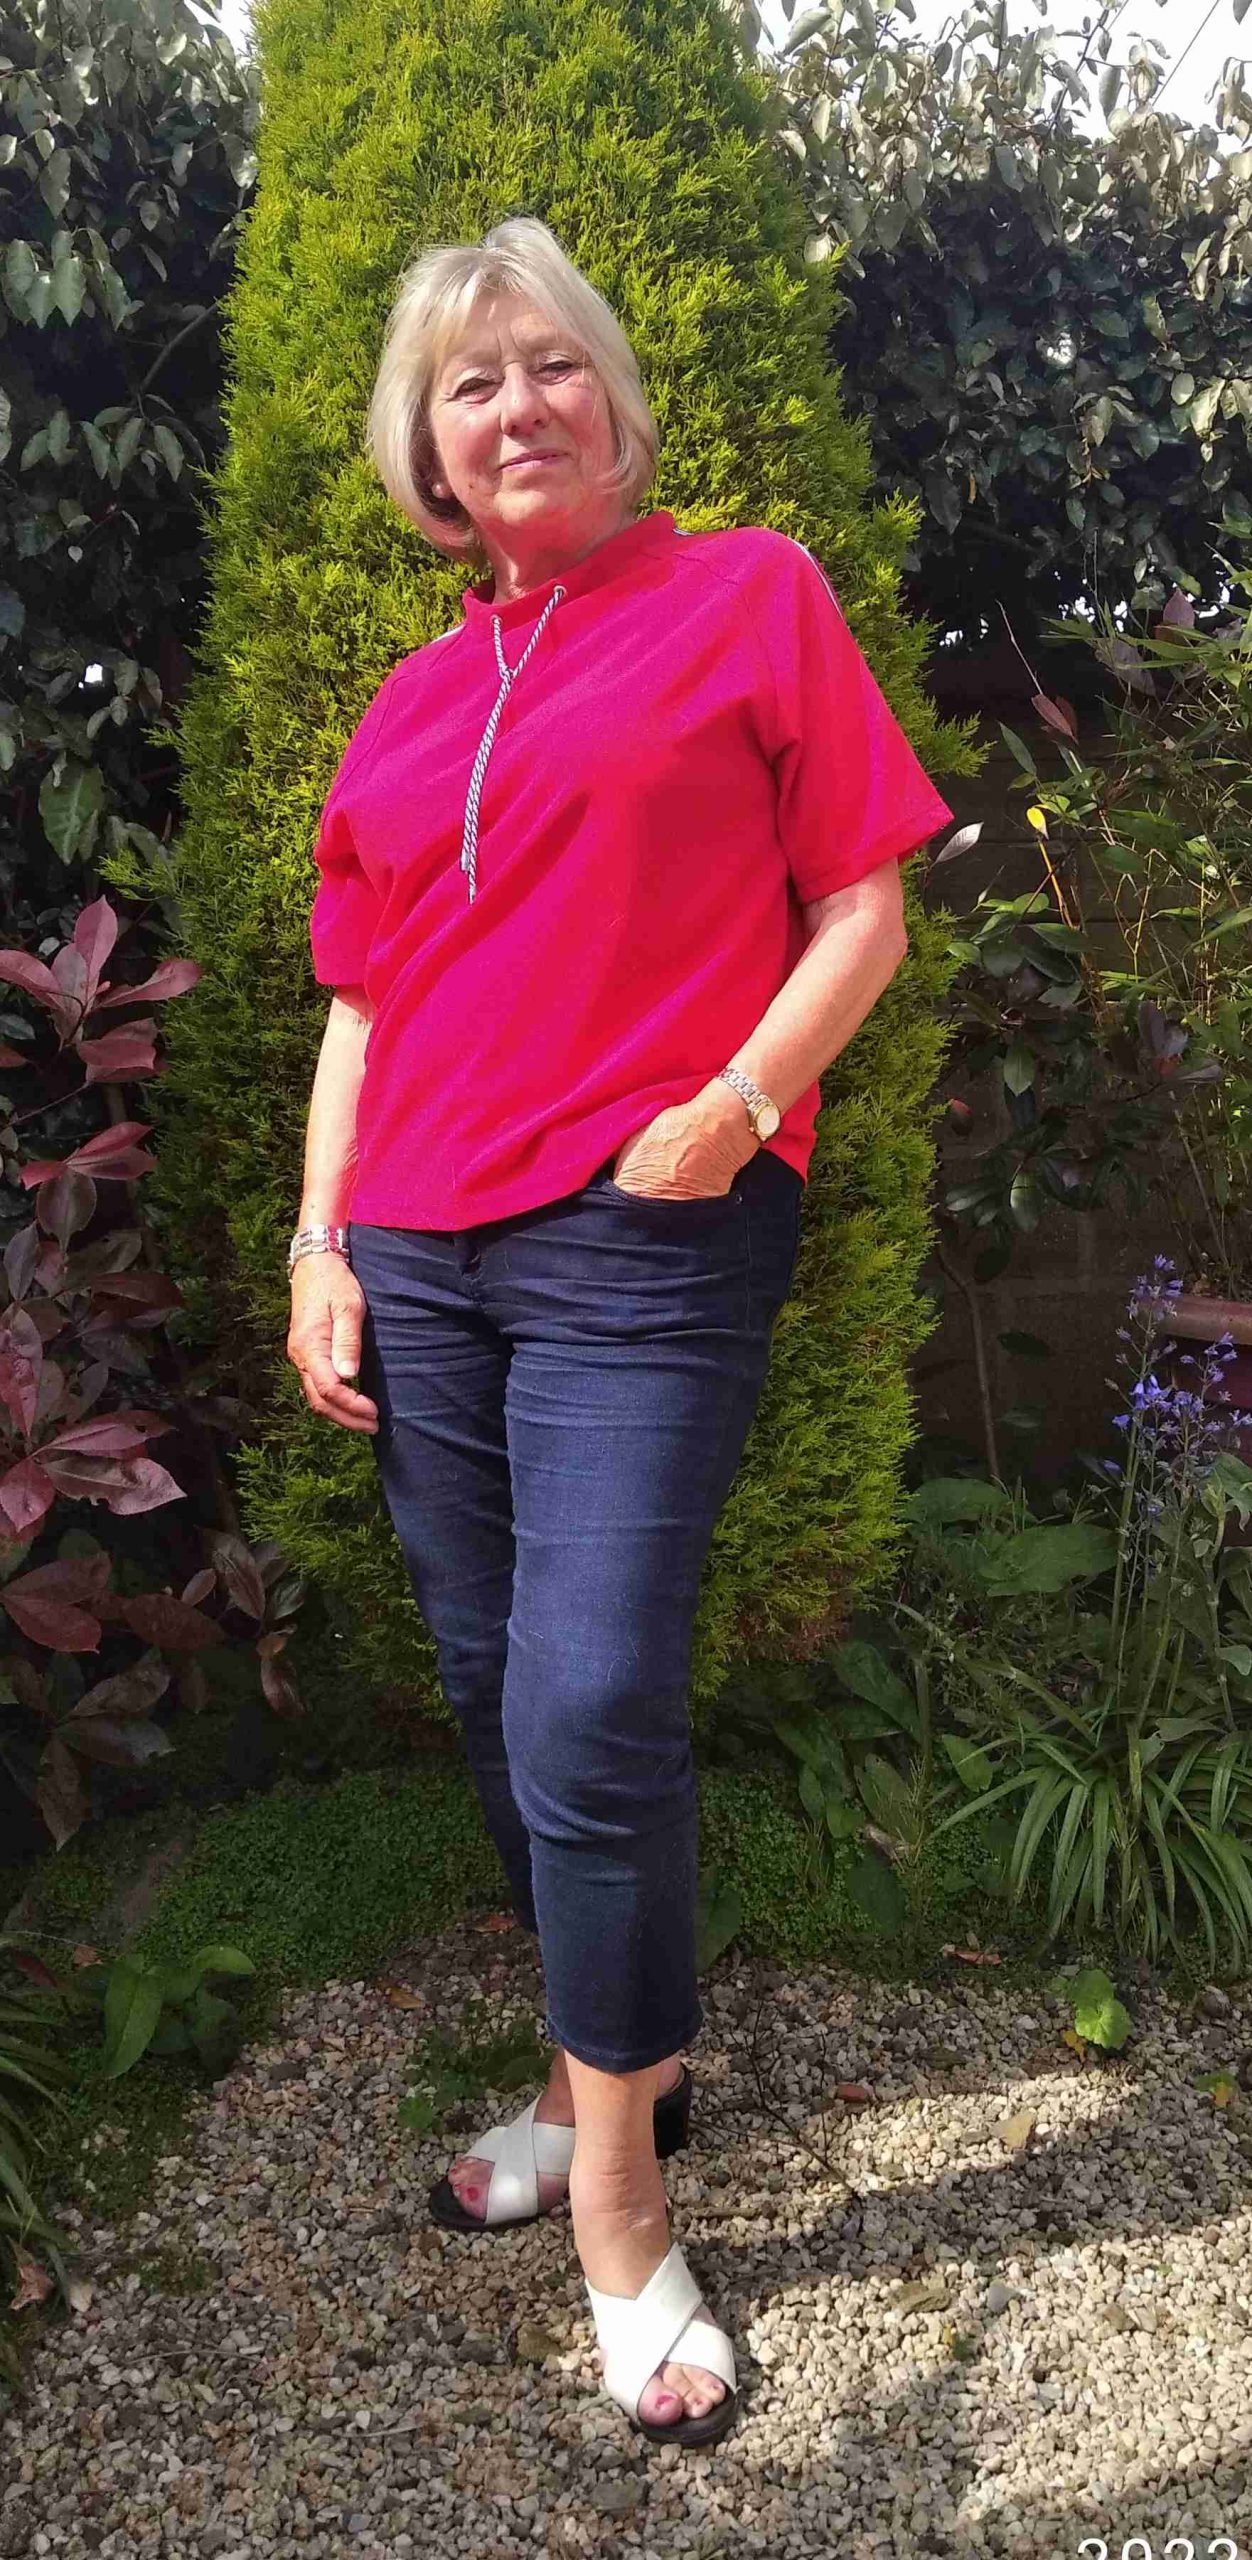
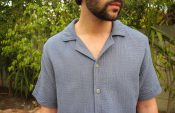
This is a super pattern for a shirt that is stylish, very easy to wear, and quick to make. This top will be certainly be a favorite this summer! So I am about to make a second one in a patterned jersey! Would I recommend this pattern, Defiently! For the winter the sleeves could be made longer to 3/4 length.
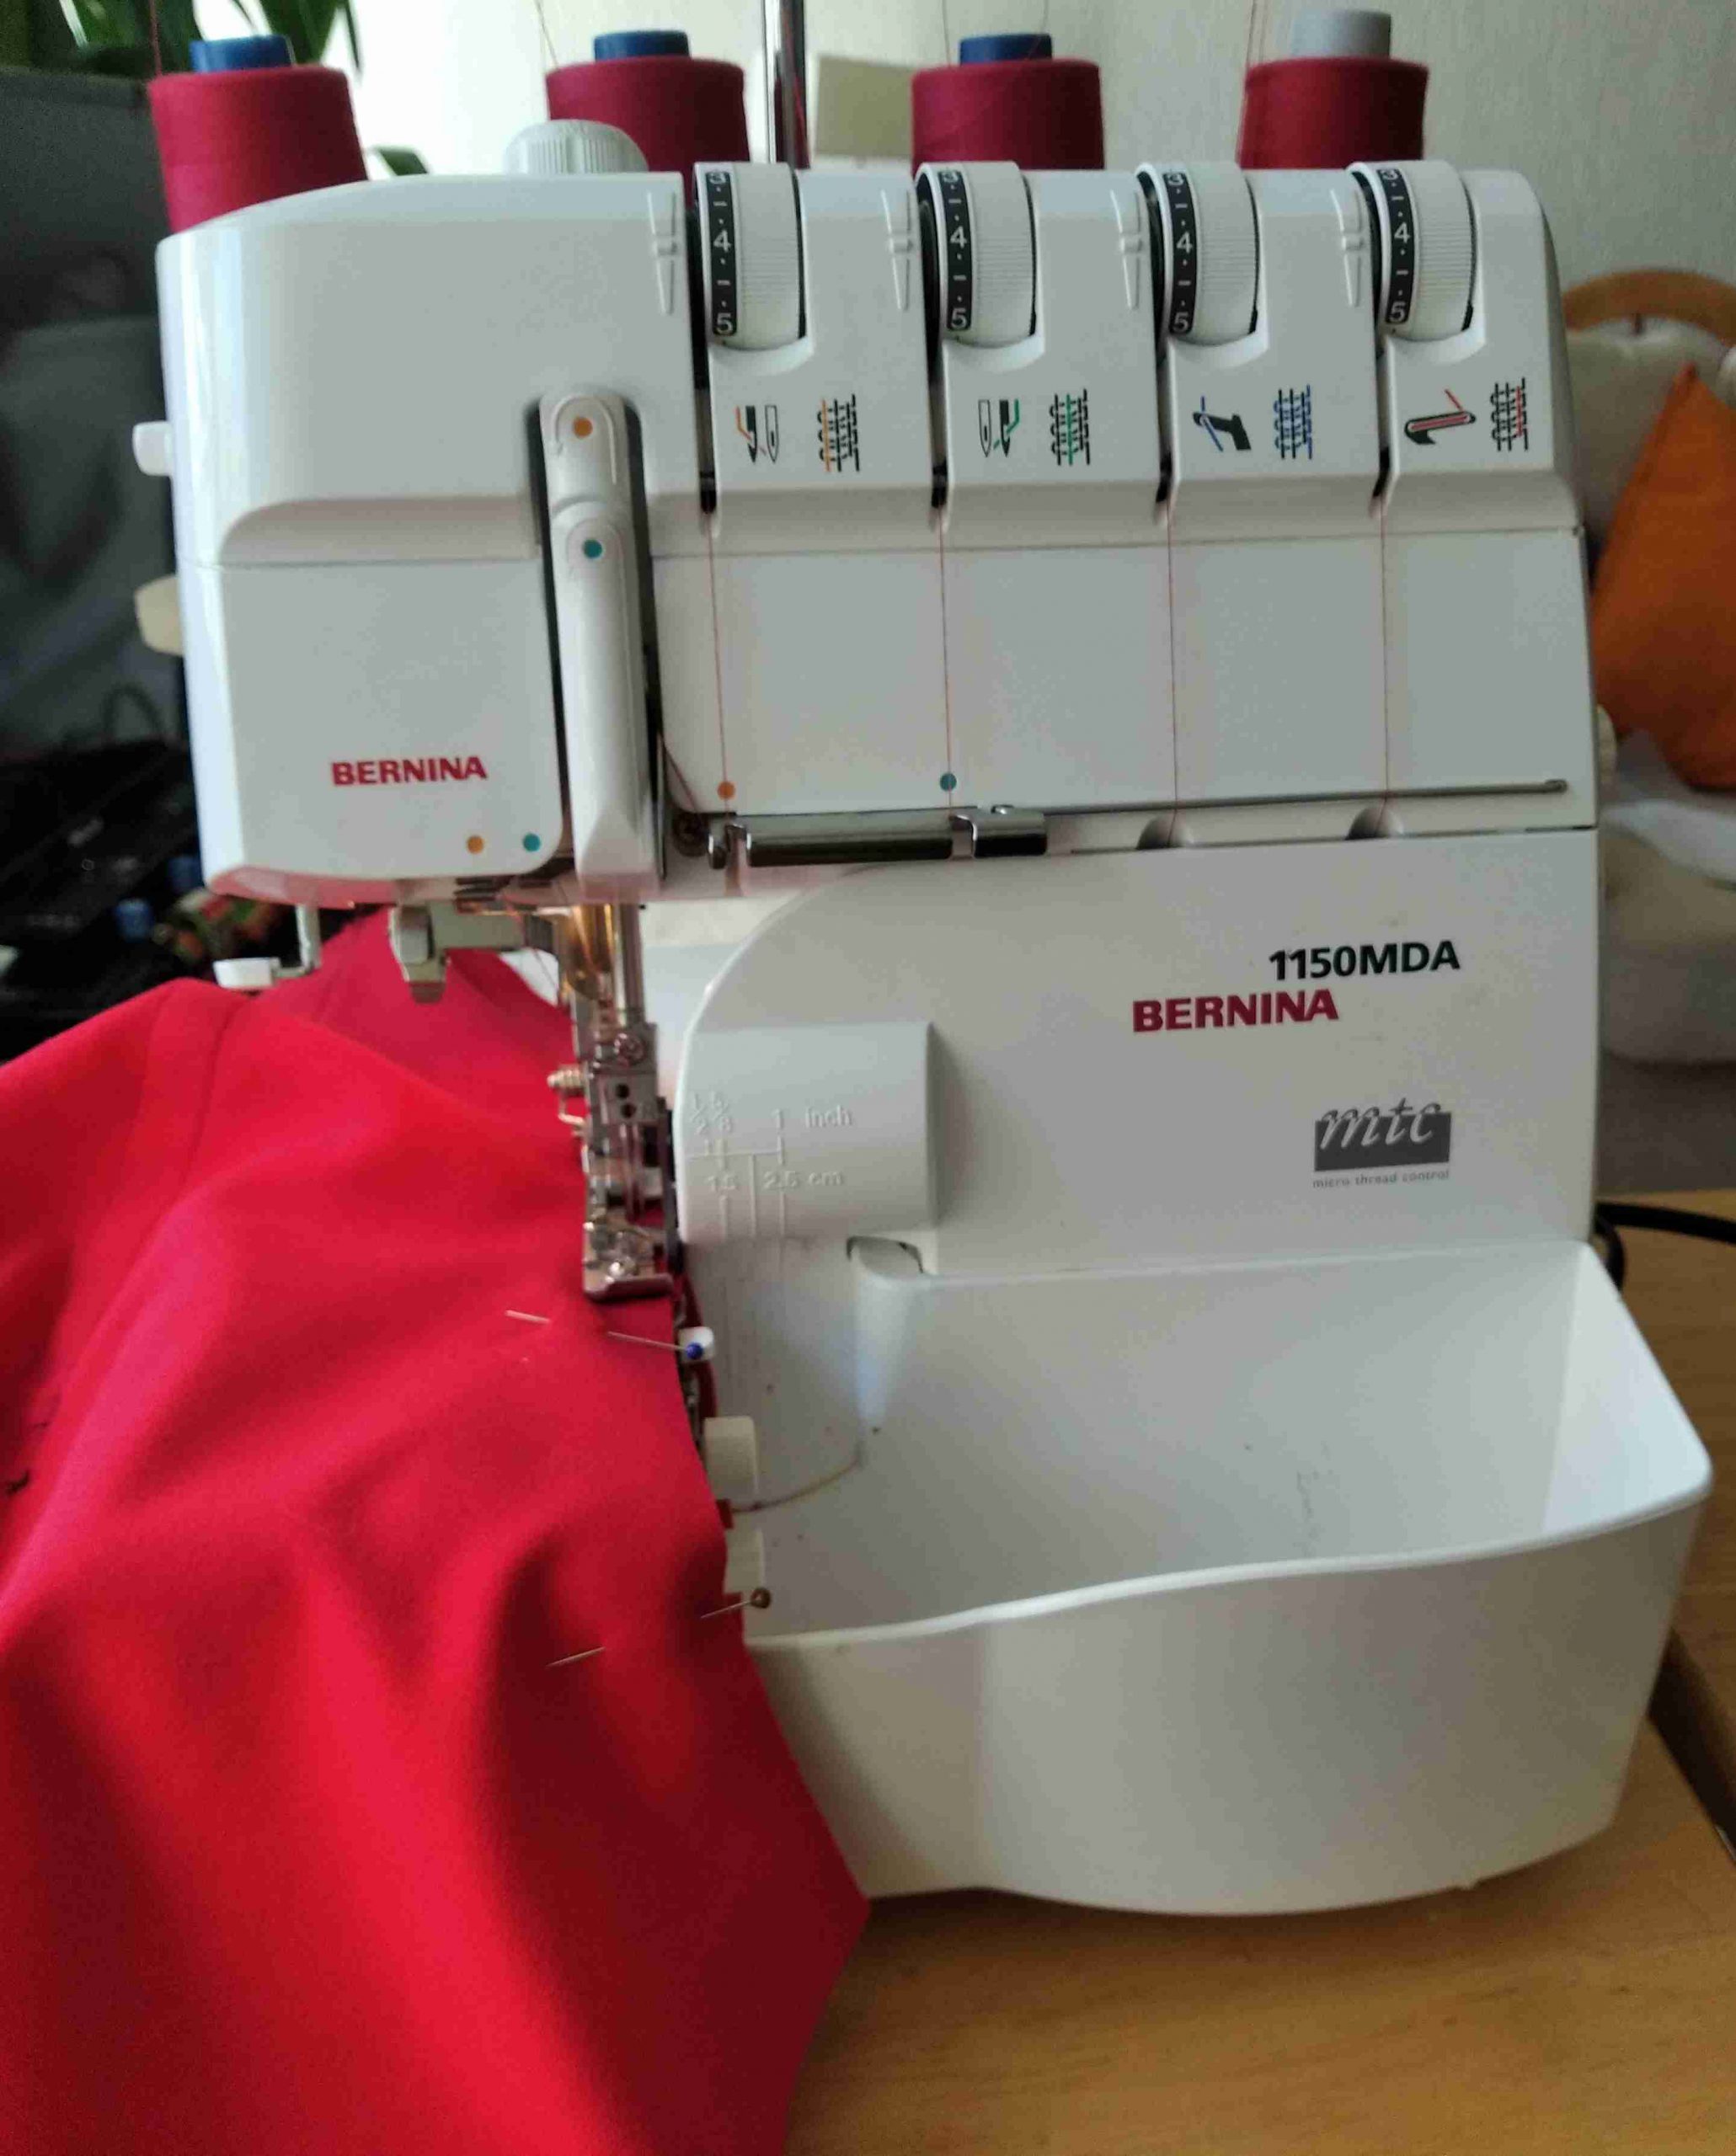
I use my Bernina Overlocker for most of the sewing, but it would be a quick make on any Bernina Sewing machine. If using a sewing machine simply use a stretch stitch to sew seams, and an overlock stitch to finish the seams.
Useful additional materials.
Double sided wash away fusible tape or fabric glue.
Quilters roller
Tailors chalk
Large cutting mat
Roller cutter
Fabric
I used a Jersey Crepe which hangs beautifully and has a 2 way stretch but is not as stretchy as some other types of jersey fabric.
Pattern
I made a size 14 which was my correct size but found that the sizing was quite generous.
The pattern for the “Maike” shirt is the free pattern of the month May 2022 from the inspiration Magazine. It is only free in the month stated. If you read this article after this month, you can buy the pattern from the inspiration Magazine online shop. Find all information about the pattern in this Blog article: https://blog.bernina.com/en/2022/05/free-sewing-pattern-maike-shirt/

Cutting Out
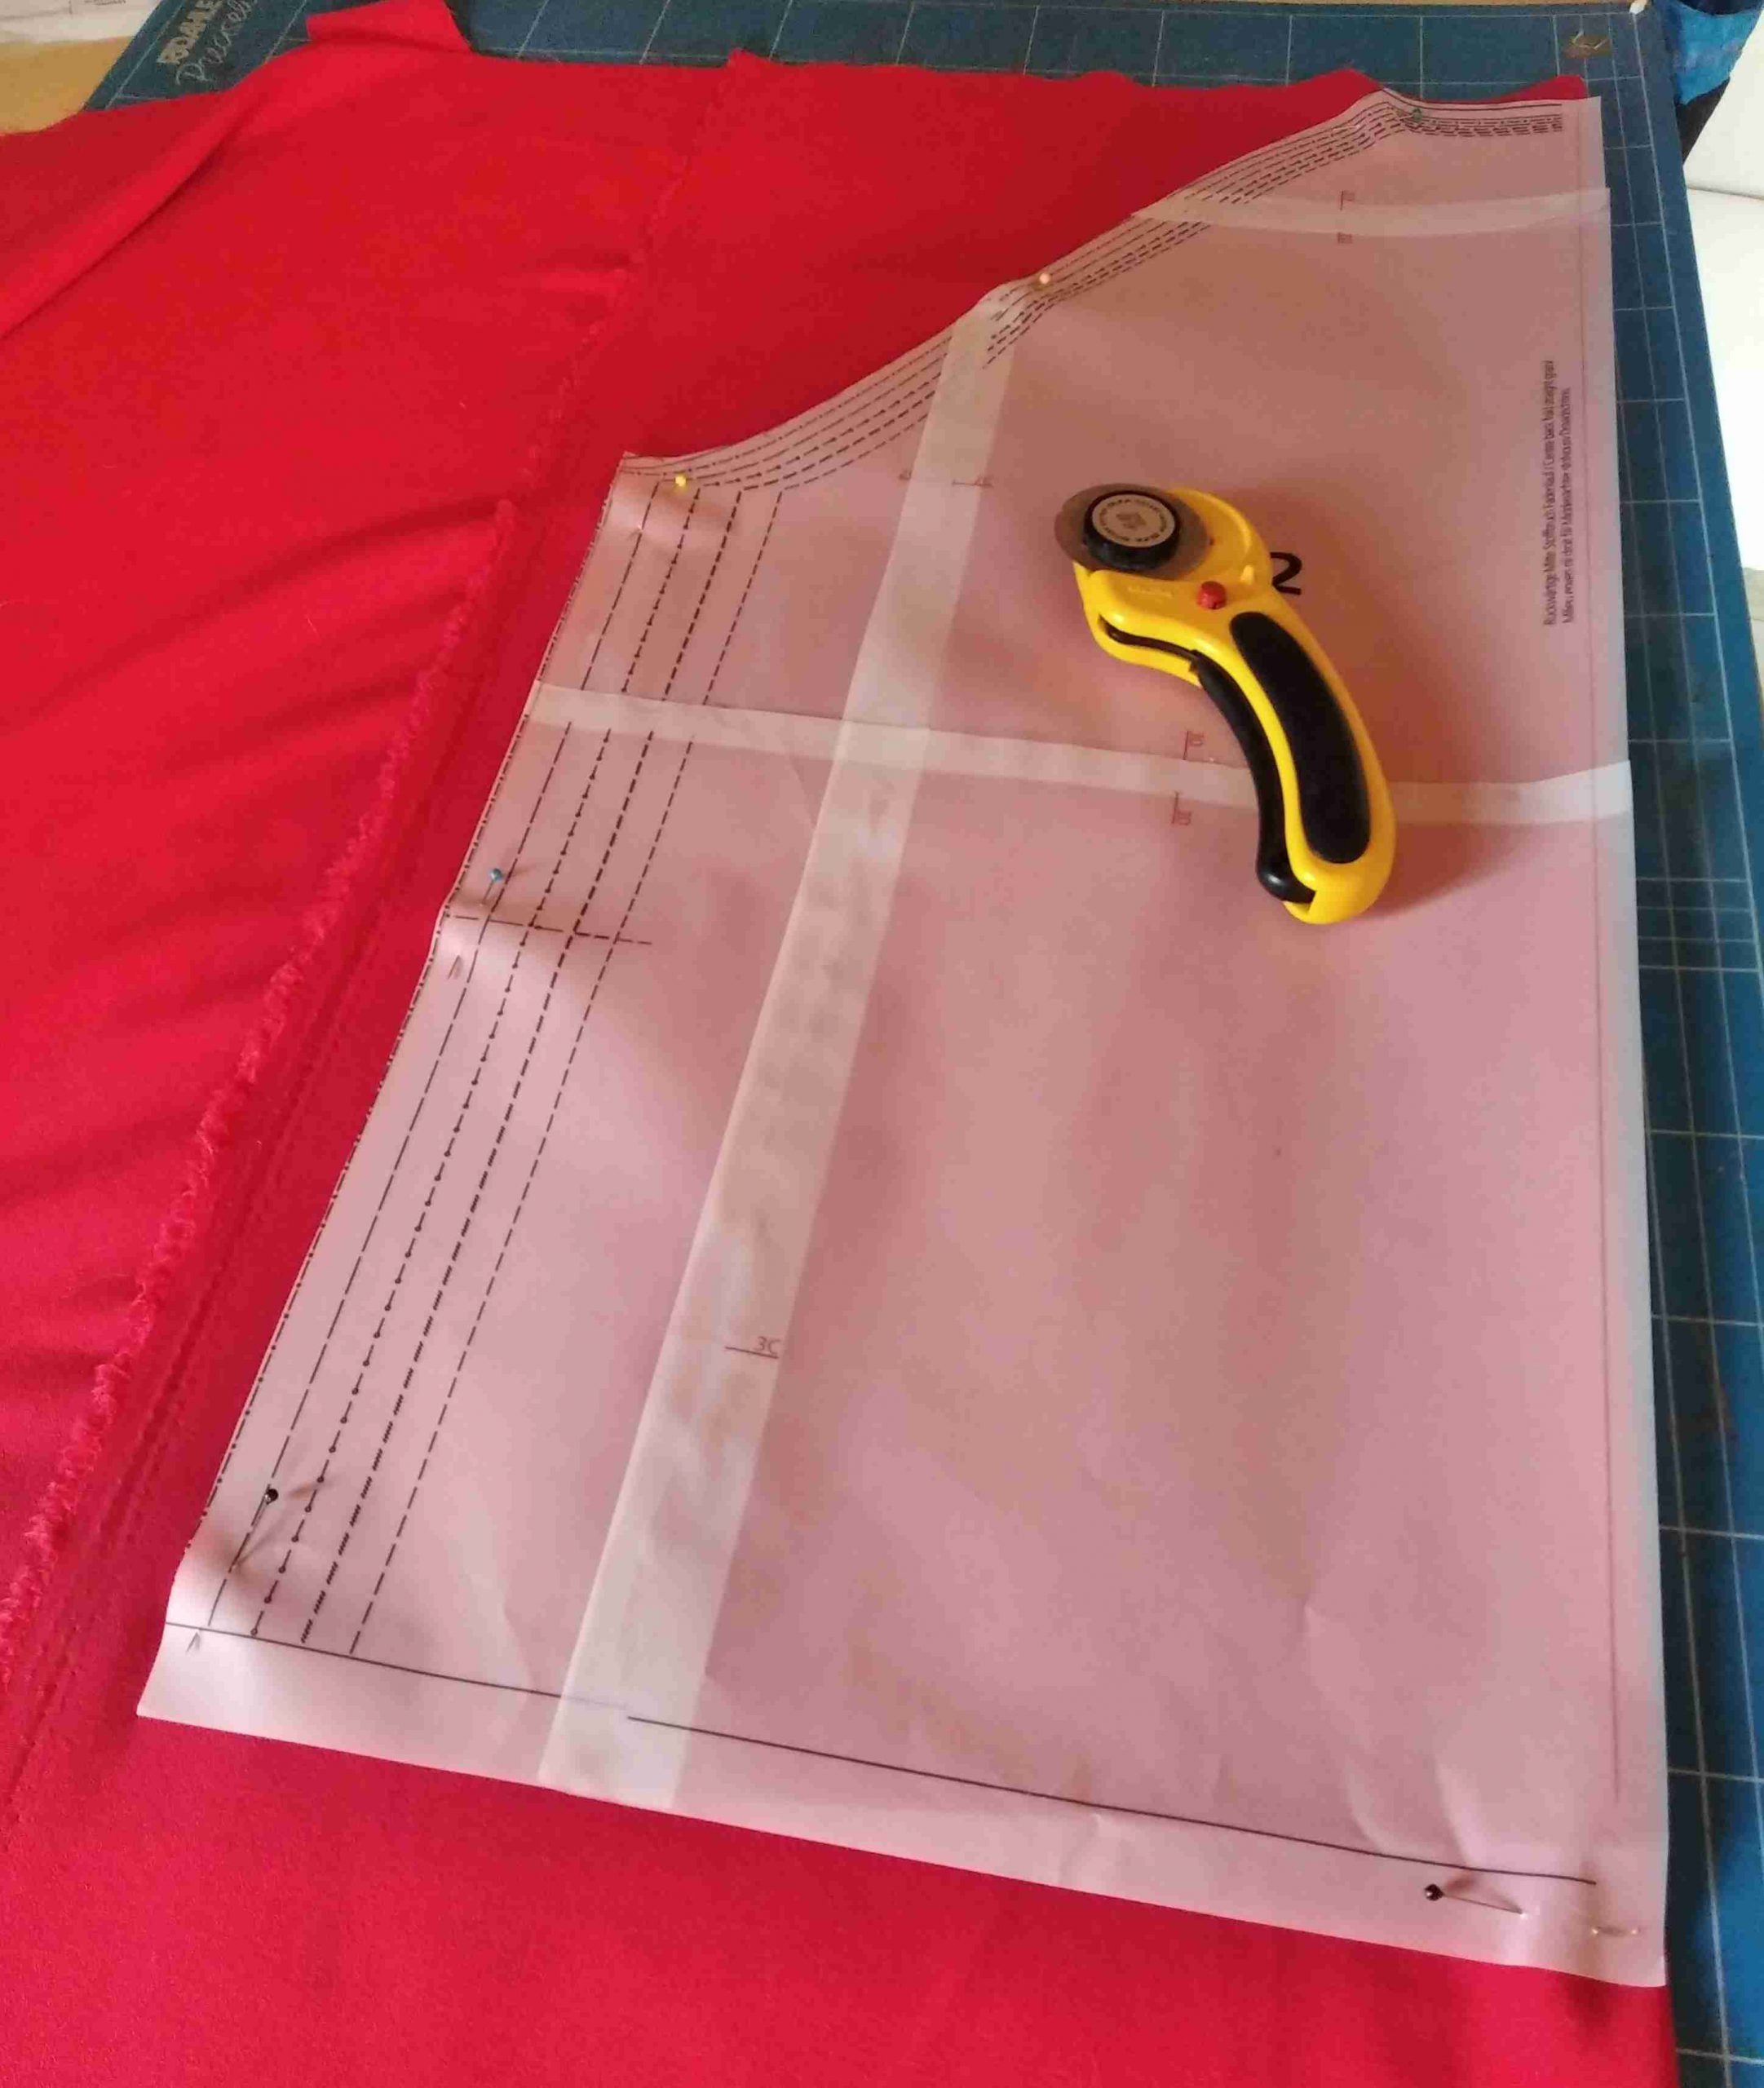
Remember to add your chosen seam allowance before cutting out.
I cut out on a cutting mat using a roller cutter as this helped to cut out more accurately and avoided the fabric moving. I have only recently started to use a roller cutter on slippery fabrics but have found it not as difficult a technique as I thought it might be. My tip is to use a sharp blade and cut slowly.
The instructions for cutting the neckband were a little unclear. The first neckband that I cut using the recommended cut length in the pattern was too short. So after I had sewn the raglan shoulder seams together I measured the length of my neckline edge with a piece of cord. As my jersey was not super stretchy I cut to that measurement plus a 1cm seam allowance at each end. For the size 14, I cut 58cms x 10cms which included 1cm seam allowances.
After cutting I marked each right side of fabric with a X using tailor’s chalk.This avoids any confusion in the construction process.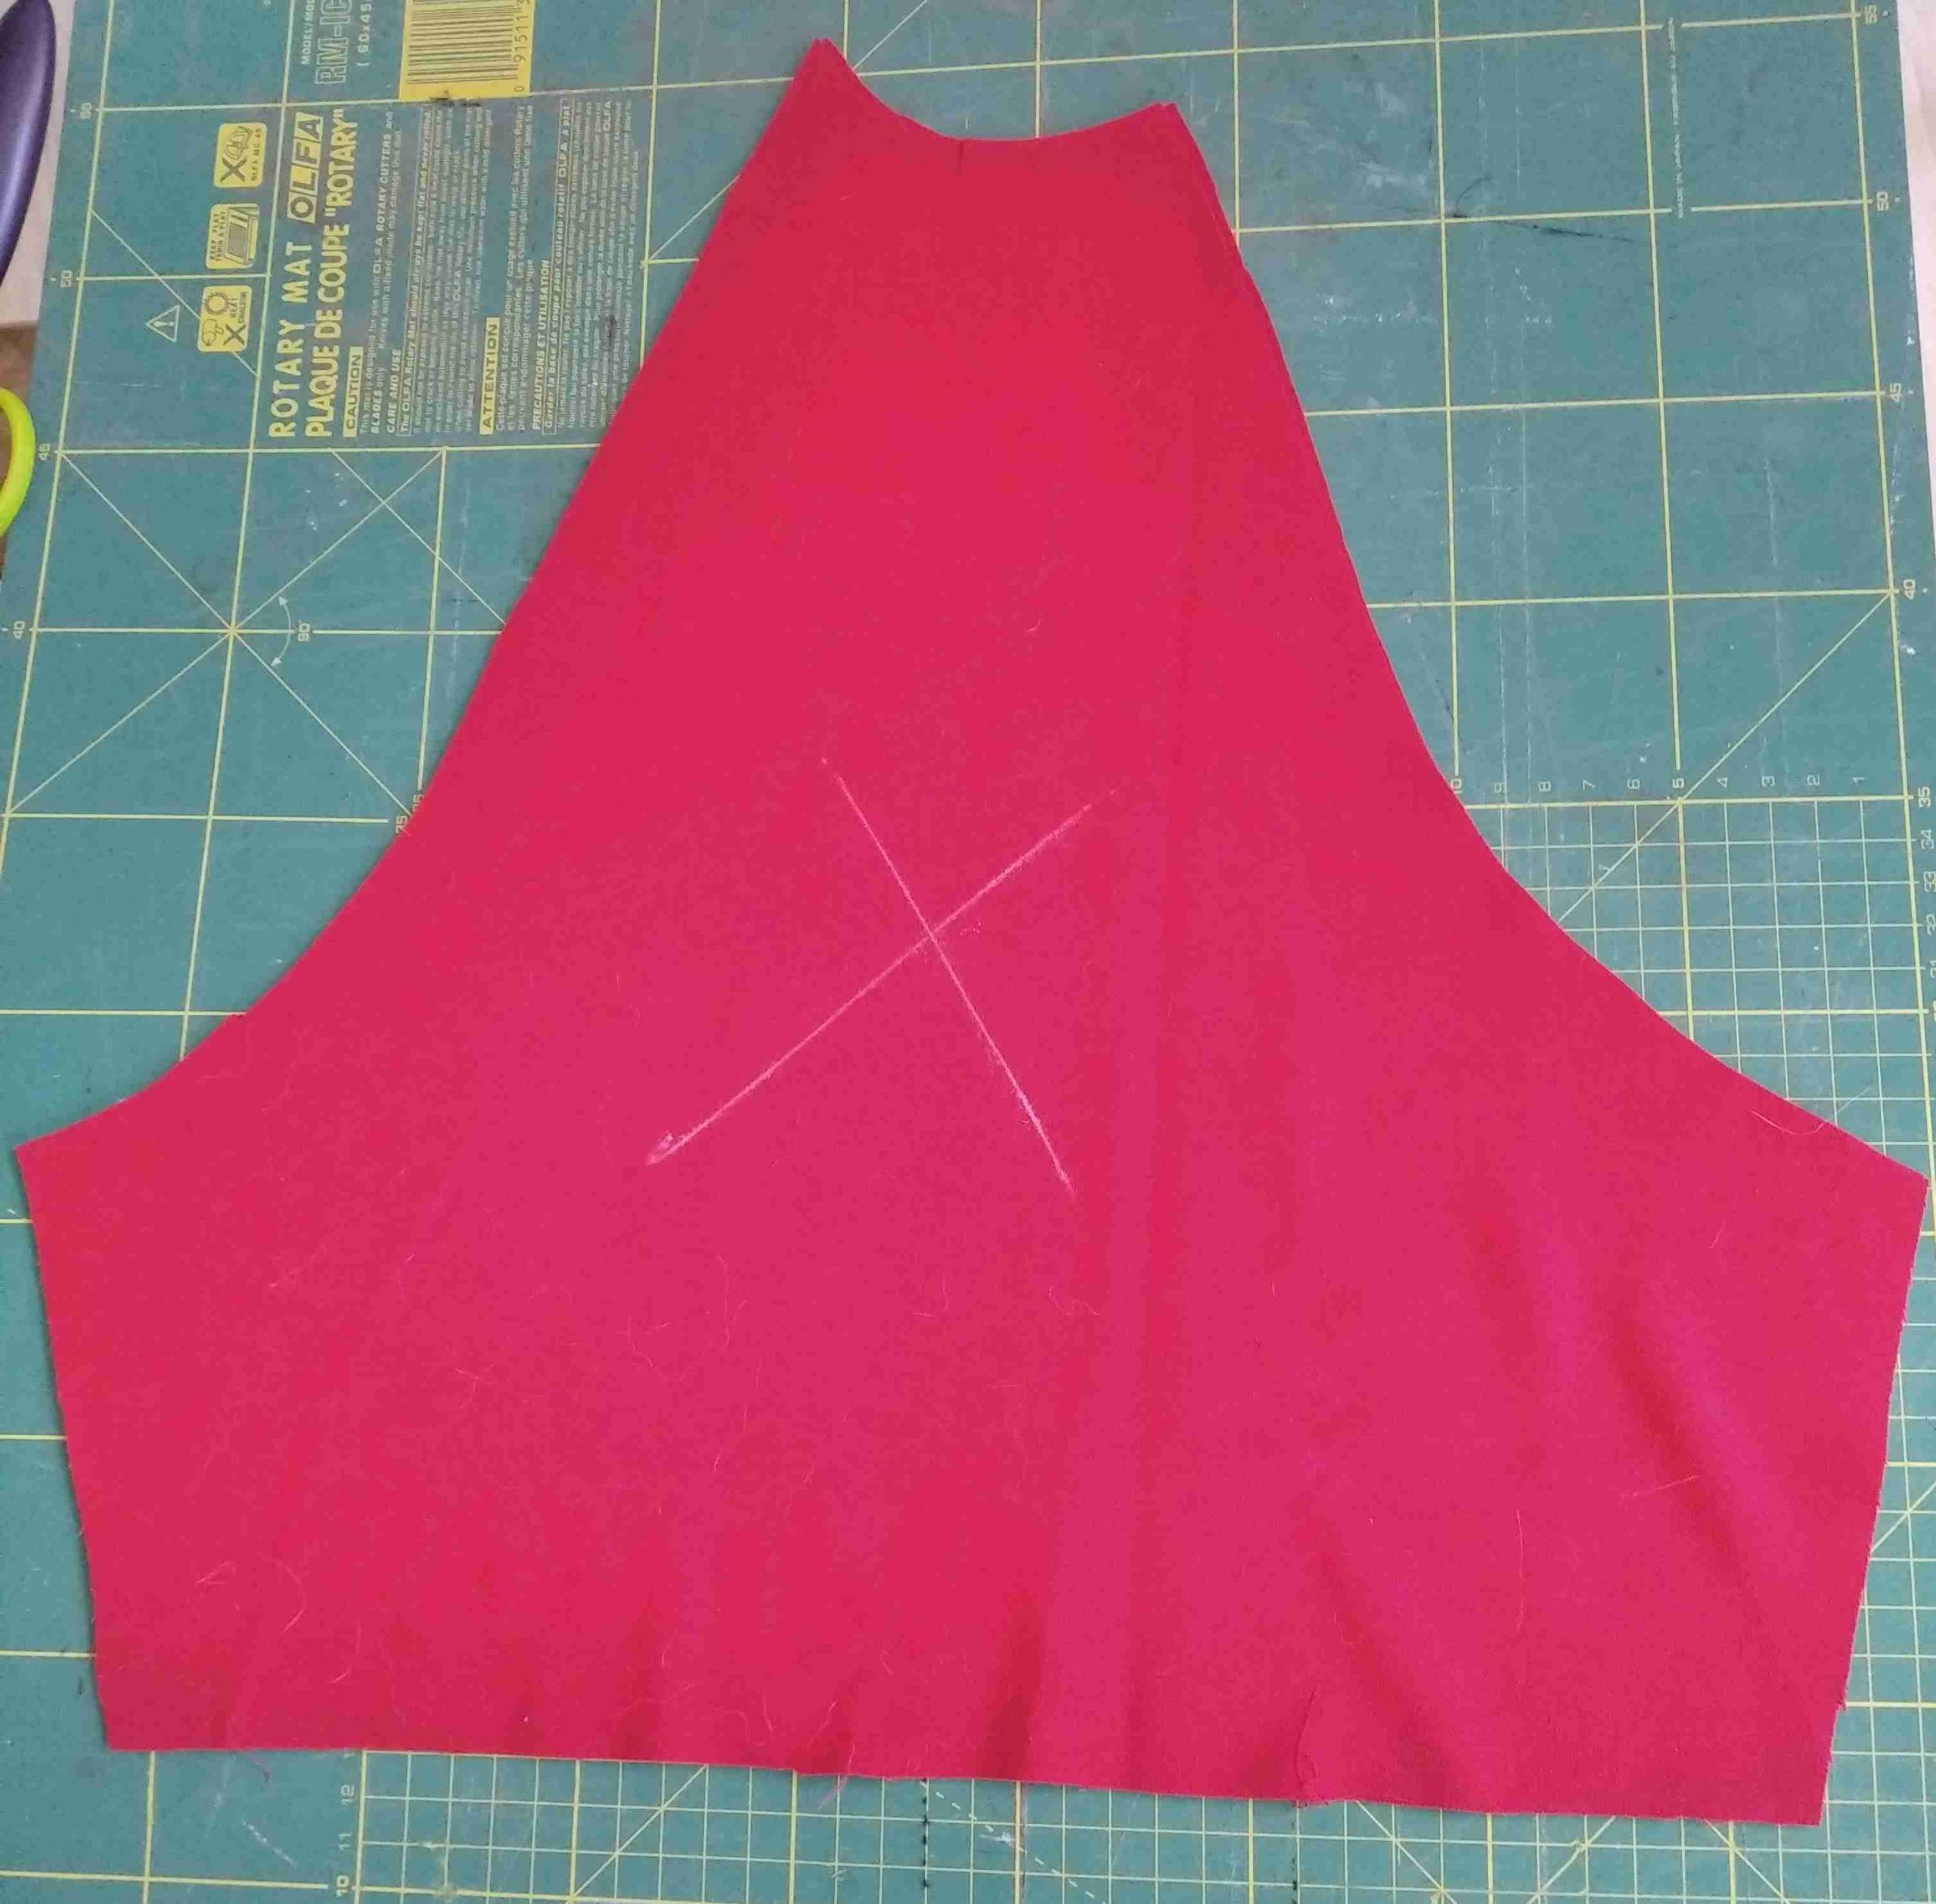
Sewing instructions.
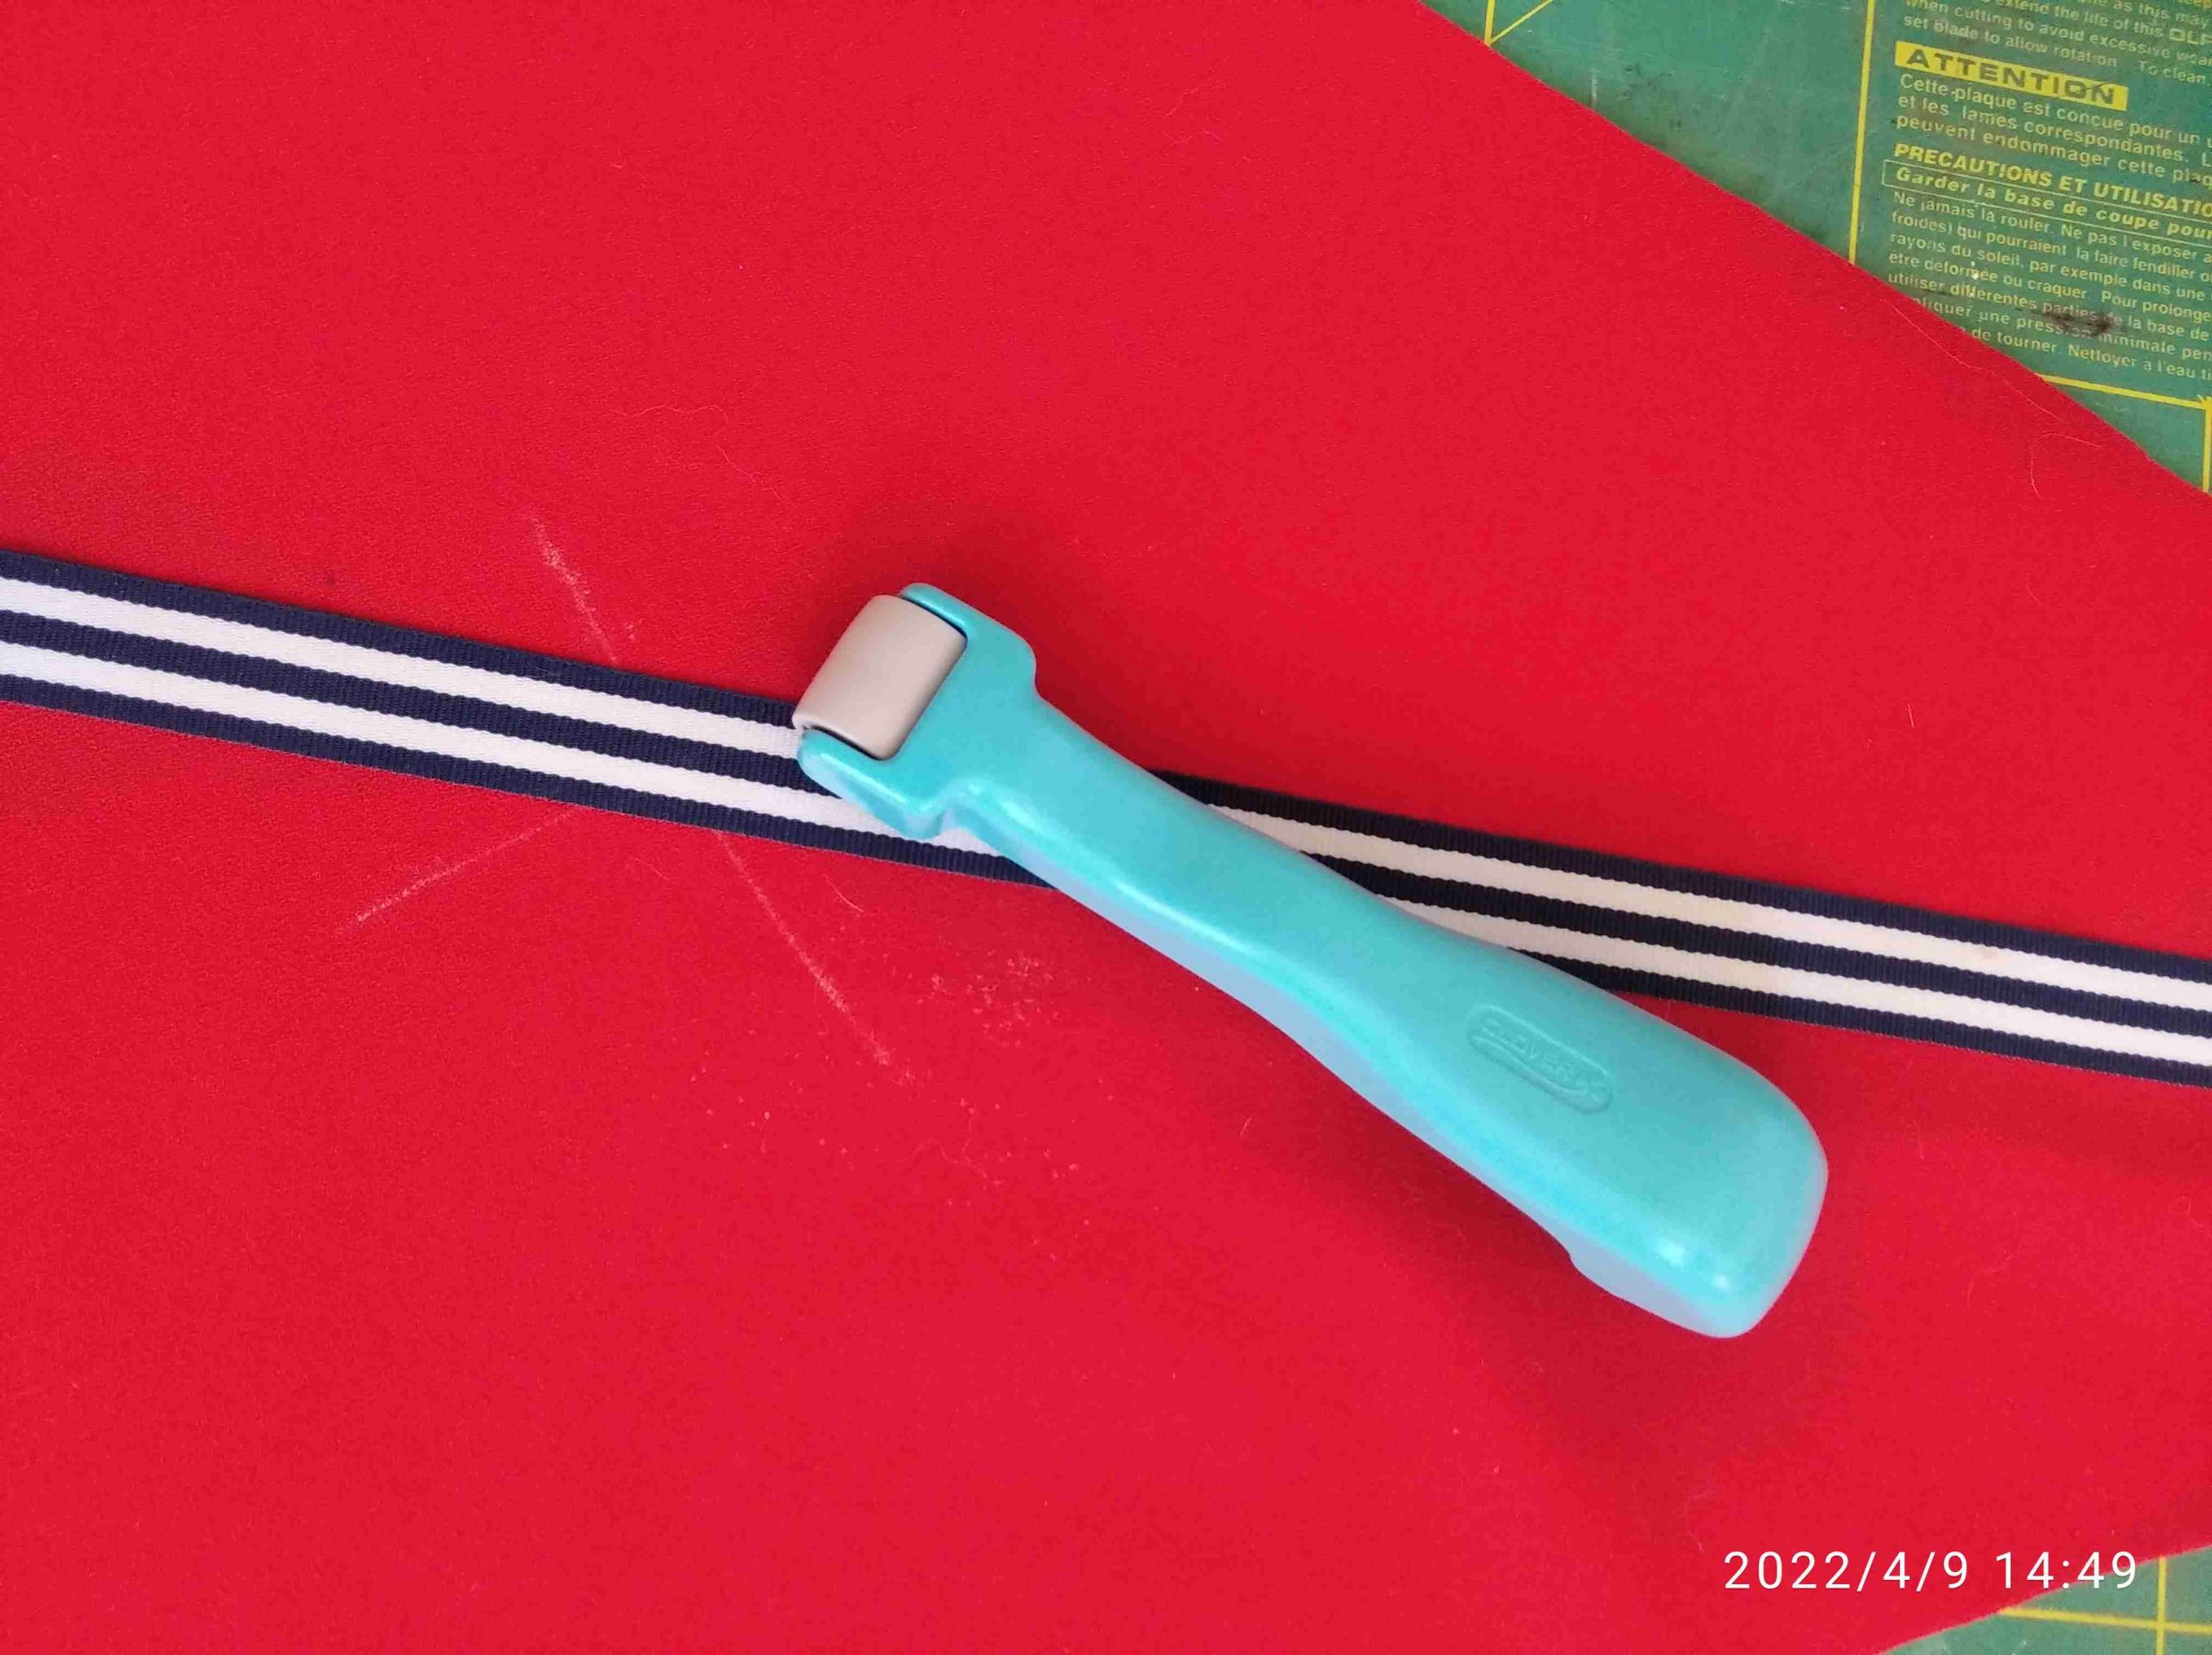
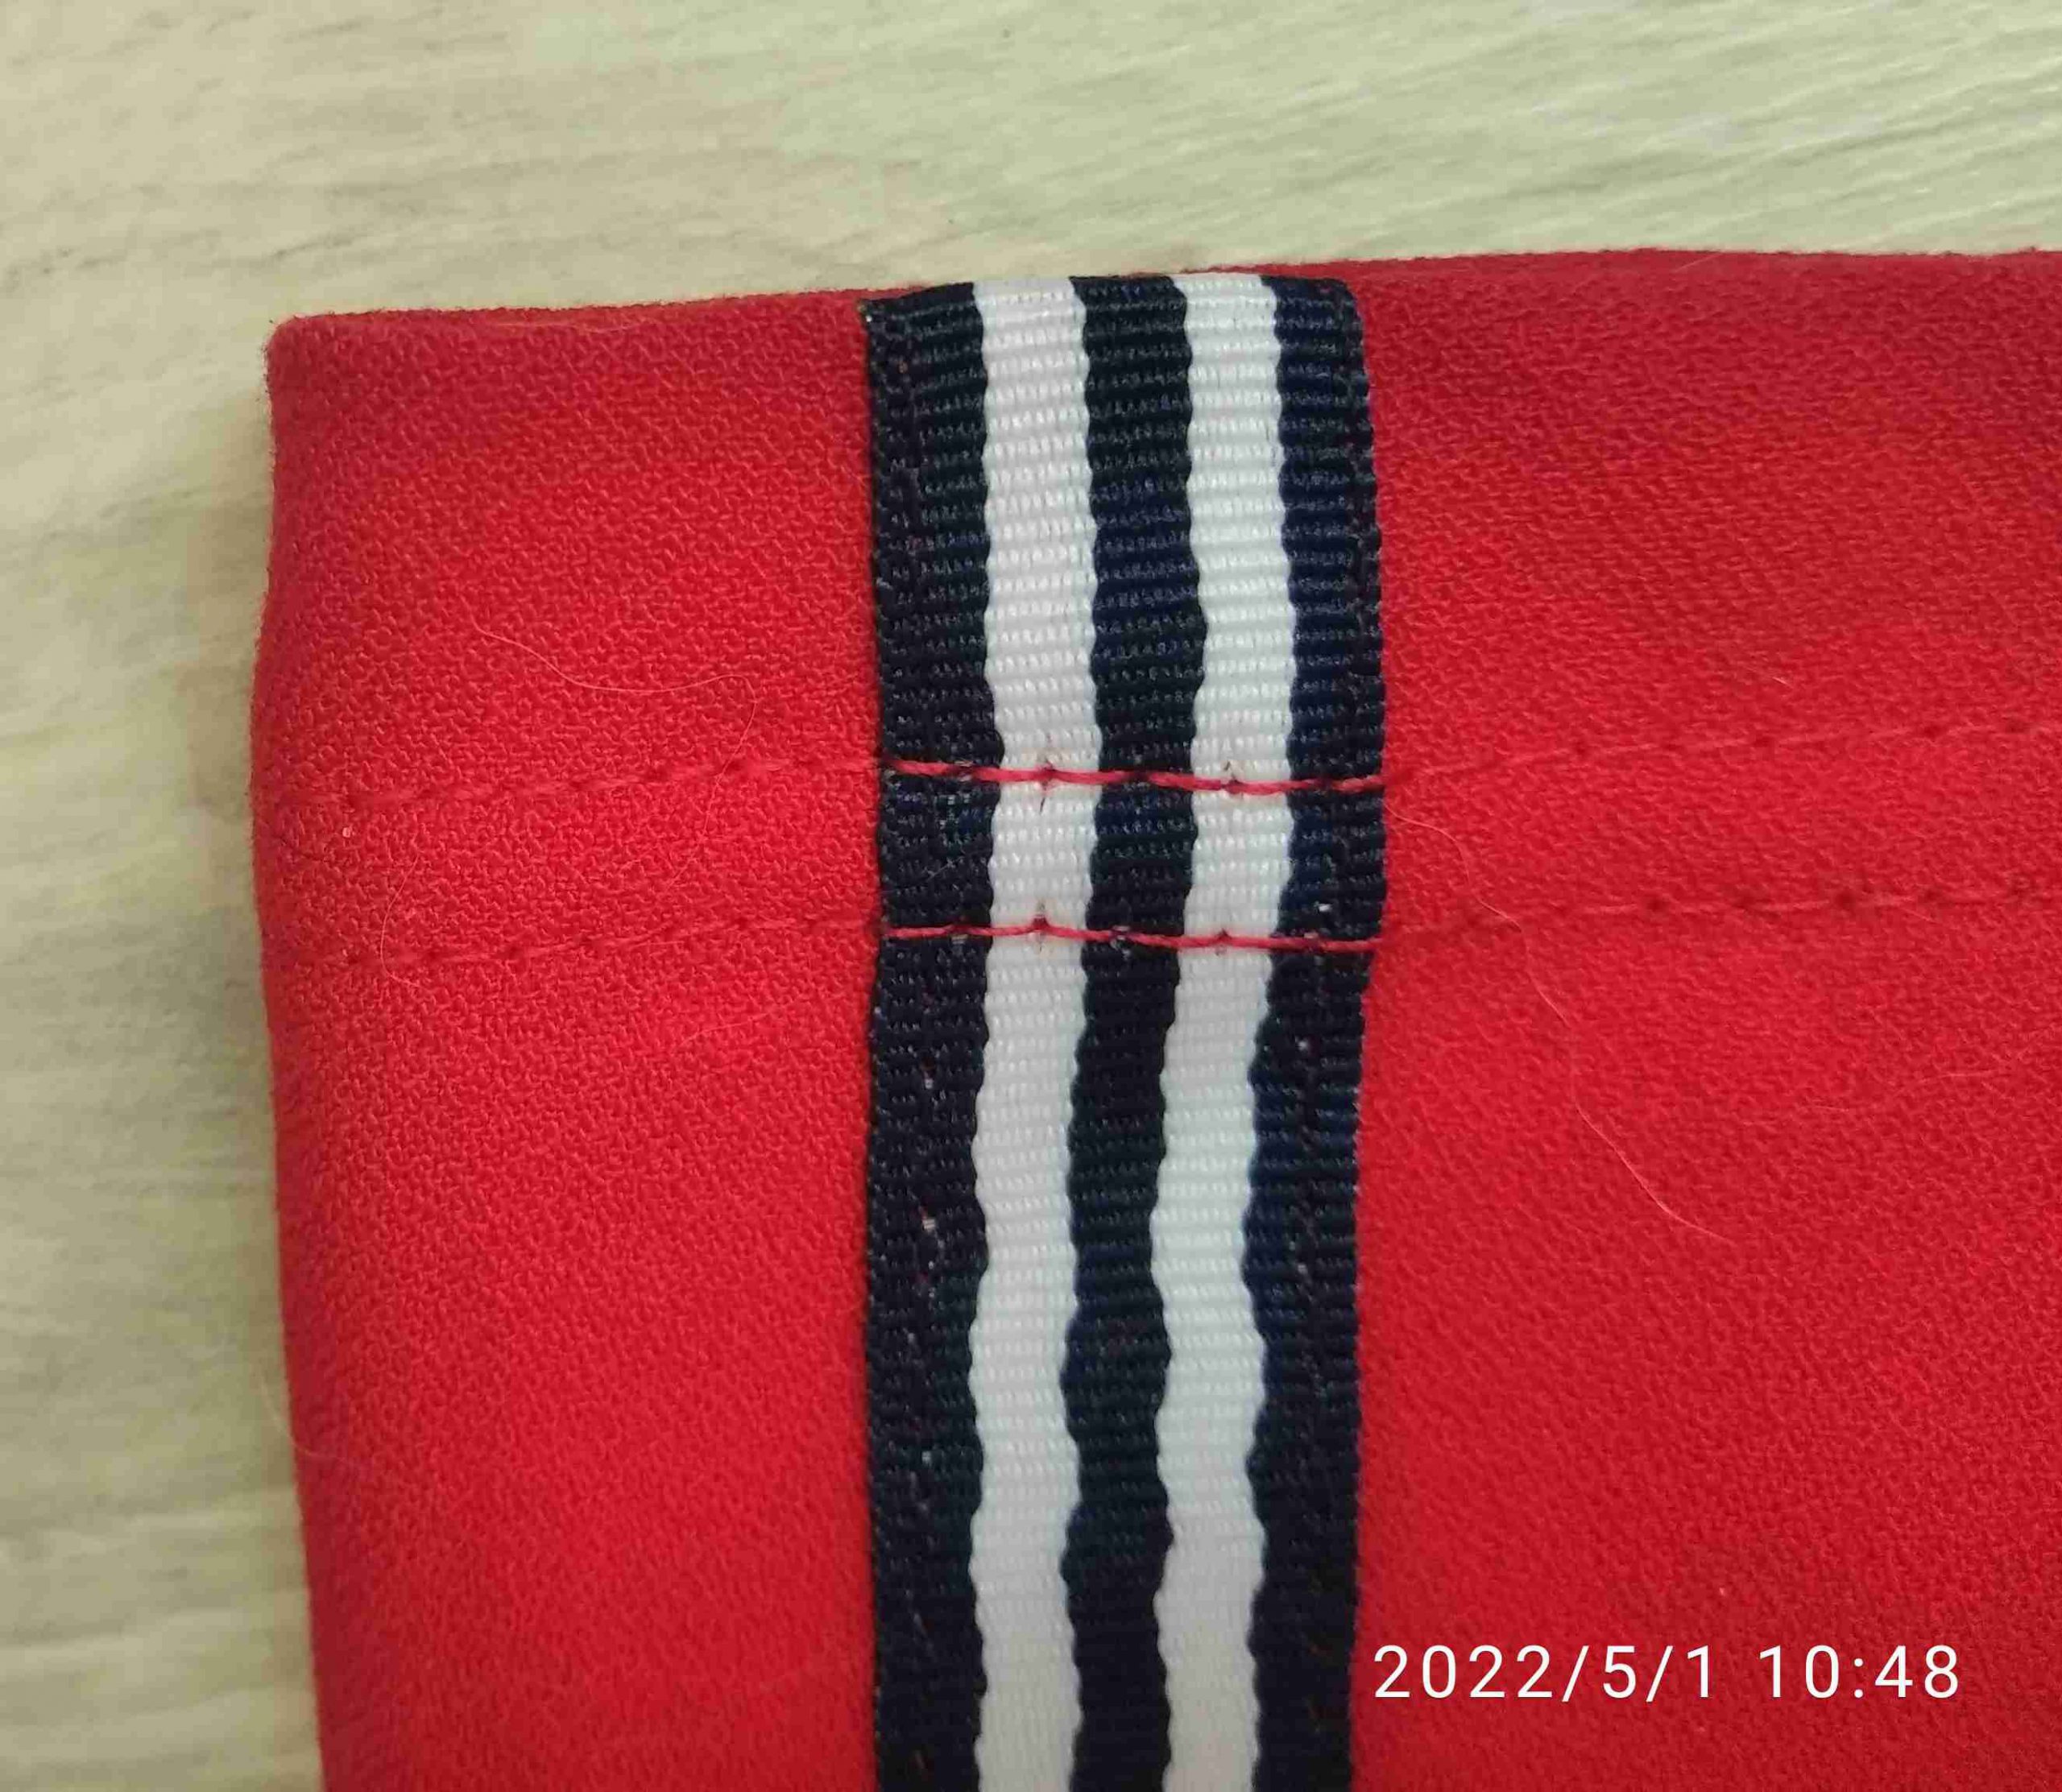
The first step is to position the decorative tape down the centre of the sleeve. To hold it in place I used double sided fusible tape for sewing. Some dabs of fabric glue would be an alternative, or pins.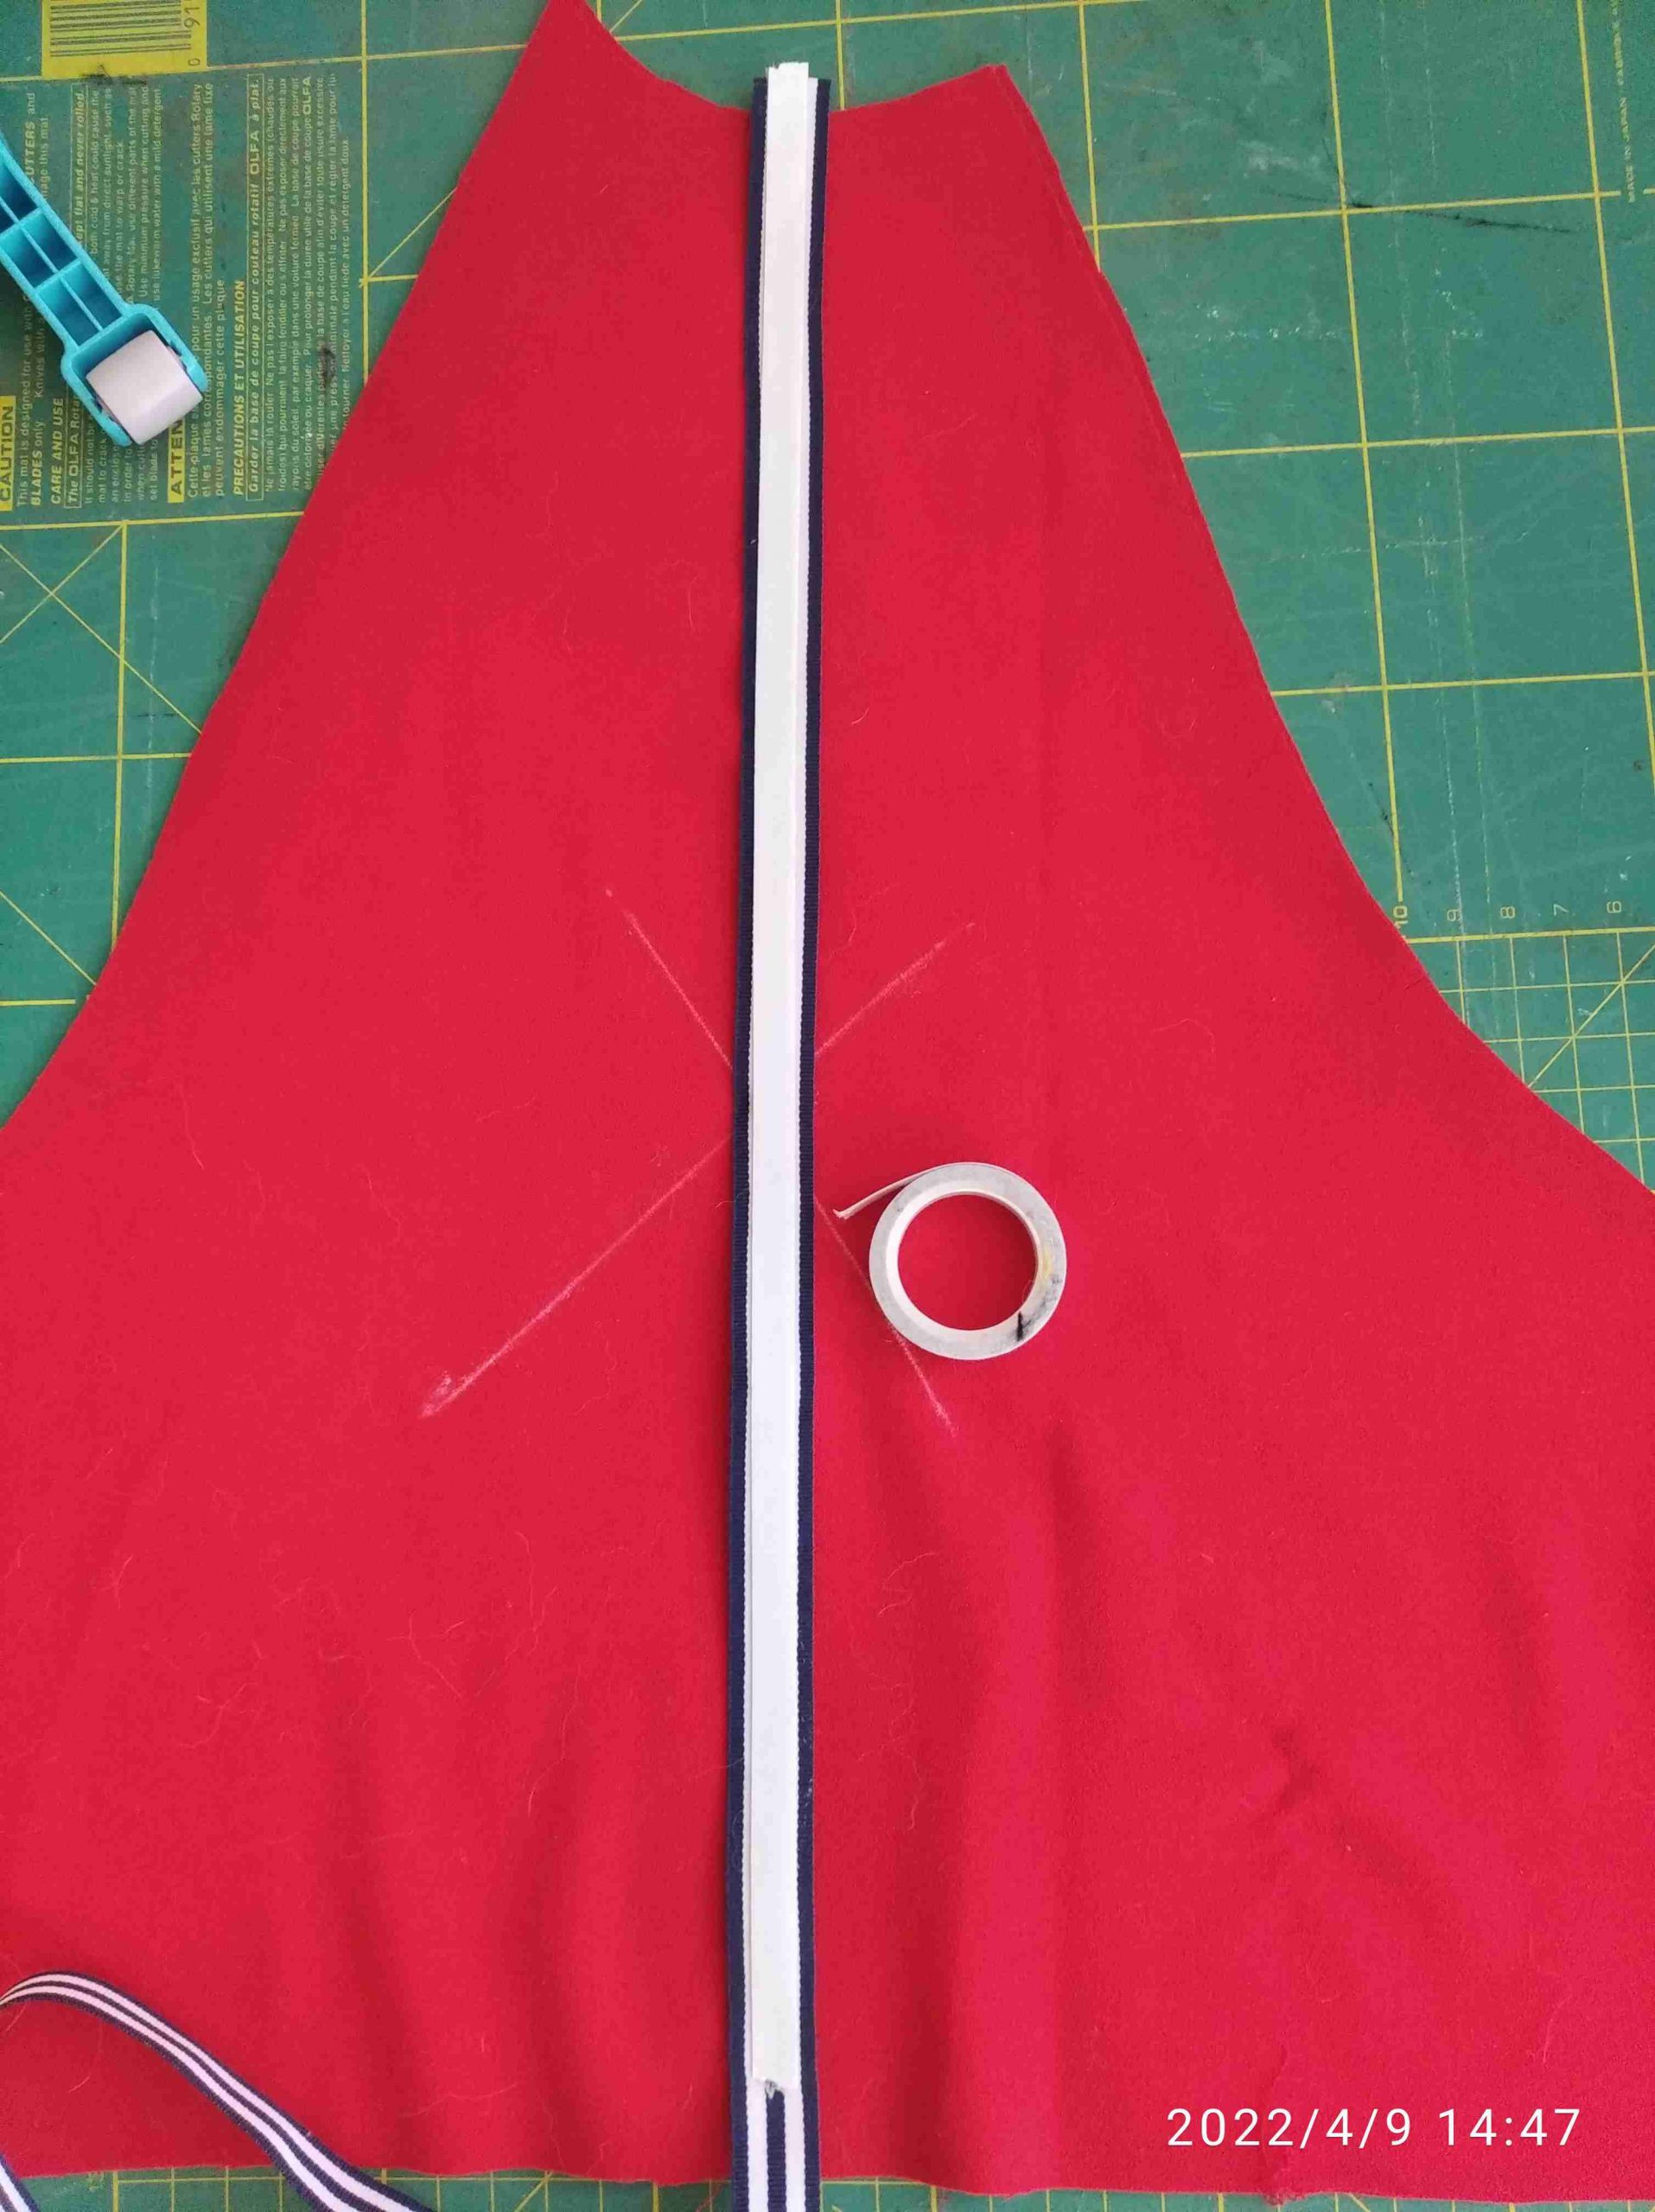
If using double sided tape a quick roll of a roller ensures the decorative tape is well held in place.
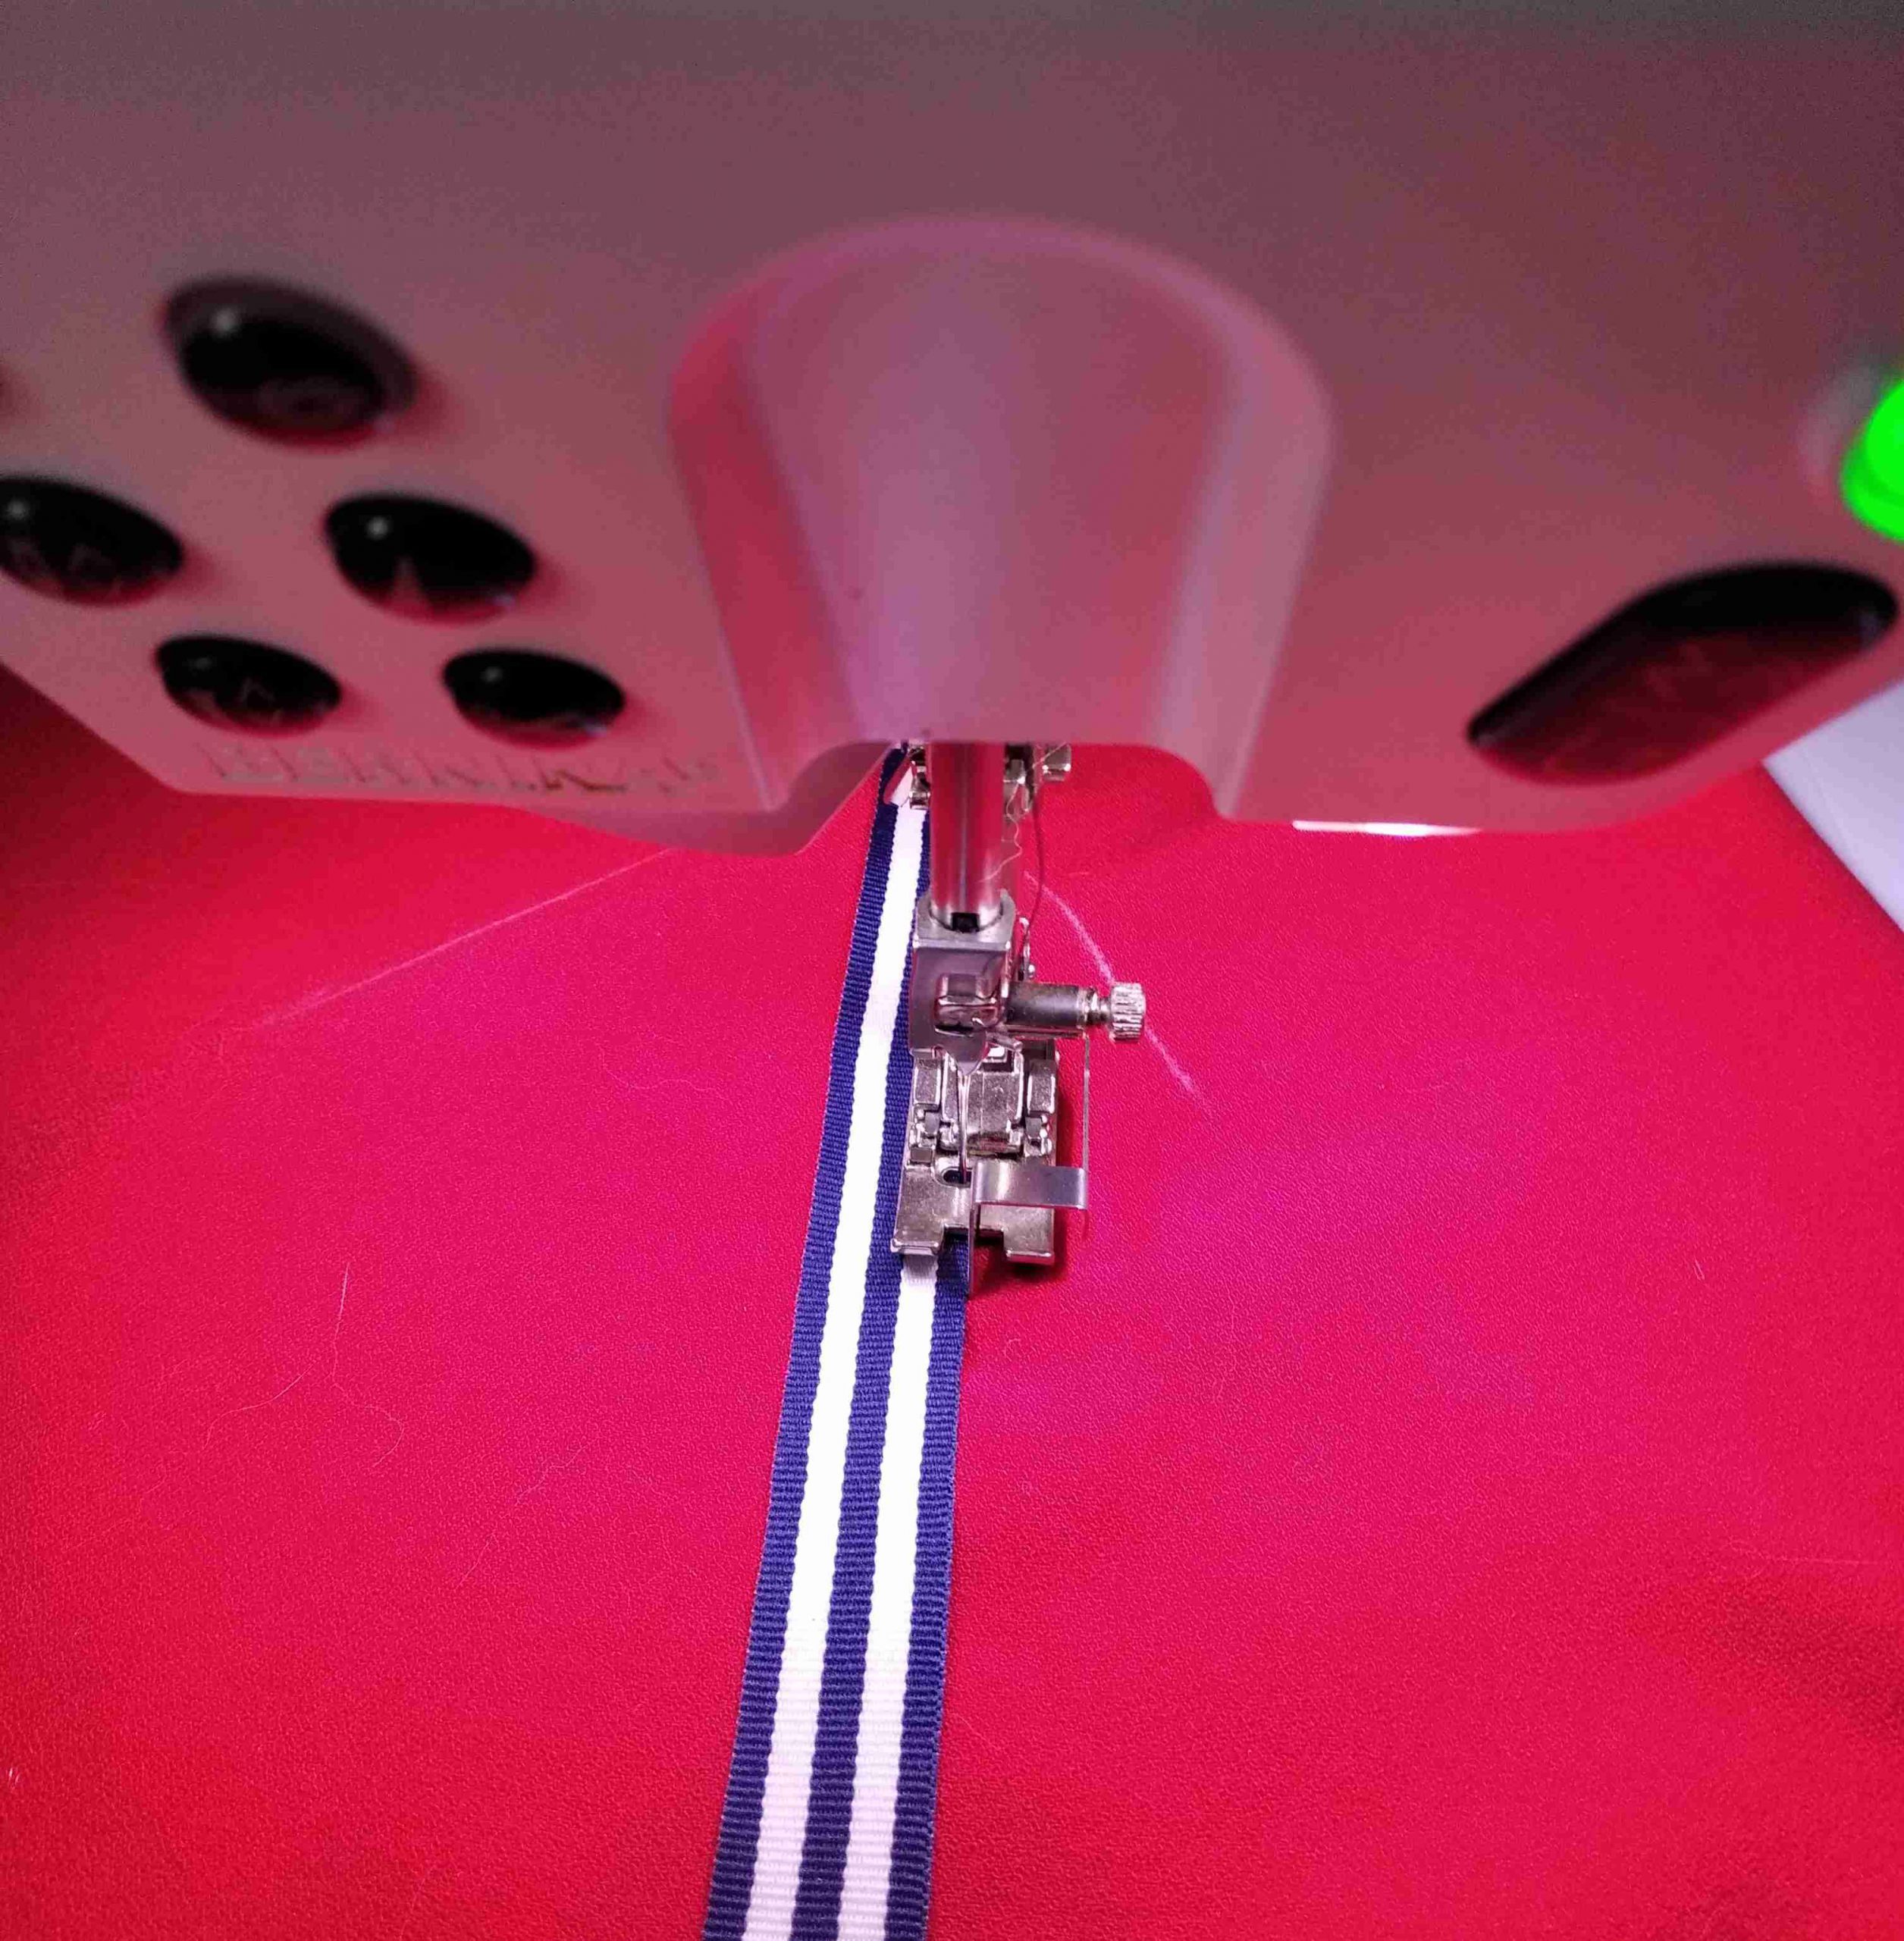
To sew the decorative tape on I used foot no 10 on my Bernina 830 sewing machine.
To sew in the raglan sleeves I used the Overlocker.
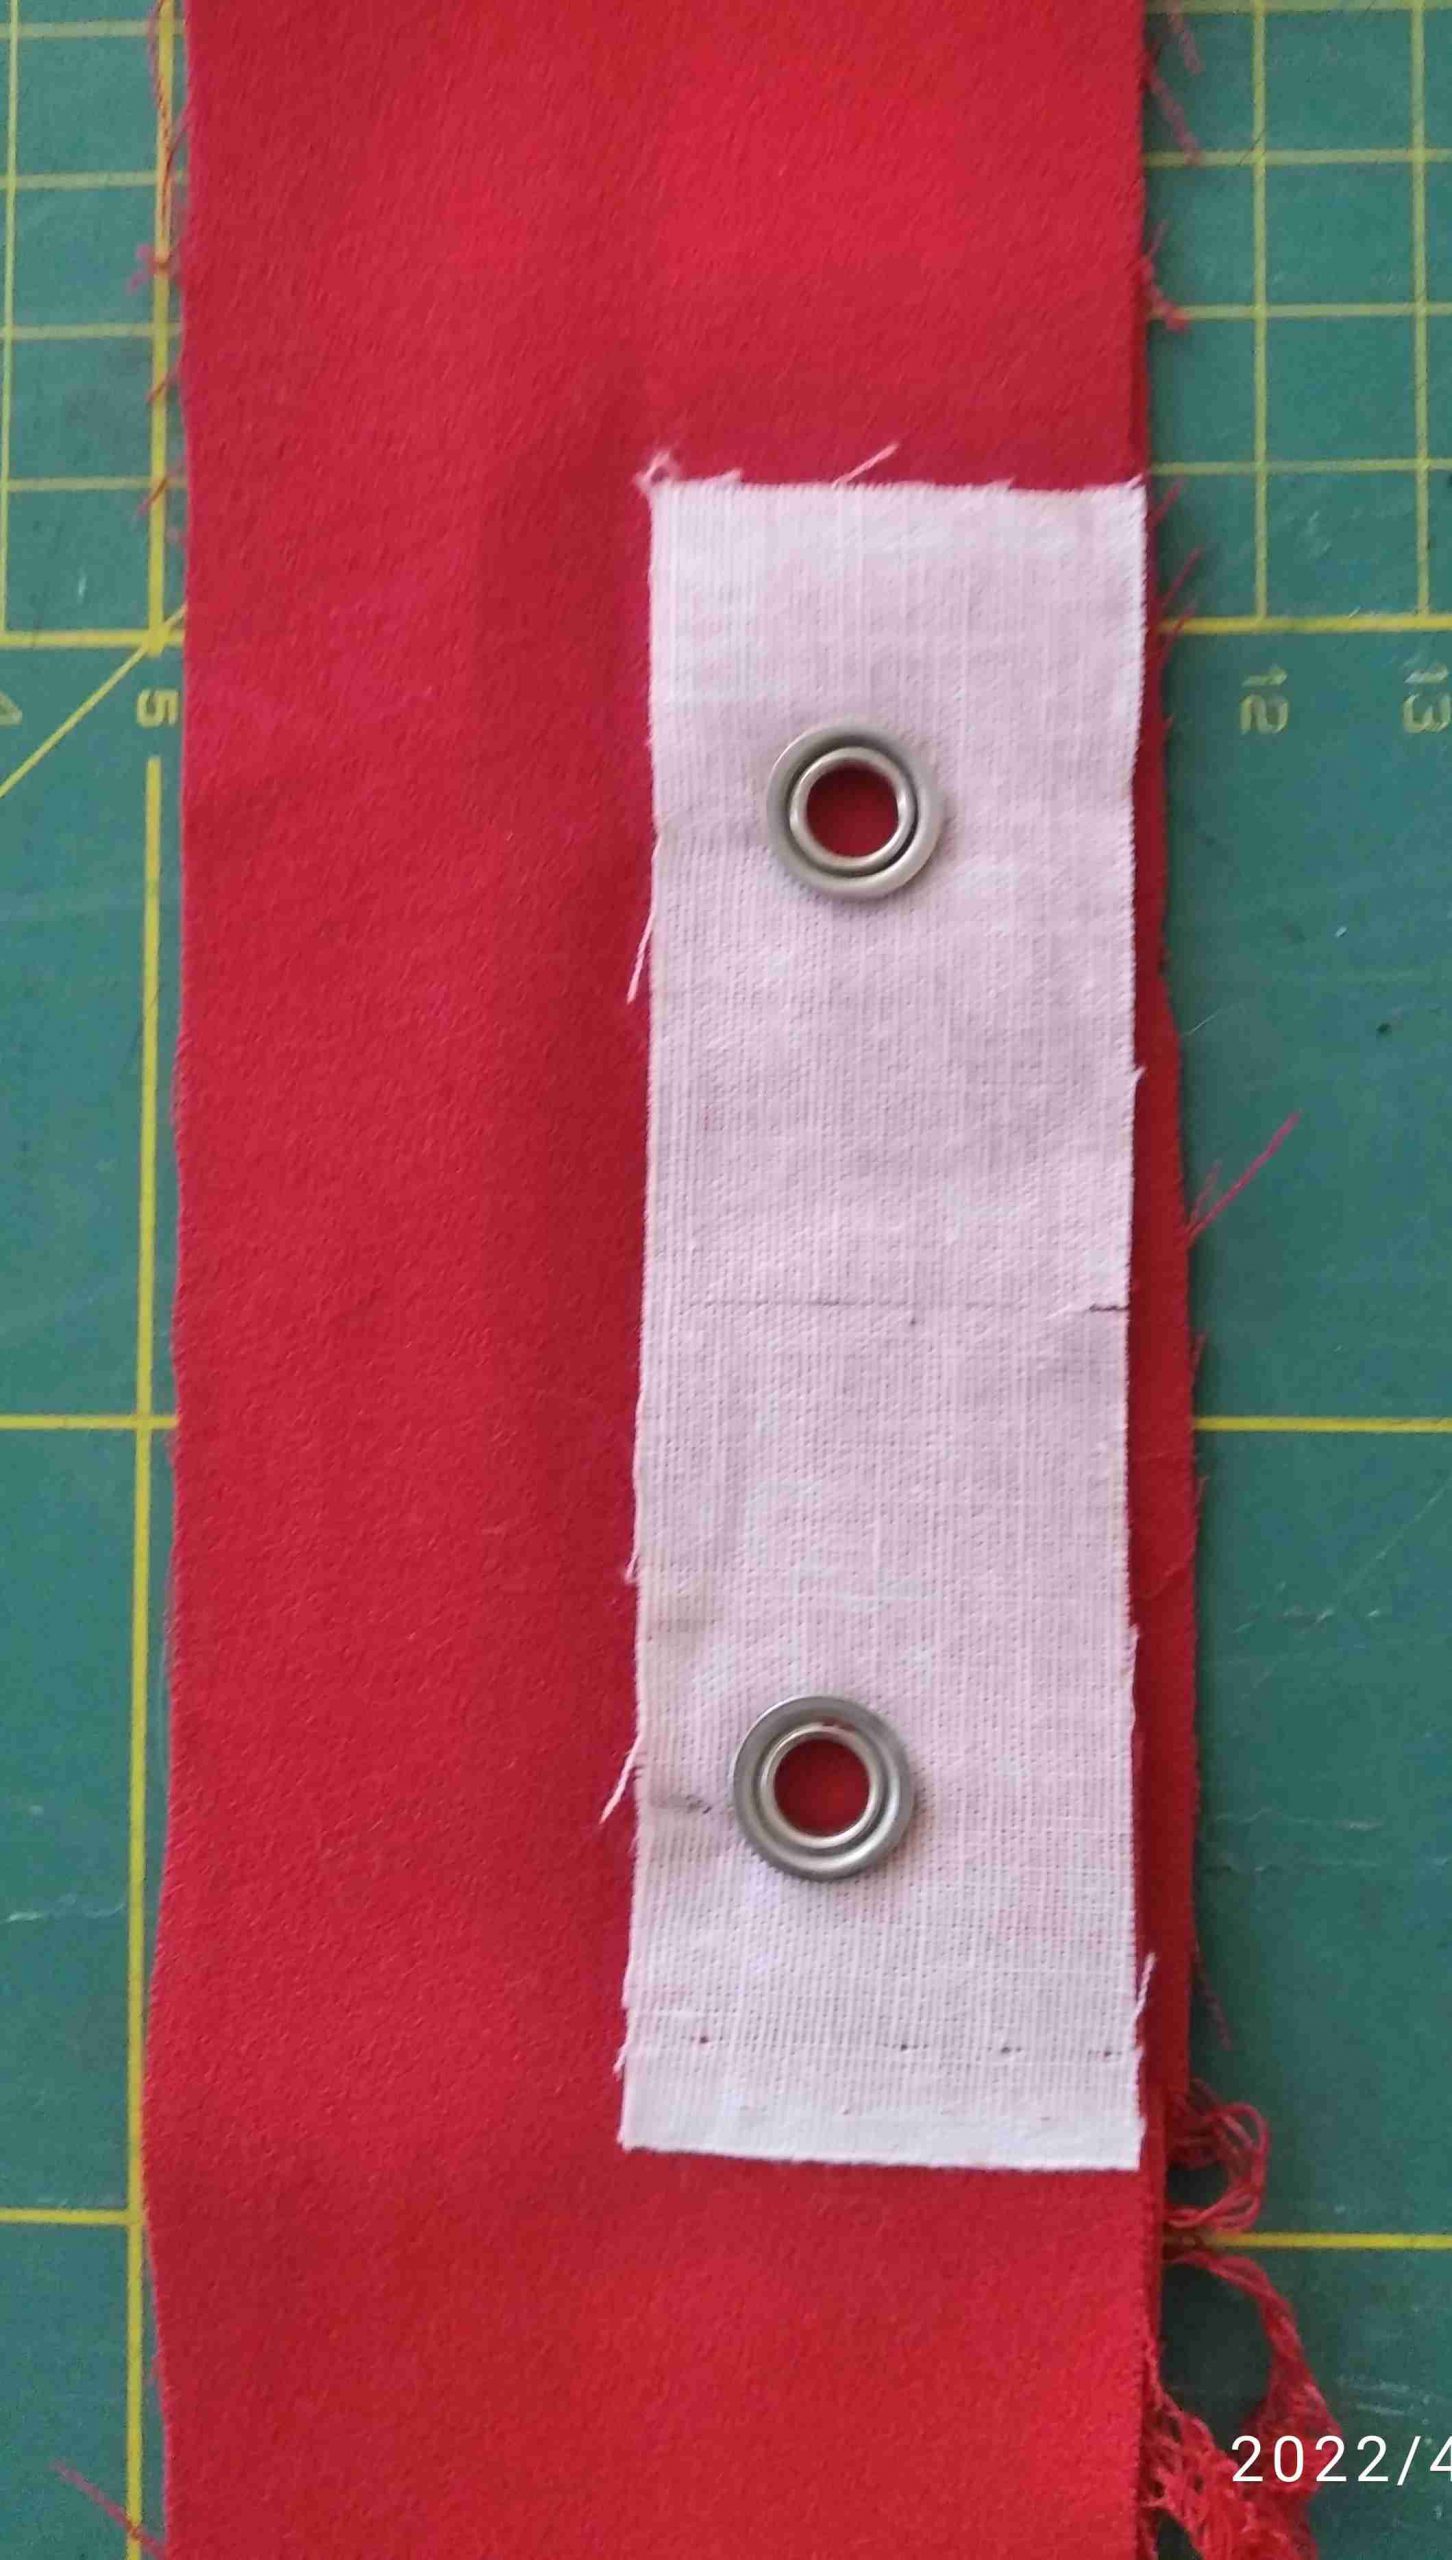
Before putting the eyelets in remember to apply interfacing. The suggested interfacing is a woven fabric interfacing which supports the eyelets properly. If you are new to putting in eyelets, or want a reminder of the technique, Prym have an excellent video on Youtube https://www.youtube.com/watch?v=wuYYuKKsB0w
Alternative to metal eyelets.
If you can not get suitable eyelets, or prefer not to put in eyelets, use buttonholes as an alternative for the tape or cord in the collar.
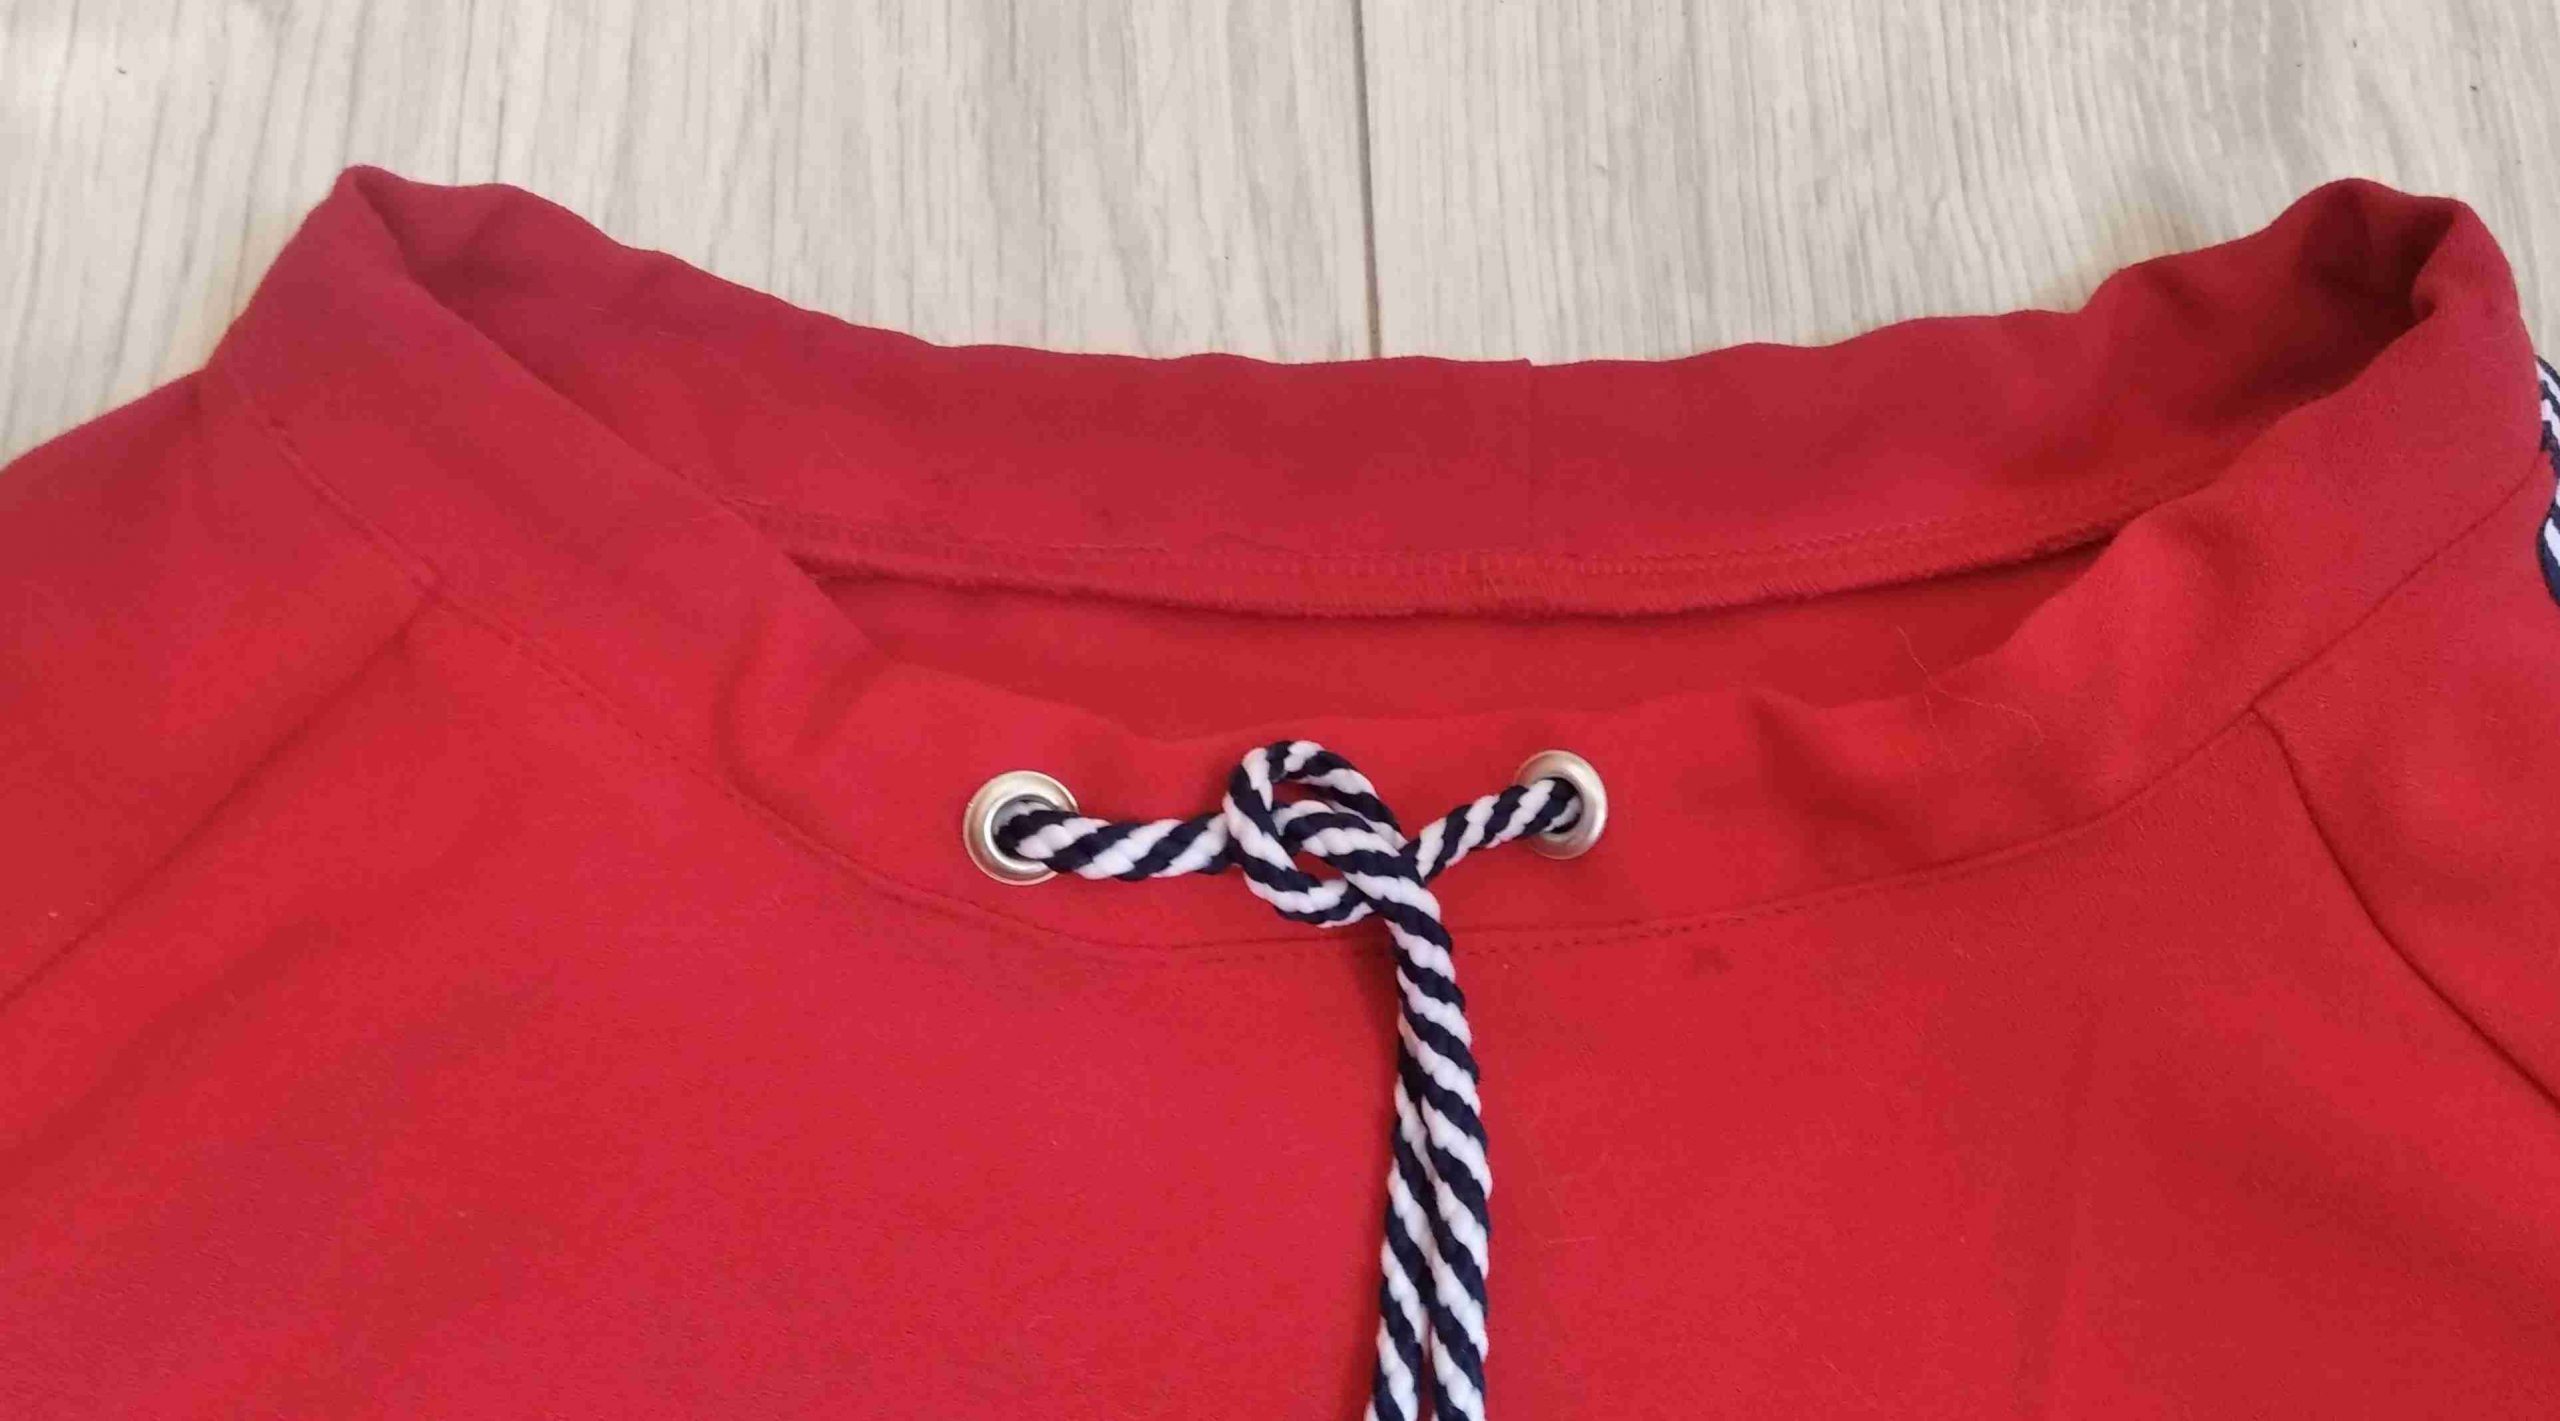
Once the eyelets are in, sew the ends of the collar band together and fold the collar in two.

At this point I decided to lay my cord into the collar fold and pass the ends through the eyelets. This avoided having to thread the cord through the collar at the end of the sewing process. Just an idea!!

I used pins to hold the cord well out of the way of the edge of the collar, before taking my collar to the sewing machine and stitching the edges of the collar together 5mm from the collar edge. This made sewing the collar onto the body of the shirt with the Overlocker easier.
To sew the collar on first mark centre front and centre back of the collar. Then mark centre front and centre back of the body of the shirt. With right sides together align centre front and centre back marks of collar and body. Then distribute collar evenly around the neckline.
After sewing the collar on, topstitch close to collar seam to give a good finish.
Before sewing side and arm seams together, I pinned them and decided that I needed to take it in a bit. So I recommend trying it on before sewing.
For the bottom hem and the sleeve hems I used my Bernina Coverstitch machine. A similar effect can be created using an Overlocker and a twin needle on the sewing machine. Or overlock the edge using the sewing machine overlock stitch and then the twin needle. You can find lots of videos on the internet showing these alternative sewing techniques.
Wear it casually or dress it up! The sewing class that I teach in France have already decided that it is on their to do list.


The links for this free pattern during May take me round ‘n round. It is May 19th, so I shouldn’t have to pay for it. Please help me.
Dear Judith,
You can find the link to the pattern further down in this article:
The link to the download is always above the technical drawing, and the others are there to make sure others can get the pattern after the month is over. Here is the direct link so you dont have to go searching any longer: http://www.bernina.com/inspiration-freebie
Kind regards, Ramona
where do I find the Download now on your page?
Dear Heather, you can find the free pattern on the bernina.com website. This link will take you there: http://www.bernina.com/inspiration-freebie
Kind regards, Ramona
Love how you explained the process clearly. Like how your top came out & the stripe for the sleeve you used. The instructions were not very clear that were included in the pattern so your pictures and illustrations made the difference. When adding a seam allowance did you add it to the sleeve and how much did you use?
Your variation of this pattern is excellent. What is the fiber content of your fabric? Did you adjust the length?