 BERNINA Corporate Blog -
It’s here. The final week of quilting in our One Two Tree QAL. 16 tree blocks, 20 different designs. What an adventure!
I hope that you experienced growth in this quilting adventure. Maybe you feel more comfortable getting out your machine and quilt on your beautiful made quilt. Maybe you are able to let go of perfection a little bit more. Maybe you are able to feel more relaxt while quilting.
Growth does’t always mean improving your skills. It’s everything along the way that you learn that counts.
Thank you!
This isn’t the final post in our quilt along. But I would love to just take a minute to say thank you. Thank you for being here, for joining along. For giving yourself this gift of me-time. I feel so happy that you’ve been sending all this time with me on the One Two Tree Quilt Along.
If you would like to stay in touch, feel free to hop over to the Sugaridoo Community on Facebook, where you’ll find other quilters working together on Sugaridoo Projects.
Or sign up for Sugaridoo Happy Notes. That’s my newsletter that I send out pretty irregularly with happy projects, new patterns and other fun things from the Sugaridoo Studio.
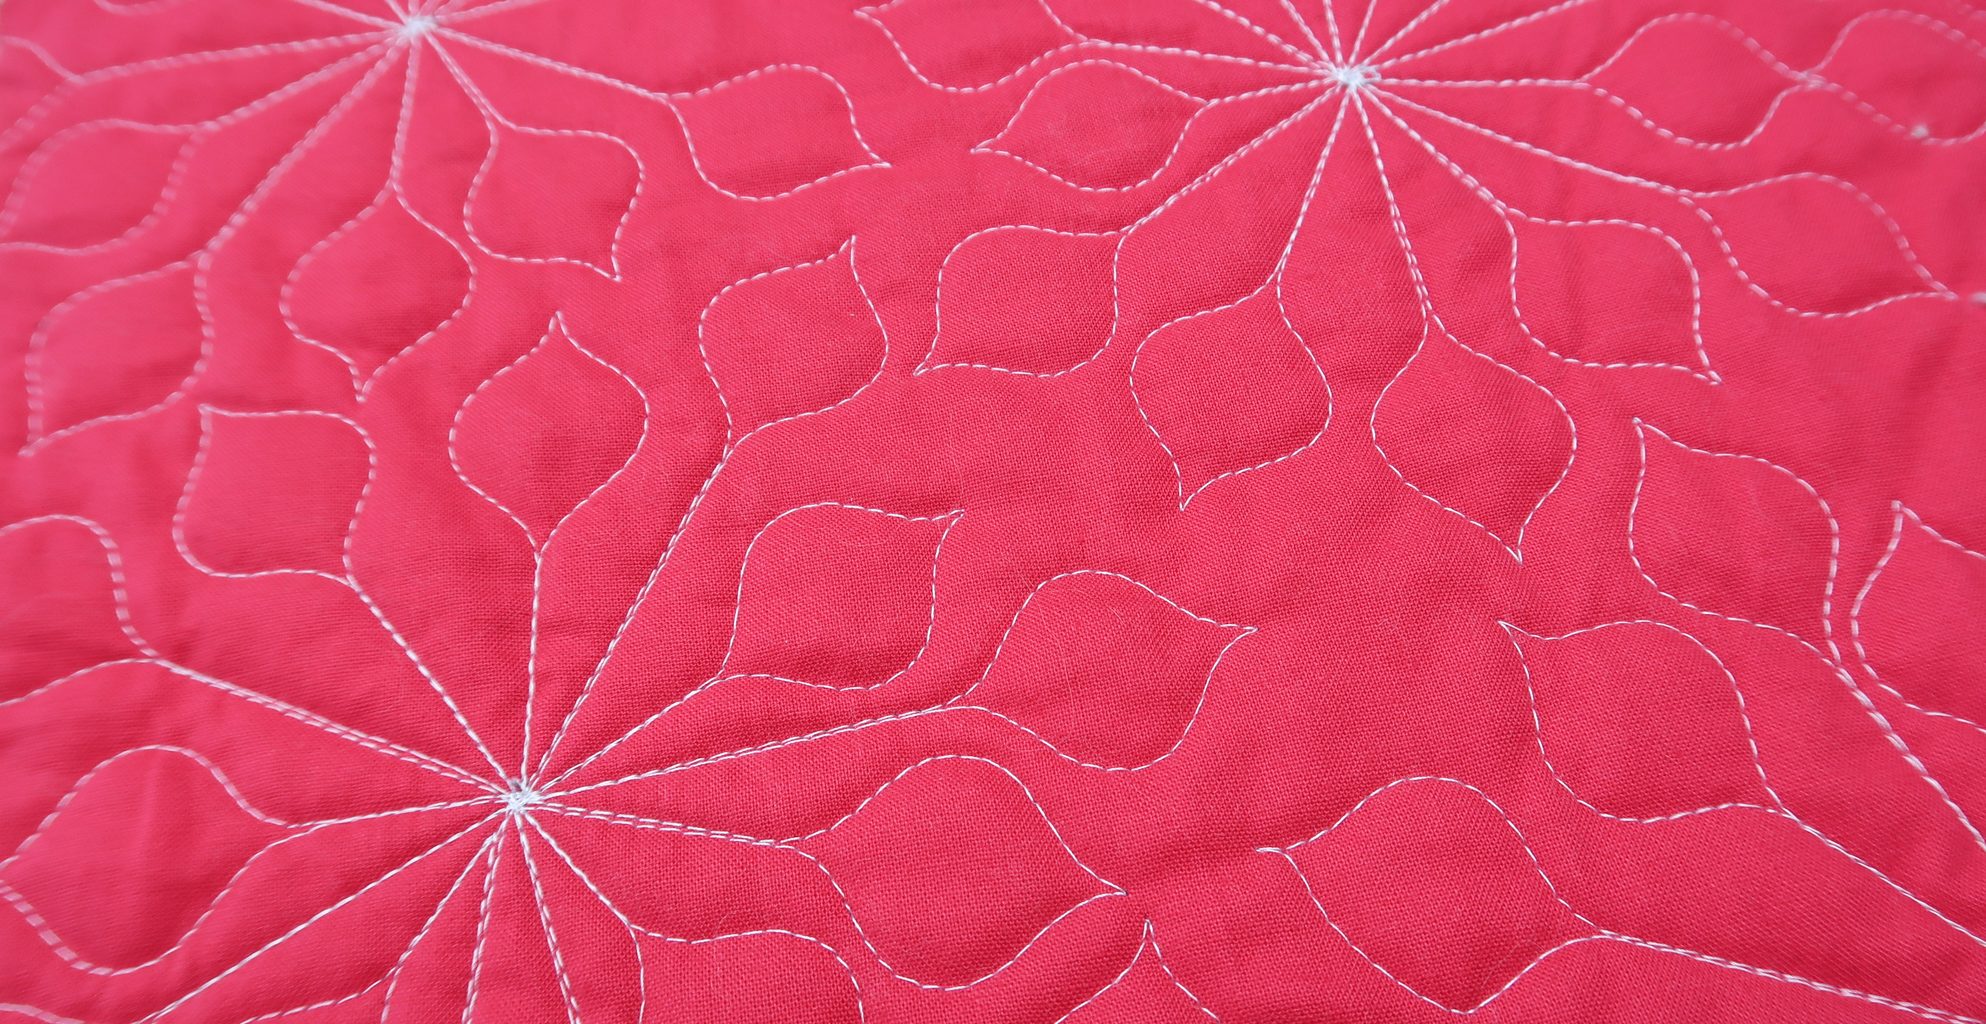
Flourish
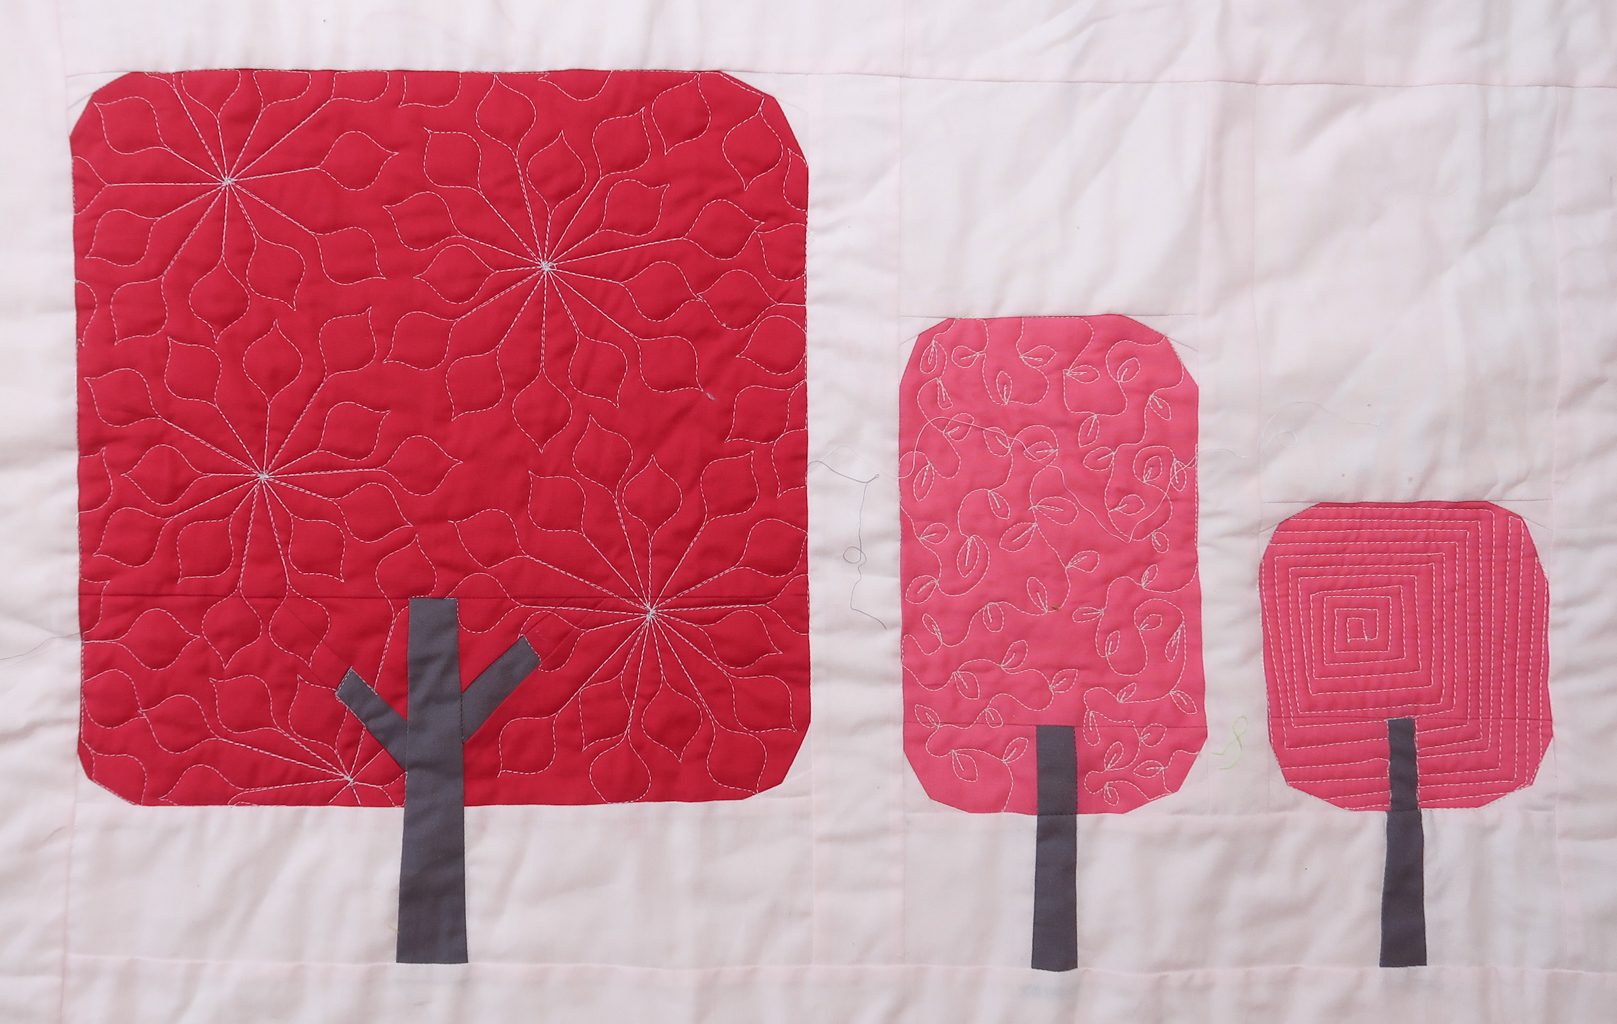
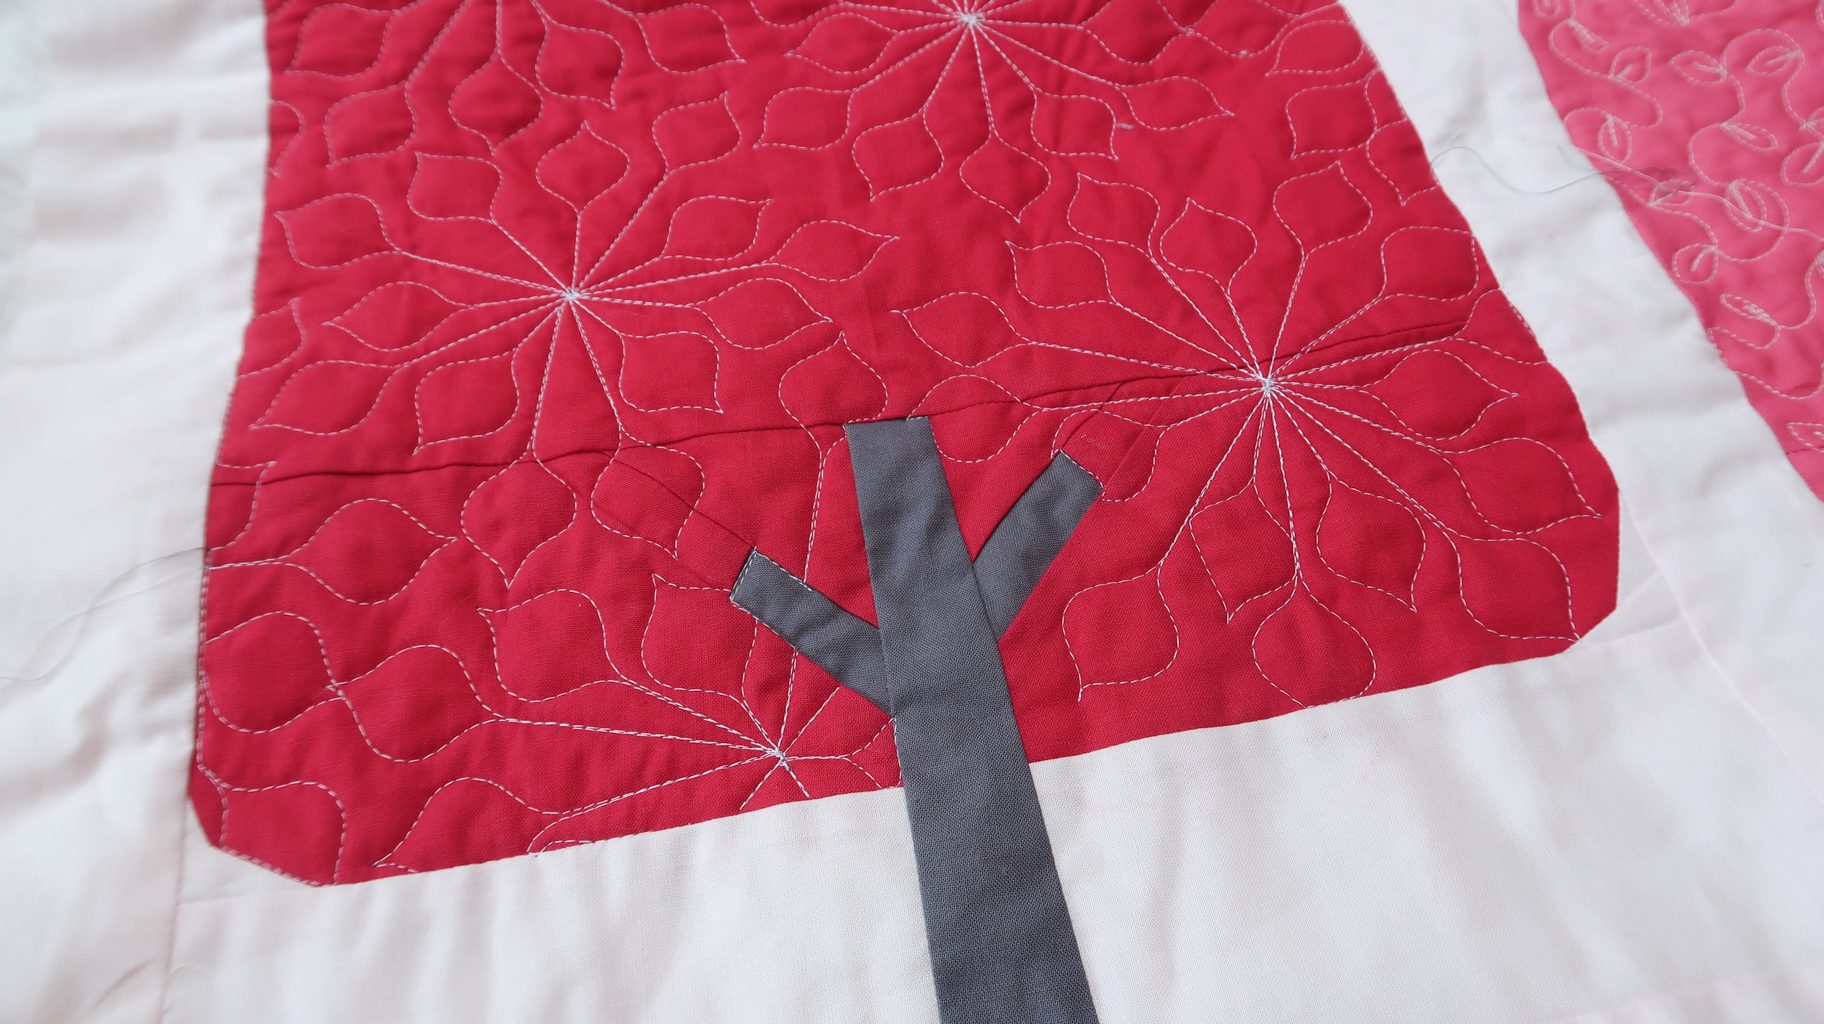
Our theme this week is Flourish. We will quilt a leafy flower design with a lollipop ruler in tree 15 and leafs with the Taj ruler in tree 16.

Video instructions
We will create two designs with rulers today. Using a lollipop ruler and the Taj ruler. In this video you will see me quilting all designs.
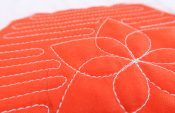
Quilting Tree 15
We made a flower with the Taj ruler in tree 10a before. Now we are going to use a lollipop ruler to make a flower.
Pick a point as the center of your flower. Quilt a straight line away from the center and a geometric shape from the lollipop ruler of your choice on the end.
Travel back over the straight line to the center, reposition your ruler and quilt a second leaf.
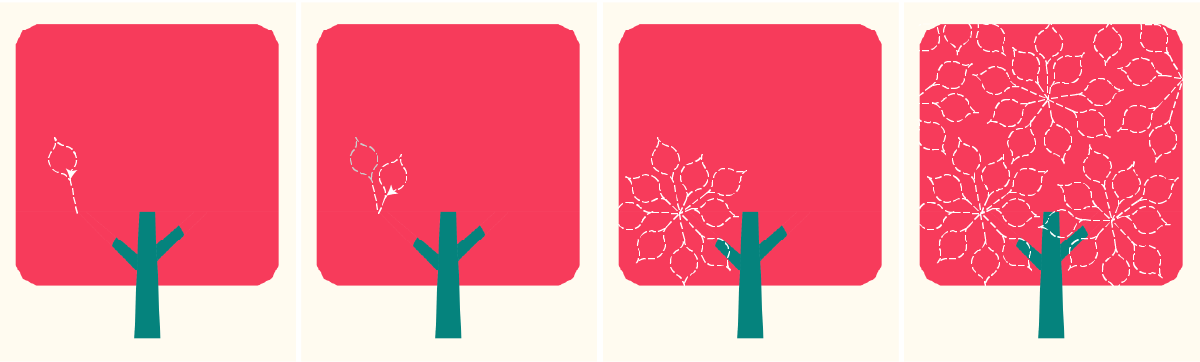 Work your way around making leafs at alternating distances from the center.
When you complete one flower you fasten off.
Pick a new center point for your next flower and start again.
Repeat this for as many complete flowers as will fit in your tree. And finish the edges by making partial flowers on the edge of your tree.
Alternative
As an alternative you could use a straight ruler to make the lines away from the center and free motion quilt a shape at the end of the lines.
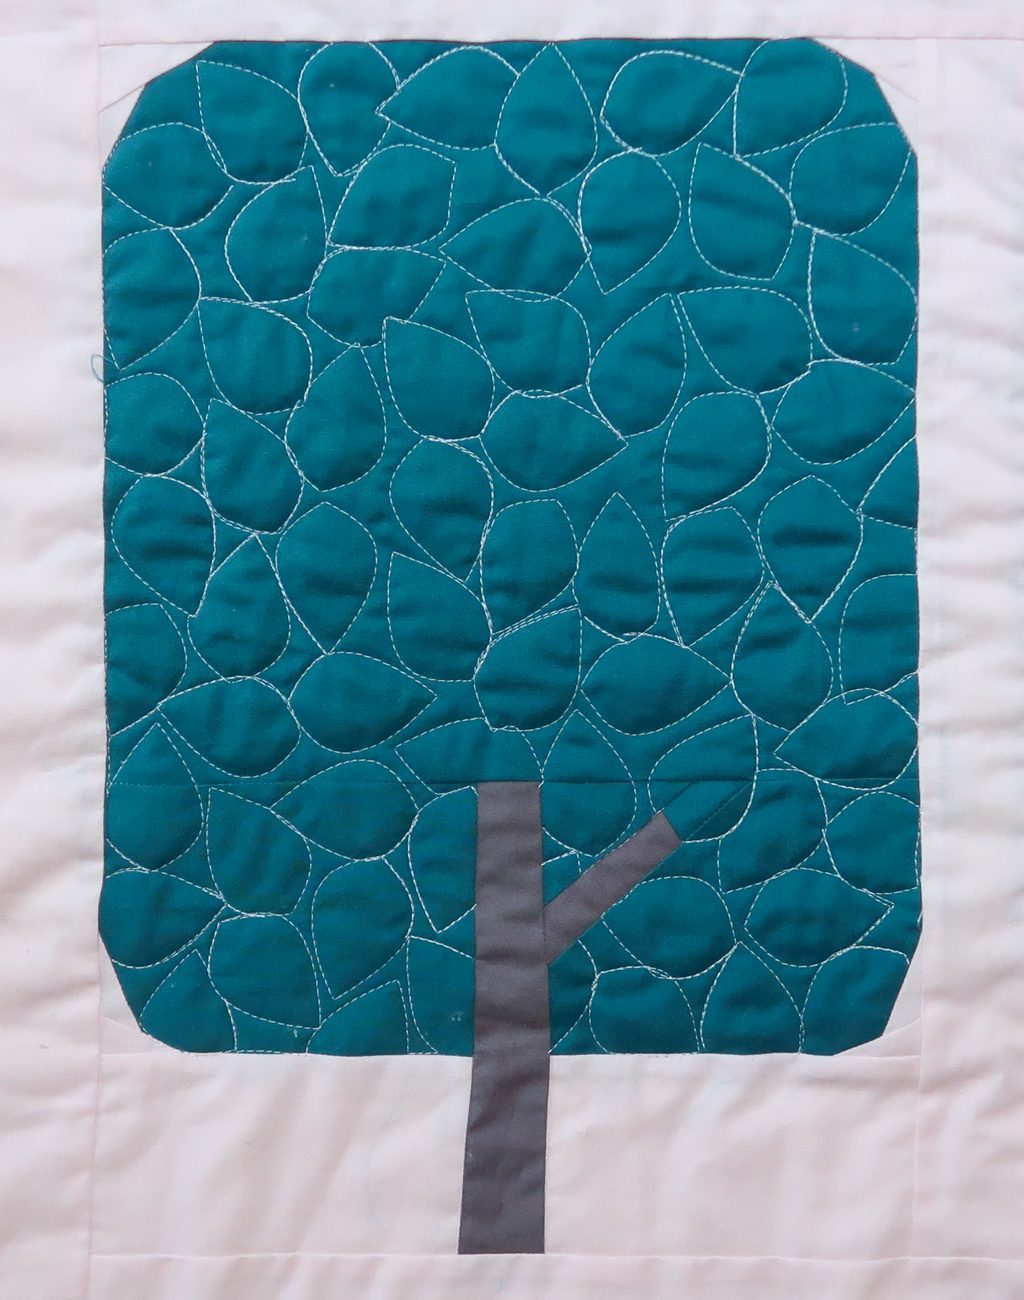
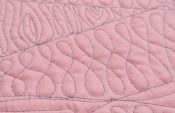
Quilting Tree 16
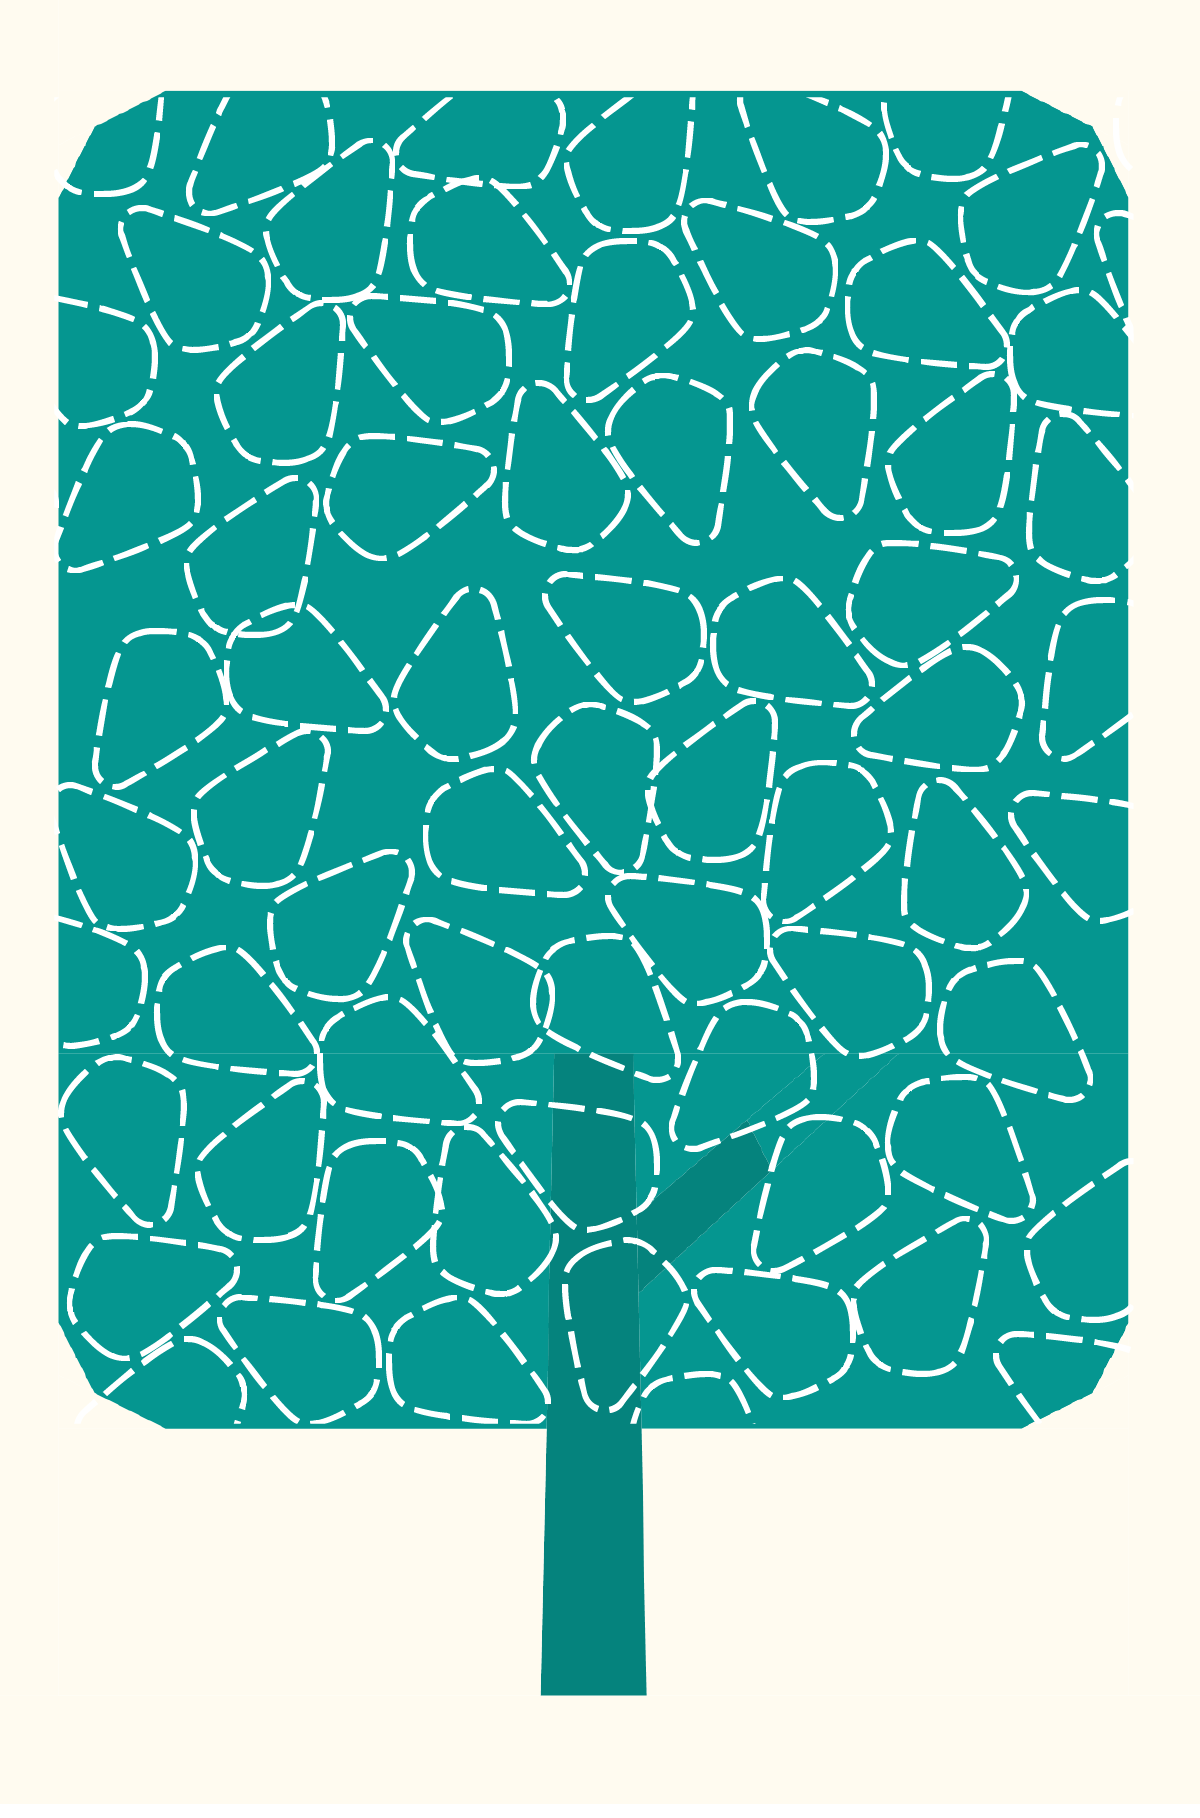
For our final tree we will use the inside of the Taj Ruler. This looked like a leaf to me. So, perfect to finish off our One Two Tree QAL right?
Start somewhere at the center of the tree and quilt one inside shape of your Taj ruler.
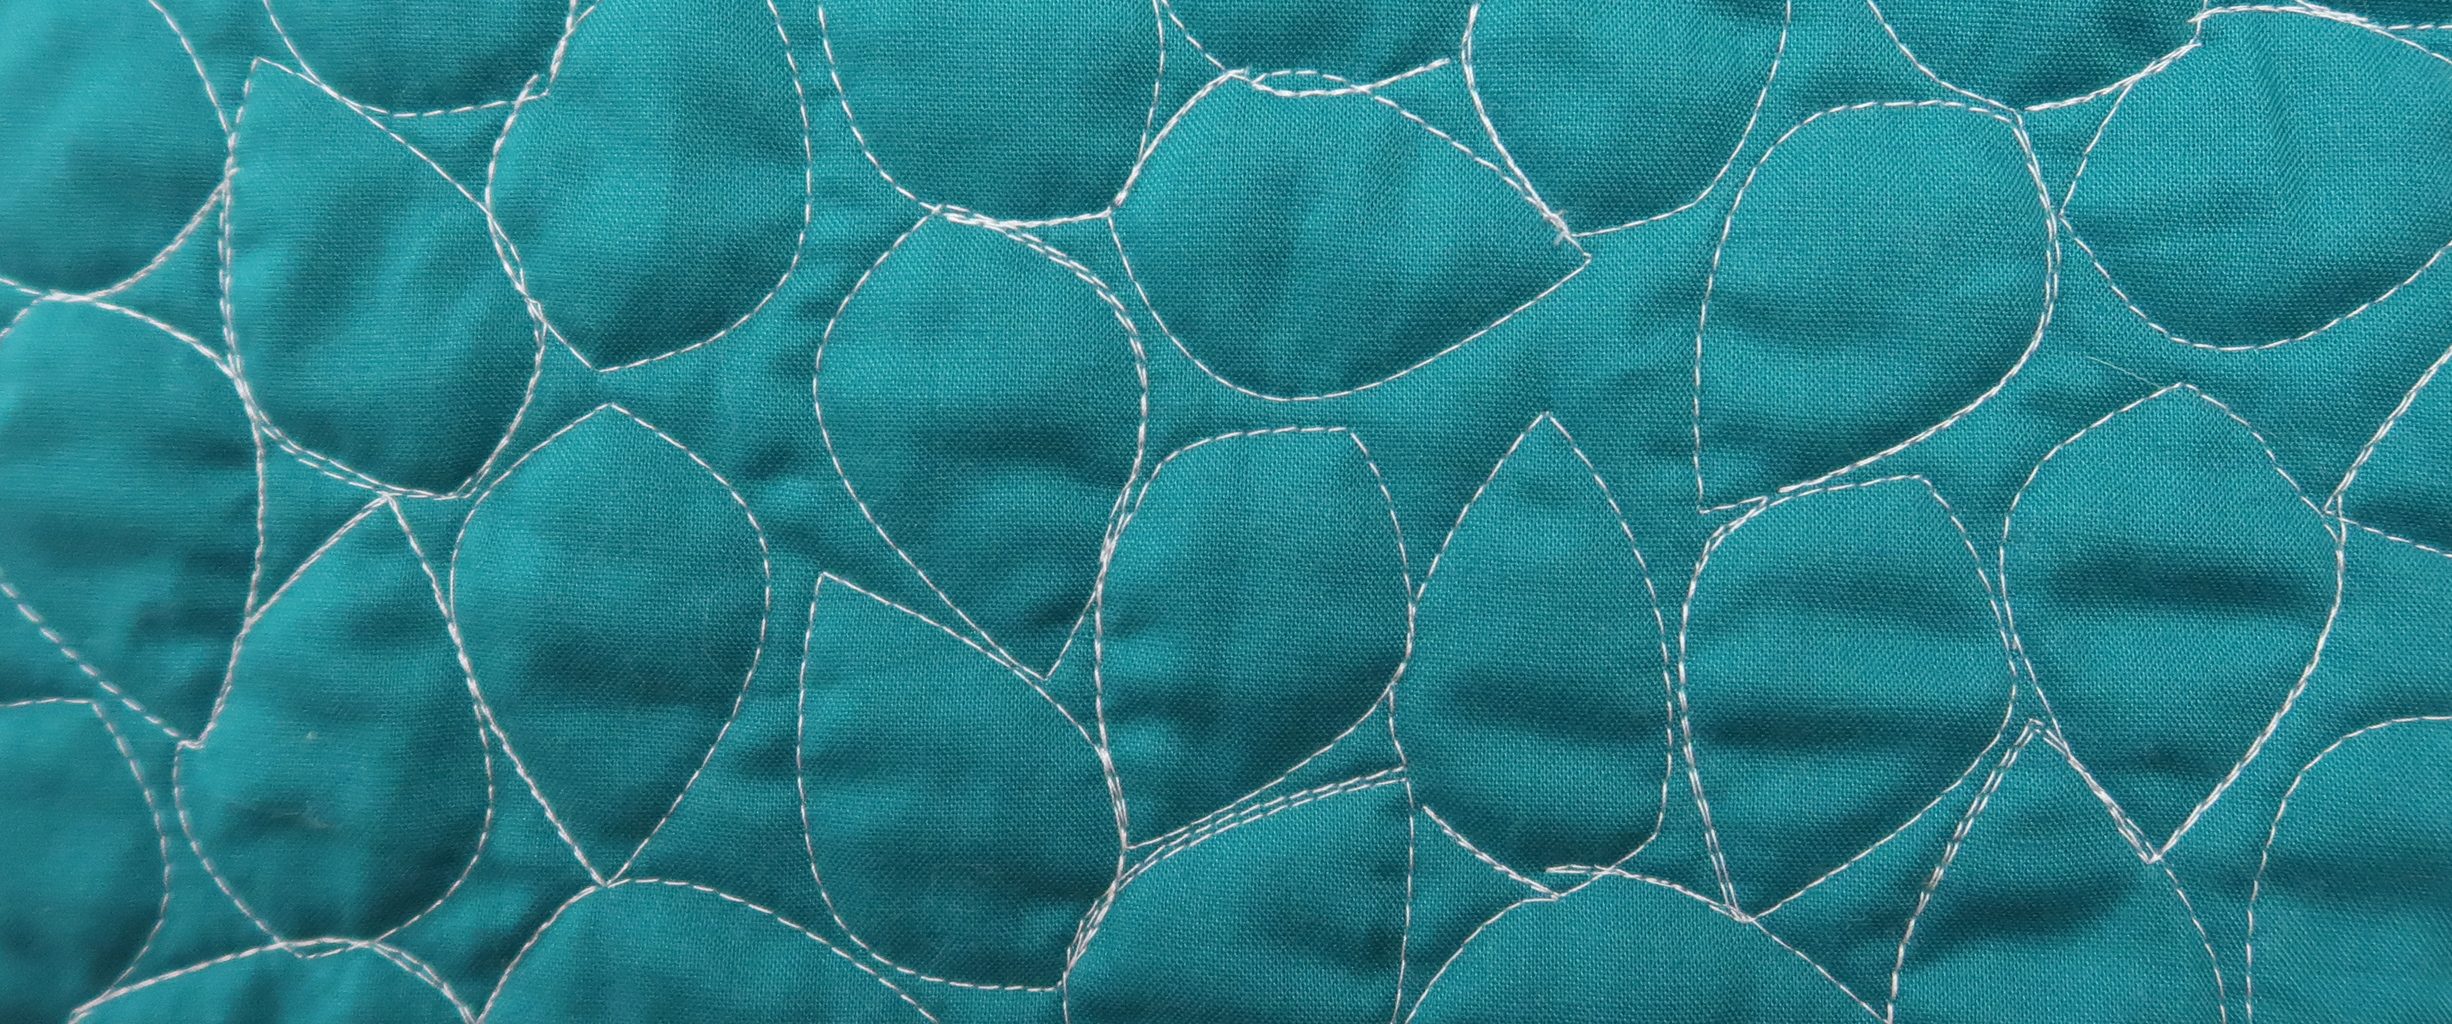
Reposition your ruler so that it is pointing away from the leaf that you just quilted. Try to position the ruler randomly, so that the leafs are not all pointing in the same direction.
When you finish a leaf, you can travel over that leaf to find a new starting position for your next leaf.
You may want to watch the video for some tips about positioning the ruler.
Alternative
In part 5 of the QAL, Flower power, I explained how you can use a circle ruler instead of the inside of the Taj ruler. You can use that technique here as well to reproduce the shape of the leafs with a circle ruler.
Without rulers you could go for a free motion quilted option with meandering and making a big leaf every now and then. Also, I’m sure you can take on a challenge to doodle something on paper with our leaf theme and try that with free motion quilting. You can do this!
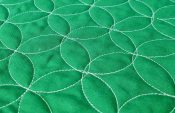
Background
In the background I chose to quilt wavy lines. I’m using the Every Wave ruler set for this. There are some options you can play with:
You can pick one wave size and quilt all the waves with that ruler. You can make them lined up / parallel or create a more random placement of the waves.
Another option is to use different wave sizes to make it more playful.
In this video I experimented with wavy rulers, maybe that helps you decide on your design.
When you don’t work with rulers you could try free motion quilting. Or use a walking foot to make wavy lines. That’s what I did in the previous QAL with a nice thick 12wt thread.
Next time
I wanted to say next week here, but next week we take a little break. Time to catch up with our quilting. In the week after that I’ll share more on making our binding. In that blog post you’ll also find the information on how to enter the give away.
The deadline for the final giveaway will be on June 23th, two weeks after the final information on making the binding.
Enjoy your final trees!
See you in two weeks,
Irene
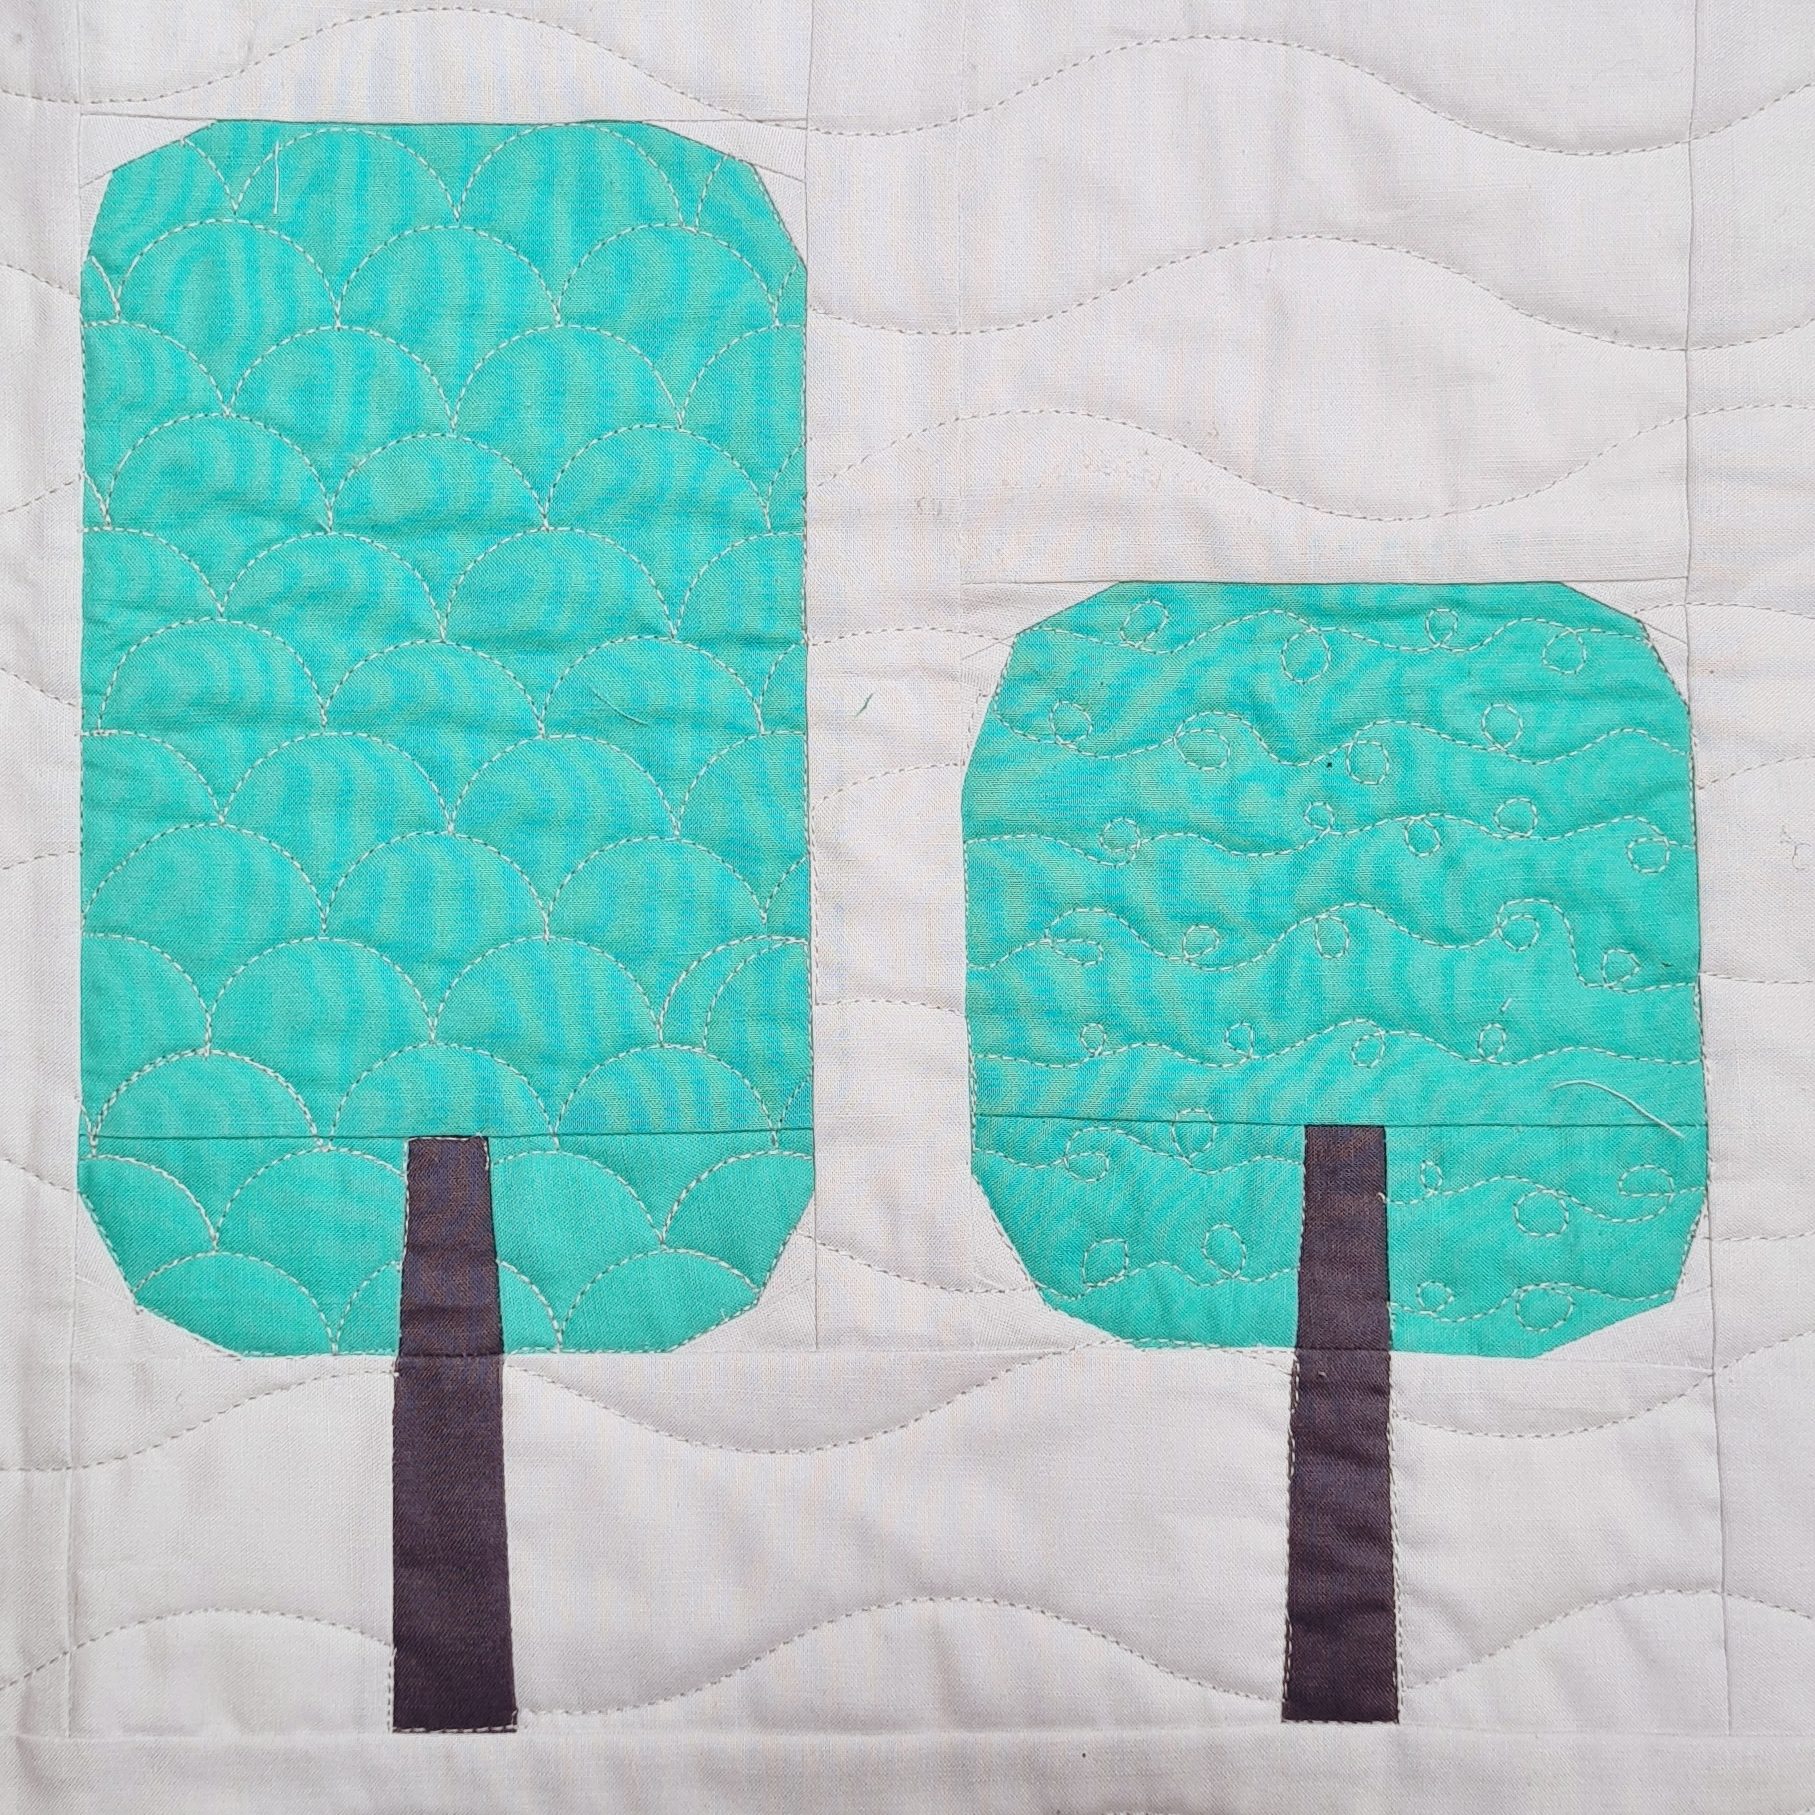
Hi Irene (& Bernina)! Thank you so much for doing this QAL! I am learning so much about quilting and about my new sewing machine. One bummer was that I ordered ALL the fun rulers and then discovered recently that they don’t work on my machine (apparently I have a “low shank” machine). And I don’t think the Amanda Murphy rulers come in low shank – BIG bummer! But I am improvising and doing more free motion. Ups and downs but I am enjoying it.Question: For the background quilting, how do you quilt a continuous wavy line when you run into trees? What about those skinny spots between the trees? I was hoping you would show that part too as I am relatively new to this. Thanks for your help!
Dear Darla,
Too bad the rulers do not work with your machine! But it is also great if you think of your own way 🙂
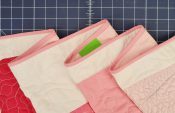
with the skinny spots, I am guessing you mean this place? I can see her lines and traced them so one can see them better. I think it makes it a lot faster by following the tree’s side and not having to start and stop each time, I really like the idea 🙂
Hope this helps!
Hi Darla,
Almost, if not all of Amanda’s rulers also come in low shank. If you’re having trouble finding them, you could always check out her website. She always encourages everyone to support their local shops, but she tries to keep a few patterns & rulers in stock for those that can’t find them locally. Her website is: http://blog.amandamurphydesign.com
Good luck!
Sandy
Thanks Irene, I love you’re quilting designs and even though I don’t have any rulers I have managed to follow you along and enjoy the project. It has been a great way to learn and practice free motion quilting. I now have a quilt to refer back to. Cheers Lorraine from New Zealand
Thank you Irene! I have really enjoyed this process and hope with practice I will get better.
I’m so excited! This has been a truly amazing experience!! I’m far behind because we shopped and are finalizing the purchase of a home.. back next weekend to catch up on the last four weeks. 😁 thank you Irene for all your encouragement and excellent teaching!!