 BERNINA Corporate Blog -
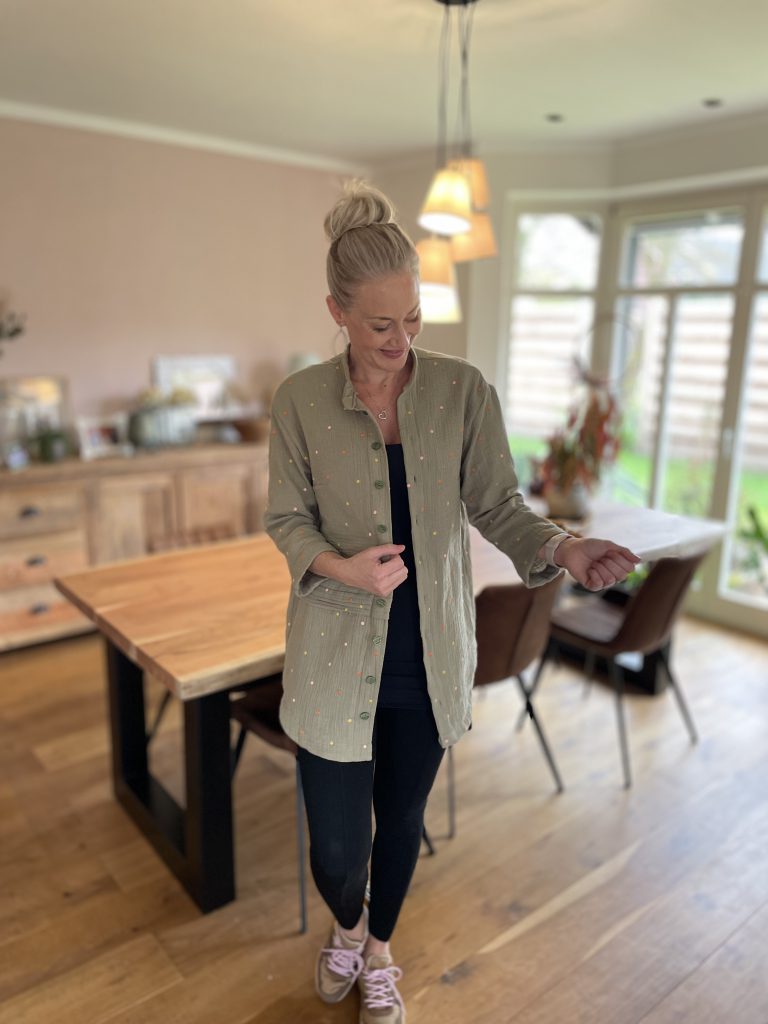
A light an airy must have shirt for every summer wardrobe. Whilst scrolling through the patterns from BERNINA magazine “Inspirations” I came across this beauty of a pattern. The Fabiana Blouse from issue inspiration 1/2022.
Pattern for the classic blouse
Great for the office and for a stroll in the city, the classic blouse gets a few highlights such as asymmetry, sewn-down folds and cuffs on the fashionable three-quarter sleeves. I have attached a link for the pattern below.
You will find the pattern here
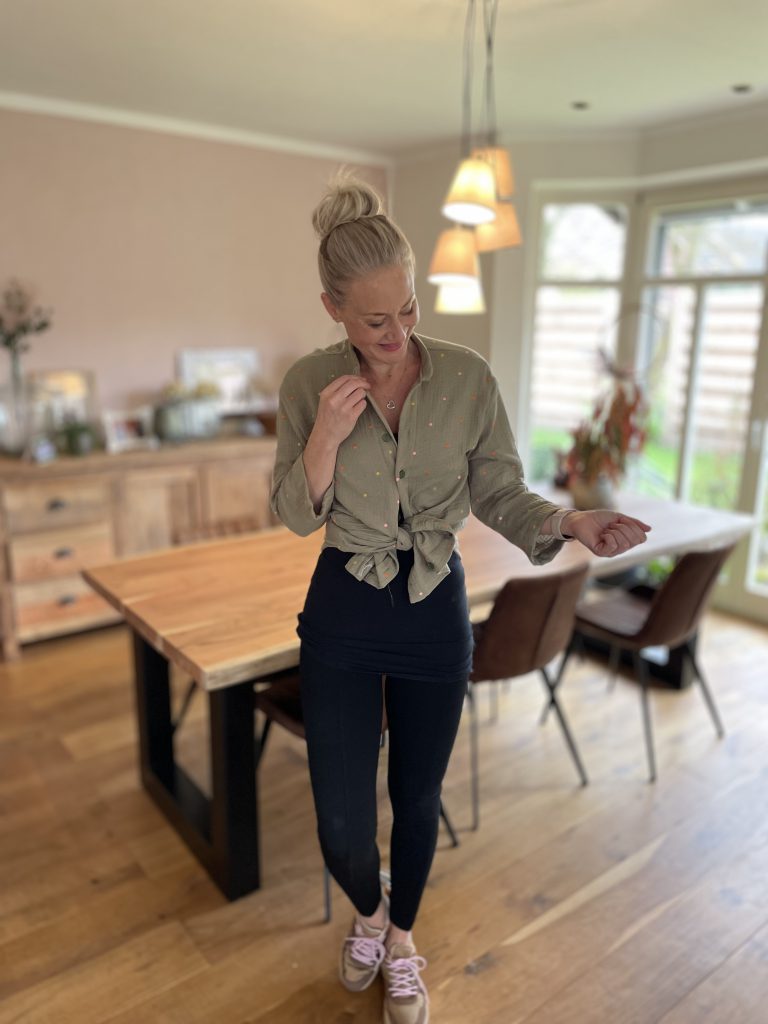
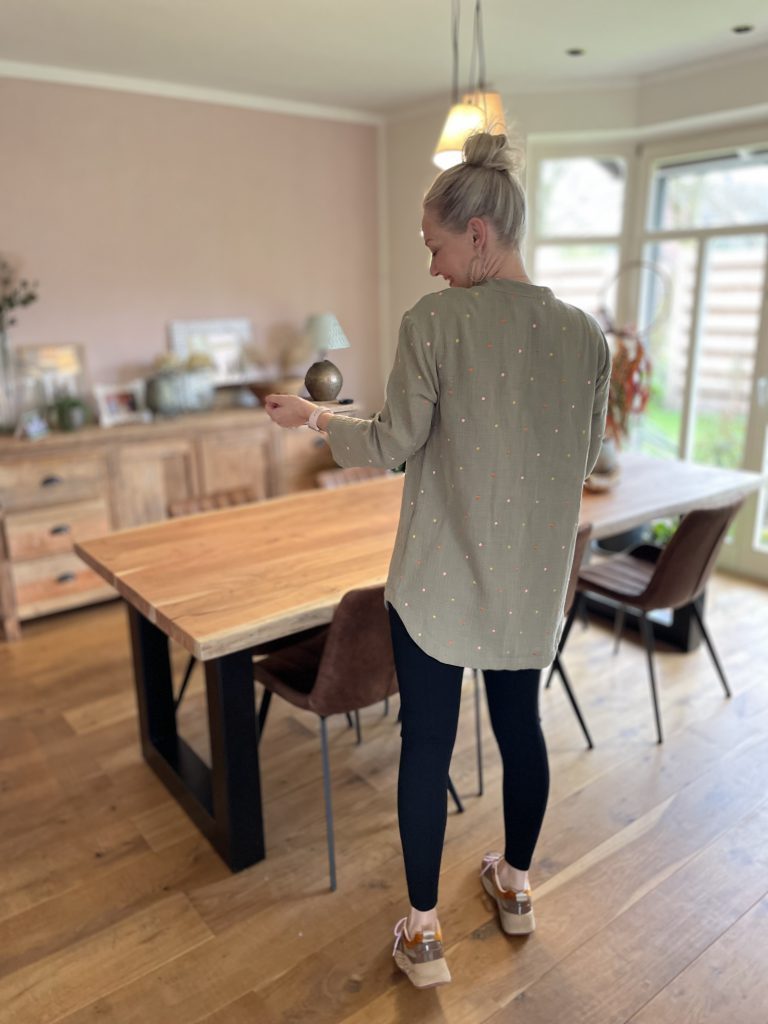
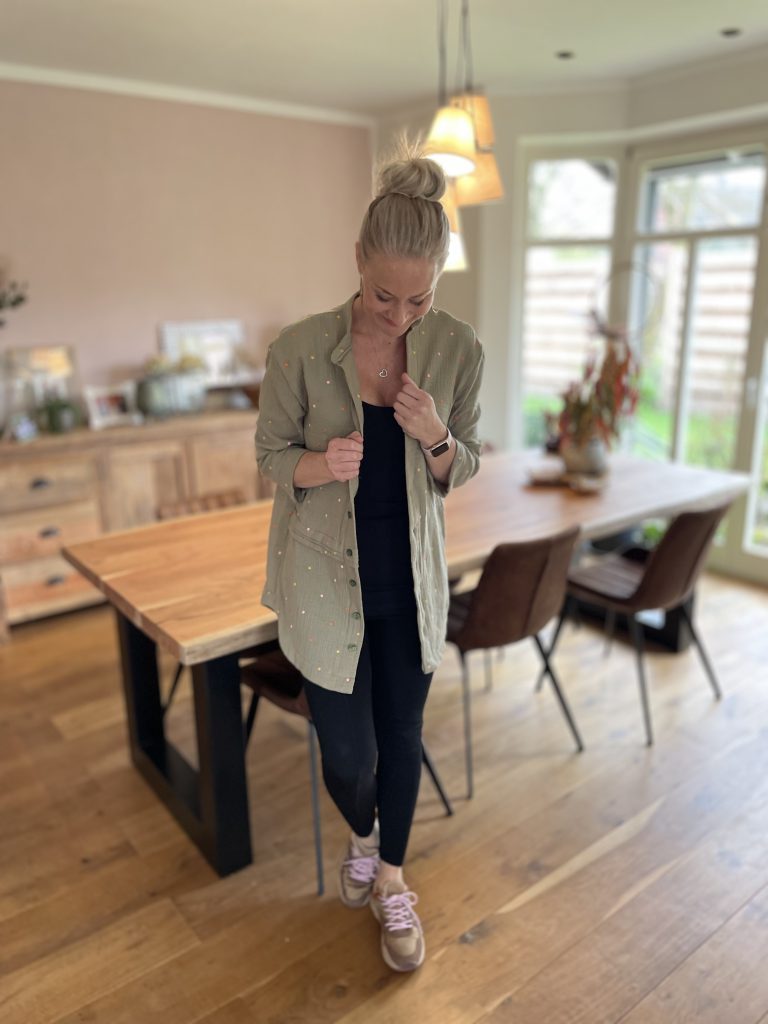
The versatile style can be worn with a skinny pair of jeans with cute sandals or with leggings and trainers for a more relaxed look.
Pattern
I downloaded the pattern as a pdf, and printed all the pages out onto A4 (please dont forget to check that your print set up is set to actual size or 100% before printing) Ive made that mistake before! and then check the check square with a ruler to make sure the page is printed to size before continuing. I then got on with sticking all my sheets together to create a wonderful jigsaw of paper and celloptape and using all 4 corners of my living room in the process! ( I often find a glass of wine helps at this stage!)
I measured myself and compared this to the sizing table that the pattern comes with and worked out my size, I used a size 38. I then cut out the pattern using the relevant line indication for my size. Once all cut out and feeling a little more organised I laid all the pattern pieces out onto the fabric ensuring that it all fitted.
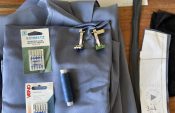
Fabric for the sewing project
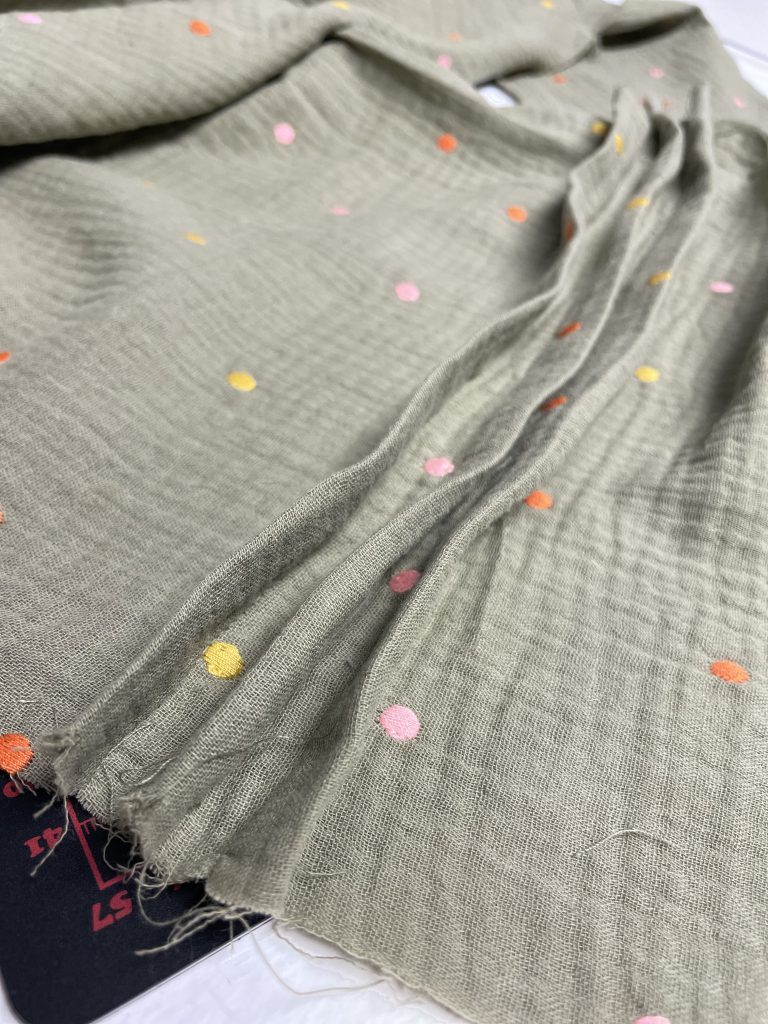
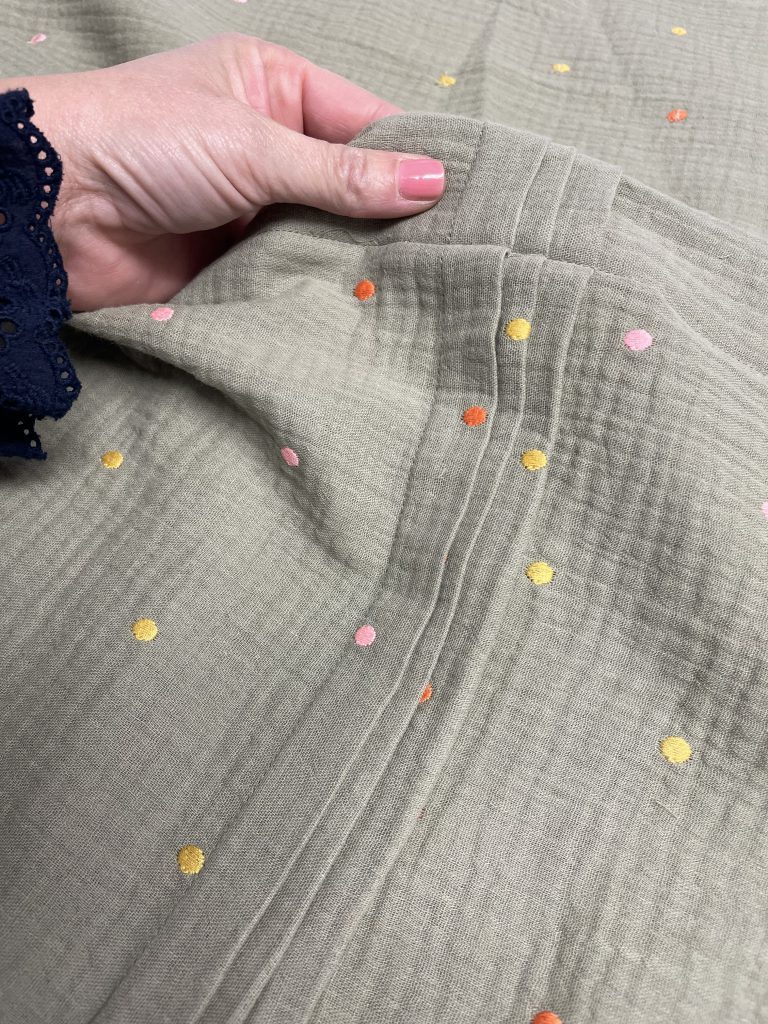
I had already had my eye on the fabric I wanted to use for a while now. Its a gorgeous Double Gauze muslin quality in army green with a polka dot all over embroidery in cute sherbet colour tones. fabric from der Buntspecht.
Muslin is becoming quite a trend fabric this SS2022, Double gauze fabric is a very lightweight cotton fabric that has a very loose weave. Think of a baby burp cloth, but a much nicer quality. The fabric is breezy, soft, lightweight, and has an amazing texture.
Forget conventional wisdom, sewing double gauze is a breeze! The embossing of the double gauze allows to have a guideline when sewing. This makes it easier to find your way around. However, double gauze is a fabric that tends to move when sewing. So hold your double gauze and sew gently! A little plus for the material: double gauze is very easy to cut. For the more experienced sewers, it is possible to cut it without scissors by simply following the embossed line.
Sewing the “Fabiana” blouse
All pattern pieces cut out and Im ready to sew! I tend to read through all the instructions before working with a new pattern to familiarise myself with the terminology that they use. I found the instructions very informative and easy to work with. I then threaded up my sewing machine using a matching thread and my overlocker with a similar shade… all set to go!
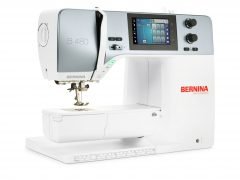
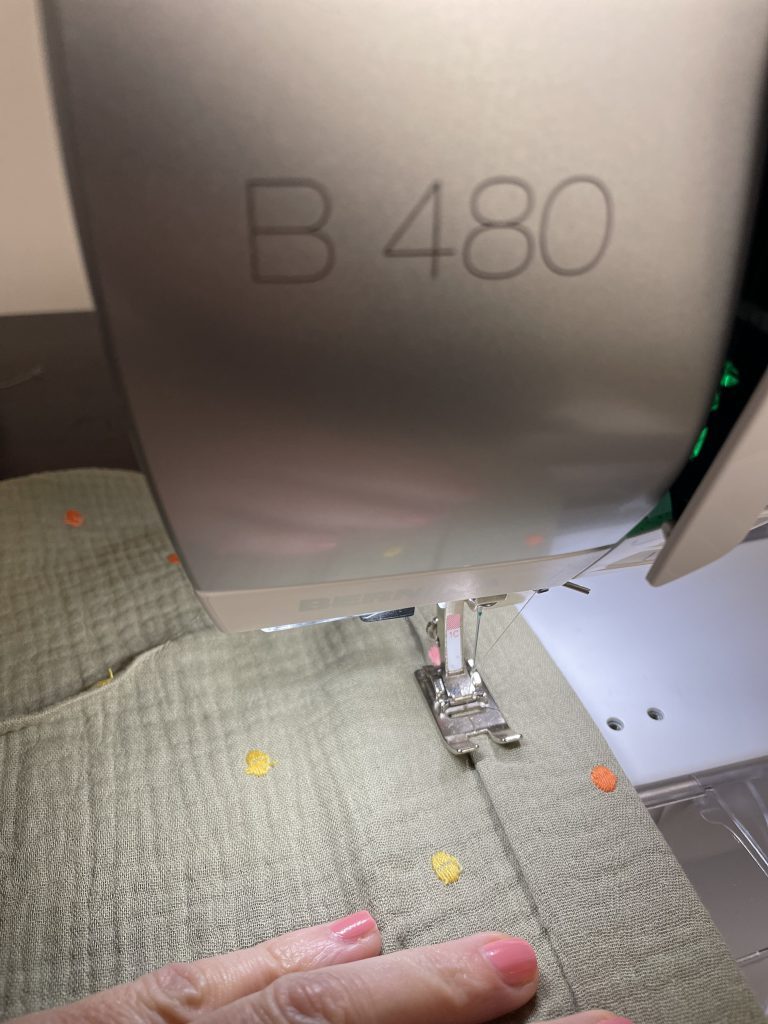
To sew my blouse I am using my #BERNINA 480 and have replaced the needle for a shiny new sharp one!
I start by cutting out and ironing on my fusible interfacing, to the collar and front plackets on both sides. this will make the fabric more stable for the button closure. I used Vlieseline H180
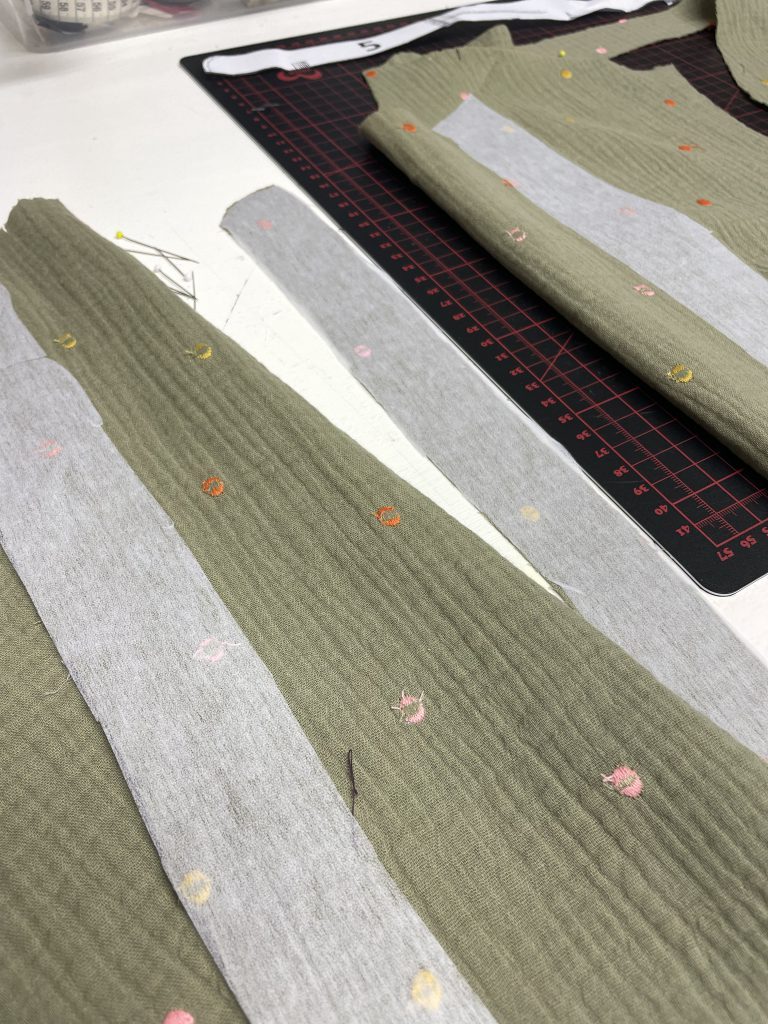
Interfacing to the front placket and collar
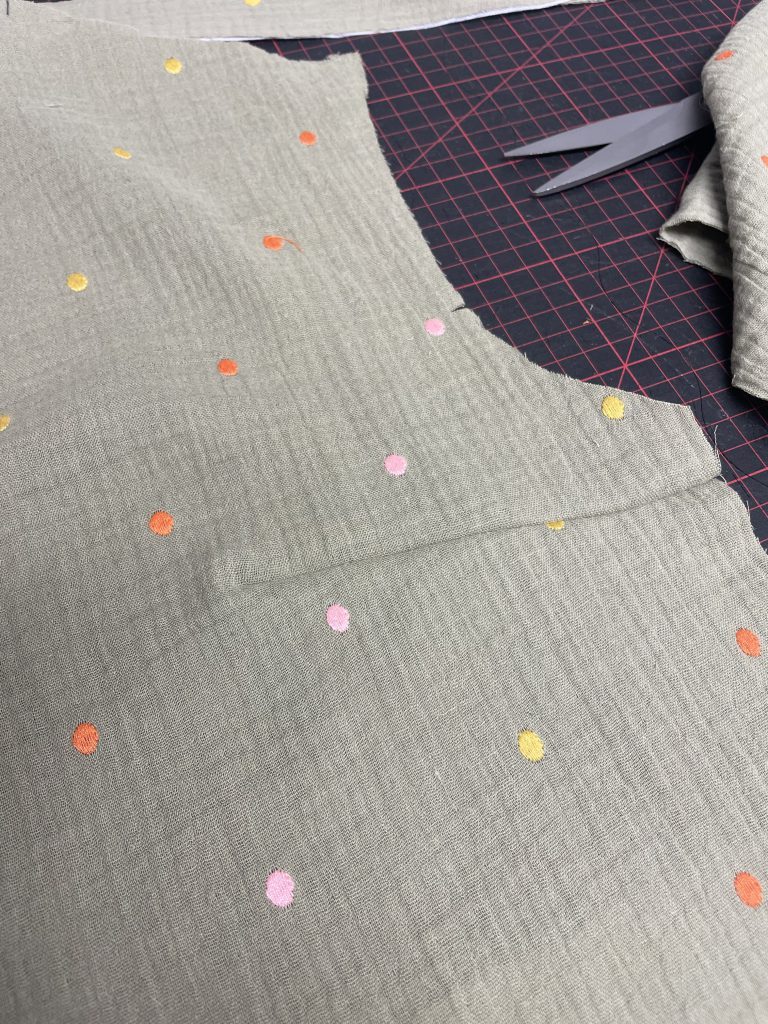
I then move onto folding my front folds using the marked clipped lines on the pattern, ironing, pining and sewing them into place them into place. ( please note that the folds are only added to one side of the blouse)
Folds
Top stitched folds
I then add the bust darts to both the front panels and move onto sewing the shoulder seams, finishing the edges with my overlocker as a go. If you dont have an over locker, use a zig zag stitch on your sewing machine. This process is to prevent the unravelling of your fabric.
Front darts
My next step was to close the side seams and Hem the blouse. I decided not to add a concealed button placket ( the option and instructions are available, instead I wanted to expose my beautiful matching buttons! so I folded using the markings the front button placket, pressed and top stitched.
Top stitching my front placket
I really wanted to create a smooth curve for my hem, so I created a facing. To create this, I traced the curve of the shirt hem from the front and back pattern pieces, and used a depth of 5 cm. I sewed the 3 pieces together and overlocked the top edge. I then added this piece to the hem, pressing it and top stitched.
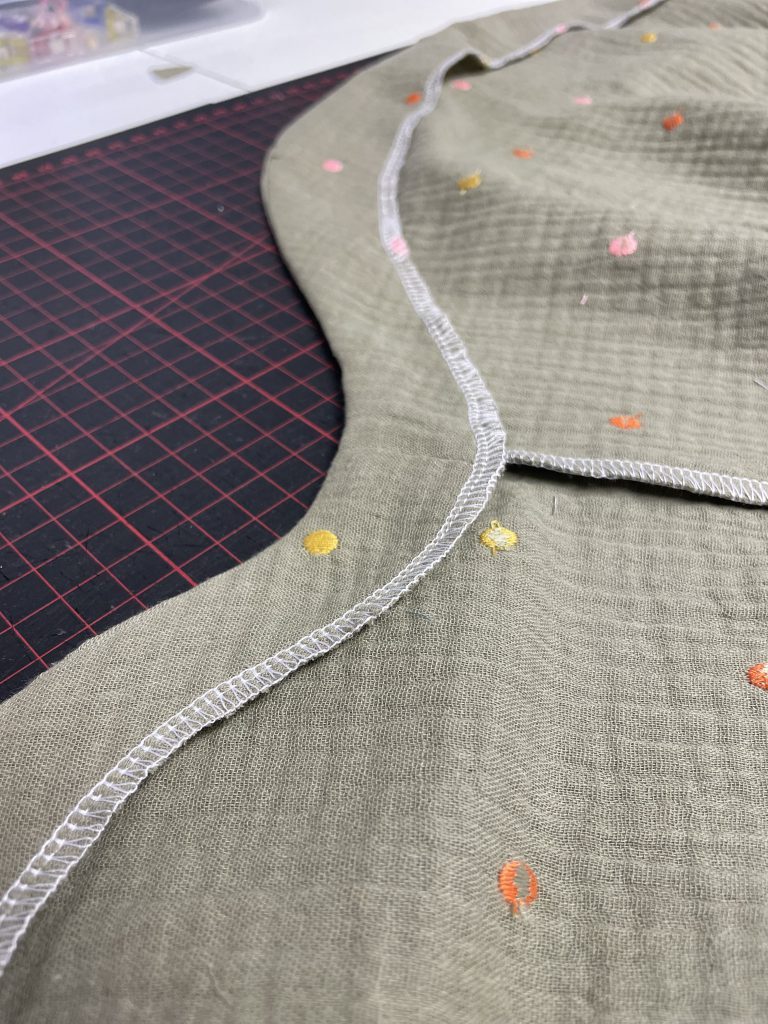
Curved hem facing

curved hem facing
Sewing the collar and top stitch
My next step was to attach the collar and top stitch, this was a little tricky but working slowly and with the help of my trusty iron I cracked it. Next, the sleeves, firstly I hemmed the sleeves, closed them together and attached the sleeve head to the blouse, using the overlock on all finished seams as I went.
The grand finale!! its Button time! This seems to also ways be a nerve-racking experience! Ive finished my garment and if the buttonholes go wrong, it could reduce me to tears!!!
I must say, the Bernina B850 has a magical automatic button sewing programme which still amazes me after nearly a year of using it!
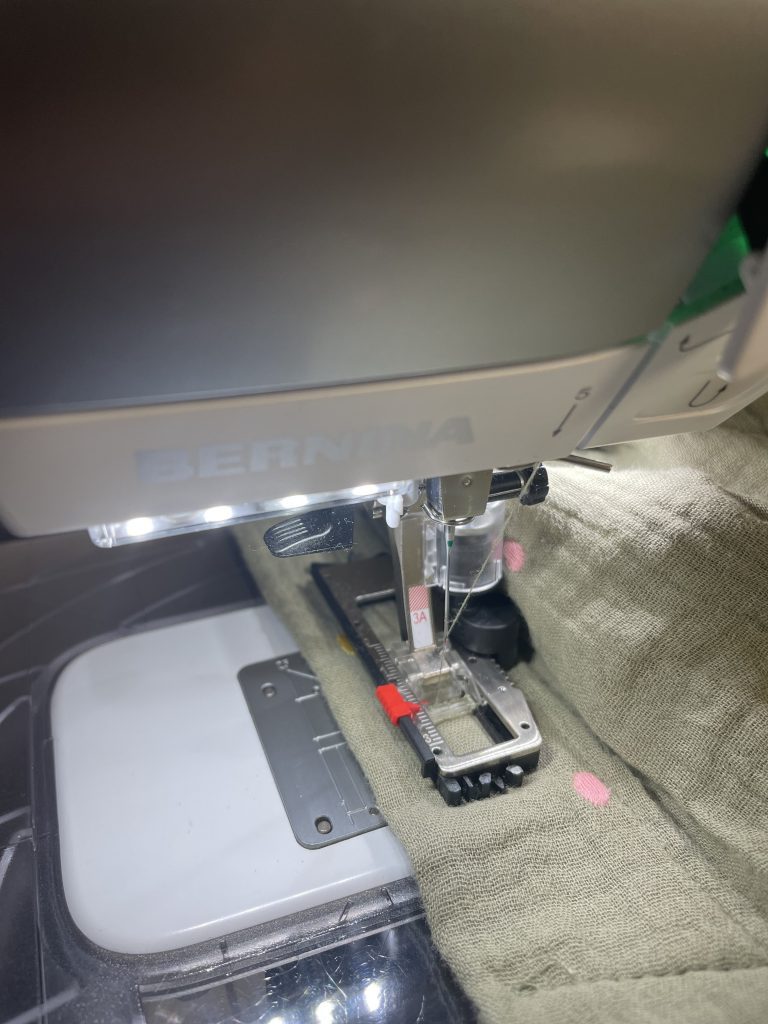
Automatic Buttonholes
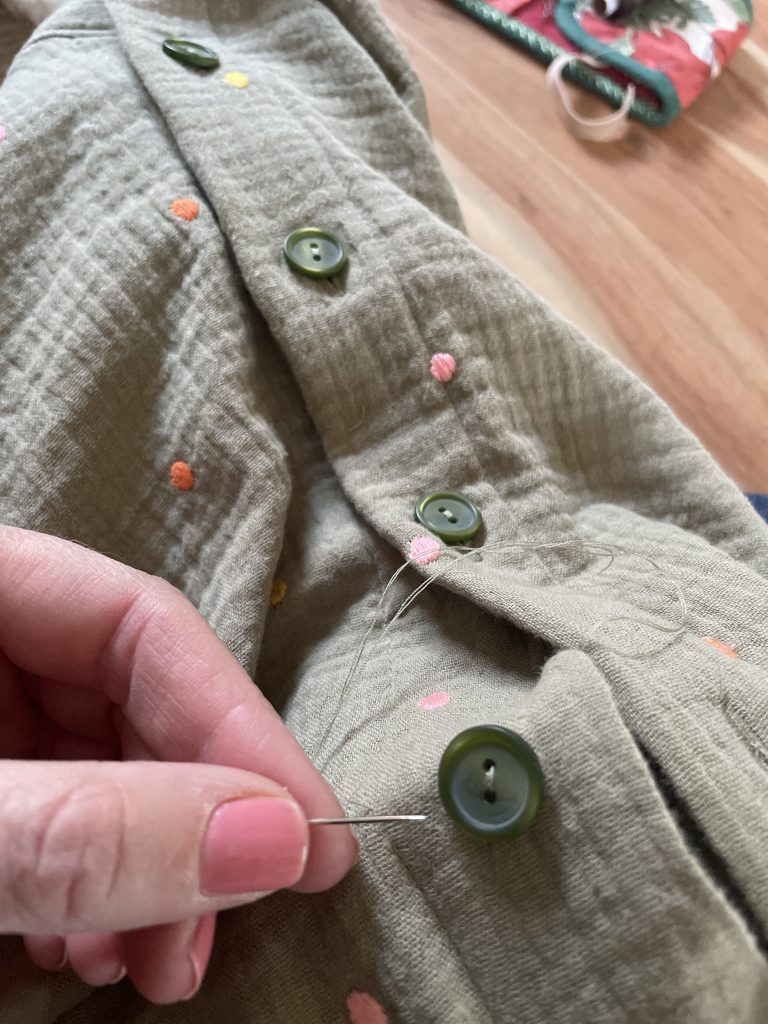
hand stitching my buttons into place
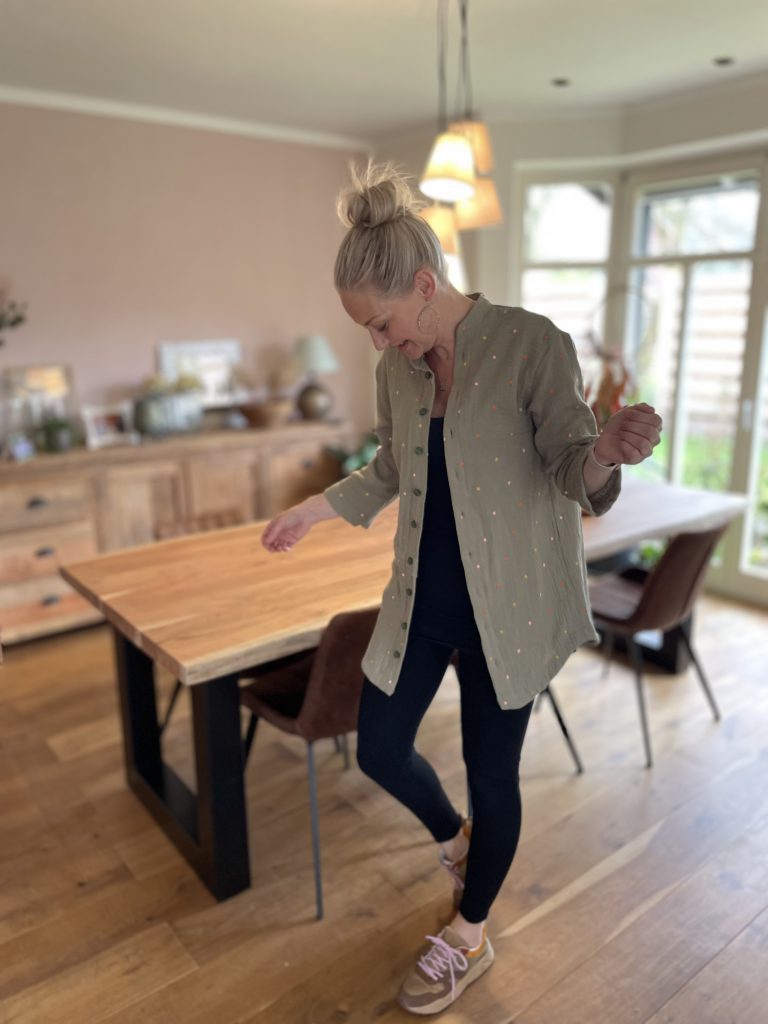
Finished, I am wearing my cute blouse with leggings and a vest, styling wise, you could even tie the front together and team it with some high rise jeans…

Get some more inspiration
Further photos and inspiration can be found on my Instagram page: Eversewme
Enjoy sewing….


0 Responses