 BERNINA Corporate Blog -
Adjust a T-shirt on the overlock/coverlock L890 for a great summer style. When using the clear Overlock/Combostitch Foot #C27 you have a good view on your work. In this blogpost I will show you a quick method to adjust the side seam and sleeve and to secure the overlockthreads at the beginning and the end of the seam. For a real neat adjustment, you would unpick the coverseam at the bottom of the T-shirt and redo them after adjusting (with a coverstitch or twin needles). This is a quick method for the 18 T-shirts I wanted to adjust.
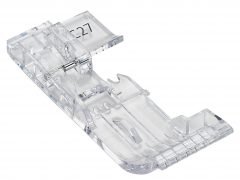
Clear Overlock/Combostitch Foot #C27
What do you need to adjust a T-shirt on the overlock:
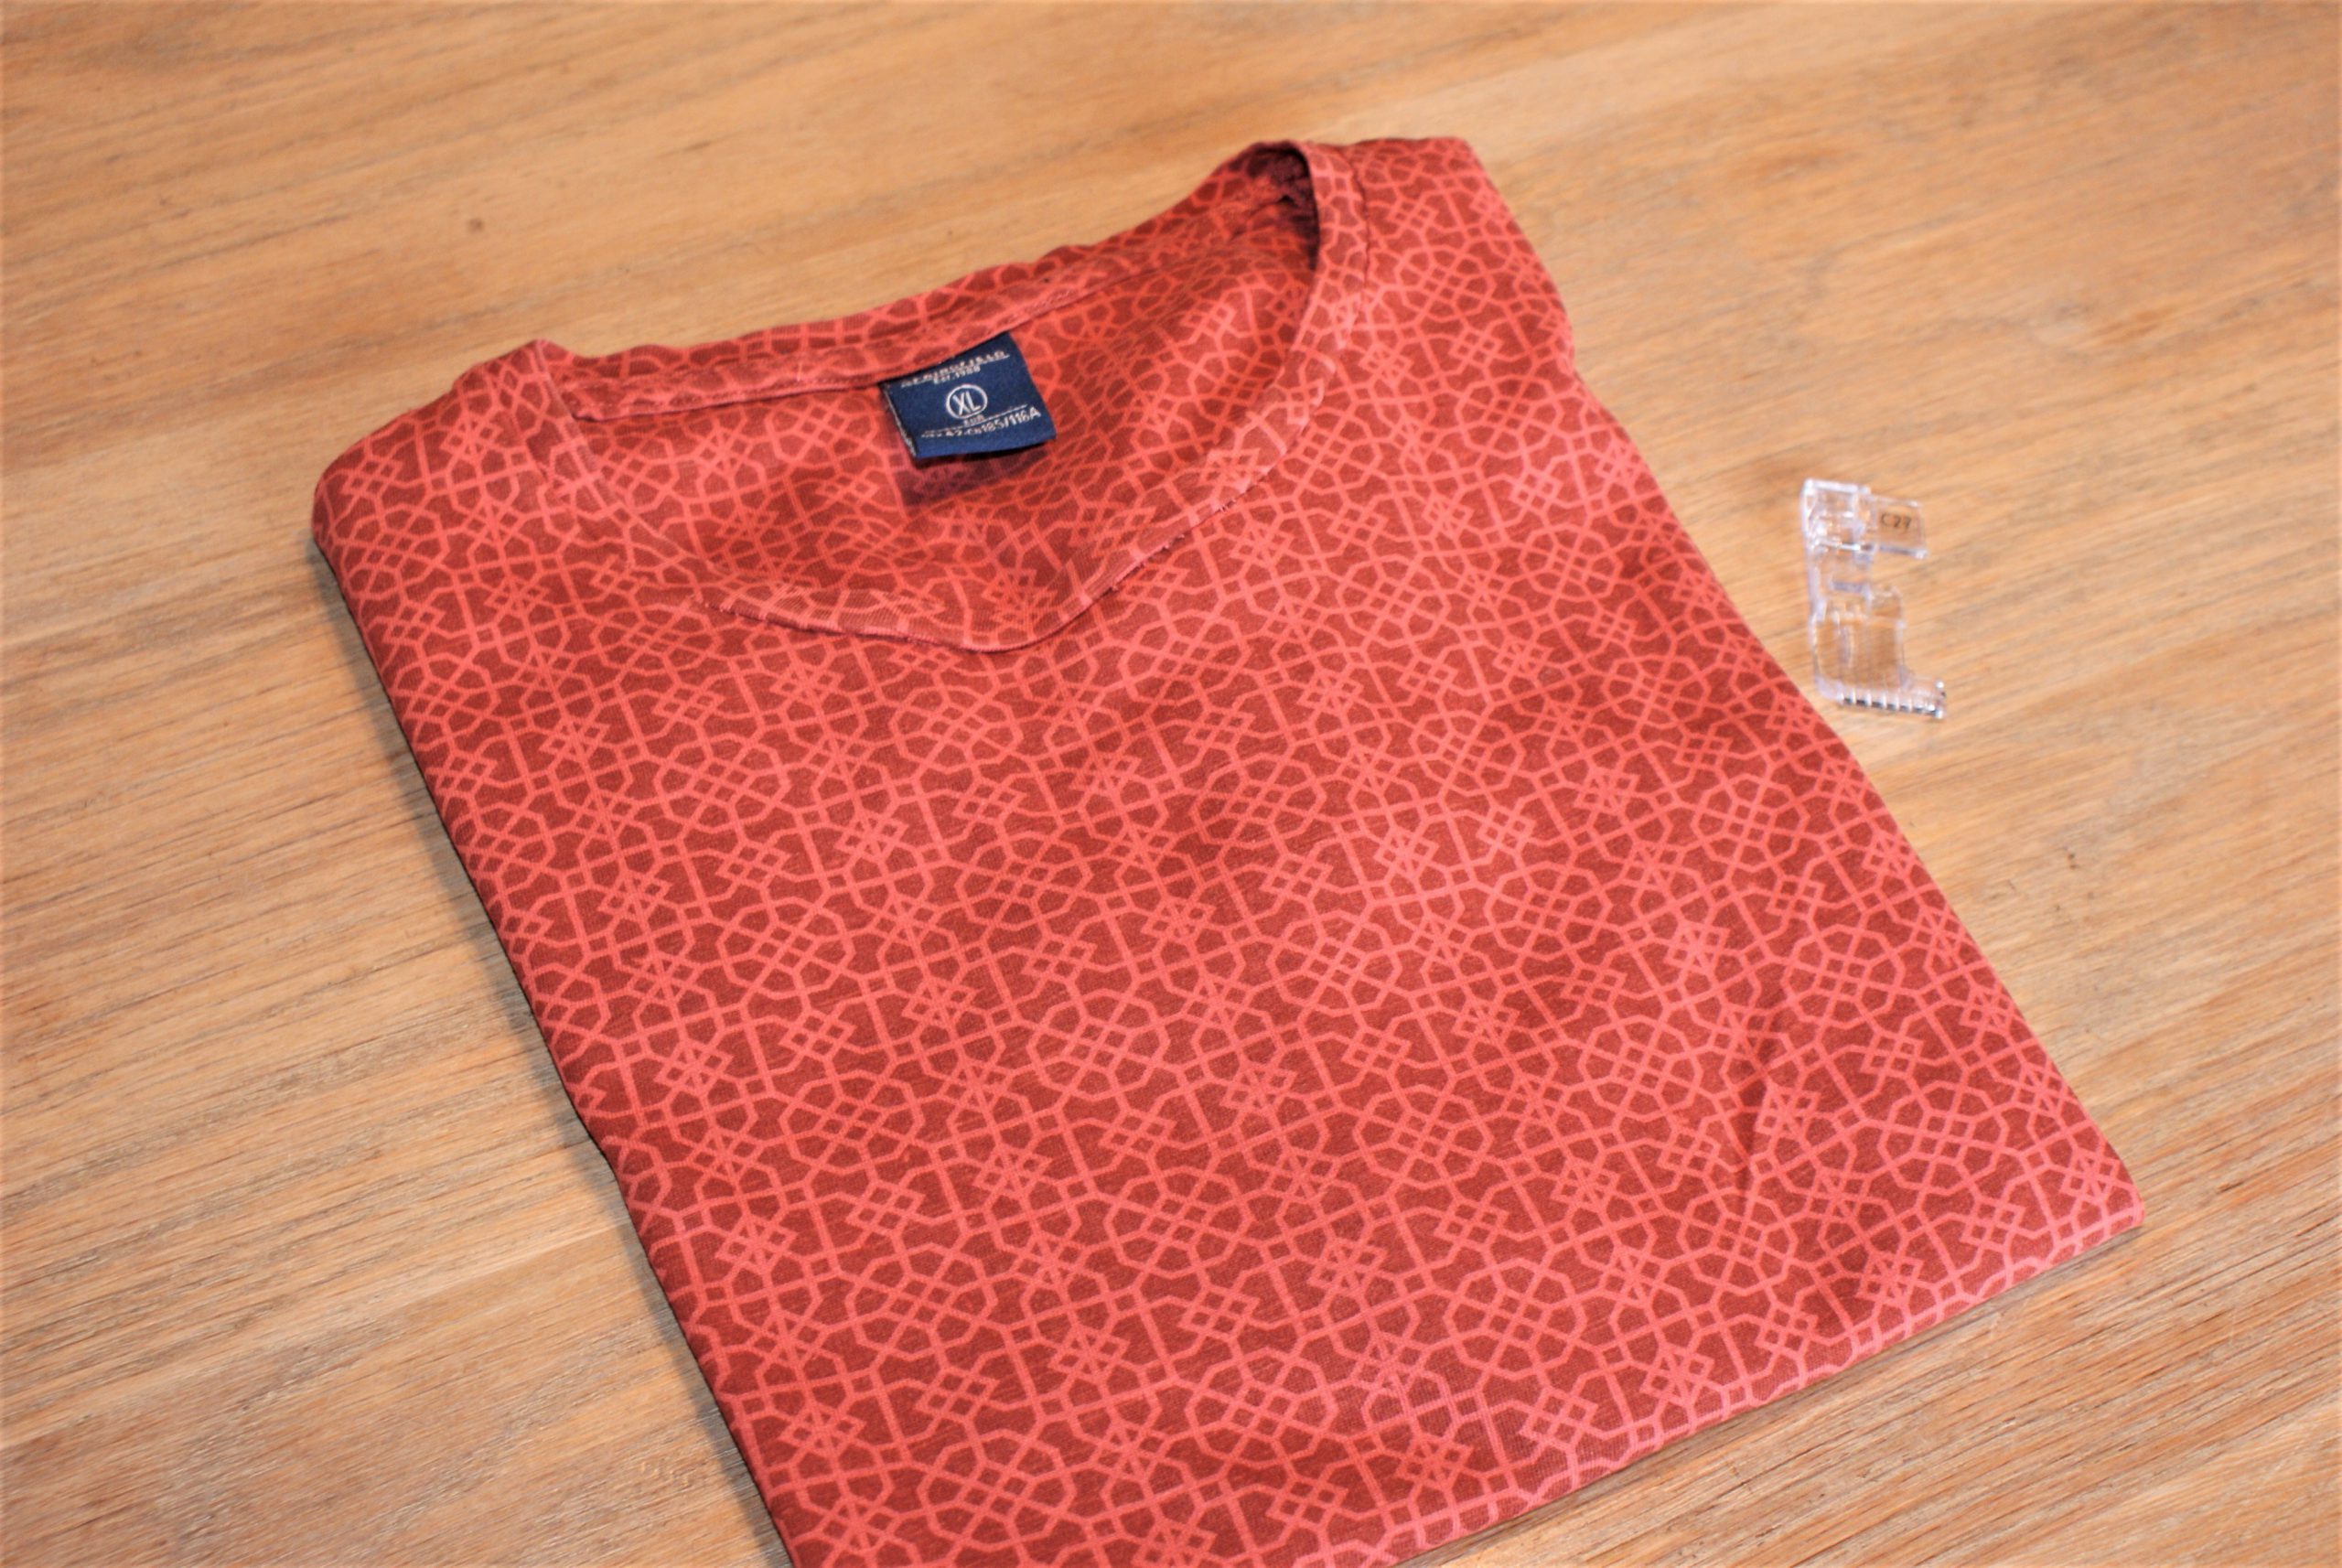
- A wide T-shirt
- A heat erasable pen to mark the new size.
- Mettler Seralene thread
- The clear foot C27
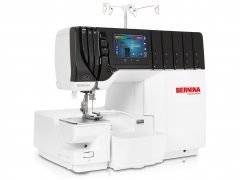
- The BERNINA L 890
Watch this video to learn more about the clear foot C27:
How to adjust the T-shirt:
Mark the new size. Continue the line to the sleeve if it needs to be adjusted as well.
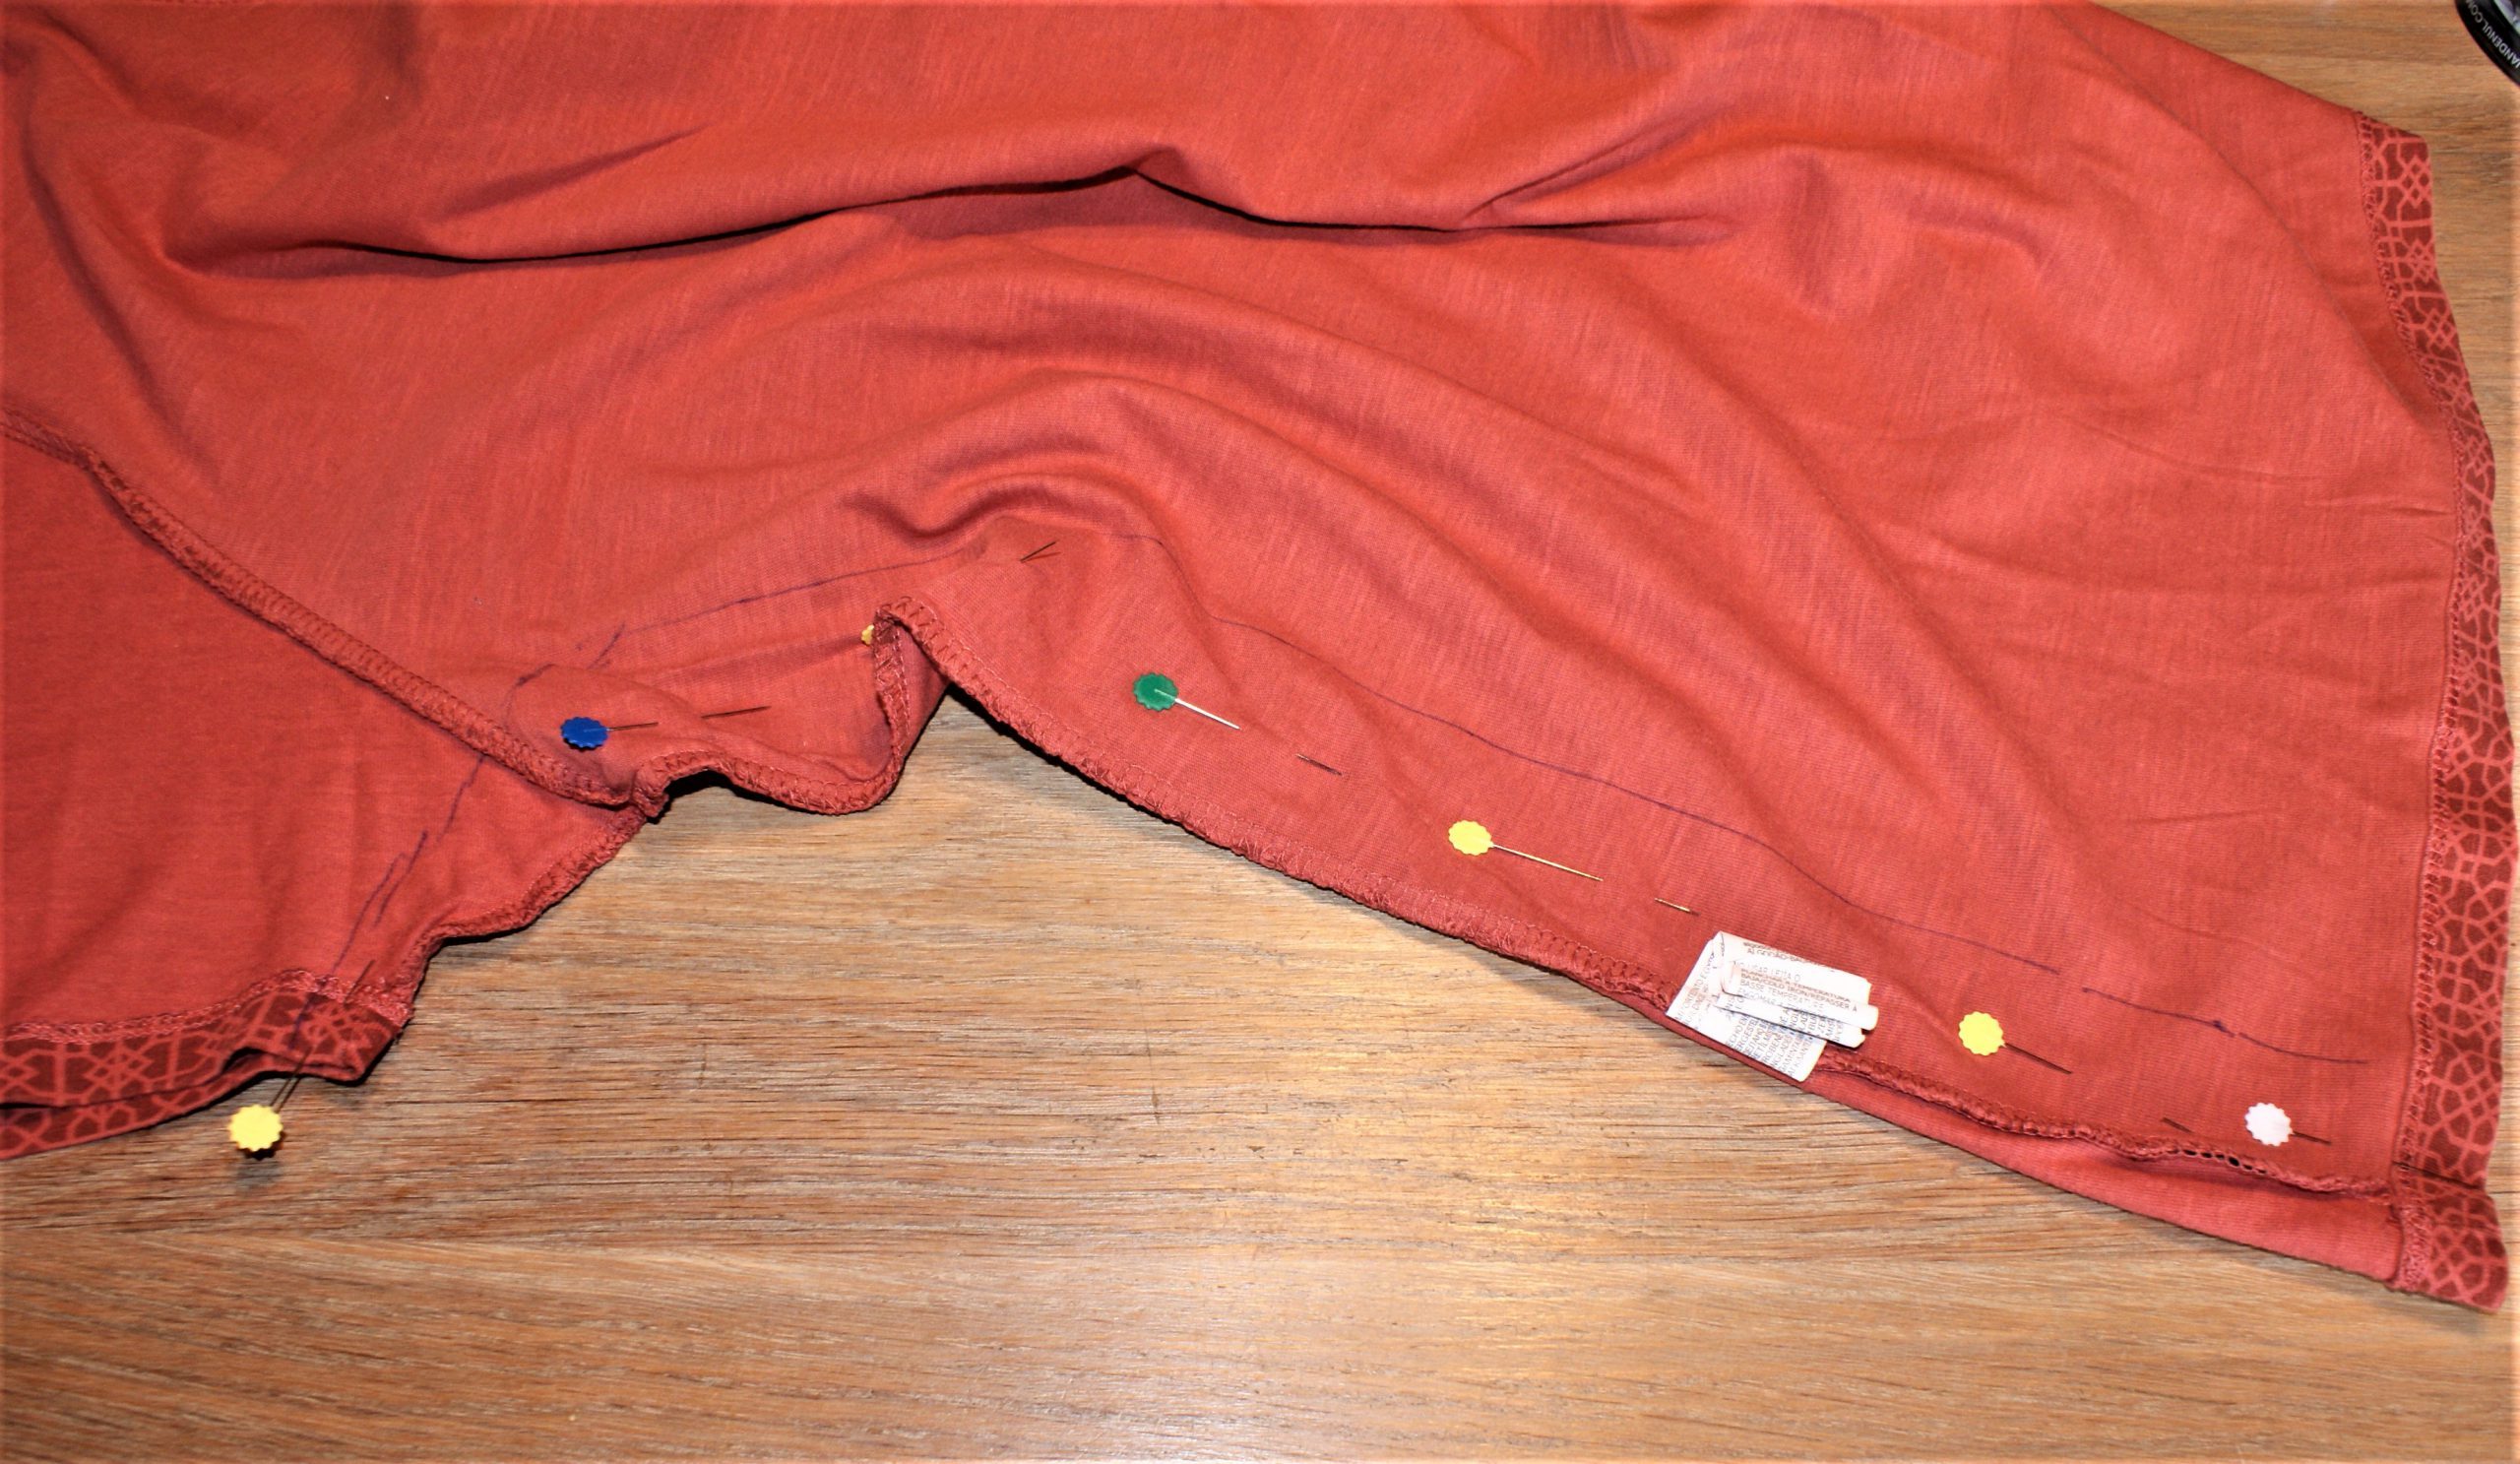
Be sure to remove pins in time before the overlock knife hits them.
Start sewing the side seam and position the drawn line right under the left needle of the machien. That’s where the seam will come.

Sew the seam for 0,5 cm in the fabric. Your fabric will match the end of the MTC tongue. Stop in needle down position.
Your machine doesn’t have the MTC feature? Only sew the first stich in the fabric than.
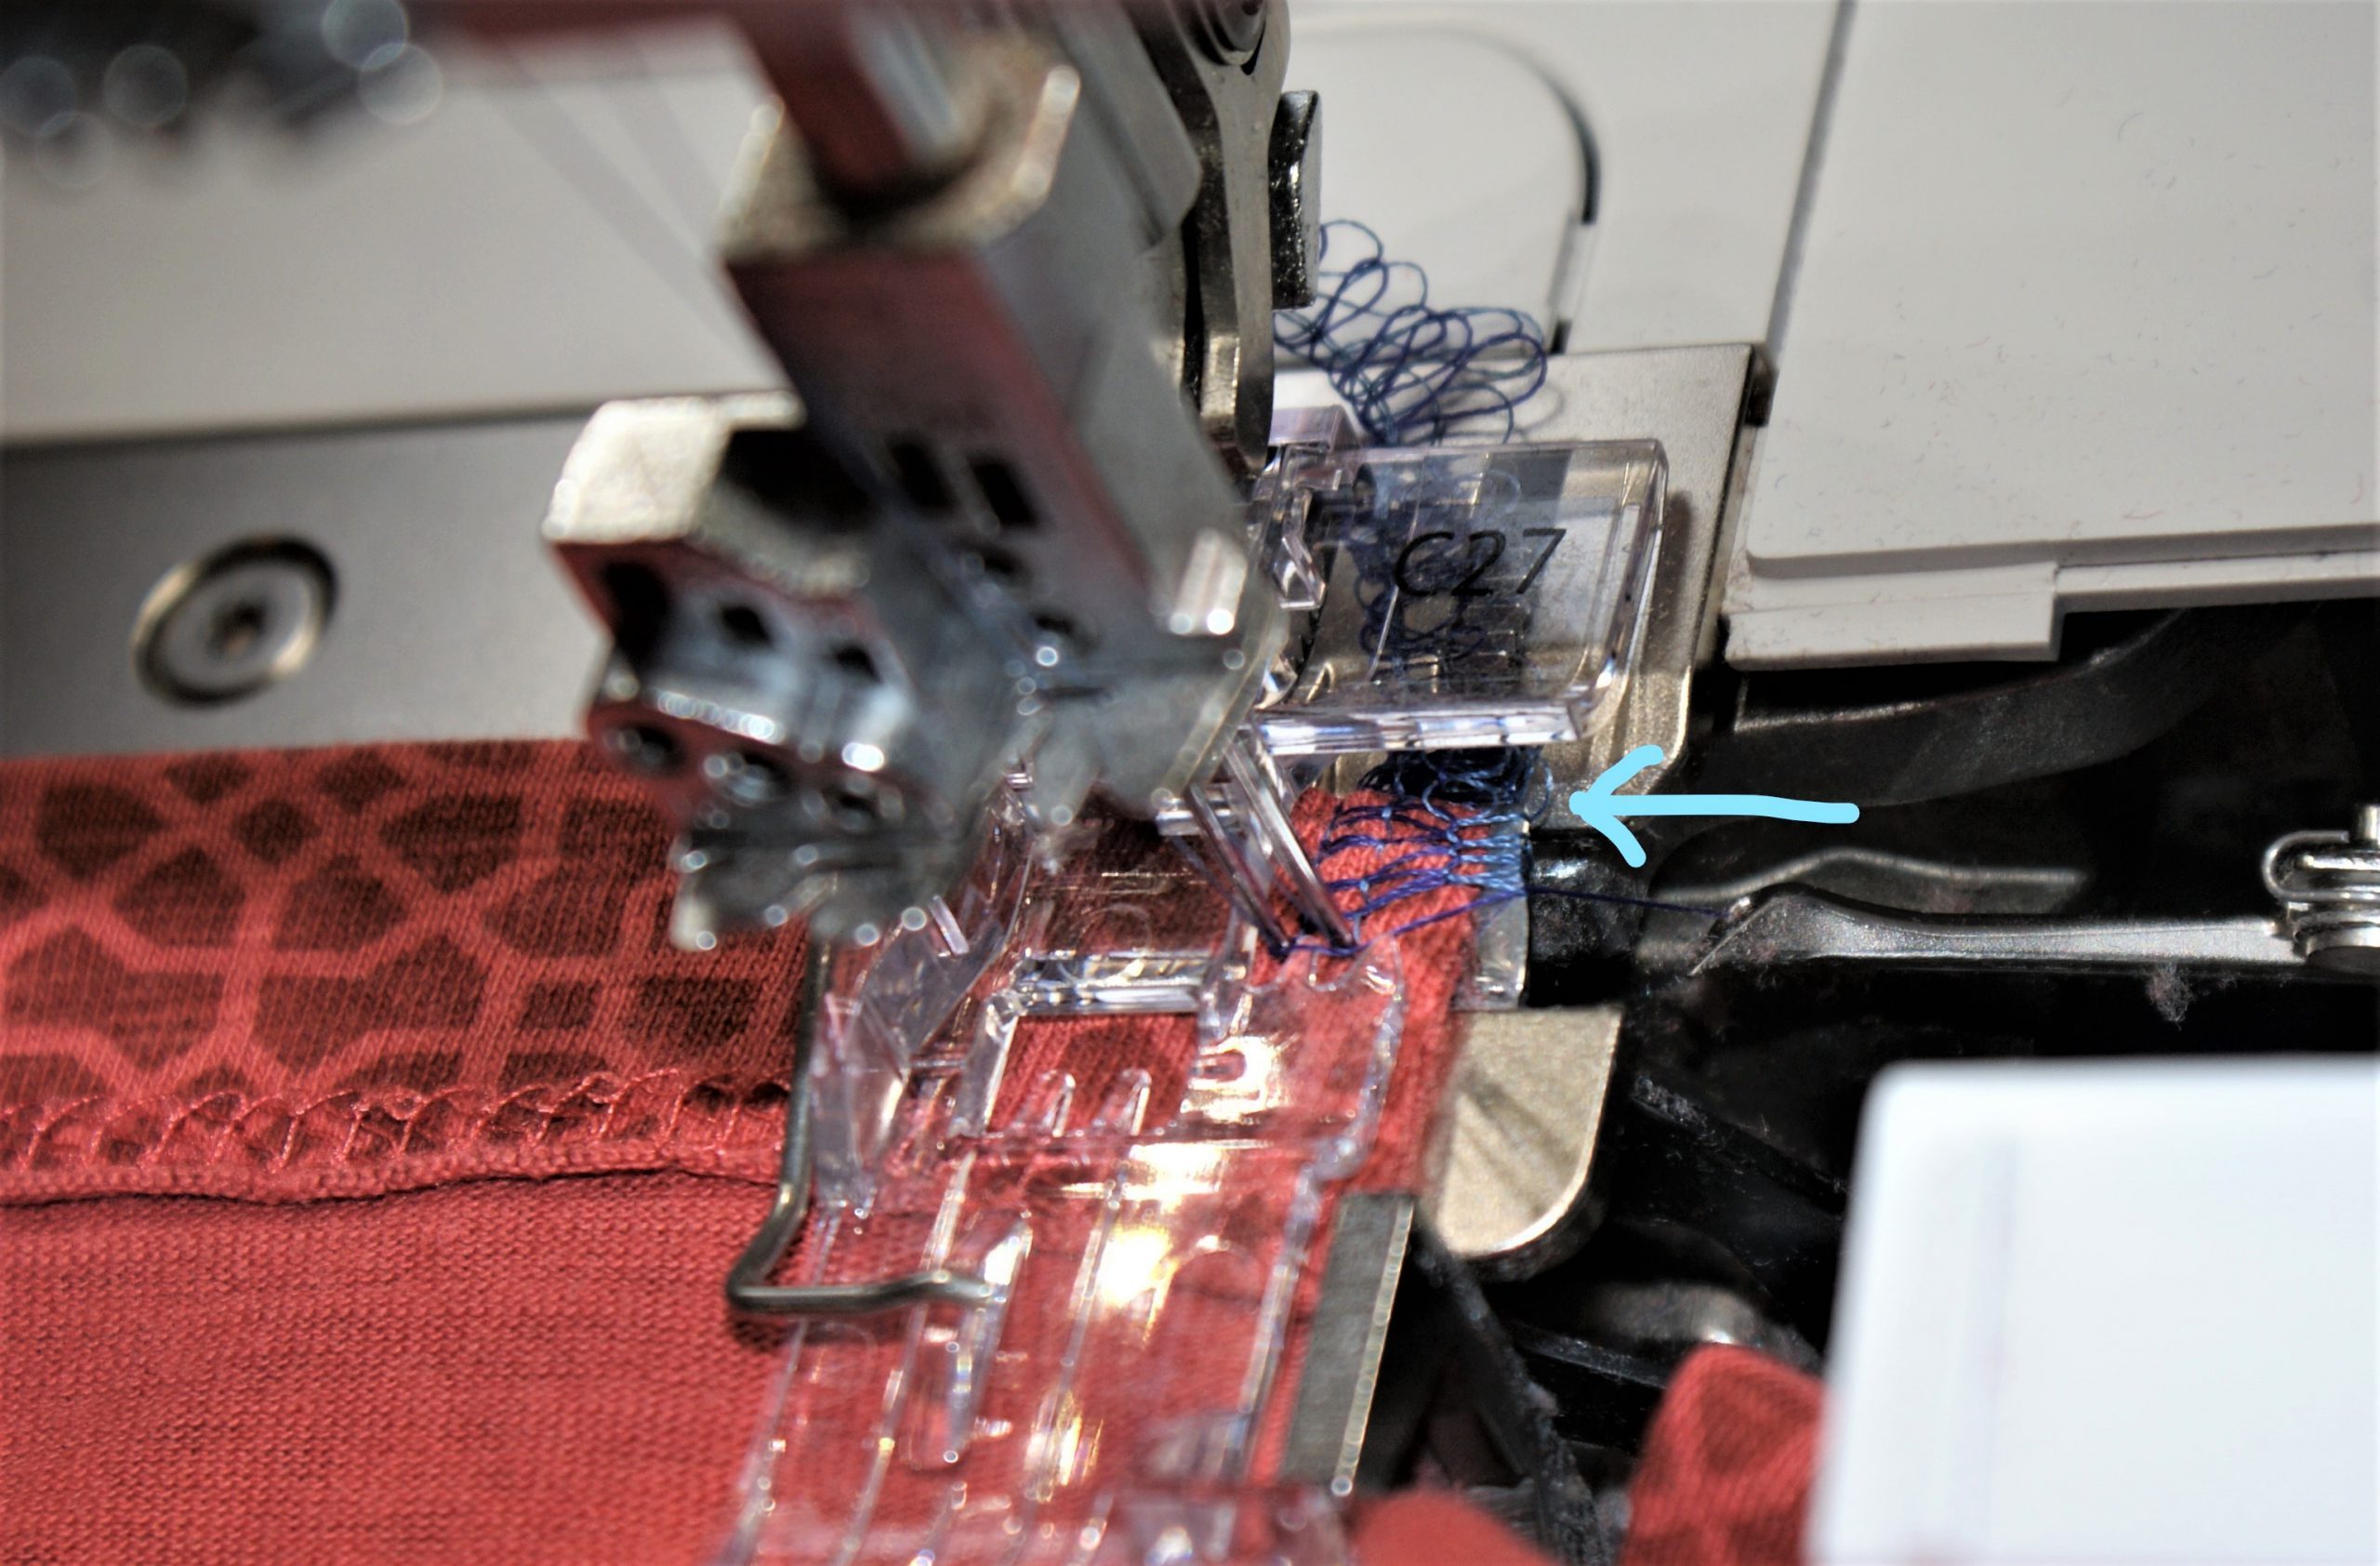
Pull the chain open to the back of your work.
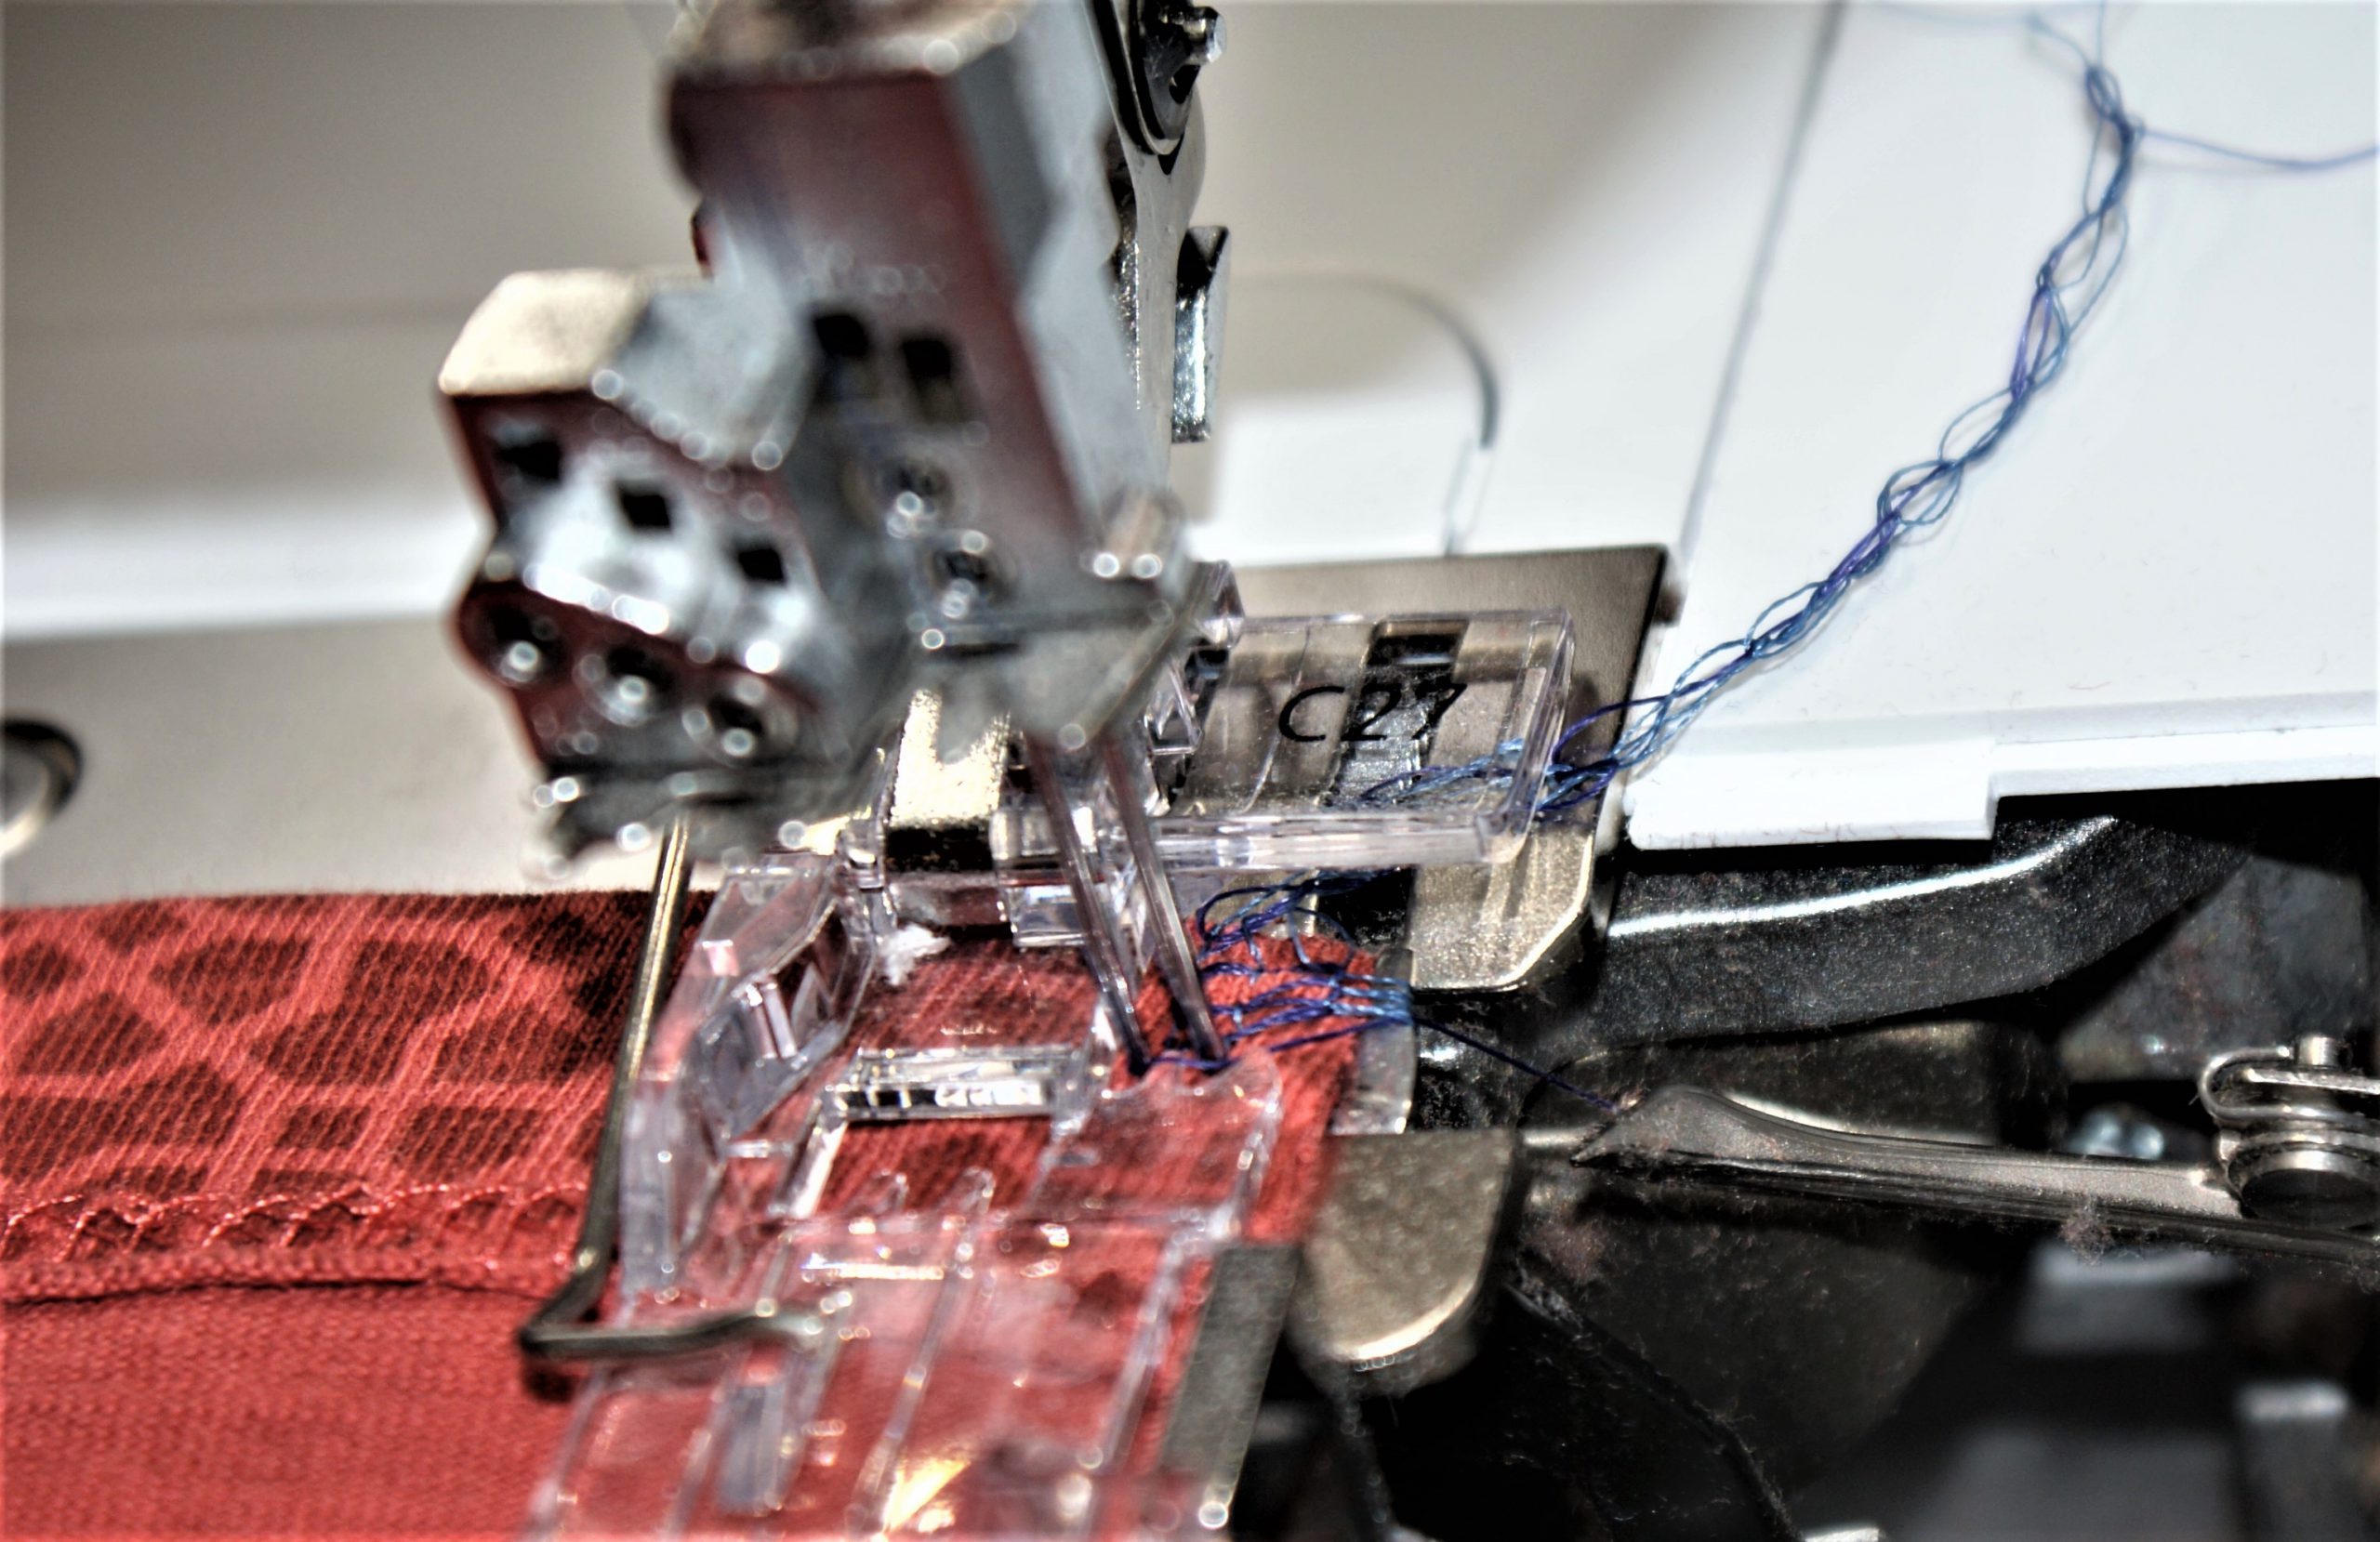
Lift the presserfoot with the knee lift.
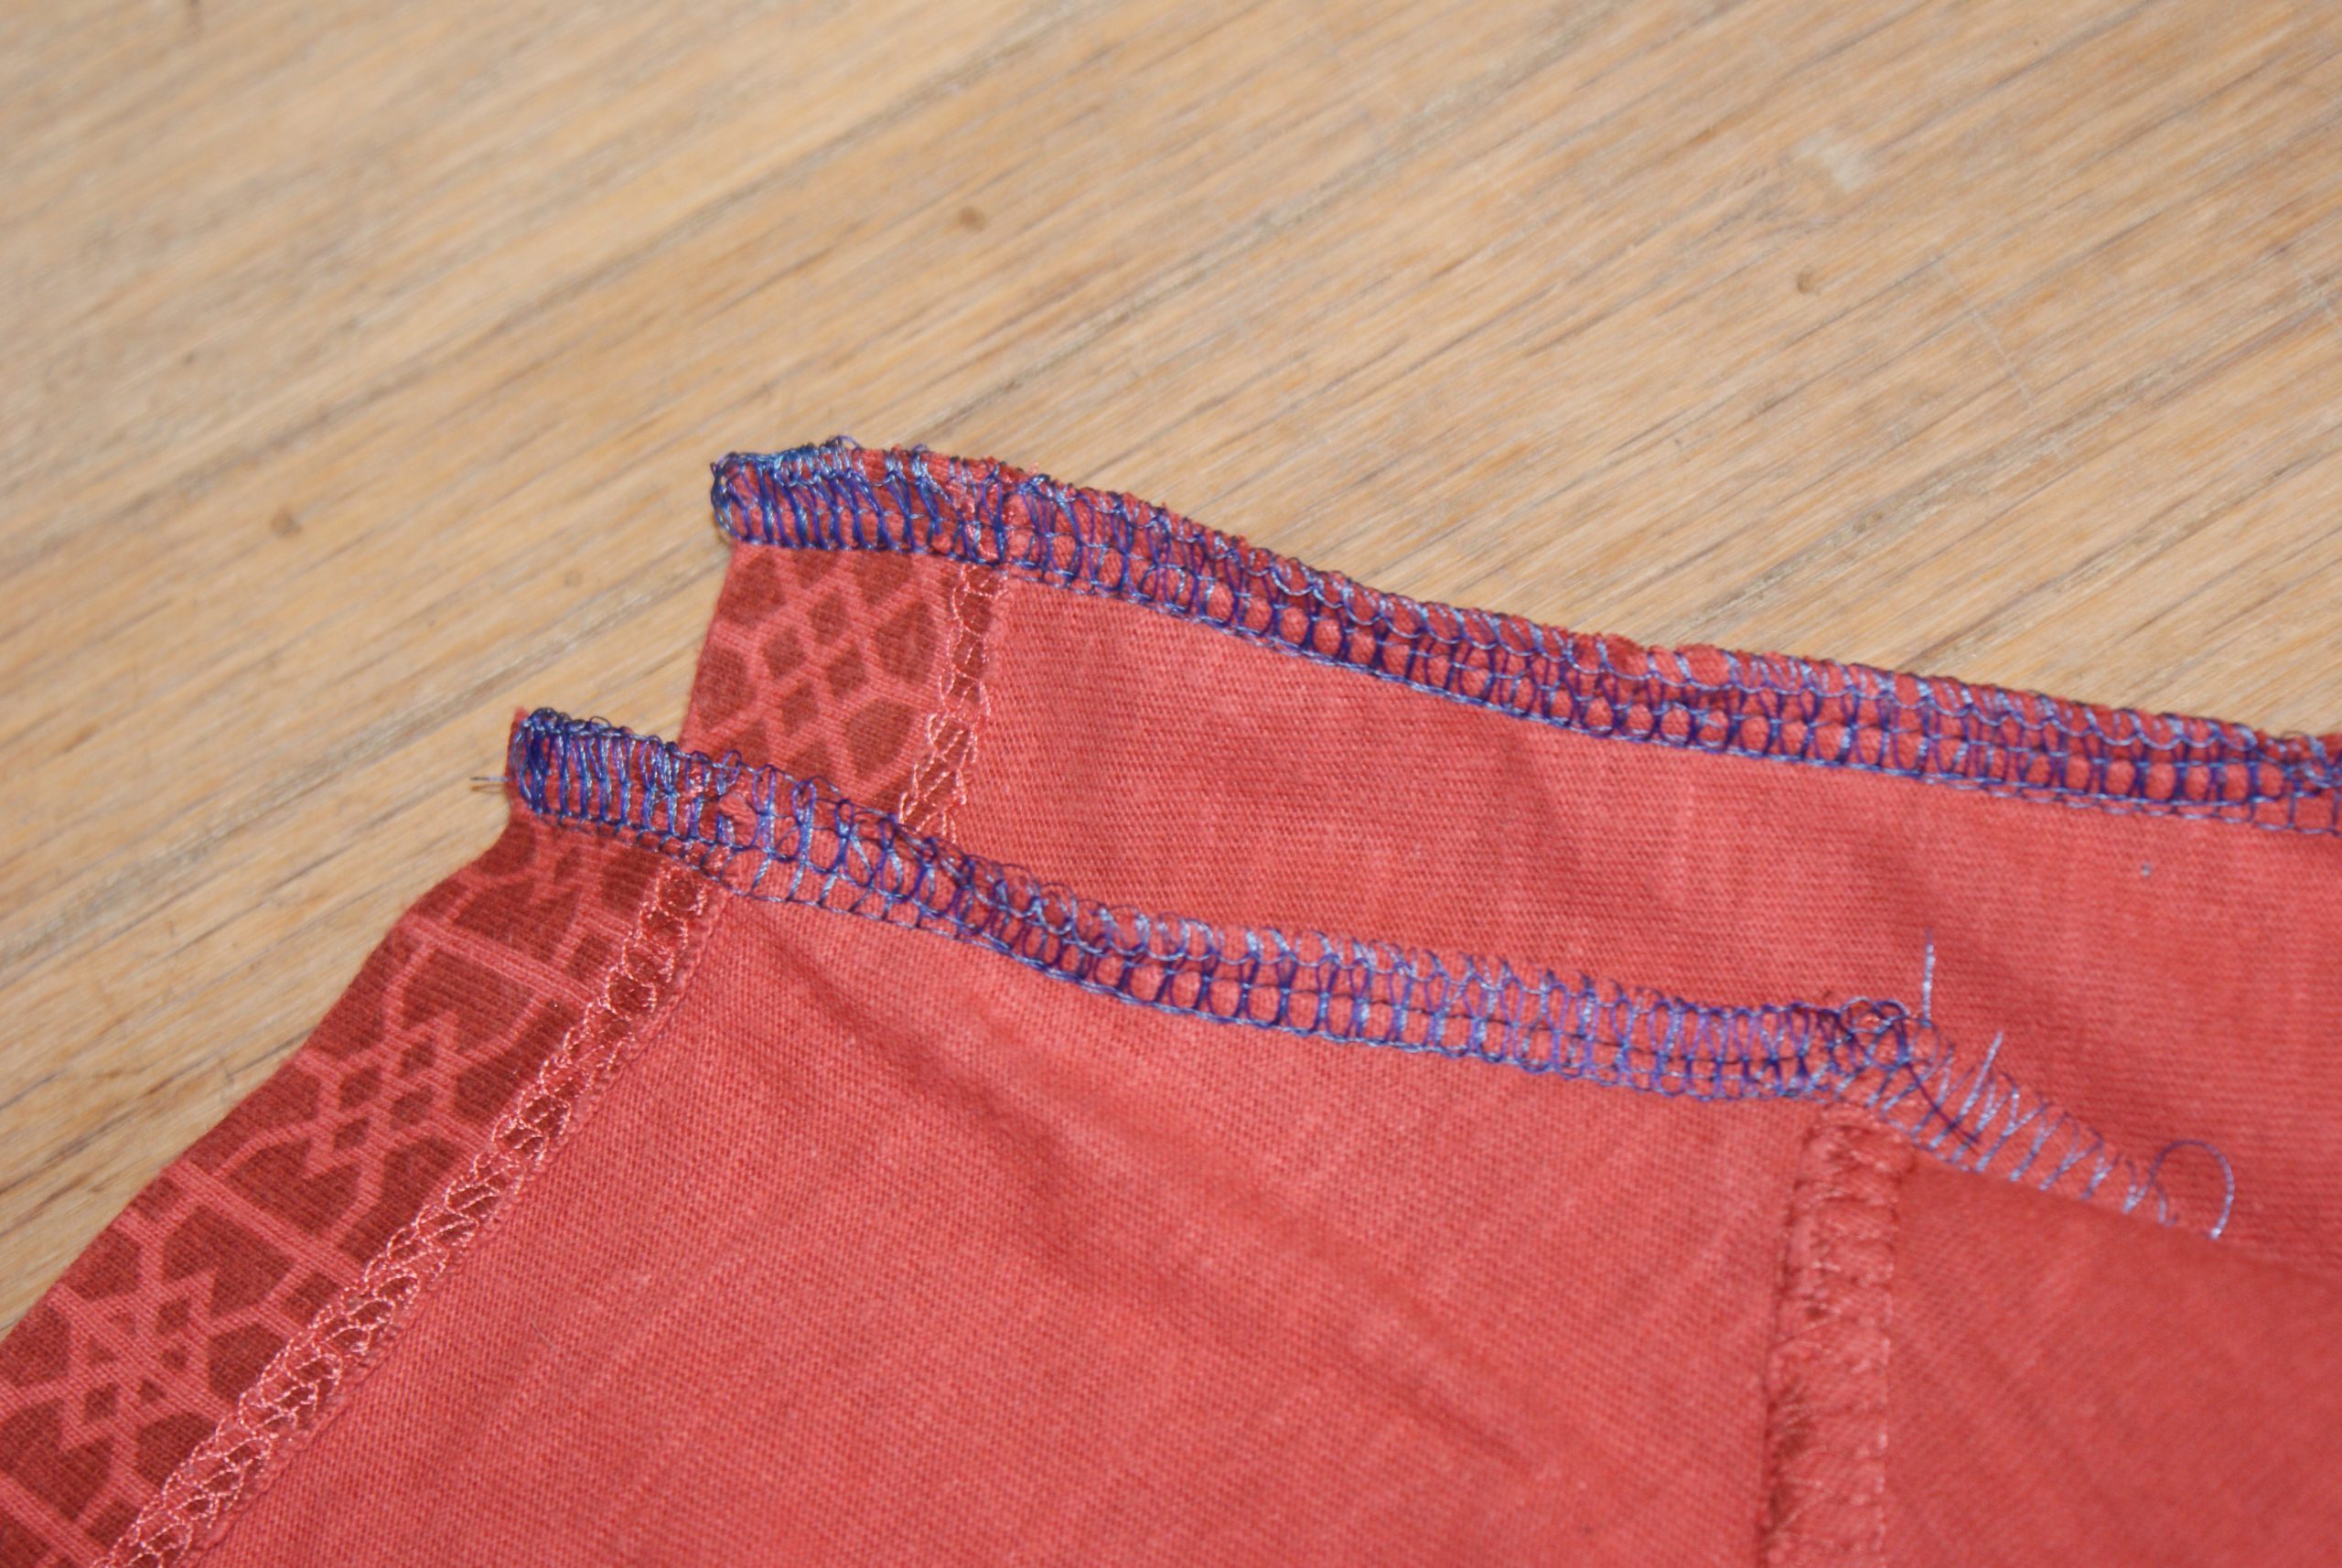
Turn the loose chain to the left and under the presserfoot. Lift the needle with the kick back function on the pedal. Bring the chain in between the two needles (not under the knife). Let er op dat ze niet onder het mes liggen. You know now why the clear foot is so interesting. You can see where the threads lie.
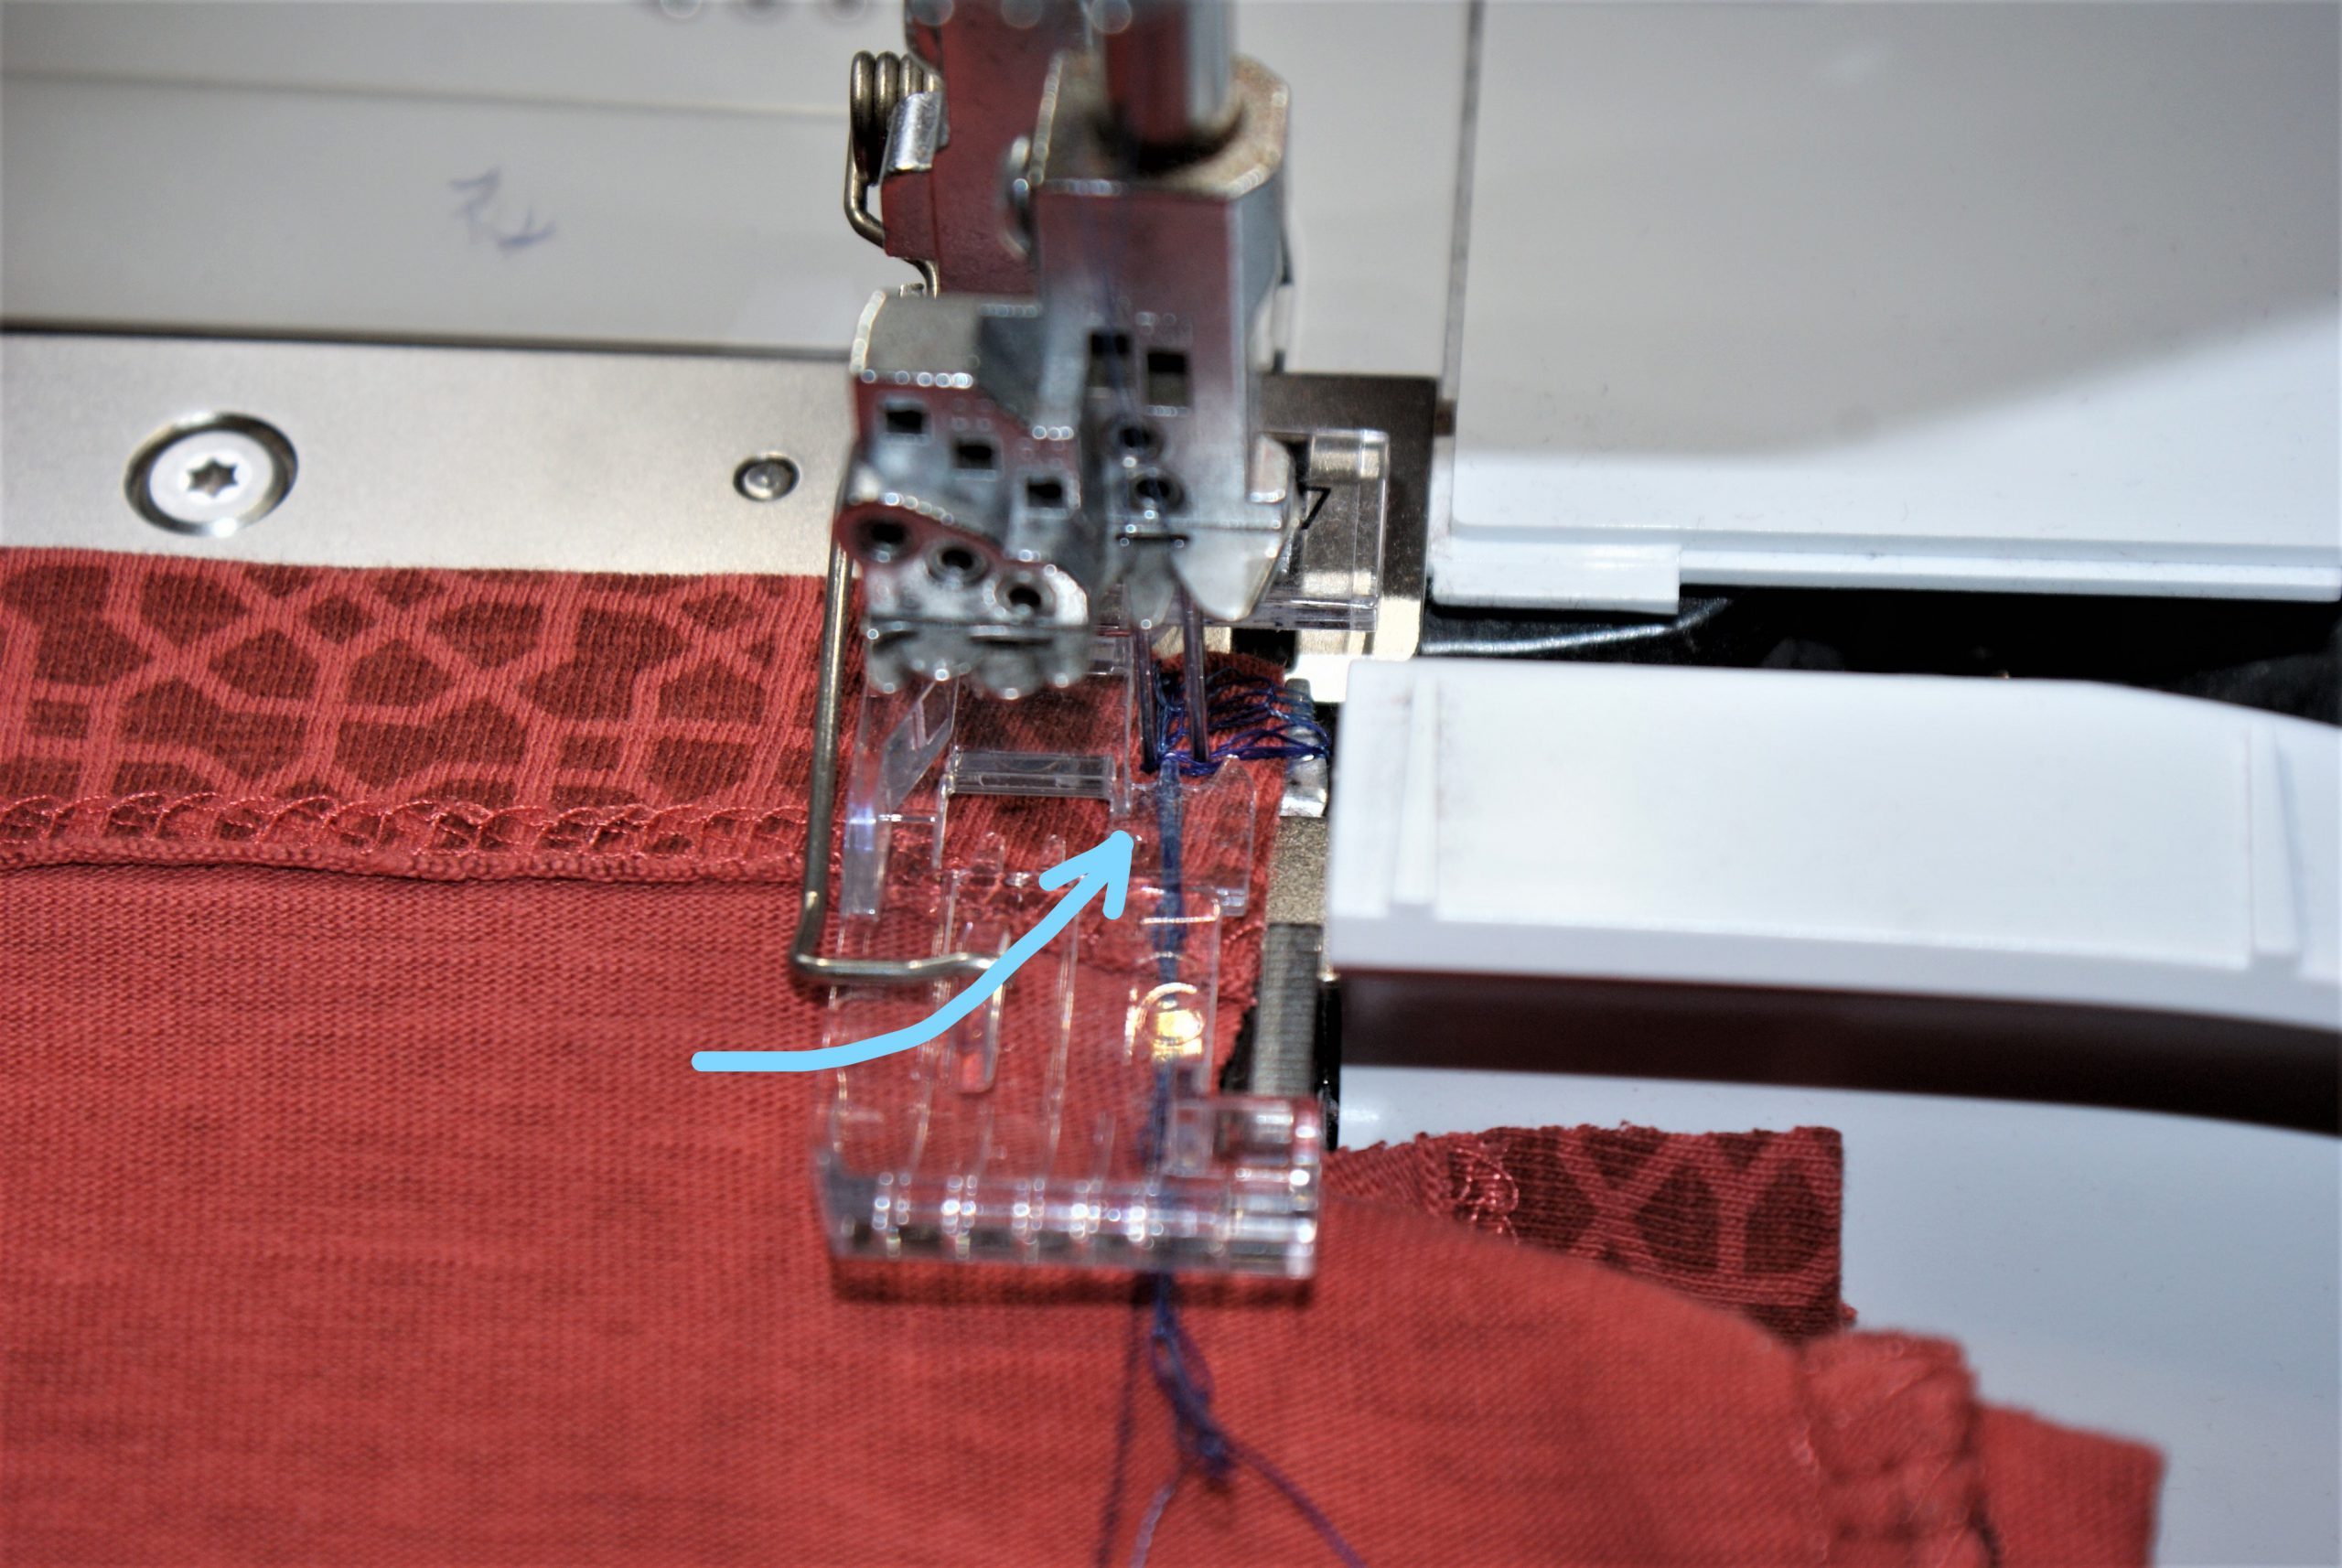
Sew on for a few cm and then cut the loose threads by laying them under the nife. With this method, your first stitches are well secured and no more loose threads.
How to finish the overlock stitch:
Overlock the side seam and sleeve till the last mm.
Stop with the last stitch in the fabric.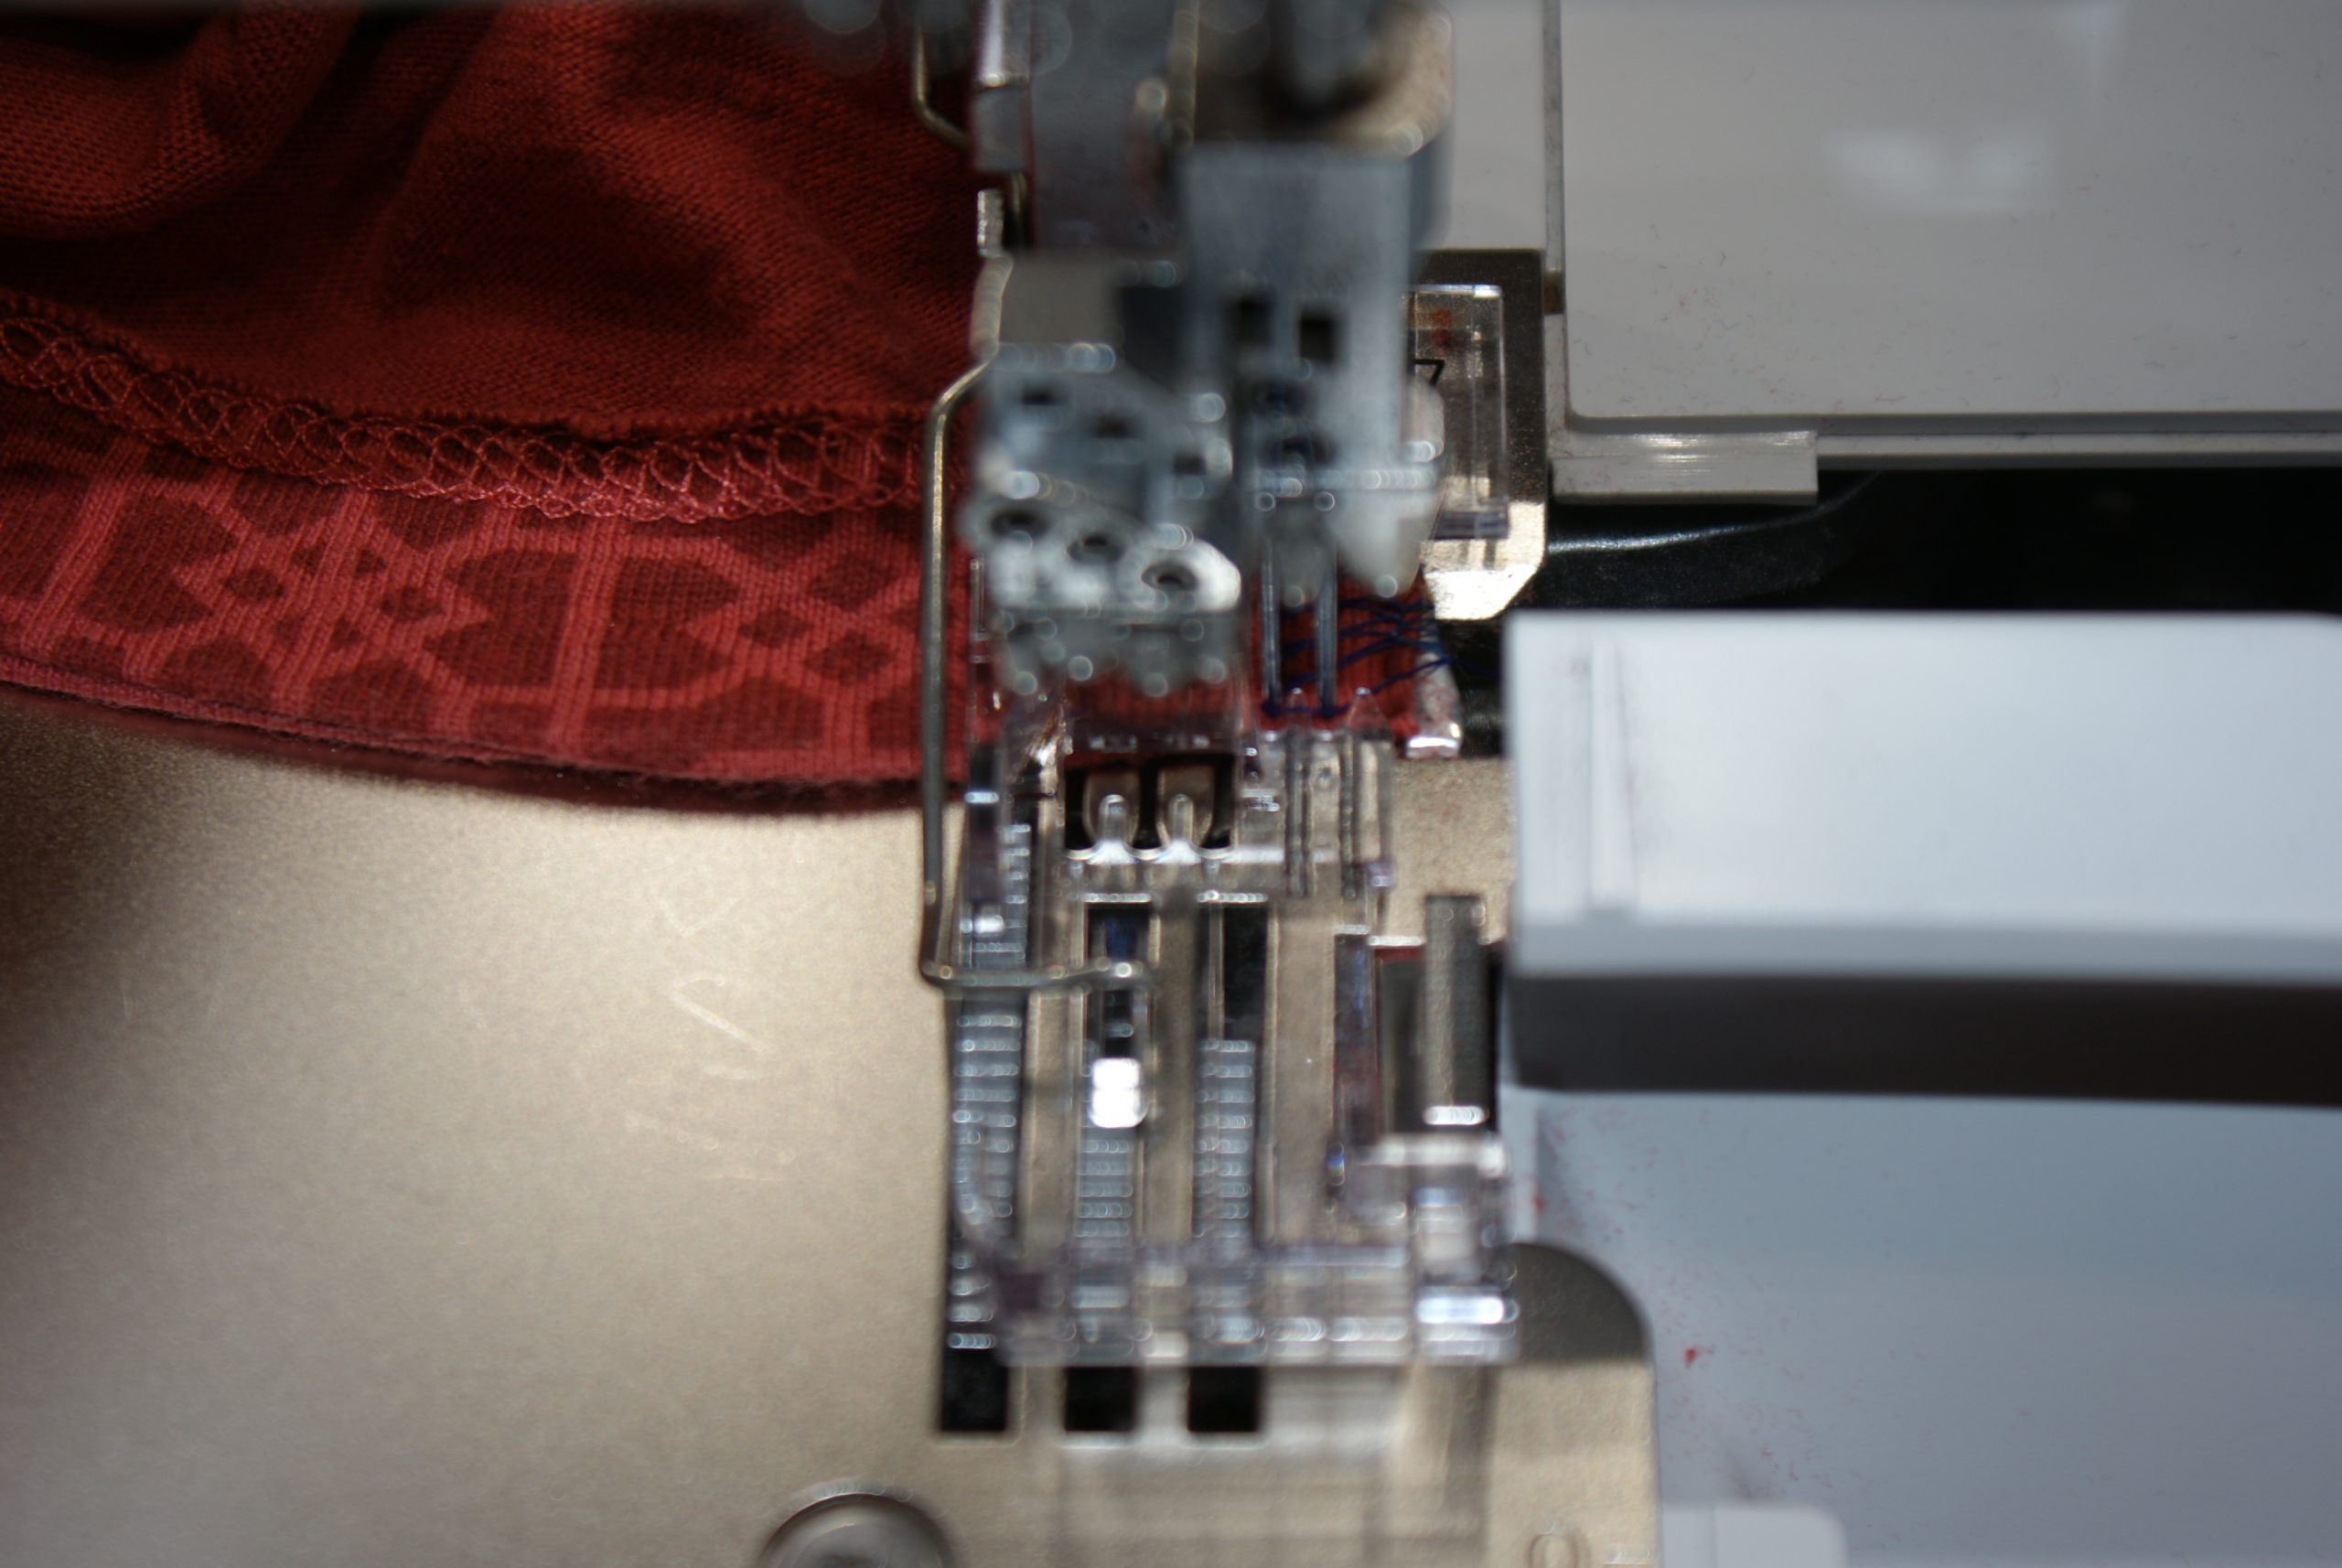
Lift the presser foot with the knee lift. Change needle position with the kickbackfunction. Fold the shirt over, so you can continue stitching from the end back on the shirt, in opposite direction of your first sewing. After a few cm, you will sew away from the shirt and cut the threads.
I like how the adjustment turned out
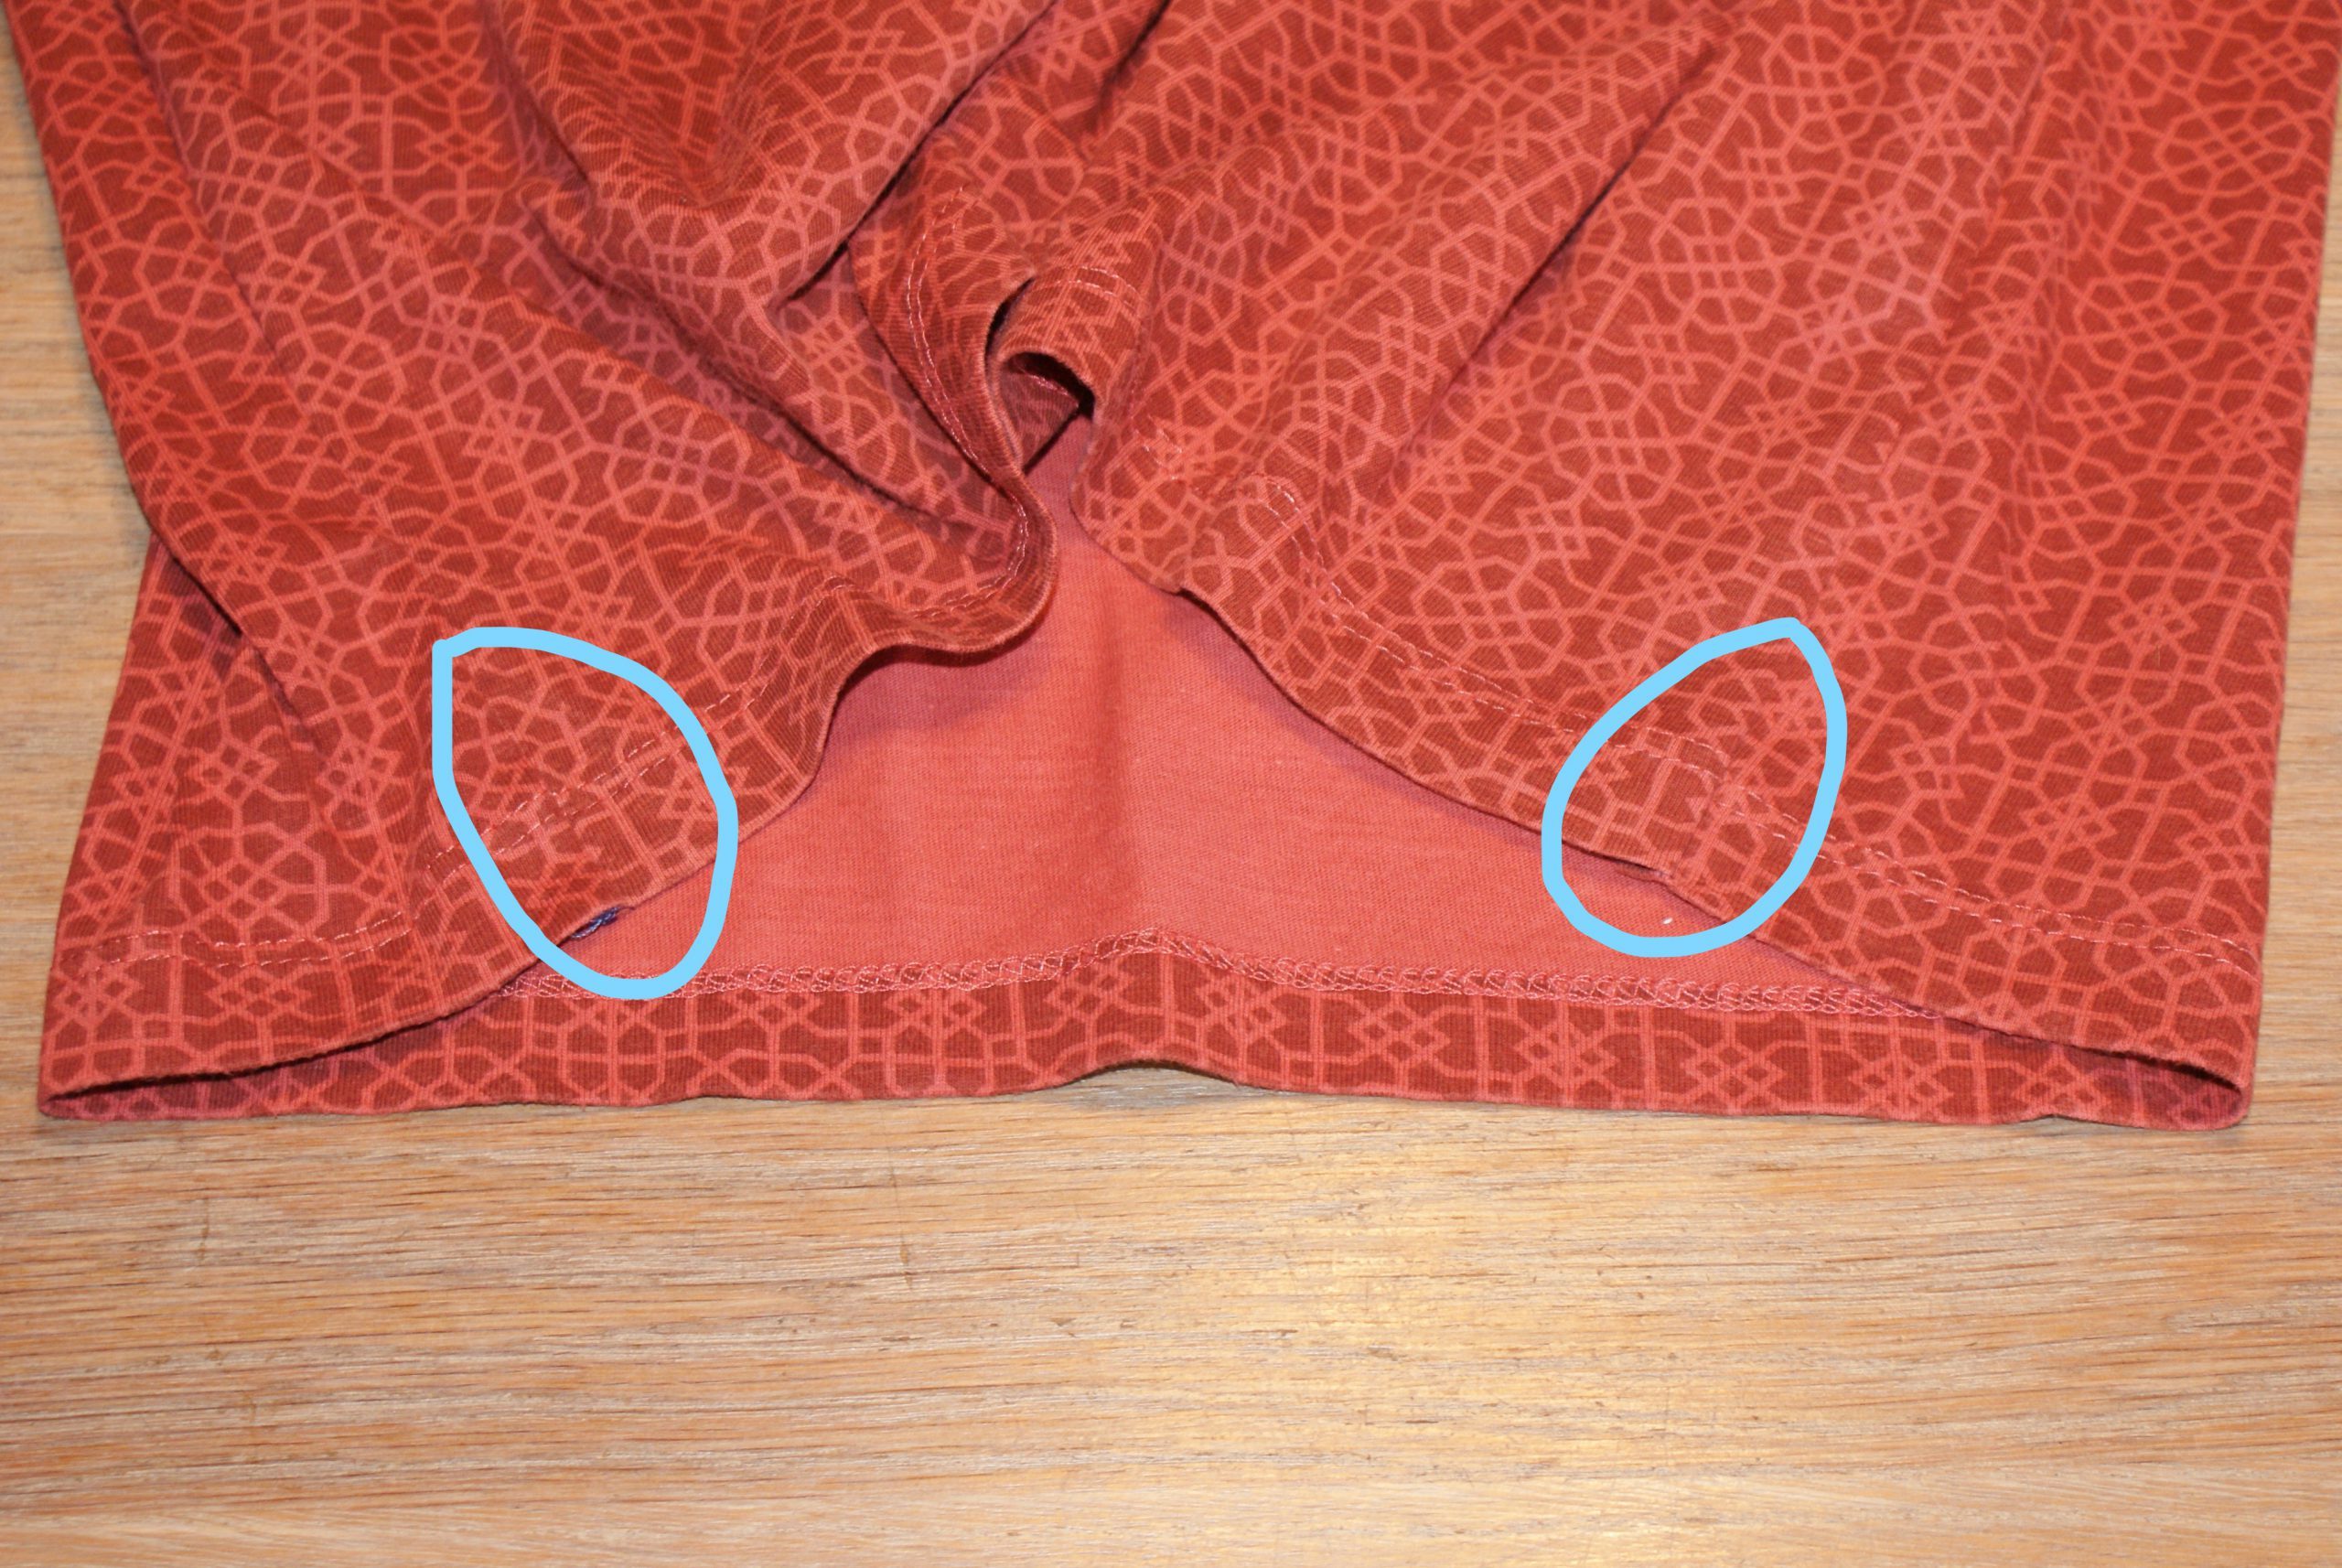

I have drawn lines around the end seams, to mark the adjustment. It’s hardly visible, isn’t it?
Glad the T-shirts are in a right size now. With this method for starting and finishing the overlock thread, you don’t have raveling edges. Feel free to share this method with your sewing community!


0 Responses