 BERNINA Corporate Blog -
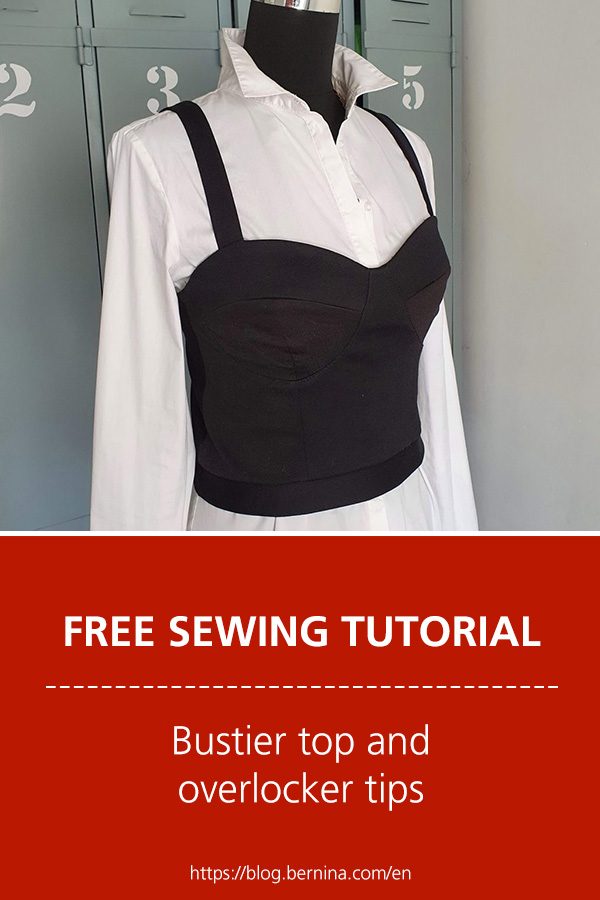
Sew a bustier top
With the summer around the corner, my thoughts are already drifting to my holidays and what is still missing in my suitcase. Cute tops! Like a bustier top that had been on my to-sew list for a while. Cute, but a challenge to get the right fit.

Lees hier in het Nederlands
Pattern and fabric
The pattern is by Chikafrik Patterns and I bought it on Etsy. The pattern is suitable for stretch fabrics, which makes it easier to get the right fit. Let’s try it with leftovers from the boiler suit first. The pattern is very suitable for making it with leftovers, because of the many smaller pattern pieces. And If it doesn’t work out, it’s no big deal.
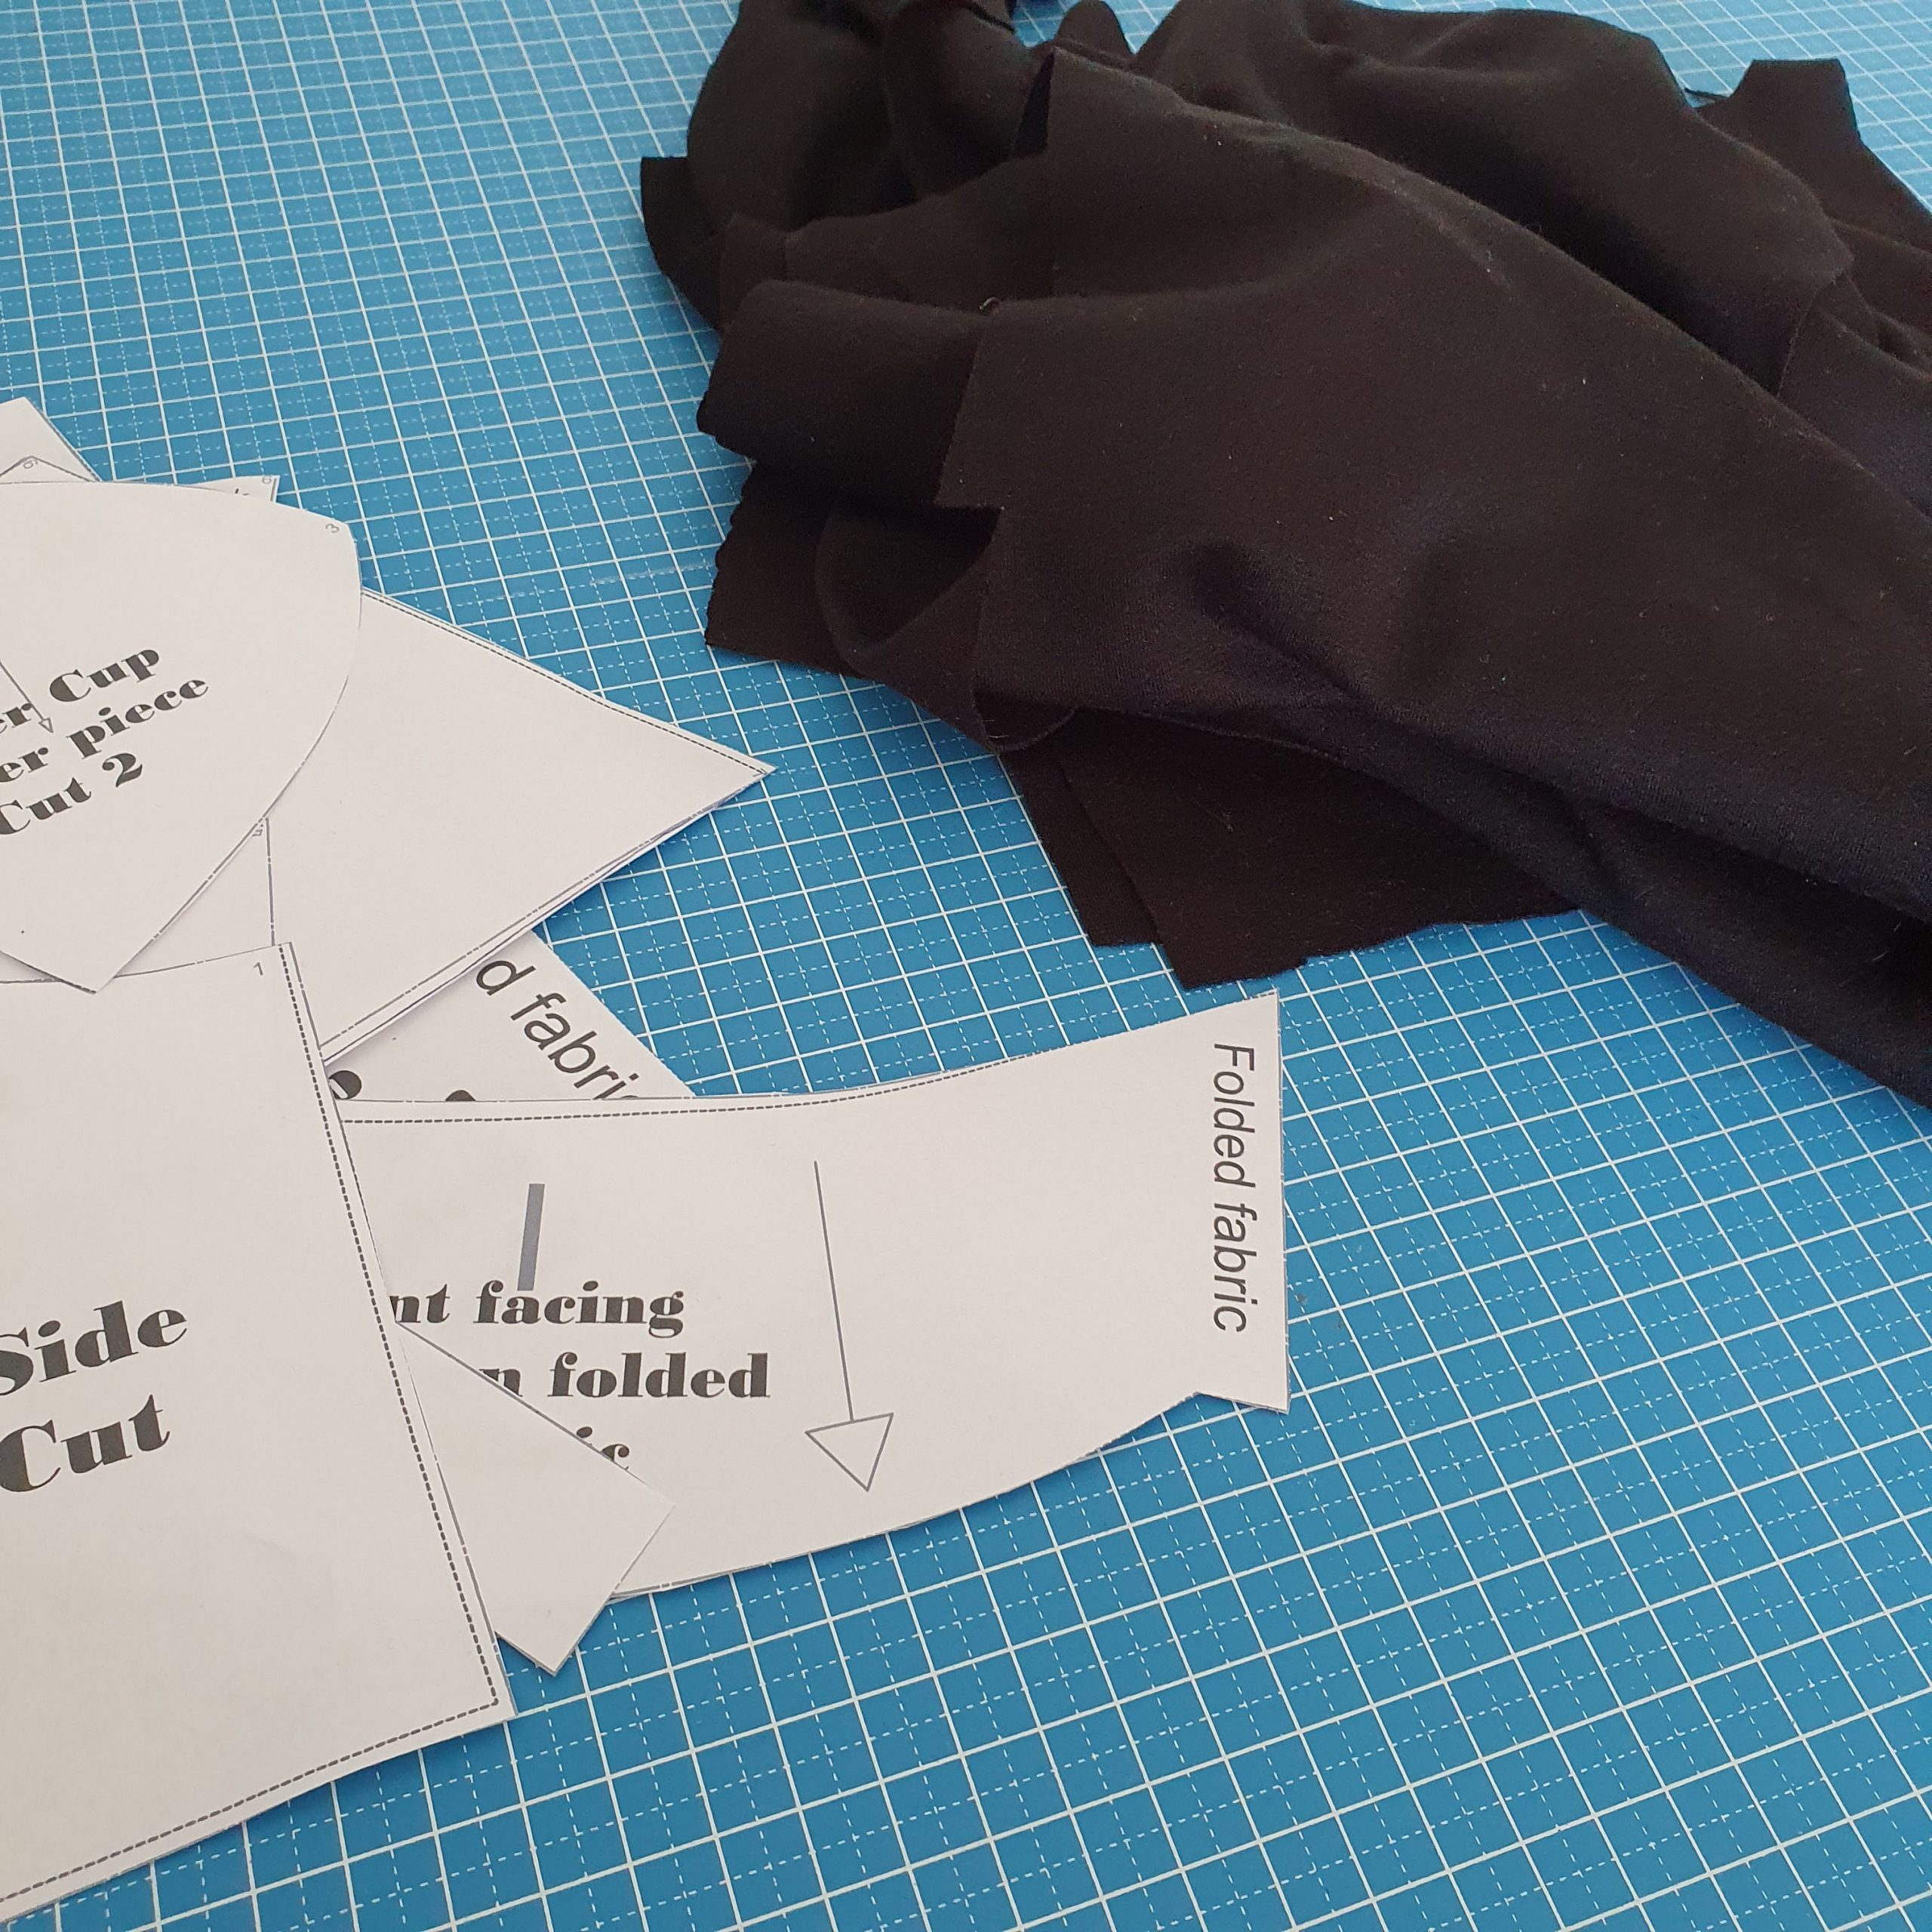
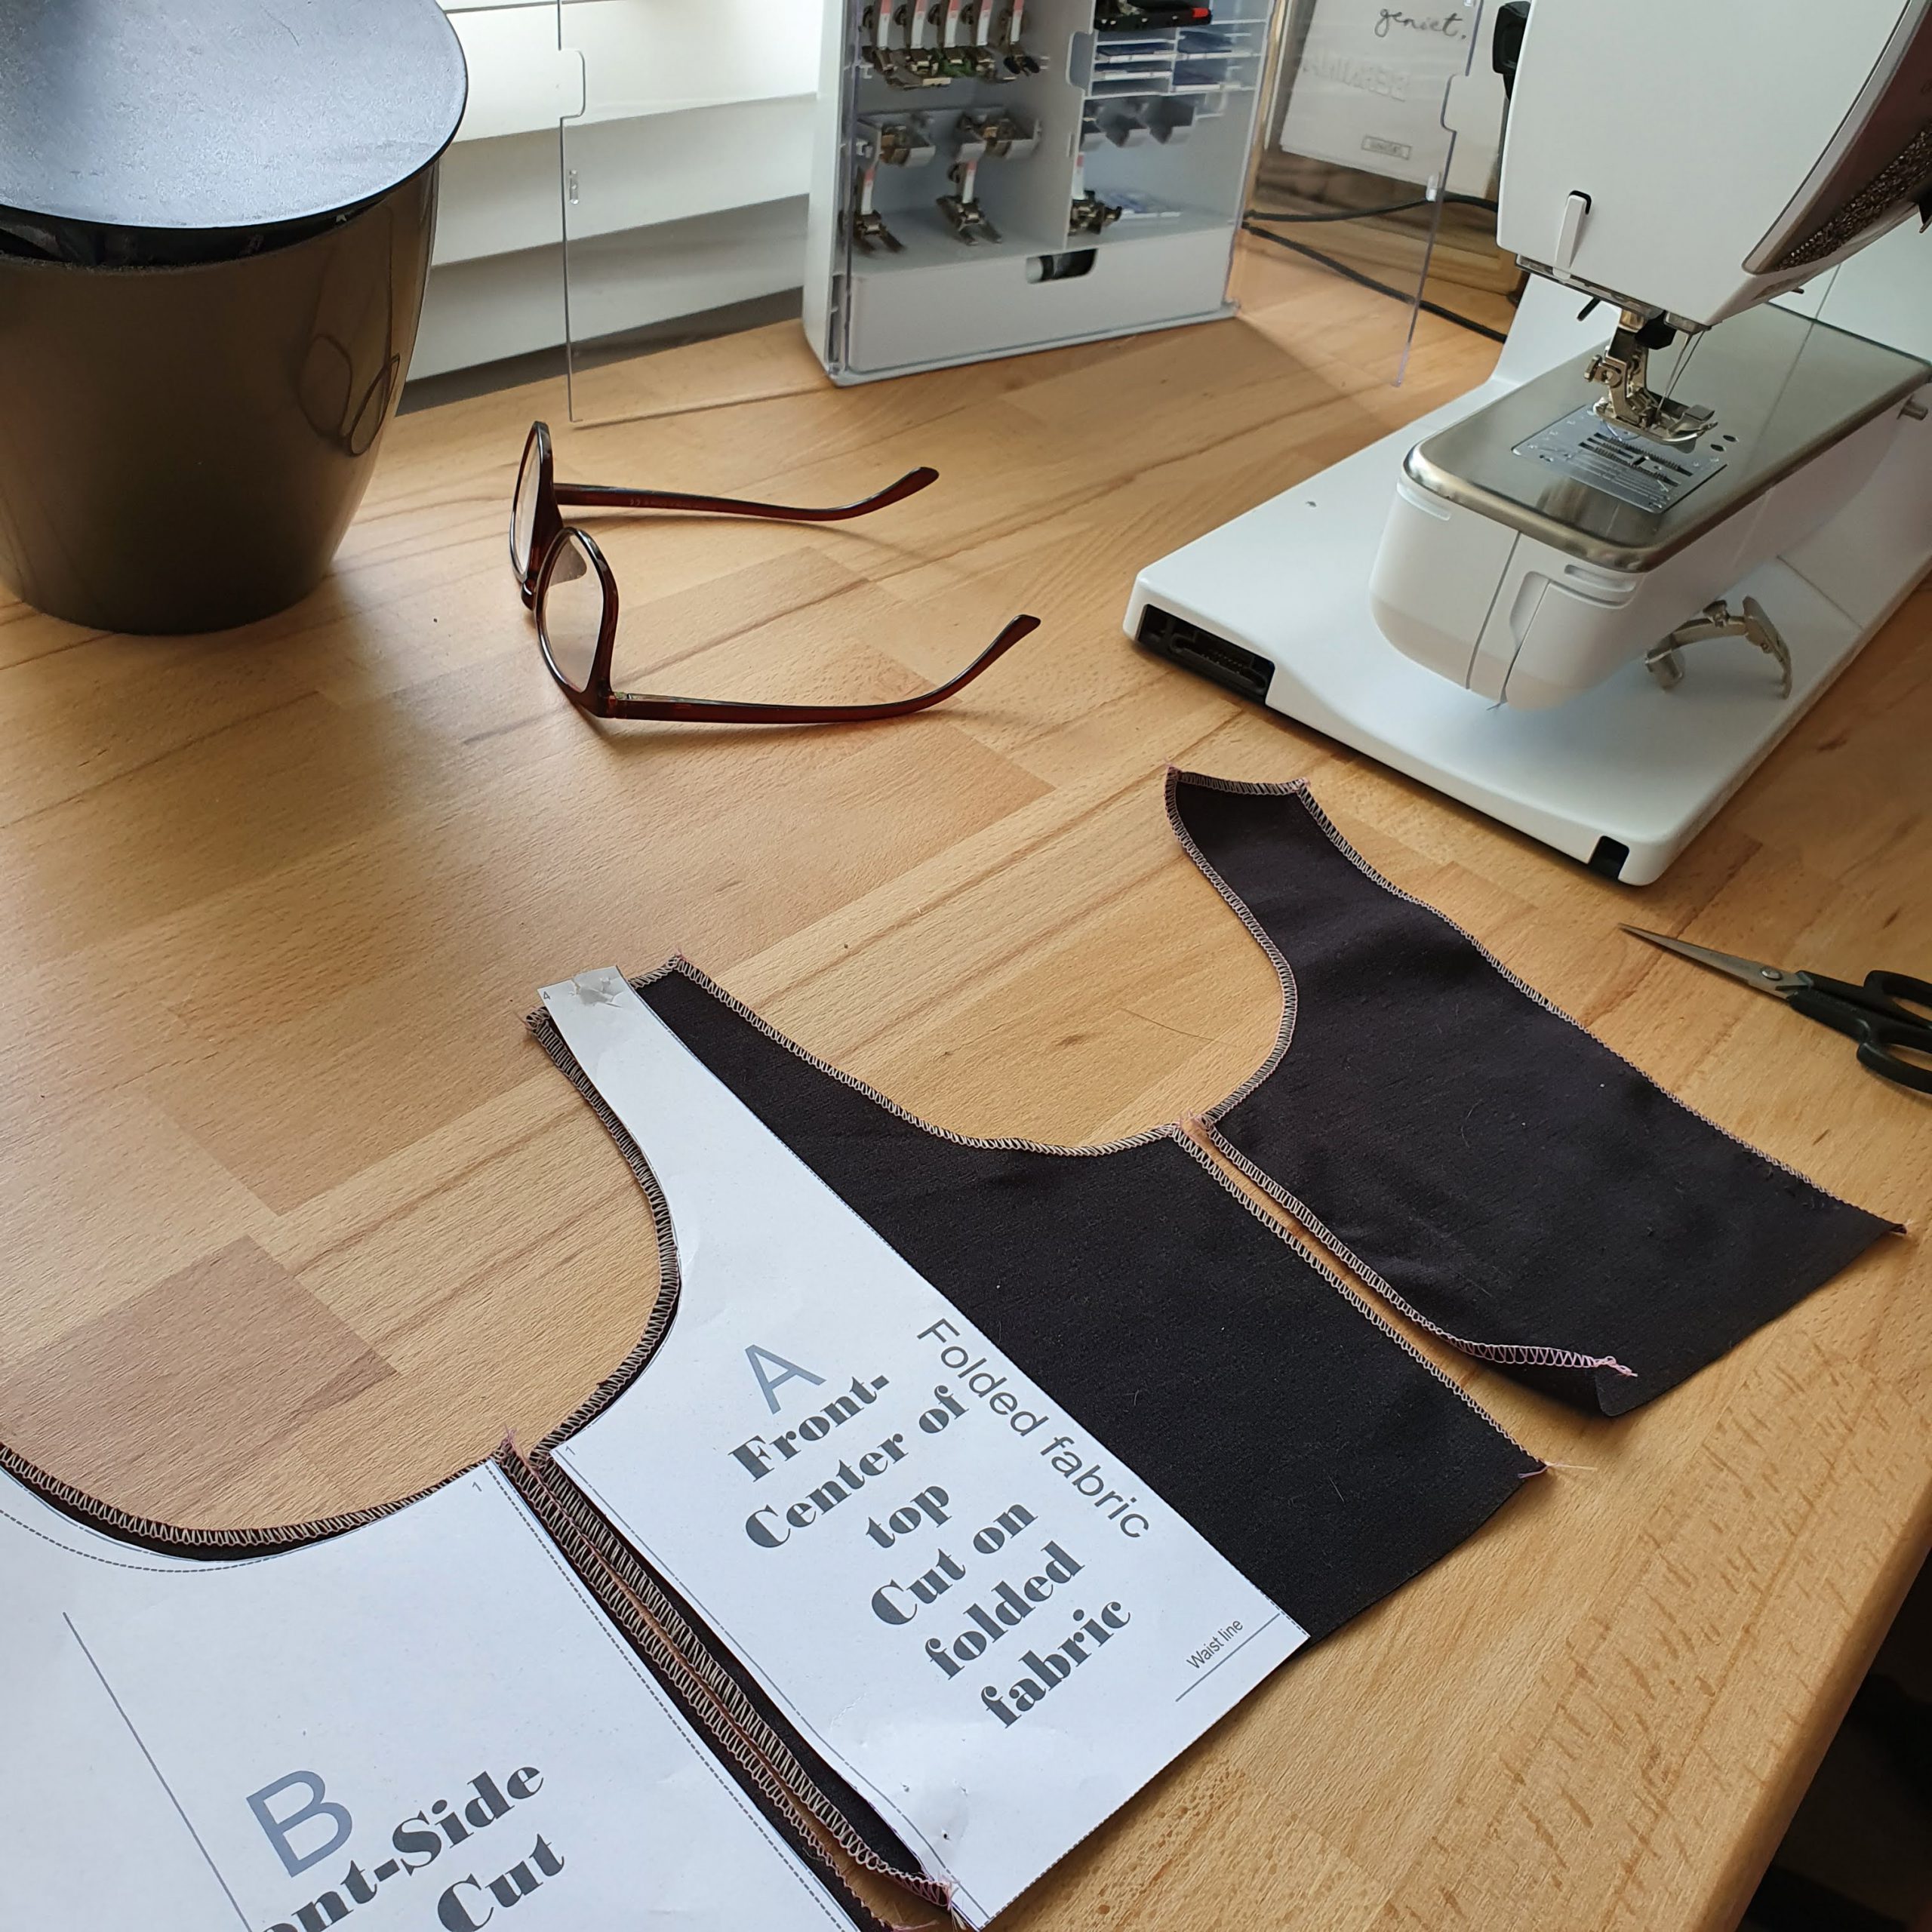
Pattern pieces and leftovers
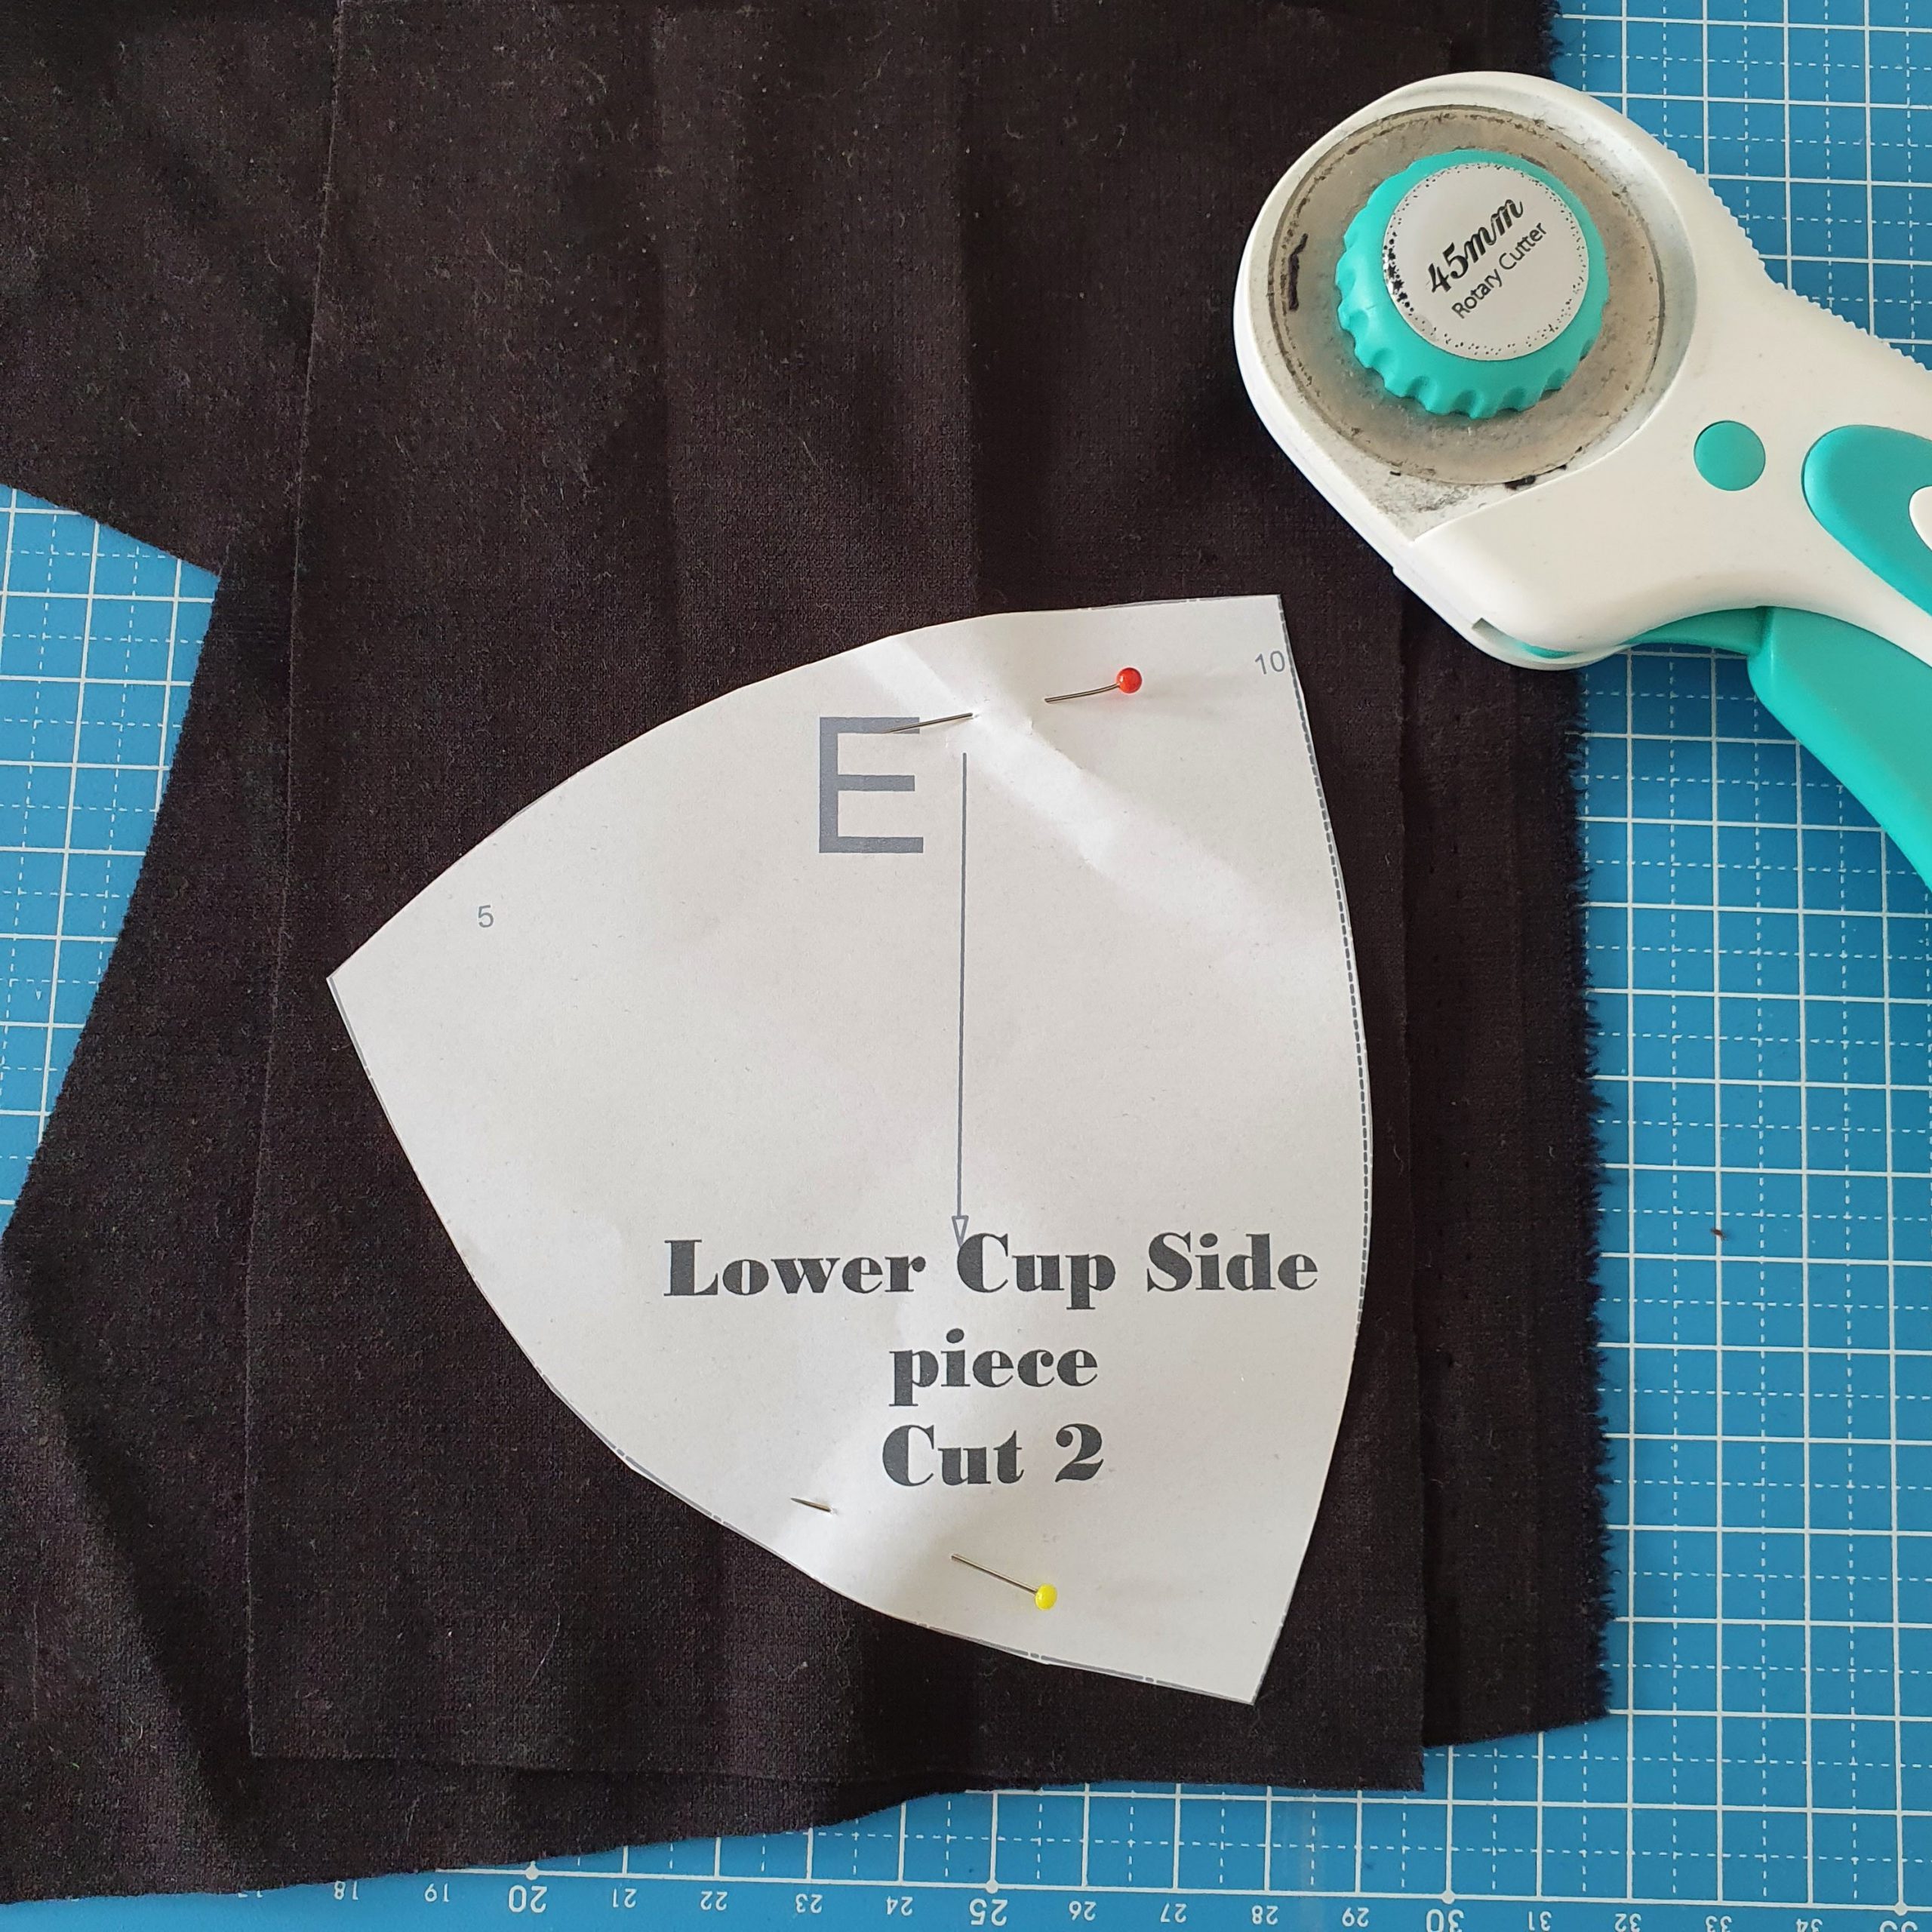
Pay close attention to the straight of grain. In this fabric it was easy to see what the grain is because of the clear weave. I let the weave of the scraps of fabric fall flush with the metric marking of the cutting mat. I cut the pattern pieces with a rotary cutter. If there is a clear right and wrong side or nap of the fabric, keep this in mind when layering the fabrics before cutting/cutting them.
Pay attention to the grain, nap and the right/wrong side of the fabric
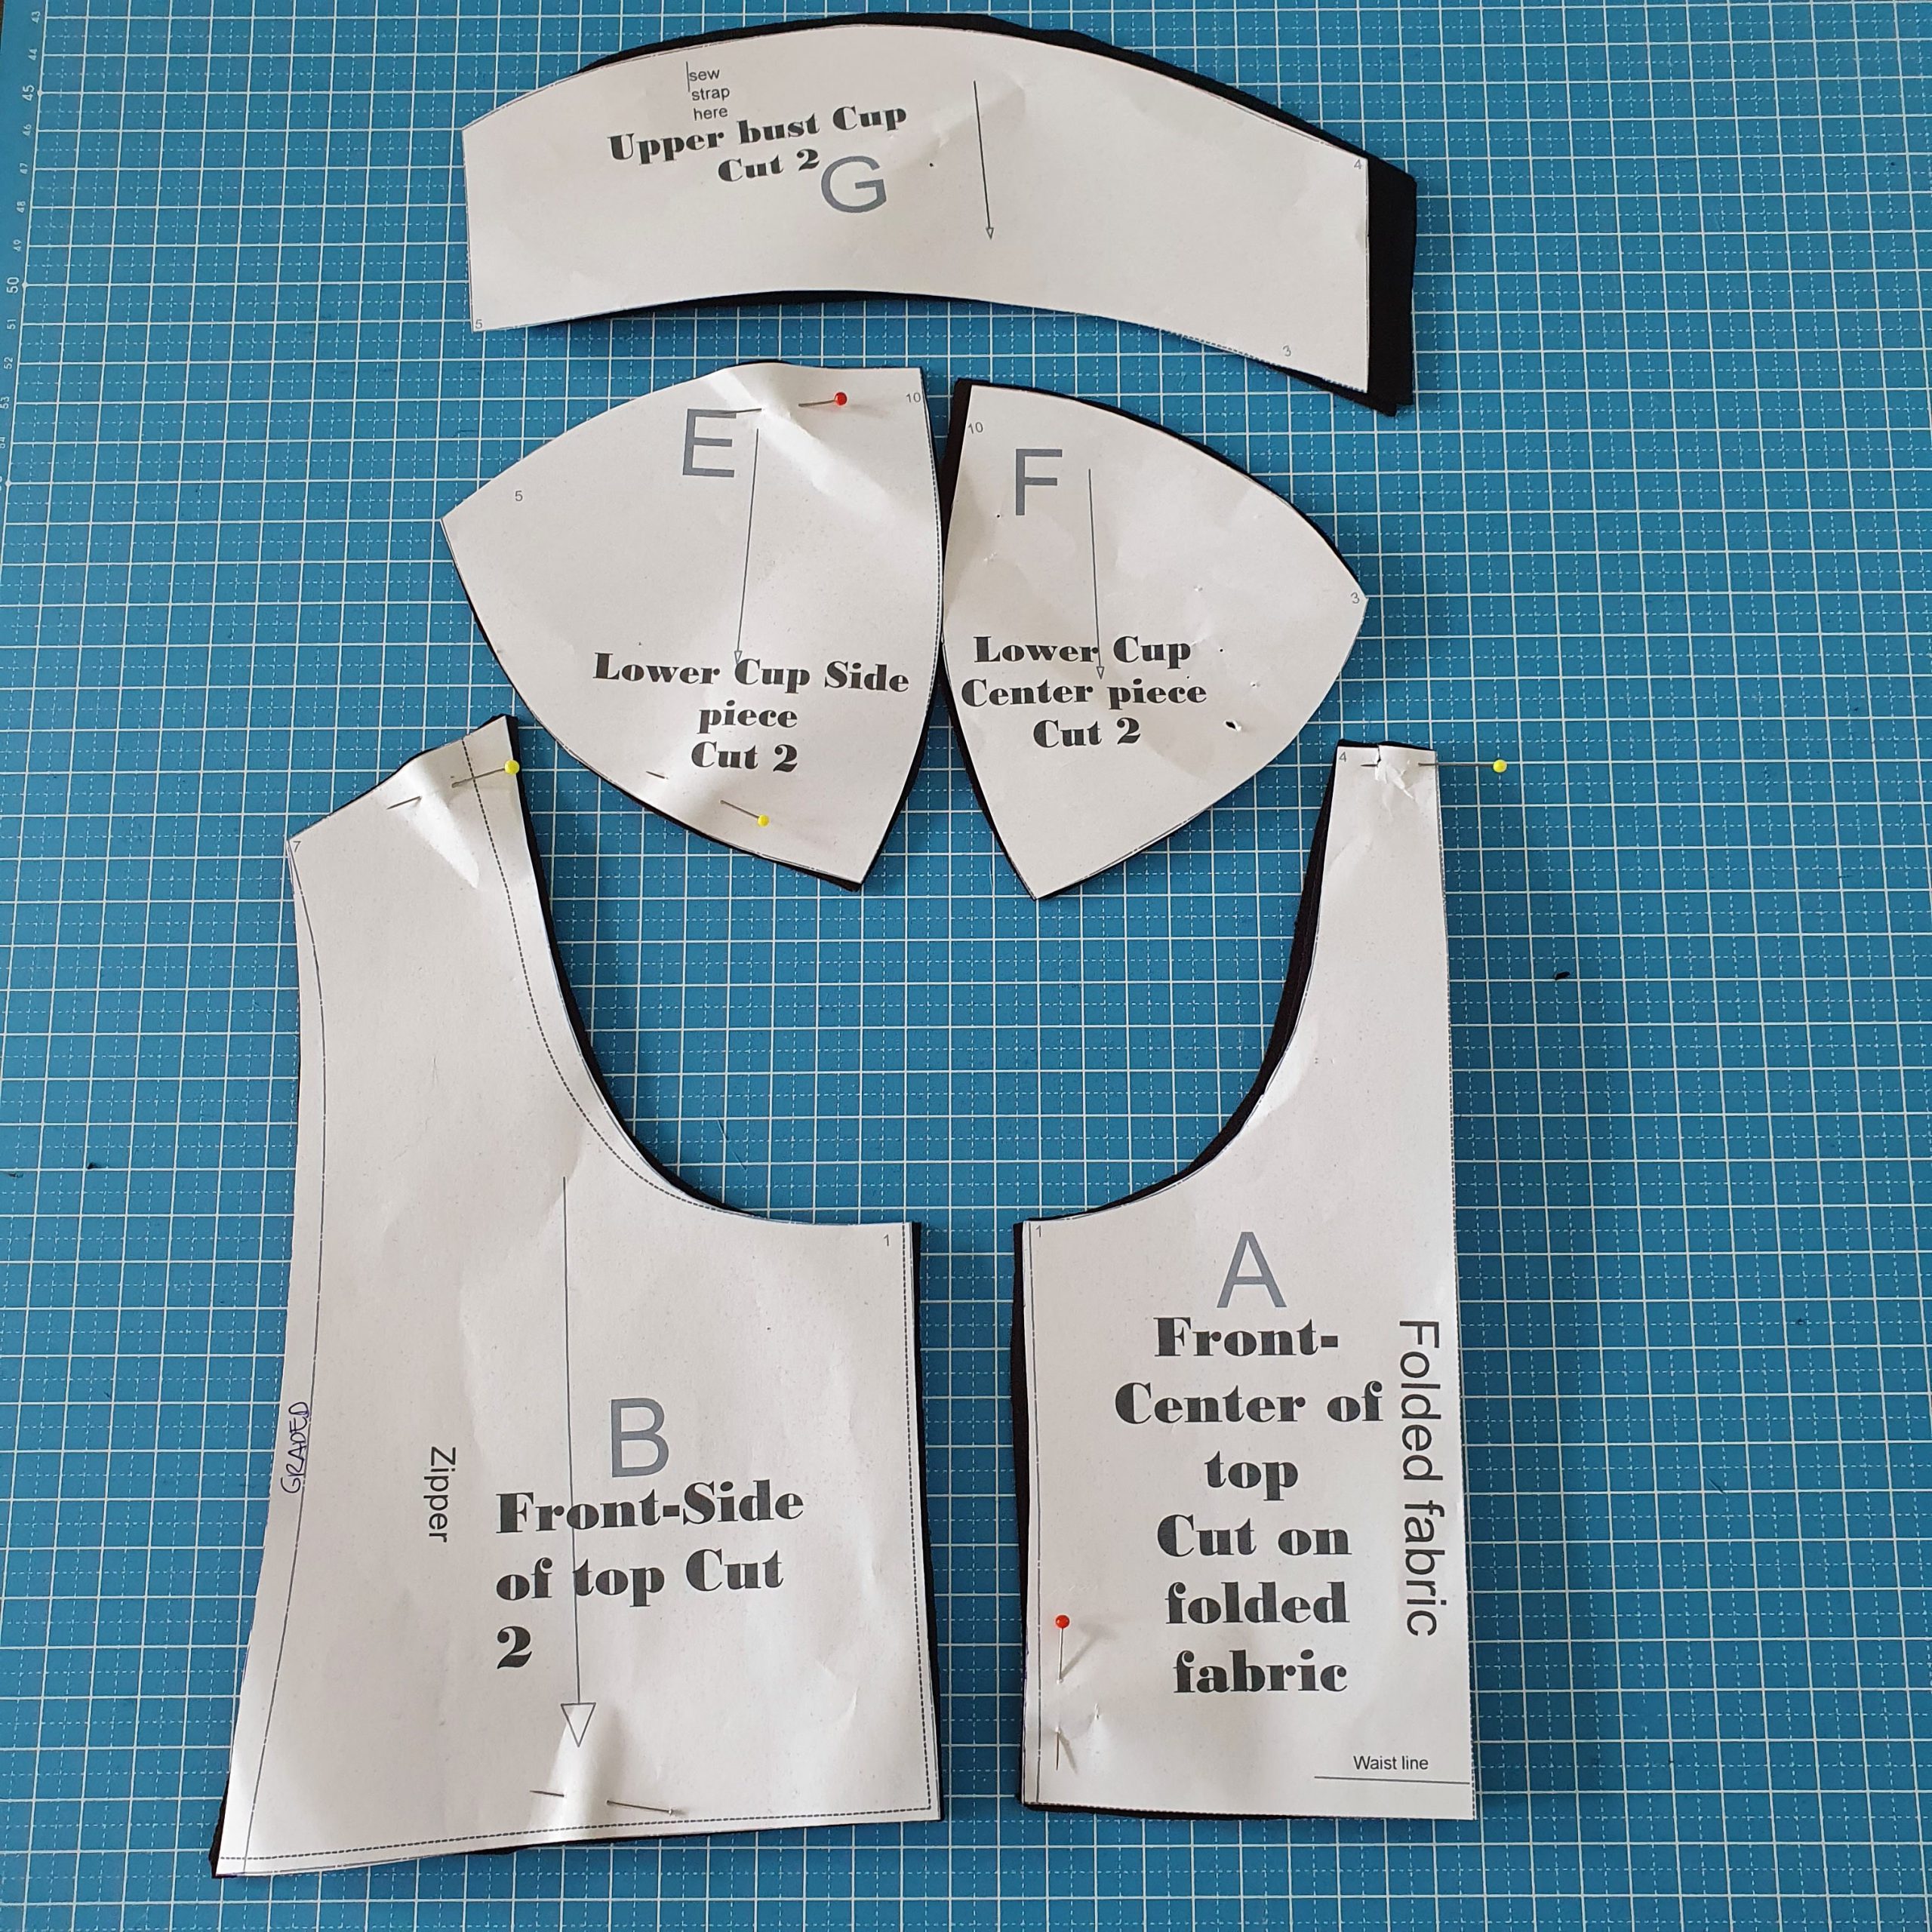
Lots of pattern pieces ideal for leftovers
Over locker finish
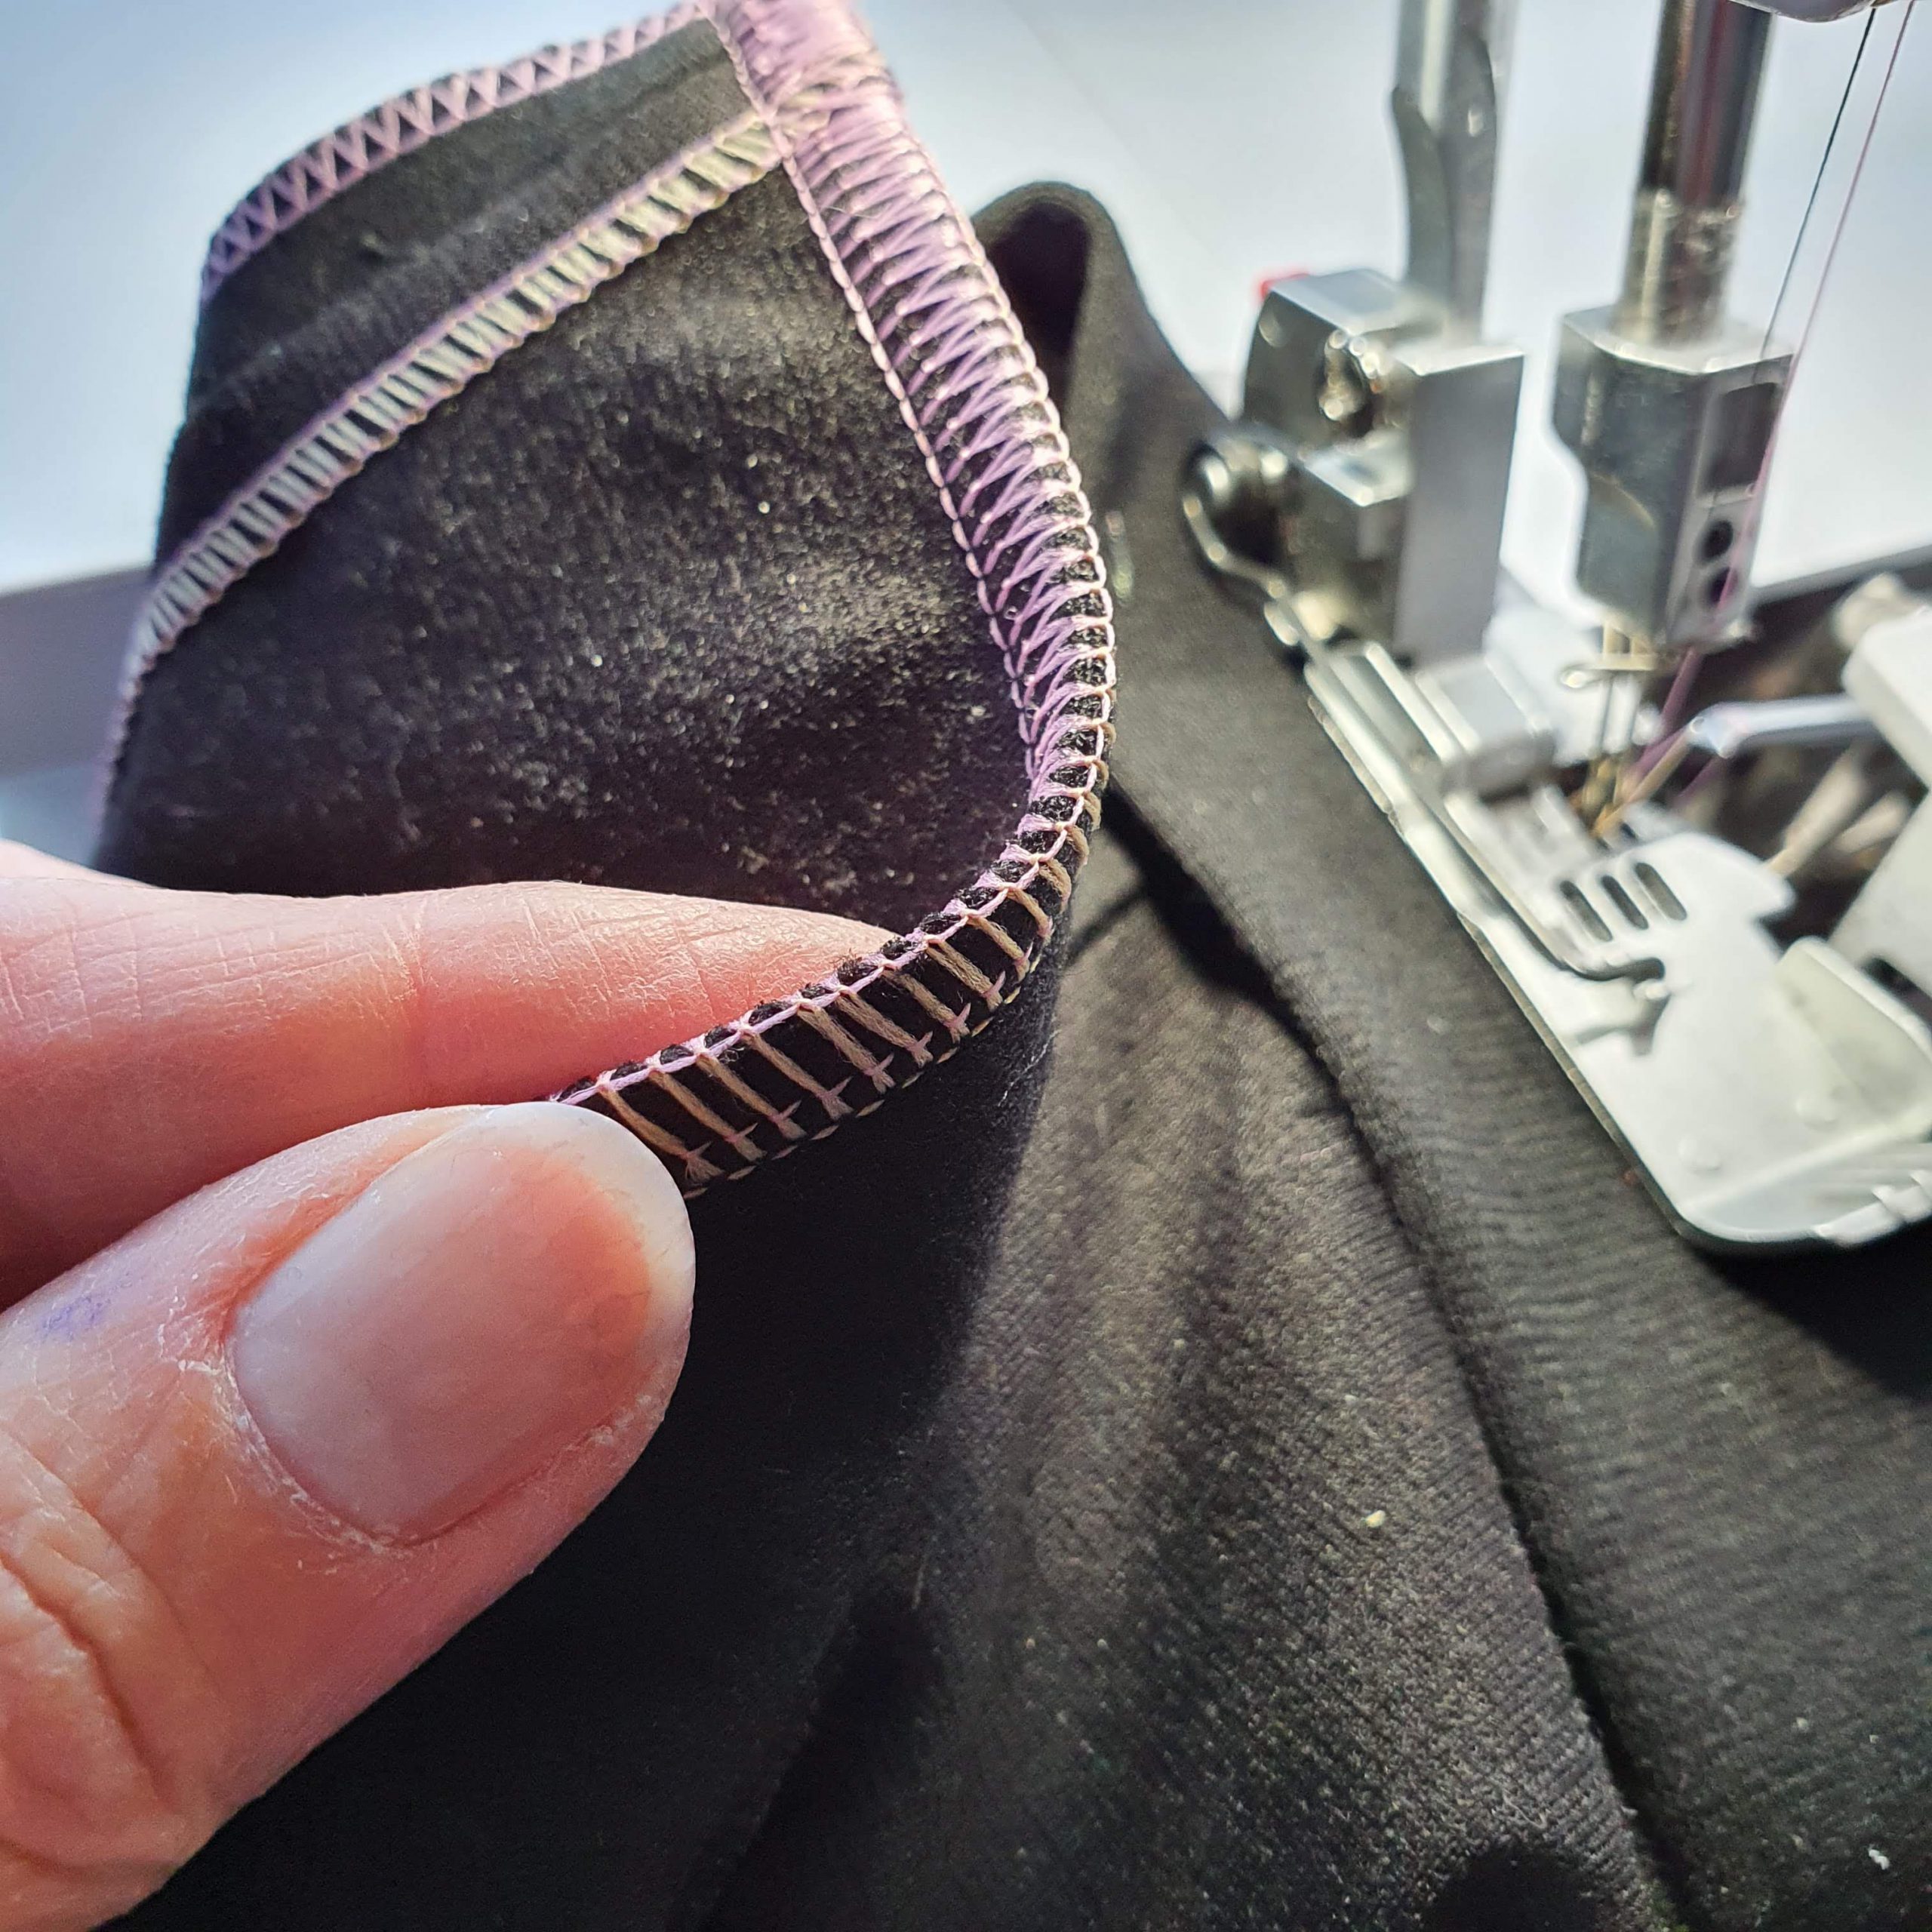
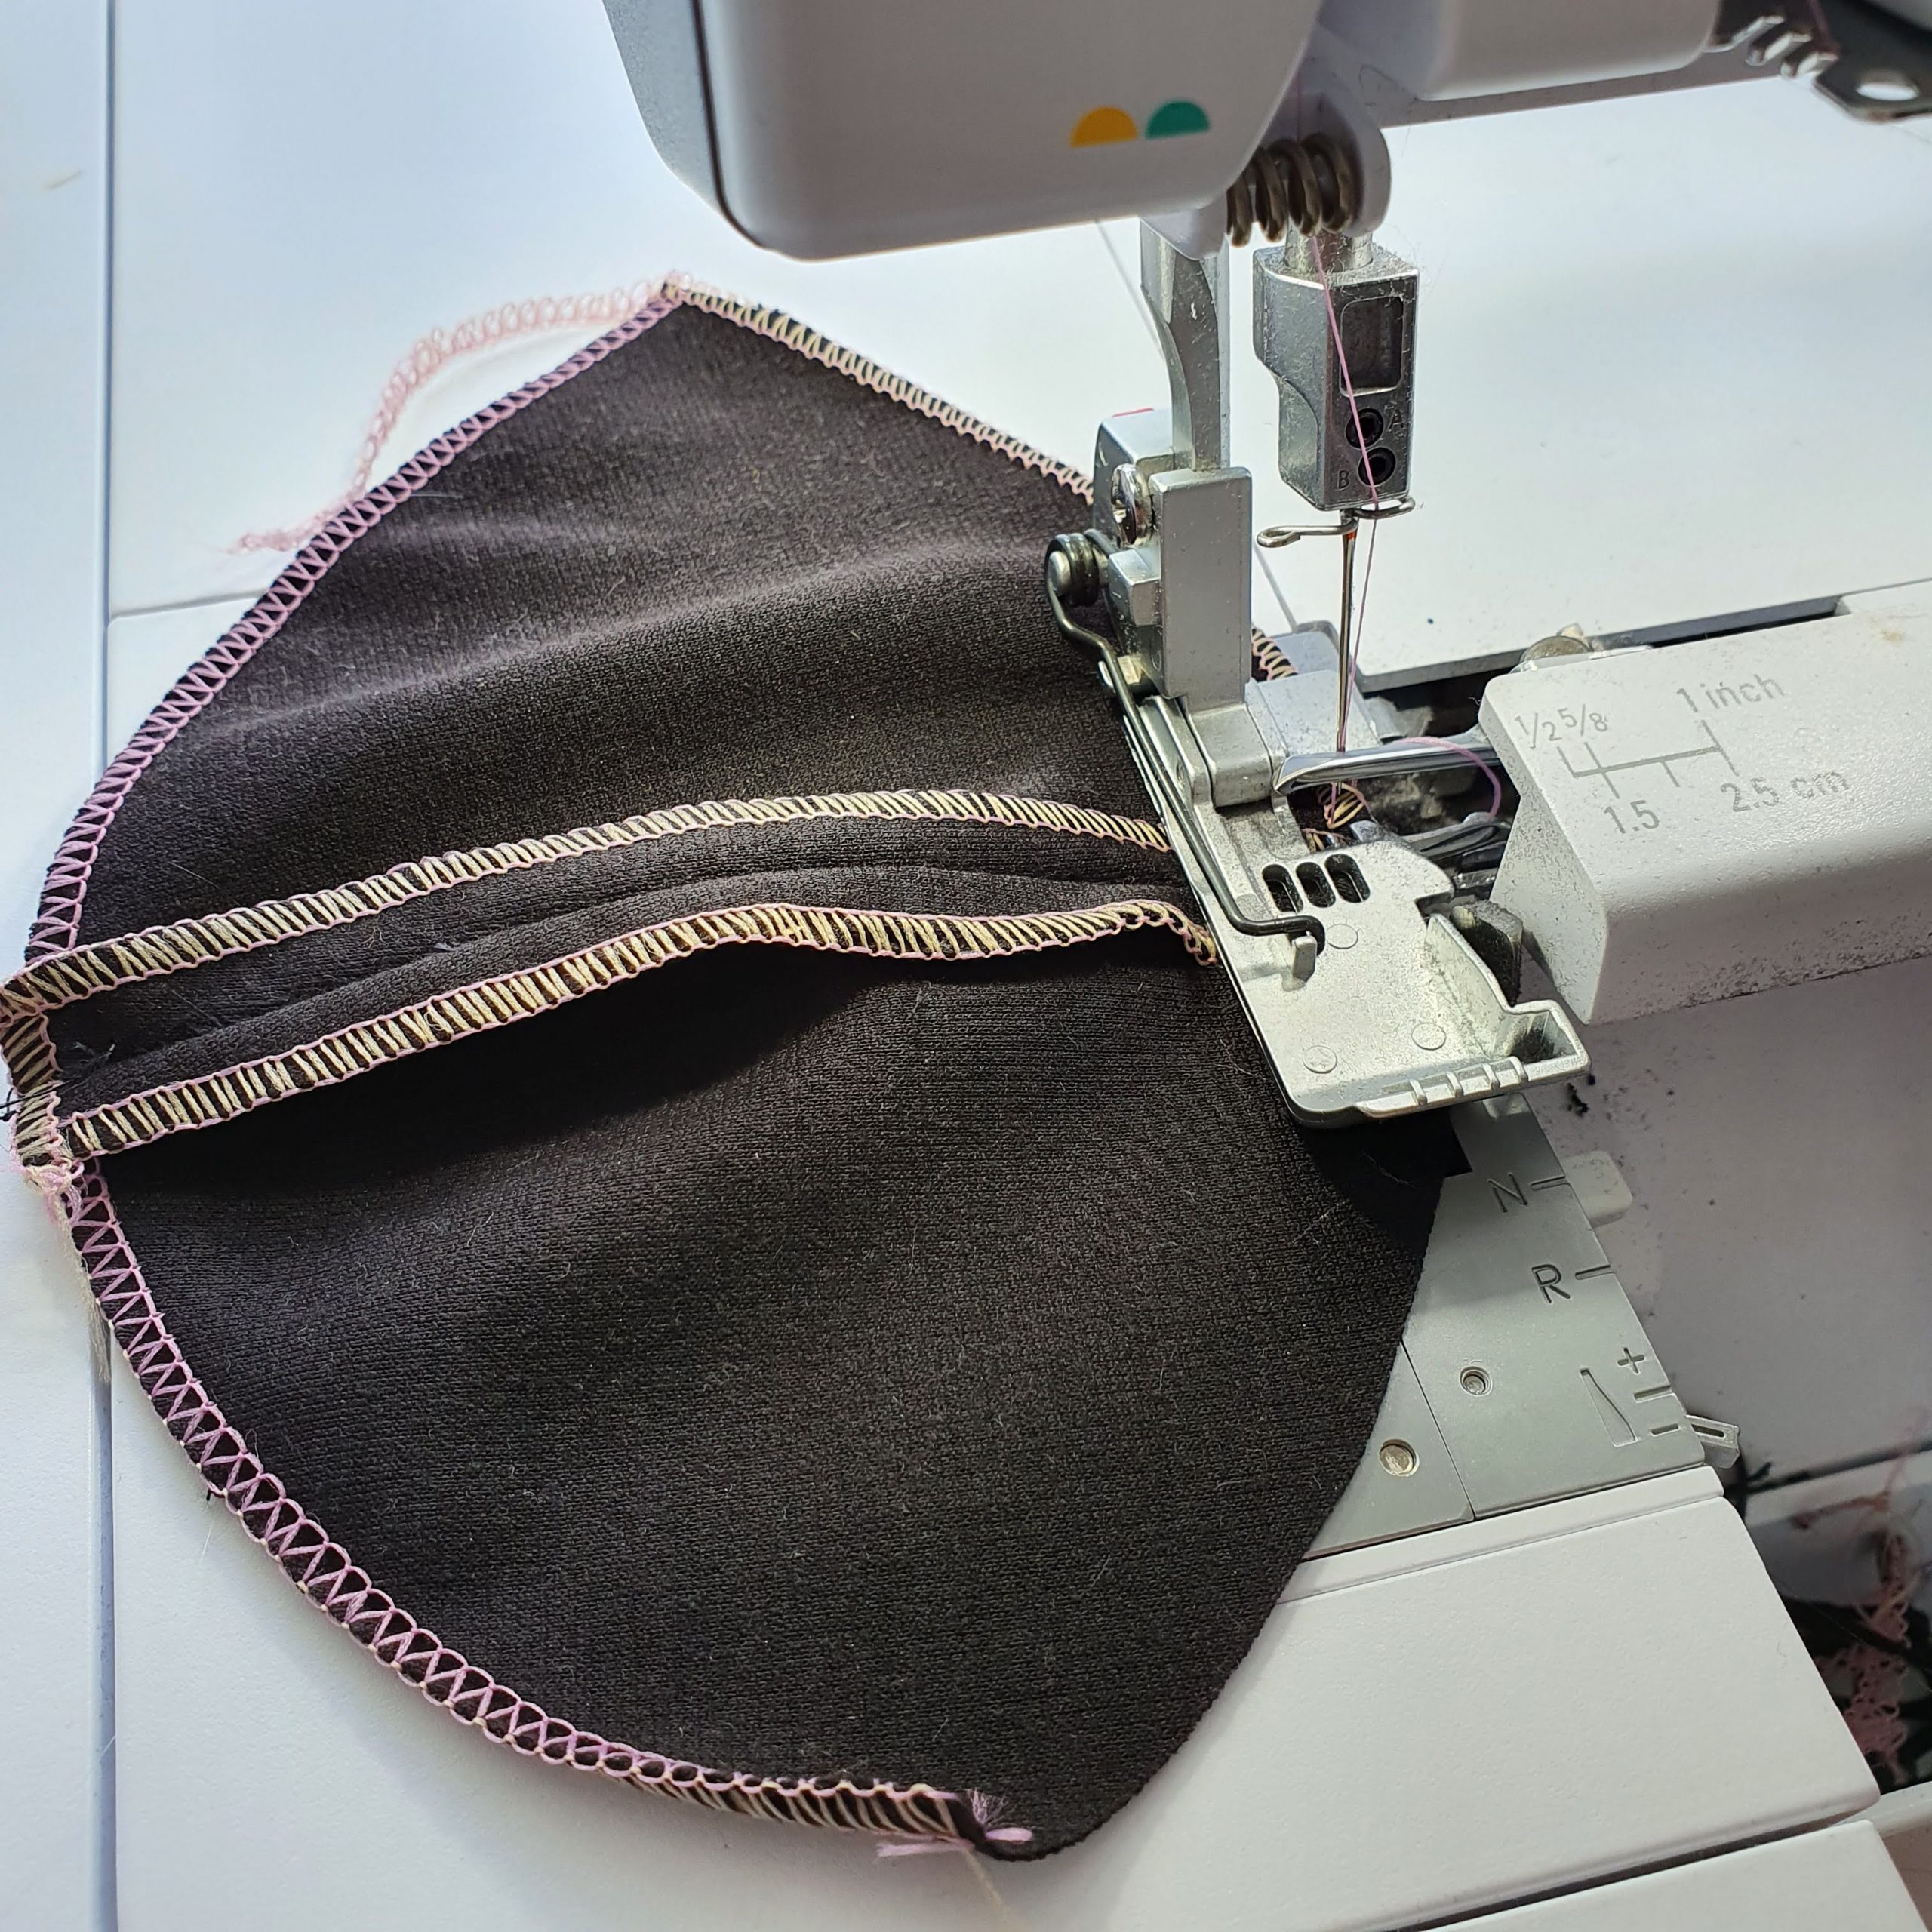
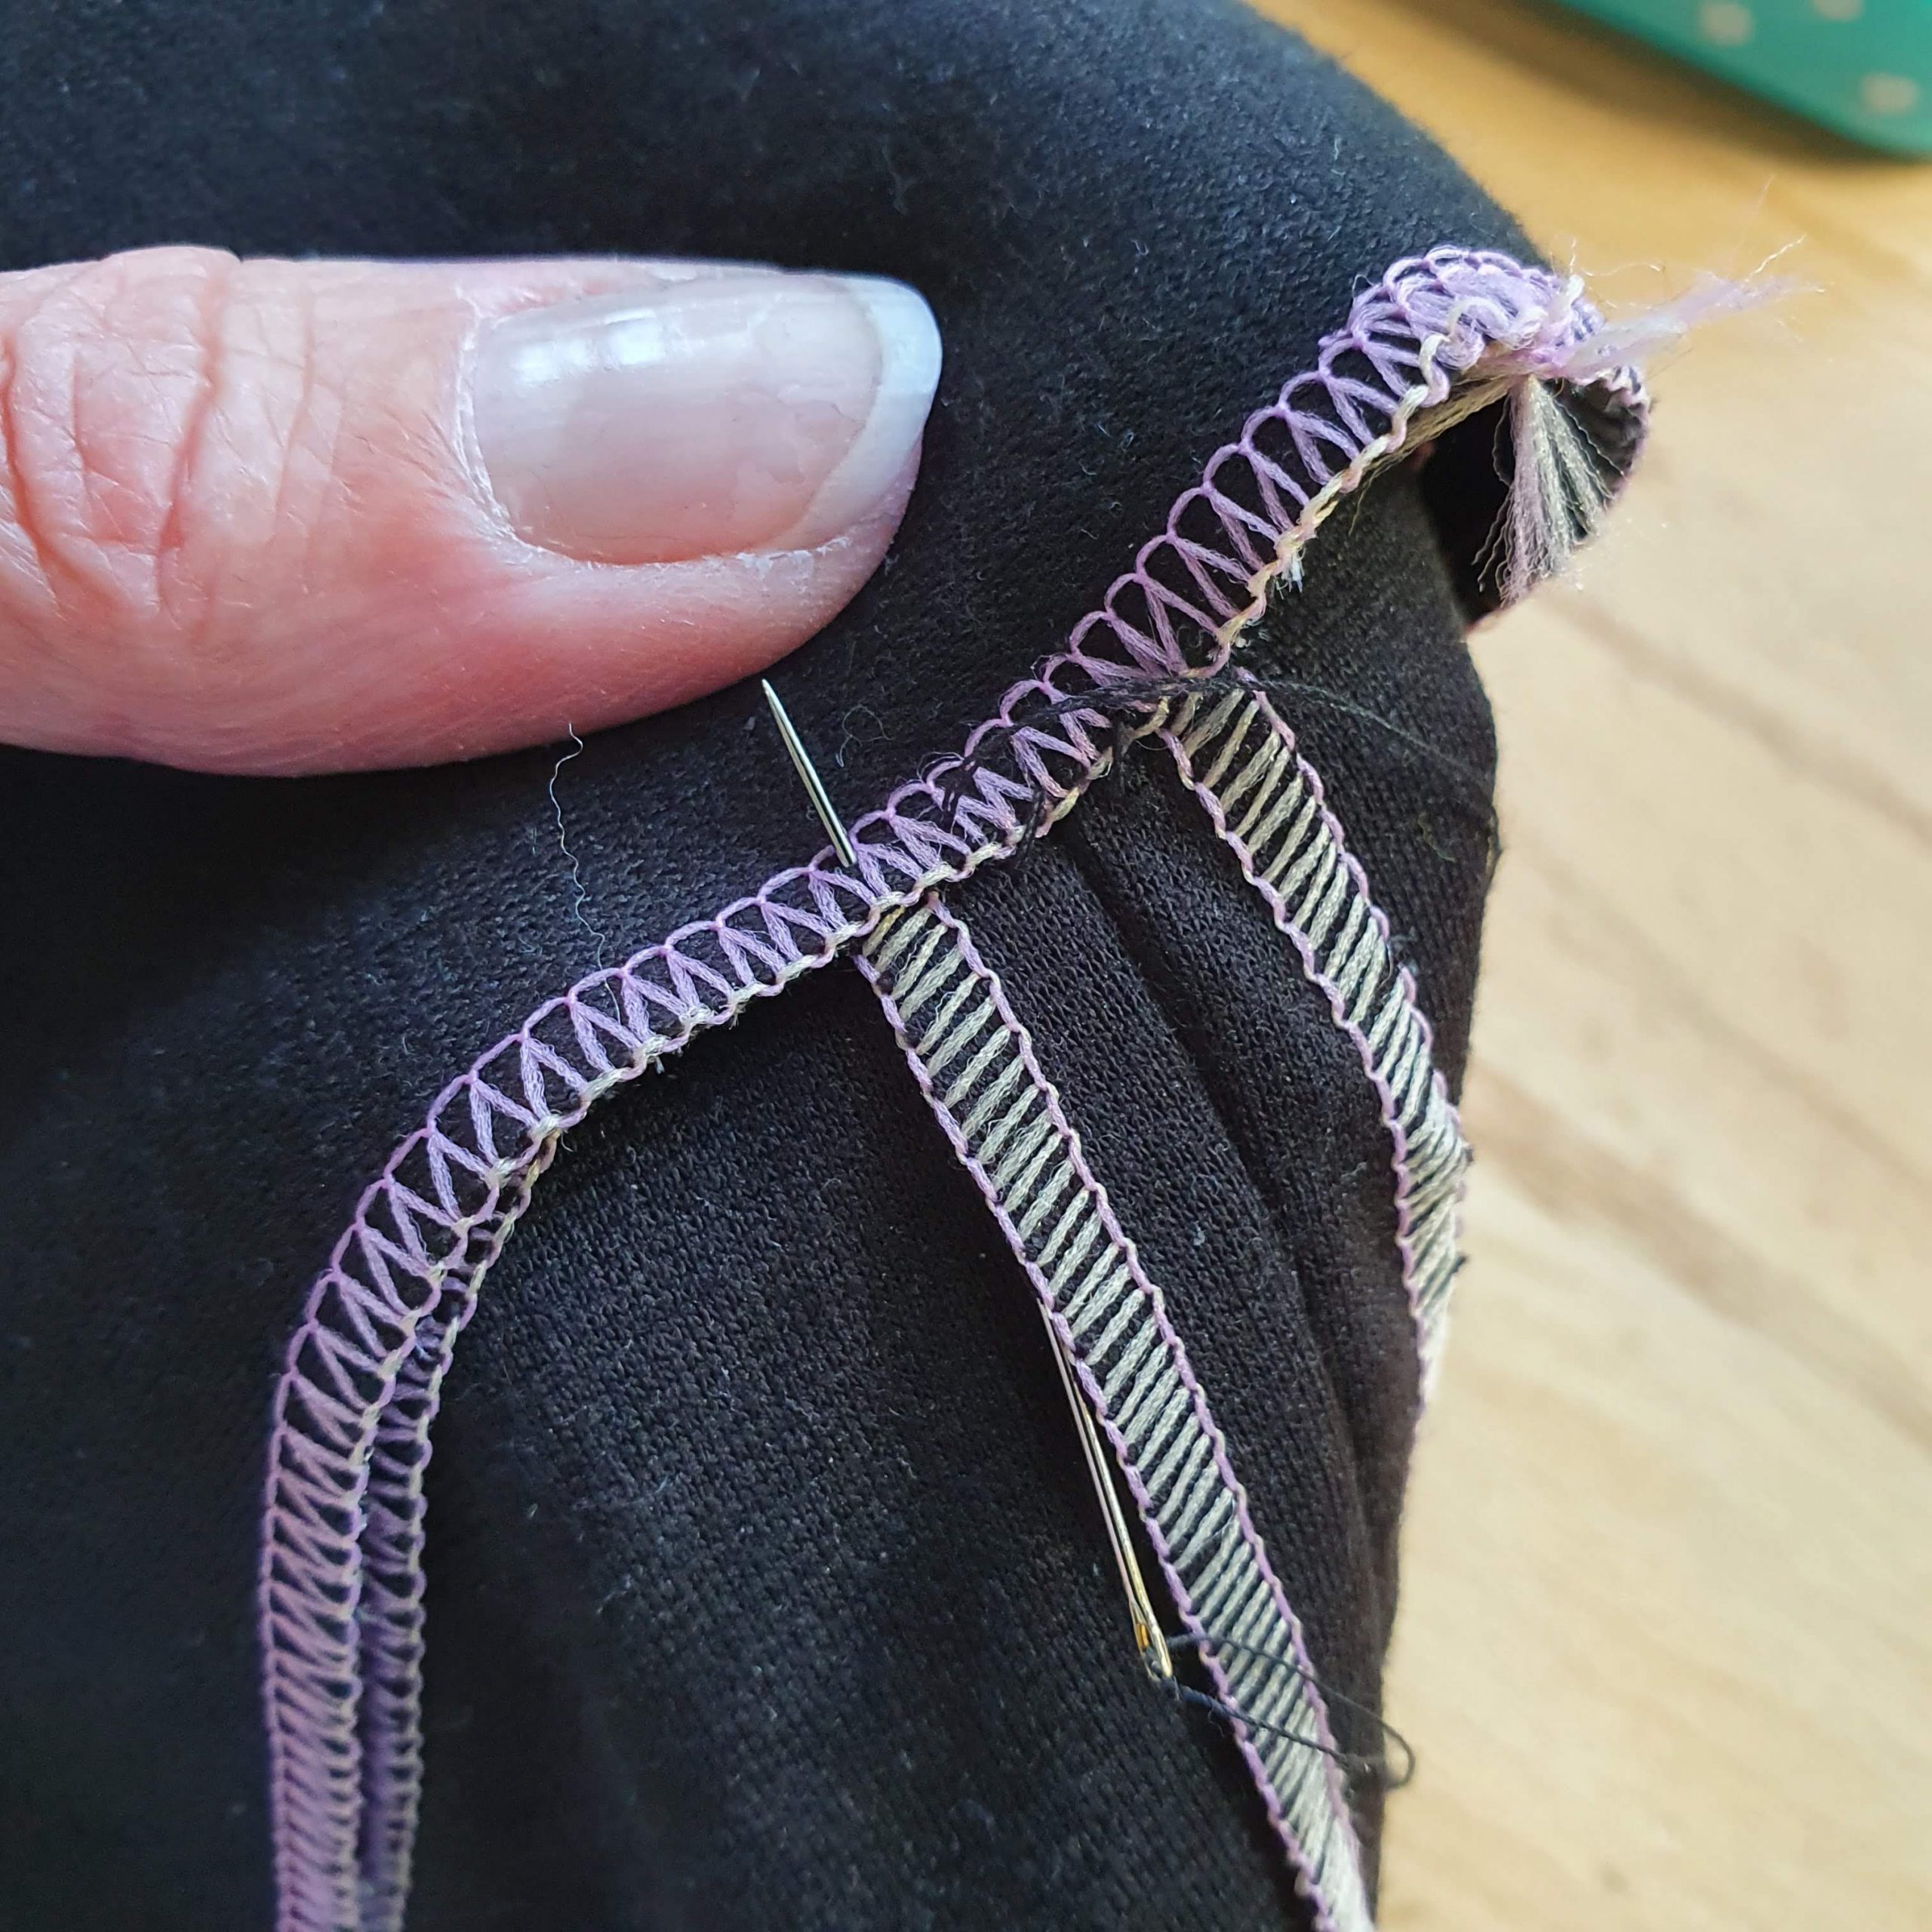
Before I sew the pattern pieces together, I finish most bustier sides with the bernette 64 AIRLOCK . For visibility in this blog, but also because it can sometimes be useful, I use different colours of Seraflock overlock thread from Mettler Threads. I use a 3-thread overlock stitch and remove the left needle from the over locker.
The thread on the upper looper is beige and the thread on the lower looper is pink. I make sure to finish all pattern pieces right side up. This way you know when further processing the pattern pieces that the ‘beige side’ is the right side. This can be useful if, like me, you work with fabric where the different sides are not easy to see.

Right side = beige seam
Furthermore, with different coloured threads you can easily see which adjustment you need to make to get the best stitch. Her I used the 4-thread overlock stitch. The upper and lower looper threads below do not meet nicely along the edge of the seam. You can see the pink thread (lower looper) coming over the edge here. Then either your lower looper tension is too loose or the upper looper (beige) tension is too tight. By adjusting this, the threads will be knotted more nicely along the edge. This is a matter of testing with a piece of duplicate fabric.
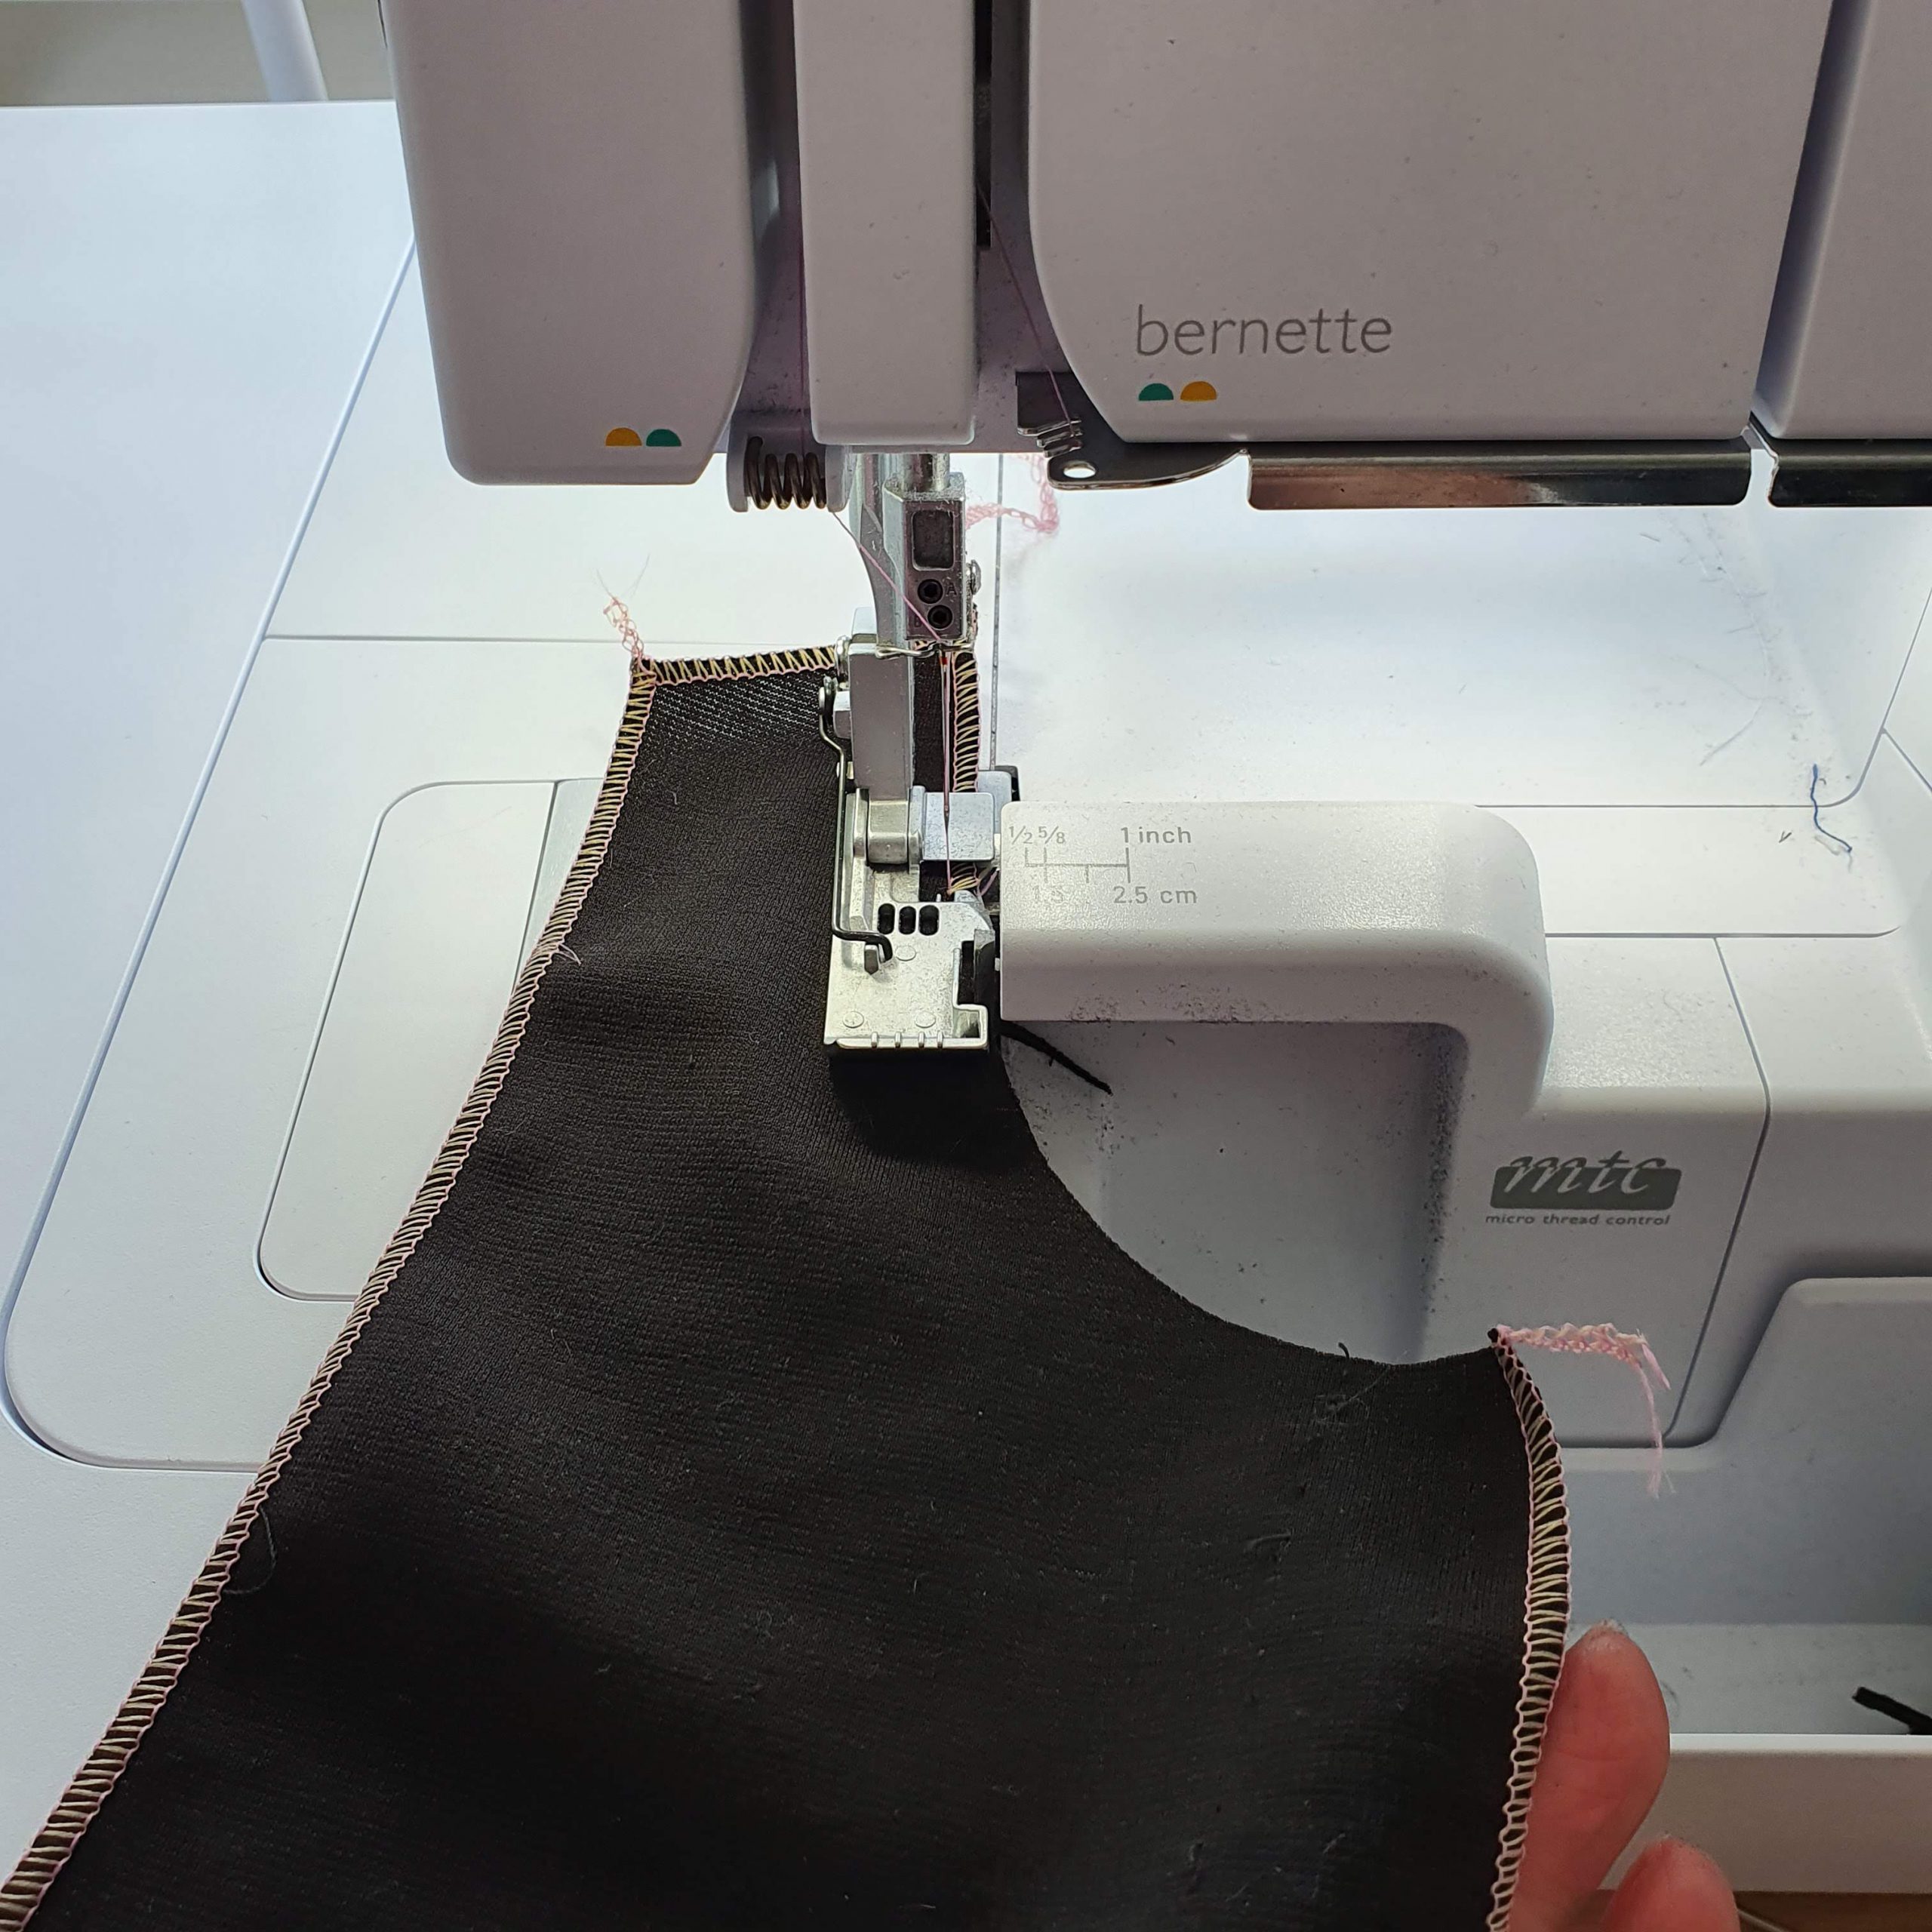
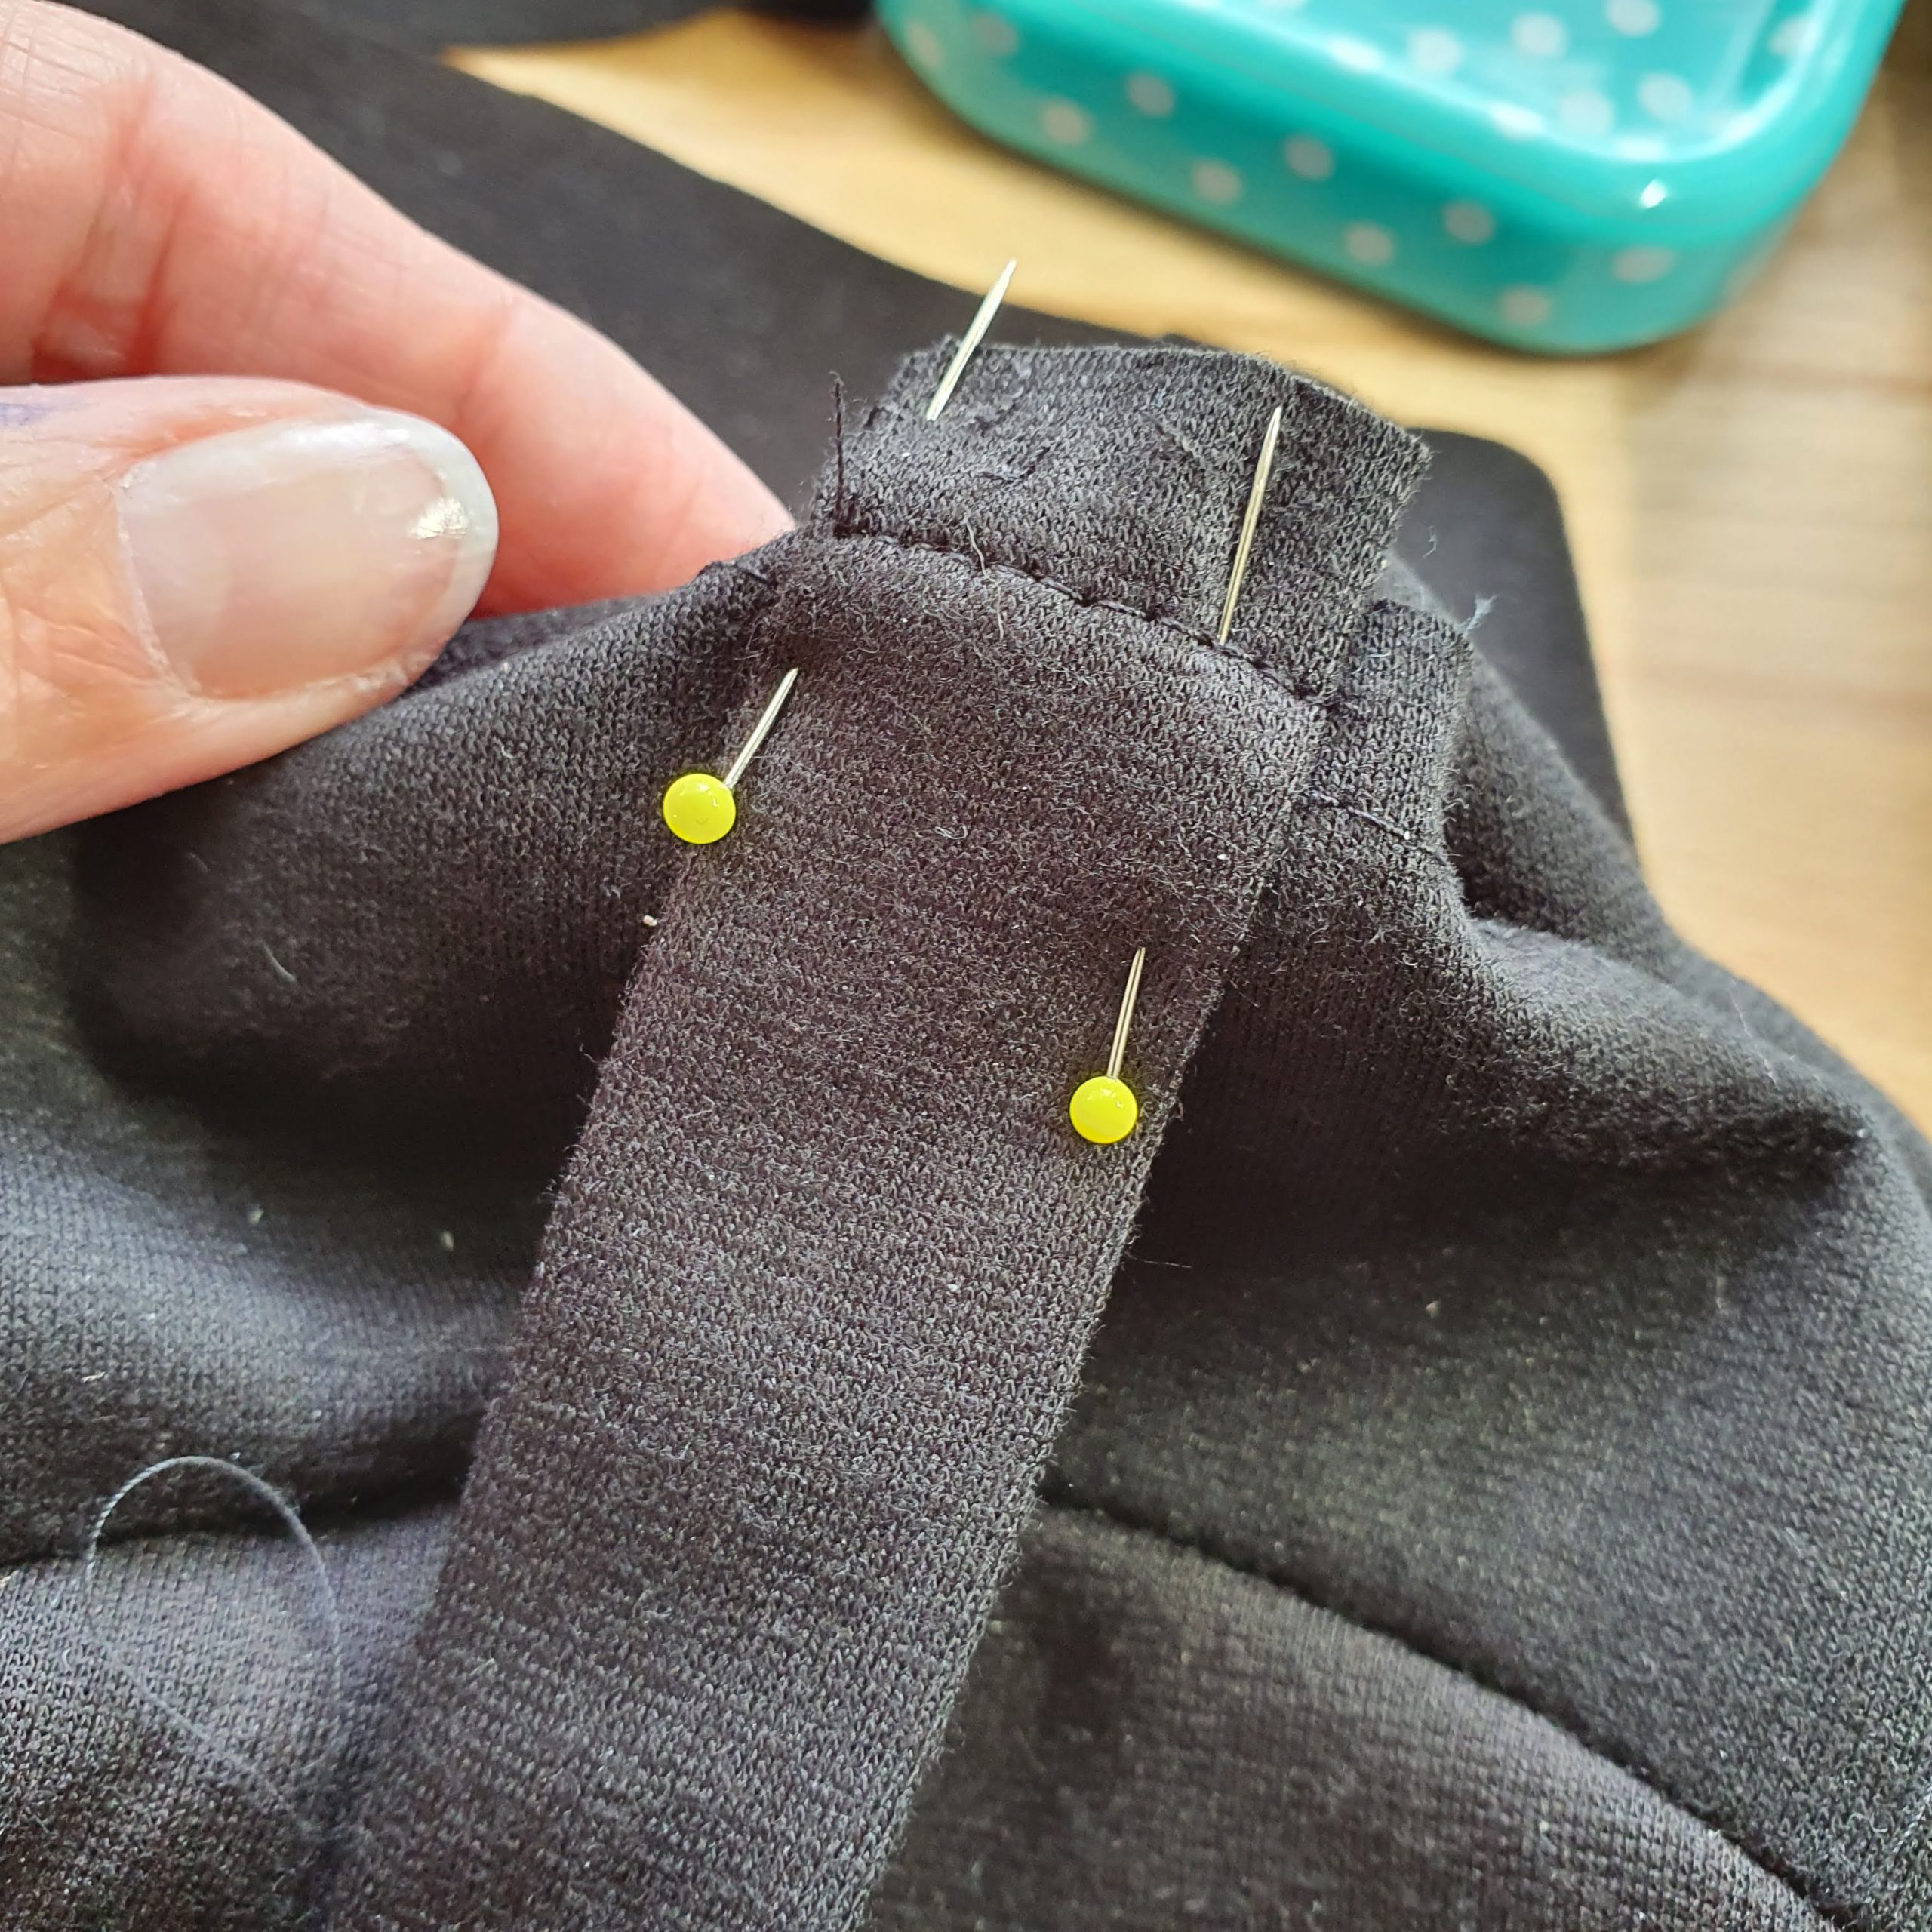
Don’t stretch
When overlocking, it is important that you guide the fabric well and do not stretch it. This has a major impact on the fit. It can be tricky with the many curves in the bustier pattern.
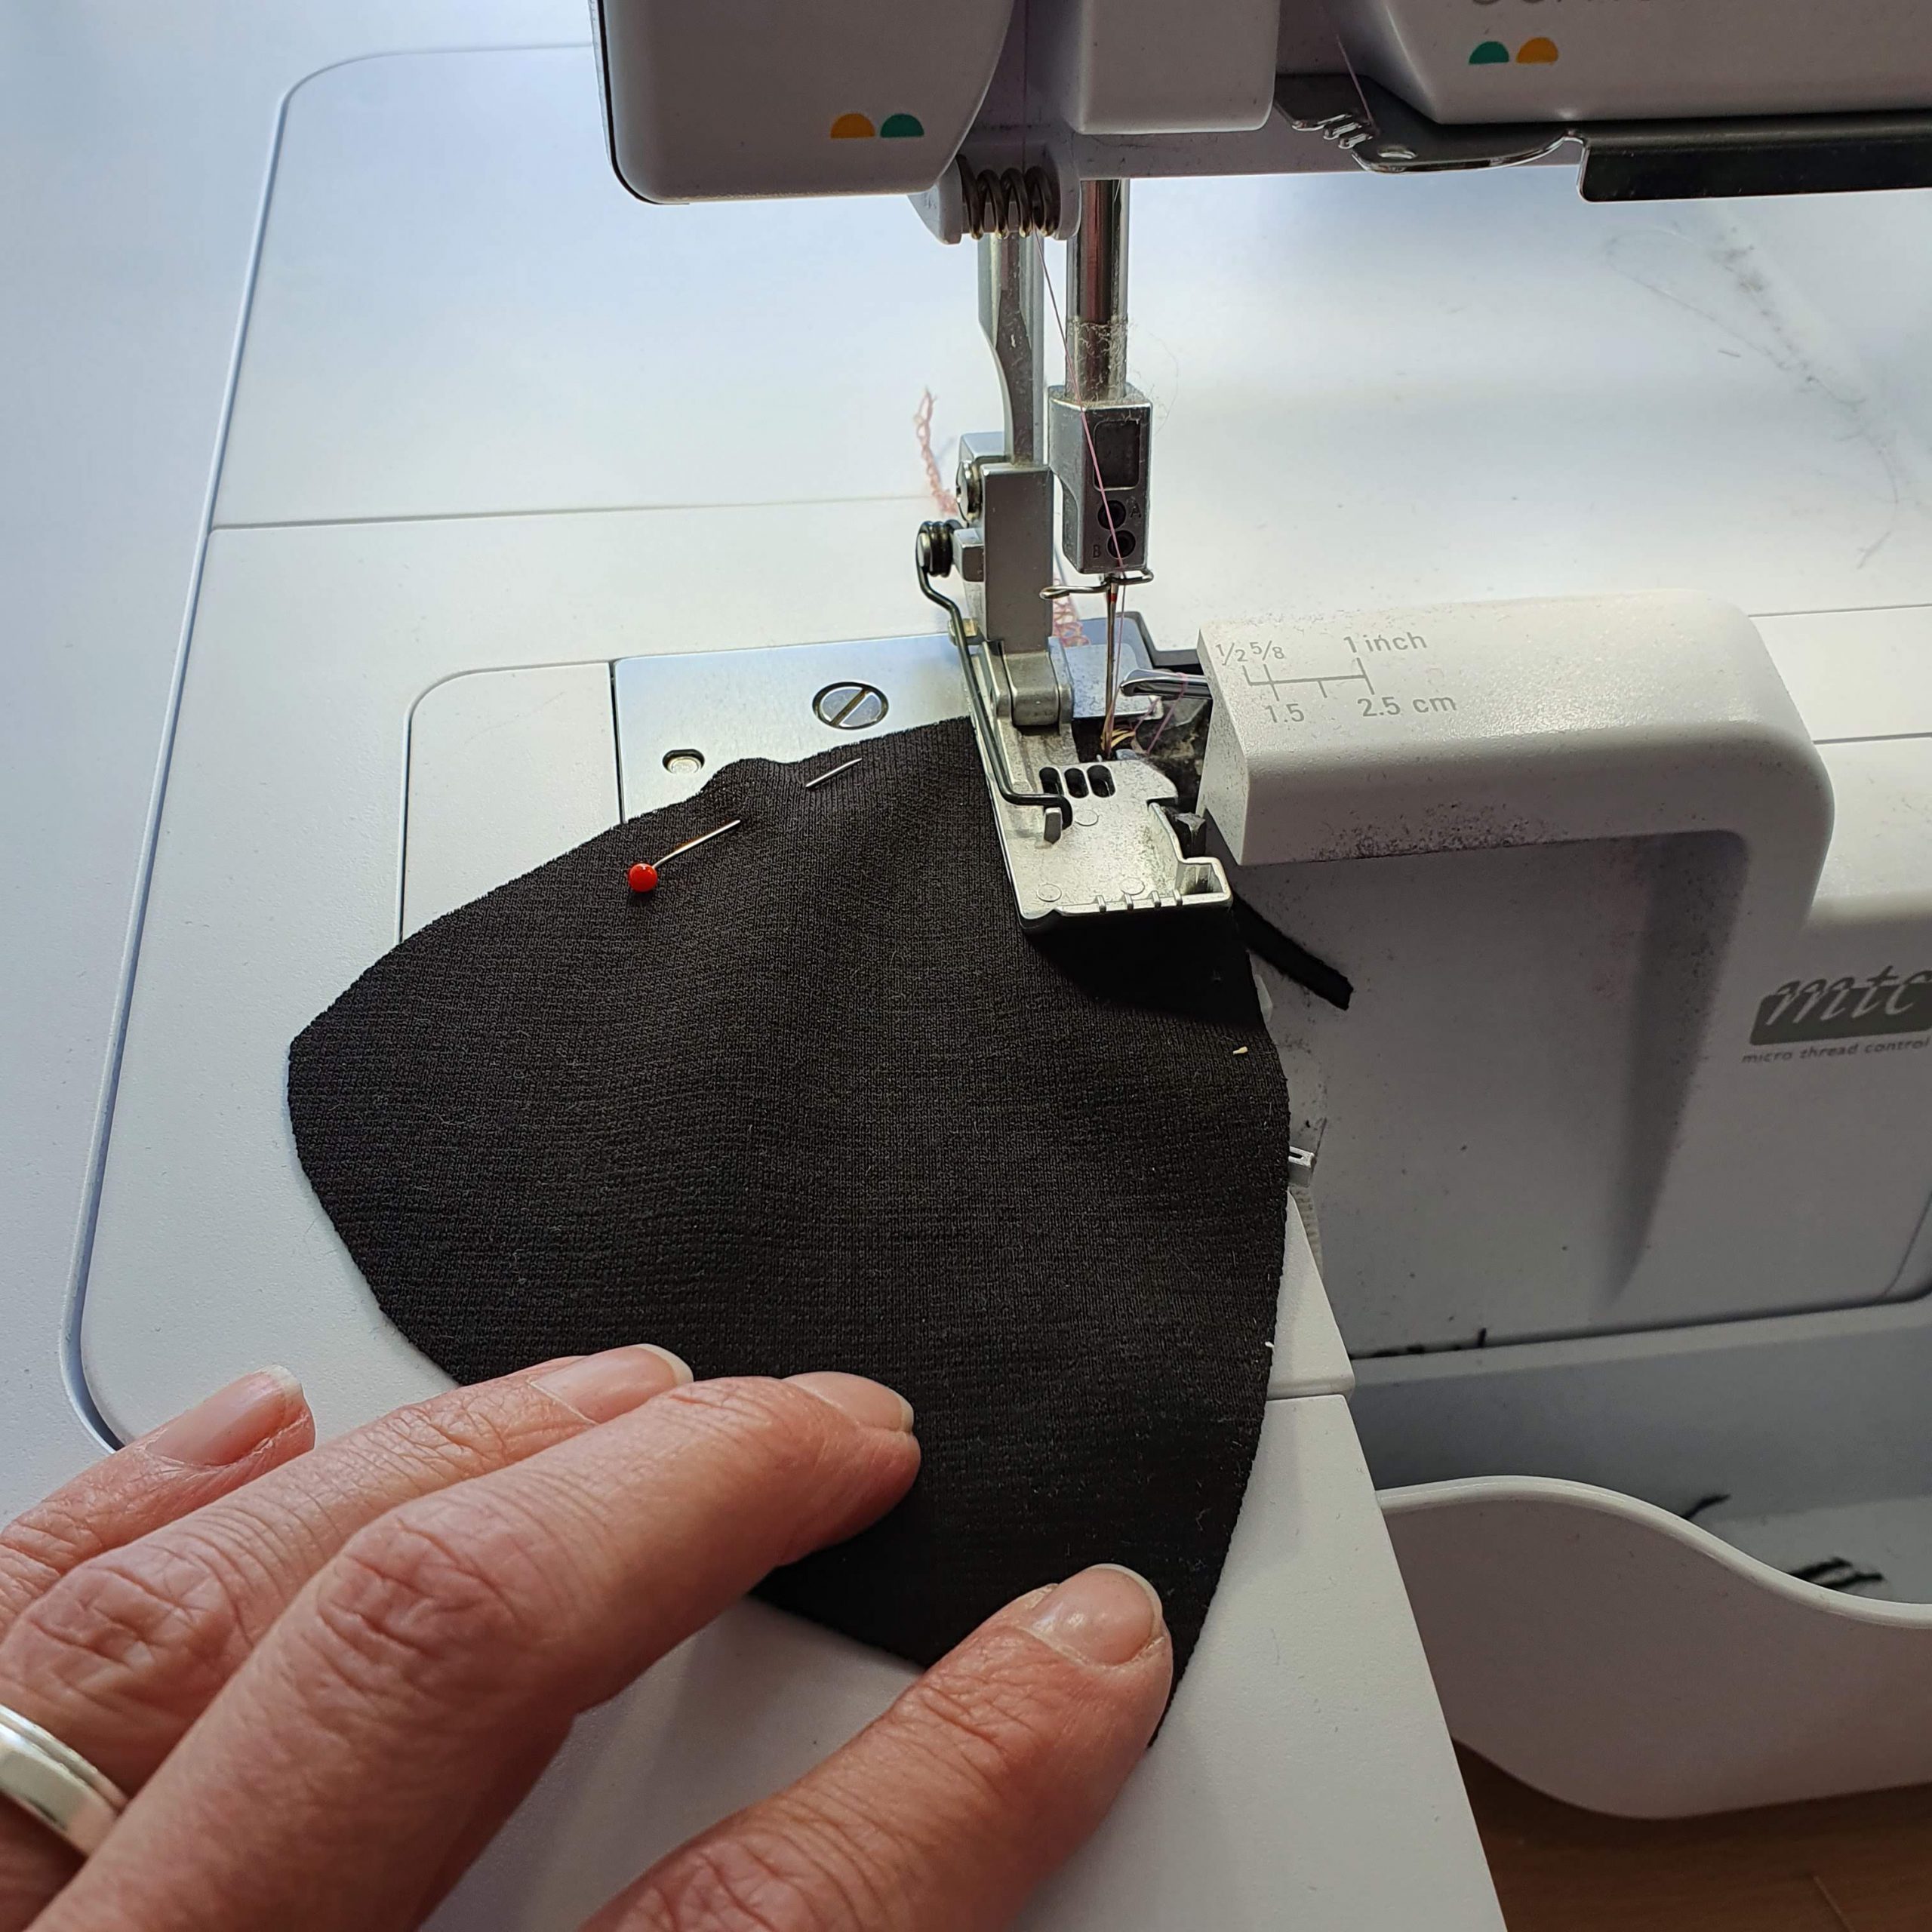
In an inward curve, stitch while aligning the curve with the right side of the stitch plate. This creates folds to the left of the presser foot while sewing. Make sure that the pleats are not under the presser foot.
Inwards curve

Align

With an outward curve, you basically do the same, only you guide the fabric more towards the presser foot and to the right while stitching.
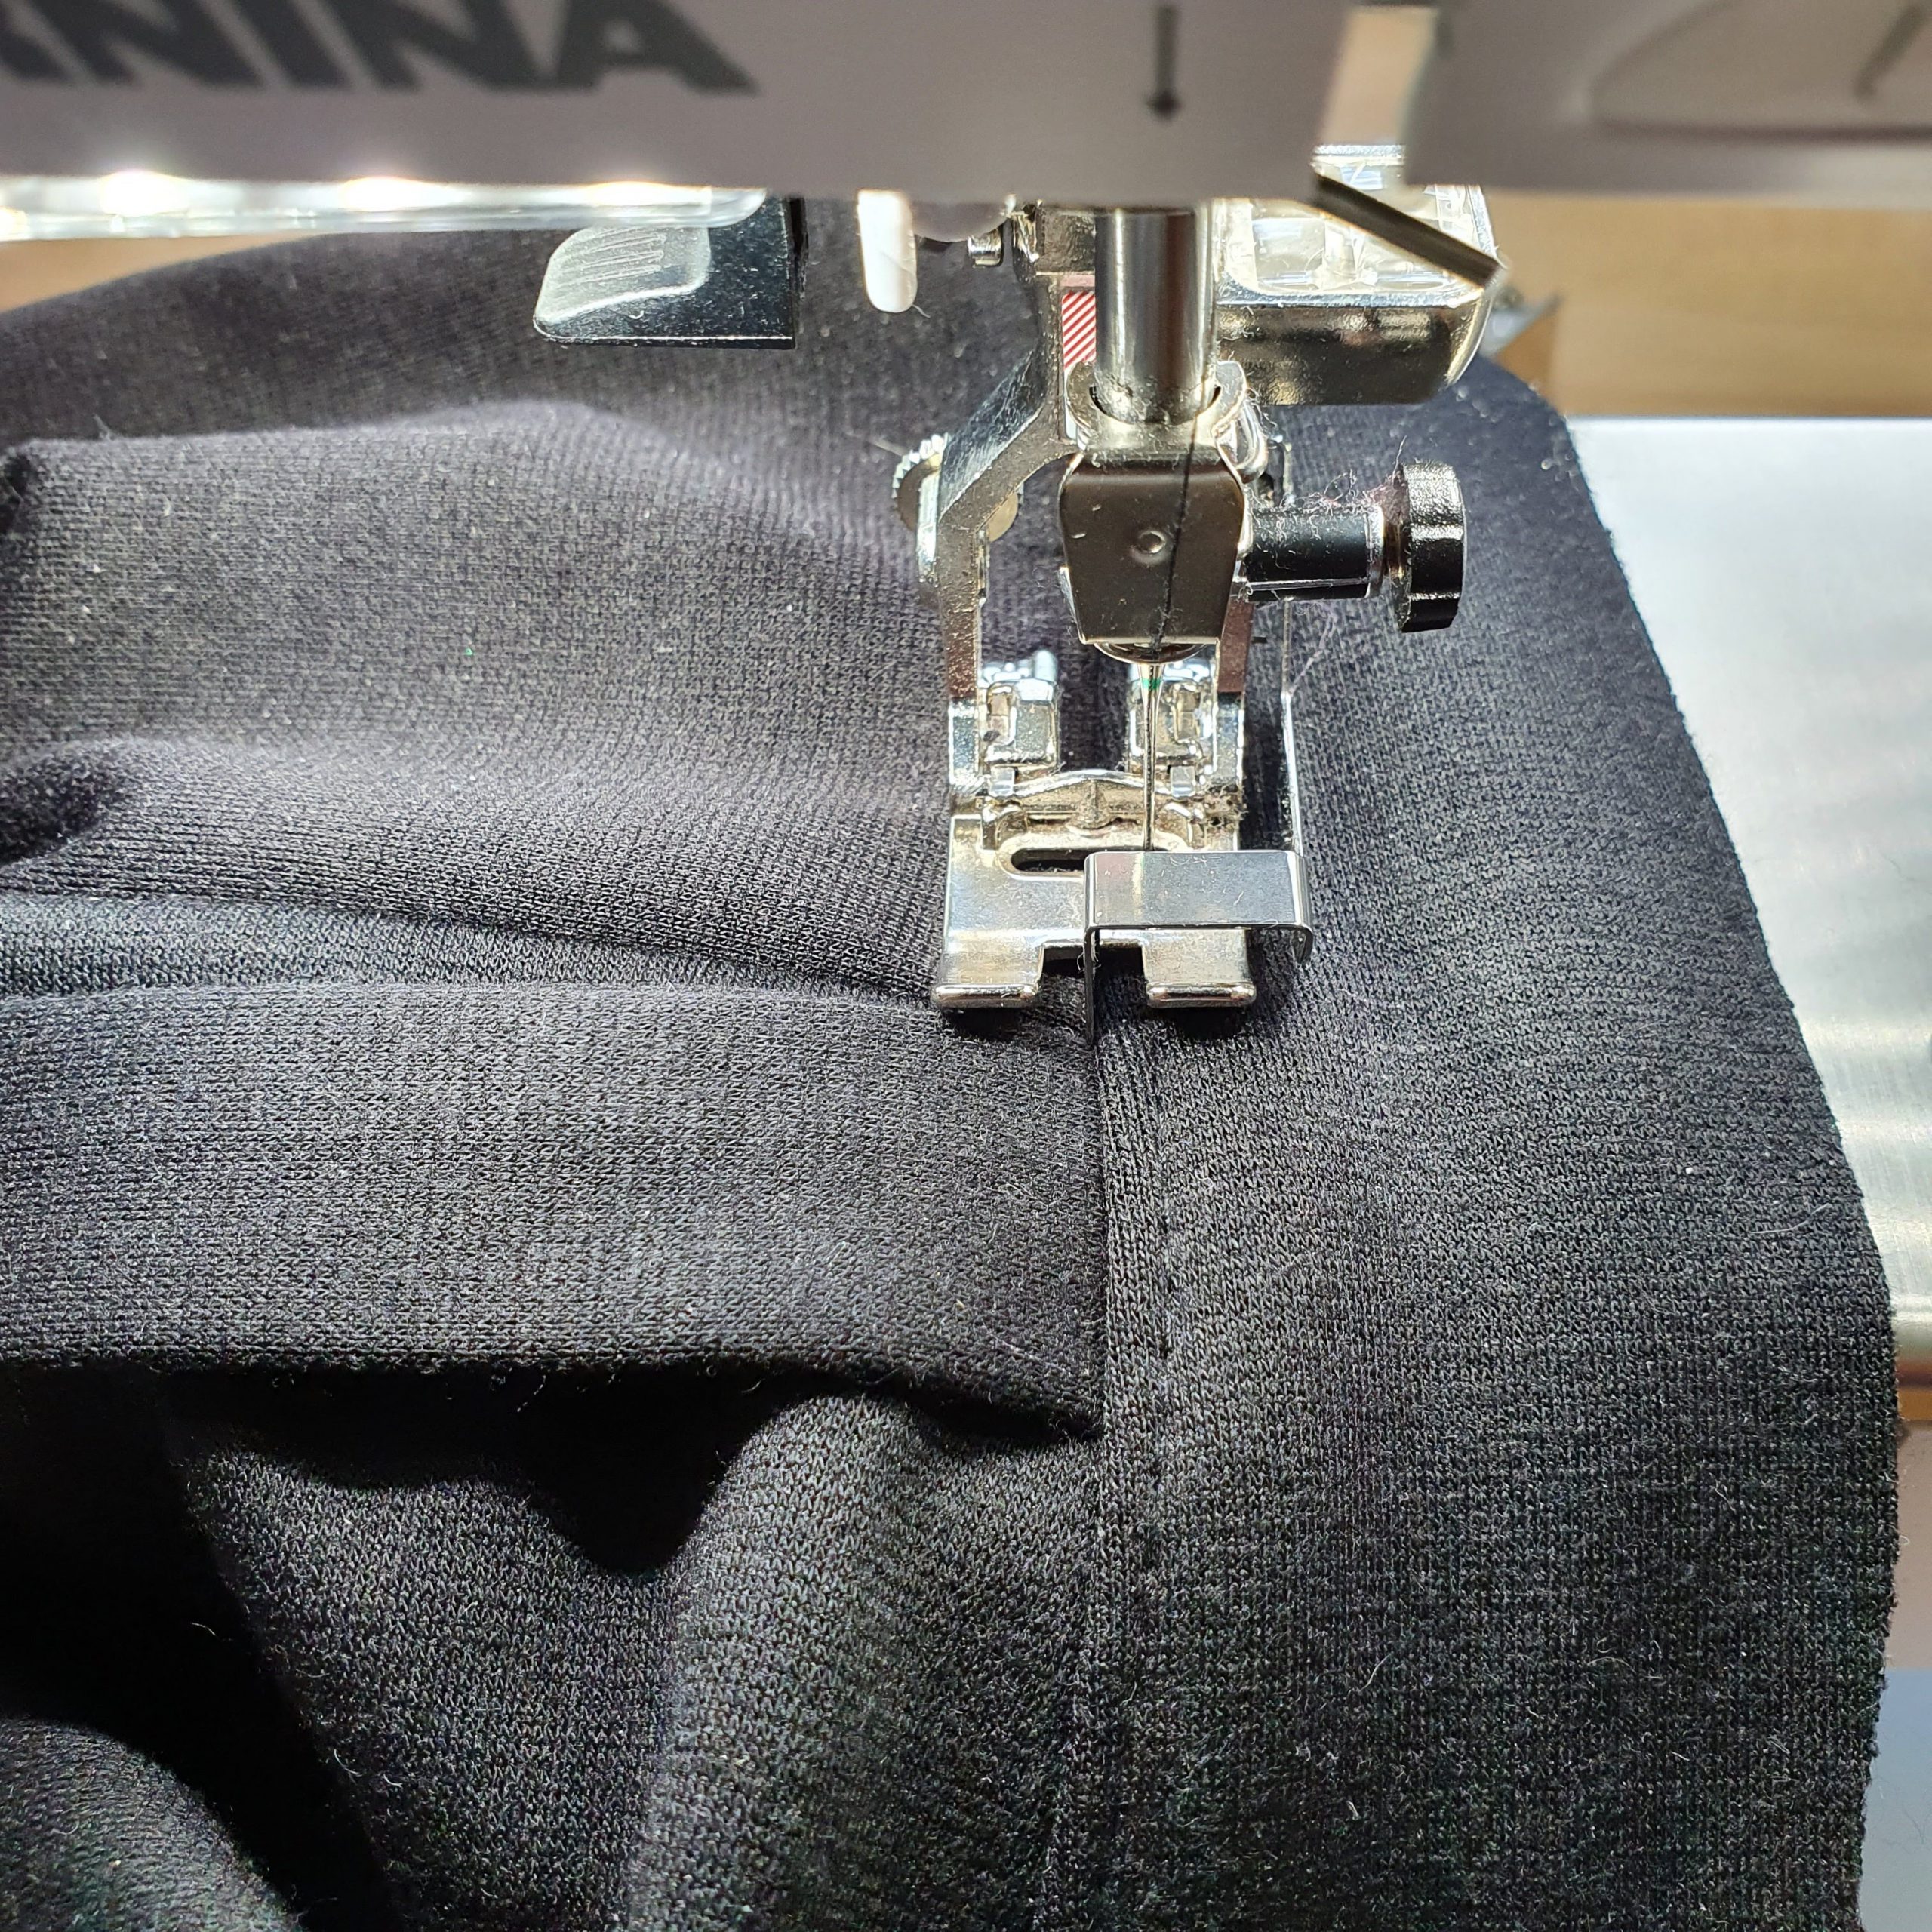
Sew and iron
With all pattern pieces finished as far as necessary with the overlocker, the bustier is put together with both the sewing machine and the overlocker. Each seam is well pressed with iron and clapper. For the round seams I use the tailor’s ham (filled with leftover fabric) and I realized that I actually need a smaller one for the cups. I’ll put this on my to-sew list right away.
No stretching-check

Tailor’s ham
More overlocking

Tailor’s clapper
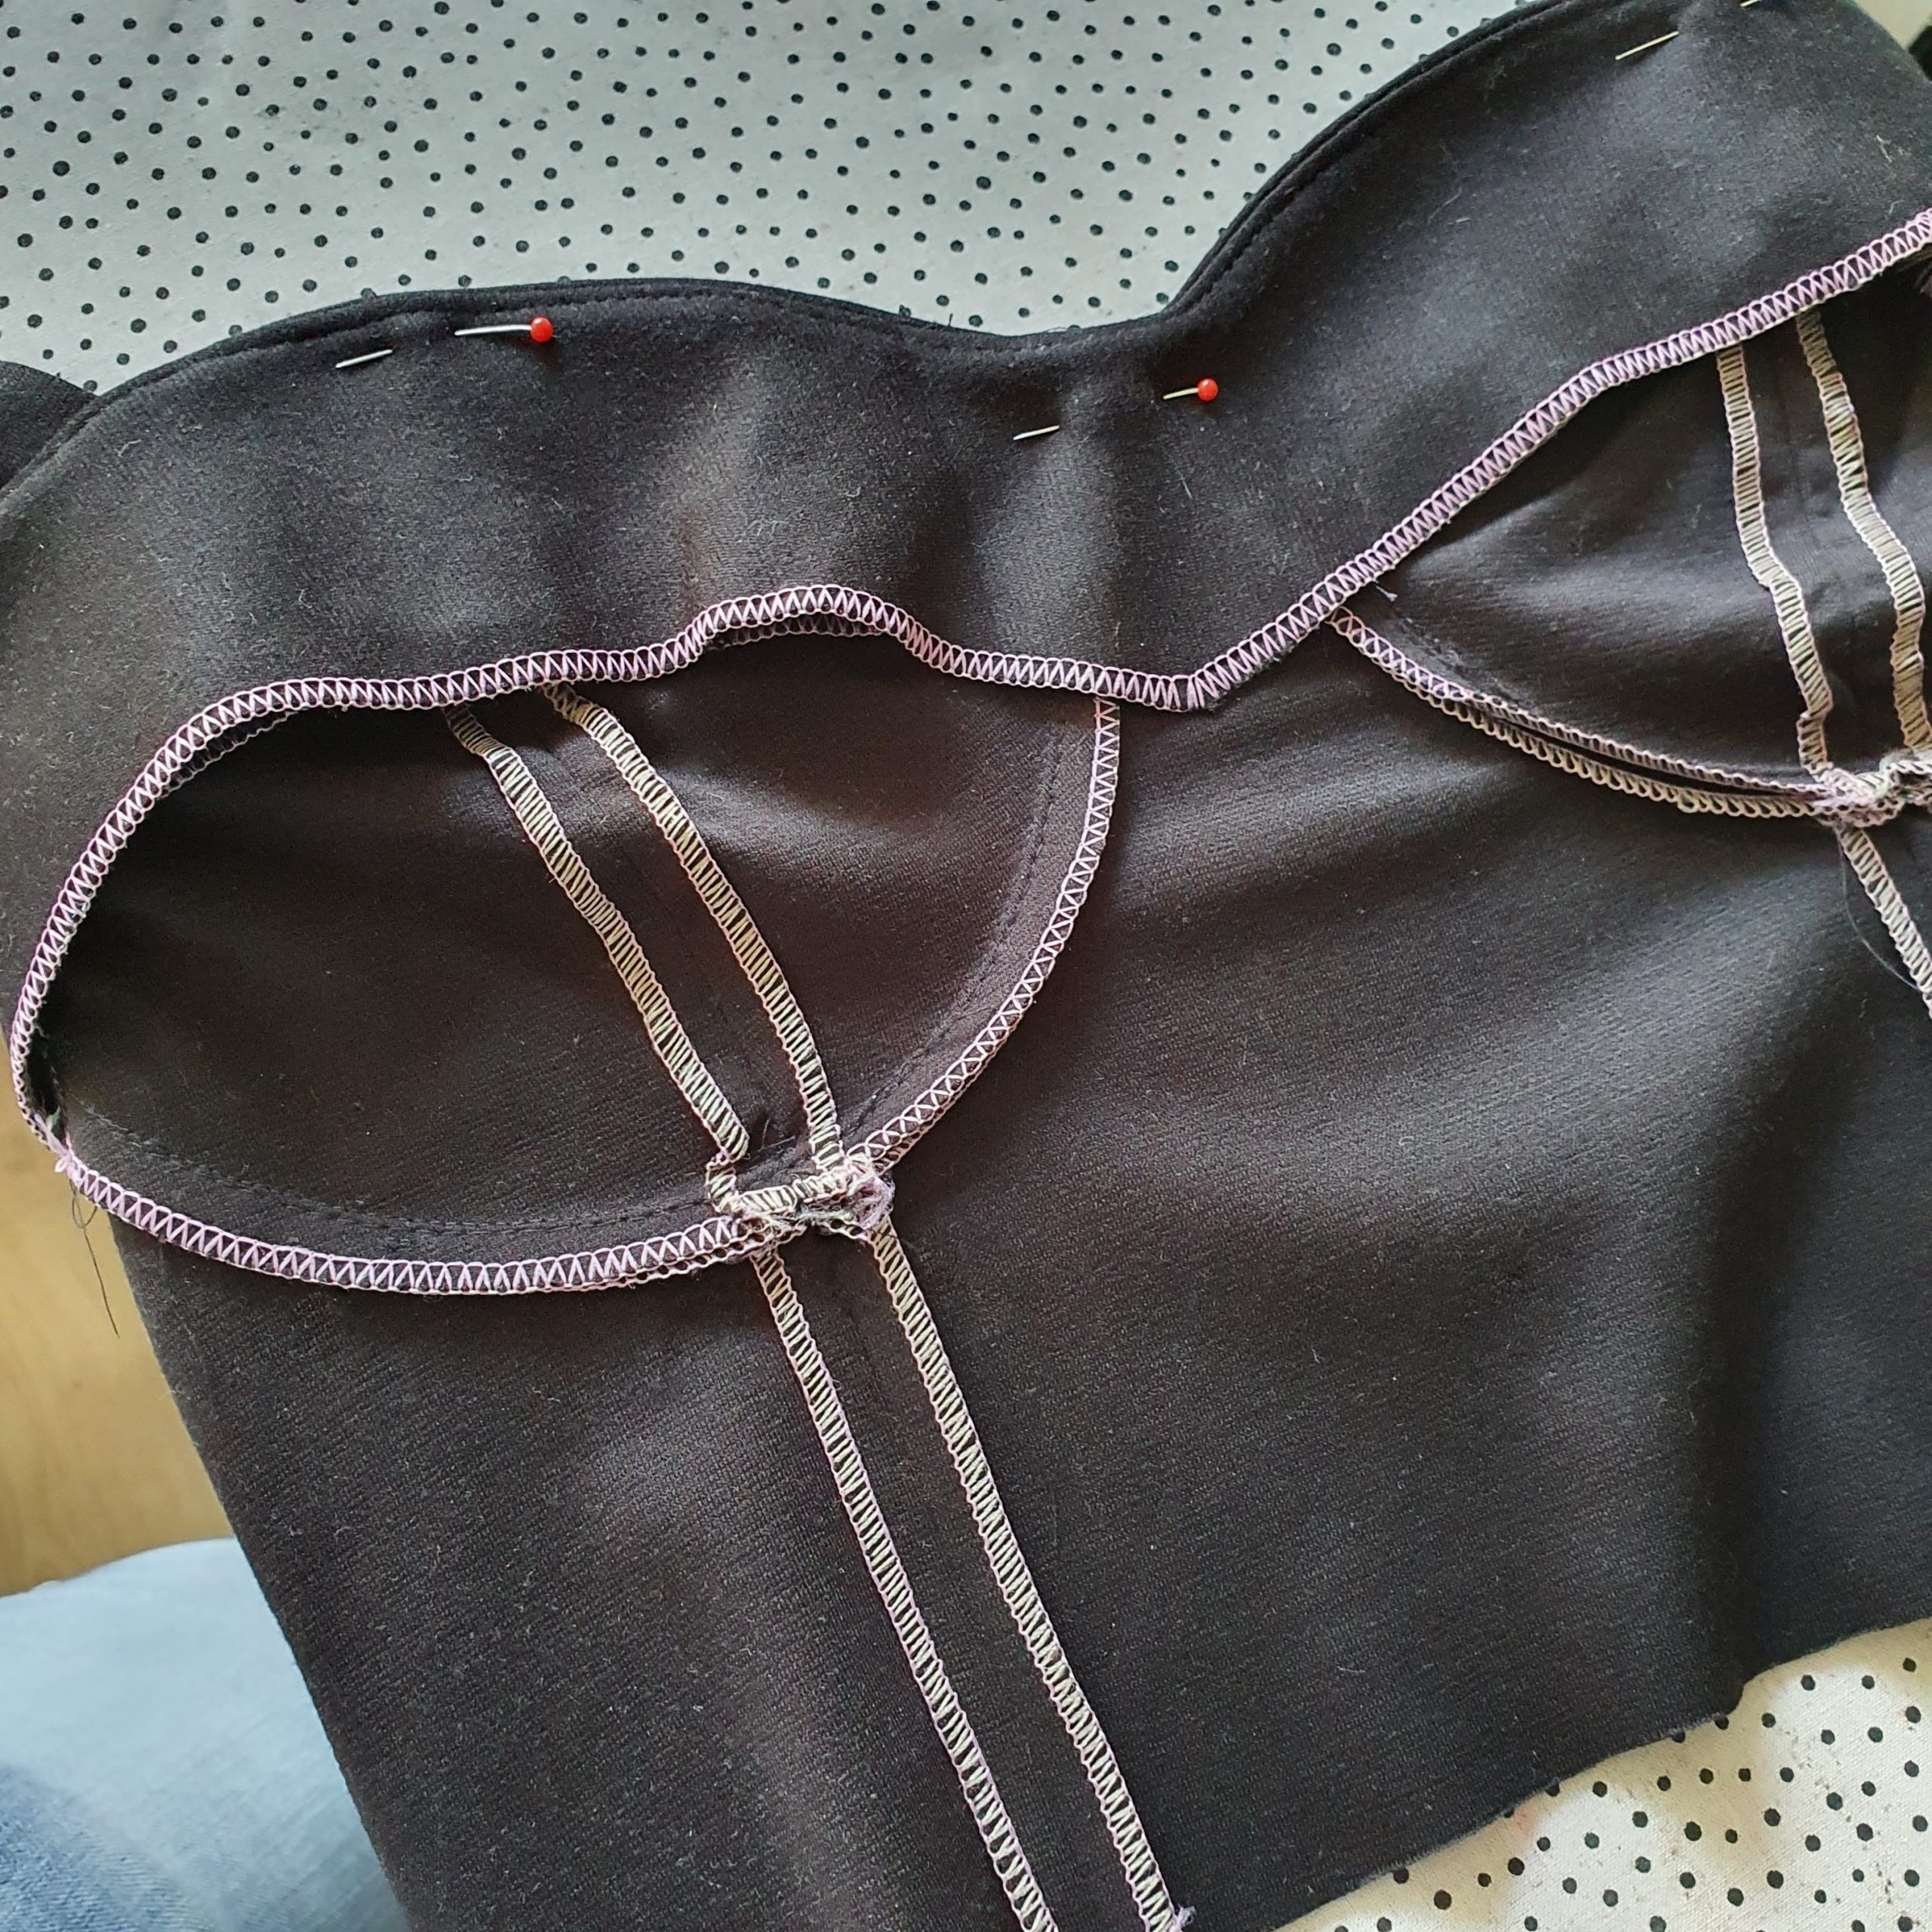
With all parts assembled and ironed, it’s time to try on. The fit of the bustier is already quite good. A single adjustment in the side seam was sufficient. The planned zipper has been omitted. Because of the stretch in the fabric, the top is easy to put on over the head. Now it’s a matter of fastening the straps together with the sewing of the facing.
First sew straps only to the bustier, then it is sandwiched between bustier and facing
The facing is topstitched narrow on the side with Edgestitch foot # 10 , which secures the seam allowance and creates a beautiful flat neckline. The facing is fixed by hand in a couple of places.

Topstitch facing narrow on the side
Facing nicely flat…
…then stitched by hand
Waistband
To lengthen the bustier a little, I add a waistband just like you would at the bottom of a sweater. Only the waistband is now as wide as the bottom of the bustier. The waistband is folded in half and stitched directly with the overlocker (4-treads stitch)
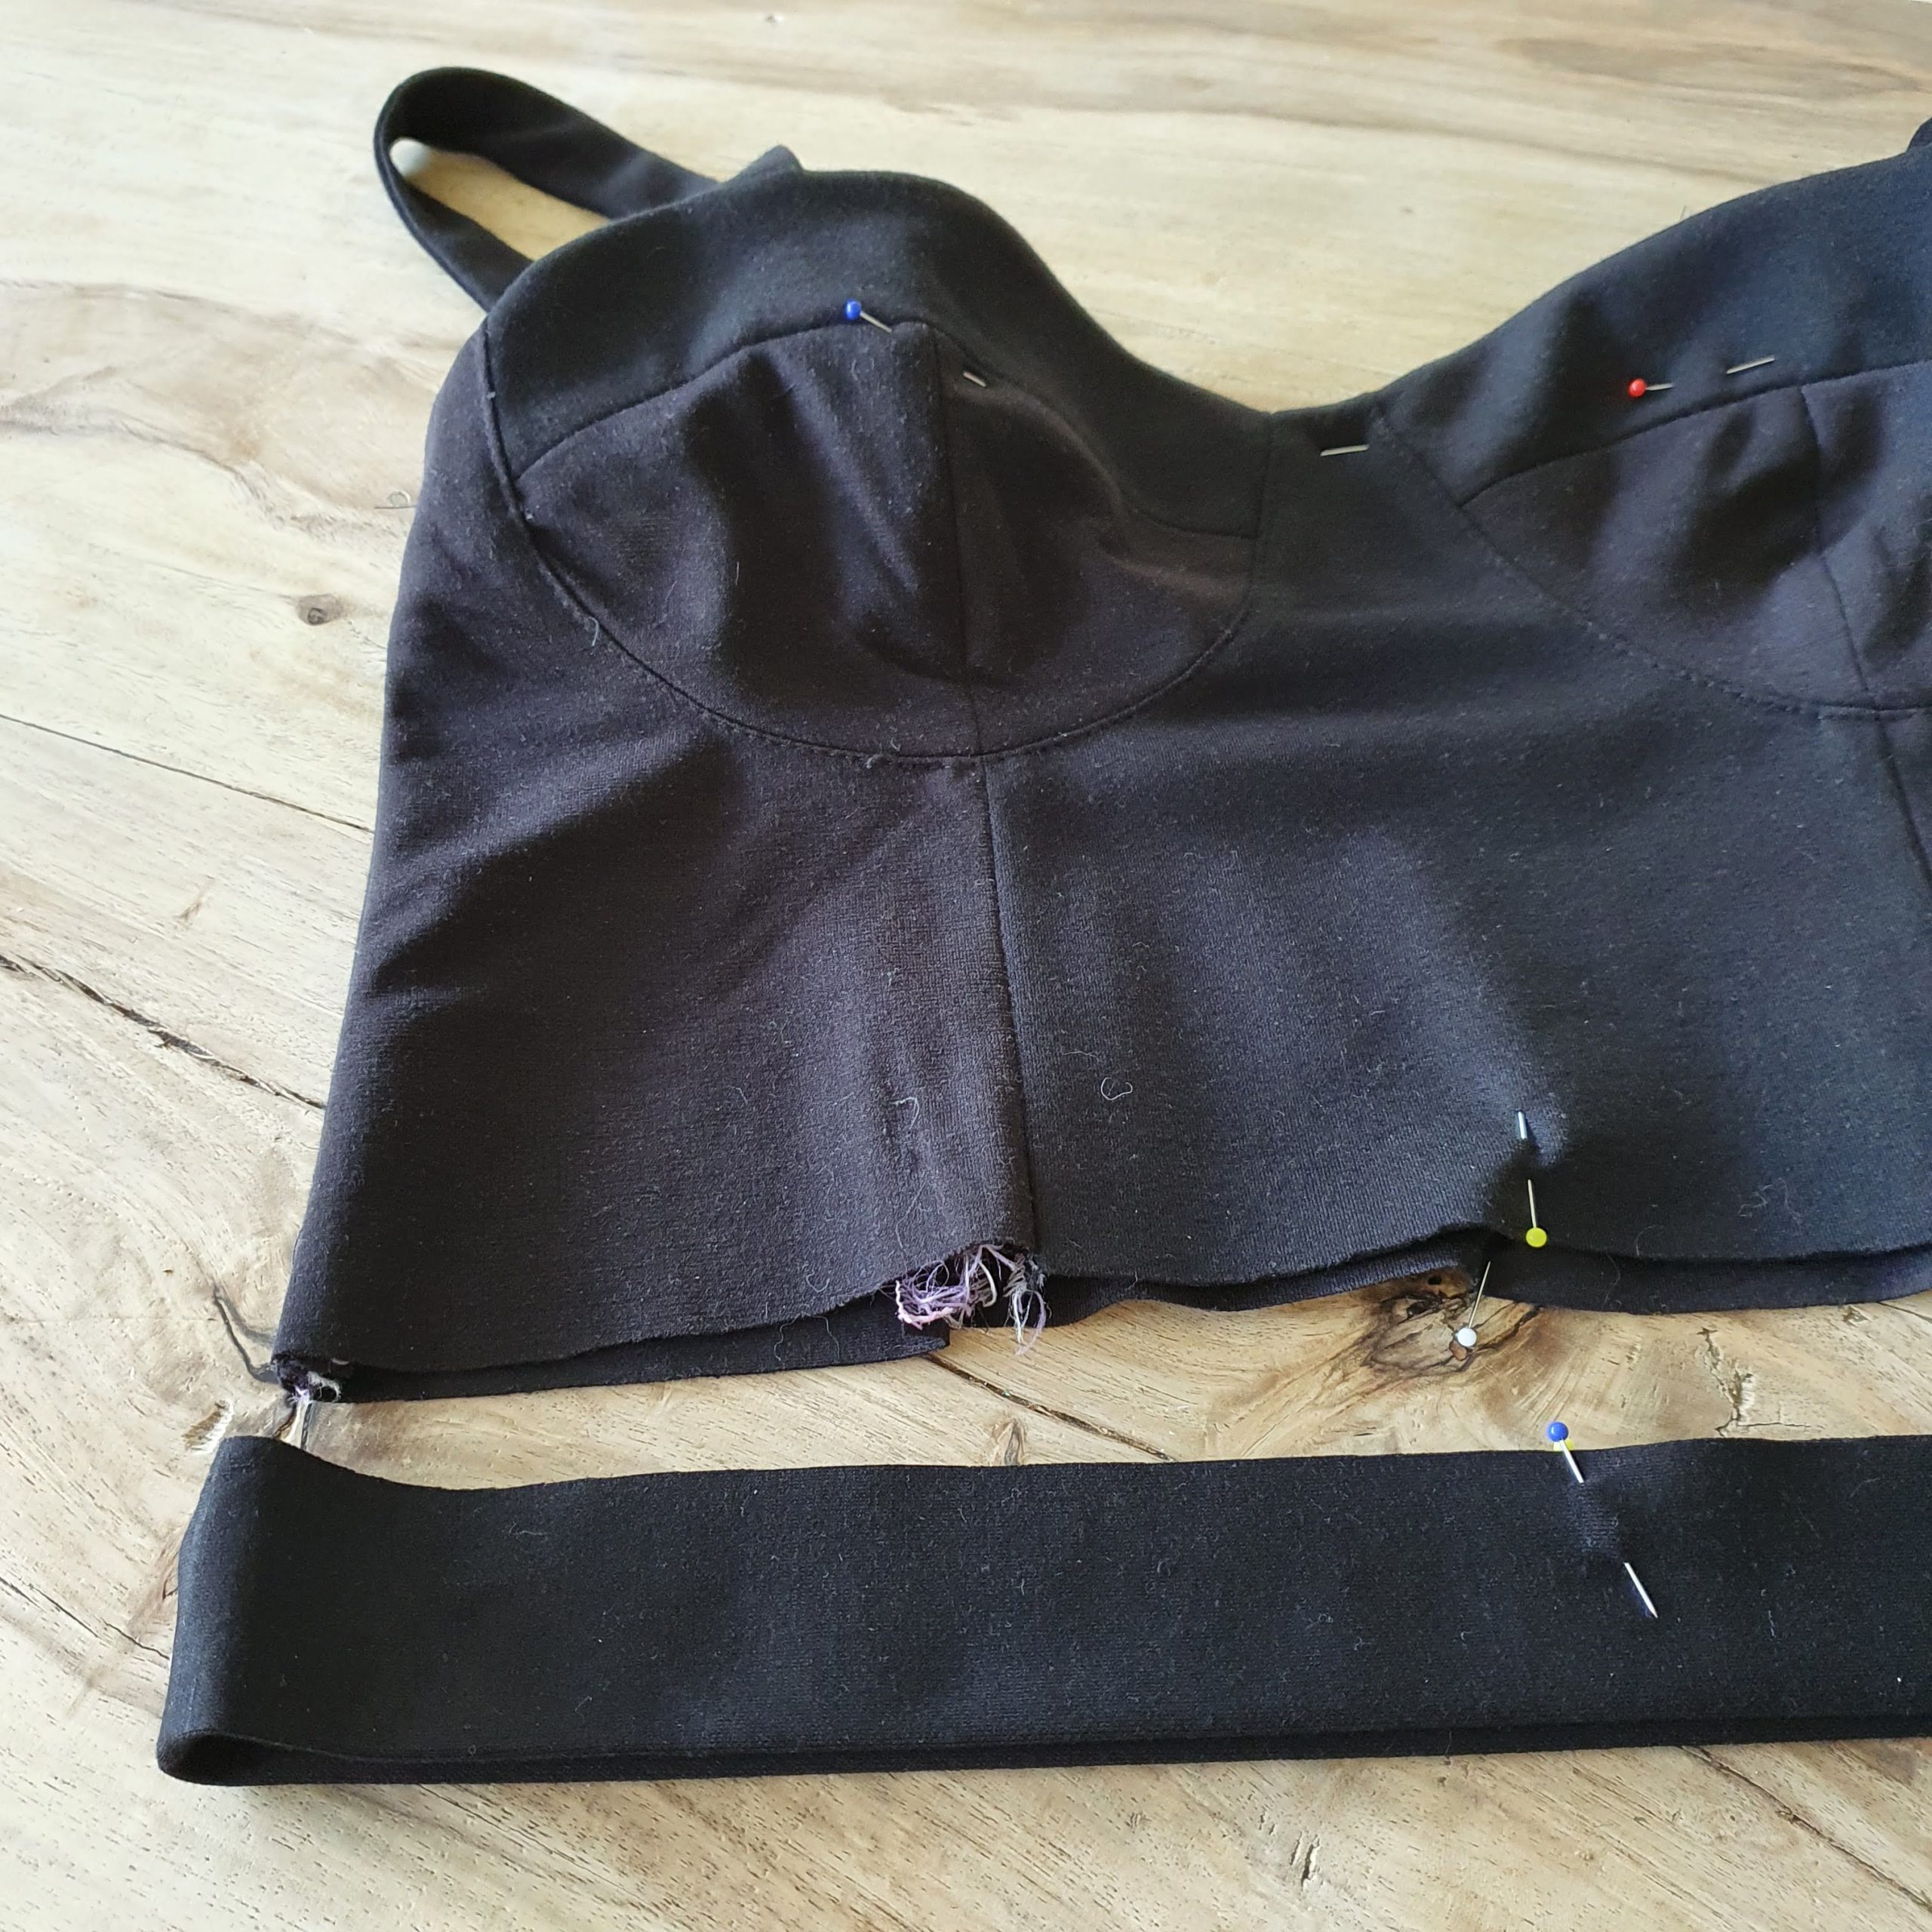
Waistband
And then the bustier is done!

Inside out

Added label
With the lengthening of the bustier, it now fits just right on items with a high waist. And as long as it’s not really summer yet, I can also wear that cool Mood blazer over it.
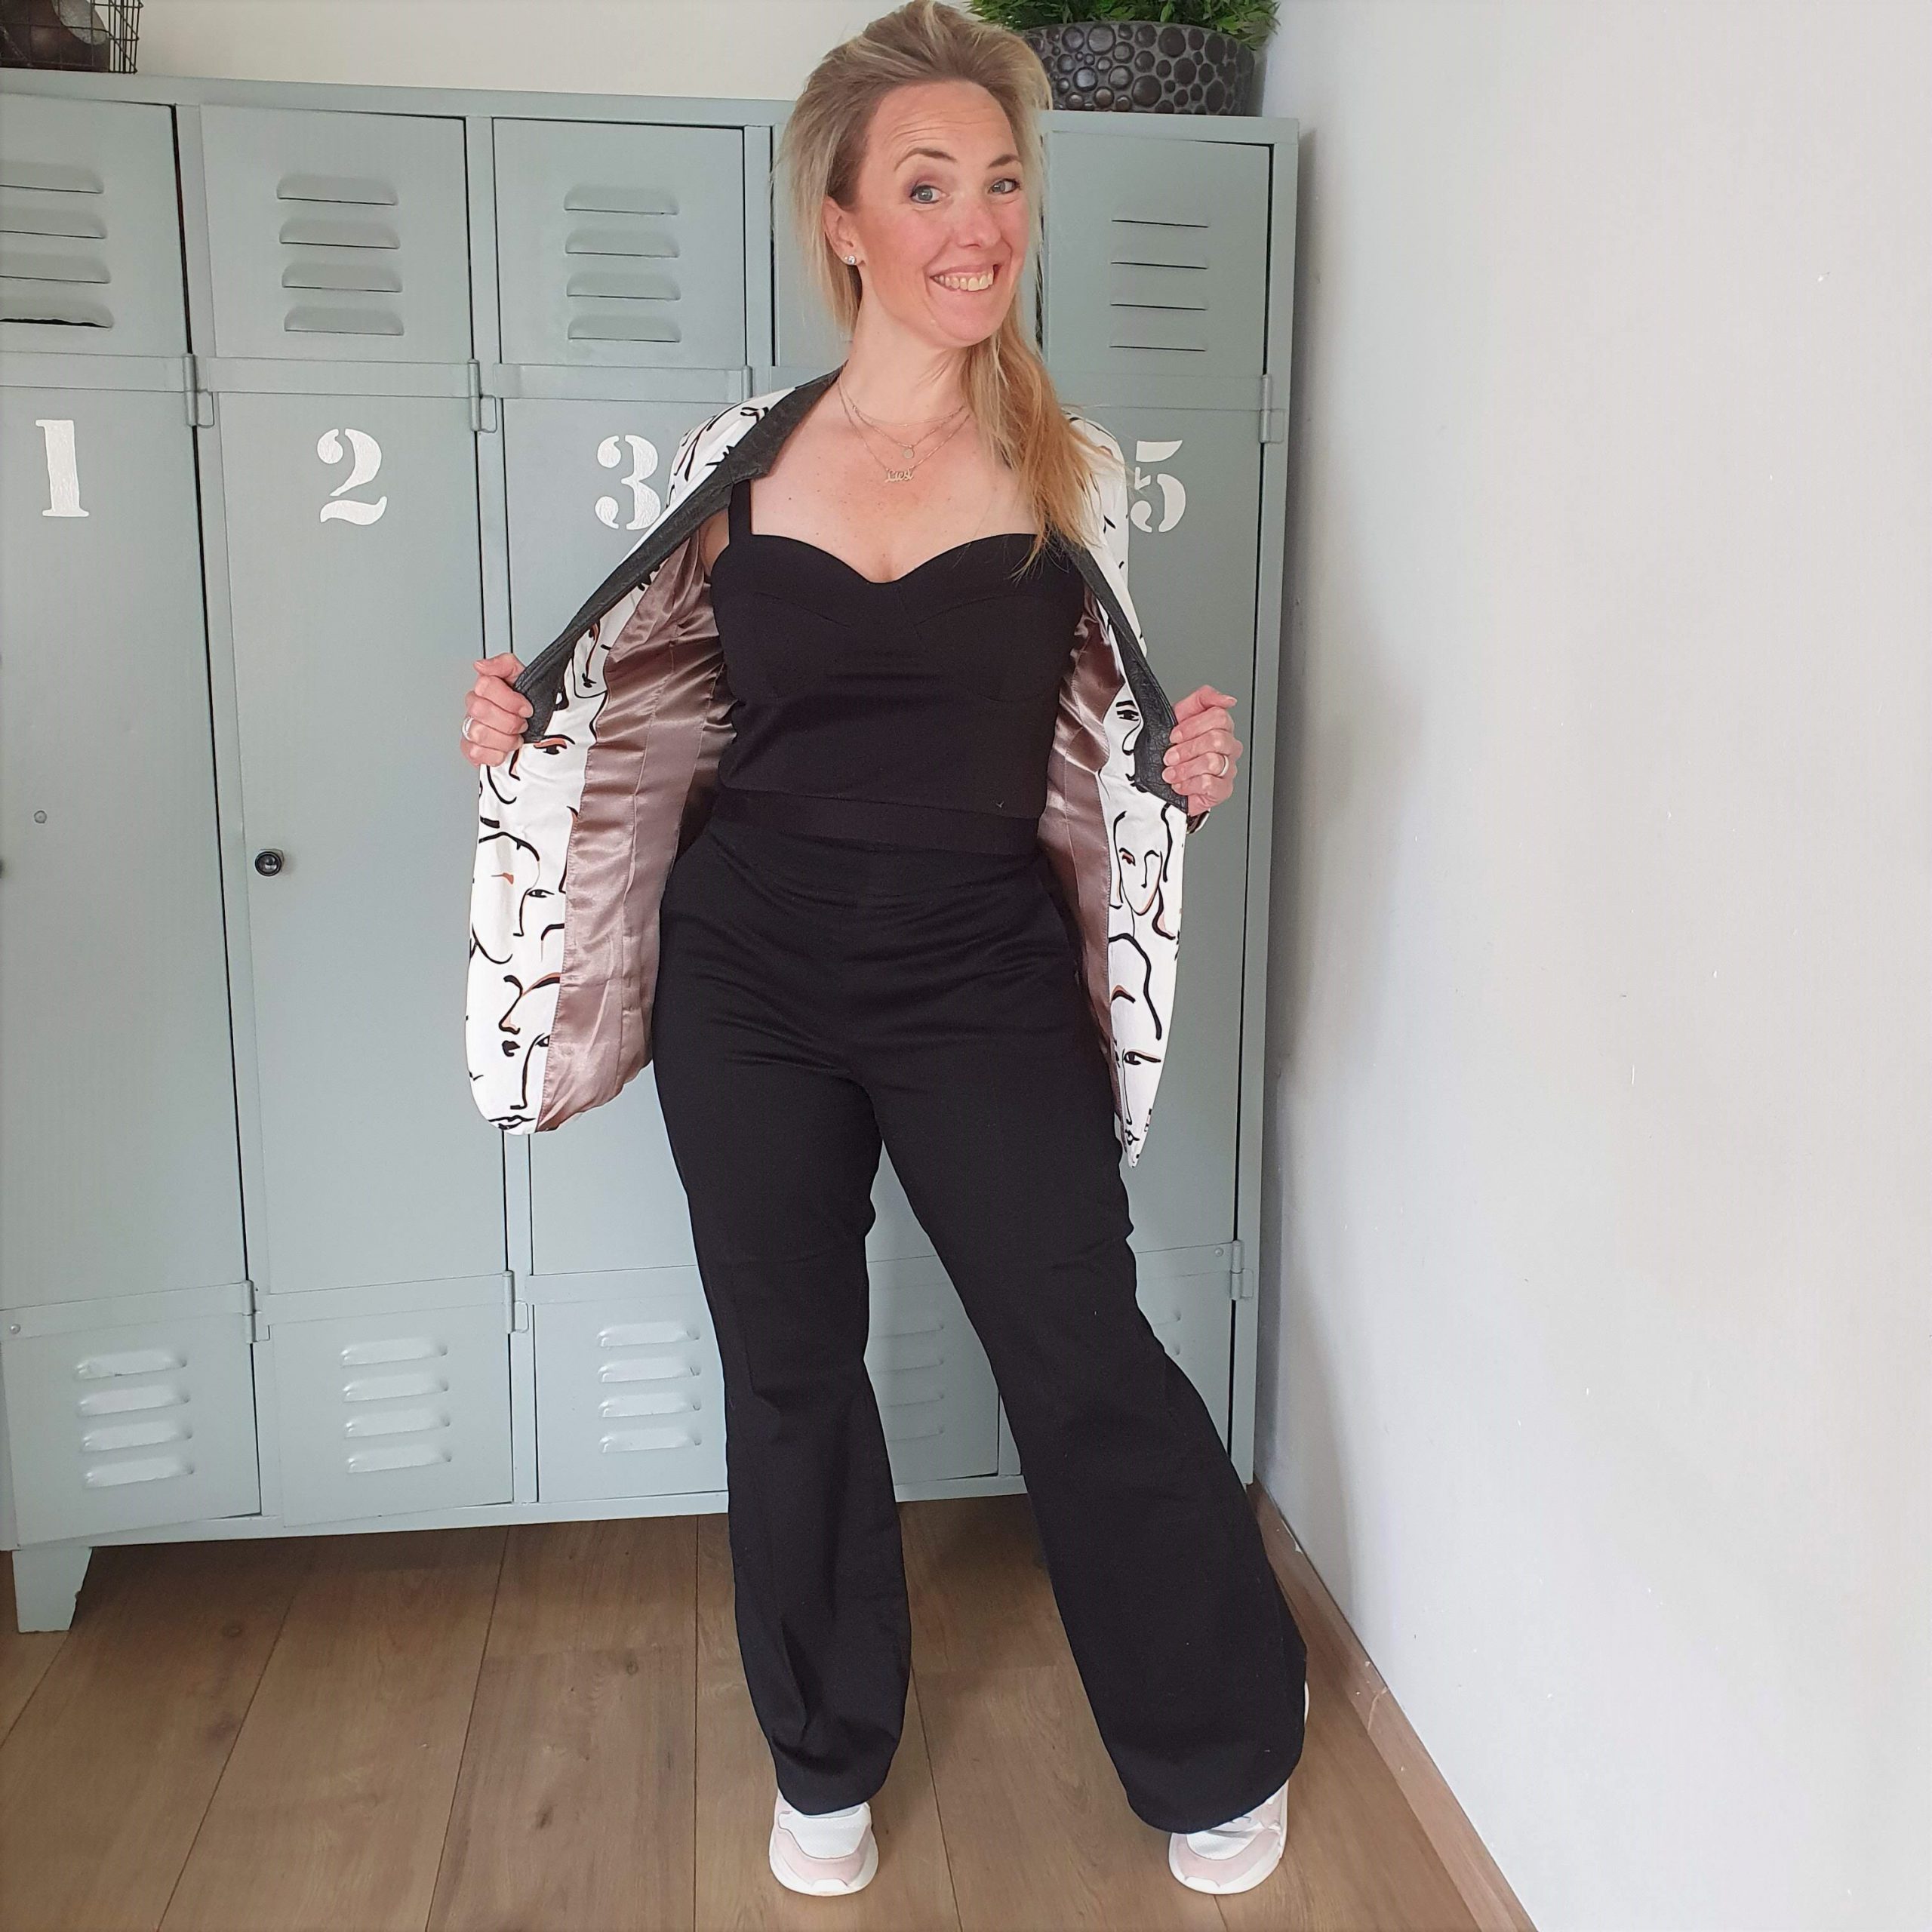
Casual chic

Love,
Marlies
Looks interesting. I haven’t sewn garments in a while but this is pretty simple. I checked the links to the boiler suit and both patterns and don’t see a reference to the amount of stretch in your black crepe. I see the patterns both refer to woven fabrics. Good for you for making it yours in a stretch. Never having much luck with stretch fabrics other than t-knits I don’t know what amount of stretch I would need to try this pattern. Can you help?