 BERNINA Corporate Blog -
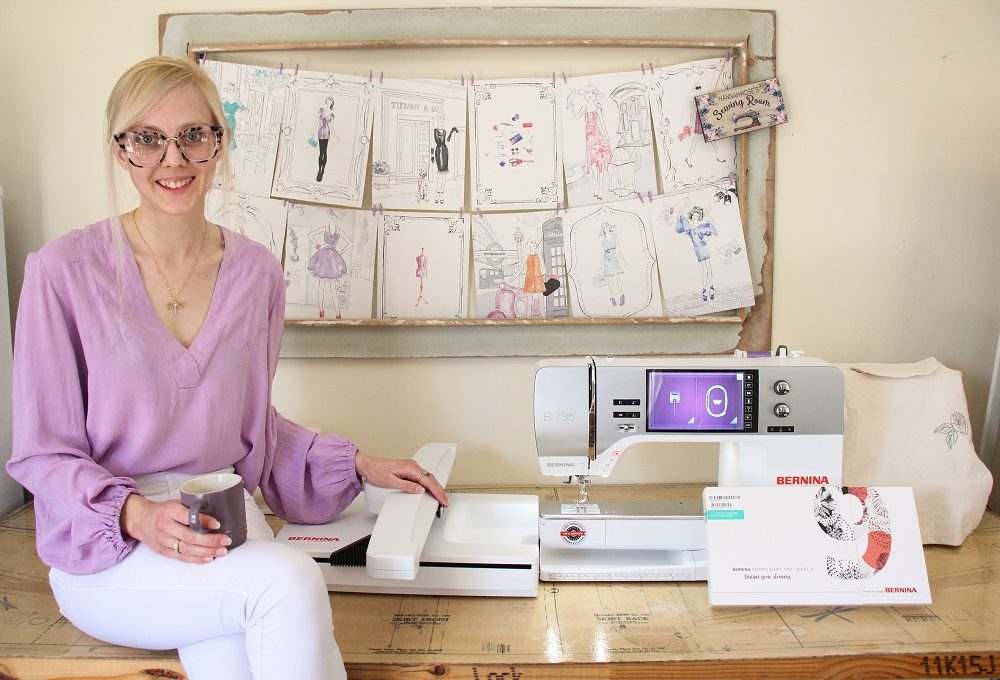
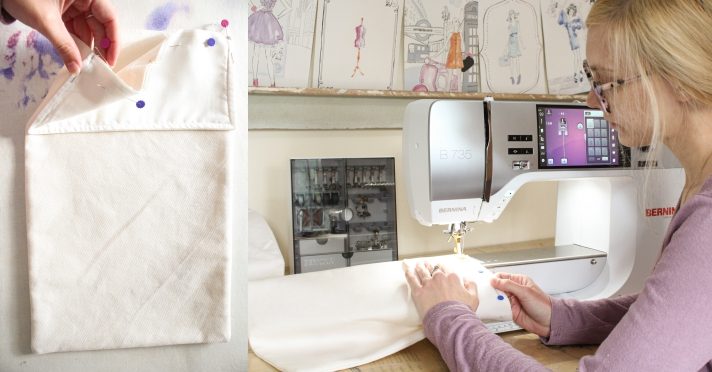
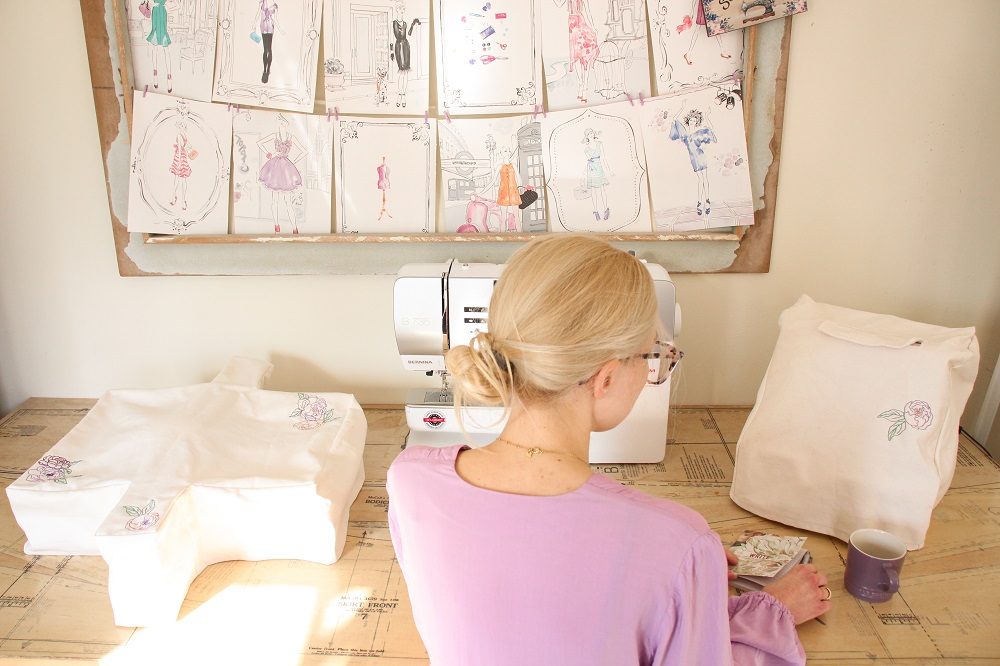
I am so excited to announce that I have signed another incredible contract with Bernina and received the new B735 Sewing Machine and the accompanying Embroidery Module L!
I also received the new BERNINA Embroidery Software 9 as their V9 Embroidery Software Ambassador!
While I have been getting to know these machines and software, it felt like the perfect first project would be to make a cover for the new Embroidery Module. With the V9 Embroidery Software I am able to create a custom embroidery design to help the cover match my Studio.
What will be needed:
- Sewing machine
- Overlocker
- Embroidery Module
- Embroidery Supplies
-Embroidery Hoop
-Foot #26
-Embroidery Design
-Embroidery Thread
-Tear-away Stabilizer
- 1m Mid weight woven fabric (quantity dependent on the pattern you make)
- 3-4 Threads to match your fabric
- Embroidery threads to match your design
- Pattern paper & paper scissors
- Measuring Tape
- DIY Embroidery Module Cover Pattern
Pattern
I’ve compiled a downloadable document with the steps I took to make a pattern for my Embroidery Module L. Follow the steps to make a custom pattern for your own embroidery module.
I even included measurements for a bag to hold your Embroidery Hoops.
How to draft an Embroidery Module Cover pattern
Alternatively, if you have an Embroidery Module L like me, I’ve given the dimensions I used so you can draft a similar pattern to mine.
Embroidery Module L Cover Pattern
Assembly
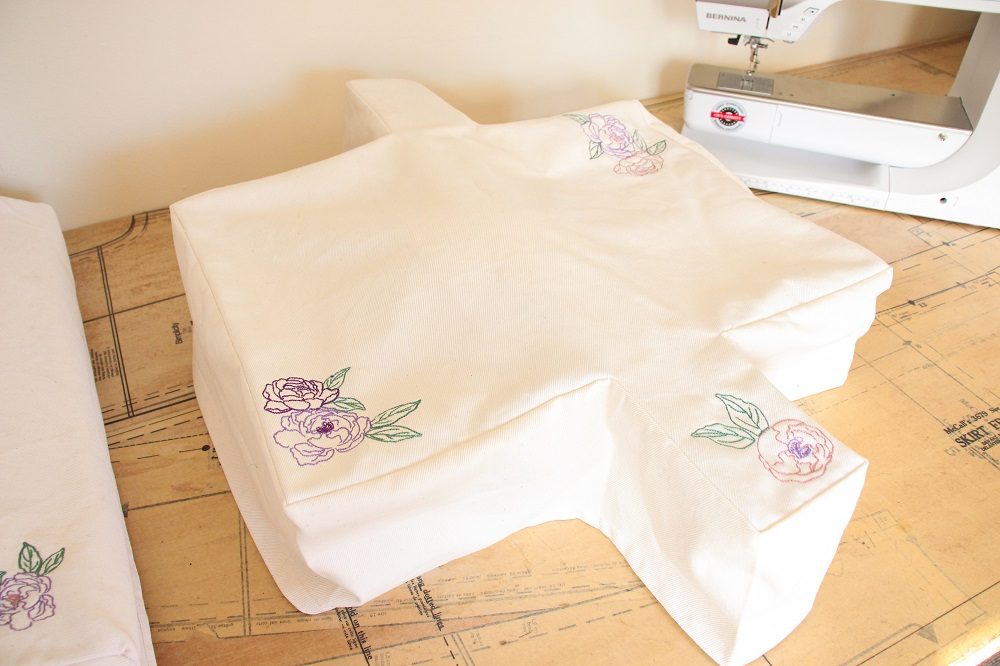
Using the pattern I made, these are the steps I followed to sew up my Embroidery Module Cover.
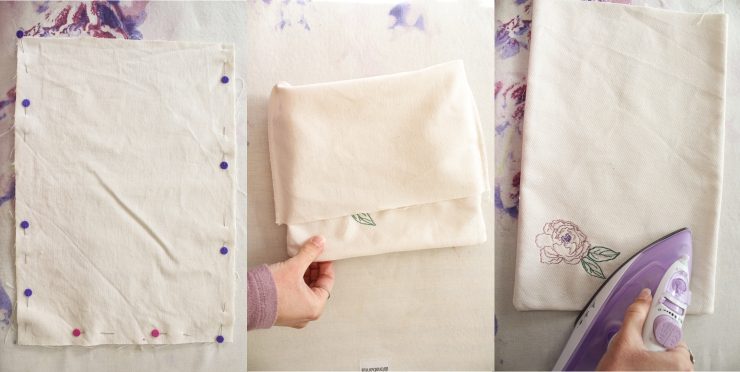
I used a cotton twill fabric from my stash. I wouldn’t recommend using a heavier fabric as you don’t want the cover to collapse around your machine.
You ideally want a fabric that is sturdy enough to hold itself up.
You could use a lighter weight fabric but not too light that it will move around in a breeze and not do its job of keeping dust out.
Please keep in mind that this is a cover to protect your machine from dust and sunlight. It is not a closed cover intended for carrying the machine.
Embroider

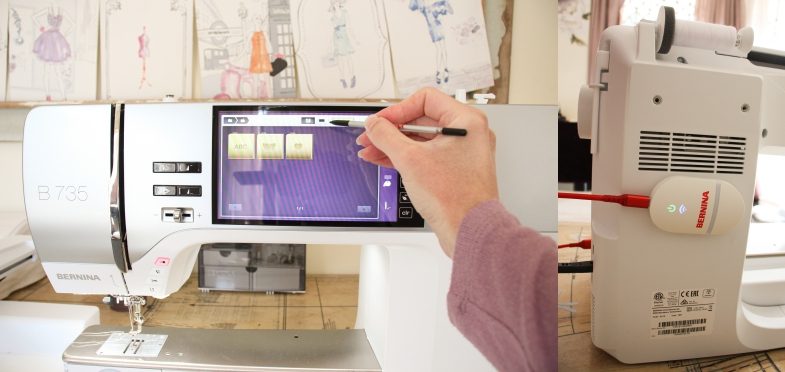
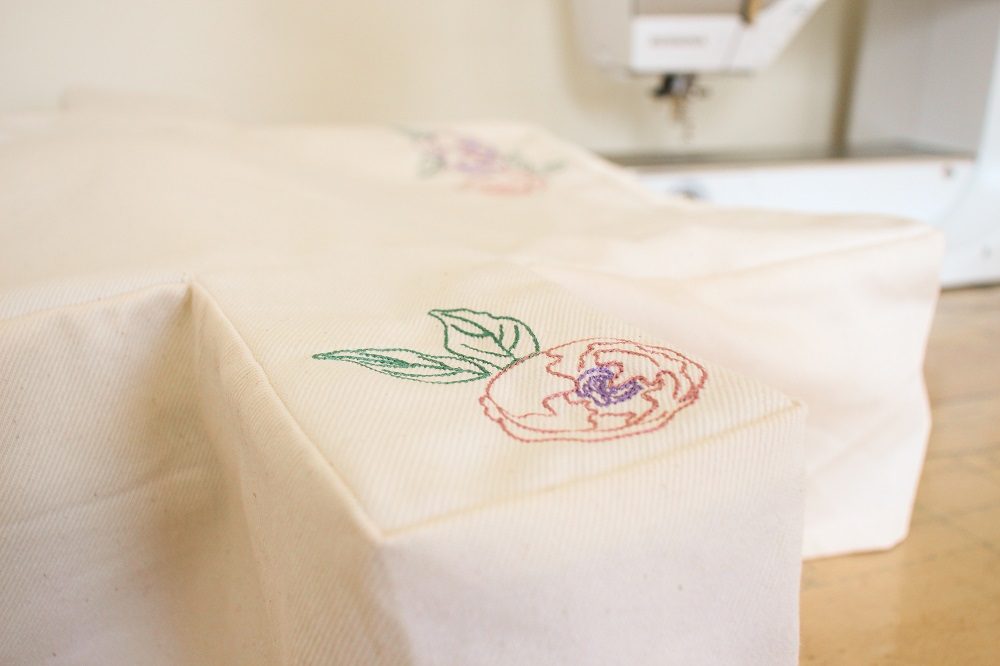
I created this custom Peony embroidery design in the V9 Embroidery Software Designer Plus.
In my other blog post Custom Embroidery Design with V9 software I share the steps of how I made the design.
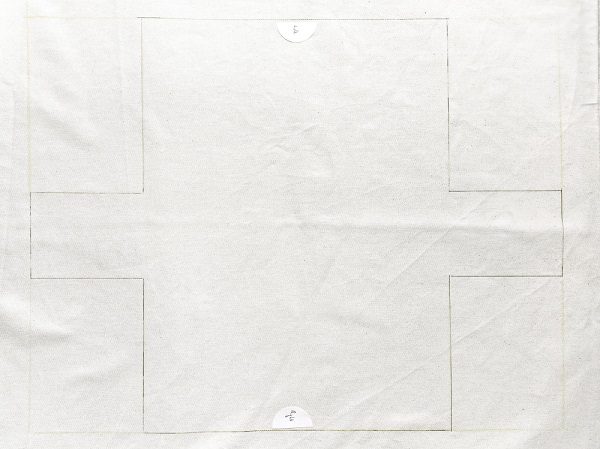
As I wanted to embroider close to the corners of the fabric, I found it best to embroider before cutting out the fabric. I traced the pattern piece on to my fabric first so that I could get the placement of the embroidery correct.
-
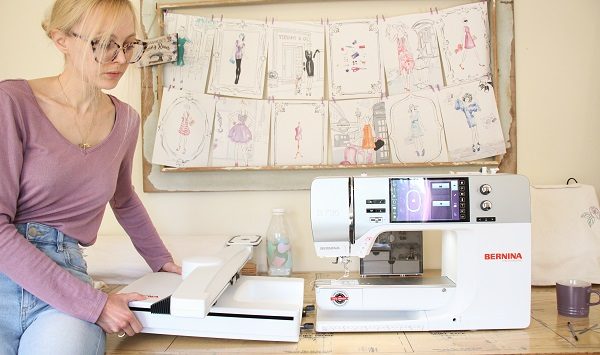 Attach your Embroidery Module to the Sewing Machine, ensure the Feed dogs are lowered, insert the embroidery foot #26 and load the bobbin. (I use the same bobbin for all the colours)
-
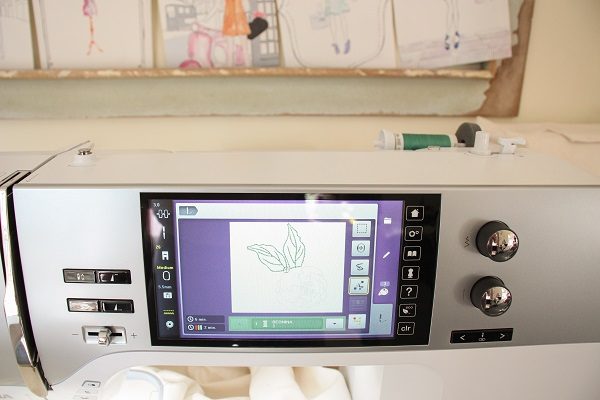
 Load your embroidery design.
I sent my custom embroidery design directly from the V9 software on my laptop to my B735 via the Bernina Wi-Fi Device. How cool?!
-
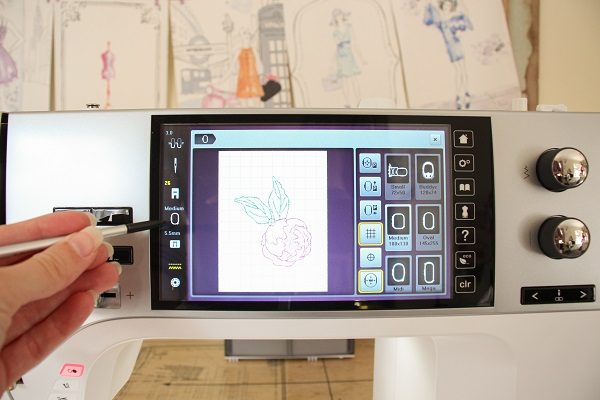 On the screen, select the appropriate Hoop, Stitch plate & Foot.
-
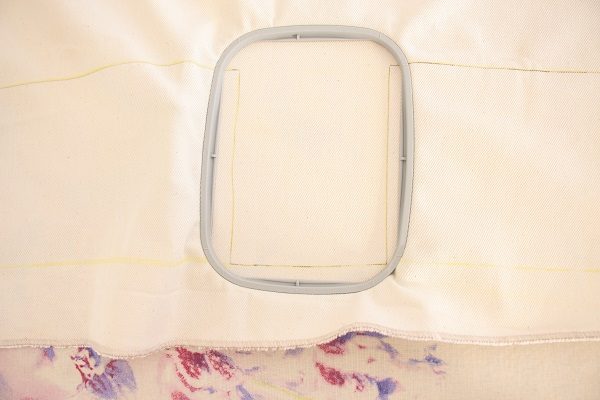 Load your fabric in to the desired Hoop with Tear-Away Stabilizer beneath.
-
 Click on the Stitch icon and load the Hoop when prompted.
Ensure the rest of the fabric is rolled up out of the way
-
 Thread your machine with the 1st thread colour.
-
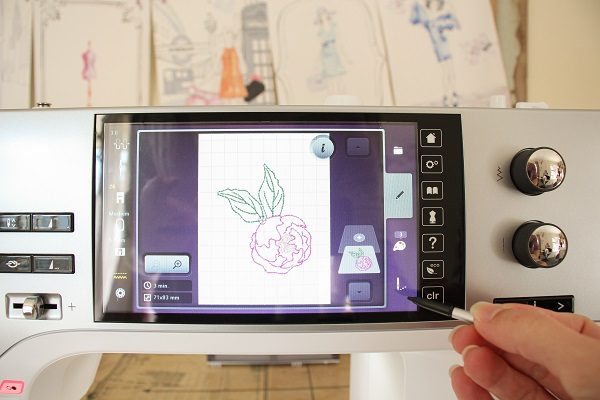
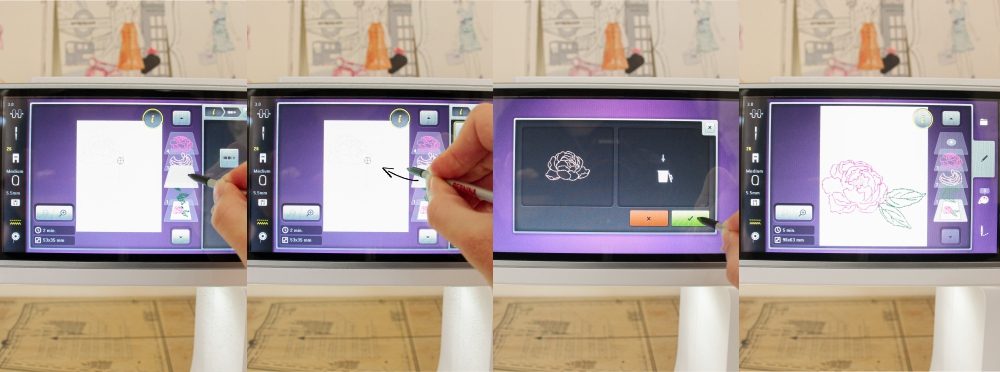
 Check the placement and move if necessary.
-Click the Pen icon
-Select Check
-Click on the arrows to check placement.
-Use the dials to move the design’s placement
-Select the Stitch icon to continue.
-
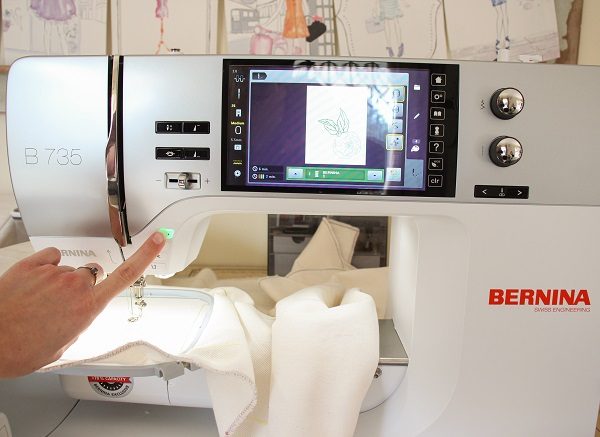 Press the green button and follow the on-screen prompts.
Change the thread colours as needed.
-
 Repeat the above steps if you have multiple placed embroidery designs.
Sew
Make the Cover
I used a 1cm Seam and a 1.5cm Hem Allowance but you can use your chosen Seam & Hem Allowances when I refer to my measurements.
-
 Join the Side Panels to form a loop.
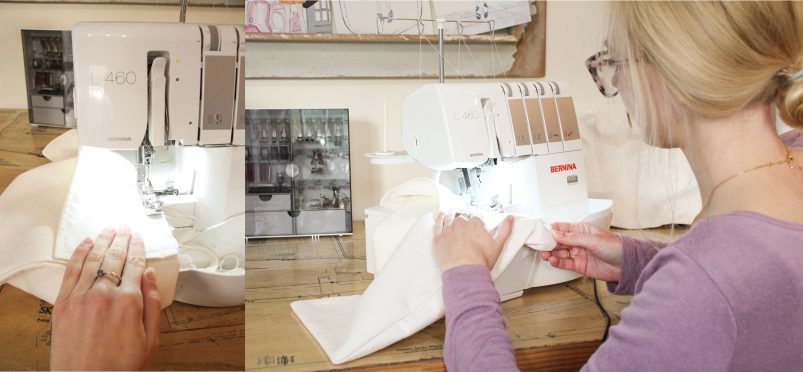
Overlock the raw edge of the seam(s) & press.
-
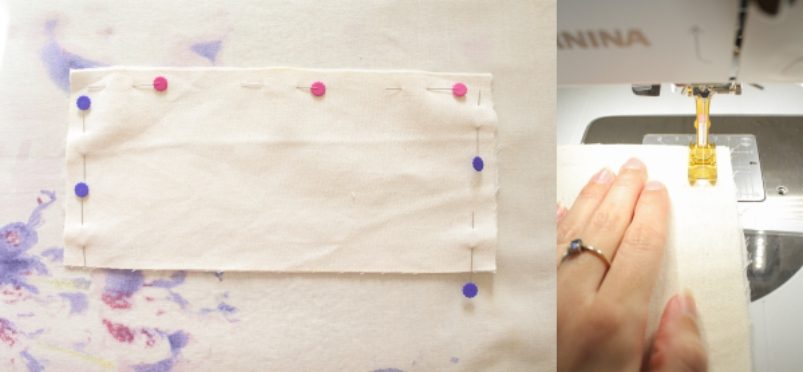
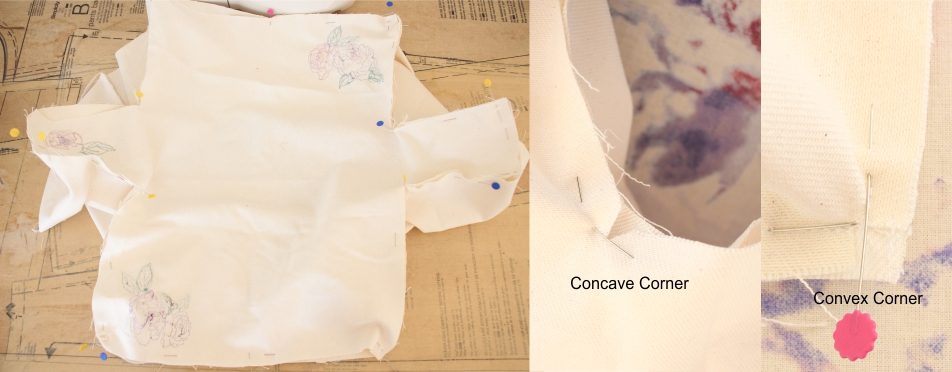 Pin the Side Panel along the Edges of the Top Piece.
I recommend snipping at the concave corners of the Top Piece and snipping the fabric of the Side Panel where it meets a convex corner of the Top piece.
This will help them better line up without the fabric pulling.
Ensure that the snip is no longer than your seam allowance.
-
 Join the Side and Top Piece together.
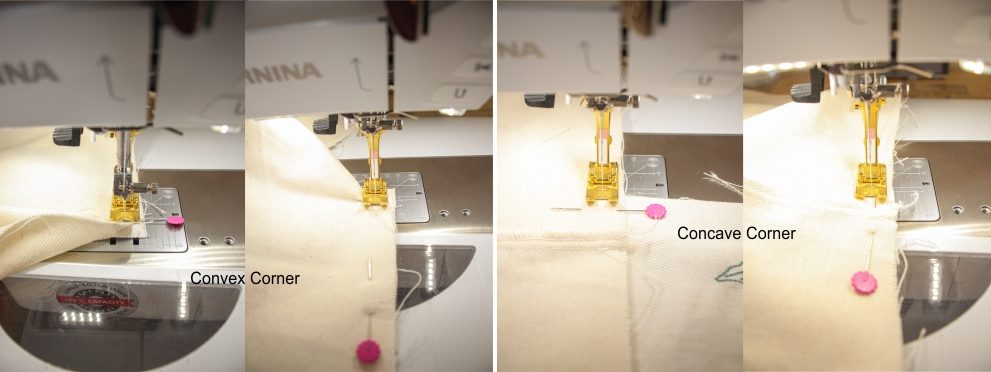
Sew along the edge you just pinned with a 1cm seam allowance.
-Each time you come to a convex corner, stop 1cm before the corner.
Place the needle down, lift the presser foot and turn the Side Panel so that the next edge lines up with the Main Panel.
-Each time you come to a concave corner, stop 1cm after the corner.
Place the needle down, lift the presser and gently pull the Top Piece so that the next edge lines up with the Side Panel.
-Continue sewing this way until you finish attaching the Side Panel to the Top Piece.
-
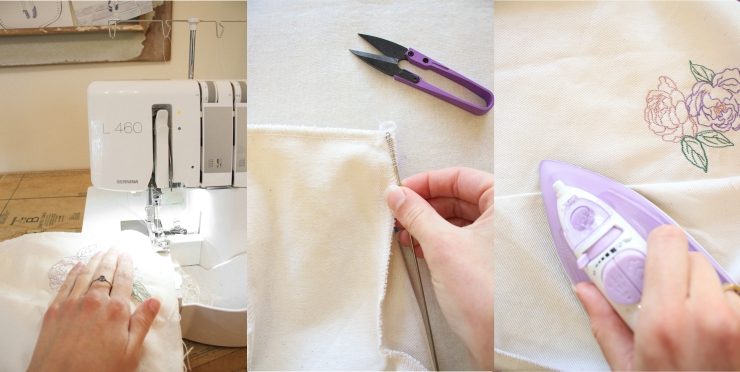 Overlock the seams.
I would recommend not overlocking the whole seam in one go due to the corners. Rather overlock each straight edge at a time, stopping and starting again at each corner.
You can thread the “tails” in to the overlocking stitches to prevent it from unravelling instead of just cutting them off.
Give the seams a press.
-
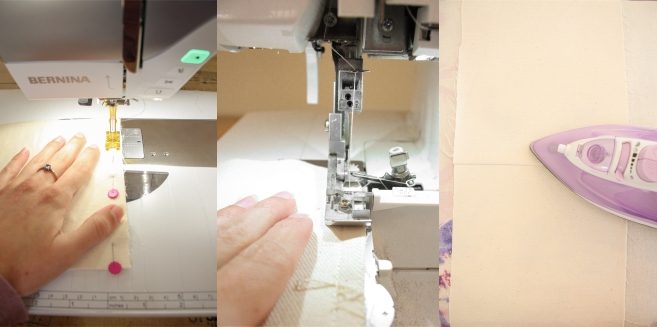
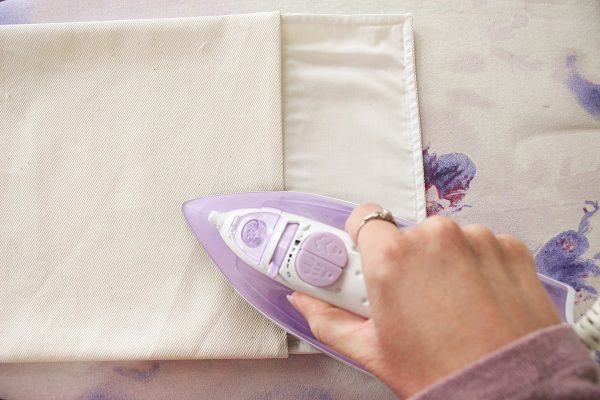
 Overlock the raw edge of the base, fold up the 1.5cm Hem and press.
-
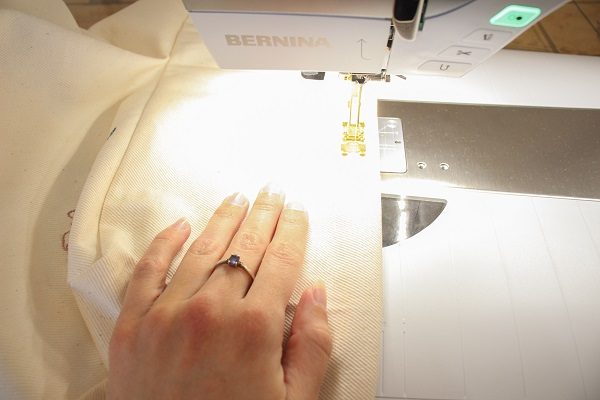 Sew the 1.5cm Hem.
Make the Hoop Bag
-
 Optional: Embroider the front Bag piece or the Flap.
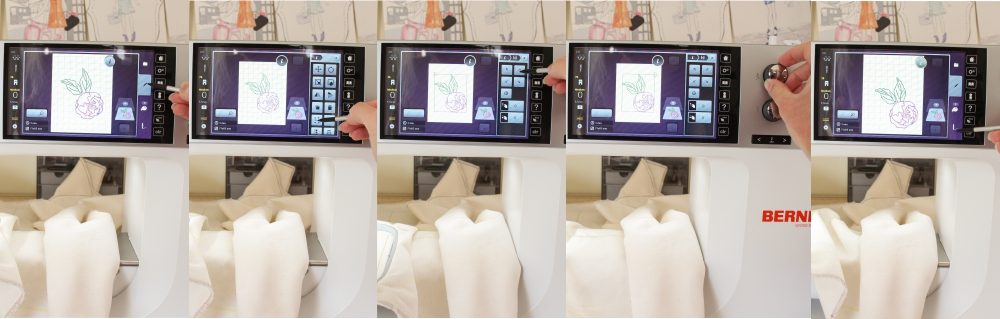
I wanted to add a single Peony from one of the designs I created. Instead of re-digitizing the artwork, I was able to ungroup the embroidery design directly on my B735!
-Once you’ve loaded the design, click on the info icon
-Click on the Group icon with (2 squares with a +)
-Select Ungroup (2 squares with a -)
-Swipe a layer to delete it. Select it and slide it to the left or right to delete it.
-If there is a layer that that you want to Ungroup further, select the layer and click on the Ungroup icon.
-
 Join the 2 Flap pieces together, leaving a long side open.
-
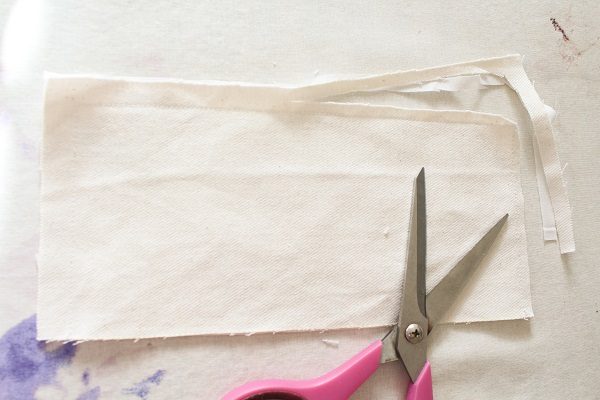 Trim the seams and snip the 2 corners.
-
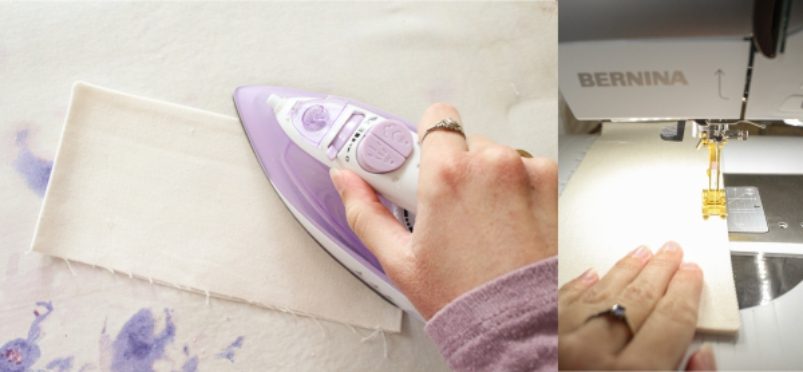 Turn the Flap right-side-out, press and topstitch
-
 Join the 2 Bag pieces together, leaving a short side open.
Overlock the raw edges of the seams.
Turn it right-side-out and press.
-
 Attach the Flap to the Bag.
Pin the raw edges of the Flap to the raw edge of one of the Bag pieces.
Sew the Flap with a 1.5cm seam allowance.
-
 Overlock the edge of the Bag opening including the seam from the Flap.
-
 Fold the edge of the Bag opening in 1.5cm and press.
(Please note that I was distracted and accidentally trimmed my seam with the overlocker, so I only had 0.6mm to fold over)
-
 Sew the fold in place all around the opening including the seam from the Flap.
-
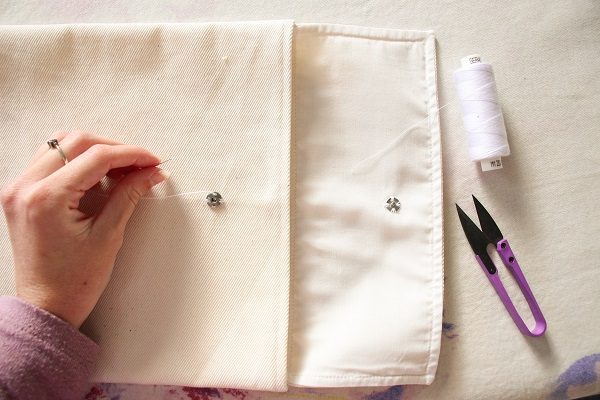 Optional: Add a closure to the Flap & Bag.
I hand stitched on a Press stud.

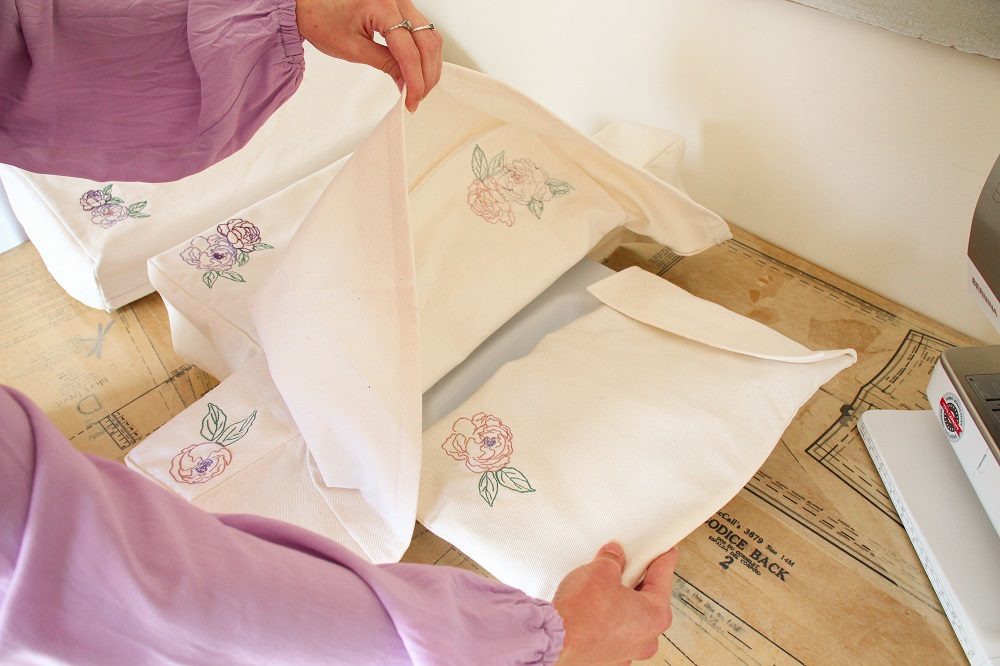
The Hoop Bag can be stored neatly on the Embroidery Module under the Cover.
Tips
- I loved the look of the embroidery, so I updated my Overlocker & Silhouette Cameo machine covers by adding some of the embroidered Peonies.
- You can make a matching cover for your Bernina overlocker with this tutorial.
I would love to see what you make, please feel free to share with me!
Instagram
Facebook
-Hannah-Rose


This pattern focuses more on the embroidery than on actually making the cover. It’s very difficult to figure out how to sew the box with the arms.
I would love to make this cover, but when I click on the link for the embroidery cover L model pattern a blank pdf comes up. Can you please check this link is correct? Thank you
Hi Rosemary, I’m so glad that you would like to make one!
I just checked and it seems that it takes about 5 seconds for the information to appear on the pdf document.
Please let me know if it is still not working for you and I will see what else I can do 😉