 BERNINA Corporate Blog -
Our quilts are quilted. It is time for the final step in quilt making, adding a binding. In this blog post I’ll share my steps in making a binding with you.
You will also find all the details about the final giveaway at the bottom of this blog post.
Squaring up your quilt
Before we can attach our binding we need to make sure that the edges of our quilt are straight. For this you will need the largest ruler you have at hand and a rotary cutter. A big square ruler would be perfect.
Quick tip, now might be a good time to replace the blade on your rotary cutter to get a clean cut all around you quilt.
And tip number two, take your time to position your ruler and to measure again and again. Better safe than sorry!
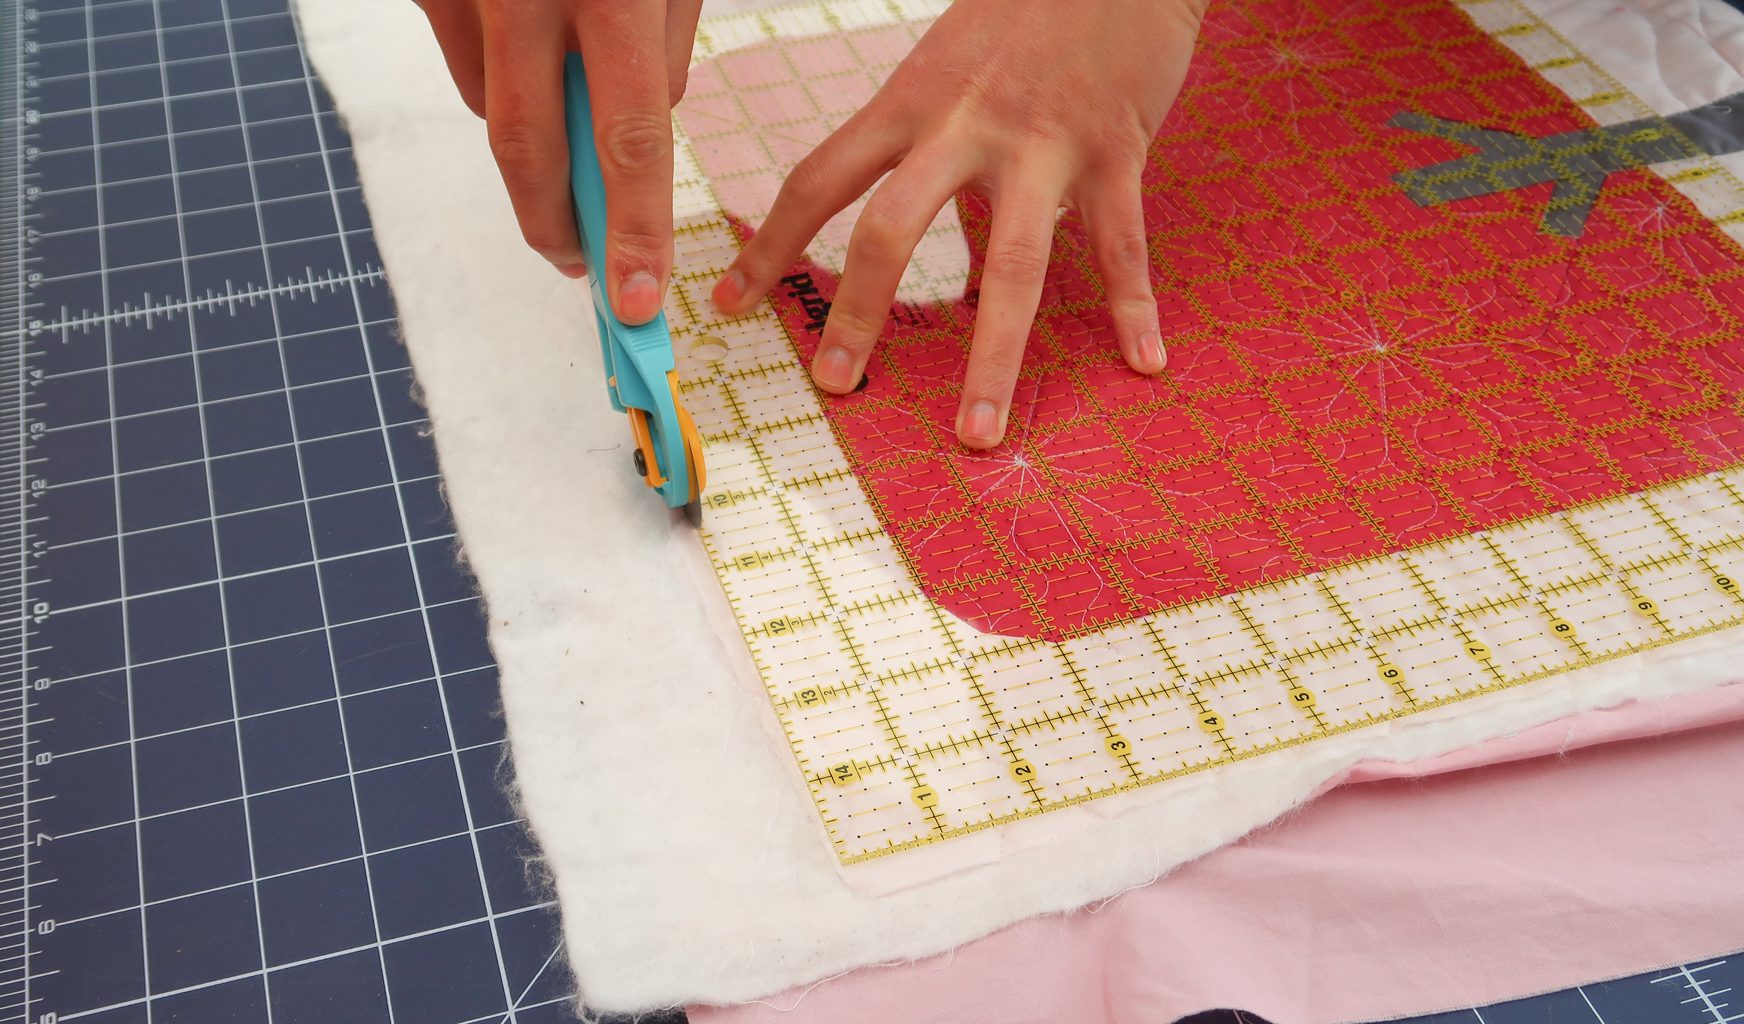
Start in a corner of the quilt. And position you ruler so that is is aligned with the top and side edge of the quilt.
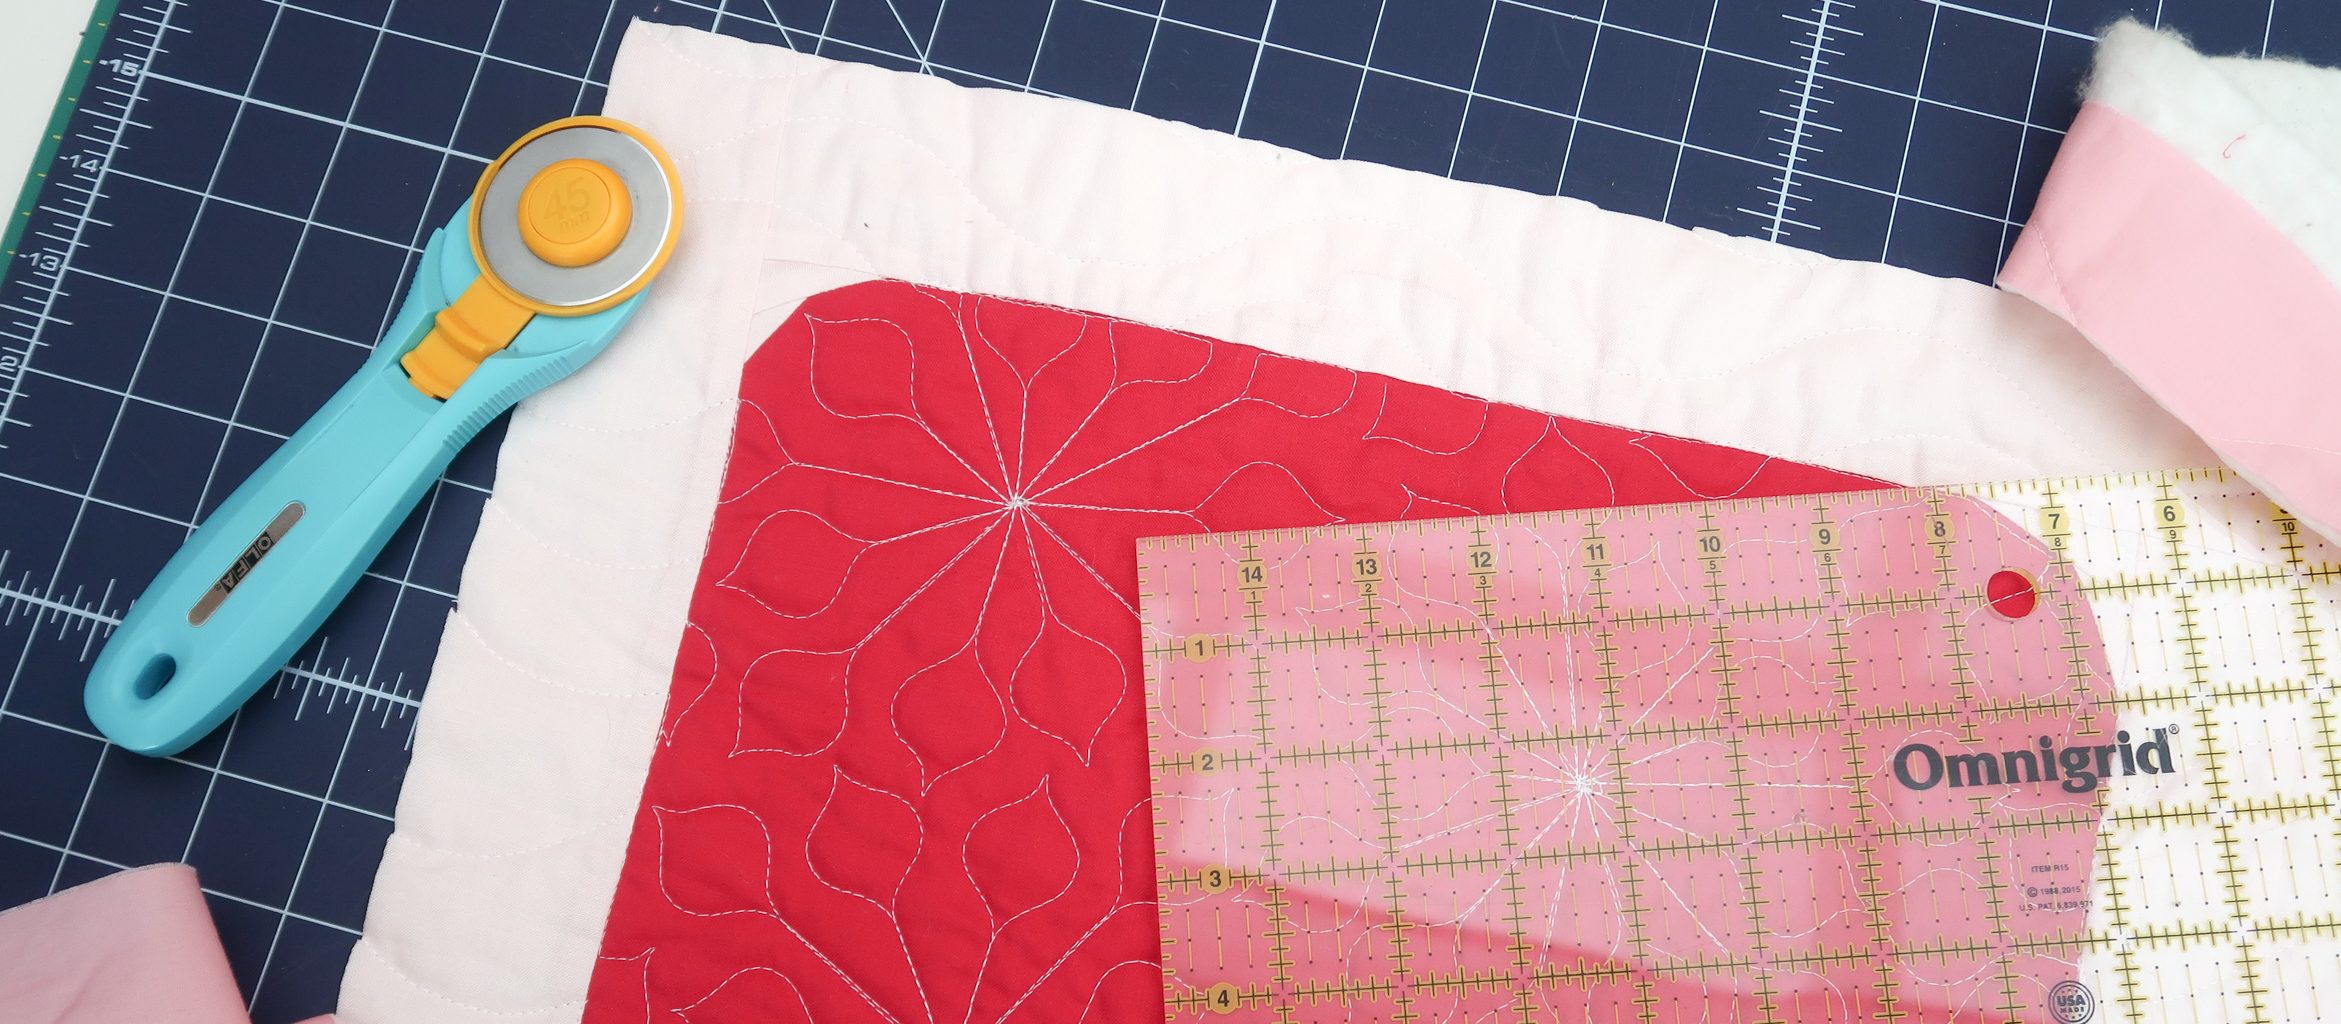
You could place it in such a way that the markings on your ruler lines up with the corner block of your quilt. Then you can keep the width of your outer border in mind when lining up at the other corners.
In the image below you can see I’m cutting 2 inch around the edge of the tree.

Cut along the side and top of the ruler so that you make a clean 90 degree corner on you quilt.

Repeat these steps for the next corner. When you’ve squared up two corners you can cut from one corner to the other.
When you’ve paid attention to the remaining width of the outer border of the quilt, it should work out just fine cutting from one corner to the next.
Continue this process until you’ve squared up all the corners and sides of the quilt. Your quilt is now ready for binding.
Binding techniques
The binding is a strip of fabric that will be folded and sewn to the back and the front of a quilt. There are several methods and techniques to do this.
- Machine stitch to the front of the quilt and stitch it to the back by hand
- Machine stitching it to the back first and then machine stitch is to the front (could be with decorative stitch)
- Or the other way around, first machine stitching to the front, and then machine stitching to the back.
- You can use glue basting, pins or wonder clips to keep the binding in place.
- And also you can vary the width of your binding, I think it’s most common is to use strips of 2 to 2 1/2 inch wide.
This list is not to overwhelm you with choices, it’s just to let you know there are options. There is no right or wrong way to add a binding. Pick a method that sounds easy or interesting to you and just give it a try!
Cutting the binding
For this quilt you will need 7 strips of your preferred width.
Sew them together into one long piece. You can see me do this for the previous QAL quilt in this video.
After you sewn the all together you will need to fold the strip in half, wrong sides together and press is all along the strip.
Machine stitching + hand stitching
When I started quilting I always used the method of machine stitching the binding to the front and hand stitching it to the back.
In this video from the previous QAL you will see me square up and add a binding with a combination of machine and hand stitching.
In this video you will also see how I sew corners and how I join the beginning and end of the binding strip.
Machine stitching to the front and back
Last year I followed a workshop by Ginny Robinson and learned about glue basting and sewing the binding on both sides with your sewing machine. I’m still experimenting and learning more on this method.
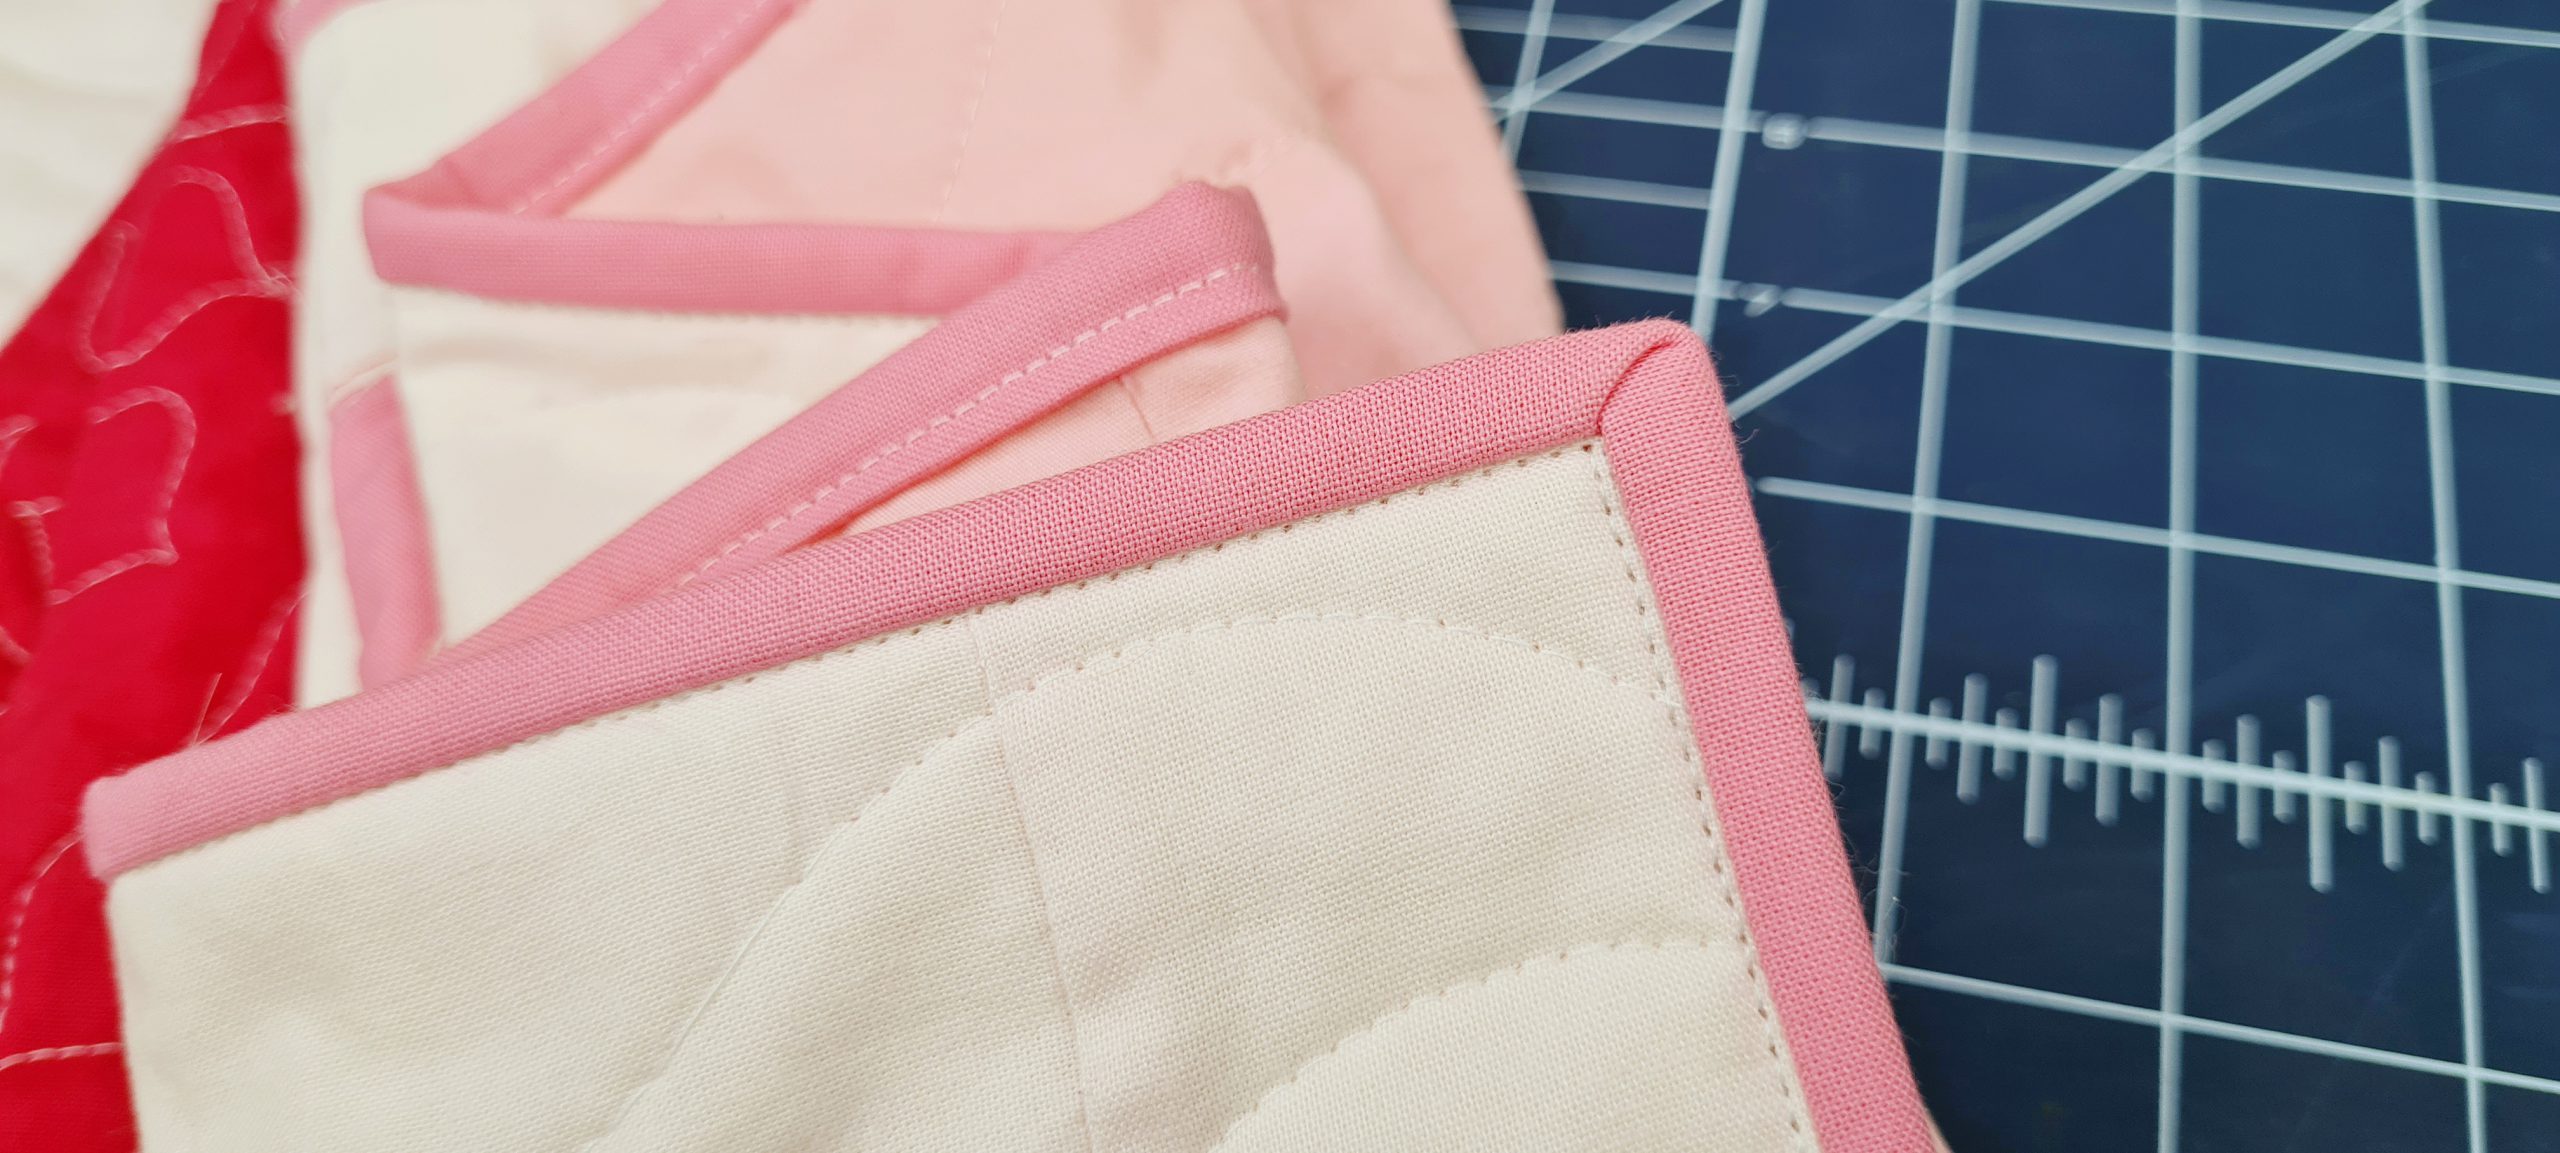
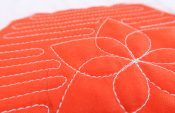
This is a corner I made with the glue basting method during the workshop. It’s soo nice and crisp!
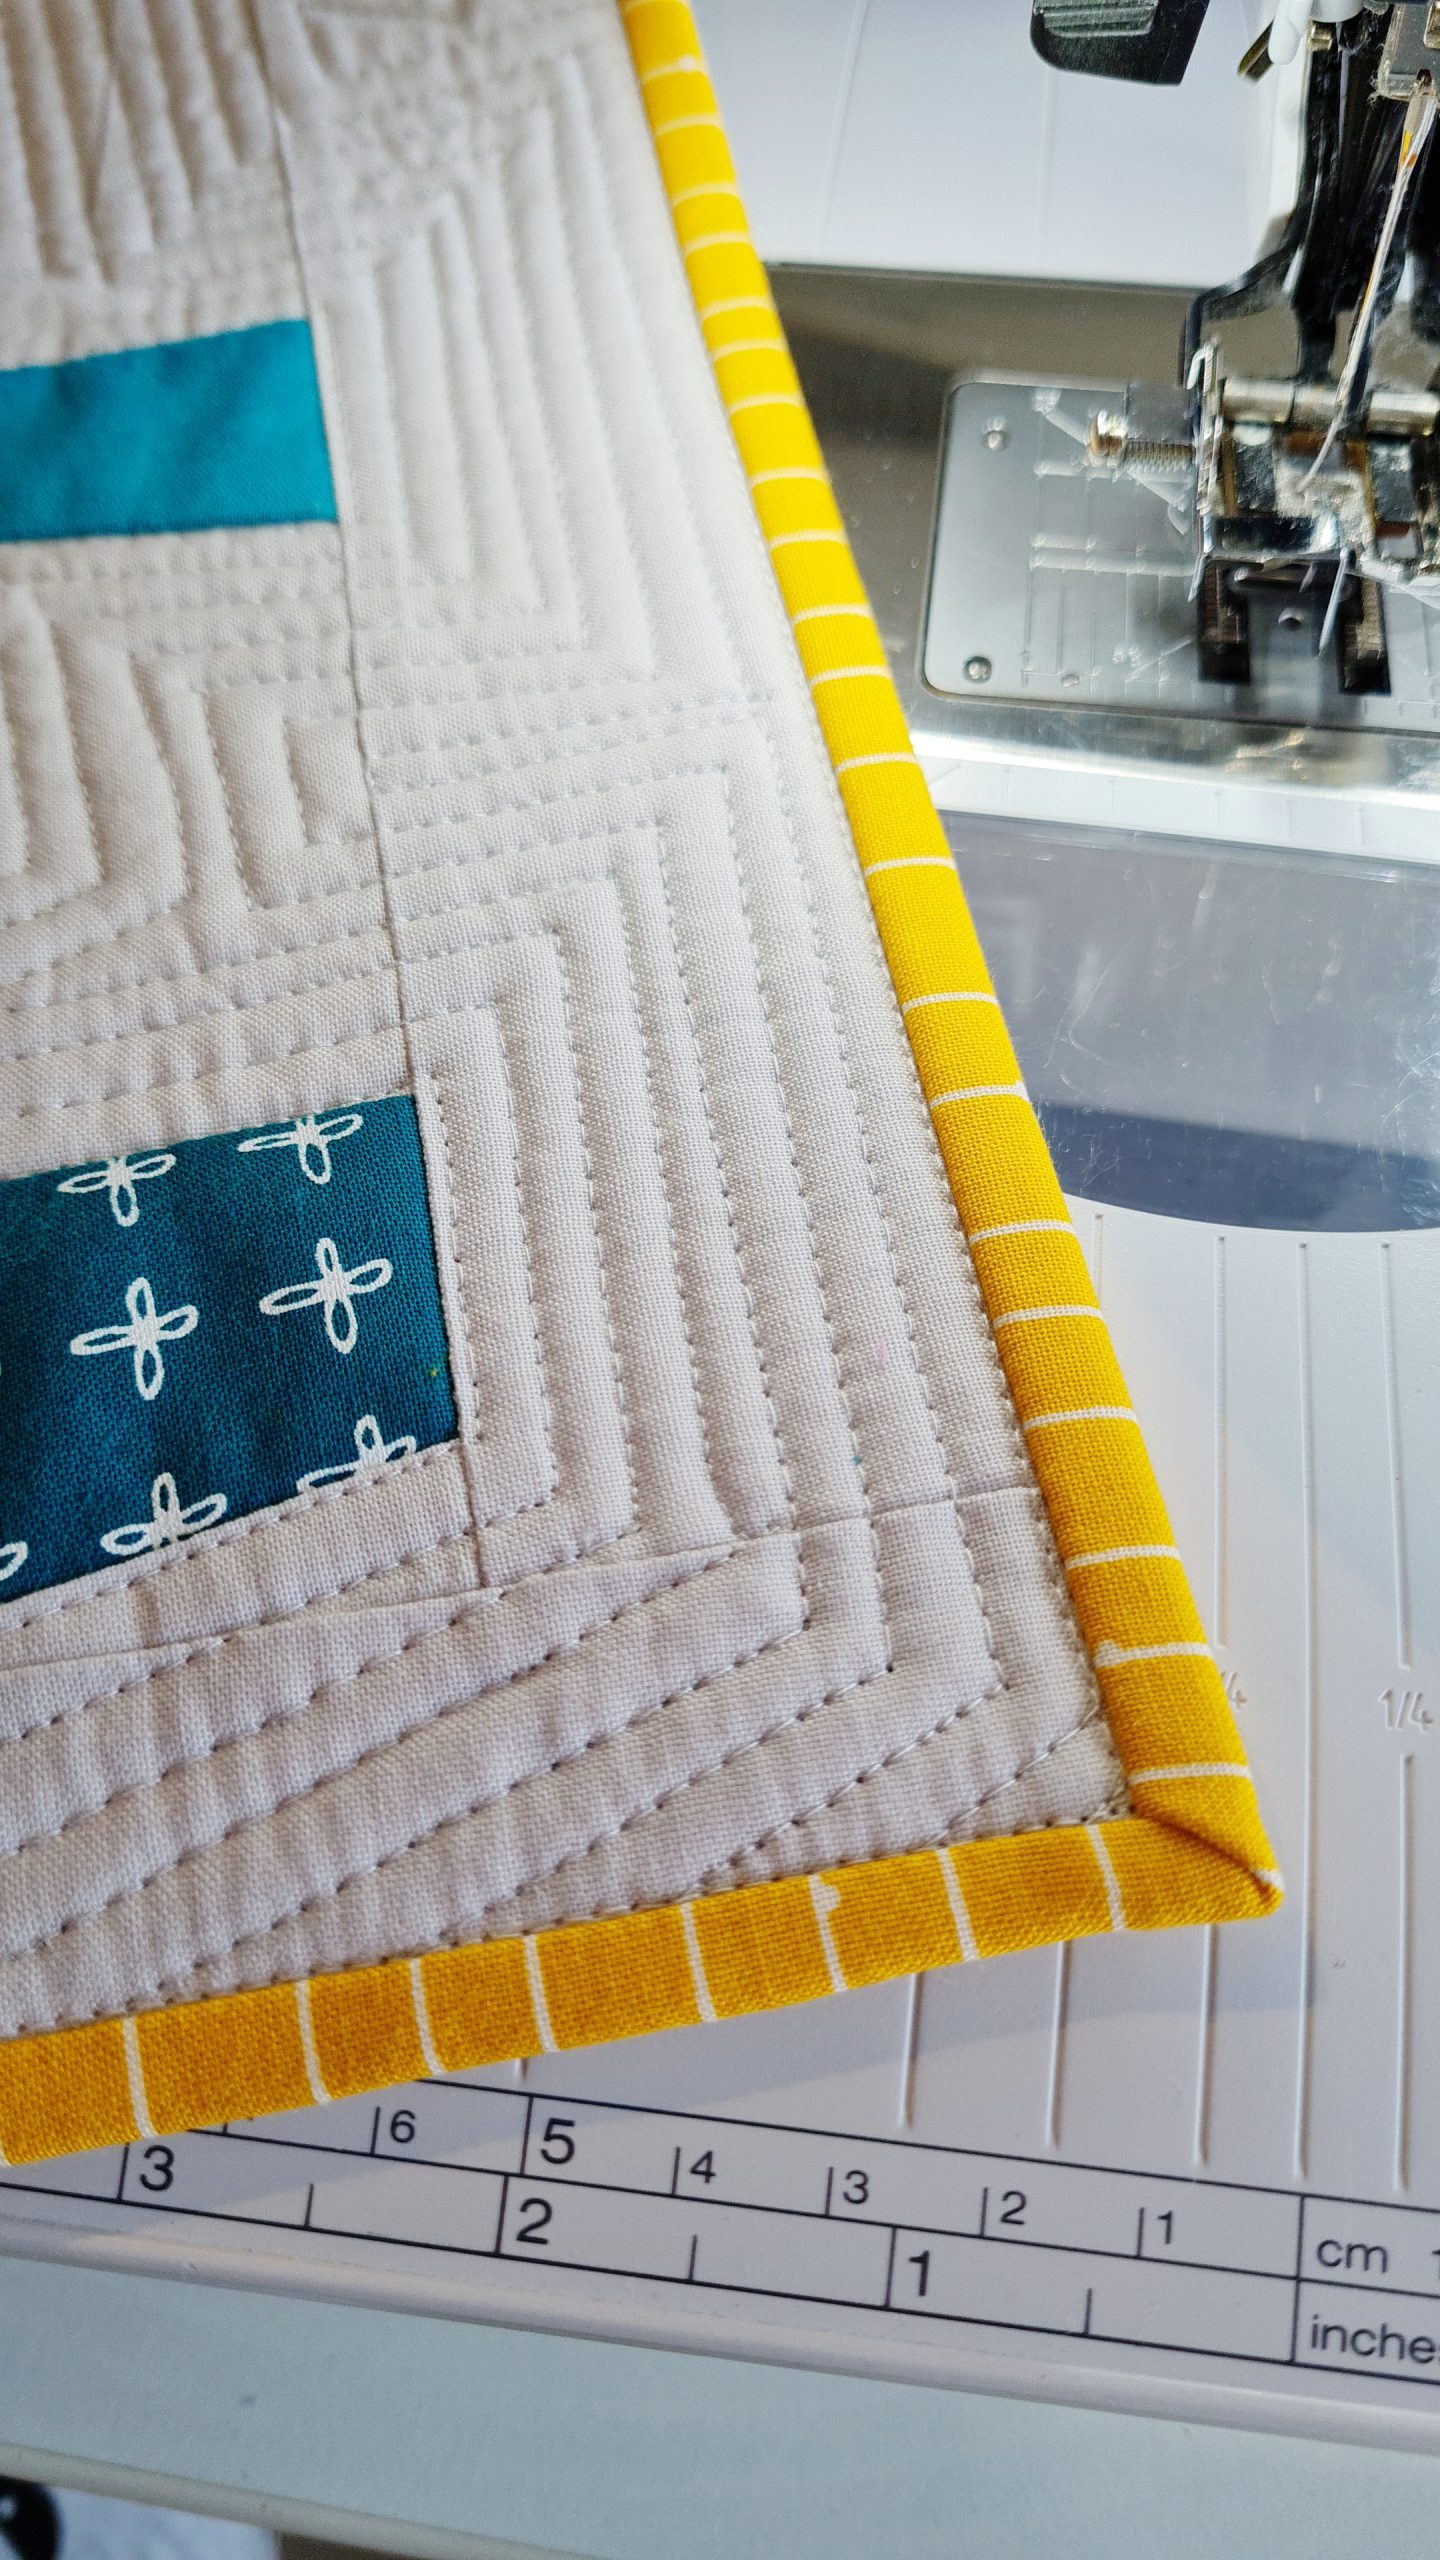
The idea is that you sew you binding to one side of the quilt. Then you press the binding to the other side and use a glue to keep the binding in place. When the binding is in place all around the quilt, you can sew it to the other side.
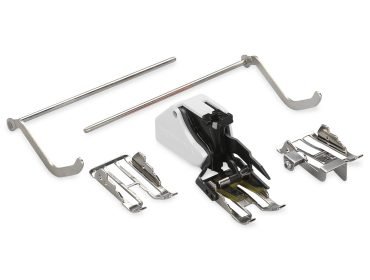
I use the Walking Foot #50 to stitch the binding to the front.

I think this will be more durable compared to hand stitching, because it is stitched in place two times by machine.
Time wise I don’t think one method is much quicker than the other. To make it all nice and neat, the glue basting takes me quite some time.
With the other method, the hand stitching can feel like a lovely final step. Where you finish the quilt by hand while sitting cozy under it.

Give away
Now our quilts are finished, it’s time for the give away! Are you excited? I sure am! Who is going to win the BERNINA Q16, one of the three BERNINA ruler sets or one of the three Sugaridoo gift boxes (including a coupon for my new book ‘Sugaridoo Happy Notes’ that will be release later this year)? Here is how to enter the raffle for the giveaway.
To enter the giveaway you need to make a picture of your finished quilt, including your binding.
- Post your picture on Instagram, tag @Sugaridoo and use #OneTwoTreeQAL on that post.
- Or upload your picture to the community section on the BERNINA blog. When uploading to the BERNINA community section make sure to select “One Two Tree QAL” from the dropdown list.
We will draw six random winners from the entries and announce the winners on the Bernina blog, Sugaridoo Instagram and in the One Two Tree QAL Facebook group.
Conditions of participation for the raffle
Acceptance of these conditions is a requirement for participation on the BERNINA Blog.
Employees of BERNINA and their dependants are excluded from participation.
The winner will then be notified by e-mail within seven days. We are not liable for the non-receipt or late delivery of the notification.
If the winner is unable or unwilling to accept the prize, we do not guarantee that an alternative prize or substitute can be offered. The prize cannot be paid out in cash and the claim to the prize cannot be assigned.
If there is no response to the email notification of the prize within 7 days, the prize will be cancelled.
The prize will be sent to the winner by post. To make sure that the prize is delivered, the winner must provide correct name and address details after notification. If this is not done, the prize cannot be delivered. The prize will then be cancelled.
We reserve the right to interrupt or terminate this competition at any time or to vary the procedure and rules. Legal action is excluded.
Thank you Sugaridoo for a really enjoyable QAL. A lovely project for my first QAL. I’m very new to quilting and have learned loads. I love FPP, and have bought some of your patterns, so am looking forward to doing these. I just need to practice some free motion quilting, then maybe I’ll invest in rulers.
Dear Joan, Please be aware that in order to participate in the raffle, you have to post your finished quilt either on Instagram with the right tags or in the Blogs Community Section. A comment wont enter the raffle!
Kind regards, Ramona
Thank you Irene for this #ONETWOTREEQAL. It made me try different things and start to feel a little more confident in my free motion skills.
Dear cspring, please be aware that in order to participate in the raffle, you have to post your finished quilt either on Instagram with the right tags or in the Blogs Community Section. A comment wont enter the raffle!
Kind regards, Ramona
I really enjoyed Irene’s instruction and encouragement. Thank you for offering this quilt-along. 🙂
Dear cathi, what a gorgeous quilt! I love the patterns you have chosen for your trees. But be aware that in order to participate in the raffle, you have to post your finished quilt either on Instagram with the right tags or in the Blogs Community Section. A comment wont enter the raffle!
Kind regards, Ramona