 BERNINA Corporate Blog -
Sew pintucks with cord with foot 46C. It makes a very decorative filling to the pintucks. To garantee success for your first use, it is very useful to make a sample first.
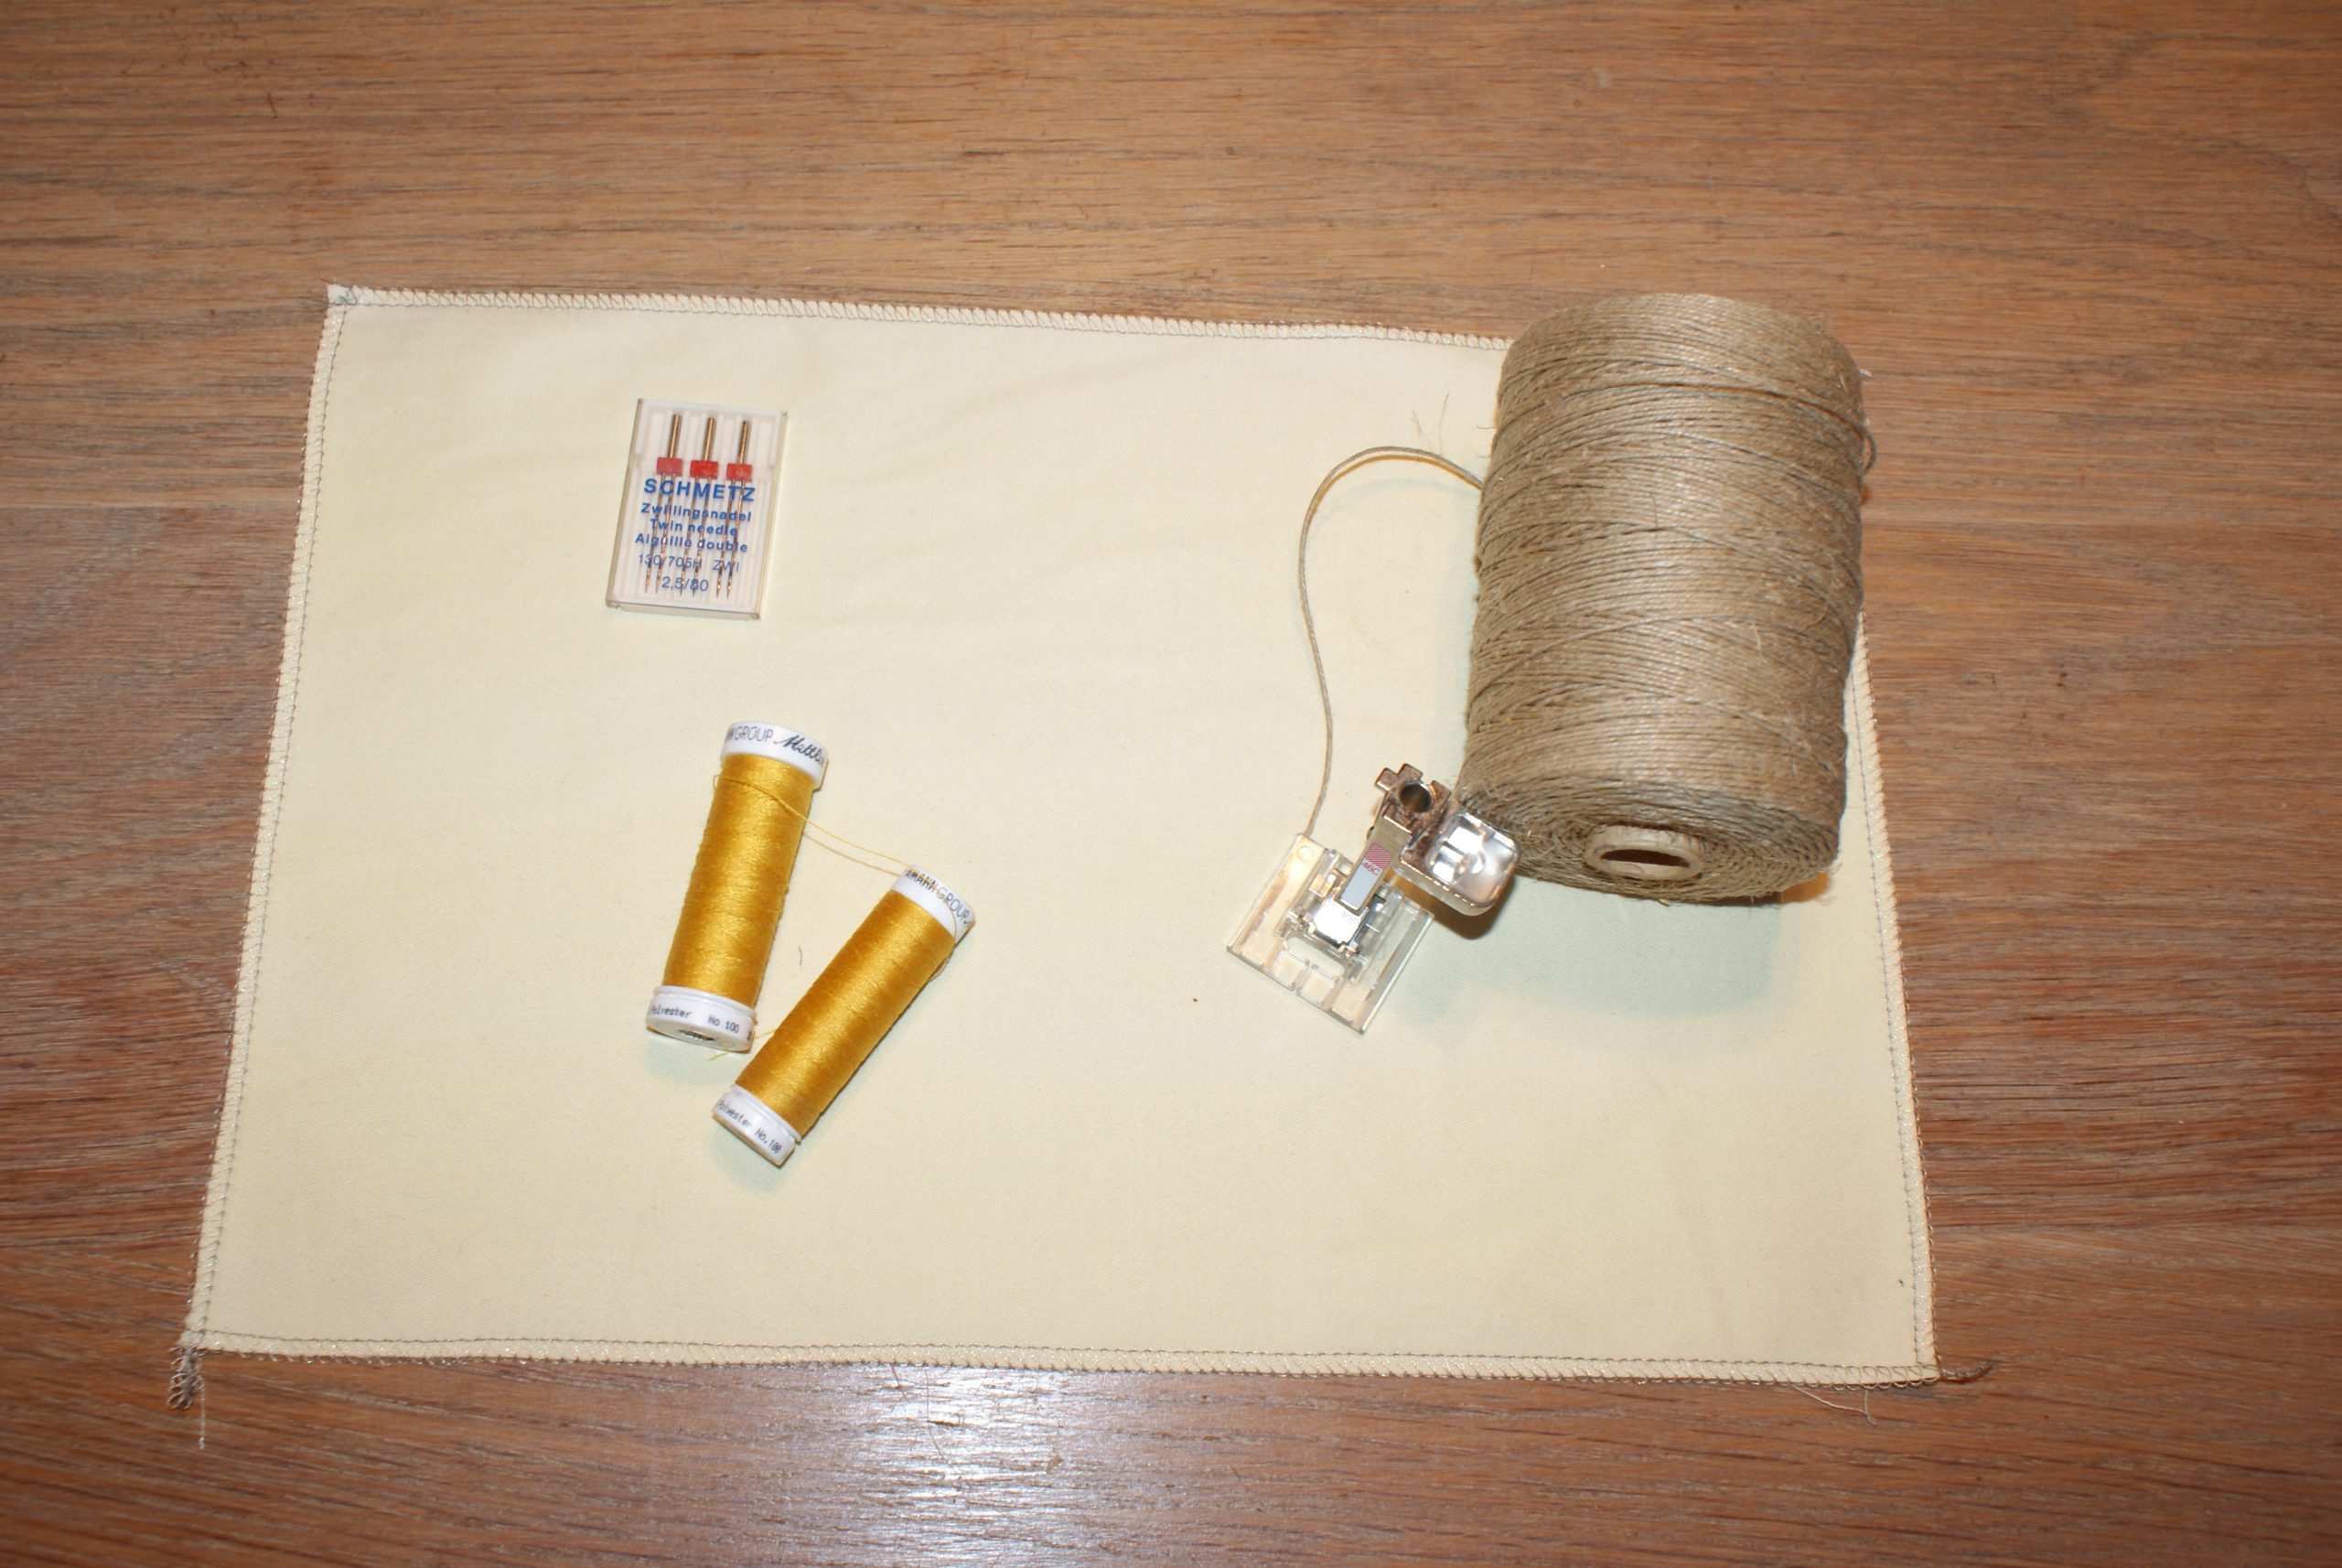
What do you need for a sample with pintucks?
- A leftover patch of middleweight fabric.
- Mettler seralon sewing thread in a matching colour
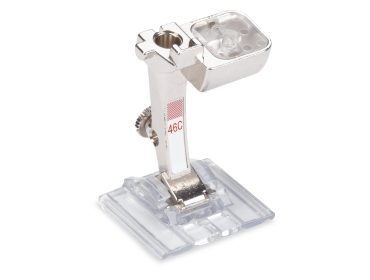
- Pintuck and decorative stitch foot with clear sole # 46C
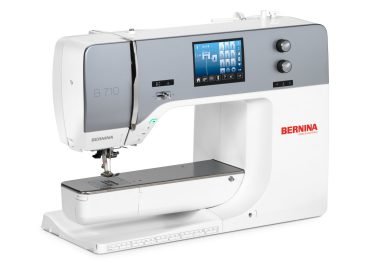
- I sew on the BERNINA 710
- Twin needles 2,5 mm
- Cord, just a little smaller than the twin needles
- A heat erasable pen and a ruler
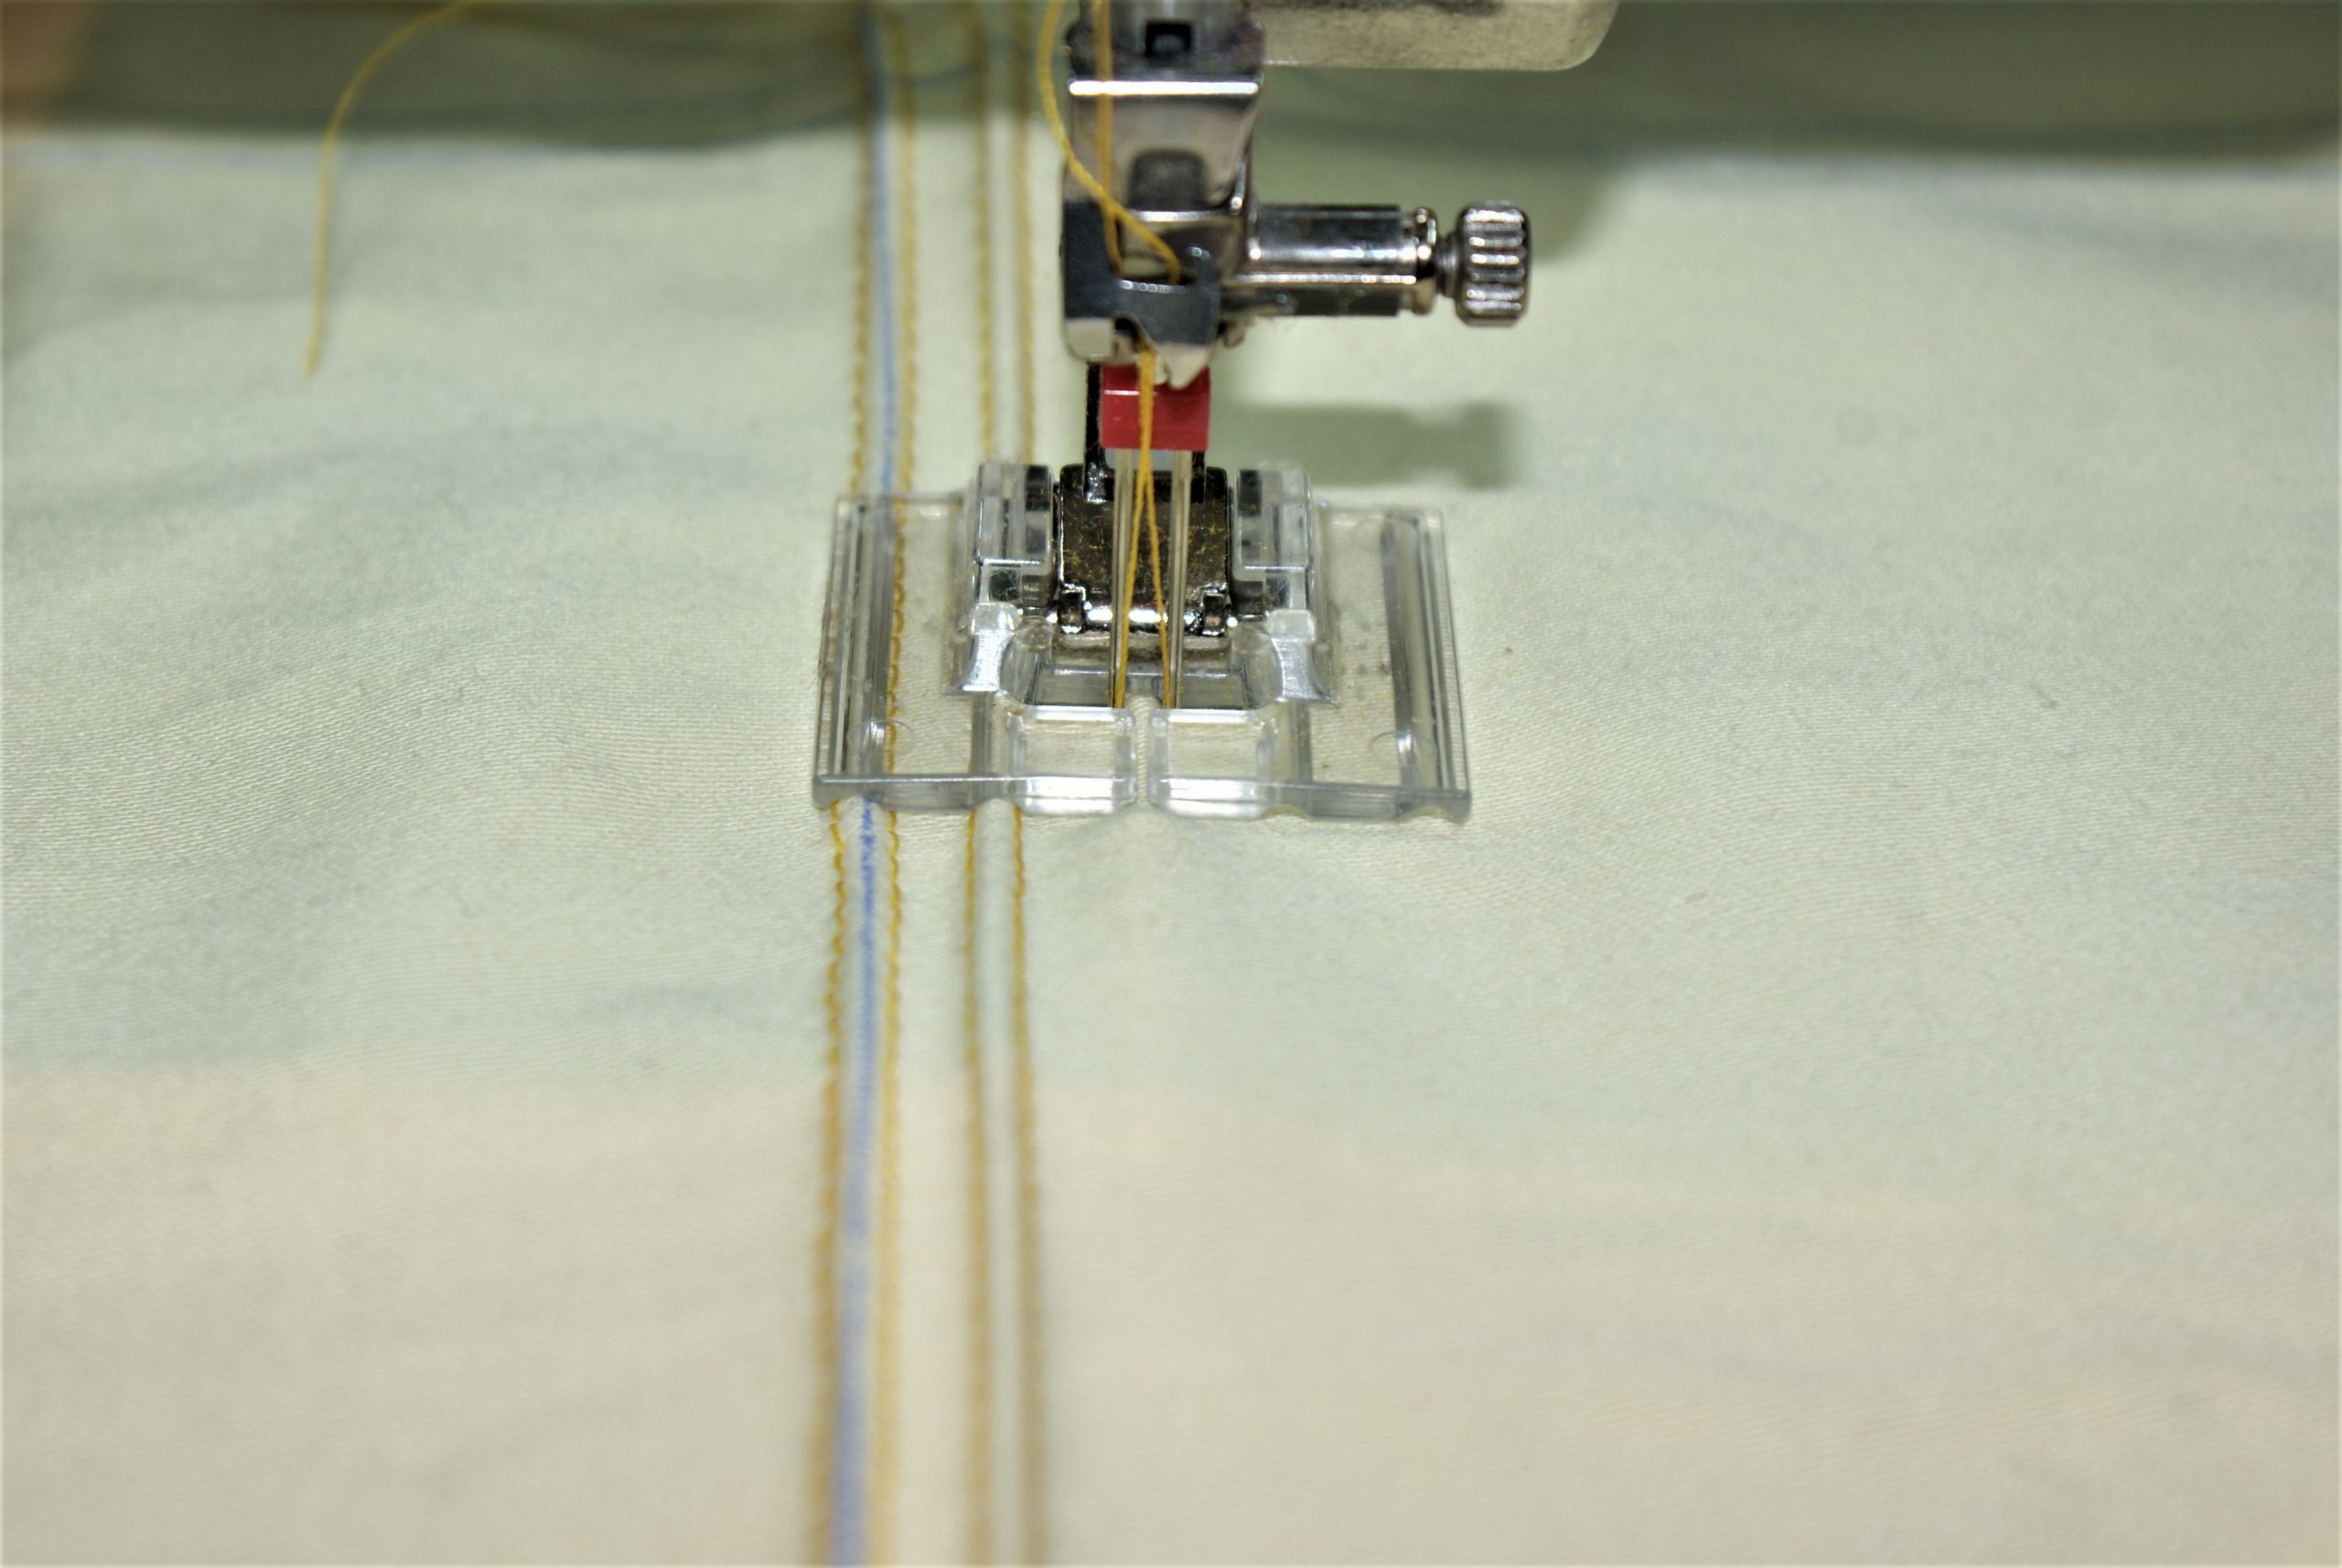
This is how you start to sew cord with the pintuck foot 46c
My aim is to sew pintucks that don’t finish in a seam. That’s why I draw a line in the middle of the fabric and perpendicular lines to mark the beginning and ending of the pintucks. I draw parallel lines at 0,5 cm from the previous lines, to start 2 stitches earlier.

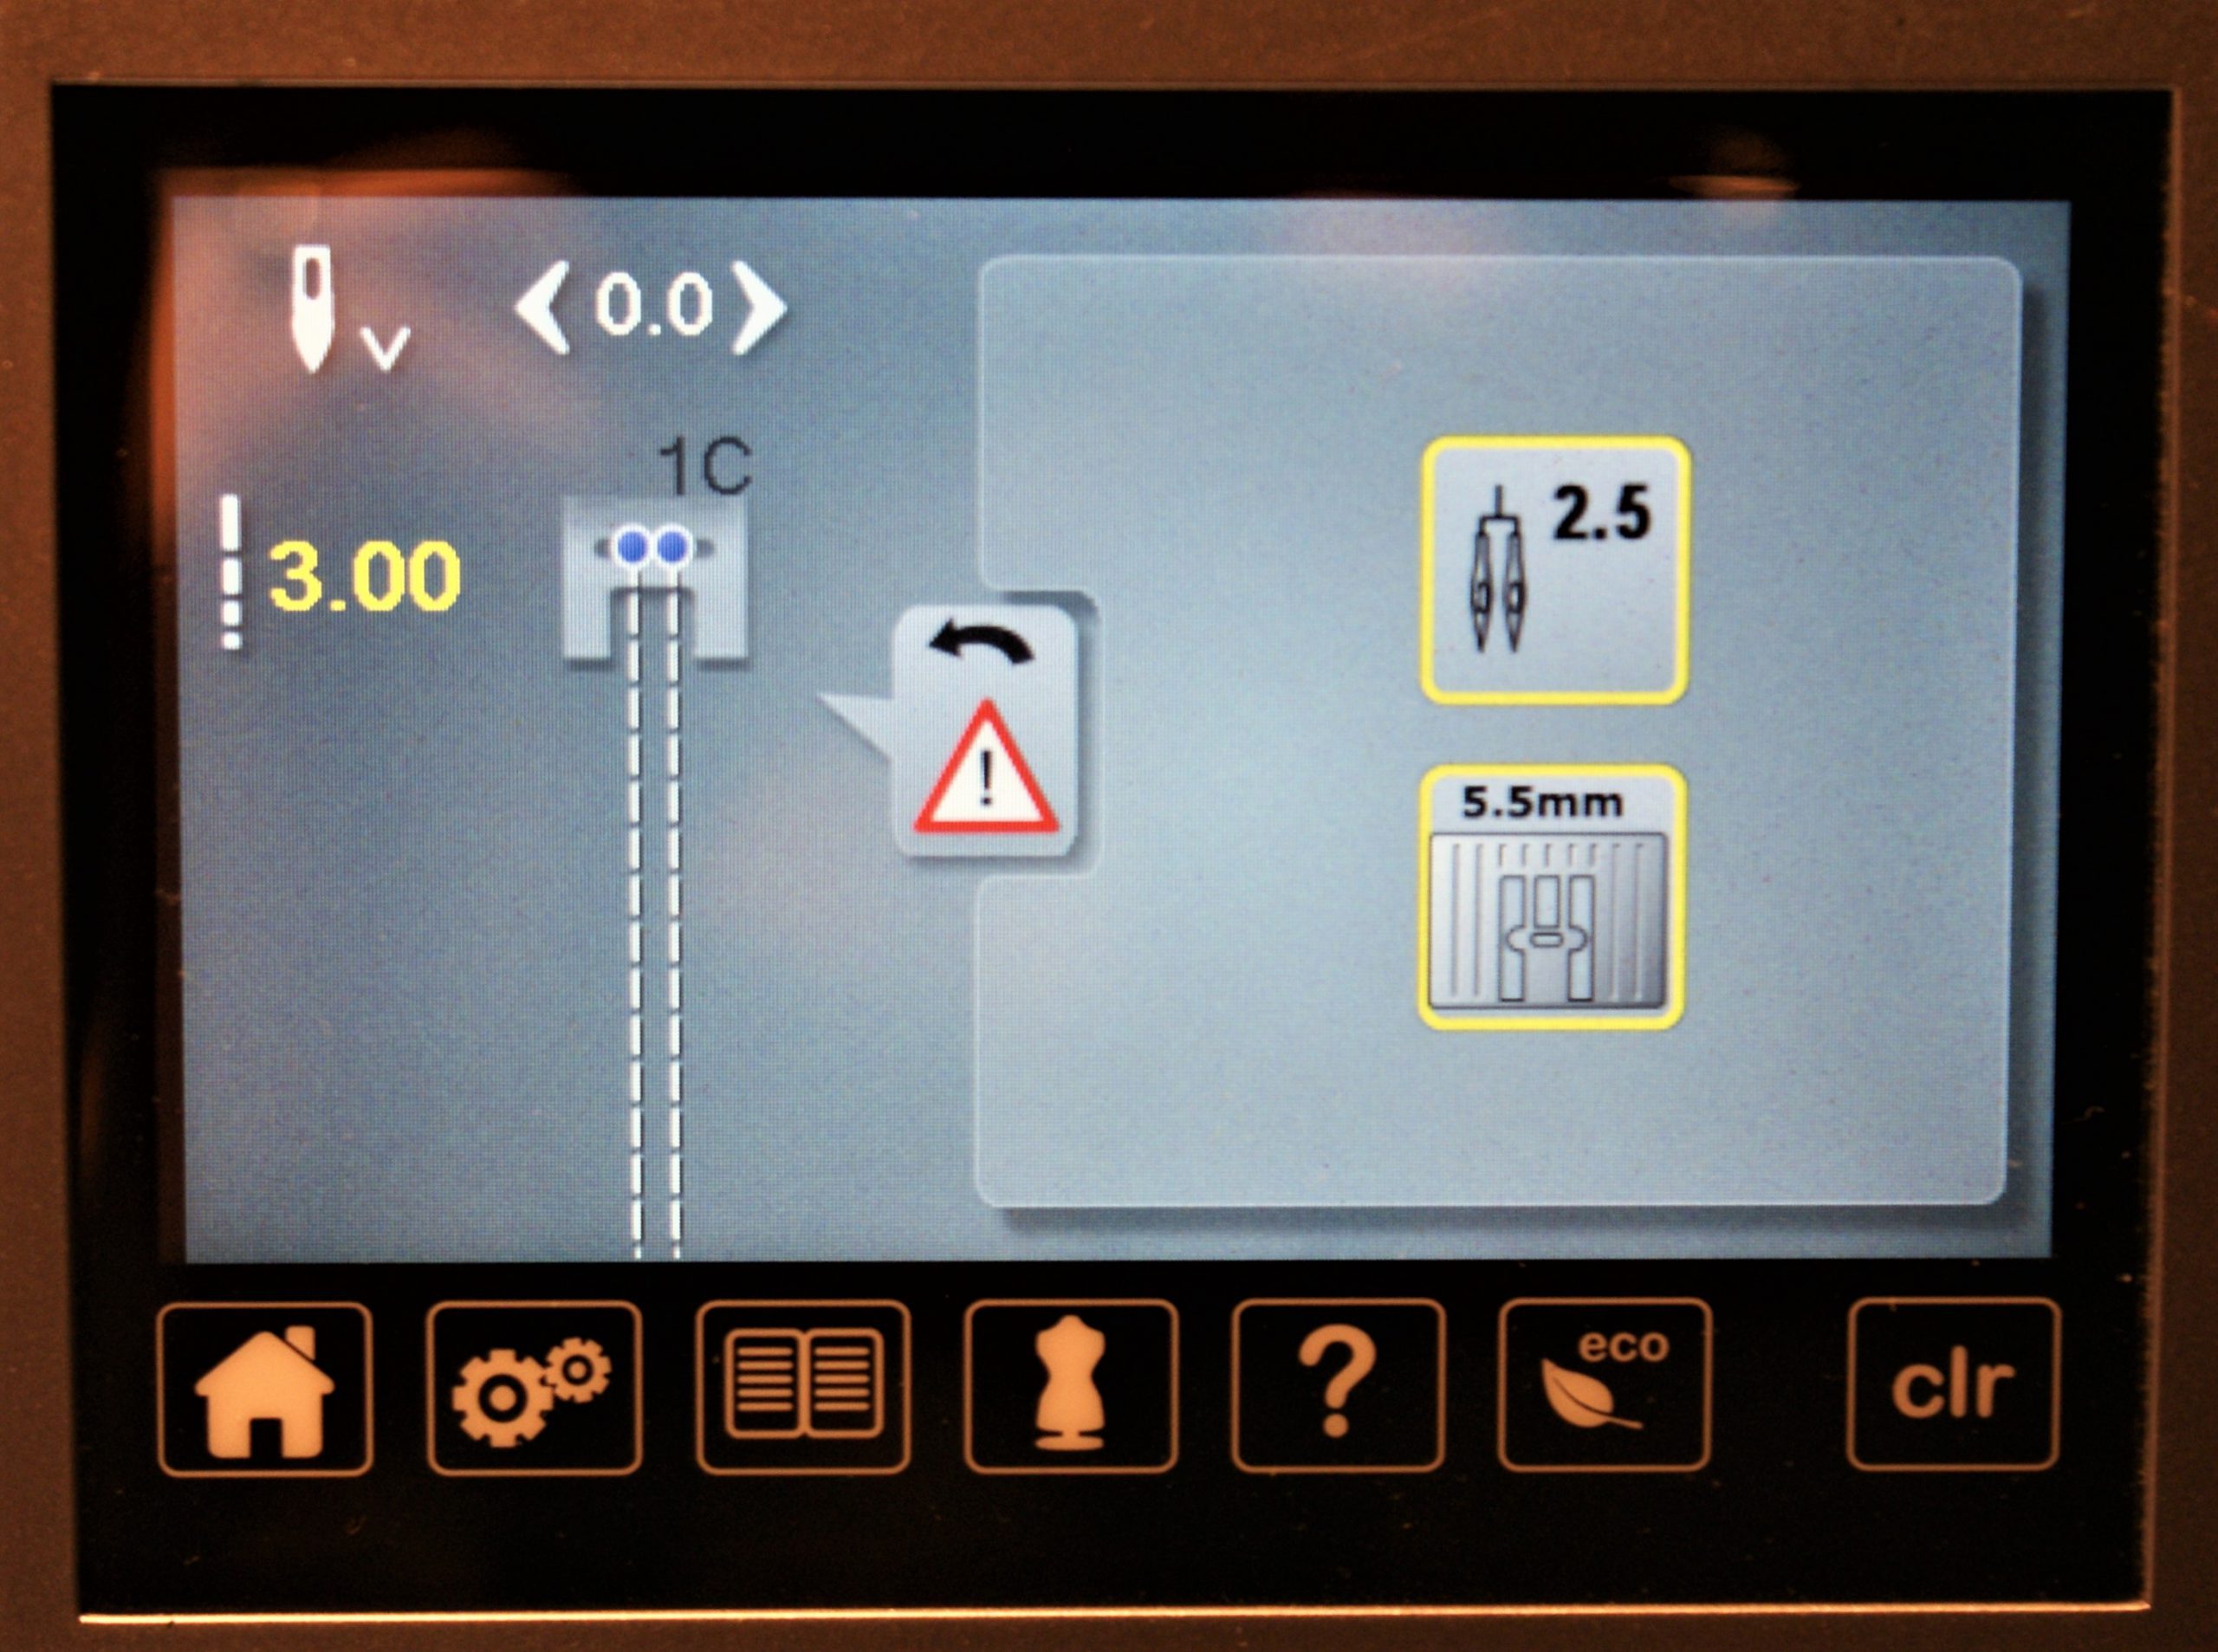
Machine settings:
Choose the twin needles in the needle choices of your machine.
I used the stitch plate 5,5 mm instead of the 9 mm.
A reduced tension helps to push the pintuck with the cord up.

To keep the cord in place, you can use the pintuck attachment.
Find more information in this video tutorial:

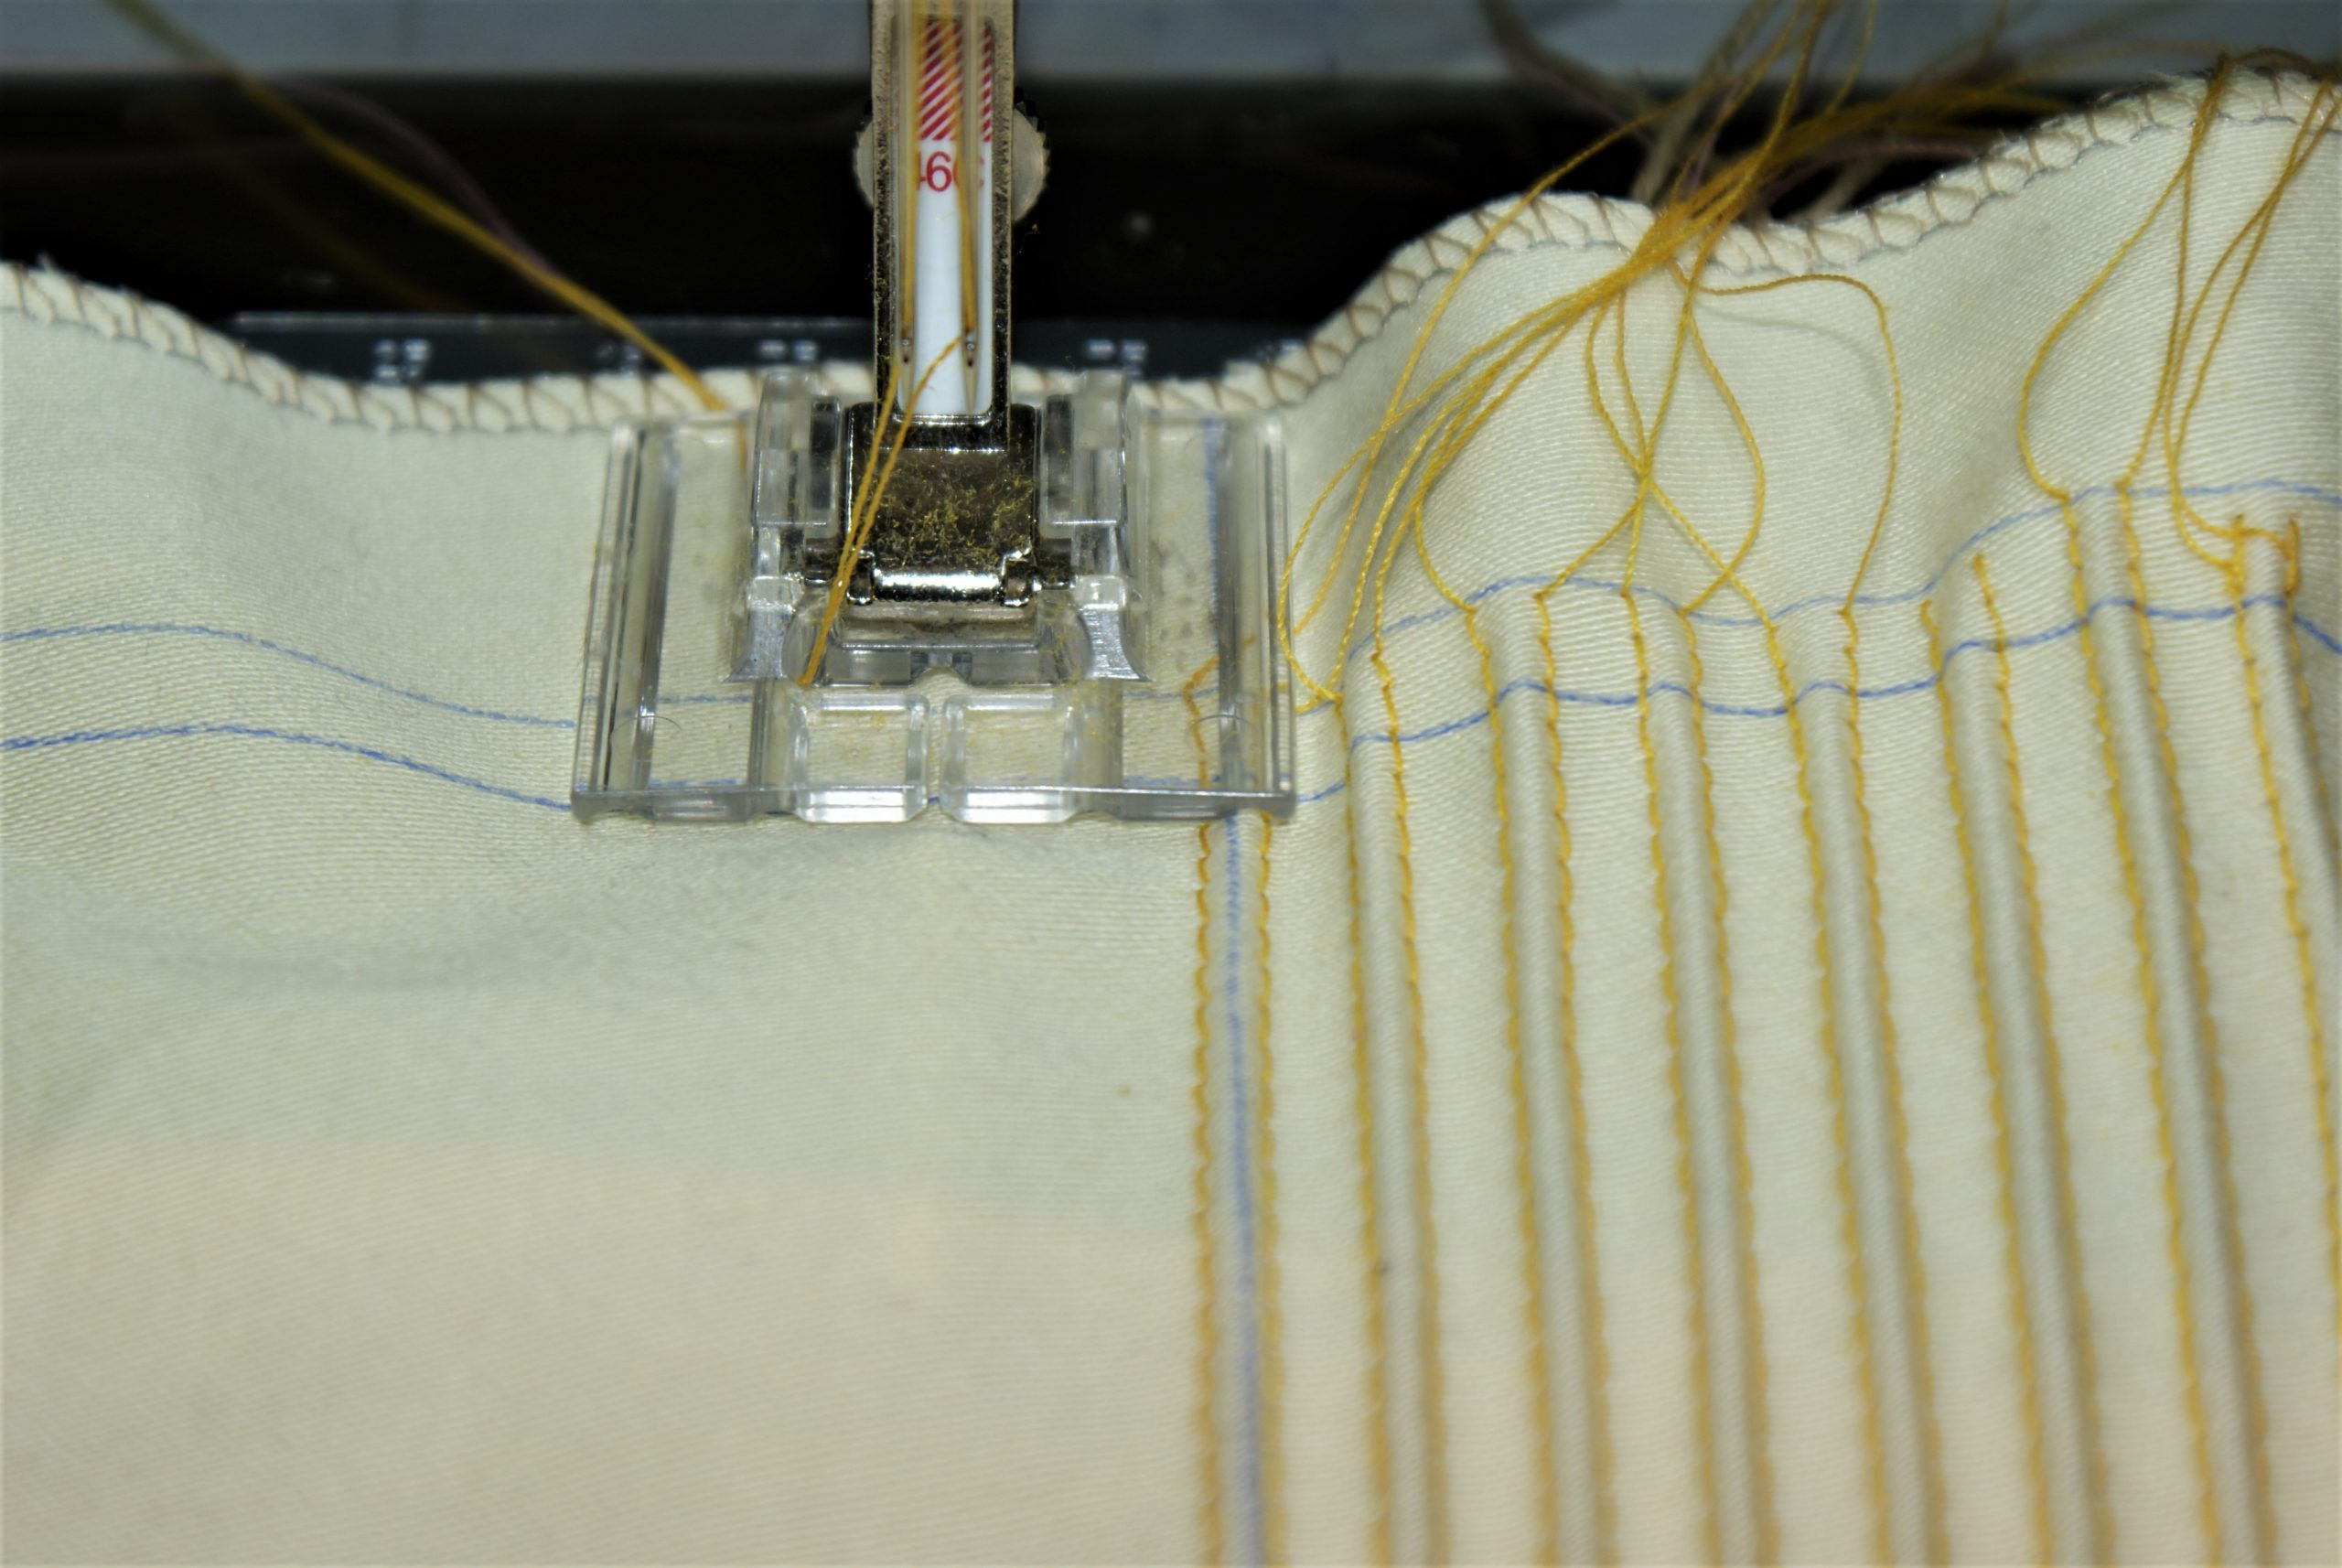
It’s very important to hold the threads, so they can’t be caught in the stitching. You will need them to tie off and secure the stitches in the end. At the end of the pintuck, cut the cord without cuting the threads and leave a 7 à 8 cm thread to tie.
For the second pintuck, replace the presser foot and let the first pintuck glide in the first slot.
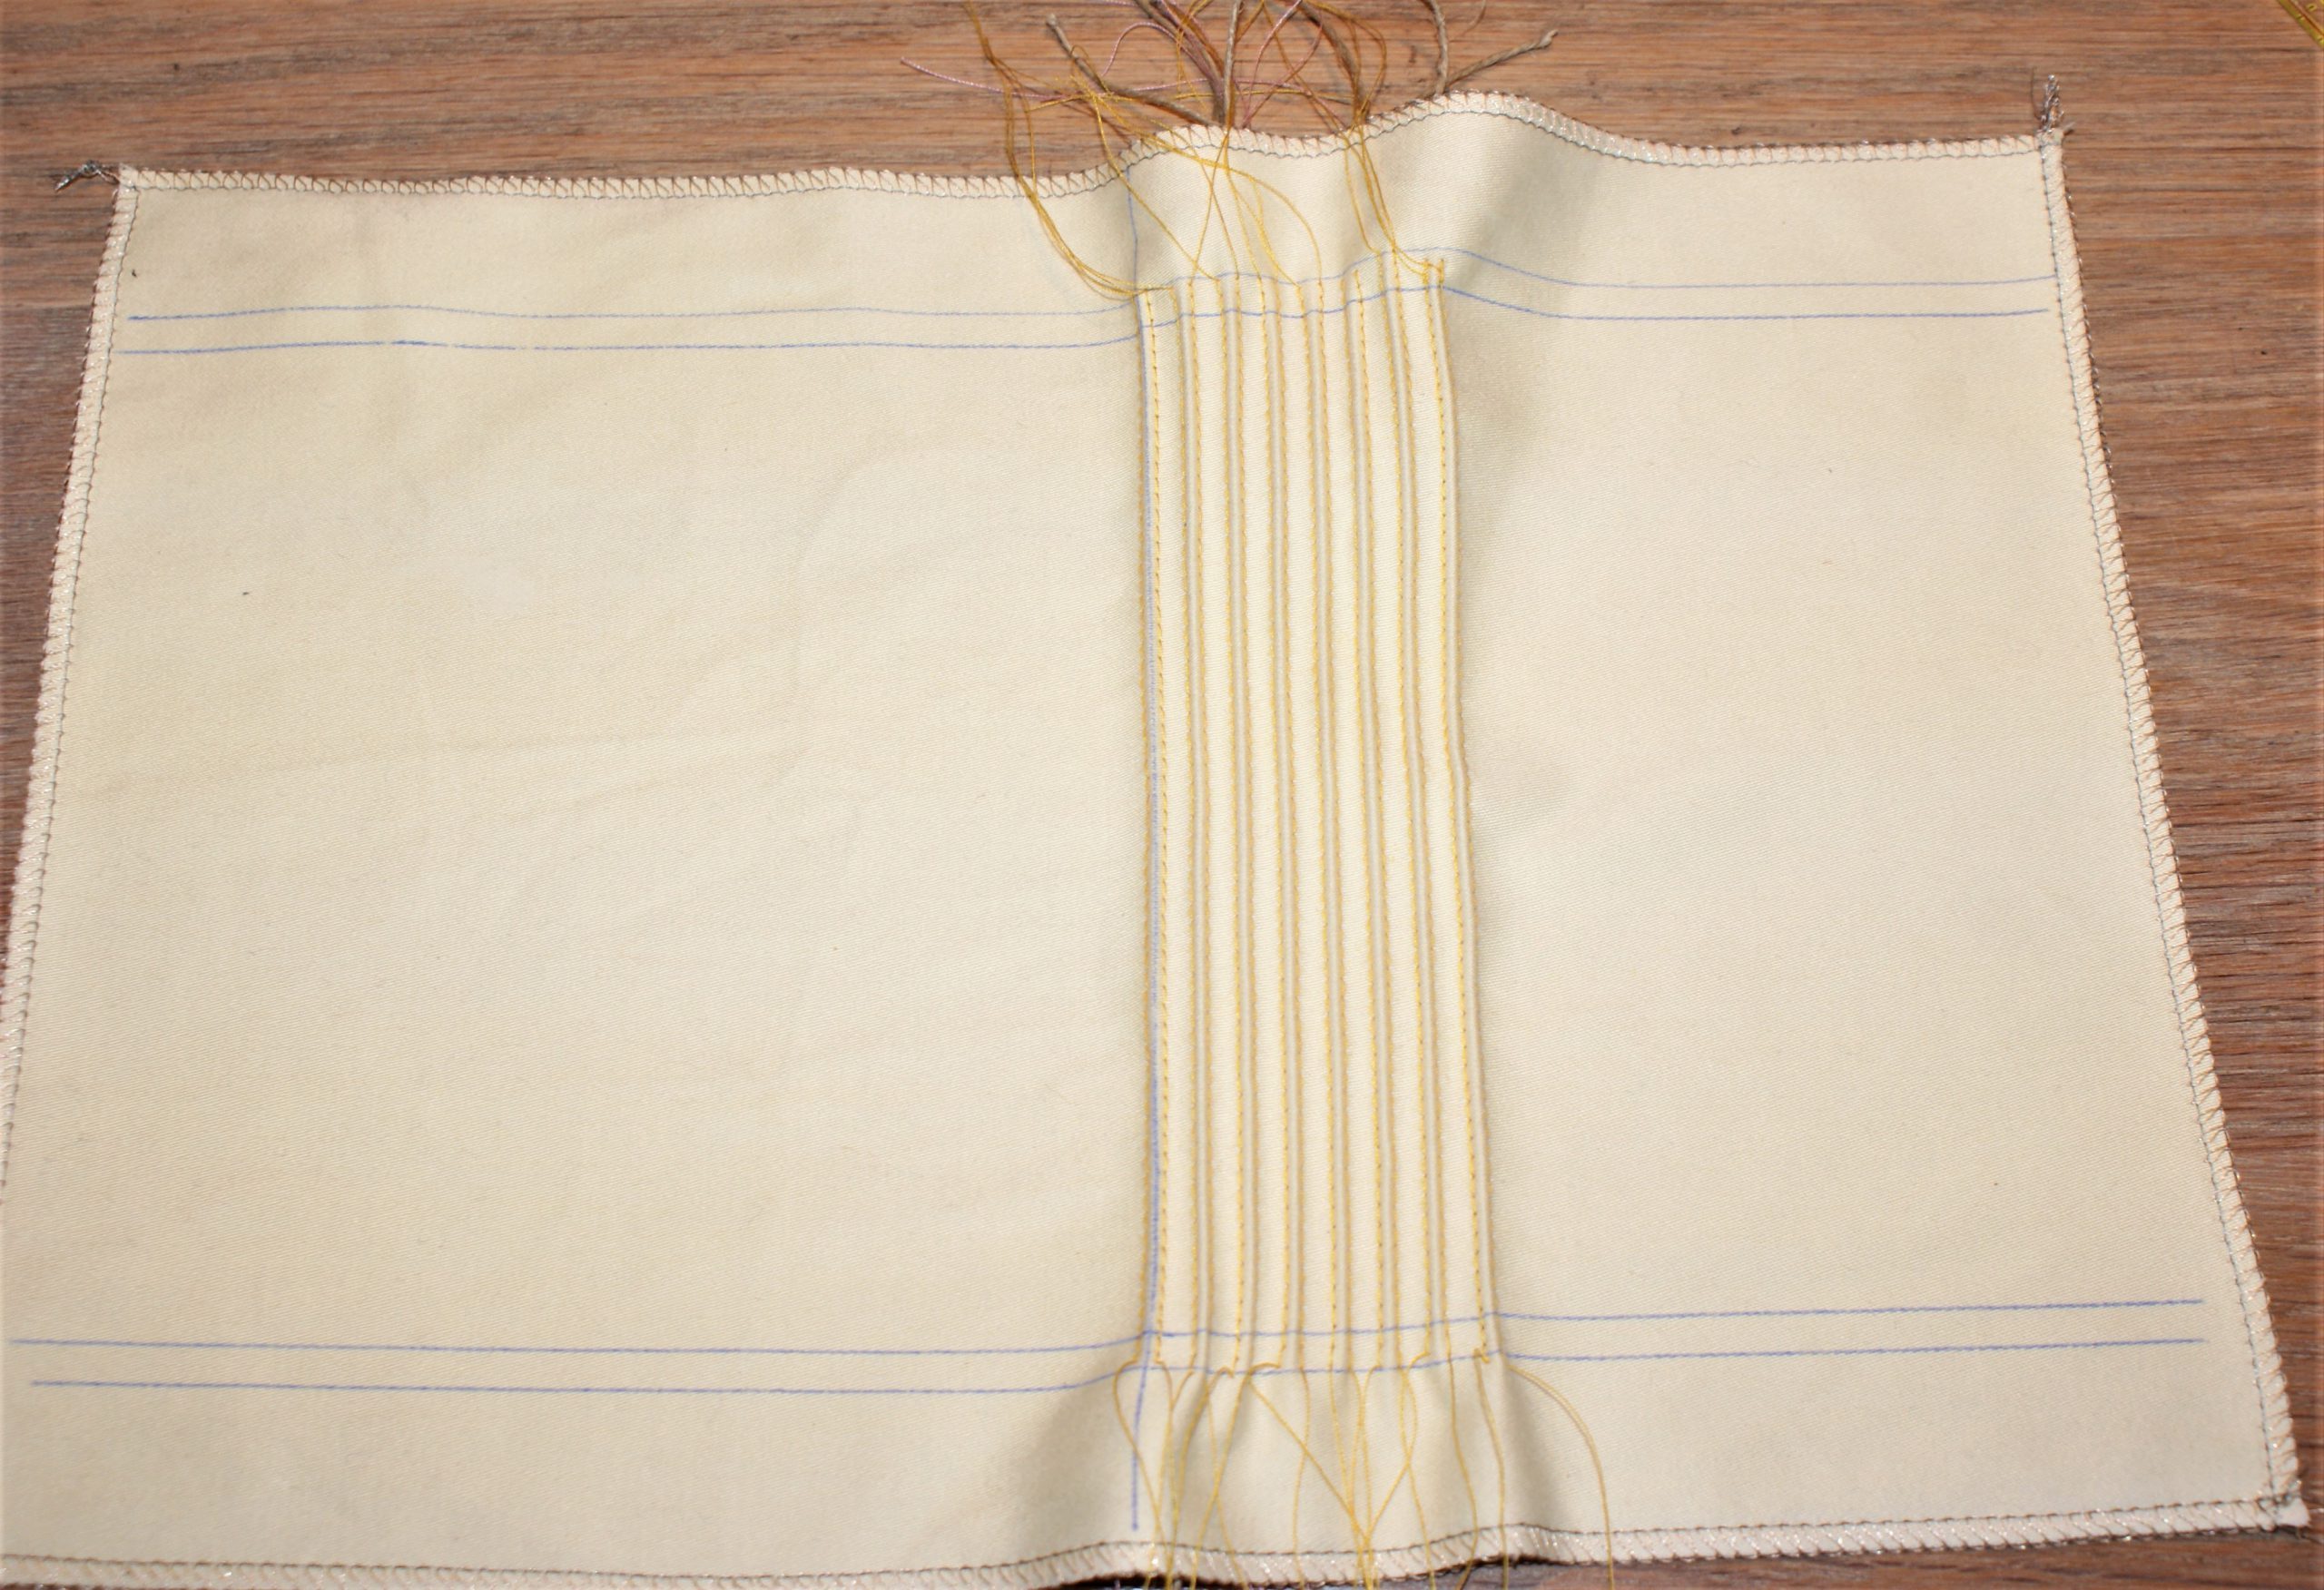
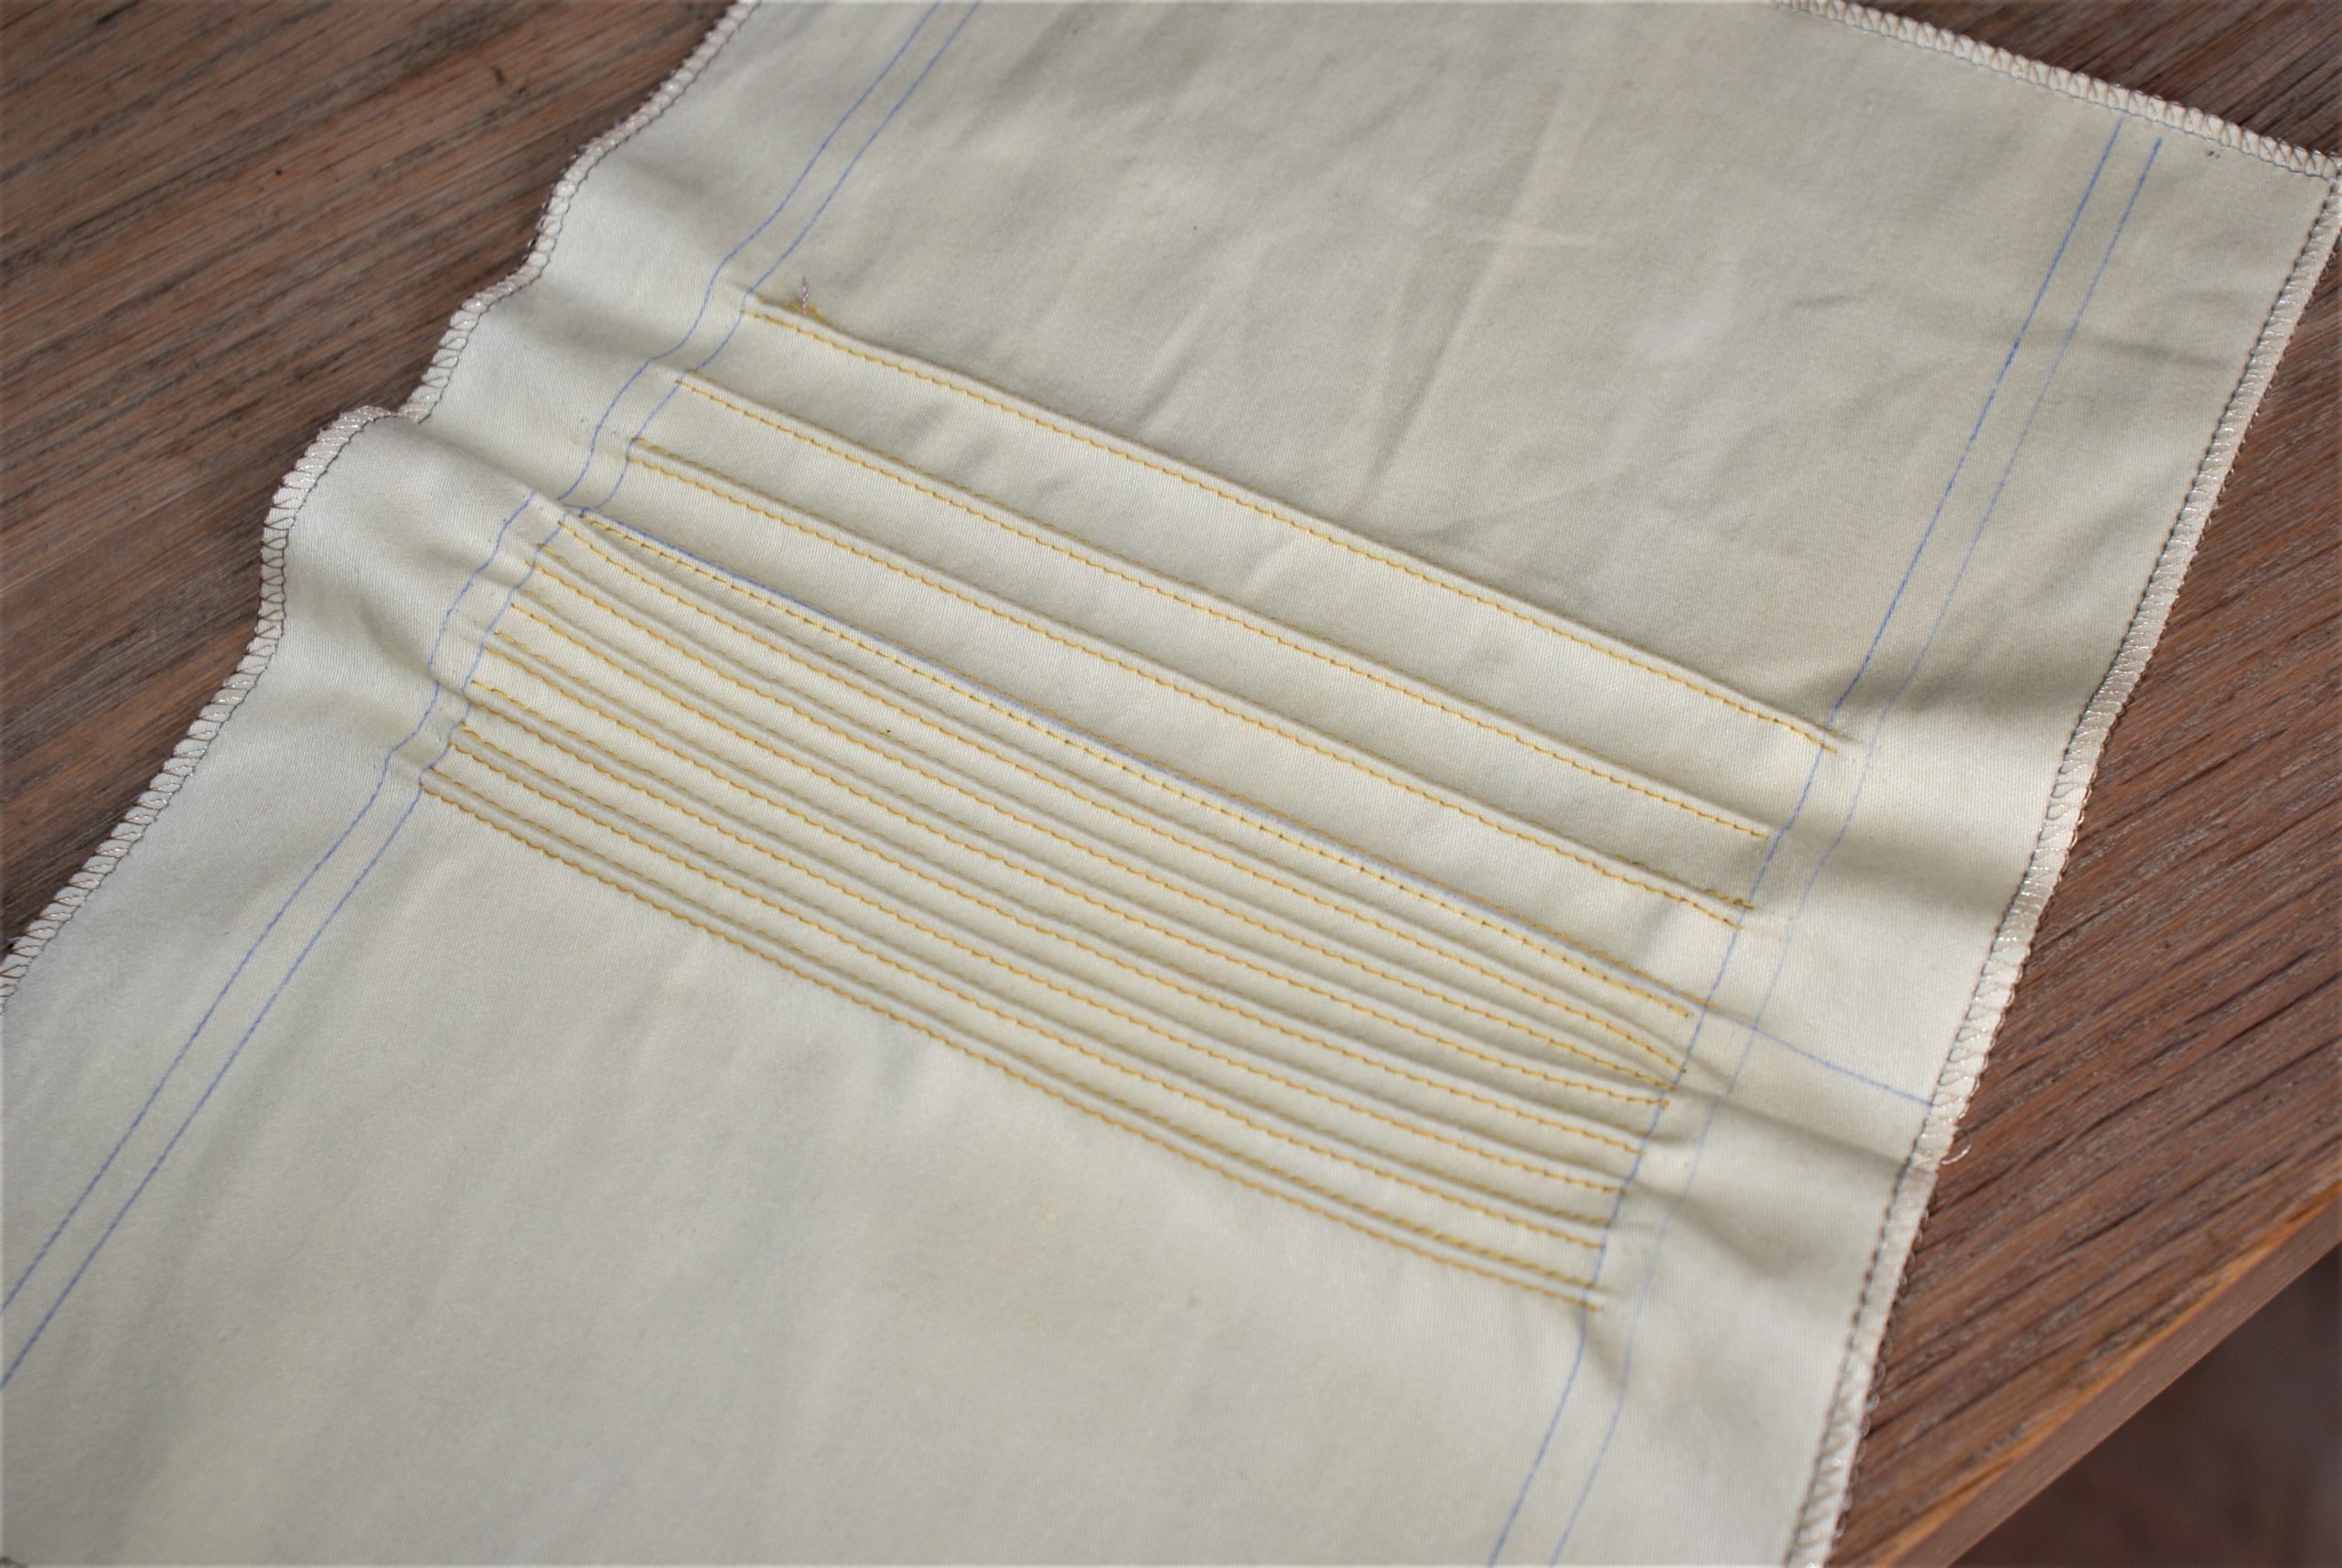
After sewing several pintucks, I have this beautiful result. You can see that there is a volume in the fabric at the beginning and at the end. You could use this instead of darts in a garment.
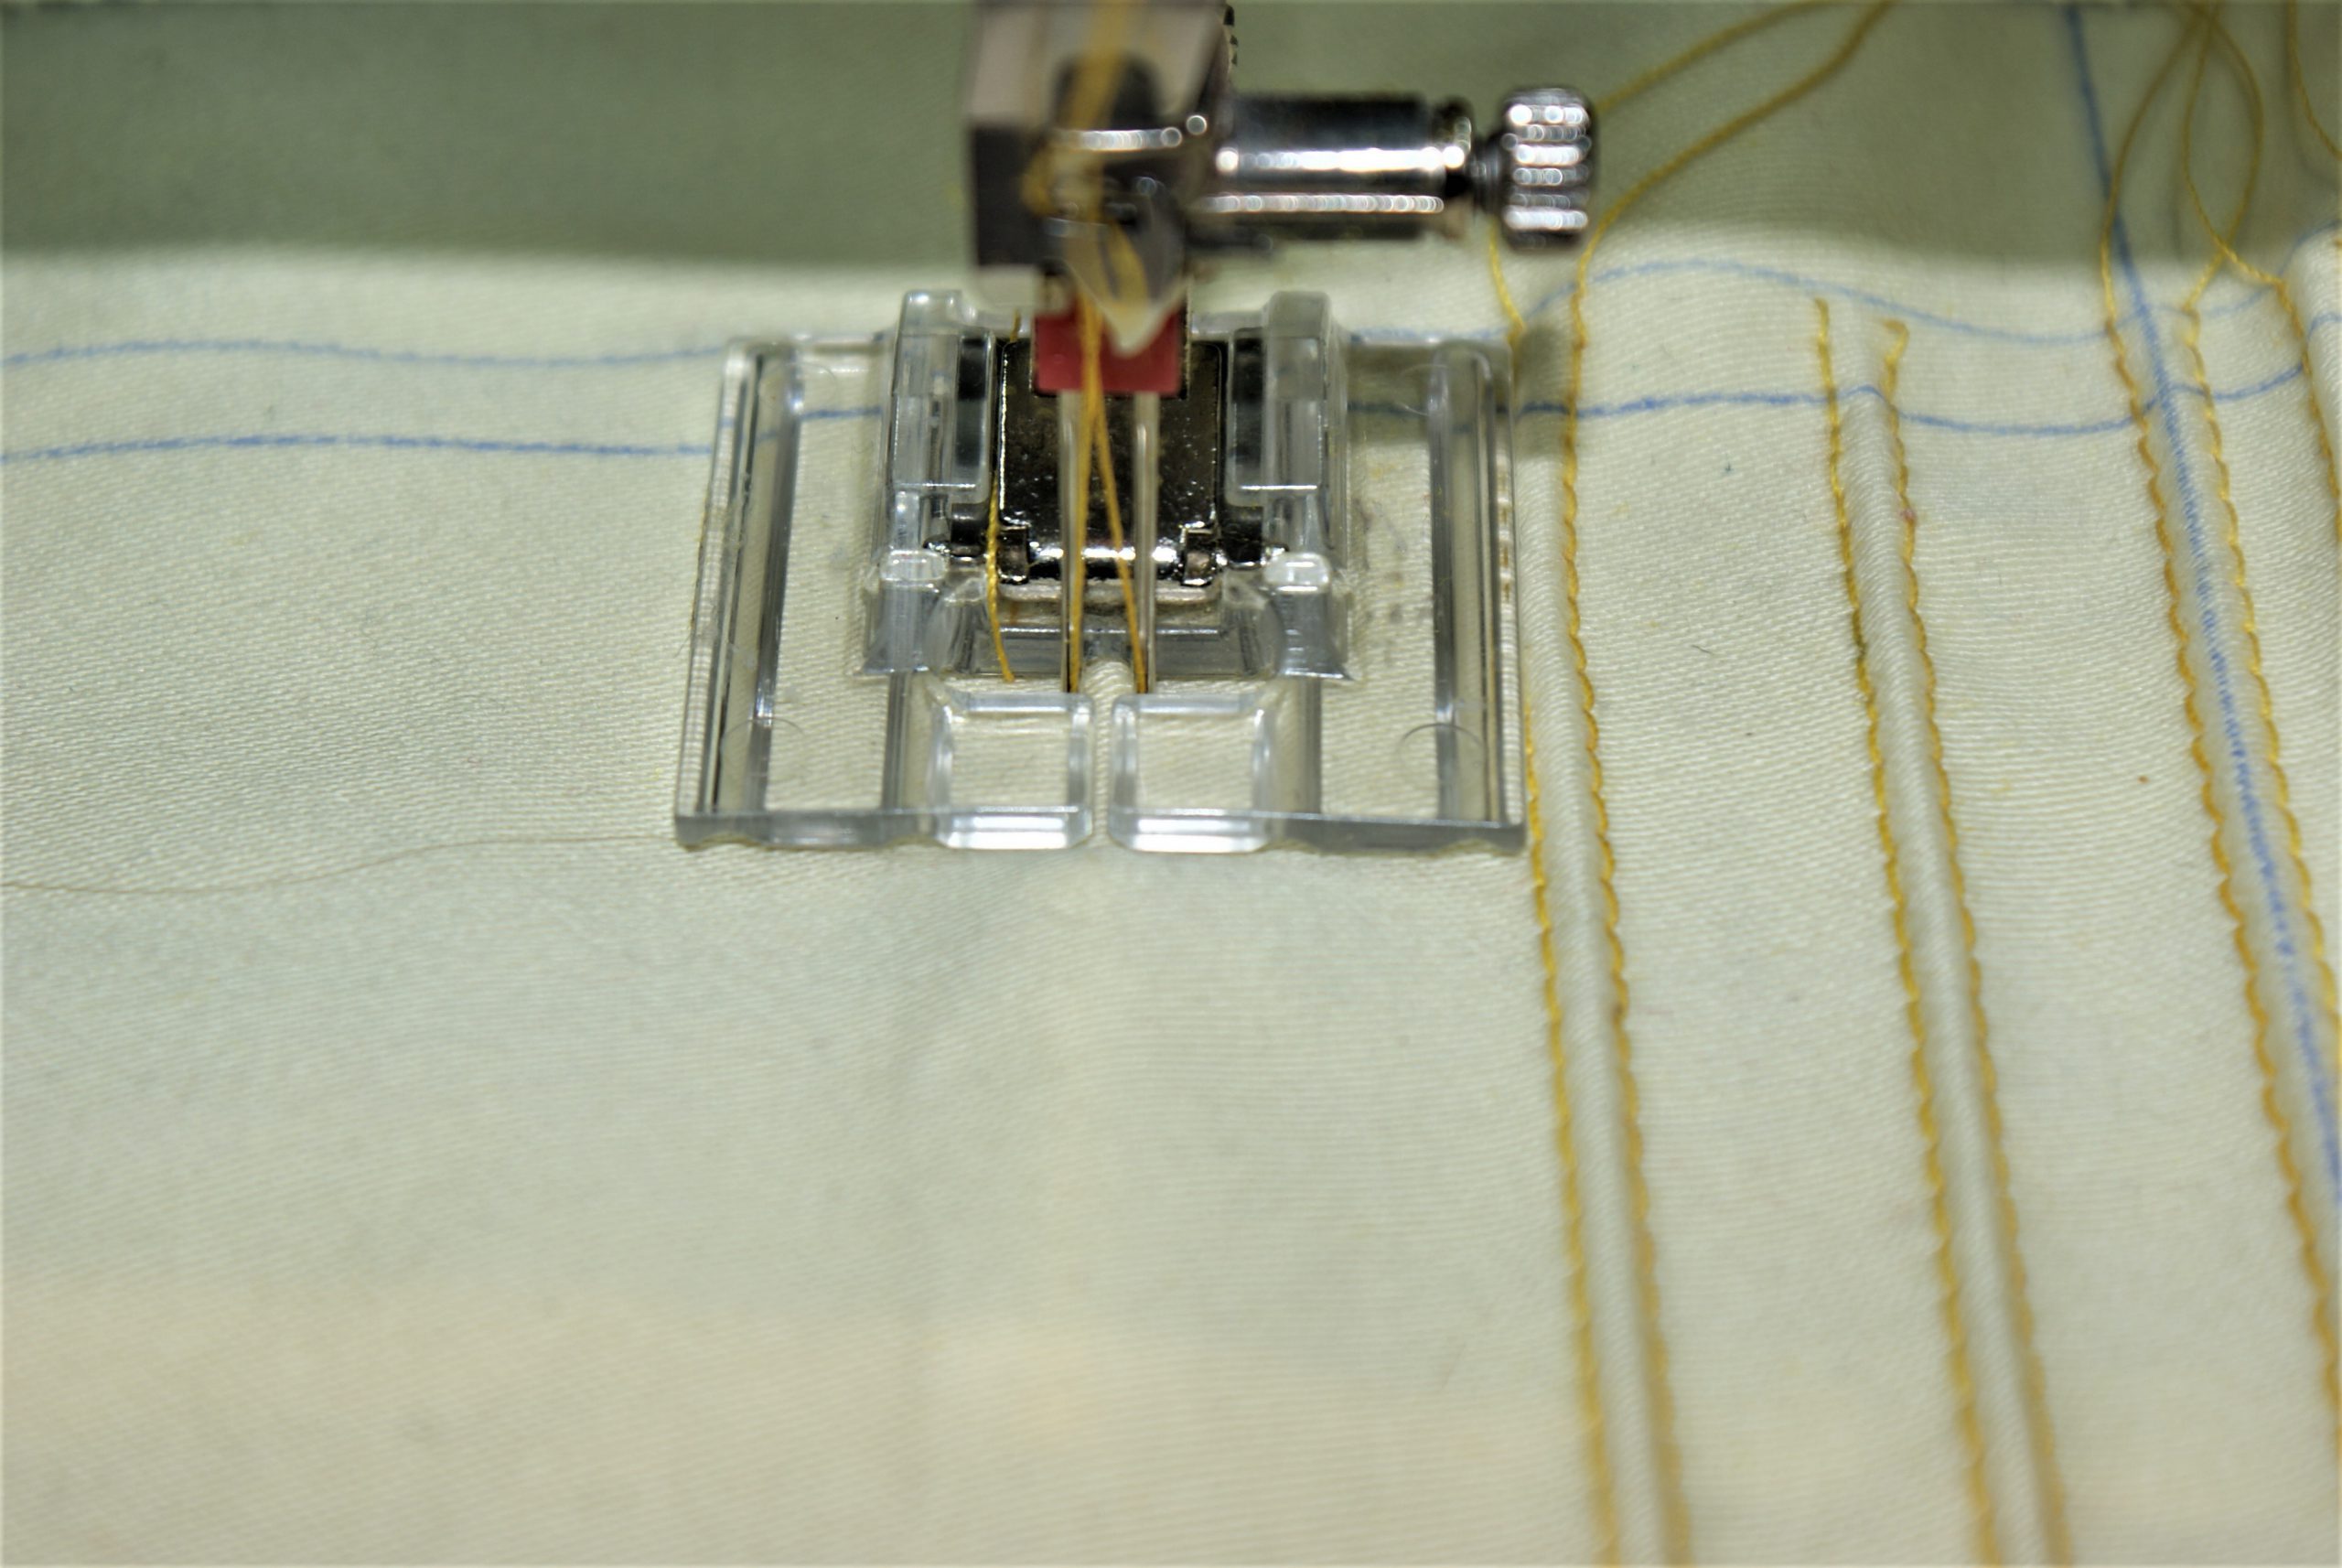
Would you like more space in between the pintucks? Replace the foot to the second slot.
If you even want a bigger distance, guide the presser foot besides the previous pintuck.
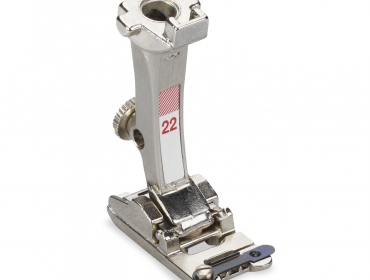
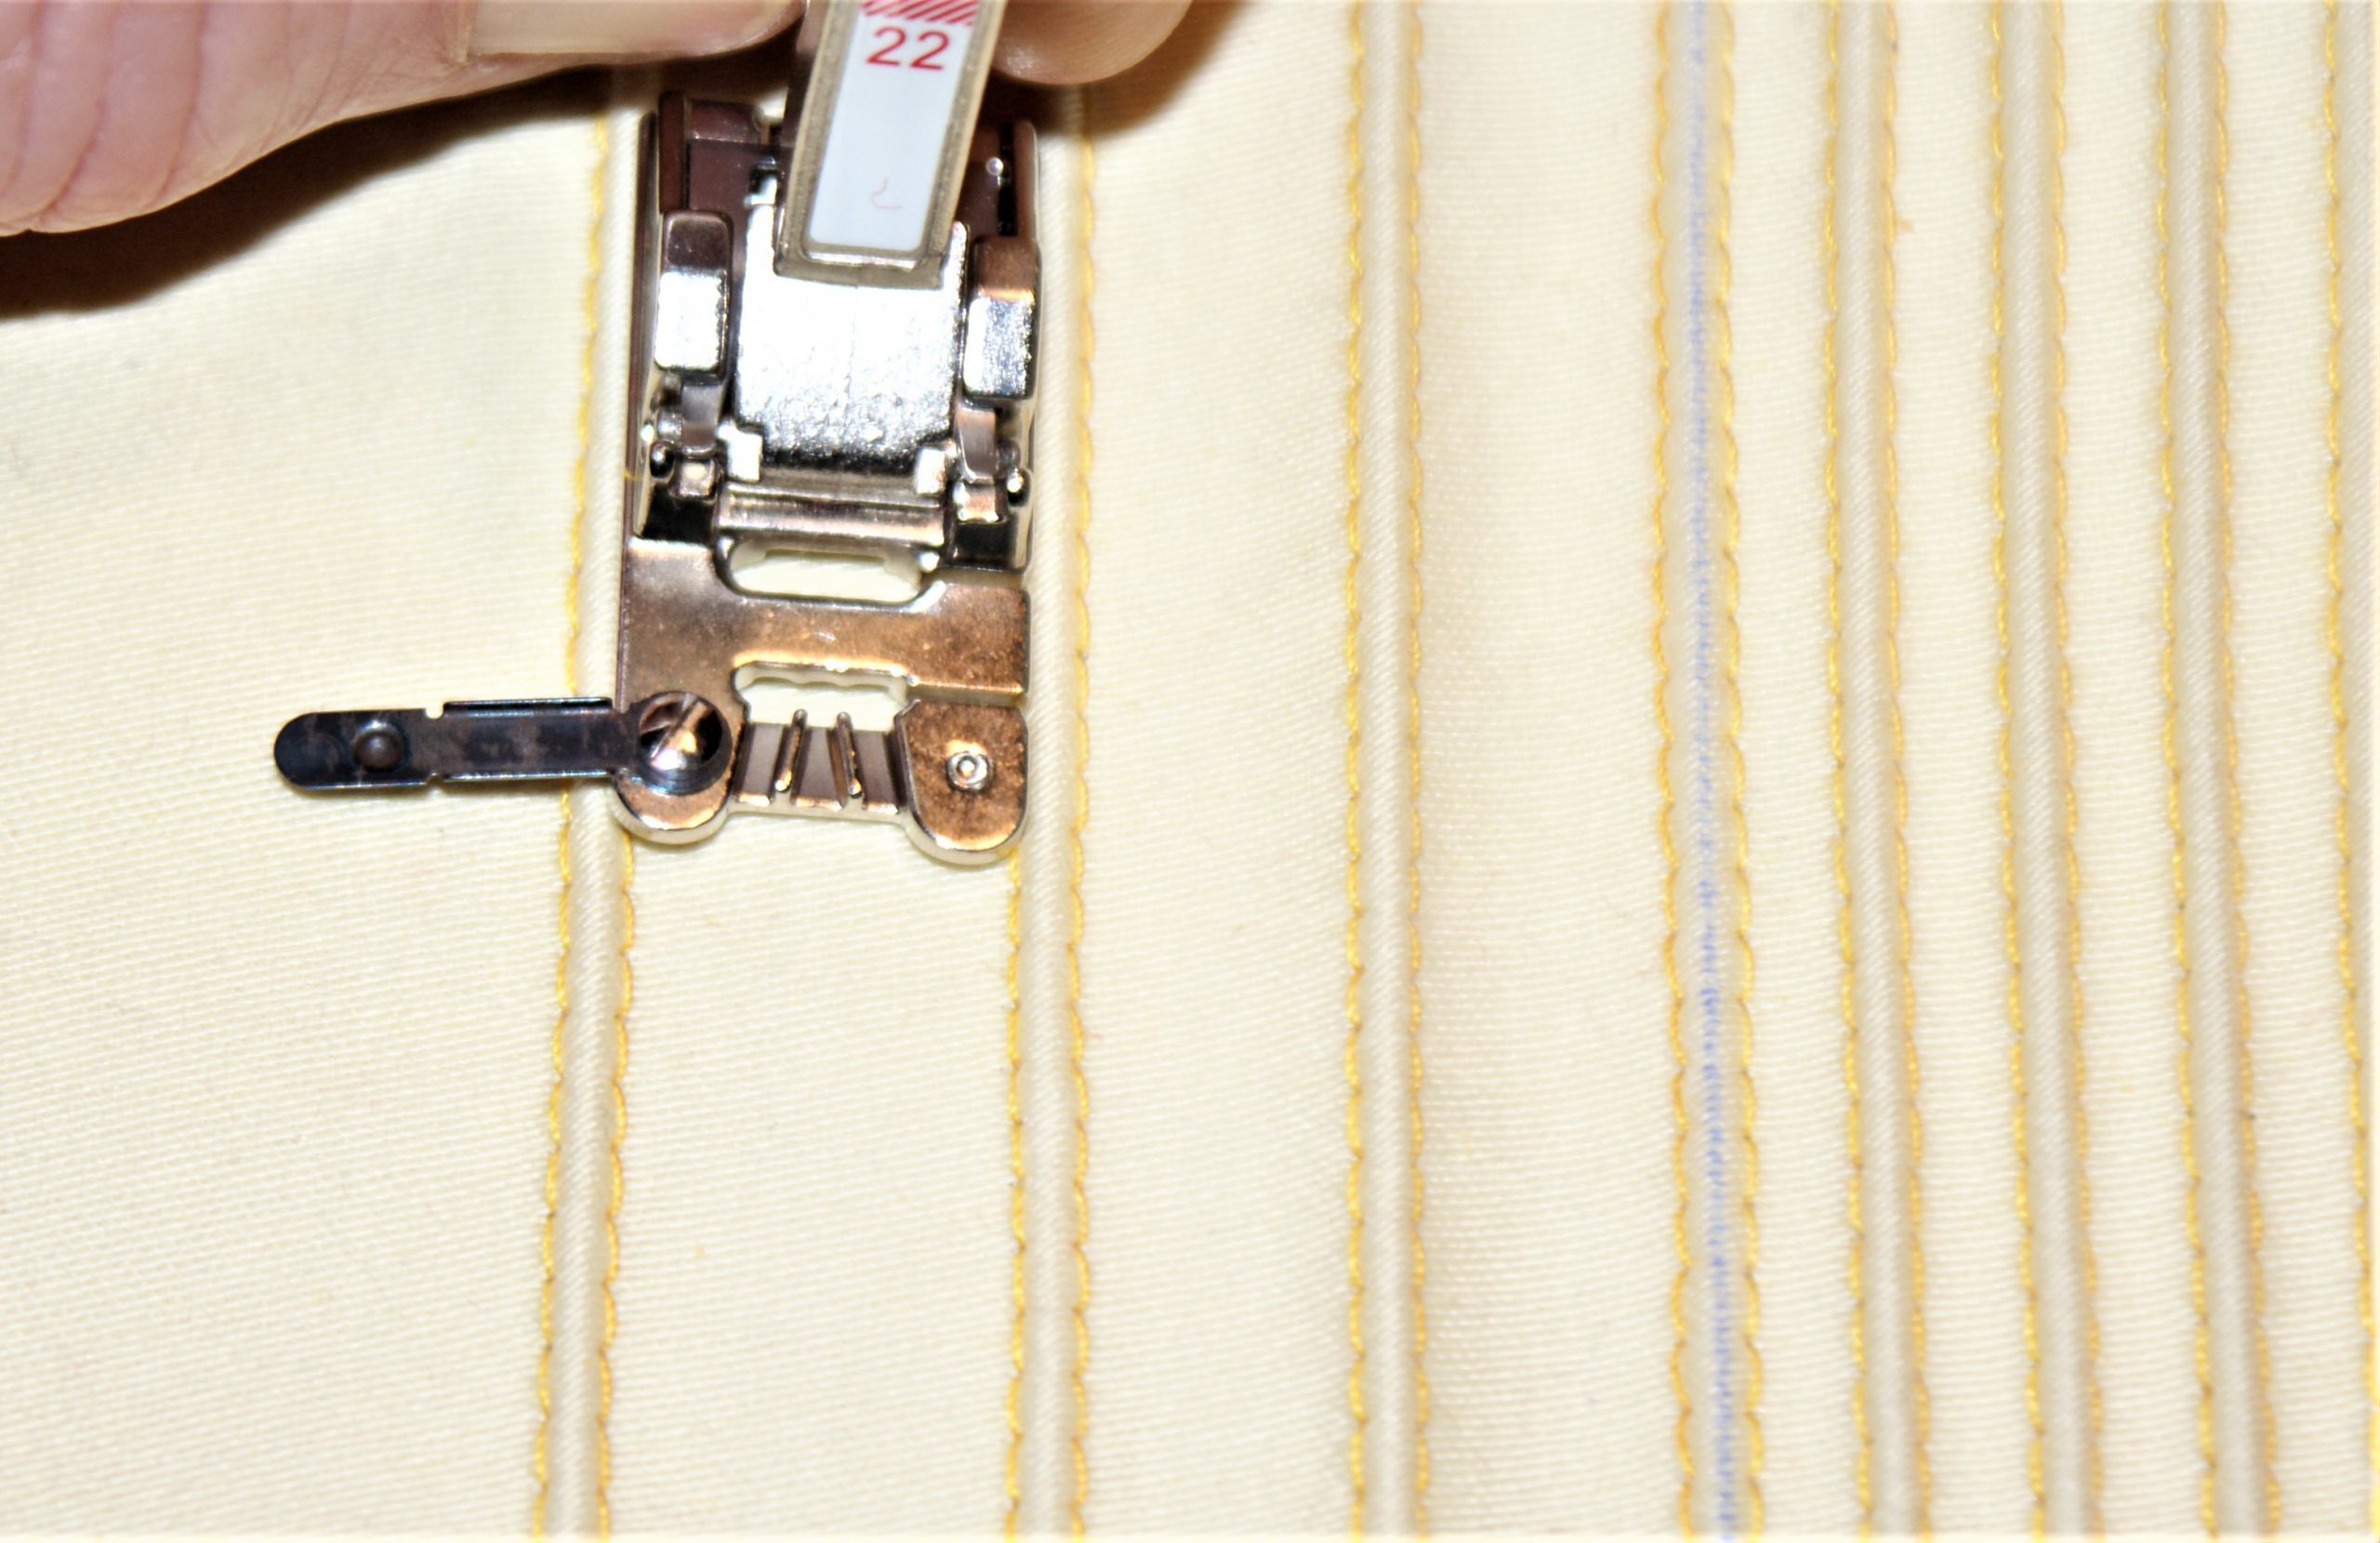
I could sew decorative cord with the 3-Groove cording foot # 22.
Finishing the cord and the pintucks:
When all pintucks are sewn, you can trim the cord to the line you have drawn.
Pull the loose threads to the back and tie them together. A drop of fabric glue dould be useful. Trim the thread to 1 cm.
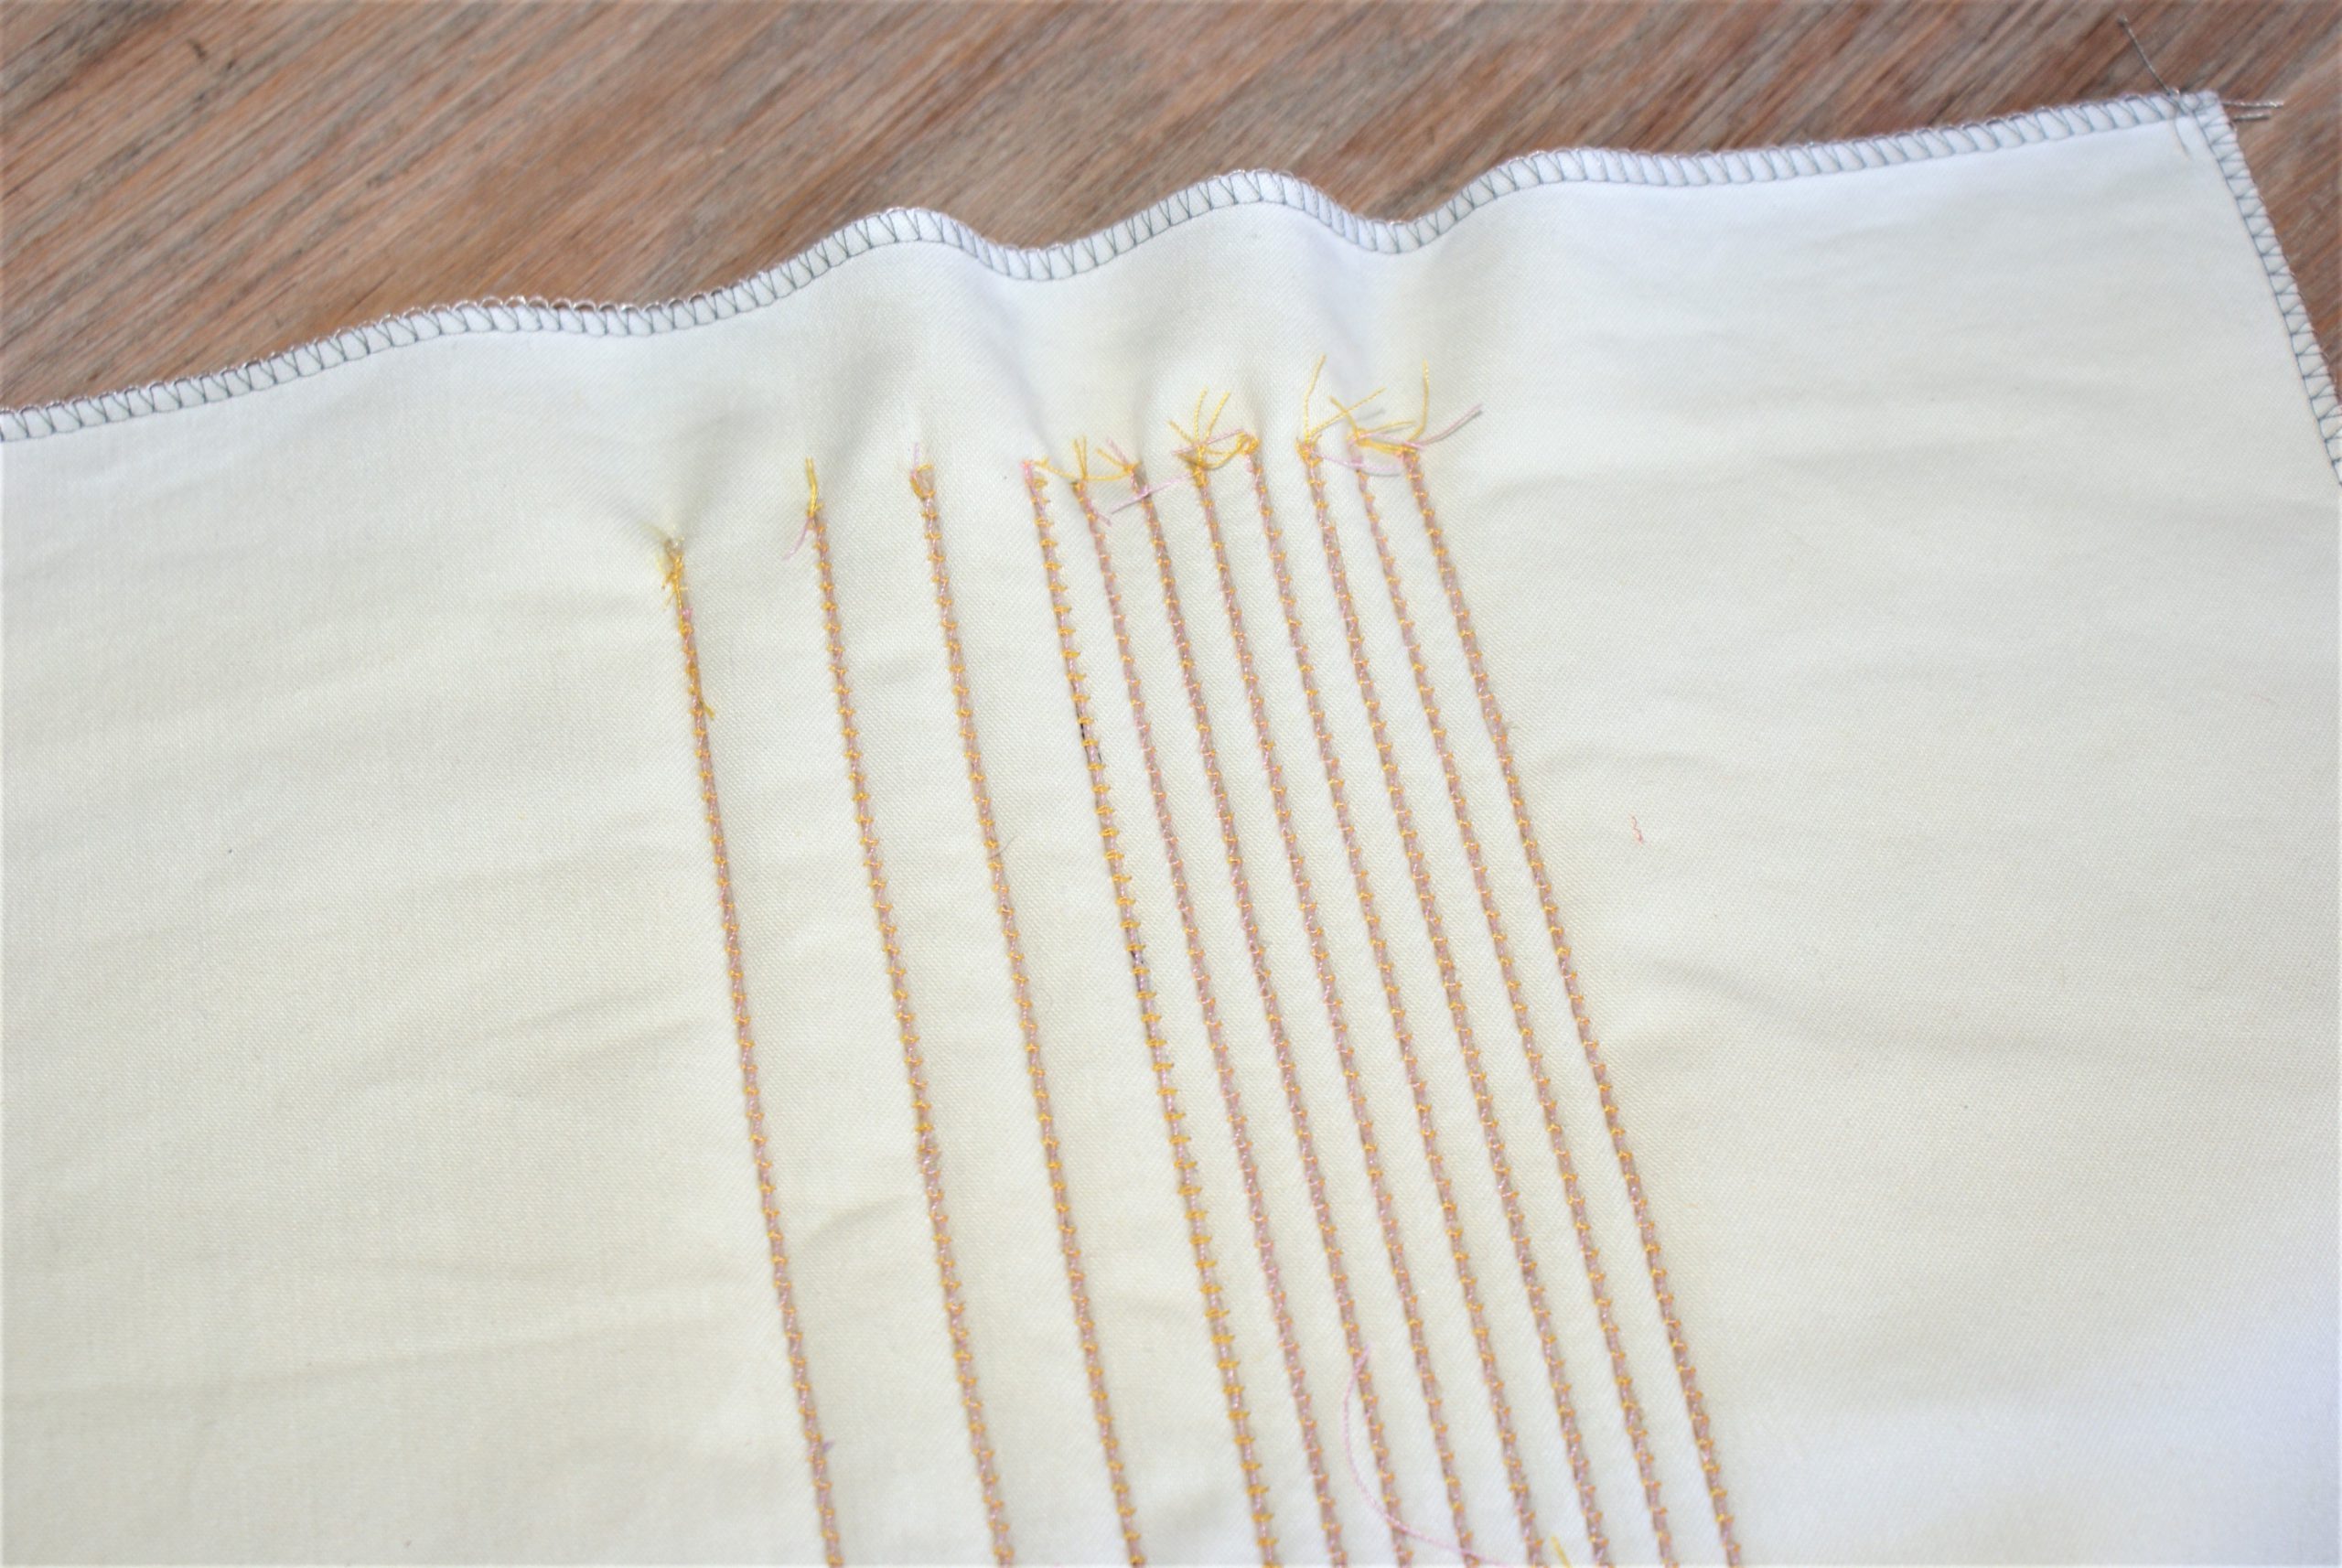
This is the back of the sample:
Iron away the lines: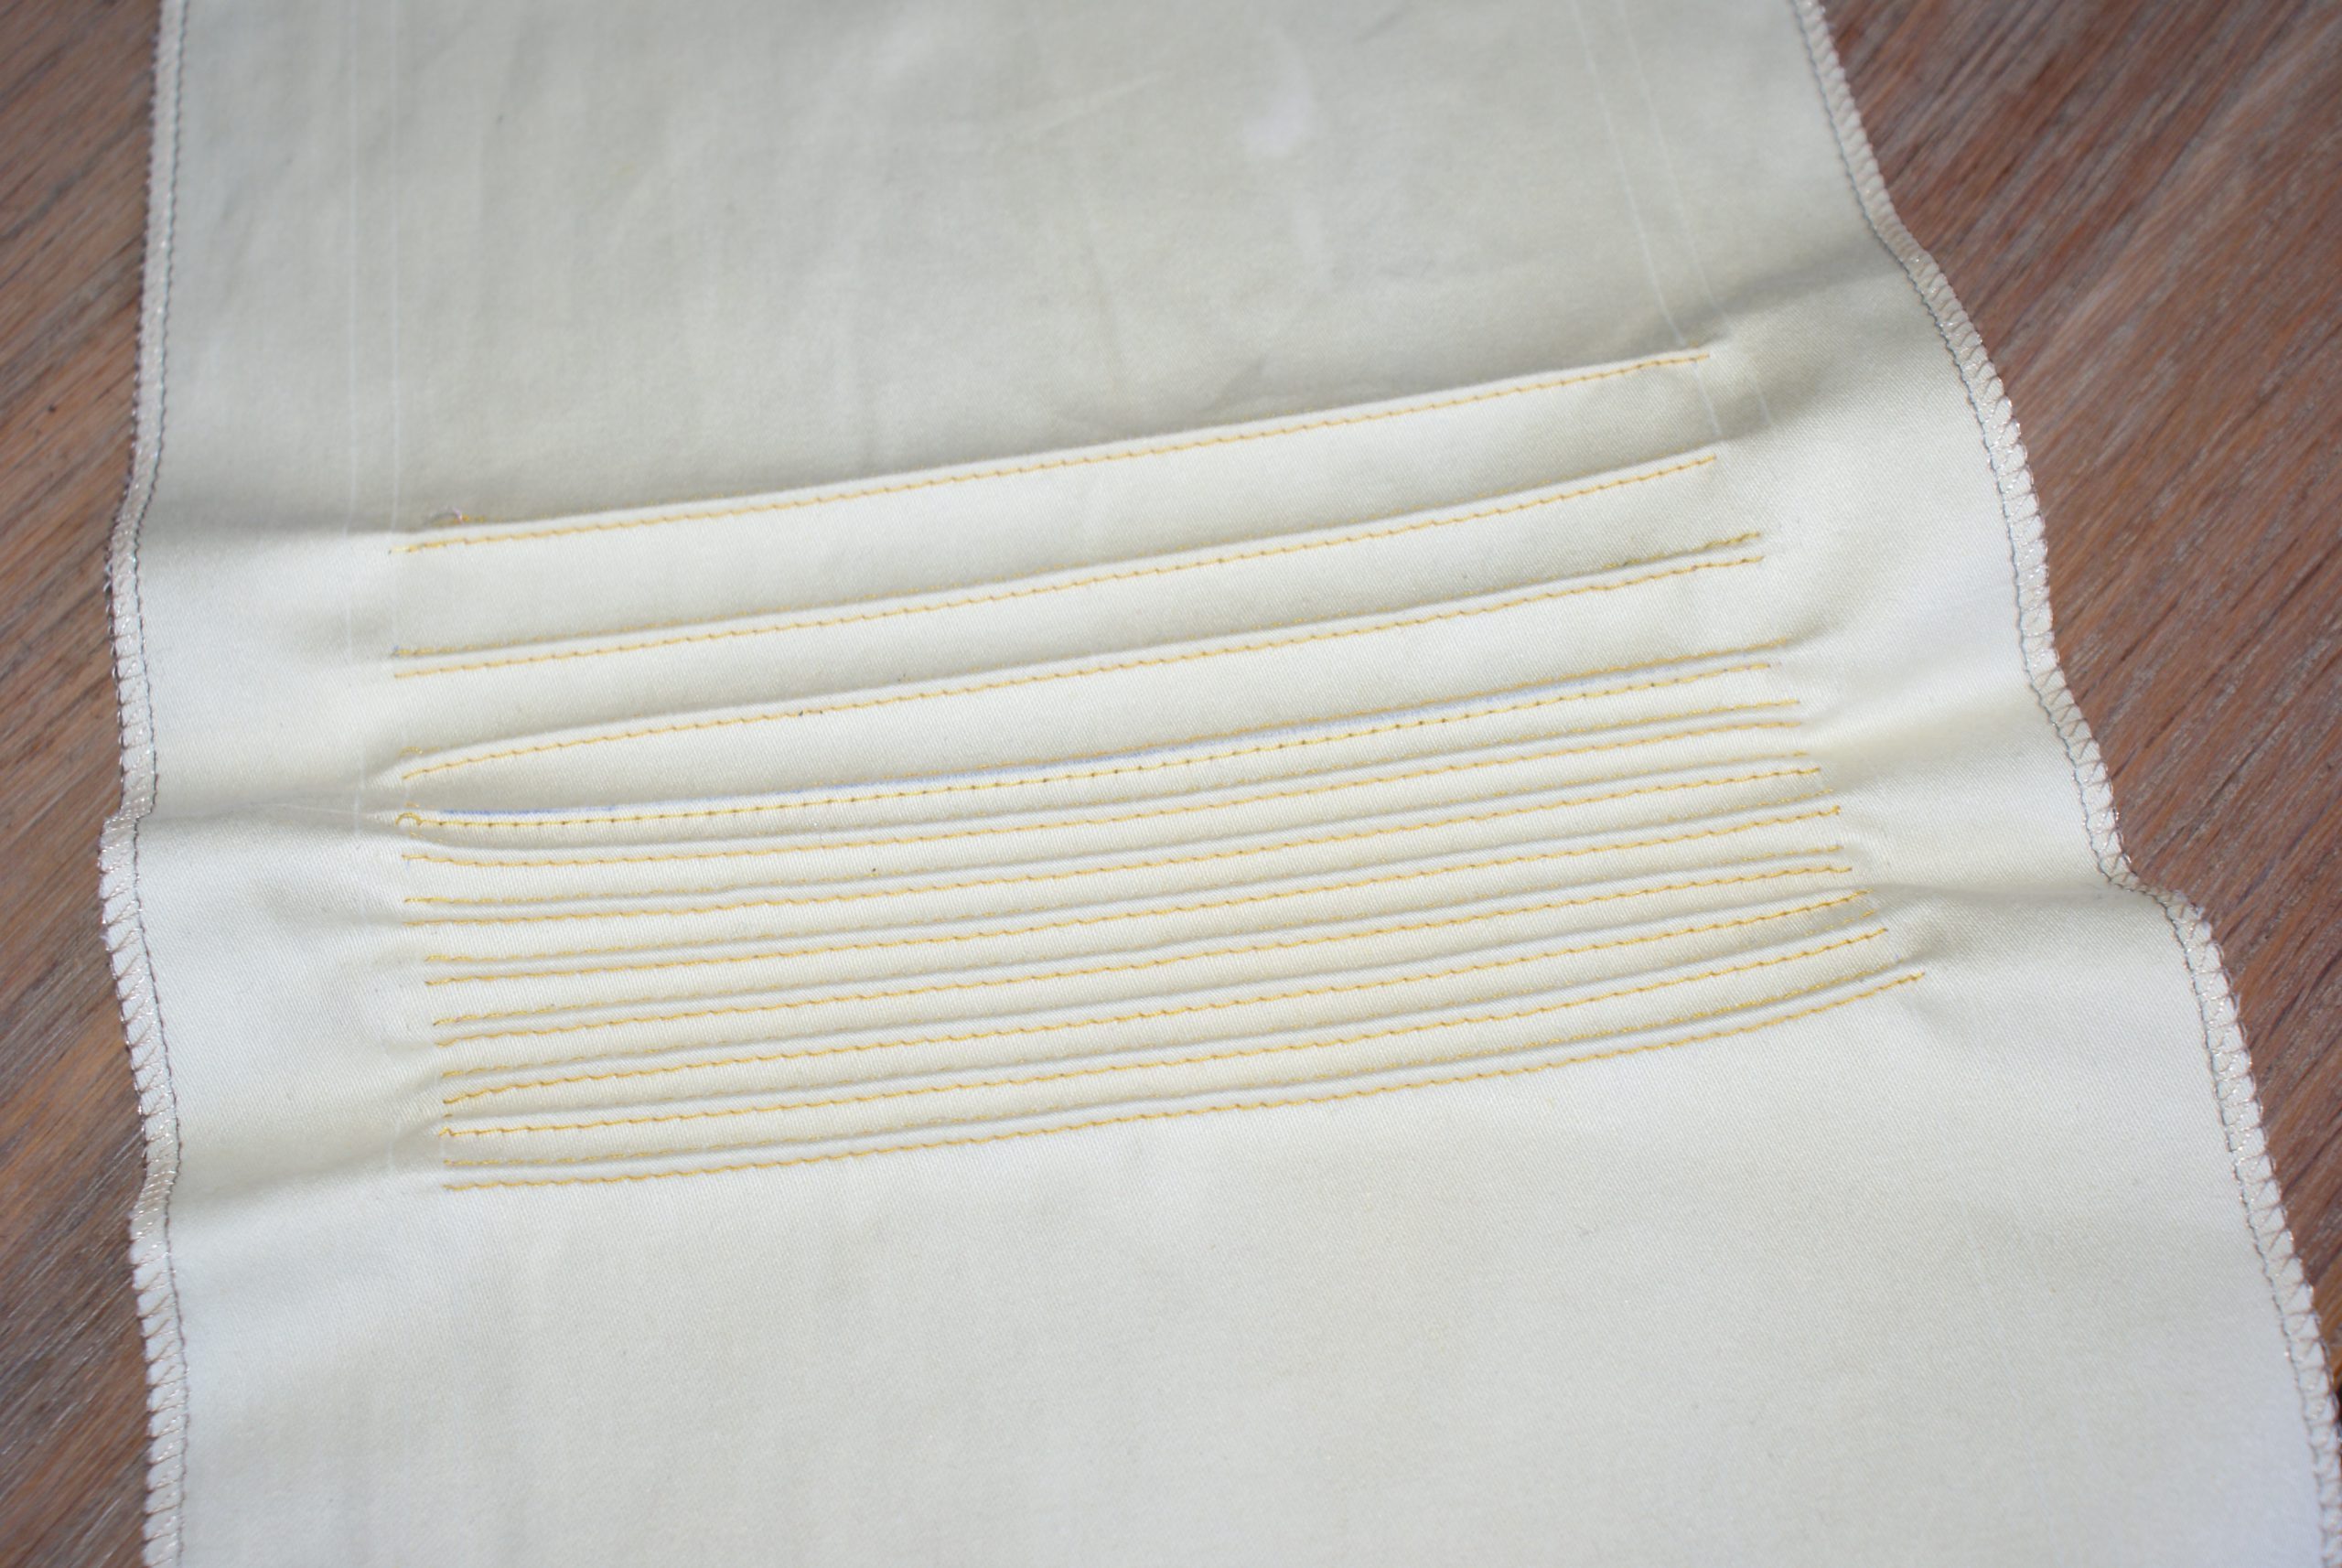
These were my first steps at sewing pintucks with cord with foot 46c. Be sure I learnt a lot while making this.


0 Responses