 BERNINA Corporate Blog -
My shiny new Overlock machine
I have recently received in the post my brand new, shiny ,absolutely amazing, all singing all dancing BERNINA Overlock machine! I could hardly contain my excitement when it arrived! I almost gave the postman a huge kiss on the cheek!
Its the magical BERNINA L 850! Its the ultimate Overlocker!
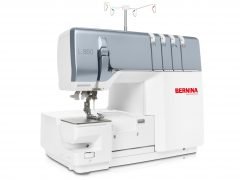
Features include:
- One-step BERNINA Air Threader
- Extremely fast, precise and quiet
- Convenient freearm
- Total Stitch Control for perfect seams
- Impressive sewing space
It actually threads itself, Ive been dreaming of this machine for as long as I can remember!! the looper threads of any overlock can get me saying a few words I shouldn’t! But this takes all that away. You simply hover the threads over the airlock, press your foot and its threaded! absolute magic!
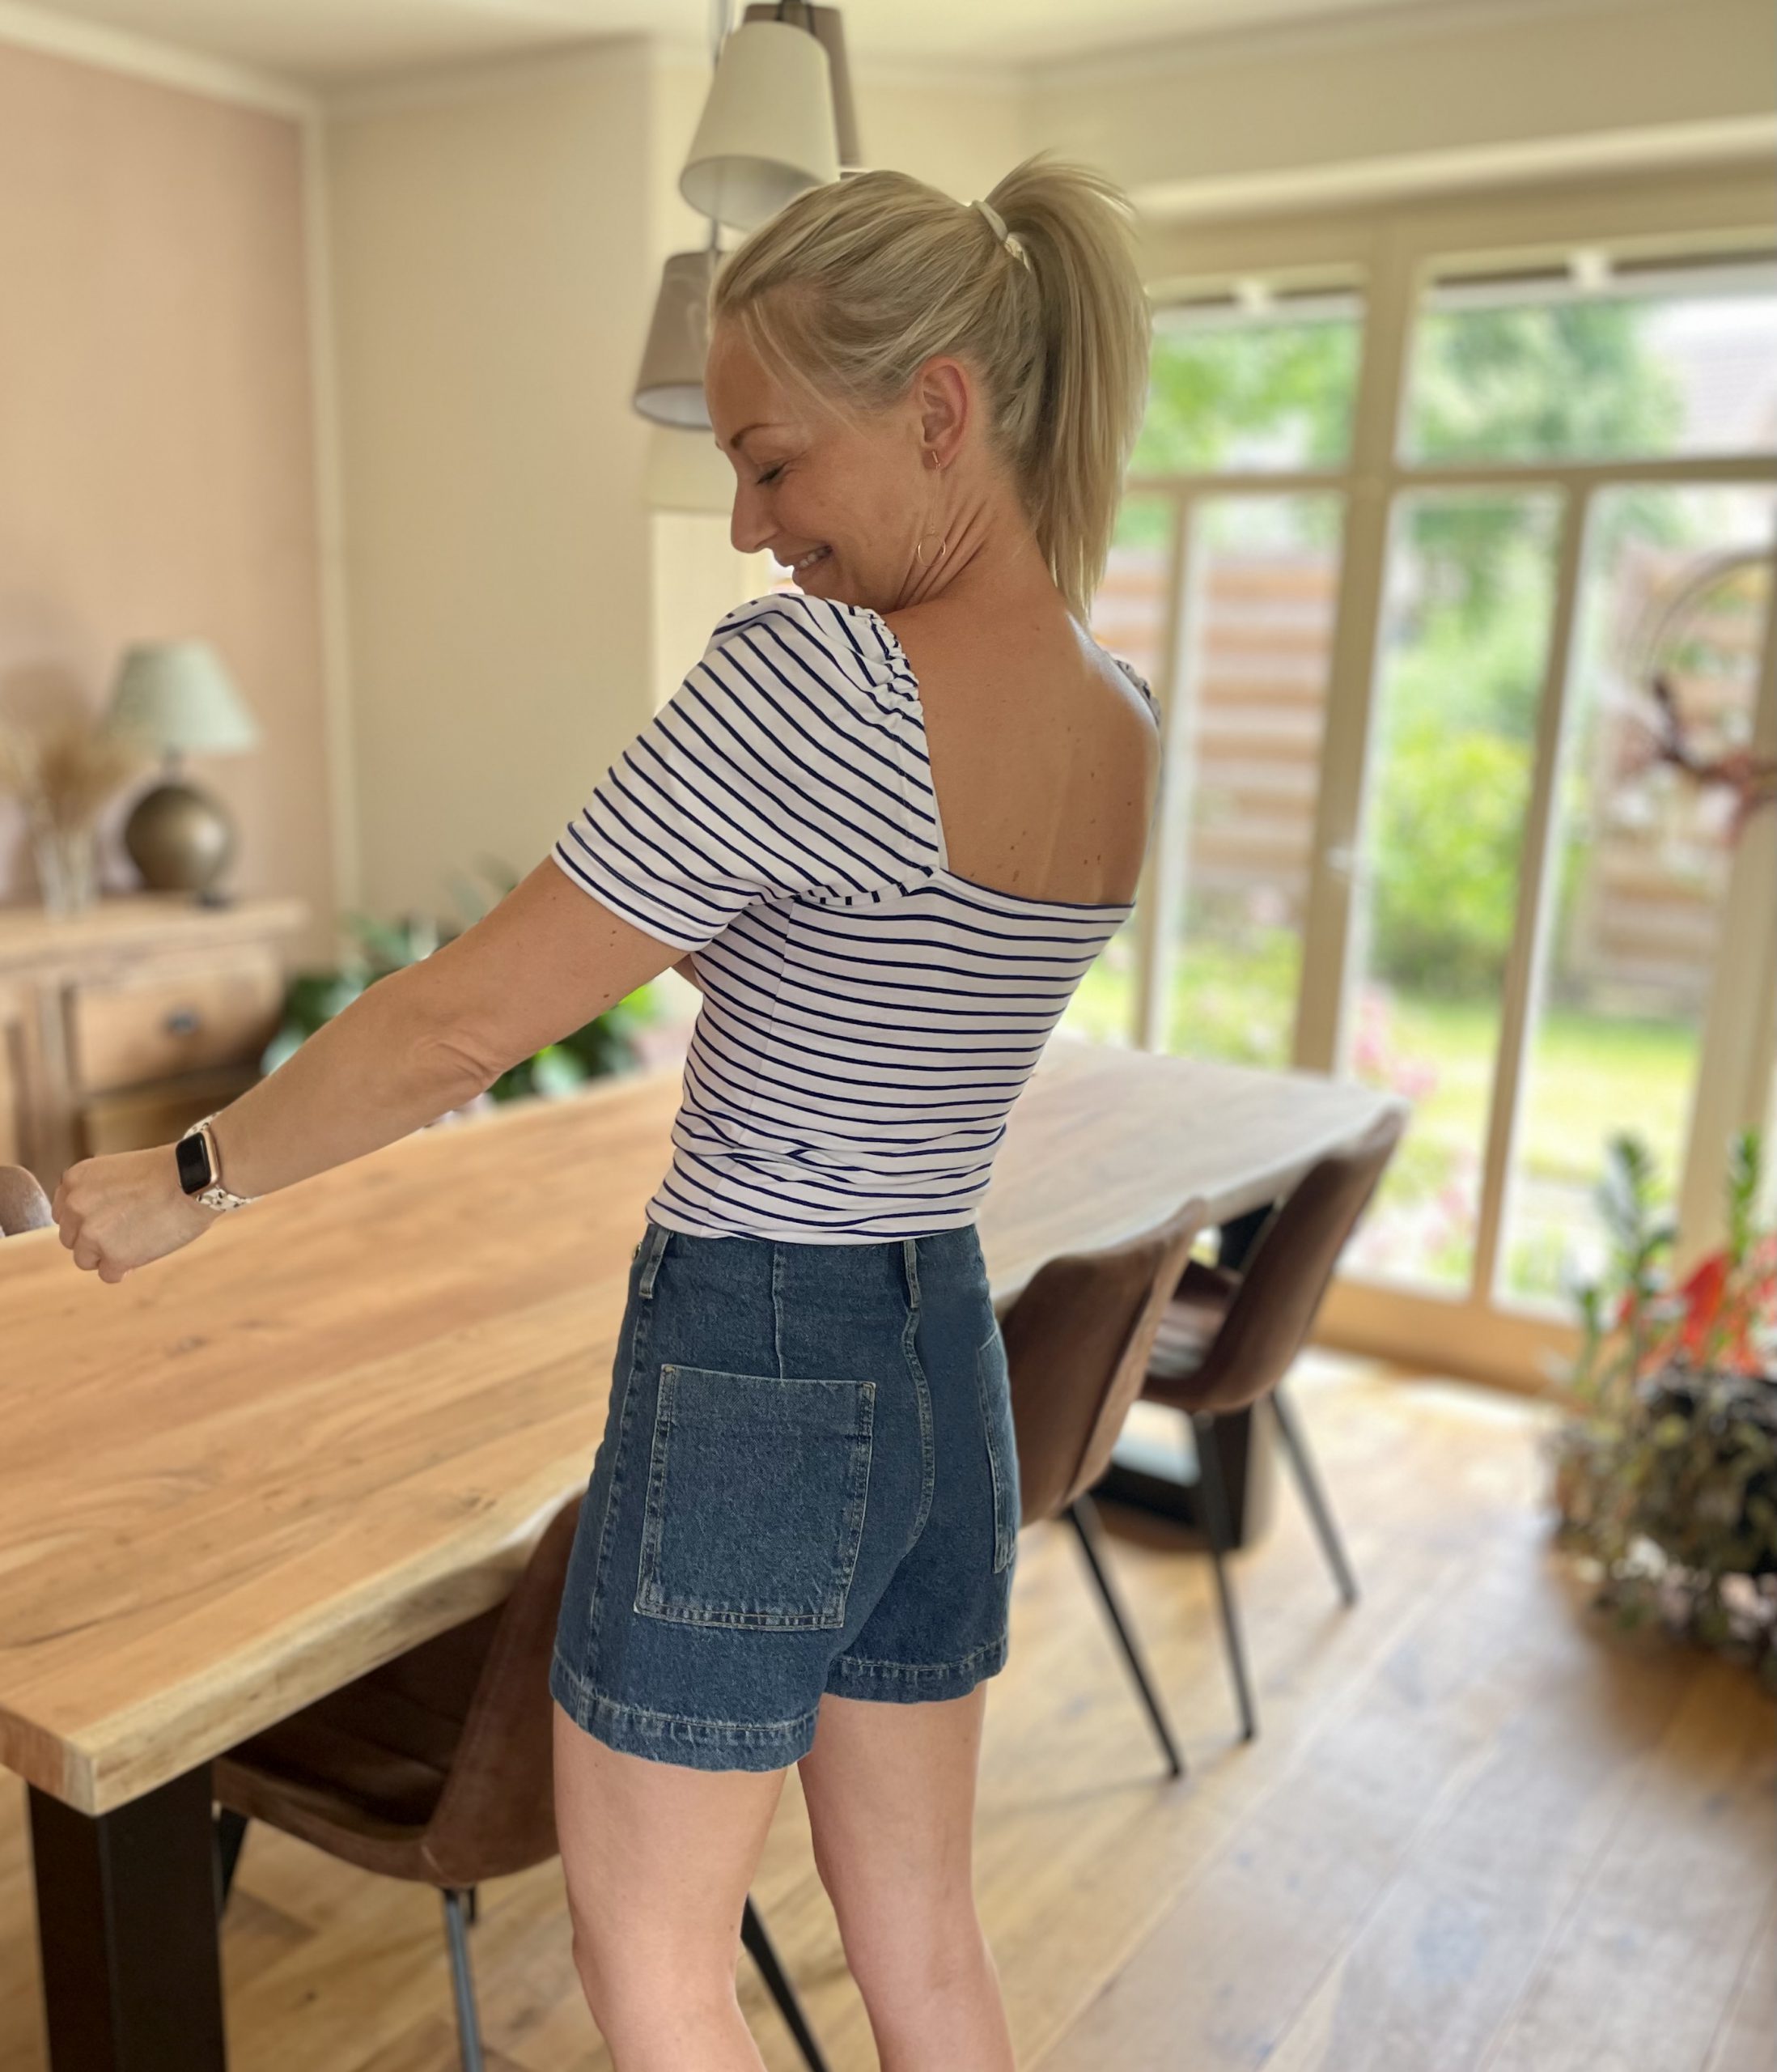
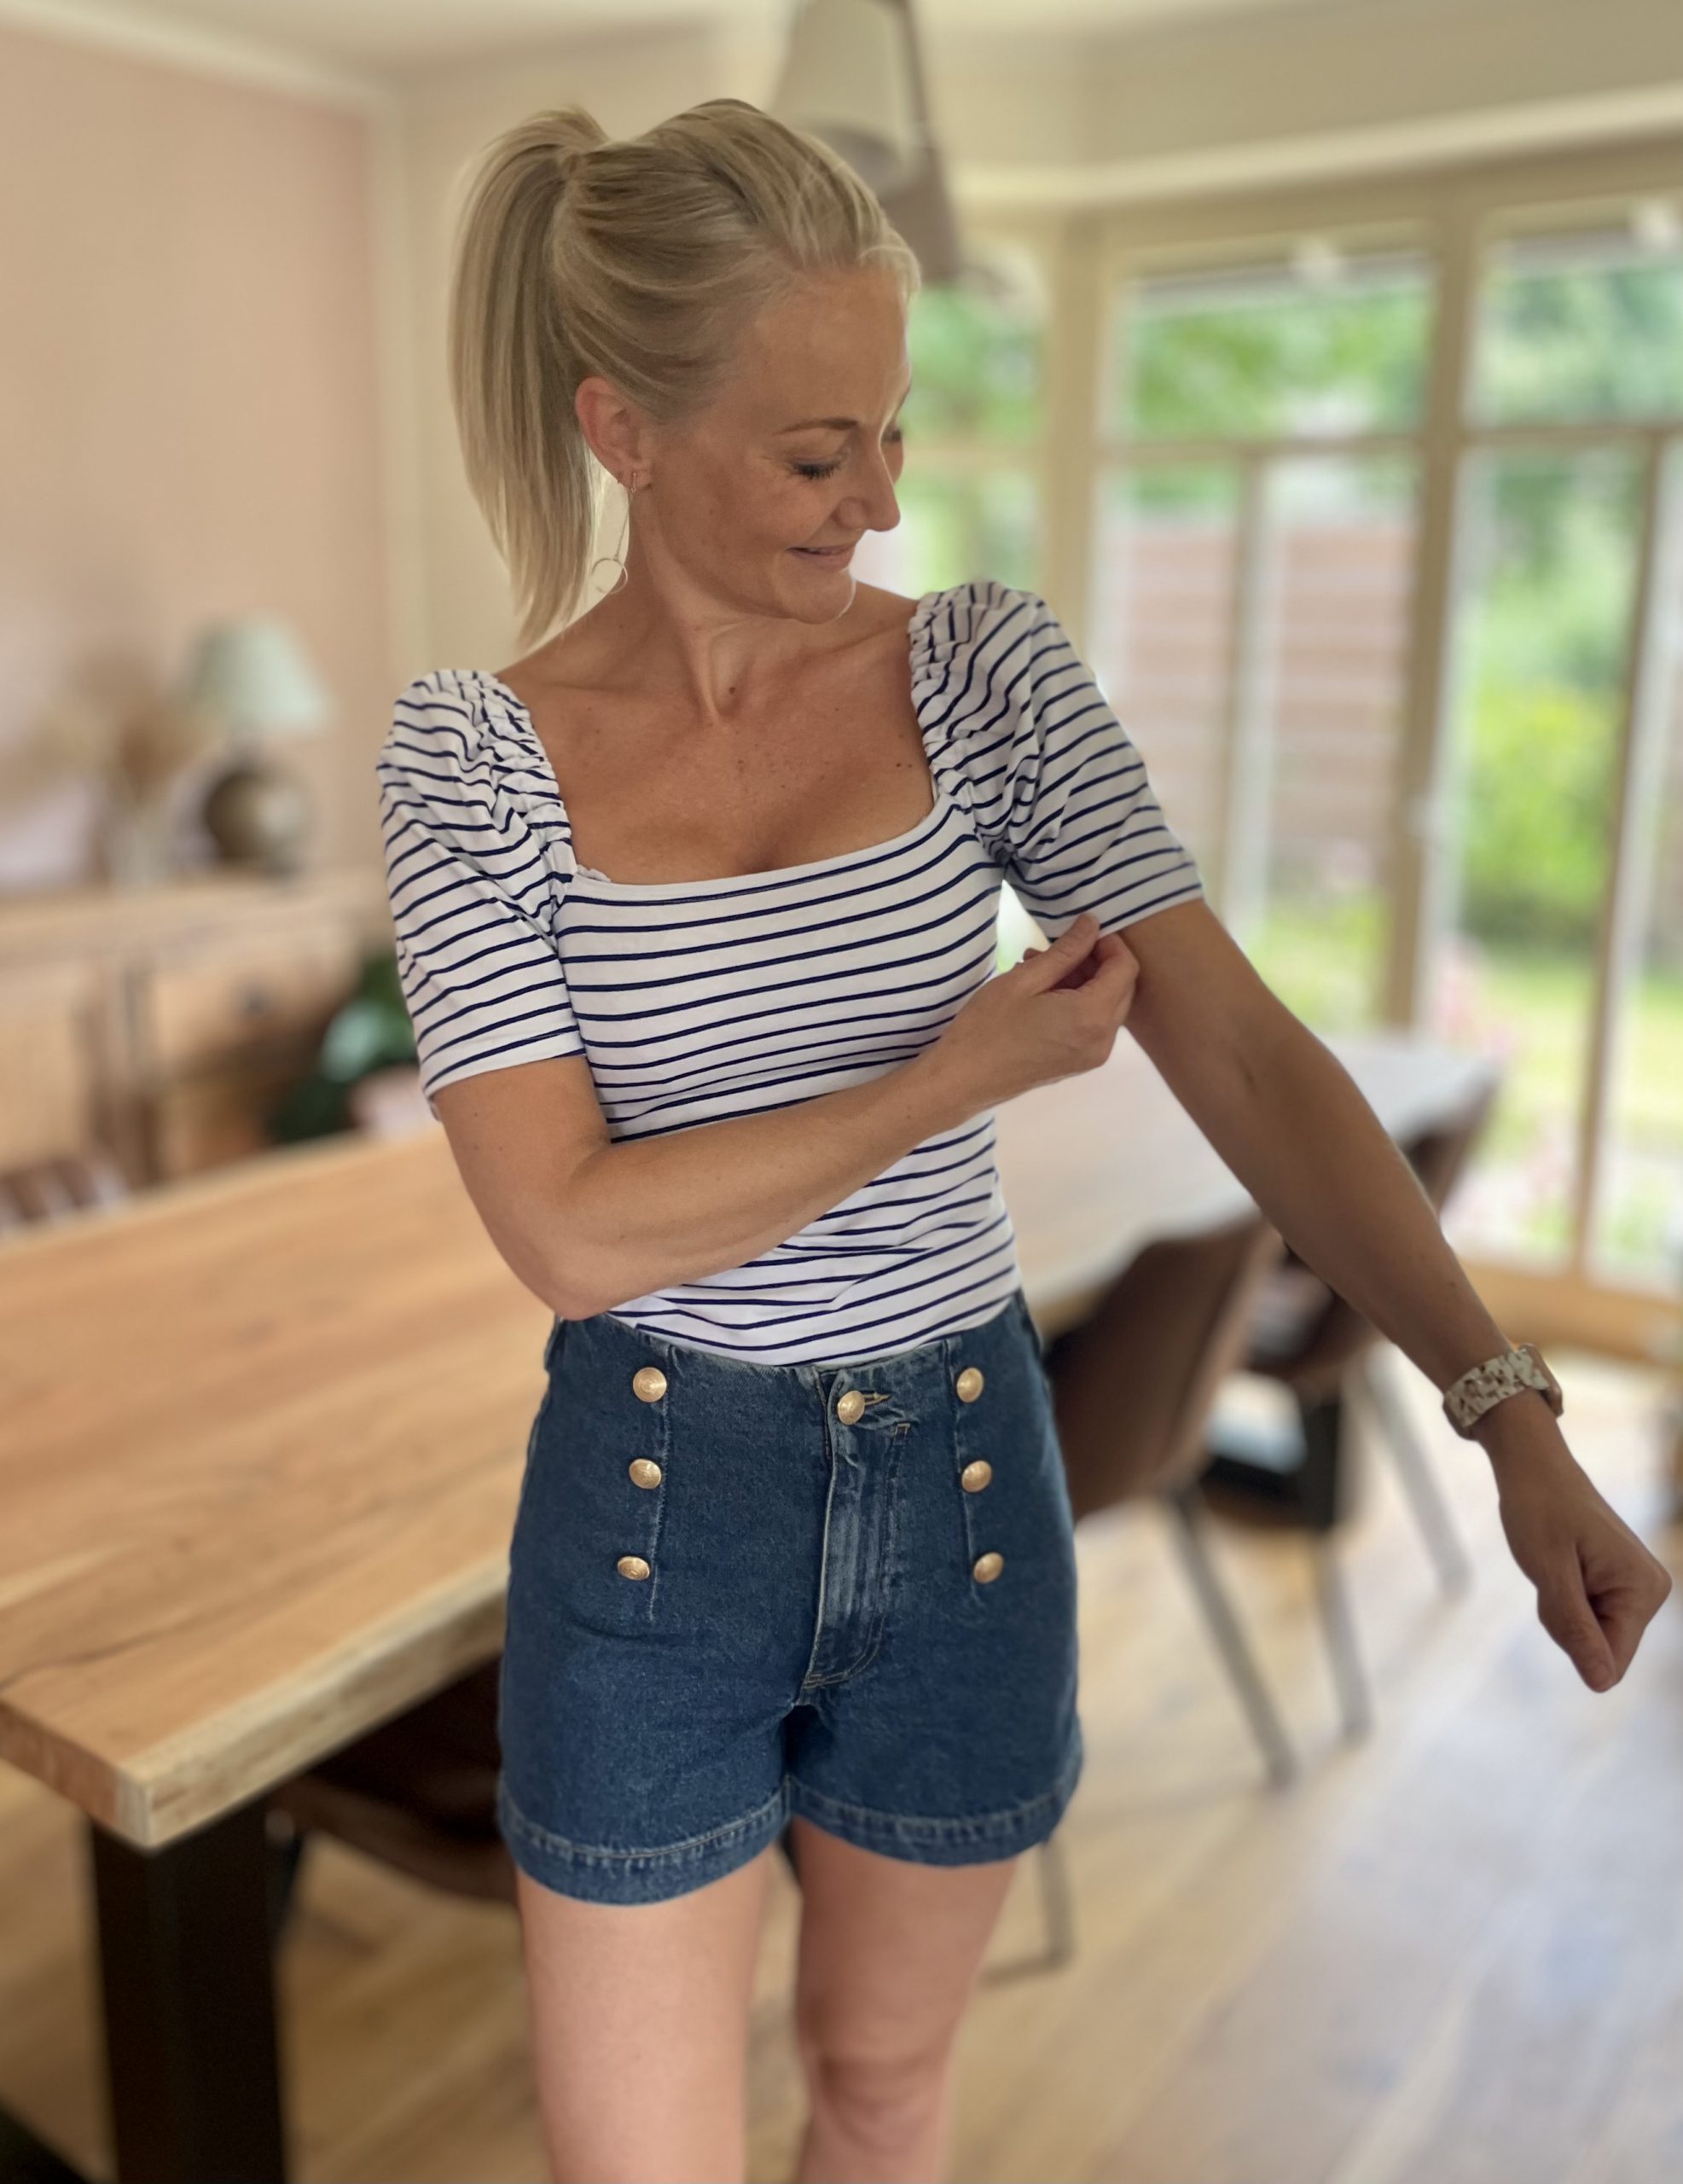
So obviously my first project using the machine needed to be stretch fabric based !
Pattern for the Jersey top
I have sewn this pattern, the Boleyn Top once before, and I have had much use out of it, its a beginner friendly Jersey, puff arm sleeve top.
You can find the pattern using the below link
Boleyn Top from Stitch witch patterns

Boleyn Top Version A
The pattern comes in 2 versions, with a centre seam at the front and back and without and includes a hack to create a wrap top. In my sewing tutorial below, I’ll be using sewing version A.
Fabric for the sewing project
The pattern requires a stretch fabric, ideally with a 40% stretch. The pattern instructions include a helpful stretch guide to ensure your fabric has enough elasticity. Using this guide and also quite wanting a new Stripy nautical top in my wardrobe I decided on this Blue and white stripe jersey.

Fabric Stretch guide
Of cause sewing with stripes can be a little menacing, matching the stripes, but i do like a challenge!
As well as fabric you will need
- a Ball point needle ( necessary for sewing with Jersey, as other needles can make holes in your fabric)
- 1cm wide elastic

My chosen jersey striped fabric
Sewing instructions
I started by laying my pattern pieces out, noting where the stripes lye at the top of the side seam. To create this top, you will need to cut out the sleeve twice and the front and back bodice.
First step, the main bodice
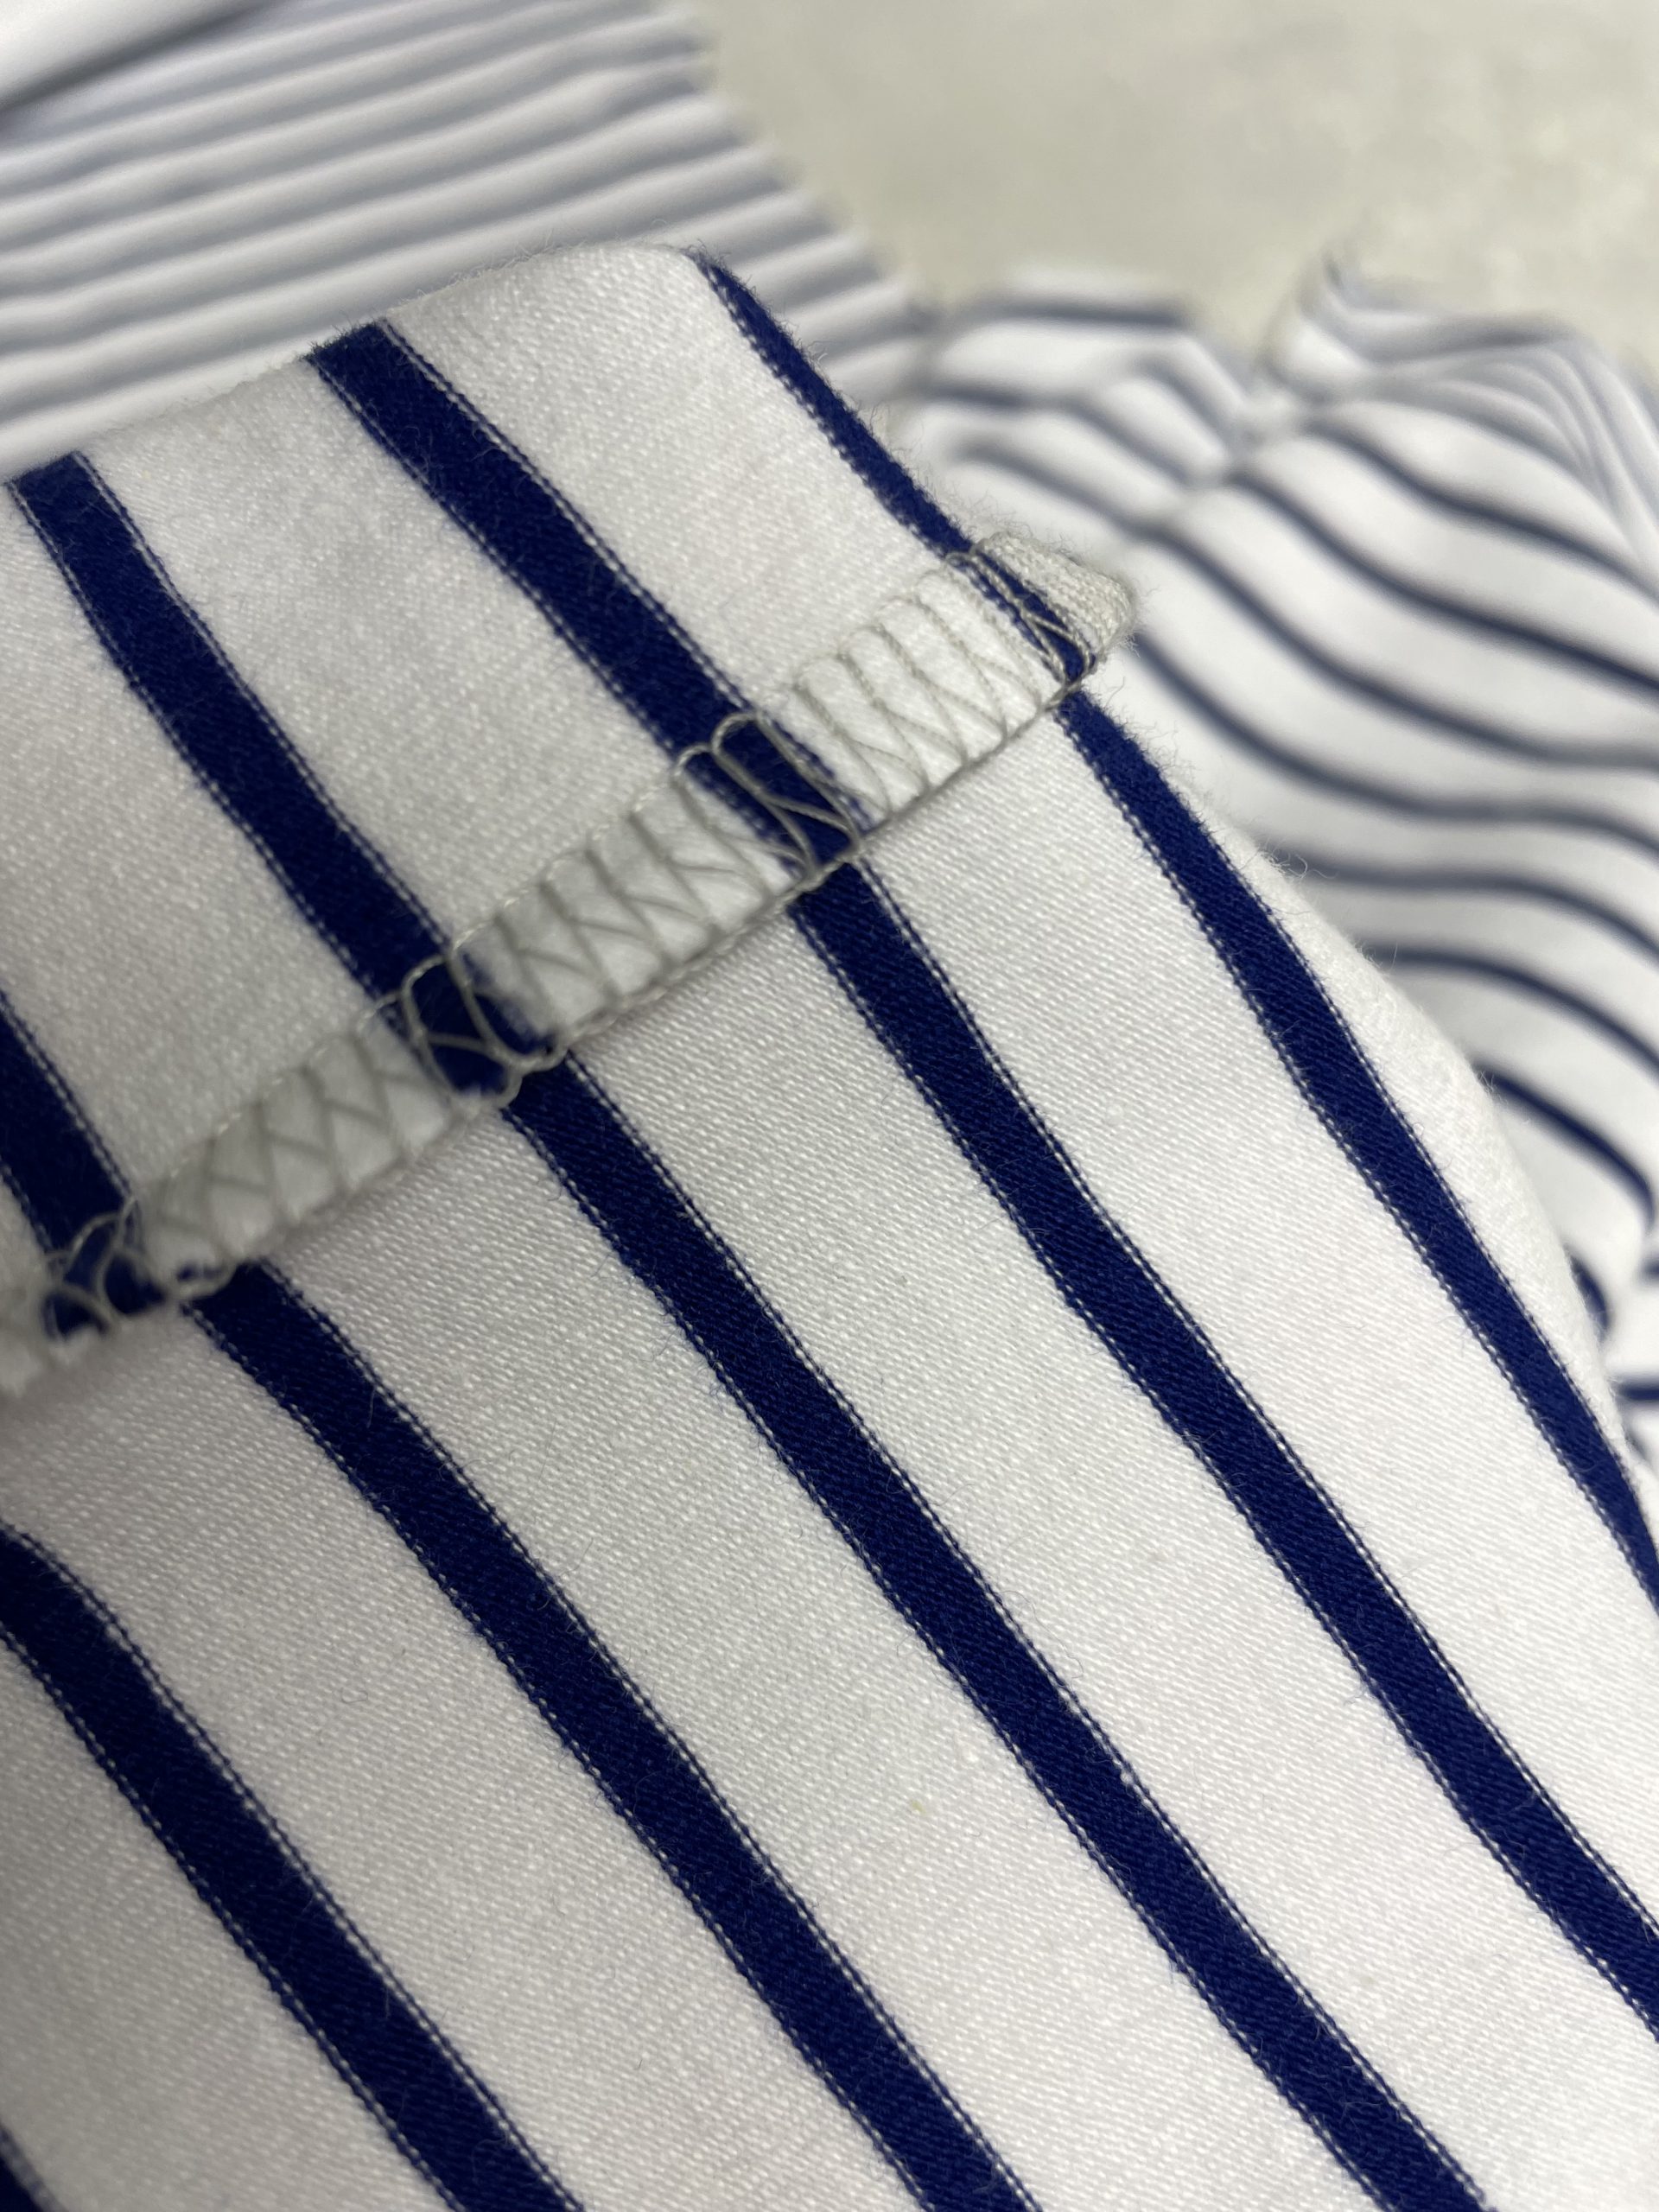
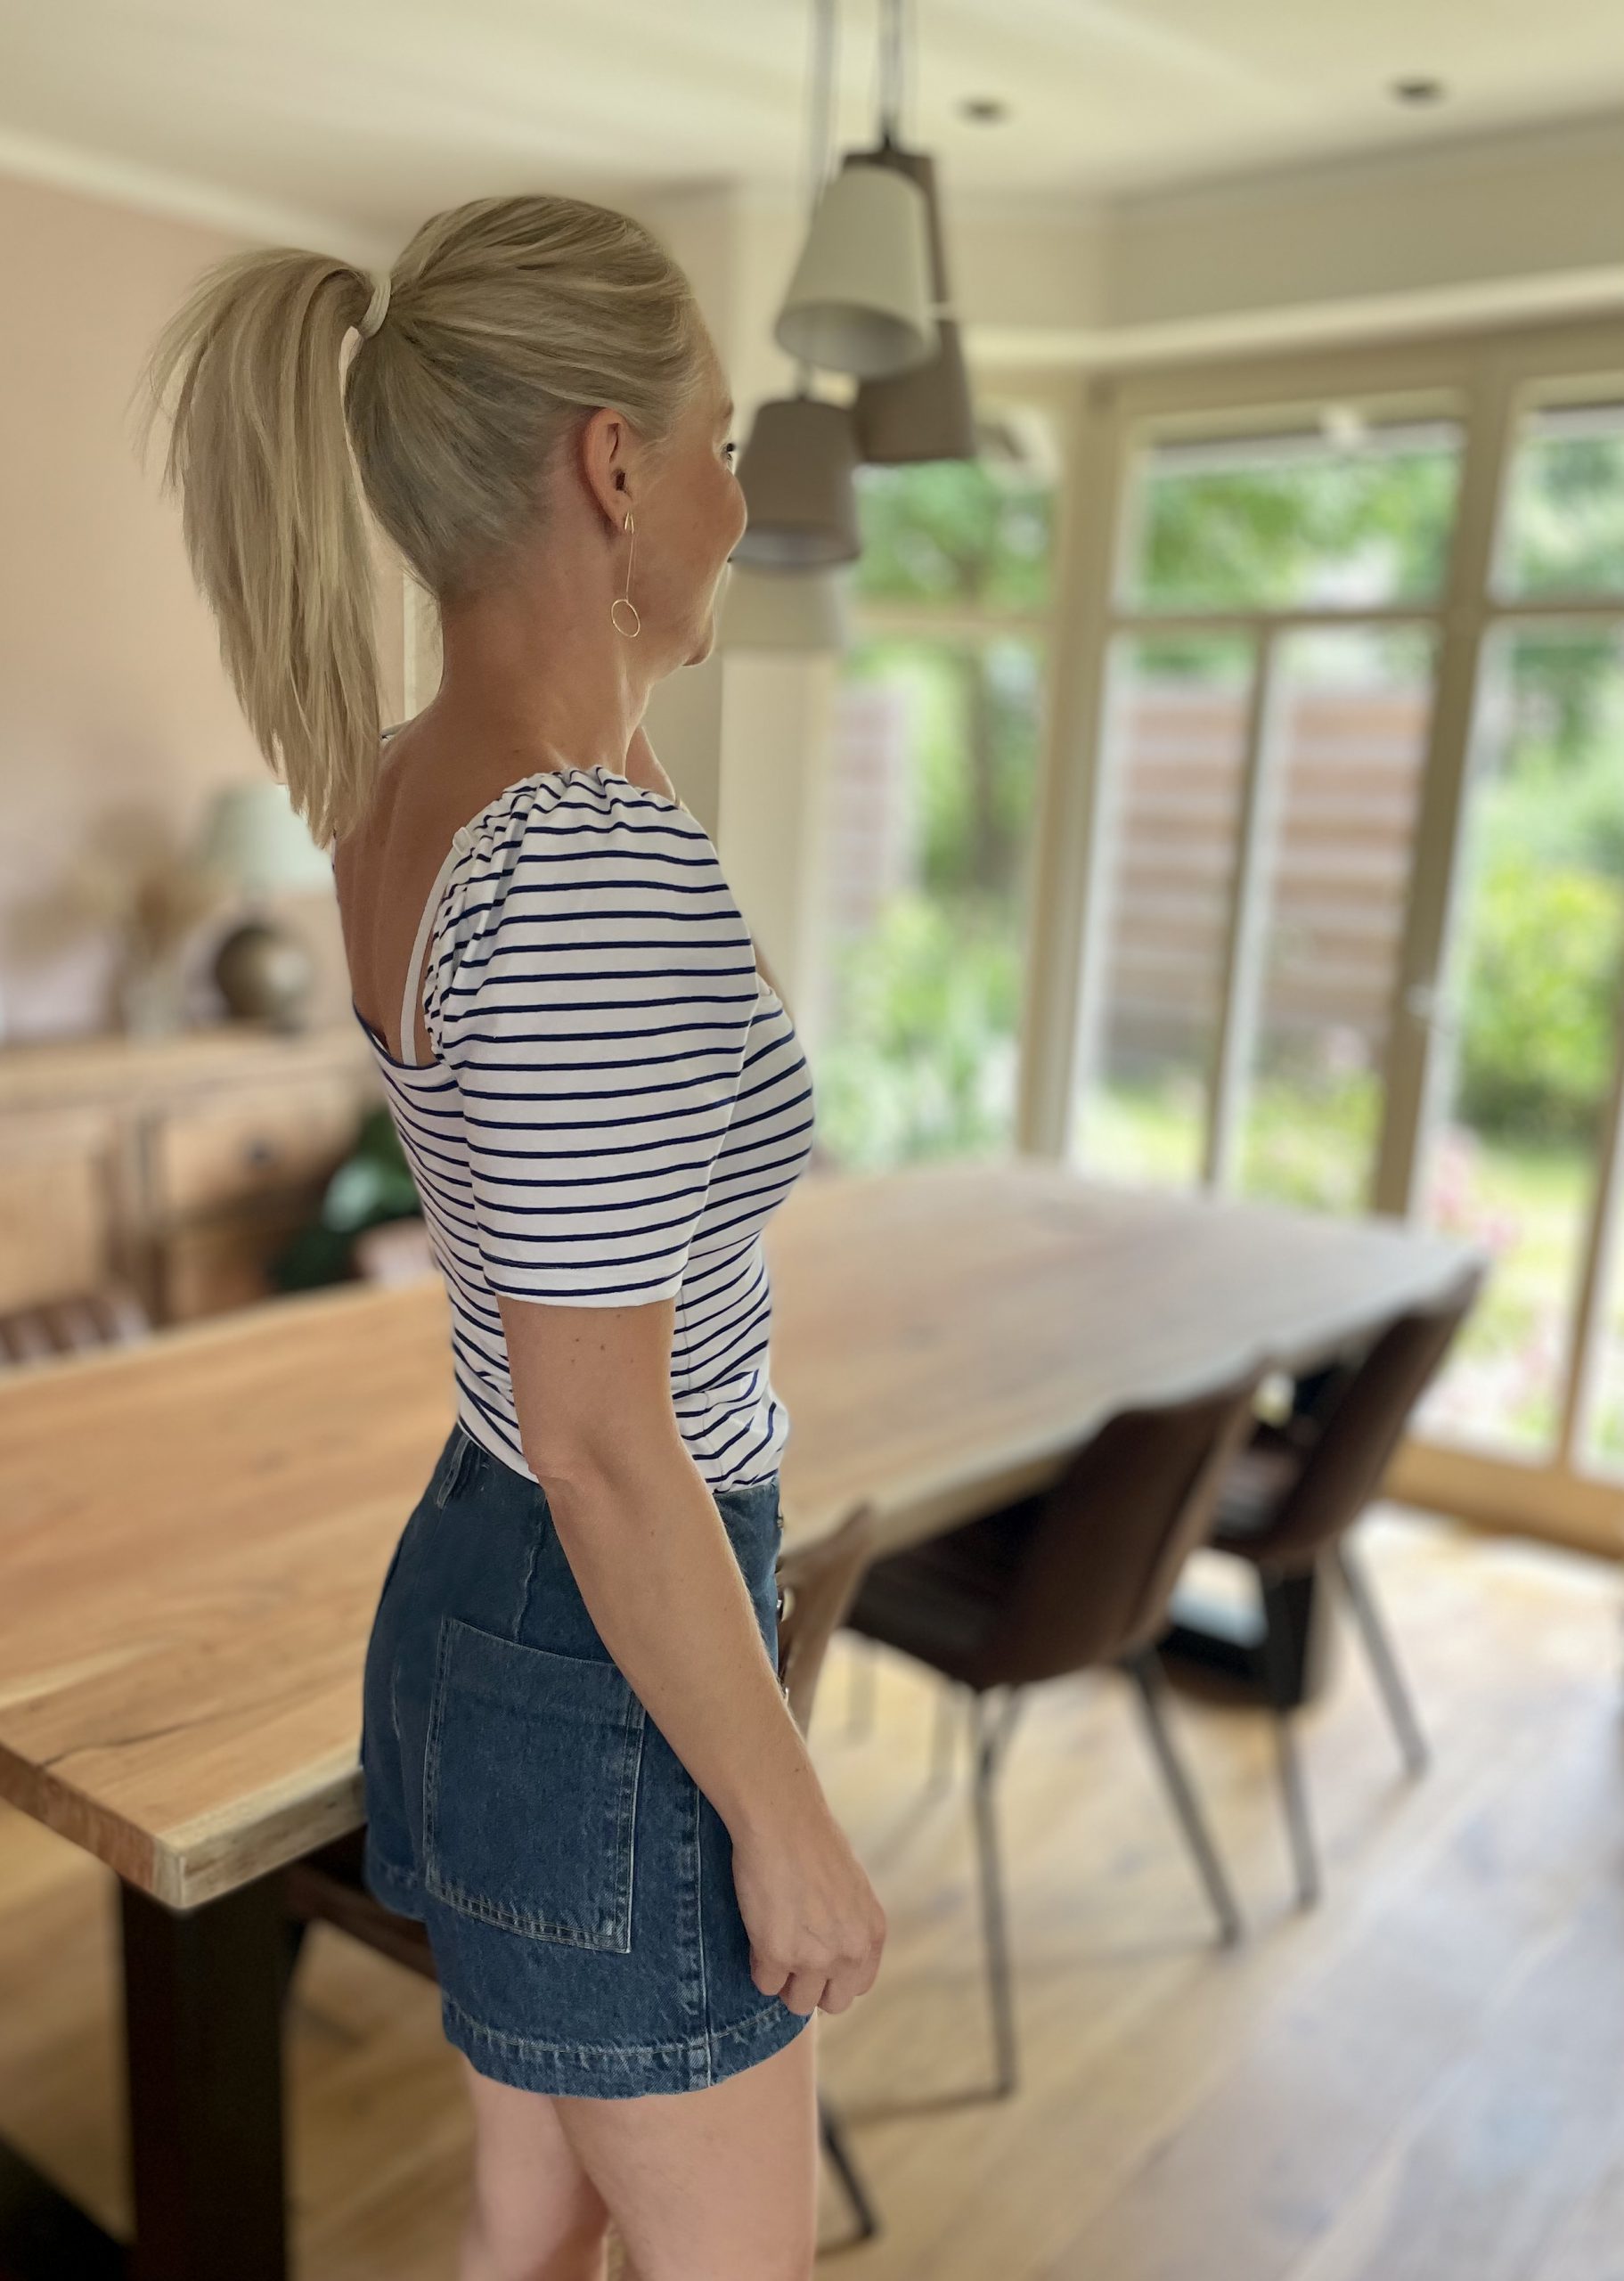
I finished off the neckline on the front and back pieces with my overlock machine, pressed the 2 seams down to the wrong side and sewed along the top using a twin needle.
overlocked neckline

Sewing neckline hem with a twin needle
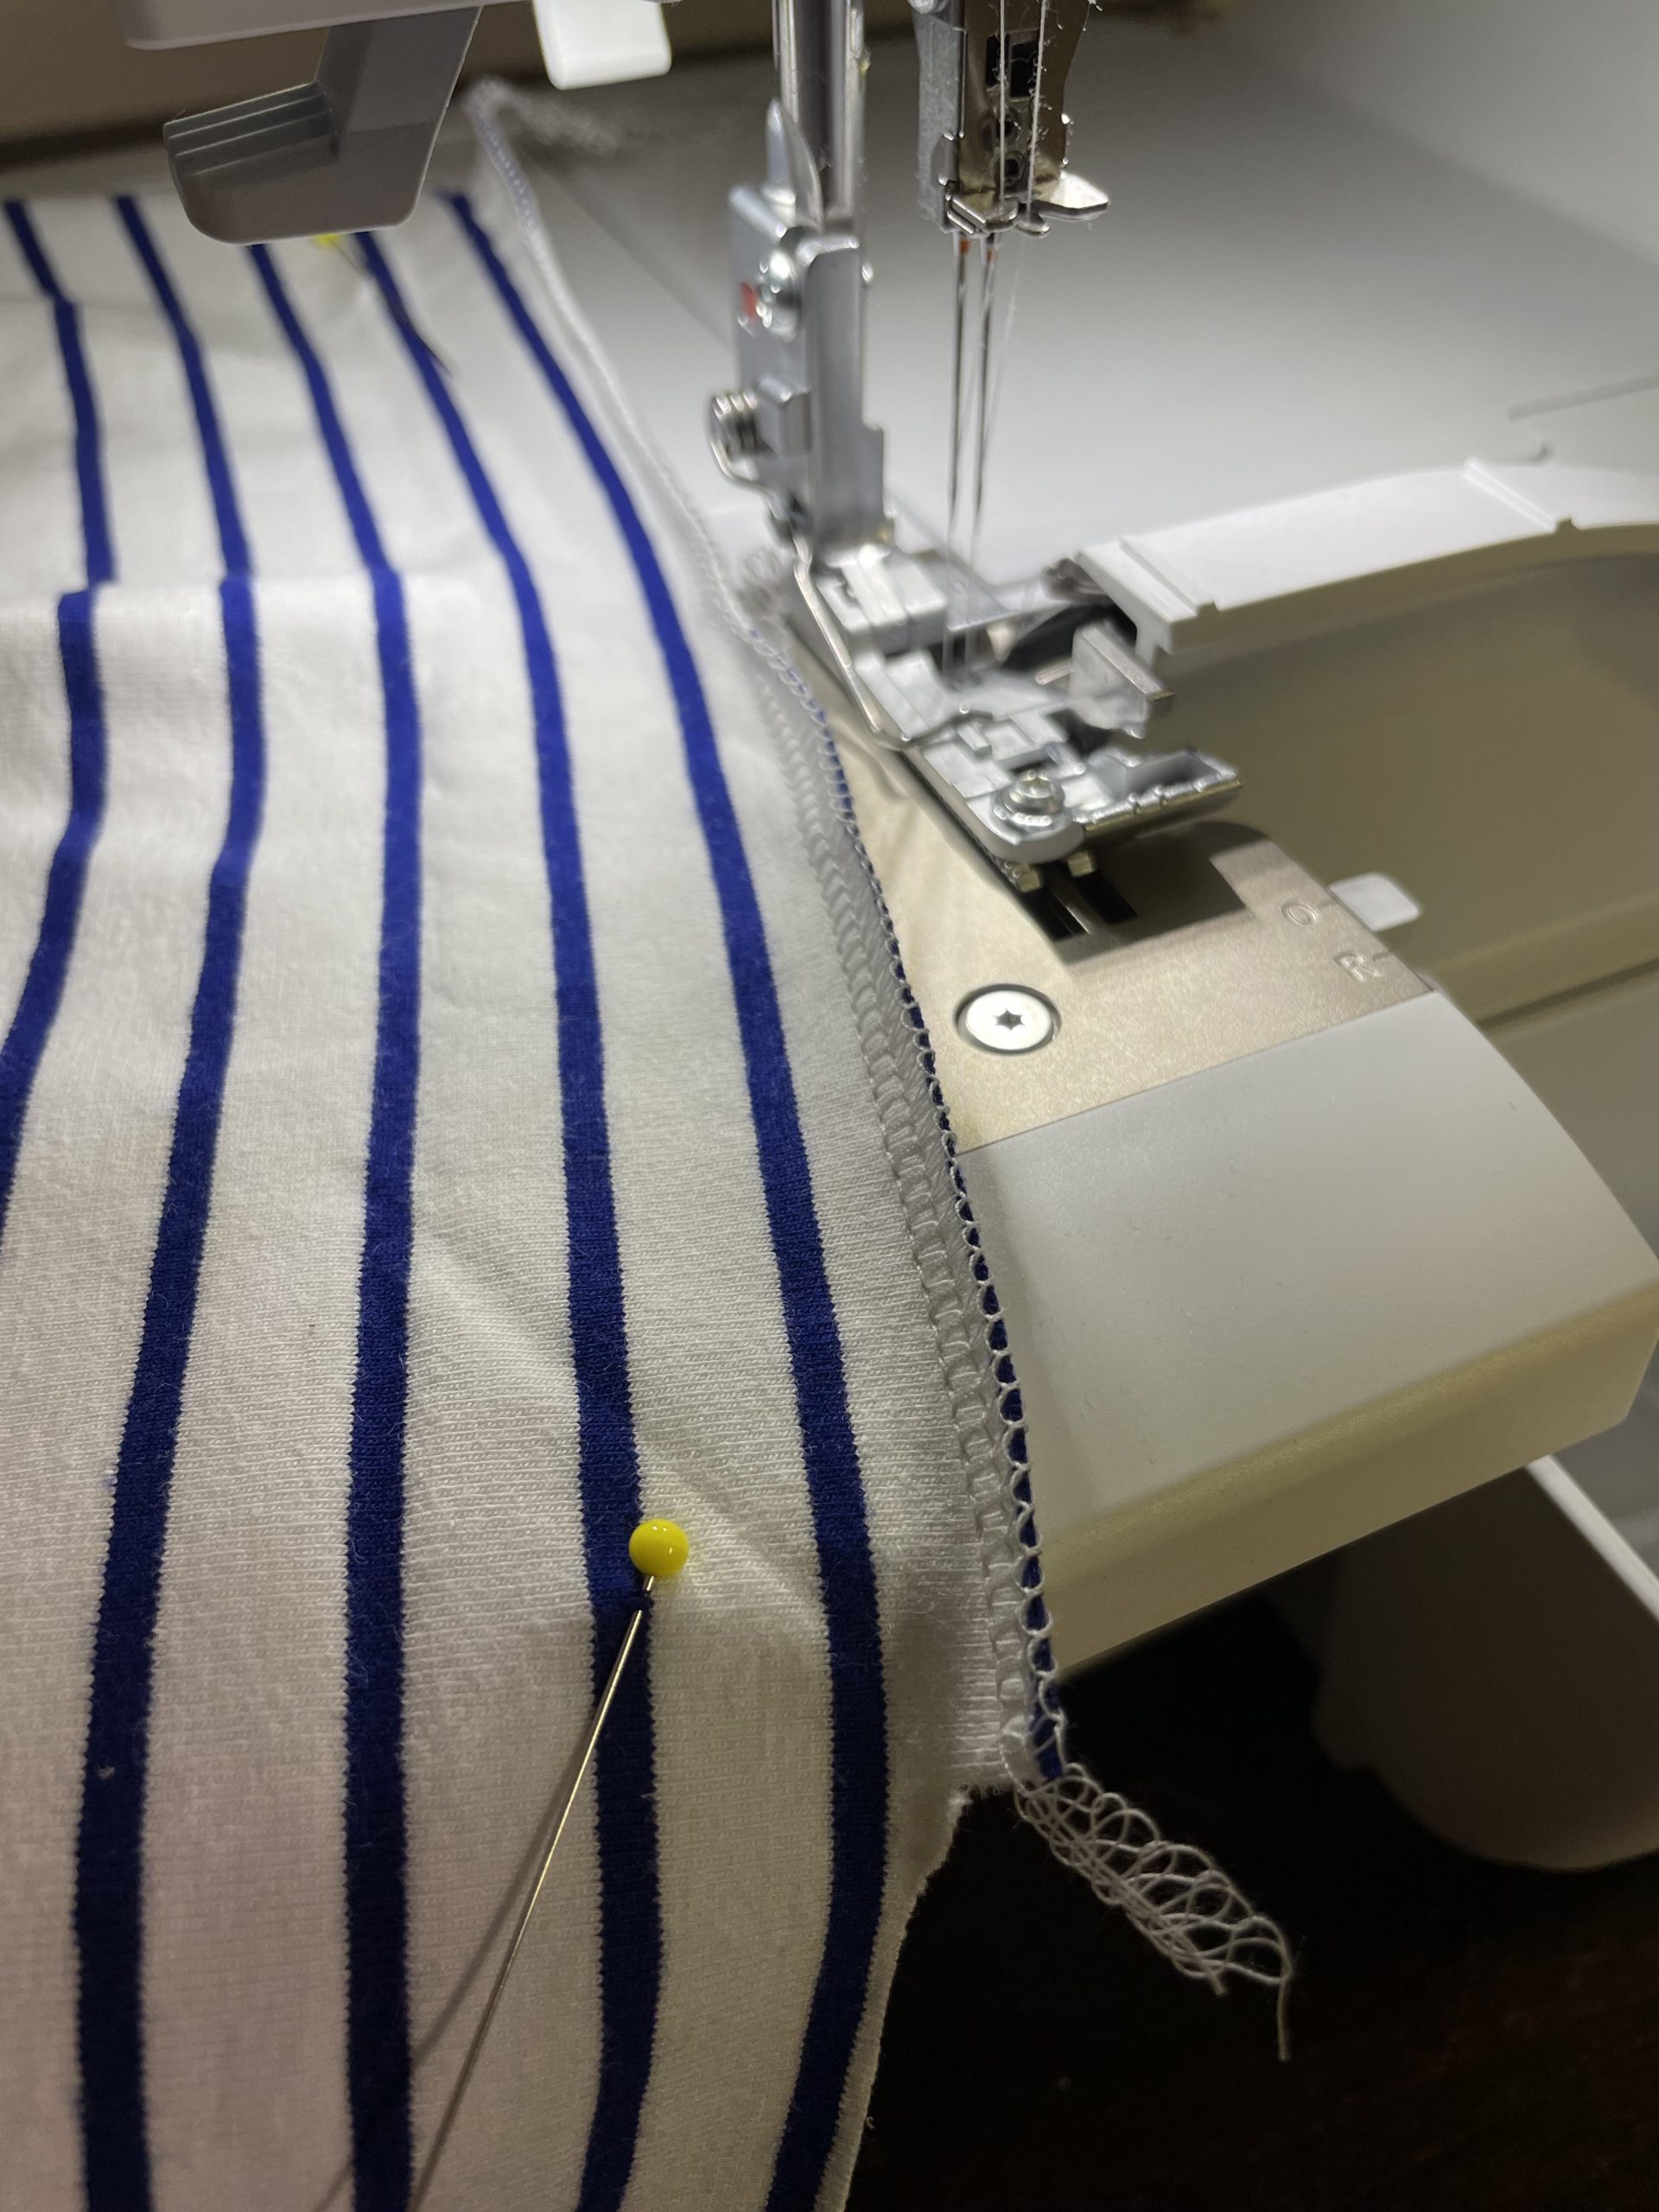
I then joined the side seams of the back and front using my overlock, being very careful to align the stripes.
stripe matching along the side seams
Second step, the arms
Pin the shoulder of the sleeve down by 1,6cm, here you will need to ease the edge in slightly to create the curve.. pins here are your best friend! ( please be aware that the arms have a front and back, now is a good time to mark this.)
Sew using a ball point needle on your sewing machine with a straight stitch, this will create the channel for the elastic.
Creating the shoulder elastic channel
Repeat for both shoulders and insert your elastic ( making sure it doesn’t twist!) into the channel using a safety pin. Now is a good time to test if the elastic is the correct length by roughly holding it over your shoulder ( they should be quite snug, to prevent slipping off your shoulder) when correct stitch the elastic in place.
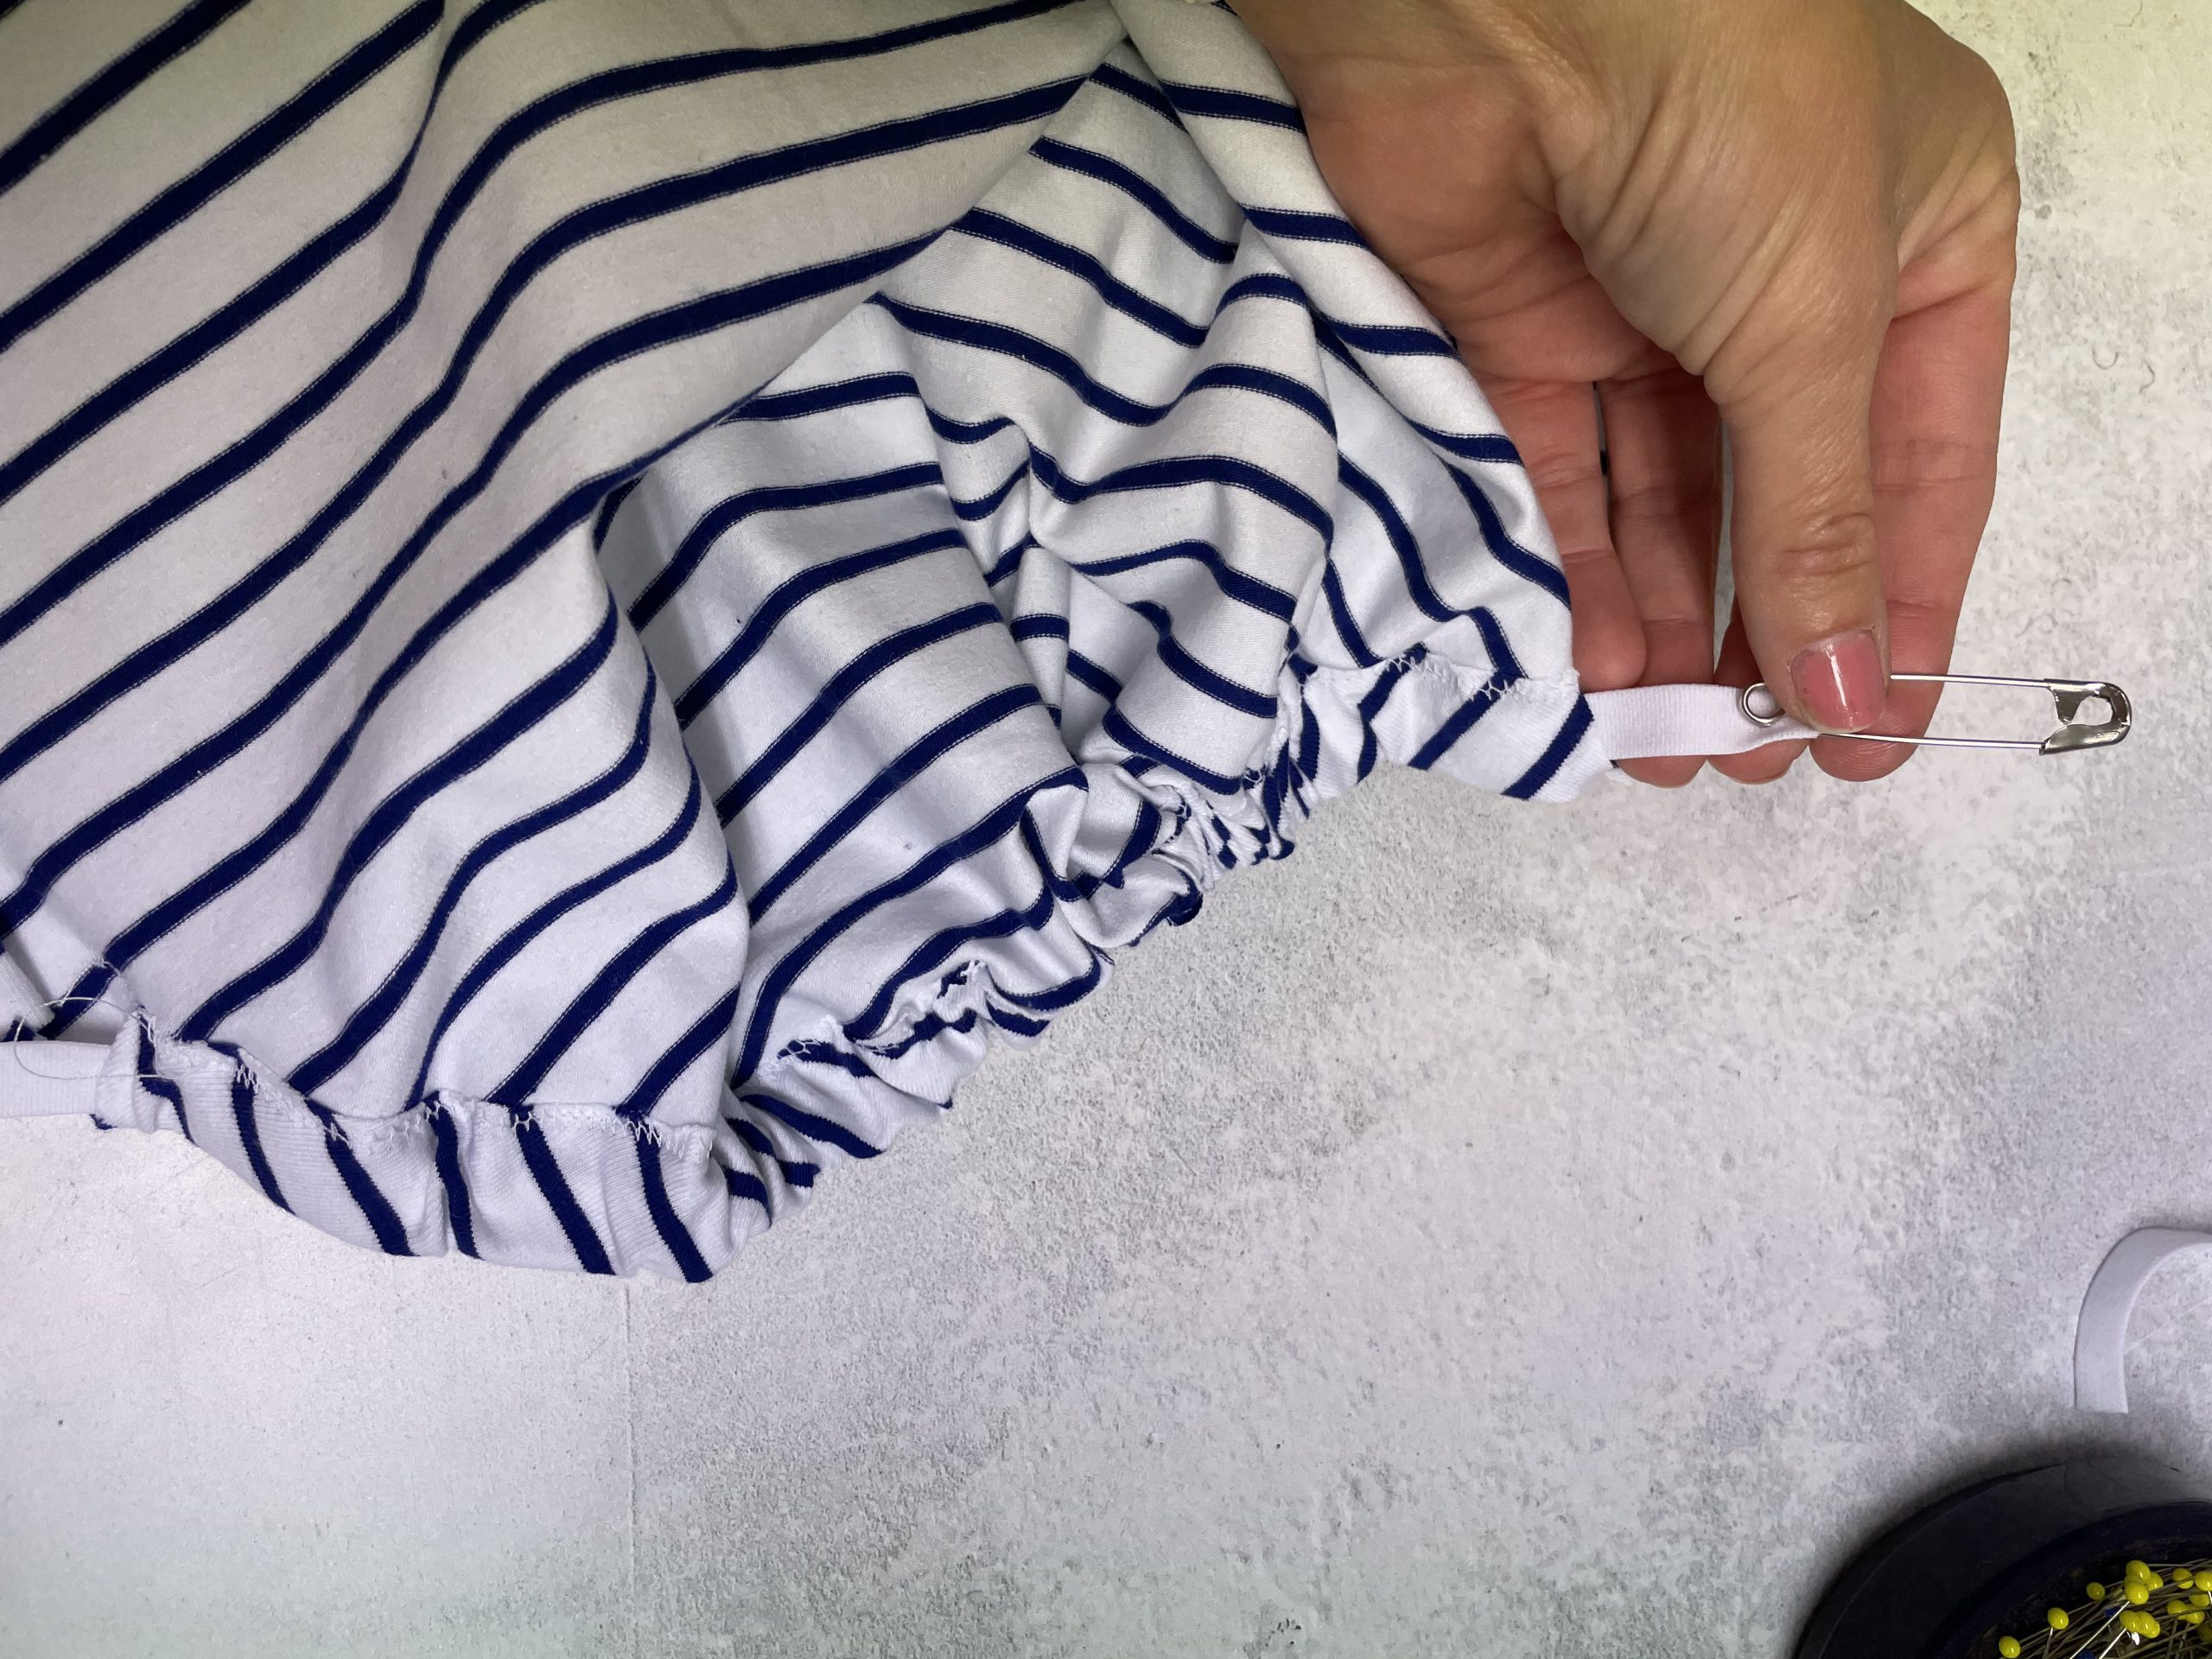
Inserting the elastic using a safety pin
Stitch sleeve seams with right sides together from underarm to the sleeve cuff.
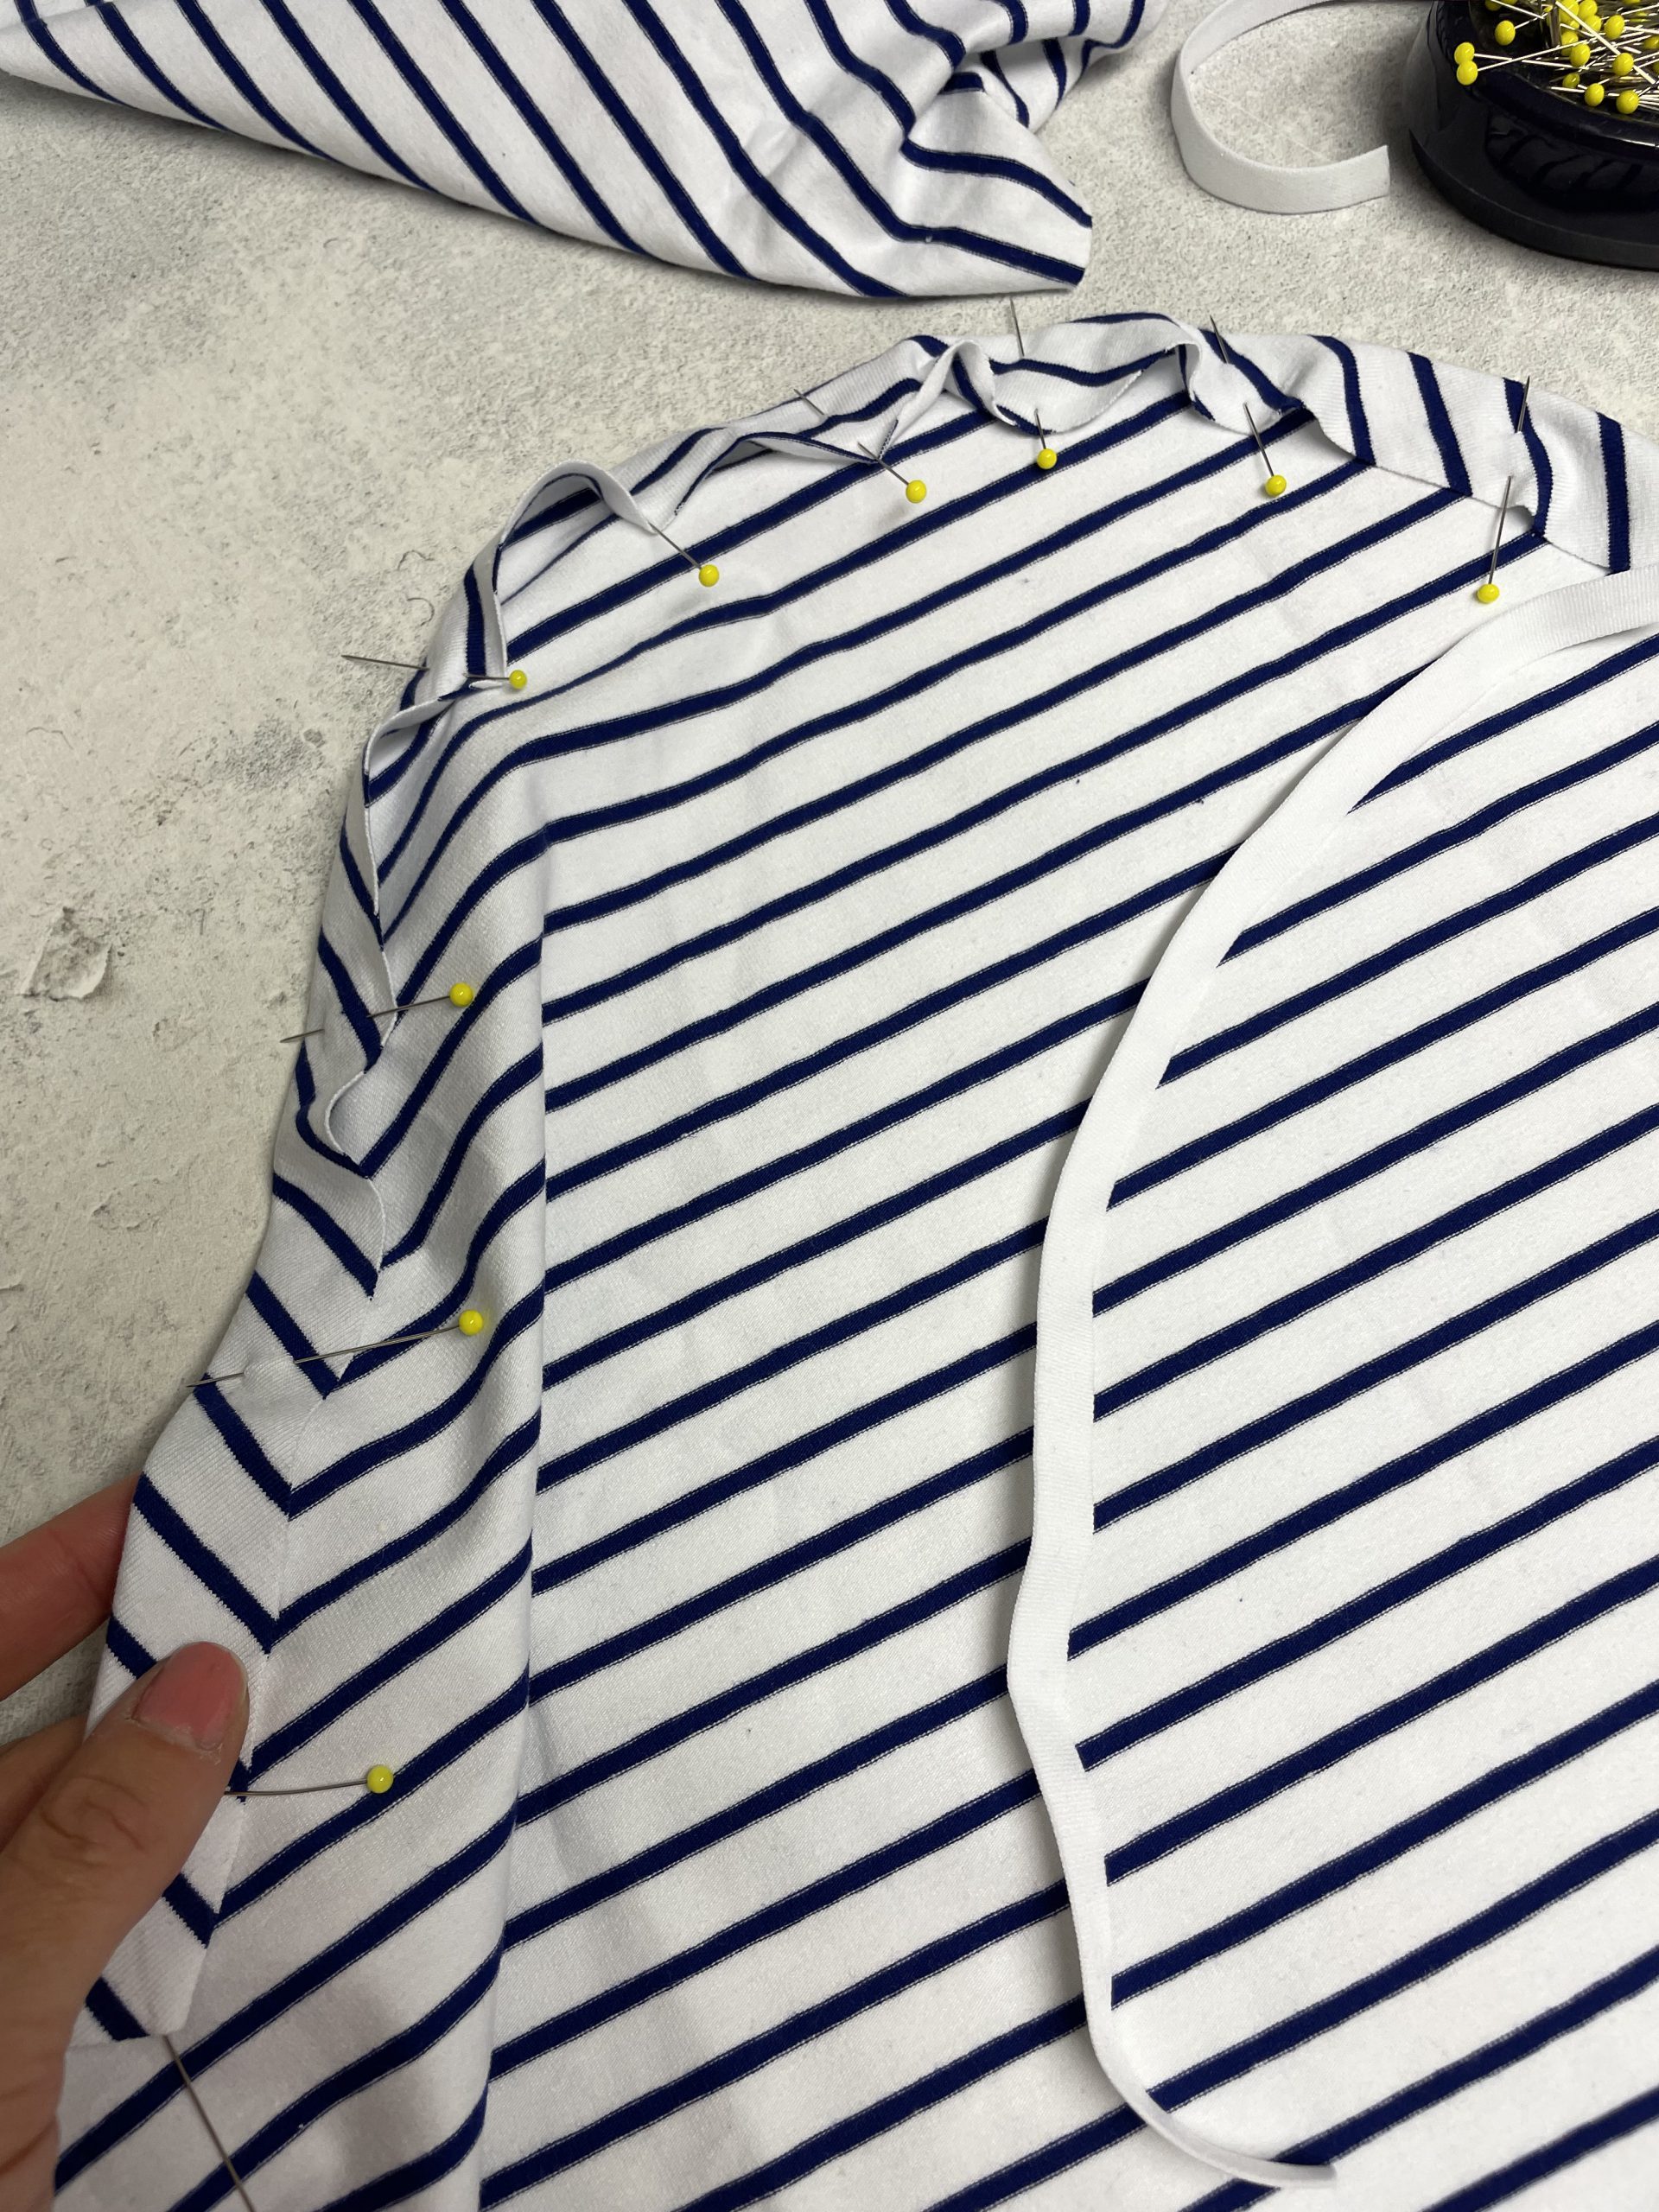
Third step, attaching your arms
Now is time to attach your arms to the bodice, making sure to align the bodice side seam with the sleeve inseam, Sew to the pre marked circle ( marked on the pattern) pivot aa the circle and finish at the hem edge with a few back stitches.
finish of the seams with your overlocker, or a Zig Zag on your sewing machine.
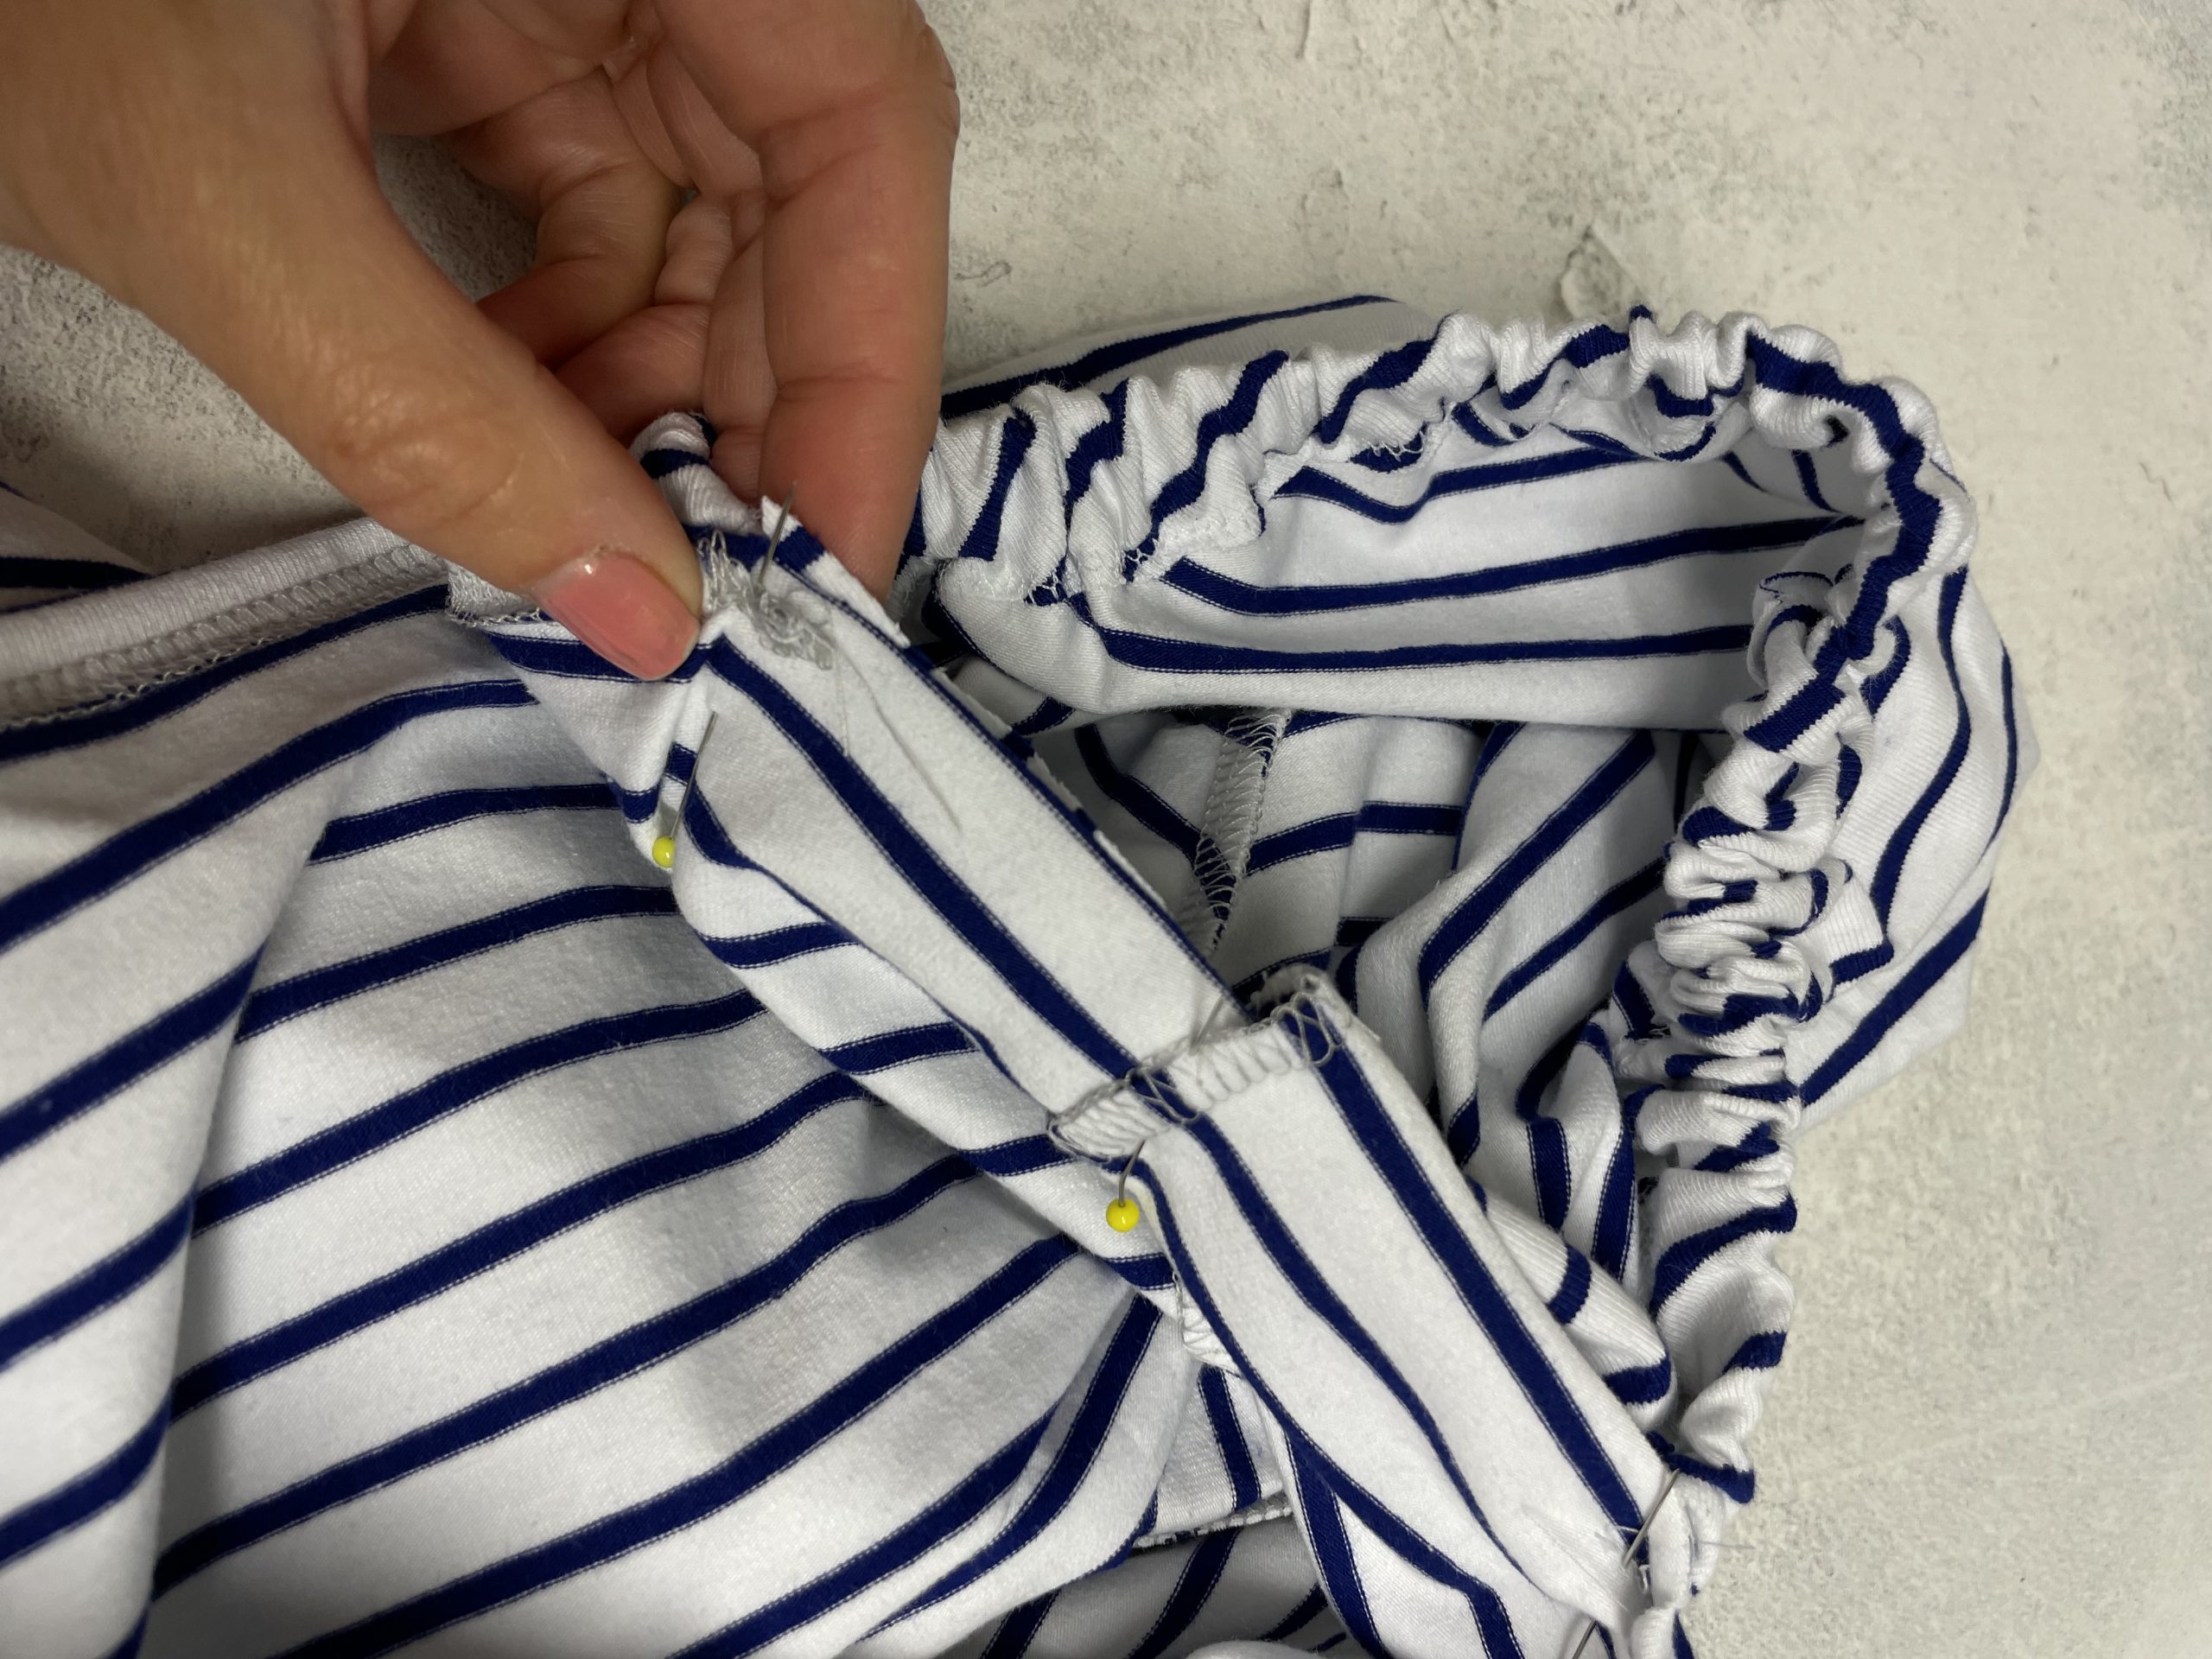
Attaching the sleeve to the bodice
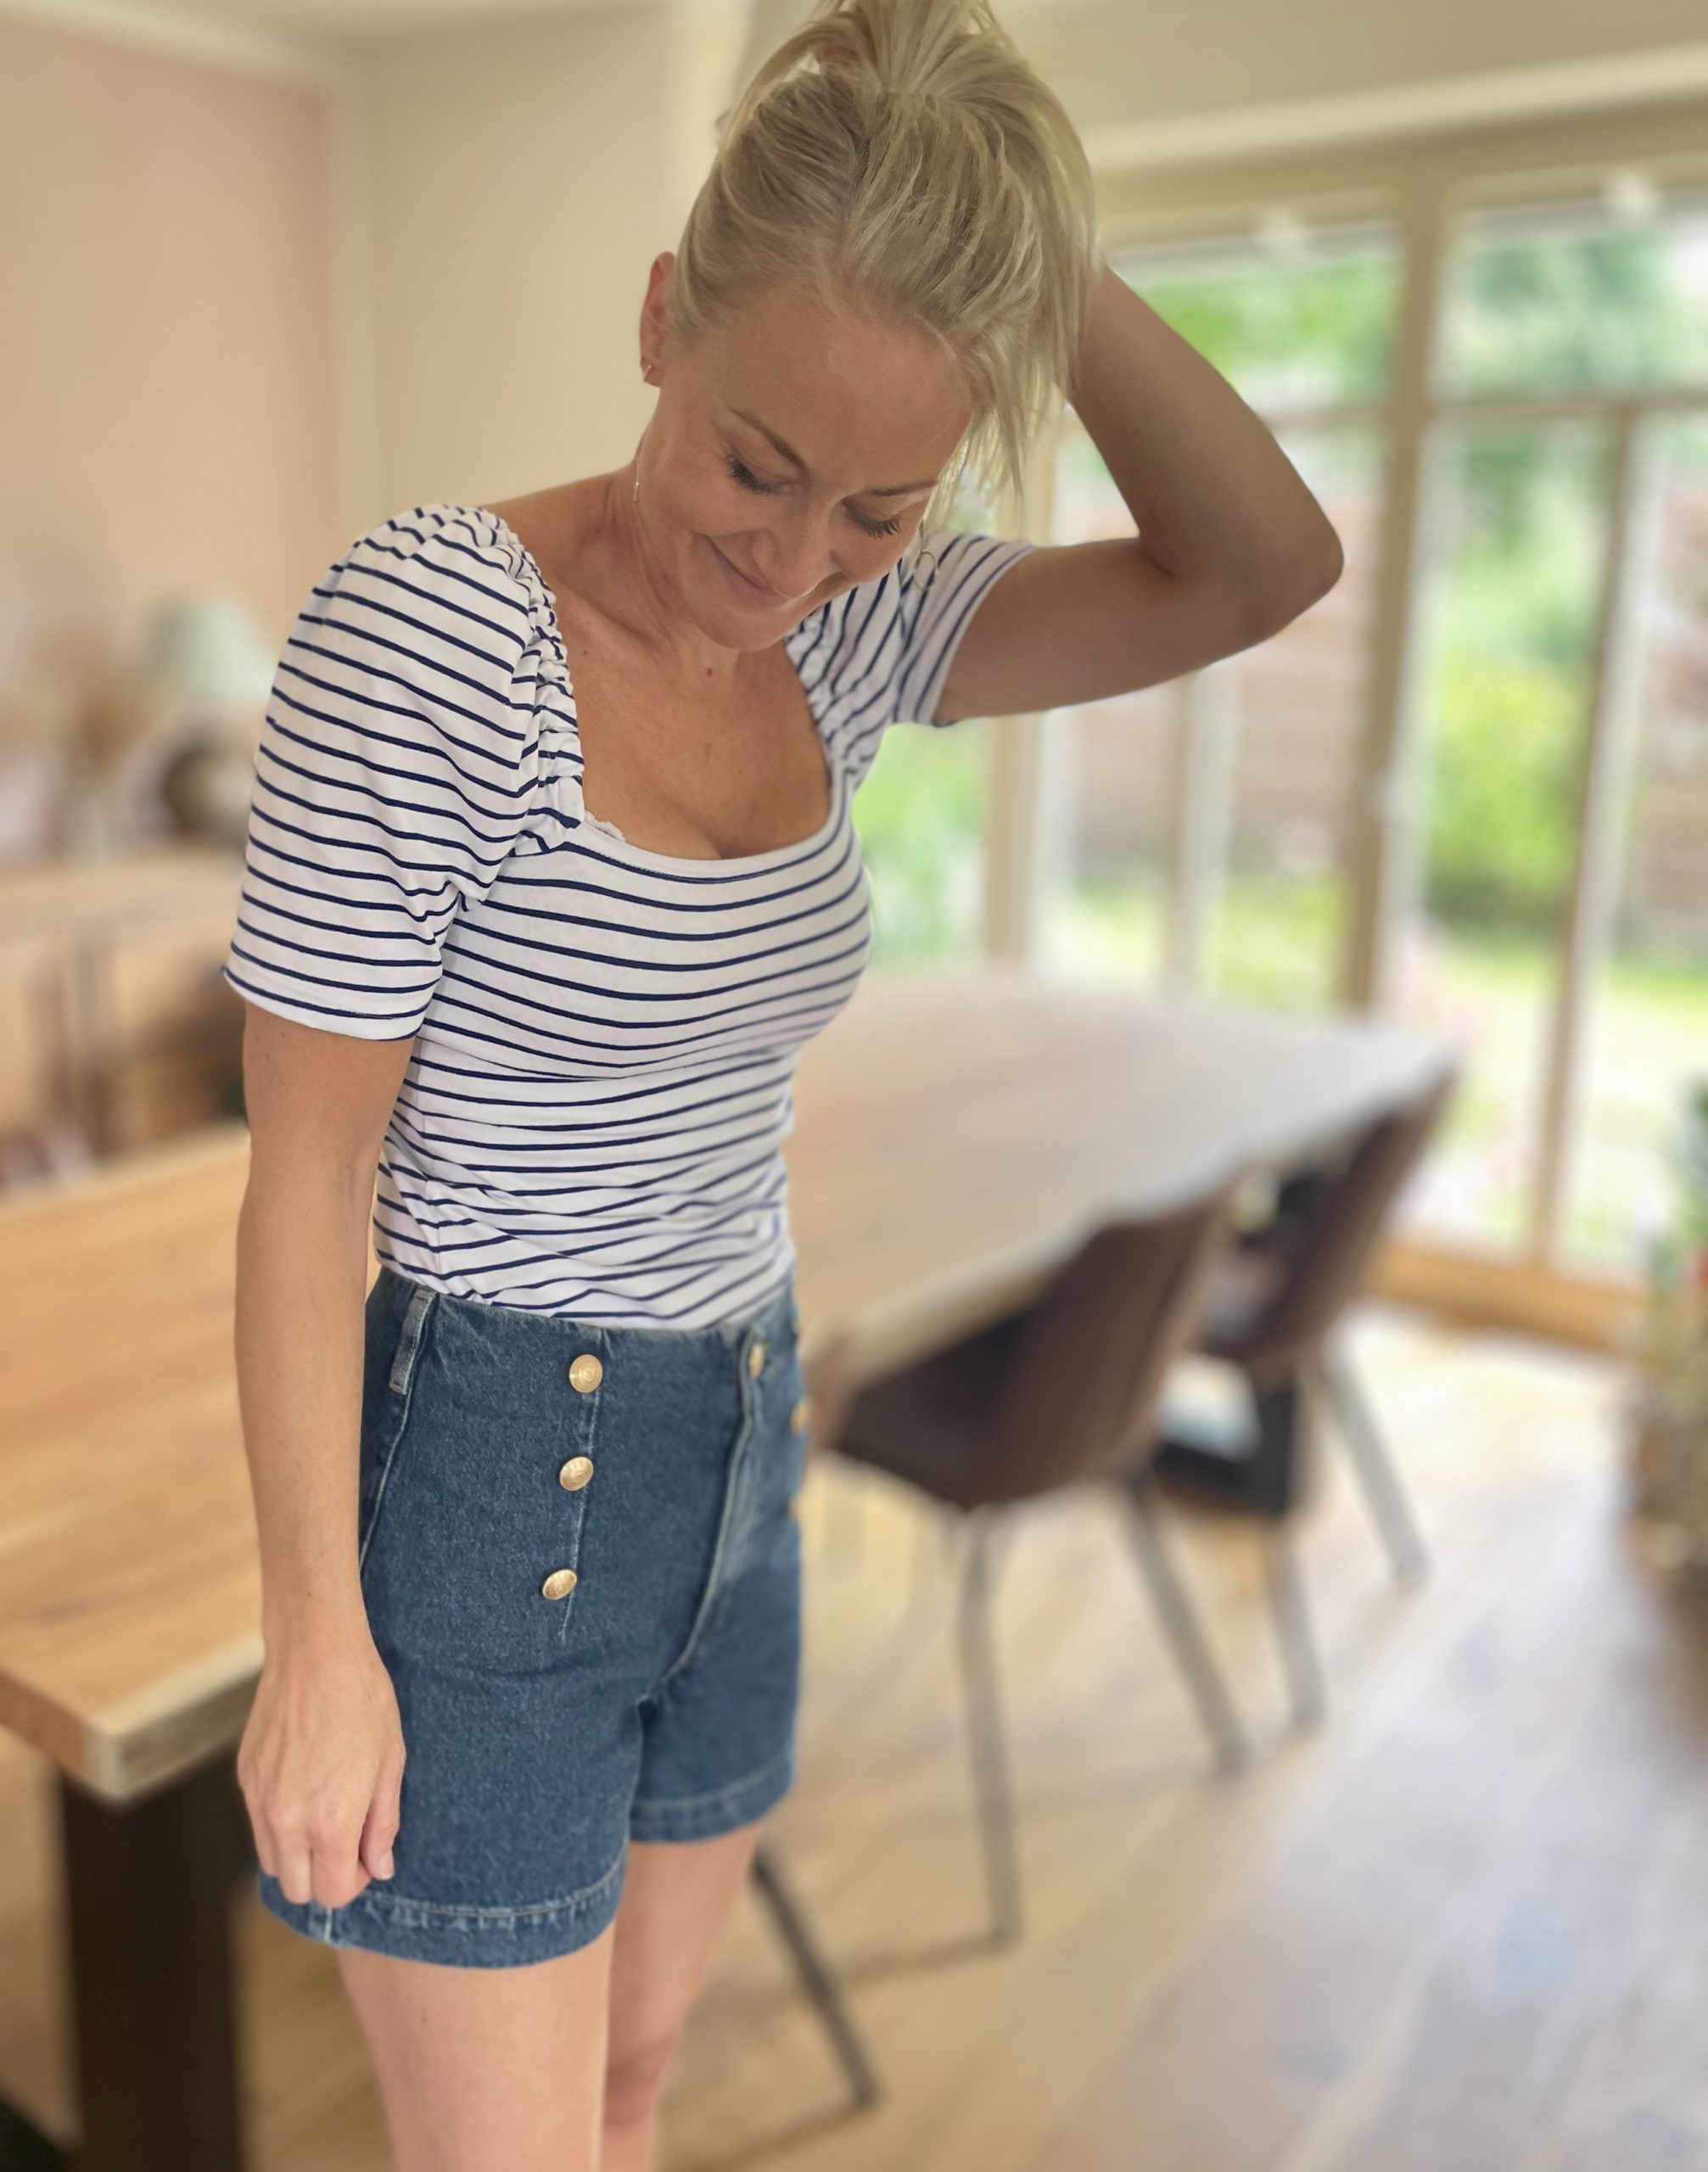
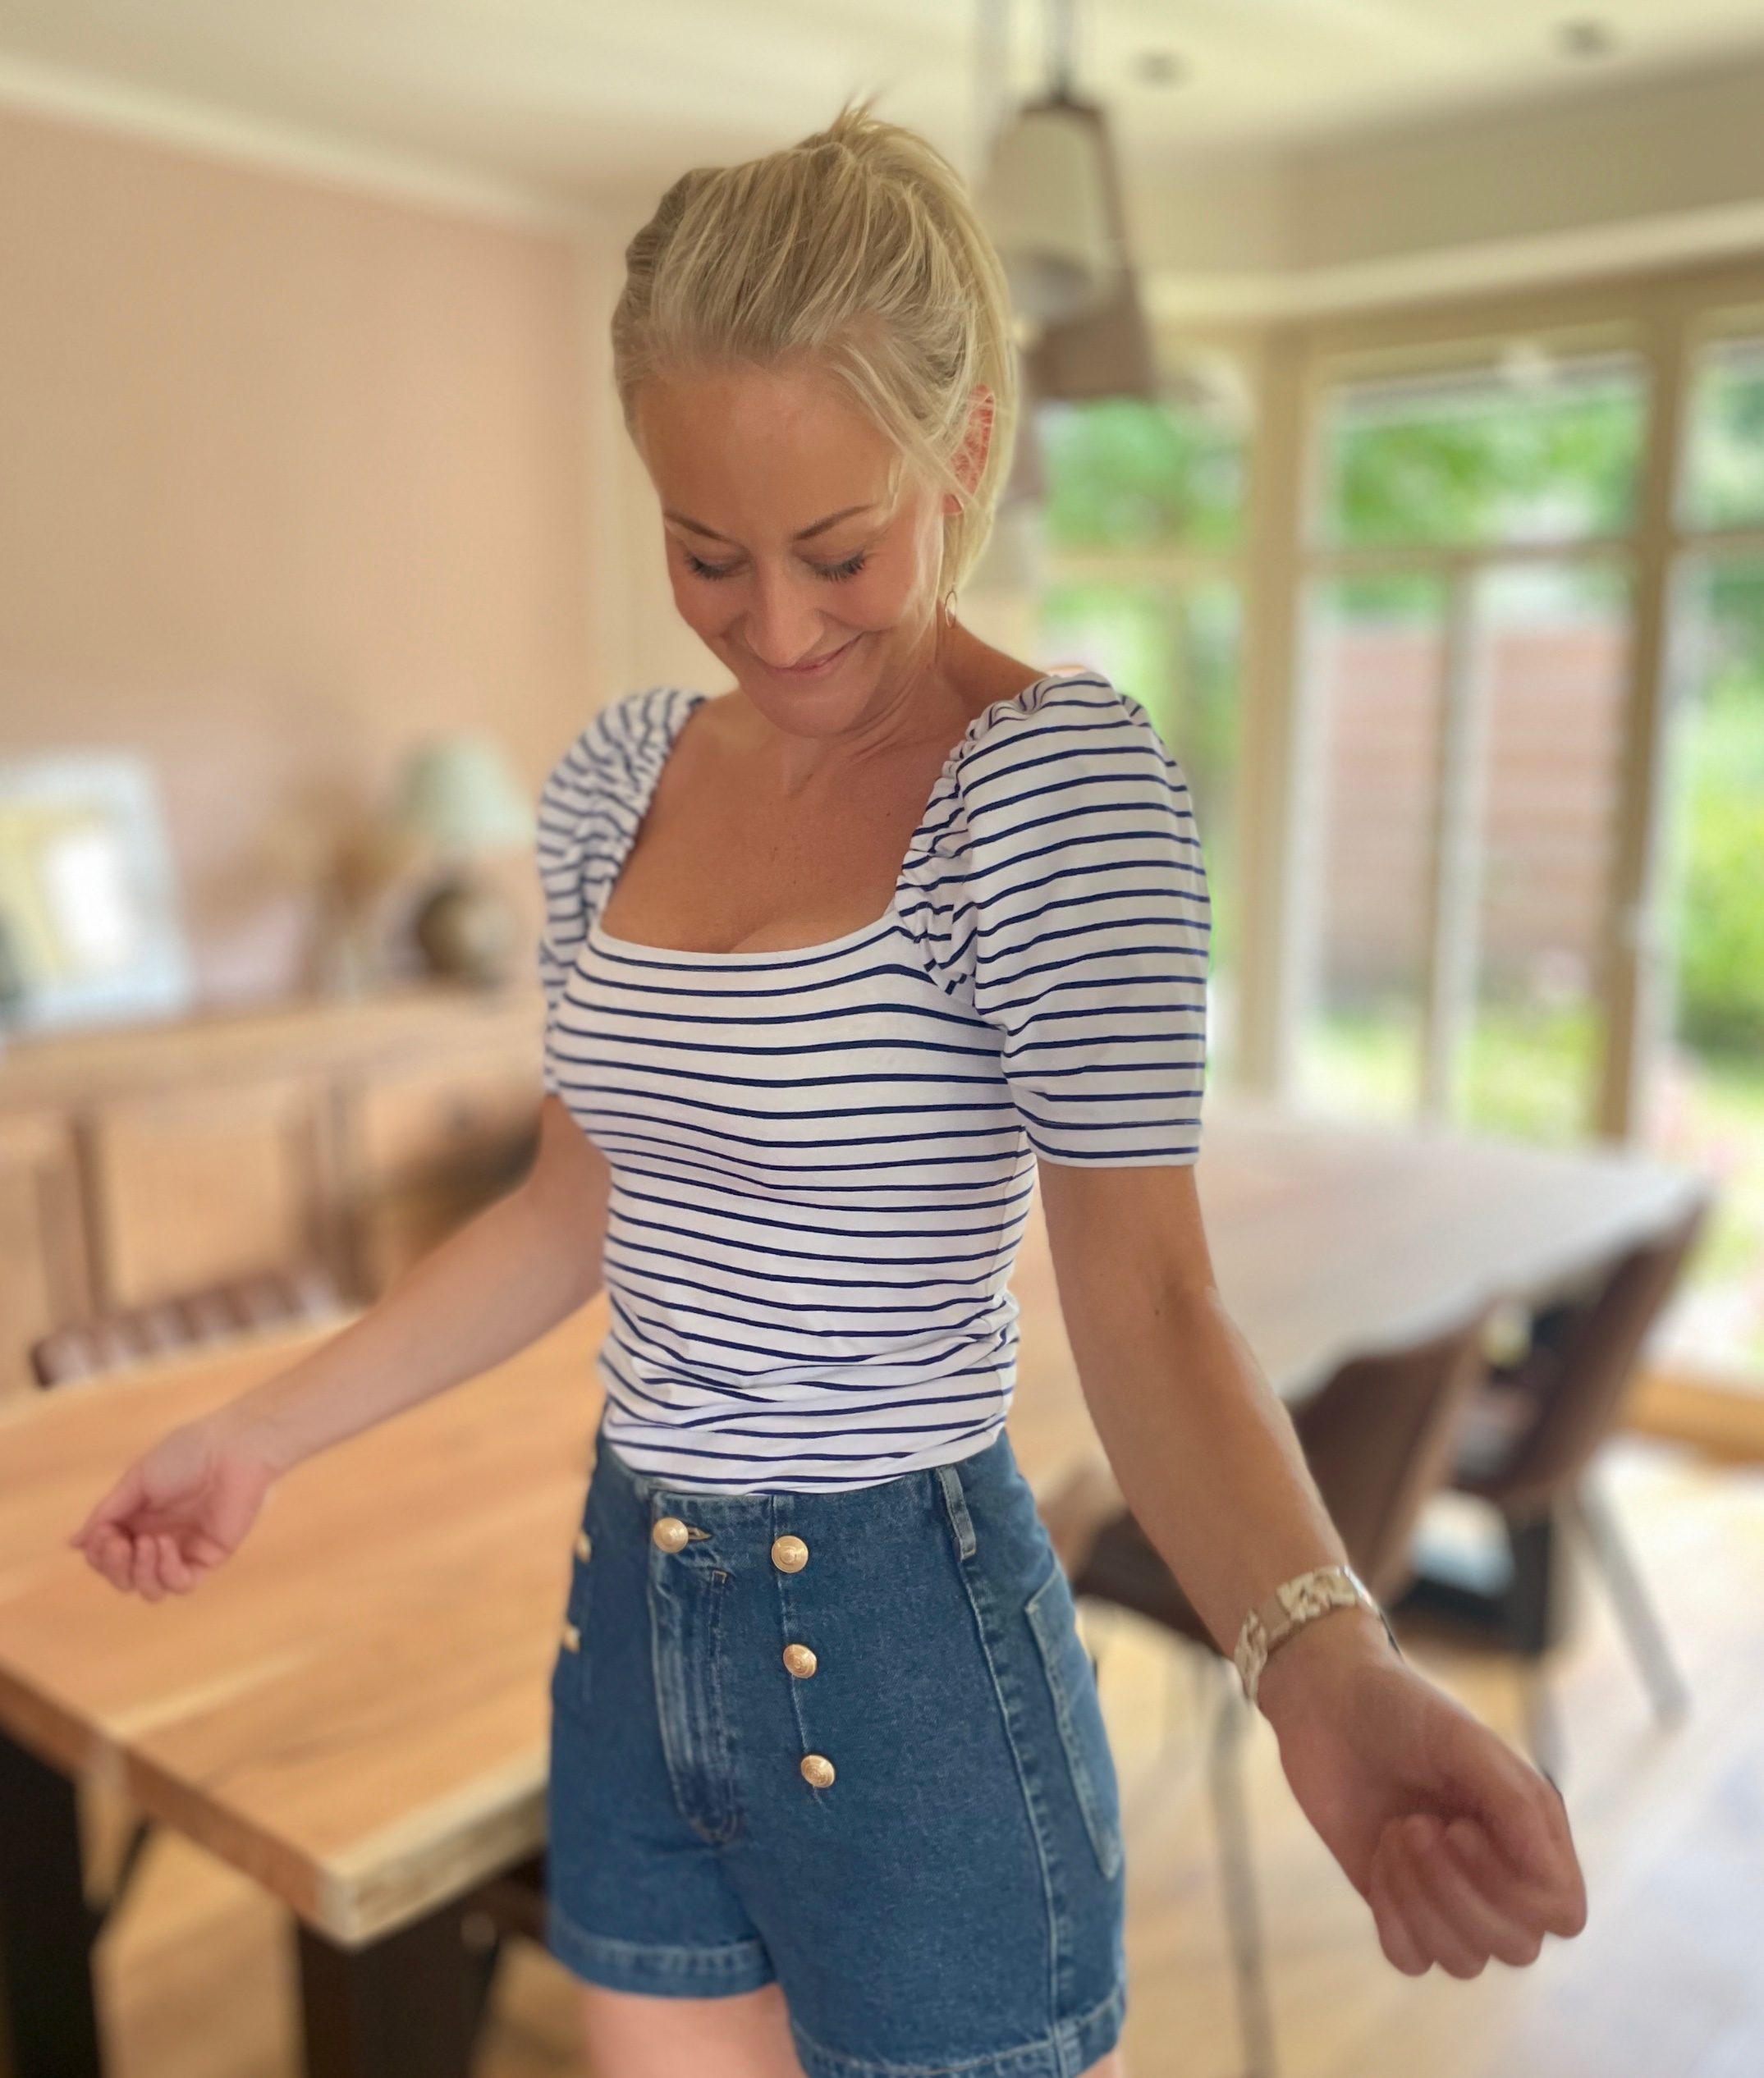
Almost there!, hems
Last and final step is to hem your sleeves and the bodice. I simple pressed 1,5cm from both and used a twin needle on my sewing machine, for a nice neat and professional finish
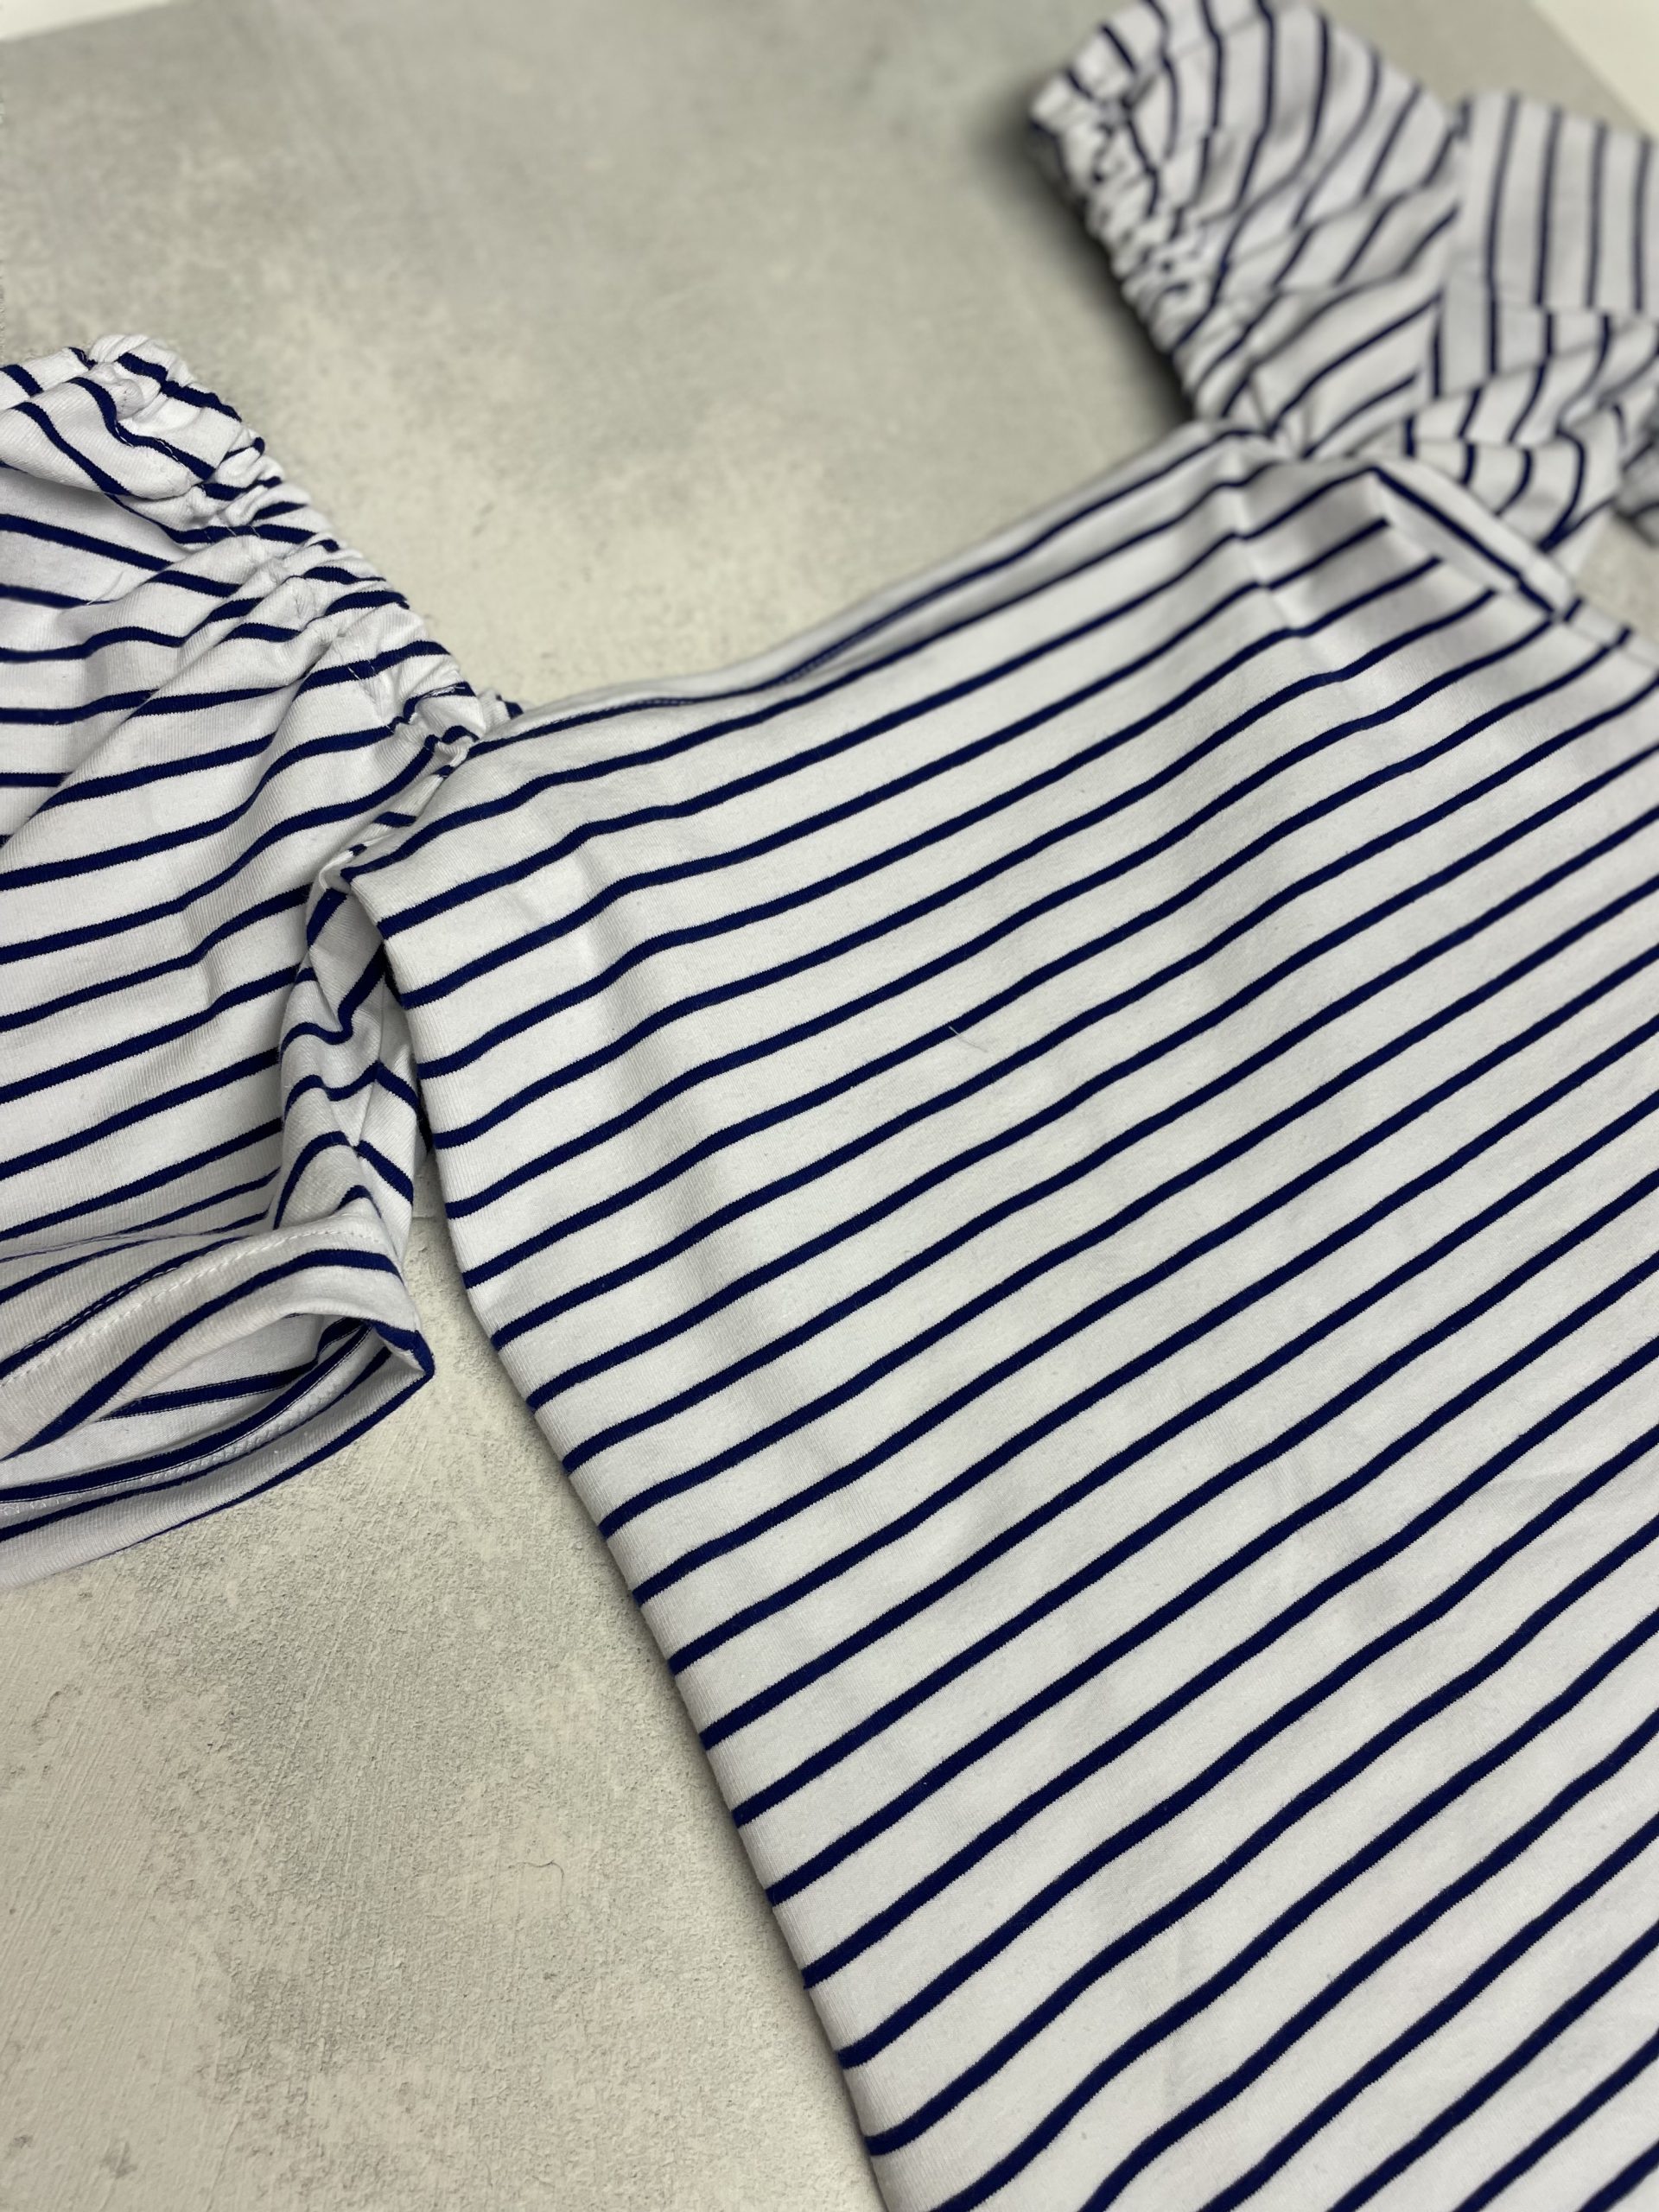
Twin needle hem
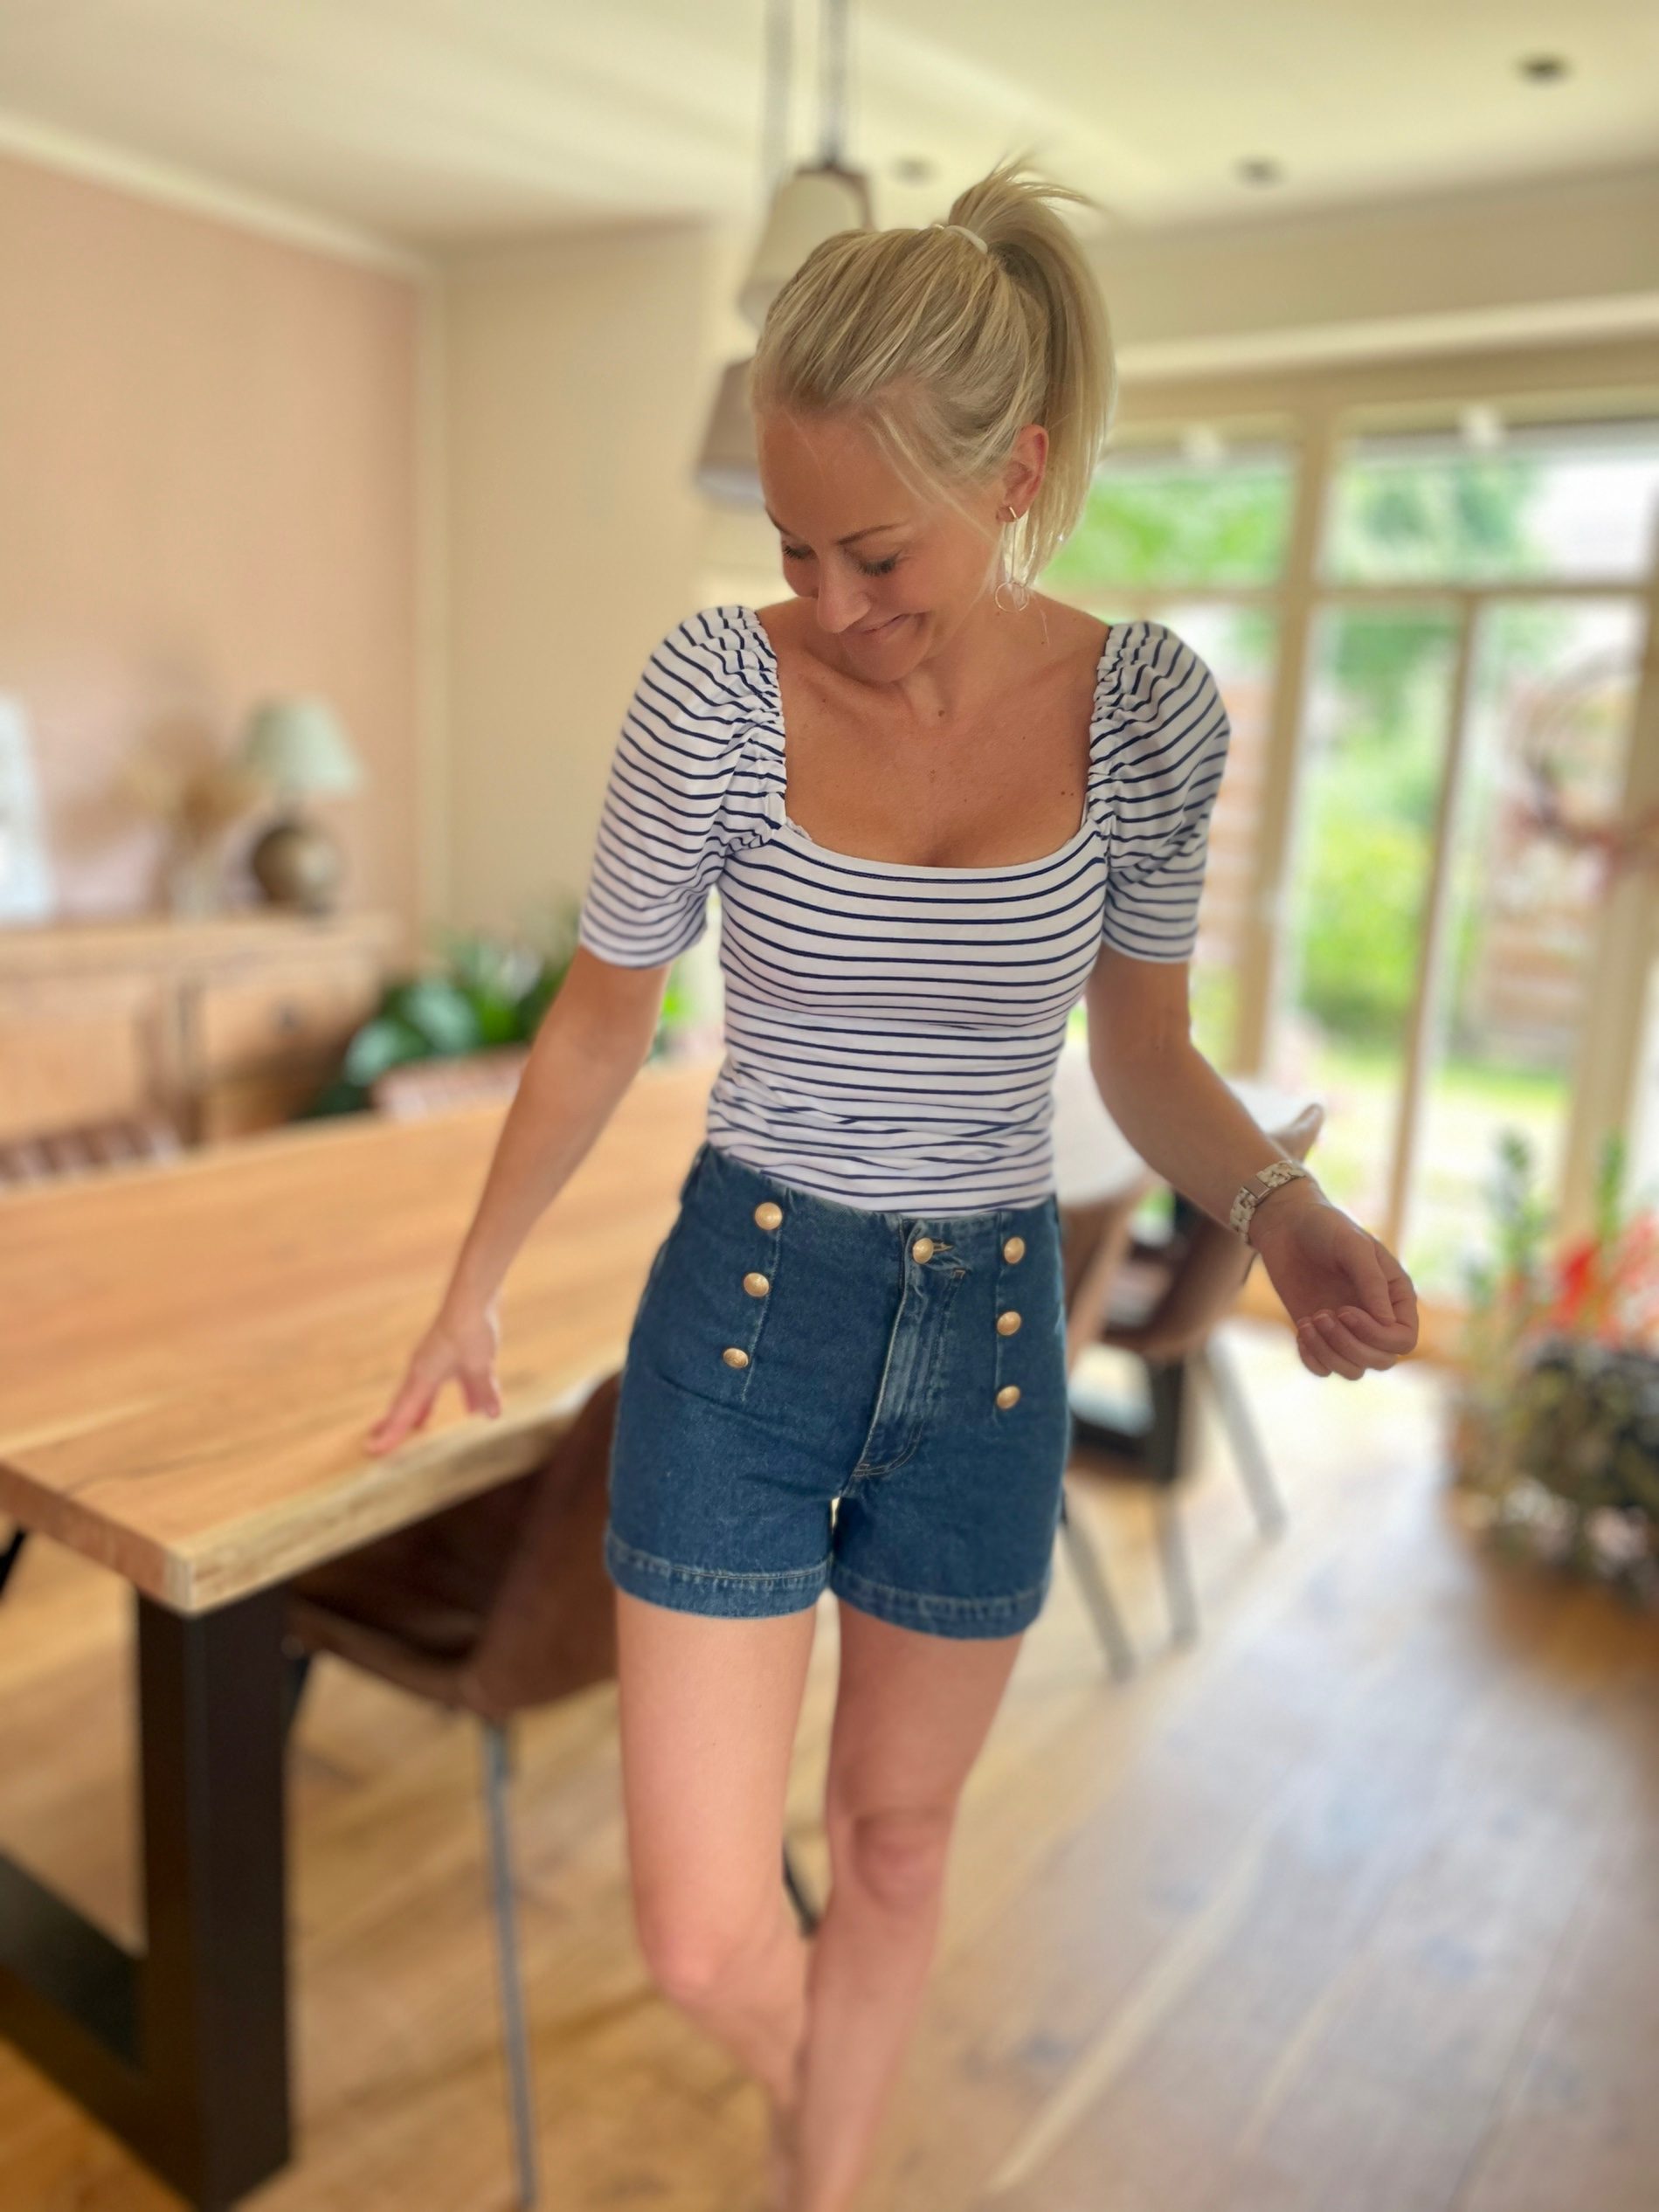
Voila… Finished
Katie Kluth
@eversewme
You can find all my makes, including this top o my Instagram handle https://www.instagram.com/eversewme/


0 Responses