 BERNINA Corporate Blog -
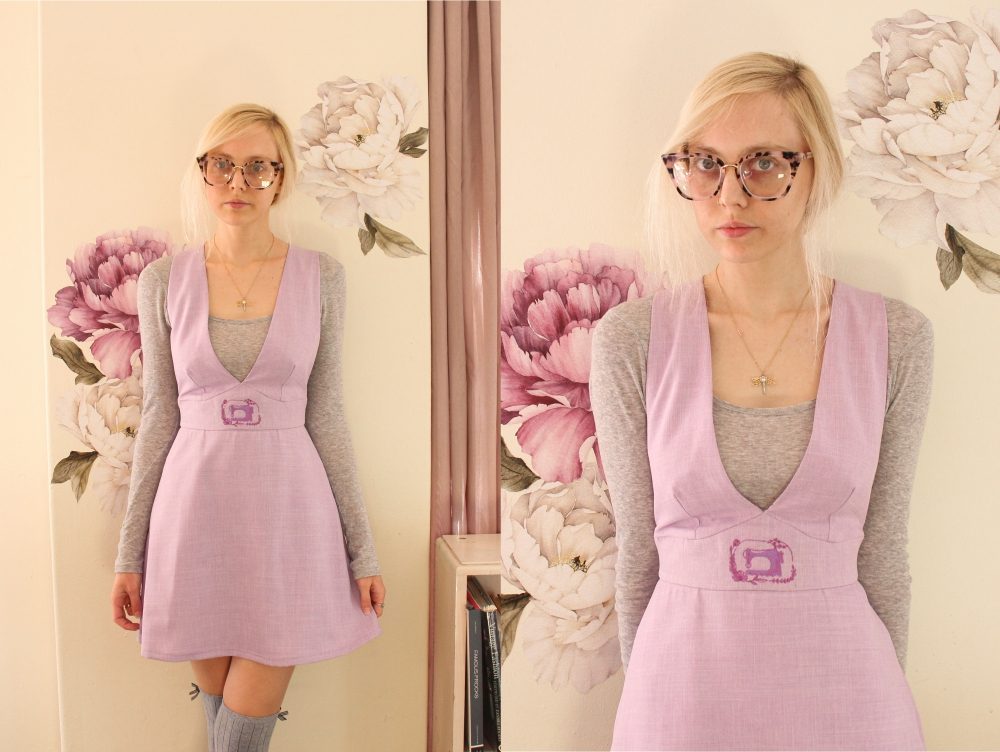
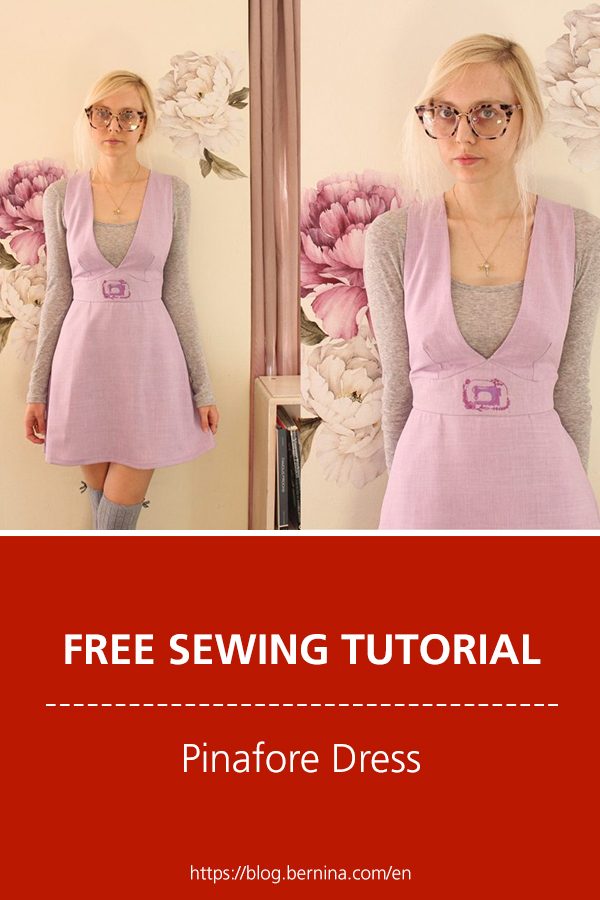
 I love the idea of a pinafore. I’ve made some for my mom and myself in a previous blog Sewing Pinny for Mom and recently came across a free pattern for a pinafore dress.
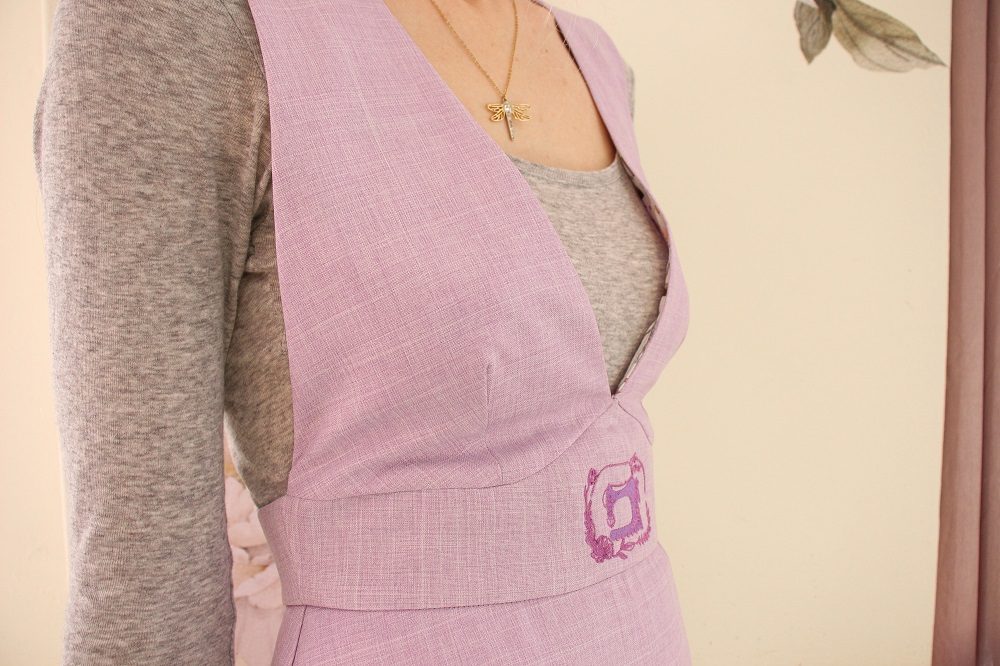
My mom made pinafores for me as a kid to protect my clothes, it was even a uniform requirement in first and second grade. Pinafores always make me think of sewing and crafting and I wanted to reflect that in my pinafore dress with cute and subtle details.
What will be needed:
- Sewing machine (B735)
- Overlocker (L460)
- Milton Pinafore Pattern by Just Patterns for Peppermint Magazine
- 5m-2.2m Medium to Heavy weight woven fabric.
Refer to pattern for fabric quantity. - 5m -1m Lightweight woven fabric for bodice lining & Pocket.
- 25m Vilene/Fusible Interfacing
- 1 -4 threads to match fabric
- 25cm Dress zip
- 4 x 23mm button (pattern calls for 12 buttons but I only need 4 due to the zip closure)
- Optional: Hook & Eye
- Buttonhole foot #3A
- Button Sew-On foot #18
- Zipper foot #4
- Edgestitch Foot #10D
Pattern
Download the free Milton Pinafore Pattern by Just Patterns.
If you need help downloading, I have provided the steps in this Guide to download the free Milton Pinafore Dress pattern
Size chart is available on the download page as well as in the pattern’s instruction booklet.
Seam allowances are included in the pattern, refer to page 7 of the pattern’s instruction booklet.
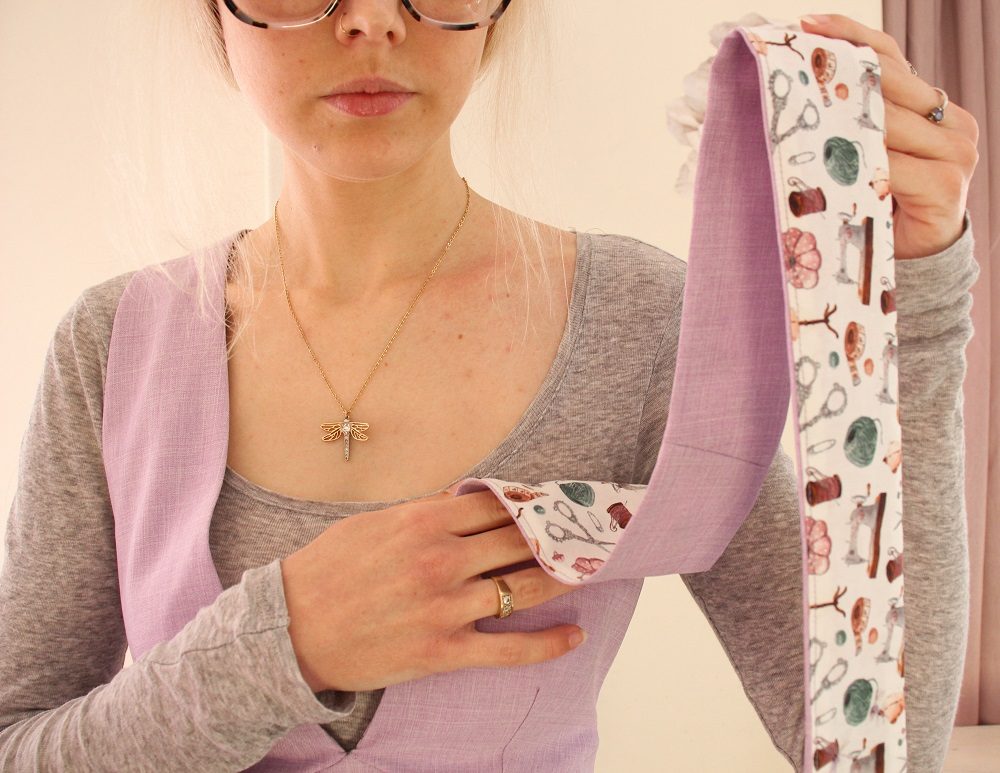
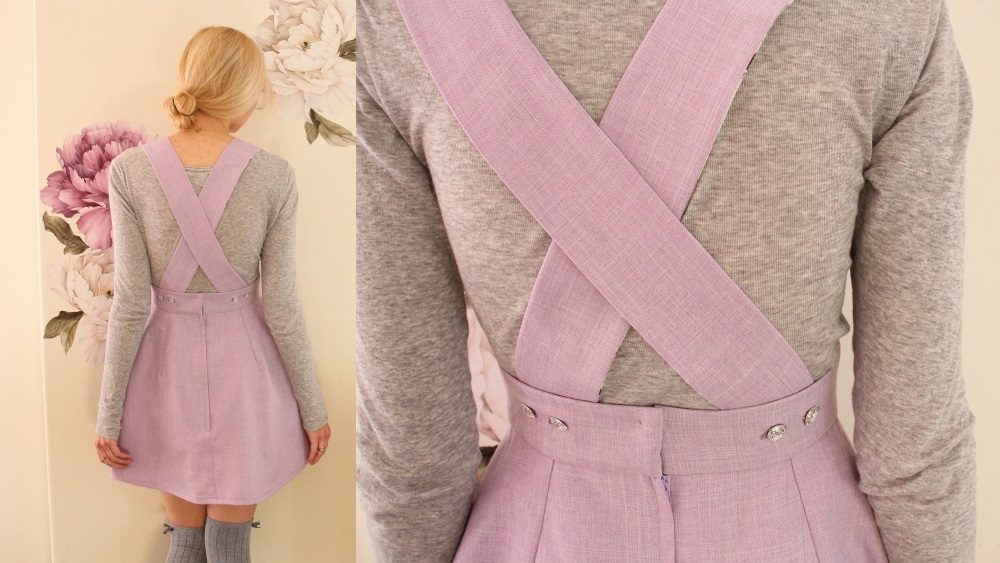
I love the pattern but needed to alter it. Unless a garment is loose fitting, I find that having button closures down the back is uncomfortable (particularly on my lower back). So I changed the back closure to a lapped zip with a hook & eye.
I felt that a full waistband would better suit my waist and show off my custom embroidery design.
These are the alterations I made to the pattern:
-created a shaped waistband for the front
-redrafted the Inner & Outer Back Waistbands with an extension on the right for an underlap button closure
-made the back button closure into a lapped zip closure
-shortened the skirt to a mini rather than a midi length
You can follow the steps I used to create these alterations here: Milton Pinafore Pattern hack
Embroidery
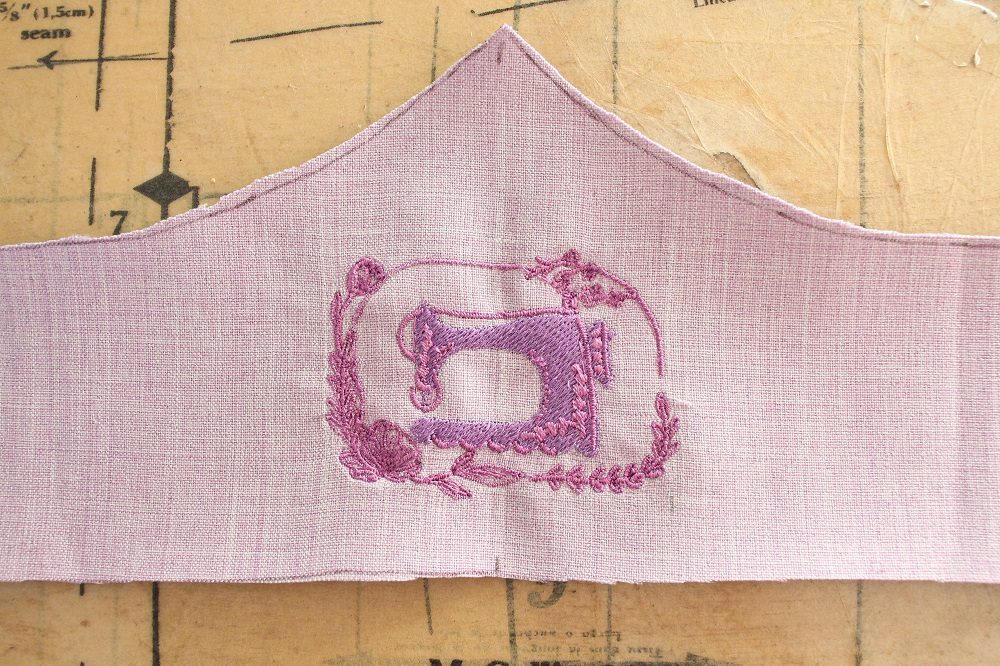 I created a custom embroidery design using the improved Auto Digitize Tool in the Bernina Embroidery Software 9 Designer Plus.
In this blog post: Auto-digitized Embroidery Design with V9 I share the steps of how I made the design and embroidered my waistband.
Sew
Follow the sewing instructions included with the pattern alongside my steps provided below for the parts where I altered the pattern.
I chose to overlock my raw edges rather than sew French seams and to not bind the edge of the inner waistband but rather fold the raw edge in and stitch in the ditch to secure it.
 Between step 3 & 4:
Attach the Outer and Inner Bib to the respective Outer and Inner Front Waistbands with 1cm seam allowance.
Start/stop sewing at the Centre Front line (1cm from inner edge of Bib)
Press the seam allowance towards the Bib.
 Step 5:
When joining the Outer and Inner Bibs together, sew to the Centre Front point.
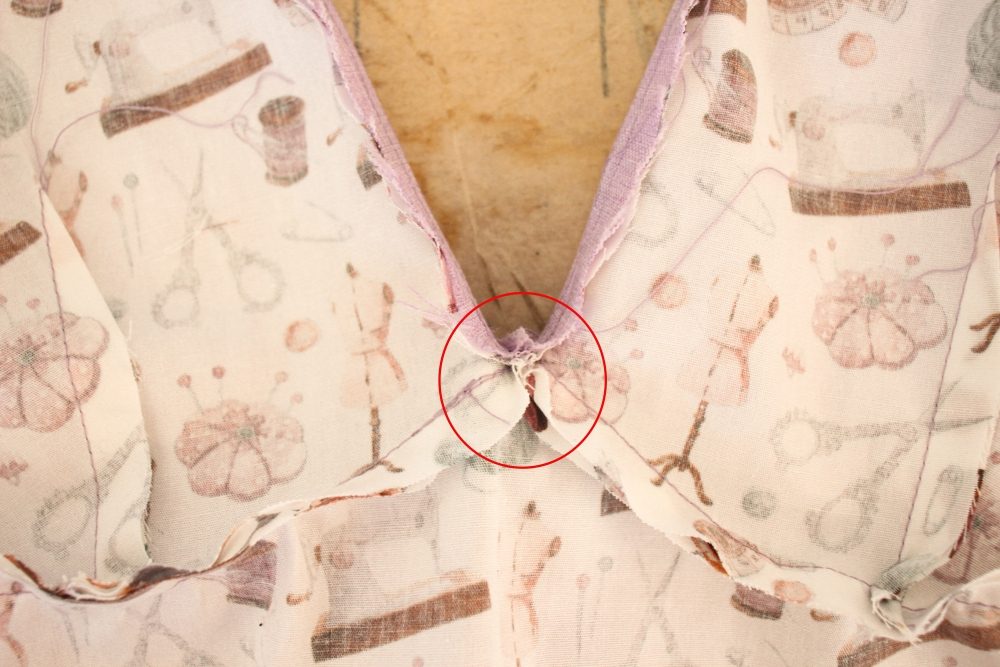 Snip all the seam allowances at the Centre Front to reduce bulk.
Step 7:
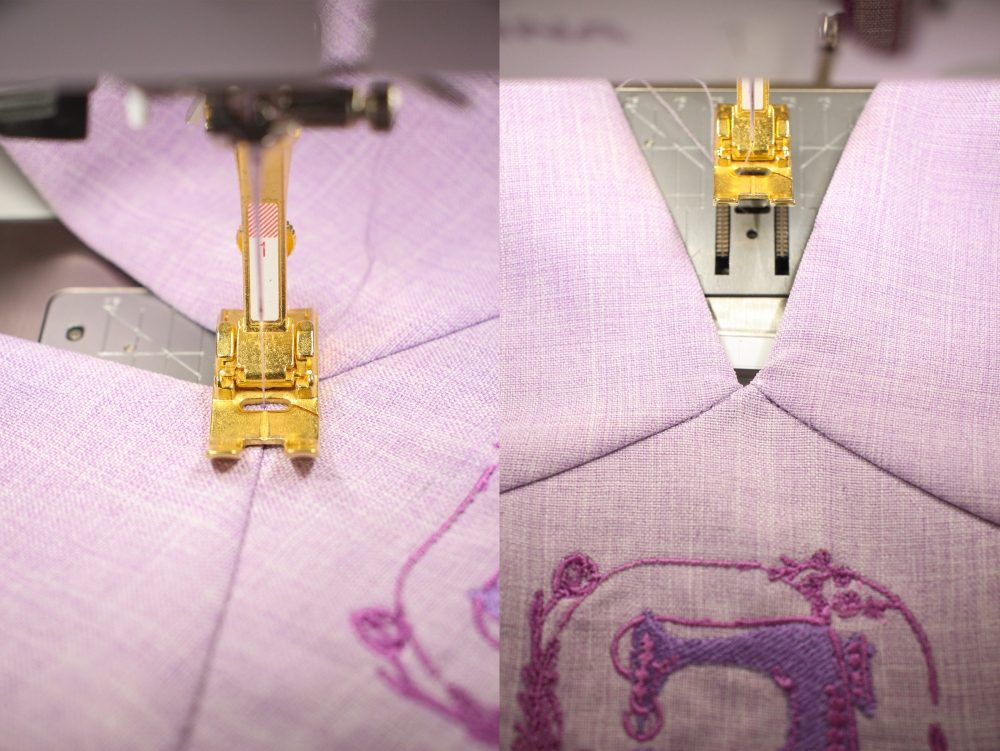 Once you’ve turned the Bib right-side-out, stitch in the ditch at the Centre Front to help prevent the Lining from peeking out.
Step 8:
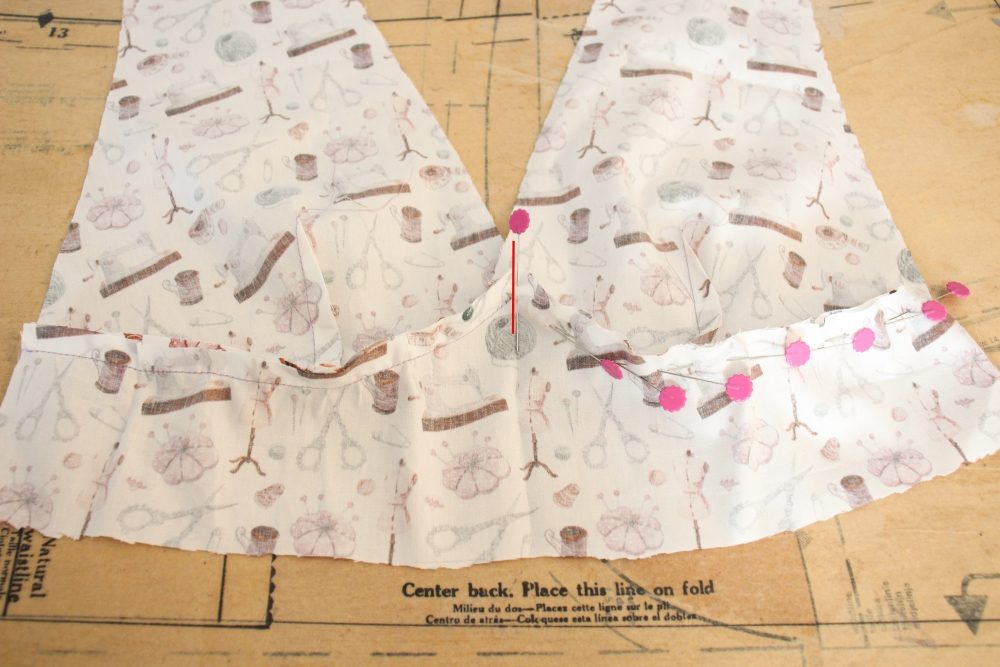
 Join the respective Outer and Inner Back Waistbands together along the top seam.
 Finger press the seam allowance towards the Inner Waistband and understitch.
 Fold and press the seam.
Step 9:
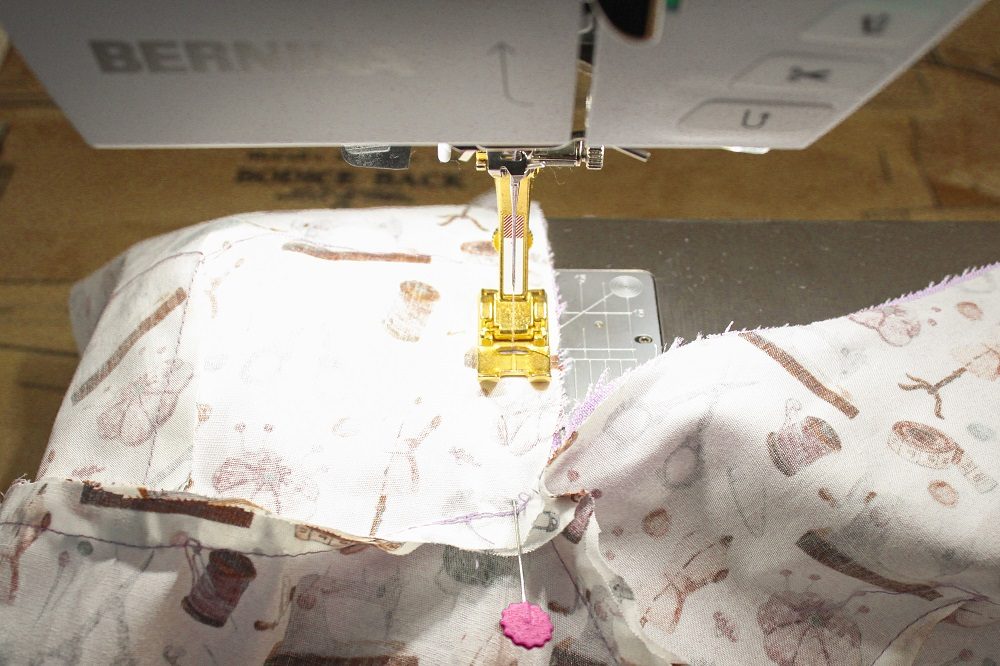
 When joining the Back Waistband to the Front, sew from centre out.
 Press seams open.
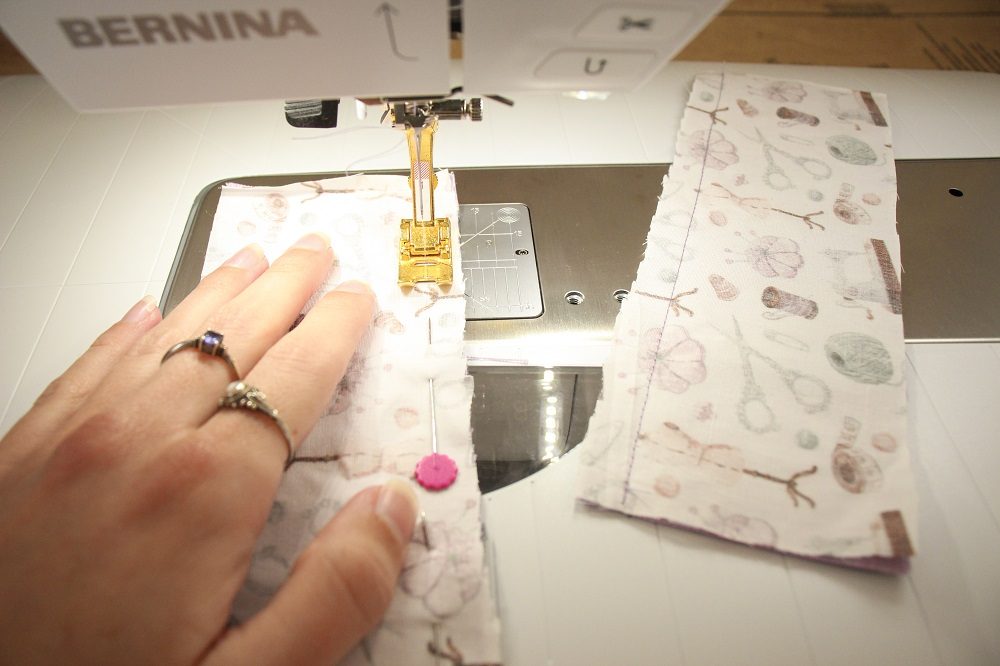
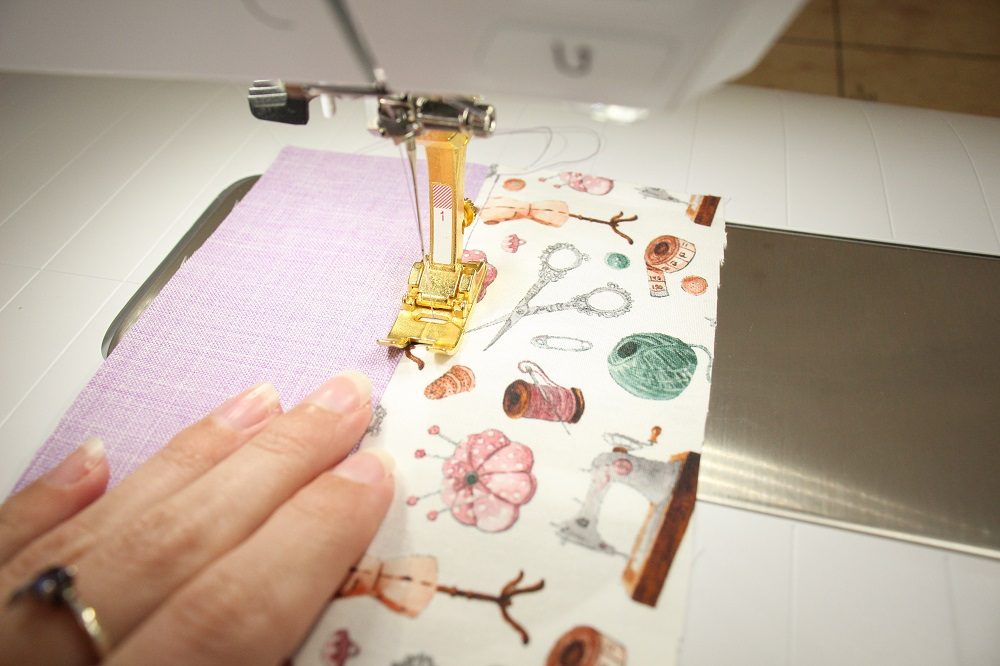
Step 10:
 As I didn’t do French seams, I sewed my Inseam pockets a different way to the pattern’s instructions.
The steps were similar to those in this blog post: Secret to Hidden Inseam Pockets
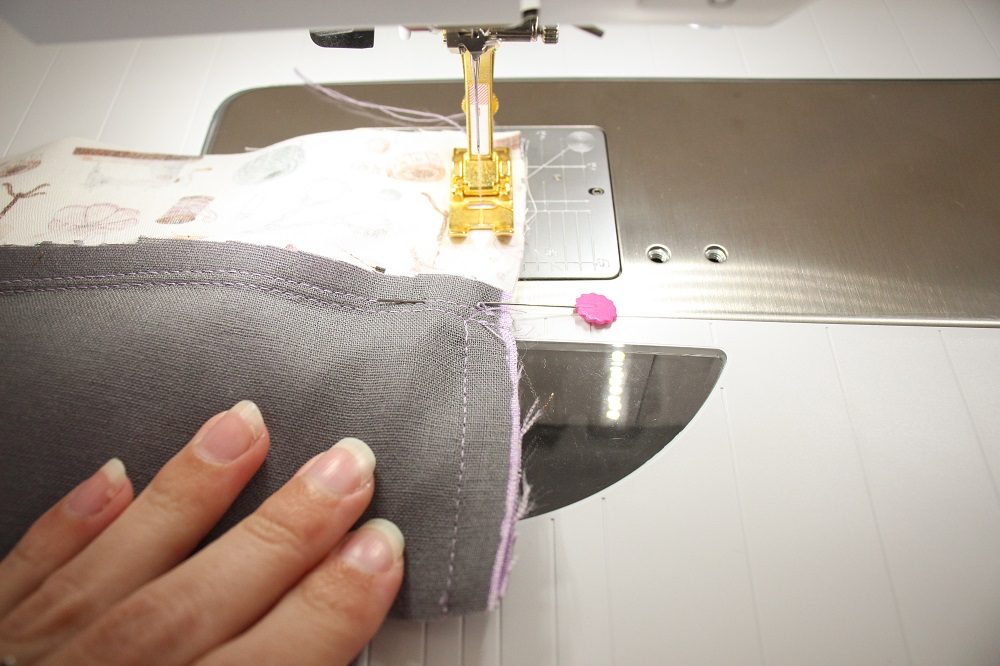
Instead of step 12:
Follow this video to make a Lapped zip Closure
At step 14:
Match up the notches of the Outer Waistband to the notches of the Skirt with the right sides together.
Sew with a 1cm seam allowance.
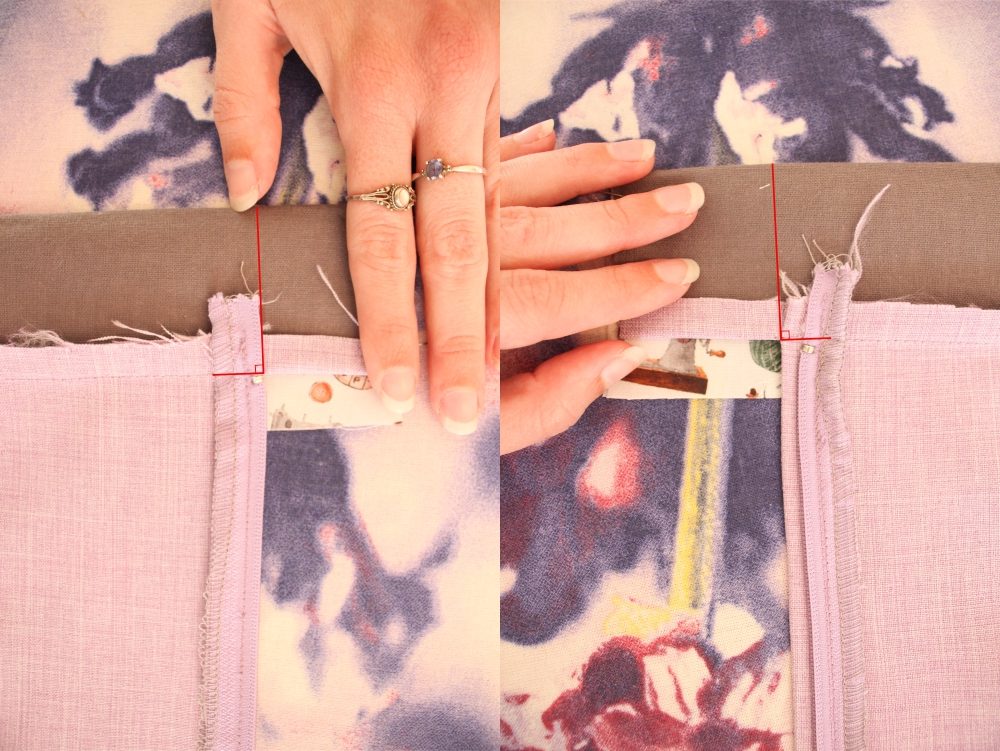
 The waistband ends will finish 3.5-4cm past the edges of the zip.
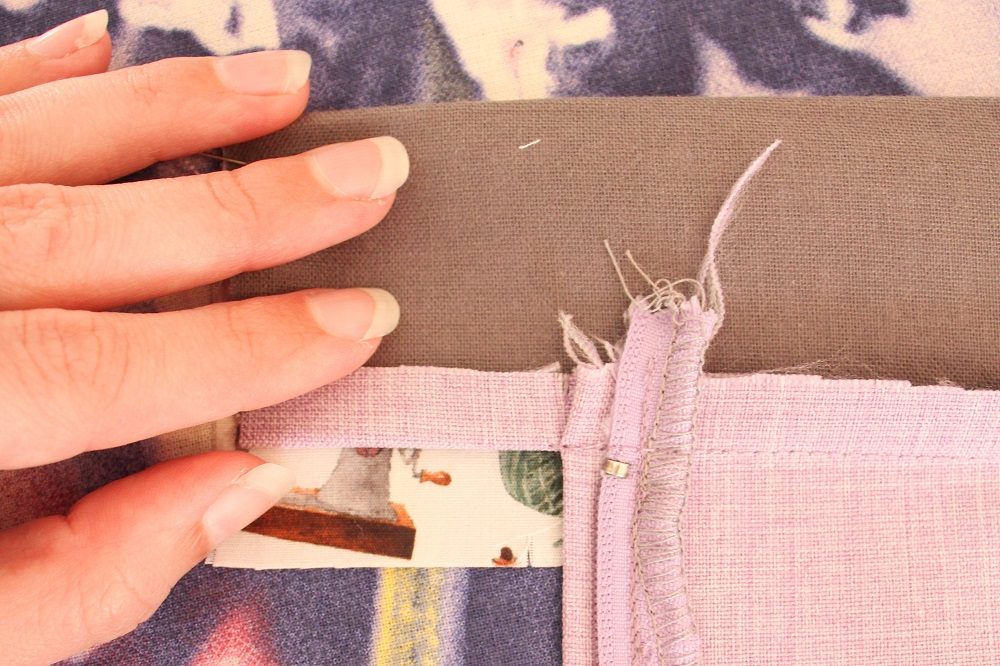
At step 15:
 Fold and press the raw edge of the Inner Waistband in by about 0.8cm.
At step 16:
 Fold the waistband in half lengthwise with right sides together.
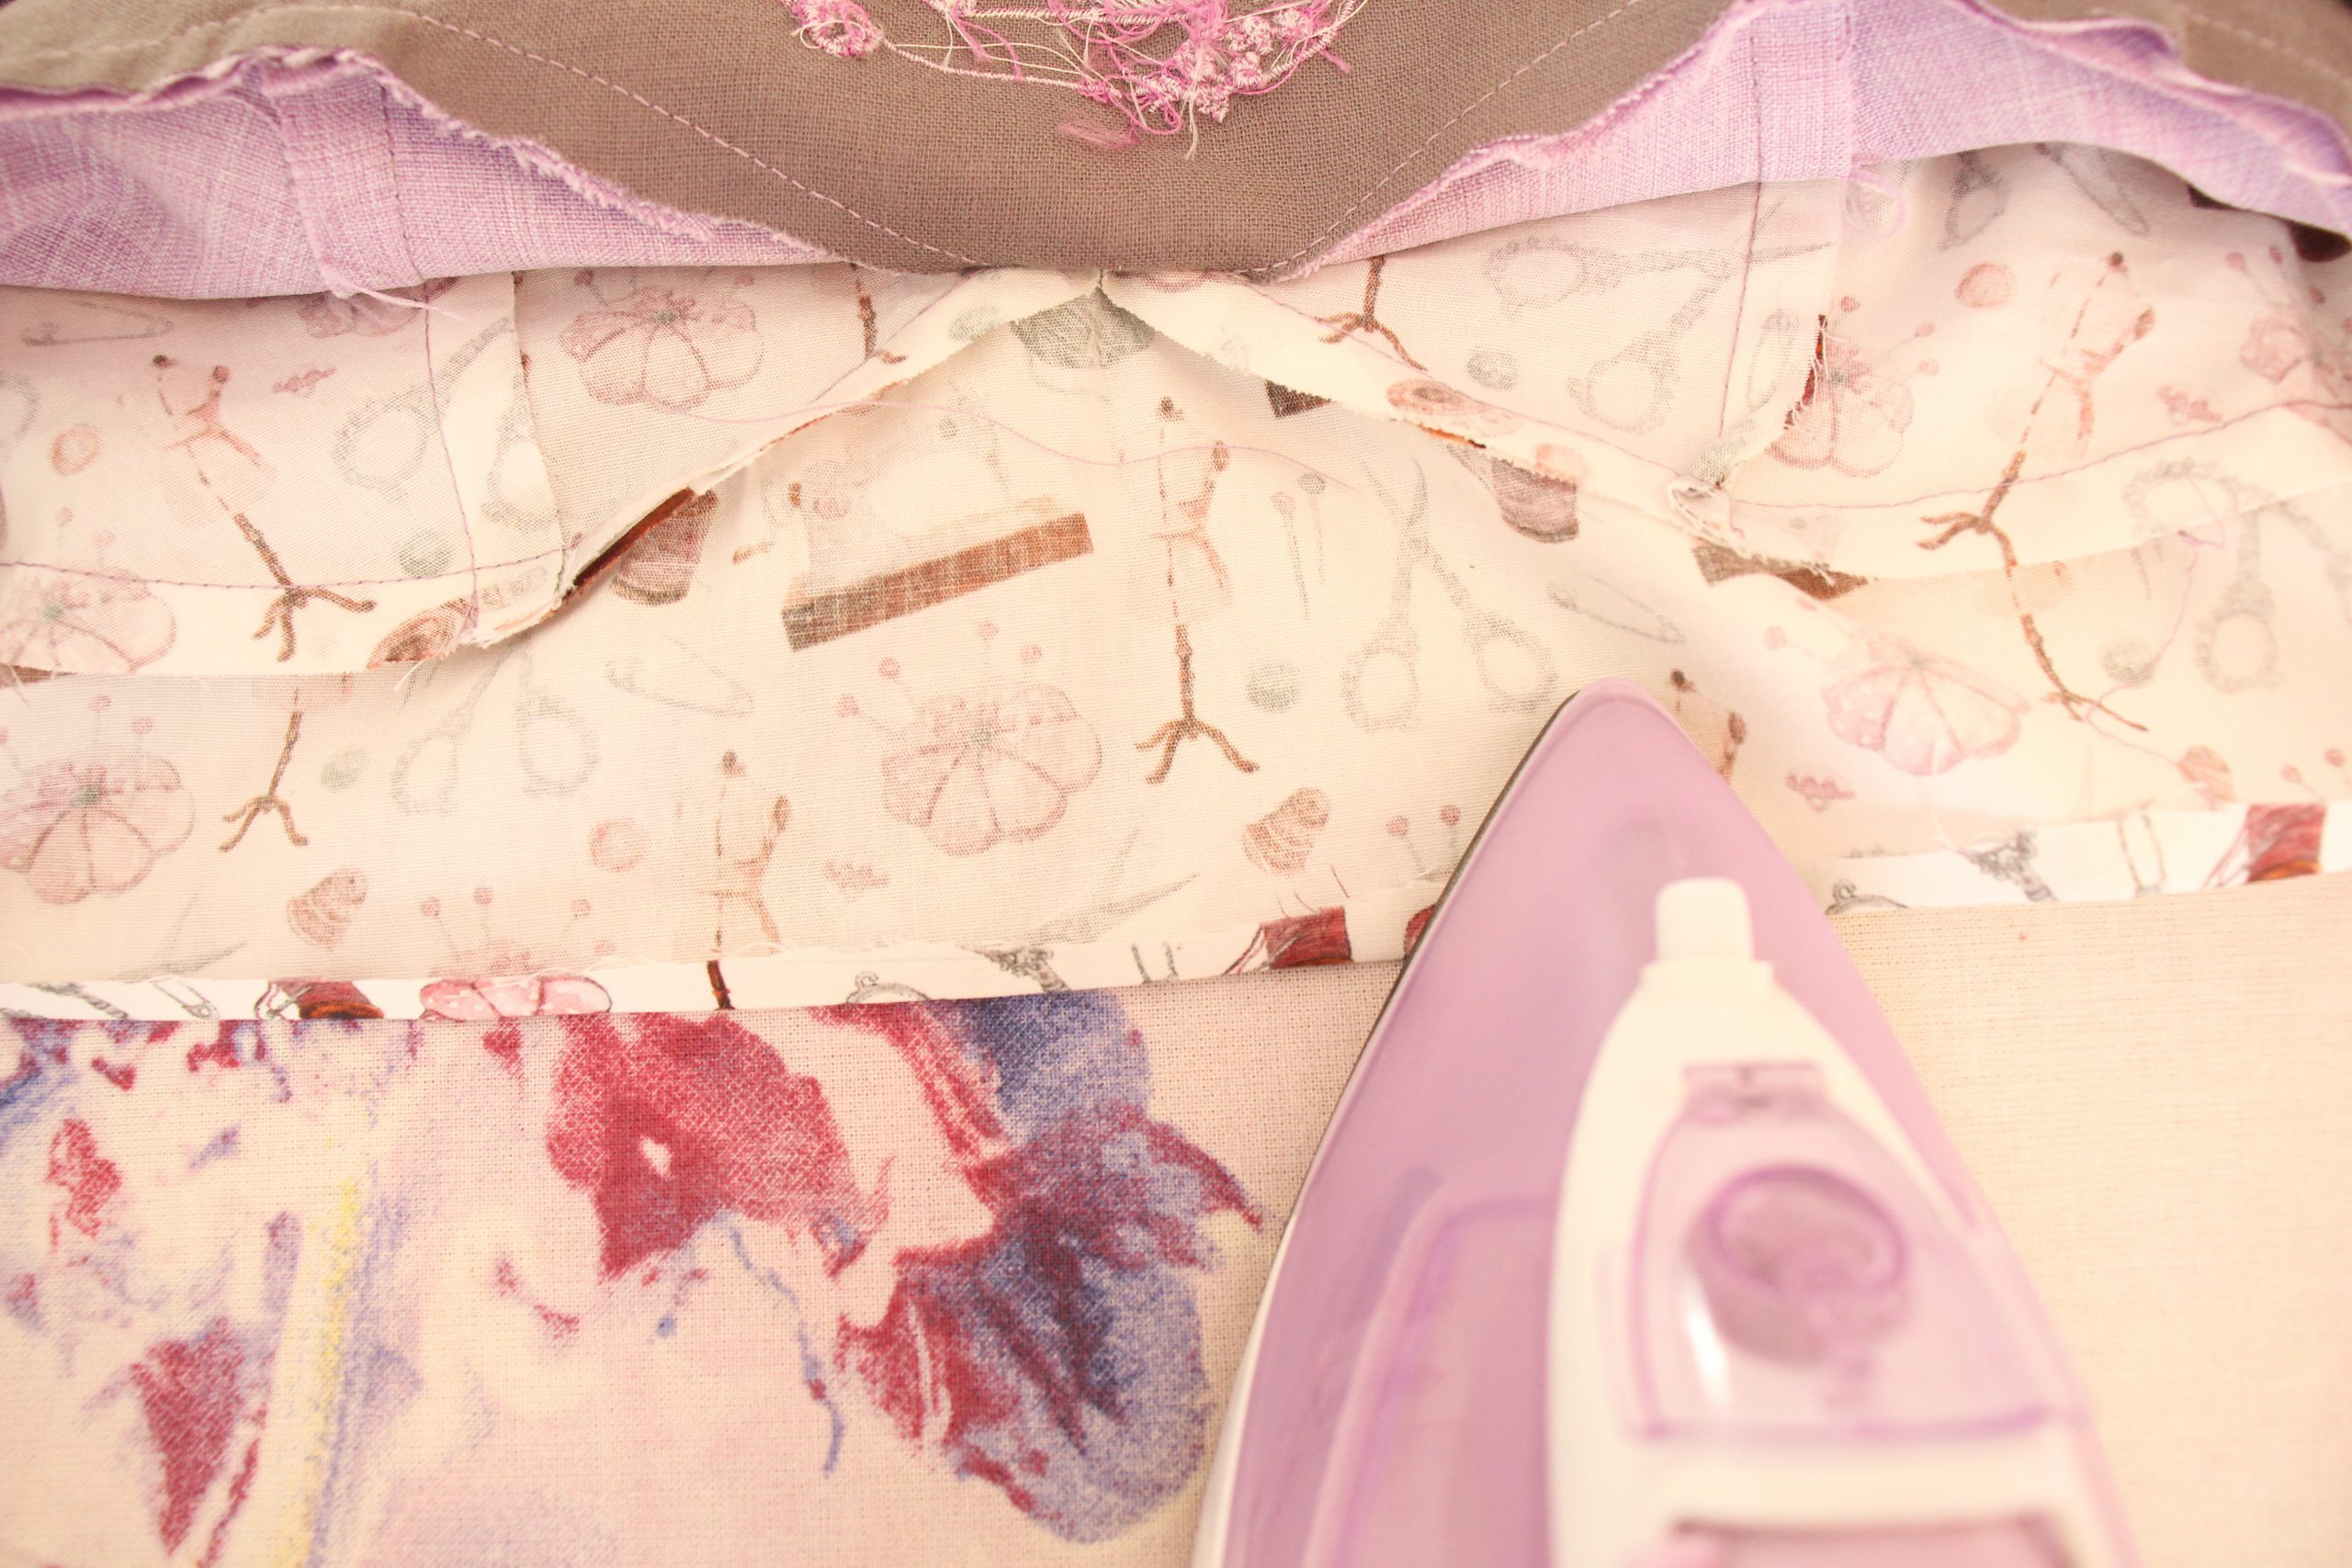
Draw a line up from the edge of the zips onto the Waistband.
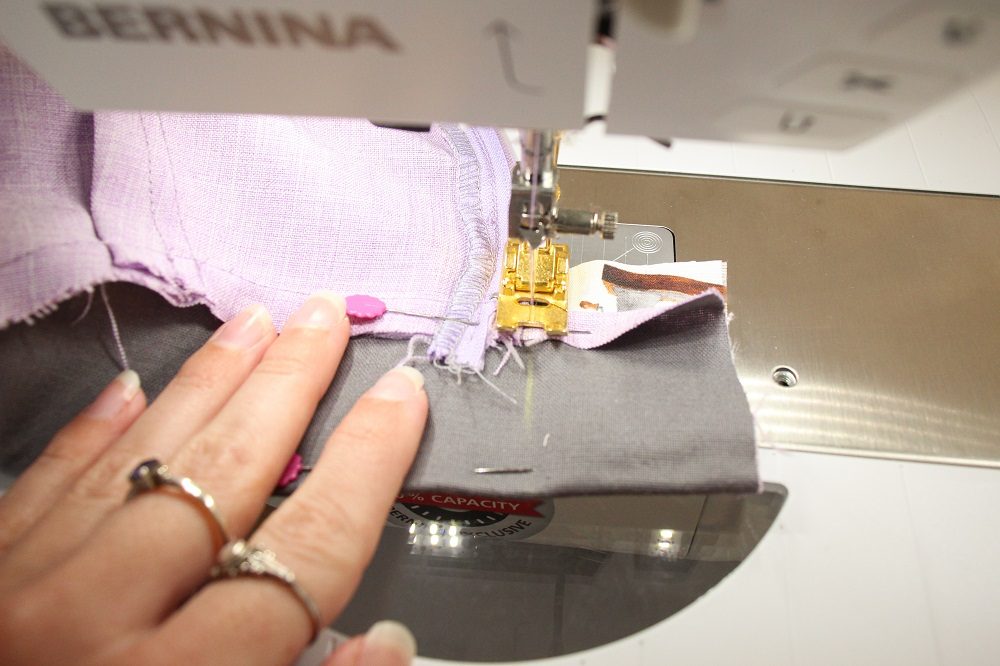 Stitch the short sides of the Waistband together, sewing along the guideline.
At step 17:
 Trim the corners (careful not to cut the stitches) and turn the Waistband right-side out.
 Press the Outer Waistband seam towards the Waistband and press the ends of the Waistband.
 Stitch in the ditch (using Edge-stitch foot #10D) to secure the Inner
For steps 18 & 19.
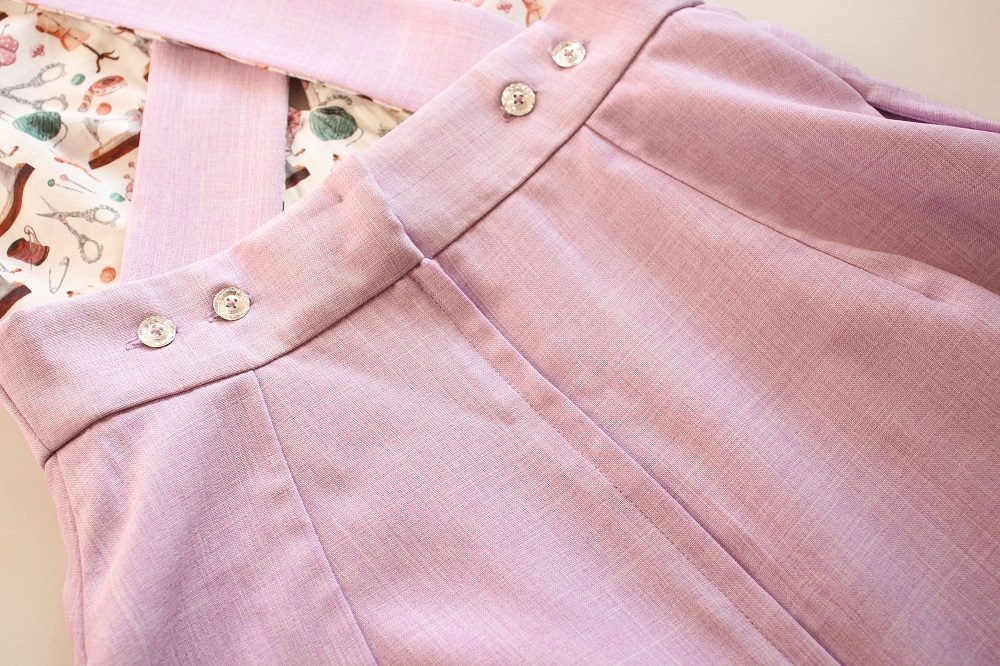
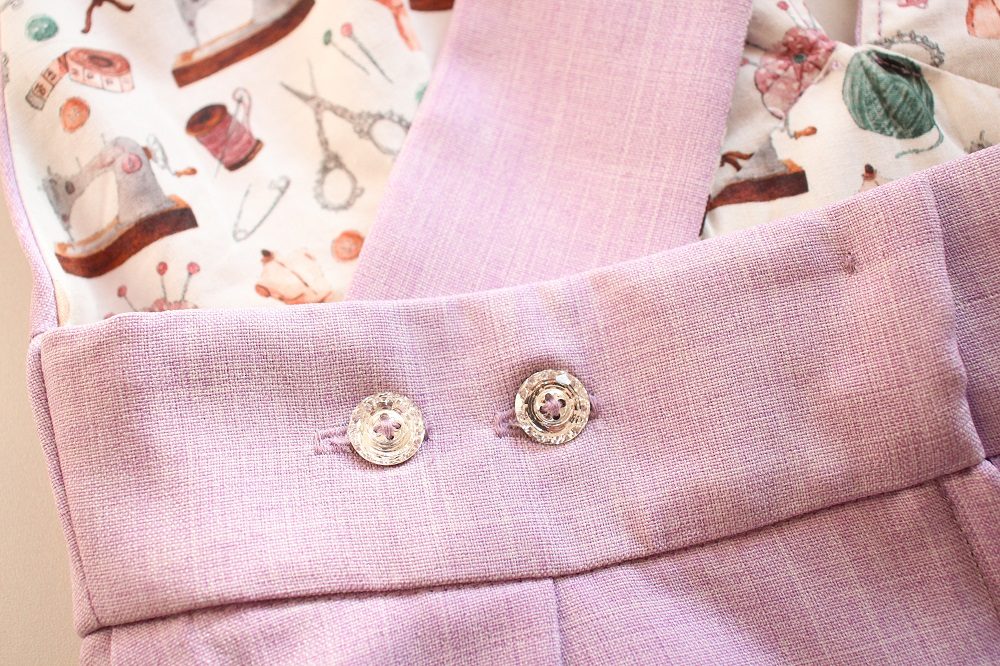
I want to be able to show off my Swarovski crystal buttons, so I placed the buttonholes on the Waistband and the buttons on the Straps.
To close the Waistband I used Hook & Eyes.
In this video I share how easy it is to make buttonholes with the B735 & the automatic Buttonhole Foot #3A as well as attach buttons and hook & eyes with Button Sew-On Foot #18.

Tips
- A great way to determine the length of the zip is to base it on your Hip Depth measurement.
Measure along your side from your Natural Waist to the widest part of your hips to determine your Hip Depth.
Zips come in set lengths, so round up the measurement and you can always shorten the zip (from the base) if necessary. - I used a size 36 Bib with a size 34 Skirt & Waistband
I added to the side of the Bib to provide a bit more coverage. - The only other adjustments were to the style of the dress.
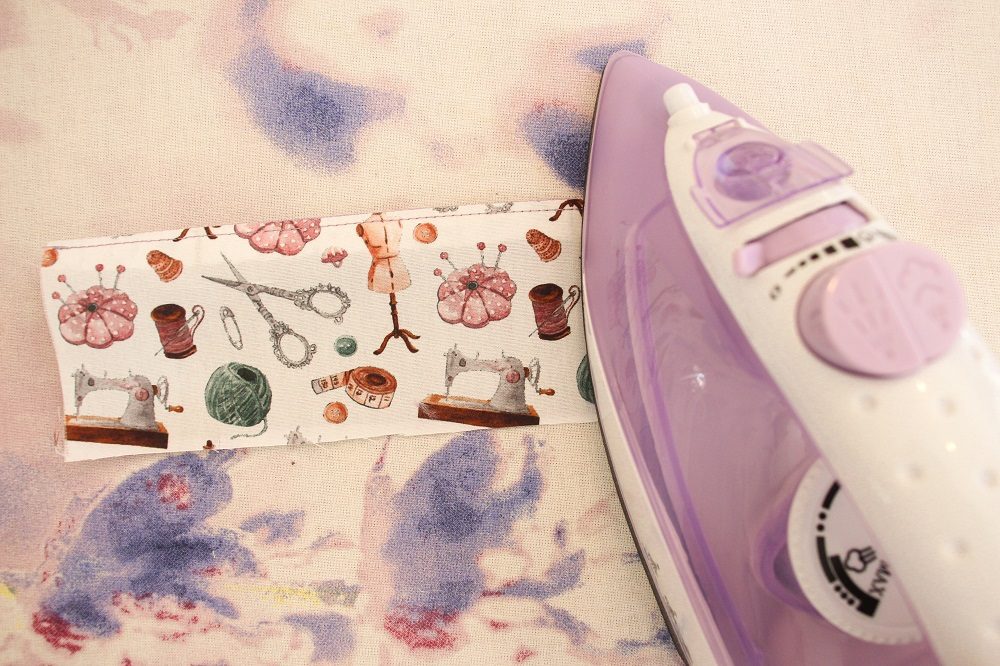
- You can embroider on the original shaped Bib. I would still recommend tracing the Bib pattern piece on to the fabric and only cutting it out after embroidering it.
I would love to see the pinafore you make, please feel free to share with me!
And remember to tag the pattern maker @just-patterns
Instagram
Facebook
-Hannah-Rose


Wonderful pattern. Very nice & helpfull information shar you.
Thank you Raj 🙂
The pattern maker Just Patterns did a great job.