 BERNINA Corporate Blog -
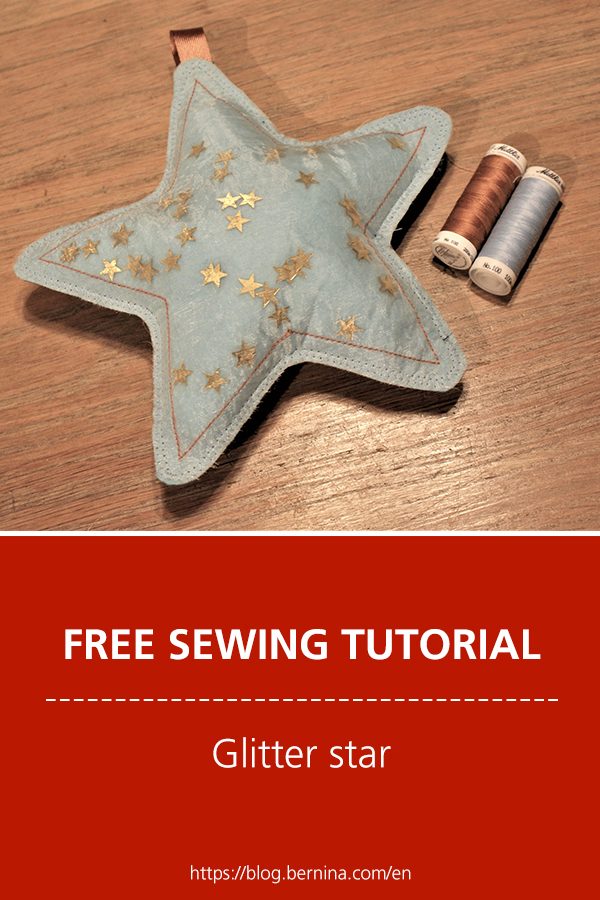
Today I’m joining the global Sew a Softie tutorial hop organised by Trixi @sewasoftie. Sew a Softie is an annual initiative to inspire kids and adults all over the world to learn to sew. My project for Sew a softie in July: sew a glitter star.
Please join in on Instagram and Facebook and tag #sewasoftie @sewasoftie to be in the running for some fun prizes.
Pop over to @The.flamboyance.flutter to see yesterdays tutorial and don’t forget to visit @deknutseljuf tomorrow for more softie magic.
When sewing together with children, always think of safety. It is a good idea to keep looking when they sew. Try to sew in left over fabric or paper before starting. Reduce sewing machine speed for a successful start. Explain the next step well before they start it.
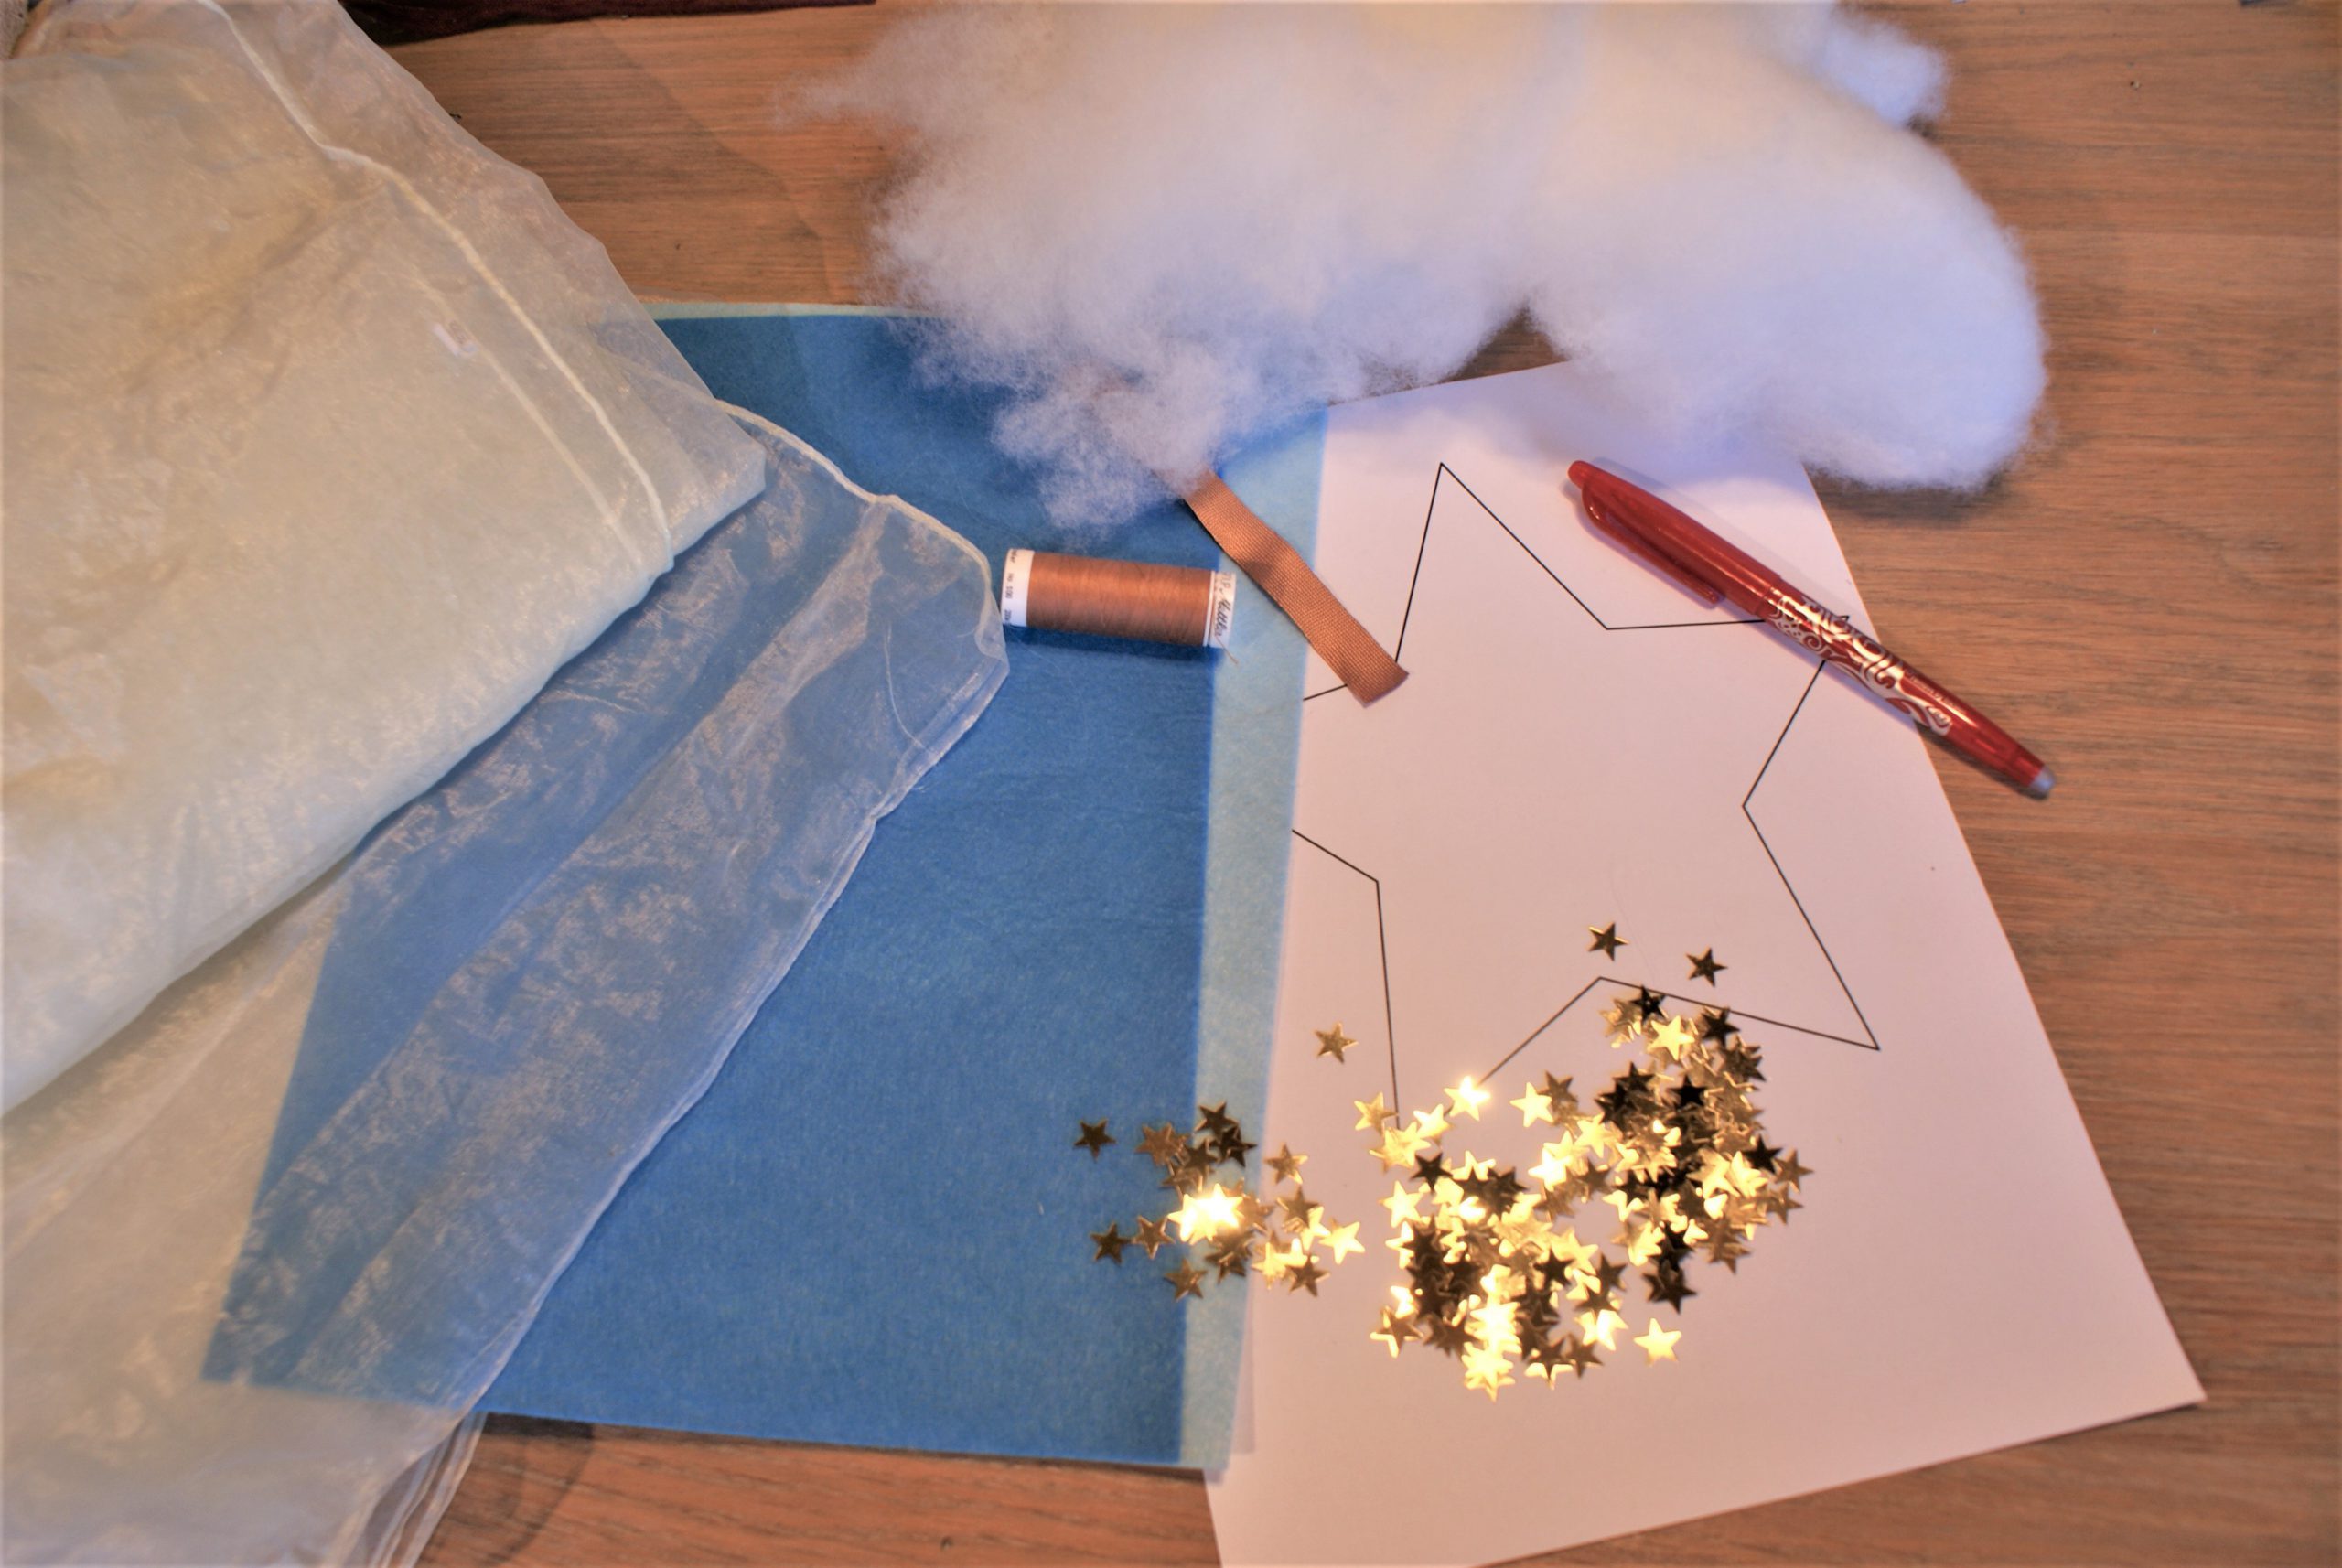
What do you need to sew a glitter star?
- Felt (or non fringing fabric), 2 sheets in a standard printer size
- Organza slightly bigger than the felt
- Tape or ribbon for a hanger
- Glitter stars
- Cushion filling
- A star shape
- Heat erasable pen
- Mettler Seralon sewing thread in matching colours
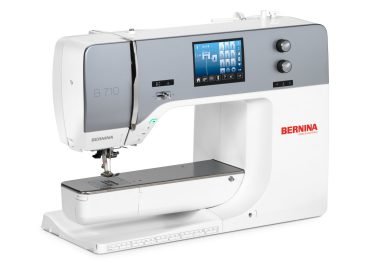
- BERNINA 710
Preparation to sew the magic star:
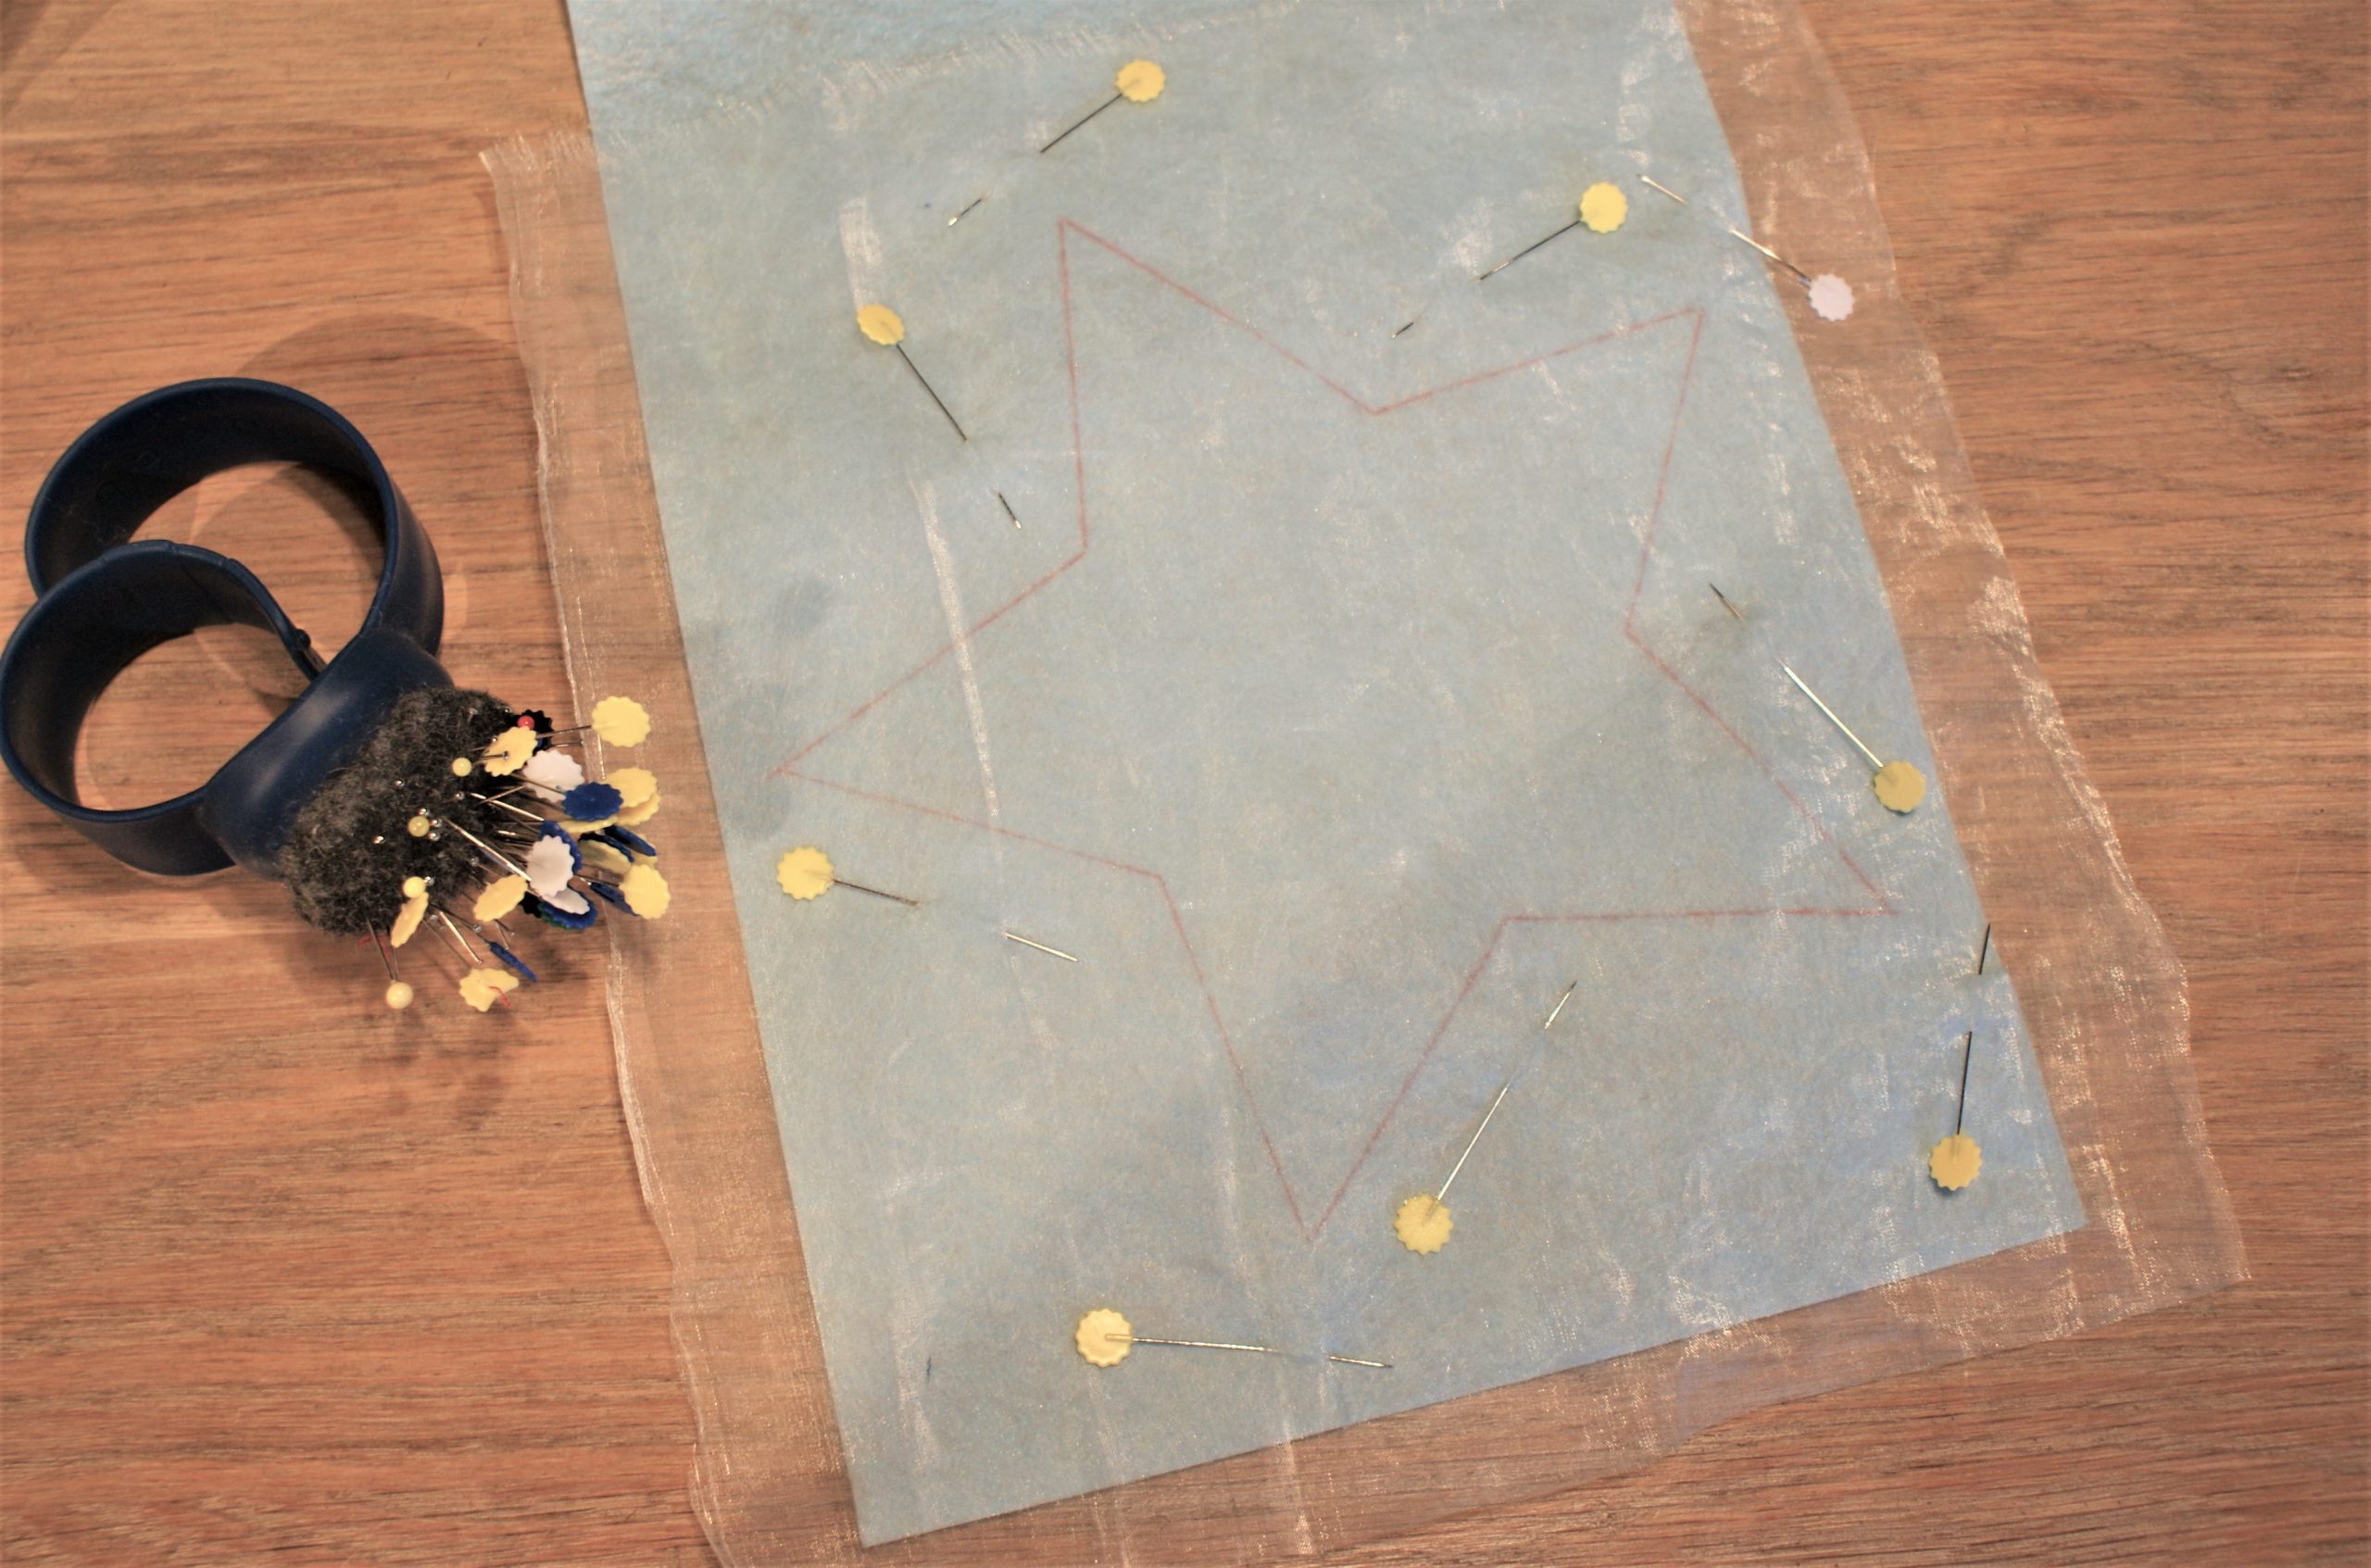
Cut out the star shape and trace it to the felt:

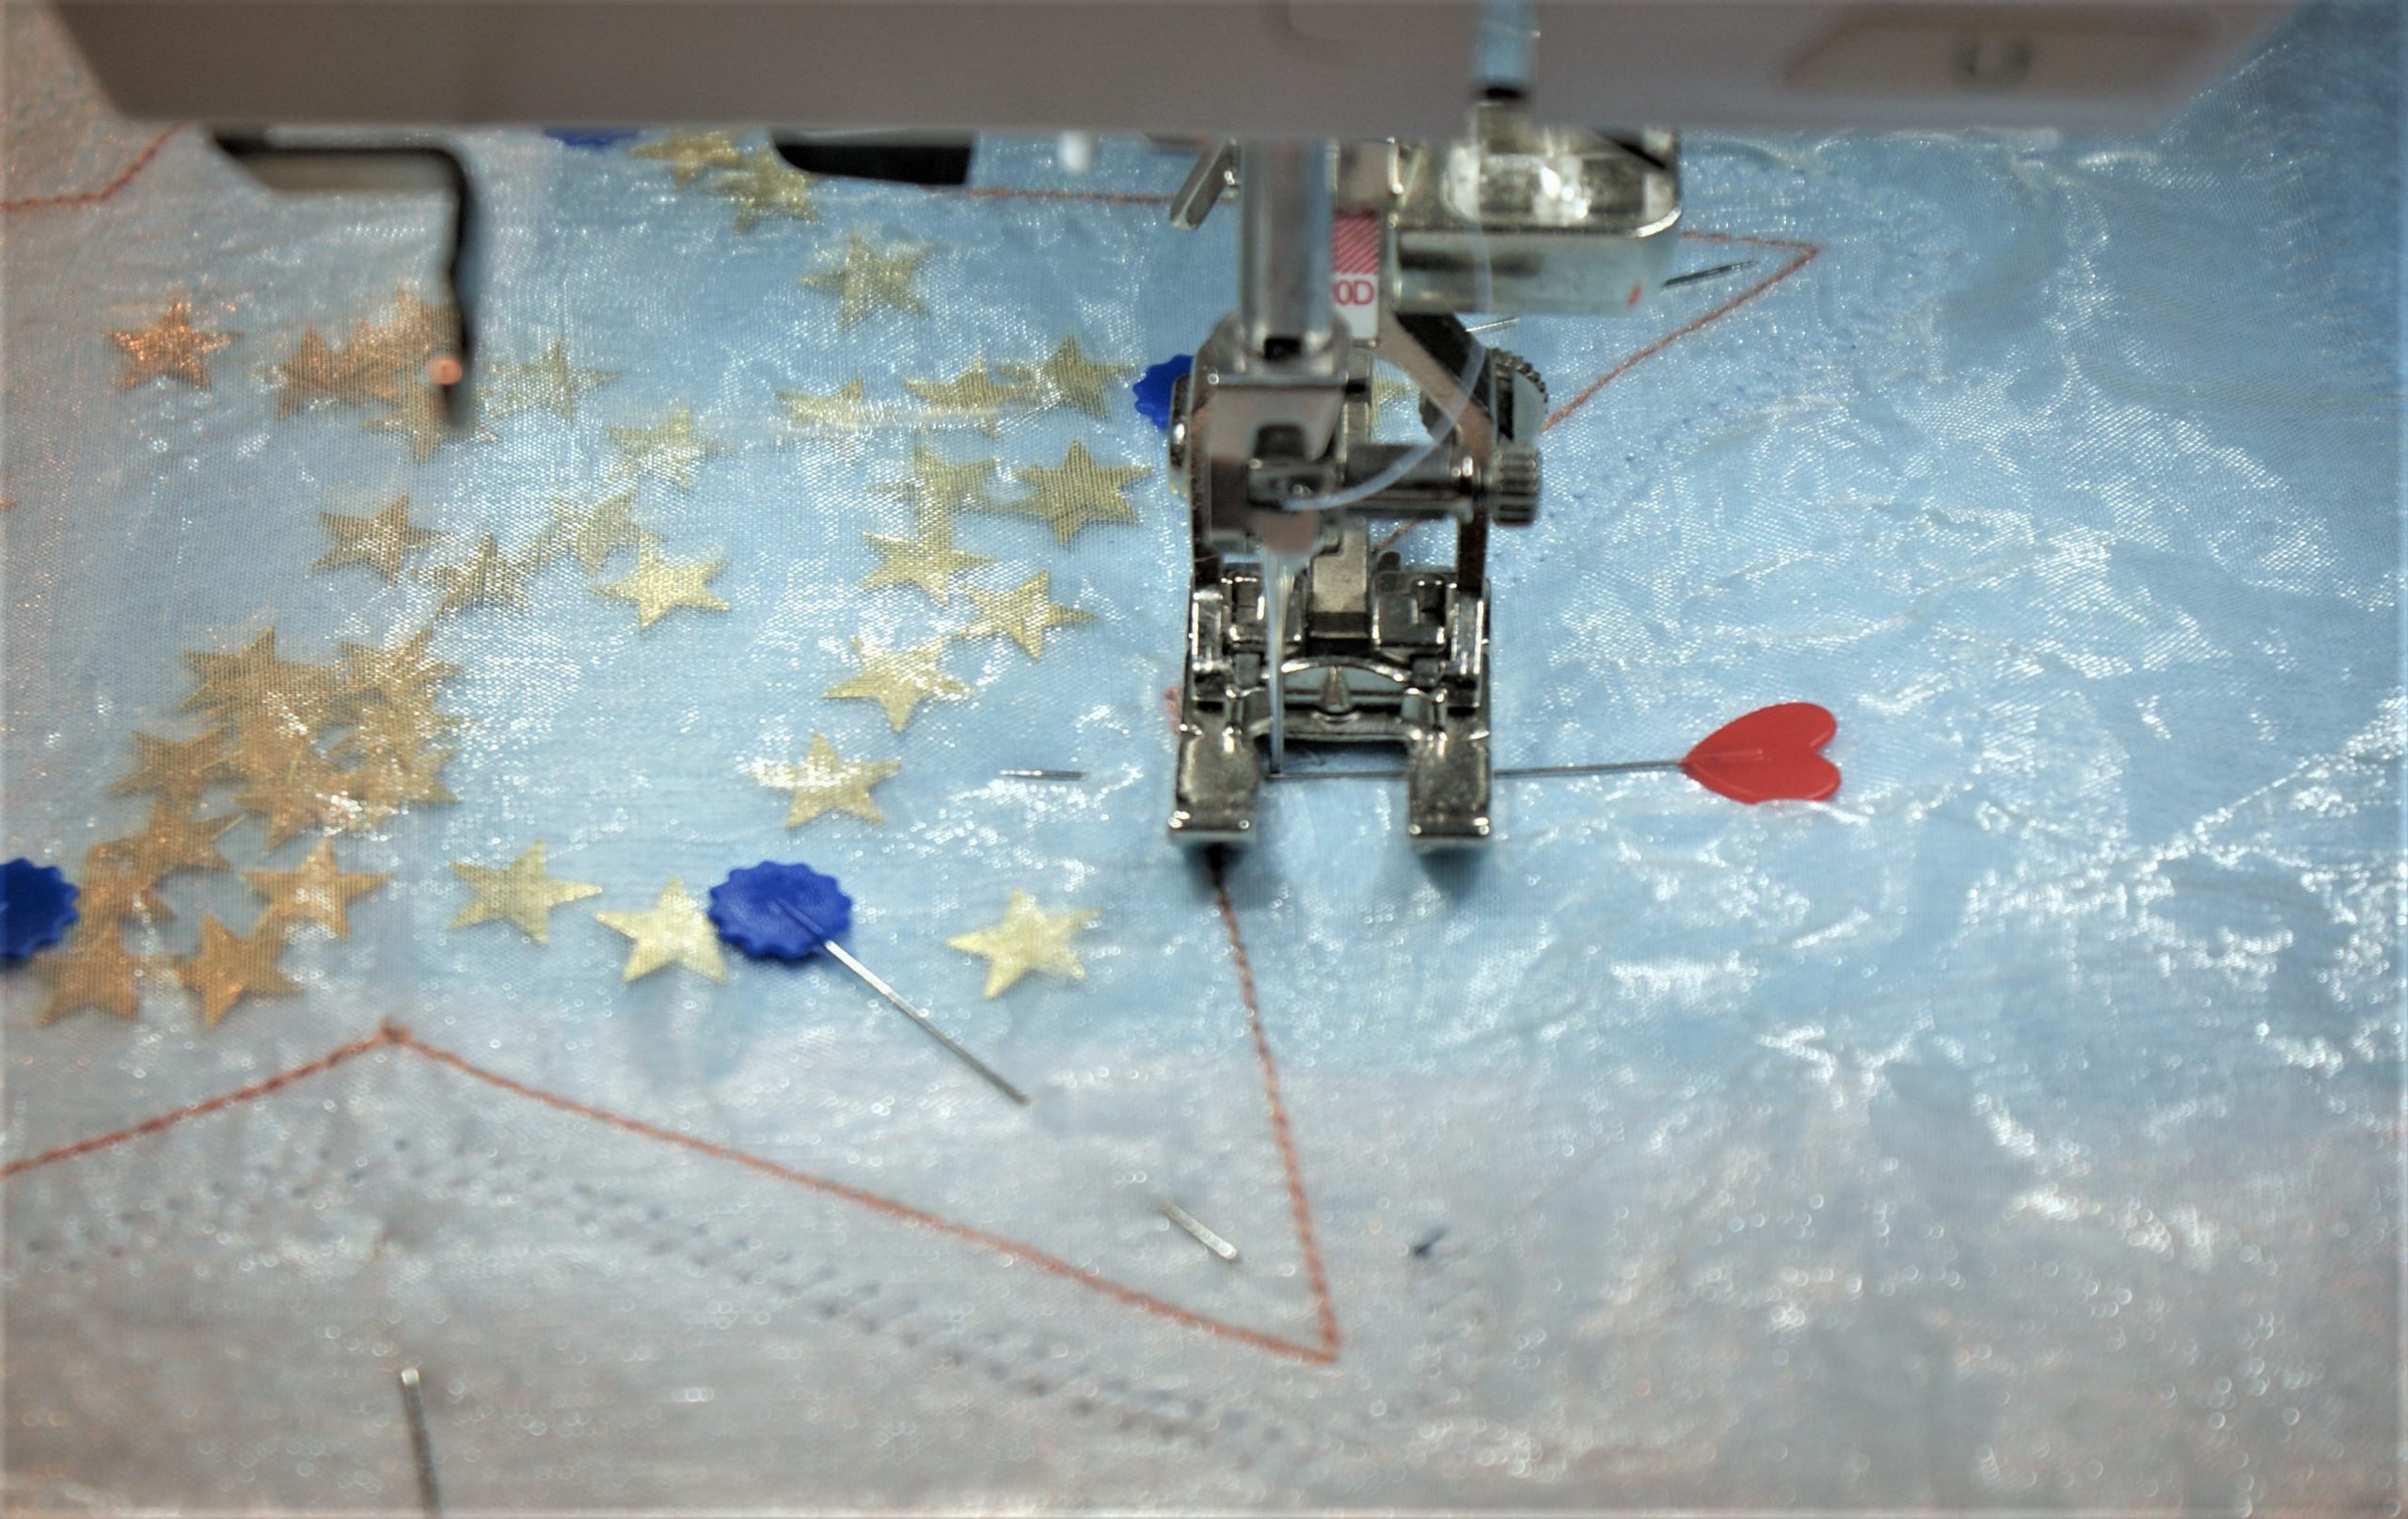
Pin the organza fabric to the felt: position the pins at a safe distance not to sew over them with the presser foot.
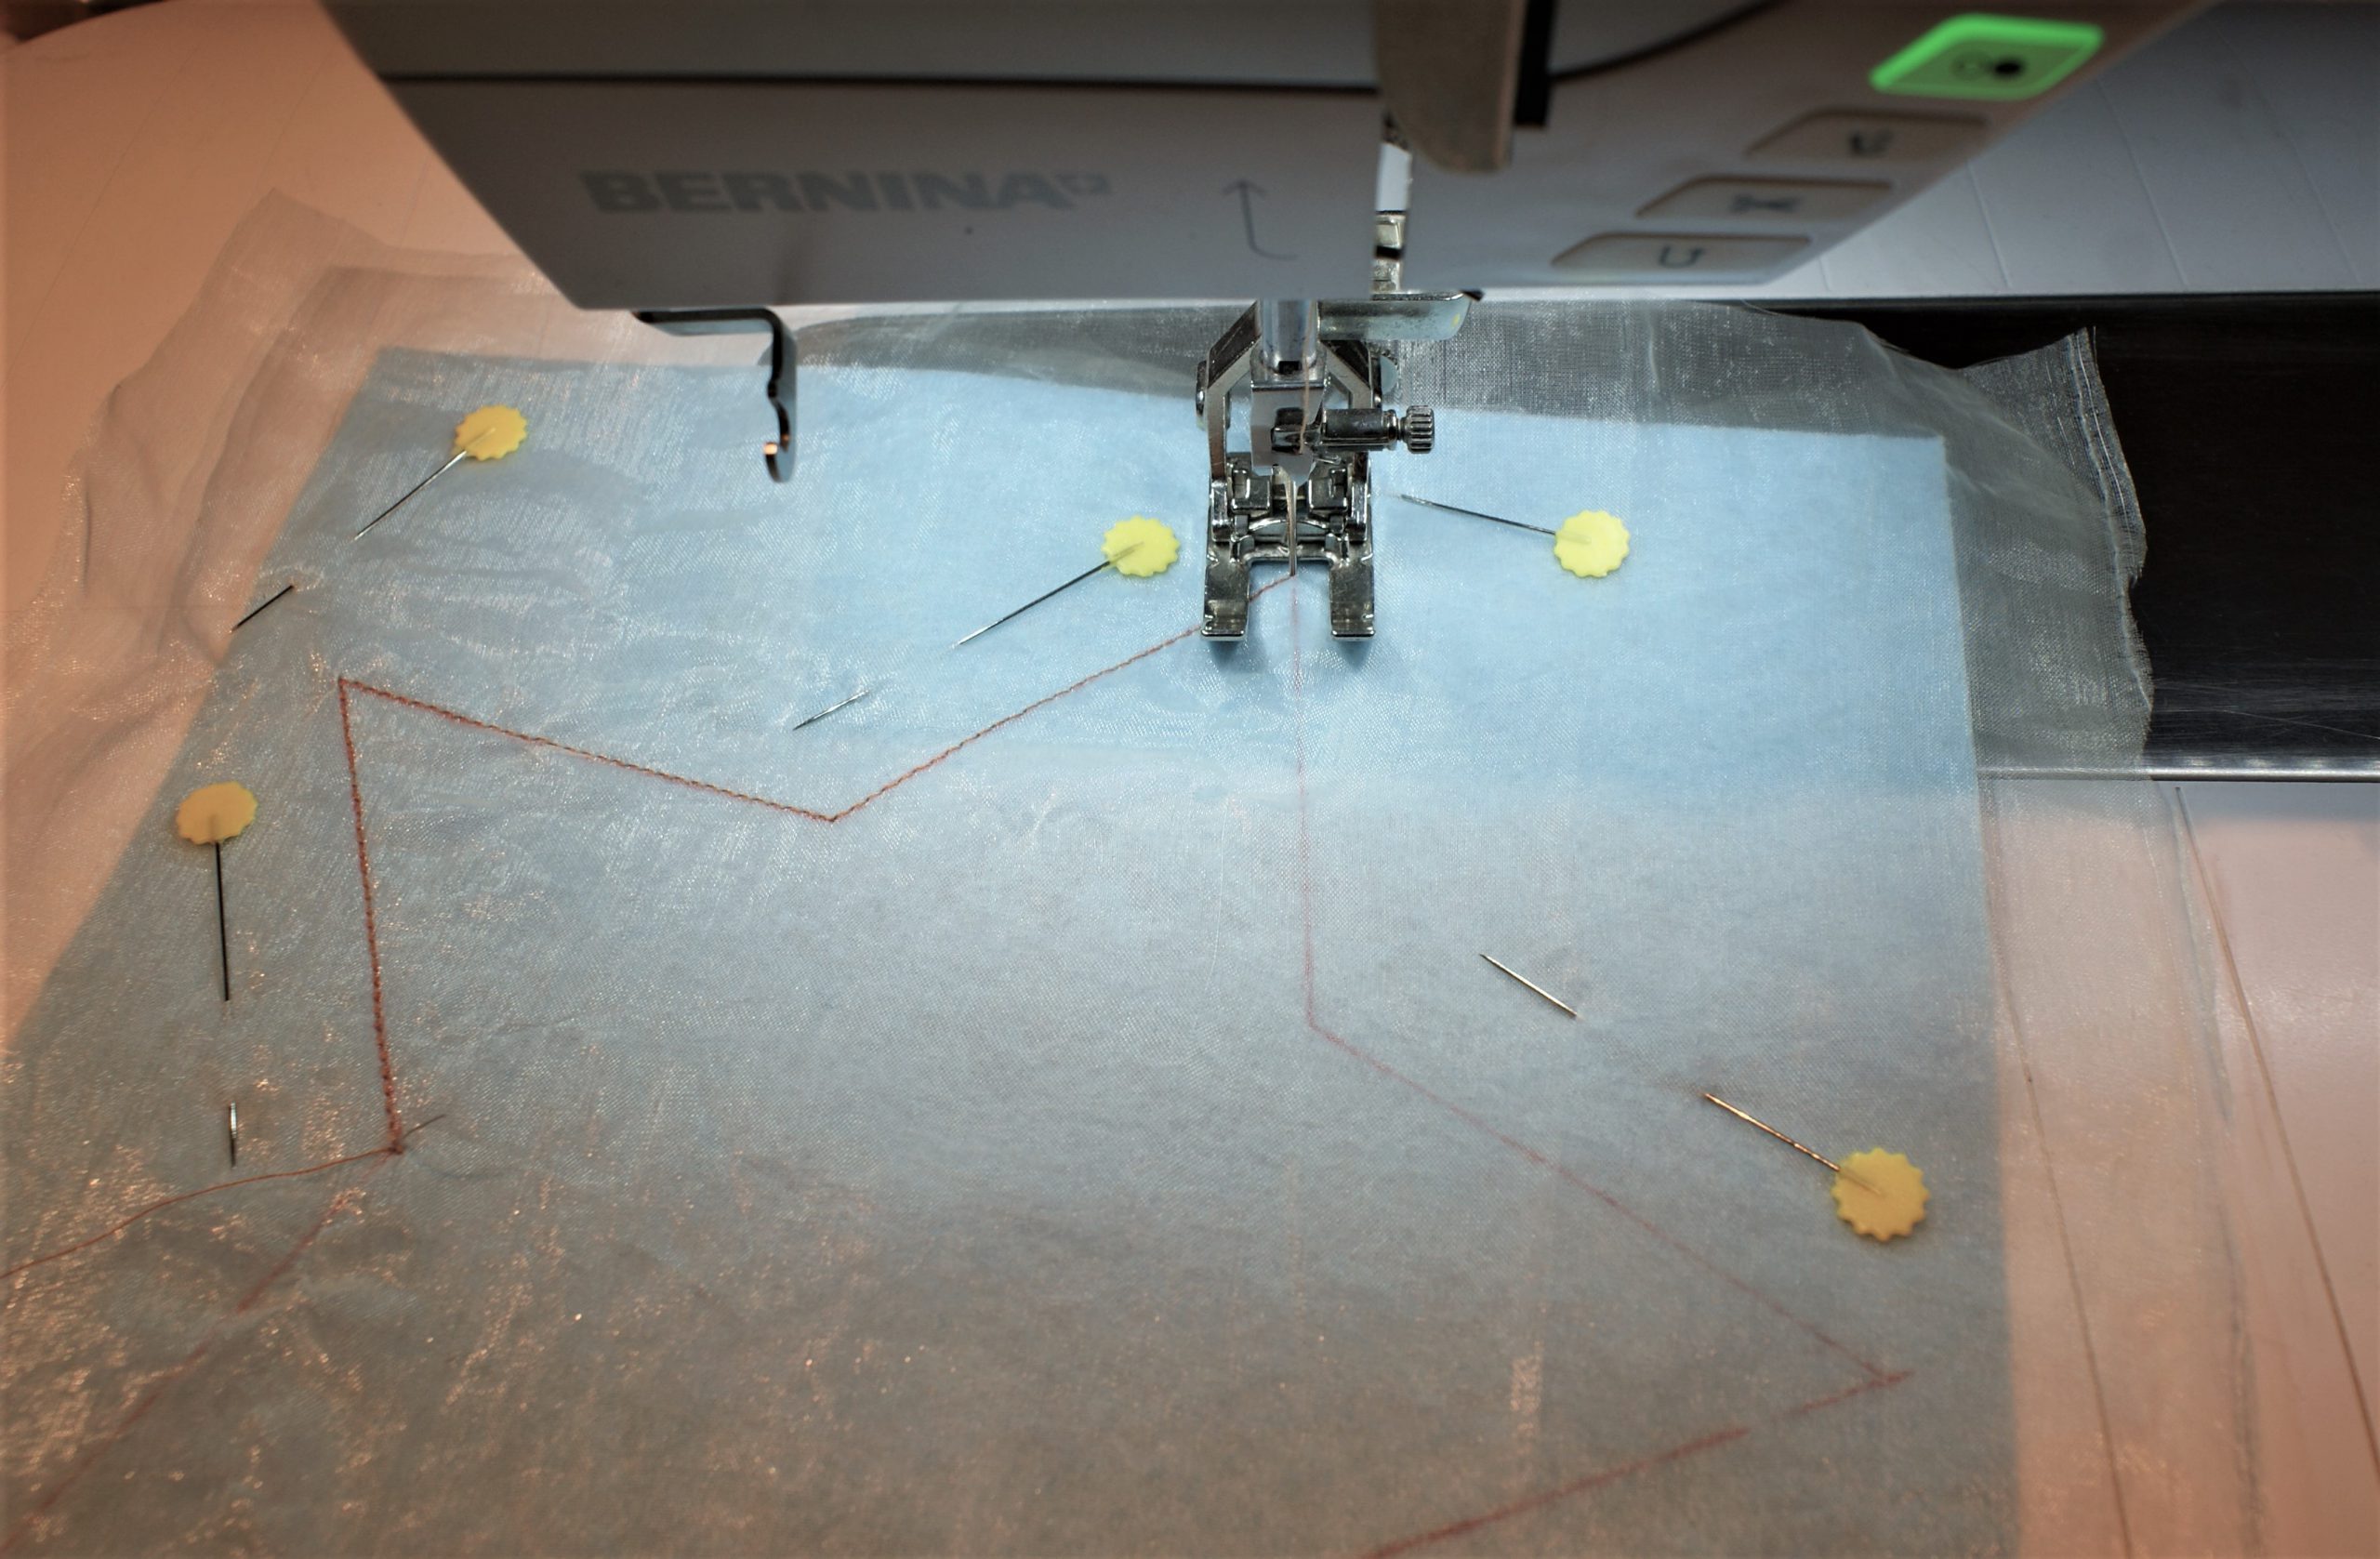
Sew the magic softie star:
I chose Open embroidery foot # 20 to have a clear view at sewing.

Secure stitches and start sewing in a corner. Turn around the corner with the needle down in the fabric.
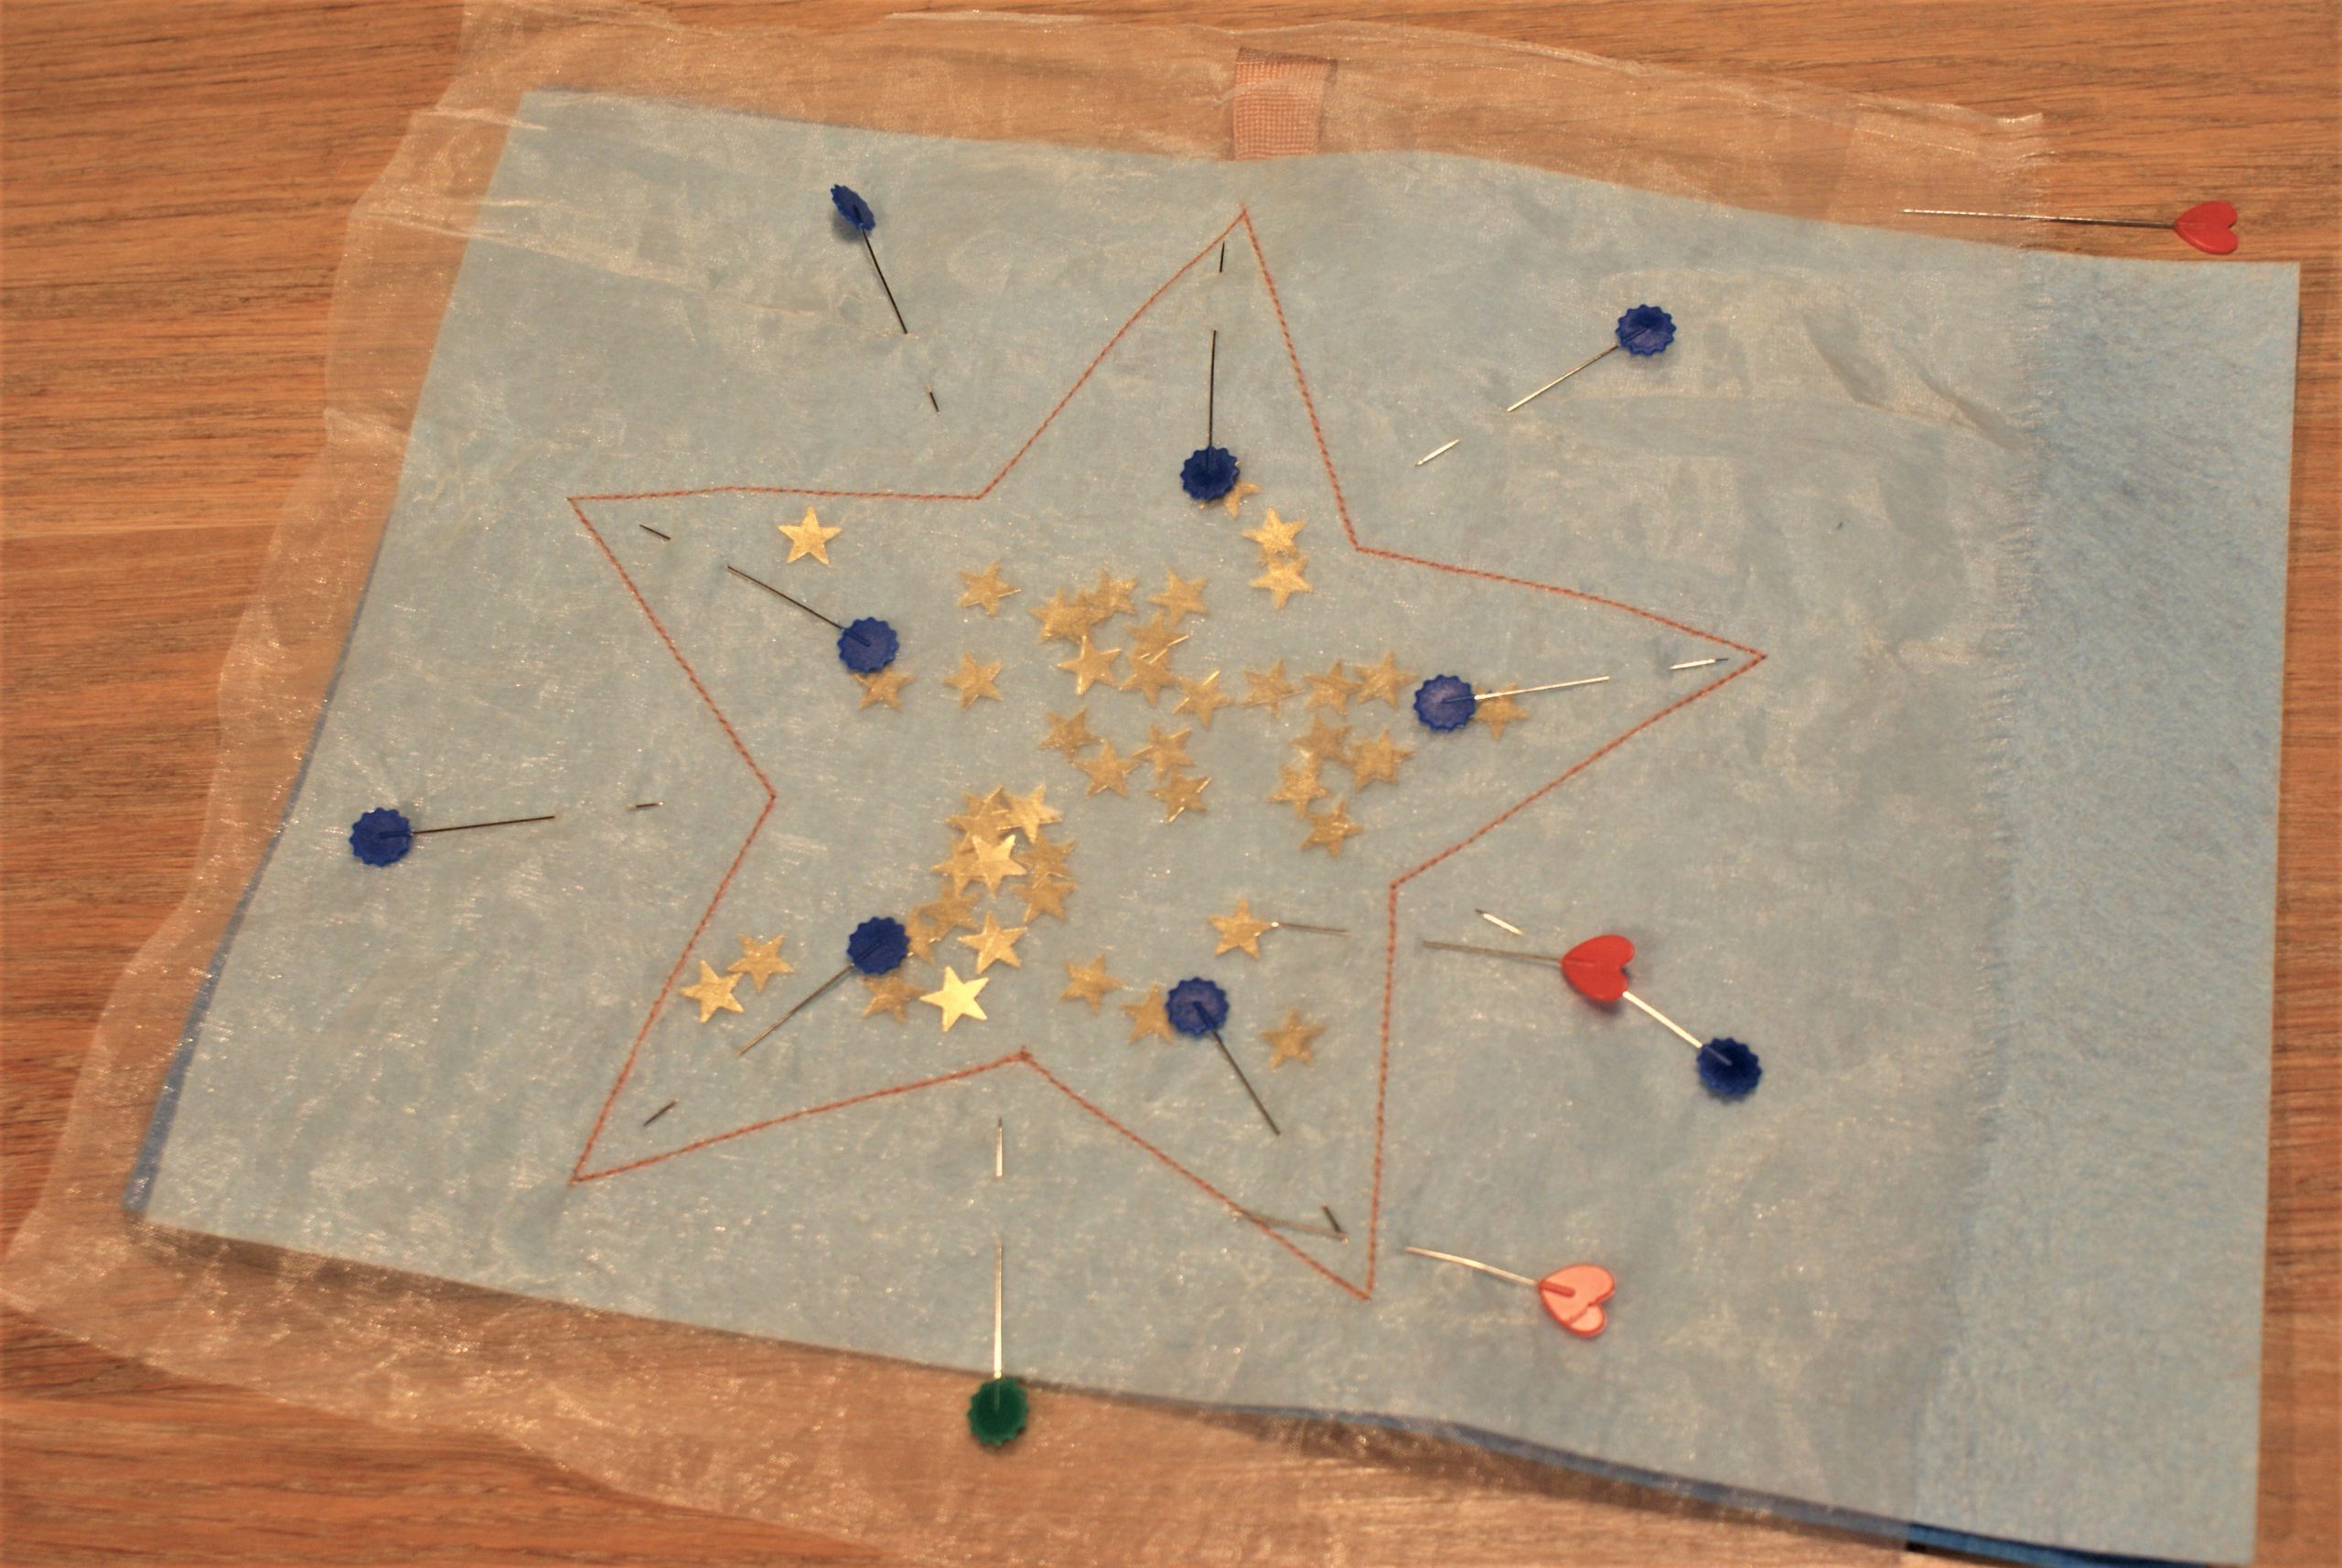
Sew for 3,5 star points, then stop to add the glitter stars under the organza fabric. A small spoon is useful:

Continue sewing towards the beginning of the stitching and secure stitches.
Sew front and back of the softie together:
Add the back fabric to the star and pin. Insert the folded tape for the hanger.
You will have to leave one side of a star point open to fill the softie. It is marked with red pins which part you should not sew yet:
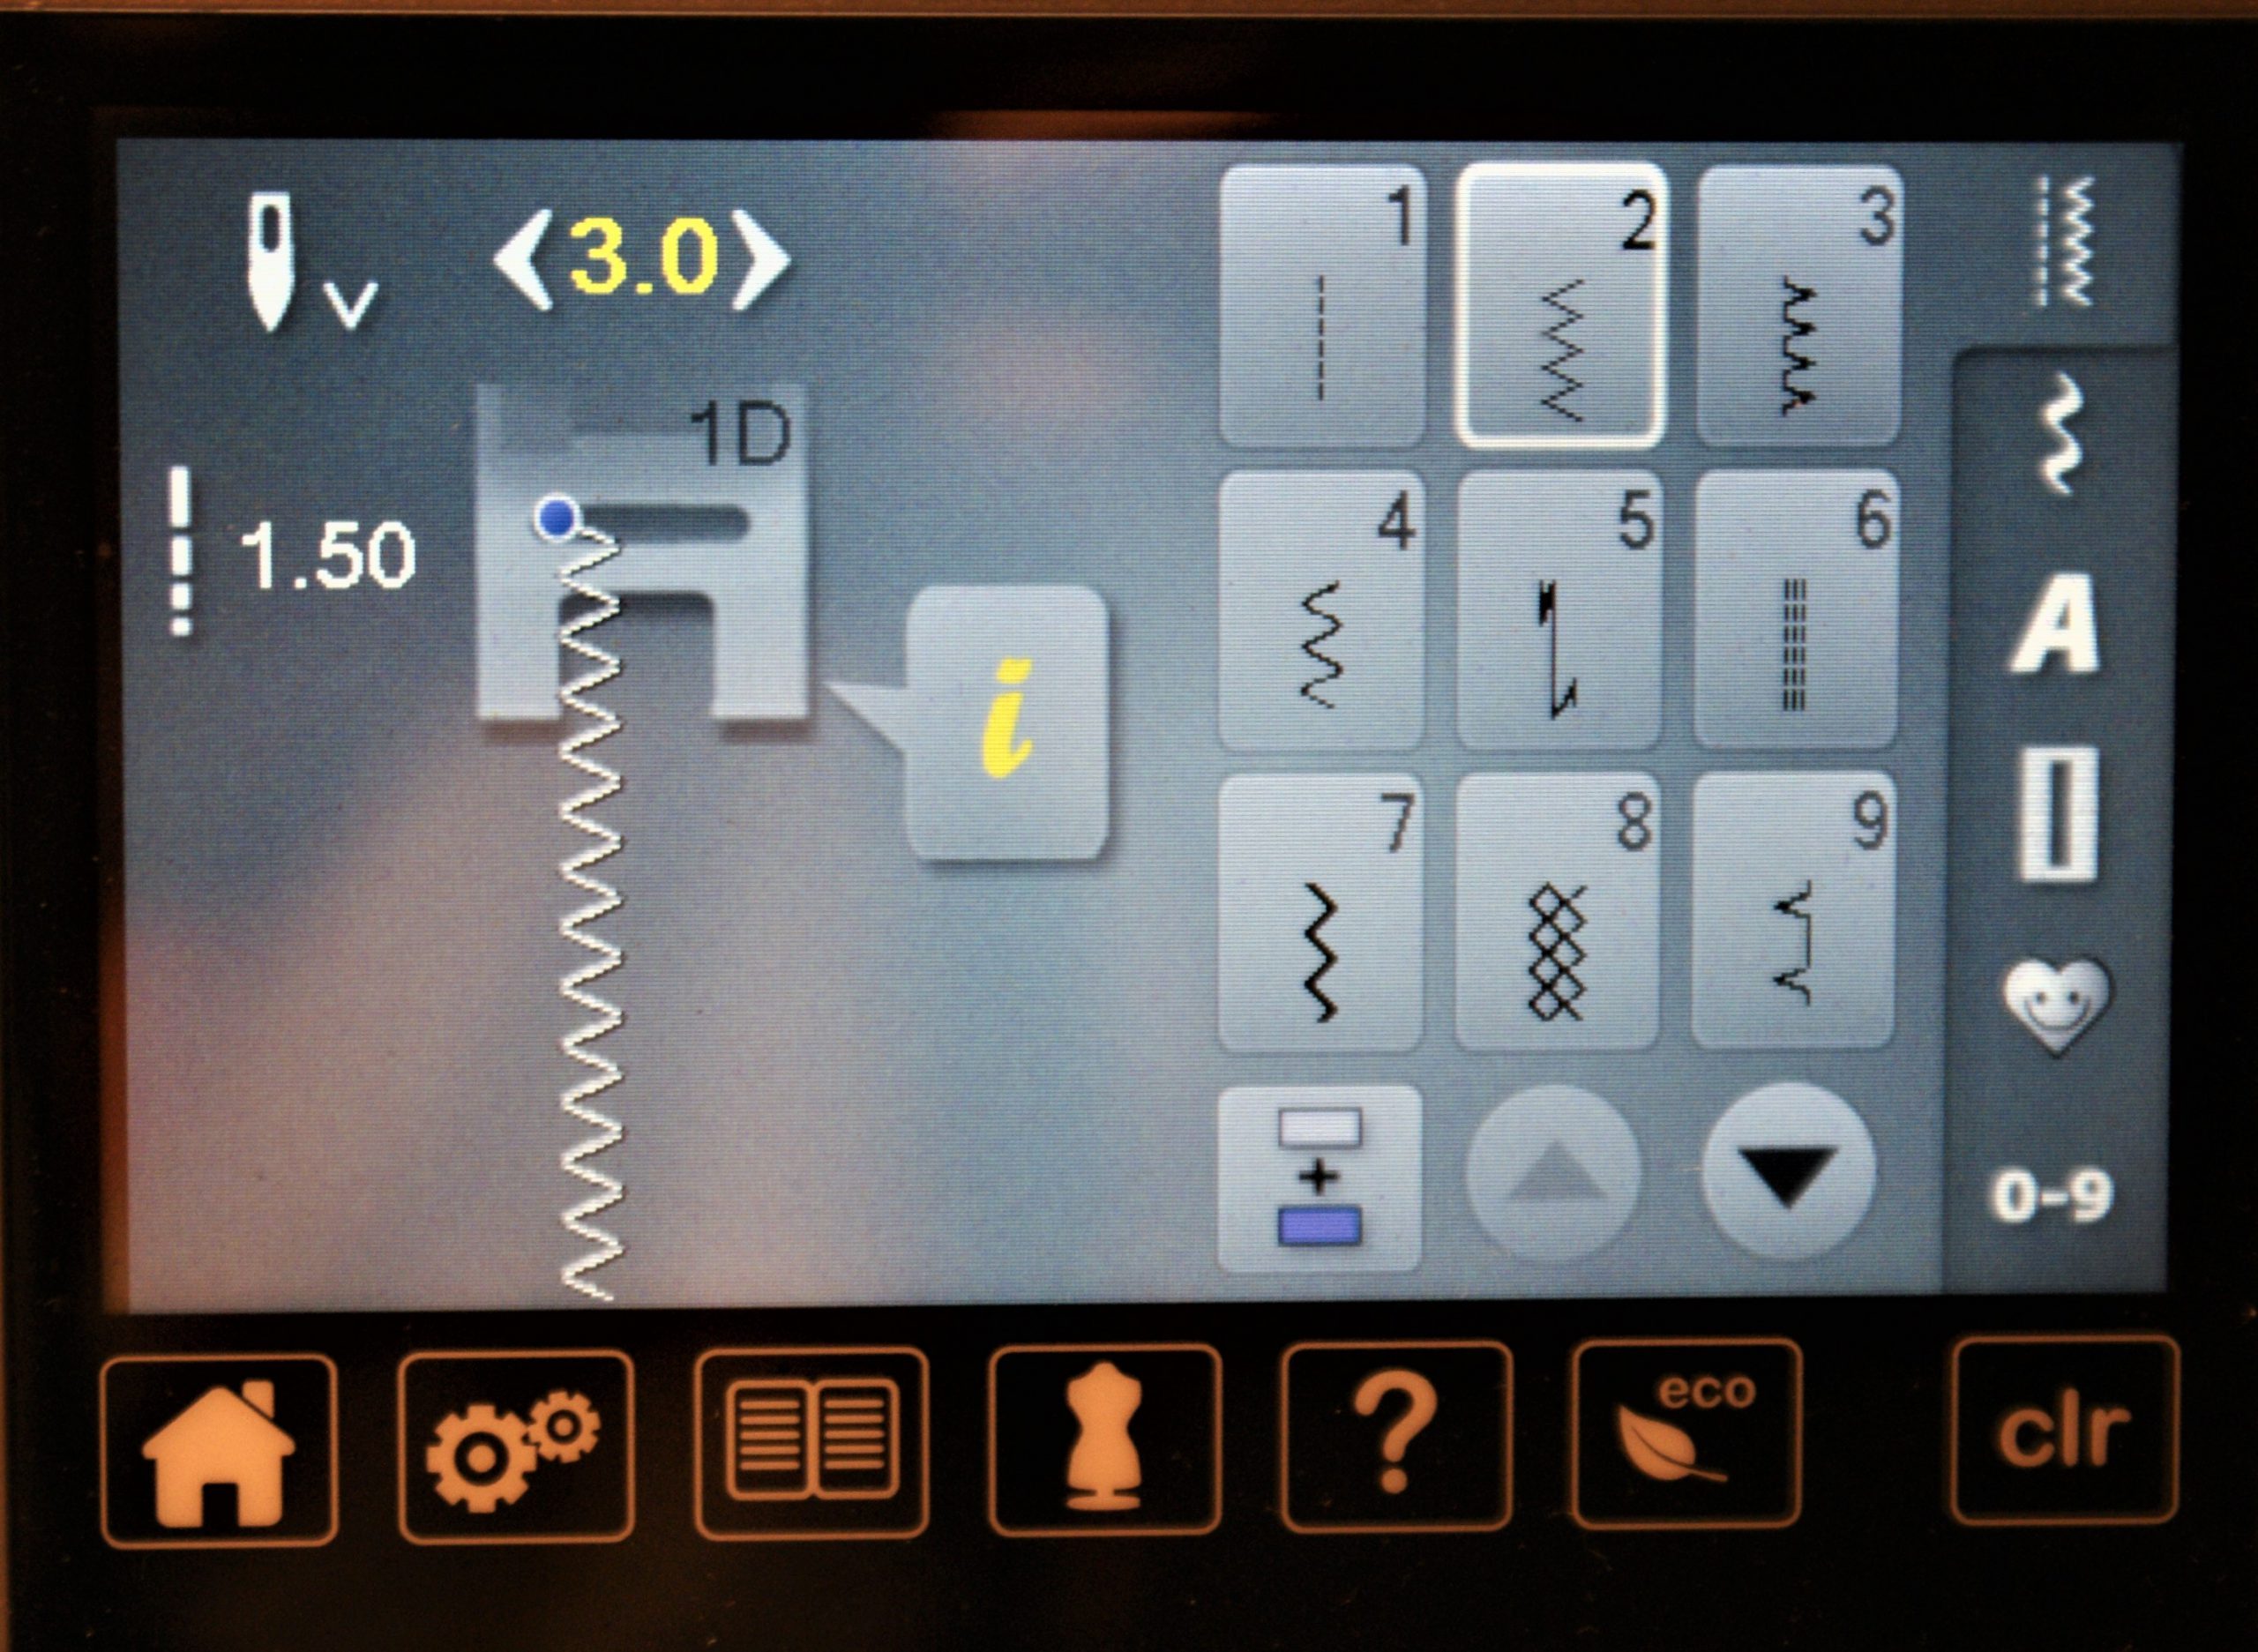
Take matching bobbin thread if you chose two different colours. Now sew with a zigzag stitch around the first stitch line.
These were my settings:
- needle position to the far left
- stitch width 3
- stitch length 1,5
Sew around the star, following the first line at presser foot distance. Sharp angles are OK and curved too 🙂 .
Start at one red pin, go round the star and stop at the second red pin (secure stitches).
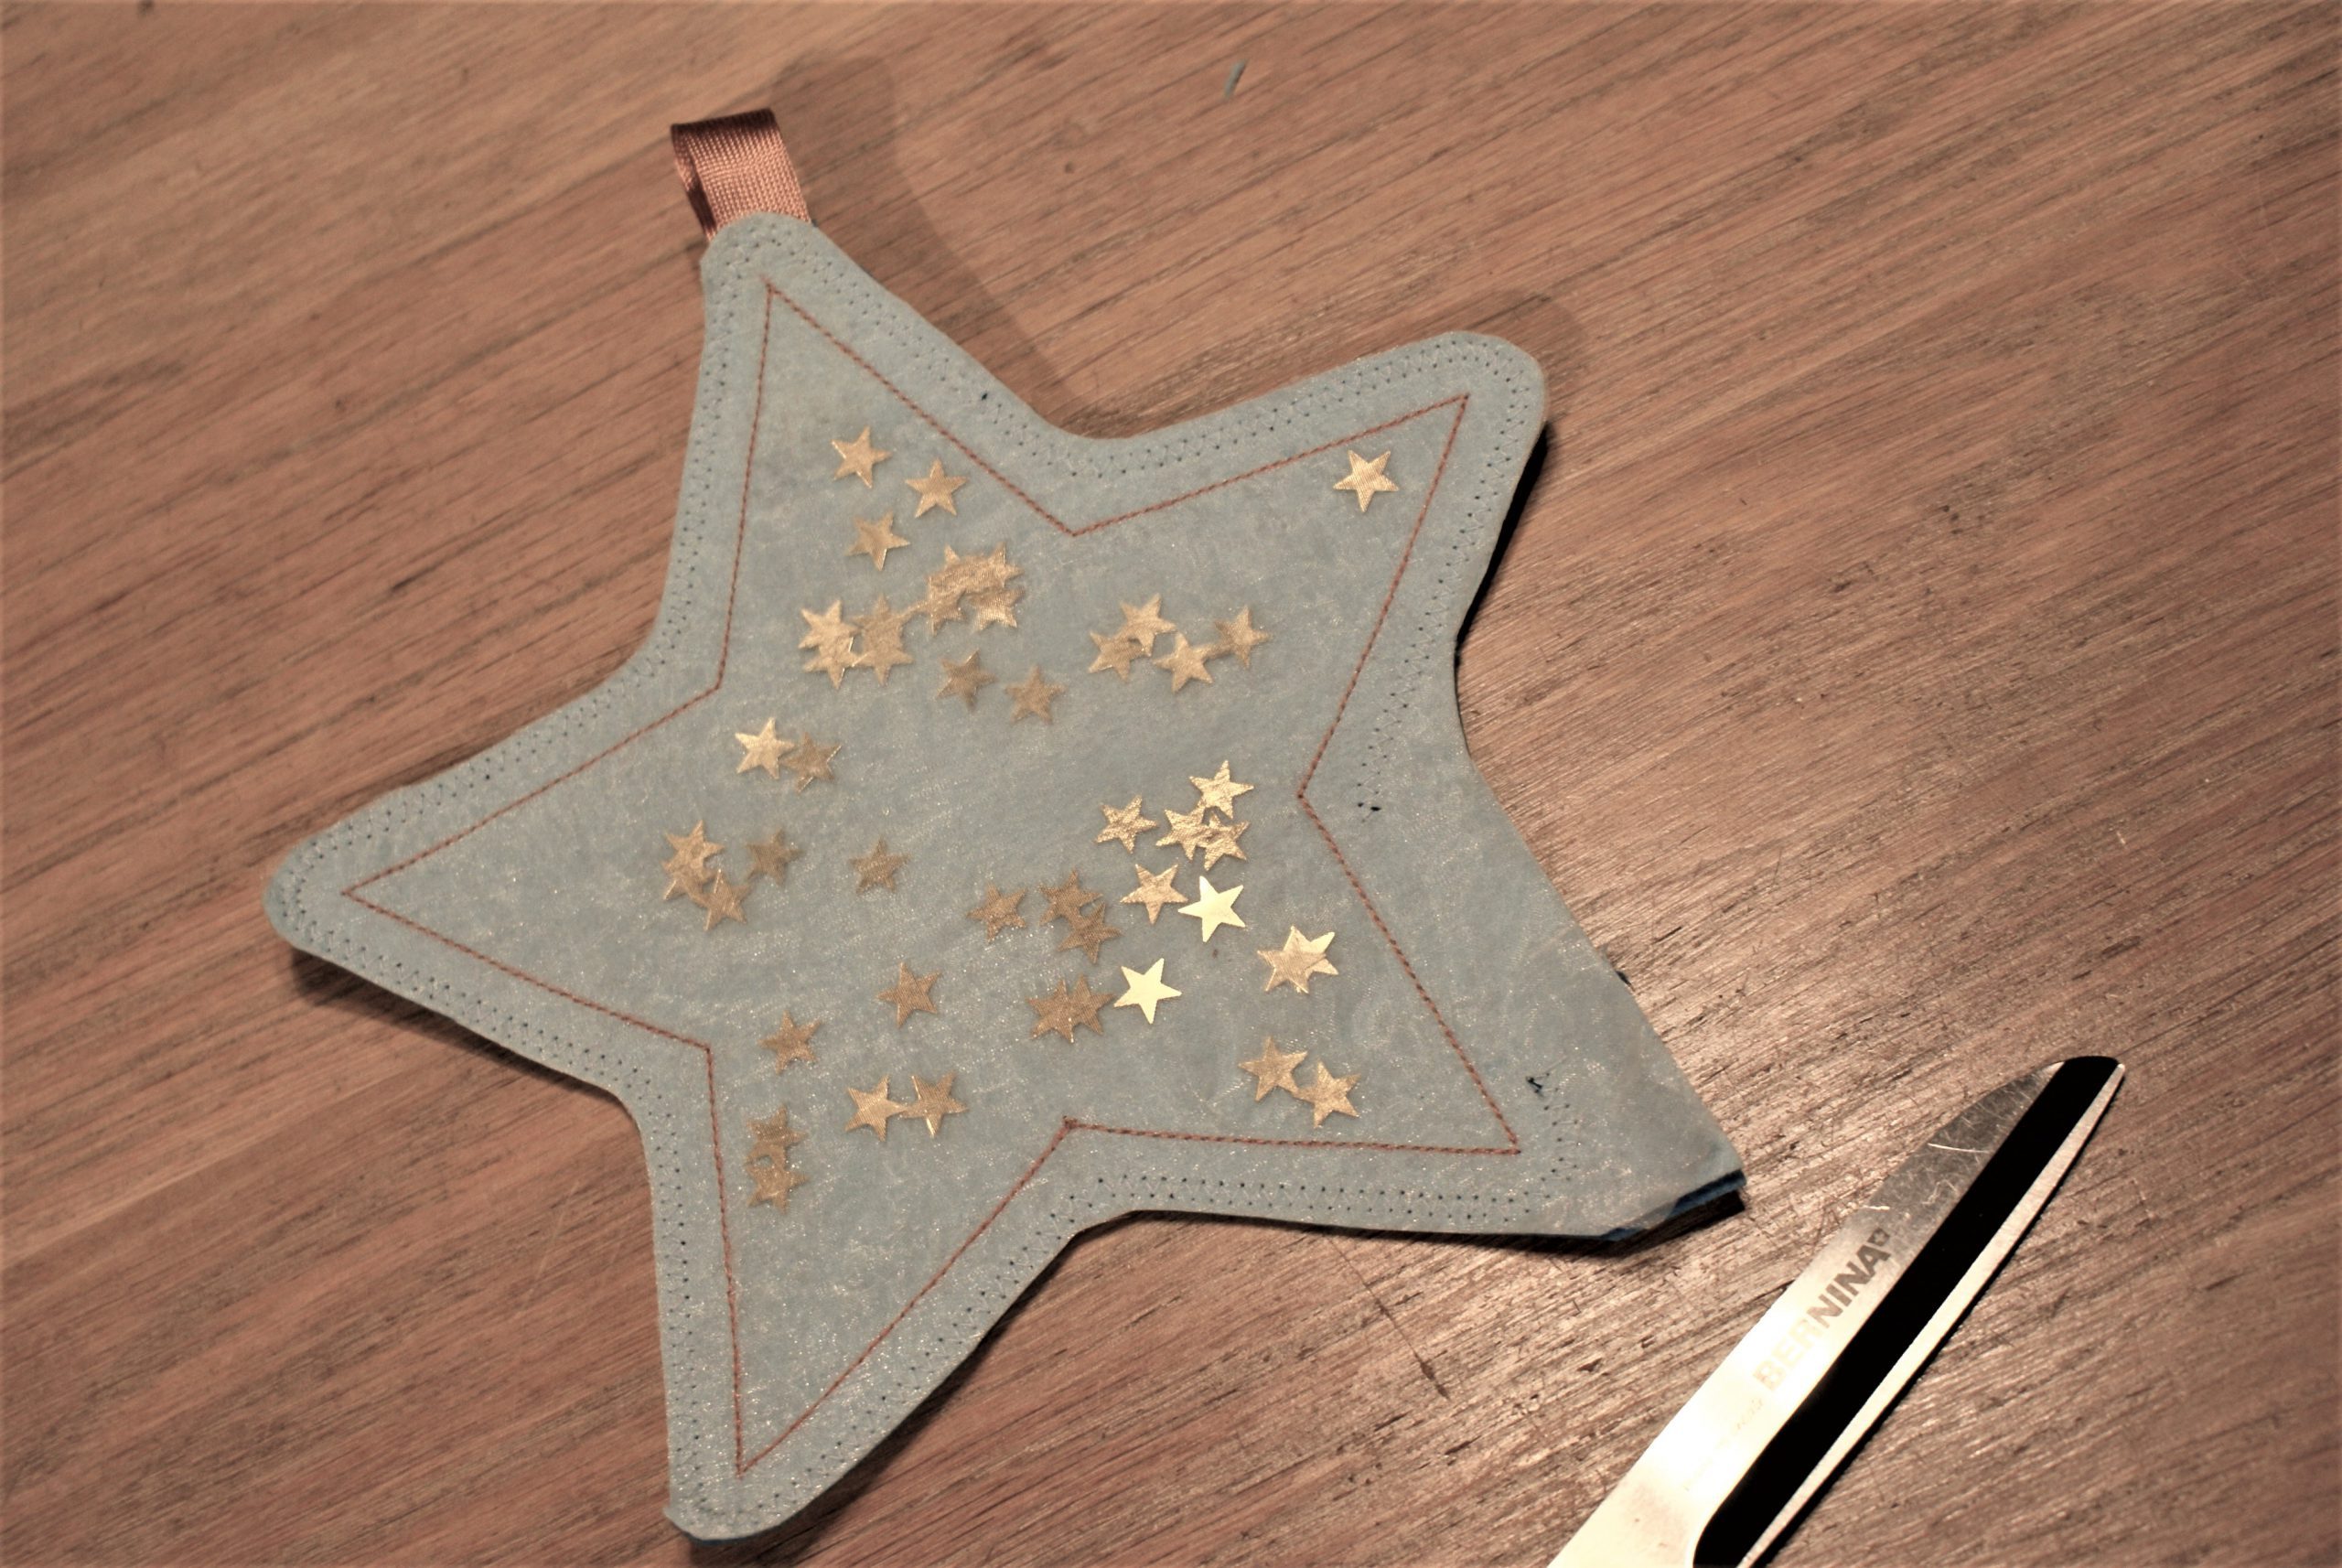
Finish the softie:
Cut out the shape around the zigzag stitch. Leave a small distance, to be sure not to cut in the stitches. Be sure to leave a wider edge along the open side for the filling.
Fill the star shape with cushion filling. Push well in the narrow points of the star.
Close the open edge with a zigzag stitch in the same settings as you had before.
Trim the left over fabric along the last sewn star point.
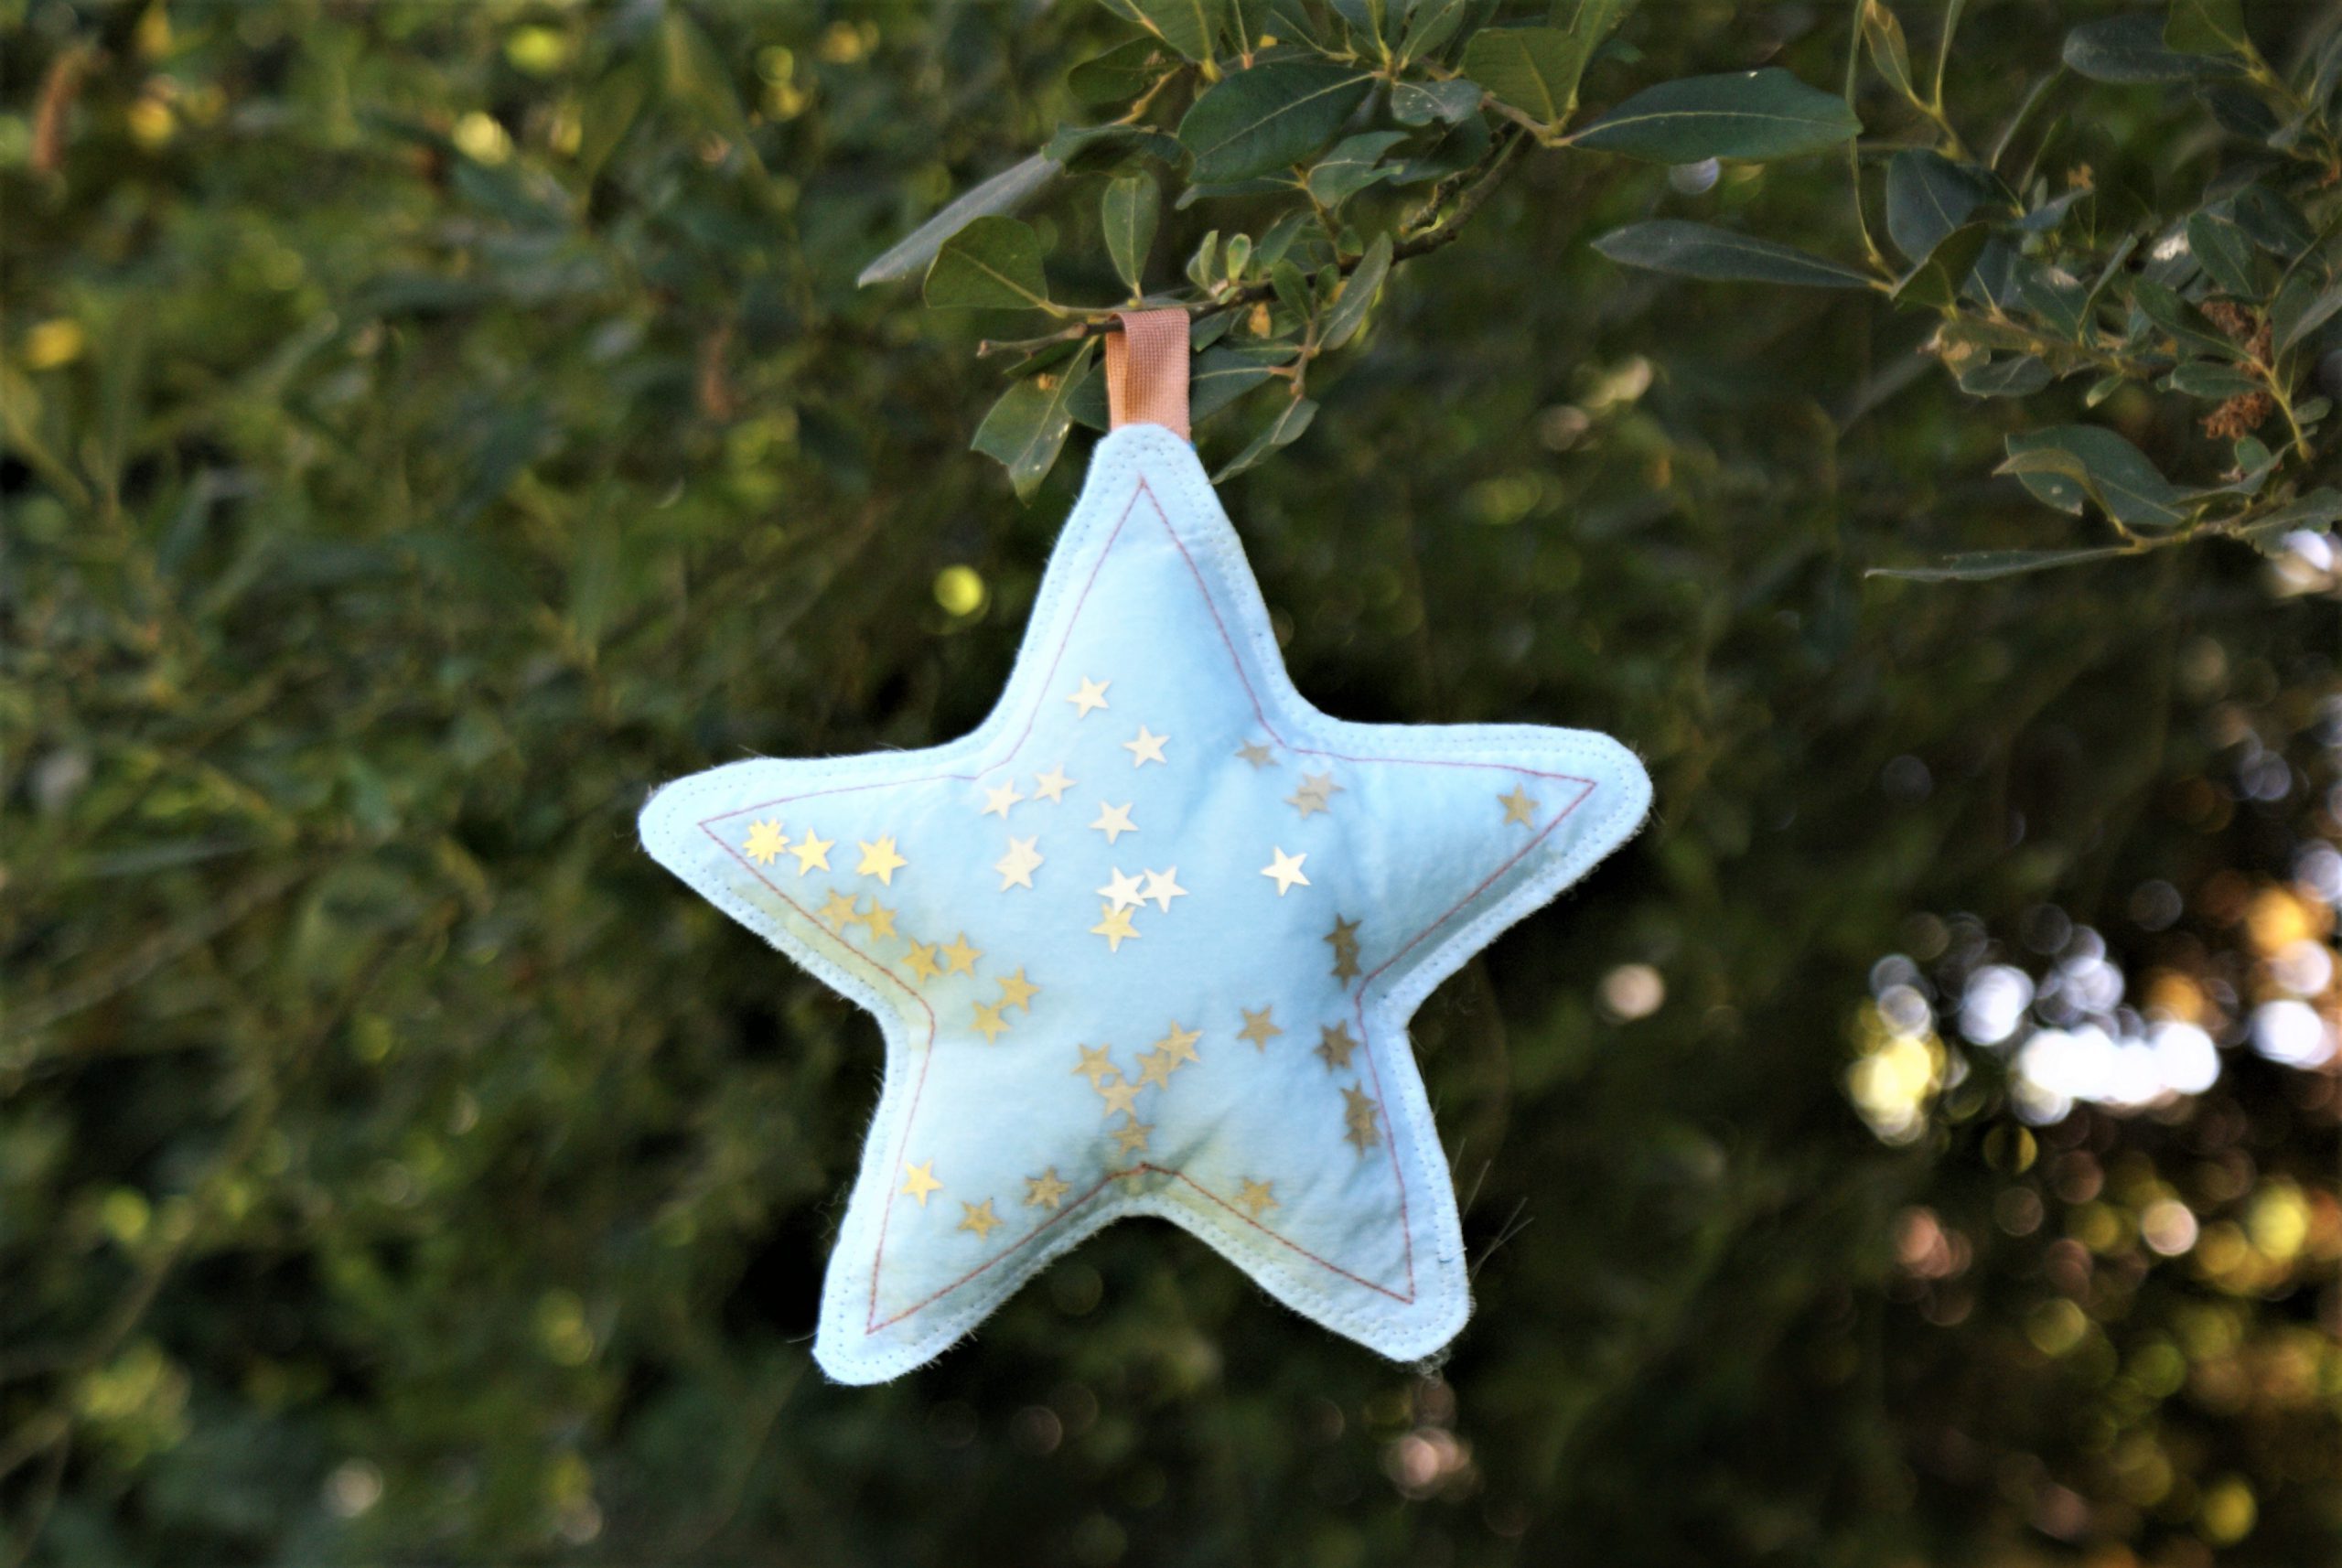
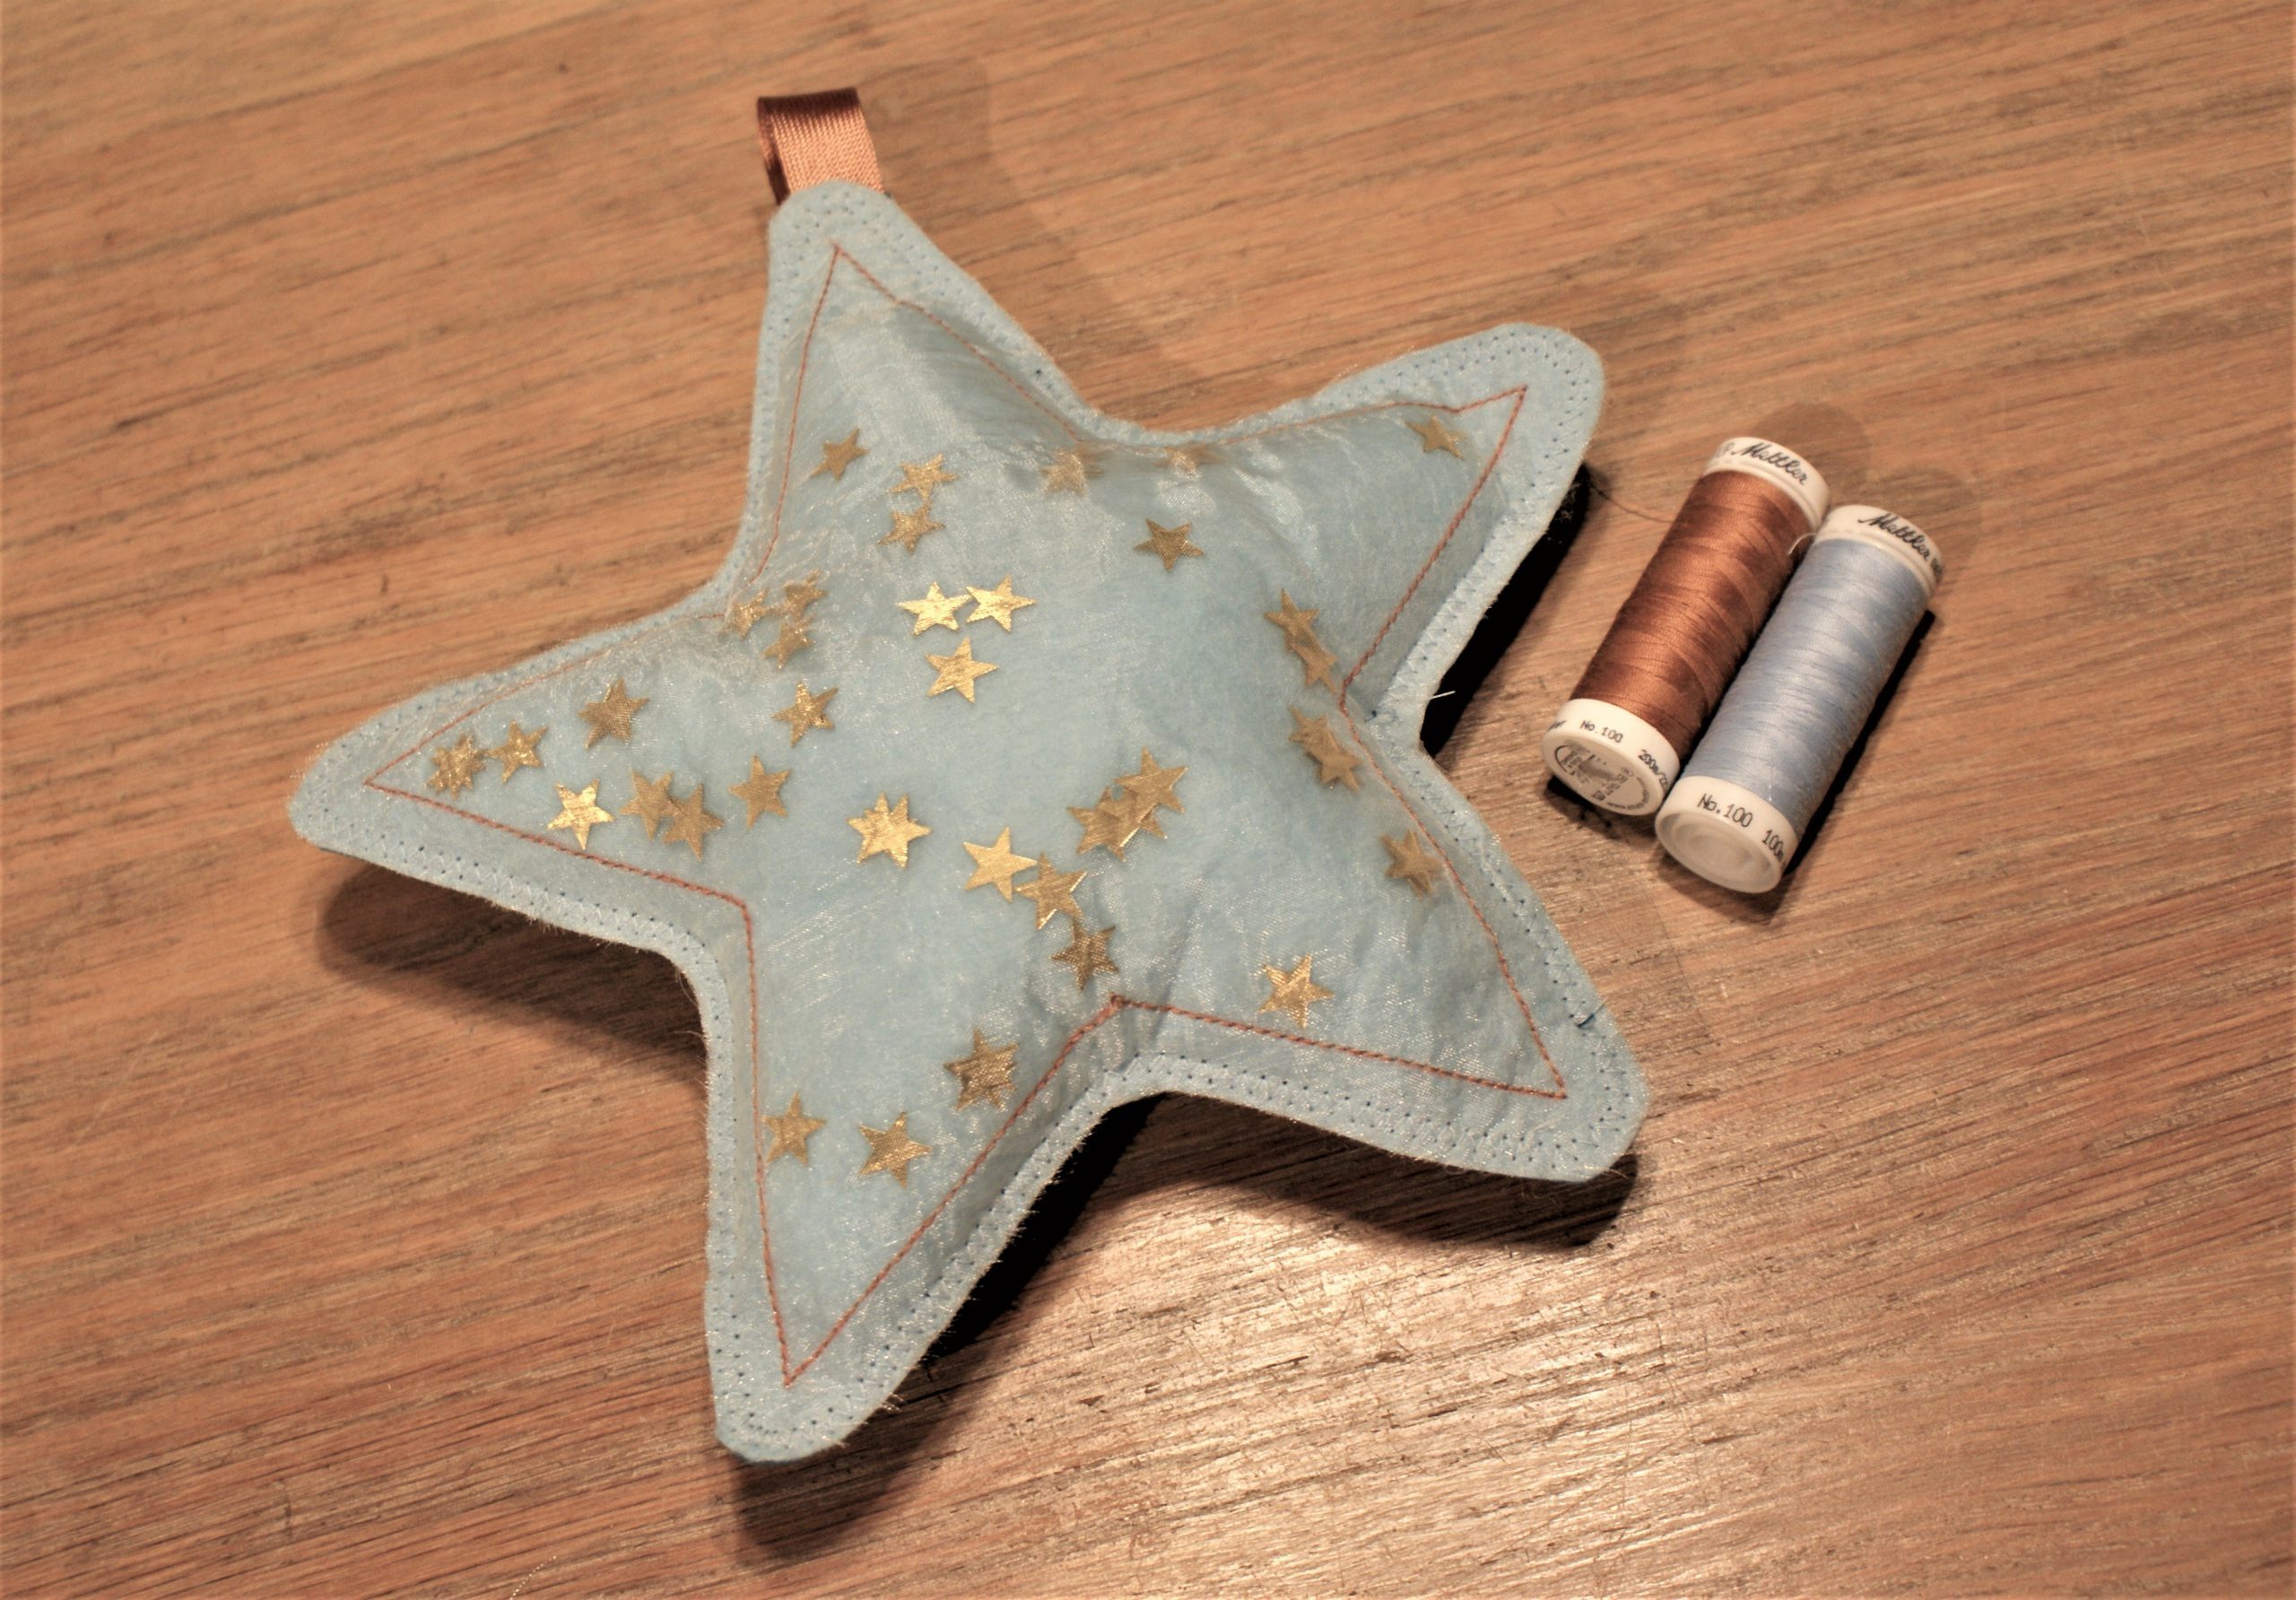
Your softie glitter star is ready. Isn’t it a nice one?
A great project to sew with children! They are great as a gift and nice to keep for themselves!
Watch over at the Sew a Softie Facebook group for more projects! I’m curious for the next project, by Deknutseljuf!
Would you like to follow me on Instagram? Find Beacallemeyn, be welcome!

0 Responses