 BERNINA Corporate Blog -
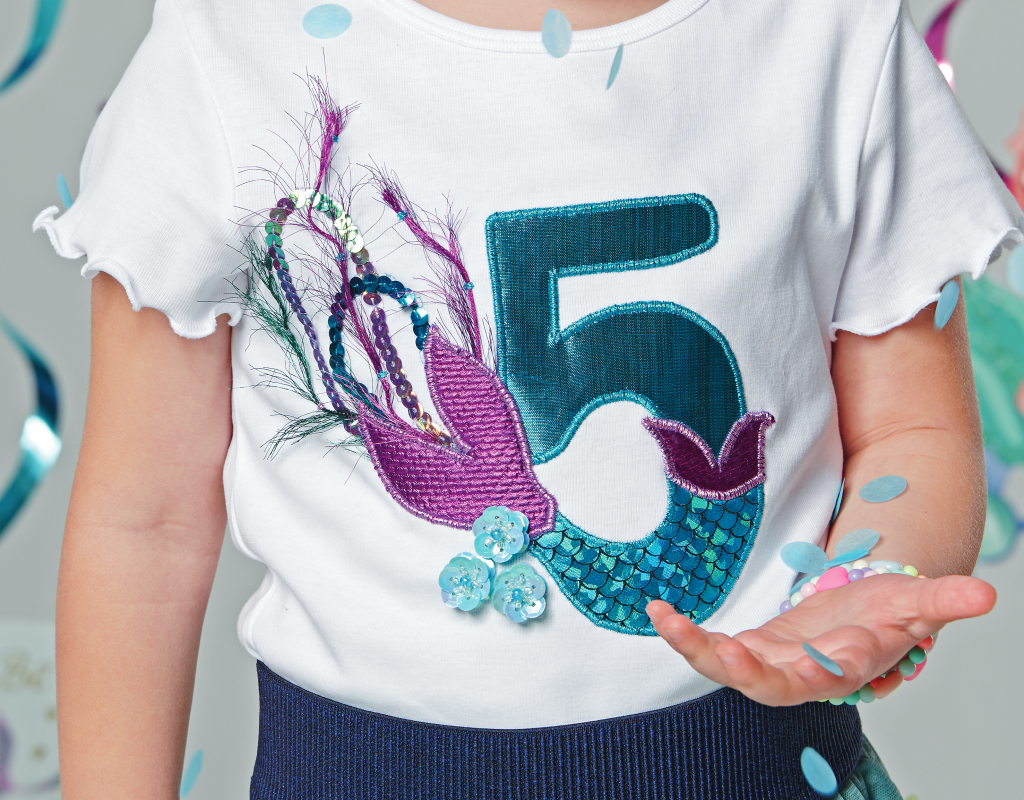
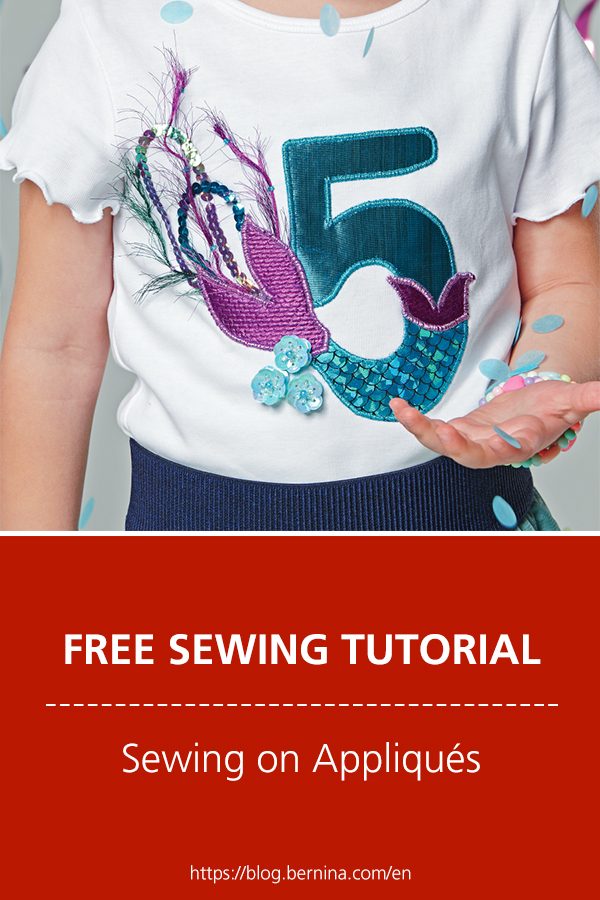
Sewing on appliqués is a technique whose name goes back to the French word “appliqué” which means to apply something. Fabrics are applied in a certain shape to a carrier fabric. The edges of the applied fabric are usually overstitched with zigzag stitch or devorative stitch, depending on the desired effect. The preperation of the carrier material and the appliqués is an important step towards success.
With the right tools it works best of course
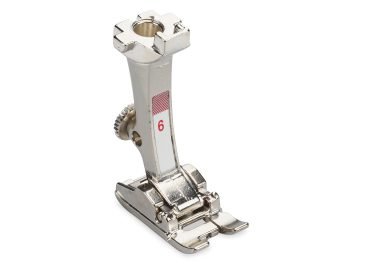
For common appliqués, the Embroidery Foot #6 or the Open Embroidery Foot #20, which are usually part of the standard equipment of a sewing machine, are used.

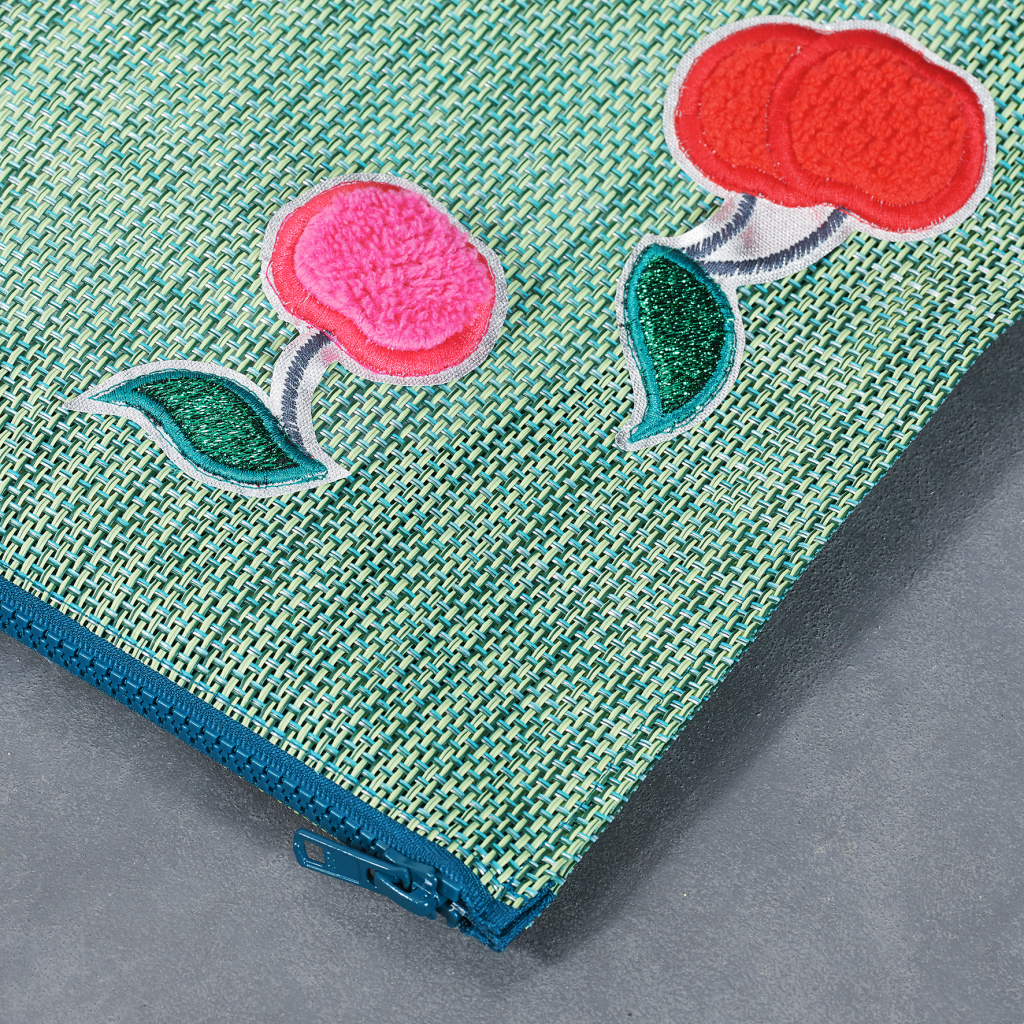
With the Appliqué Foot #23 and the Embroidery foot with clear sole # 39, it is also possible to carry filler threads, which conjures up particularly plastic caterpillar seams.

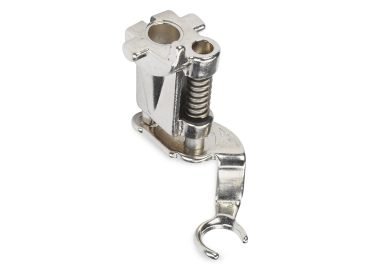
The Free-Motion Embroidery Foot #24, #15 and #29 are ideal for very creative free-motion appliqués.
You also need Vliesofix, tear-away stabiliser and embroidery thread. Vliesofix ( Vlieseline ) is ironed onto the fabric to be appliquéd in order to reinforce it and to adhere the appliqué permanently to the carrier fabric, so that it can be appliquéd without distortion and without shifting the fabric. In addition to this, the Vliesofix will diminish fraying at the open edges of the appliqué edges, which also allows other stitch types when sewing.
Mirror-inverted onto the paper side
First, the appliqué parts are copied mirror-inverted onto the paper side of the Vliesofix. Adjoining parts may overlap partially. Roughly cut out the Vliesofix. Iron the Vliesofix with the rough side on the wrong fabric side of the appliqué fabric (medium temperature, without steam), each spot approx. 3–4 seconds. Check whether the paper comes loose, otherwise simply re-iron briefly. Cut out the appliqué along the drawn lines.
Remove the paper and place the bottom layer on the carrier fabric for multi-part appliqués. Cover it with a damp cloth and press lightly for approx. 8–10 seconds at each point. Then let the parts cool off. Always work from the background to the foreground, i.e. in the case of overlapping parts, the bottom one is completely finished before the next one is ironed.
Place stabiliser under the carrier fabric to reduce shrinking, and if necessary, fix it with spray adhesive. Attach Embroidery Foot with Clear Sole #39 or another suitable foot. Select needle stop down.
Use the right stitch
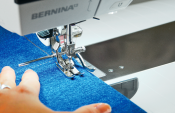
Sew the outlines with a satin stitch (densely set zigzag stitch) or a blanket stitch. For non-fraying fabrics, or desired fraying or rolling effect, a straight stitch can also be used: it is then sewn at a distance of 2 – 3 mm from the outer line on the appliqué. With satin or blanket stitching, the stitches are positioned so that one needle deflection stitches on the appliqué and the other always stitches exactly next to the appliqué.
Always let the needle be inserted on the outside of curves, lift the presser foot with the knee lever and turn the fabric a little. Better to turn less more often than once too much. If necessary, reduce the presser foot pressure in order to be able to get over overlaps easily.
Finally remove the stabiliser.
Additional BERNINA tips for you
You may have noticed that we have already published a few blog posts with helpful tips. These tips are written for various BERNINA inspiration magazines.
Are you looking for a specific topic right now? You’ll find a lot of supporting content on this page. And if the topic you’re looking for isn’t listed yet, check back regularly for the latest tips.
If you have any other useful tricks, feel free to share them below in the comments. Let’s take your sewing experience to the next level! 🙂
Creative regards,
Jasmin

Great tips even for those of us who have gotten quite comfortable on our Bernina doing this. Learn a new twist with all the blogs. Thank you mucho for sharing.
When doing appliqué especially on curves, when my pattern for this is set up l then move my needle to the edge of the foot to follow the curve. It gives a smoother finish.