 BERNINA Corporate Blog -
Ive been wanting to try out the new 3D trend sewing appliqué technique for some time.
Searching through high street stores, looking at the latest trends and fashions, I keep stumbling across, oversized sweaters, with big Sayings, words or Logos, embroidered, embossed or 3D printed across the front. There is nothing more satisfying then taking the trend and trying it out for yourself.
Creating the 3D word
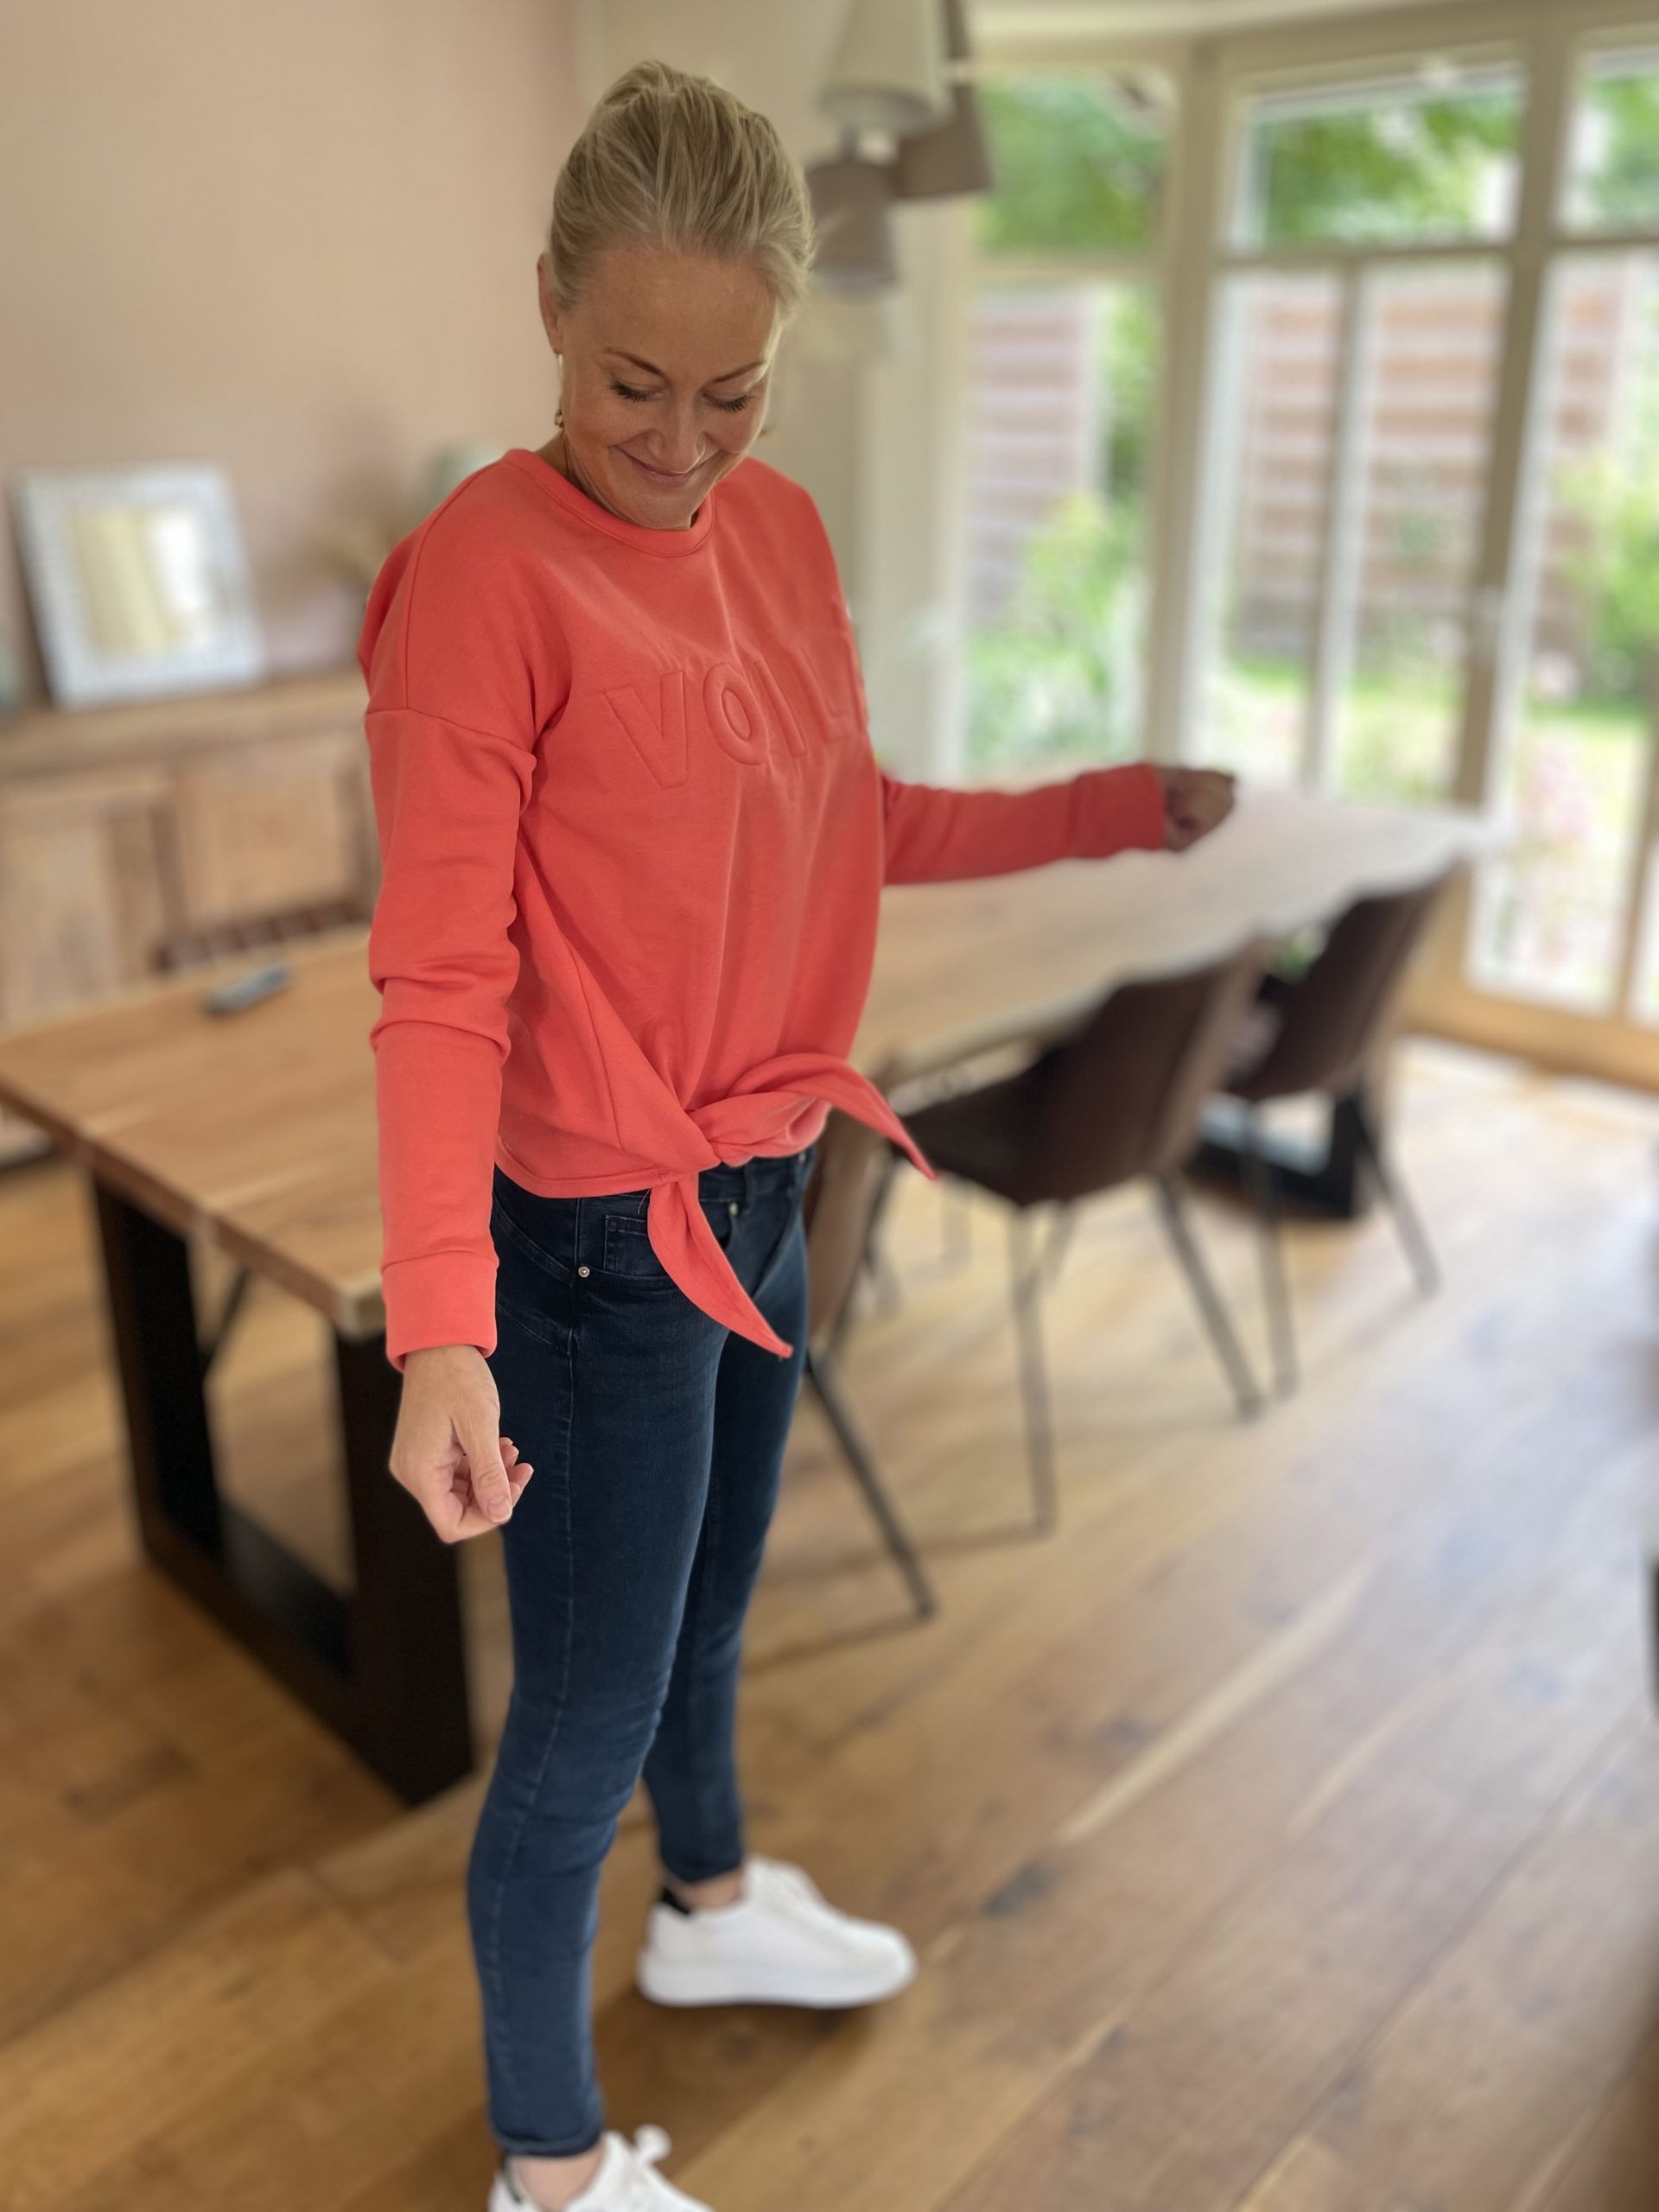
To recreate this look I used a sweatshirt pattern I have sewn many times, the #jarrah sweater from @megannielsen The pattern includes 4 different styles of sweatshirt, I decided on the cute front tie knotted version.
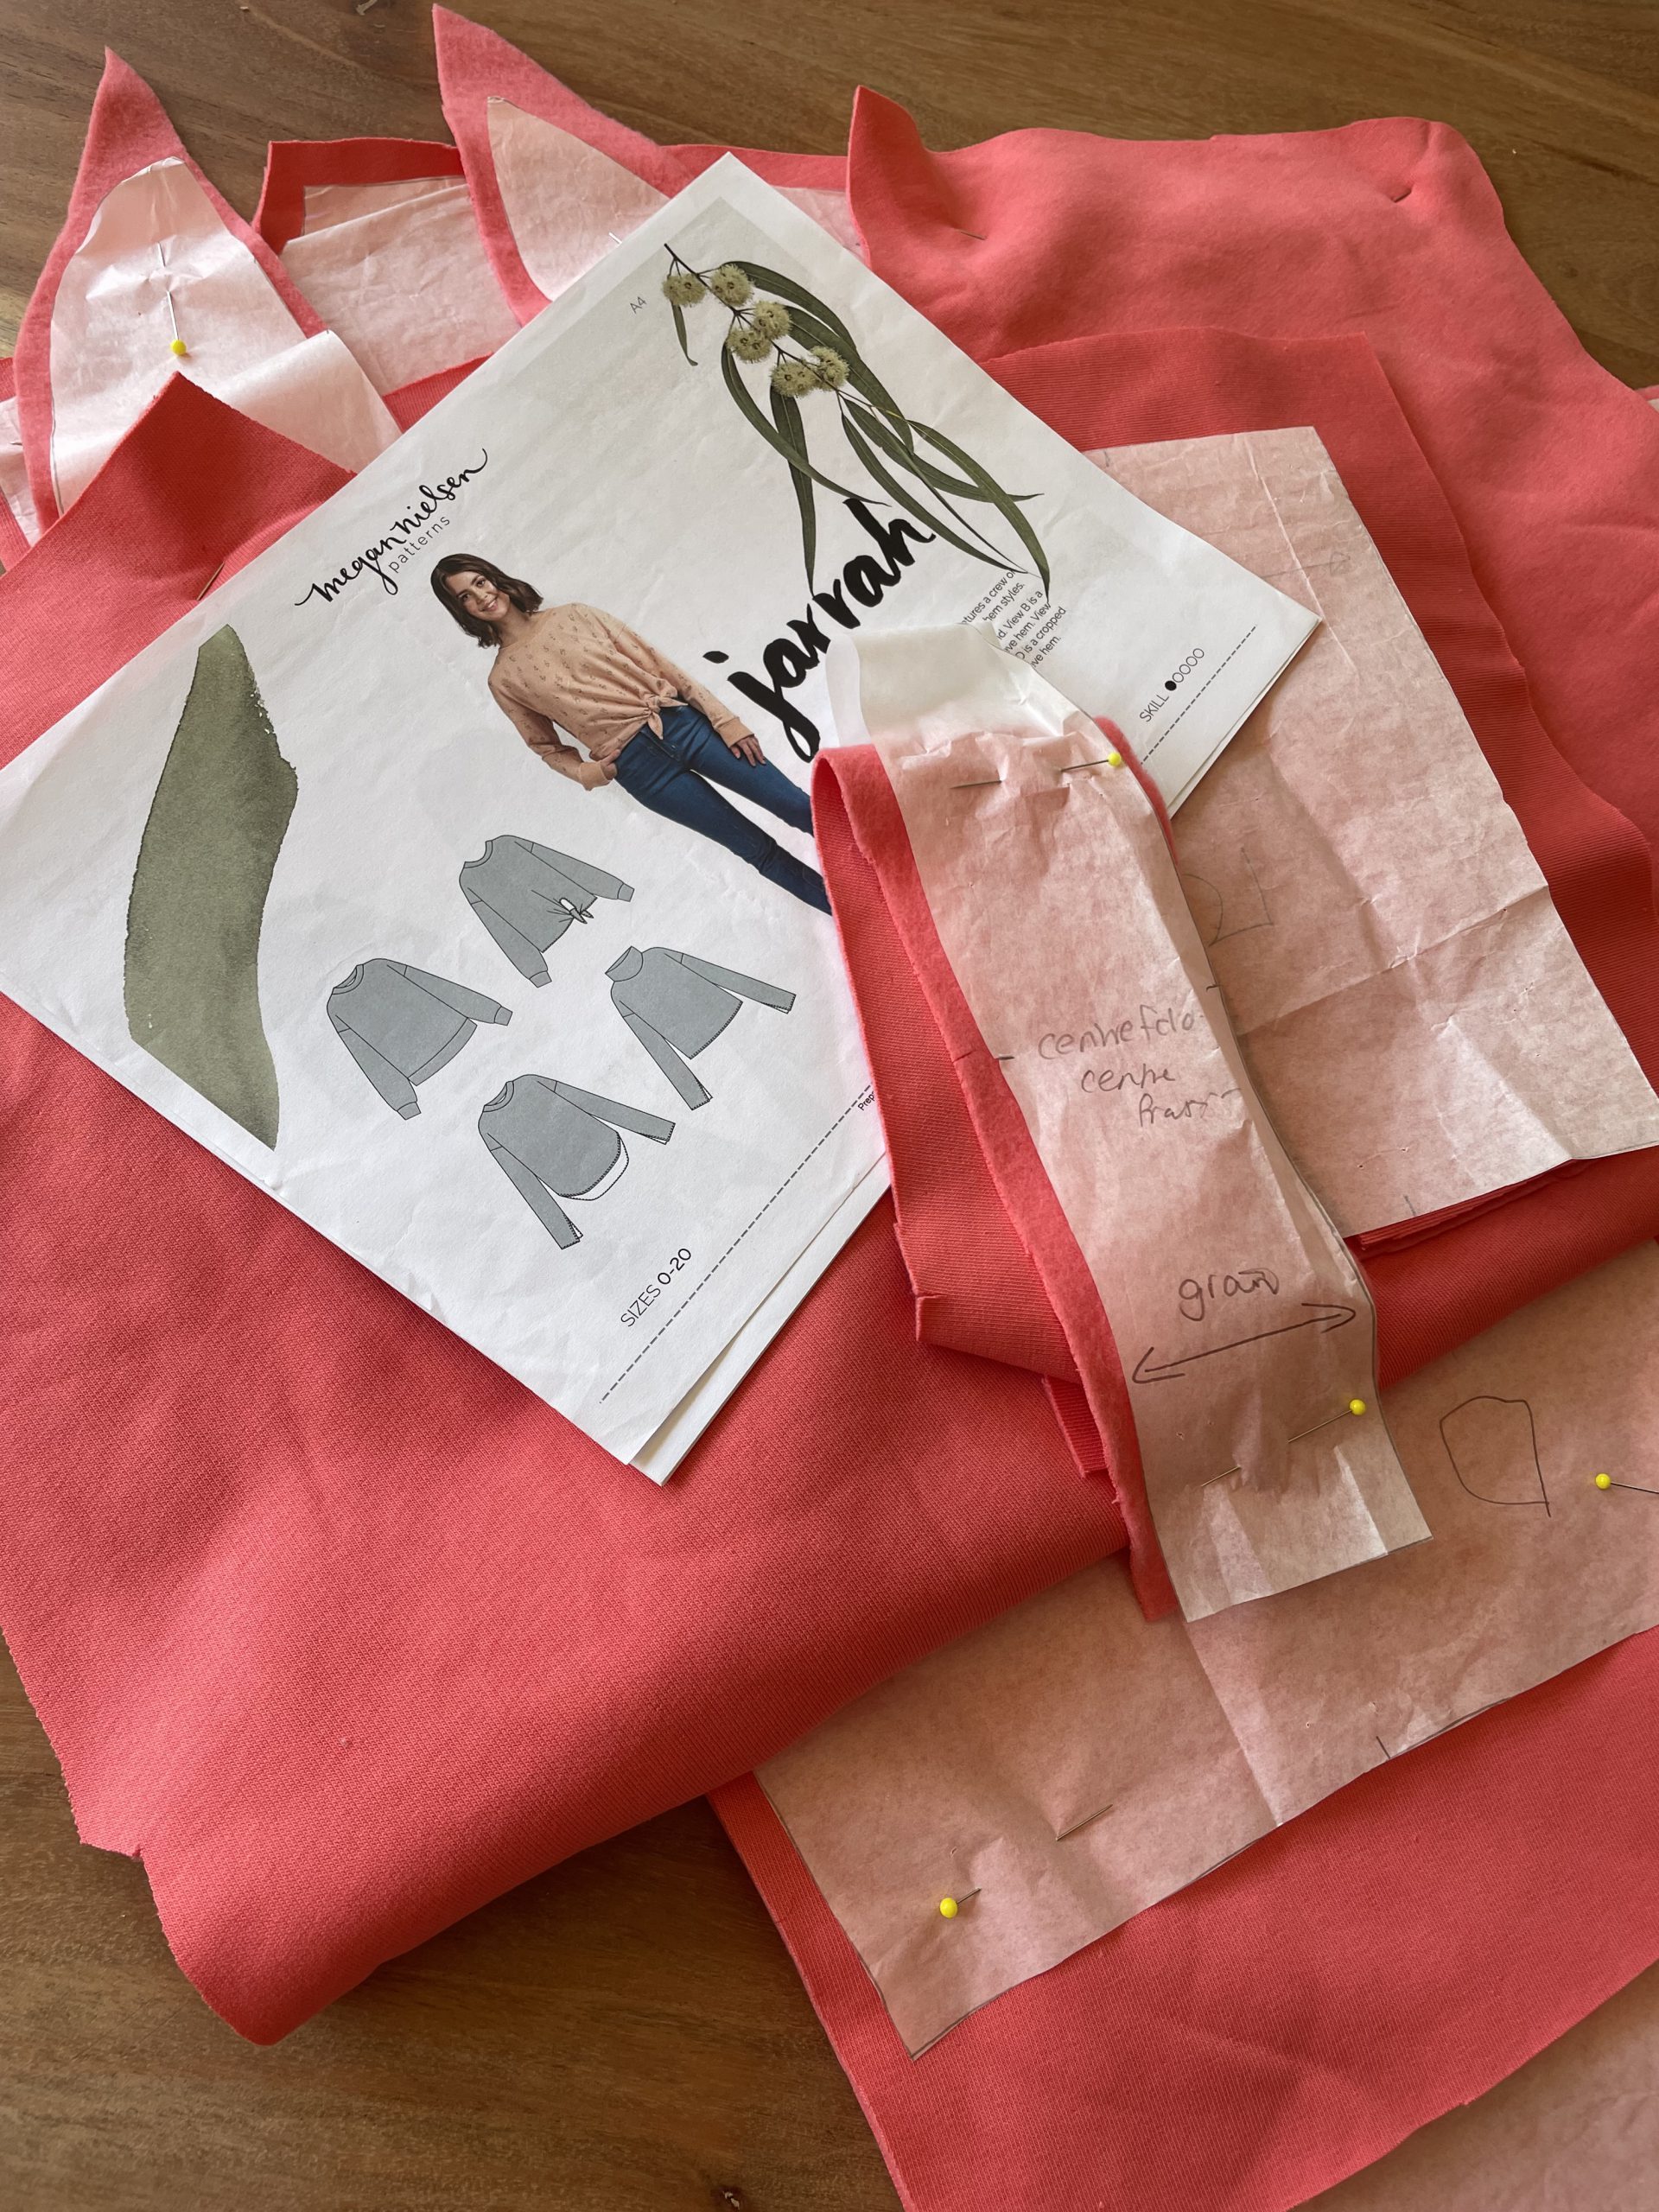
Chosen Pattern: Sweatshirt Jarrah from Megan Nielsen
First of all I cut out all the pattern pieces using a sweatshirt fabric I already had from @der.buntspechtshop in a fab bright summery Coral colour.
Next I used my illustrator programme on my computer to find a bold font, Word is also a good choice to create the wording. I Used Myrid Pro in Bold, in capitals, and increased the outline of the letters slightly. I wanted the letters to be Bold to make cutting out and sewing little easier.
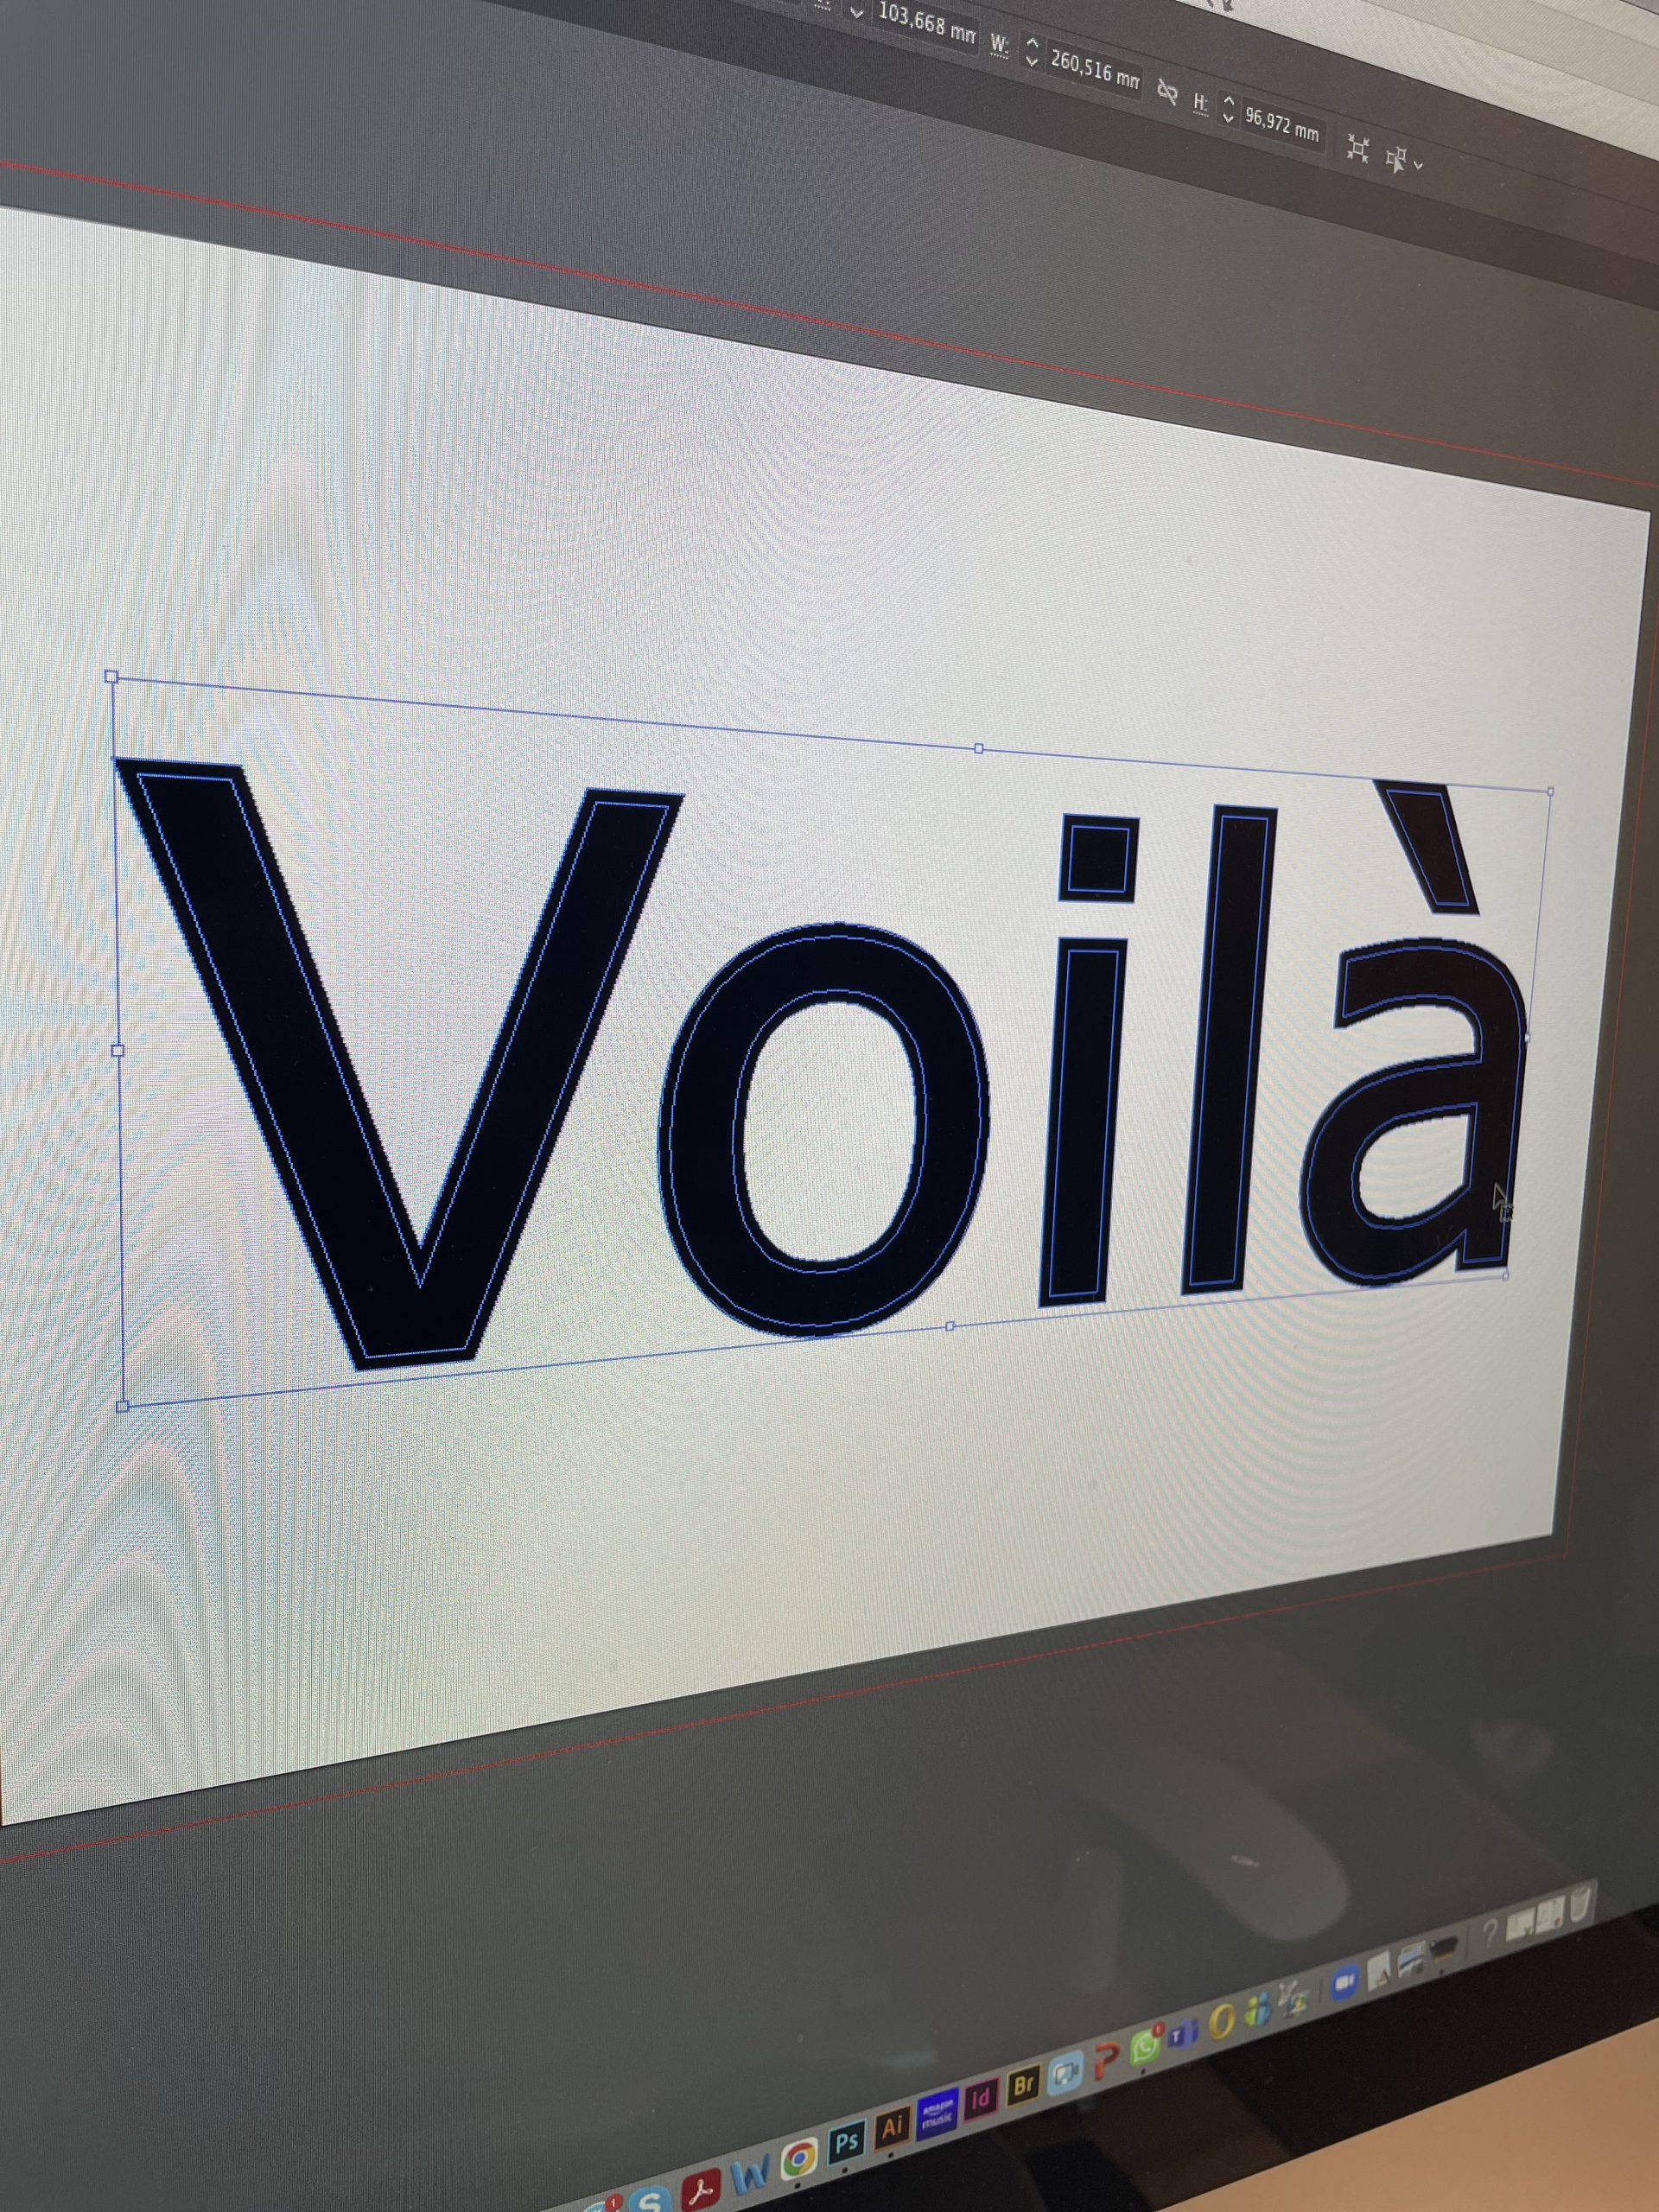
Word Graphic ( using Illustrator)
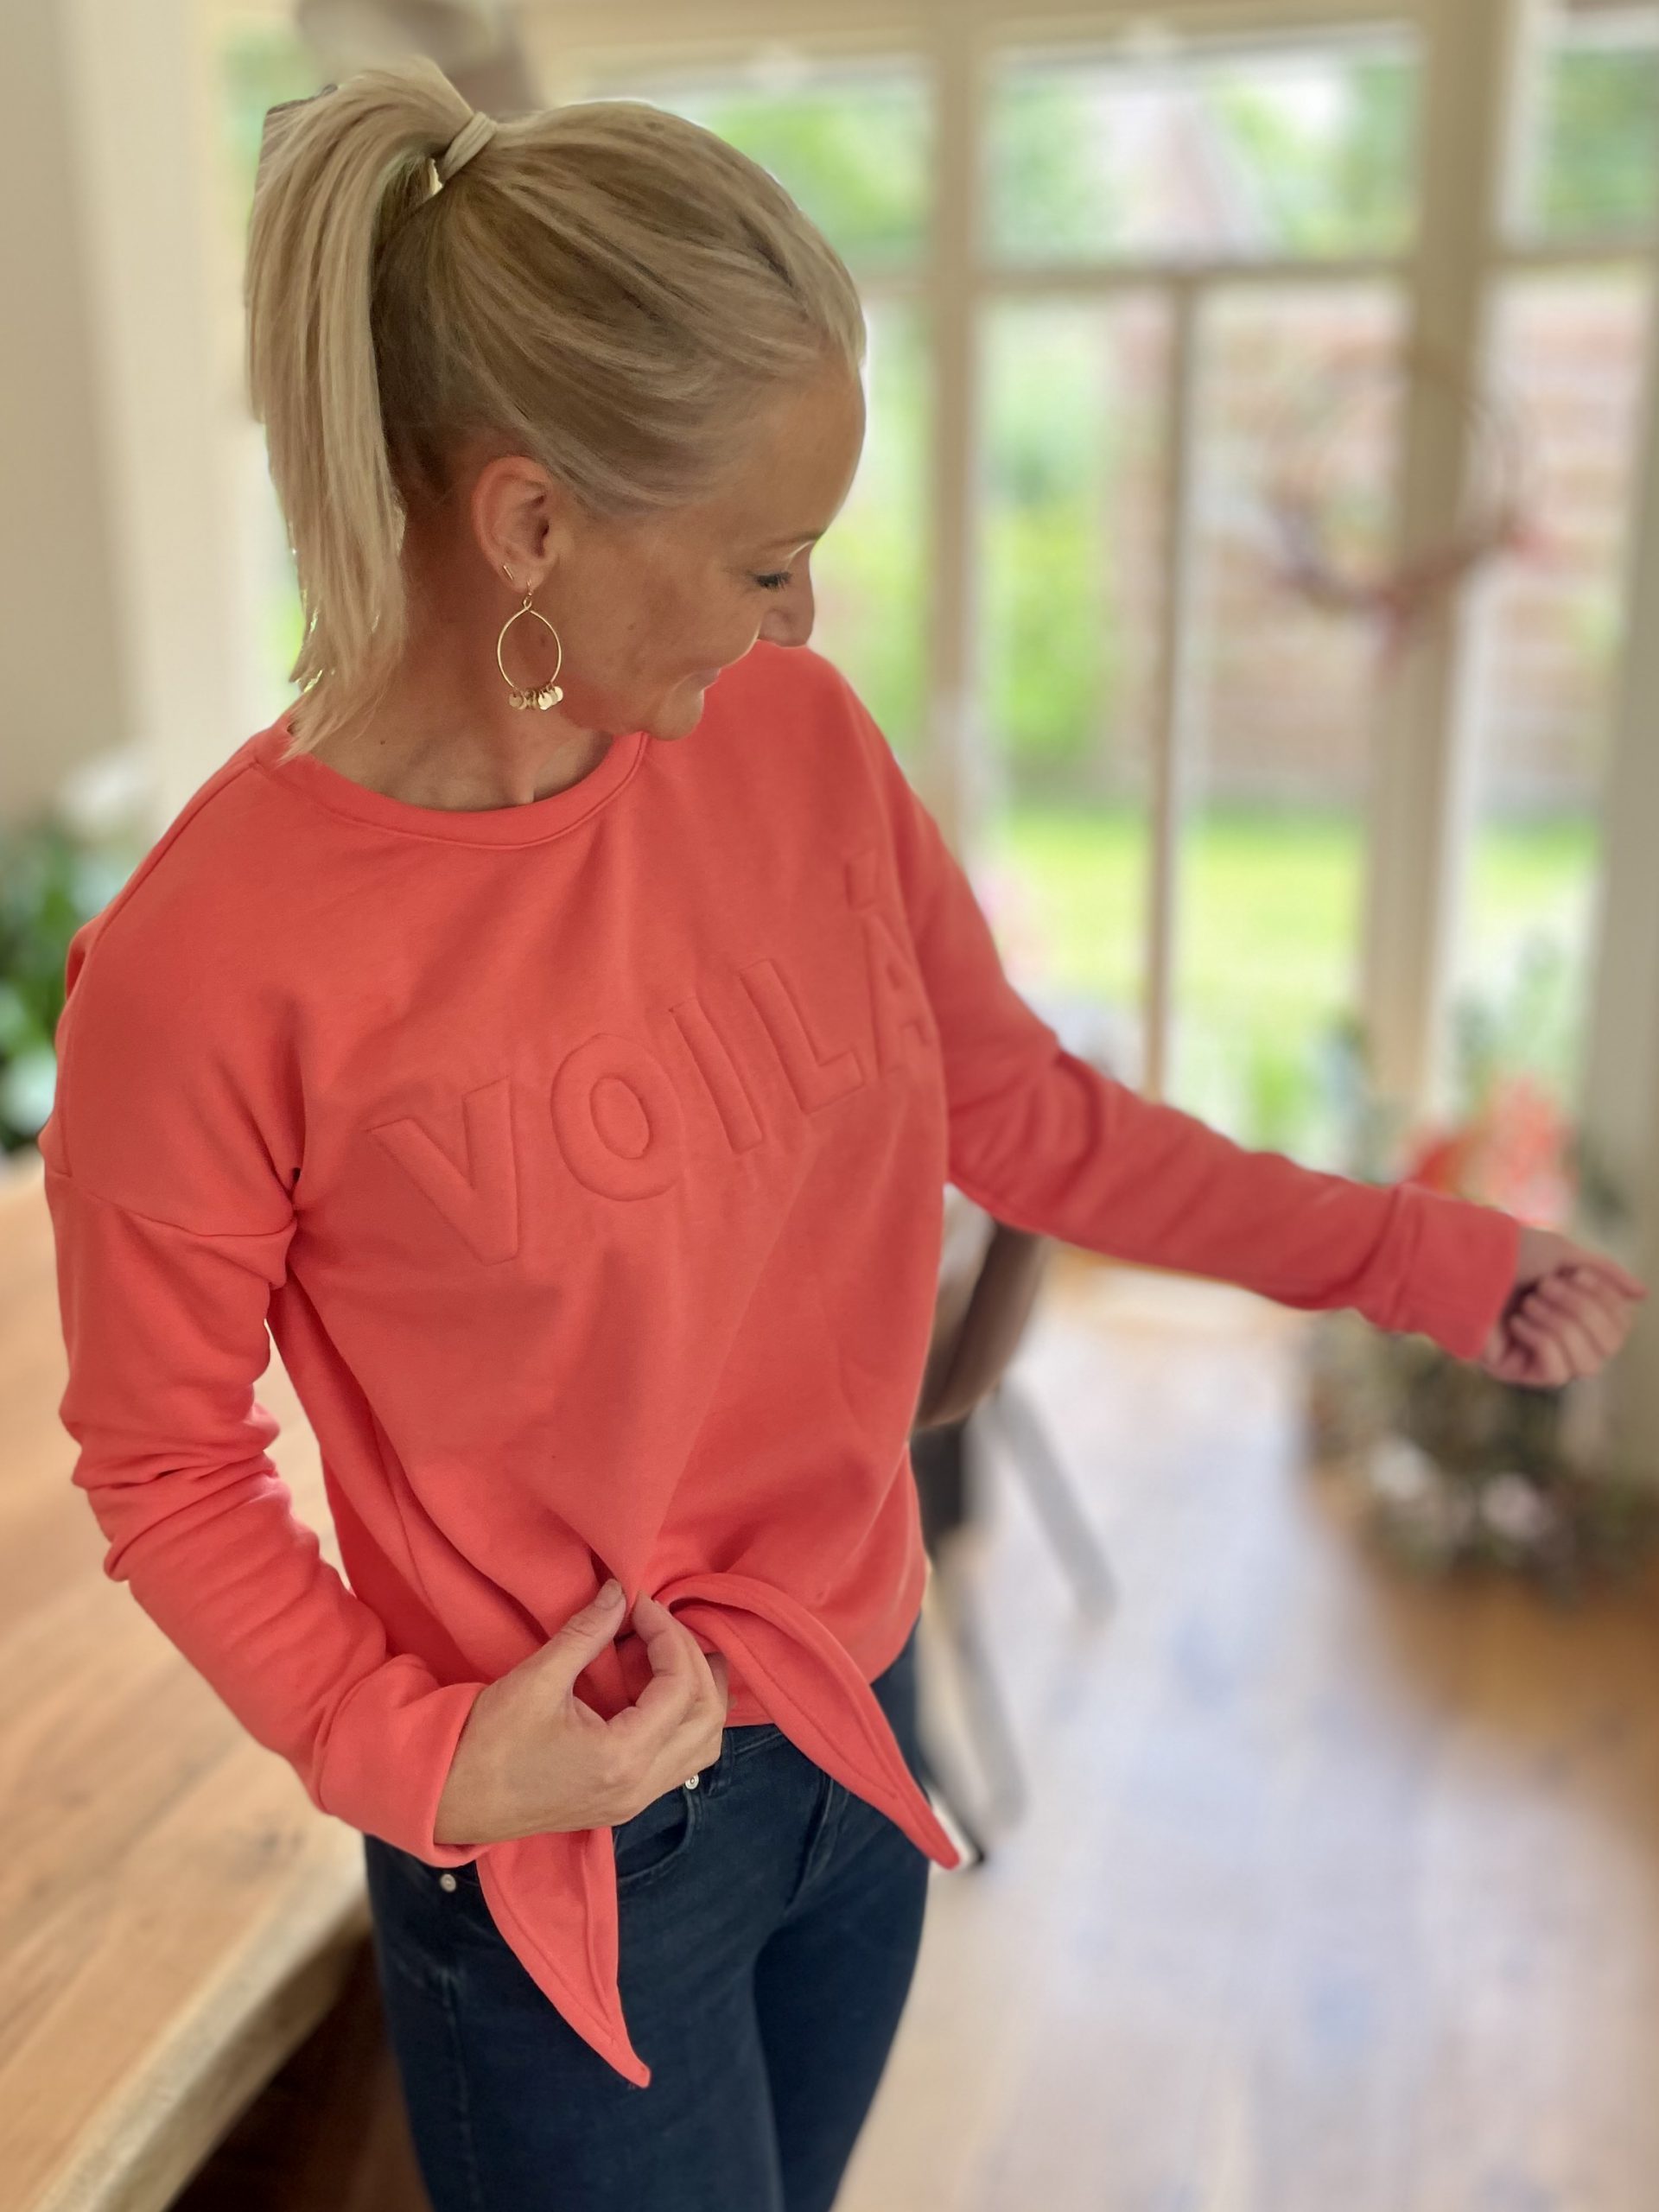
I chose the word Voila, the meaning for: there it is; there you are. in French! for no particular reason other than I think I like thew word!
I printed the word then separately cut each letter out and pinned each letter to a thick foam interfacing, and re-cut the letters out. (You could also use Softshell, this will also give a 3D effect)
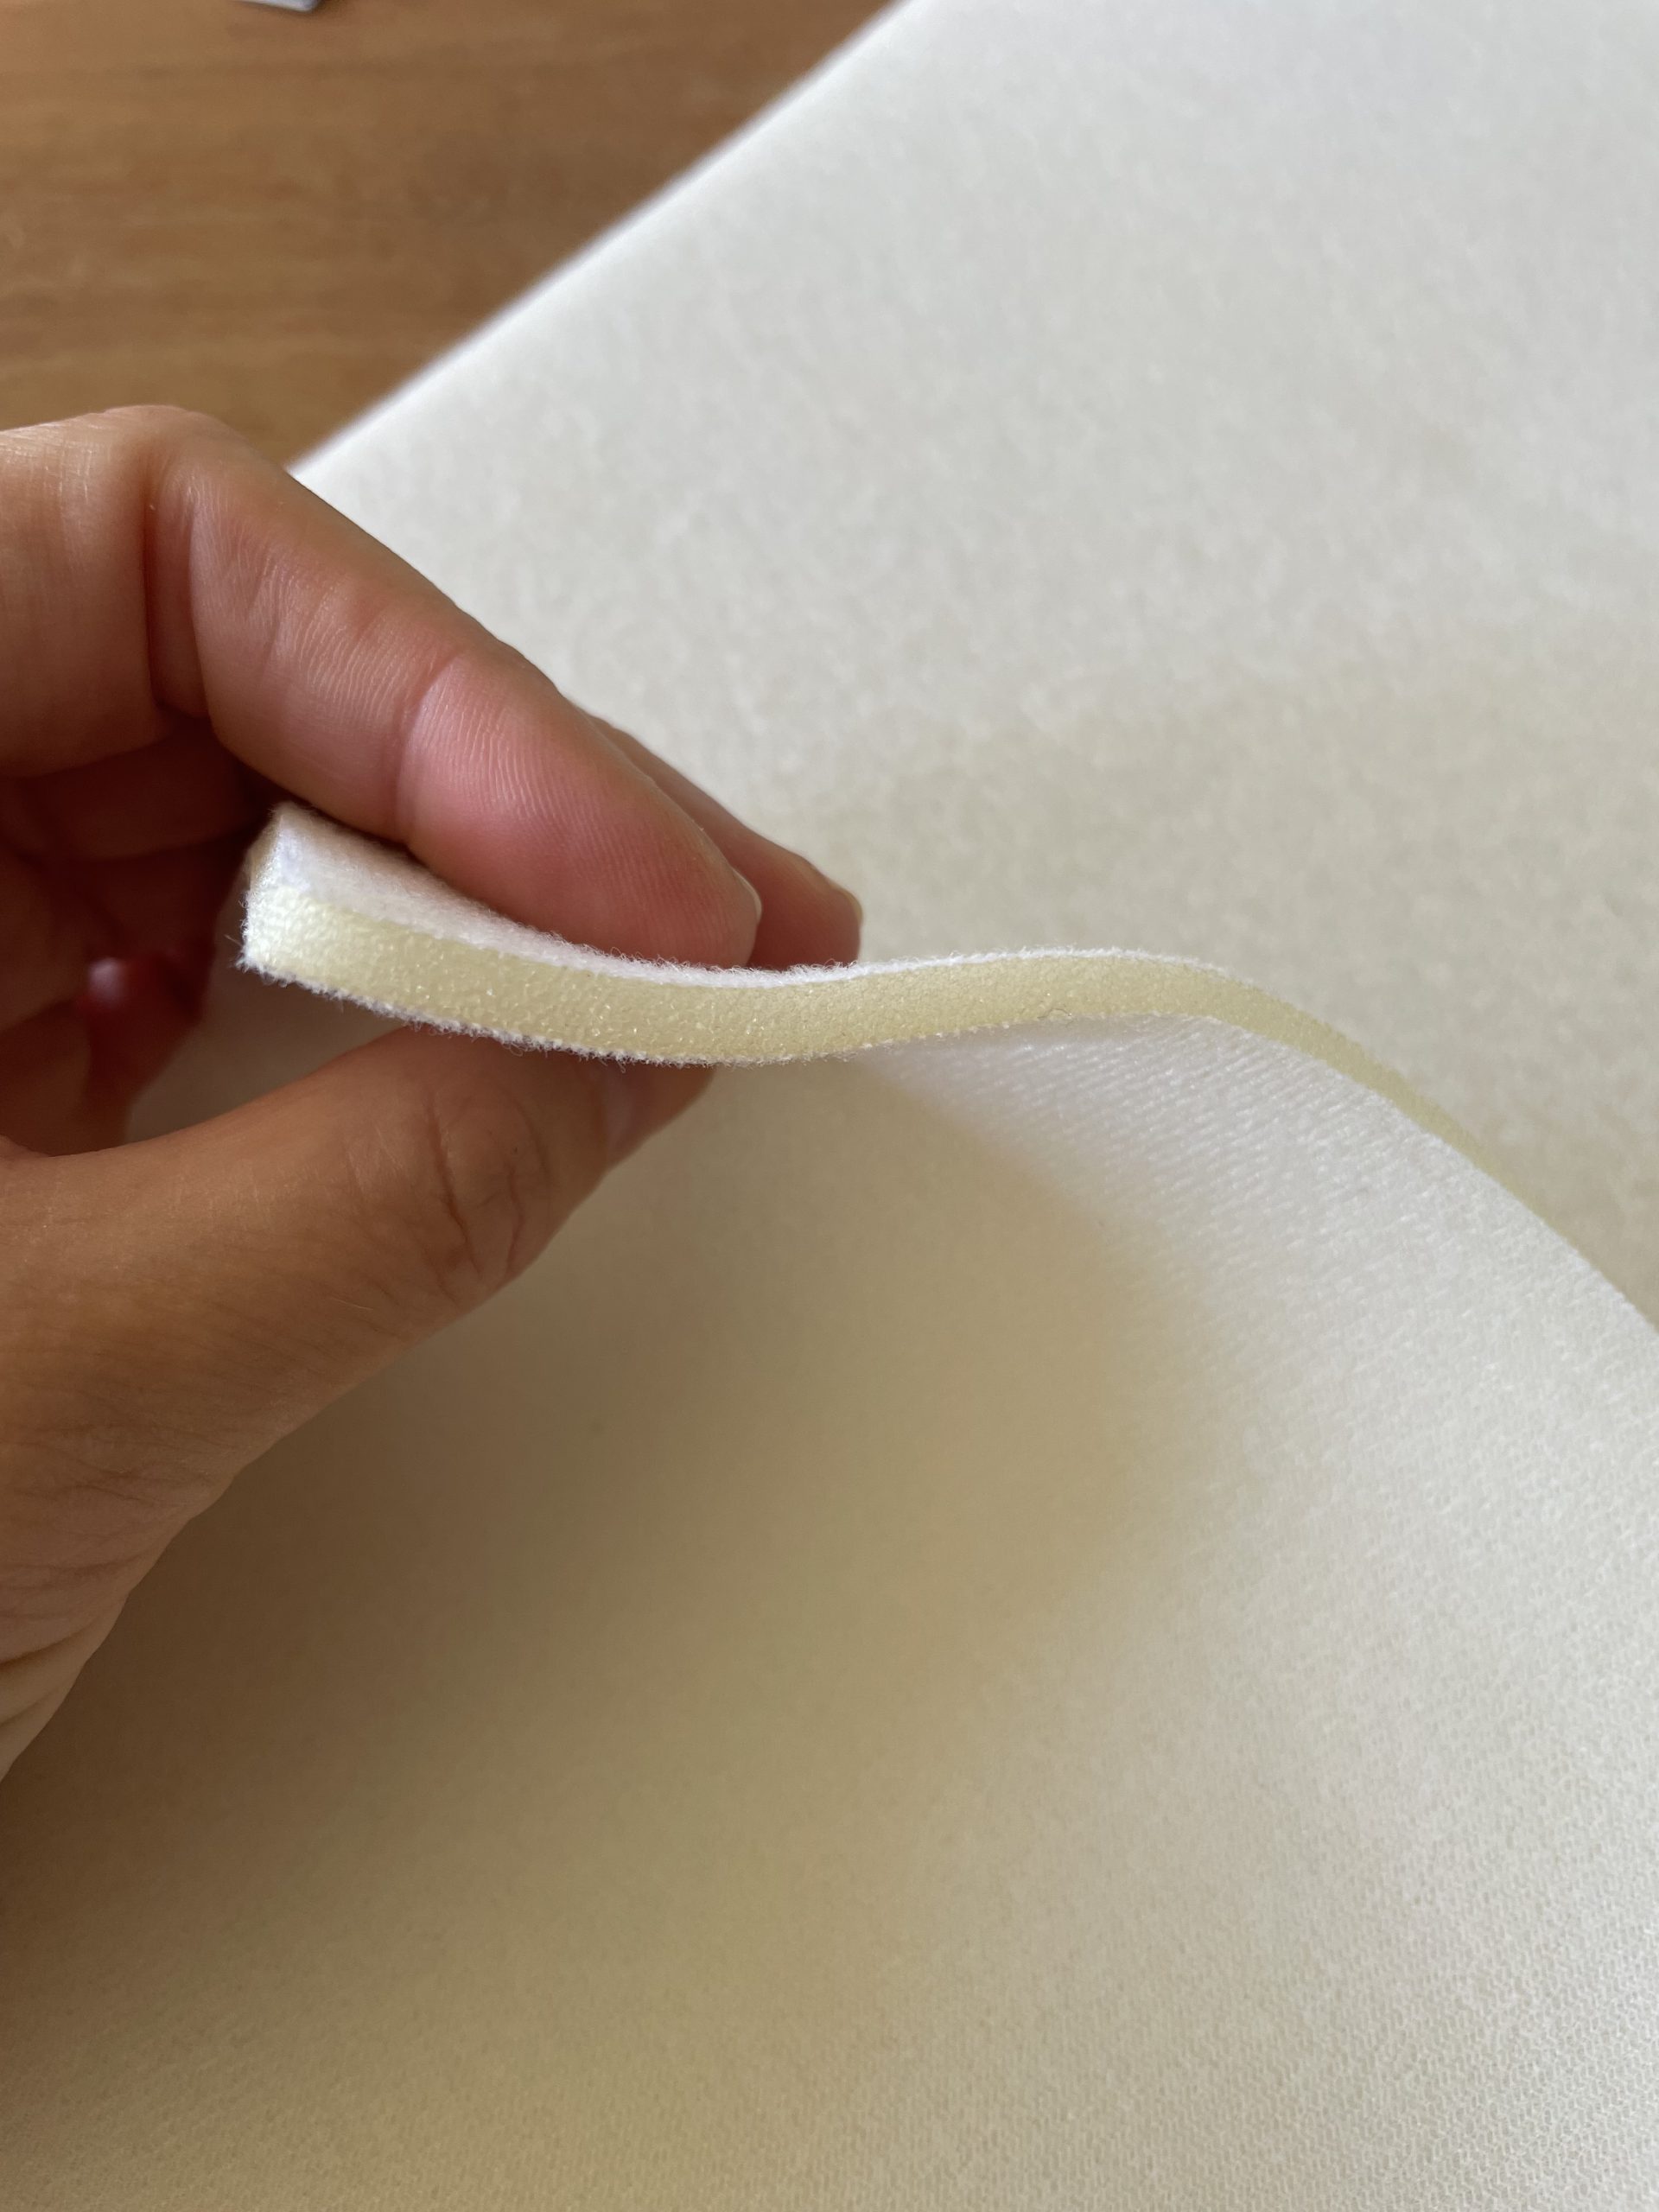
Foam interfacing
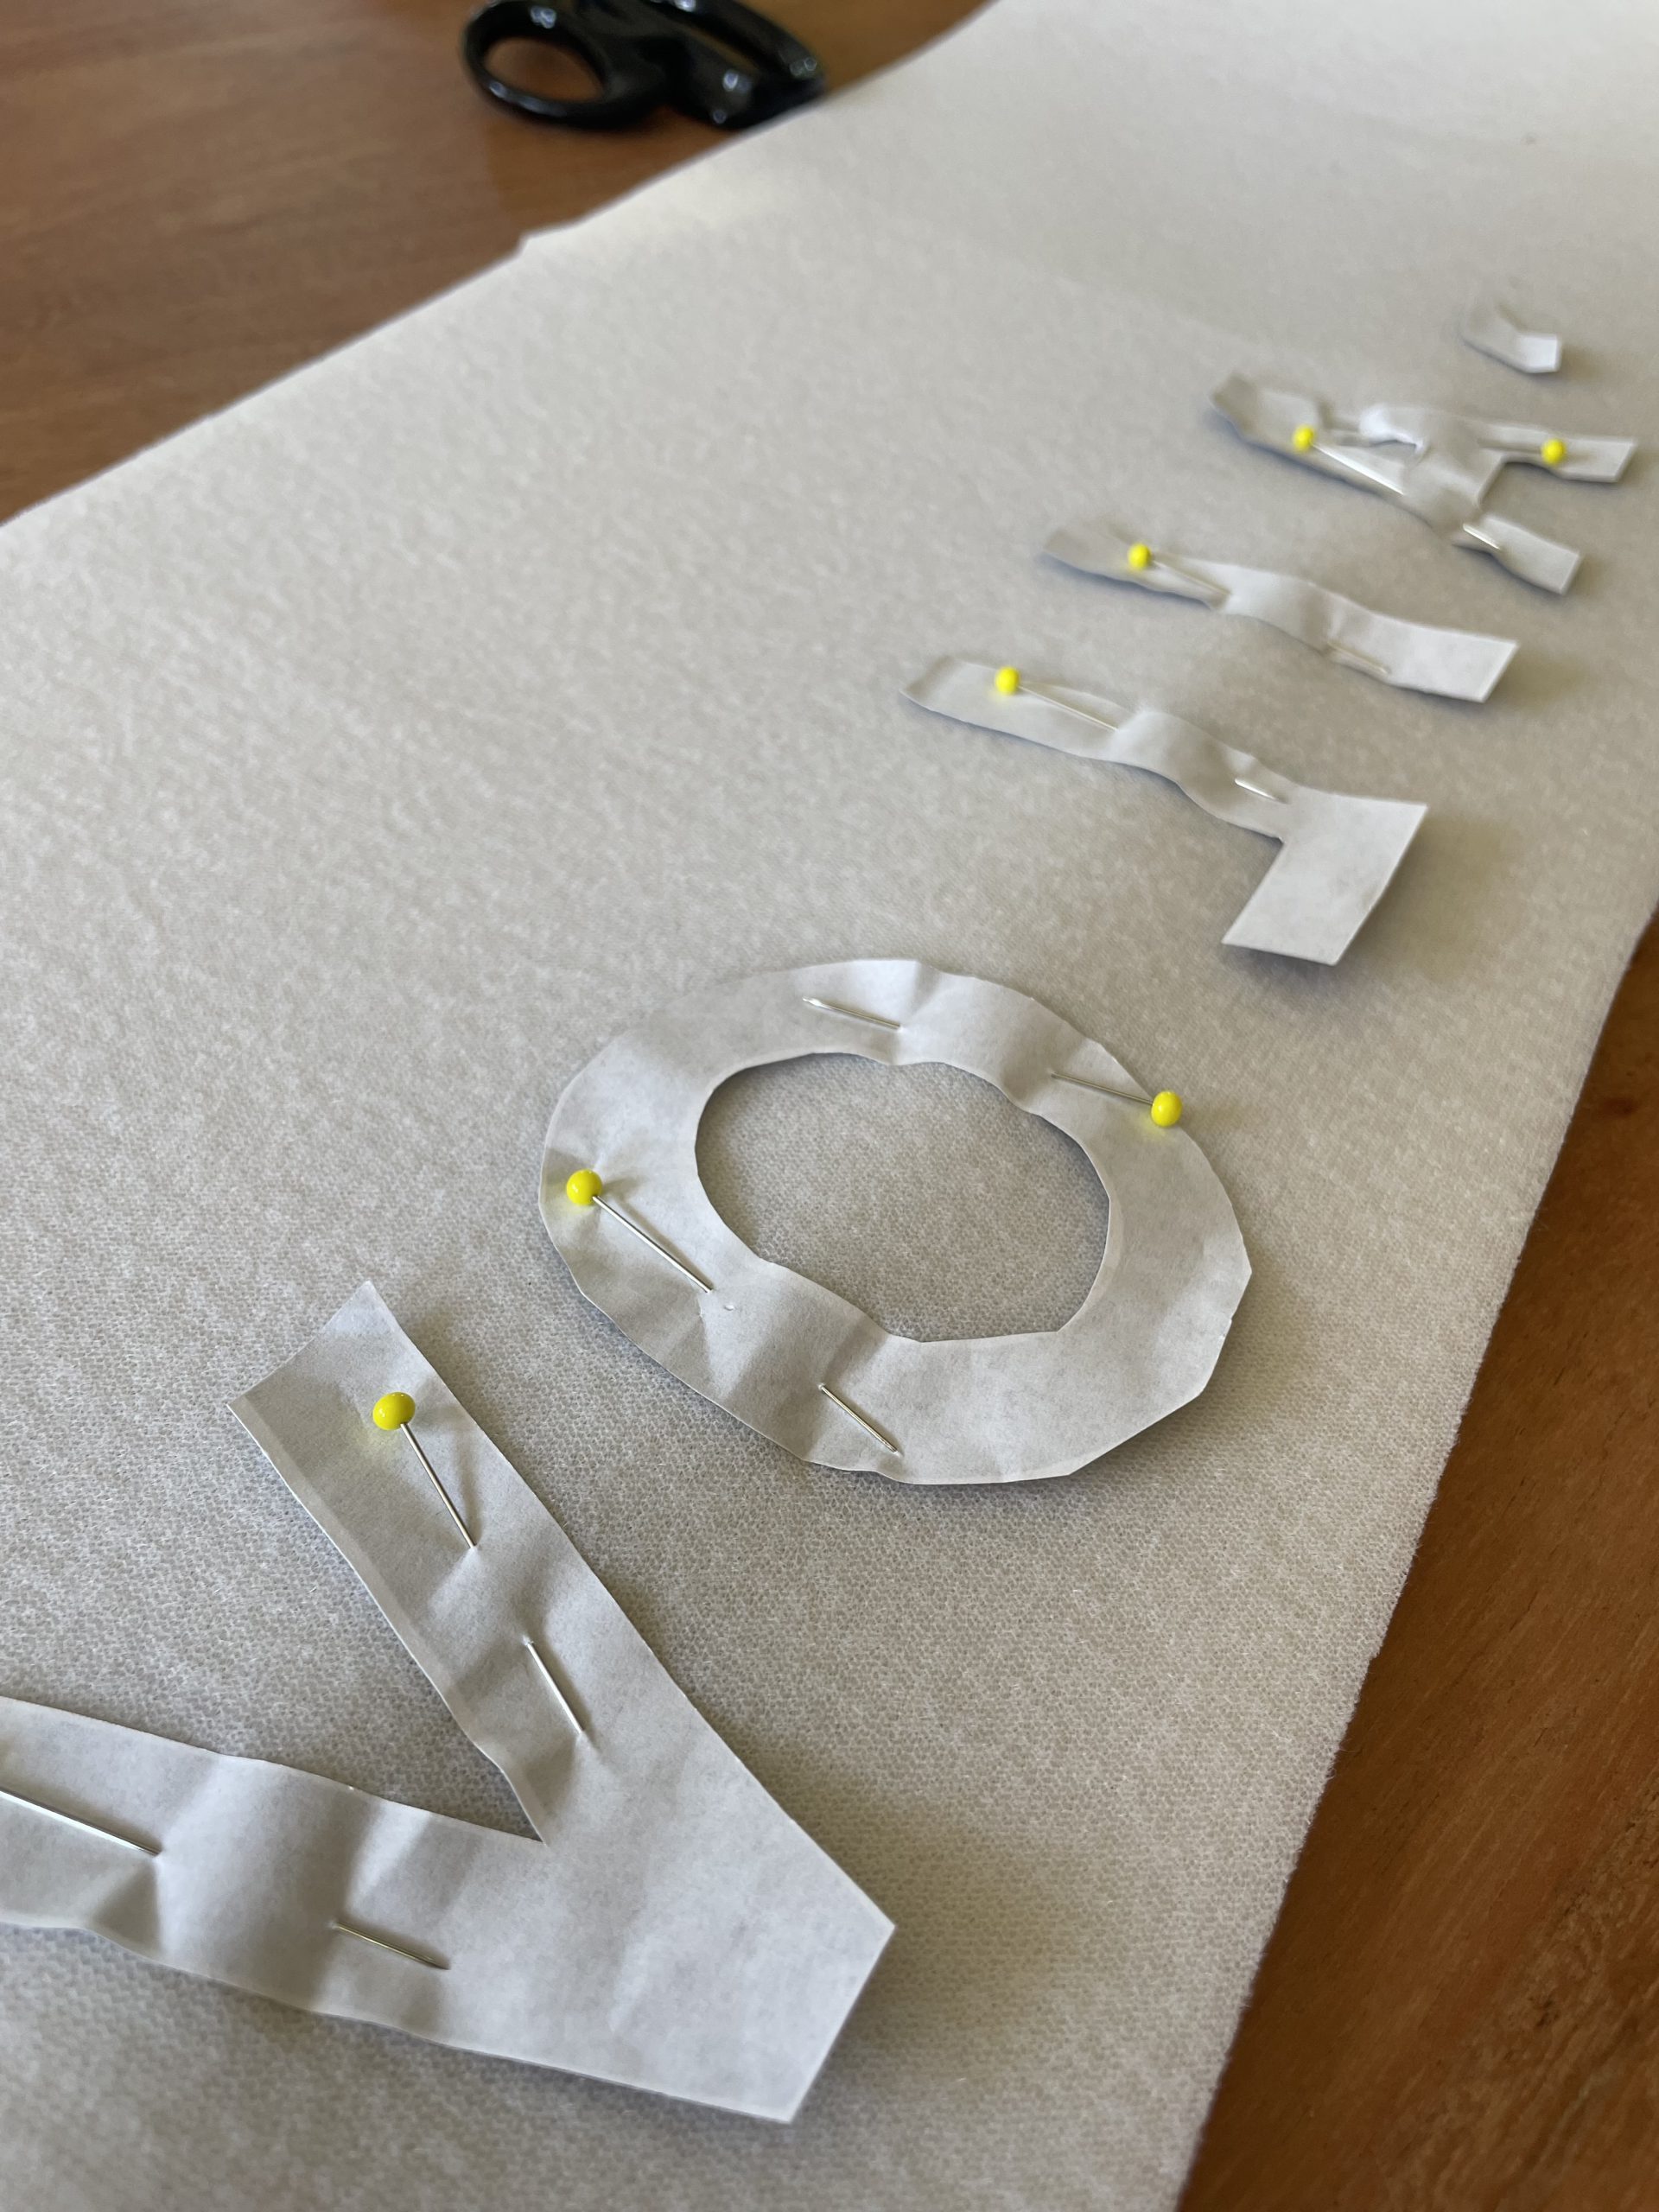
Letters printed and pinned to the Foam
I then positioned the letters on the front pattern piece of the top, on the wrong side of the fabric. ( make sure the word is laid down backwards!) measuring from the arm hole and neckline too making sure they are straight and in the middle.( this is super important!)
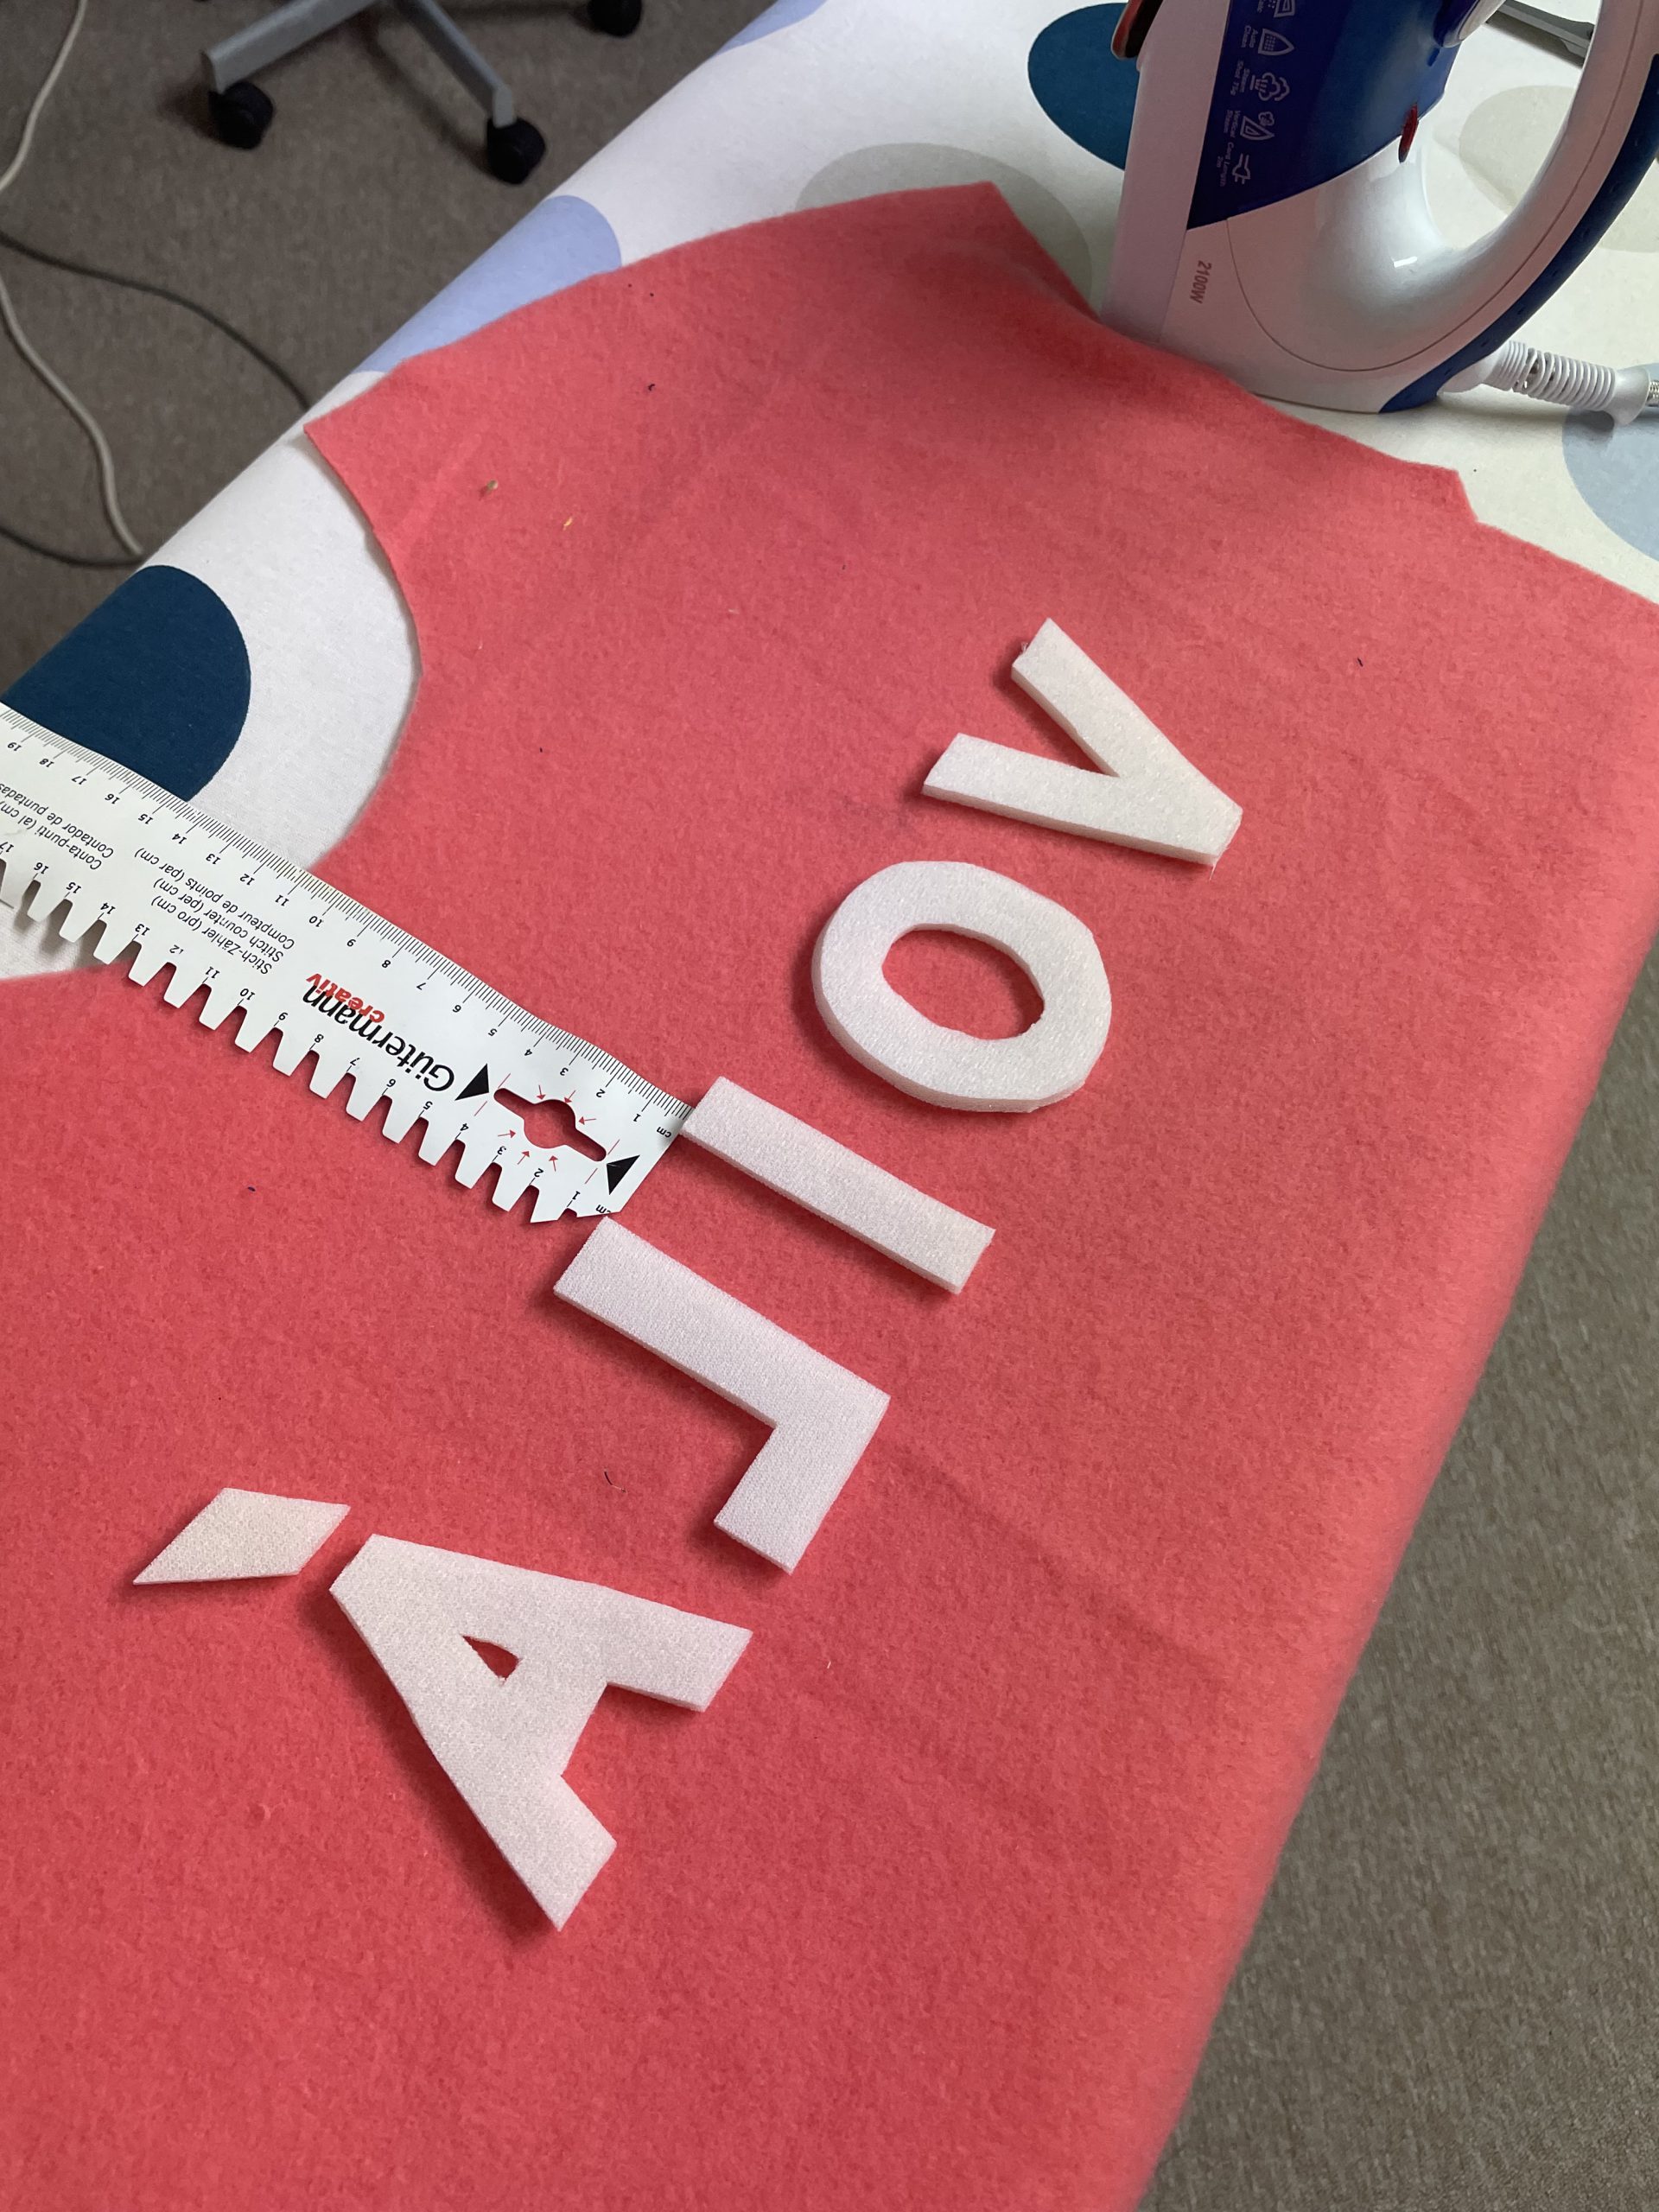
Positioning of the word to the front panel
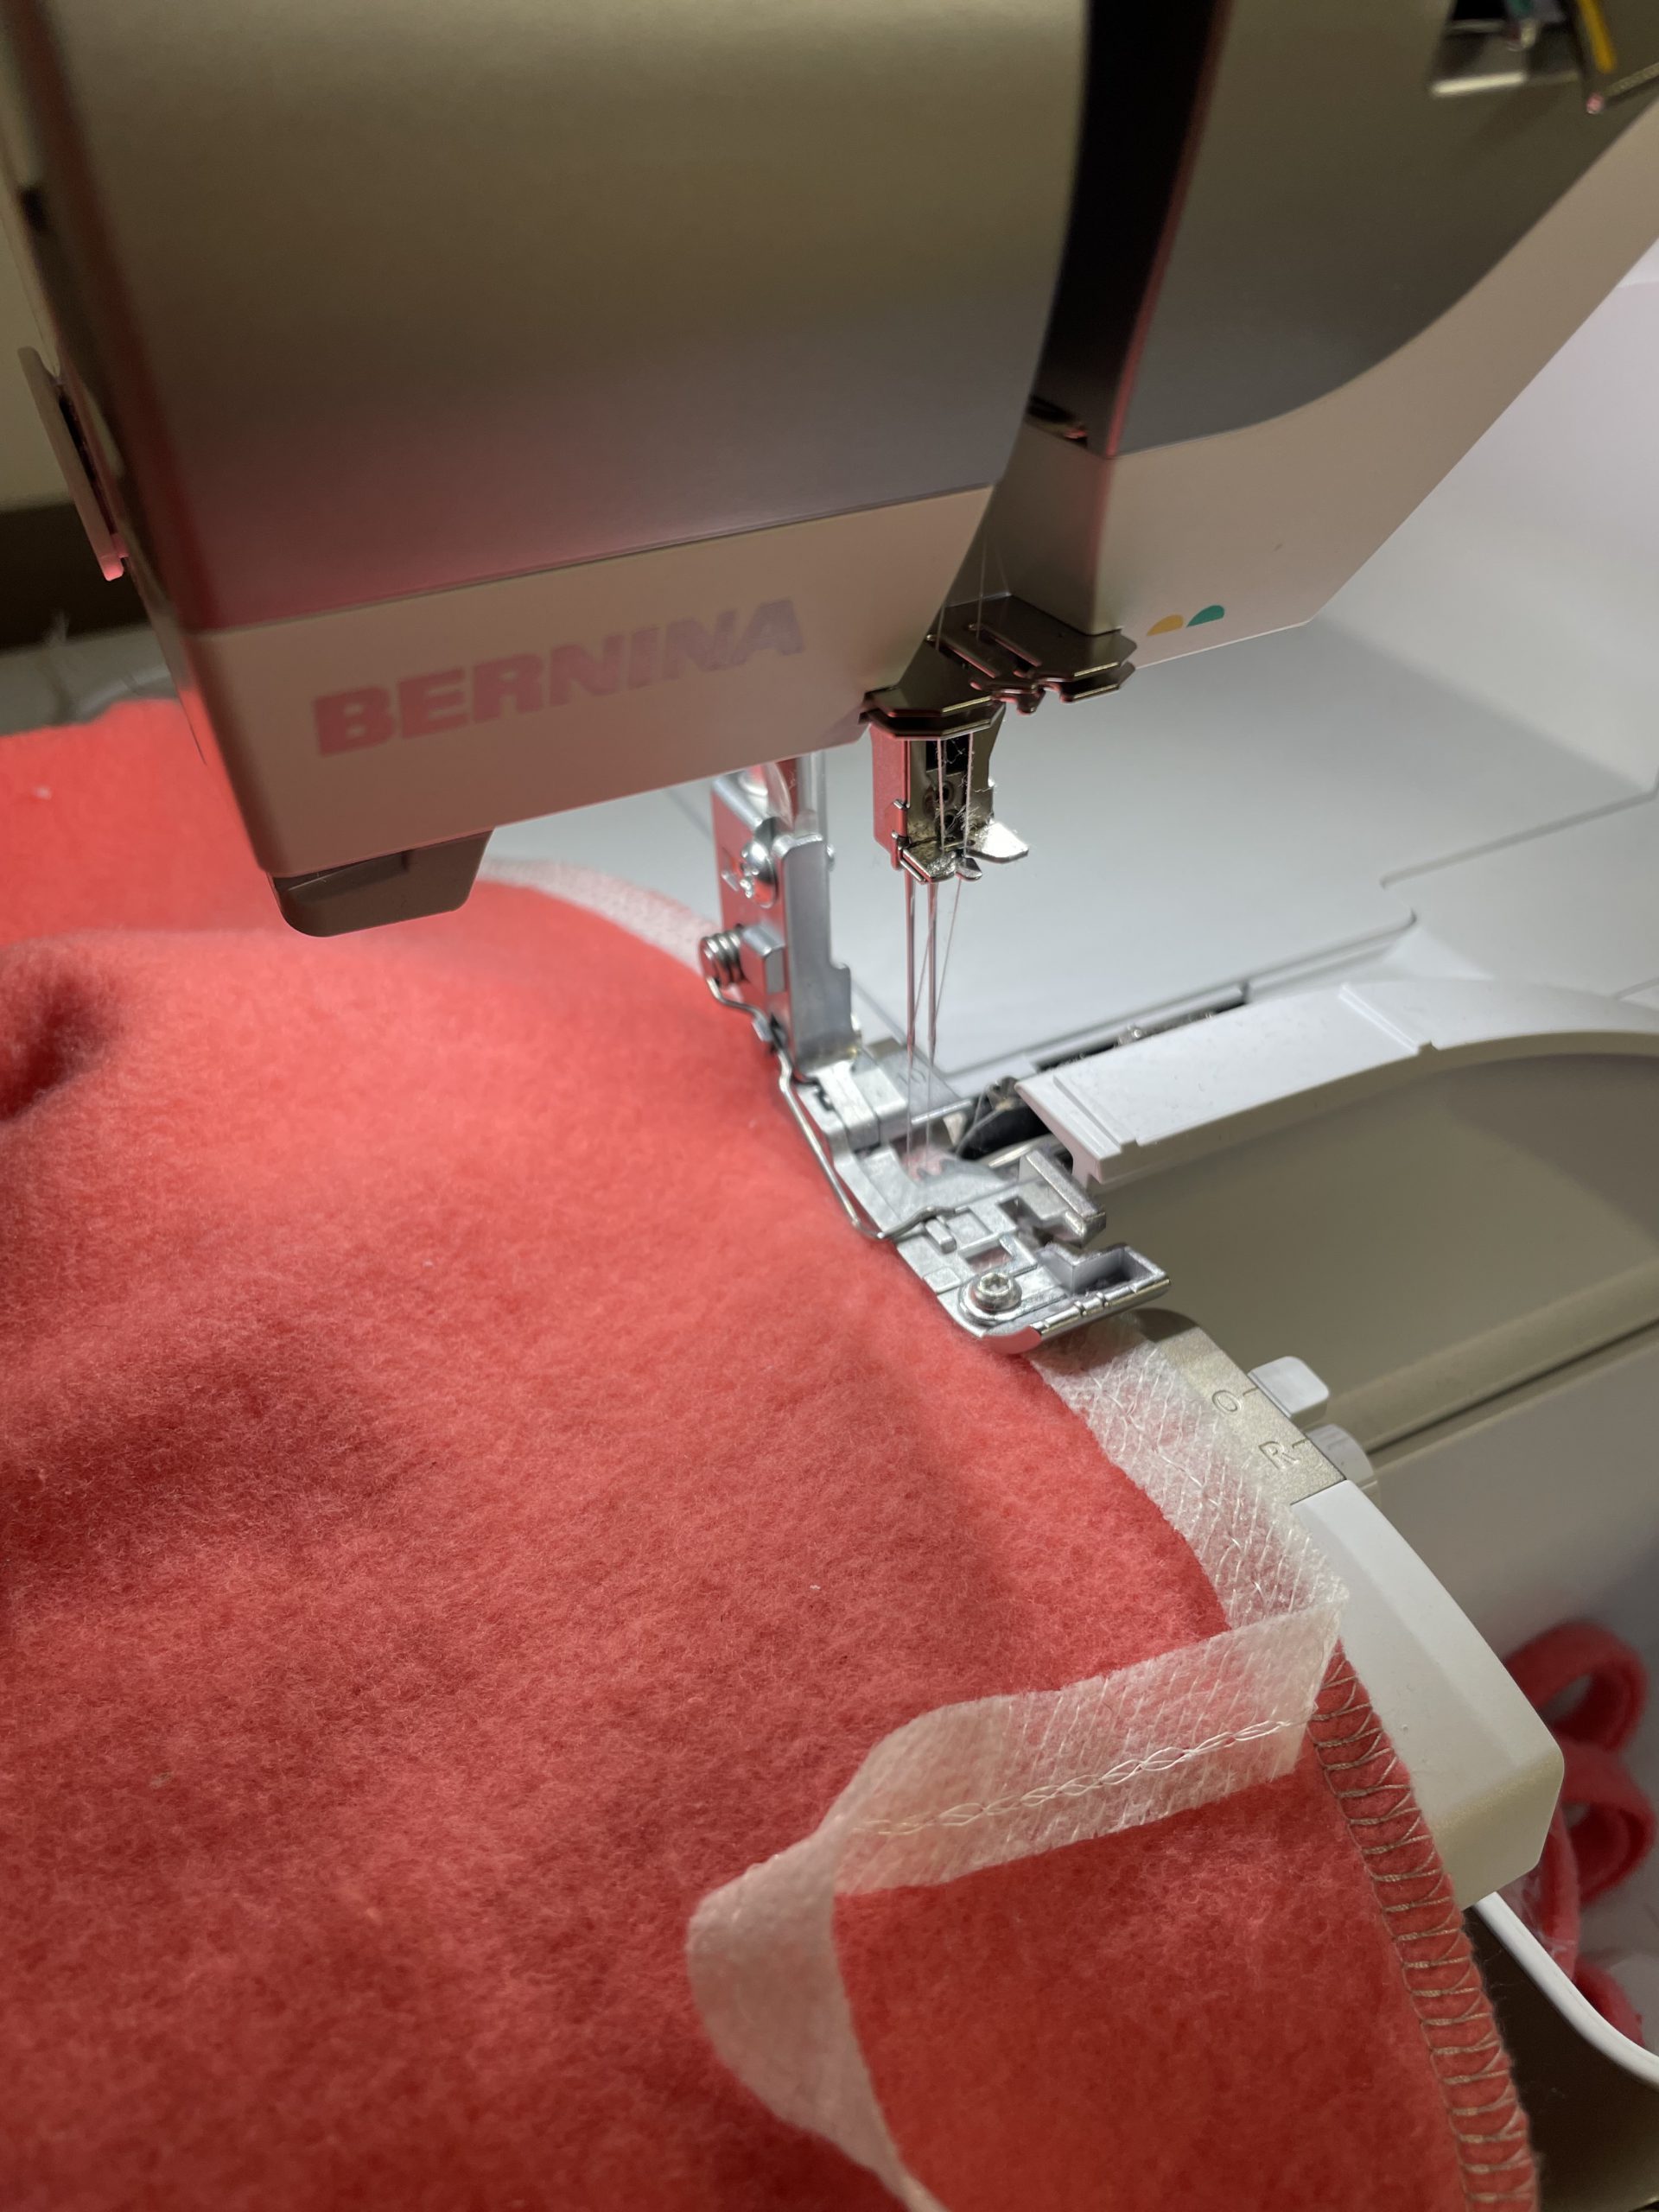
I used a piece of Vliesiline H180 and ironed the letters in place. this stops them from wriggling around whilst under the sewing machine.
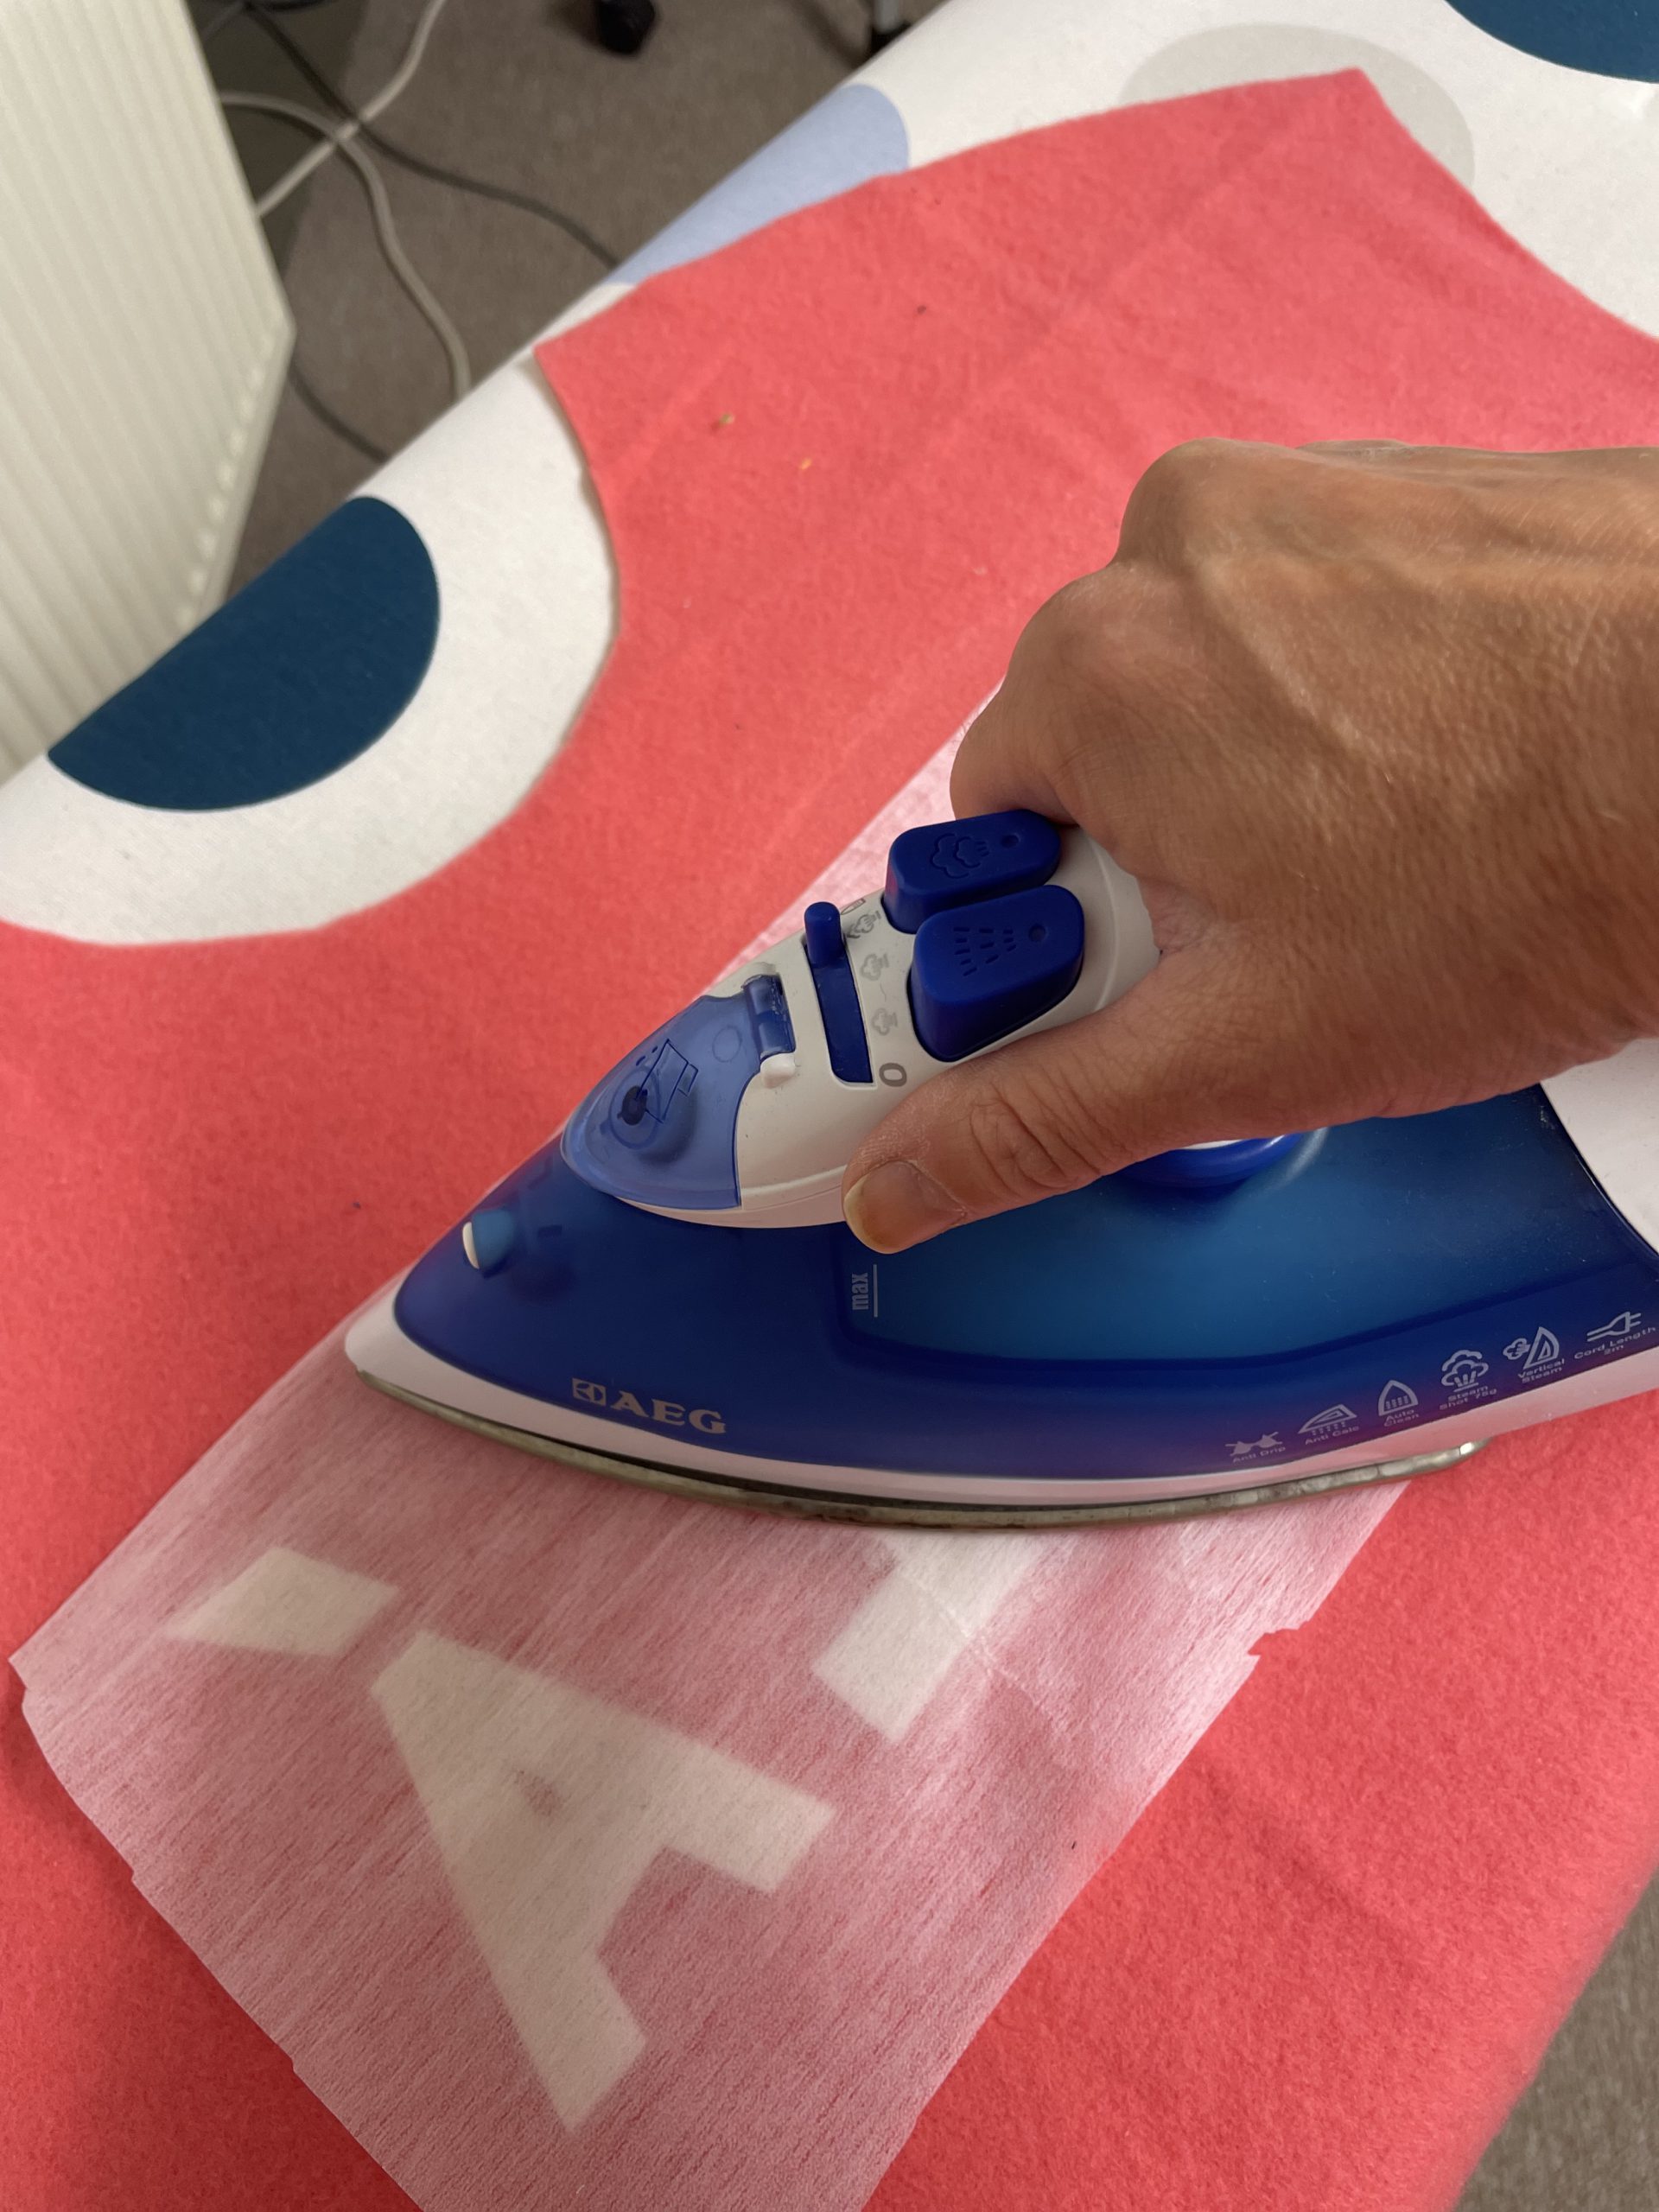
pressing the Vlisiline H180
Next step is the appliqué! I set my sewing machine to slow! and the stitch length to 3,2. Starting with the “V” I slowly and carefully sewed around each letter on the wrong side of the fabric, following the shape of the foam. The hardest part was the middle of the letter A! I would perhaps in the future find a word with no A!!
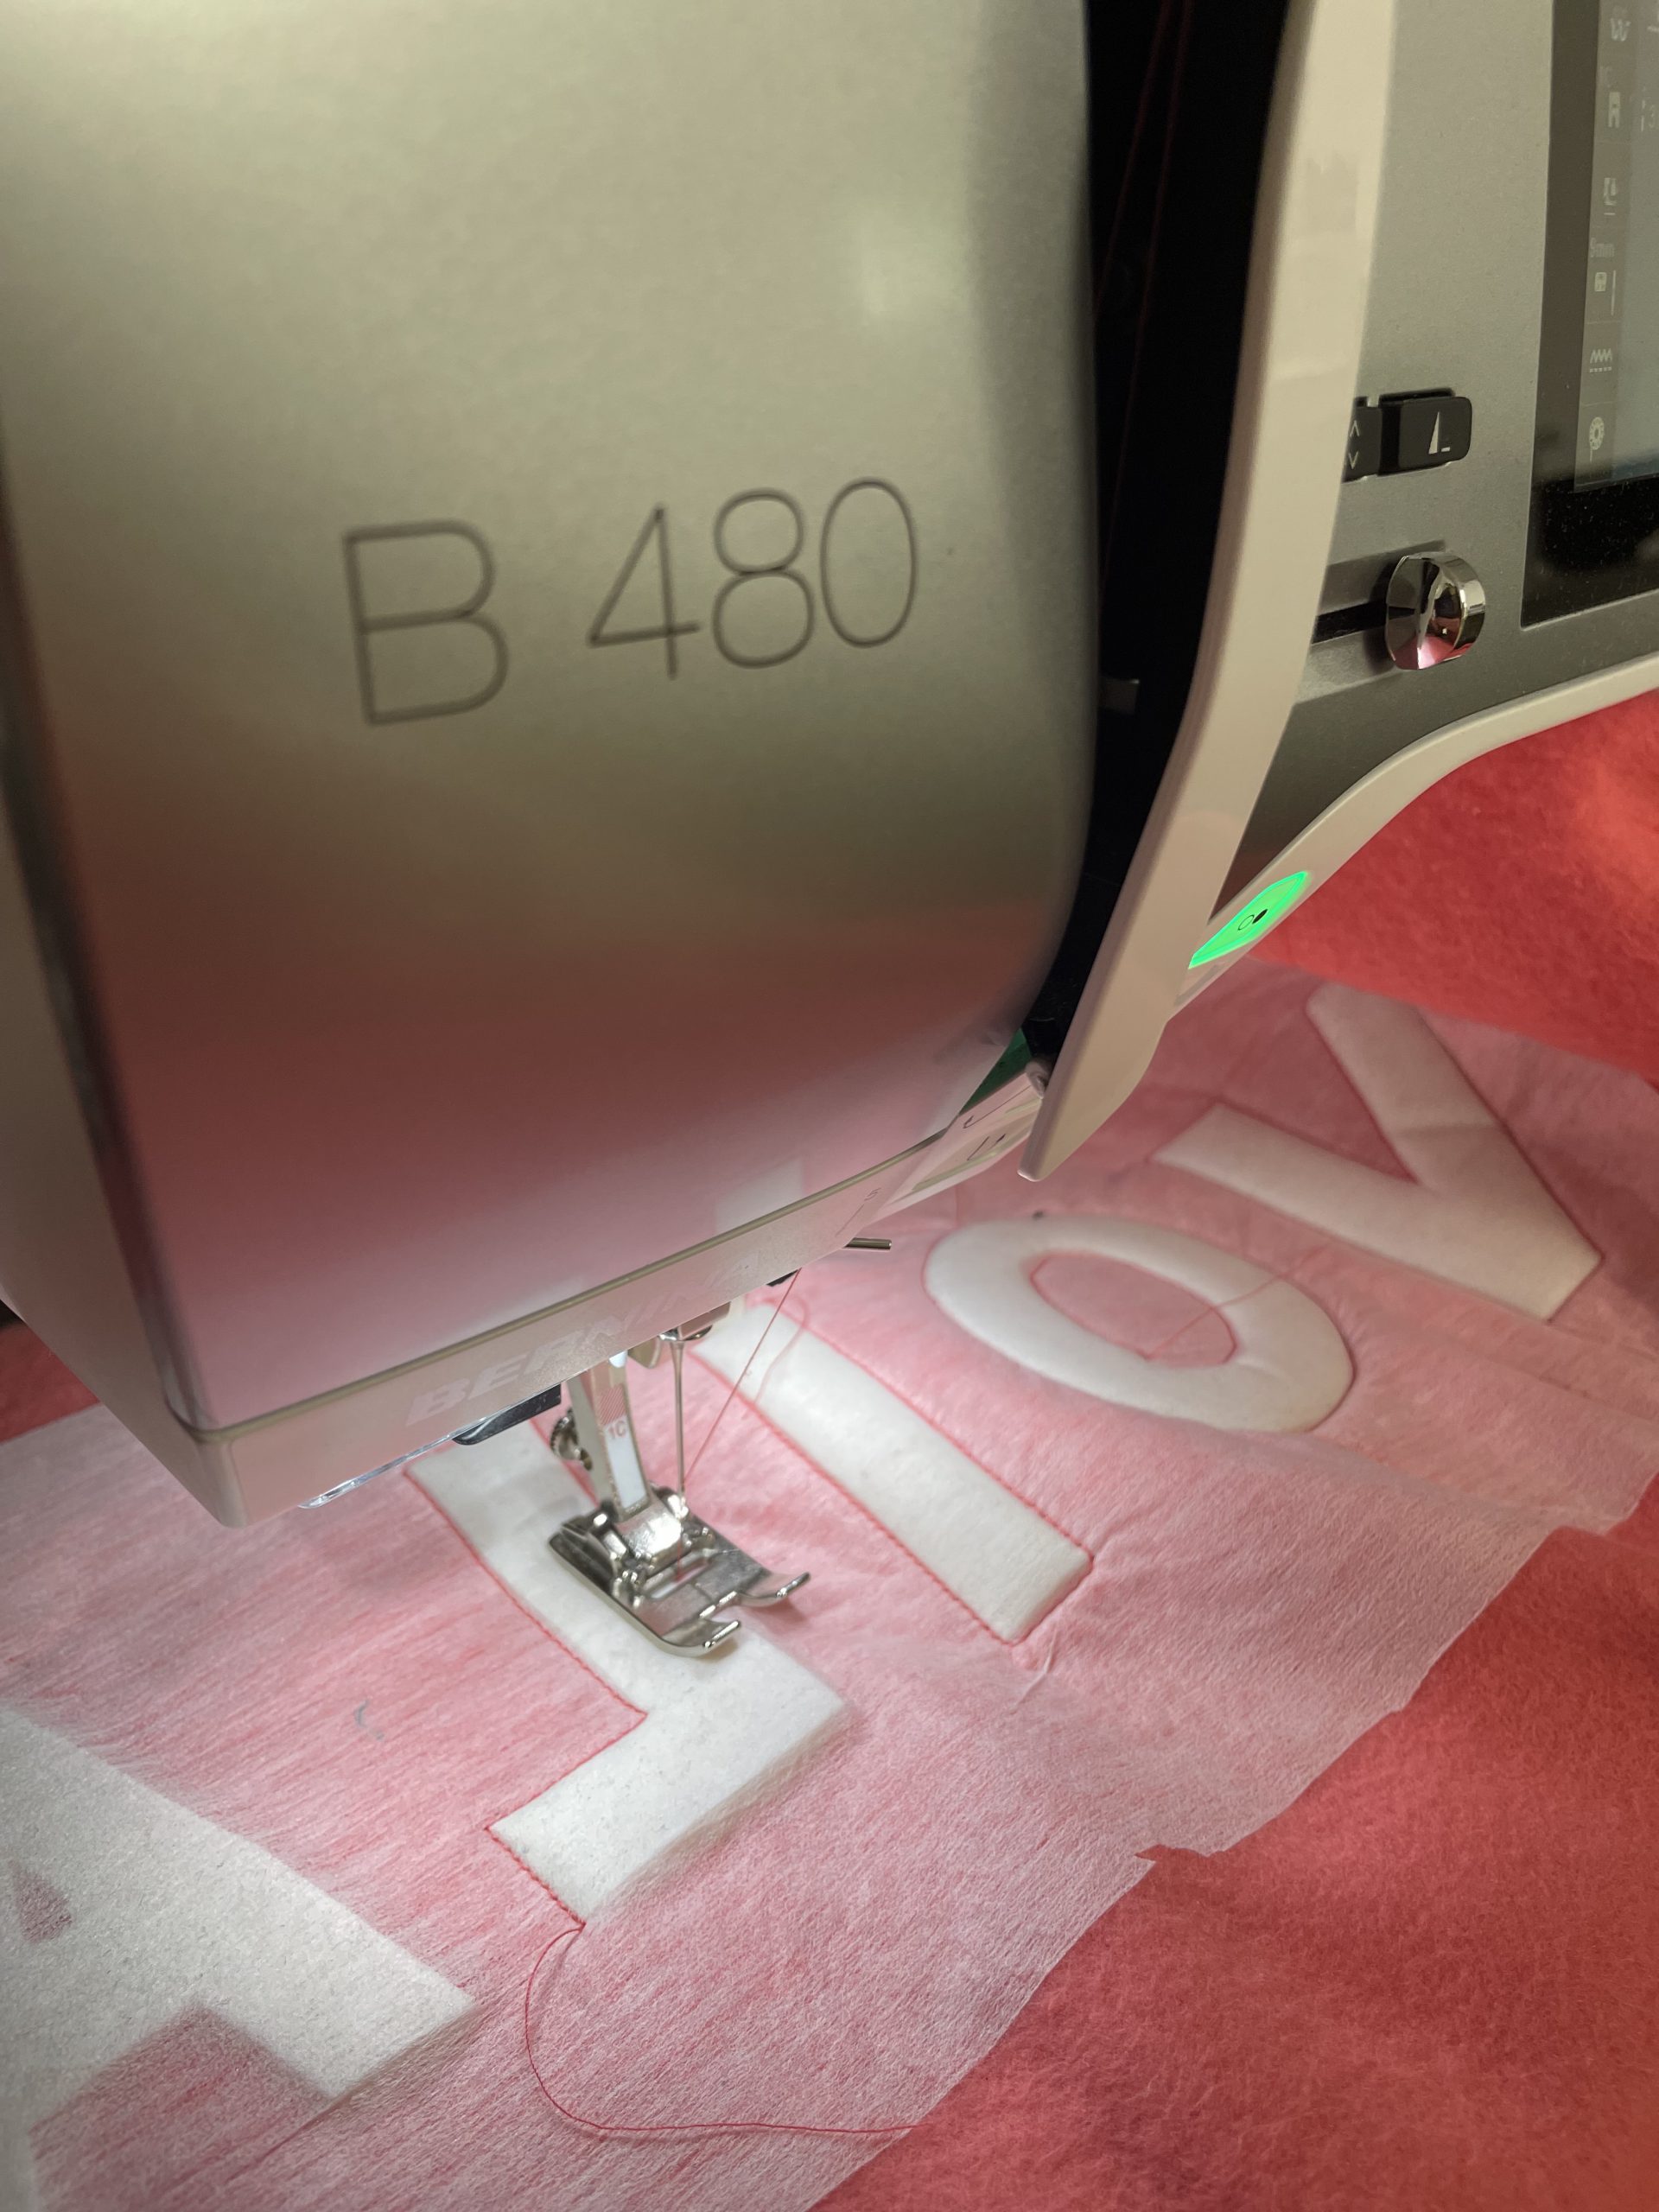
Carefully sewing around each letter
I used my BERNINA 480
Sewing the sweatshirt
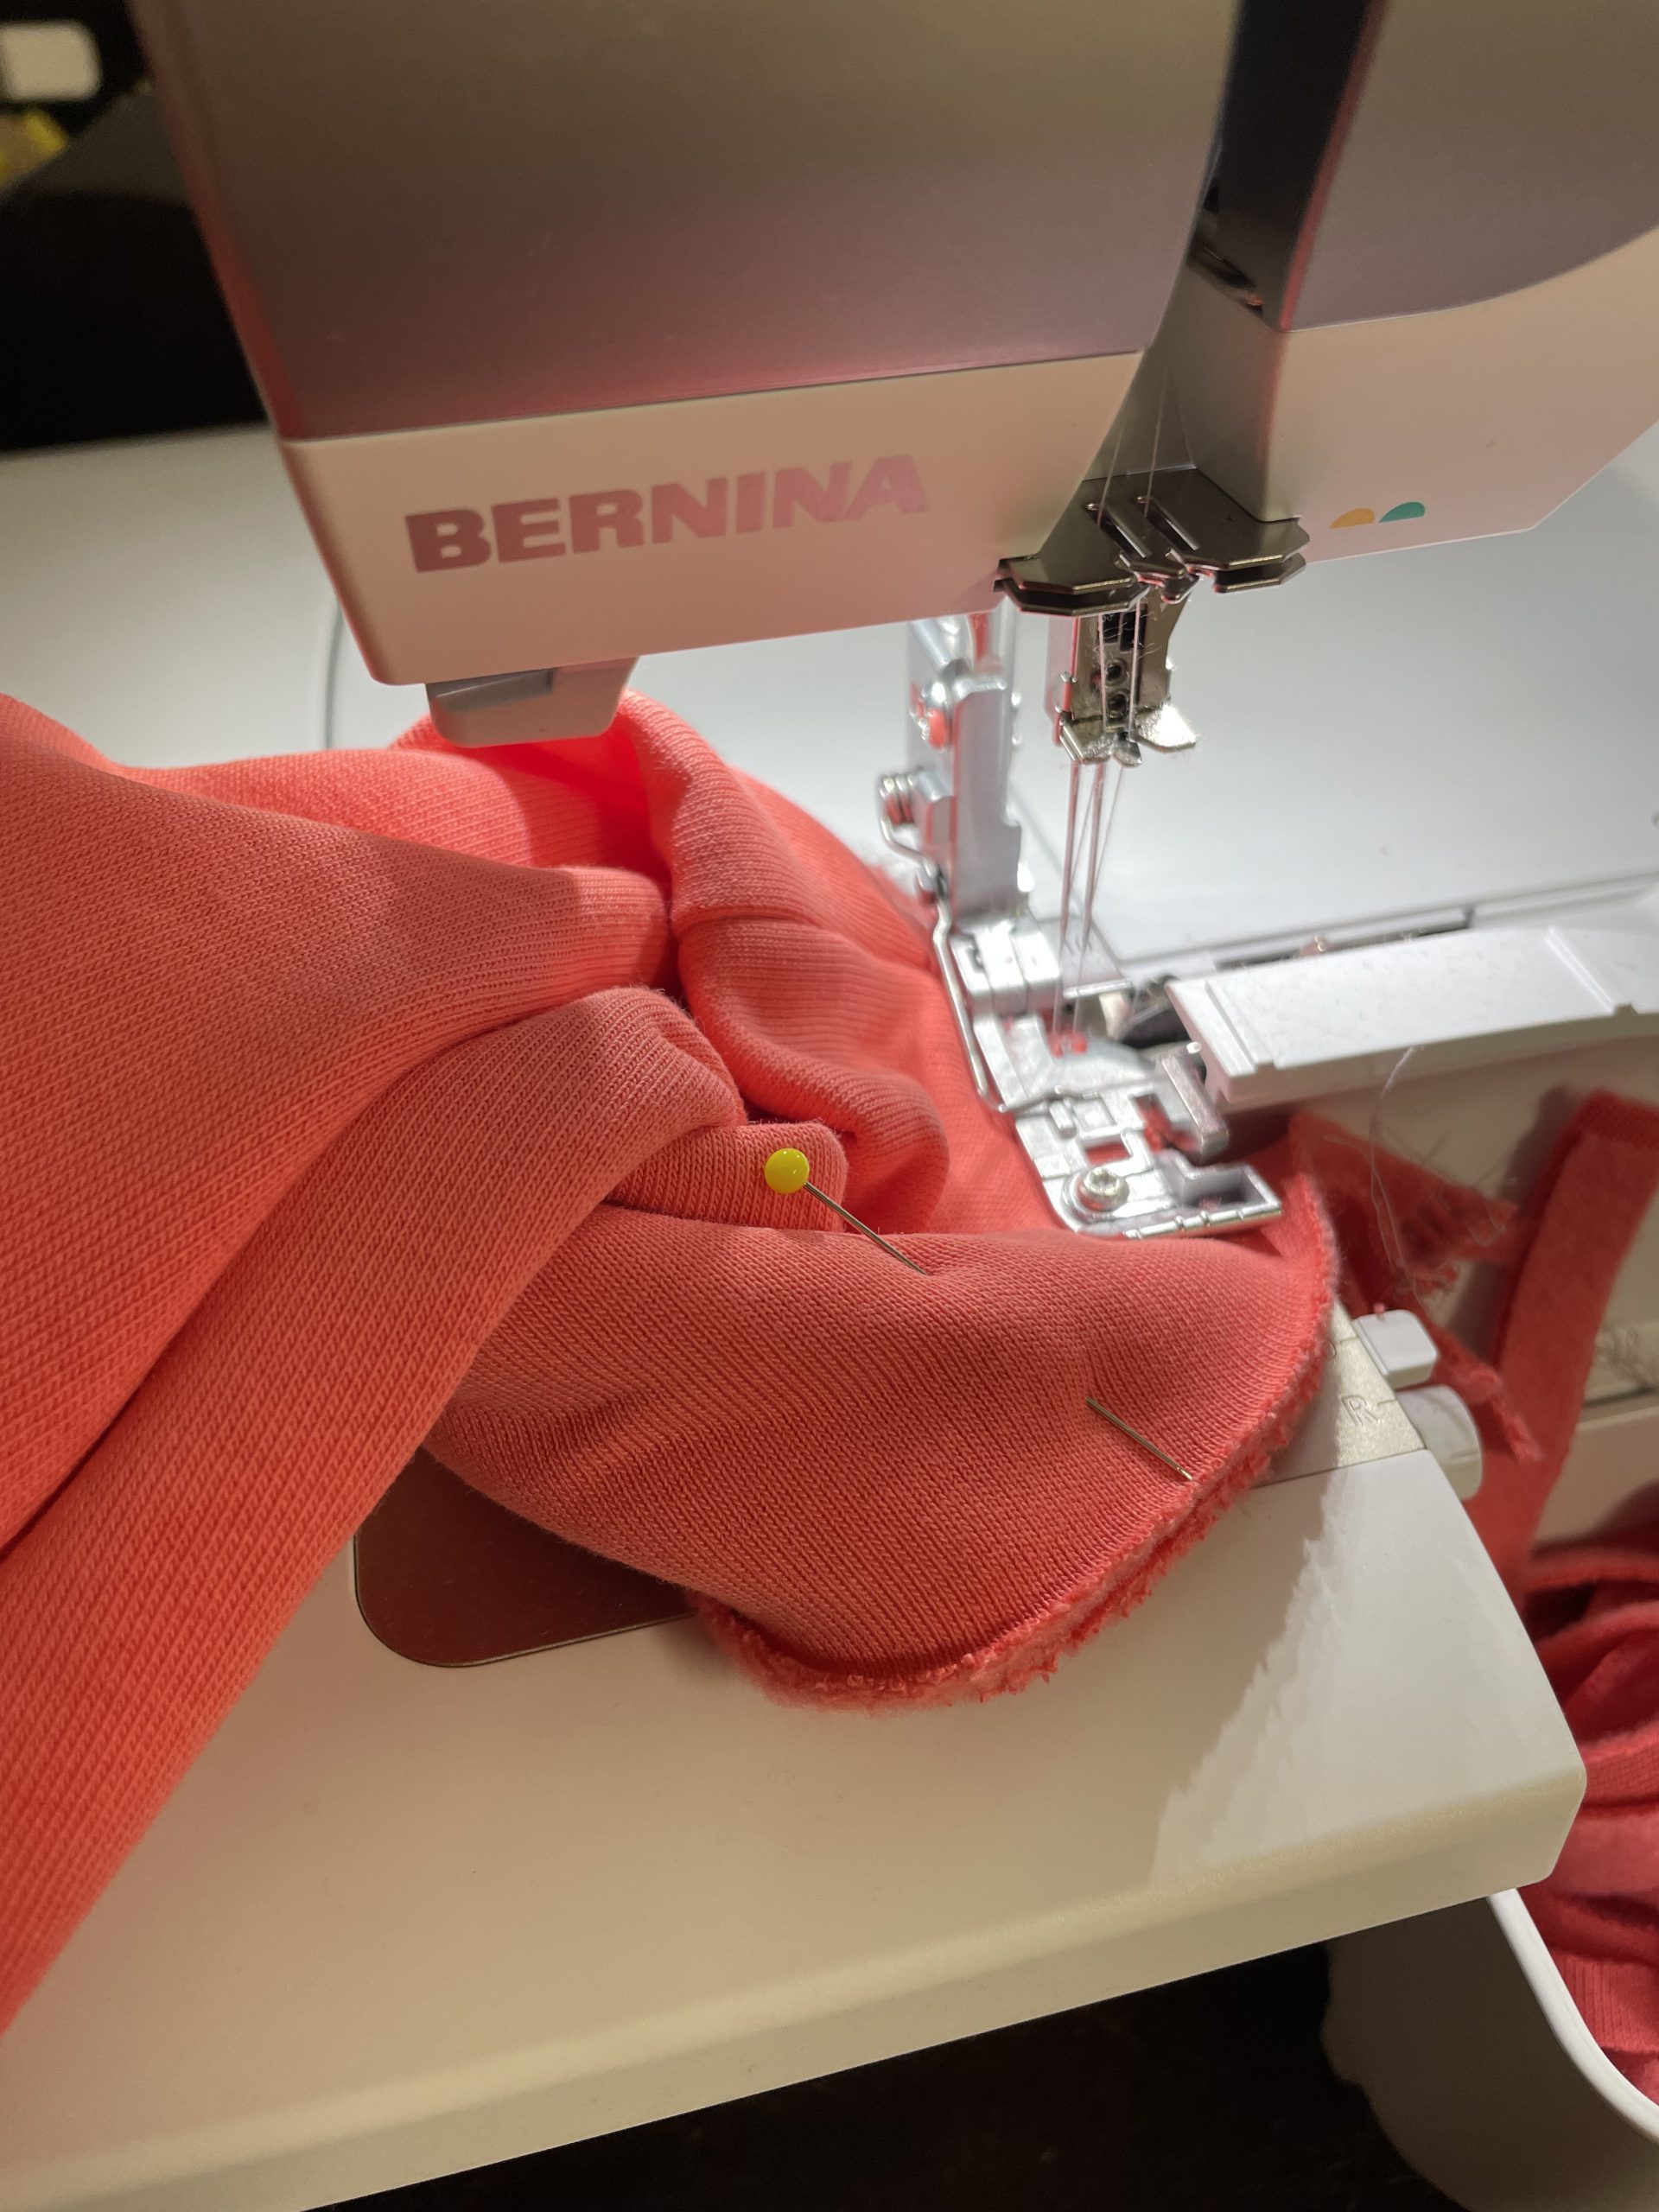
Once complete, I pressed it flat and started sewing all the pattern pieces together using my overlock machine. First the shoulder seams. Because the patterns shoulders are dropped, I decided to stabilise this seam, options are:
- Clear elastic
- Twill tape
- Woven fabric cut on the bias
- Interfacing (with some stretch works best)
adding a stabilizing tape to the shoulder seam
I used an interfacing tape, this will prevent the shoulder from dropping or stretching out of shape.
I then sewed on the sleeves to the sleeve head und closed the sweatshirt along the inner sleeve and side seams and added the neck rib.
To create a smooth curve for the hem I firstly basted the hem with a 2cm seam allowance and a long straight stitch. This gives an excellent guide for the hem fold. I pressed this all the way around and used a twin needle on my sewing machine to sew the hem seam.
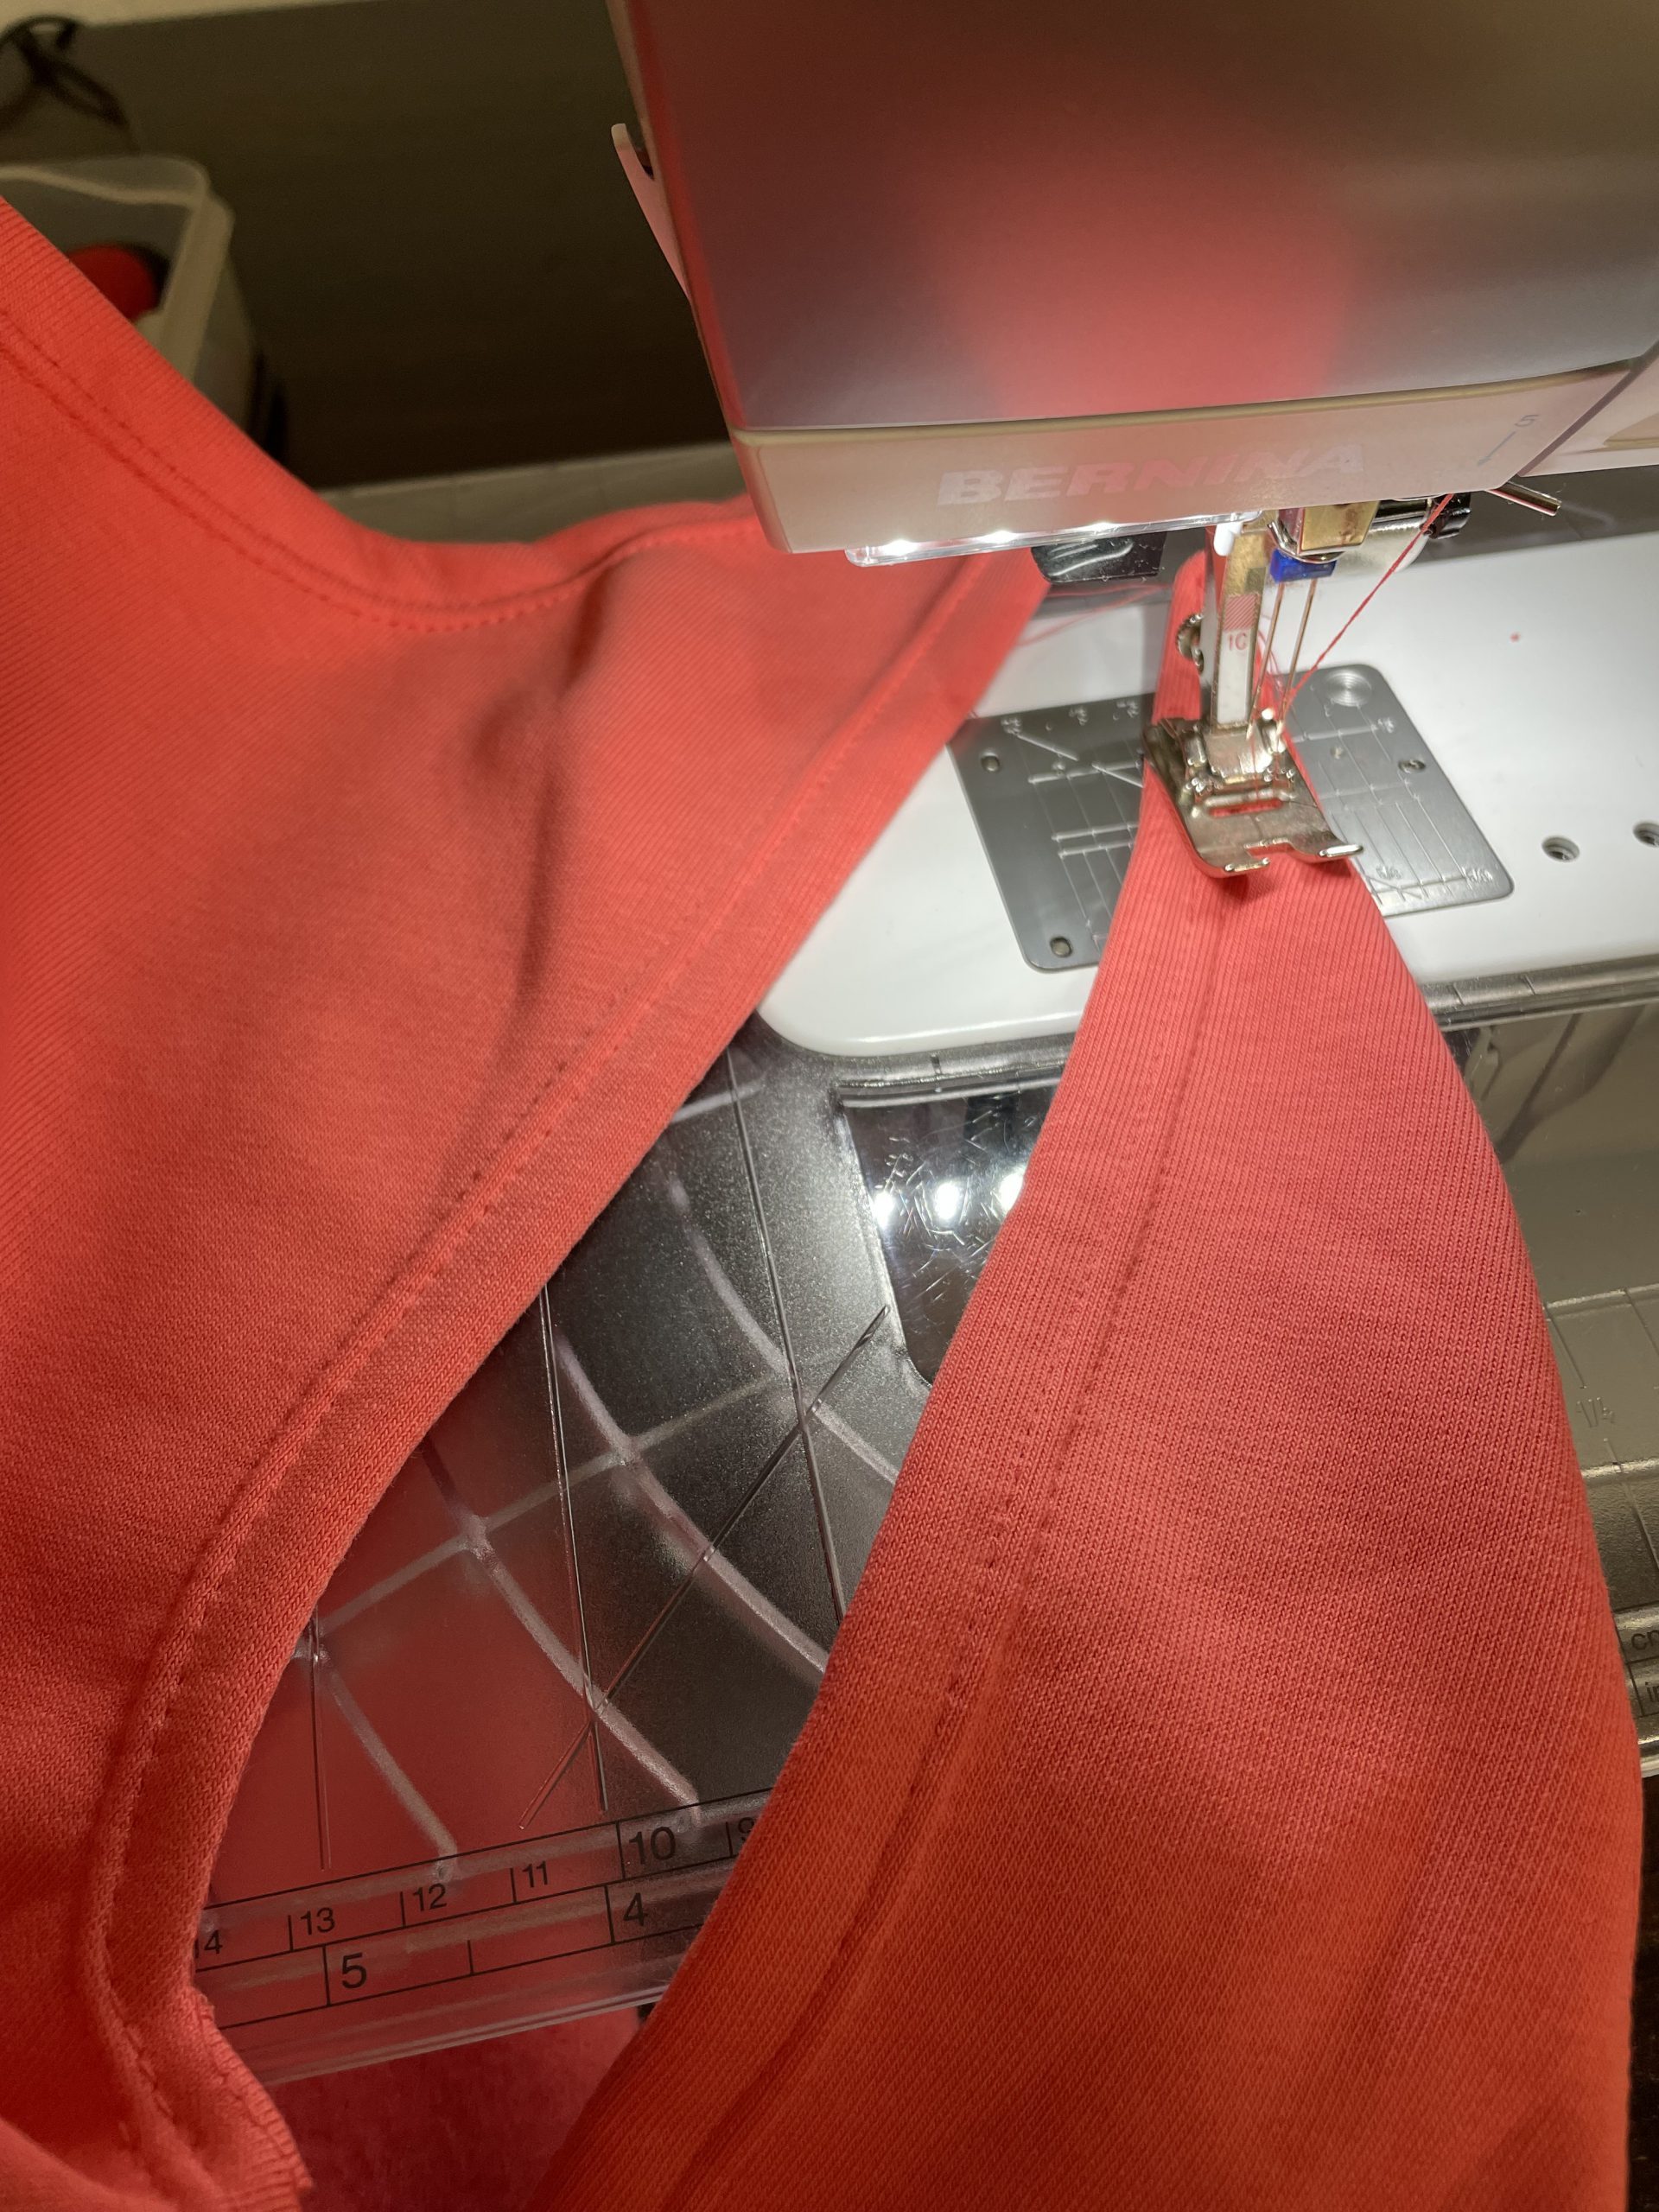
Hemming with a twin needle
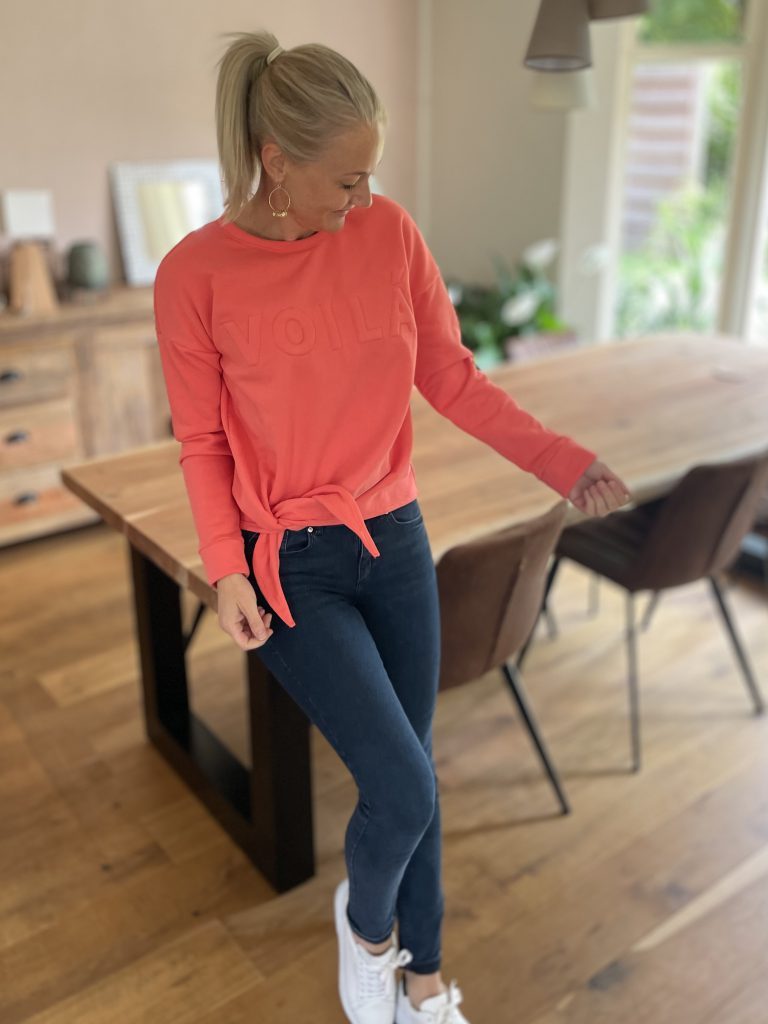
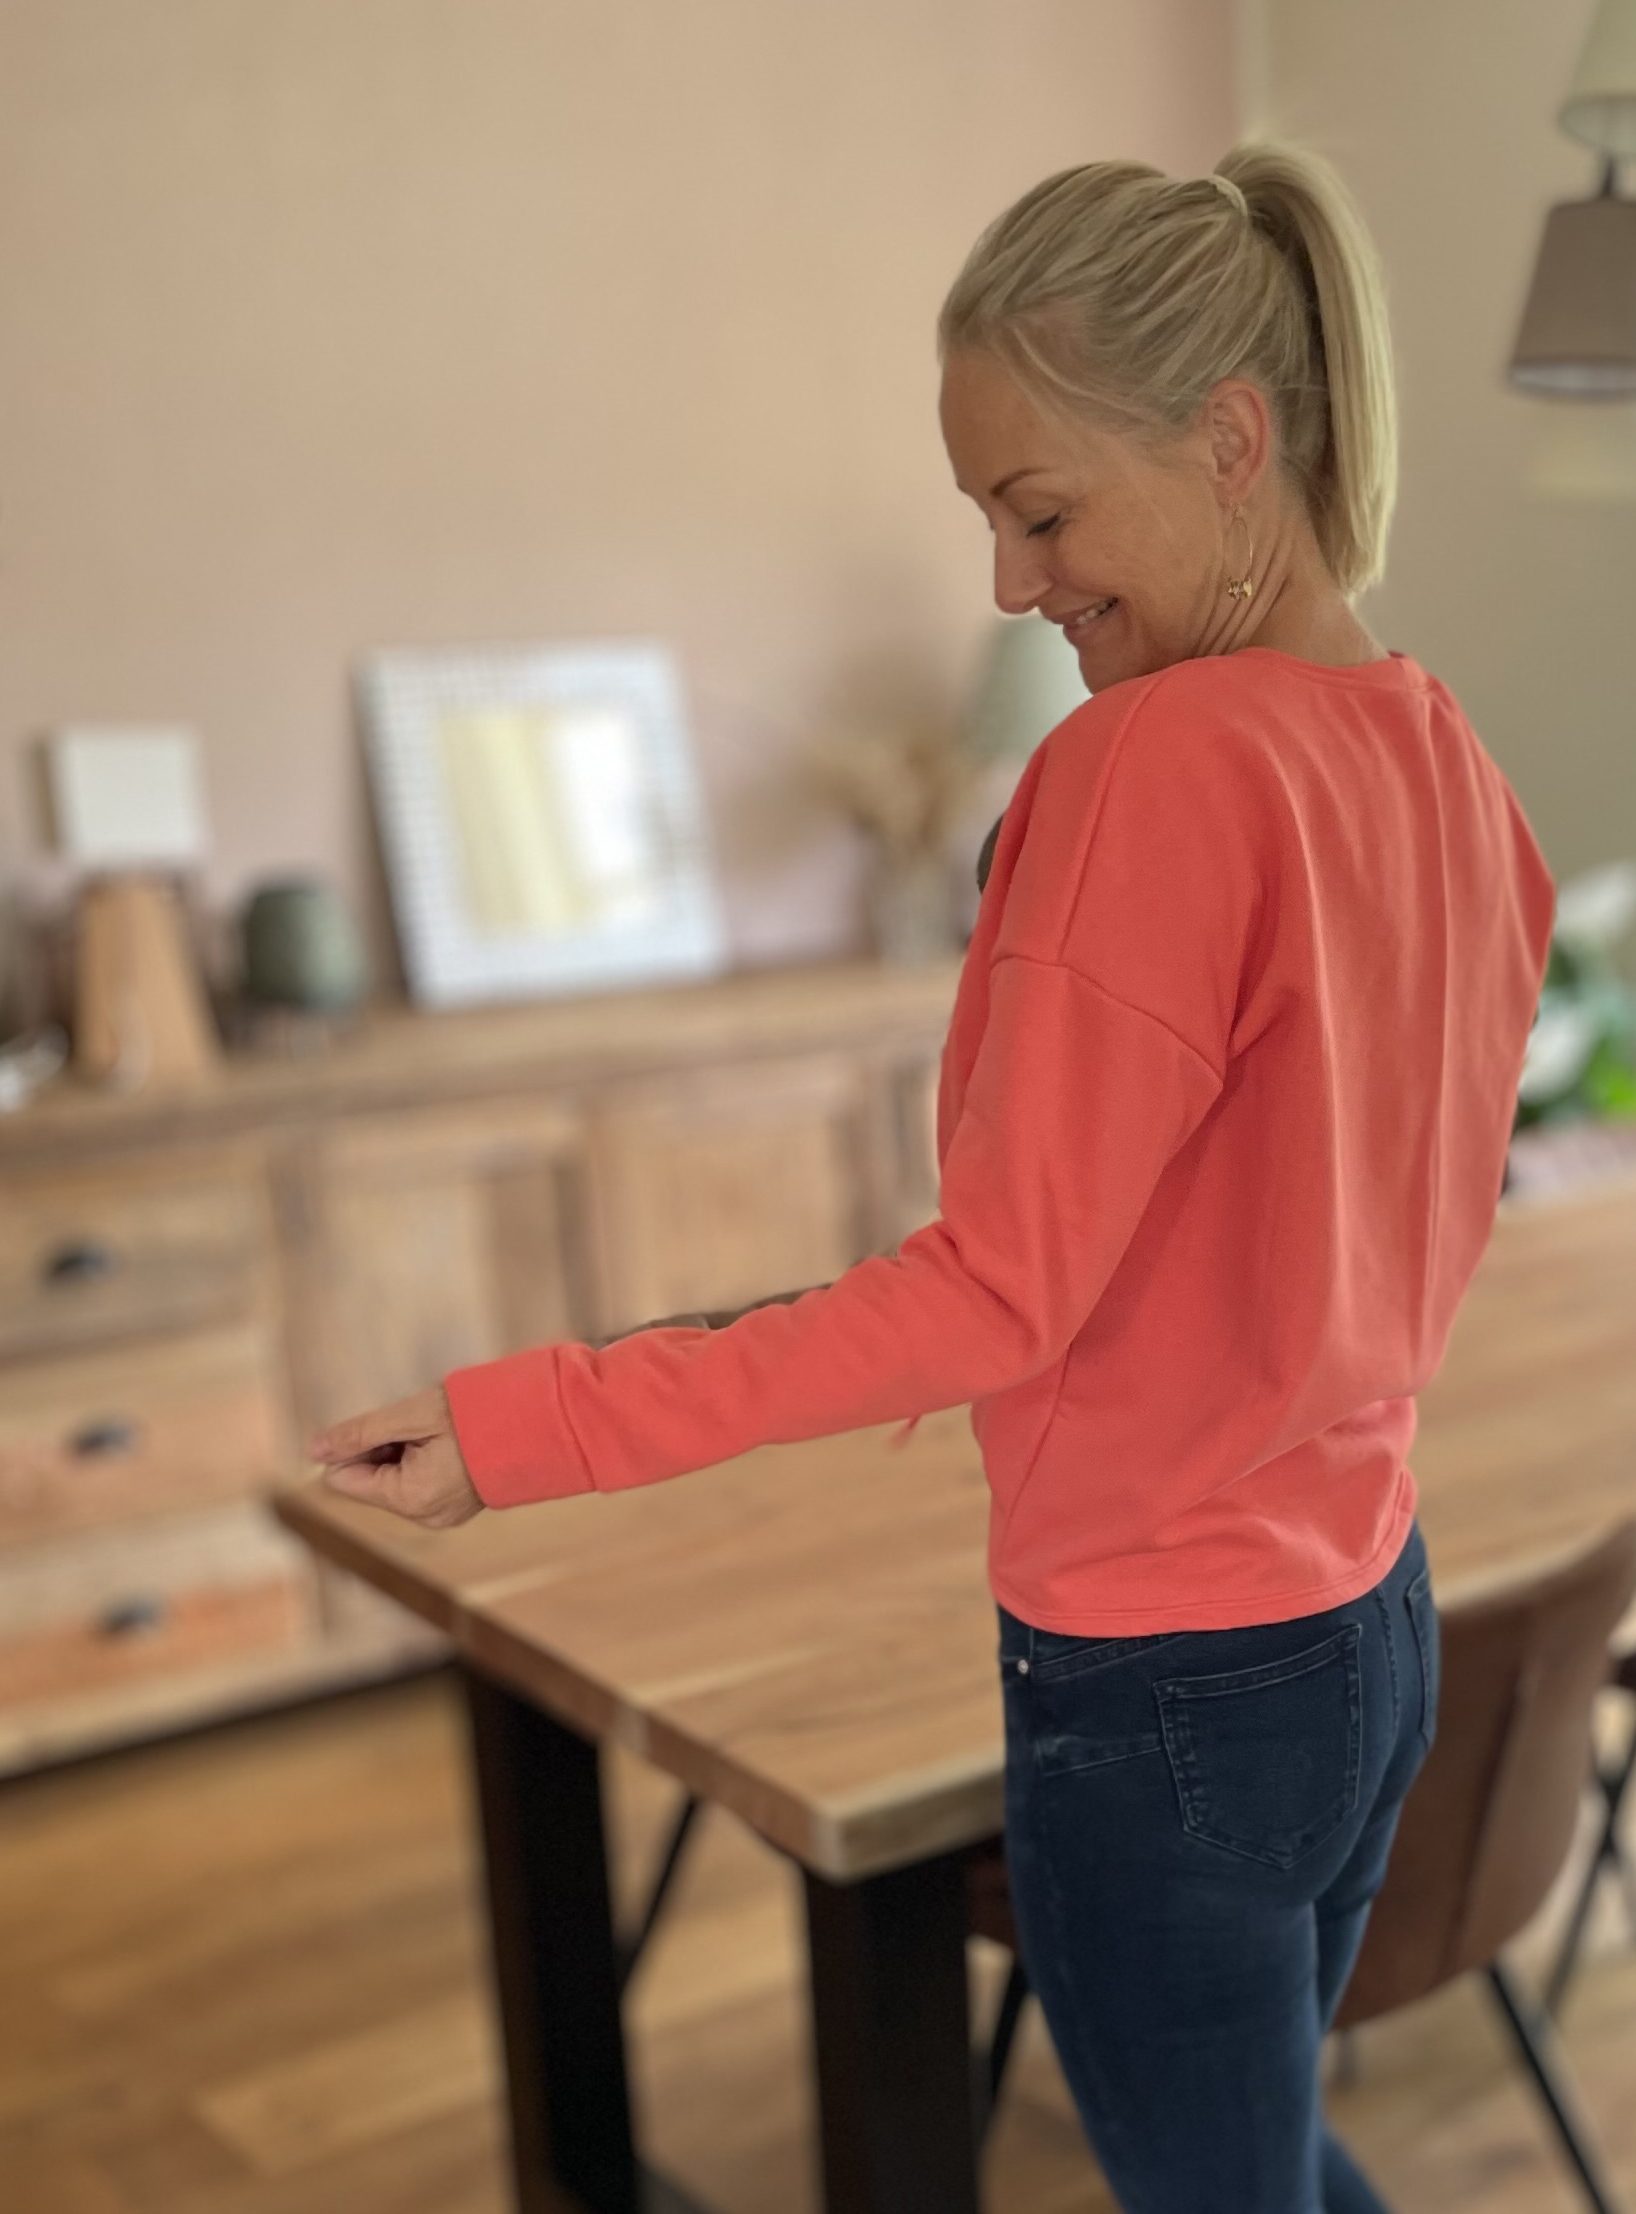
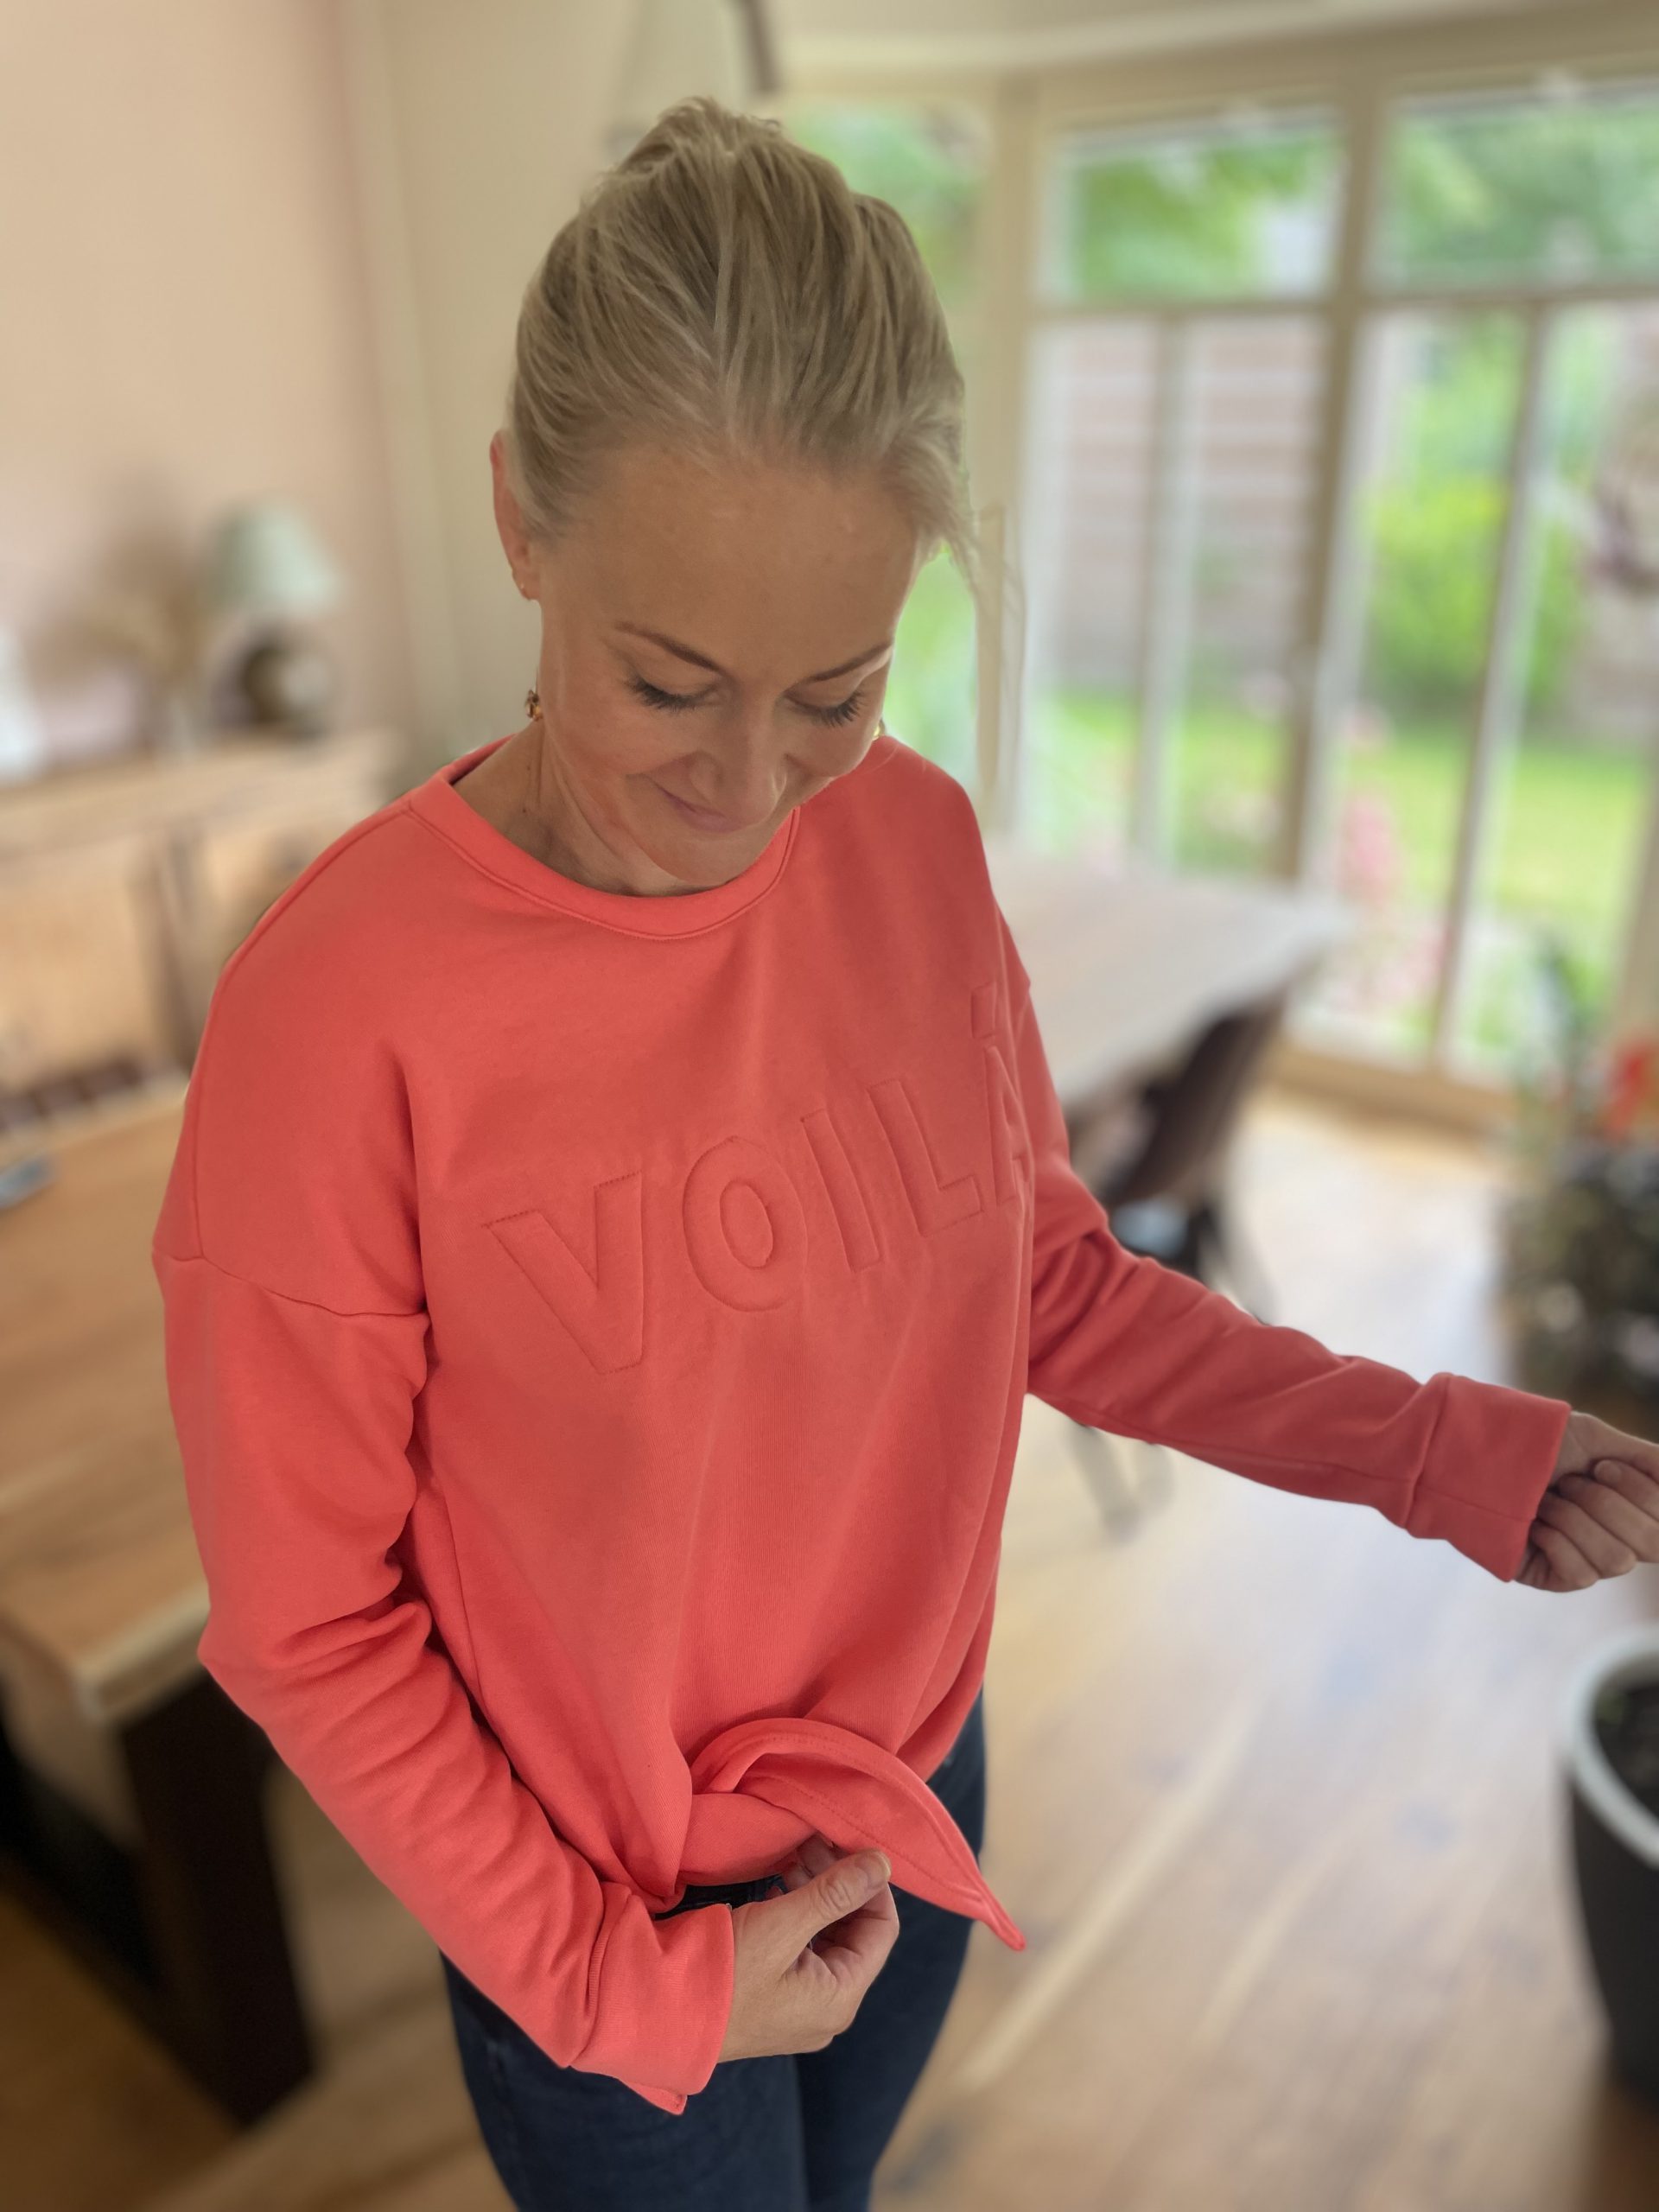
I then added the cuffs, using the overlock machine and Voila! finished and the end result of the 3D letters are fab.. I will be making this again ( with a word with an A!)

Attaching the Cuffs
Attaching the Cuff using the Overlock
Kind regards,
Katie
End Result
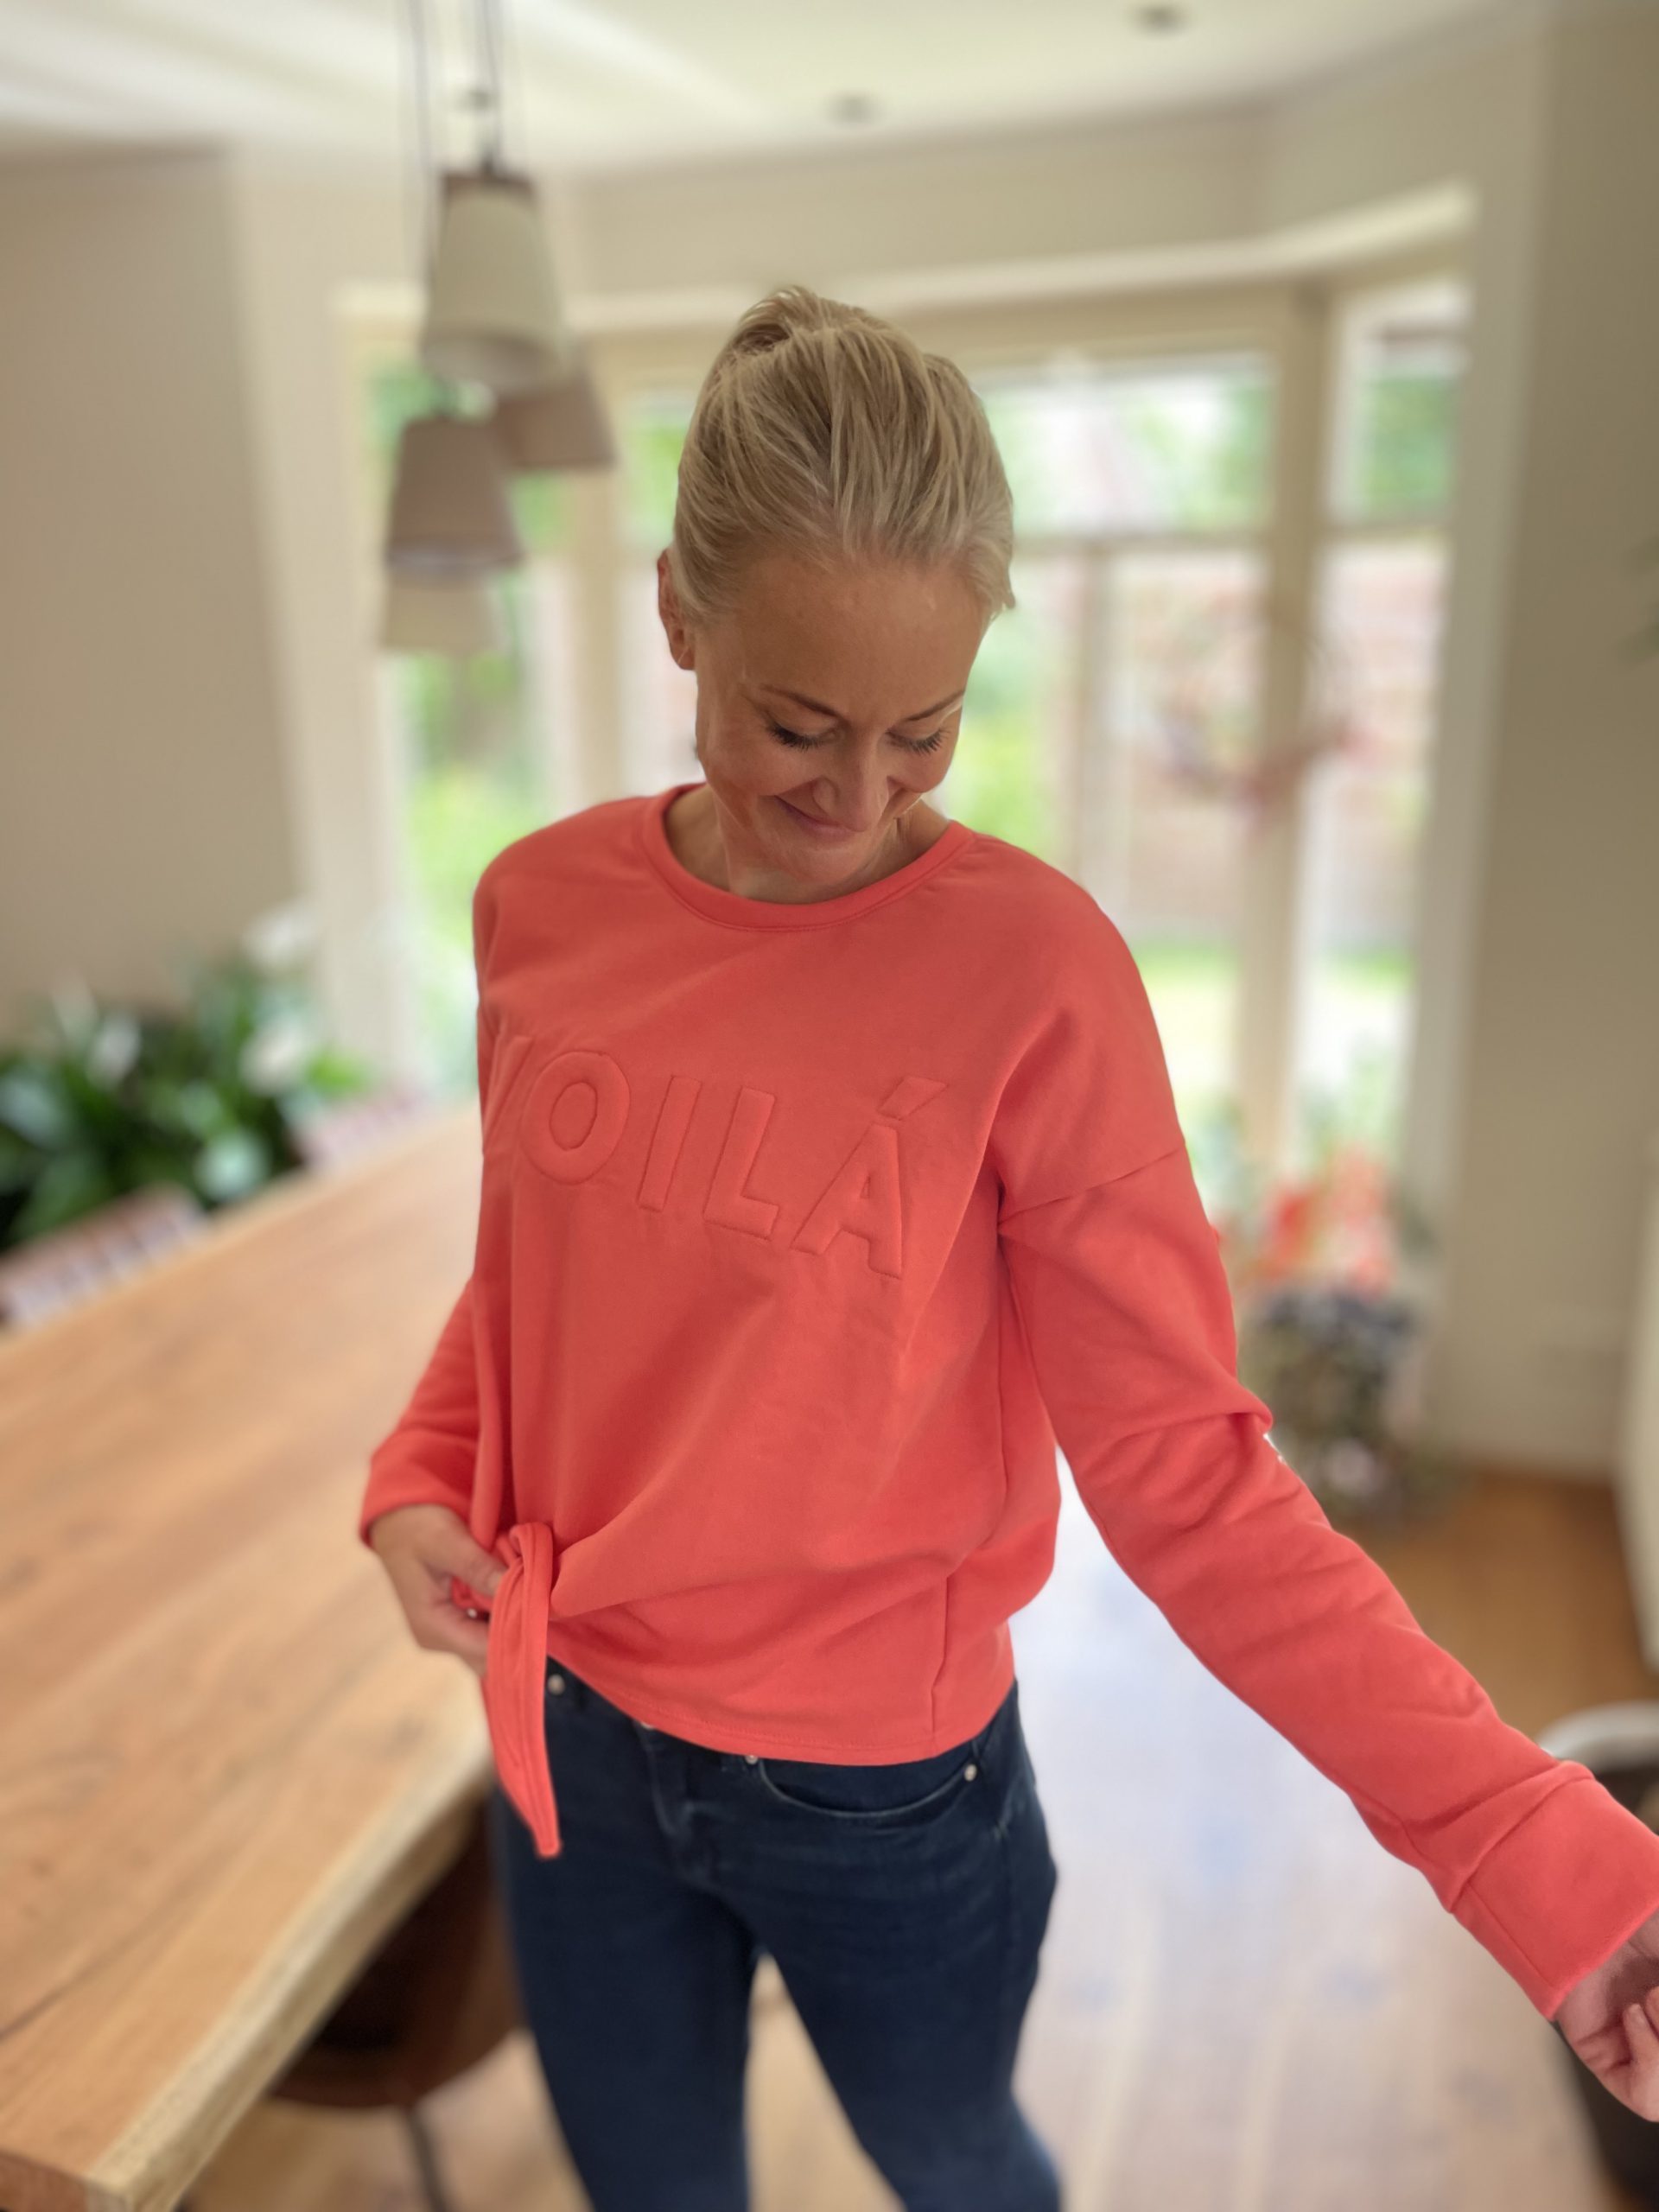
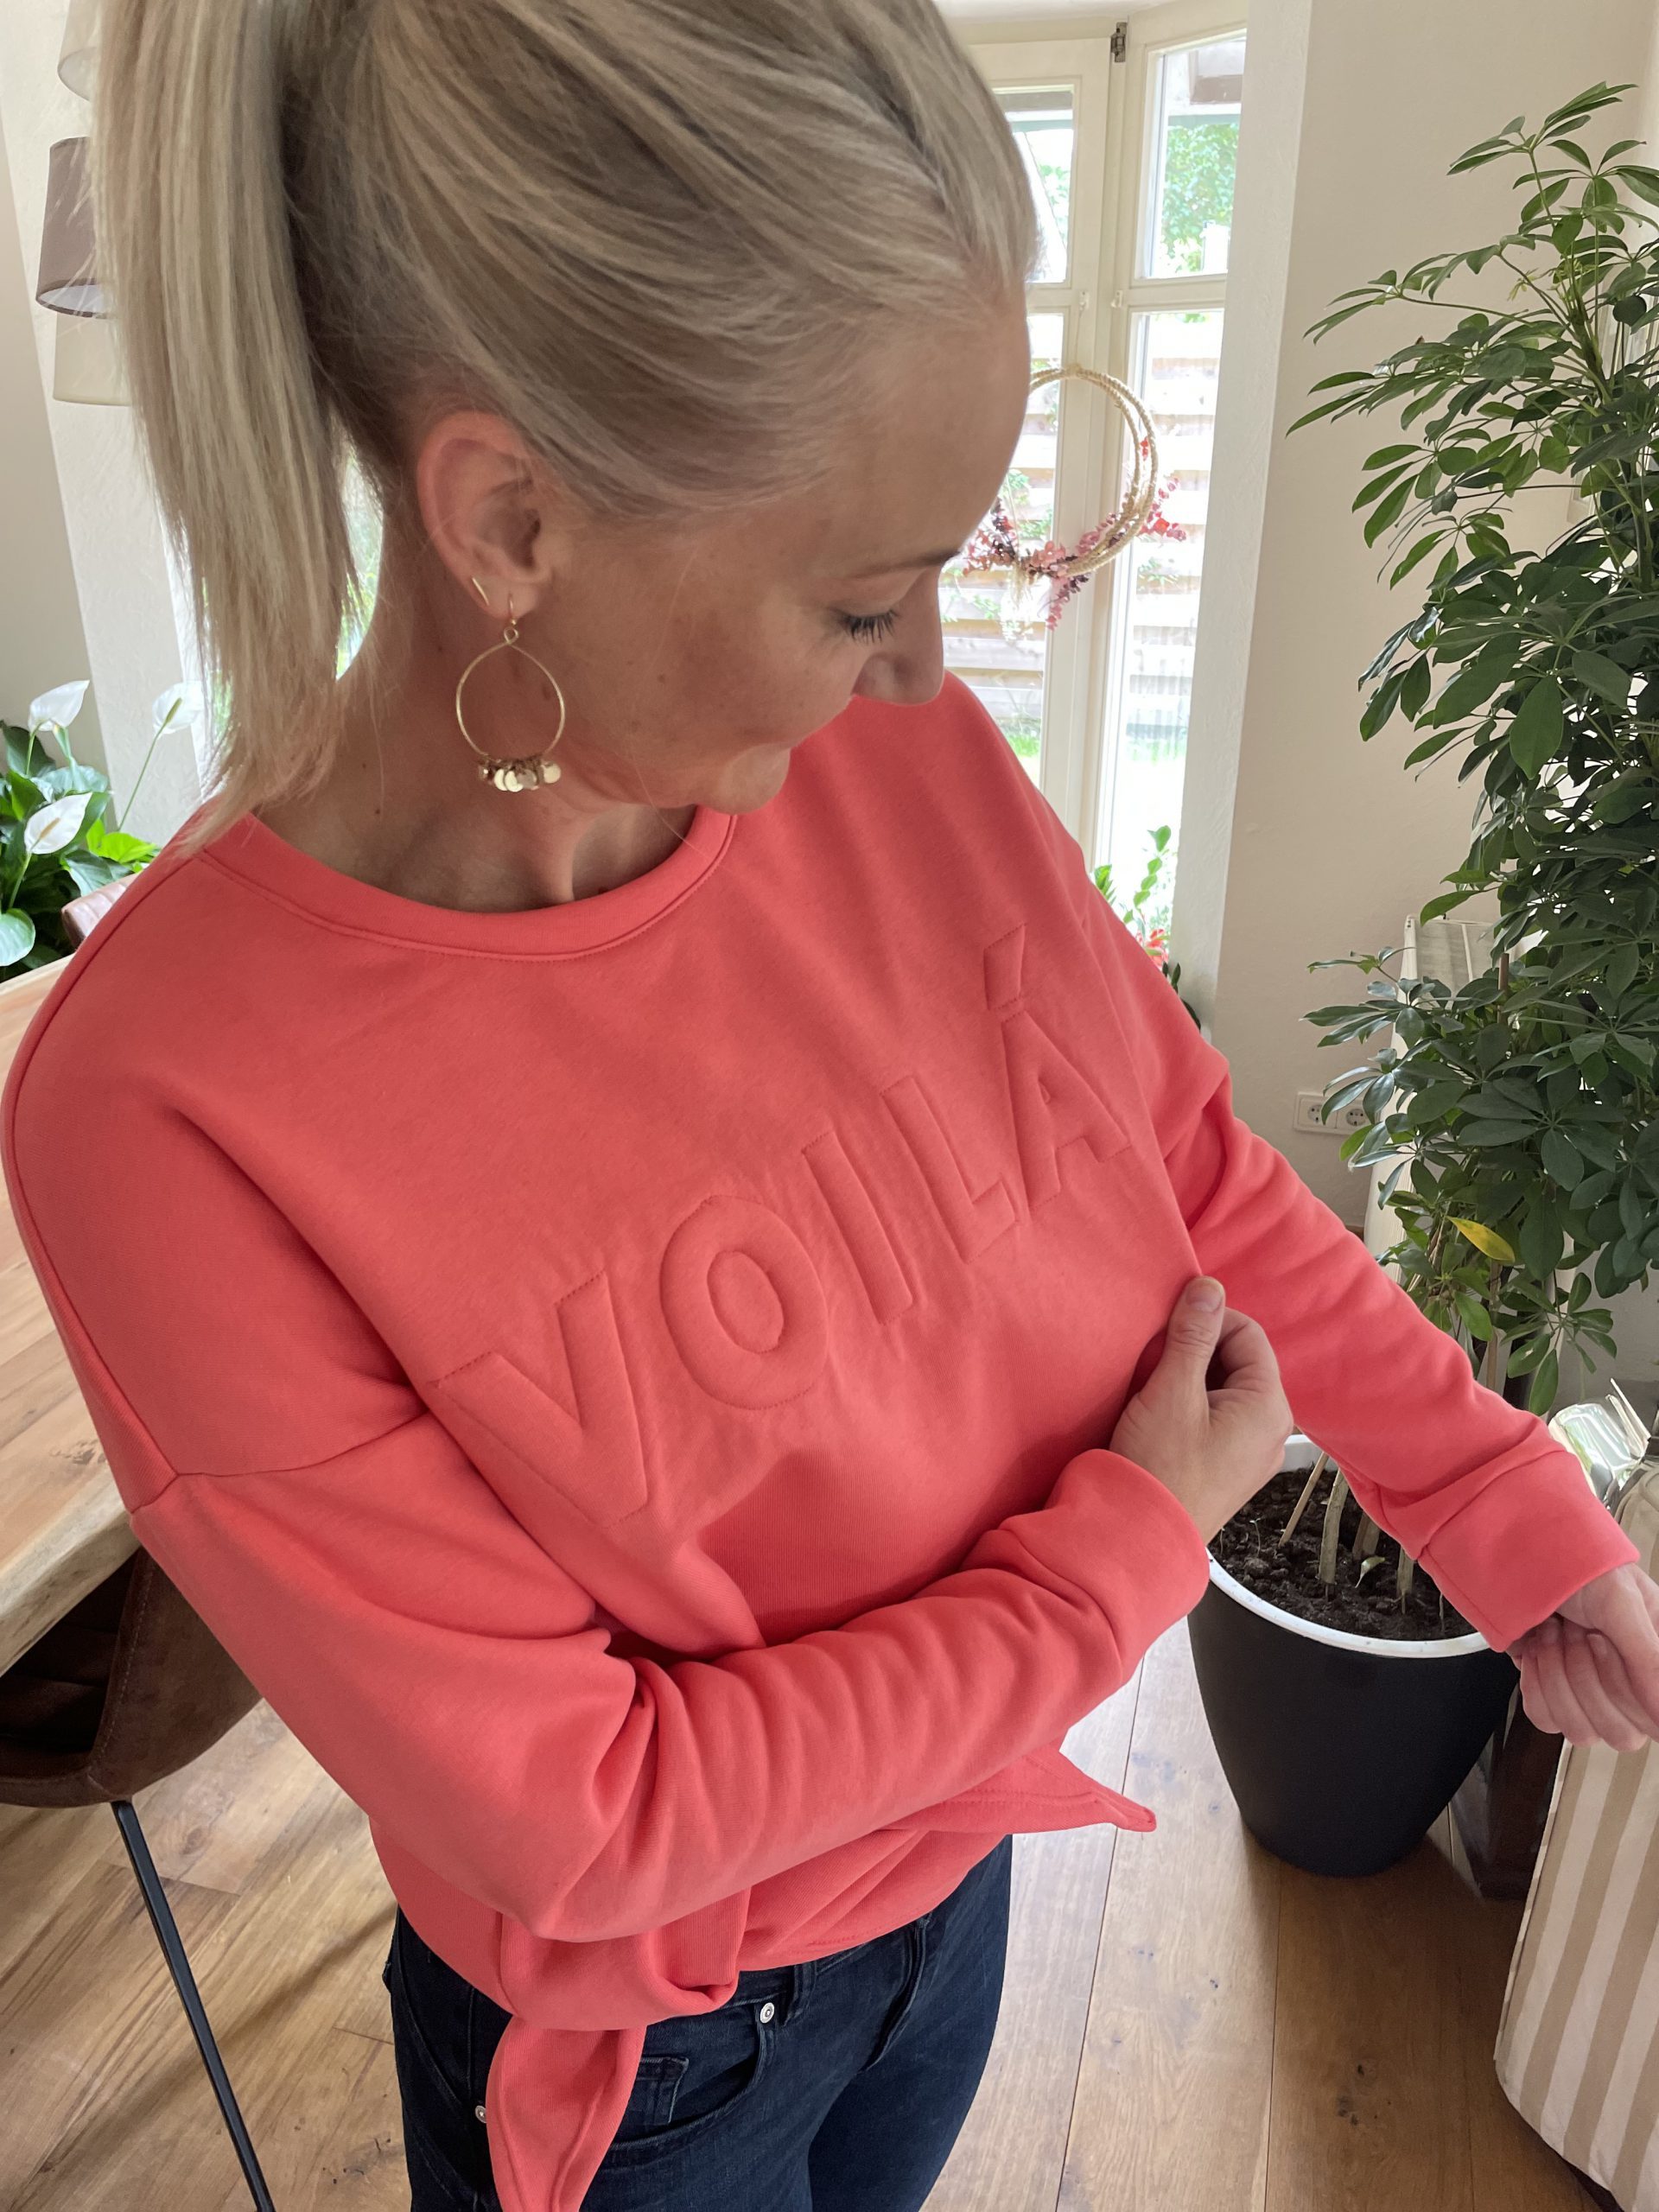

L’accent de voilà se retrouve dans le maus=ais sens sur le sweat.