 BERNINA Corporate Blog -
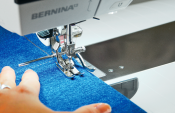
Automatically sewn with the Buttonhole Foot with Slide #3A
There is currently a real run on buttons. They are increasingly used on clothes, shirts, skirts and much more. A reason to take a closer look at this extremely decorative topic.
First comes the buttonhole
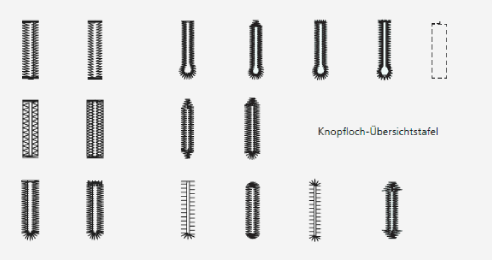
Your BERNINA has the right buttonhole for every purpose and every garment.
The simple buttonholes are suitable for light to medium fabrics. A stretch buttonhole is recommended for jersey, as the double overlock stitch used for both beads allows the fabric to stretch while retaining its shape. On coats or other medium-heavy to heavy fabrics, round buttonholes with different bartack variations or different eye buttonholes look particularly professional.
The advantages of the Buttonhole Foot with Slide #3A
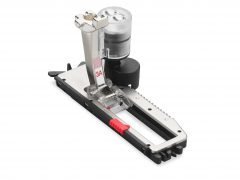
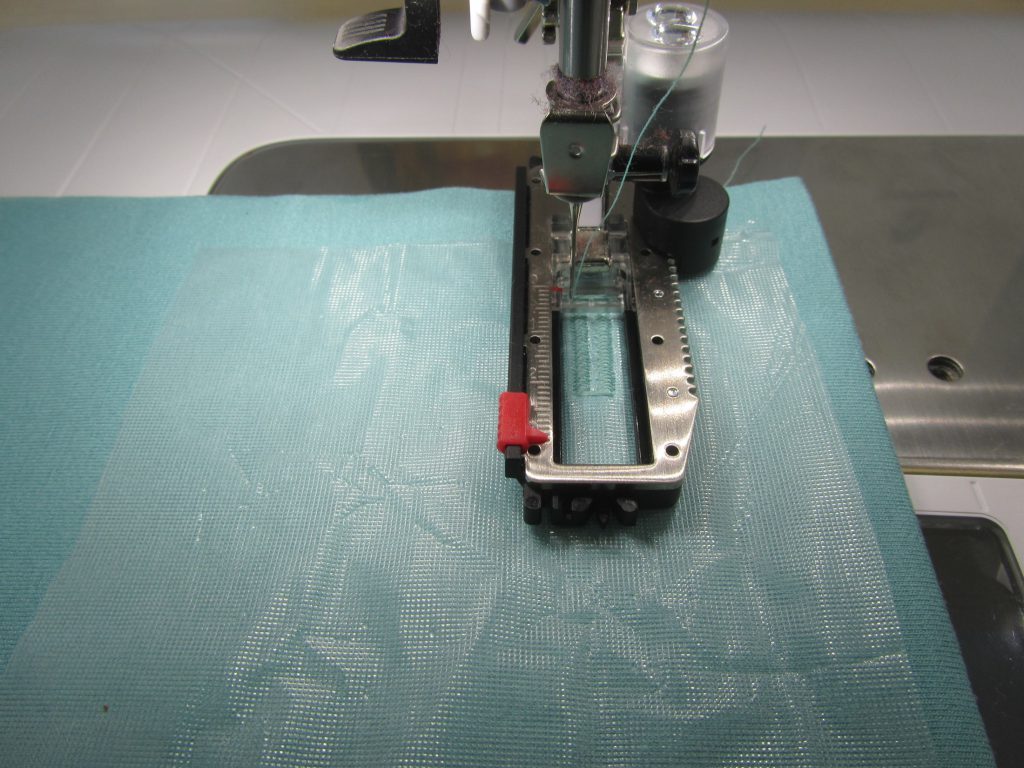
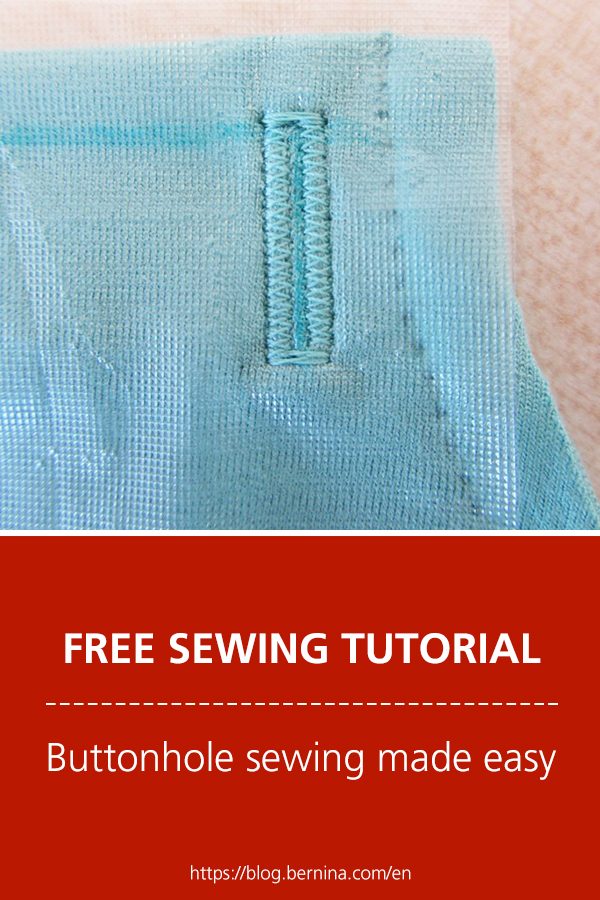
The easiest way to sew a buttonhole is to use the Buttonhole foot with slide #3A resp. #3B. With this foot, any number of buttonholes of the same length can be sewn fully automatically. The length is flexibly selectable, up to 30 mm.
Automatic sewing of a buttonhole
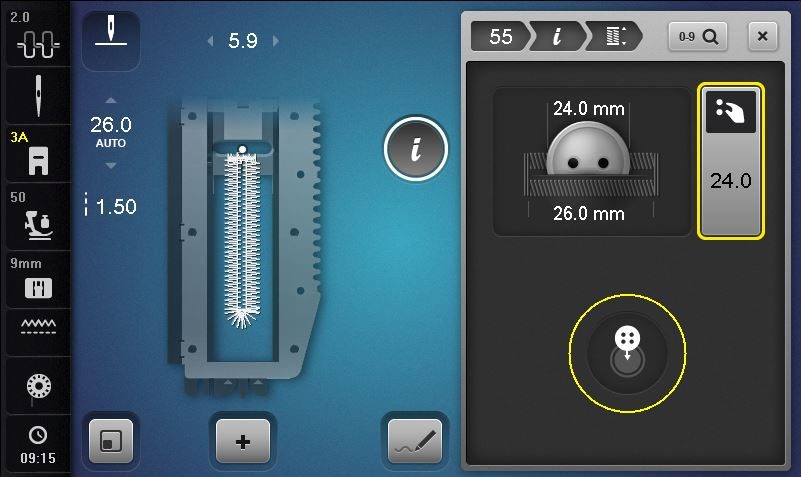
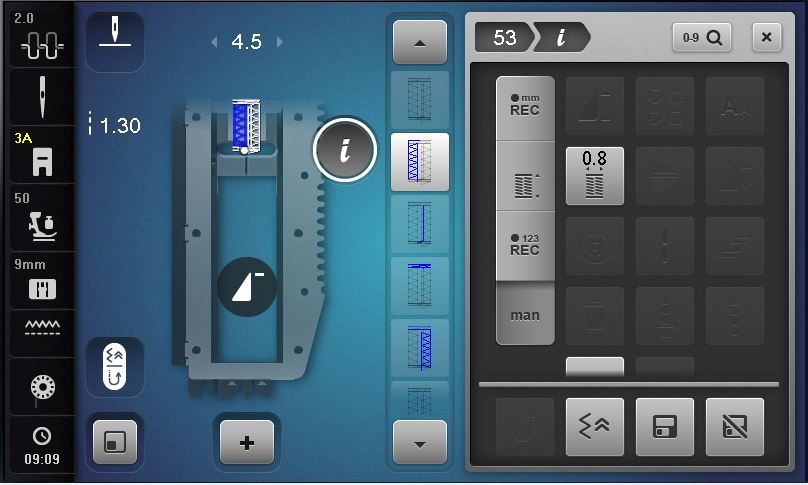
With the automatic buttonhole, the length is determined first. Either by entering the button size or by placing the button on the circle and adjusting the size until it matches the button.
NOTE
With thicker fabrics, increase the width of the cutting slit (depending on the machine model).
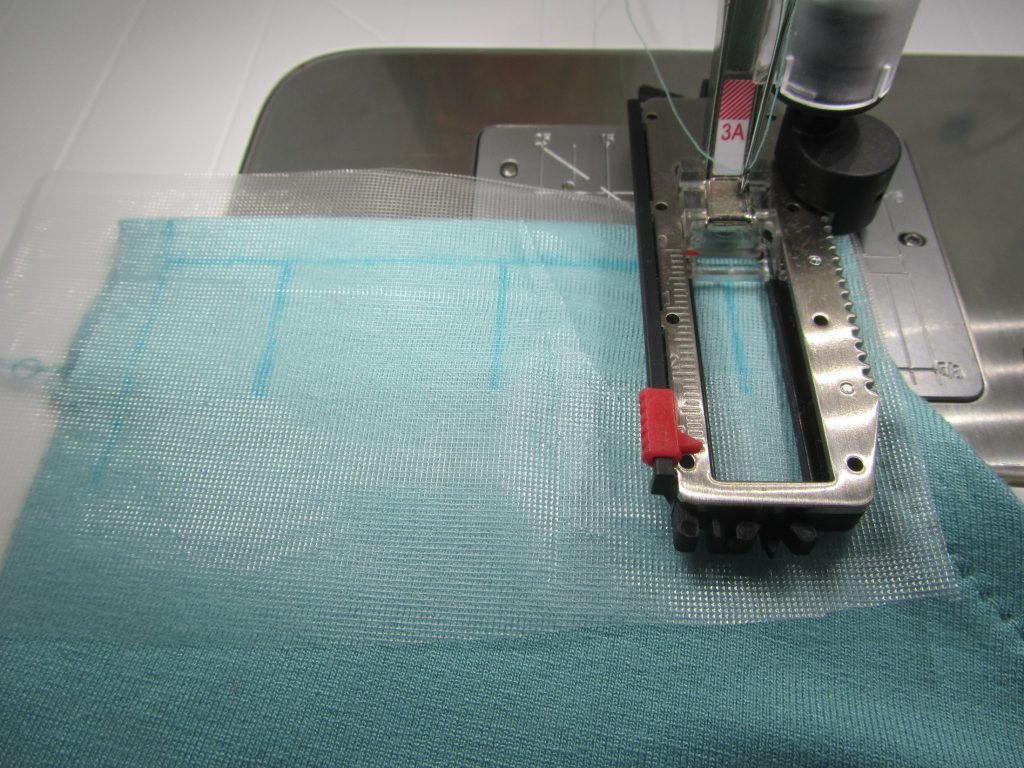
Water-soluble stabiliser
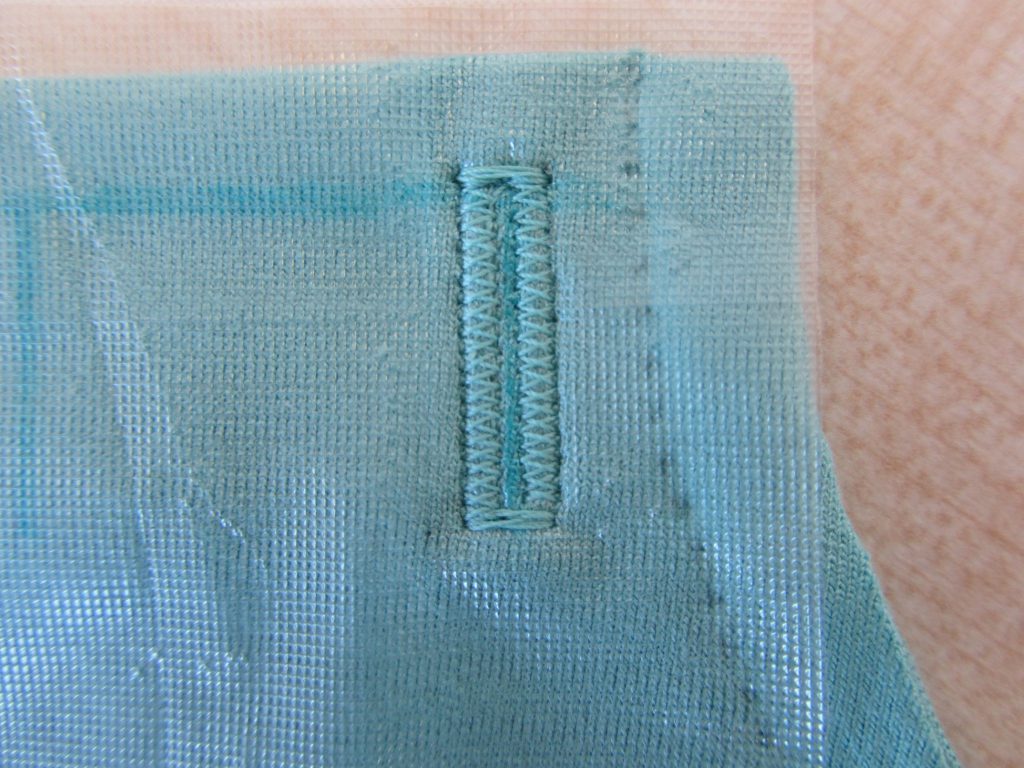
With jersey or very fine fabrics, it is recommended to cover the right side, possibly also the wrong side, with water-soluble stabiliser, so that the fabric cannot get distorted during sewing. Then tear away the stabiliser and wash it out briefly.
Now a buttonhole can be sewn automatically:
Place a fabric reinforced with stabiliser (and/or possibly water-soluble stabiliser) under the presser foot. All sewing steps from start to finish are automatic and can be repeated as often as required, provided that the machine is not switched off. However, changed settings can also be saved permanently in the personal memory.
NOTE
Sew buttonholes only in reinforced fabrics. This ensures that the fabric remains in shape even under heavy use.
Manual sewing of a buttonhole
Manual buttonholes are sewn with the Buttonhole foot 3 for machines up to 5.5 mm stitch width, or Buttonhole Foot 3C for machines up to 9 mm stitch width. A manual buttonhole is sewn in 5 or 7 steps.
Now the buttonhole can be sewn manually:
The machine is stopped between the individual steps until the program is completed. These buttonholes are suitable for hard-to-reach places, in particularly difficult fabrics and for repairing existing damaged buttonholes.
Feeding Aid
- Supports the feed of difficult fabrics
- Enables a regular sewing result, even on finished edges
This Feeding Aid is hooked into the Buttonhole Foot with Slide; the fabric is inserted between two metal sheets and therefore optimally guided.
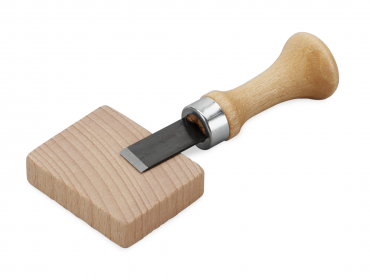
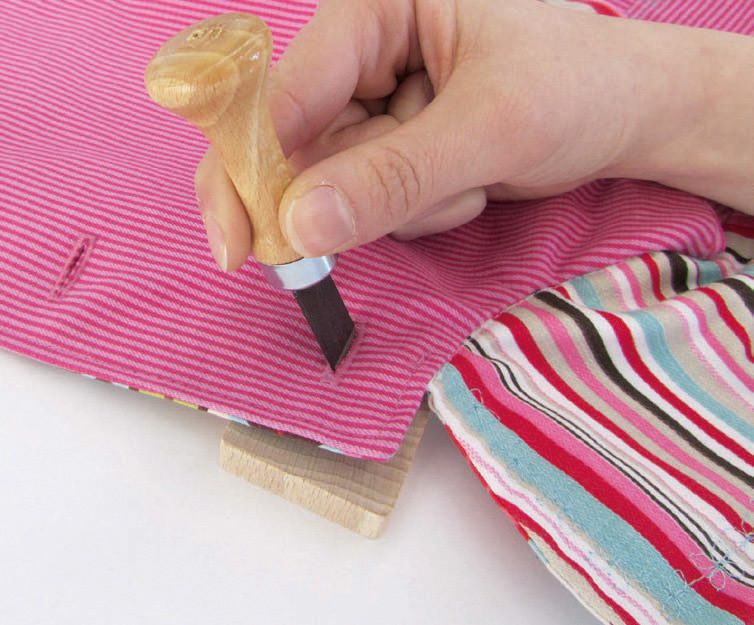
Cutting the buttonhole open
Use the Buttonhole Cutter with Wooden Block or the seam ripper. When you use the seam ripper, cut the slit from both ends to the centre to prevent cutting the ends of the buttonhole.
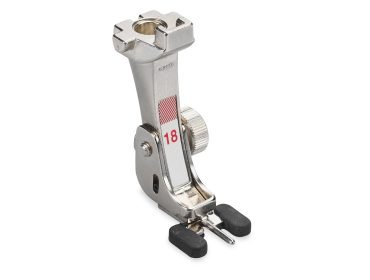
Button Sew-on Foot #18
Suitable for sewing on:
- Buttons
- Snap fasteners
- Hooks or smaller curtain rings
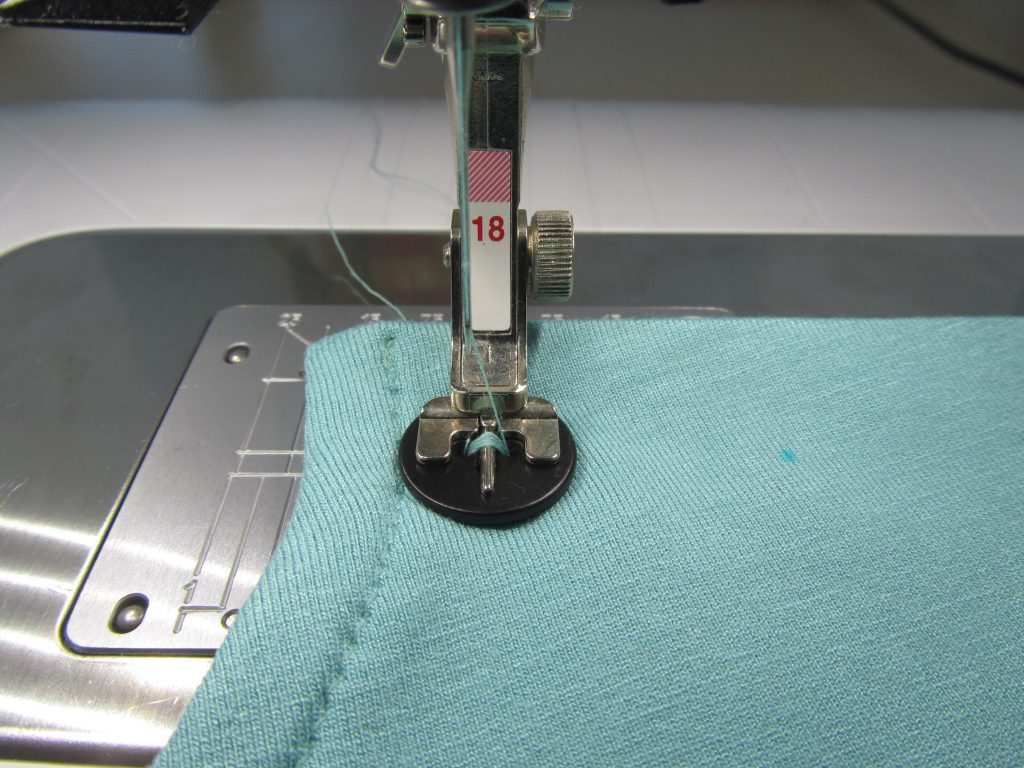
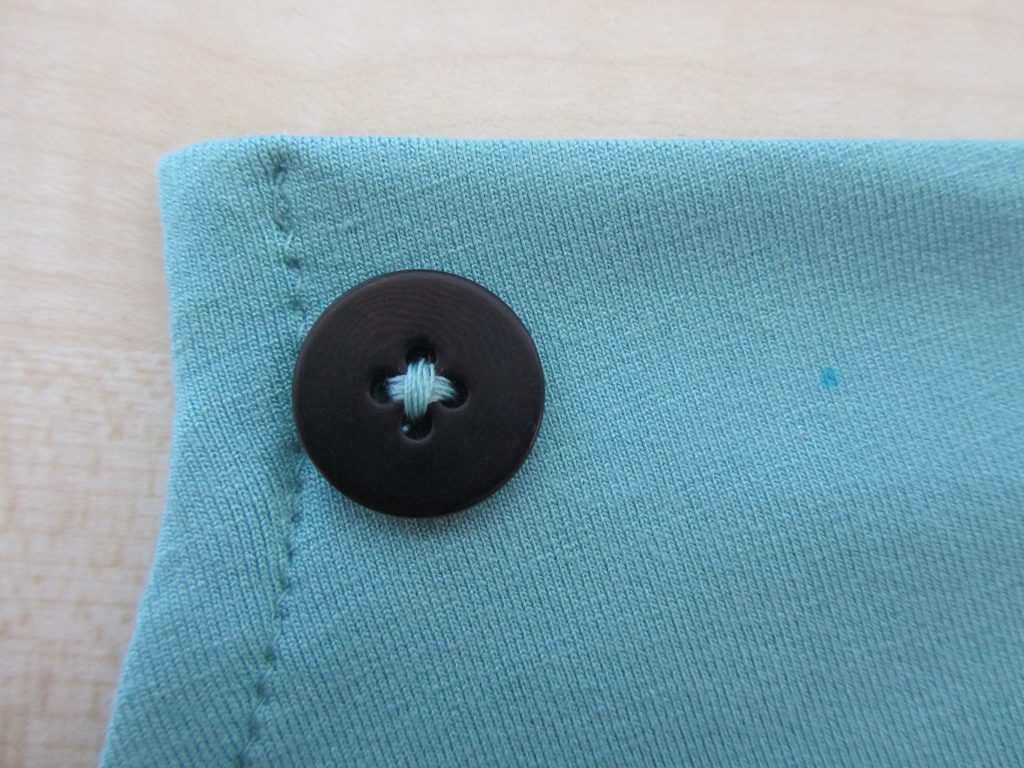
The anti-slip sole holds the button securely in place while sewing. Additionally, the Button Sew-on Foot #18 also has an adjustable middle toe. This allows adjusting the height of the shank flexibly depending on the fabric thickness. When sewing, the centre of the bar is placed over the centre of the holes in the button.
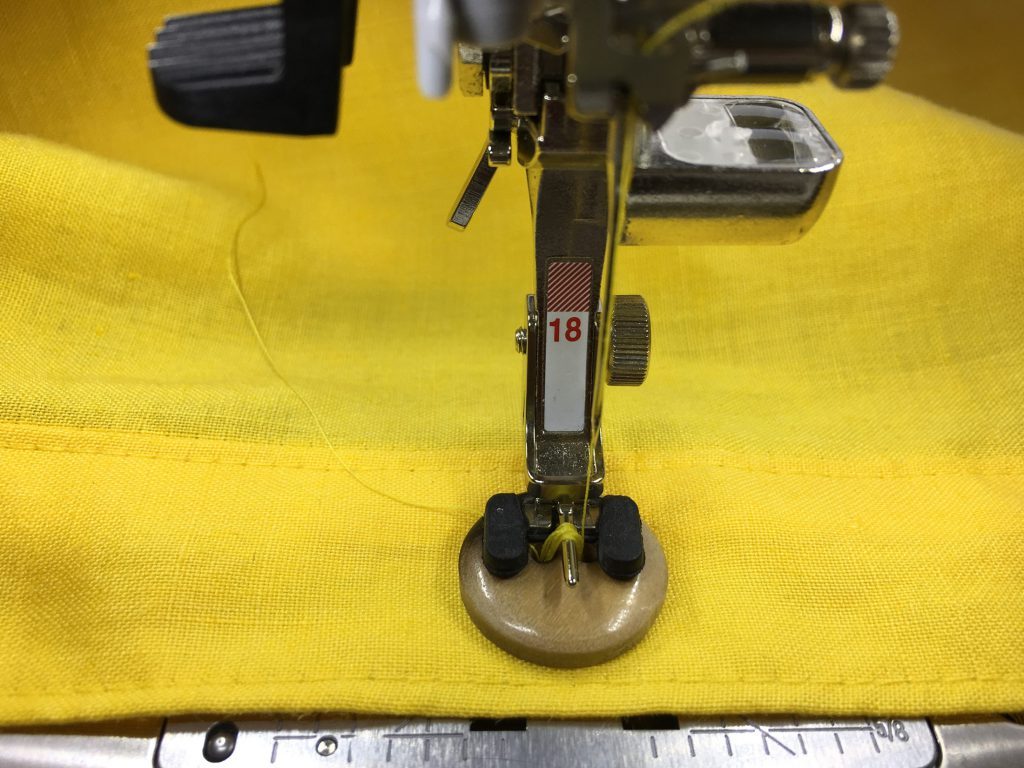
Button-sew-on program
Select button-sew-on program, alternatively zigzag stitch length 0. Lower feed dog and finish the button-sew-on program by sewing until the machine stops automatically.
Crosswise sewing
For 4-hole buttons, start with the front holes, then pull the material forward and repeat the operation. A decorative alternative is to sew the buttons crosswise.
Additional BERNINA tips for you
You may have noticed that we have already published a few blog posts with helpful tips. These tips are written for various BERNINA inspiration magazines.
Are you looking for a specific topic right now? You’ll find a lot of supporting content on this page. And if the topic you’re looking for isn’t listed yet, check back regularly for the latest tips.
If you have any other useful tricks, feel free to share them below in the comments. Let’s take your sewing experience to the next level! 🙂
Creative regards,
Jasmin

Wonderful & easy way to button hole idea.
Button Sew-On Foot #18 – will this work on with Bernina 801
Dear Deidre,
Yes, the Button Sew-On Foot #18 is also compatible with the BERNINA 801, but make sure you buy the correct article. Here is the article number of the foot for the older models: 002 959 72 00
Kind regards, Ramona