 BERNINA Corporate Blog -
Sewing cords using these tips
This technique can also be used to create coasters, place mats, bowls or small boxes.
Sewing cords ‒ Preparation
For colour accents cut a few strips of fabric with the rotary cutter. Woven fabrics are cut at 45° grain run. Width about 3 cm, length as desired. For a bowl with a base diameter of approx. 17 cm and a height of approx. 10 cm you need approx. 10 m of the 8 mm cord.
NOTE
Instead of woven fabric, jersey strips can also be used. Cut them as parallel as possible to the selvedge. This results in particularly clean edges. Alternatively, finished tapes or edgings can also be used. These should not be too stiff or thick. Easily stretchable tapes or bias tapes are perfect for this purpose.
Sewing cords ‒ Instructions
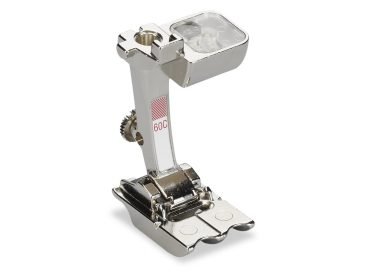
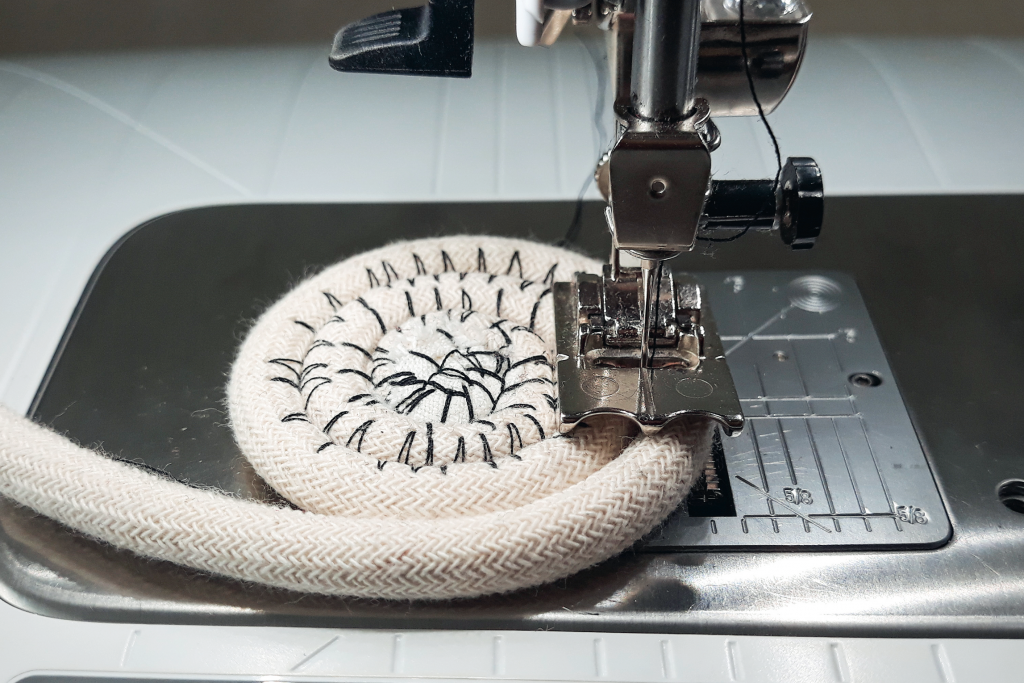
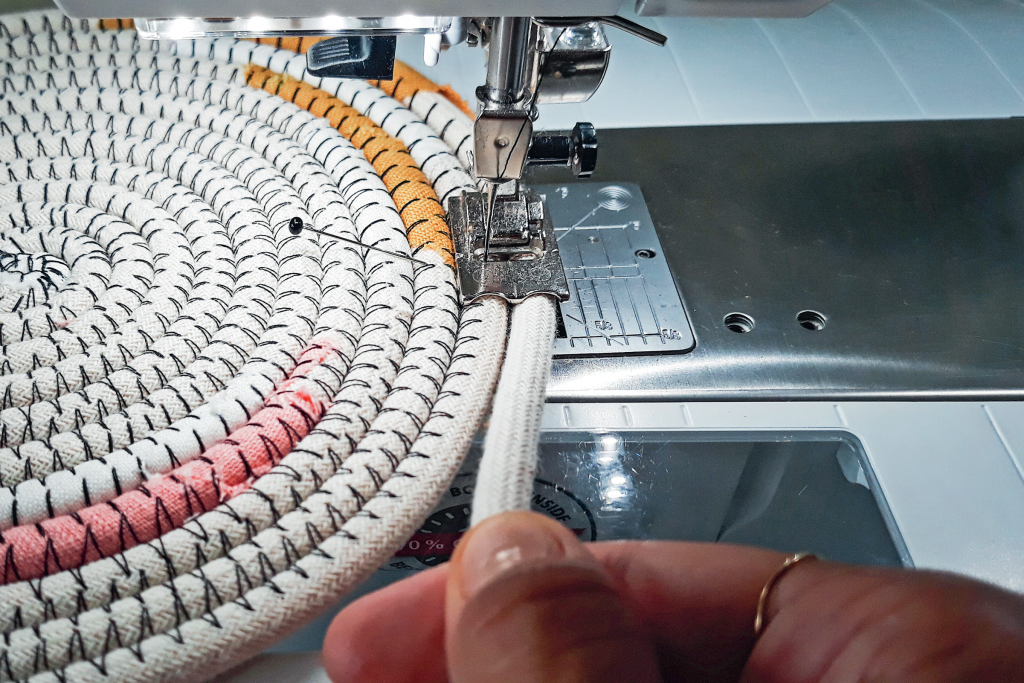
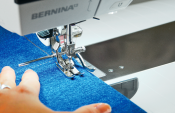
Attach the Double Cord Foot #60C and select the Feather Stitch (1332, Quilt stitches). Wrap the beginning of the cord in a piece of fabric and fix it with a pin. At the beginning, lift the foot slightly and go on sewing around the spiral until the surface is so large that the foot “snaps” completely into the cord.
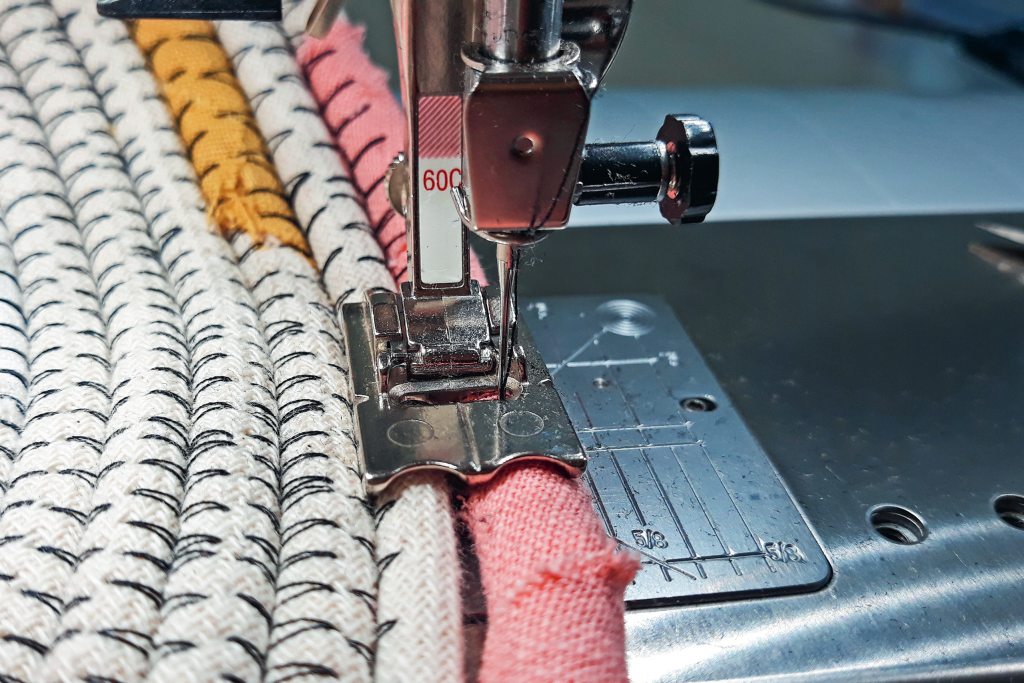
Wrap the fabric strips around the cord as desired and continue sewing.
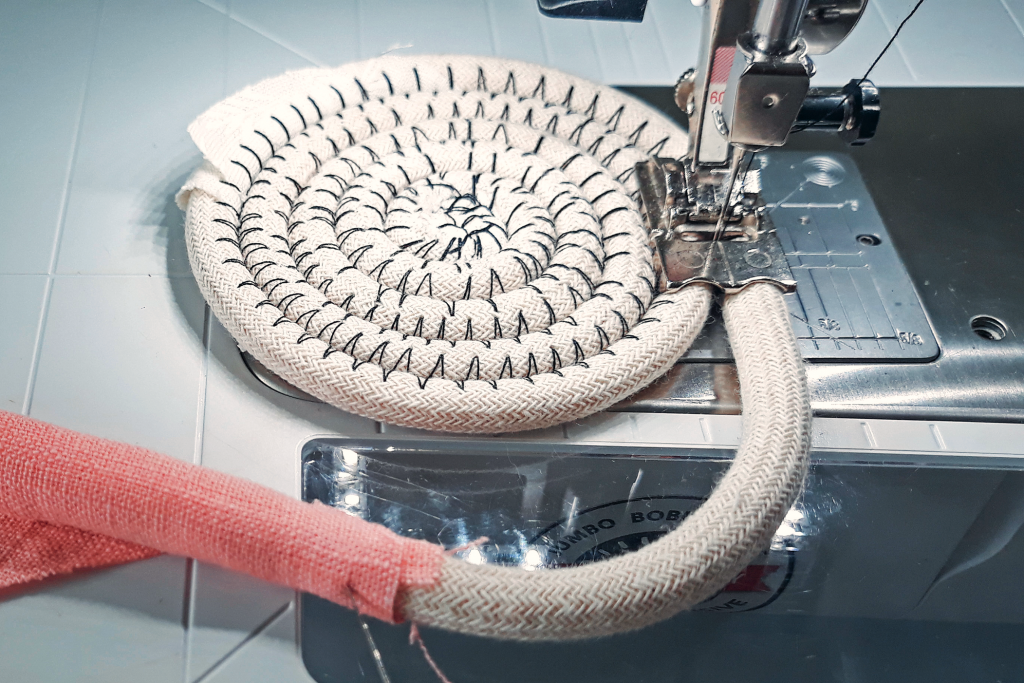
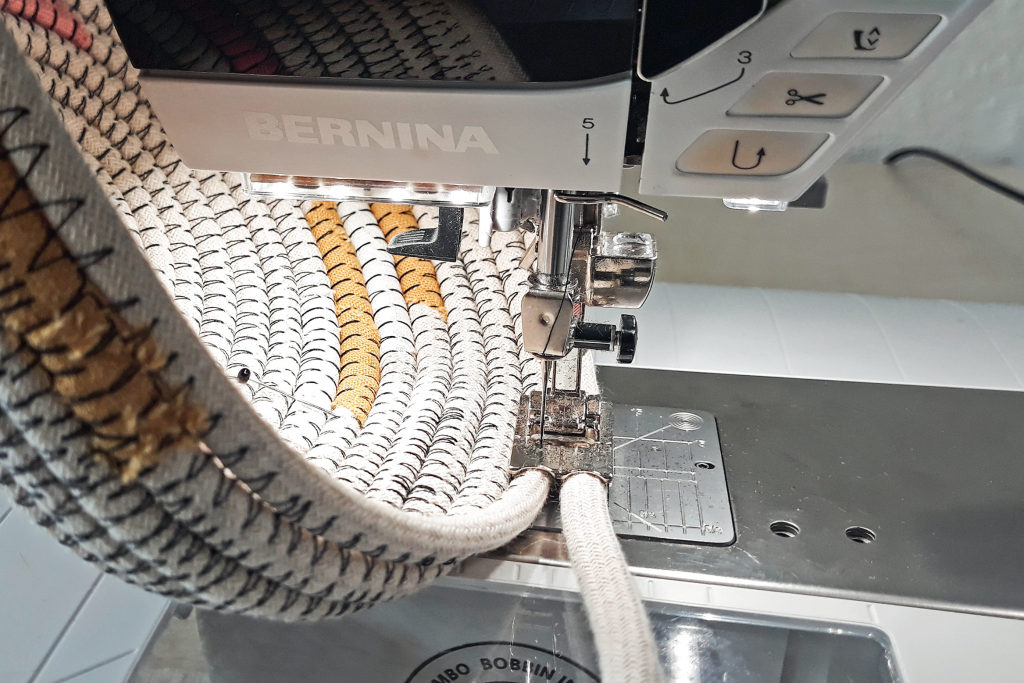
For the base of the basket bottom, the cord is always loosely guided around the spiral. For our basket we have sewn in this way up to a diameter of about 17 cm. During the next 2 to 3 rounds, the supplied cord is tightened to create the edge of the basket. Afterwards the cord is fed again in the normal way until the desired height is reached. For both drawing and compressing, you should mark the beginning of a turn.
To avoid dents, the cord is always fed evenly taut or loose for the complete turn.
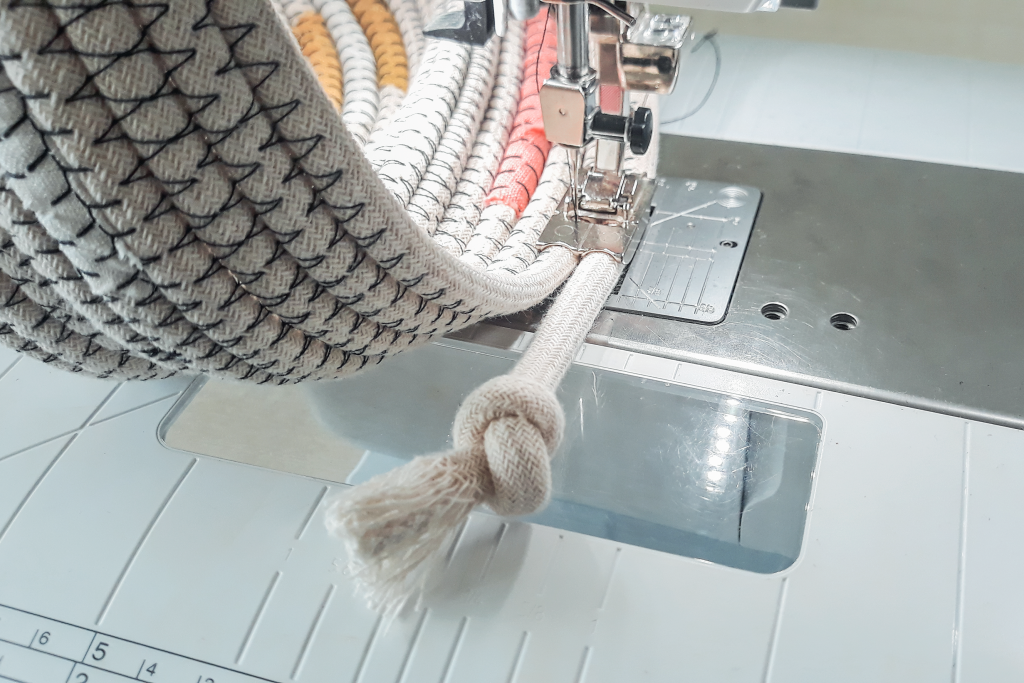
Fray and knot the end of the cord and sew it on as far as possible up to the knot. Do not cut the threads but pull them out and tie a knot.
NOTE
If you make smaller bowls, you can also turn the spiral the other way round so that the basket is in the free arm area. For larger bowls, the BERNINA 7 or 8 Series is of advantage.
You can also vary the shape of the bowl by compressing the supplied cord so that the shape becomes wider again. If you simply experiment with what happens, very special shapes are created. The more beautiful side is the side that has been sewn. If desired, the bowl can be turned over so that the more beautiful side is on the outside.
Additional BERNINA tips for you
You may have noticed that we have already published a few blog posts with helpful tips. These tips are written for various BERNINA inspiration magazines.
Are you looking for a specific topic right now? You’ll find a lot of supporting content on this page. And if the topic you’re looking for isn’t listed yet, check back regularly for the latest tips.
If you have any other useful tricks, feel free to share them below in the comments. Let’s take your sewing experience to the next level! 🙂
Creative regards,
Jasmin


Is there a machine that allows for the presser foot to be higher-up so i can get my 8mm cord underneath whilst allowing pressure on the cord when lowering the pressure leaver. My problem is the cod wont fit underneath the presser foot
Hi Alison,
all of our 7 series are able to sew a fabric thickness up to a thickness of around 10mm. But it’s also depending on the project.
I propose to tes it at your local dealership or in a BERNINA class with your specific task.
Best regards
Mirjam