 BERNINA Corporate Blog -
I tend to mainly sew clothing, very selfishly just for myself! I have 2 boys, both in there teens and have both clearly told me that they will refuse to wear any of my home made clothing! they dont know what they are missing out on!
This year I have also got quite into sewing hair accessories! I mainly started this due to the price of a simple scrunchie or a head band on the high street seemed bonkers to me! and they are perfect scrap busting projects! so Im also helping to save the environment!
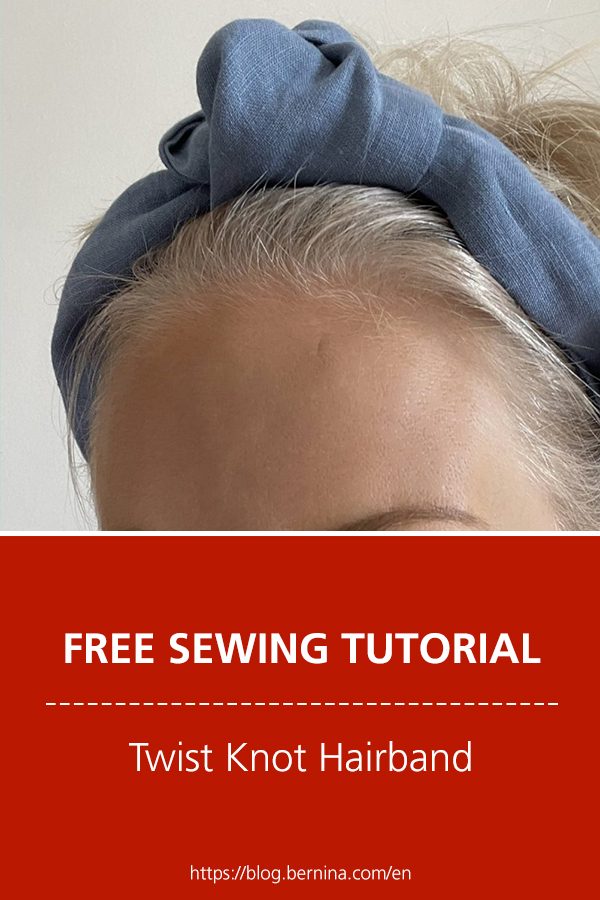
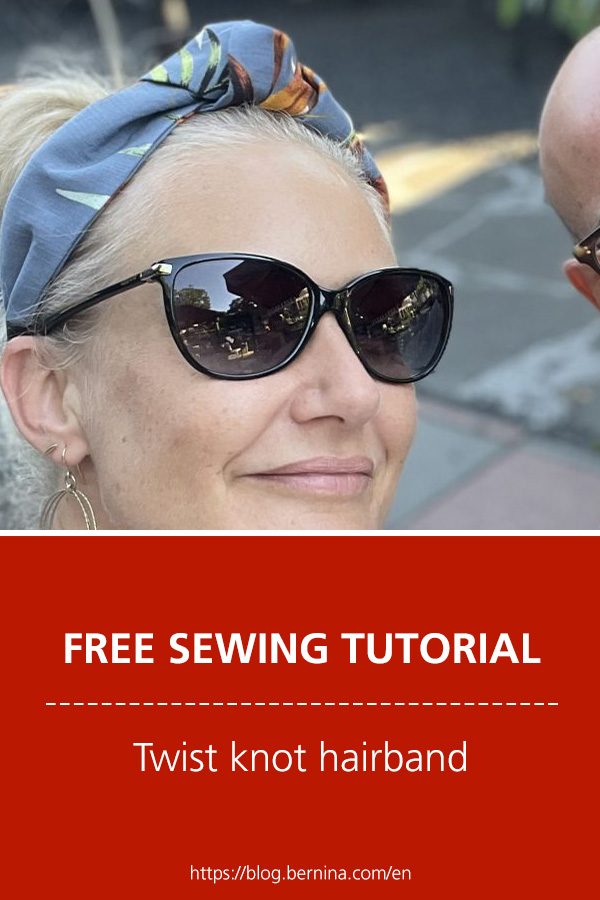
My twist knot hair band is functional, comfy to wear and ultra trendy!
I used my BERNINA 480 to create this fab trendy new look!

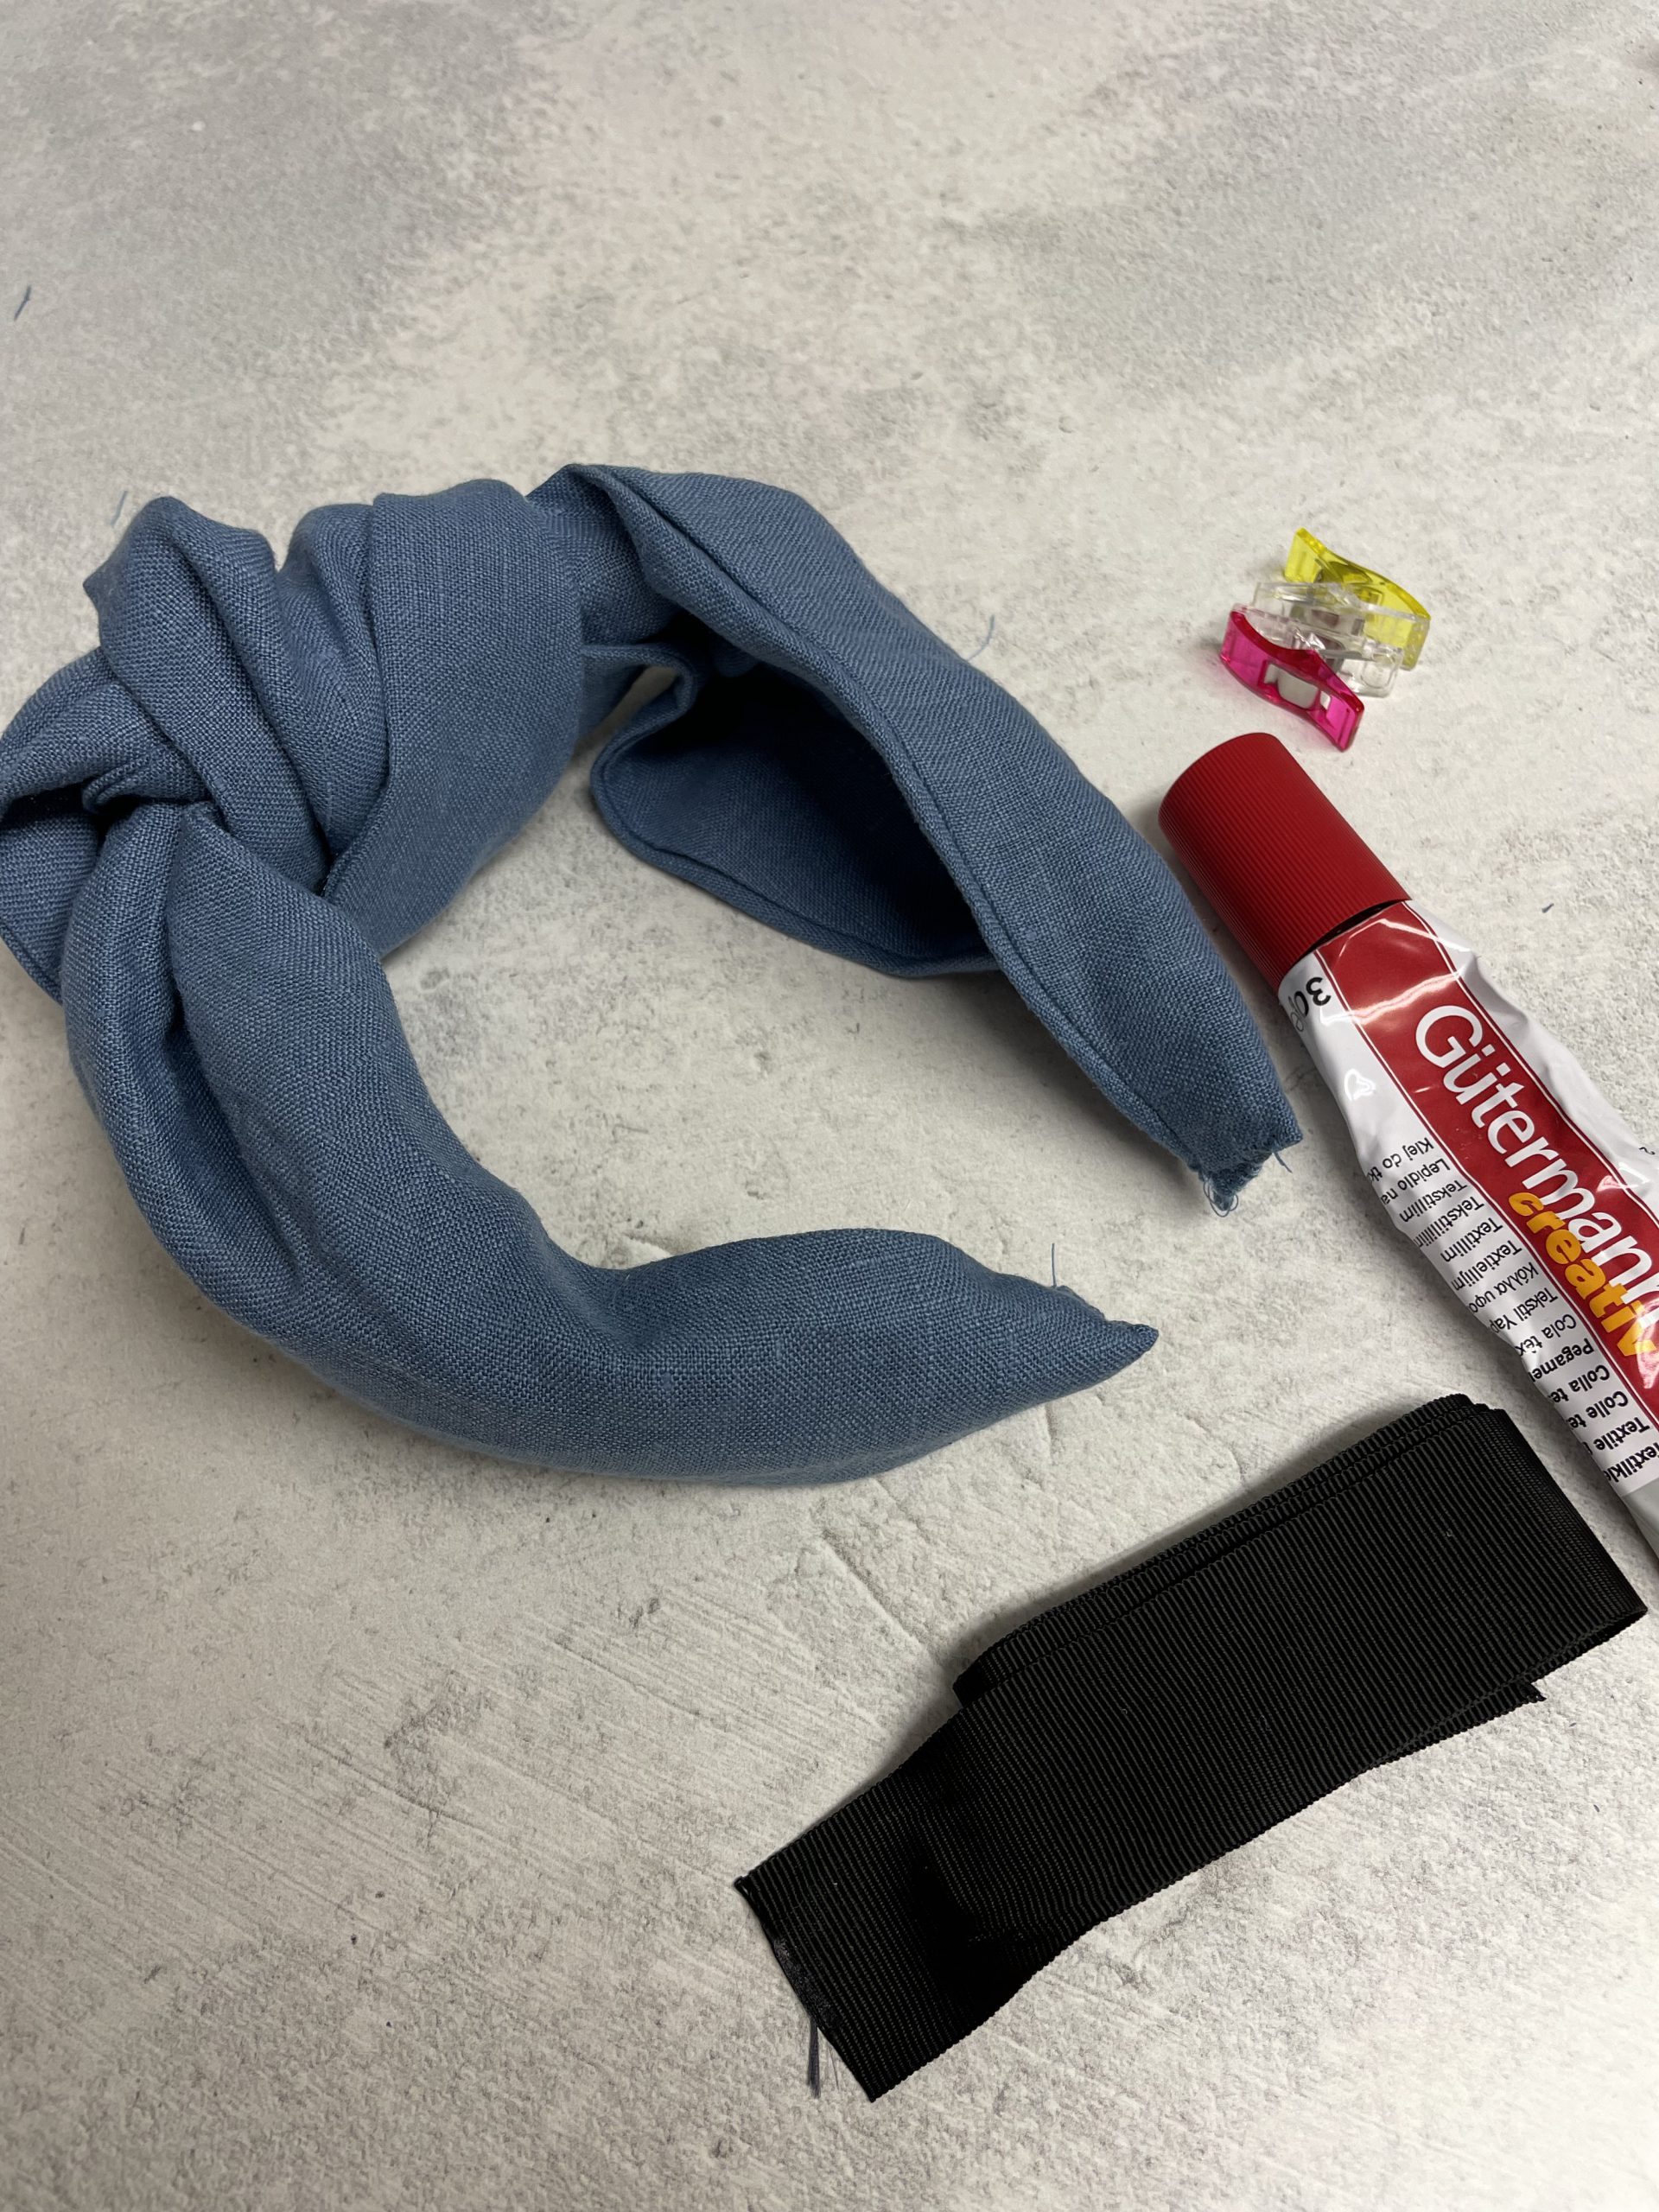
Materials needed for a twist knot hairband:
- Fabric
- Plastic hair band ( bought on amazon )
- Fabric Glue ( Gütterman)
- Sewing machine
- Hand sewing needle
- Matching thread
- Small piece of woven ribbon
- Pattern can be downloaded at the bottom of this page.
- Instructions to sew the headband
First step:
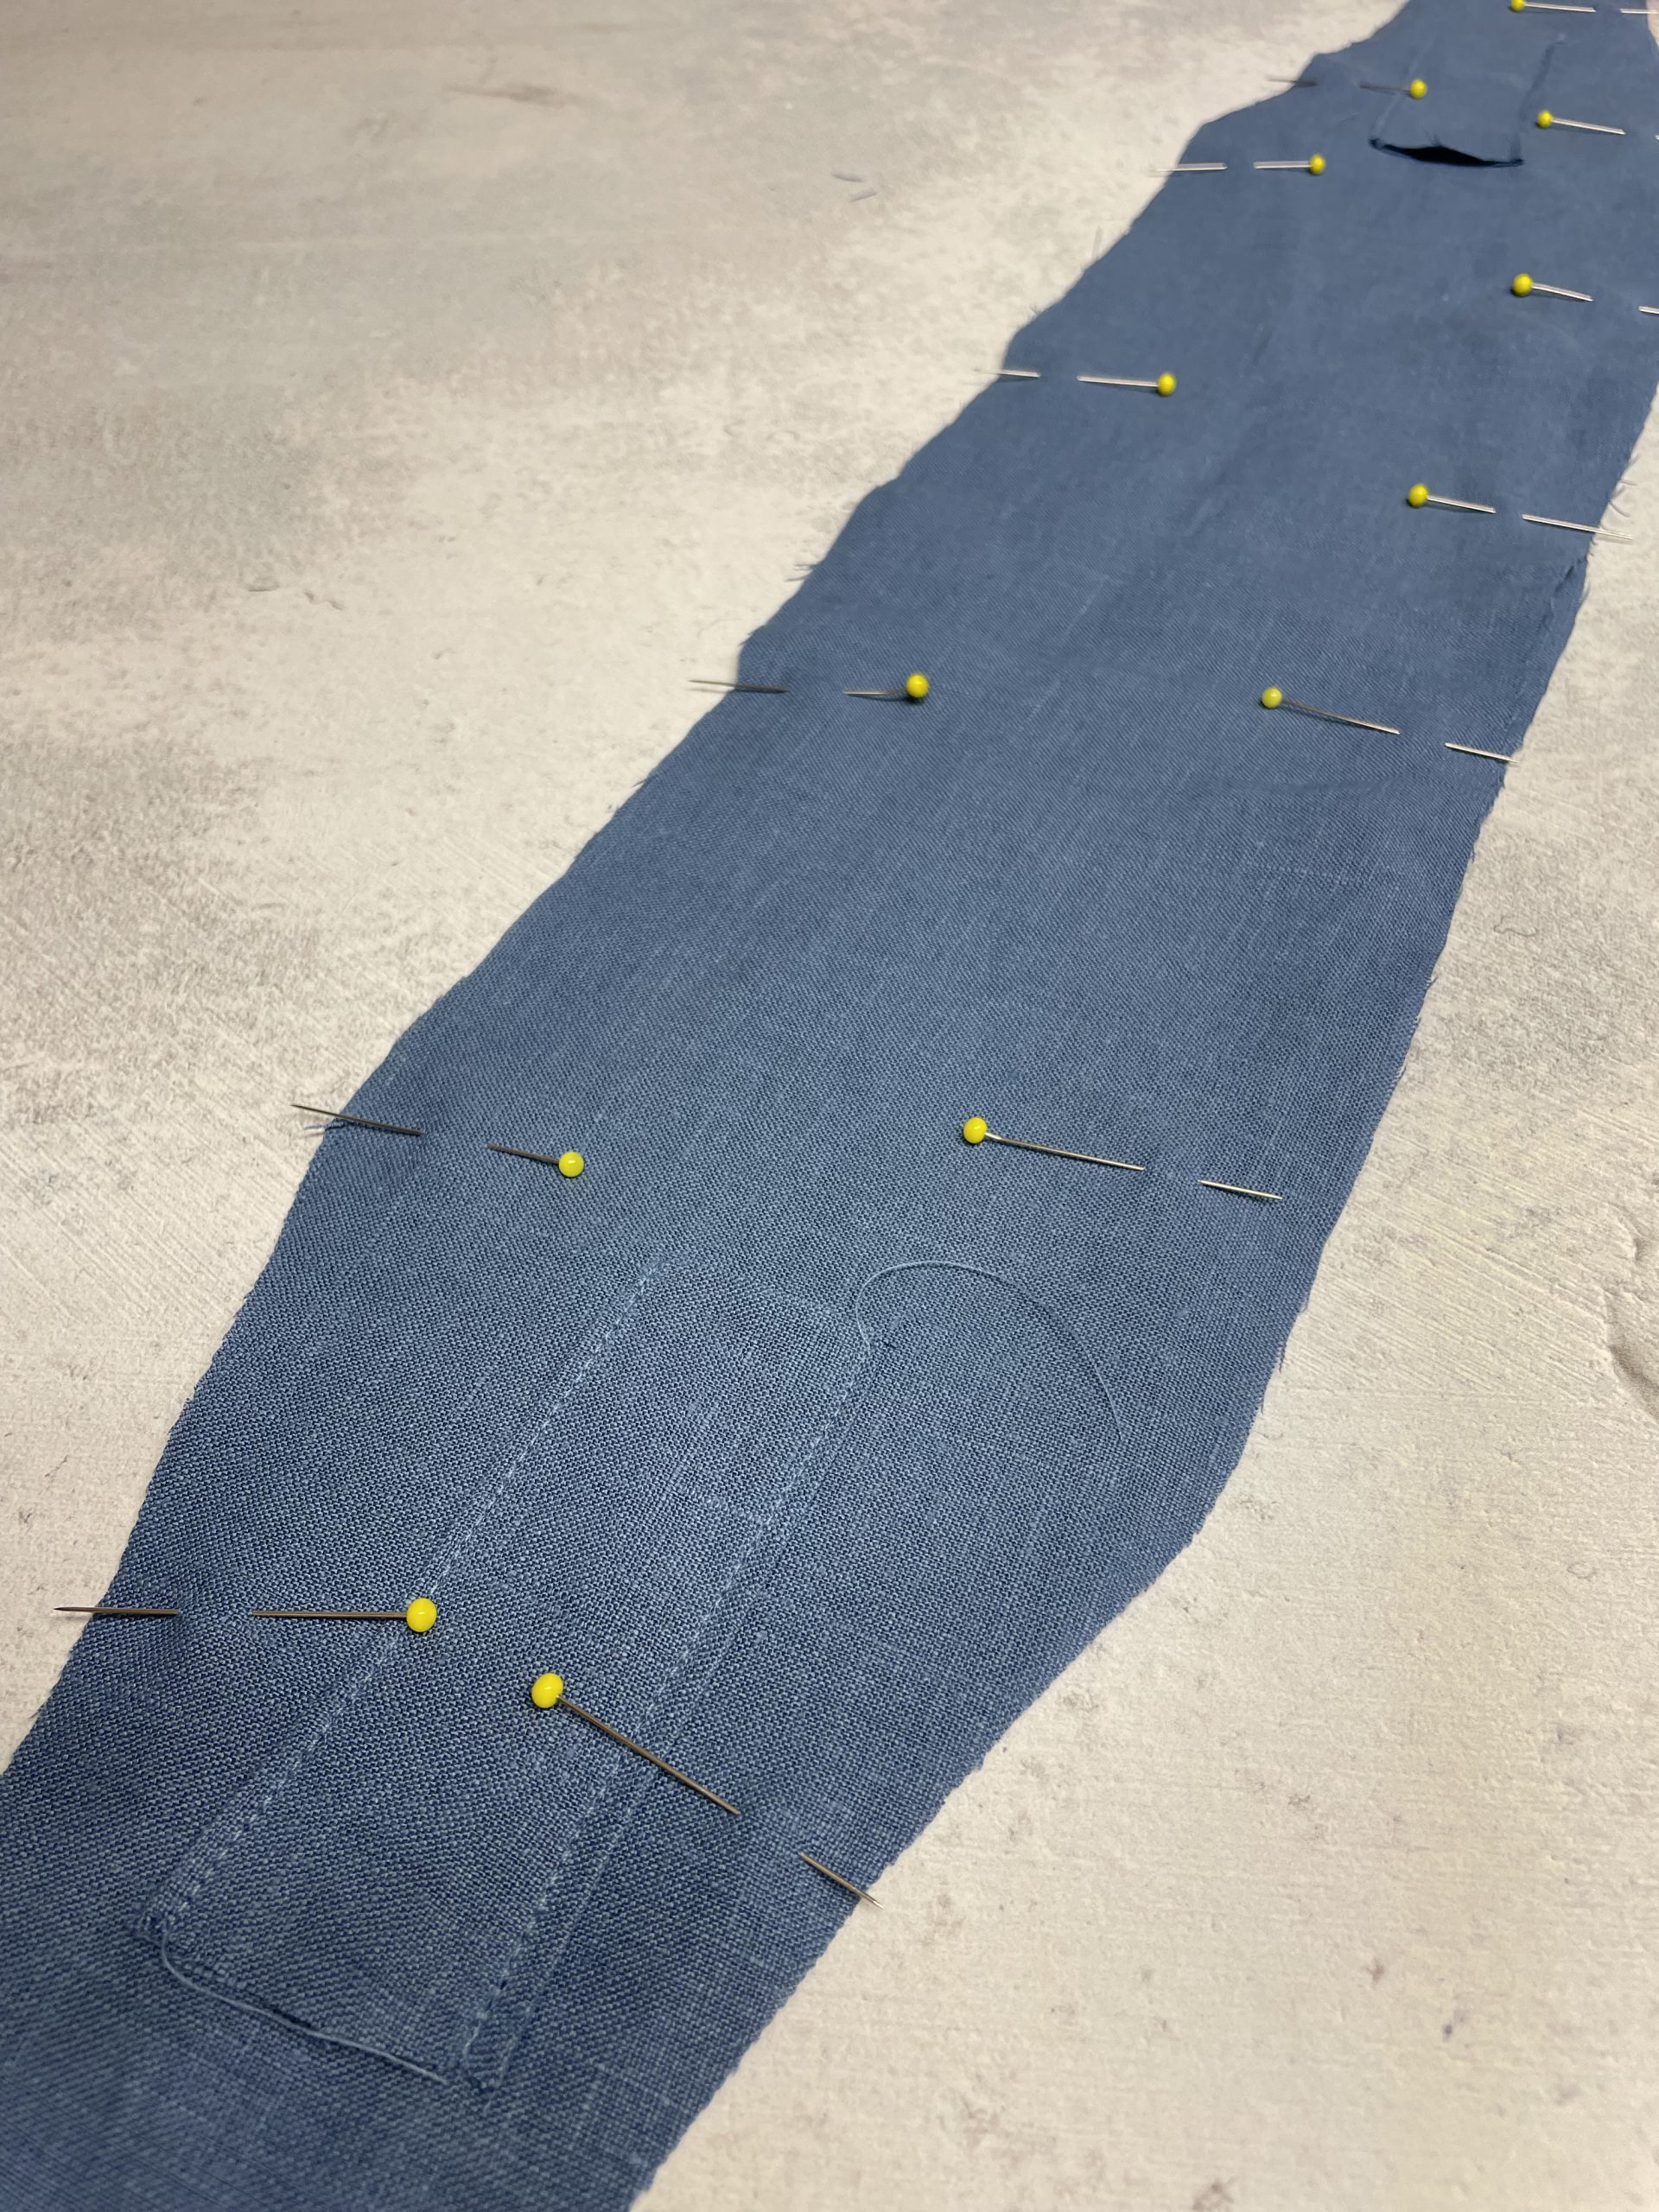
Firstly print the PDF pattern for the twist knot hairband and lay all the pattern pieces out onto the fabric, you will need 2 of the main fabric piece and 2 of the tunnel pieces. ( dont forget to lay the larger pattern pieces on the fold)

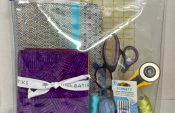
Whats needed
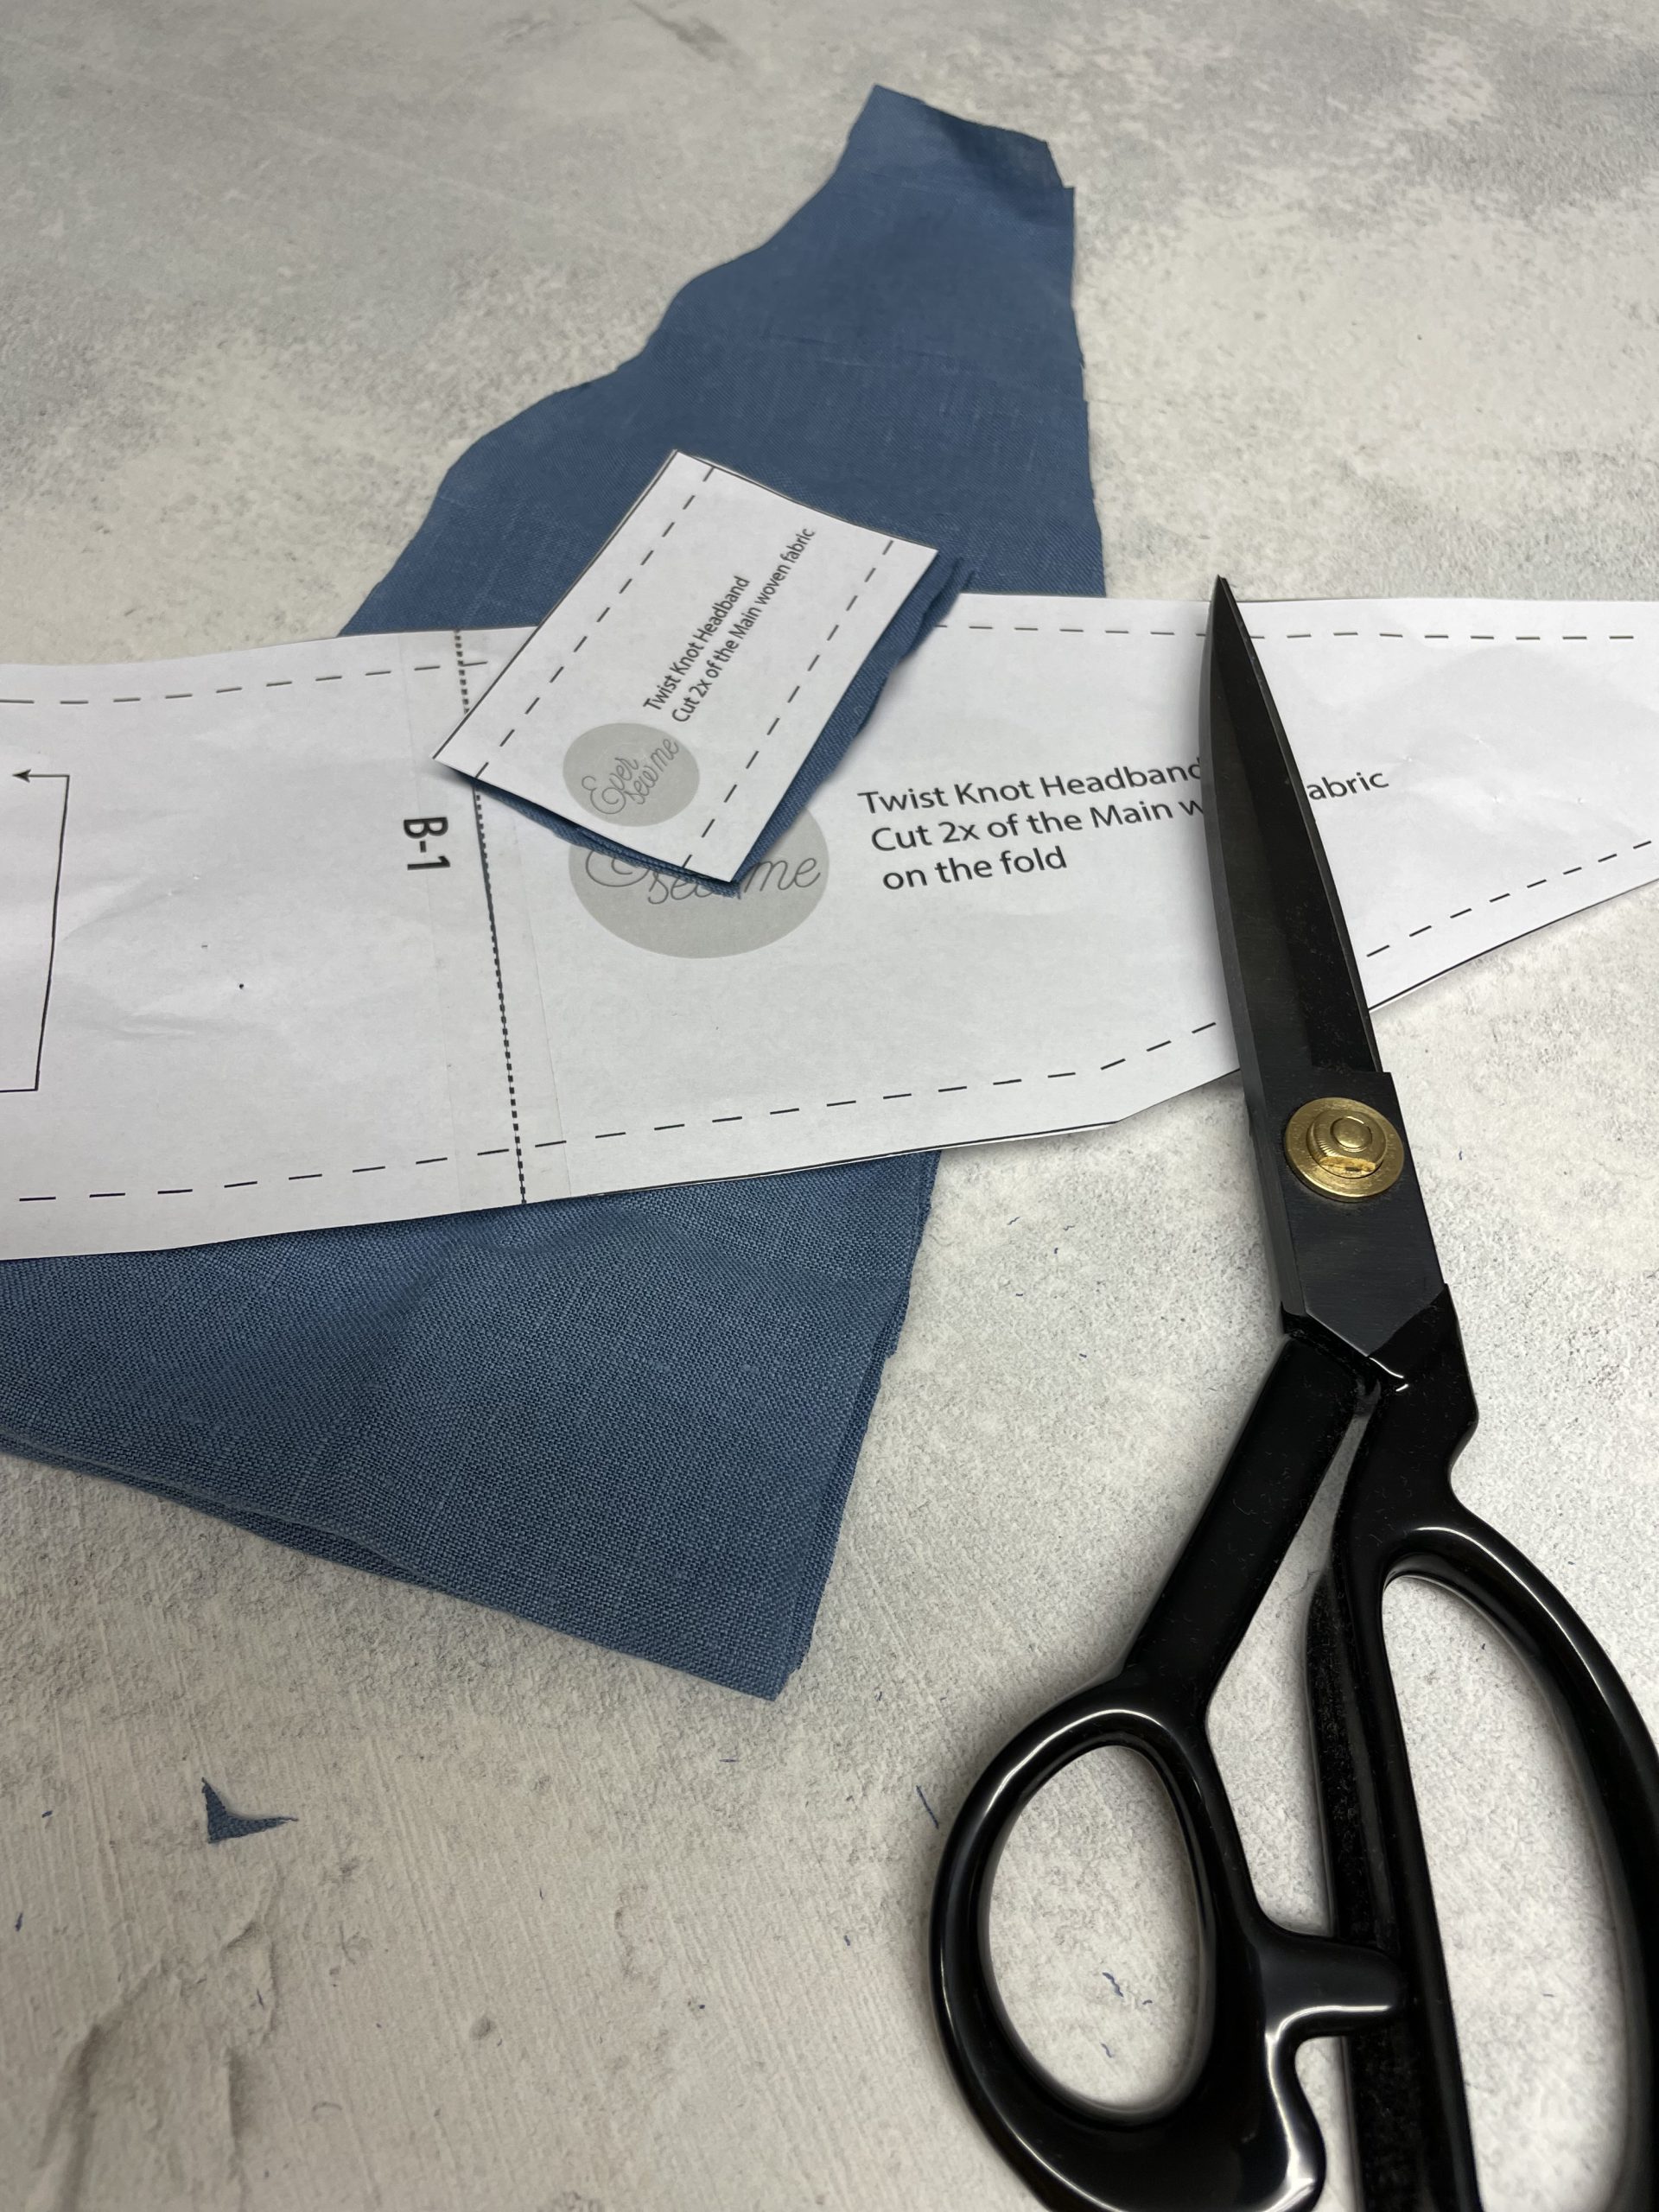
Pattern found at the end of this blog
I tend to Iron all pieces first then start the sewing process ( plus this is a perfect time to grab yourself a cup of something tasty and a dippy biscuit!)
Sewing instructions for the twist knot hairband
Creating the Channel
Fold the 2 longer sides of the channel pieces in by 1 cm, press, then lay these pieces onto the main headband pieces on the wrong side of the fabric in the middle, 8cm up from the bottom edge and sew both longer edges.

Press the longer sides to the wrong side by 1cm
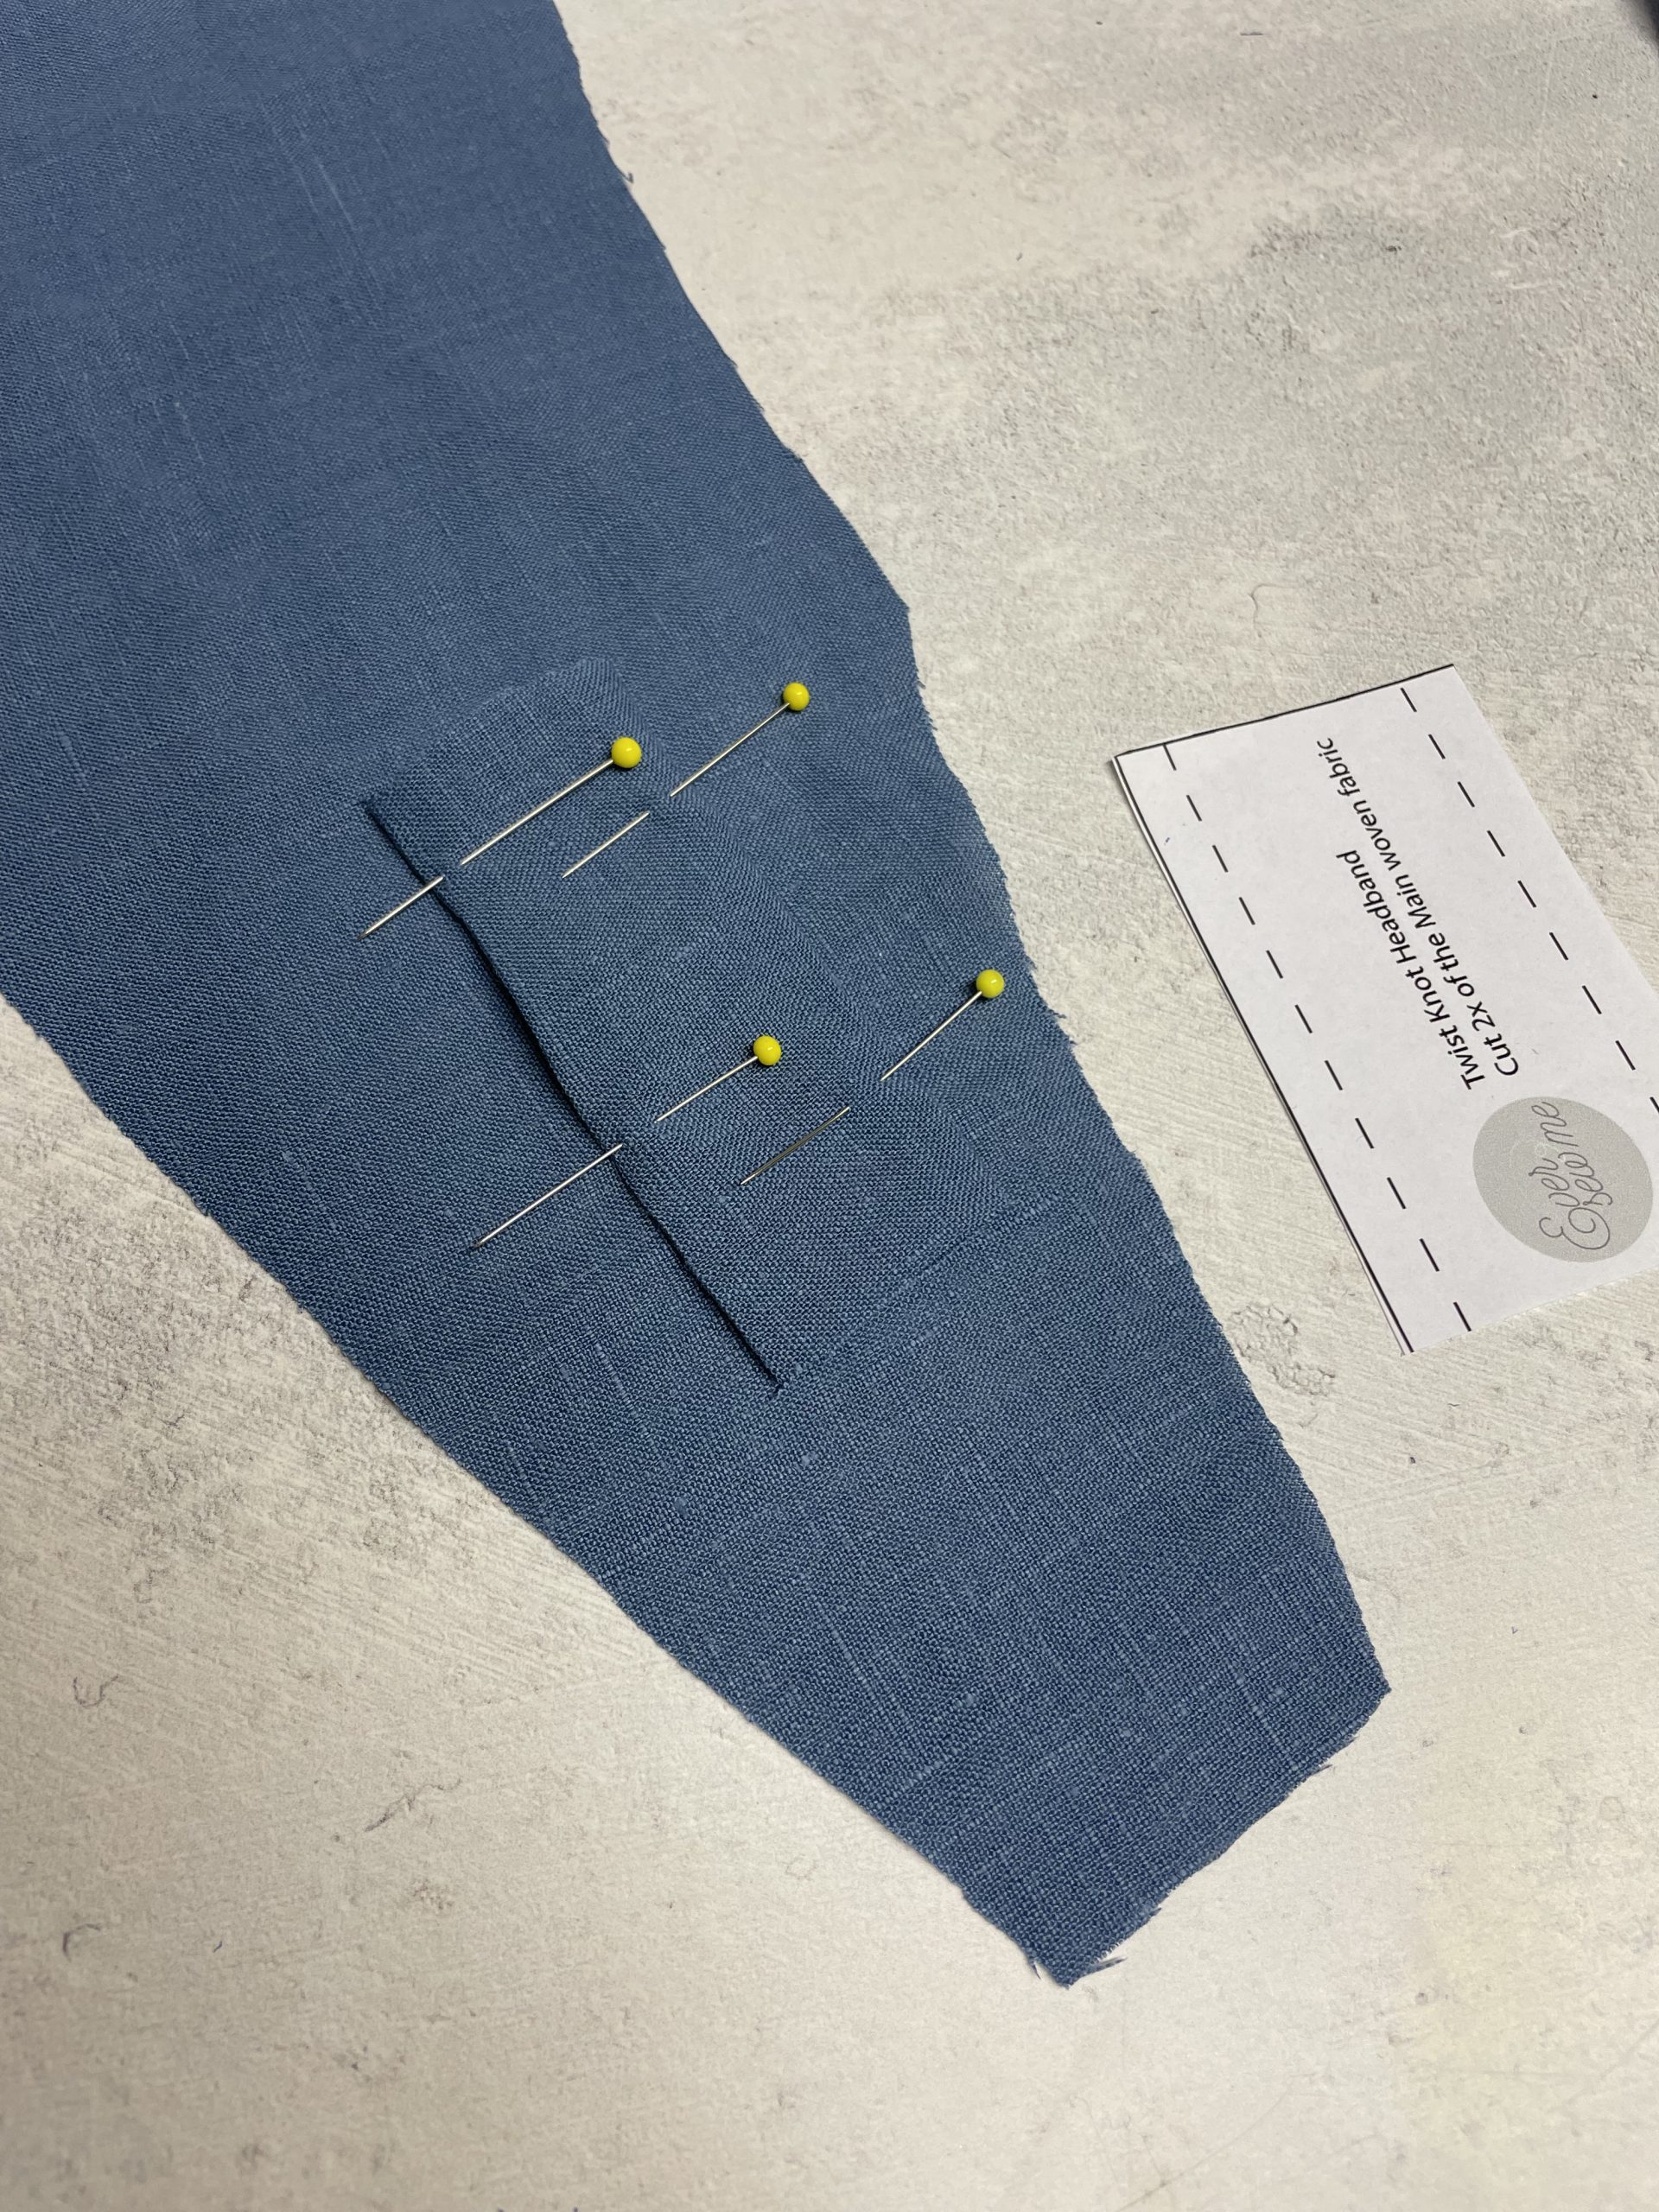
pin to the wrong side of the main fabric on both ends 8cm from the bottom
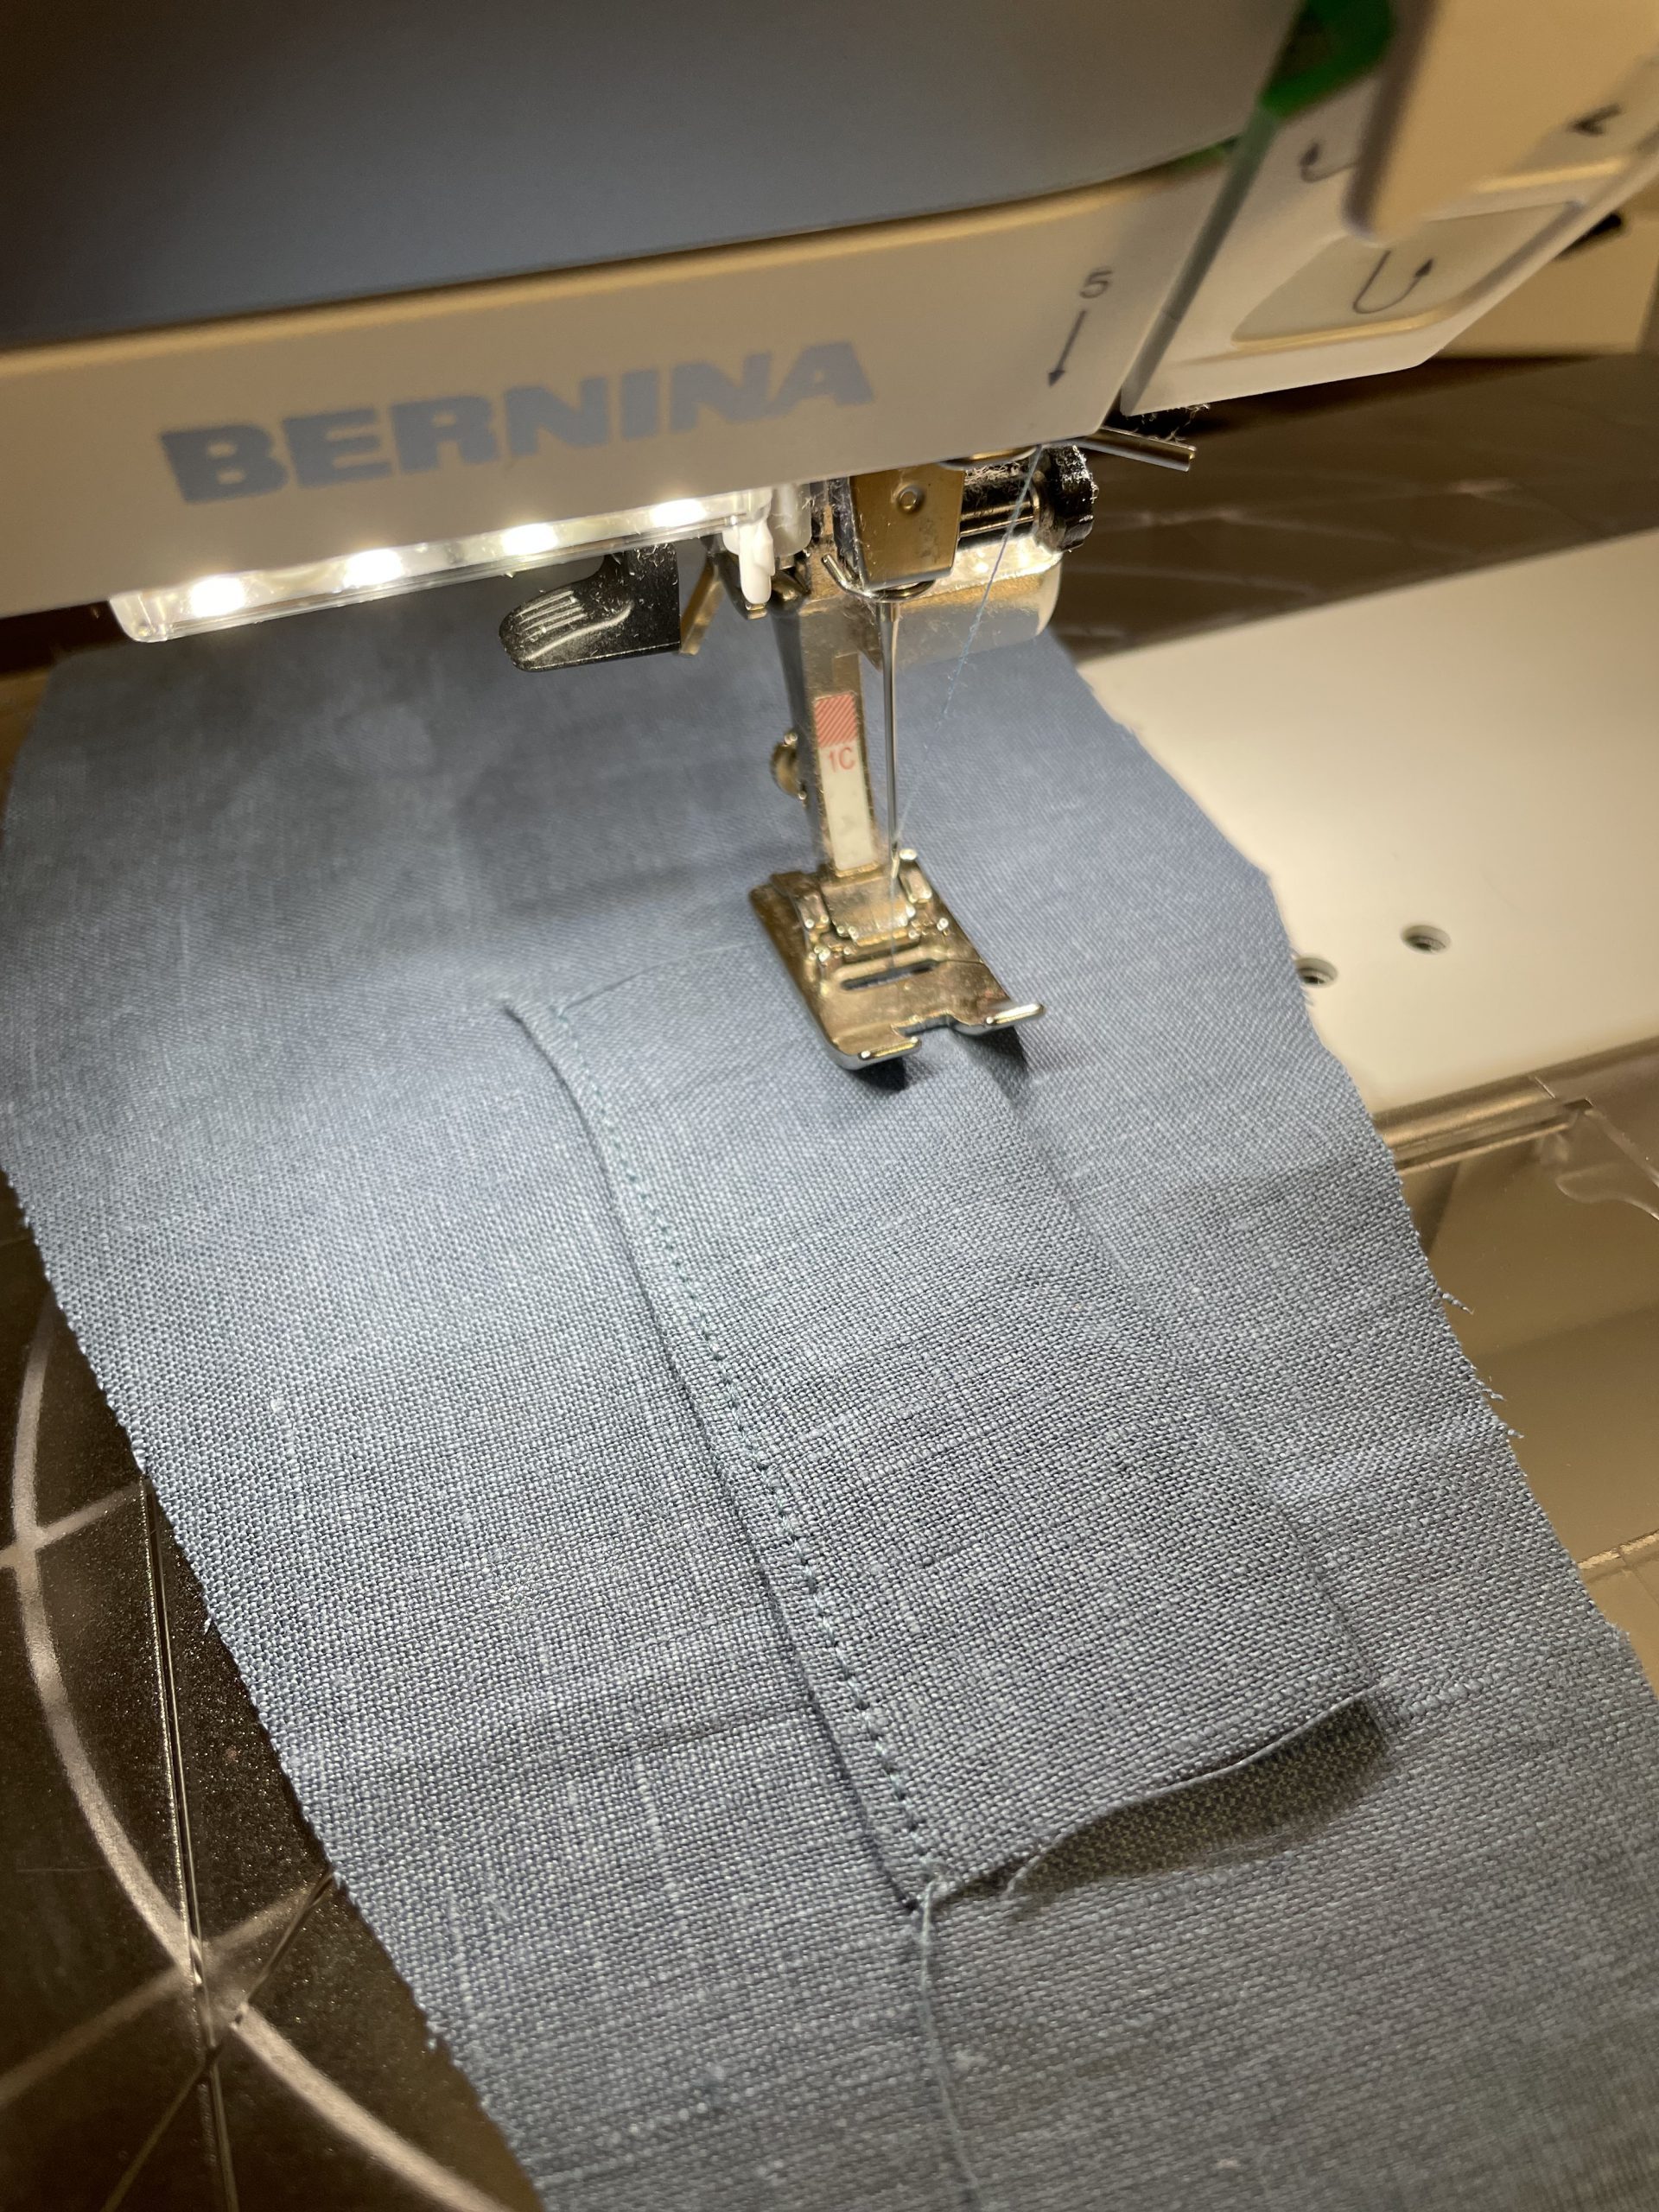
sew both longer edges to the main fabric, creating a channel
press flat
Sewing the main part of the Headband
Next, lay right sides of the hairband main pieces on top of each other and pin. Sew around the outside edges using a 1cm seam allowance leaving both the smaller ends open.
right-side facing and pinned
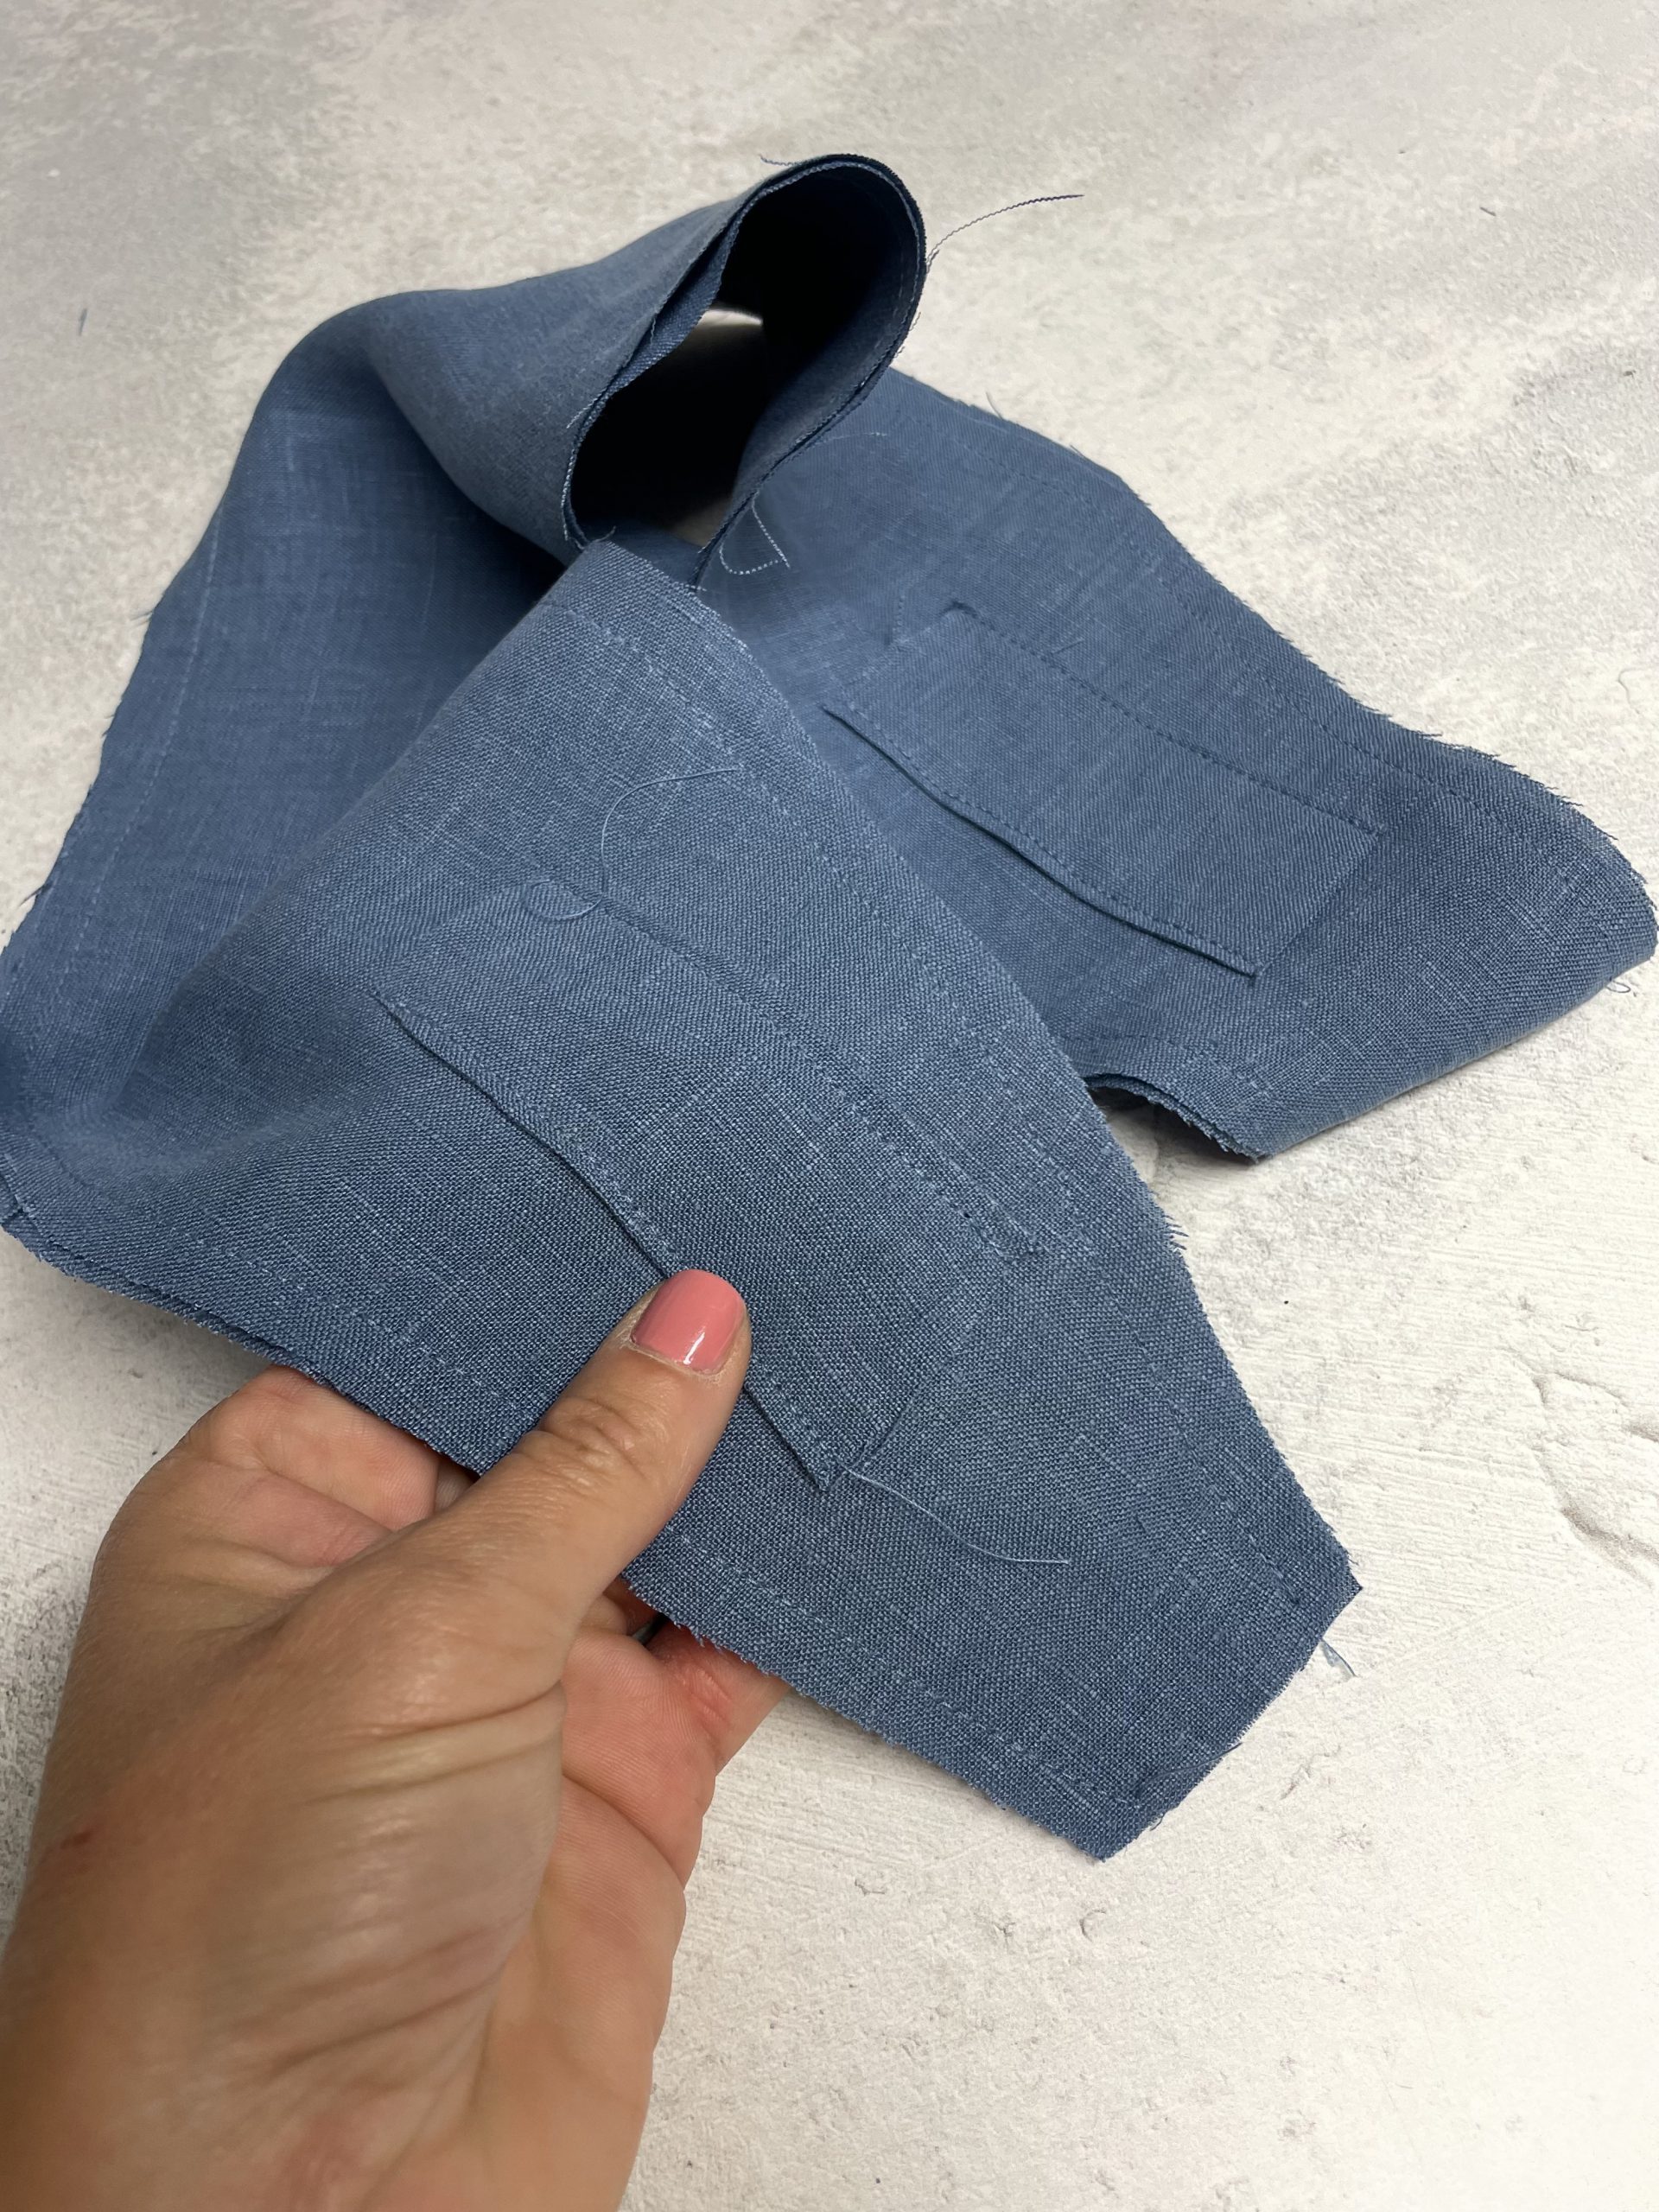
leave the two short ends open
Turn the headband inside out to the correct side and press.
Turn inside out

Press all seams
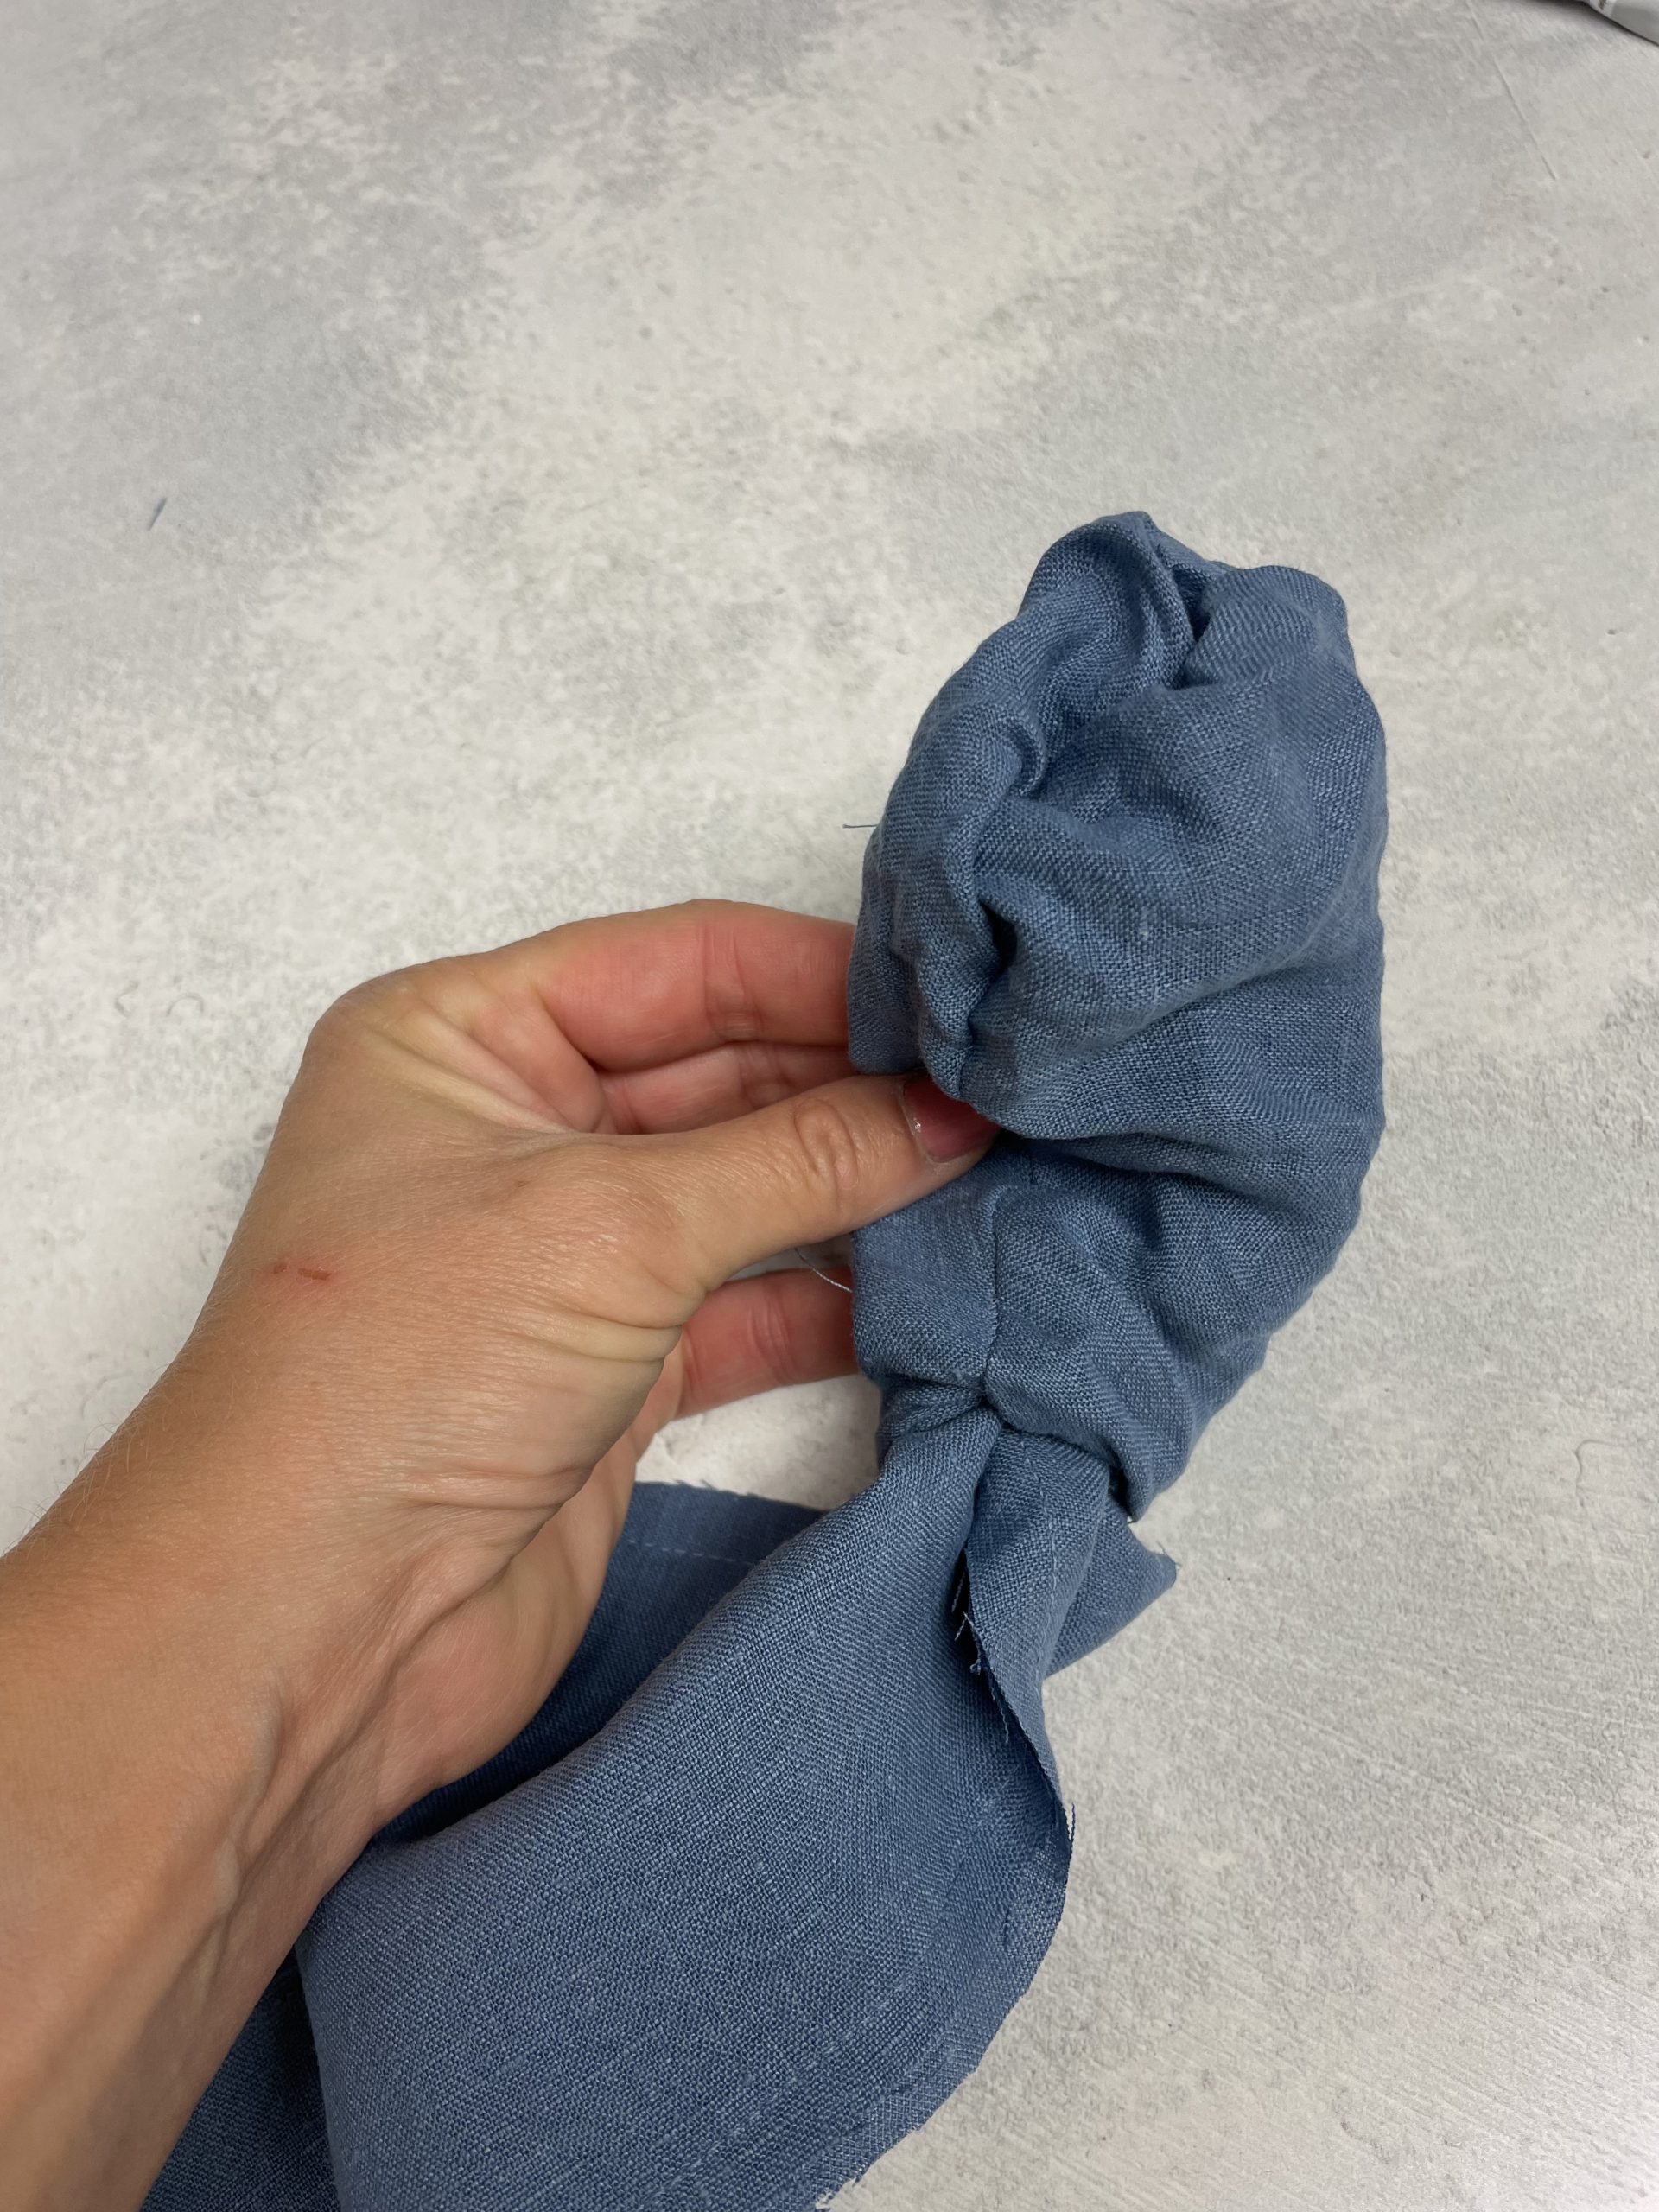
Creating the knot
Lay the pressed hairband in front of you and make a large loose knot, position this in the middle of the fabric pieces.
Create a knot in the middle of the fabric
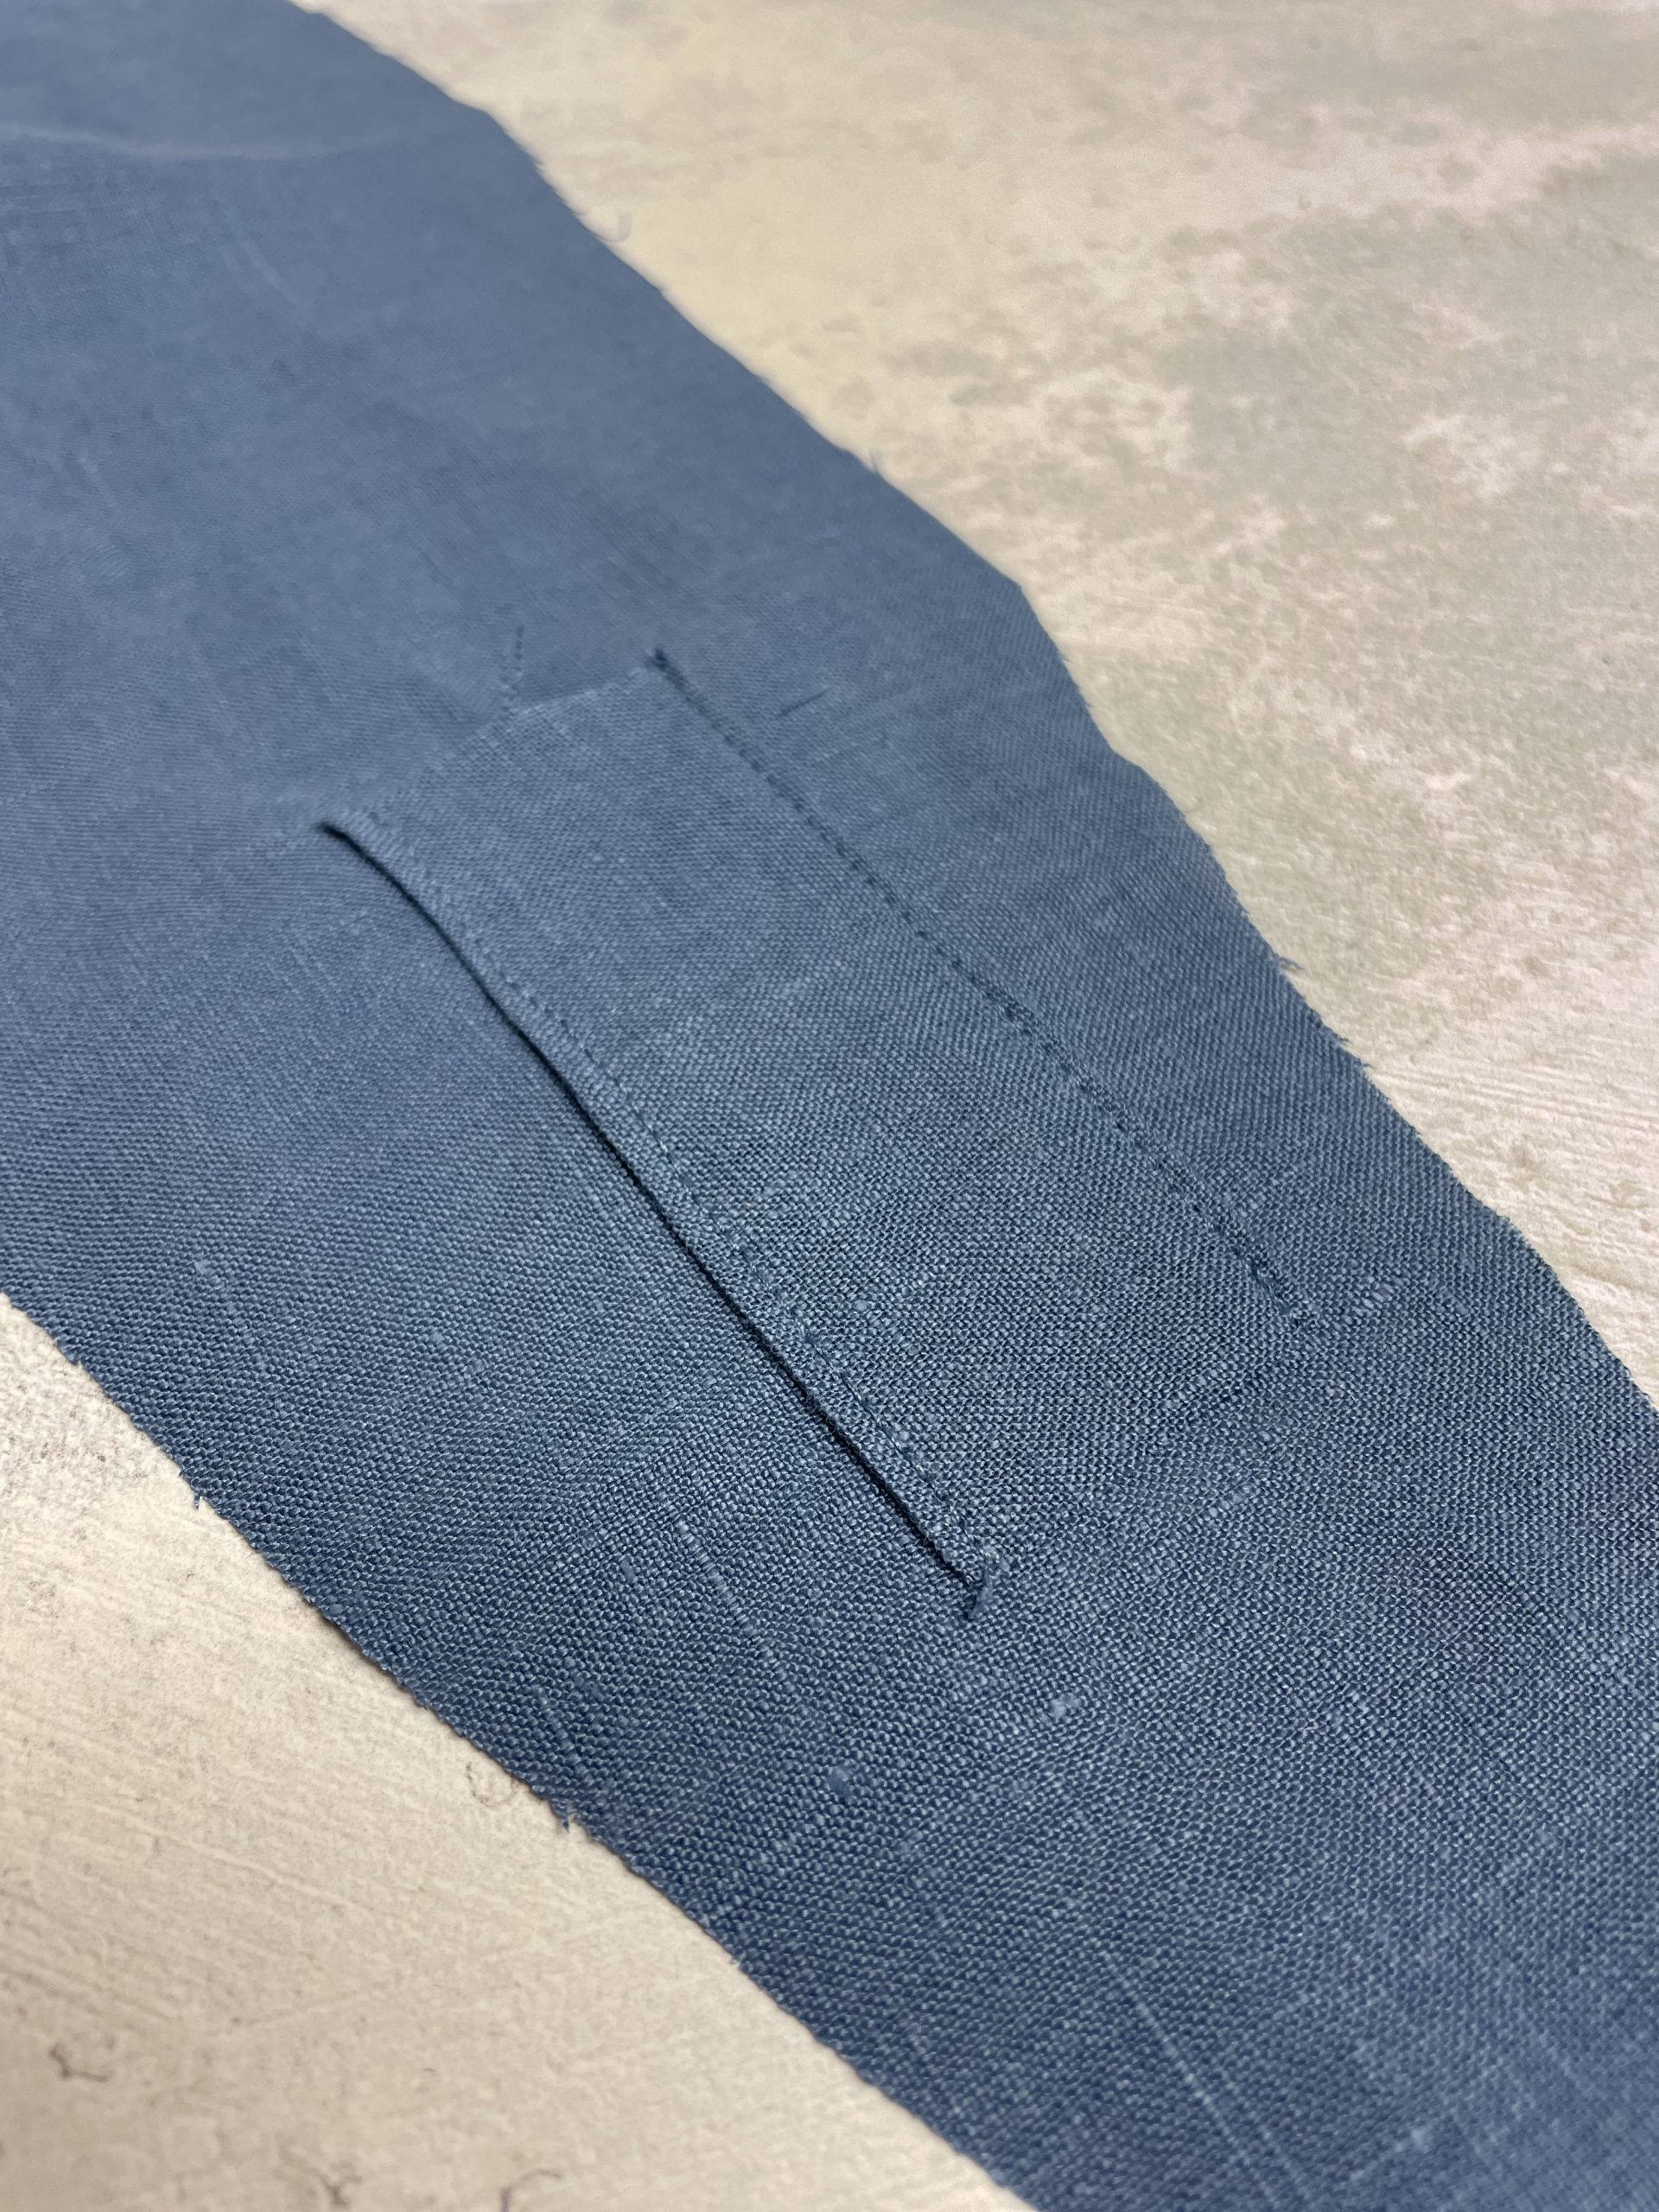
To allow the plastic band to pass through the headband we will need to next snip in the fabric on the upper-side 2 small holes under the each side of the knot.
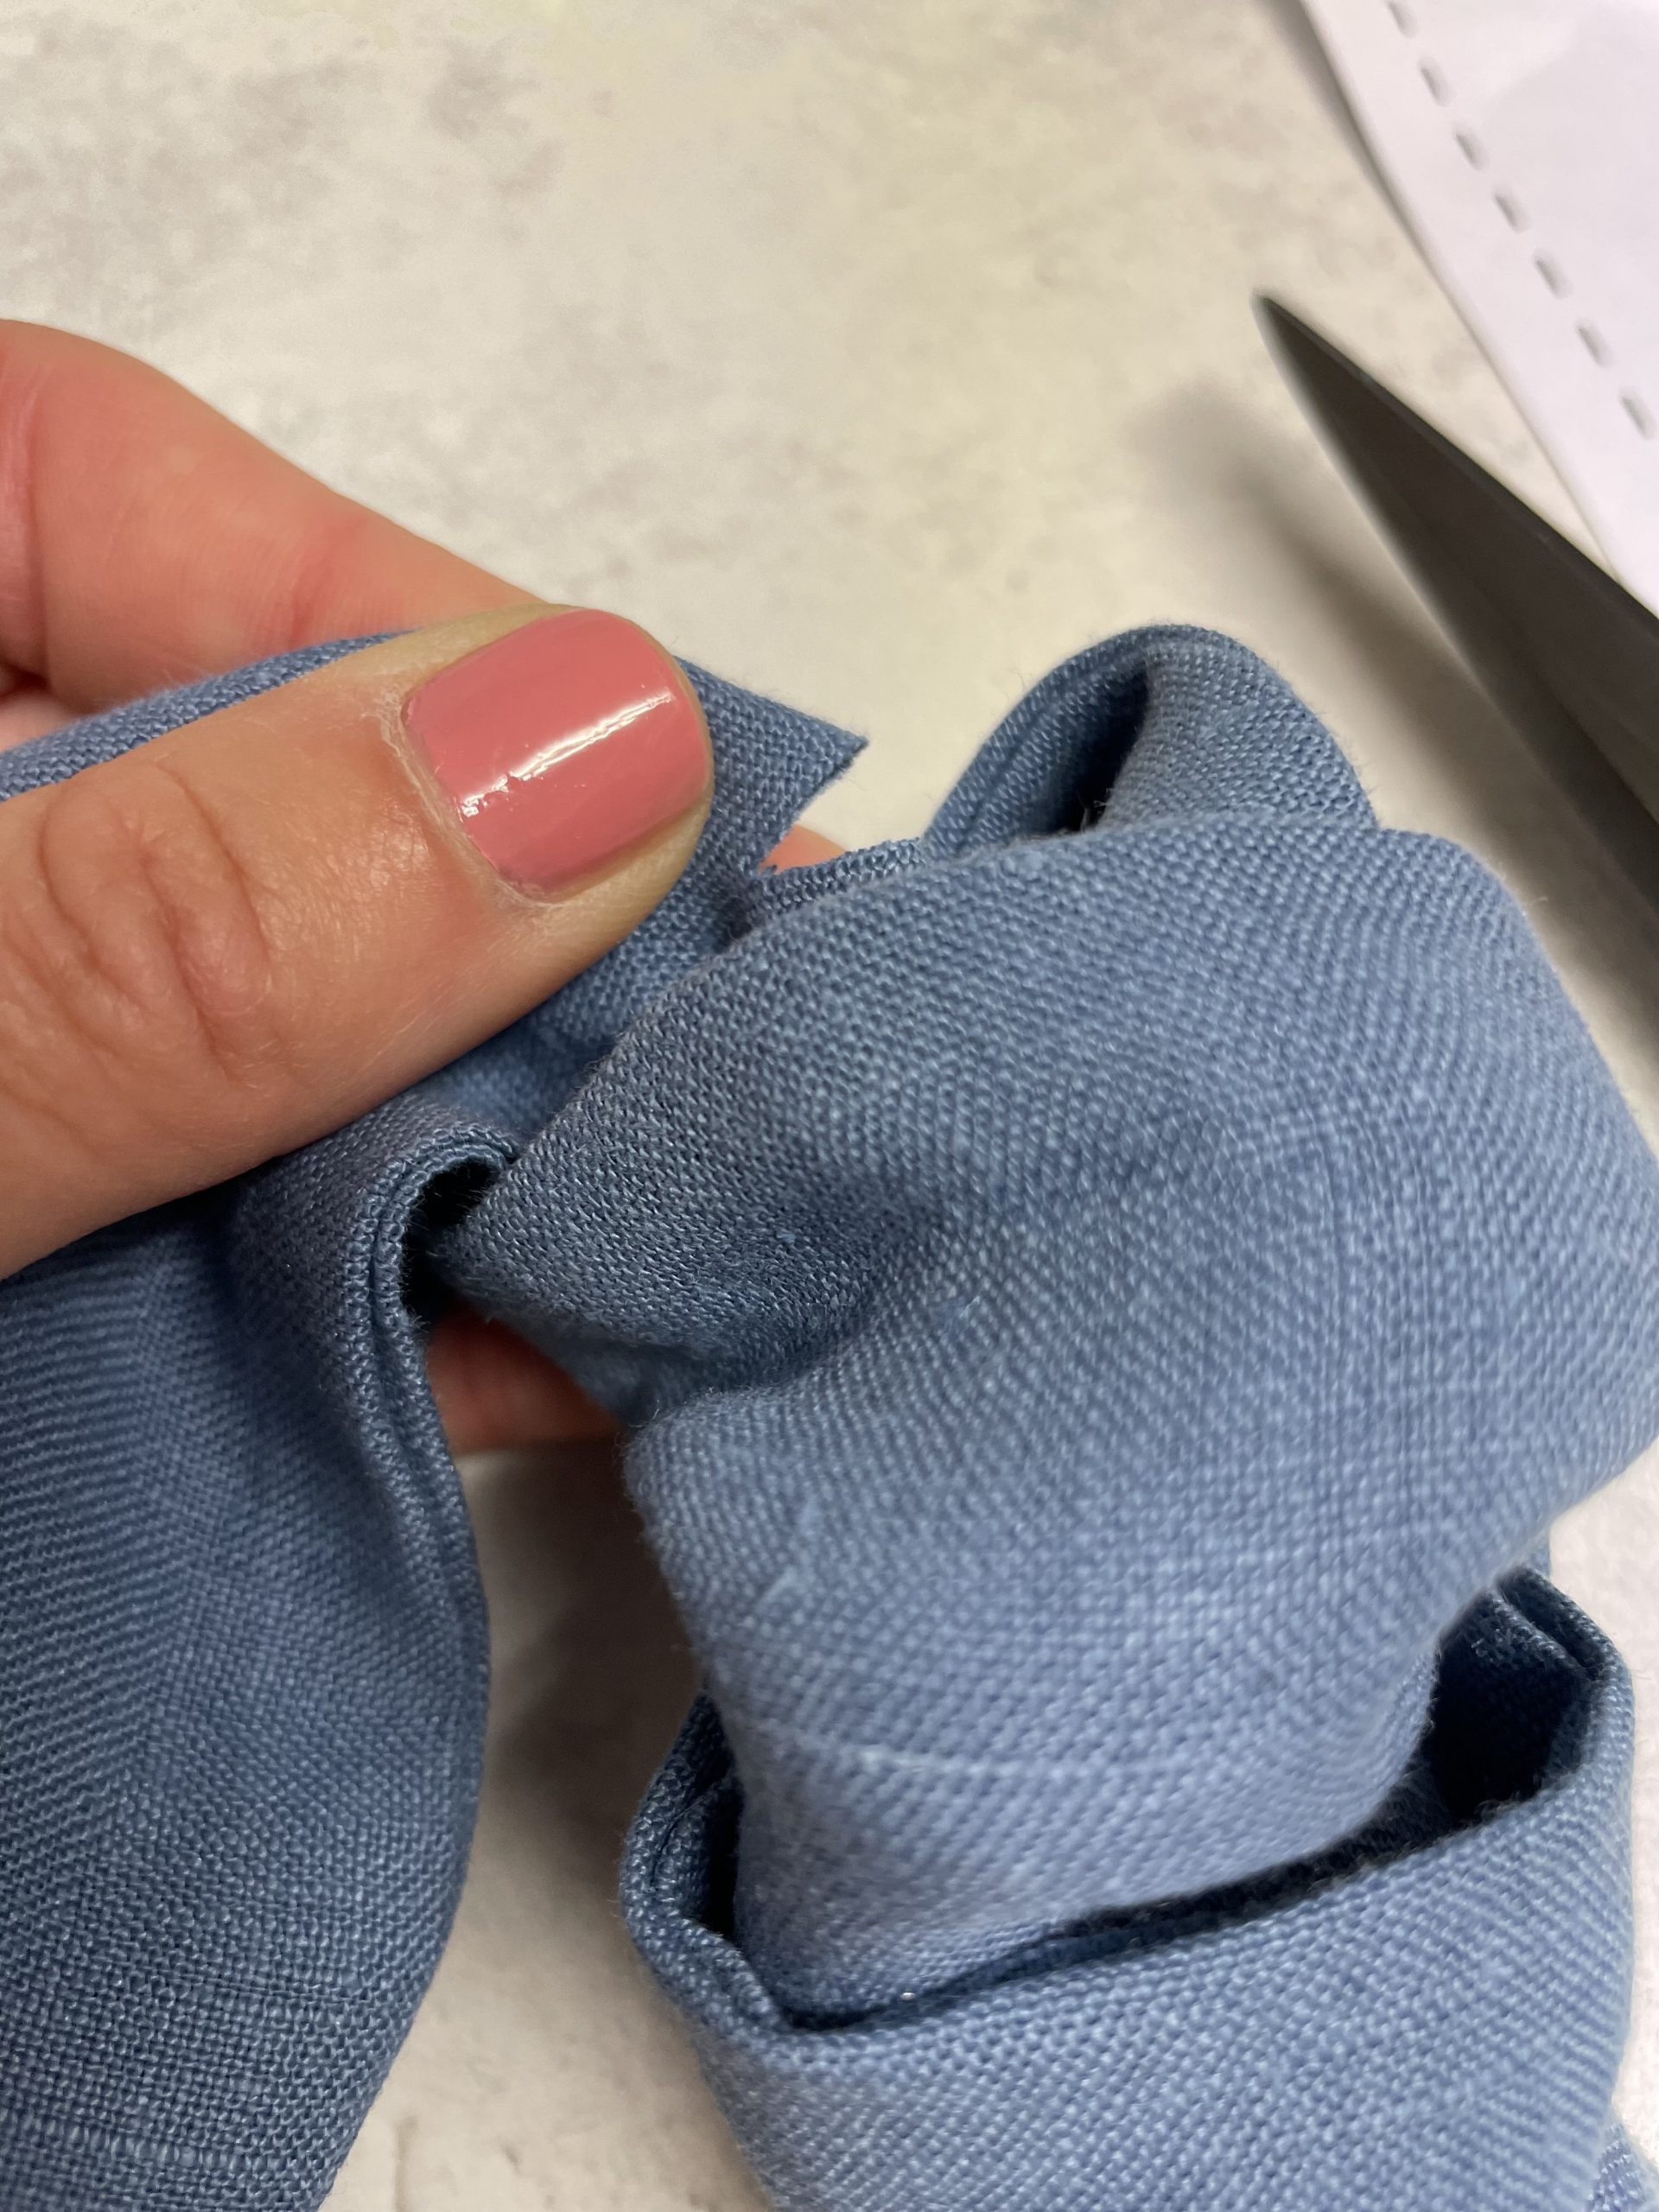
Cut 2 small holes either side of the knot for the band to pass through the knot
Adding the plastic Headband
Now, feed the hairband through, make sure the plastic band feeds through the channel we created, then out of one of the holes we cut, through the knot and back through into the fabric through the second hole. Continue to push the band through the second channel and out the other end of the hairband.

push the plastic band through the hole under the knot

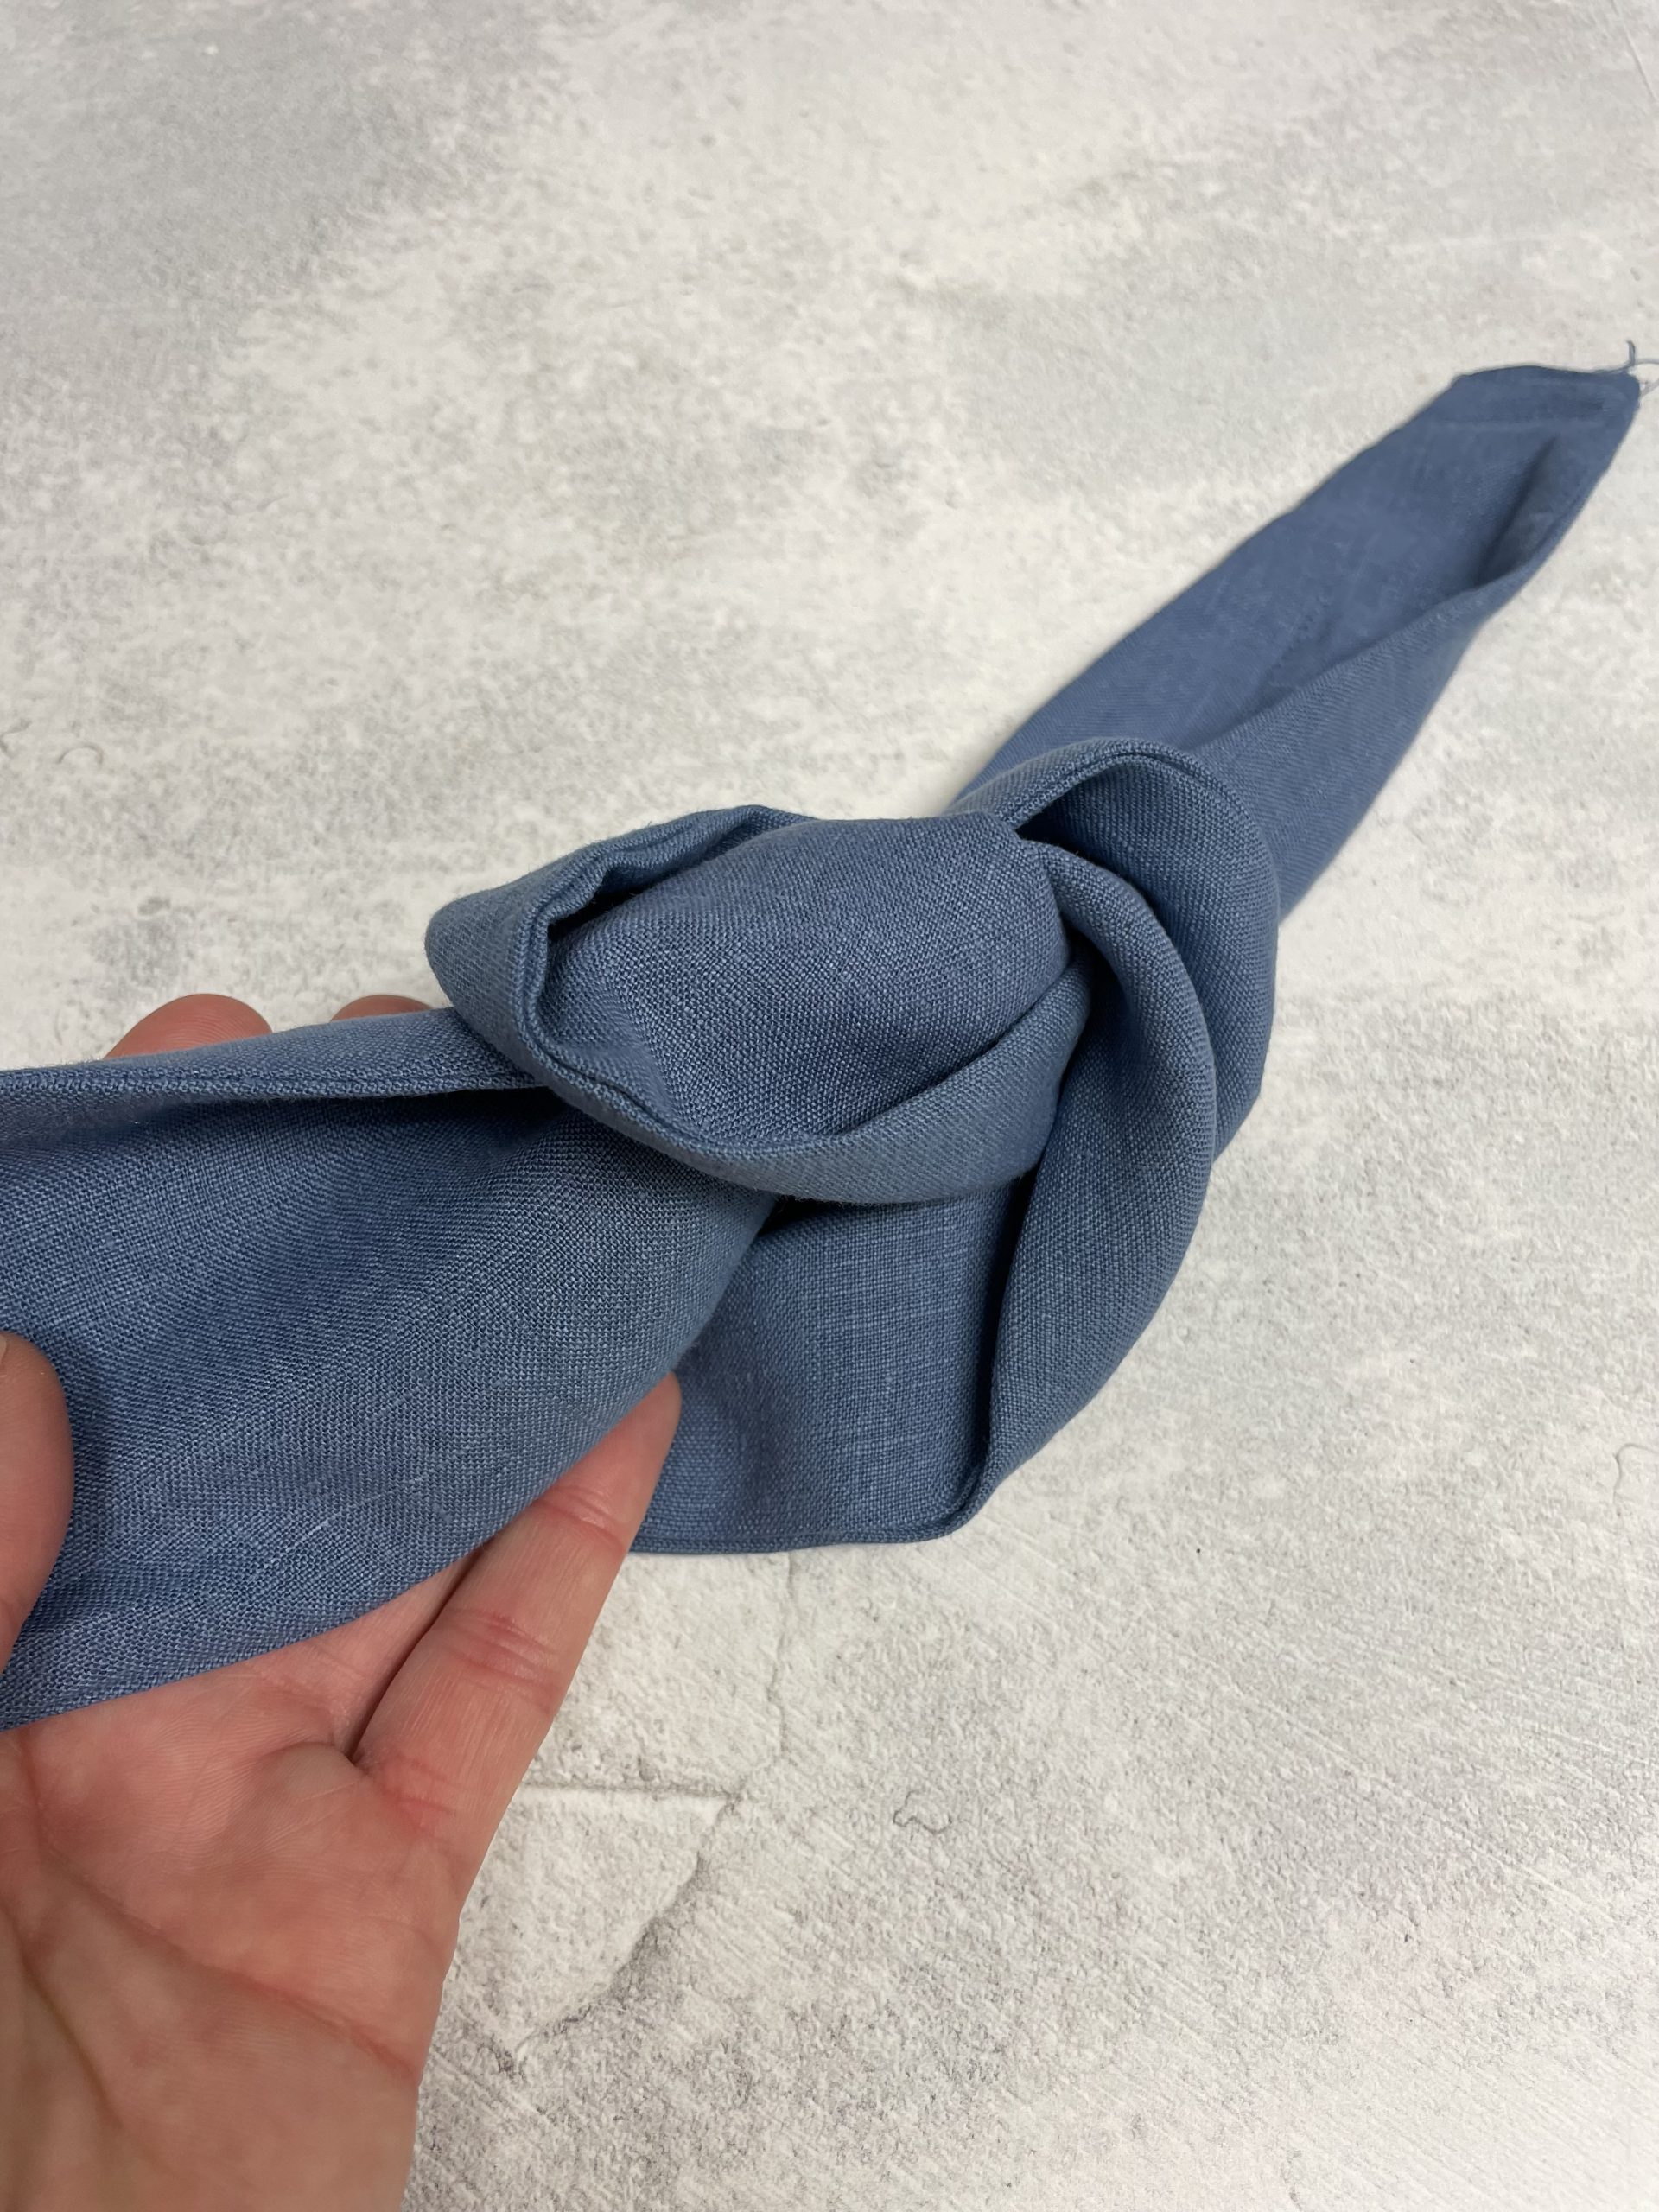
Position the knot in the middle of the hair band
Now is the time to adjust the knot, tighten or loosen to cover the holes created for the band to pass through.
Securing the ends of the hairband
Fold the ends of the fabric on both ends back in on themselves and fold the fabric inwards. This will then need to hand sewn to secure.

Fold raw end inwards and towards the inside of the band to secure covering and securing the plastic band

Hand sew both folded ends
We are almost finished!!
Now is gluing time, cut a 6cm piece of ribbon, I tend to use a gross-grain ribbon in black, place glue on the end of the band and wrap the ribbon around, adding more glue as needed. Pinch the end with a sewing clip or a peg and wait for the glue to dry.
Equipment for gluing!
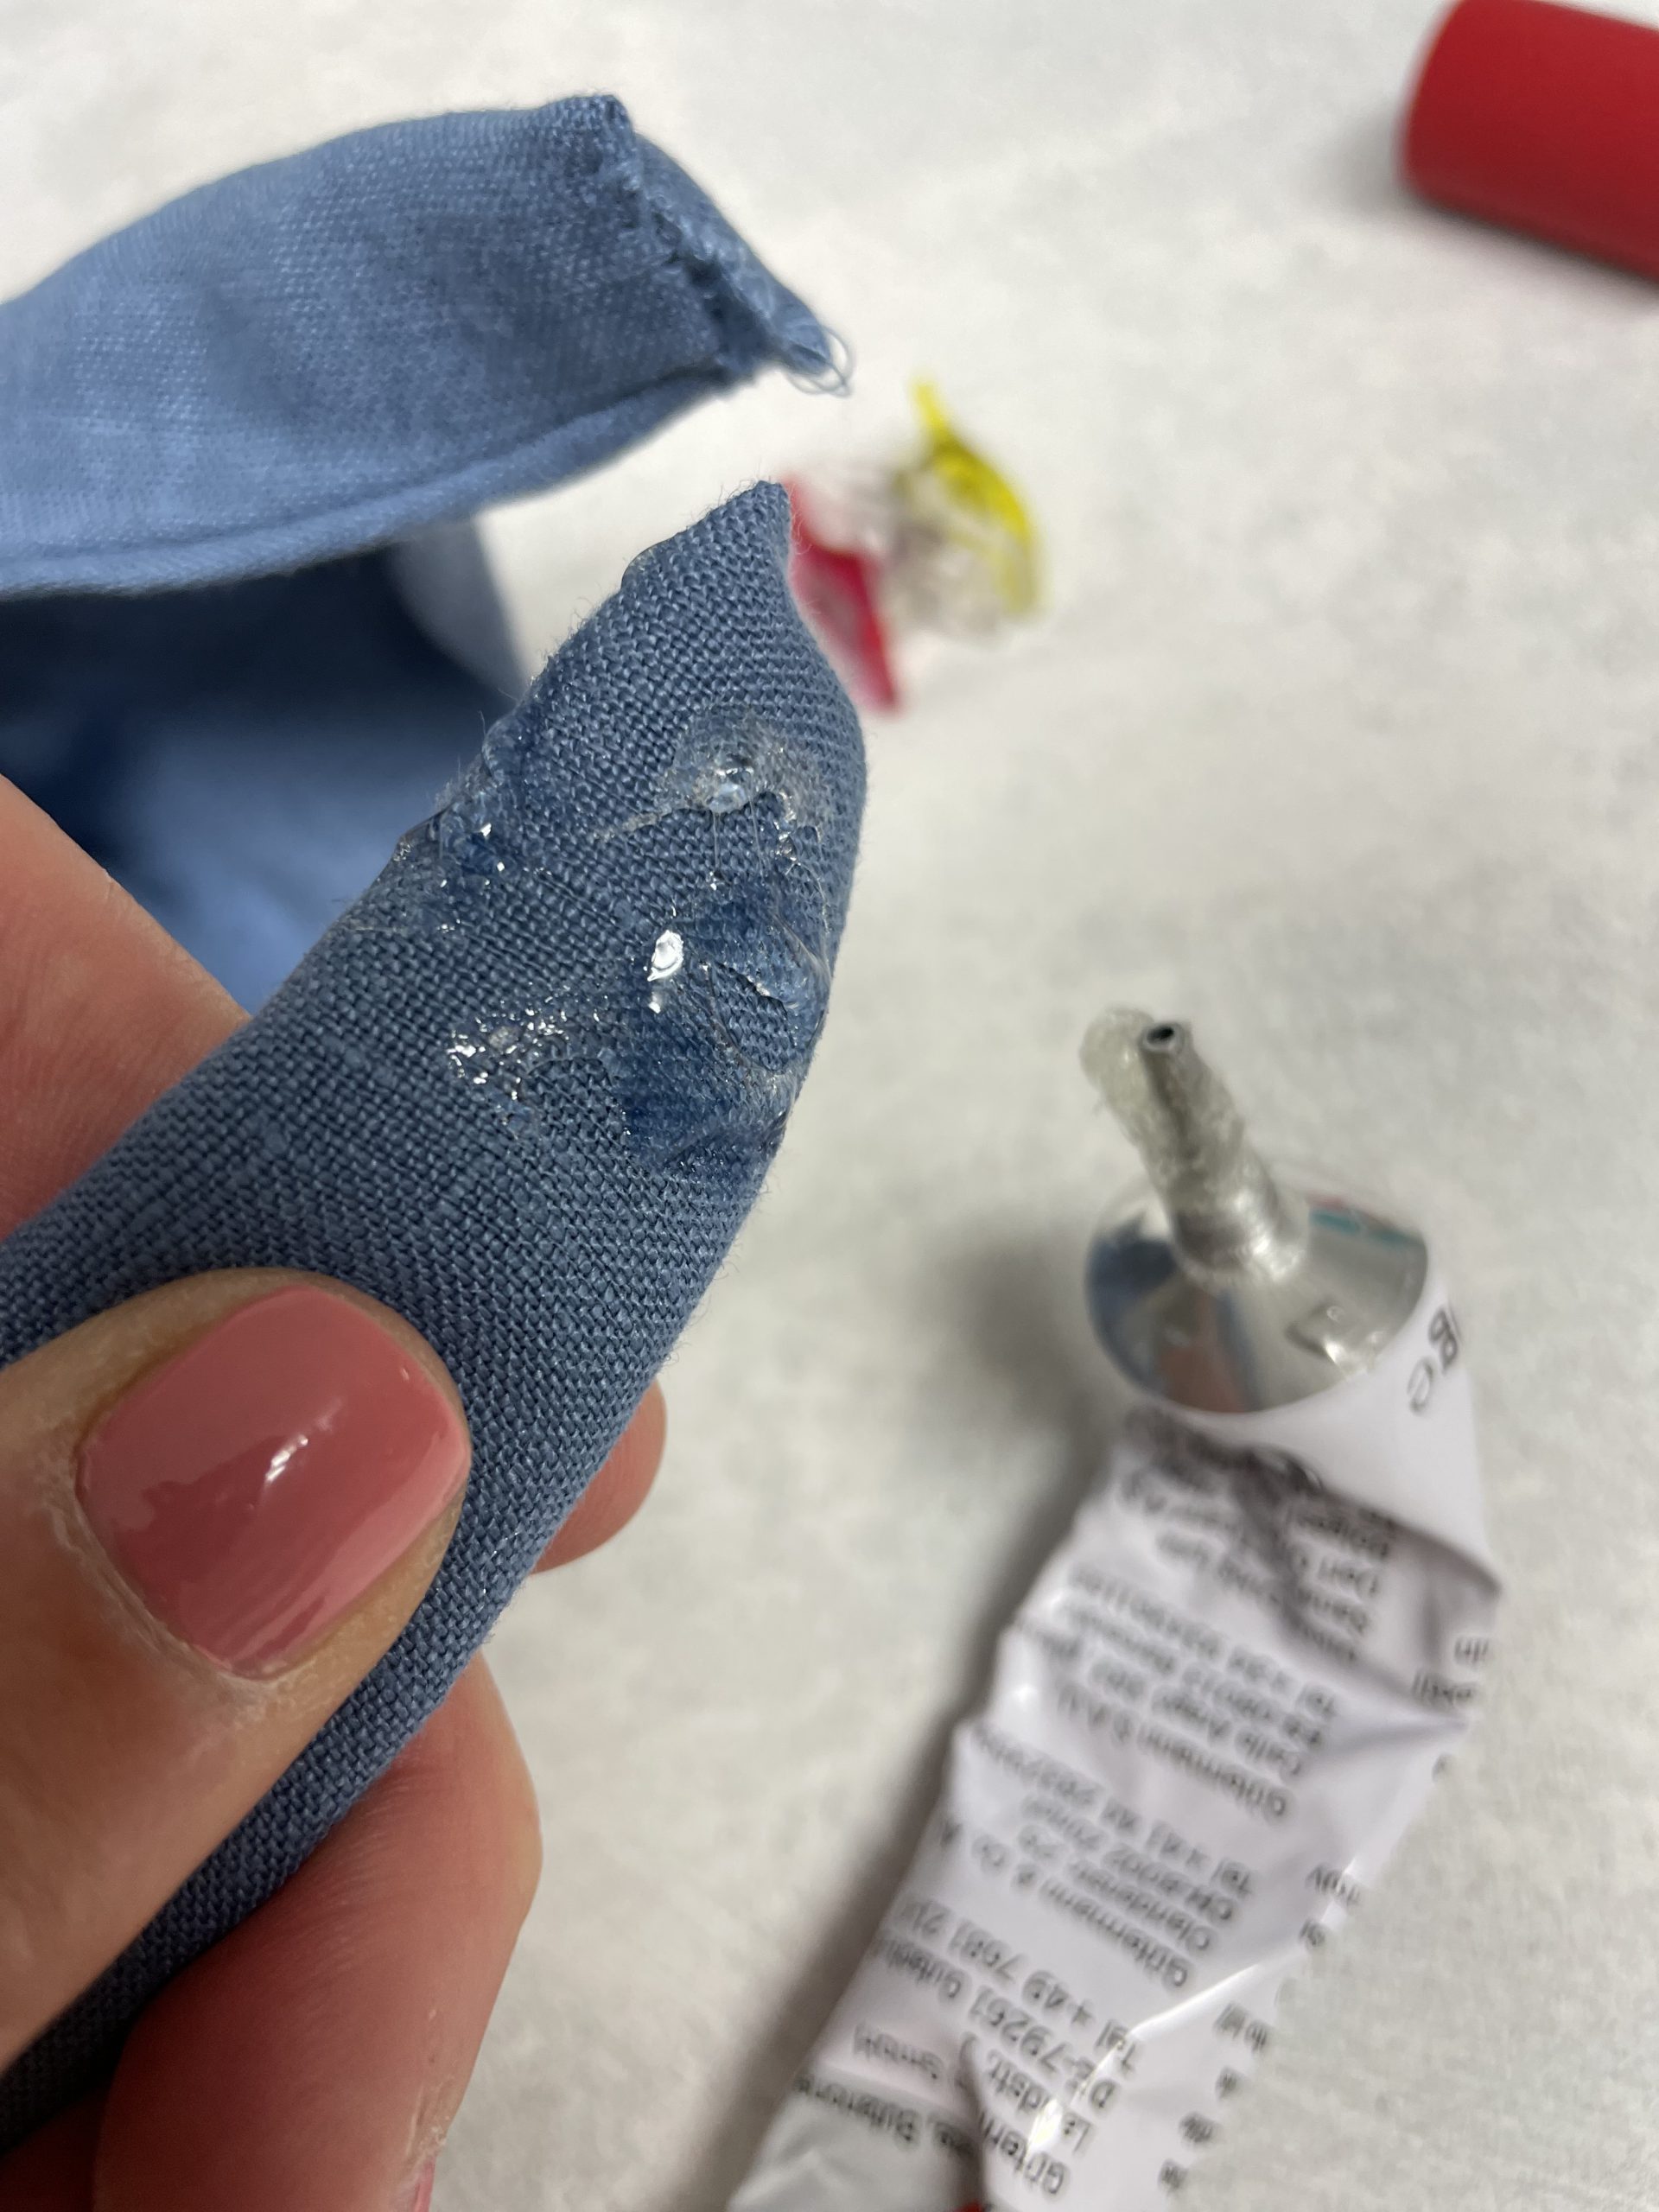
Add the fabric glue to the fabric end
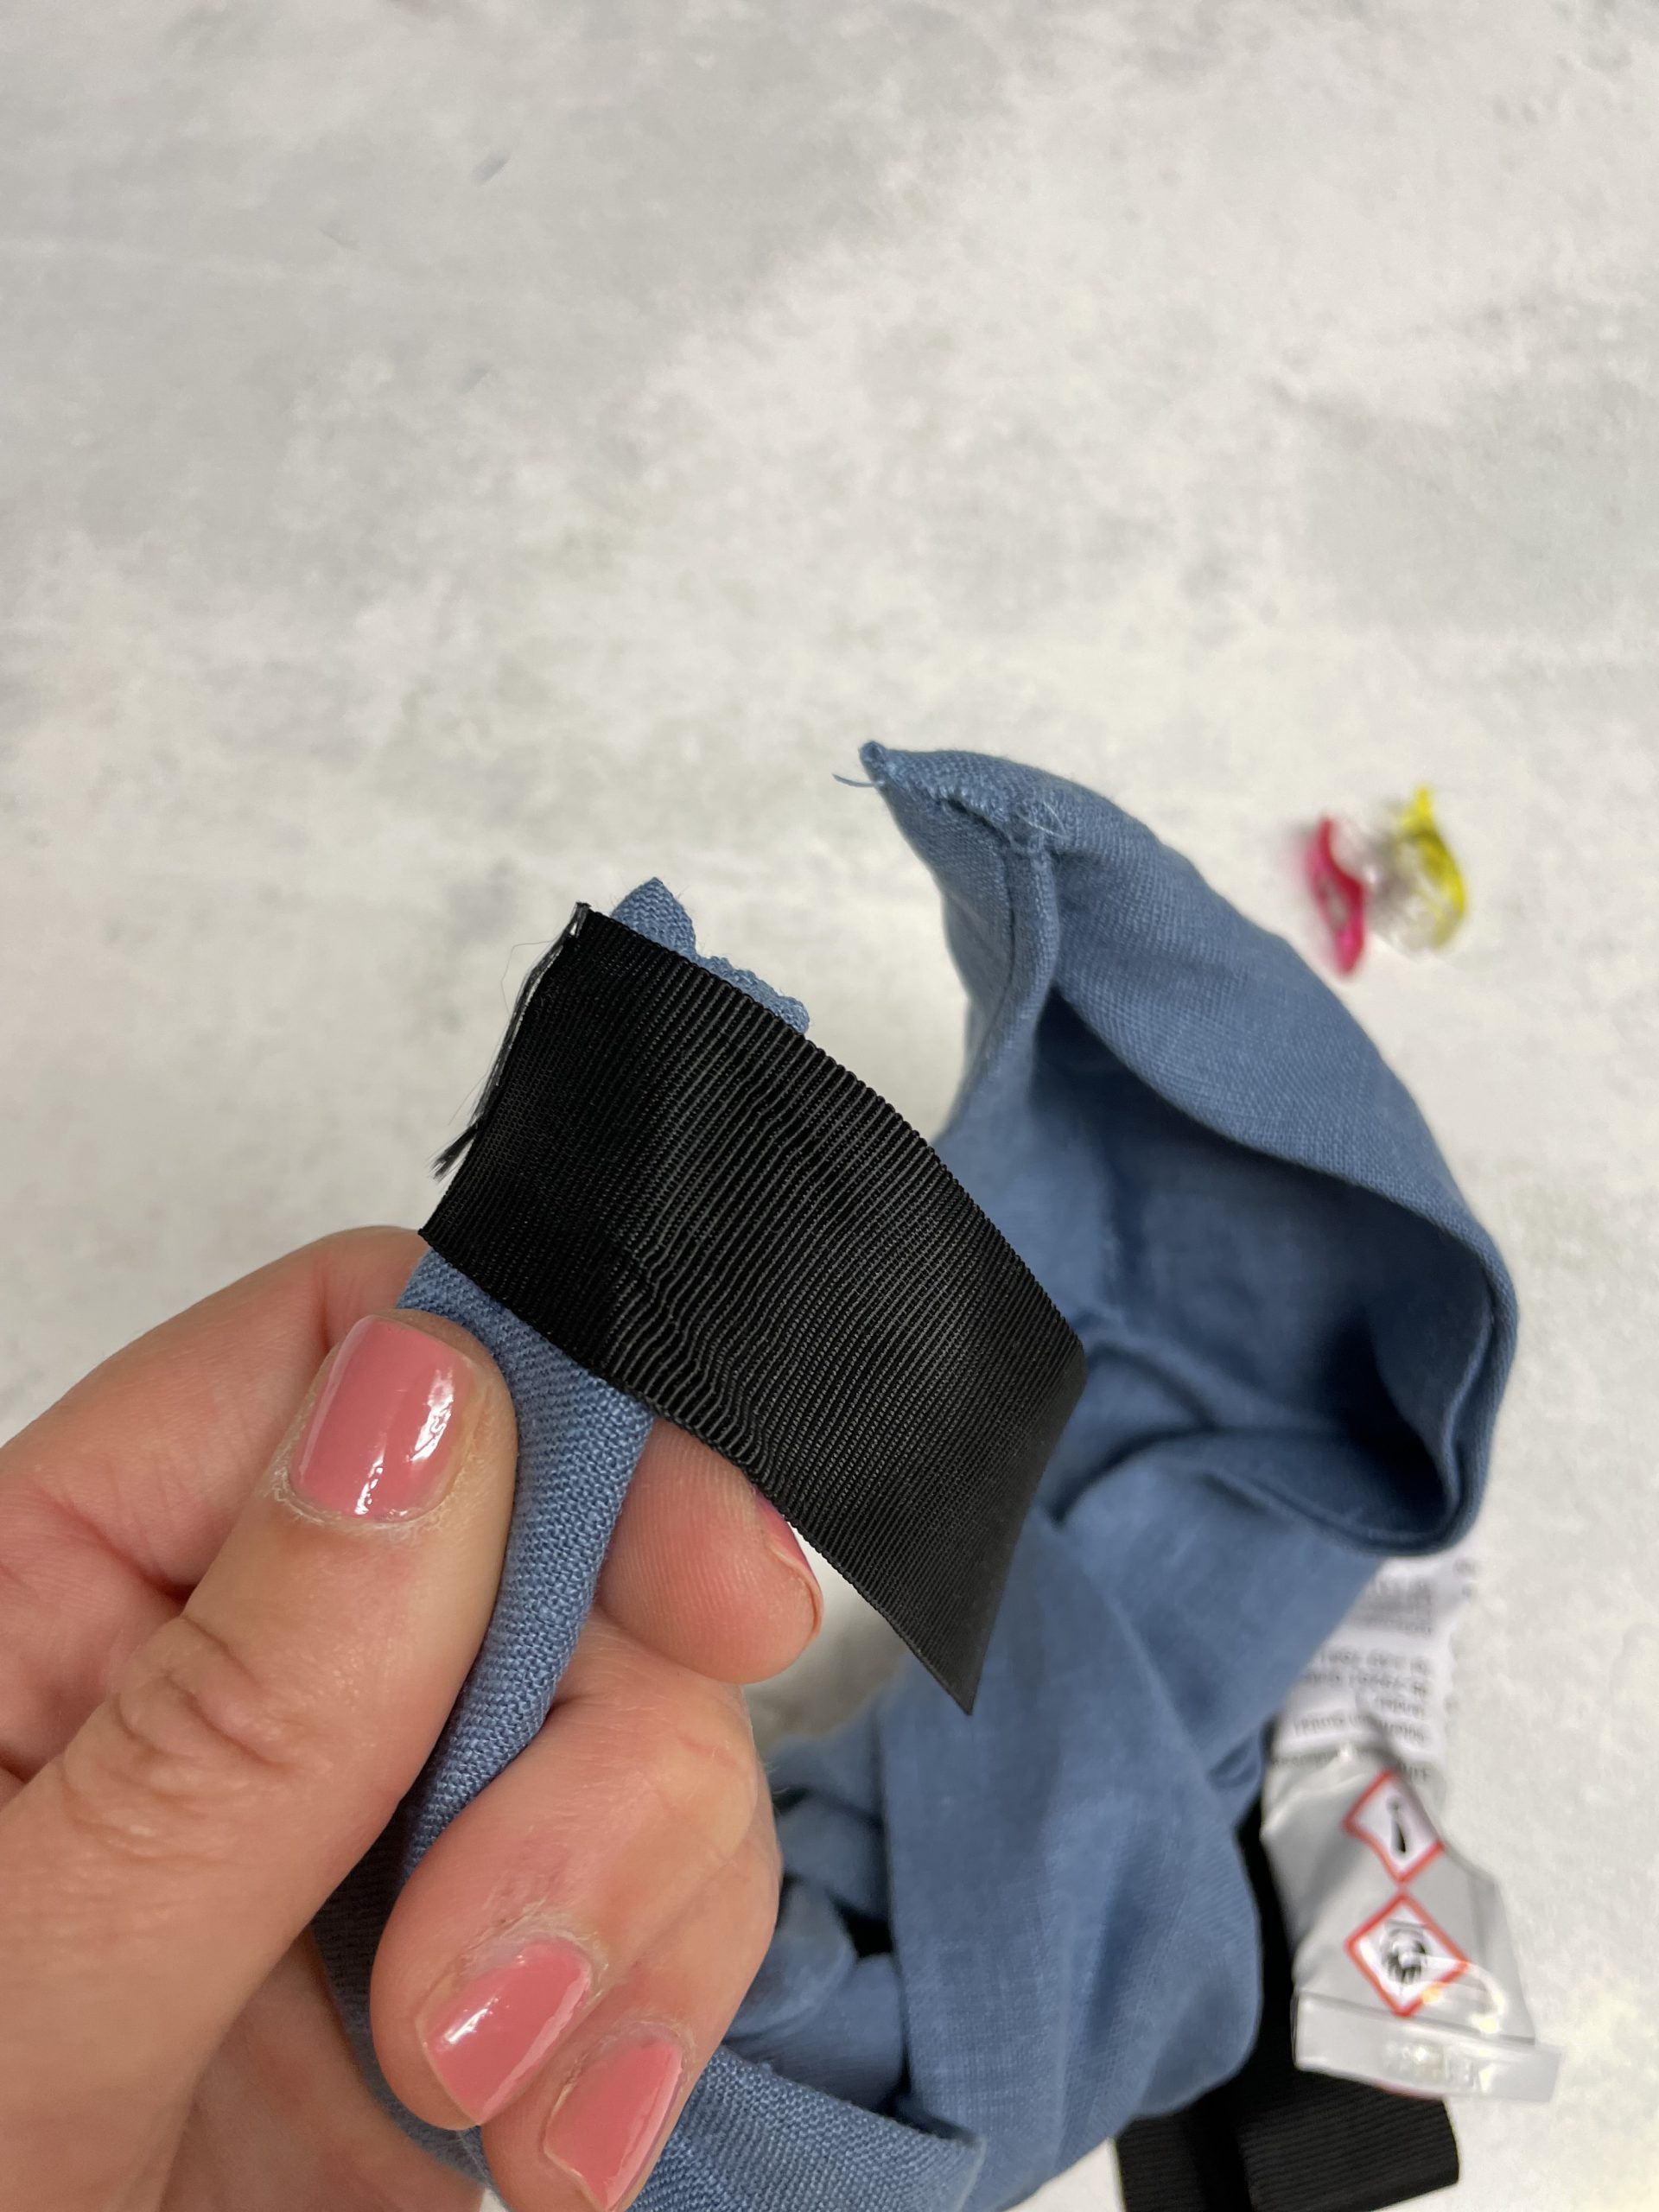
Wrap the ribbon tightly to the end
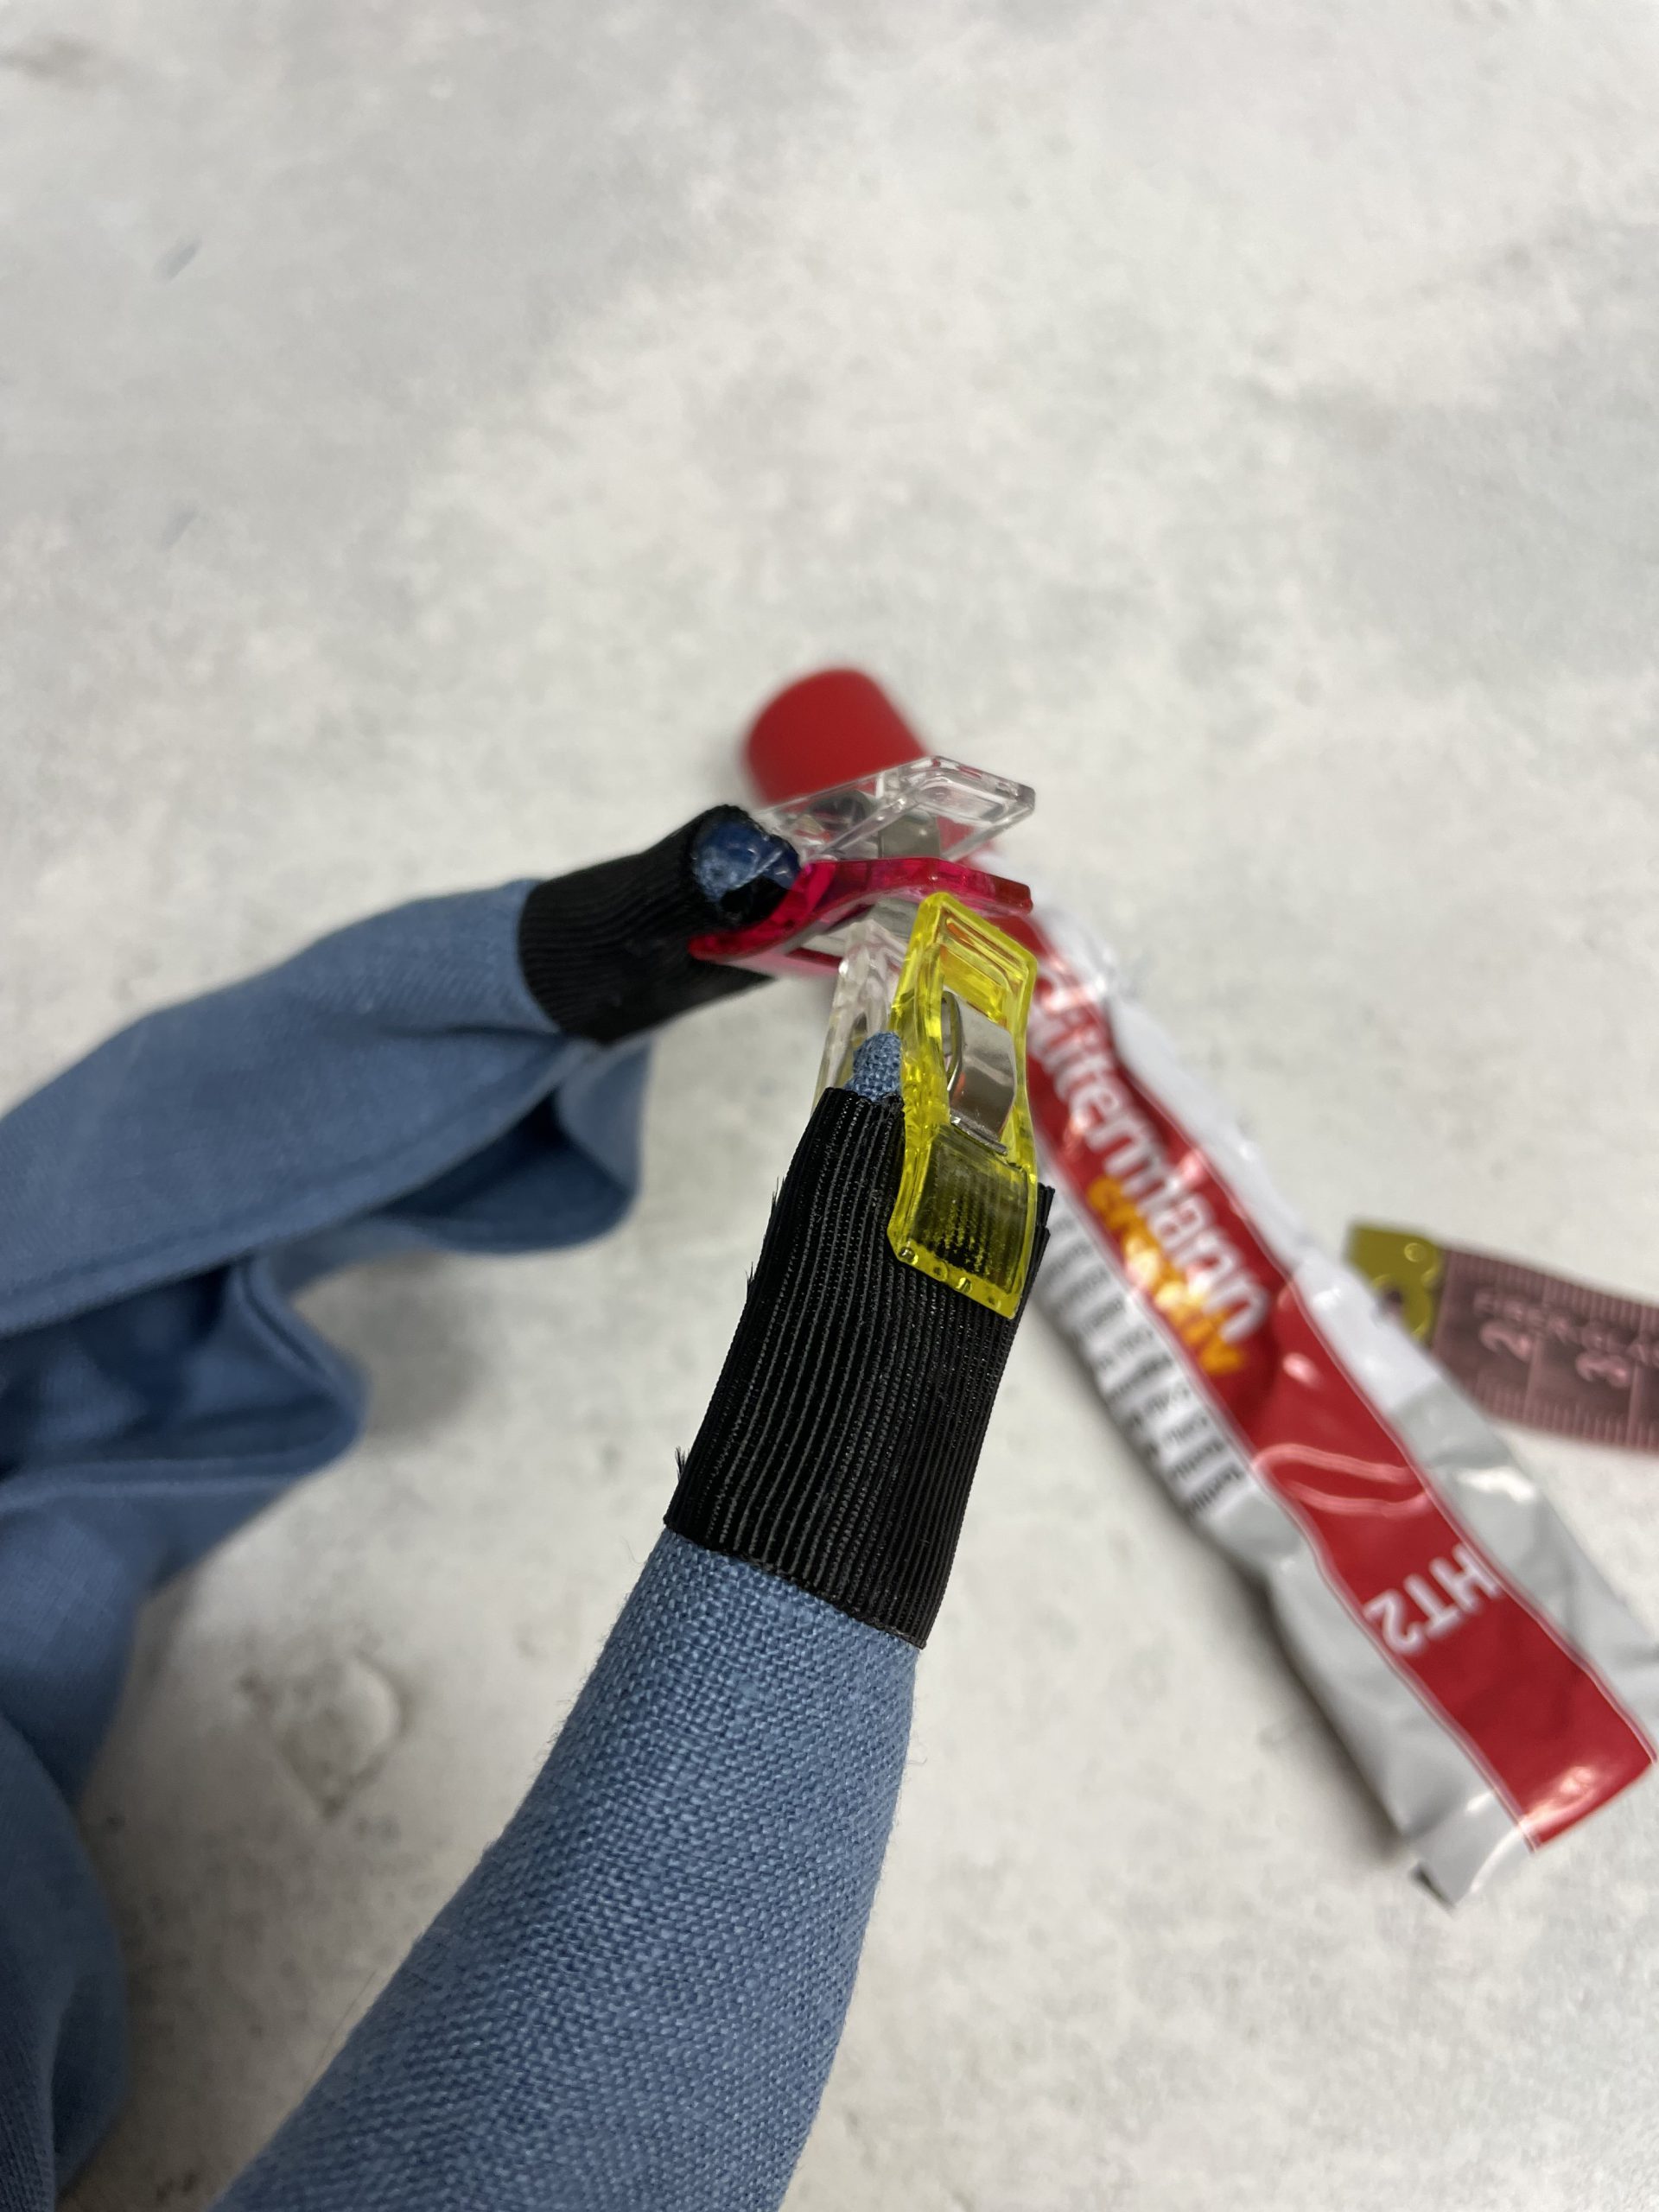
Peg the ends until the glue has dried
Pattern can be downloaded here:

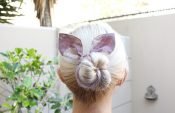
Finished hairband
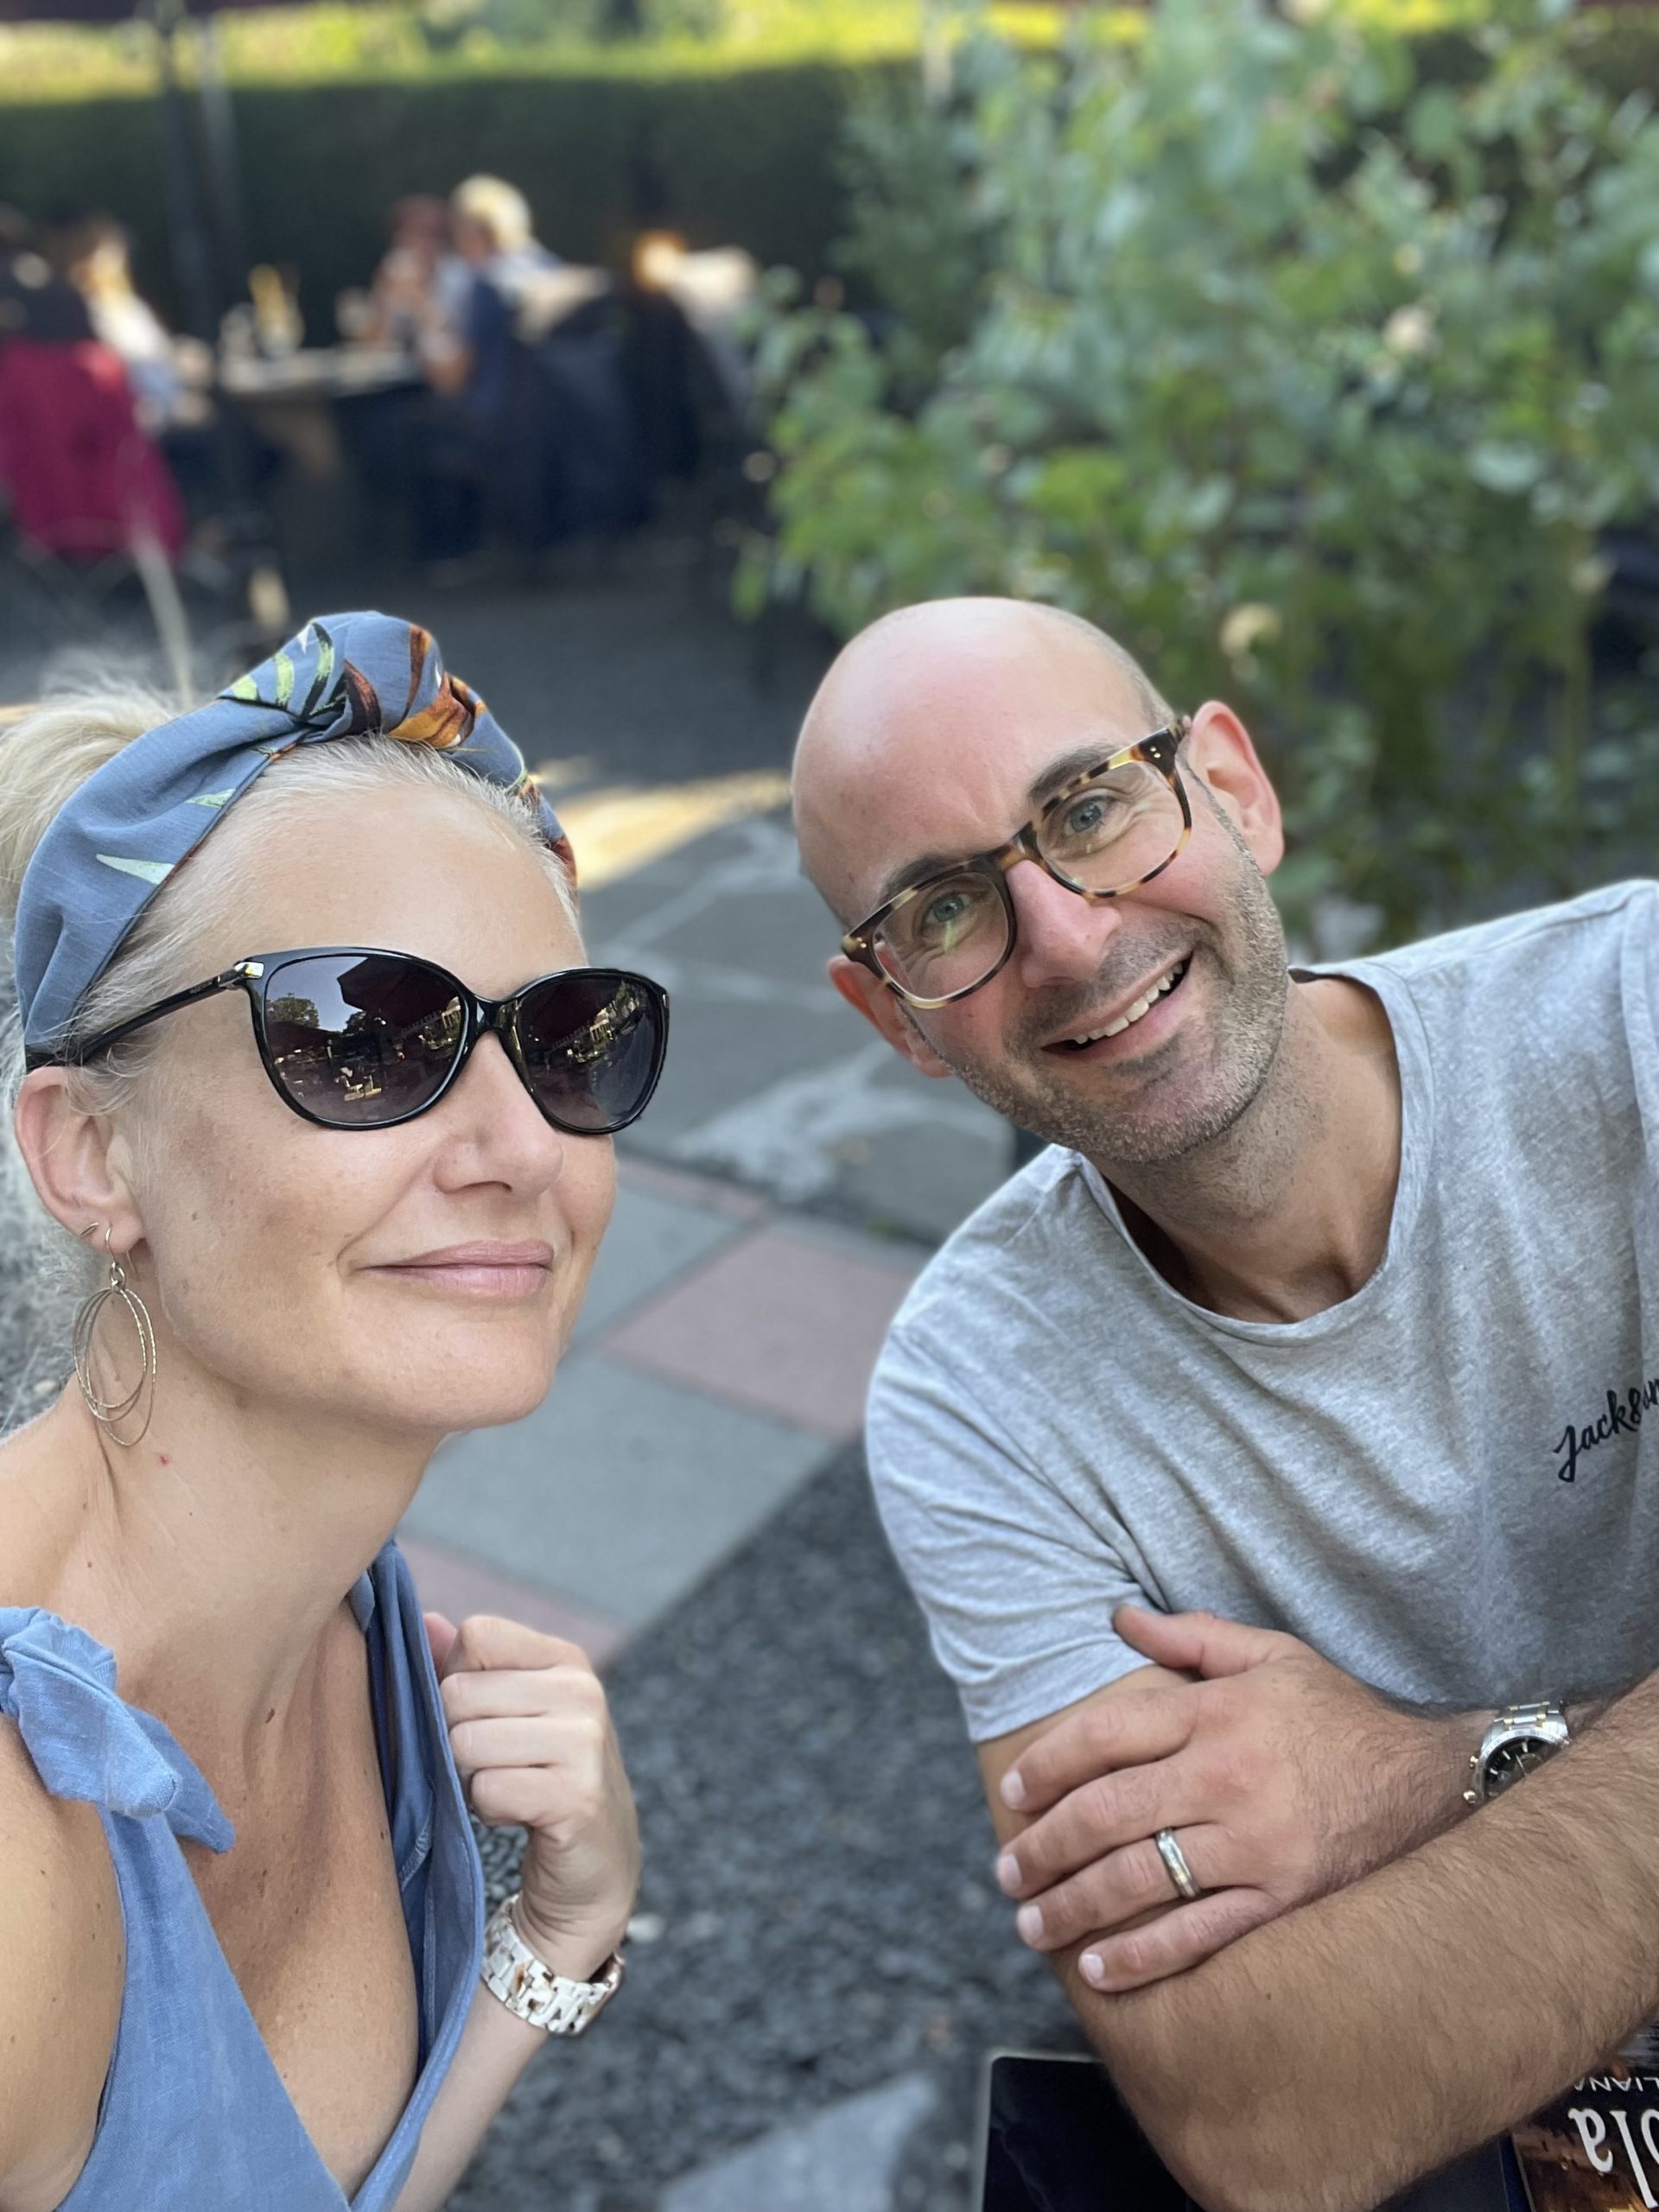
Perfect for a summer night out
Click here to find some more variations in my video
Finished!
once the glue is dried you are finished.. whoo hooooo! have fun with your fancy hairband.. match them to your outfit and enjoy!
Regards
Katie
@eversewme
Thank you for the pattern and the clear instructions. I can see myself making a few of these hairbands as Christmas presents.
perfect for Christmas gifts.. have fun
I am still looking for the pattern, it looks great.
Hi, the pattern can be found as link in the article
This looks great. I can’t wait to try it
Thank you so much