 BERNINA Corporate Blog -
Have you ever wondered how others achieve perfectly spaced topstitches? As a beginner, I thought practice makes perfect, but in this case, the right tool is the solution! It’s easy to topstitch with the Edgestitch Foot #10. It’s the perfect accessory to sew along a seam with an even distance to your edge. I want to show you with some examples of how I use it to topstitch for a neat result.

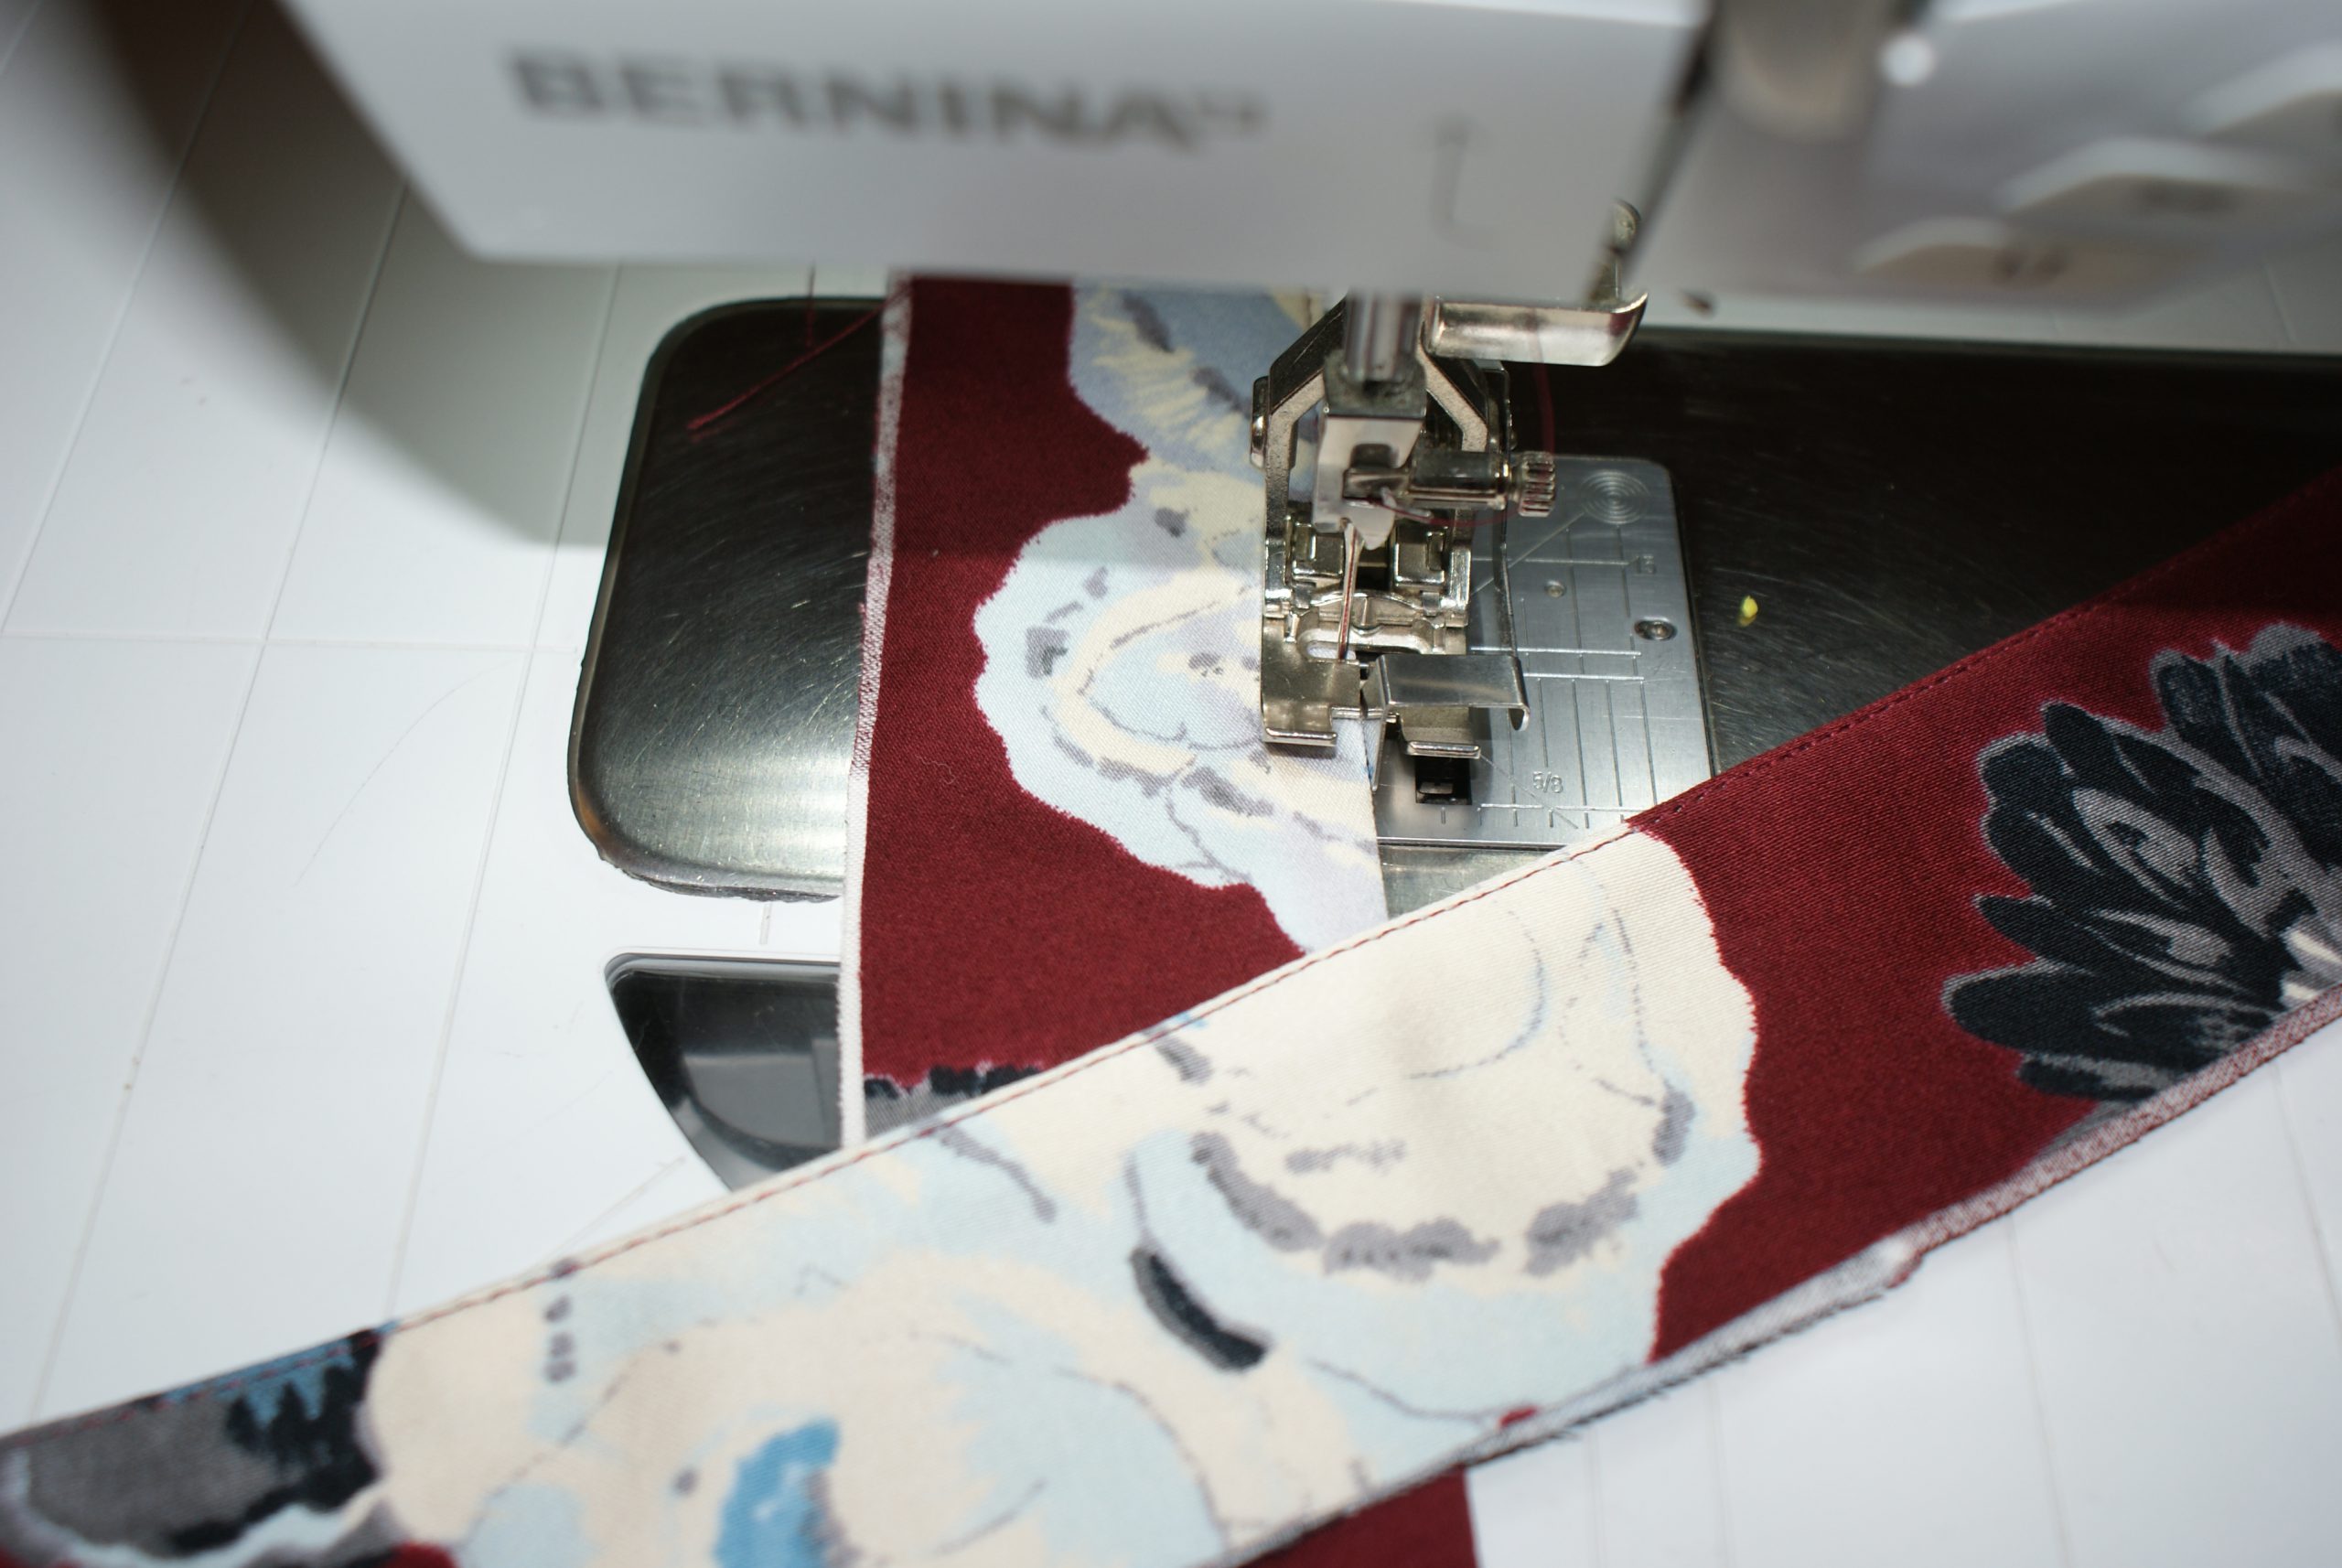
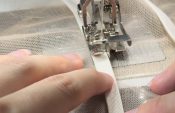
How to use the Edgestitch Foot #10 ?
Run the vertical guide along a seam to maintain a parallel distance to the seam. Adjust the needle position to the left or right, depending on which side you want to topstitch or which side is easily accessible. Normally you will choose a longer stitchlength for a topstitch, take 3,5 or 4. A thicker thread, like Mettler Extra Strong (No. 36) or even Mettler Cordonnet (No. 30), makes the topstitch more distinct, which gives a nice touch for trousers and jackets. Don’t forget to take the right needle for your thread (cordonnet needle for thicker thread) and test the stitch on some scraps, since you might have to adjust the thread tension or stitch balance. Here’s a little video about the many uses of the Edgestitch Foot #10.
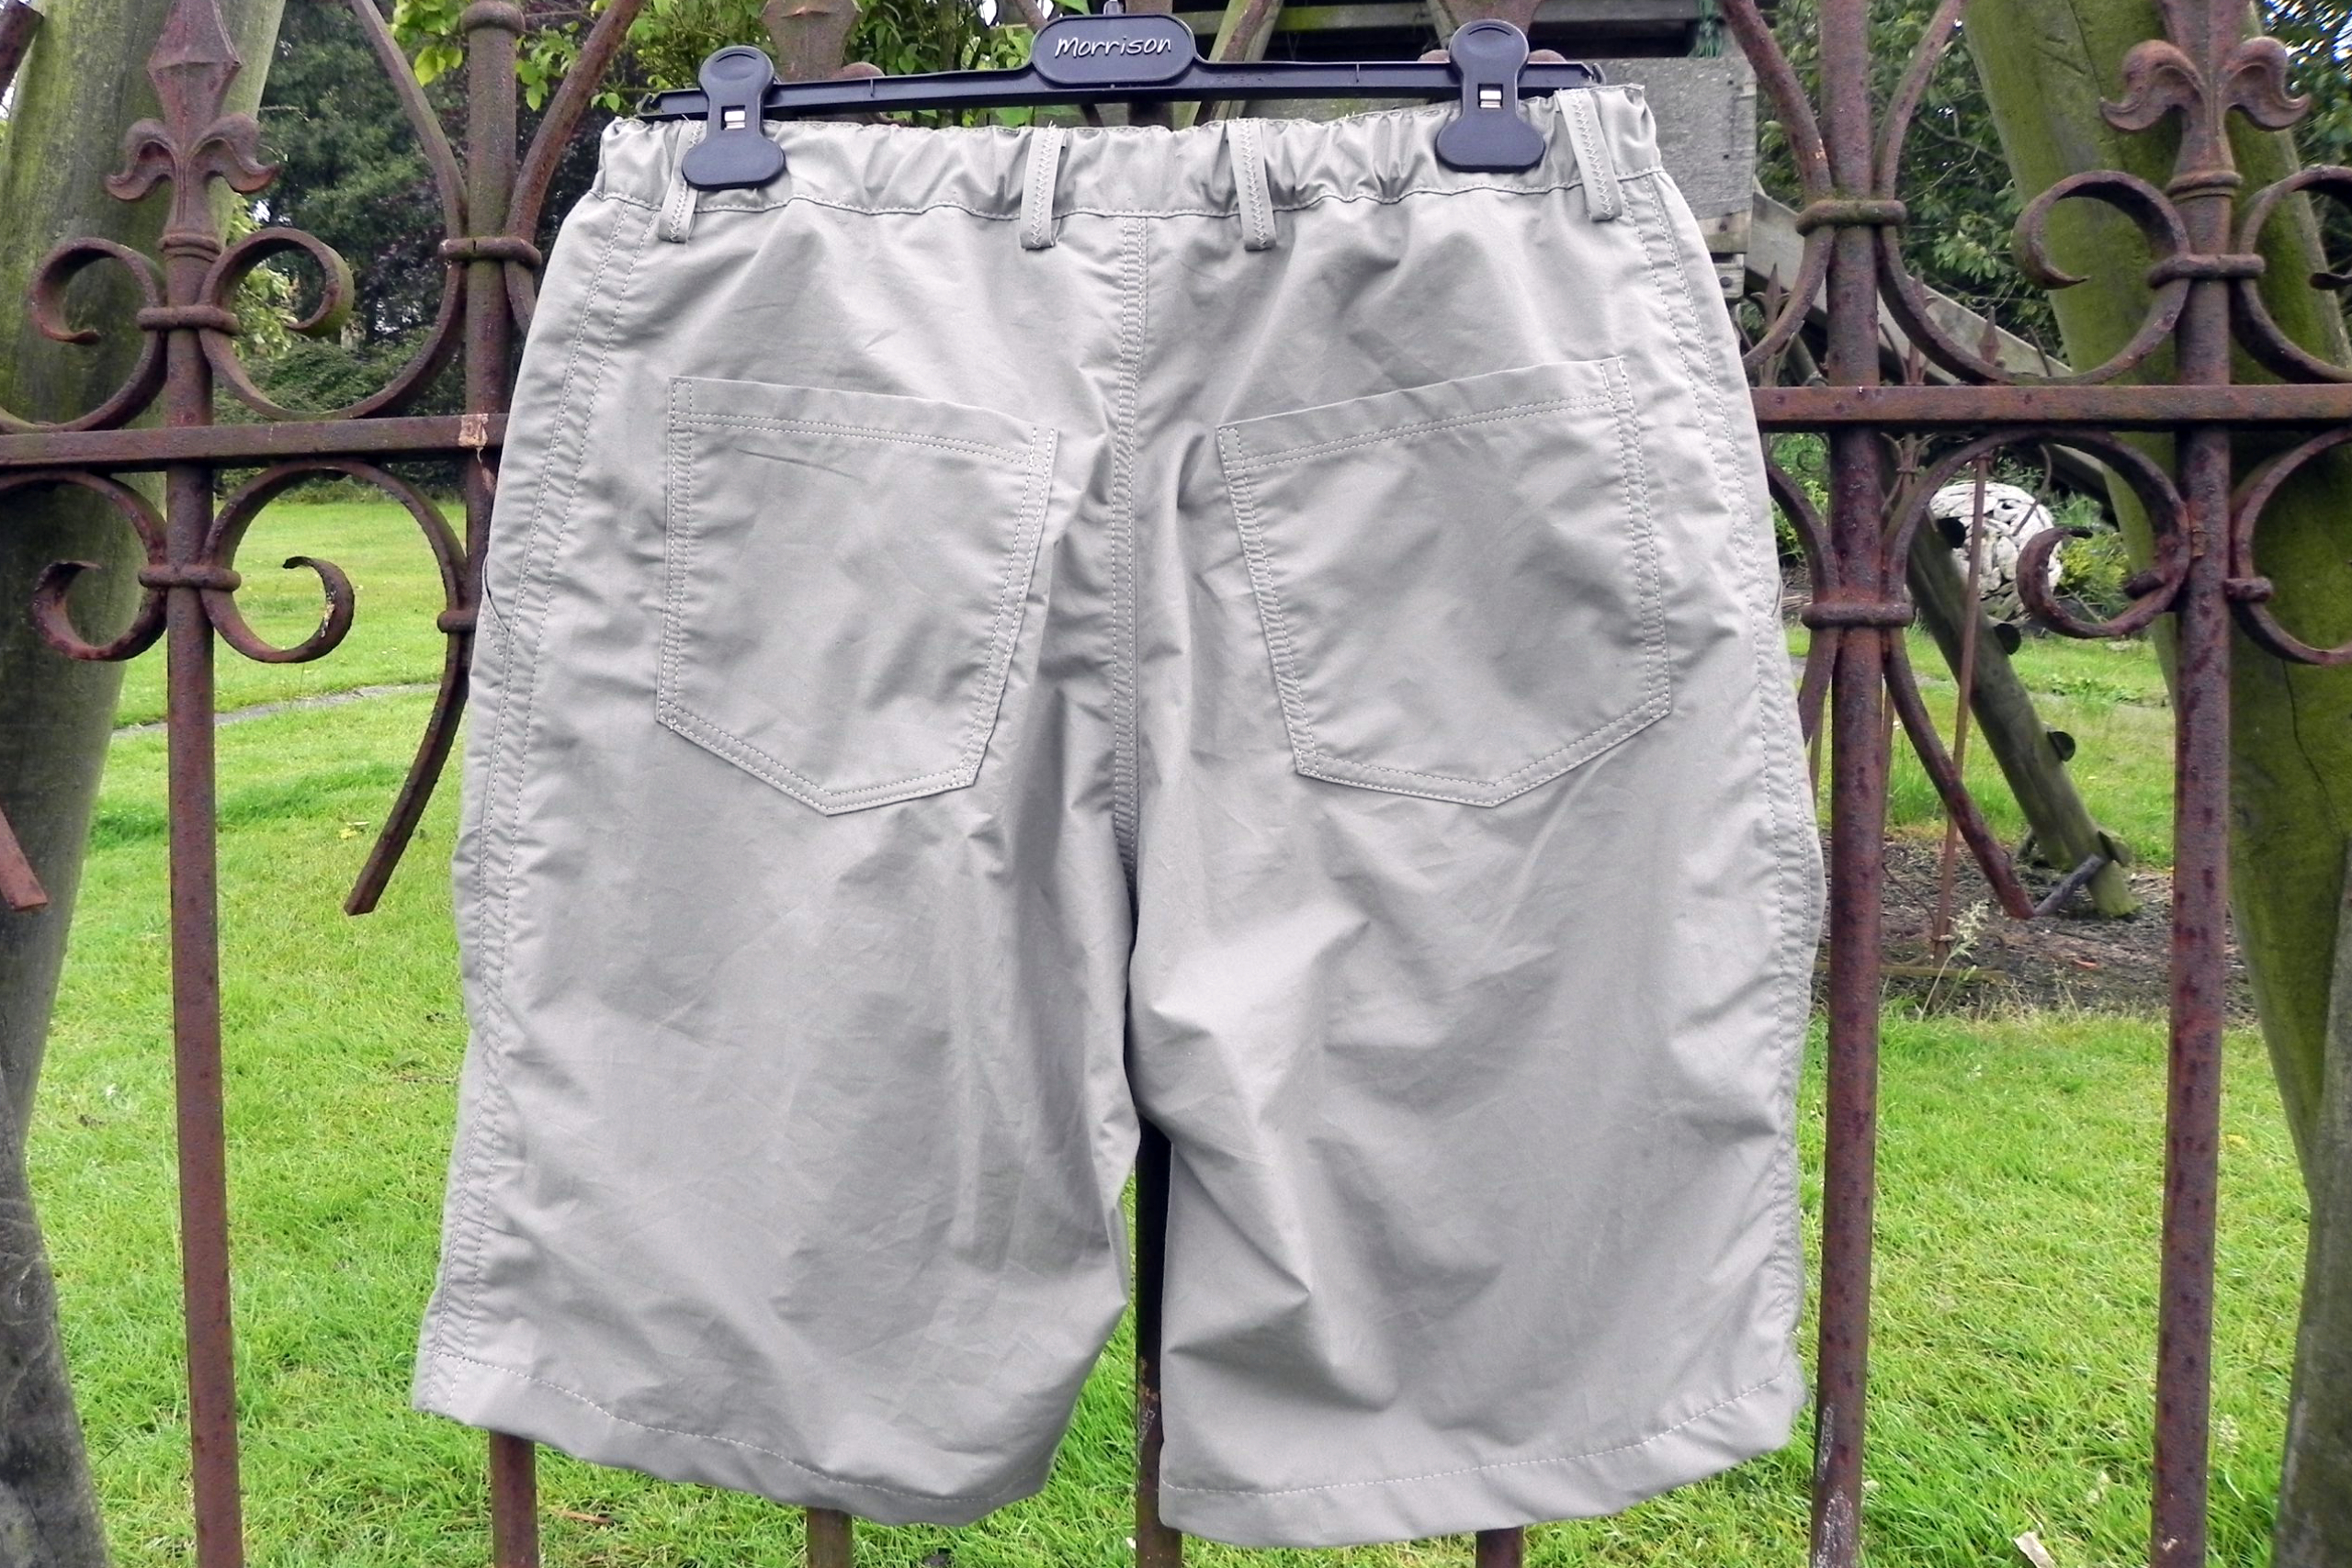
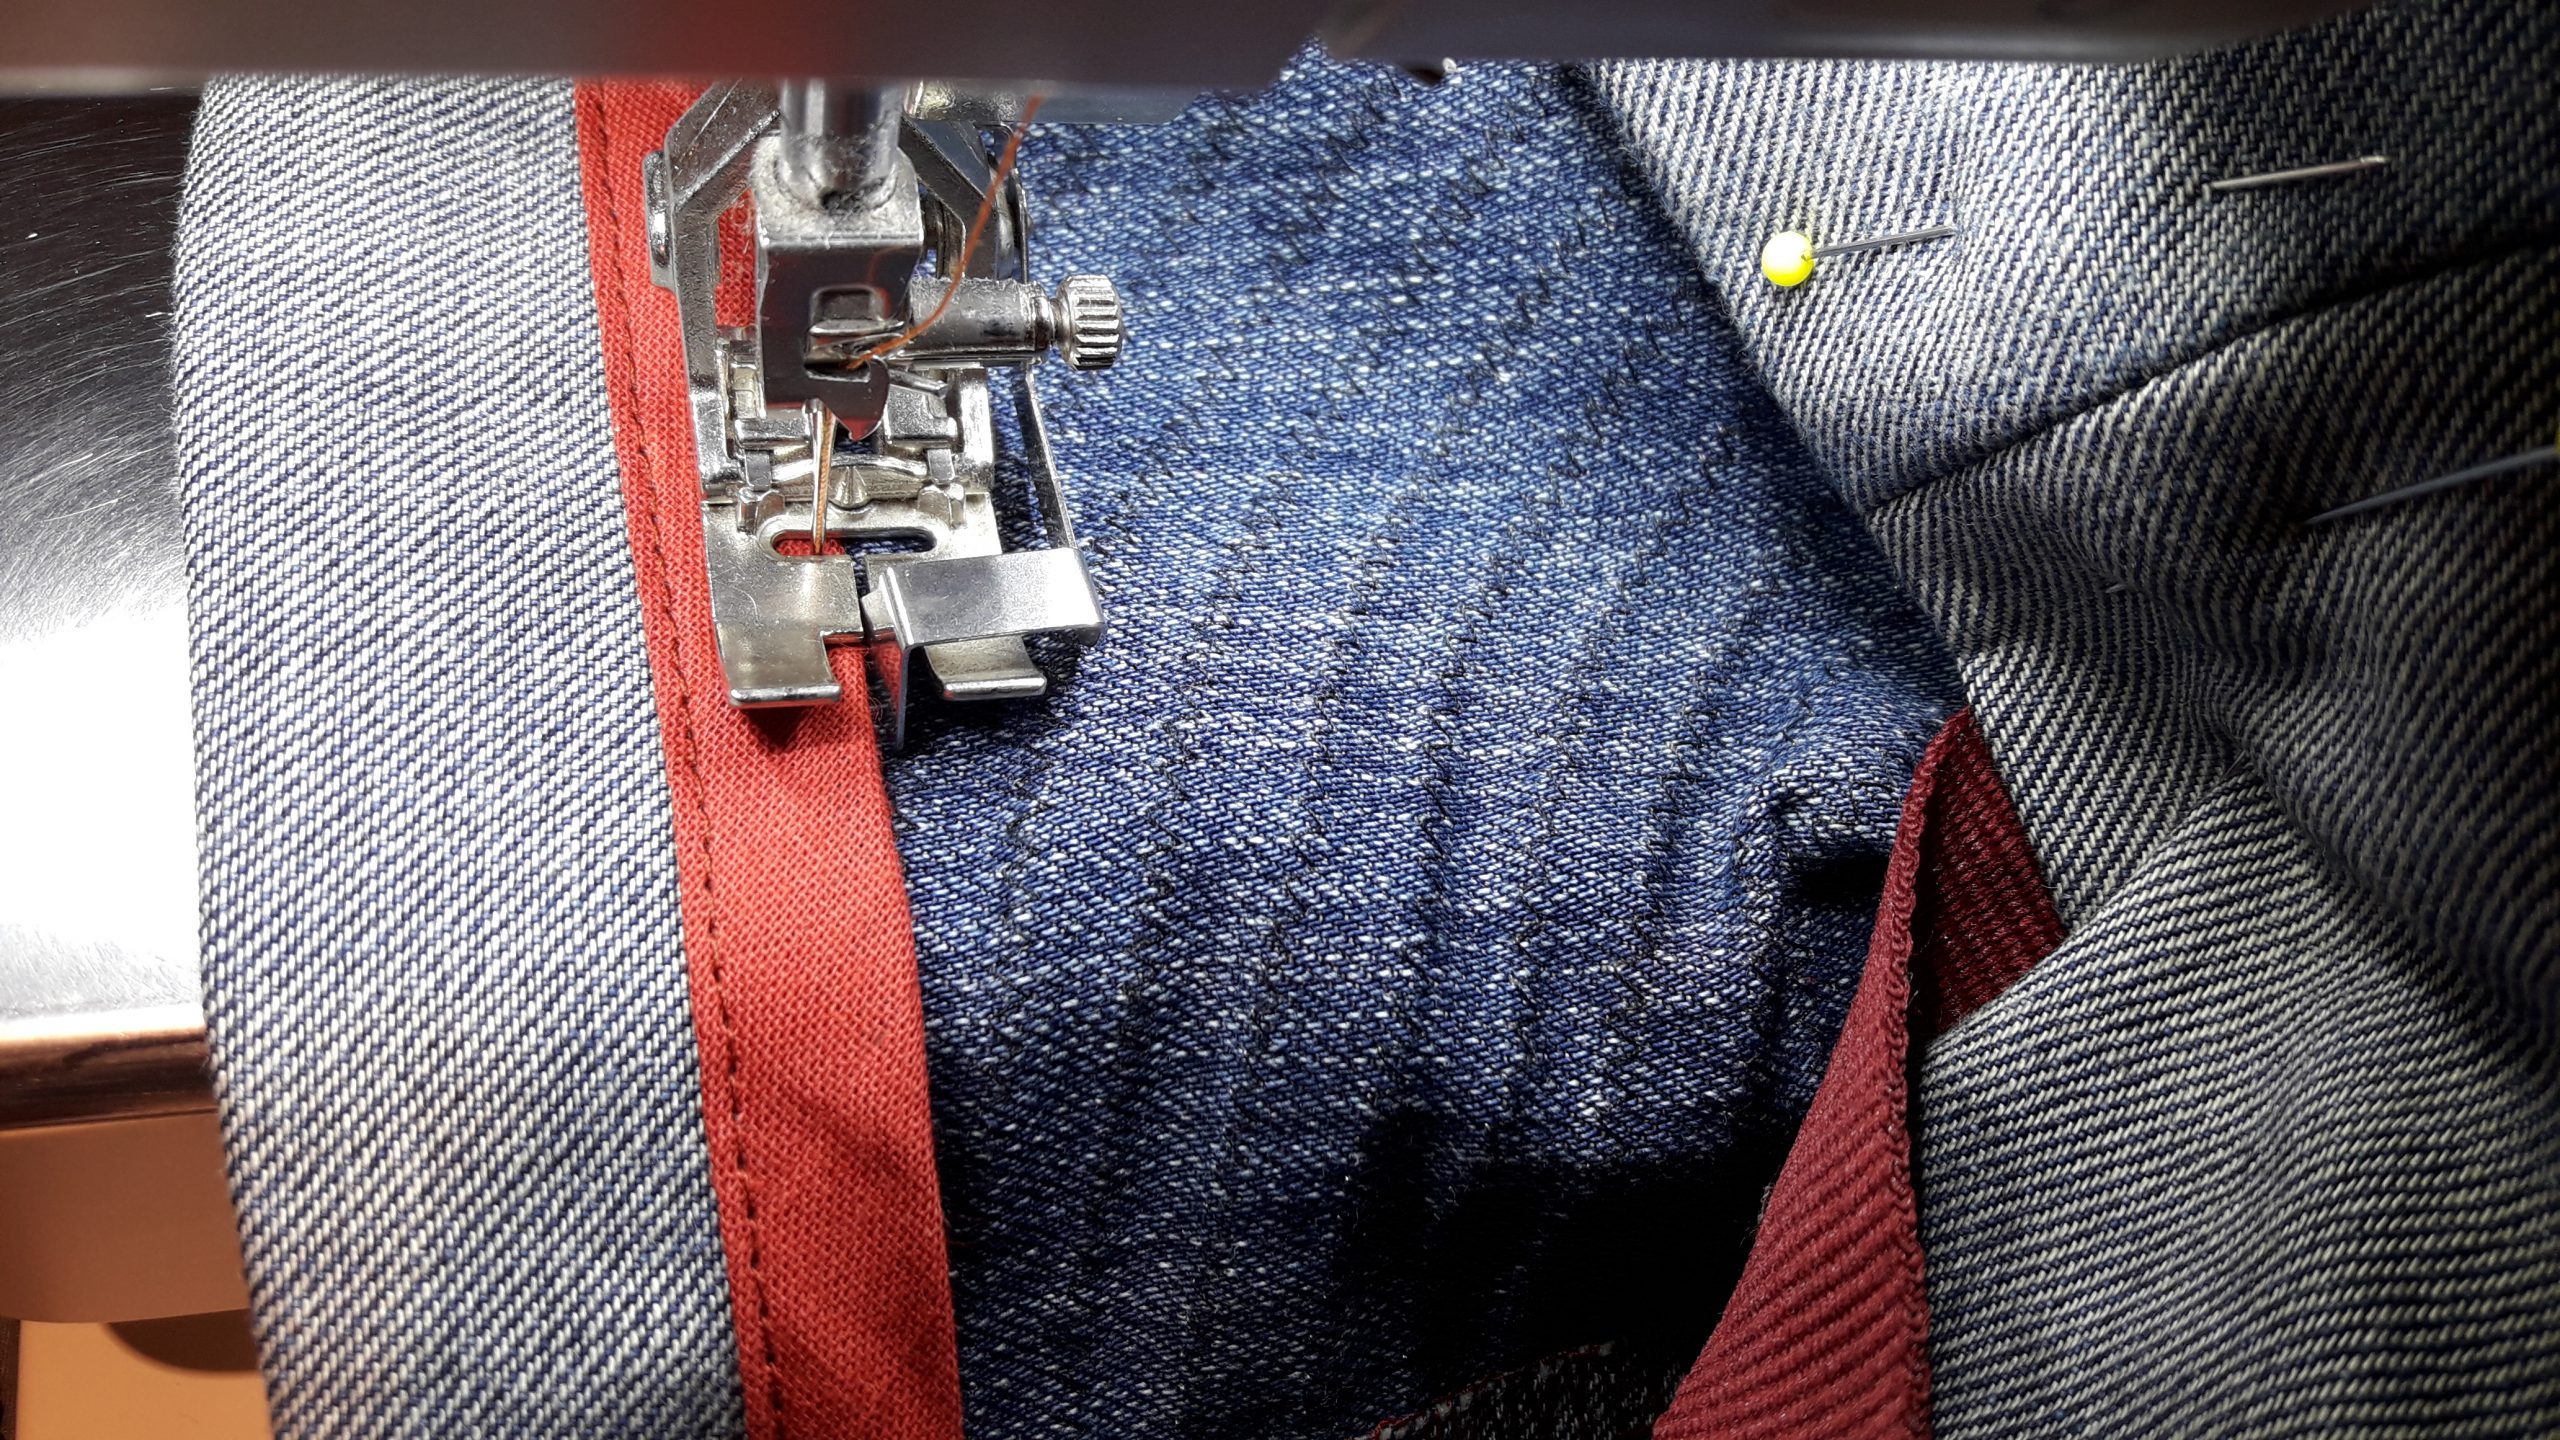
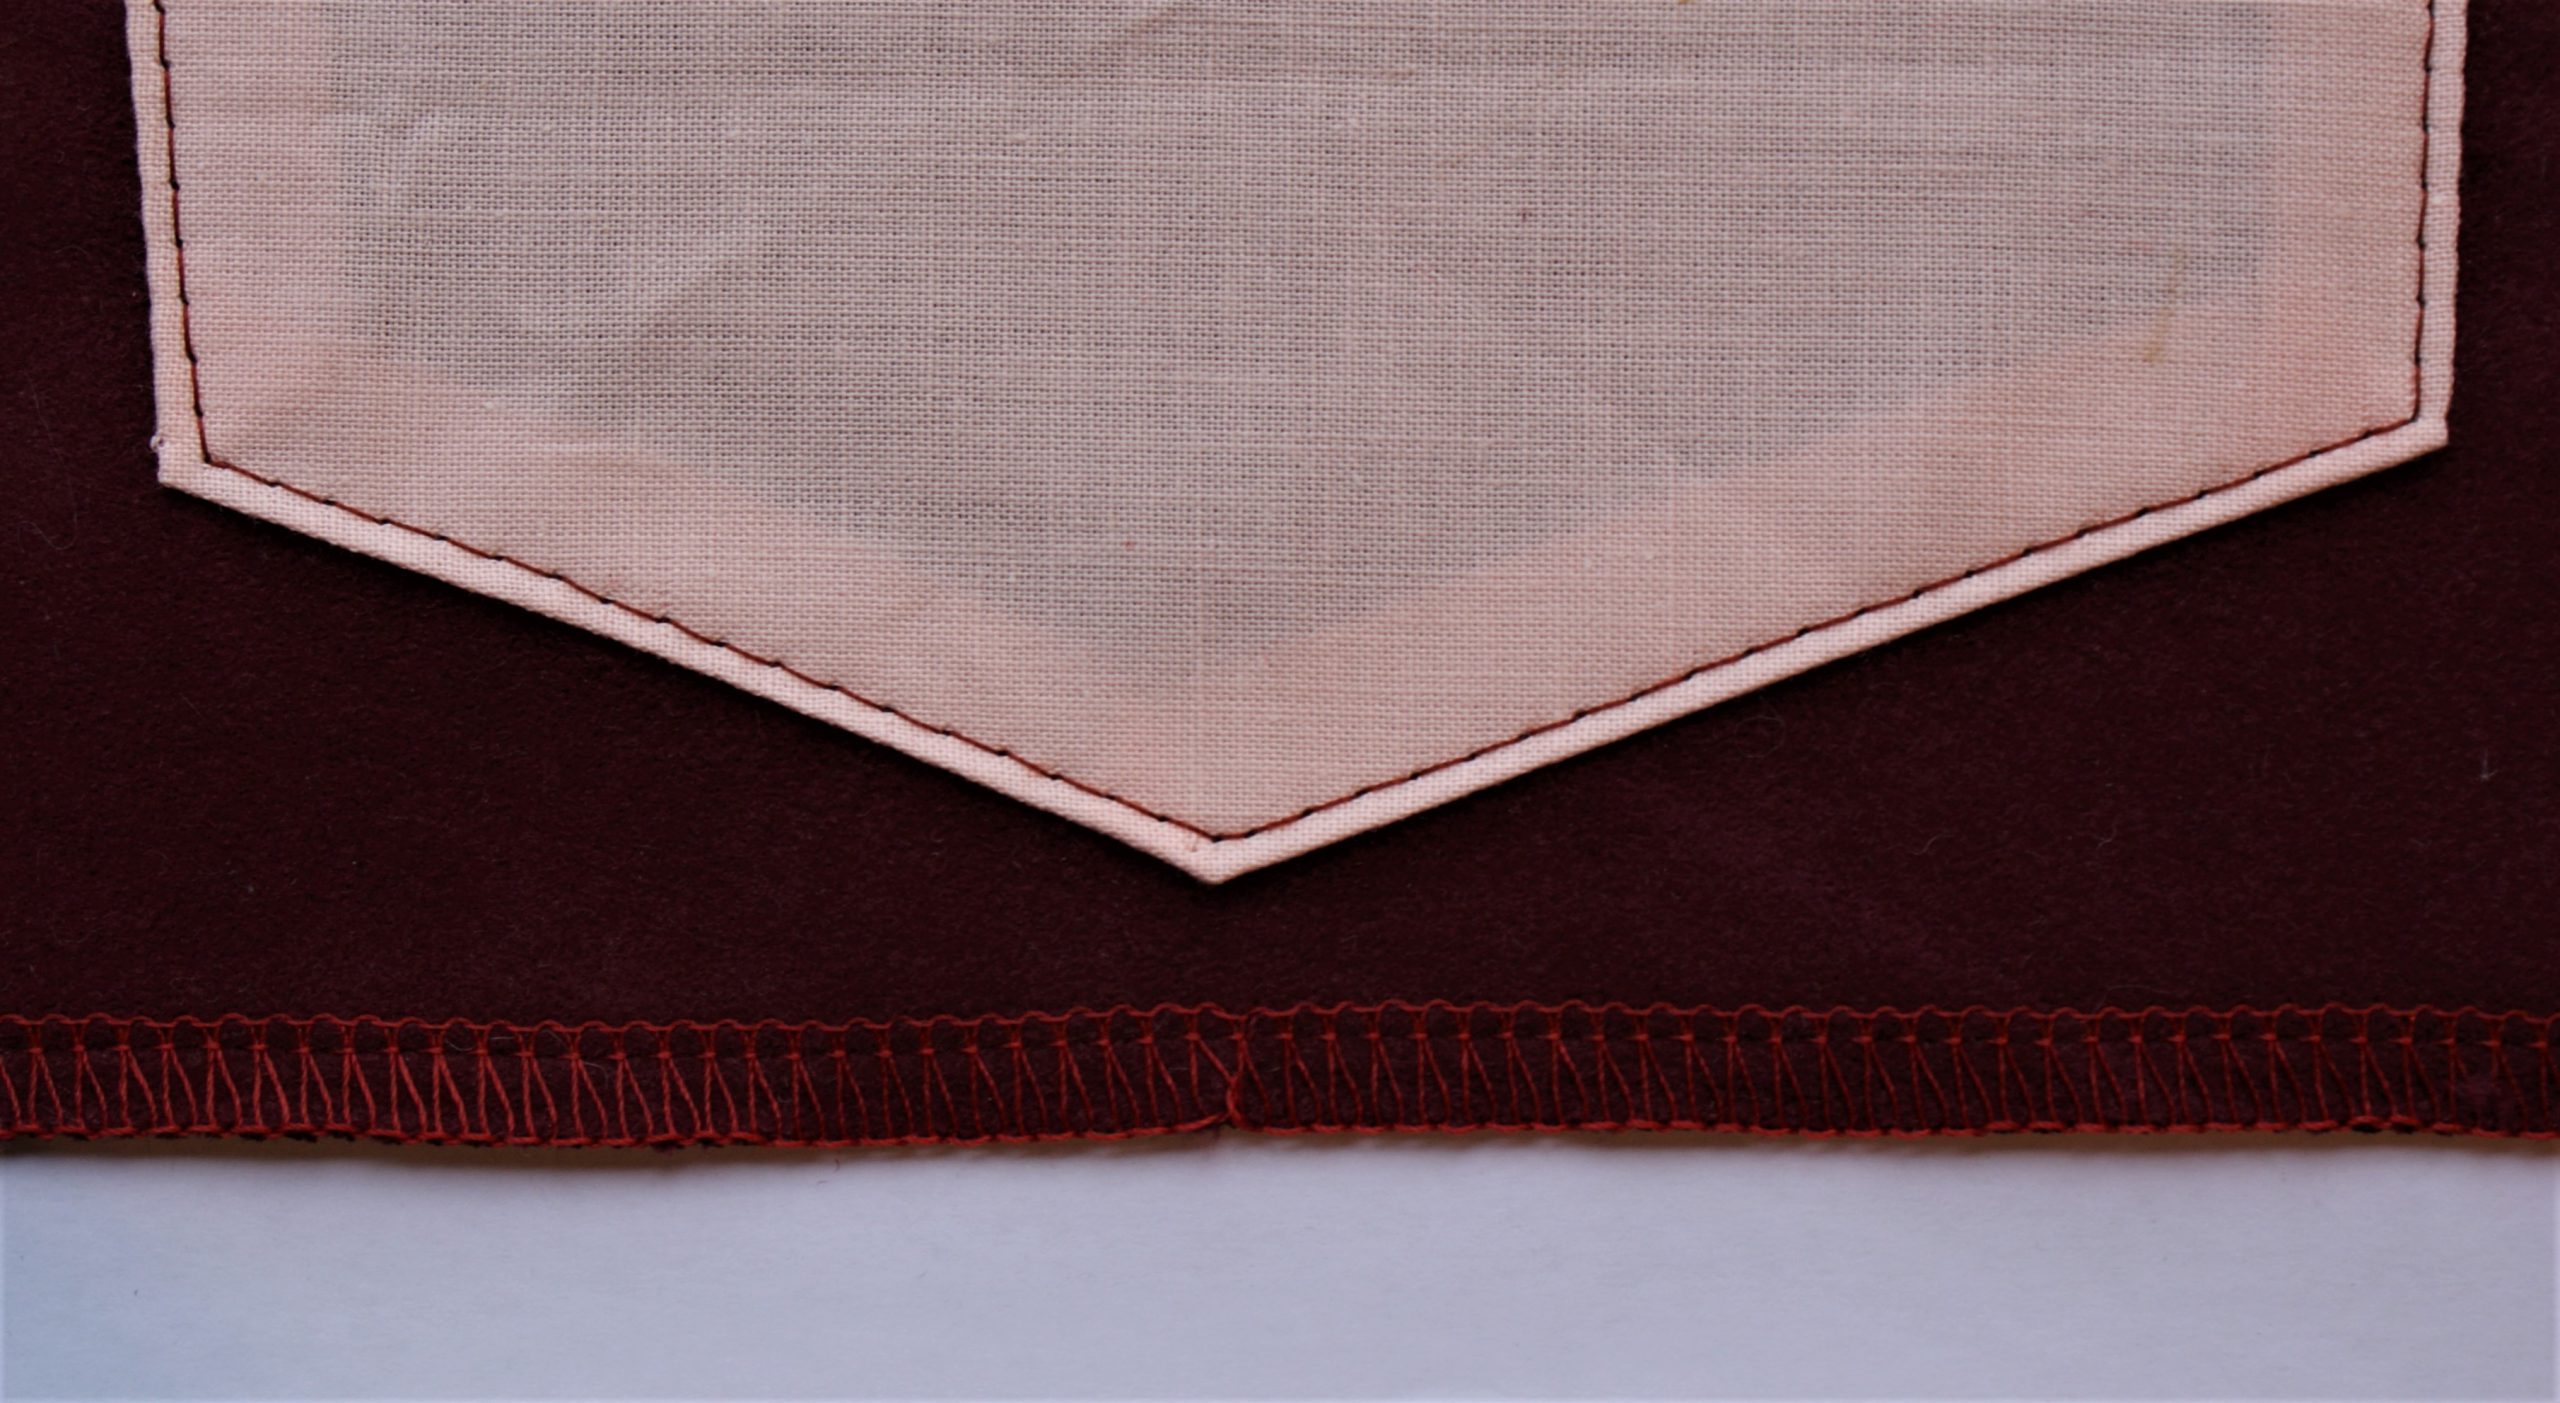
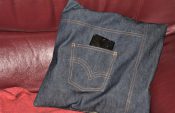
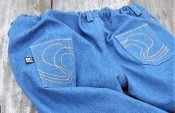
Example 1: Trouser pockets
I used the Edgestitch Foot #10 for many projects over the past years, like trousers:

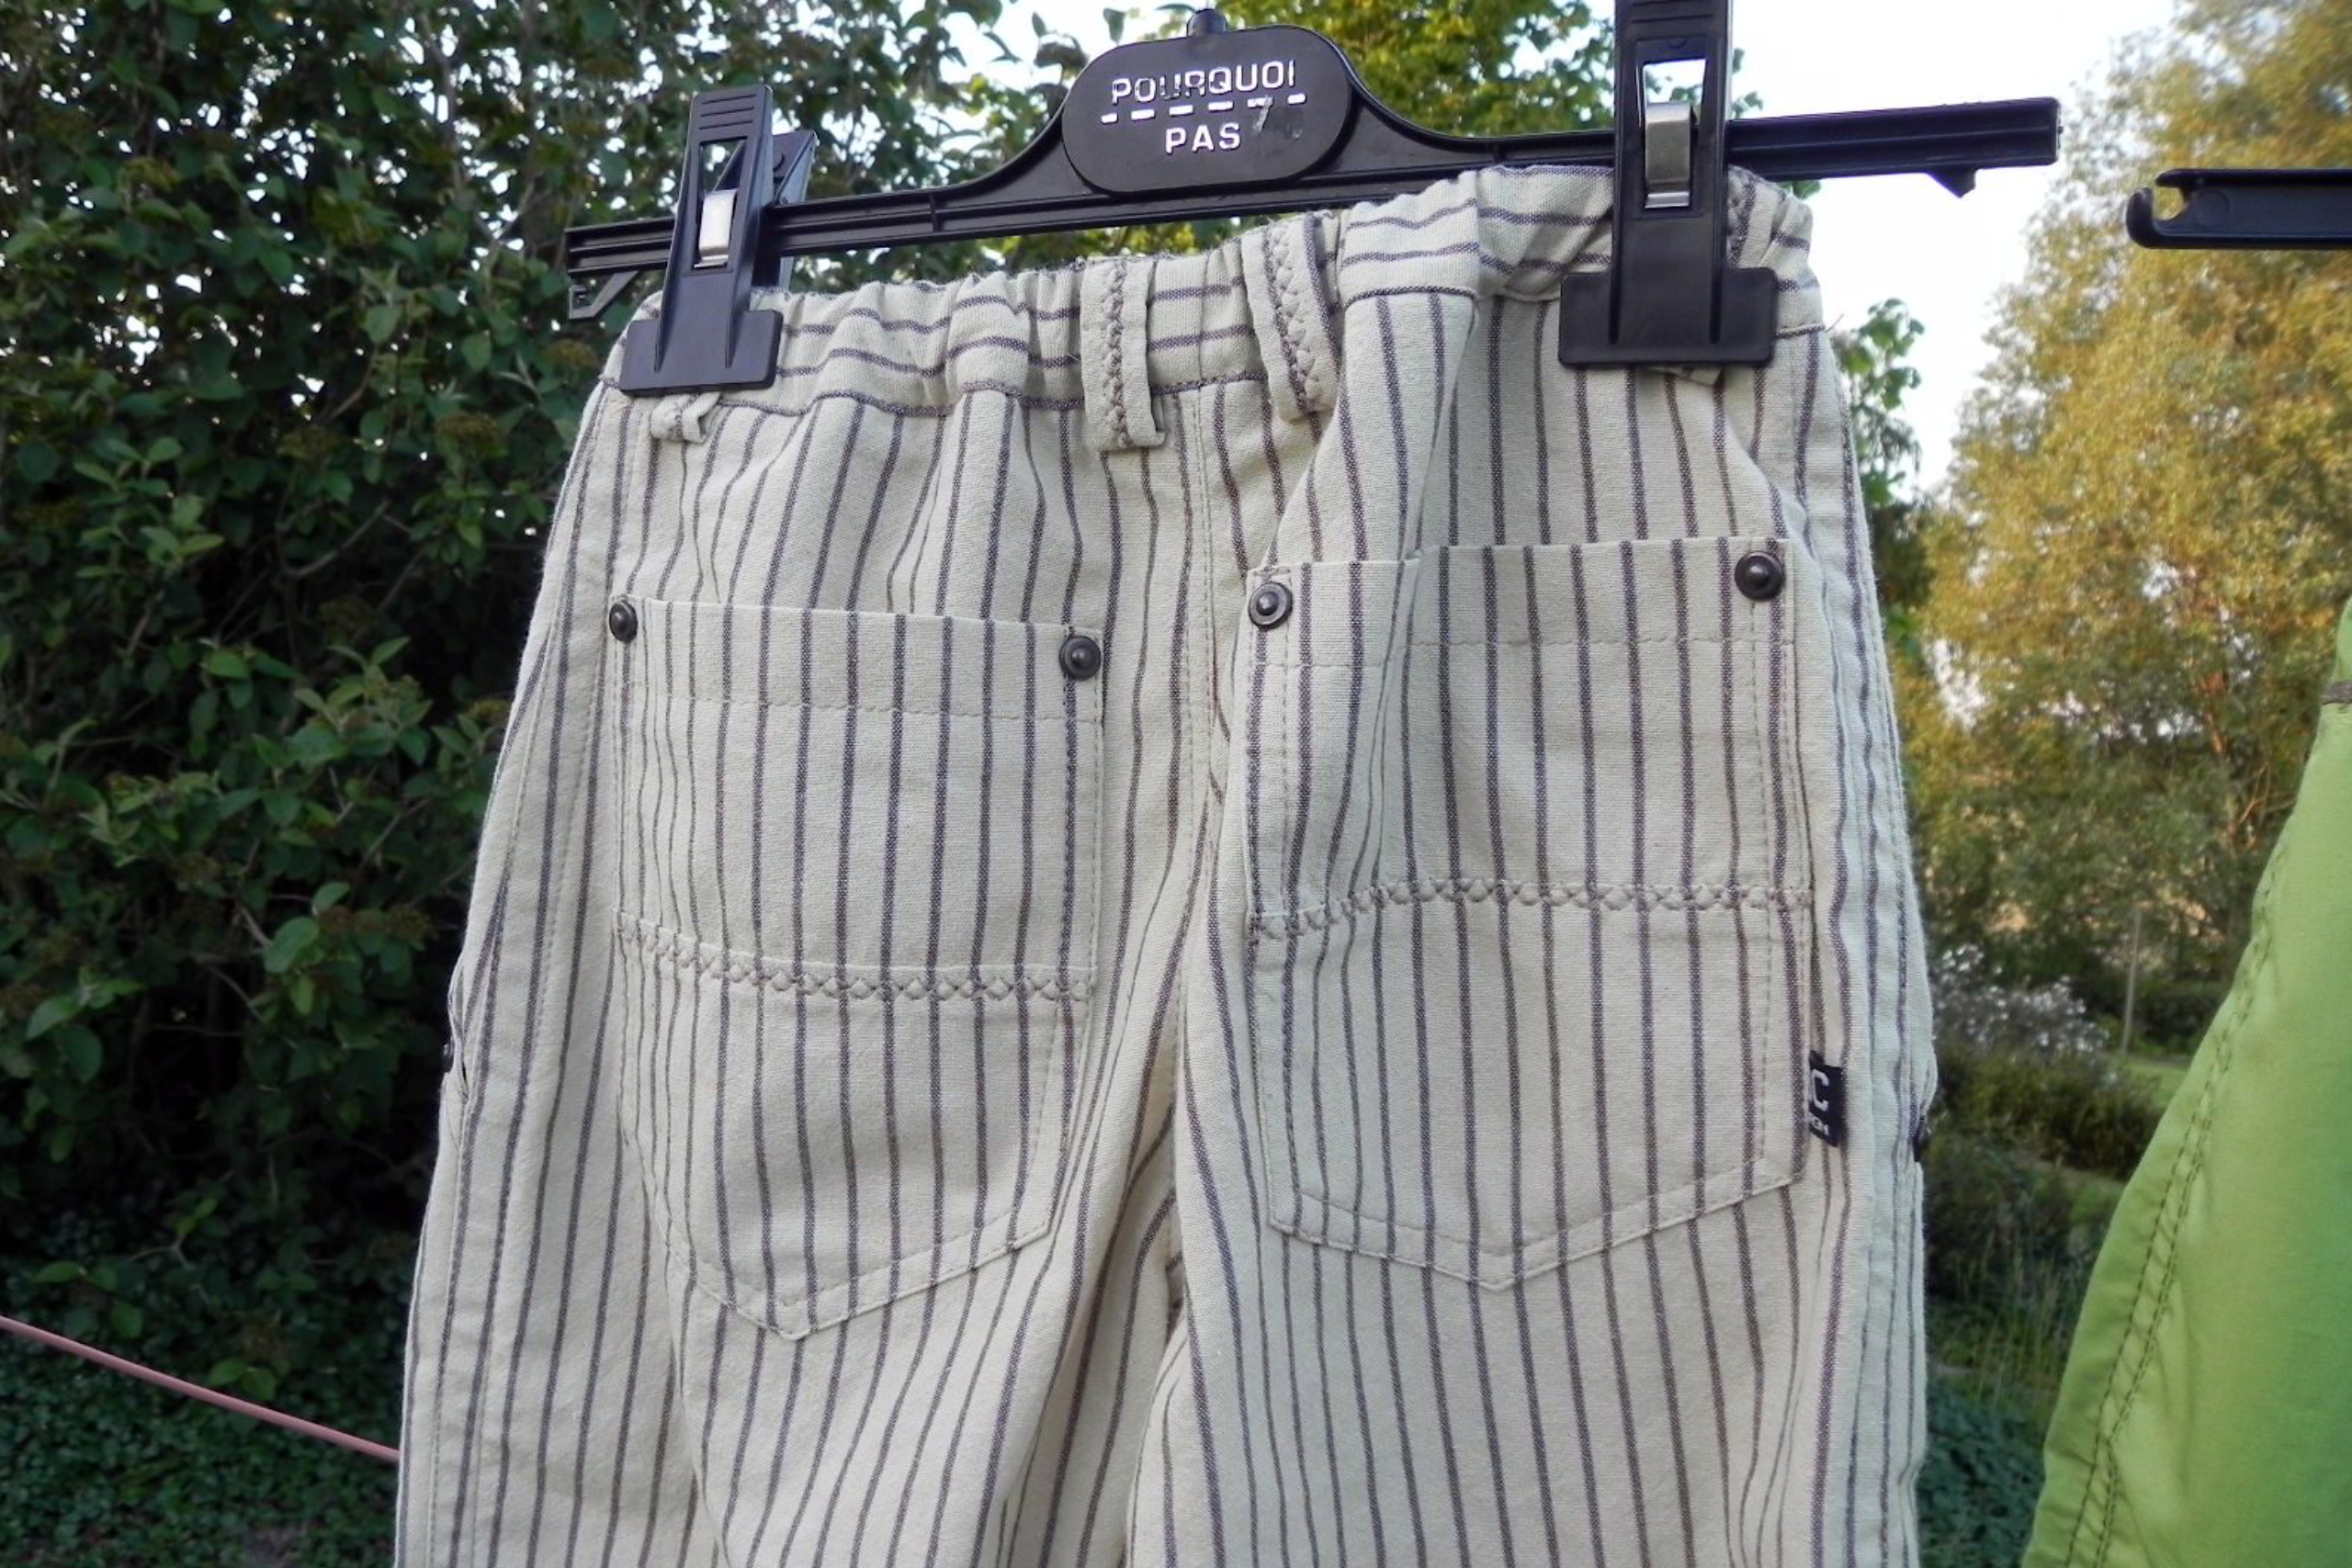

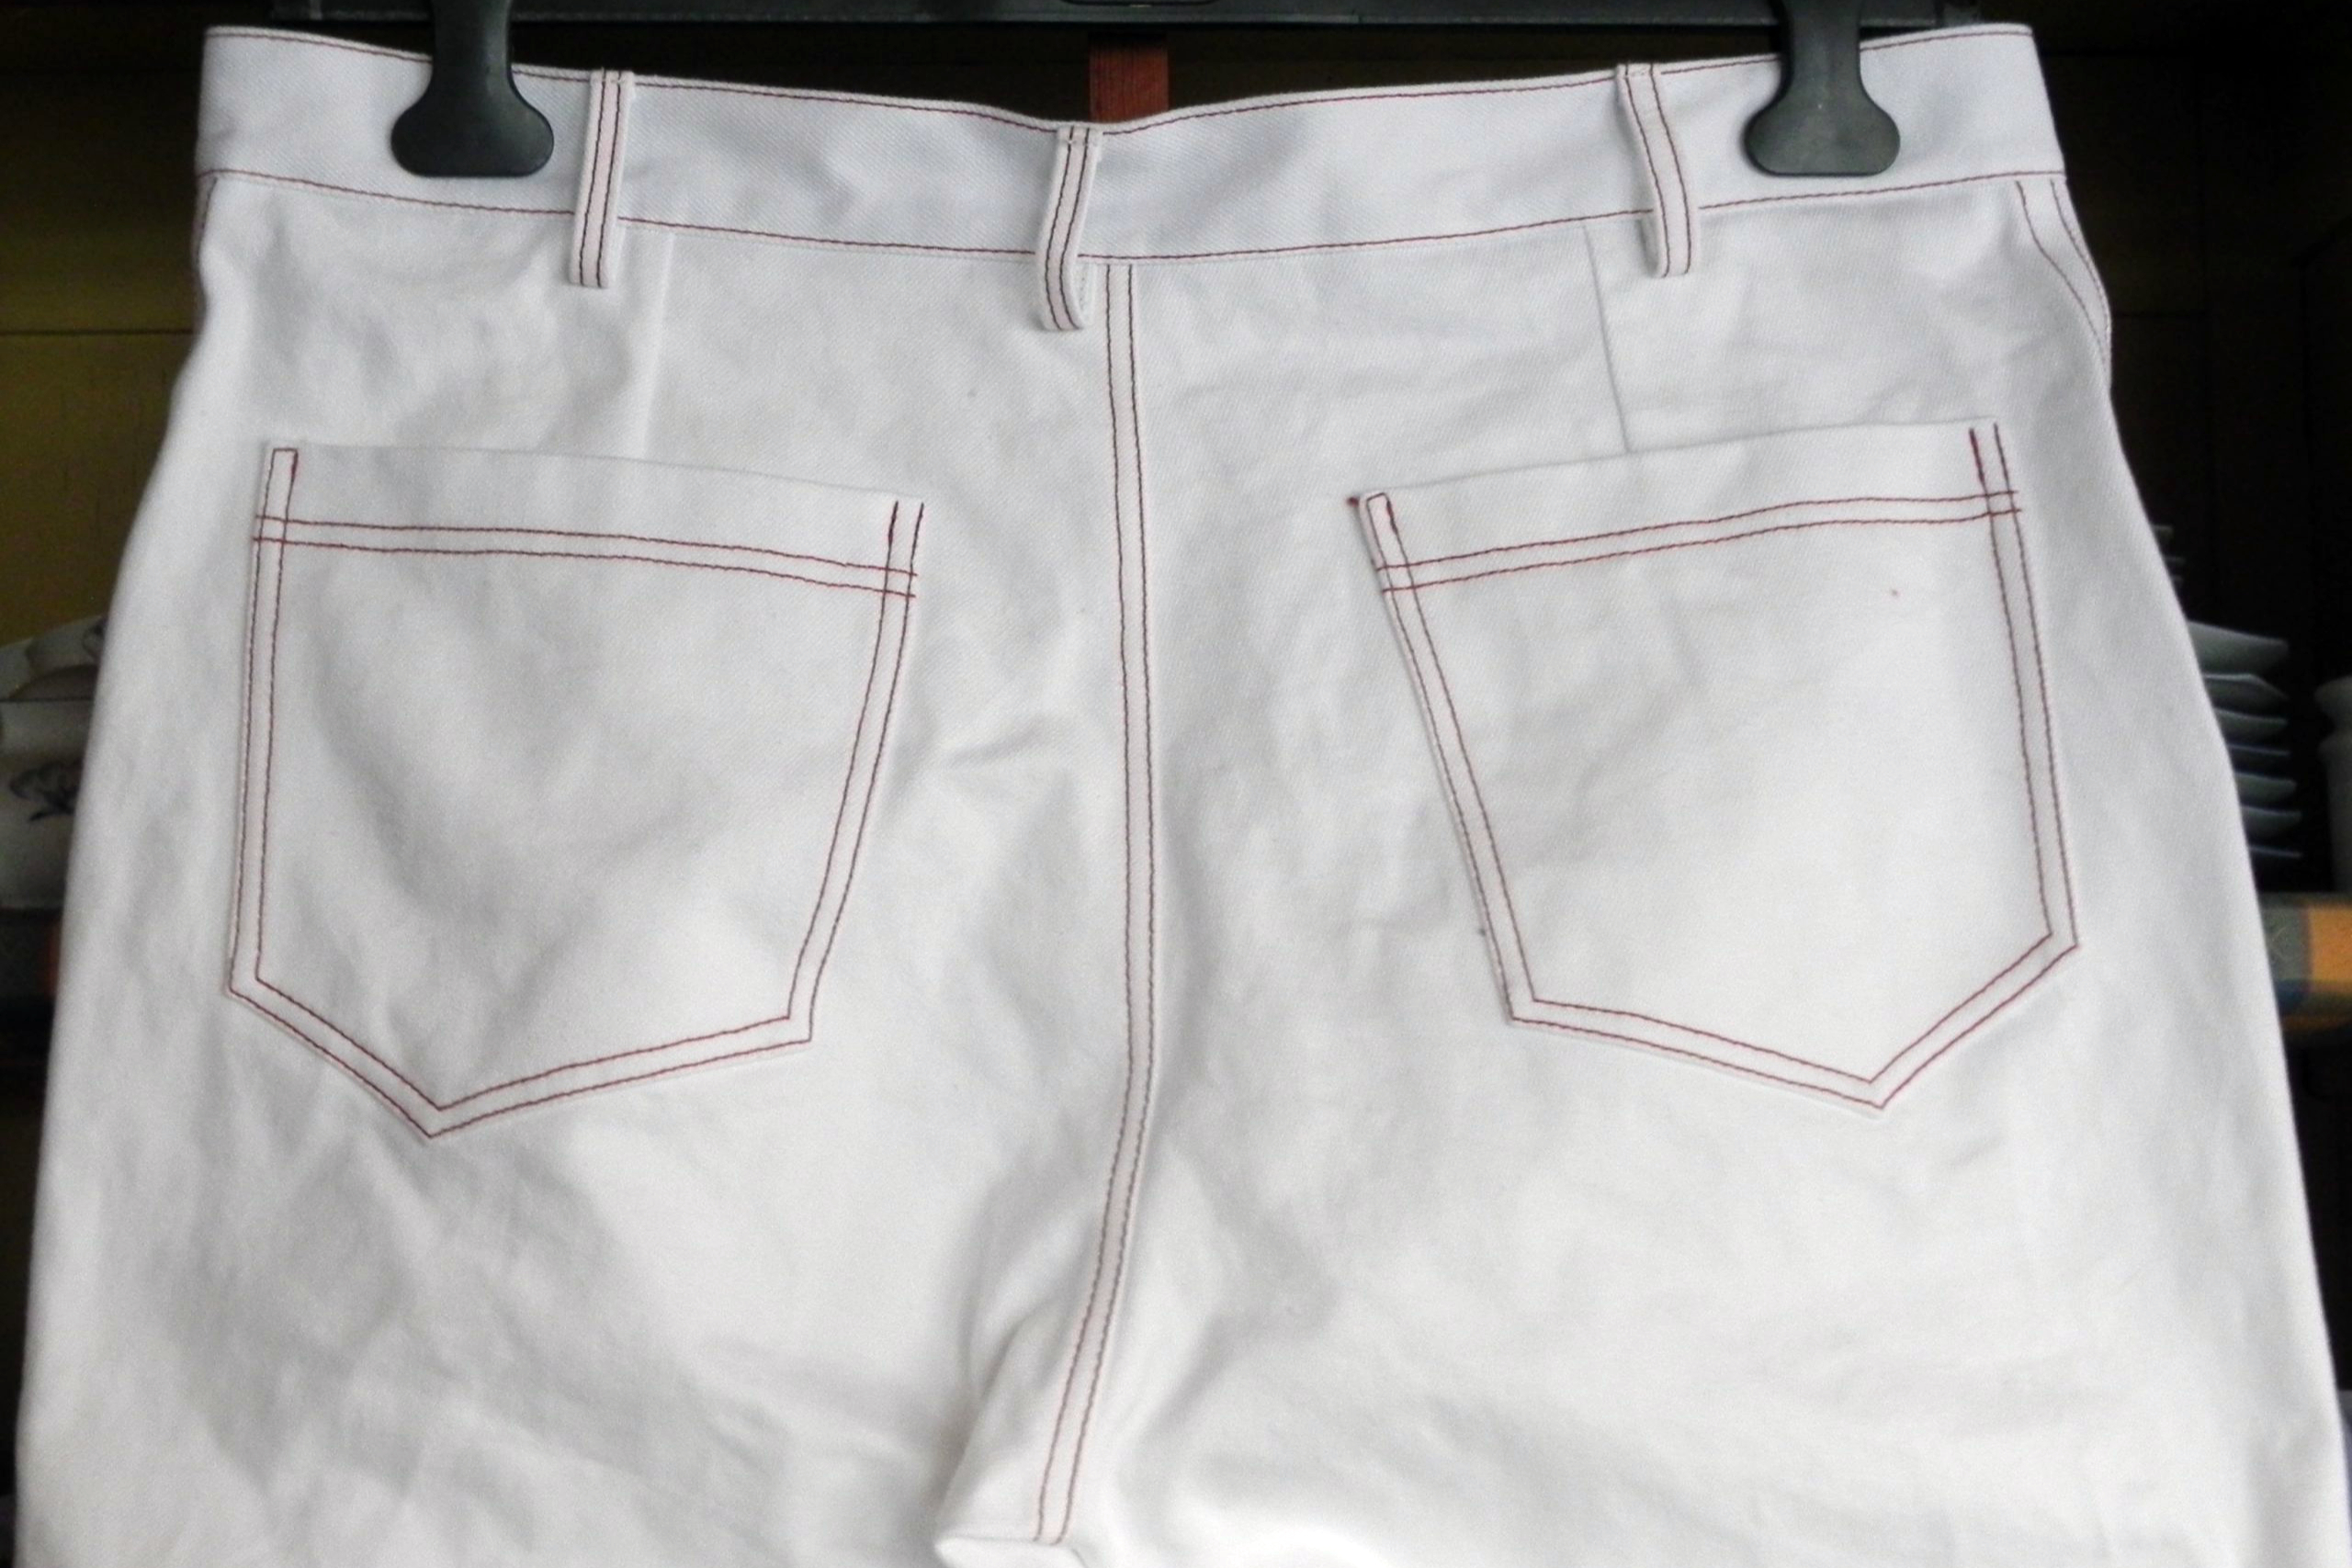
Especially this one was a succes! The curve was sewn with a biastape made from the same fabric as the trousers.
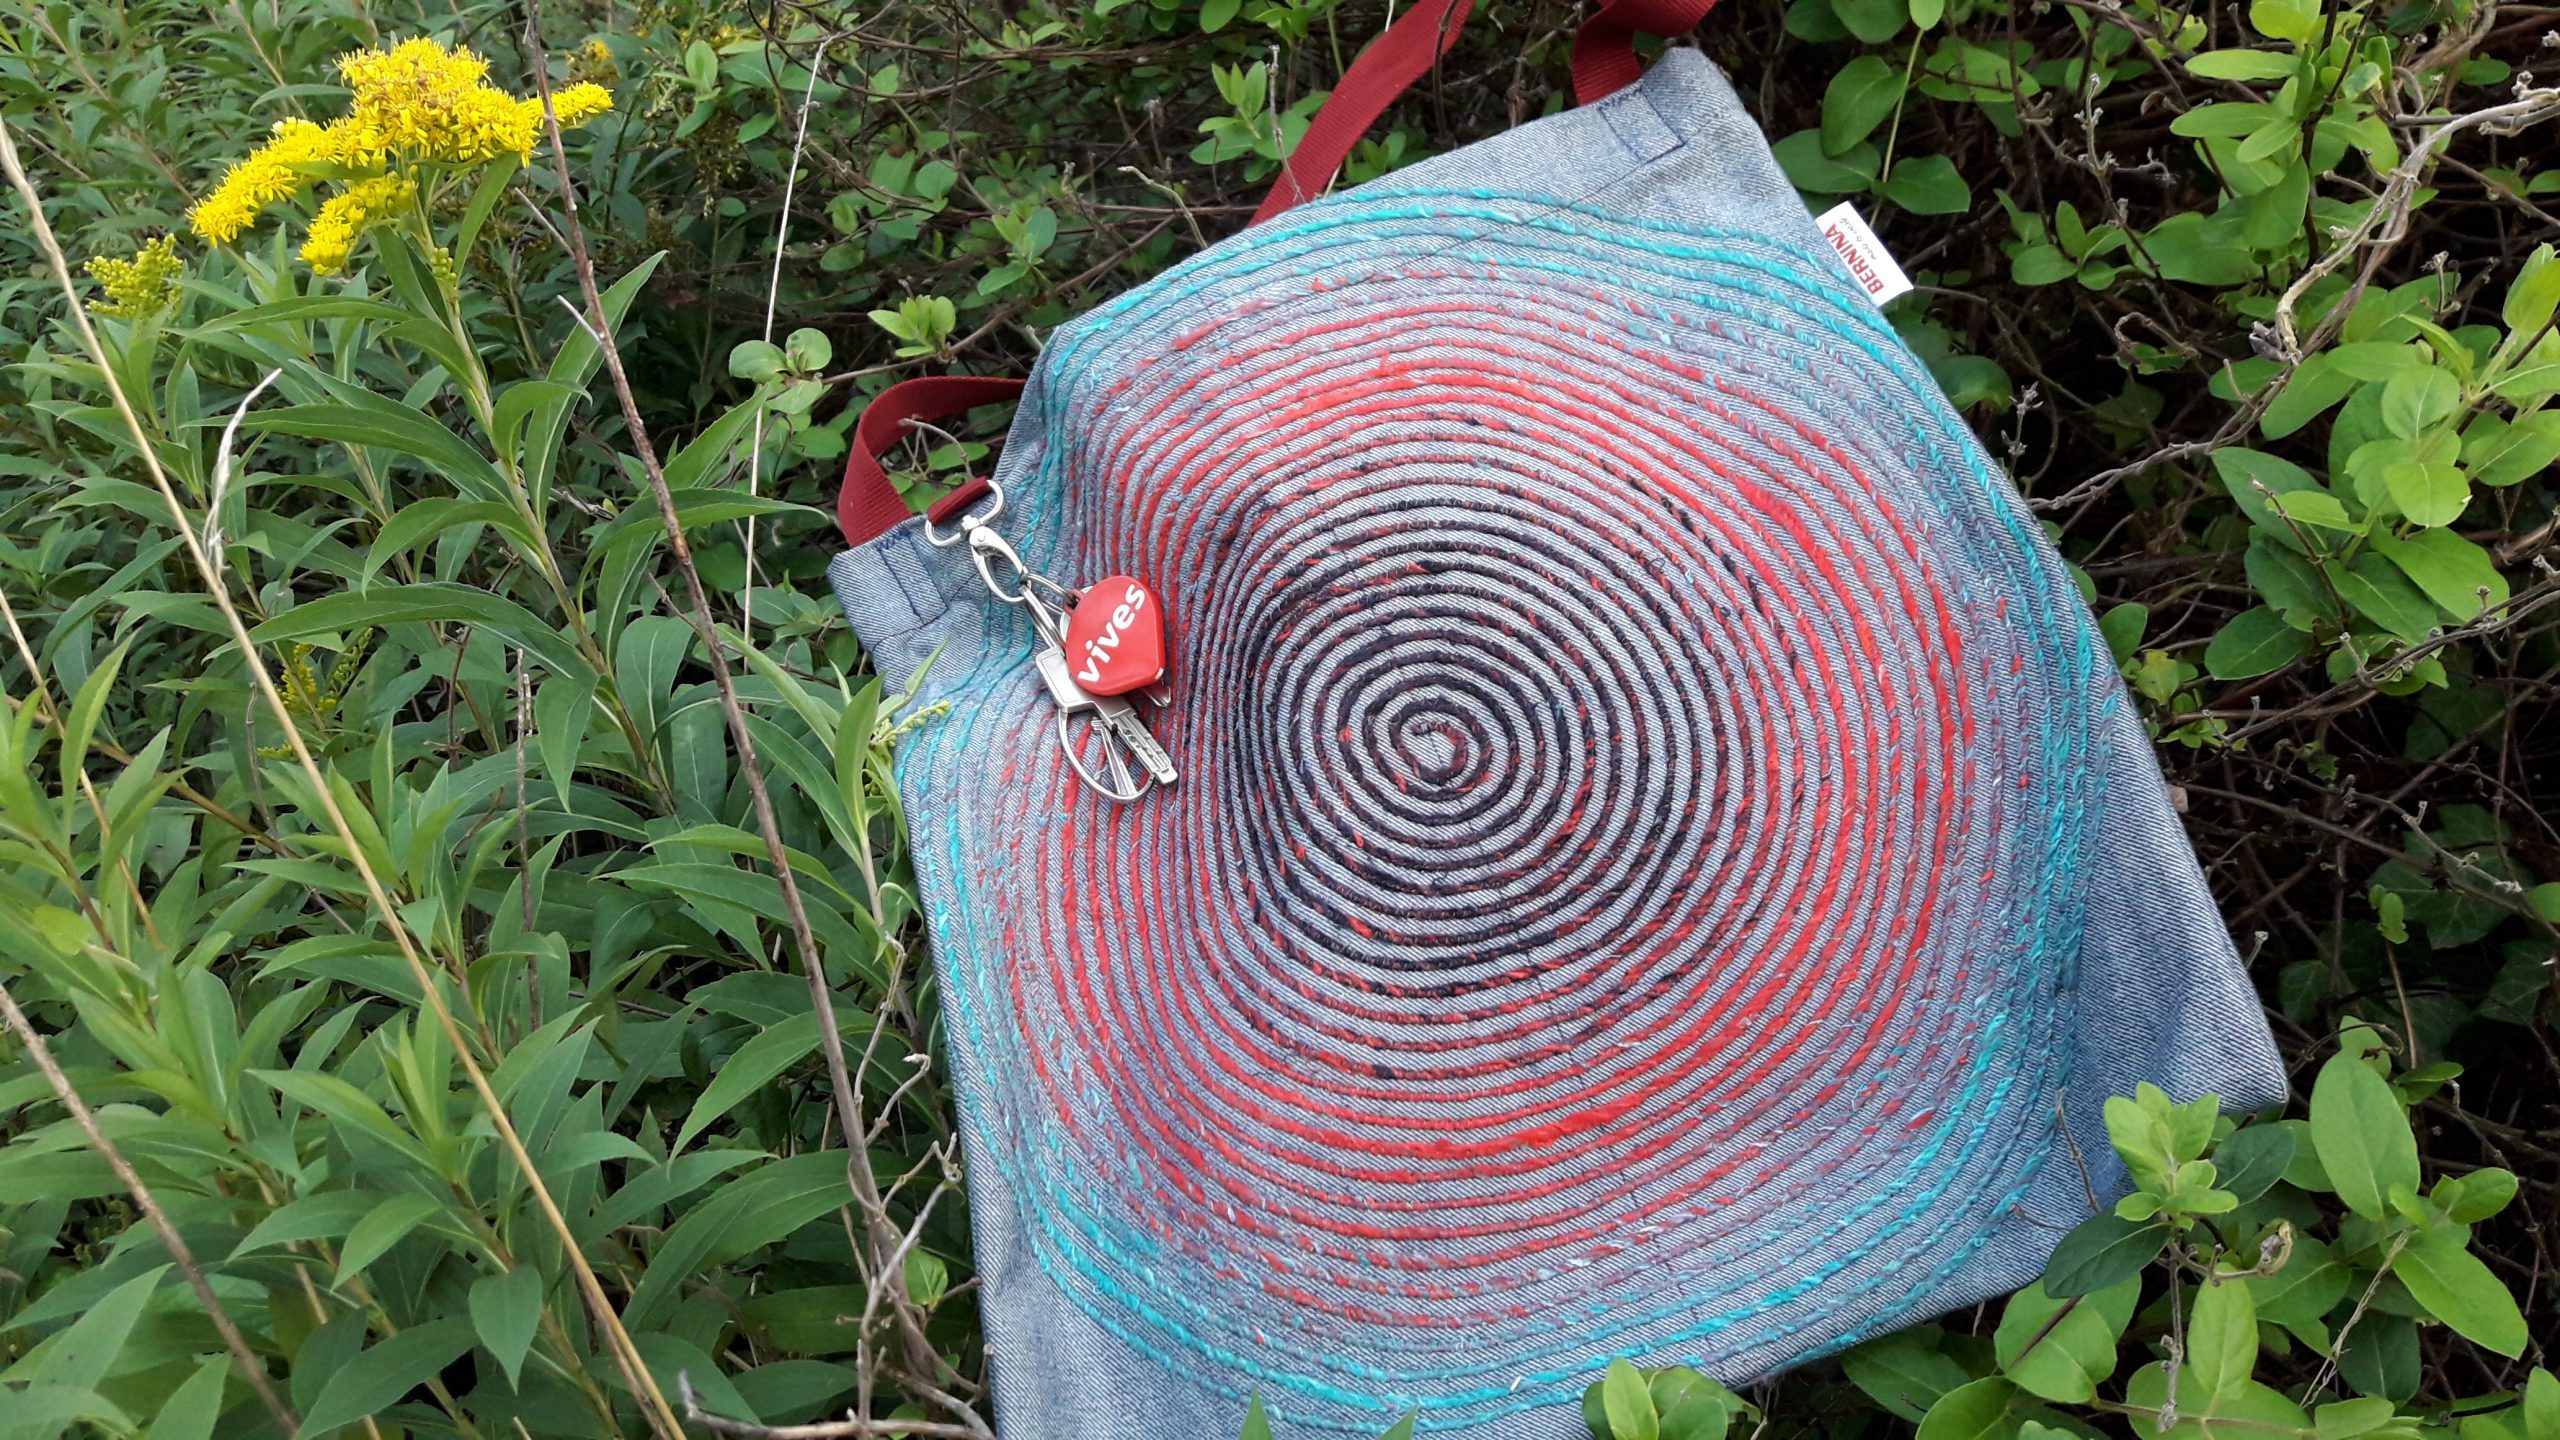
Example 2: Bias Tape
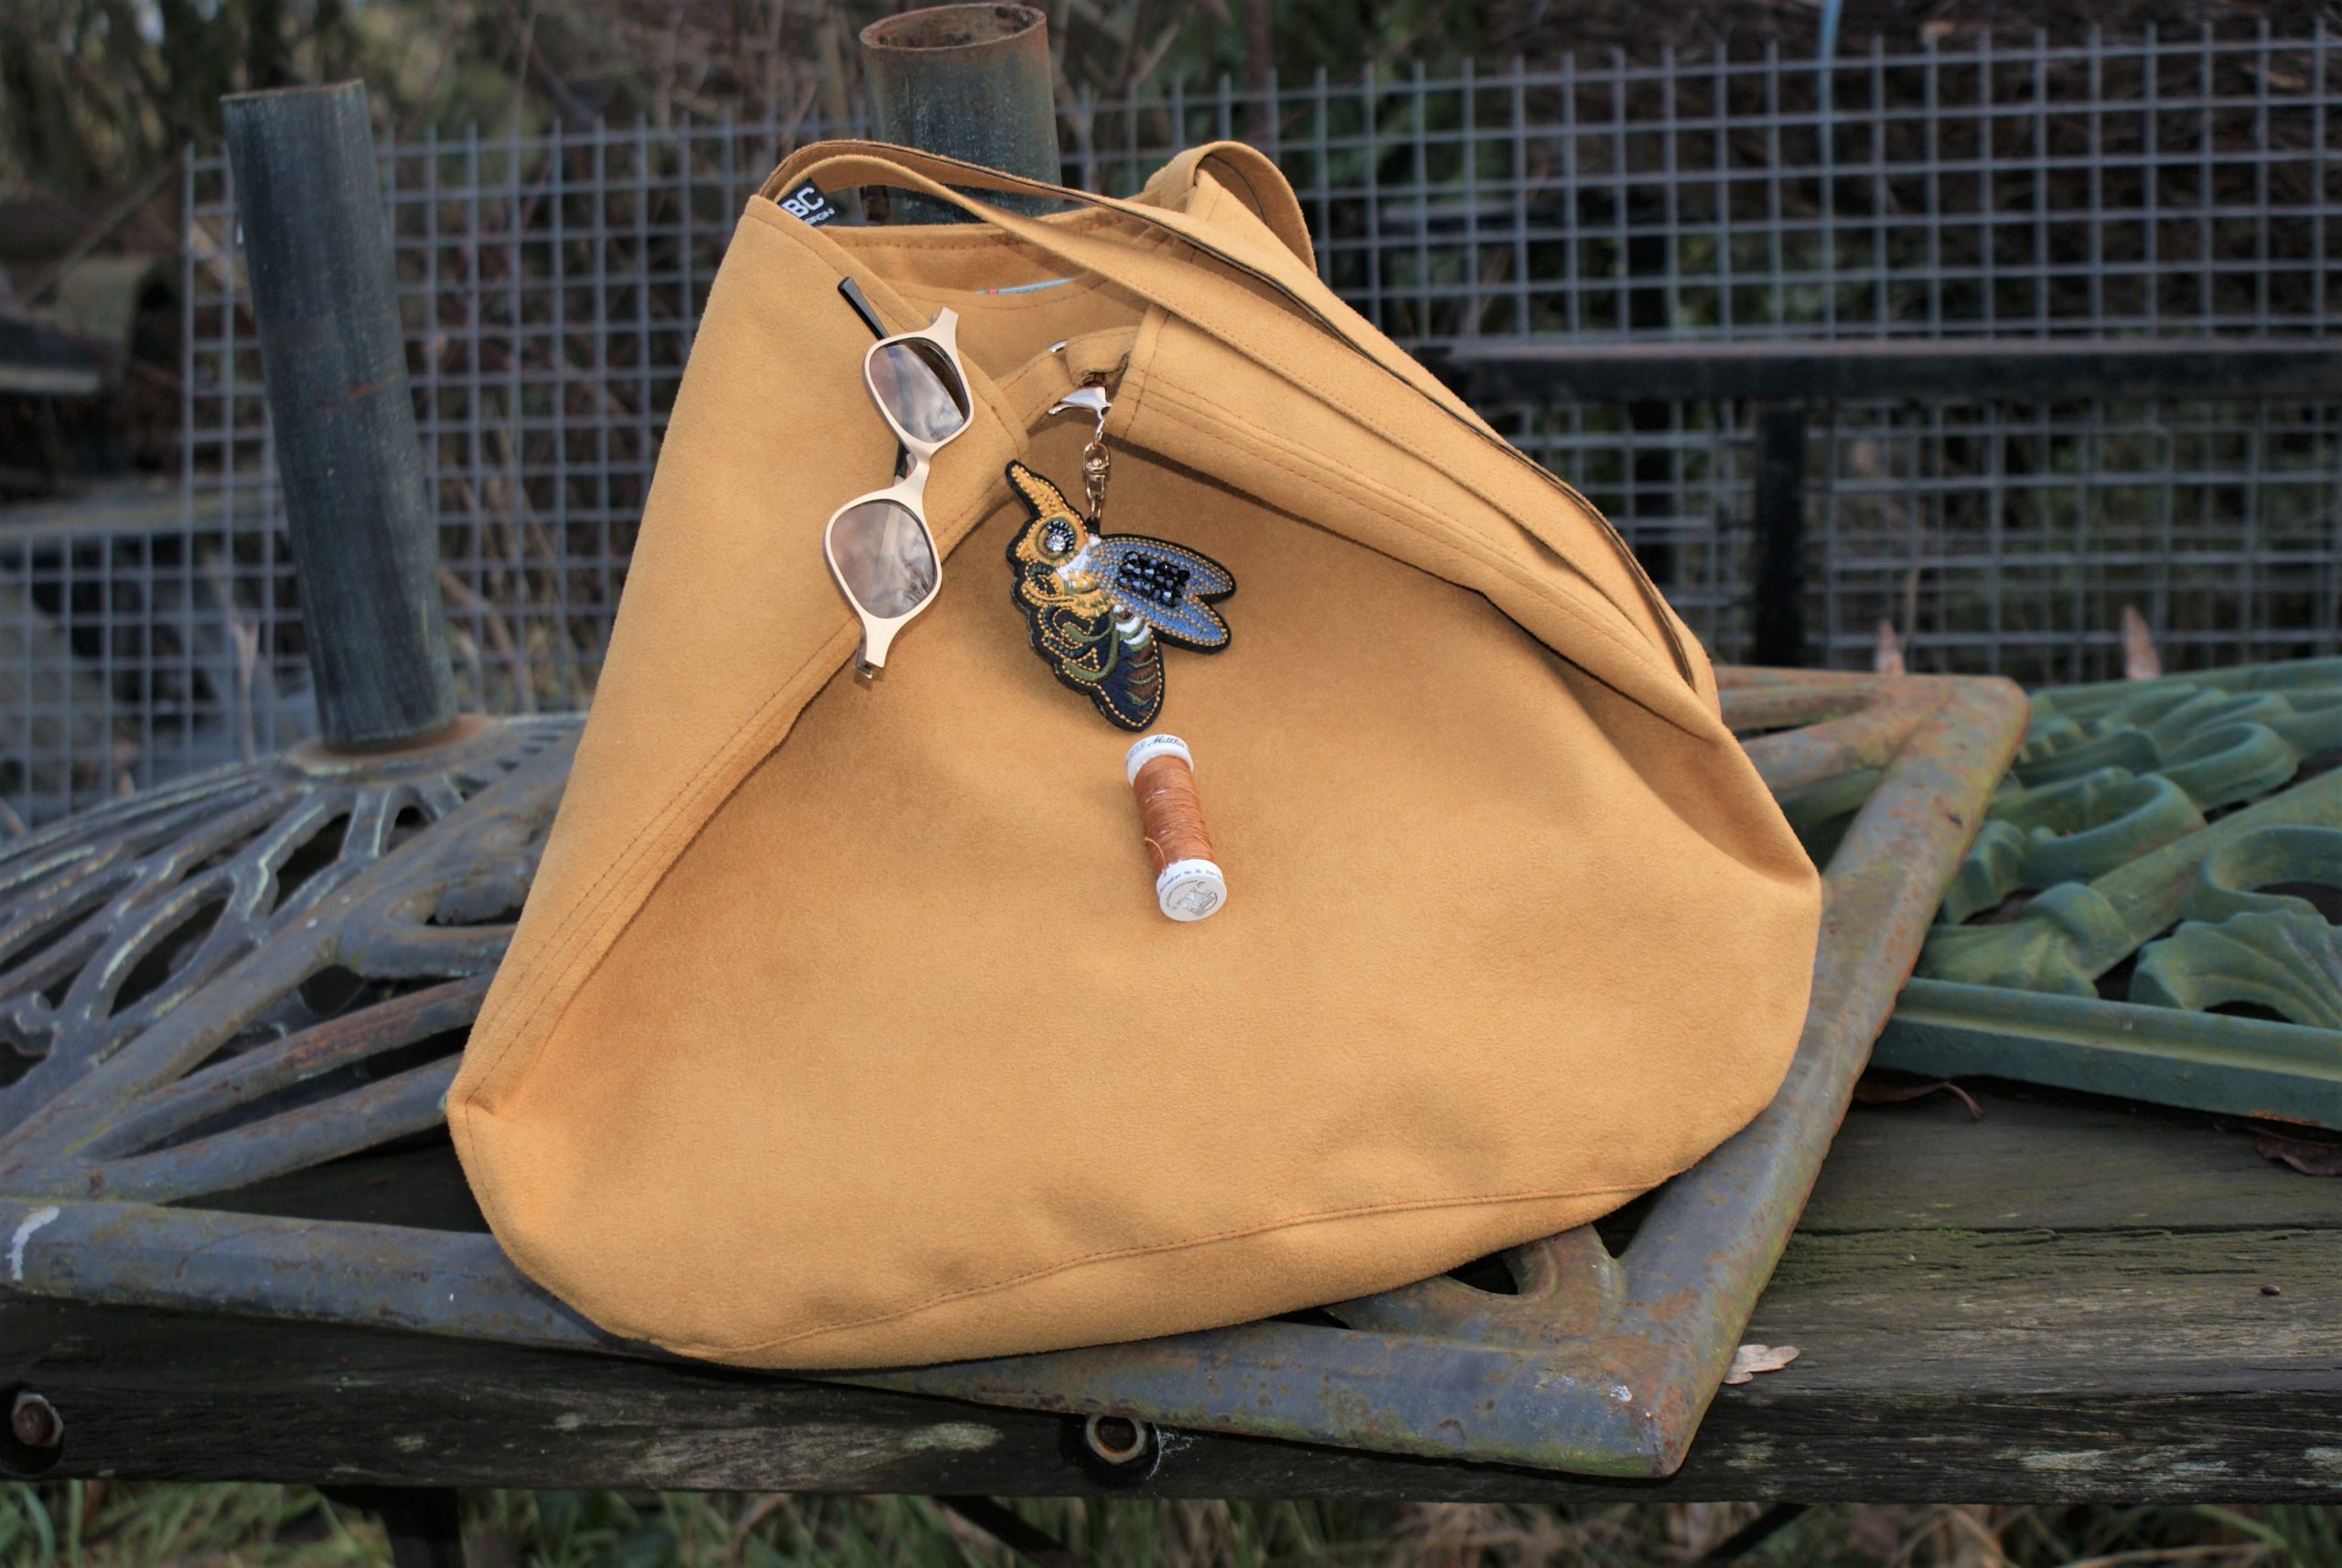
Edgestitch Foot #10 is always nice to sew along bias tape, like on the inside of this bag with cord spiral:
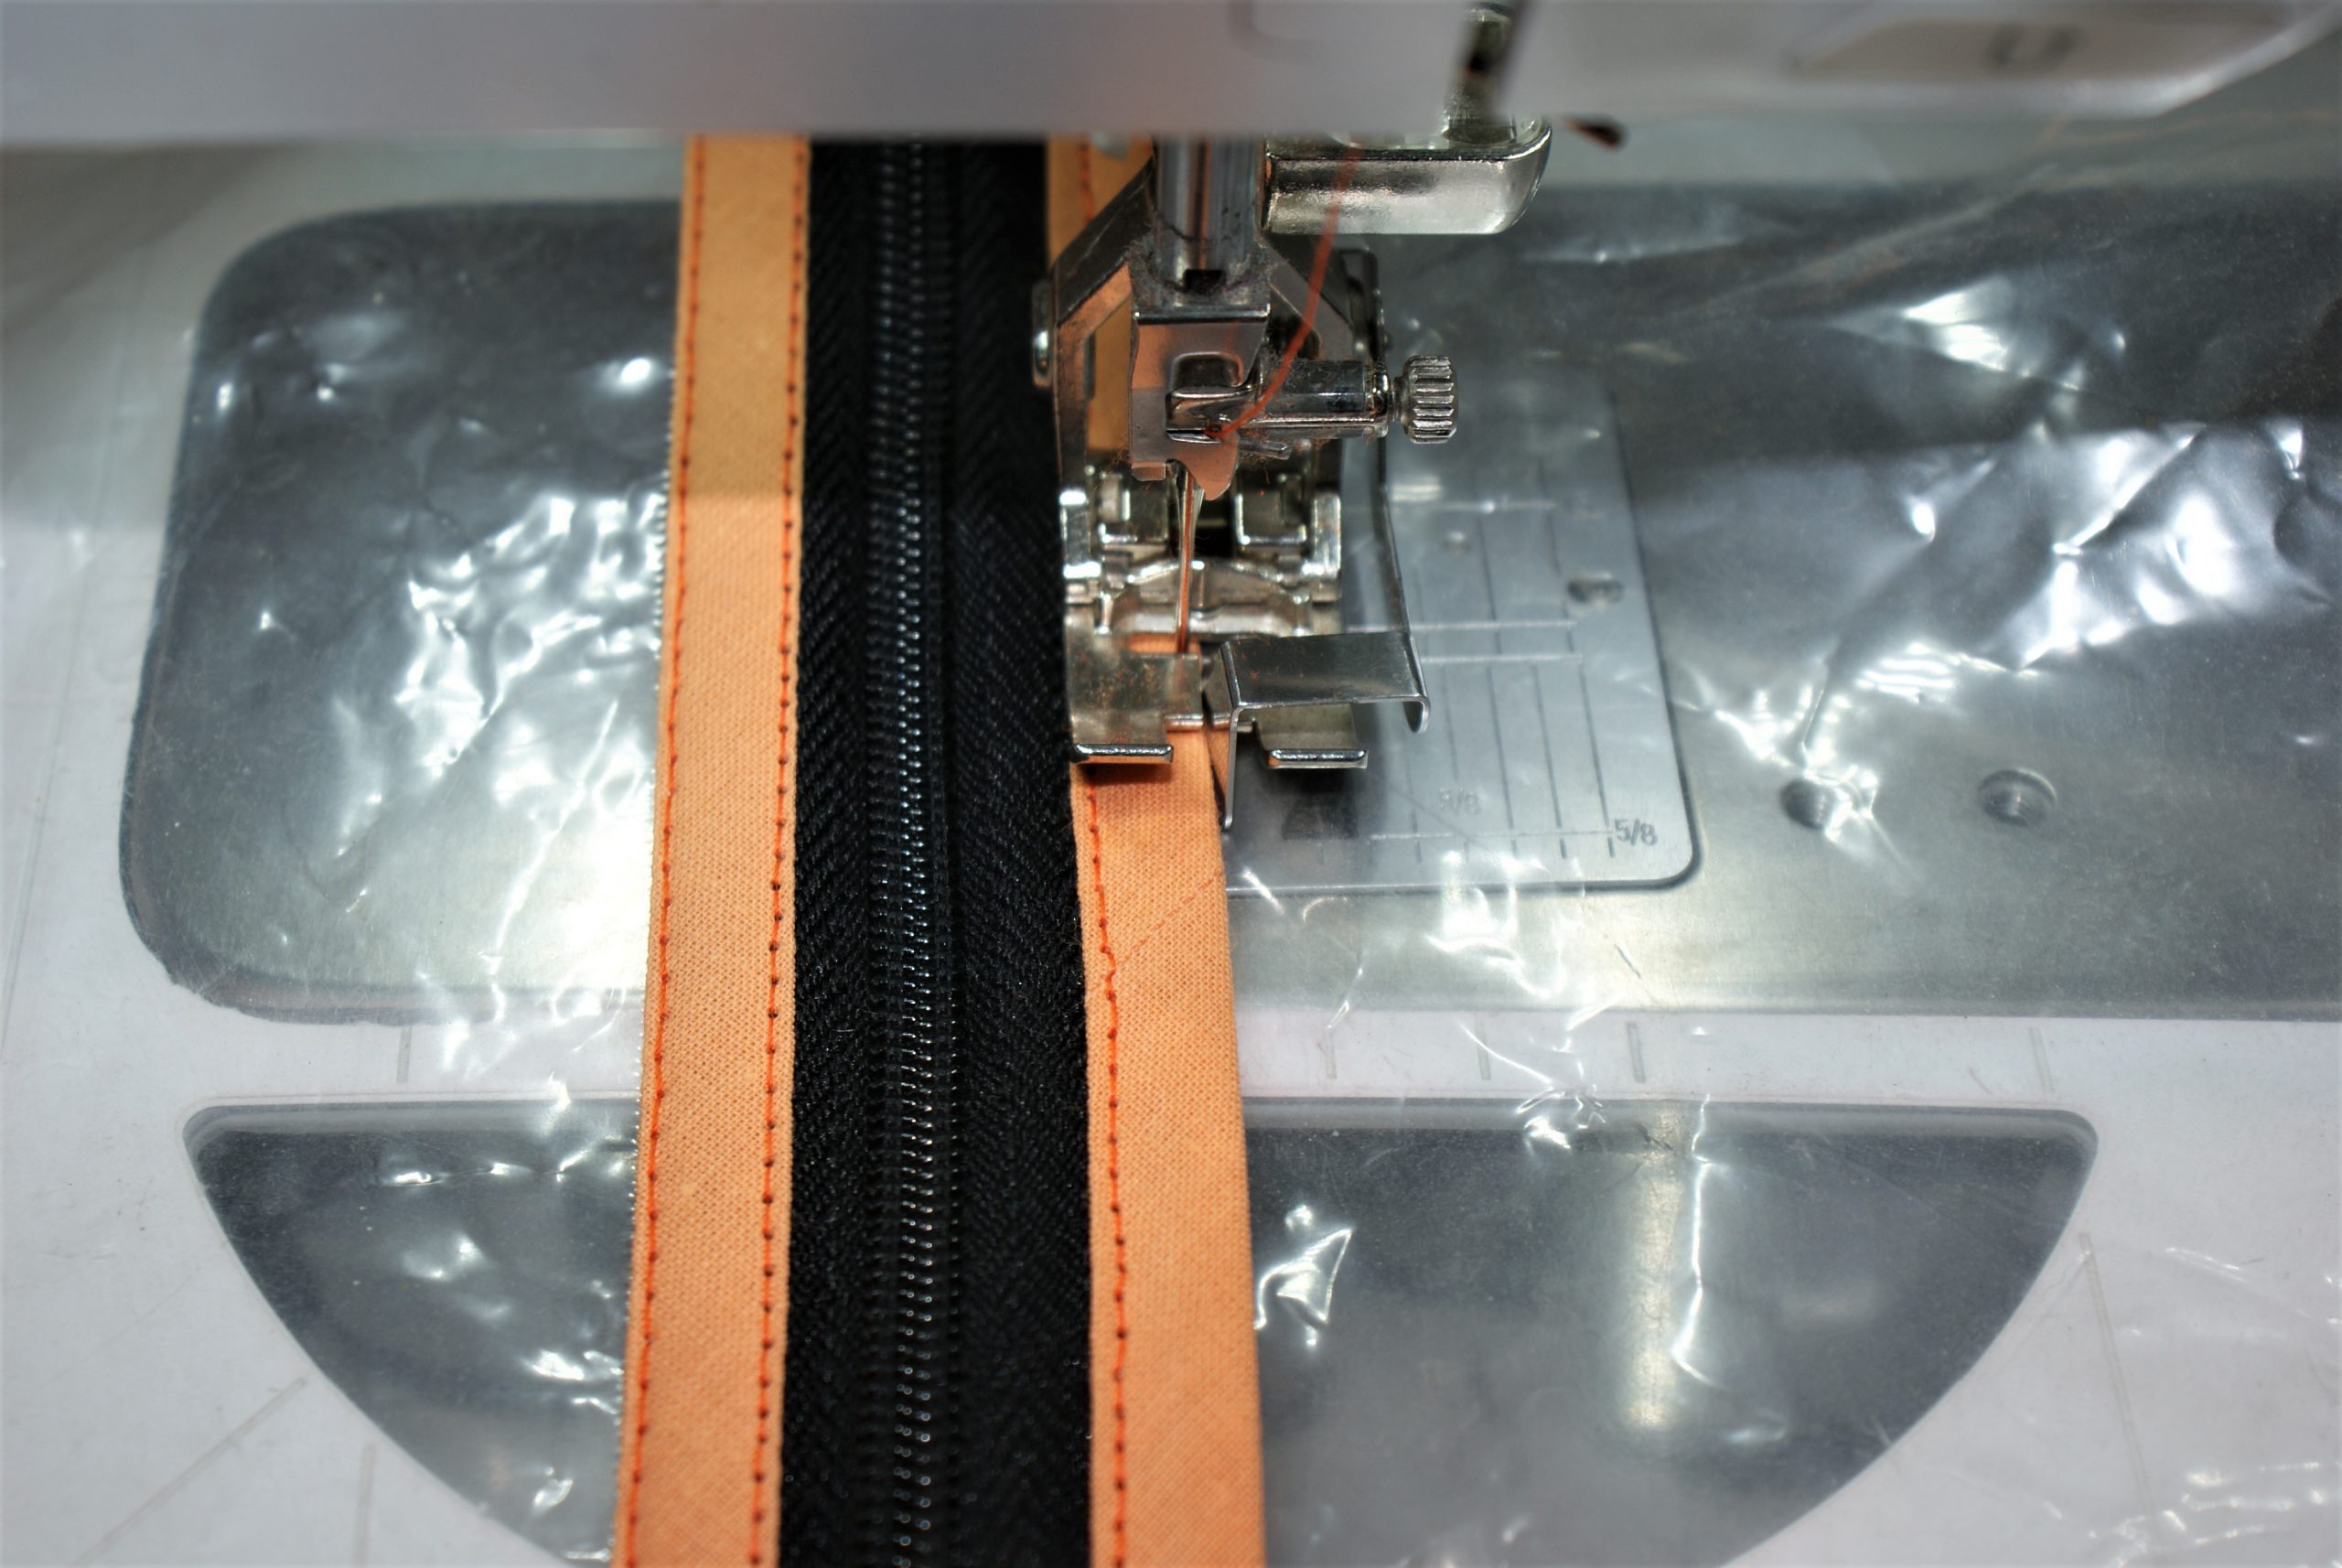
Here’s a topstitch next to a zipper and on the outside of the bias tape to create see-through garment bags.

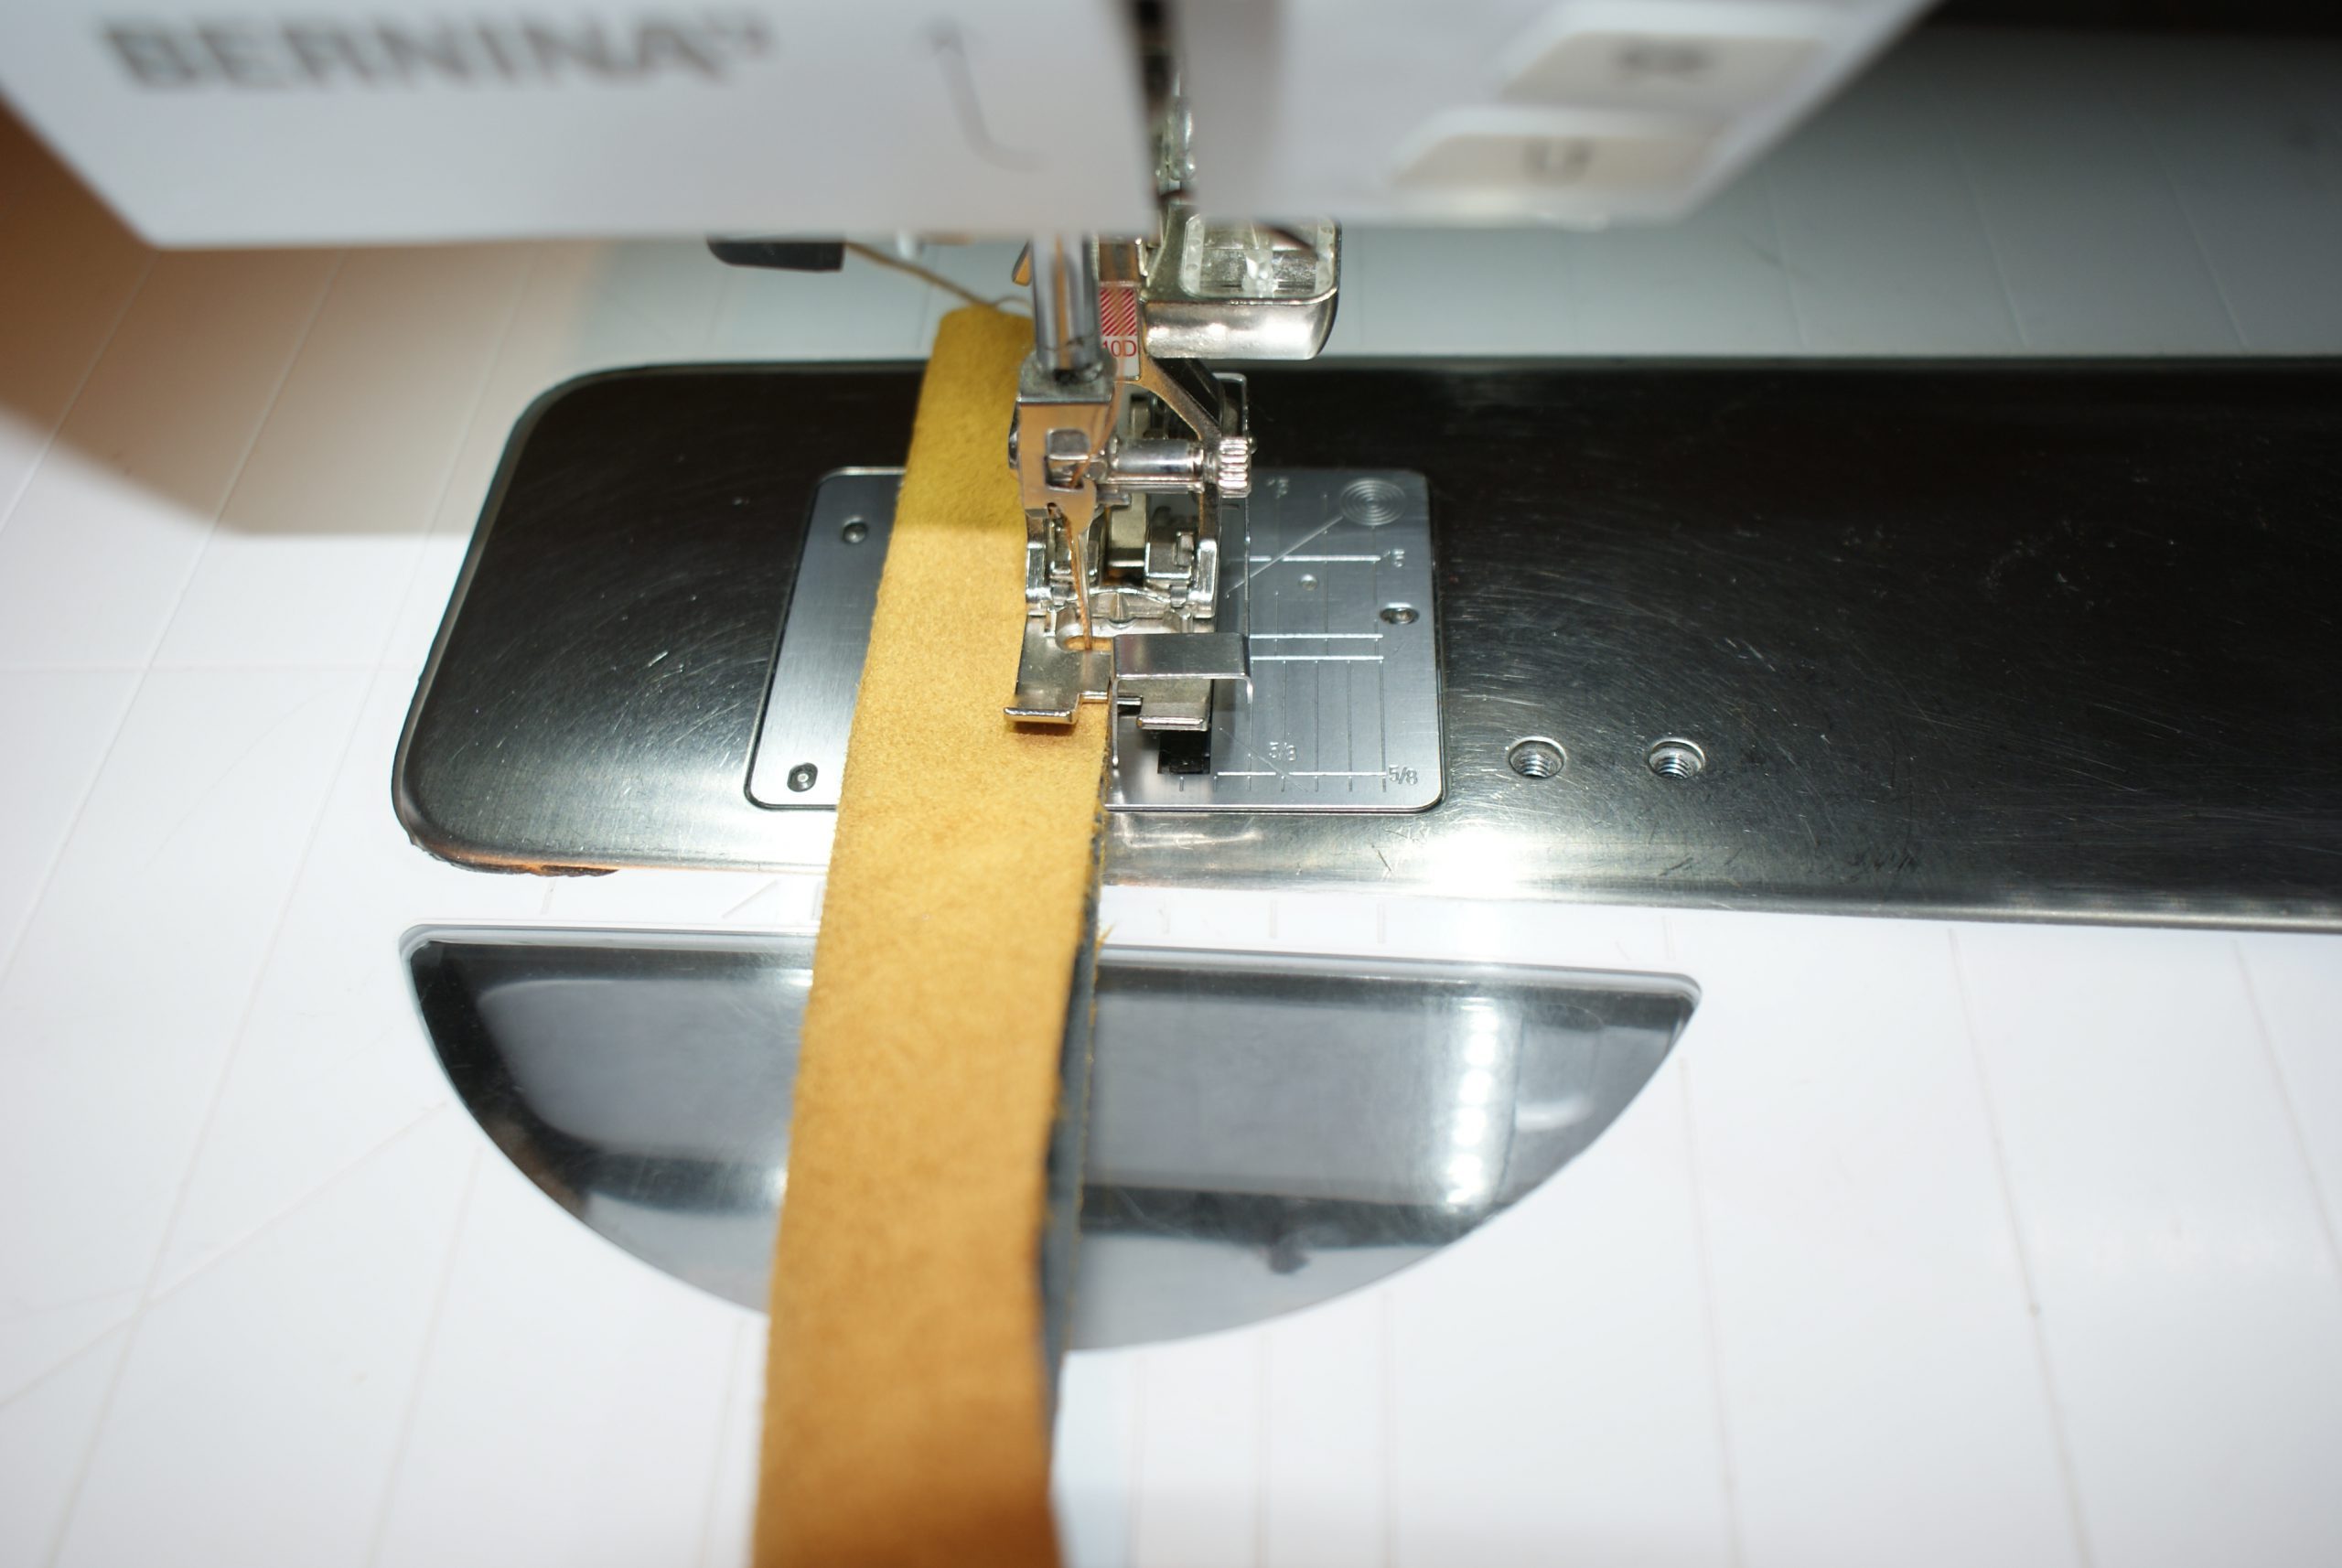
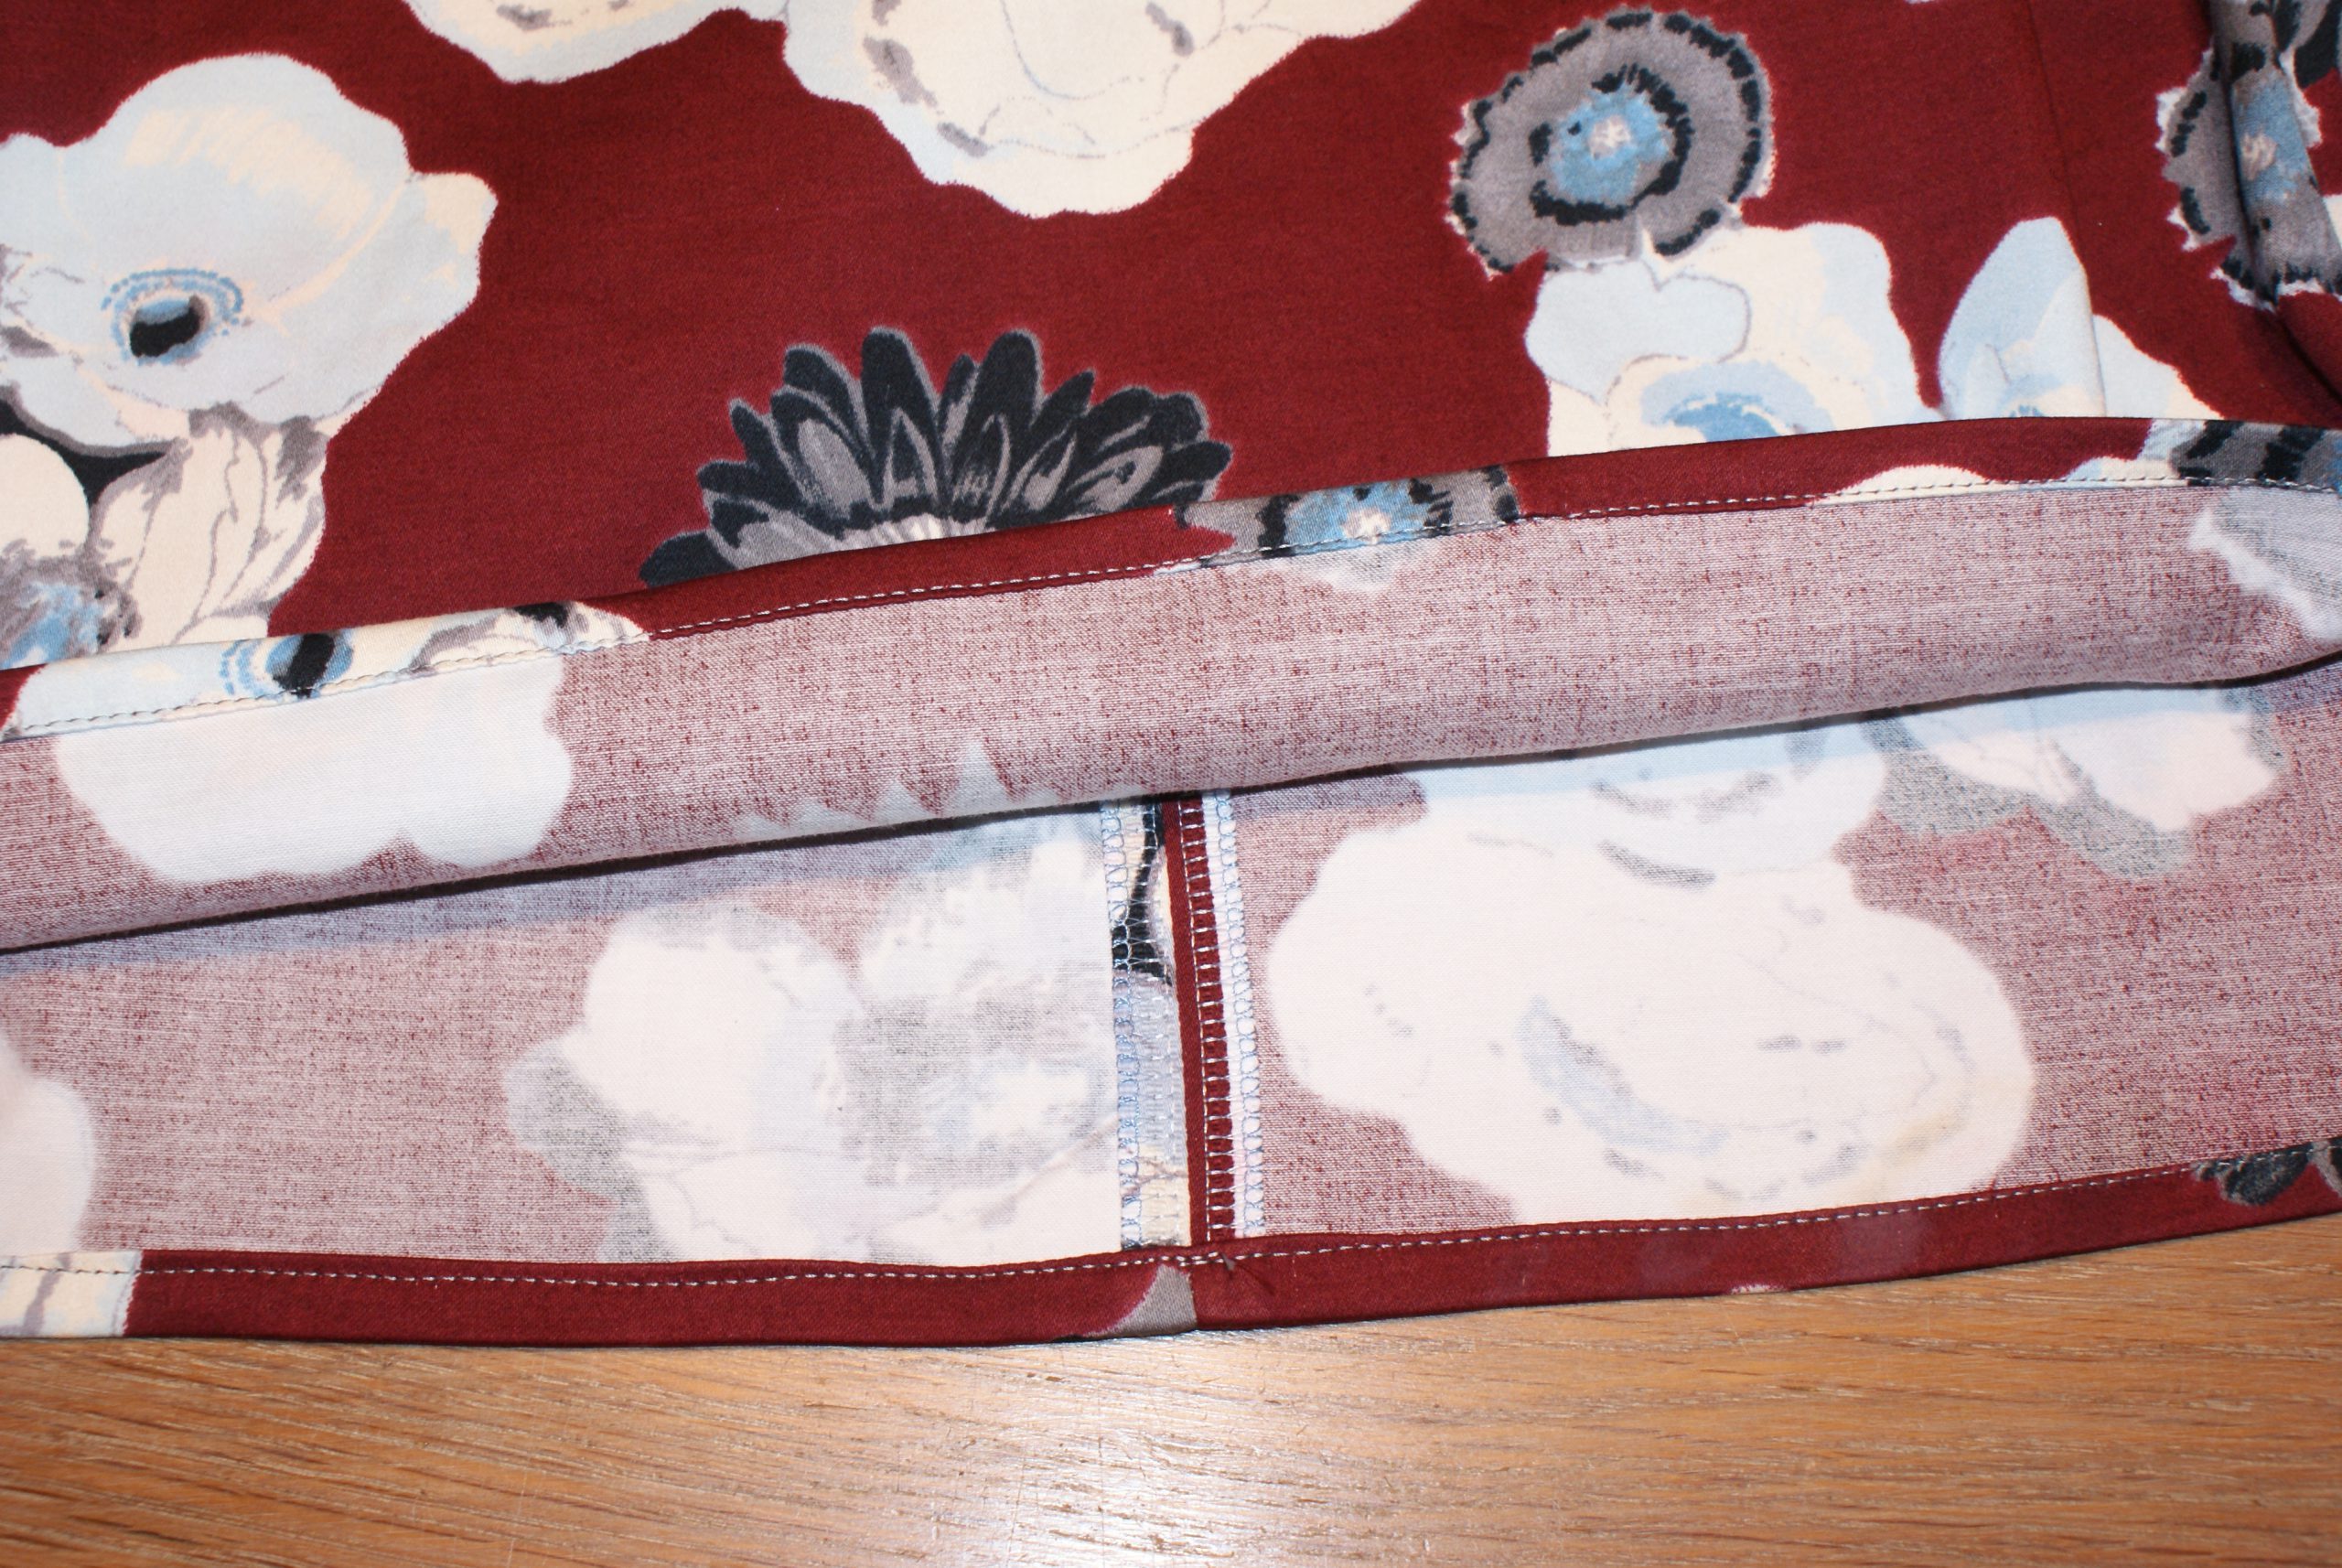
Example 3: Straps and sewing allowance
It’s easy to create the straps for the handbag “Lu”.
And by running the vertical guide along a seam, I can stitch down the seam allowance with the same distance on both sides. This also helps with stitching in the ditch.


Example 4: Facings and hems
Topstitching is often used when creating garments. For the blouse “Aida”, I used topstitching to create a beatiful neckline:

Lastly, here is what I use the Edgestitch Foot #10 the most for: To hem blouses, dresses, shirts and other projects. Just run along the folded hem for an even result.
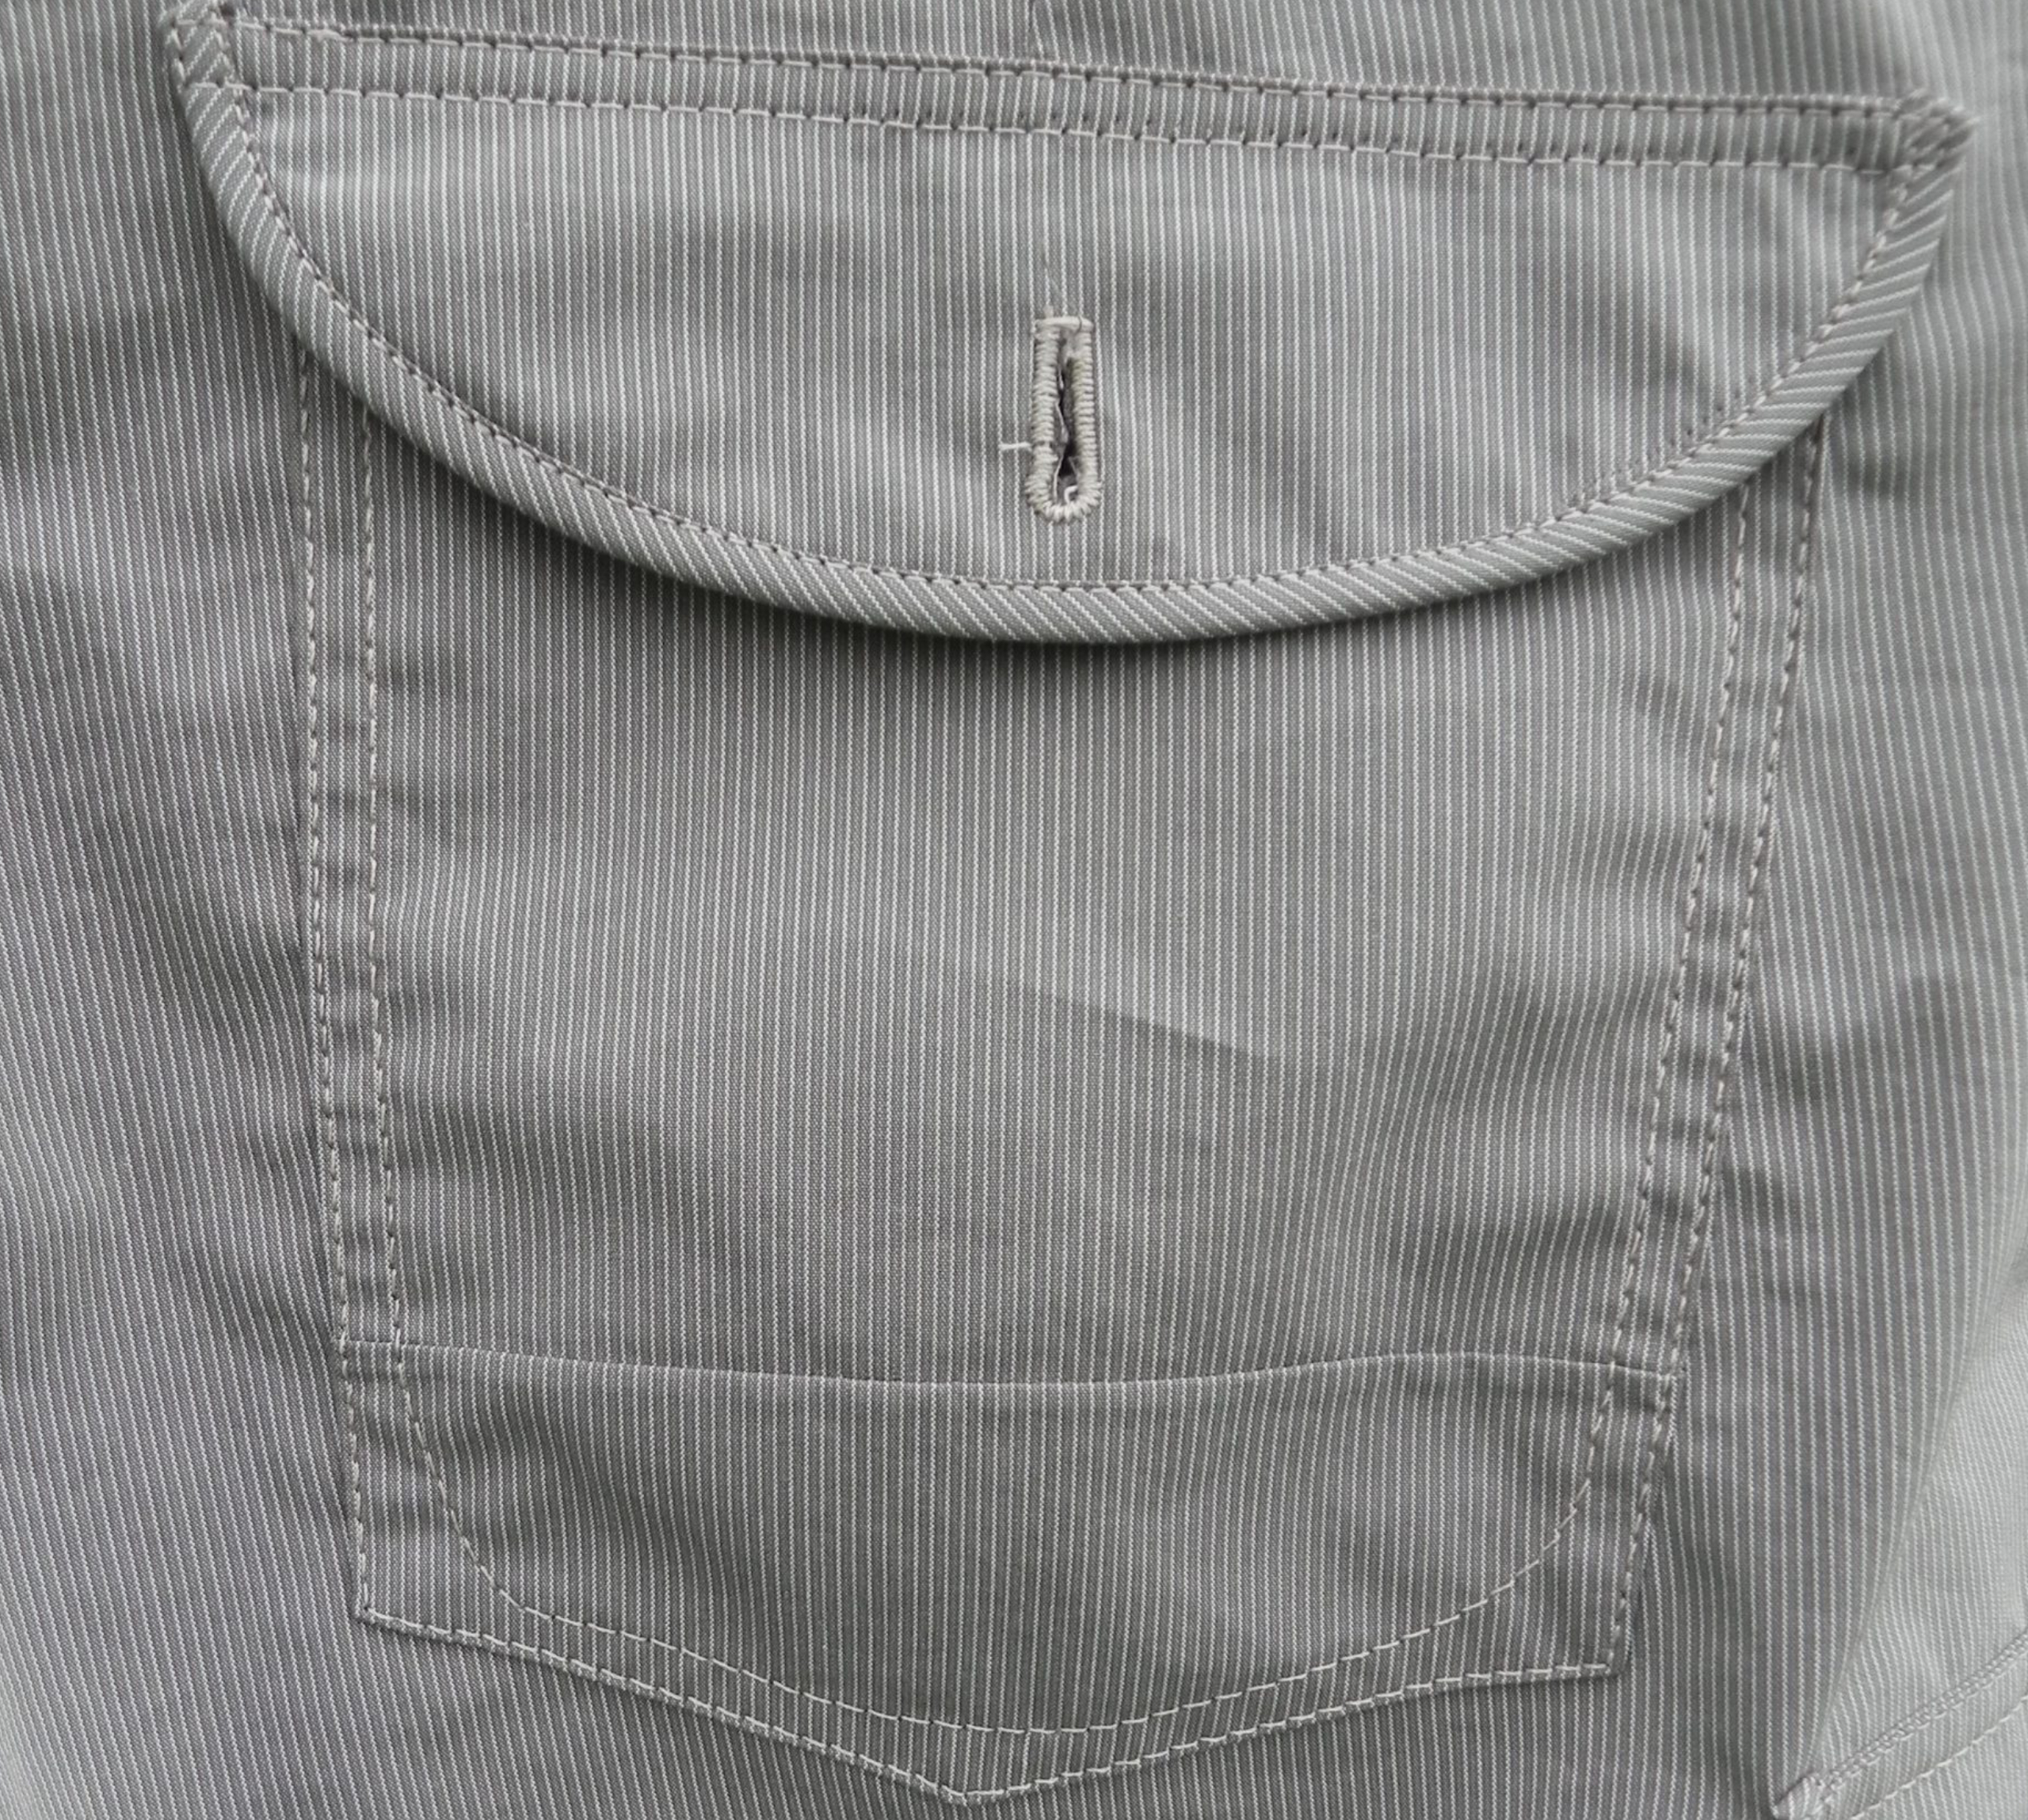
Here’s an extra tip:
When sewing a pocket or a shape with a corner and using a long stitchlength, you will notice that sometimes you don’t hit the exact spot to turn and sew parallel after the corner.
In the blogpost ‘Tips for darts and collars’ I have described how you can solve this problem.
I hope I can inspire other sewists to topstitch with the Edgestitch Foot #10, it’s one of my favourites since I started sewing. The dealer showed me how to use it and I loved it ever since!
0 Responses