 BERNINA Corporate Blog -
Isa colorblock tutorial and hack
In this blog post, I would like to give you more insight into sewing the Isa colorblock sweater, crop top or dress.
More than that, I’ll also throw in a little hack, one that my teenager loves!
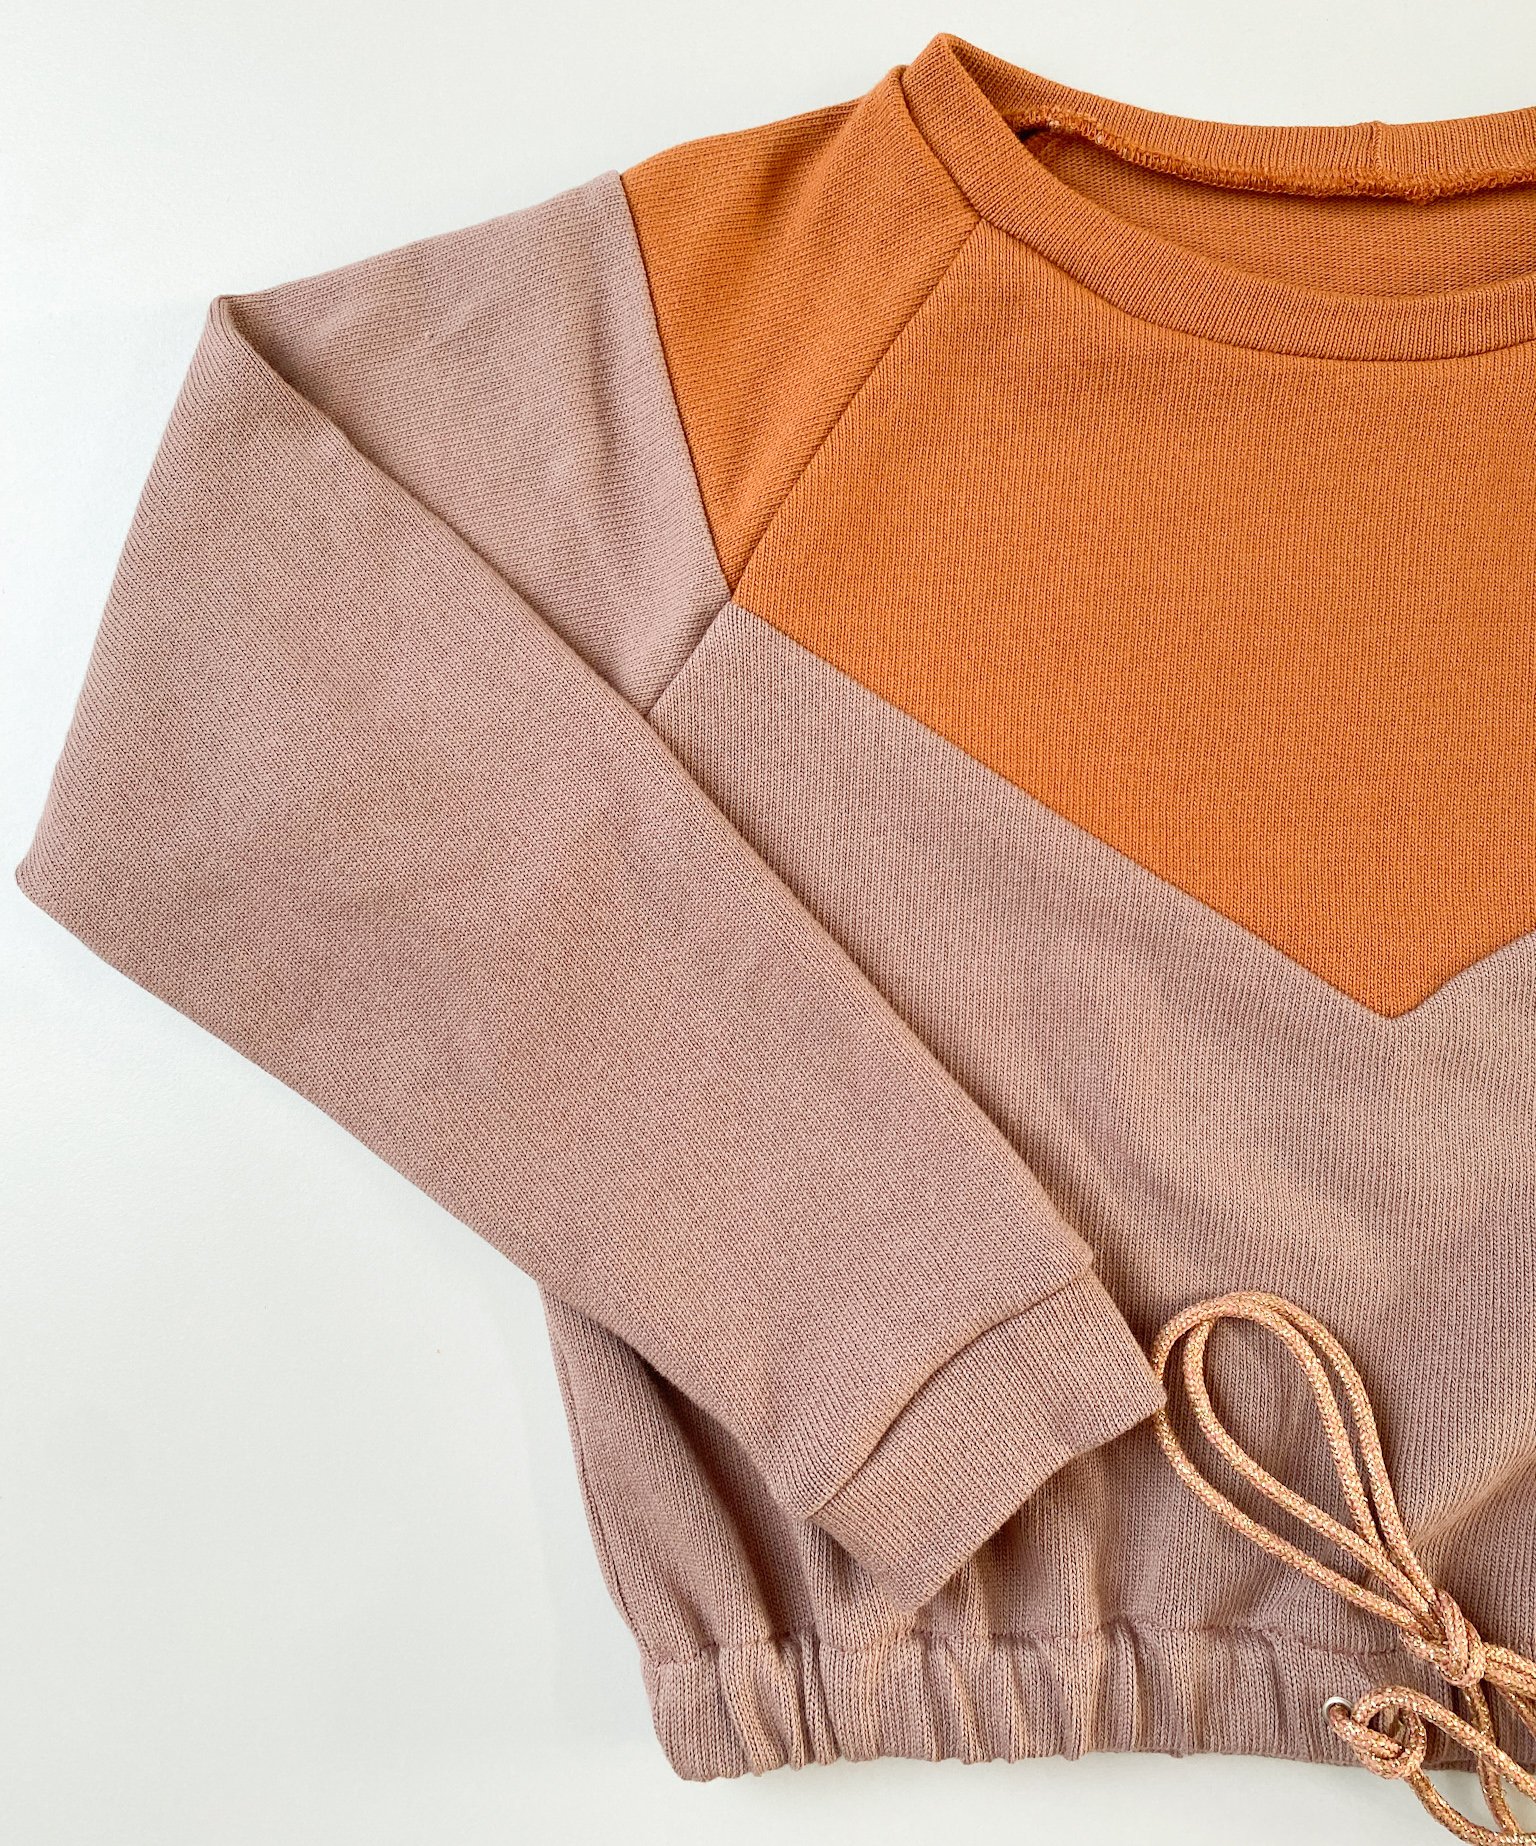
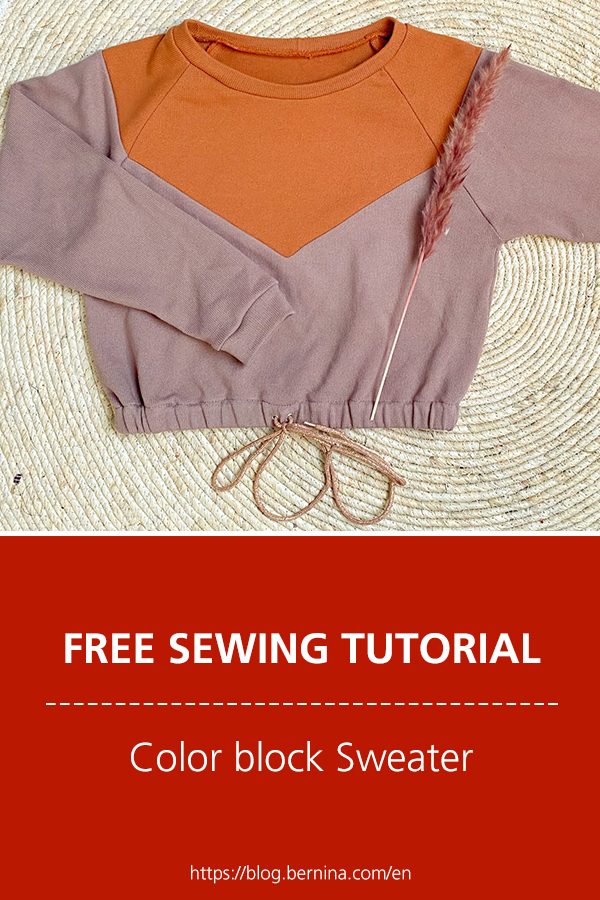
We’re going to make this one:
The Isa colorblock crop top, with an elastic waistband attached (instead of putting on a separate one).
The drawstring in the front adds a cool accent.
Adapting the pattern
To make this hack with elastic, we need to make some adjustments to the original pattern.
I am working with a 2.2cm wide elastic, other widths are also possible of course .
You can find the full Isa pattern here.
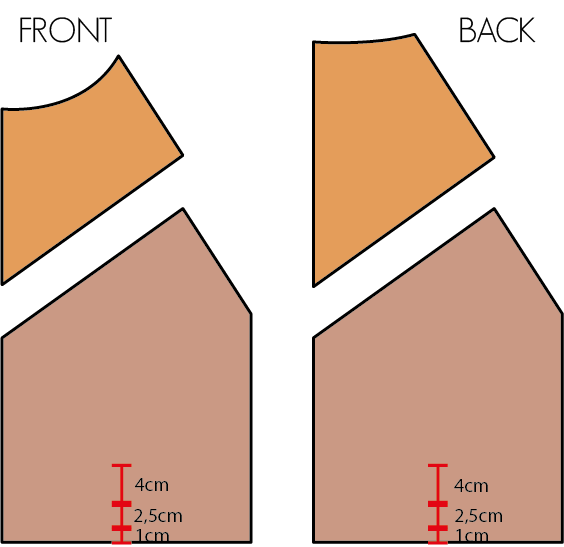
1- Adjusting front and back panel
For this version, I chose to work with 2 colors (instead of 3 as in the original pattern).
You can easily tape the top 2 parts of the colorblock together to make 1 pattern piece
Do the same for the sleeve piece.

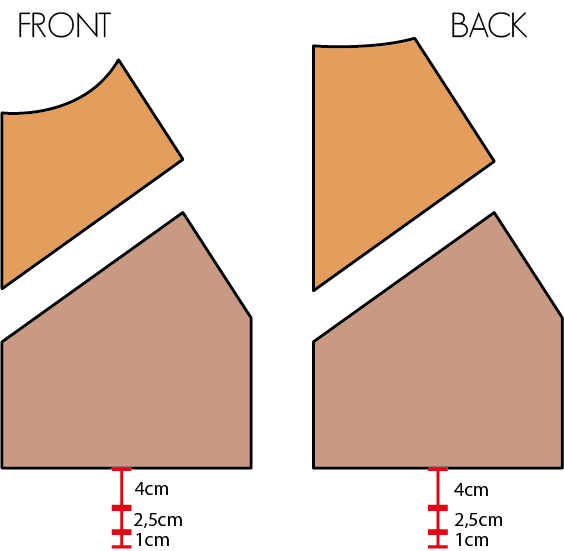
2- Lengthen the bottom colorblock piece of front and back
For both front and back piece, first add 4cm (this replaces the standard waisband we would normally add),
then another 2.5cm (this will be the tunnel for your elastic = elastic width + 0.3cm) and then 1cm seam allowance.
So we extend both pattern pieces by a total of 7.5cm.
Tutorial Isa colorblock and hack
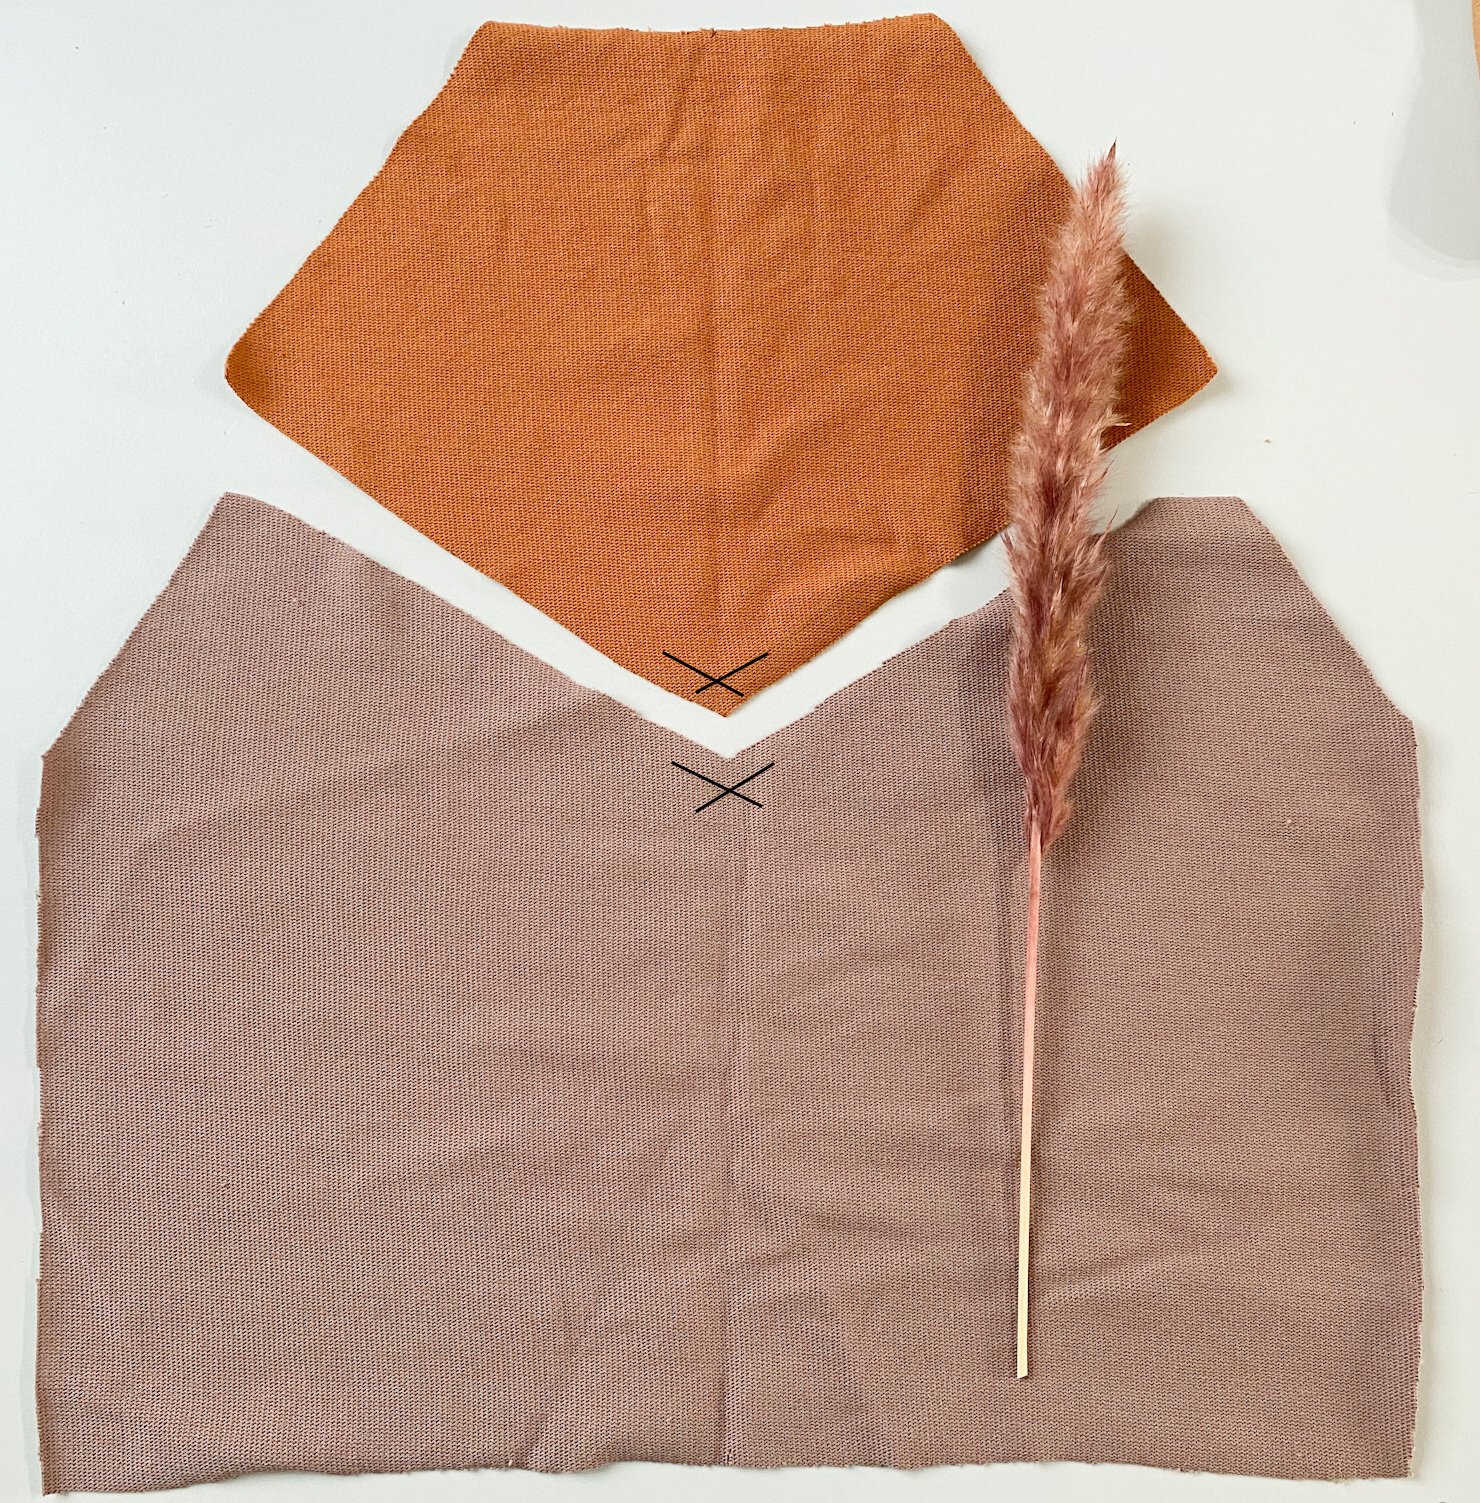
1- Marking points for colorblock
Do this by drawing lines on the wrong side of the fabric, each 1cm from the edge.
The points where the lines cross will form the V in your colorblock.
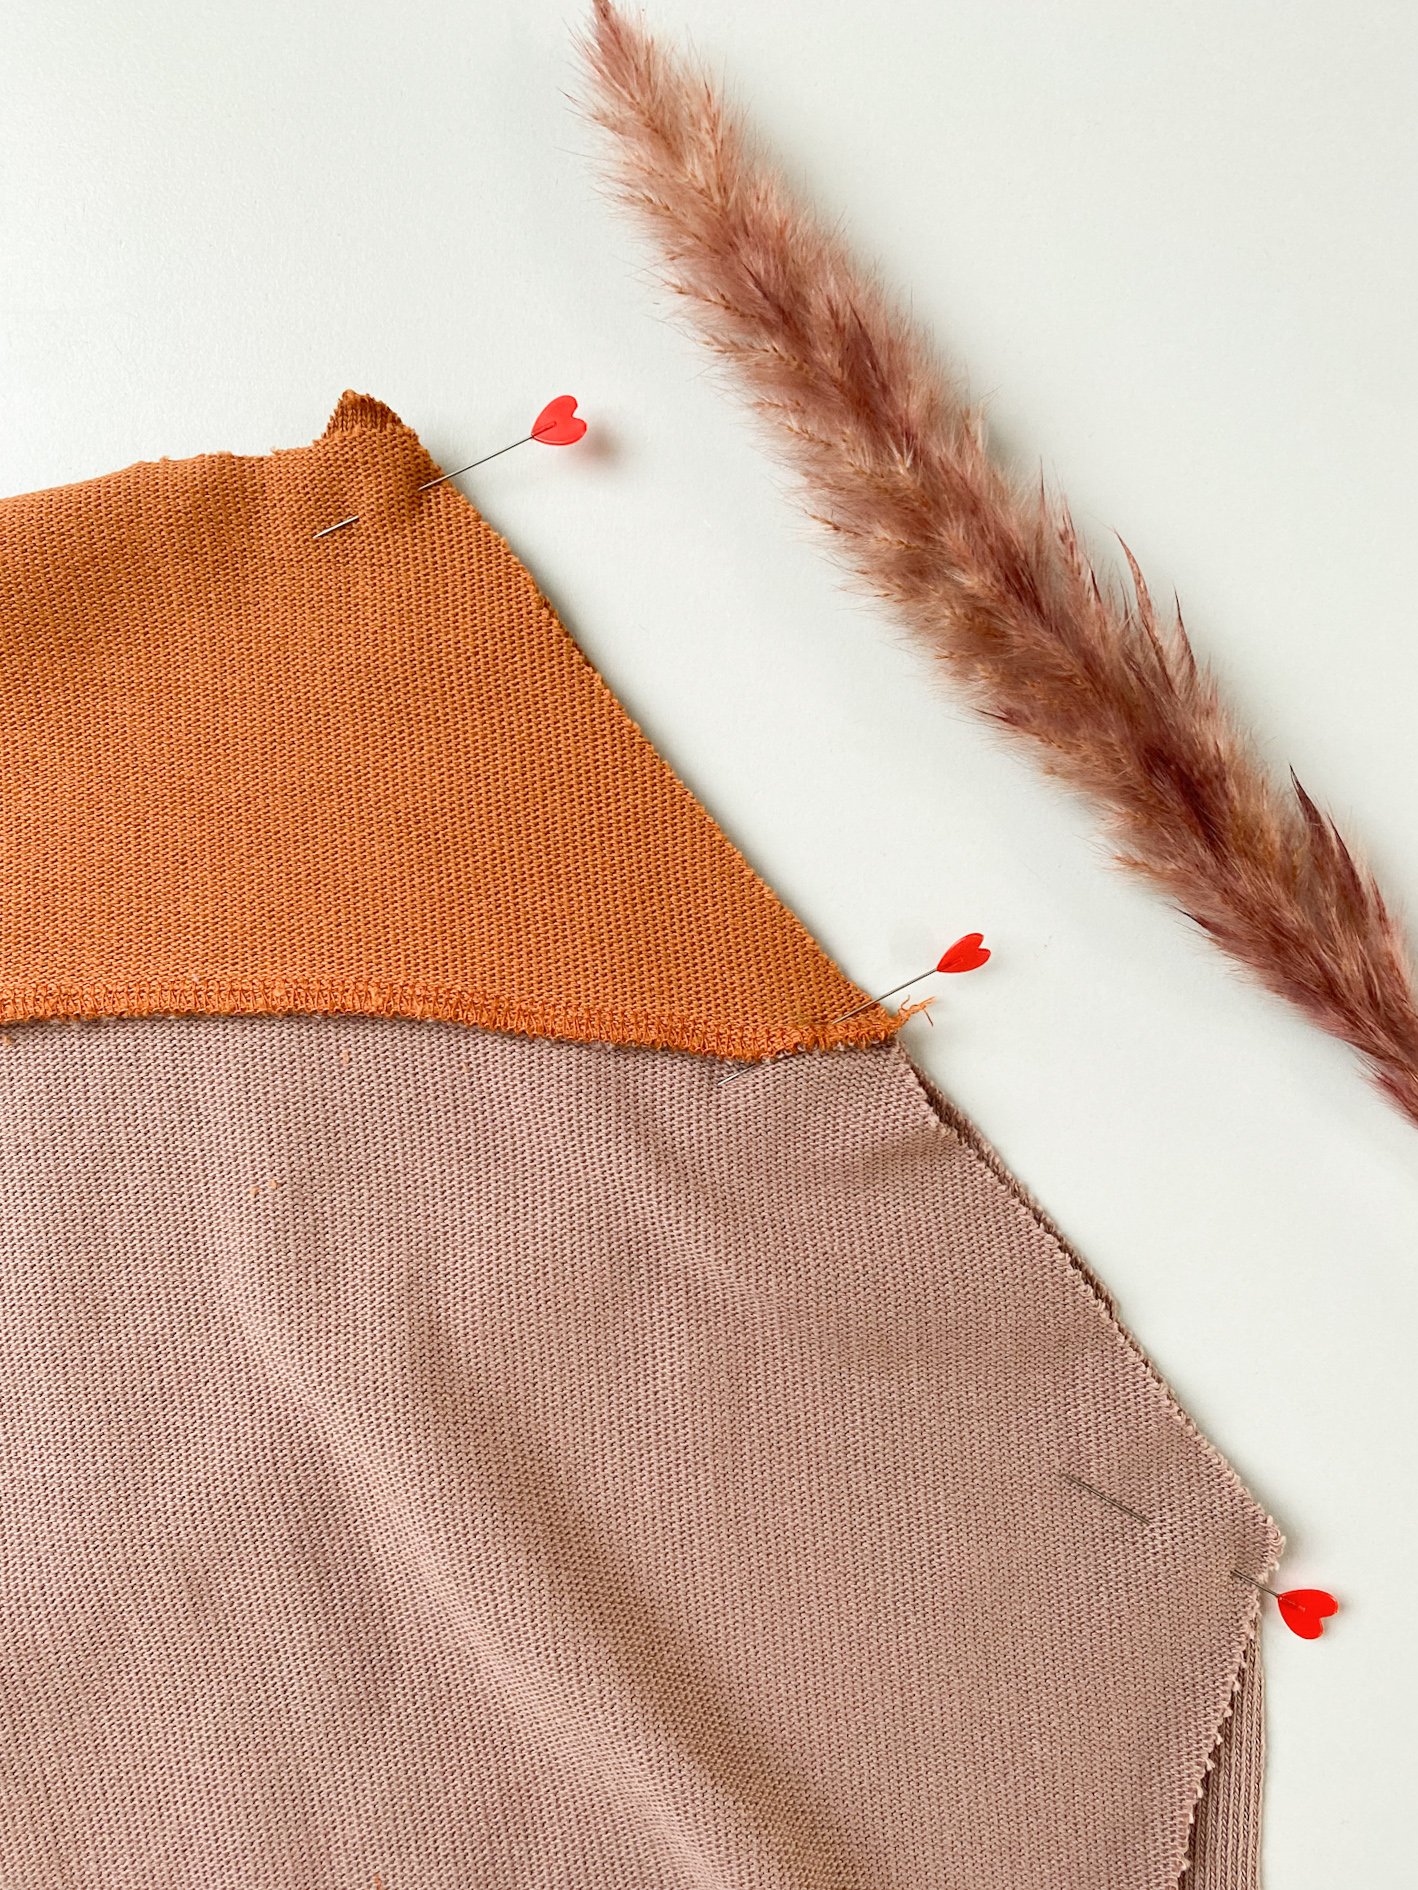
2. Sewing colorblock front and back
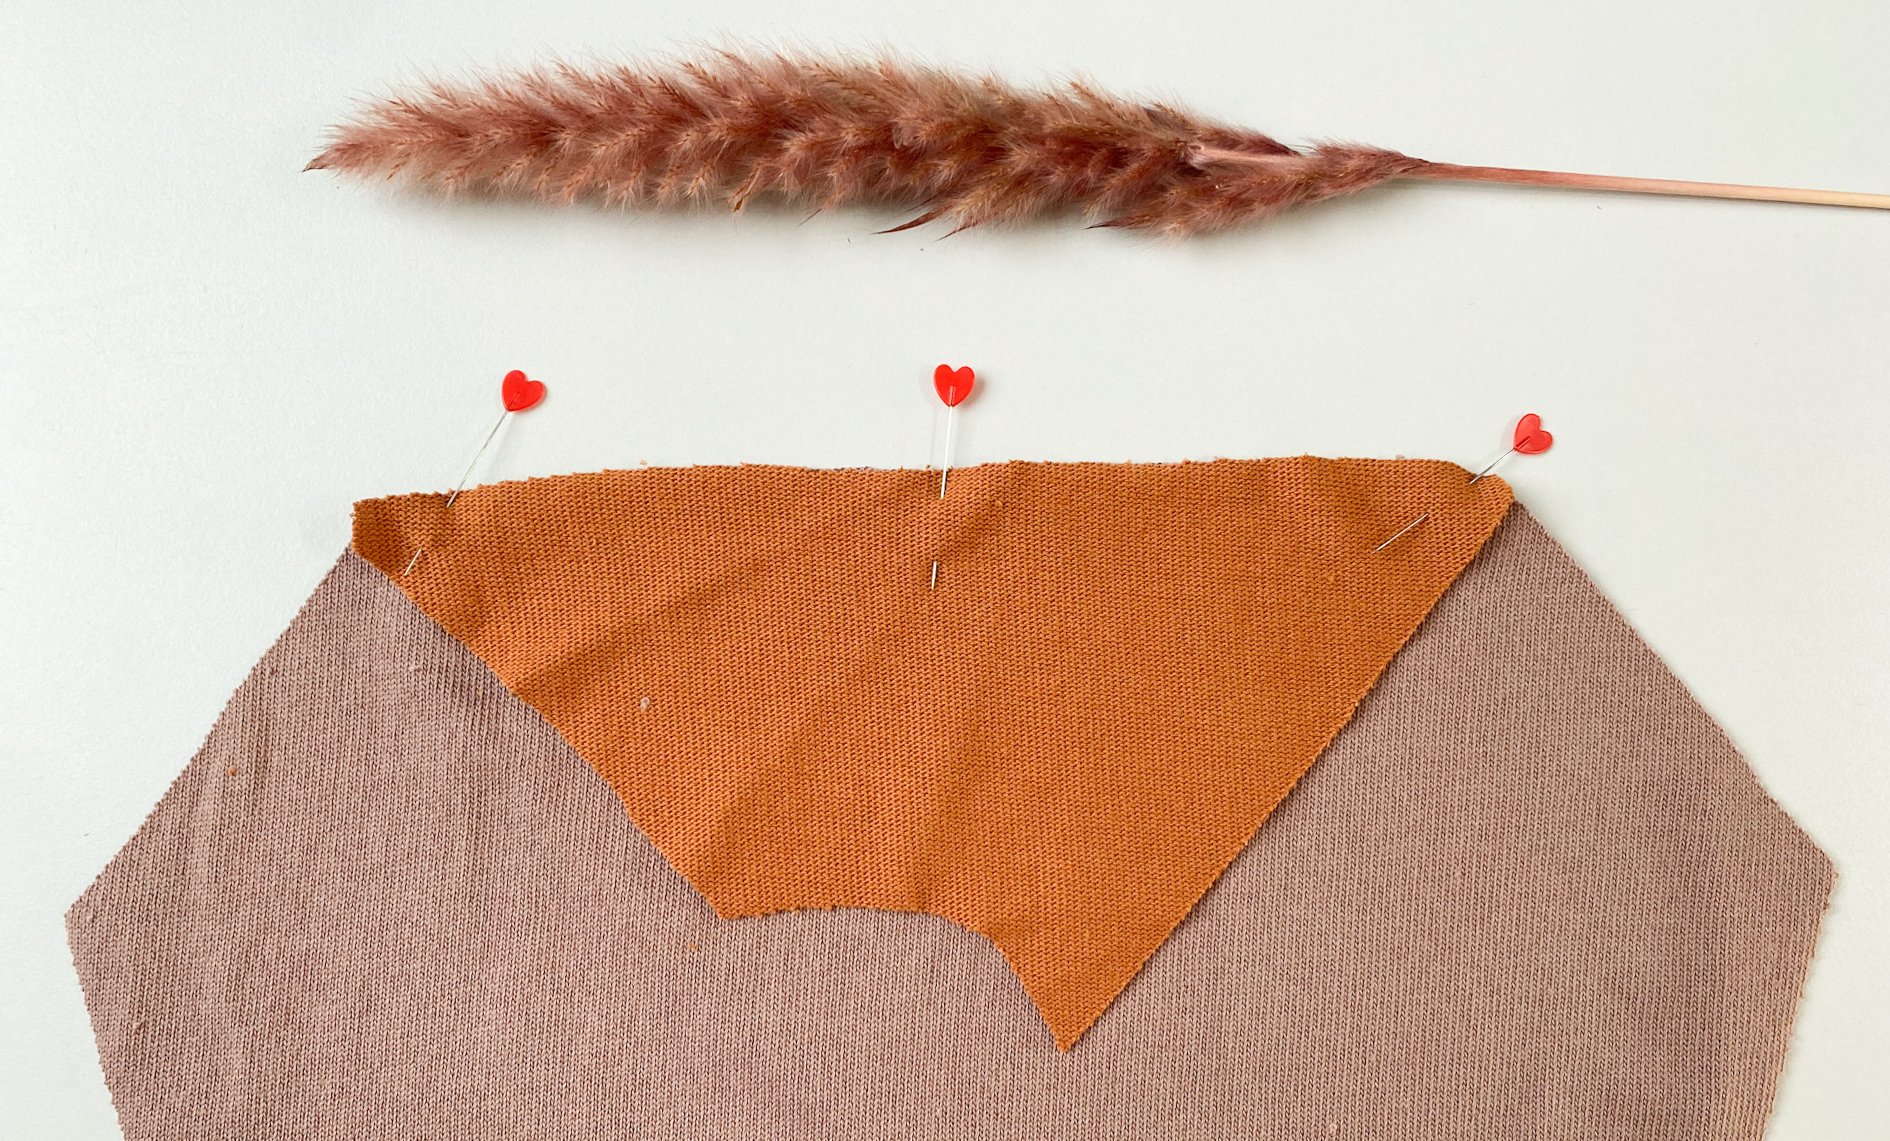
Place part 2 of the colorblock on top of part 1, right sides together and pin in place.
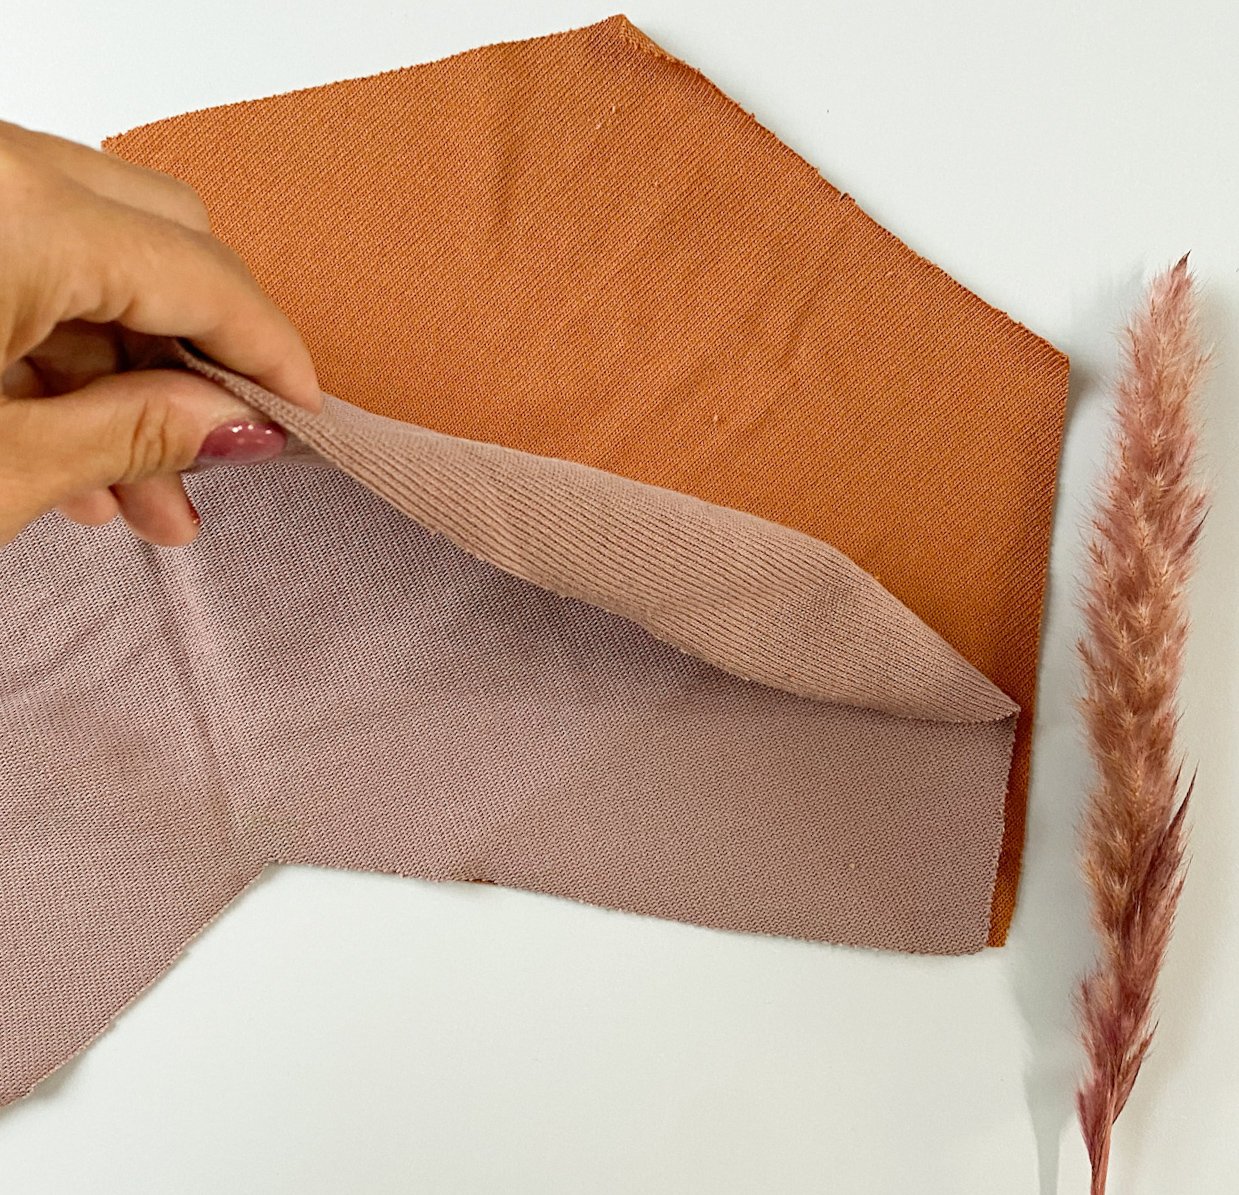
Make sure that the marked corners in line up perfectly.
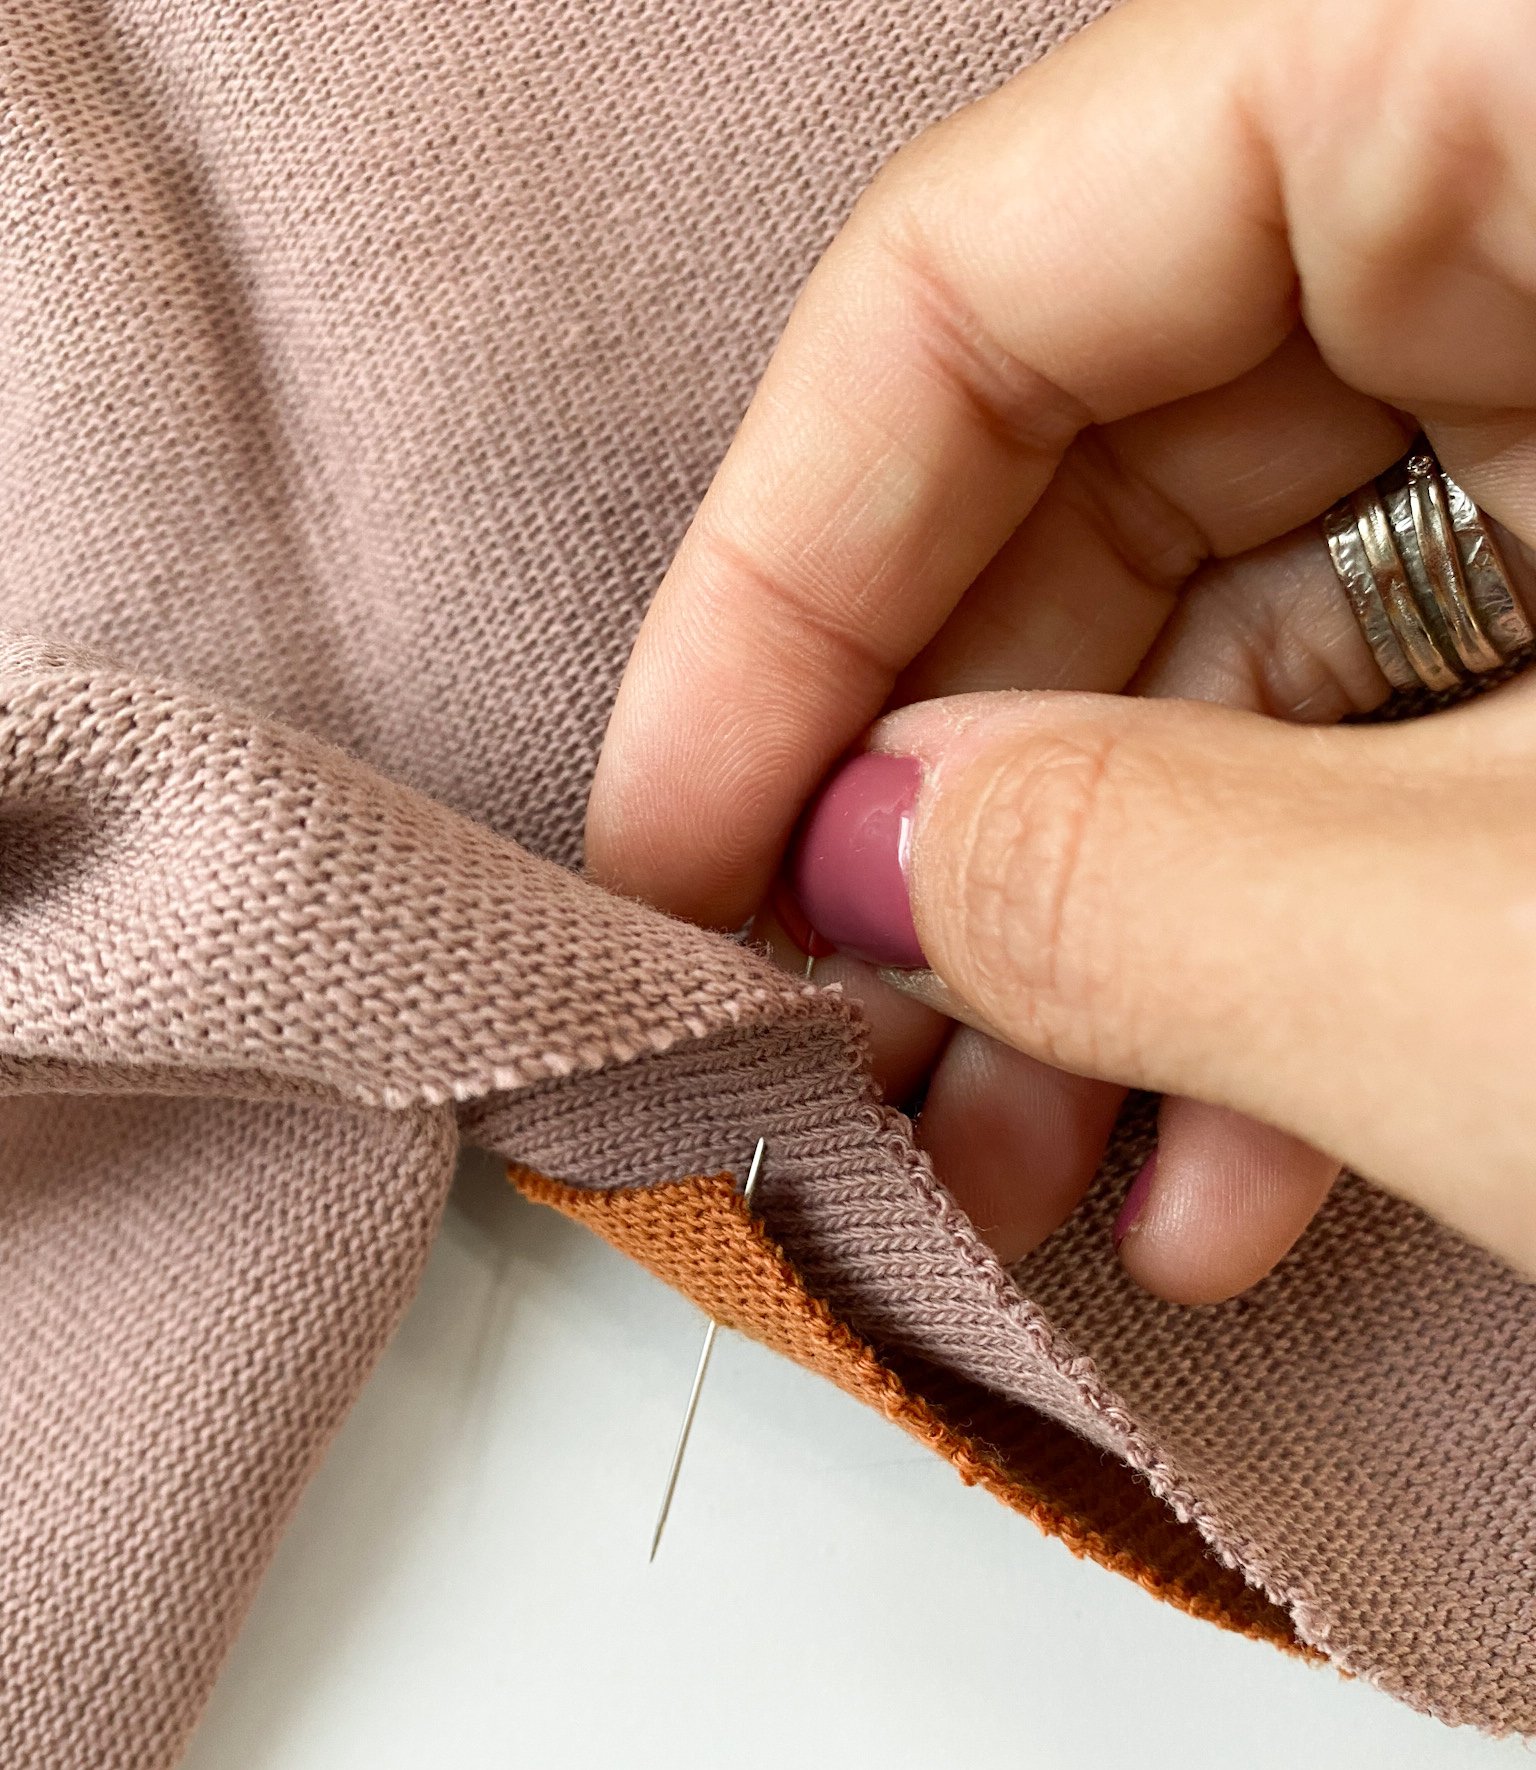
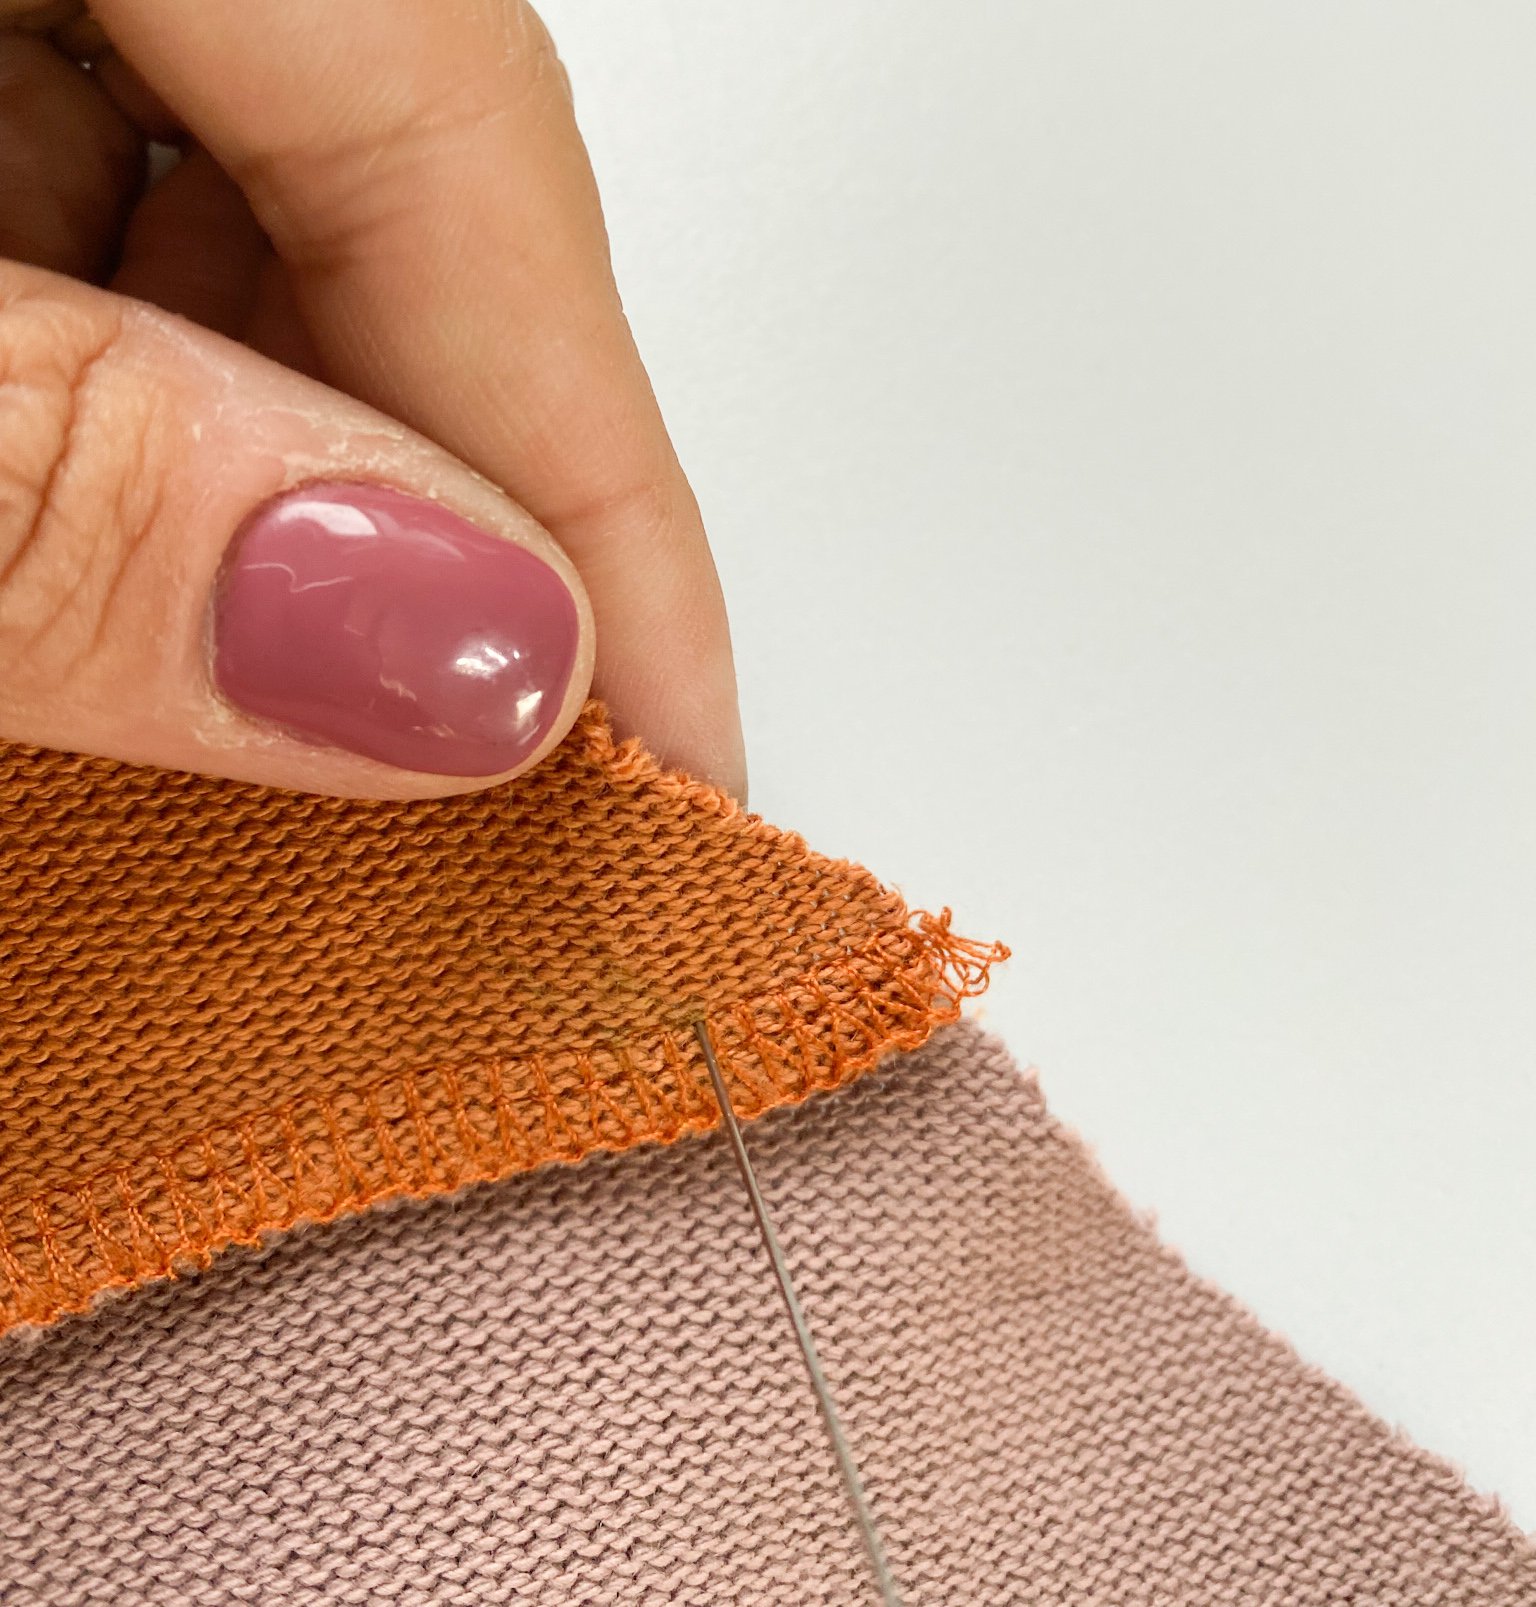
Insert a pin through the marked point of part 2, immediately insert it through the marked point of part 1.

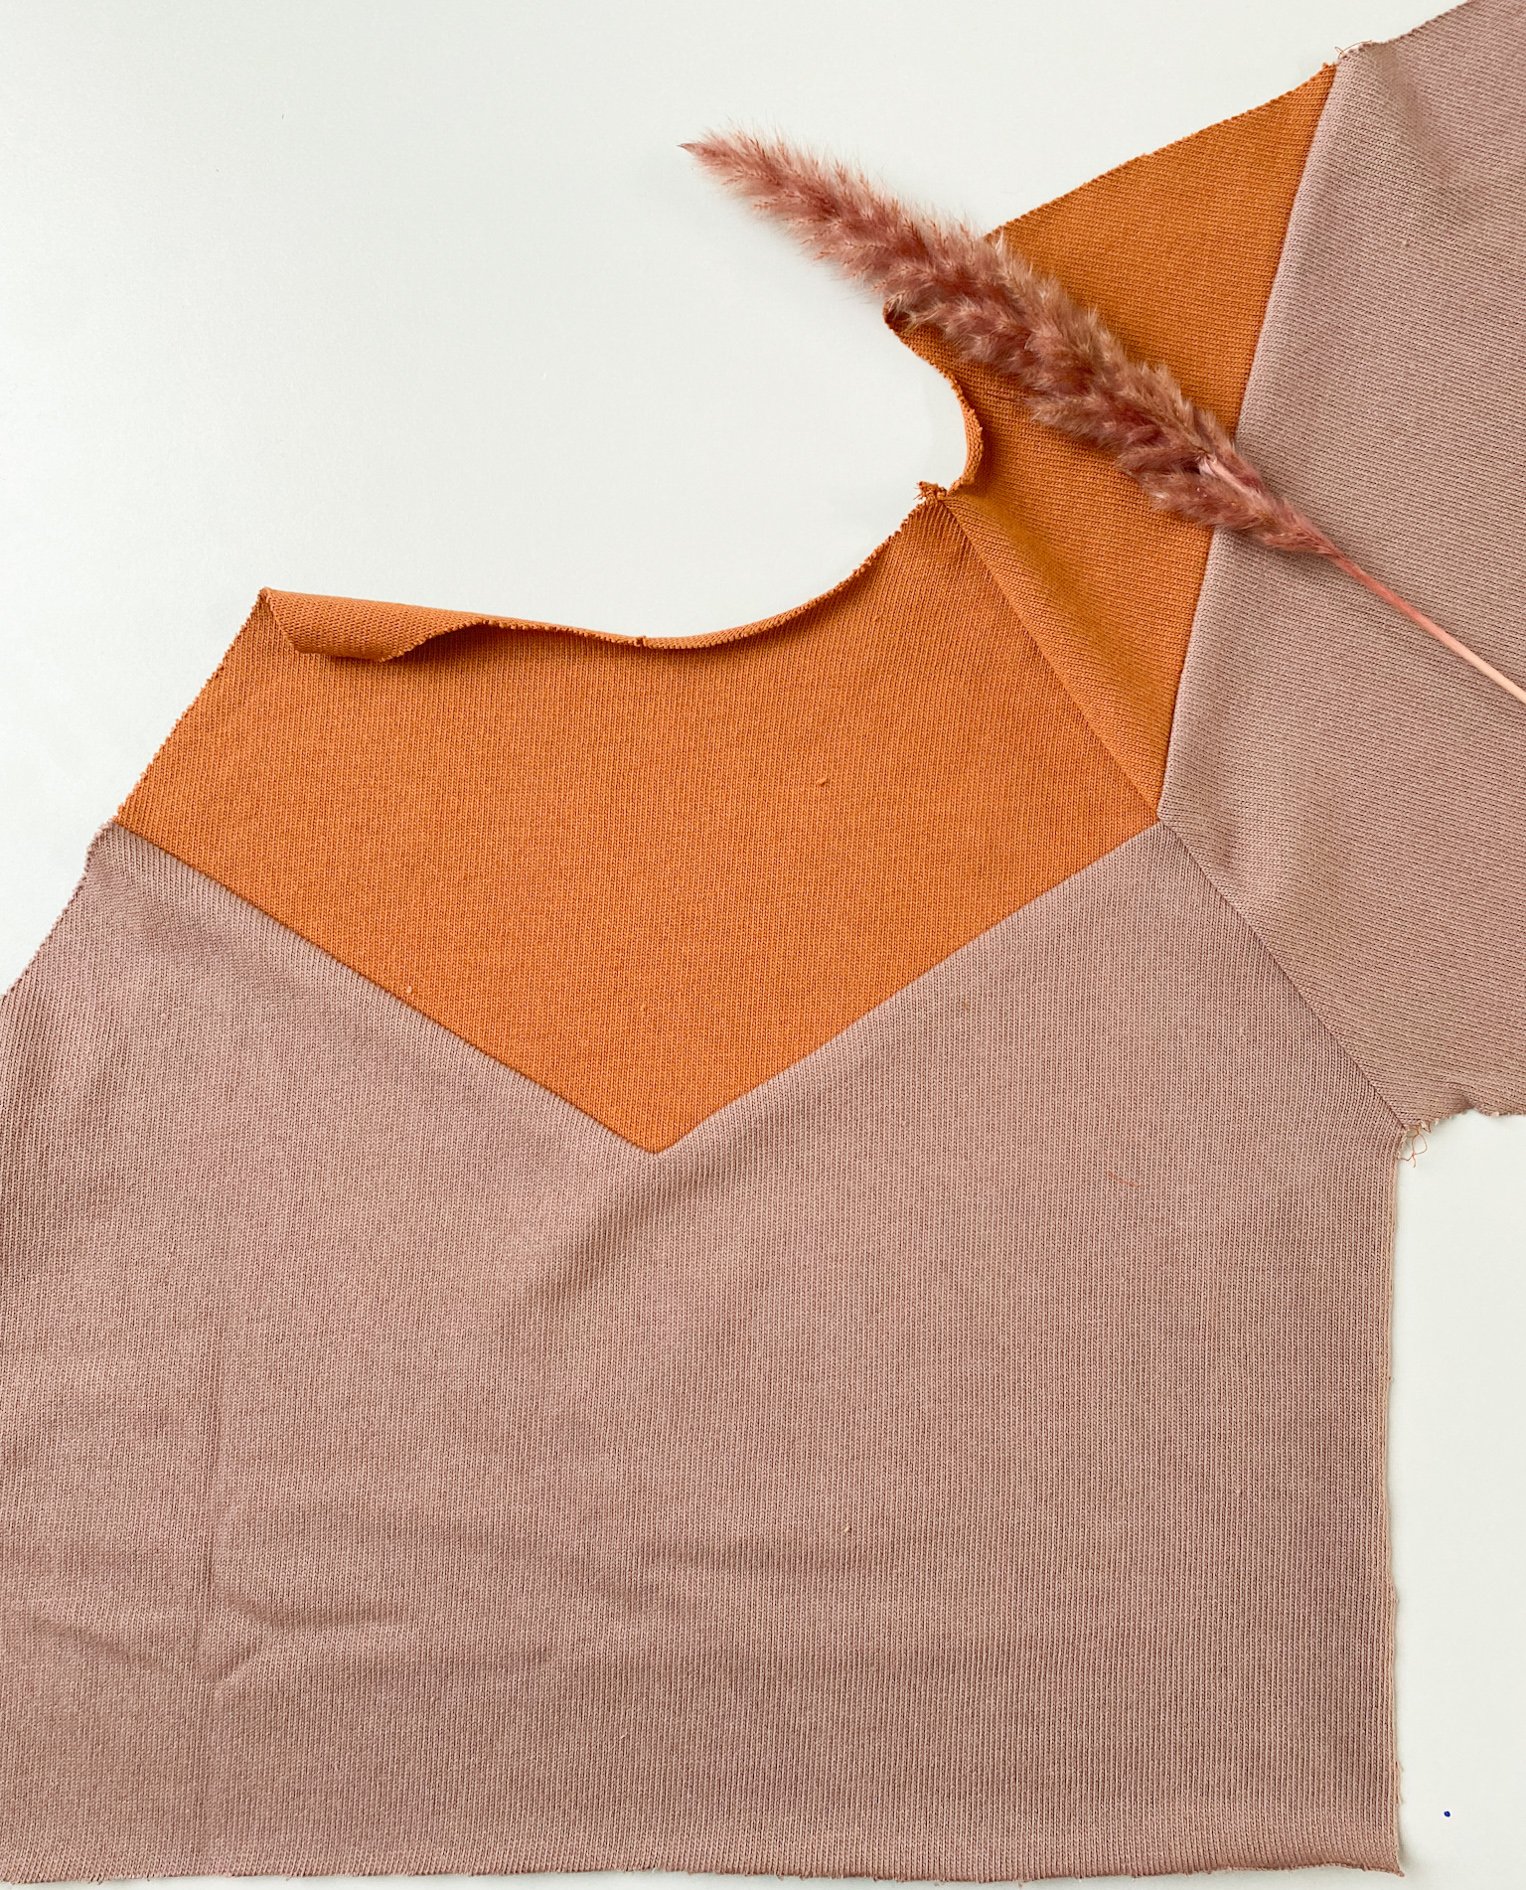
Stitch like this:
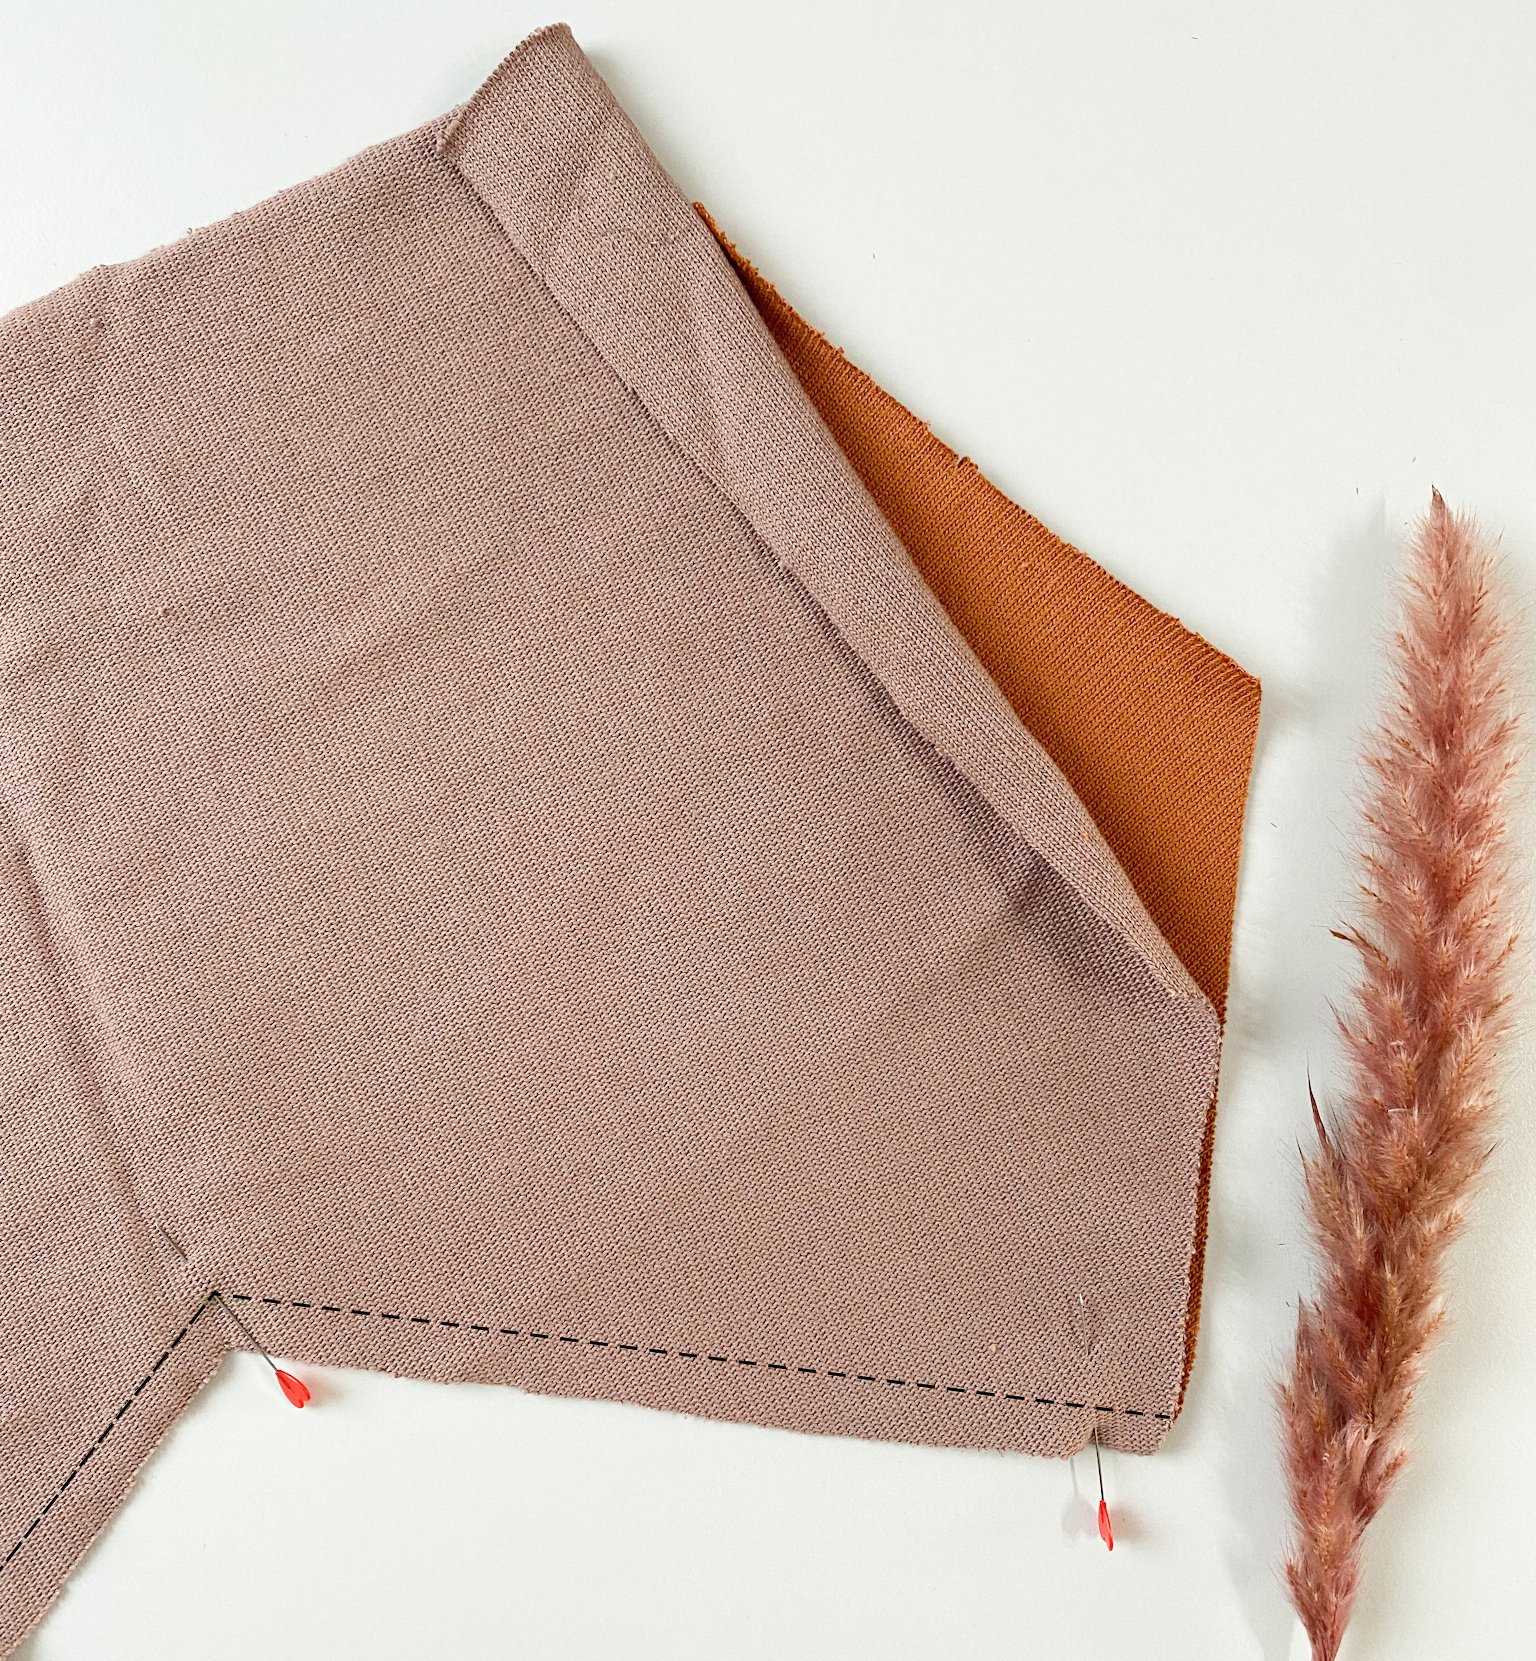
Stitch until your needle is down in the marked V-point.
Leave your needle in the fabric, lift up the presser foot and cut into the fabric until right before your needle.

Turn the fabric and place the remaining piece of part 2 right side up onto part 1 and stitch the rest of the seam.
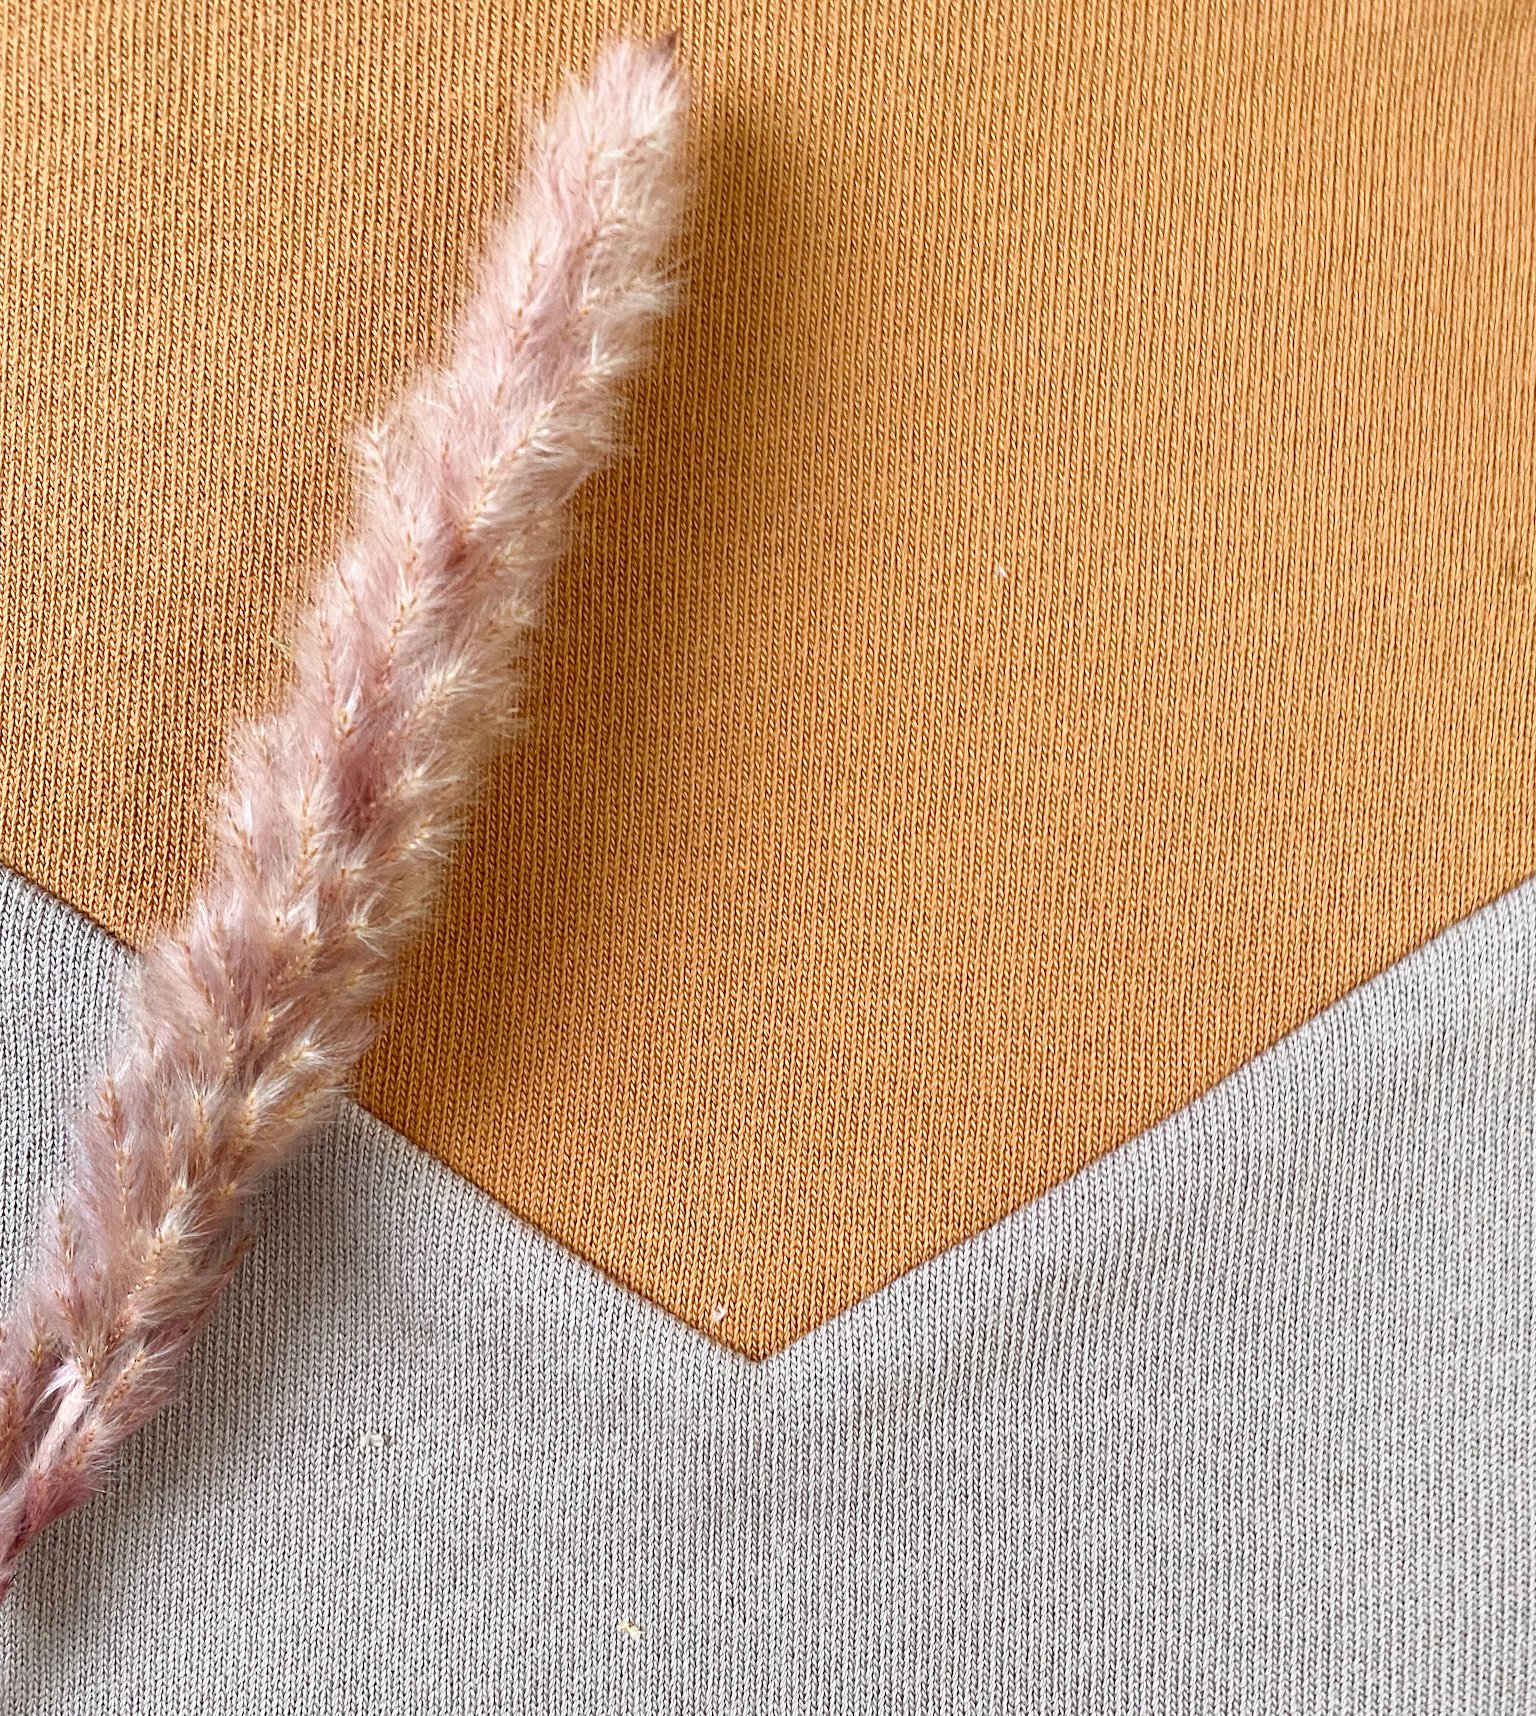
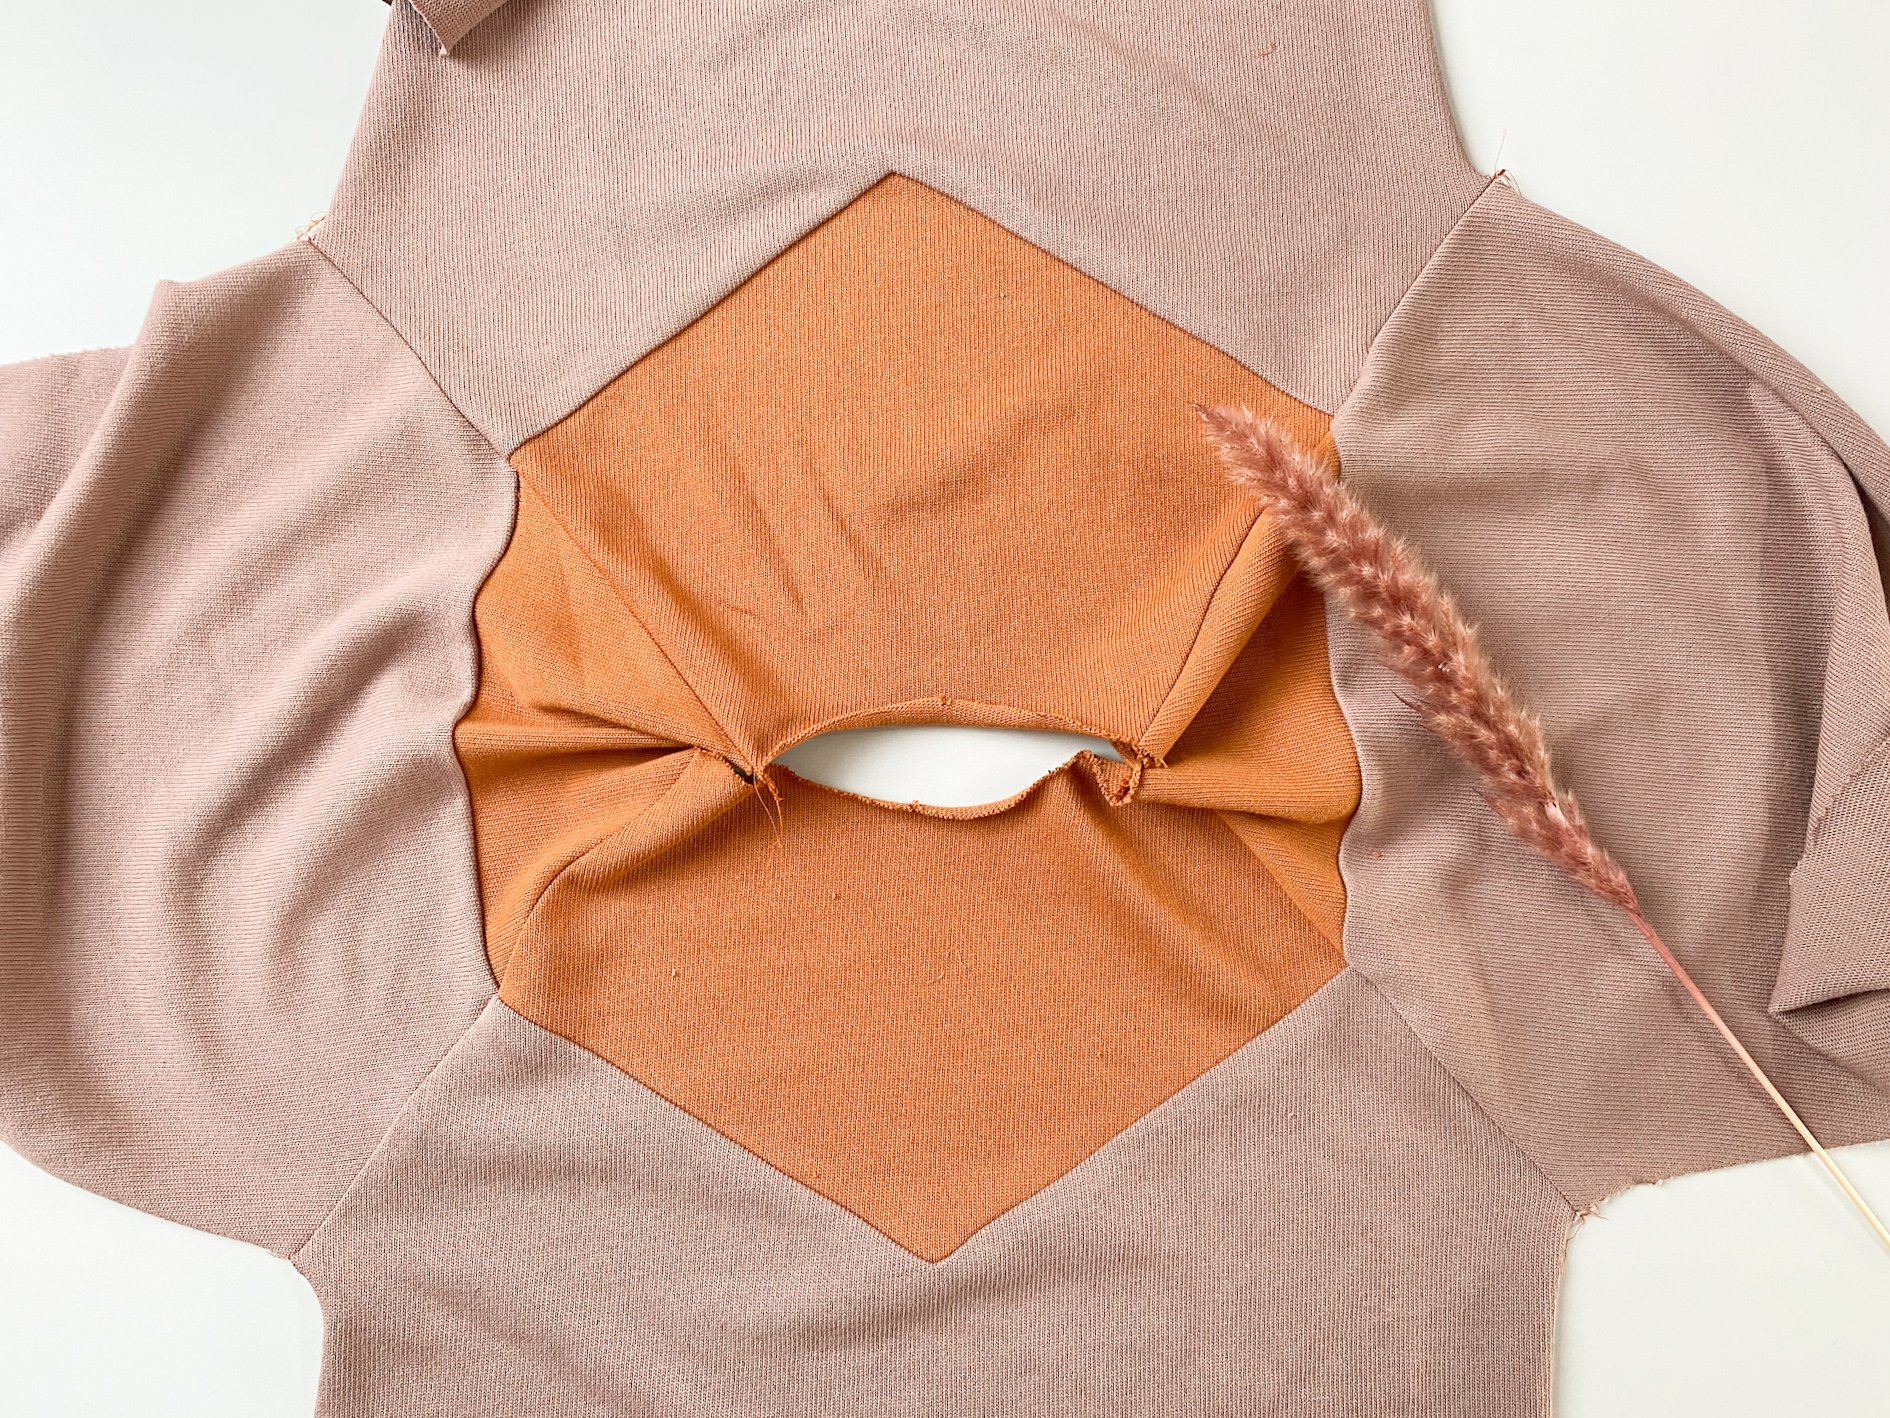
Press down the seam from your V and overlock the seams.

3. Sewing colorblock sleeve
Place part 2 of the colorblock sleeve on top of part 1, right sides together and stitch.

Finish seam and press down.
4. Attaching sleeves to bodice
We are going to make sure that the colorblock of the front panel align nicely with the coloblock line in the sleeve.
To do this, insert the tip of a pin through the 1st colorblock seam of the sleeve.
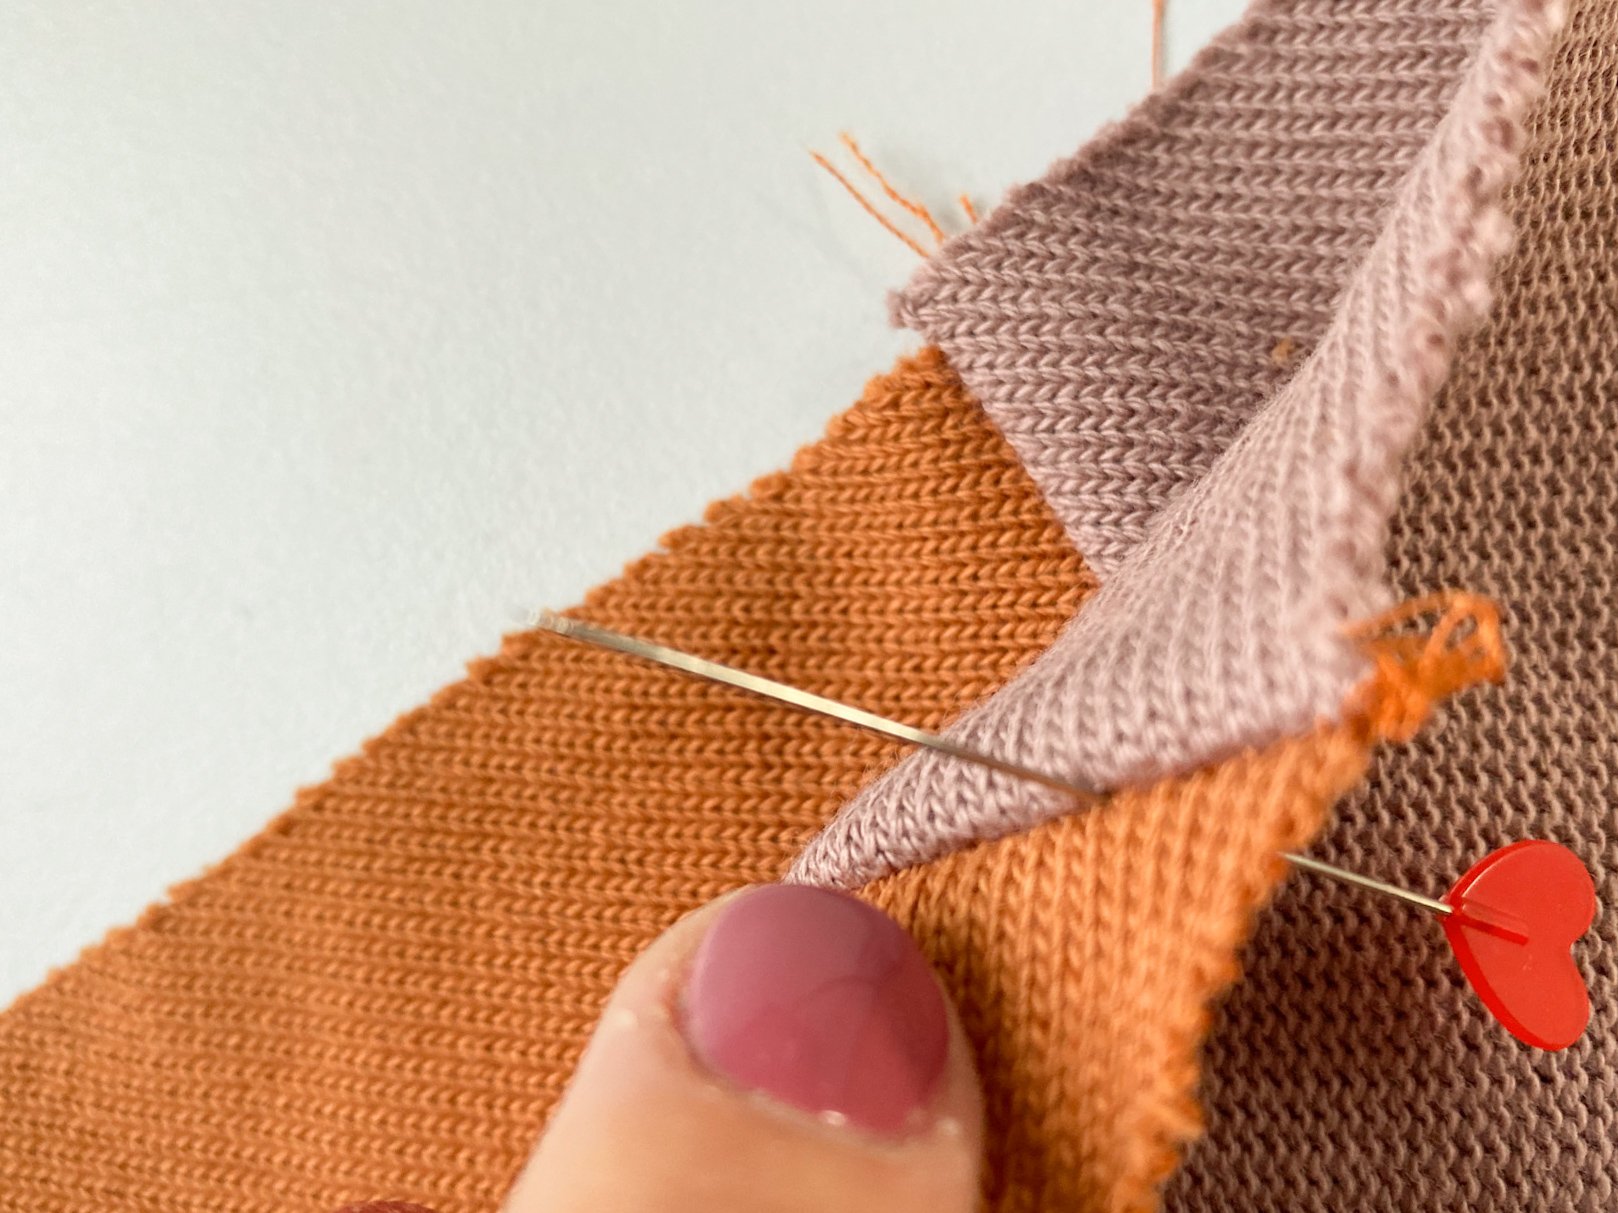
Then insert the tip of this pin through the corresponding colorblock seam of the front panel and attach the pin.

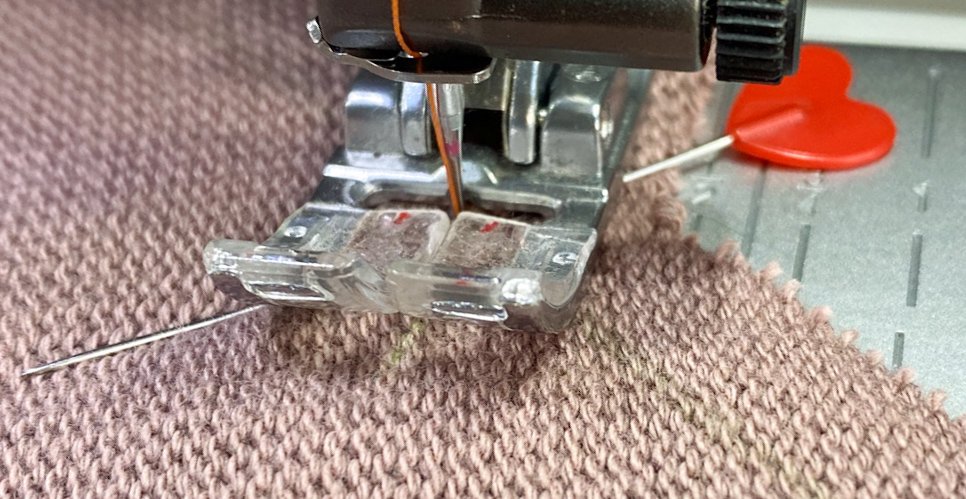
Stitch the seam 1cm from the edge.
Leave the pins connecting the colorblock seams in place until you have stitched past them.
Stitch slowly and precisely.
Finish the seam and press towards the sleeve.
Repeat for other sleeve.
Attach the back panel to the sleeves in the same way.
5. Closing side seams and sleeve seams
Place front piece and back piece right sides together, also place the seams of the sleeves together.
Pin and stitch the entire side seam with 1 continuous seam.
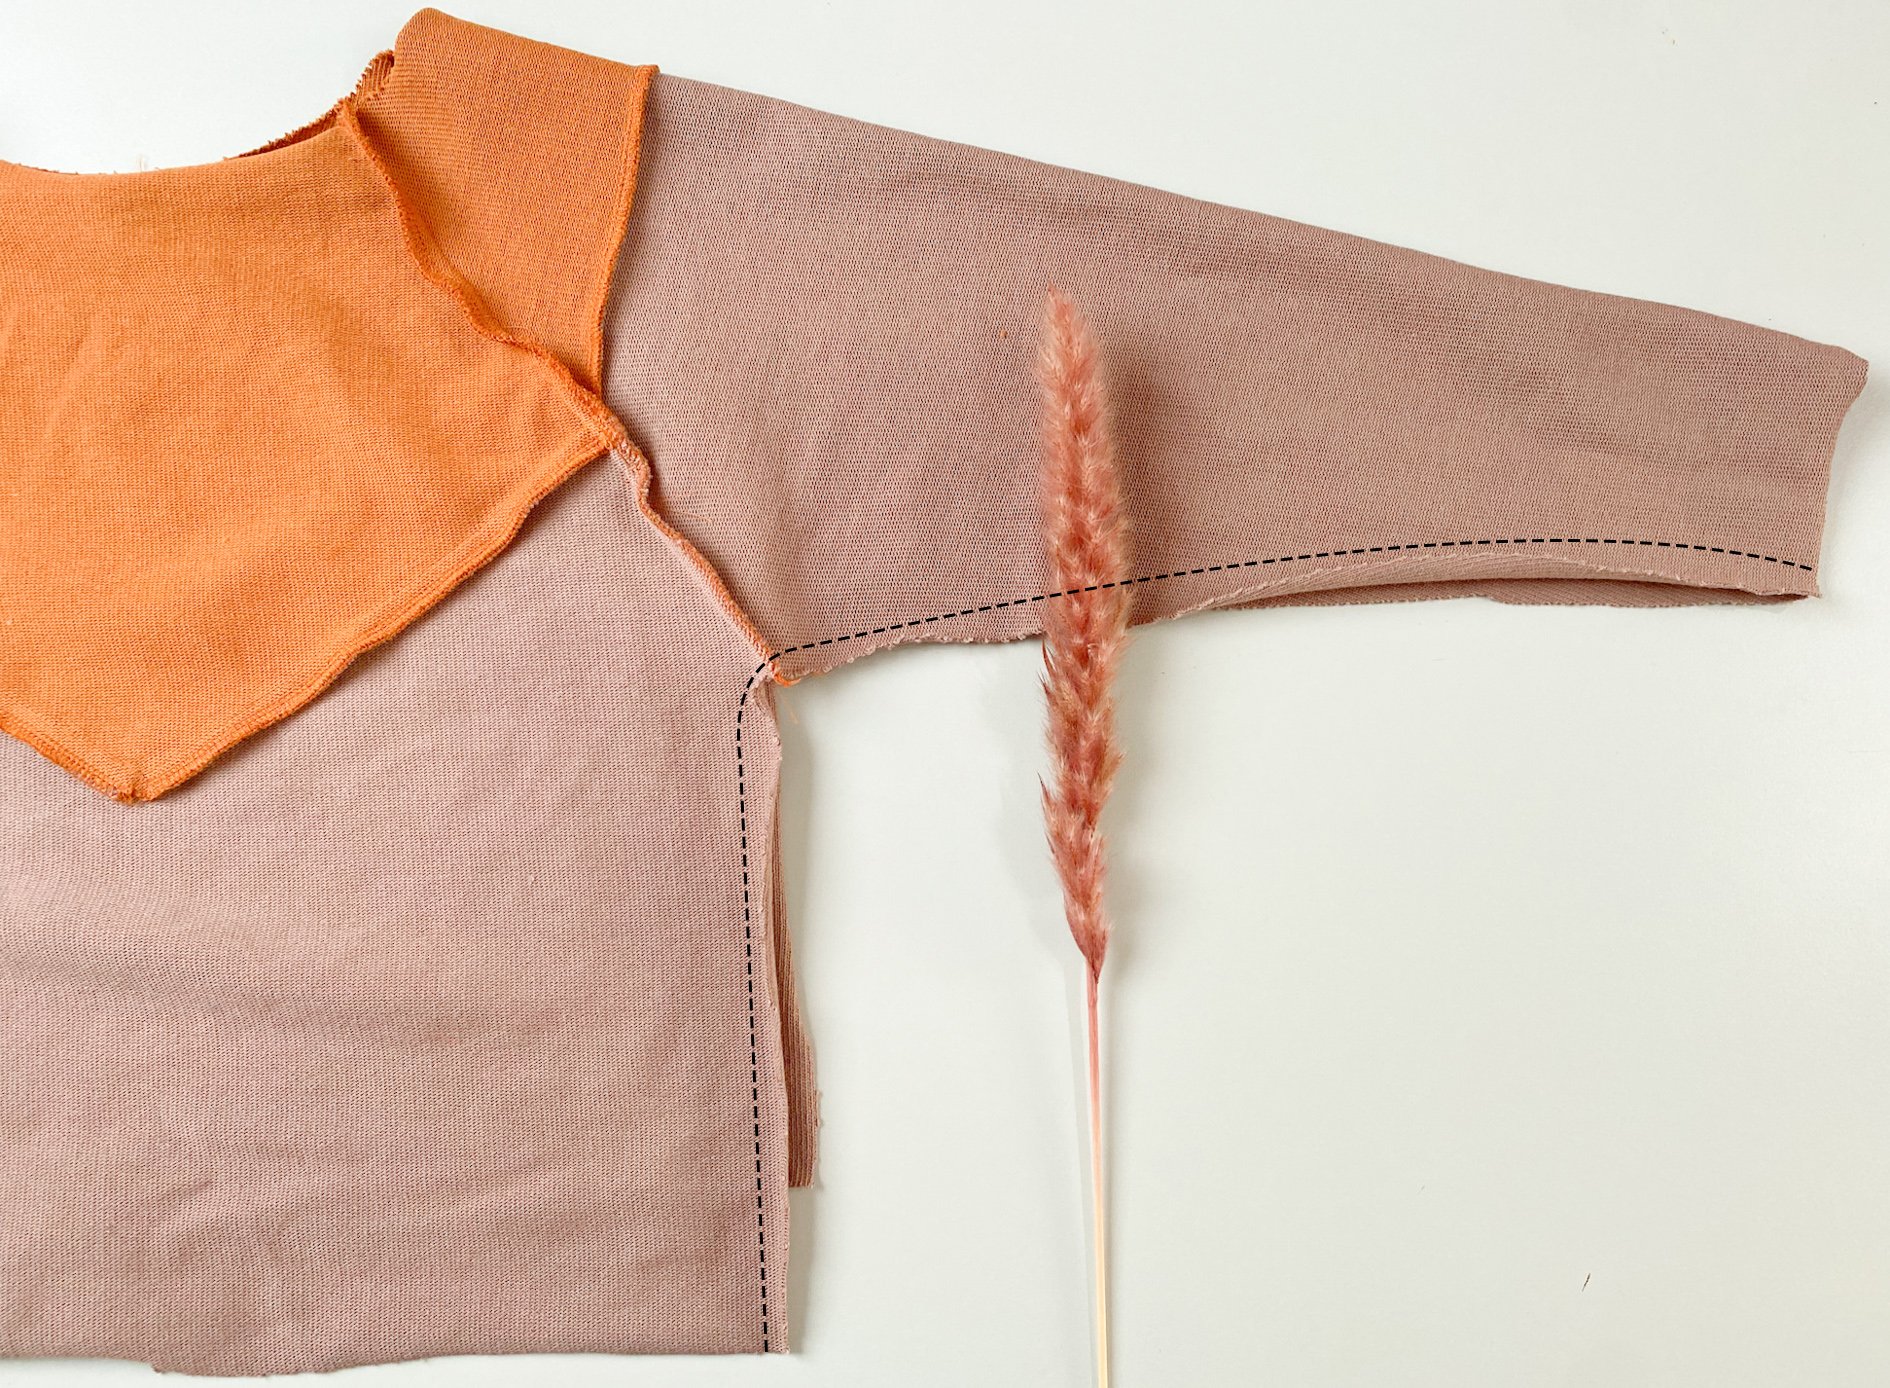
Repeat for the other side and press.
6. Attaching neckband and sleeve cuffs
Follow the instructions of the pattern :-).
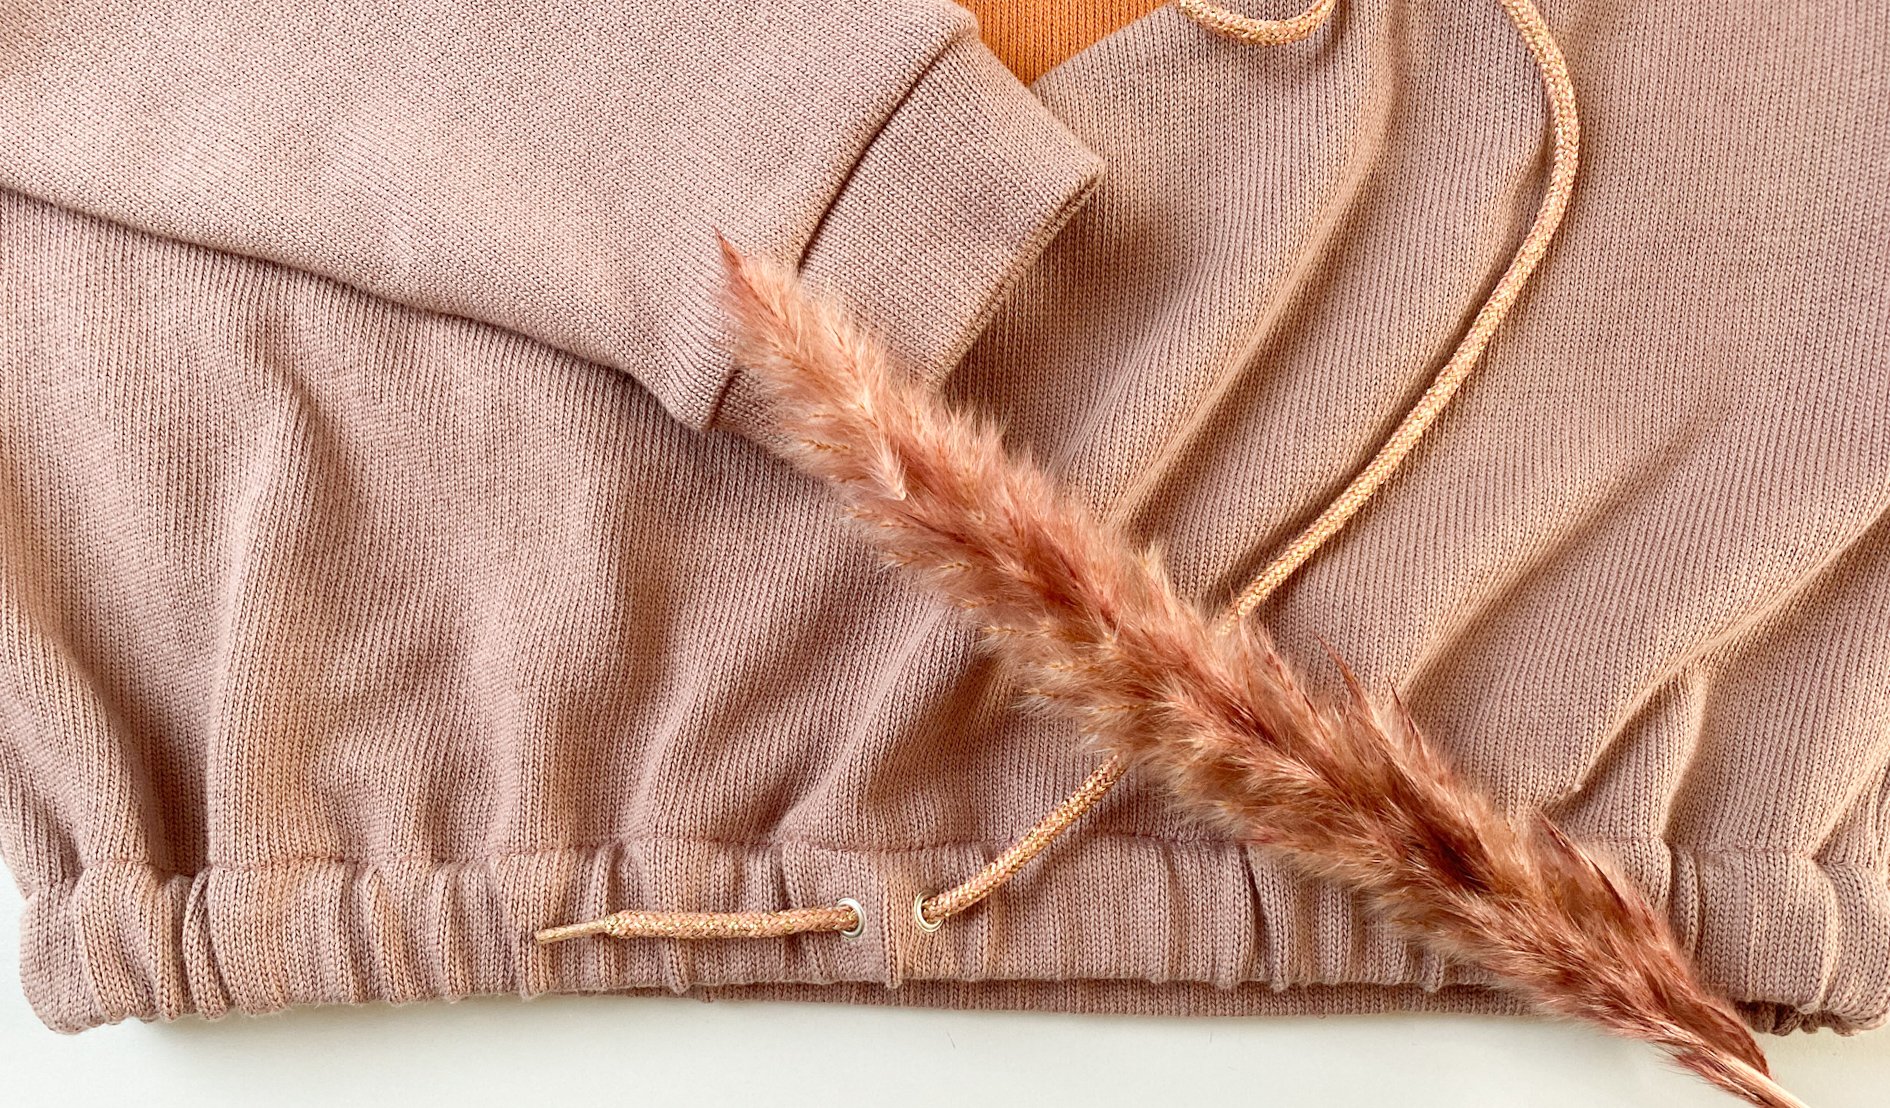
7. Inserting eyelets
First press your hem 1cm to the wrong side and then 2.5cm.
Fold back open, these are your guide lines.

Your eyelets will sit above the 2nd pressing line, in the middle of the tunnel for your elastic.
My tunnel will be2.2cm wide when finished, half of this is 1.1cm
So I measure 1.1cm above the 2nd pressed line.
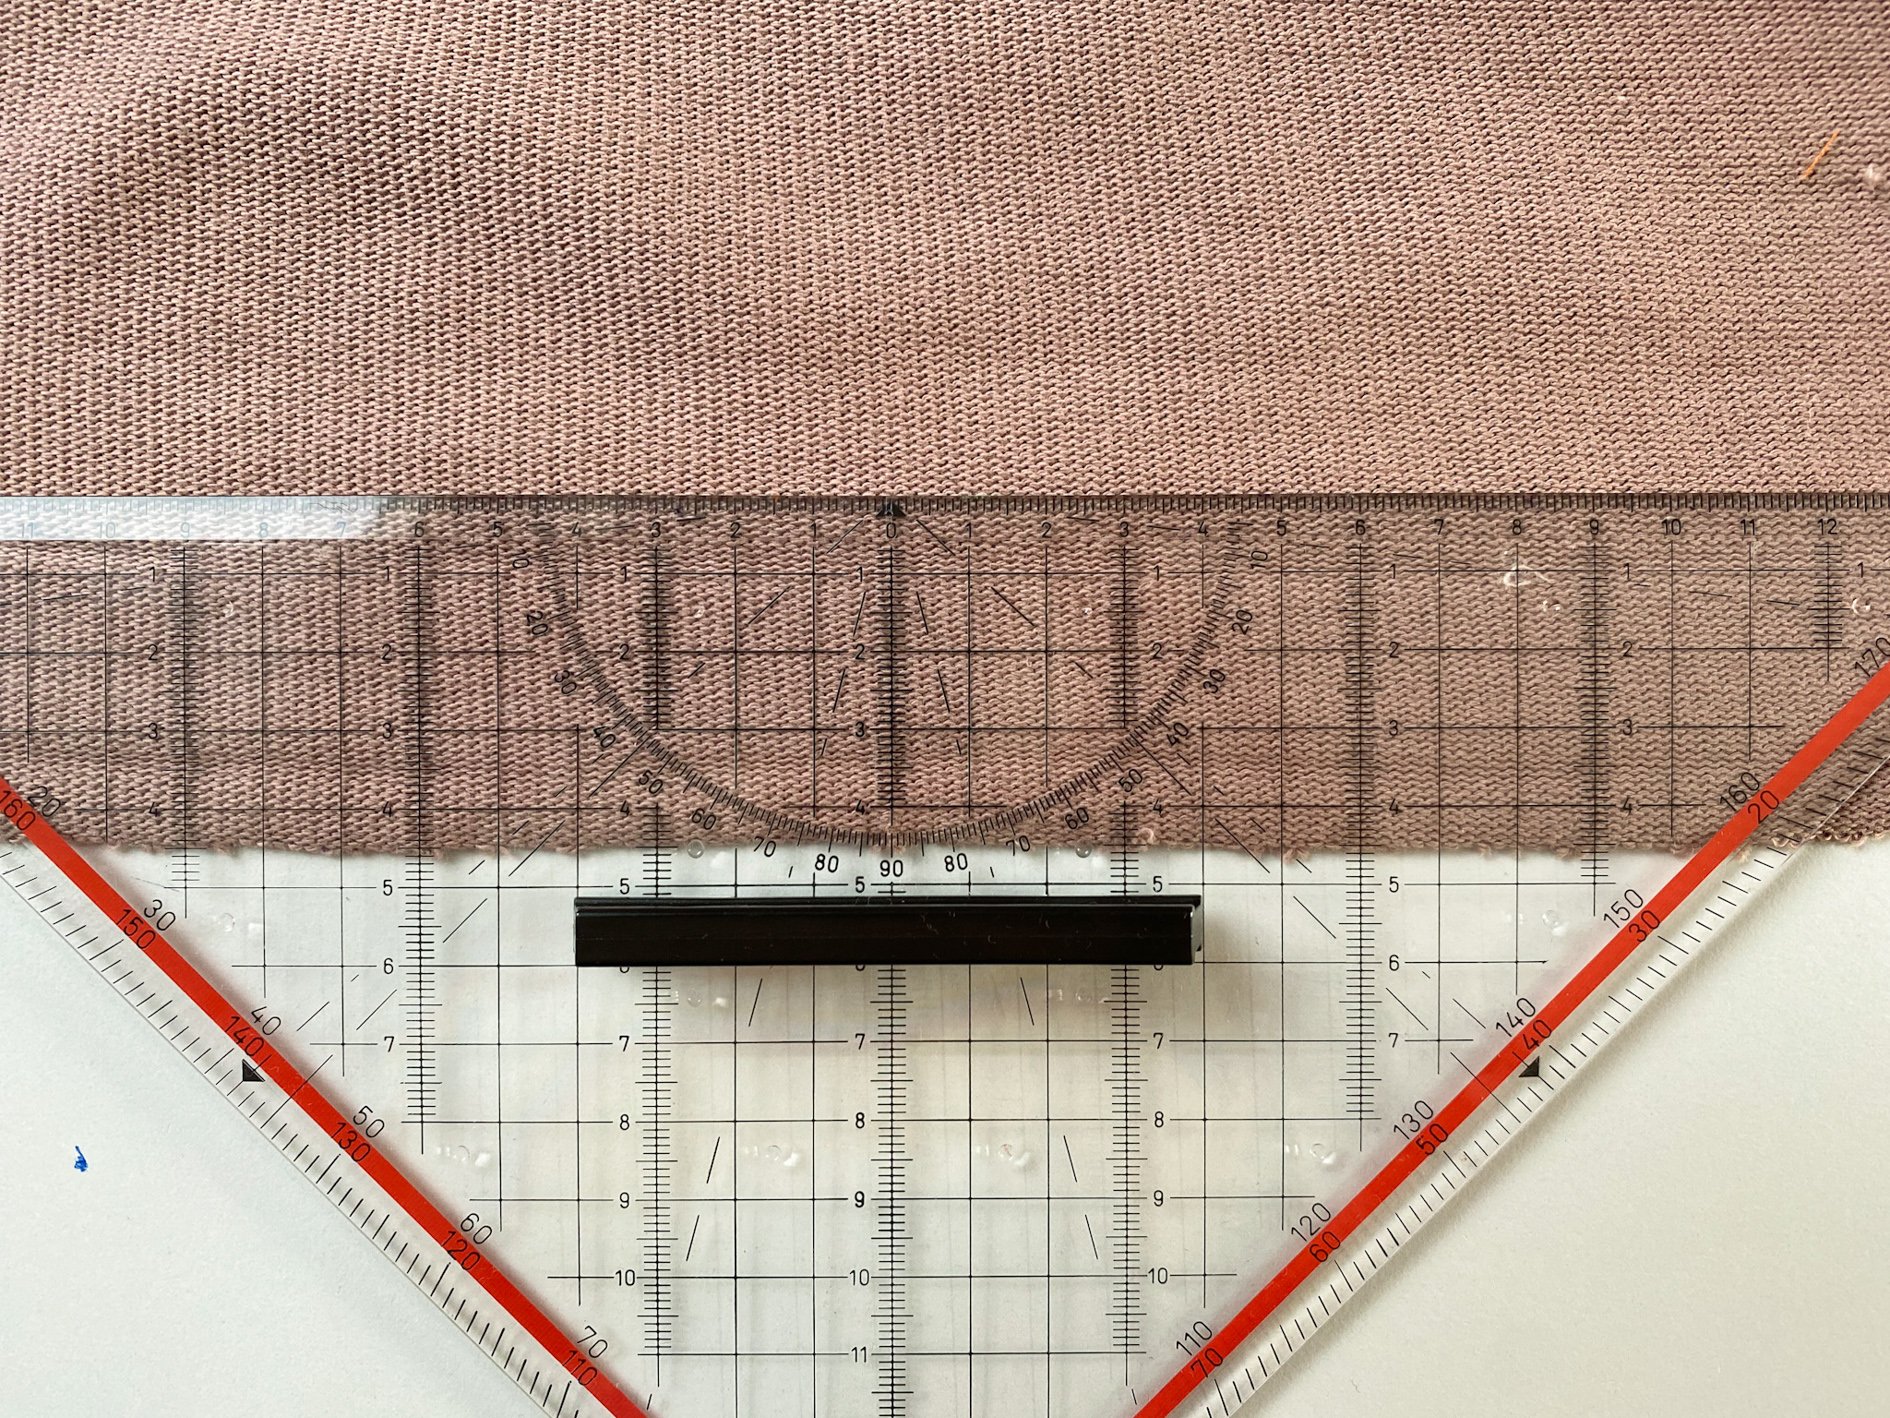
I set my eyelets at 1.5cm left and right of the center at the measured height.
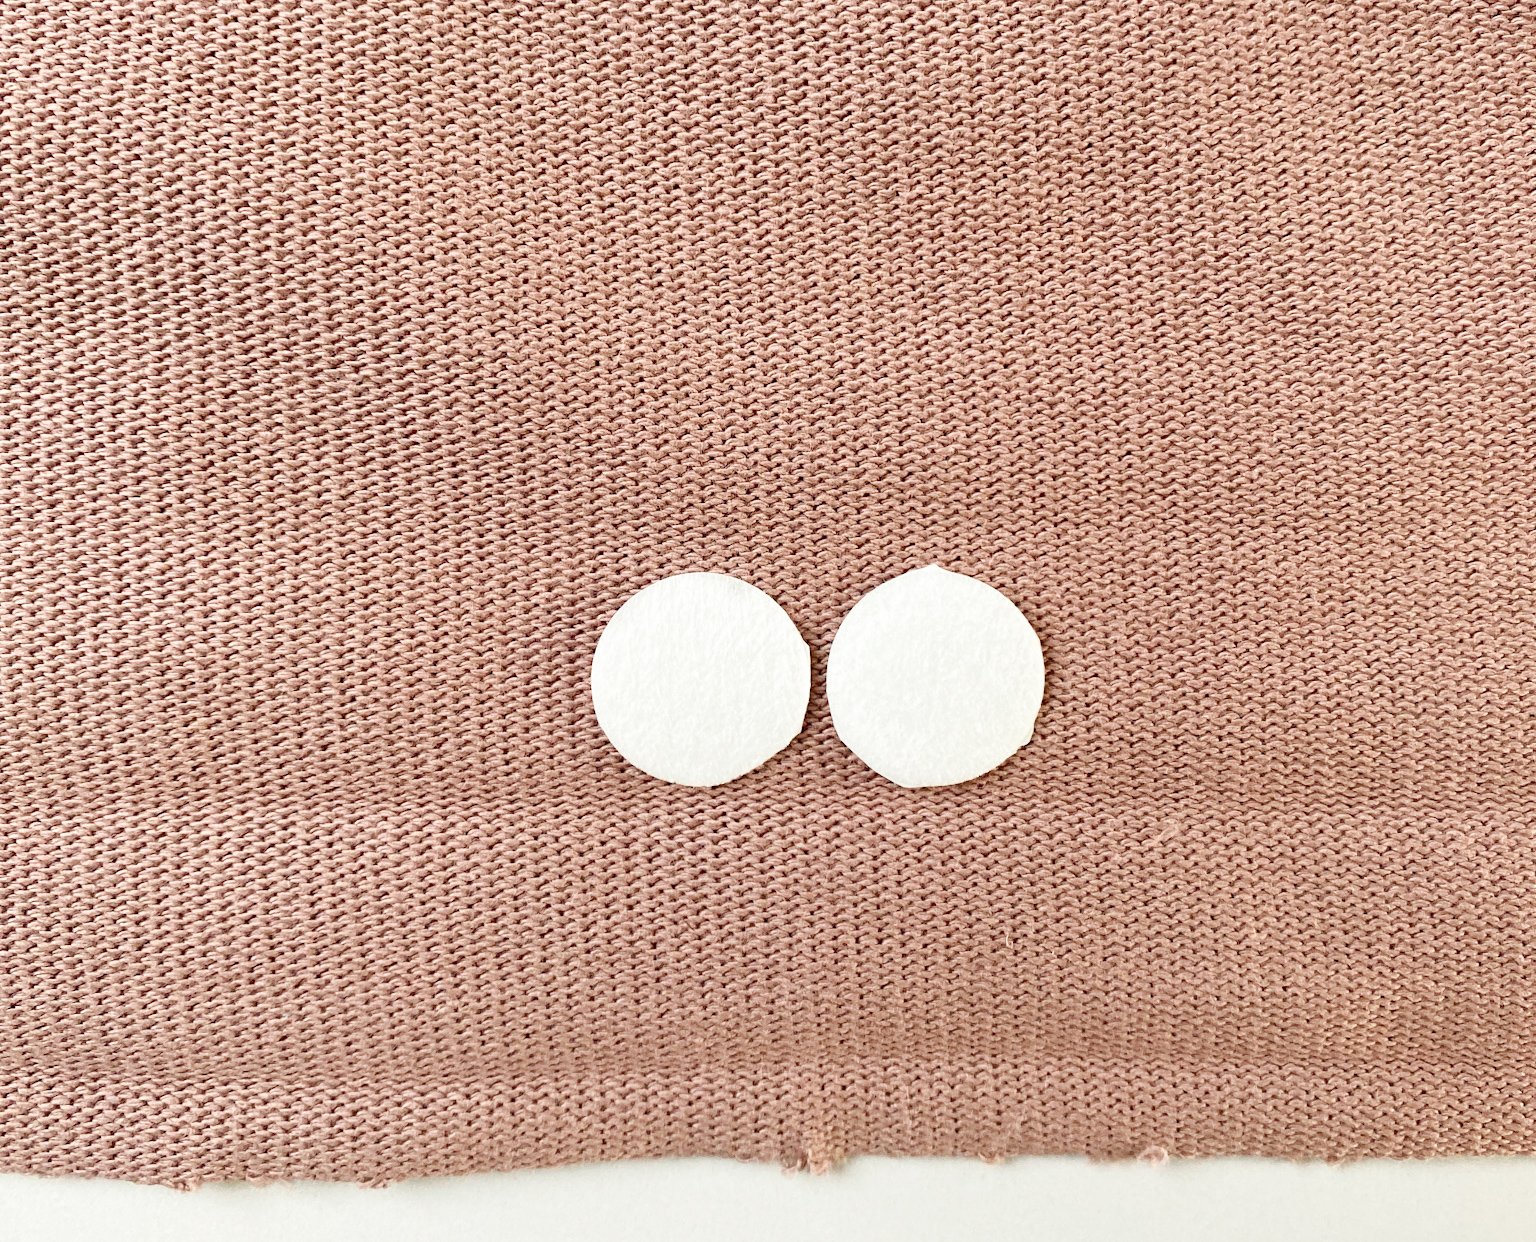
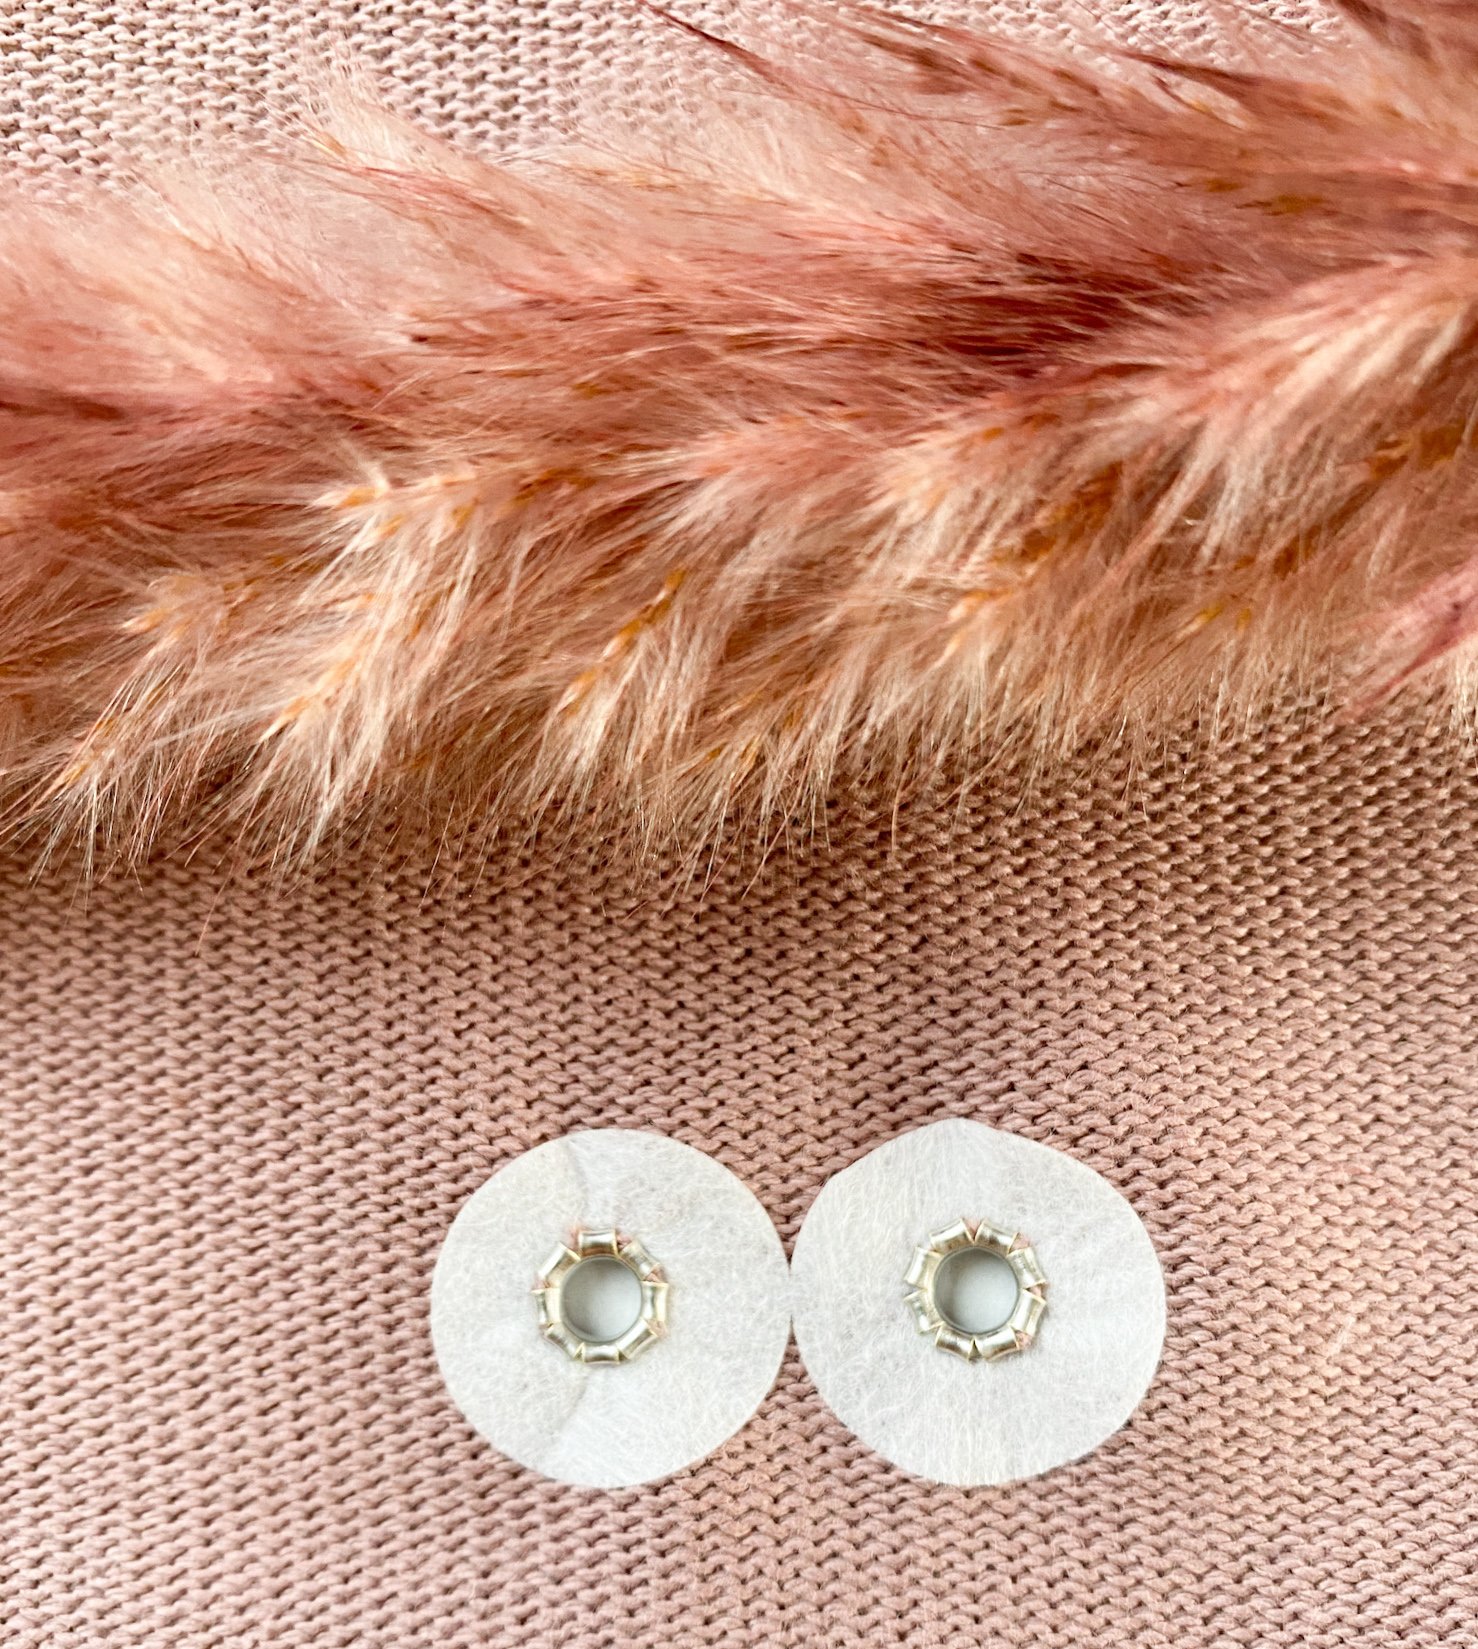
First I press wonderdots on the wrong side of the fabric, these make sure your fabric doesn’t get damaged.
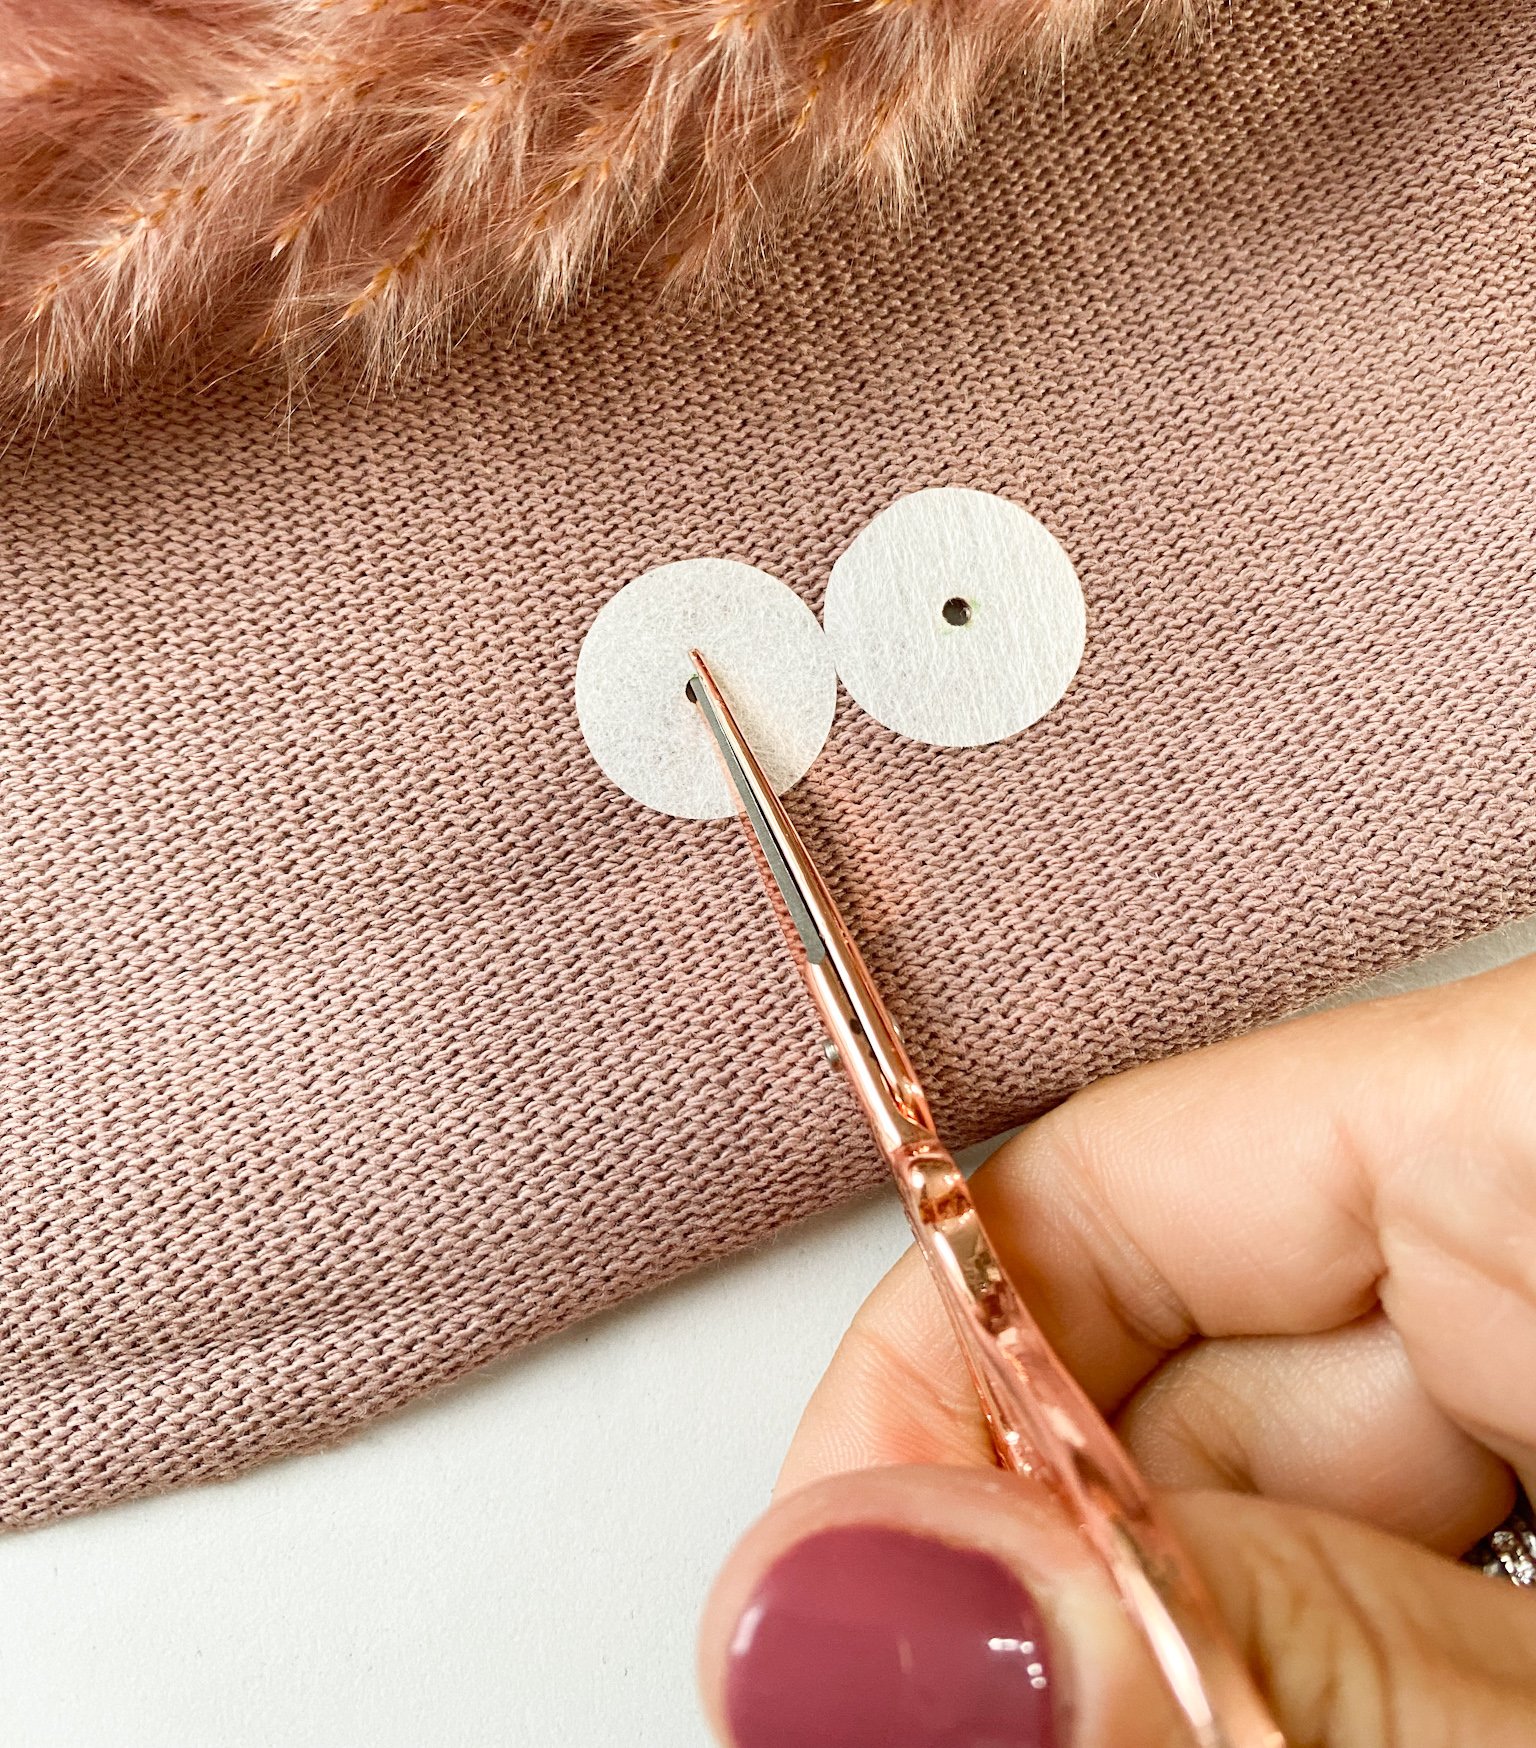
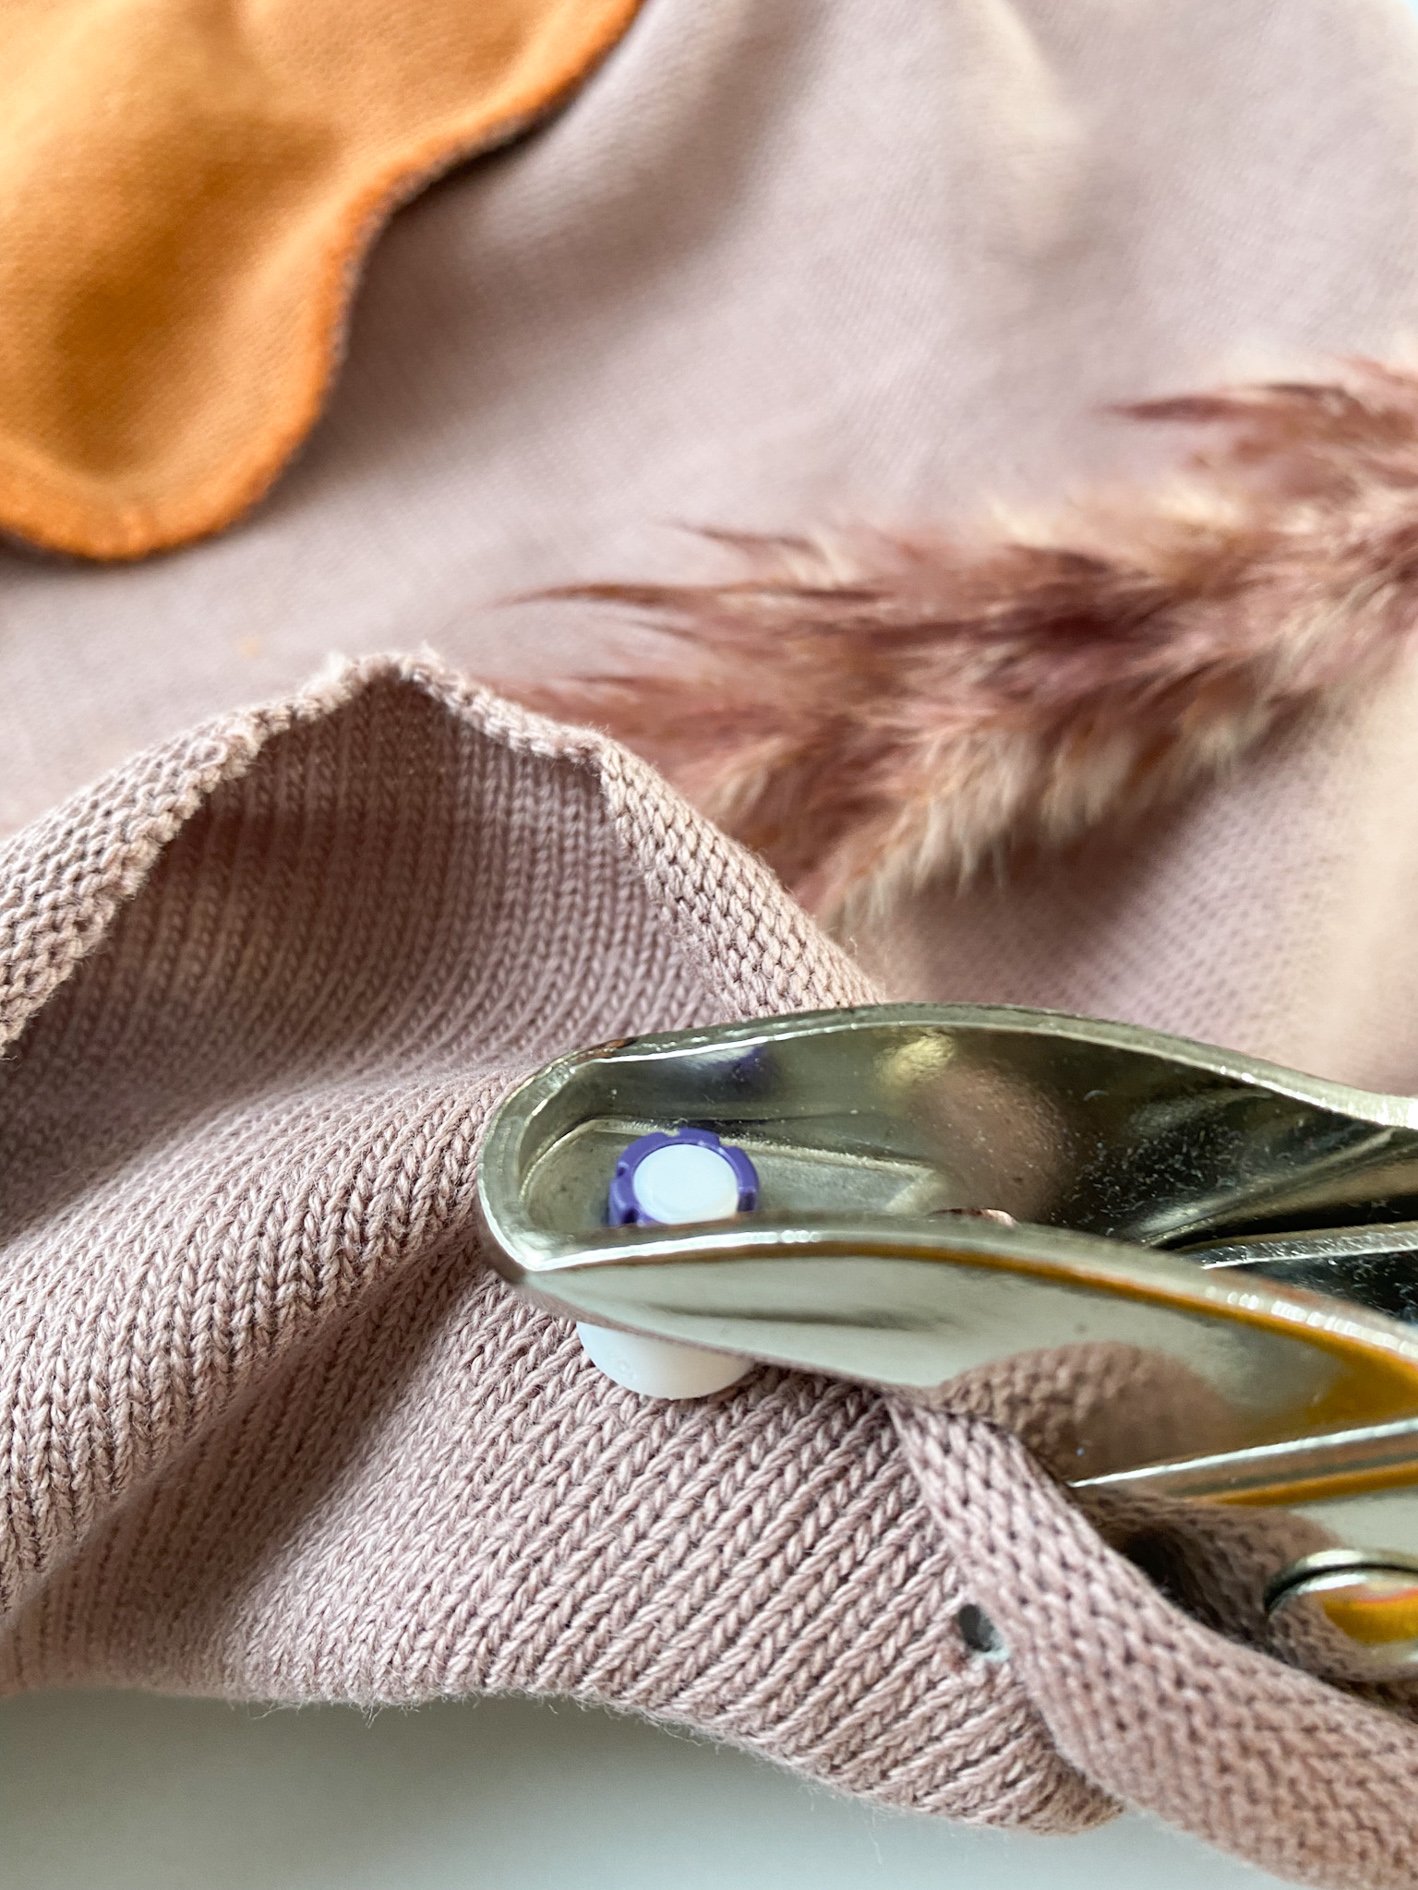
Make a small hole in the center of the wonder dots, using a hole puncher.

Cut 4 small snips in the hole so your eyelet can go through.
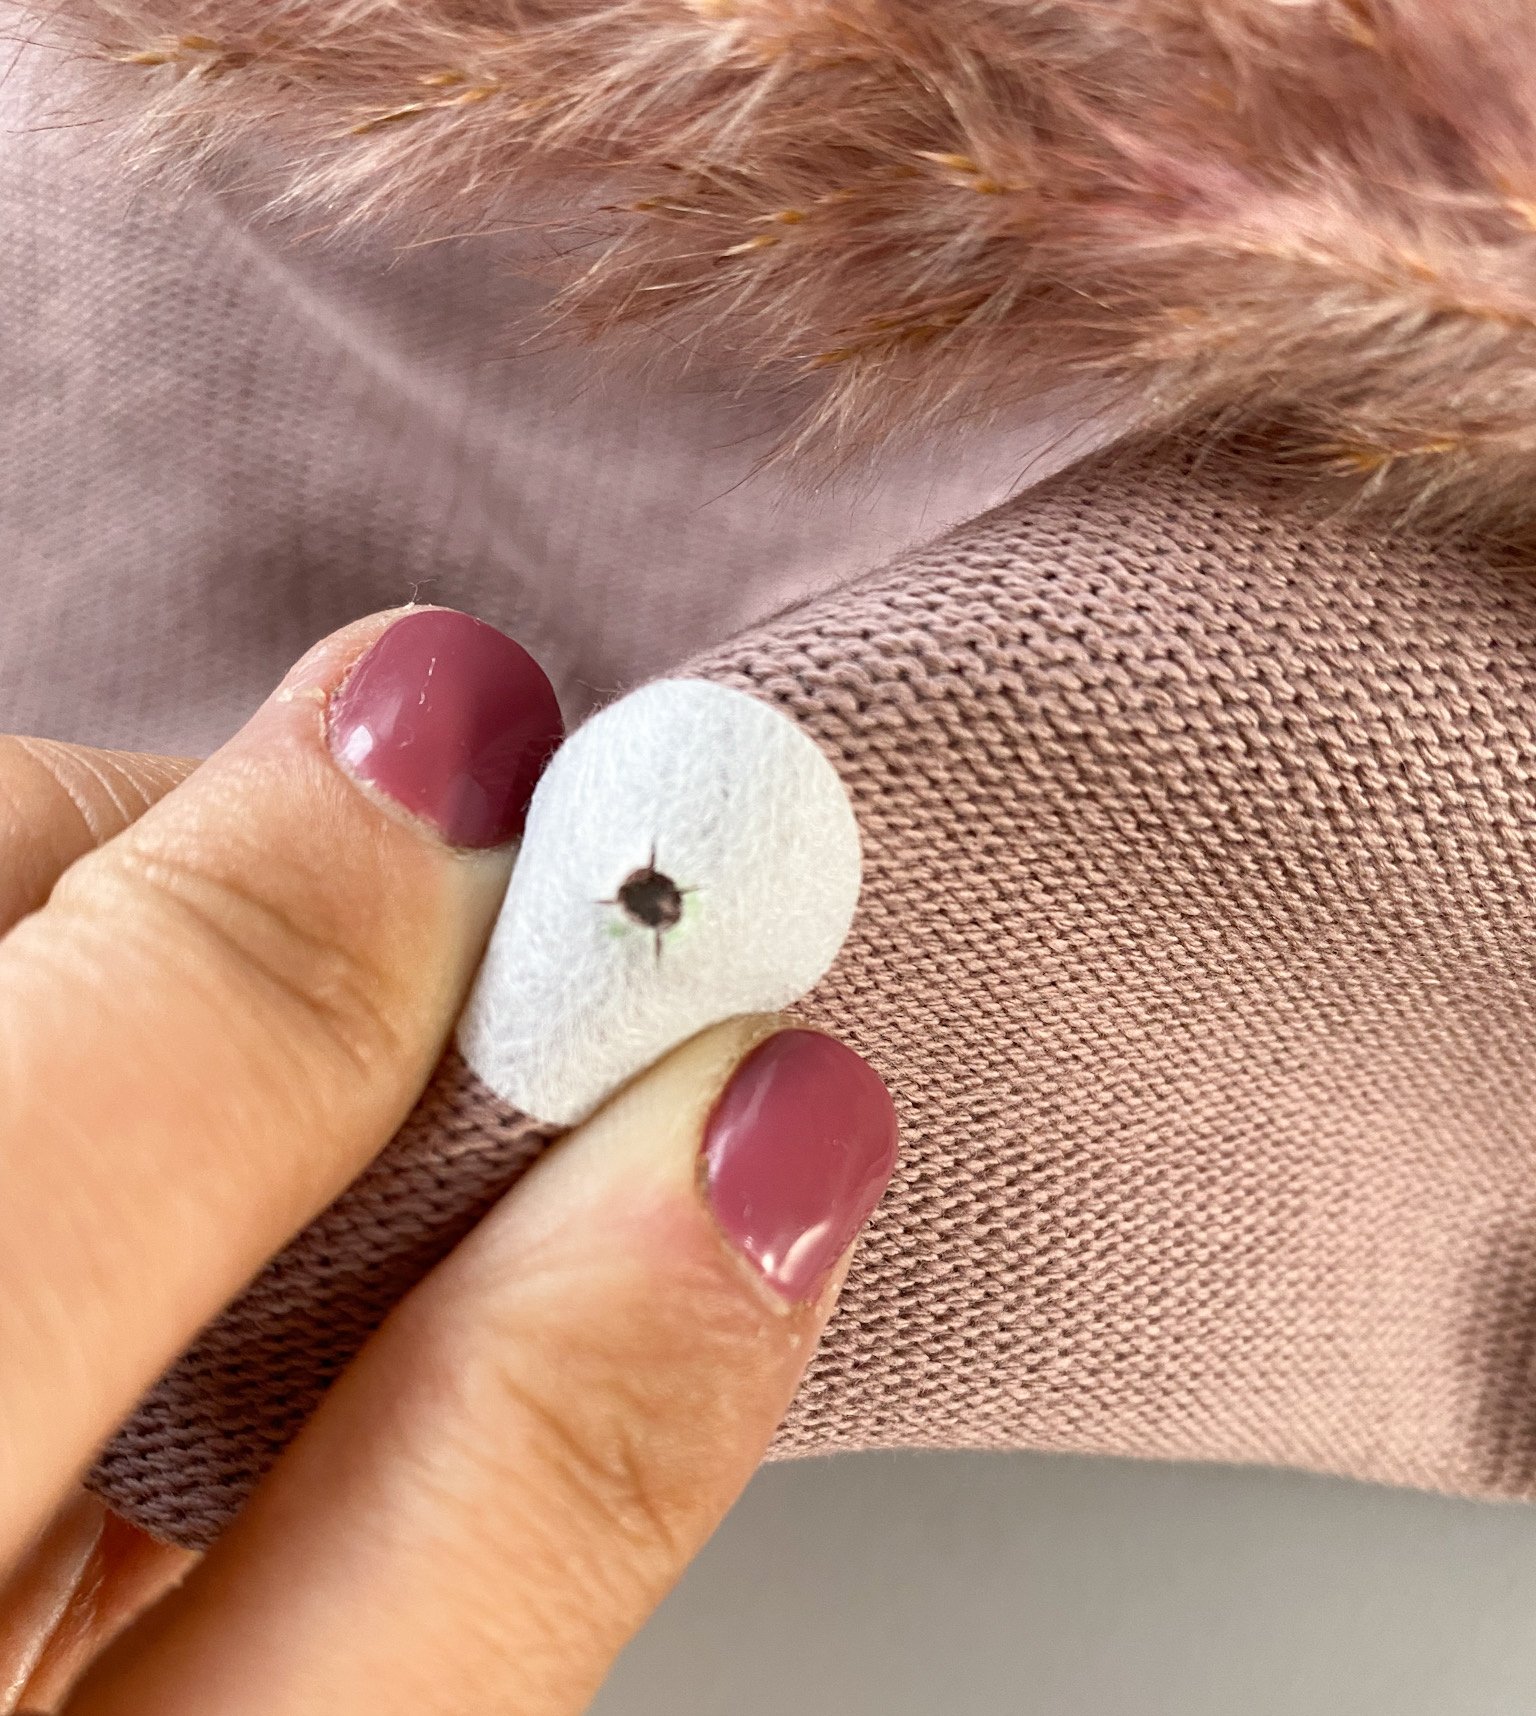
Push your eyelet through the holes, the long side of the eyelet will be on the wrong side of your fabric.
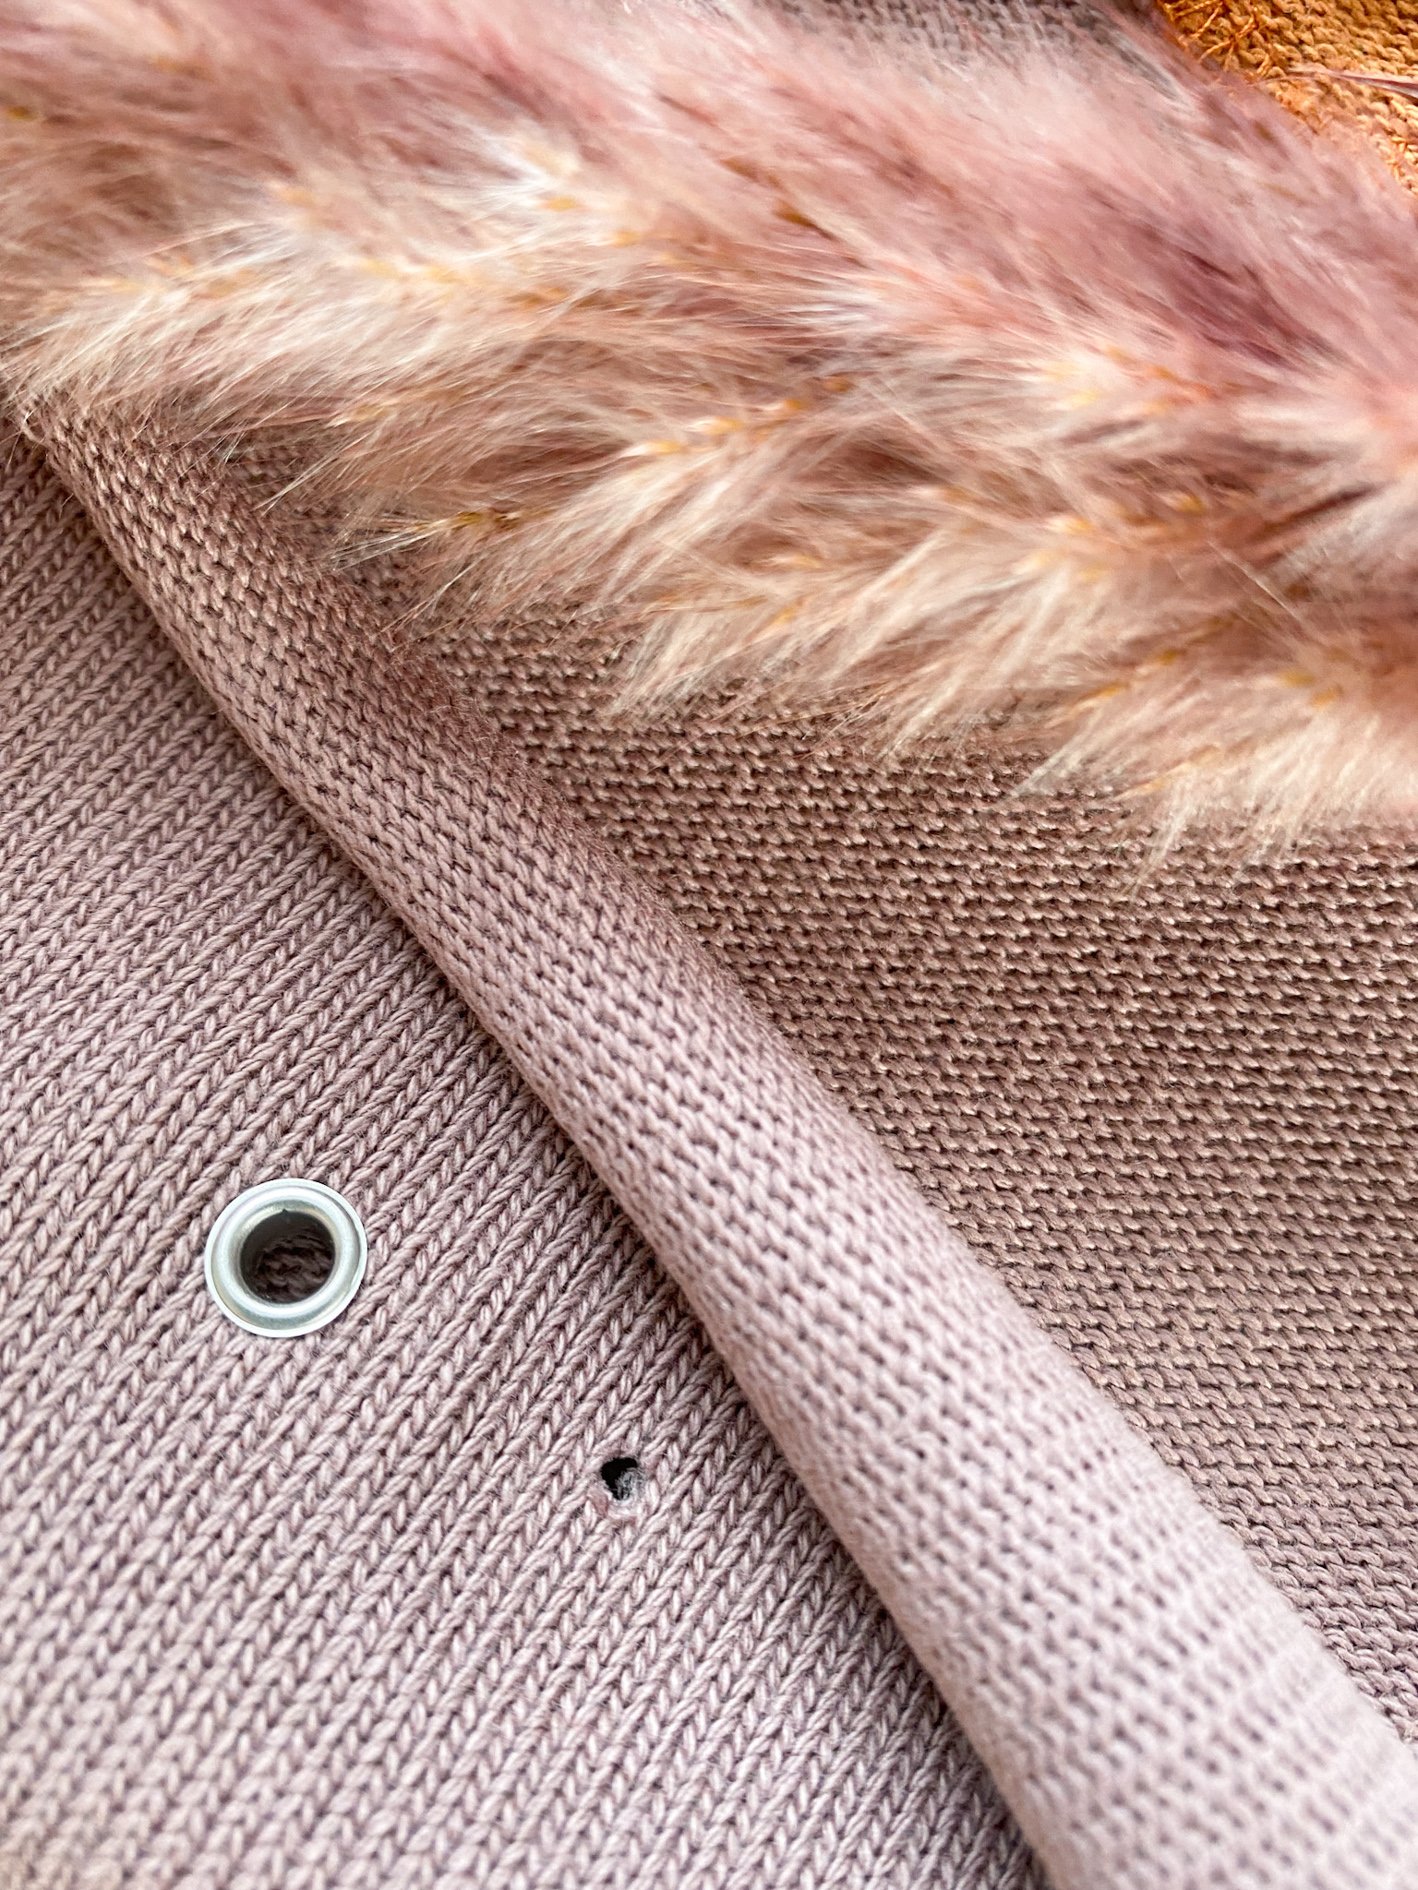

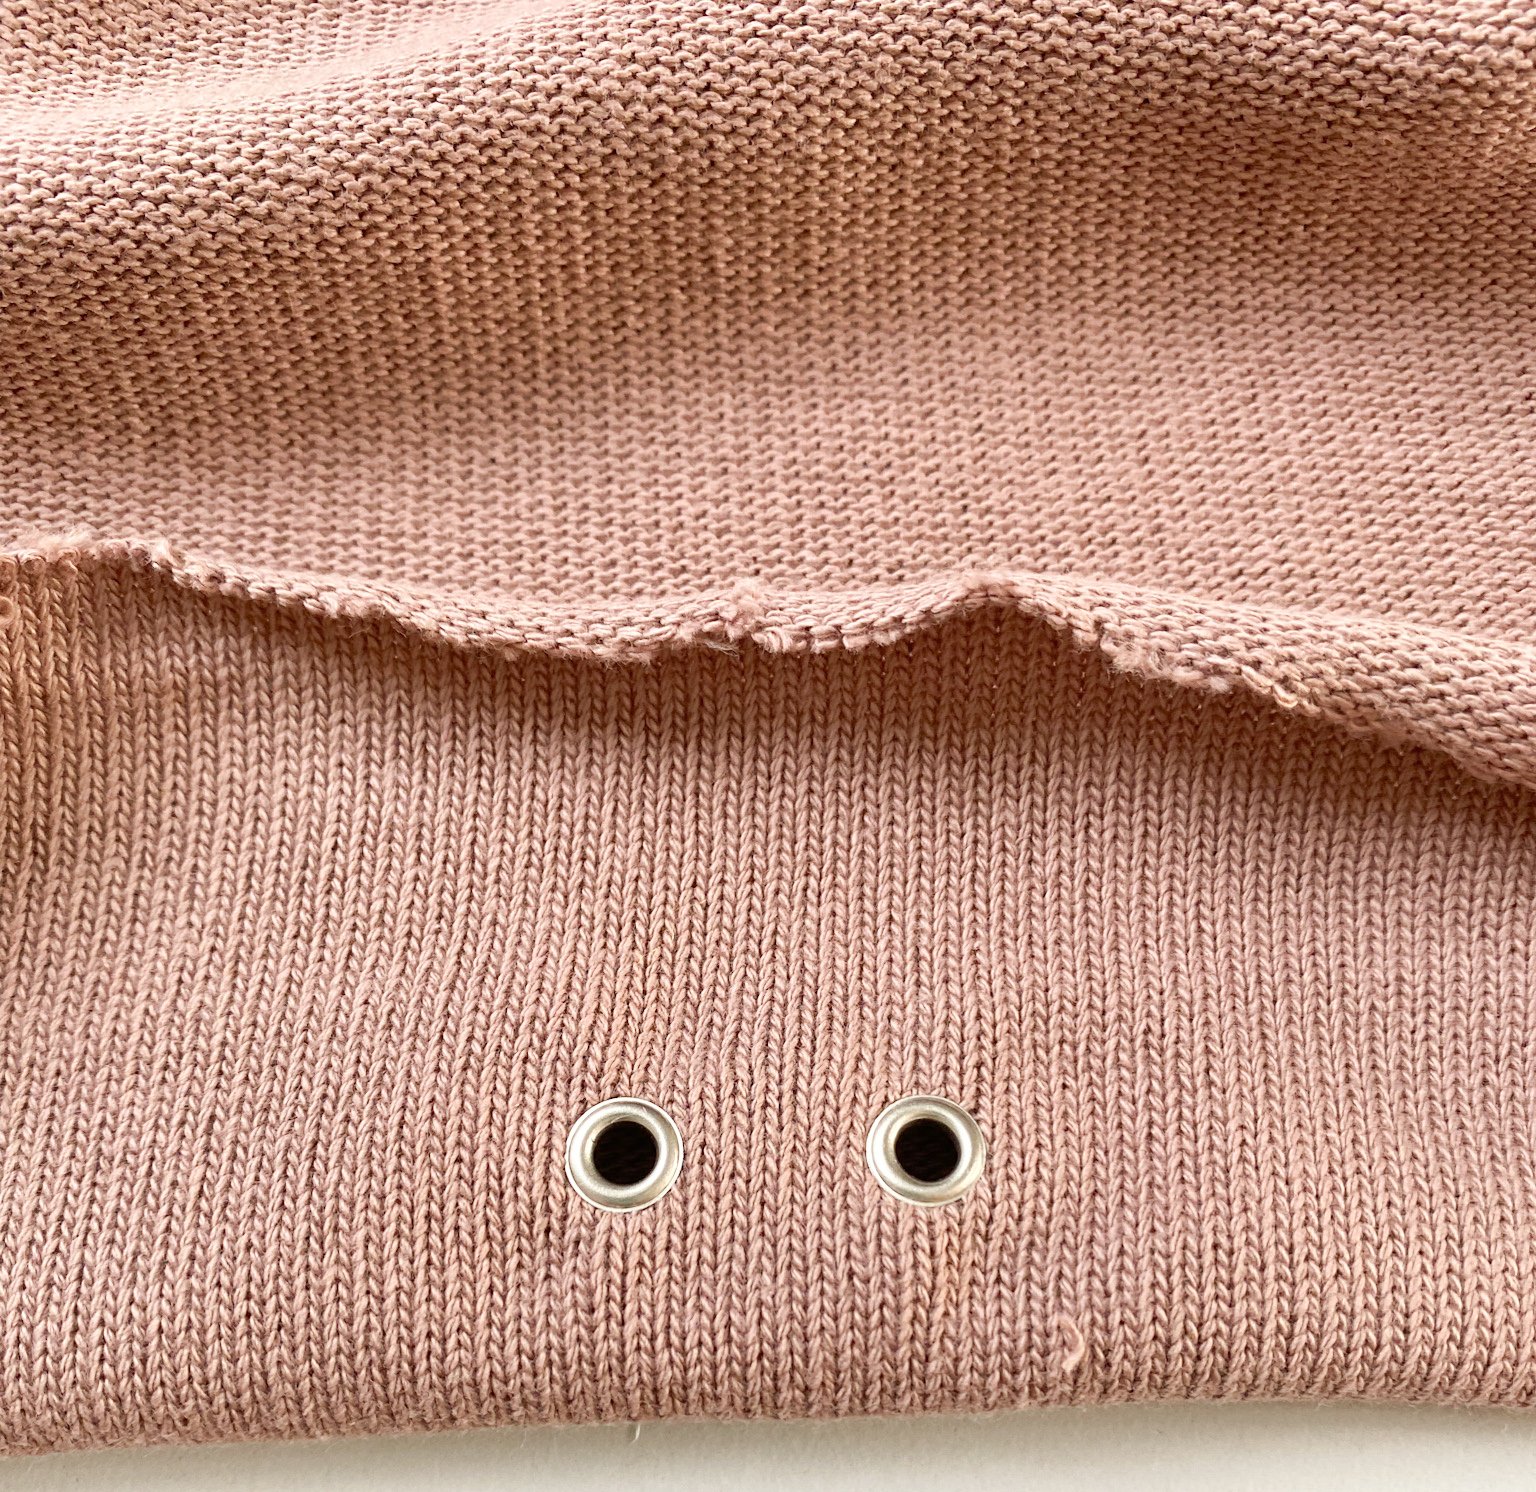
Press into place with your pliers.
This is how your eyelets look:
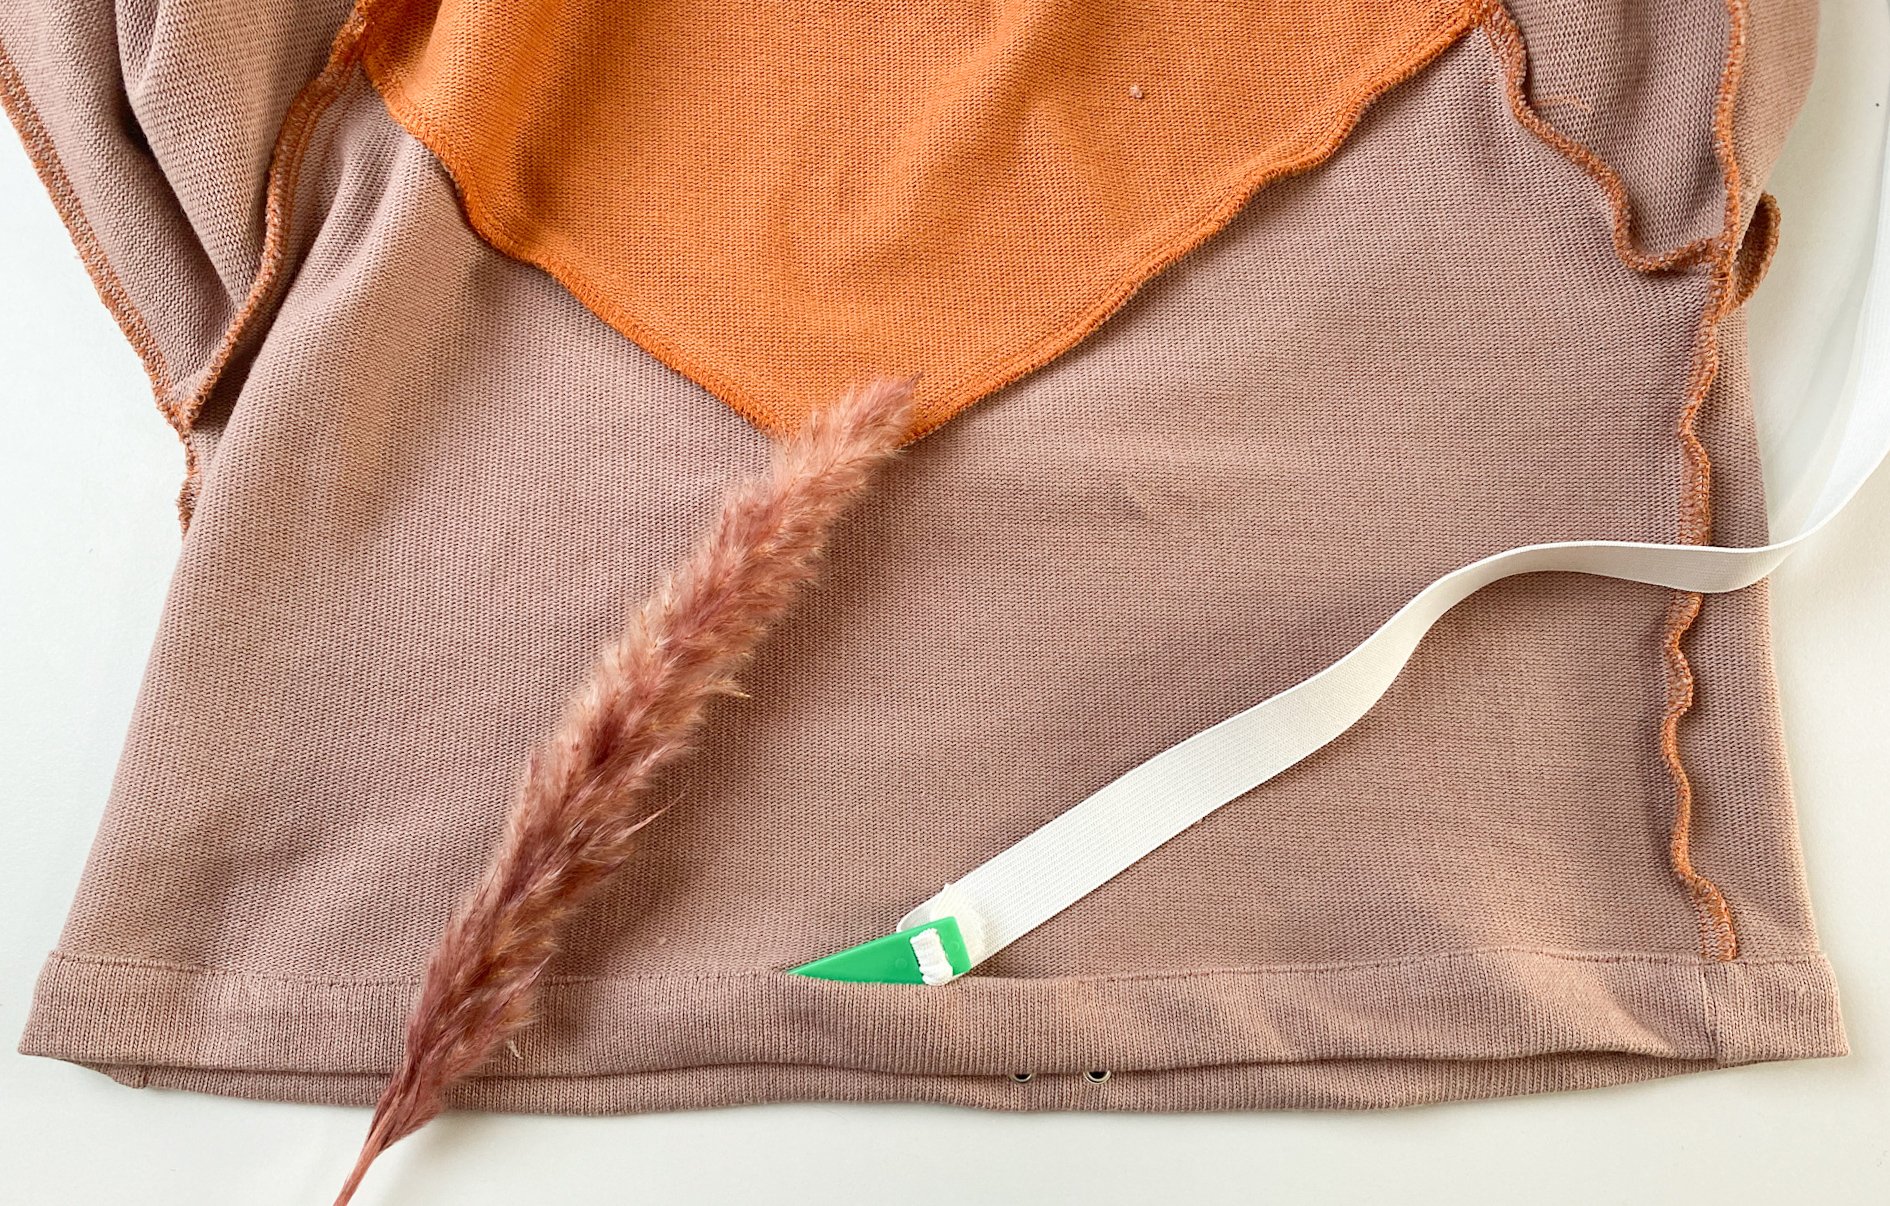
8.Tunnel for elastic
Fold your tunnel back into place along the previously pressed guide lines.
Pin in place.

Stitch all the way around, leaving an opening in the back to pull your elastic through.
Pull your elastic through the tunnel, stitch the ends of your elastic together and close the opening you left.
Thread a string or lace through the eyelets, press your top nicely and you’re done!

That’s it for this Isa colorblock tutorial and hack, very curious to hear your reactions!
Always welcome to visit us on our Instagram page: @_beletoile_
Love, Isabel


0 Responses