 BERNINA Corporate Blog -
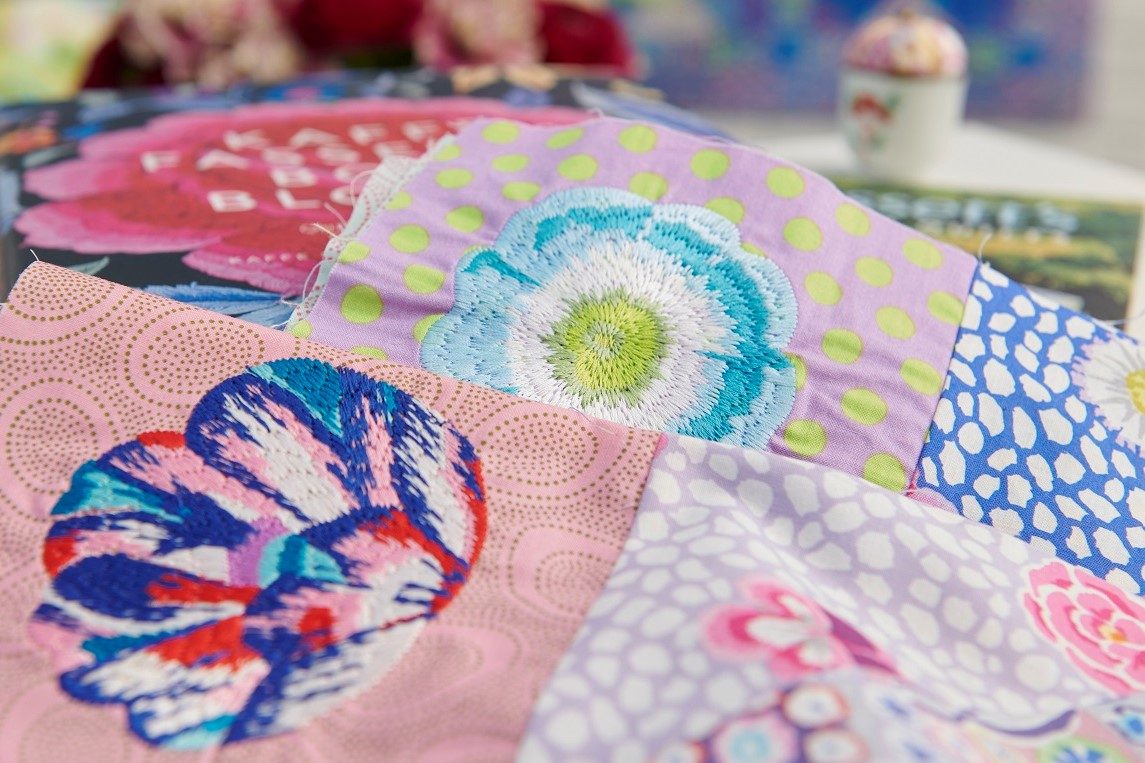
I’m not afraid of color, but I must admit that whenever I walk through a fabric store which stocks wonderful Kaffe Fassett fabrics, I am always a little positively overwhelmed. Which should I choose to make beautiful Kaffe Fassett sewing projects with?

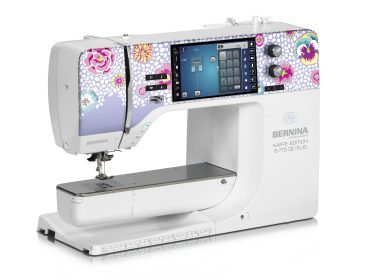
So, when I started with the project of creating some pieces for the campaign using the fabrics from the fabric bundle, which is included with the BERNINA 770 QE PLUS Kaffe Edition, I was very happy to have a collection of fabrics, curated by Kaffe, which all magically work together.
I would like to share with you some tips and tricks from my experiences making these Kaffe Fassett sewing projects. You can use Kaffe’s beautiful fabric for all sorts of projects, not only quilts. They work beautifully for shirts and dresses. If you want to add a bit more body to the fabric, I can recommend an iron on non-woven interfacing. You will find information about the following Kaffe Fasset projects below in this blog post:
- Kaffe Fassett Hatbox Quilt
- Kaffe Fassett Mini Hatbox/ Zipper Bag
- Kaffe Fassett Wrap Jacket
- Tips for Kaffe Fassett Embroidery
Kaffe Fassett Hatbox Quilt
Why hatboxes you may ask? Kaffe was inspired with a room featuring old hatboxes covered with floral wallpaper and the quilt was designed. The block includes an inserted corner and the lid is decorated with one of Kaffes decorative stitches. They are digitized from his hand drawings, so they are not always symmetrical. How refreshing. The hatbox shape is attached with Mettler Silk Finish and a Double Blanket Stitch 1310 on the B 770 QE PLUS Kaffe Edition. I just love that with BERNINA it is possible to fine tune the width and length of most stitches to suit my project.

The needle down and knee lifter are the perfect pair for controlling the stitch when working with curves. You can also reduce the presser foot pressure until you feel the foot is moving more freely.
To stitch the decorative stitch on the lids always use a strip of tear away stabilizer underneath. I always attach it with temporary spray 505. How you quilt is up to you. You can find the pattern and instructions for this beginner-friendly quilt project on the BERNINA website:
Strip quilting with Seam Guide
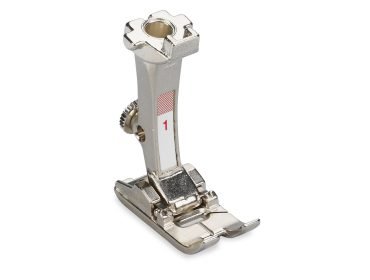
Select stitch lenght 3 and the straight stitch. Attach the Reverse Pattern Foot #1 with the Right and Left Seam Guide attached into the back.
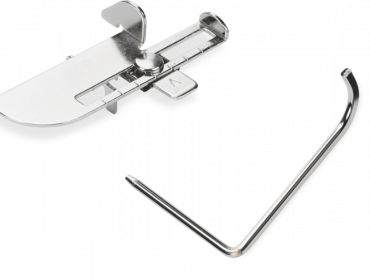
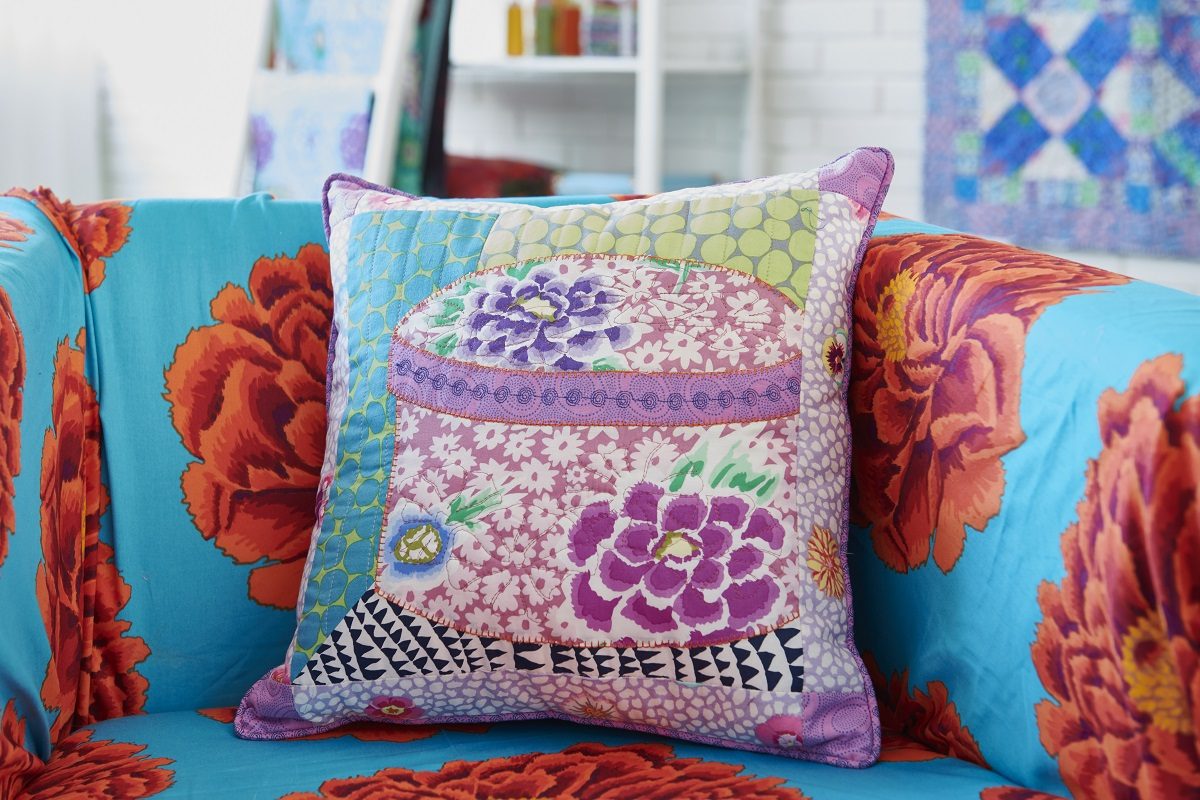
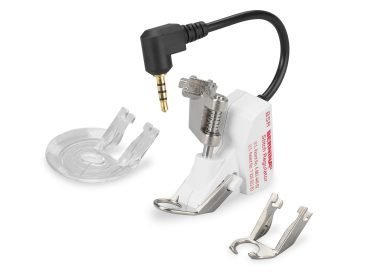
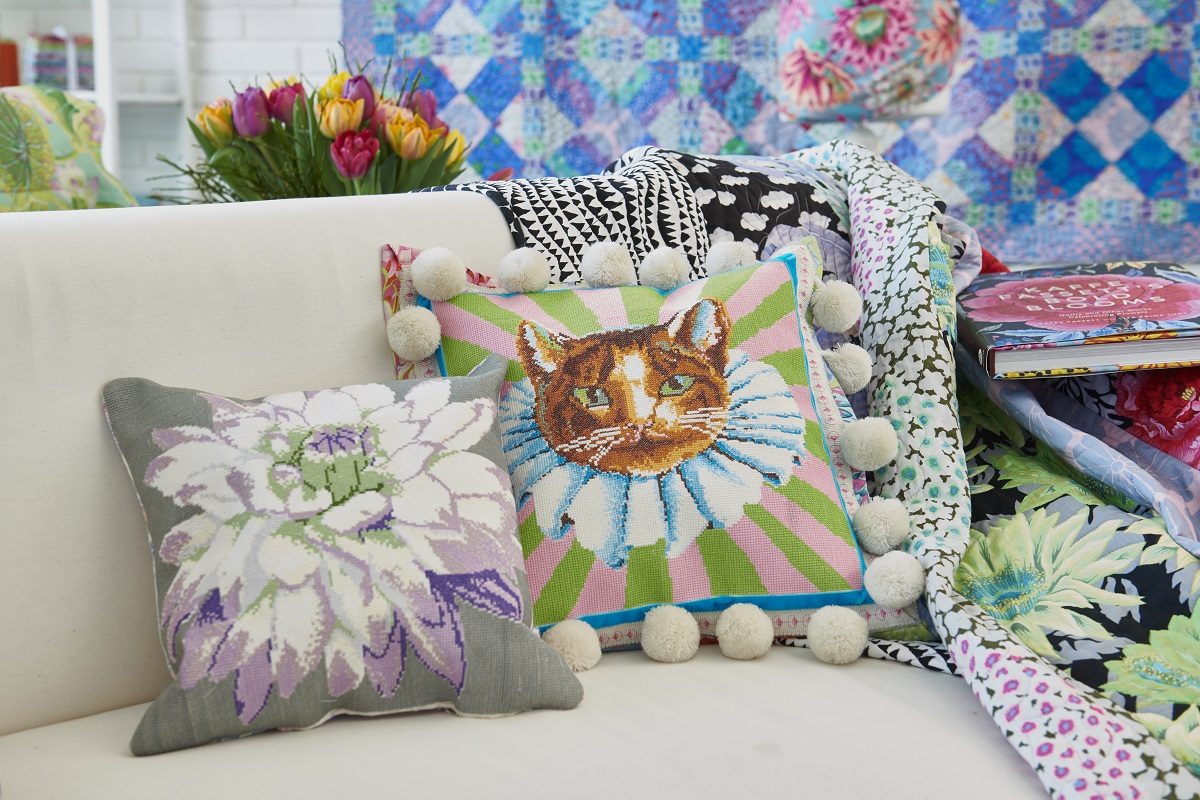
We often get questions about screws that appear from nowhere. These could have fallen off one of your feet and are for screwing the seam guide onto the foot. This makes light work when there are several rows of paralell stitching to do. You see this here on the cushion (teal and green dots areas). If you want to get perfect distancing, measure the total area first.
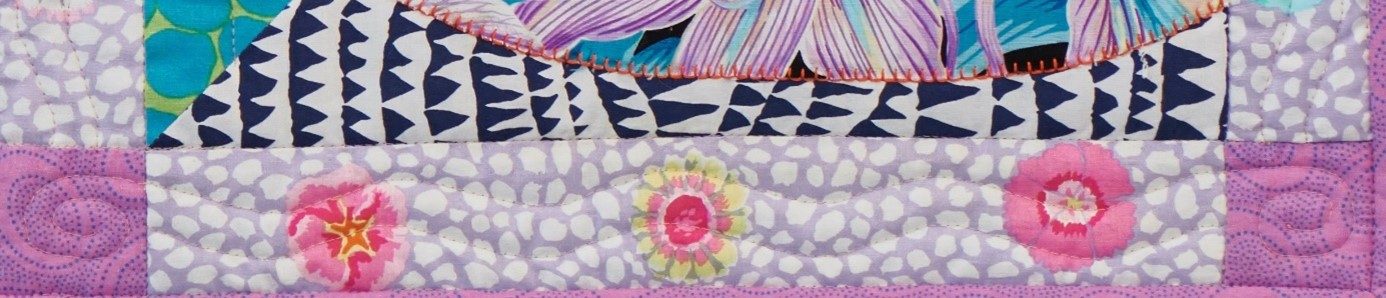
Wavy Sashing Stitch
When it came to quilting the Sashing, the example called for a wavy row of stitching. This is easy with free-motion and the BERNINA Stitch Regulator (BSR) until you have to do a similar second row.
I was able to find a solution with a decorative stitch by using Stitch #4, the Running stitch. This is traditionally used on underwear or mending. I used the following settings: Stitch length 3, Stitch width 9, Pattern extend 200% (you will find this feature in the “I” button on the B 770 QE PLUS).

Below you see the expanded running stitch and also the corners that were done with BSR.
I also had fun with using one of Kaffe’s quilt embroidery designs – I used design # 90025-38. This is inspired from his Lotus Leaf fabric. On the quilt I used the Pinpoint Placement function to fit the design onto the lid and side of the hatbox. You see this faintly on the cushion below.

Another option would be to open the design in the BERNINA Embroidery Software and use the original quilting design suggestion as a template (I scanned it from the pattern) to fit the embroidery design (pictured on the right). I then placed the quilt into the hoop and stitched it out. Computerized quilting is easy and effective.

Kaffe Fassett Mini Hatboxes / Zipper Bags
As the quilt is inspired by hatboxes, I thought it would be nice to create a mini hatbox to feature one of the beautiful circular outline quilt designs. I wanted to incorporate a zip. They’re quick to make and are great for using up fabric scraps and batting. You can also use soft stablilizer to give the bag stability.
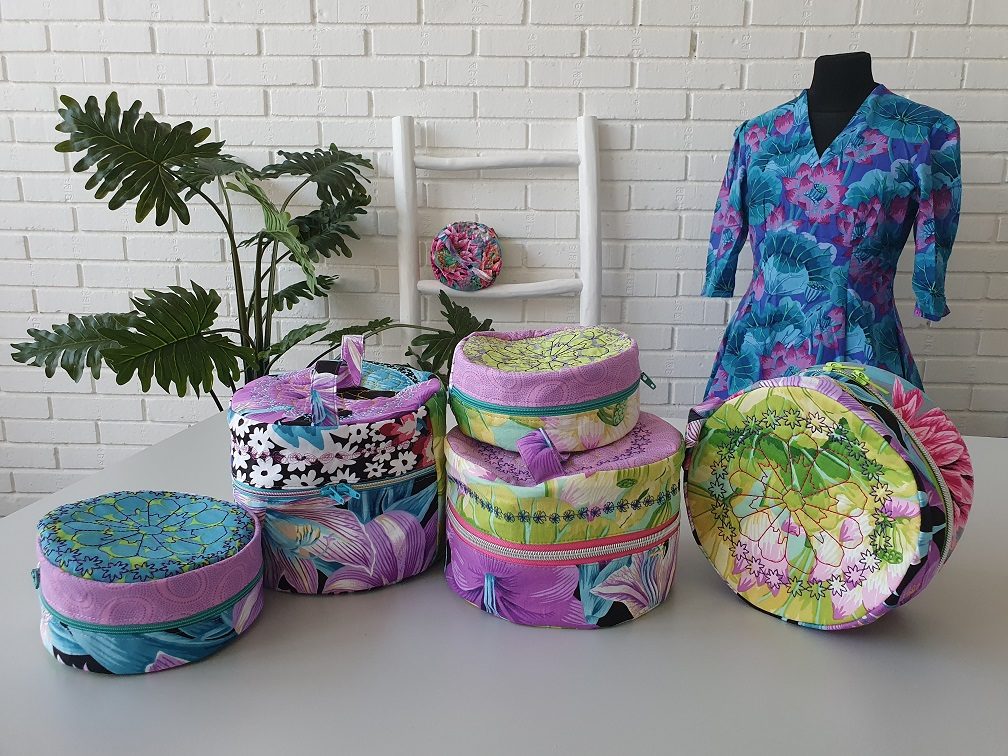
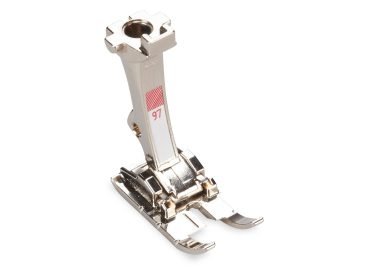
I used the Patchwork Foot #97 and guide for the construction. Dual feed was perfect, and I always used needle down when stitching the sides to the circular piece. I embroidered a quilt sandwich fabric batting and backing first and then cut out the circle pattern piece for the lid.
When stitching the fun Kaffe decorative stitching around the side of the lid, I used a 1 inch or 2.5 cm of tear away stabilizer to keep the fabric nice and flat. Use a 505 temporary spray stabilizer for best results. I use an old carboard box to stop the spray going where it shouldn’t.
There are many patterns out there and I chose to make one with a zipper, in teamwork with my collegues Mirjam and Doris. The detailed instructions for this Kaffe Fassett sewing project are featured on the BERNINA Website:
And you will find some creative proposals in a separate blog post by my collegue Doris here:
However, there is also a pattern for 3 nesting baskets from ByAnnie which would also work very well. If you want something more for storage at home:
These are quick to sew!
Kaffe Fassett Wrap Jacket
In Japan, this style of jacket is called a Happi Jacket. This is a great name and fits to this jacket as not only wearing this makes you happy, but also making it is fun.
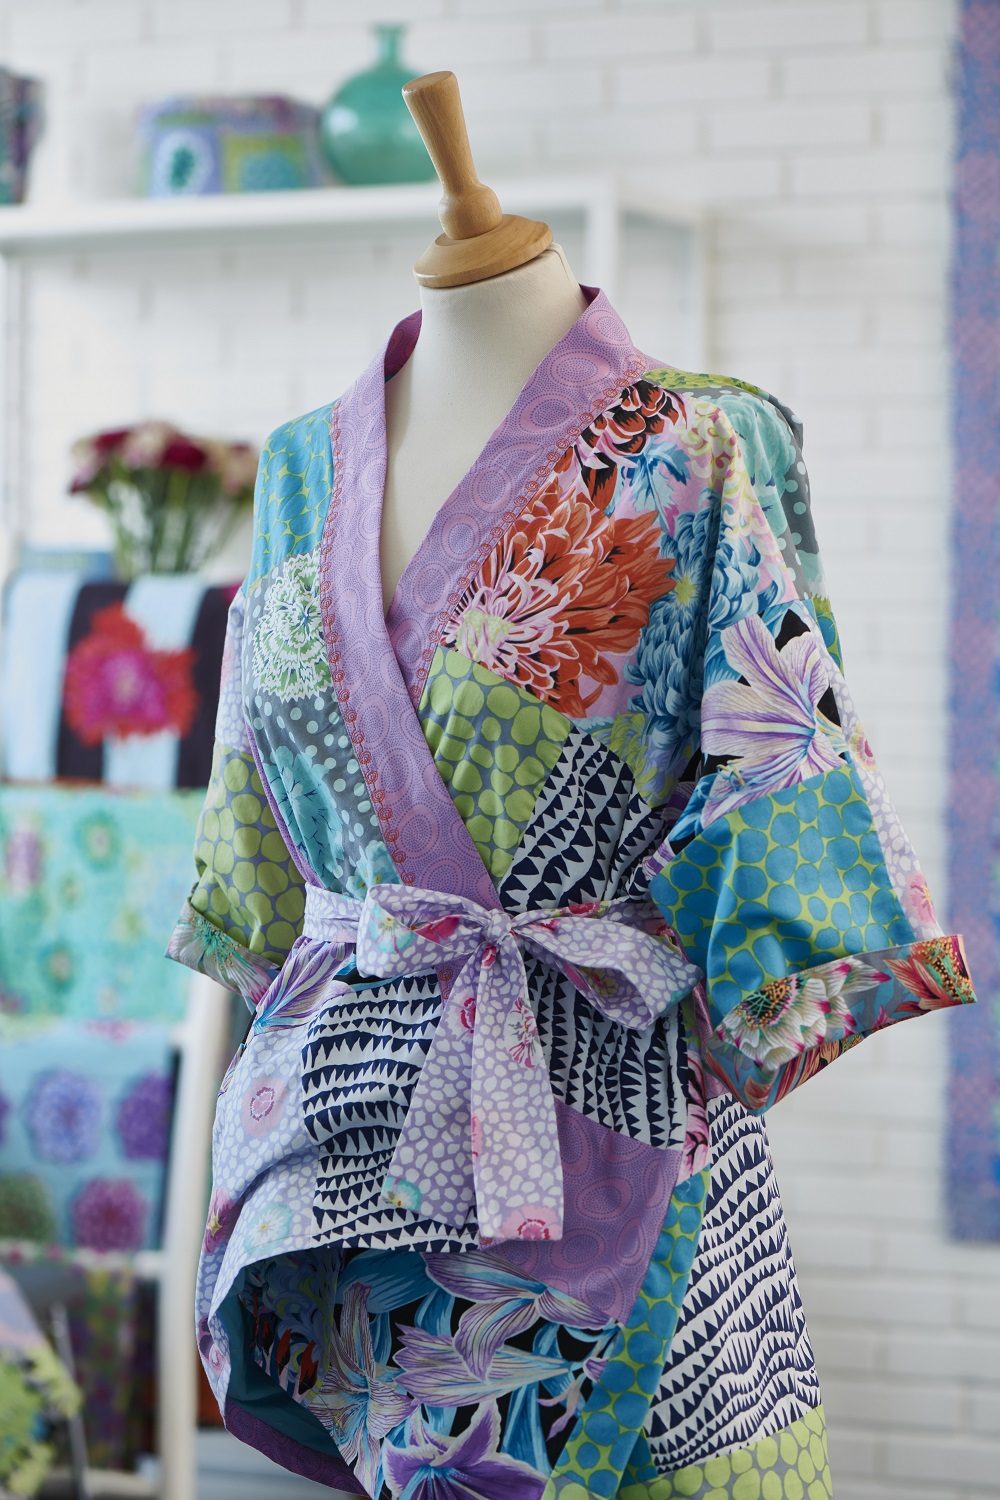
After seeing the wonderful patchwork trends on the at fashion weeks around the world I thought I would really like to sew a robe or a short jacket to wear with jeans for a casual look.
Choose your favorite pattern
There are lots around to choose from and I found my pattern at we all sew, called “easy casual top” and it’s a free download. Please ignore the tuck on the picture. We didn’t notice it during the photo session and it should be flat.
For a jacket with set in sleeves, the inspiration Magazine has a nice coat which can be shortened, if necessary. It is called “Kiara”.
I cut the pattern out of paper – you could cut out your lining (yes, it makes sense to line it to hide the seams and use that as a guide to place the fabric pieces).
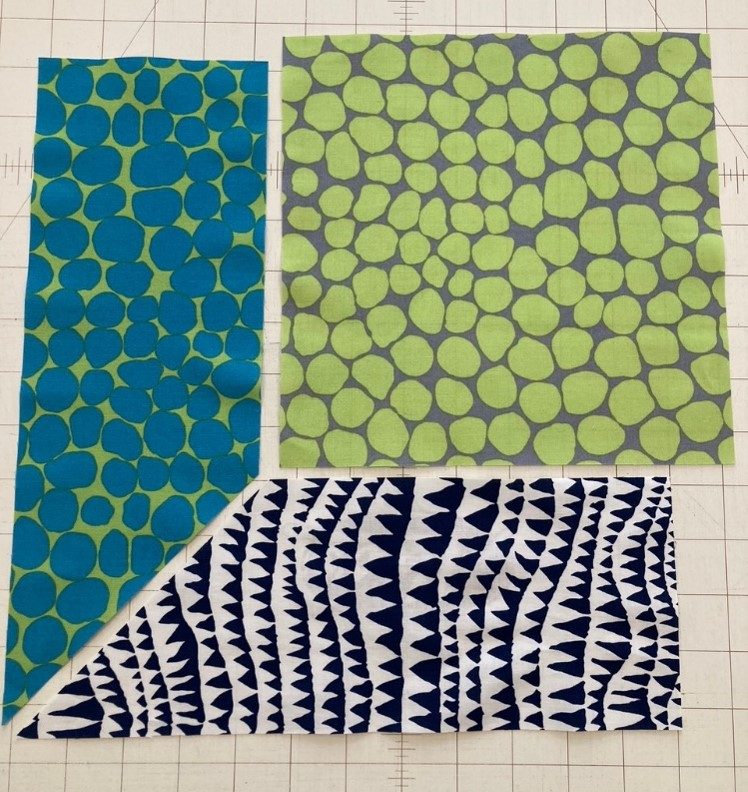
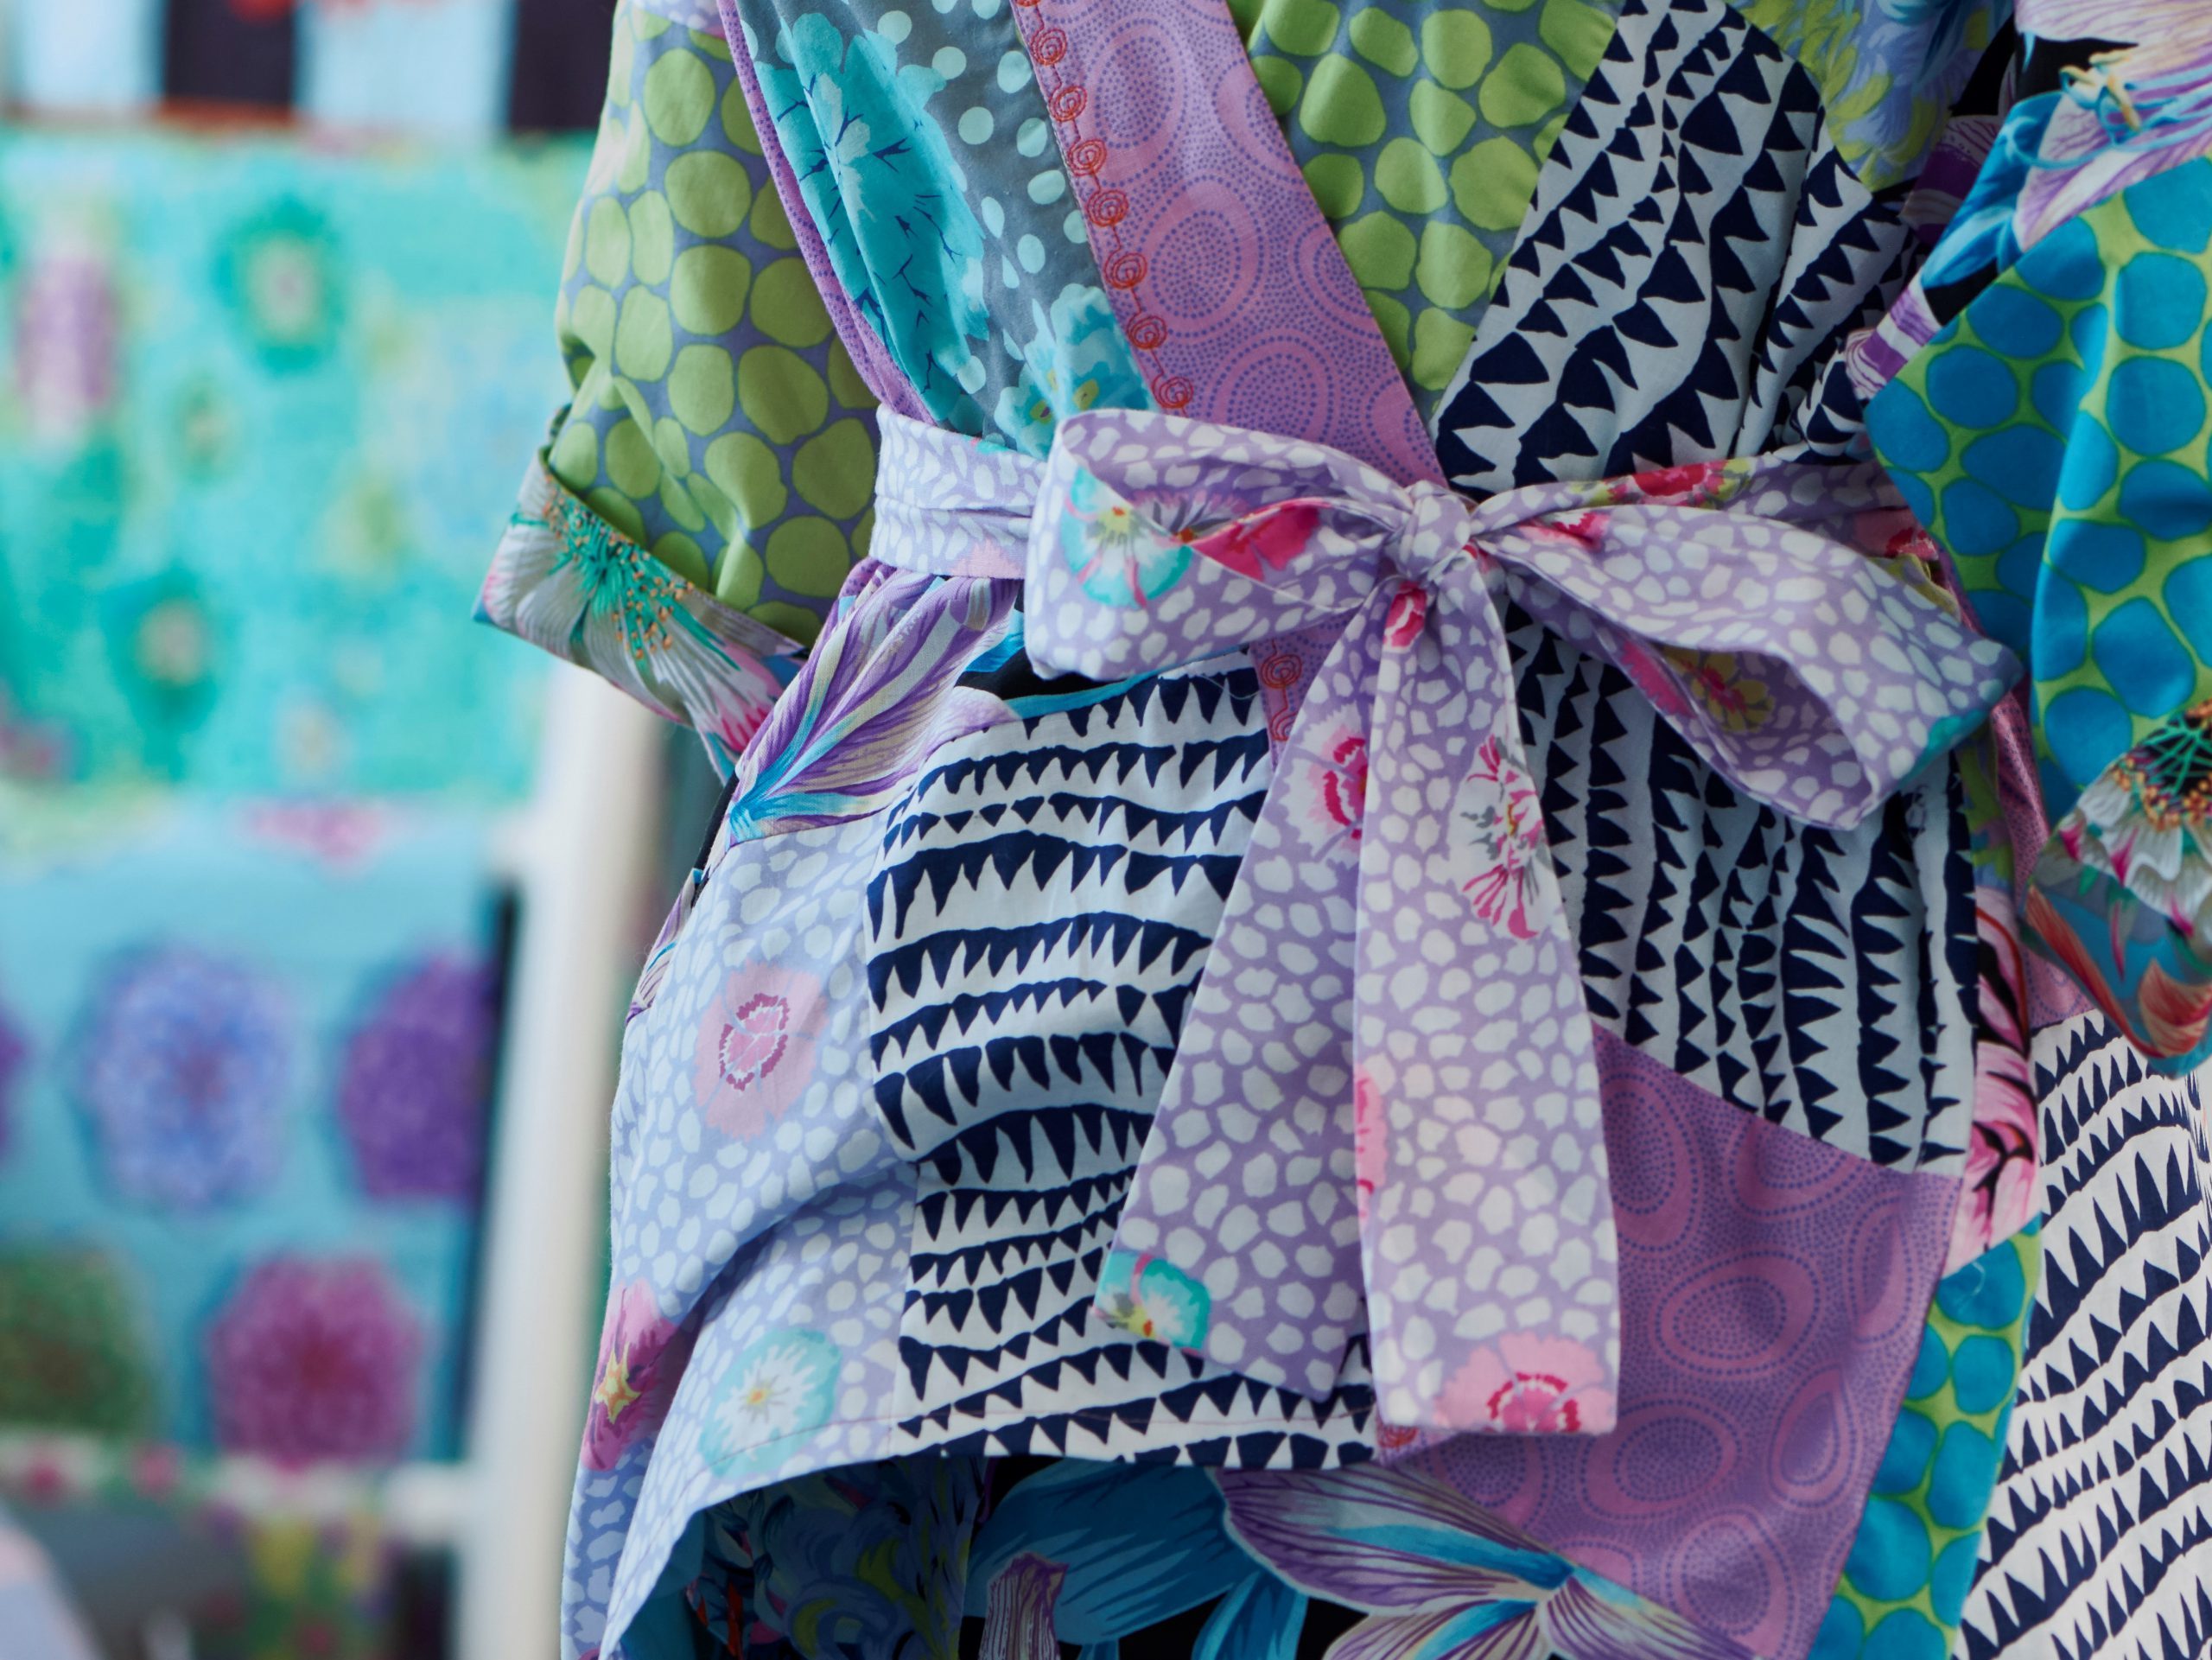
My inspiration on the piecing came from the Hatbox Quilt, which features an 8 ½” block and then 4 ½ ” strips to create inset corner. I decided to combine 8 different fabrics from the Kaffe Bundle, and I used the Hatbox Block background as my start point to create more interesting shapes within the Jacket. You will notice the are 6 of these blocks in amongst the jacket.
Check out the Hatbox quilt instructions for more details, but these are the pieces of the Hatbox Quilt Block Background. The background features a set-in seam, which is easy to do.
The piecing process
This rather strange picture below is my sewing room floor. In total I used a combination of 15 x 8 ½” squares (two of each color) then I played around with the strips on the floor on top of my pattern until I filled in all the gaps.
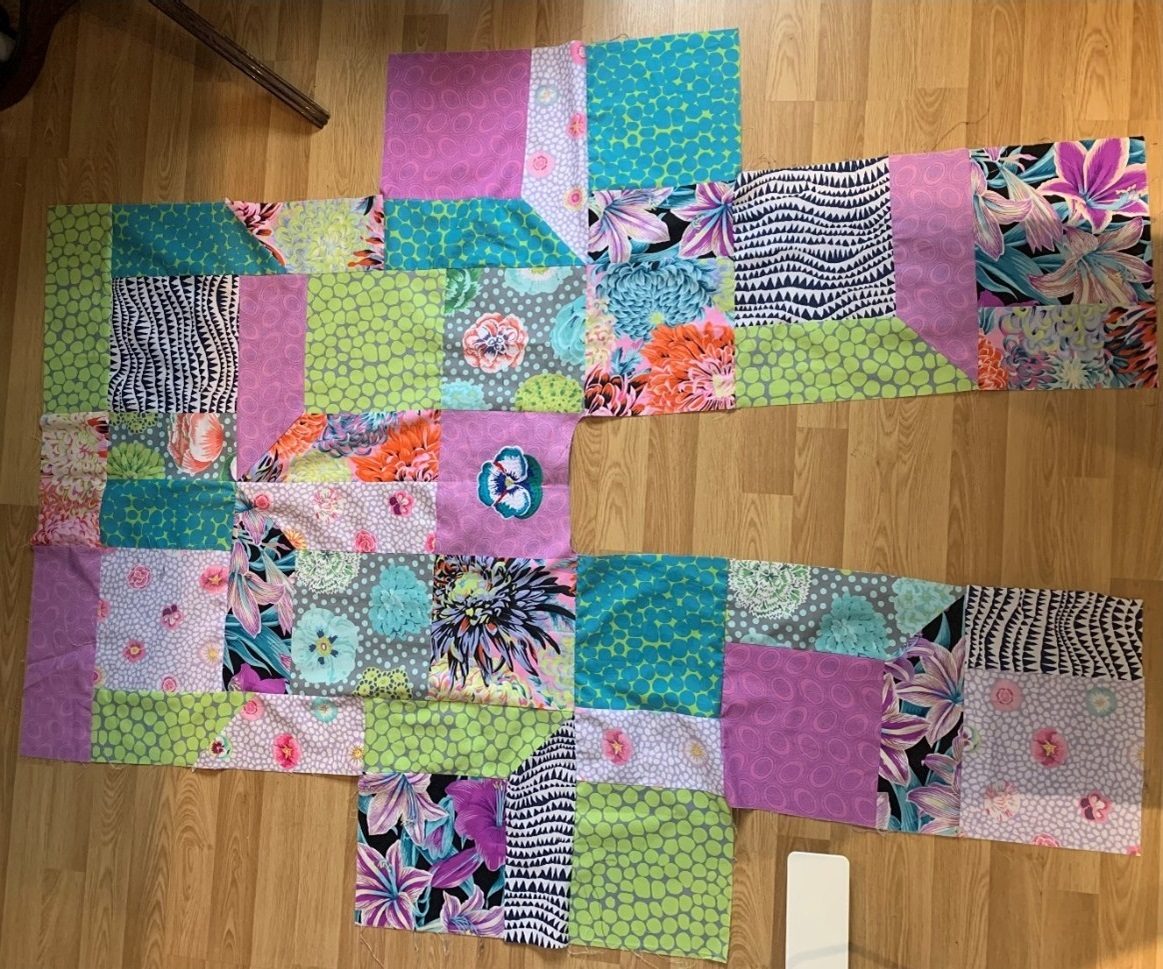
This shows what was required for a jacket in my size – EU 42. For other sizes you will need to add or subtract from the side seams or hem. In the end it all works and don’t forget to enjoy the process. The back neckline was cut later as per the pattern.
I chose a neutral thread to sew all the pieces together, using the Patchwork Foot #97 with the quide and a straight stitch. The stitch length is between 2.5 and 3mm, this depends on your preference.
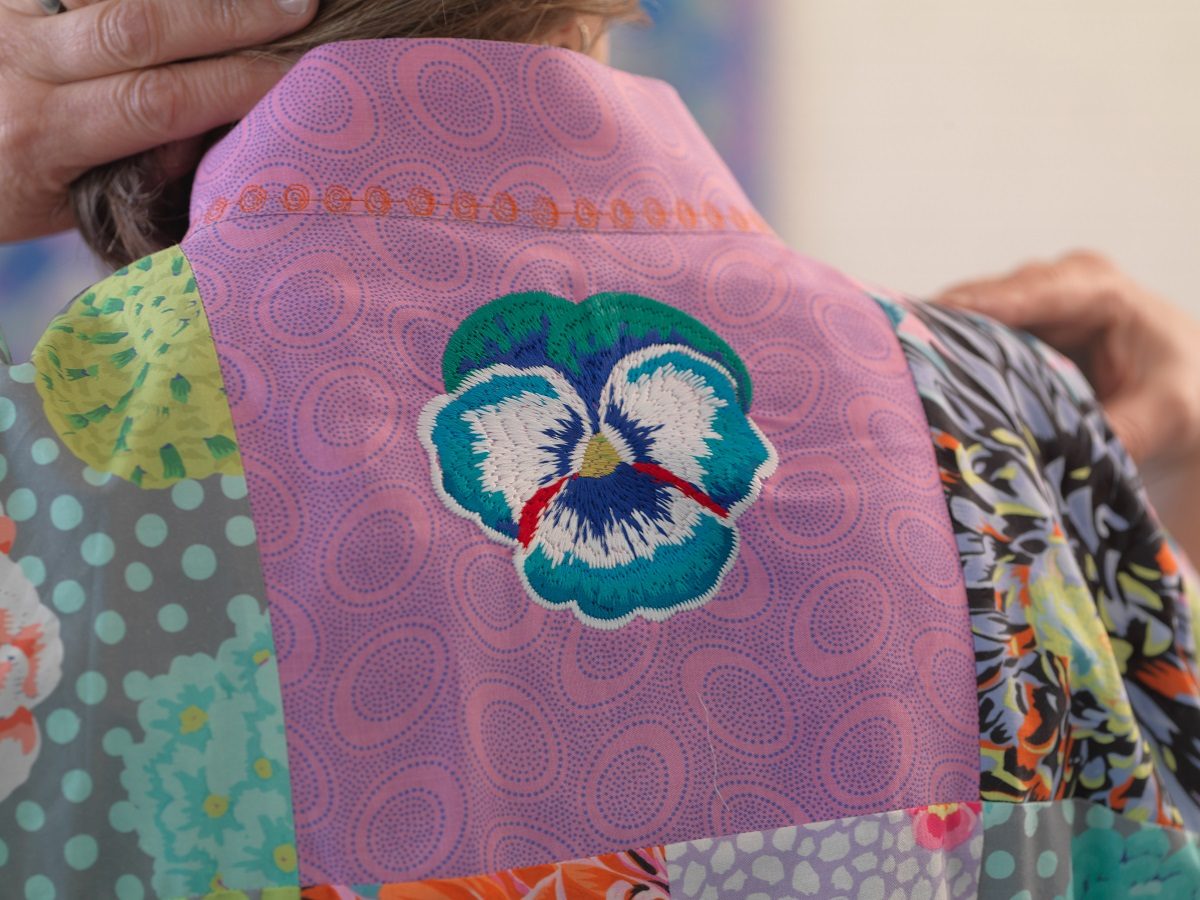
Embroidery – the icing on the cake
On the top center back square, I added one of the beautiful Kaffe embroidery designs. I use pansies for cake decorating, so the flower I chose is a particular favorite. The Kaffe designs have a longer stitch length and are quite dense, so I recommend using a spray starch for the base fabric first and then a heavy tear away stabilizer. Use temporary adhesive spray like 505 to stick the fabric to the tear away before embroidering.
You will then need to line the jacket, I cut the lining the same as the main pattern. I decided against a wadding but used an old piece of T-shirt fabric I had in my stash. This gives a soft finish and a bit of warmth. A patchwork fabric would also be fine especially for summer. It could even be reversible, but once you wear the Kaffe fabrics on the outside you won’t wear it the other way as you will get so many compliments.
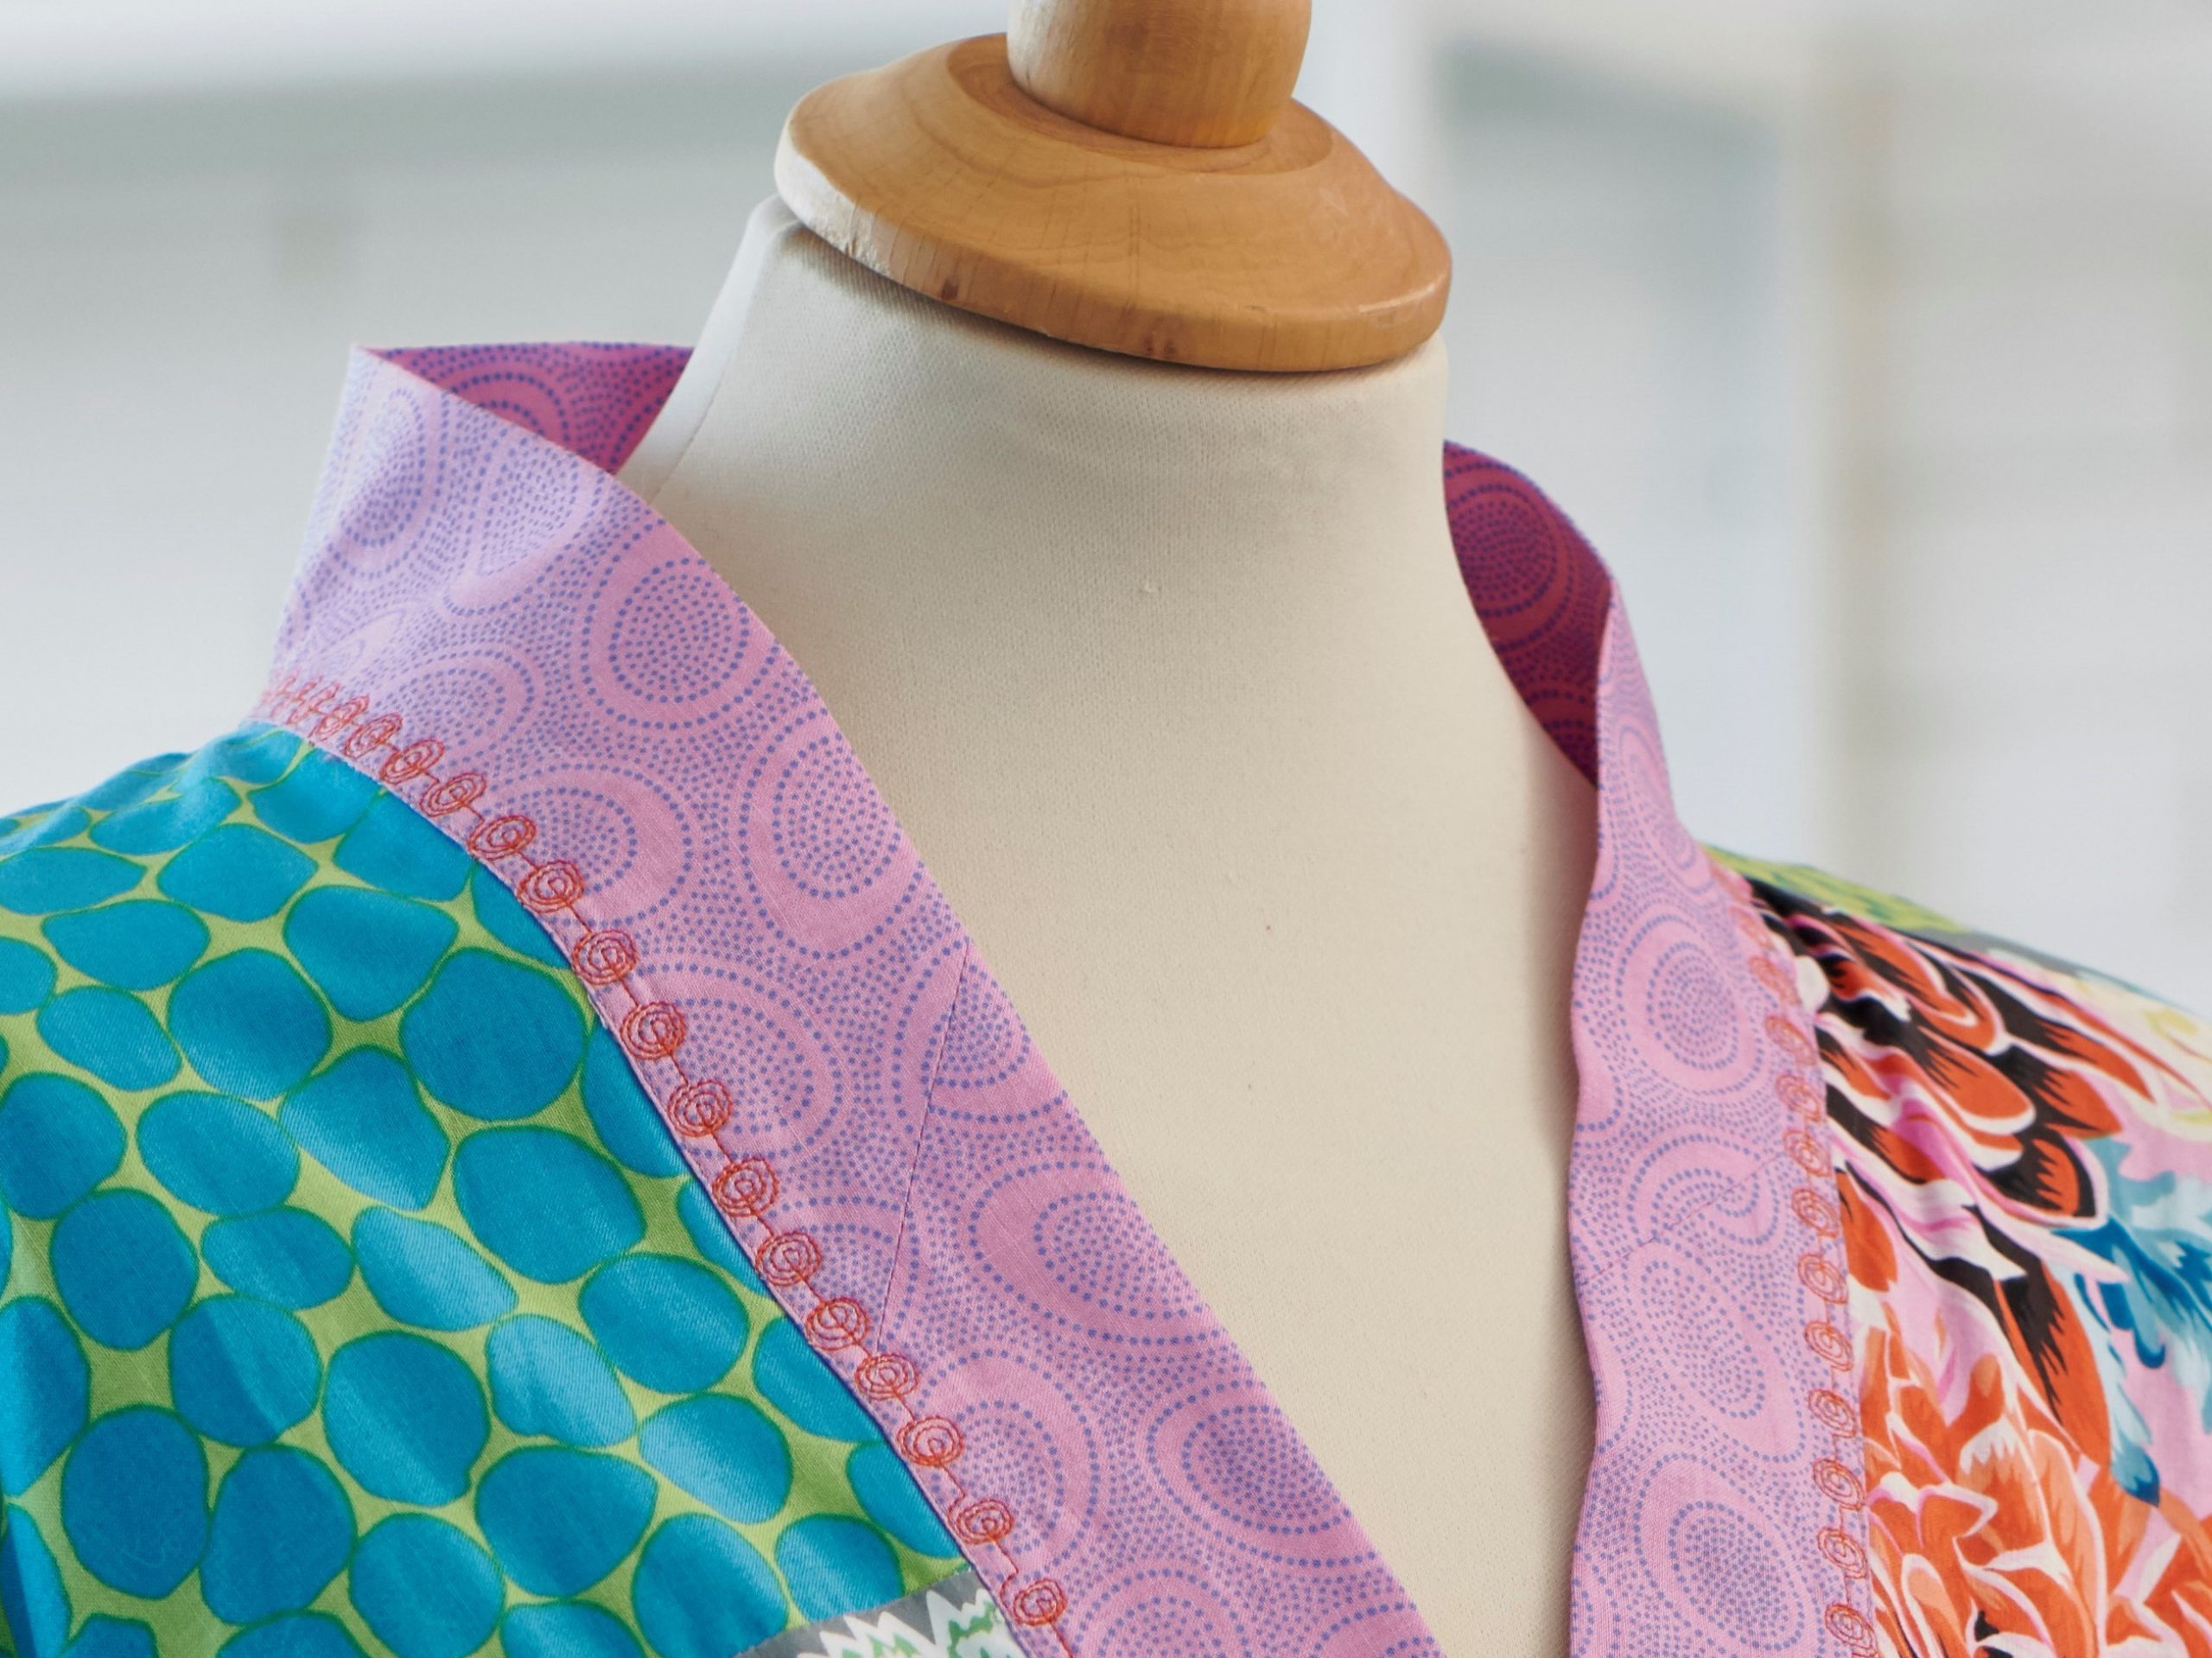
Collar Band
I used a spray starch with a hot iron to stiffen the two collar band pieces before fusing them with a soft iron-on interfacing. I sewed them together on the narrow side, pressed open the seam and pressed it together longways. Press in ¼” on one side and the attach the other edge to the wrong side first then topstitch down on the wright side of the garment with a straight stitch. I moved the needle position. I like to use the Edgestitch Foot #10. It is my absolute favorite BERNINA foot – it keeps me on the straight and narrow.

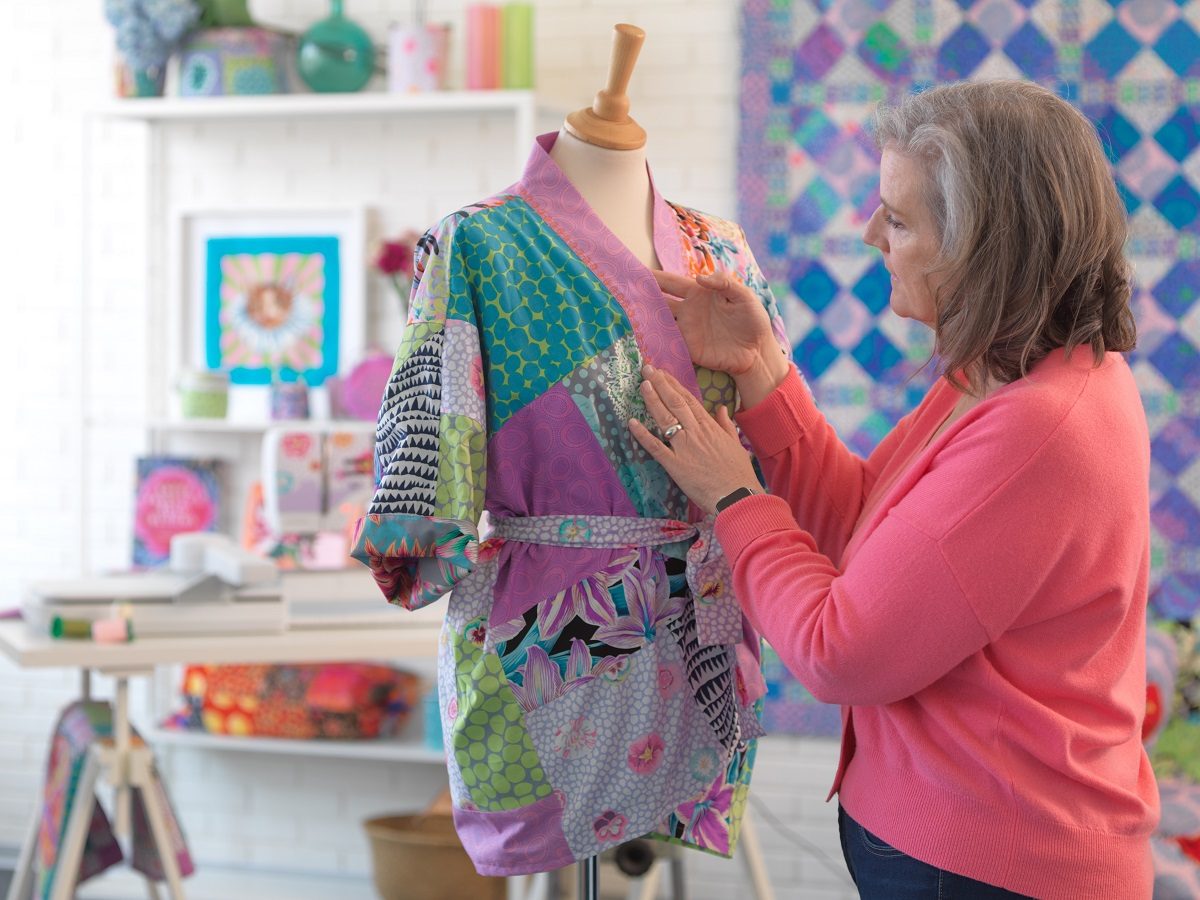
Topstitching with a Kaffe Decorative stitch
I just love all the Kaffe decorative stitches, it was hard to choose one and I think it’s so cool that they’re not symmetrical. This took me a bit to get used to and it was really good for my my brain to recognize that it doesn’t have to be perfect to still look great.
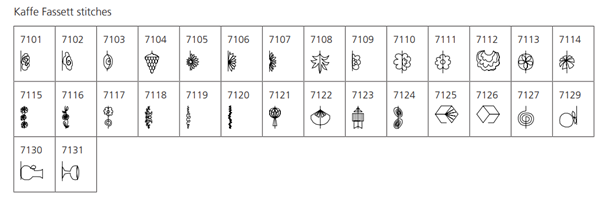
I used a Kaffe stitch # 7127 in a contrasting color of Mettler Silk Finish to make it pop. Together with the seam allowance and the interfacing it was enough to be a great base for the stitching. It’s important to sew at a constant speed and take your time not to rush because the moment you start to do this then the stitches can start to lose their shape.
Sash
The finishing touch was a sash. Select the length and the finished width you want, double it. Add ½” for the seam allowance and cut out the fabric. Fold in half lengthways, right sides together starting in the middle sew around leaving 2” to turn through. Trim the corners, turn through and press, hand stitch the opening closed.
Tips for Kaffe Fassett Embroidery
Floral Embroidery Designs
To mimic the look of hand embroidery, the flower designs are designed with longer stitches and are quite dense. Due to this the embroidery fabrics must be properly stabilized to prevent puckering.
Recommendation for embroidery stabilizer and hooping:
- First starch the fabric with spray starch –you can buy cans at the supermarket.
- One layer of a heavy weight tear-away stabilizer (OESD Heavy Weight TearAway)
(If this is not available then 2 or even 3 layers or medium weight tear-away). - If using the heavy weight, then add one layer of a lightweight tear-away stabilizer (OESD Ultra Clean and Tear).
- For finer fabrics or when a softer look is required (and you can wash the project), use 2 layers of aqua mesh.
- Always spray baste them together and then spray baste the fabric to the top of the stabilizer.
- Avoid using a hoop that is too large, it is best to do smaller hoopings of one flower at a time to prevent additional puckering.
- It is not recommended to do many flowers in a larger hoop and combine the colors – this can cause pulling with the running stitches.
- Decrease top tension as needed for a looser embroidery stitch out.
- Always use a new embroidery needle and change often!
- For free standing flowers. Organza or nylon tulle works well with two layers of aqua mesh. Trim away the excess fabric and with the nylon burn away the remnants.
Large Cross Stitch Designs
These fabulous designs are much quicker to stitch out by machine than doing them by hand. Here are my recommendations:
- They are digitized with the double cross stitch and therefore also need a double layer (1 x heavy weight sticky back and plus another layer of tear away tear away or 3 layers of medium tear away).
- Stick the fabric and the other layers of stabilizers together with temporary spray stabilizer.
- Make sure your fabric and stabilizer are large enought to fit the completed design.
- Use pinpoint placement to position the parts together.
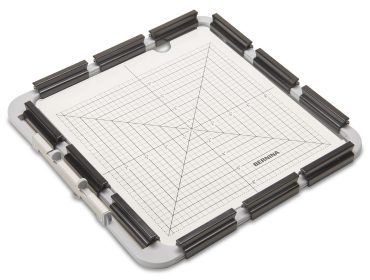
- The new Medium Clamp Embroidery Hoop is perfect for these designs, but it is also possible with the Maxi Hoop.
I encourage you to bring more color into your world. Not only will you enjoy sewing more, but you will also recieve lots of compliments on your Kaffe Fassett sewing projects.


0 Responses