This year we mix up your sewing room with colors…
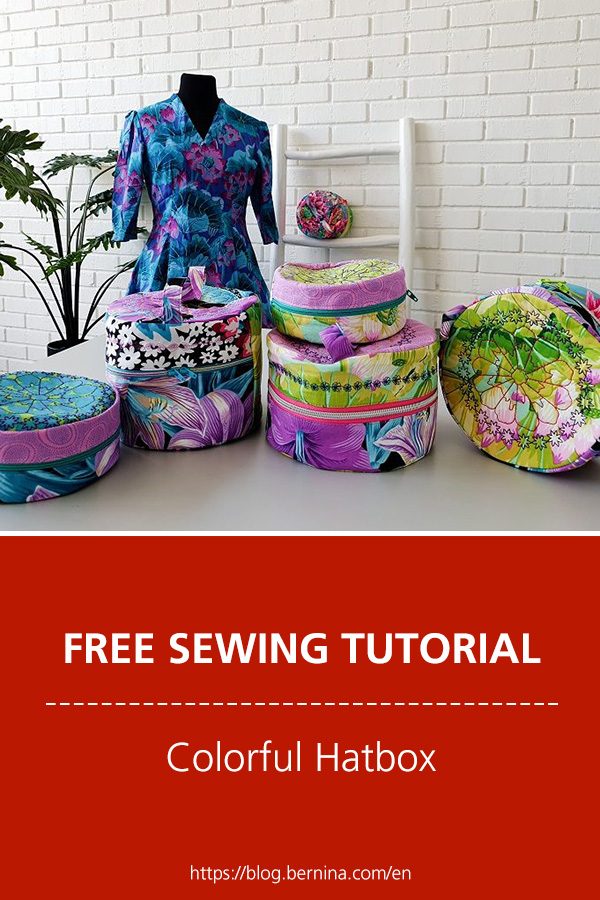
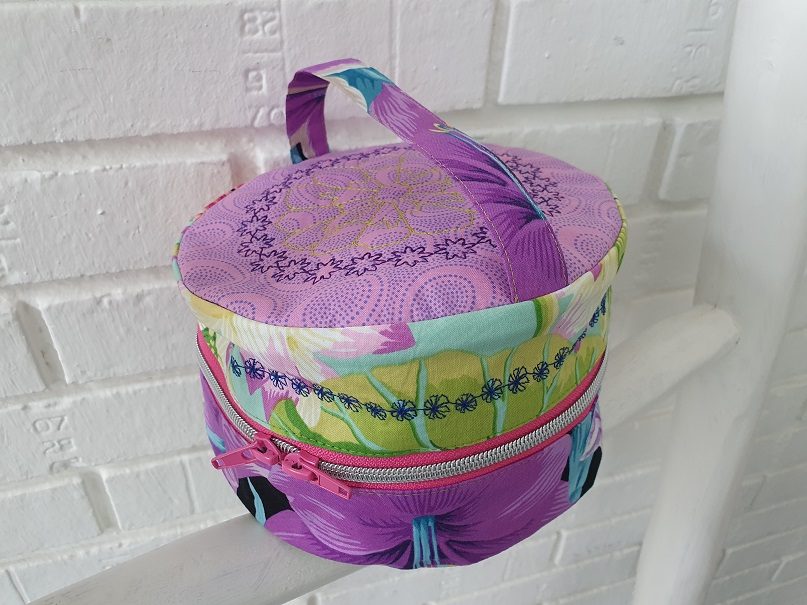
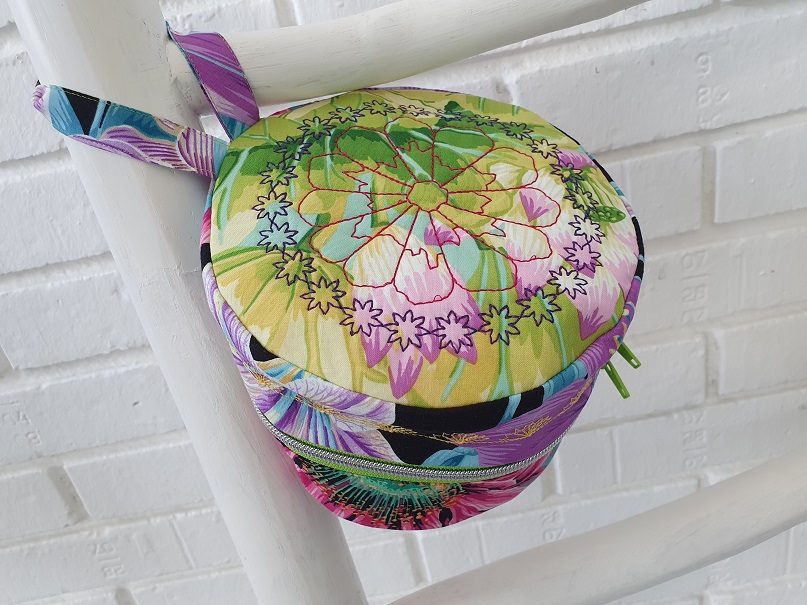
… for example with a colorful, round zipper bag!
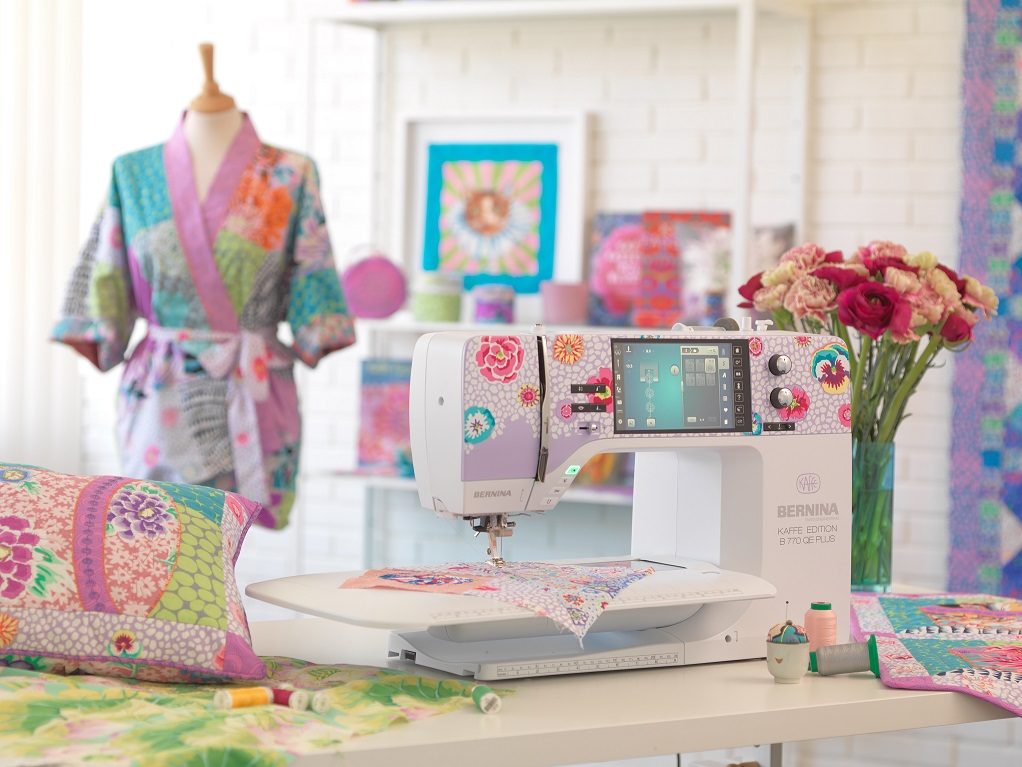
In this blog article we are talking about our latest machine: BERNINA 770 QE PLUS Kaffe Edition
Kaffe Fassett inspires us with his colorful fabrics in so many designs you can not count. I didn’t know where to start. The Mini Hatbox was just right for me to overcome my first shock, to take a break from “tone-on-tone knit sewing”, to lose myself in colors and patterns.
The result is a hat box combined with embroidery, using the exclusive designs and sewing stitches created by Kaffe Fassett. In teamwork, Sarah, our creative talent, Mirjam, our BERNINA 770 QE specialist and I, also an enthusiastic sewist but mainly addicted to the overlocker, have worked on that hatbox project for you, the project Sarah already mentioned in her blog article.
Color your world: The Kaffe Fassett Sewing Projects
Free instructions for a colorful Hatbox
You can now find the detailed instructions for the colorful, round zipper bag, or hatbox, on www.bernina.com.
The instructions are detailed, but of course they do not cover all the creative ideas that have come under our needles during the course of developing this project. We would like to share some of these “distractions” with you in this blog article.
Sewing a Hatbox ‒ Mesh Inner Bag
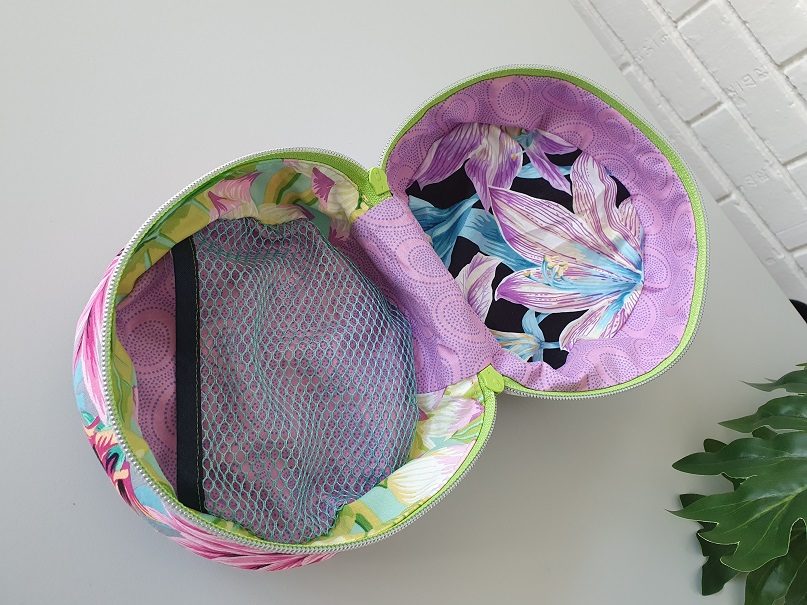
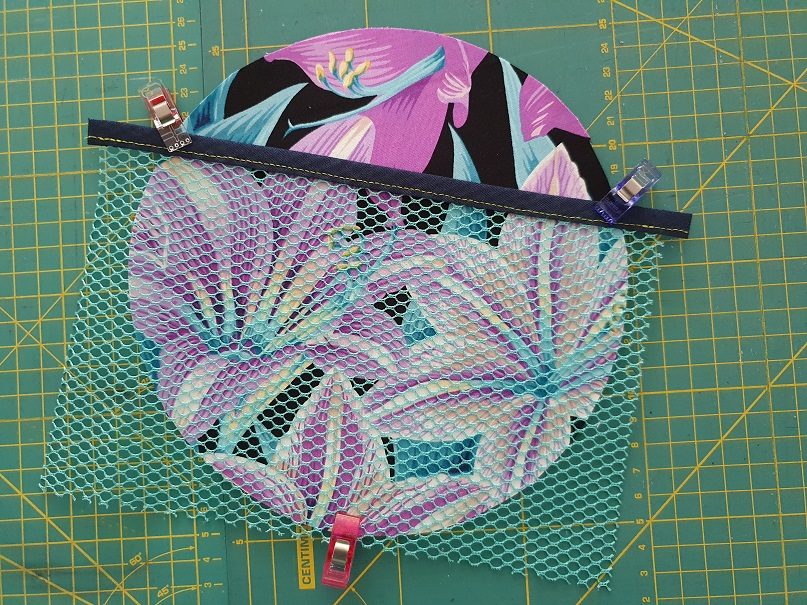
The easiest is to add a mesh or fabric inner pocket to the base or lid lining.
We recommend to use the following materials:
- Mesh or quilting cotton, cut 20 x 14 cm / 8 x 5 1/2″, 1 piece
- Bias binding or fold-over elastic, cut 22 x 1 cm / 9 x 1/2″ finished width, 1 piece
The procedure is then as follows:
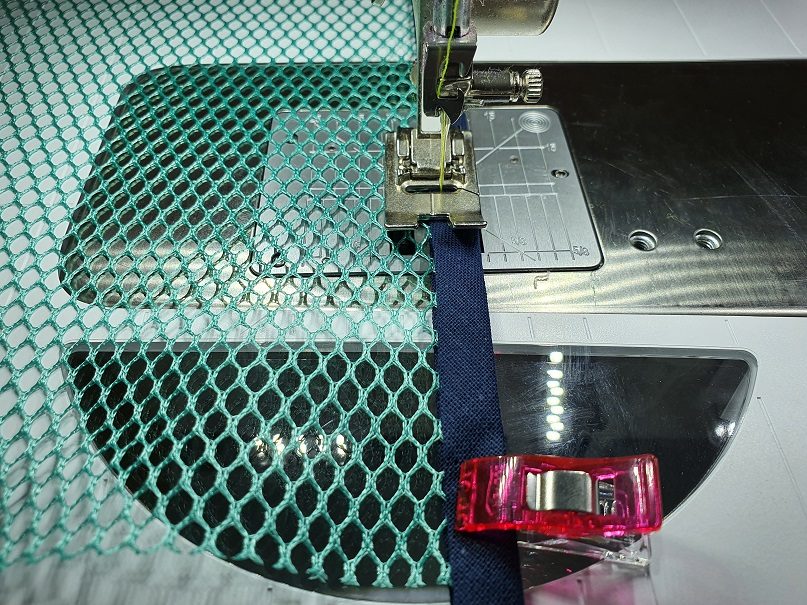
Pin the bias binding or the fold-over elastic over one length edge of mesh.
Stitch the bias binding/fold-over elastic onto the mesh. Press.
Upon having the lid or base linings cut, place the mesh on the inside lid or base. Baste in place around the cutting line. Cut the mesh back to the edge.
Sewing a Hatbox ‒ Handle
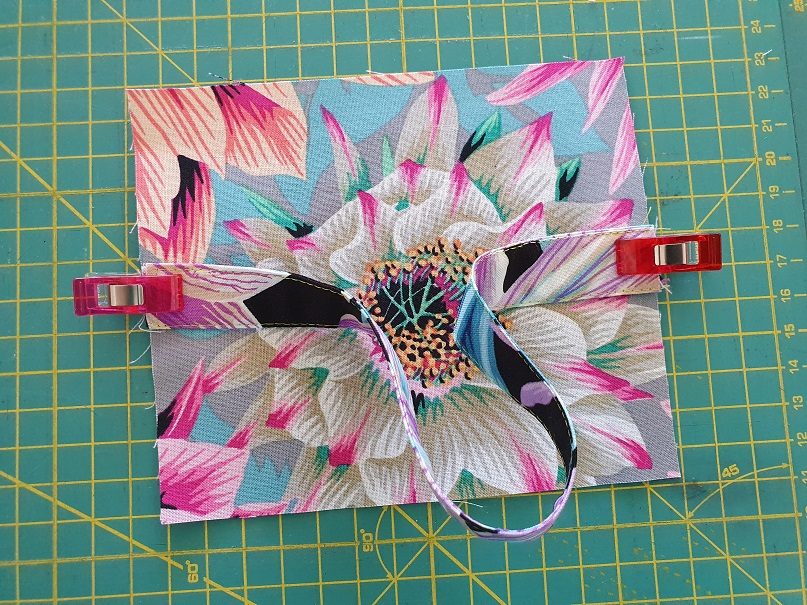
Another customization is to place the handle over the spine instead over the lid. That is how the hatbox effect gives way to a bag.
Tha handle can also be placed as a loop between the spine and the lid.
Sewing a Hatbox ‒ Gathering the Seam Allowance
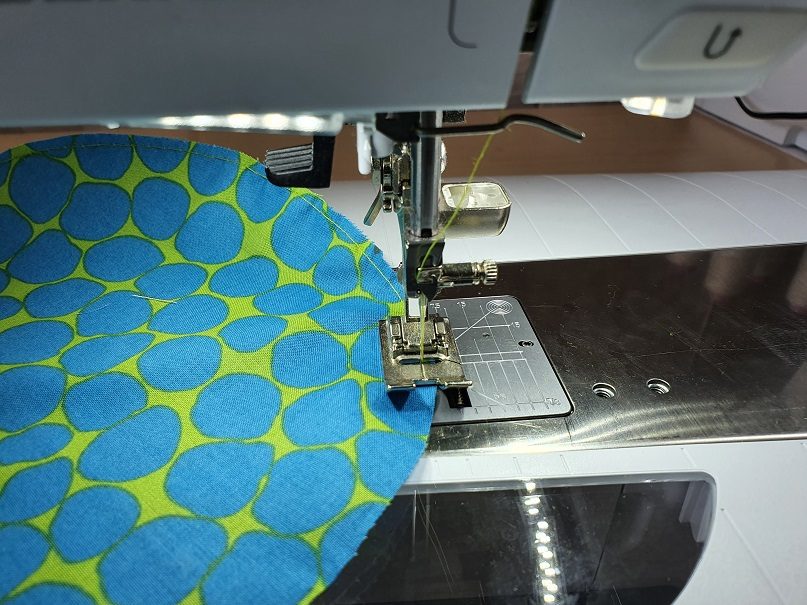
Another variation is to slightly gather the seam allowance of the lid and base to ensure a good fit.
With straight stitch and a stitch length of 6 and increased upper thread tension of +1, stitch along all of the cirles, using the inside edge of the foot as a guide. Gently pull the upper thread if necessary to get a good fit when stitching to the sides of the project.
Need More Proposals?
There are no limits to your creativity. Our hat box consists of equally high parts on both sides of the zipper. The easiest personalization is, of course, to increase one side of the zipper pieces , for example instead of cutting four pieces of 7 x 48 cm each, being interchangeable, cut two 10 x 48 cm. Then adjust the spine and cut it not 12 x 14 cm but 12 x 17 cm. Or go smaller, for example 5 x 48 cm, or cut any size that suits you and your project. That is how the bag effect gives way to a hatbox.
Embroider your own colorful hatbox
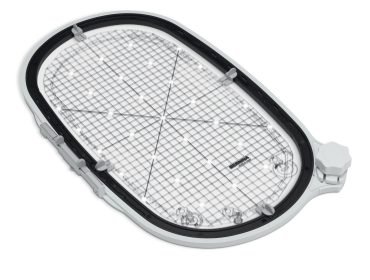
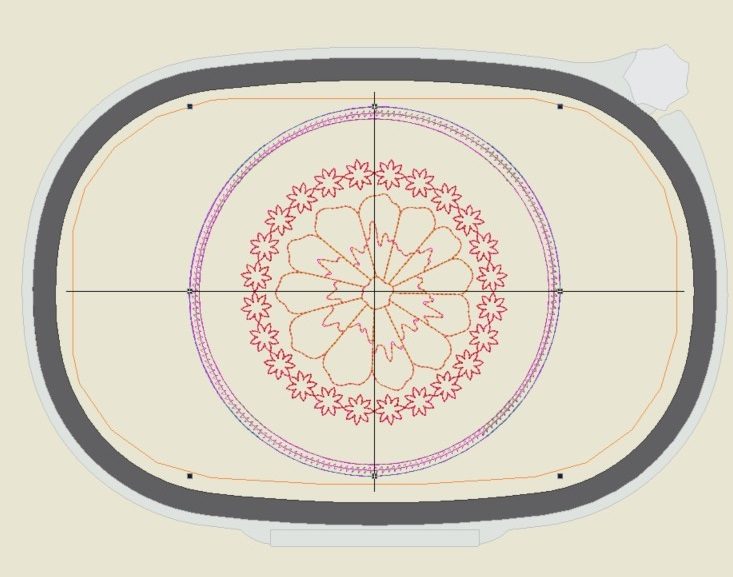
Using the BERNINA Maxi Hoop
Another variation is of course to use our embroidery design, that we have optimized for the Maxi Hoop, and reduce its size. A smaller hat box diameter results in adjusting the cuts of the zipper parts. Some calculation samples here:
- Circumference 50 cm / 19 3/4″ : 3.1415 = circle diameter 15.91 cm / 6 1/2″
- Circumference 55 cm / 21 5/8″ : 3.1415 = circle diameter 17.5 cm / 6 7/8″
- Circle diameter 15 cm / 6″ x 3.1415 = circumference 47.12 cm / 18 5/8″
Don’t forget to add the seam allowances.
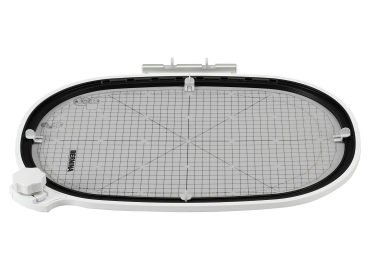
Using the BERNINA Jumbo Hoop
The other option is to enlarge the embroidery design. For that we can take the Jumbo Hoop as template, its embroidery area is 40 x 26 cm. To use this embroidery area, you need to use this hoop on the B 880. With up to a max. diameter of 26 cm, the lid can fit into the hoop. Then use this template to cut the other round parts, base and linings. We have not worked on that embroidery in detail, we know, you can do it yourself with your embroidery designs and embroidery software, right? But we are glad to share calculation samples for the Jumbo Hoop:
- Circumference 60 cm / 23 5/8″ : 3.1415 = circle diameter 19.09 cm / 7 7/8″
- Circle diameter 20 cm / 8″ x 3.1415 = circumference 62.83 cm / 24 3/4″
- Circle diameter 24 cm / 9 1/2″ x 3.1415 = circumference 75.93 cm / 29.12″
Don’t forget do add the seam allowances.
Sewing a Hatbox ‒ Material Requirements
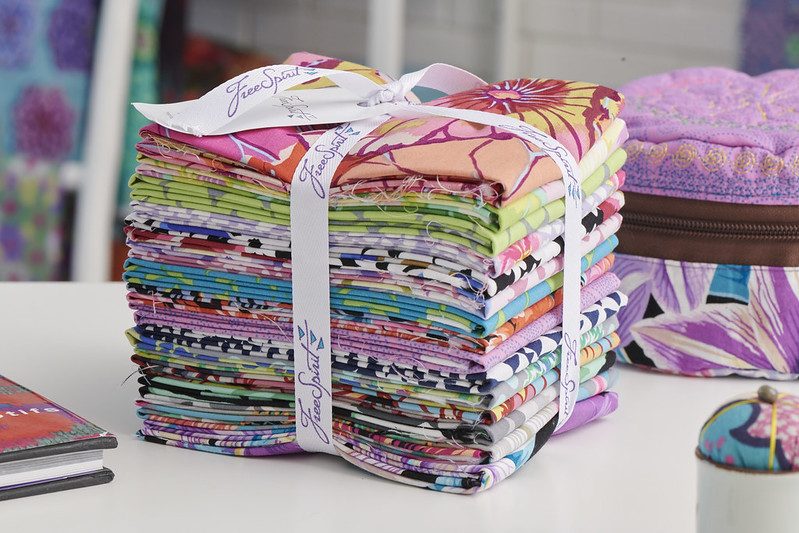
Our project is based on the fabric bundle that comes with the B 770 QE PLUS Kaffe Edition. One so-called half-yard cut, i.e. 45 x 110 cm, is enough for one hat box. With 4 different designs, 4 kits can be cut and sewn at the same time resulting in 4 individual hatboxes!
The colorful, round zipper bag/hat box, a perfect gift to family and friends or to yourself.
With this, we wish you fun sewing, according to the motto of Kaffe Fassett: “Color is the tonic the world needs.”
We look forward to you sharing your hatbox creations!
Doris
 BERNINA Corporate Blog -







0 Responses