 BERNINA Corporate Blog -
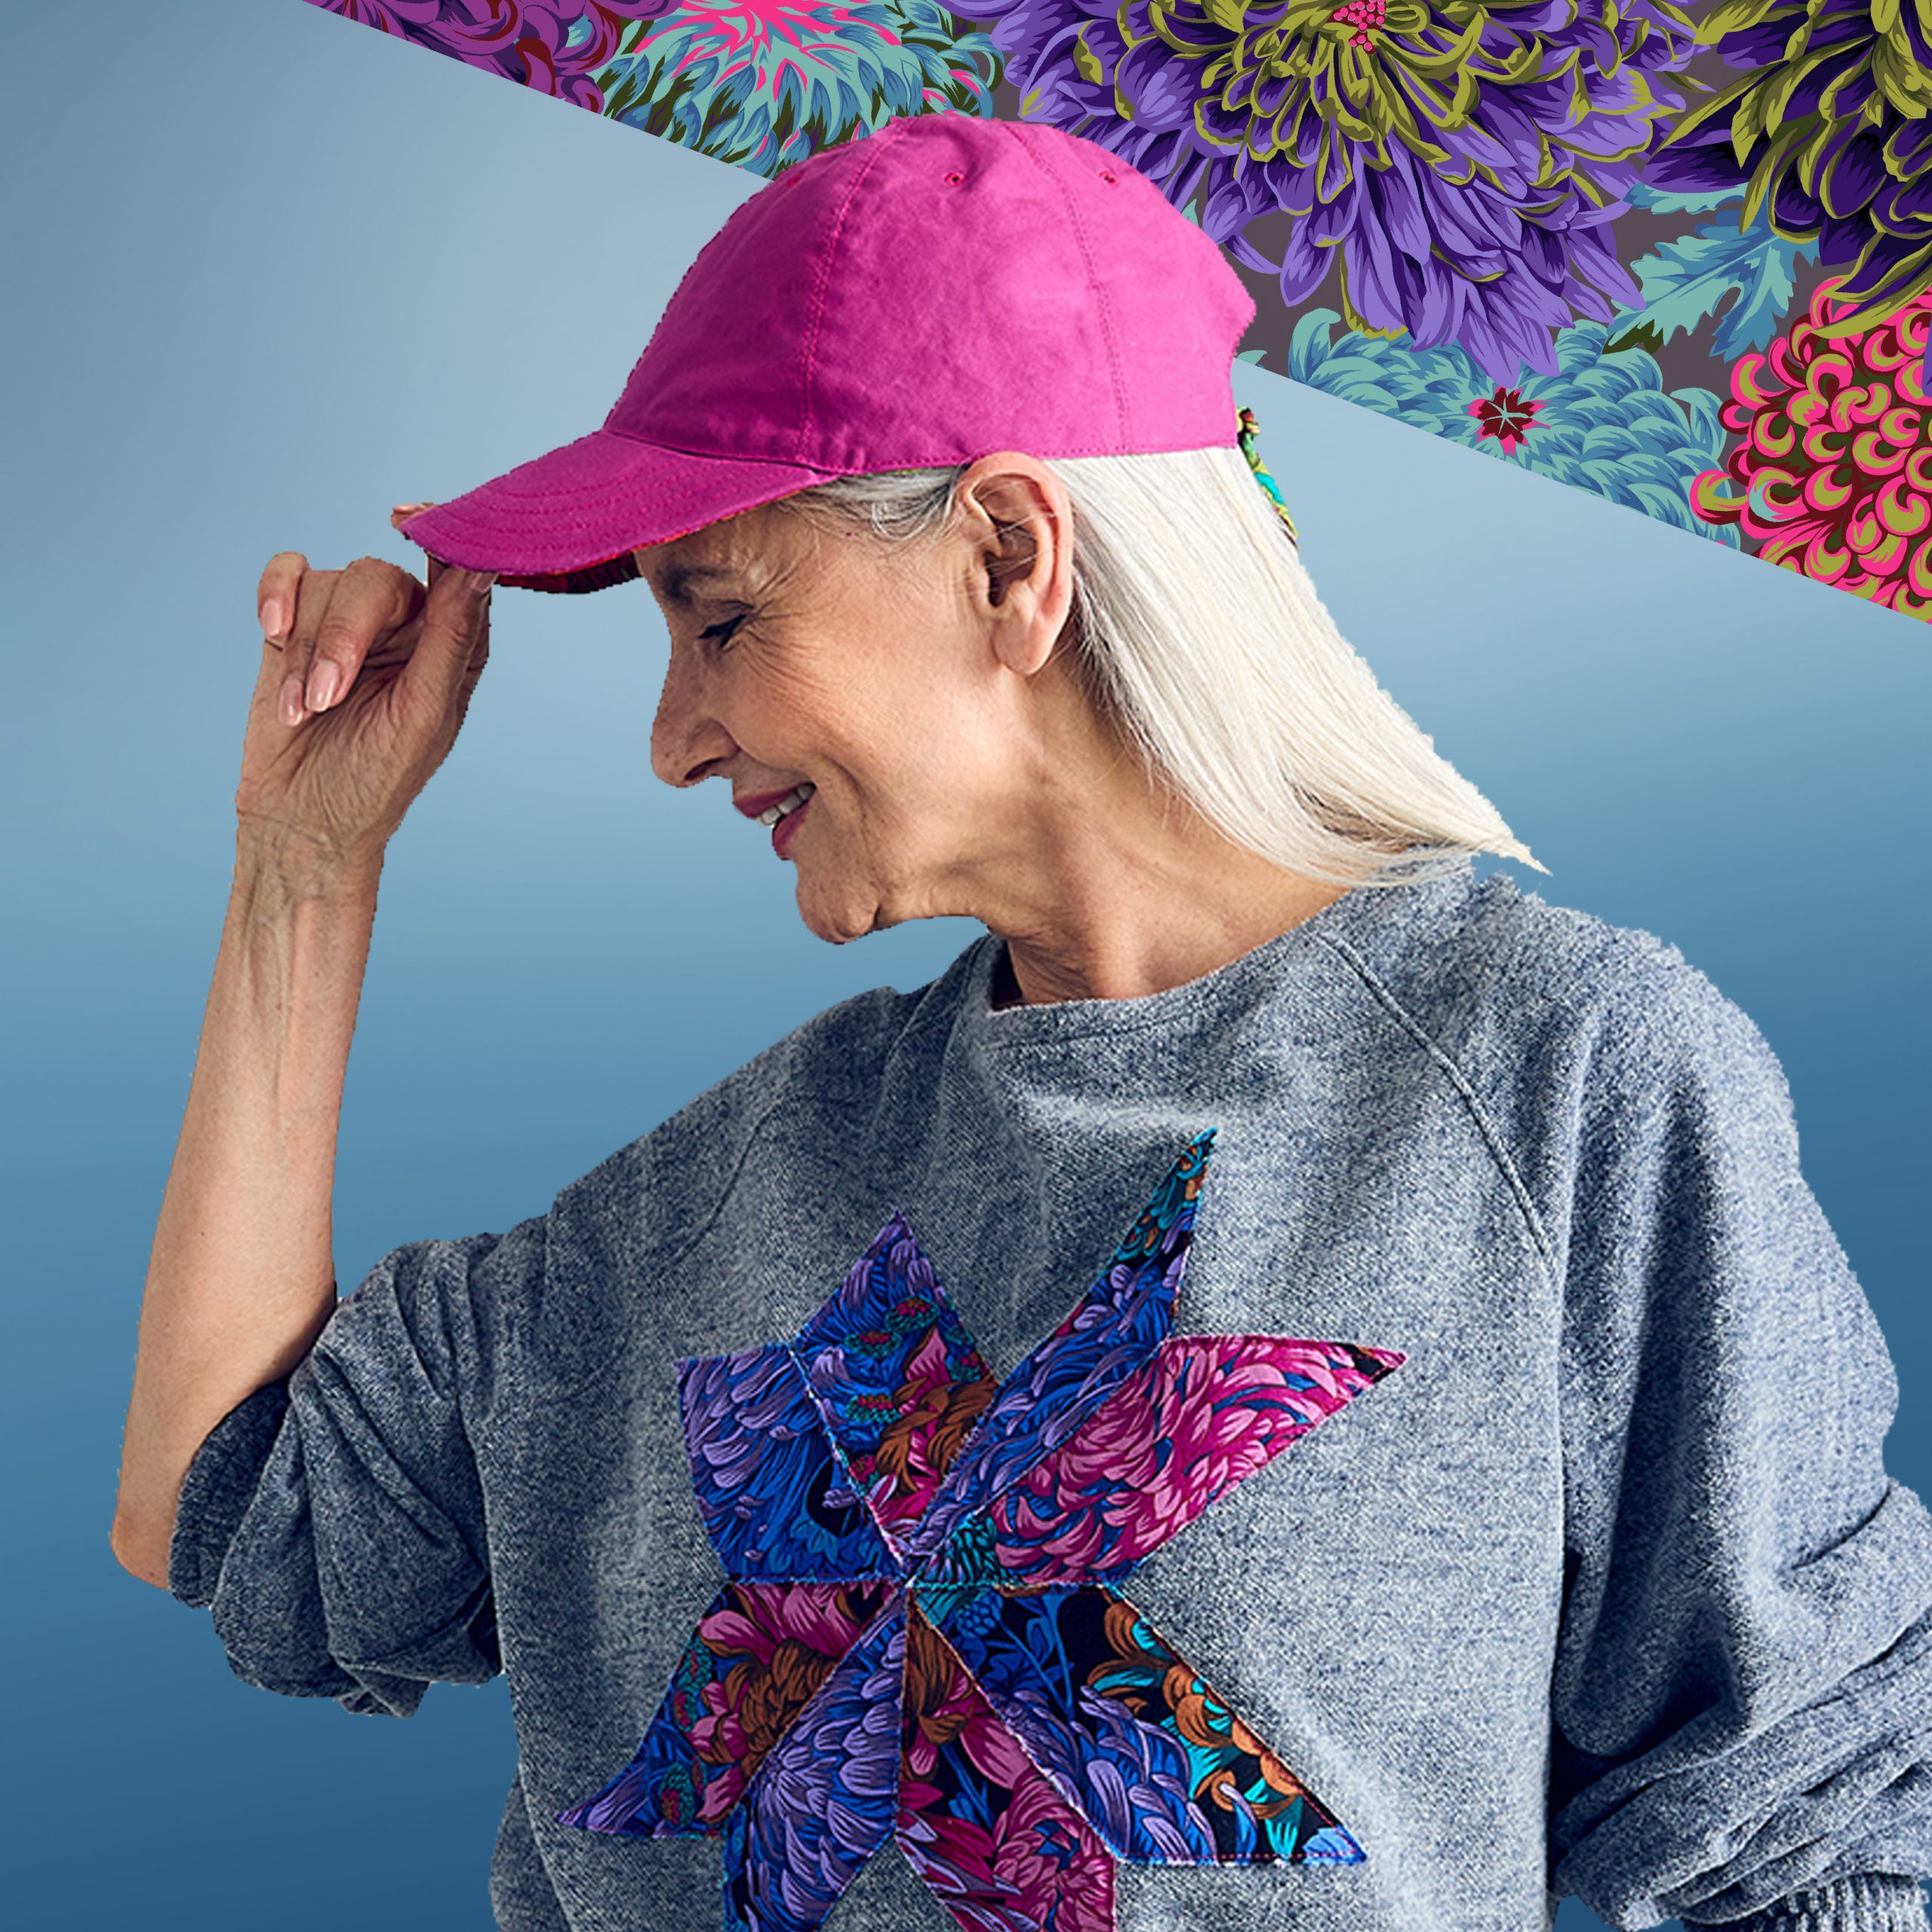
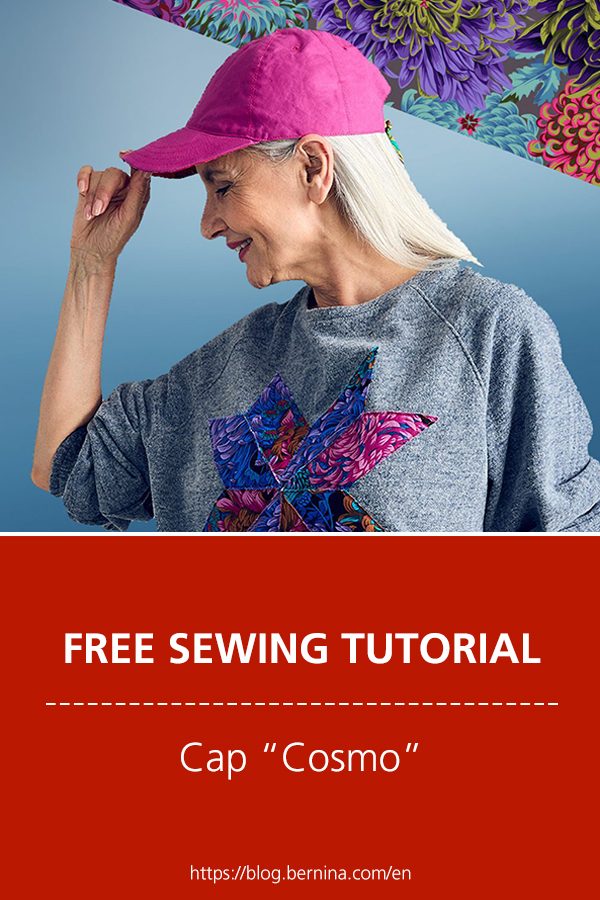
Hats and caps are a must to round off any outfit. They are practical and chic for women, men, children or babies! For this reason, a cap could not be missing from our BERNINA Fashion Look collection. This collection is the brainchild of Swiss designer Irène Münger and inspired by the fabrics of English textile designer Kaffe Fassett. It is the first fashion collection for sewing. The fashionable patterns are available online in our inspiration shop.
As a taste for the complete BERNINA Fashion Look collection, the first project our Cap “Cosmo” is a freebie. You can find even more information about the collection and all the looks on www.bernina.com/looks (in German)
Sewing cap “Cosmo”
The cap can be worn on both sides. One side is water-repellent thanks to Oilskin and the other side is colourful with a fabric from Kaffe Fasset. So this side can be worn as sun protection on the outside in hot weather and the Oilskin side for example in light drizzle. A cap for all weather conditions, so to speak.
Free pattern for the Cap “Cosmo”
The pattern for the cap is available for free in A4 format at the following download link.
Pattern Download (PDF, Format A4)
Make sure you print out the pattern using the “original size” setting. Check the test square to make sure the pattern has been printed out in the correct size.
Material / Accessories
Fabric & interfacing:
- Magenta oilskin 20 cm x 95 cm
- Scarlet Kaffe PWPJ041 20 cm x 95 cm
- Decovil fusible interfacing I 15 cm x 20 cm
- Vlieseline interfacing G 700 20 cm x 45 cm
Cutting out
The pattern already includes a 1 cm seam allowance.
Magenta oilskin
- 1 x cap brim with Decovil I interfacing pressed underneath in the middle (use an ironing press, if available)
- 4 x cap front pieces
- 2 x cap back pieces with cutout
Kaffe Scarlet PWPJ041
- 1 x cap brim with G 700 pressed underneath
- 4 x cap front pieces, reinforce 2 pieces with G 700
- 2 x cap back pieces with cutout
- 2 x fastening ties 5.5 x 17 cm
Interfacing
- Decovil I: 1 x cap brim with no seam allowance
- G 700:
- 1 x cap brim with seam allowance
- 2 x cap front pieces
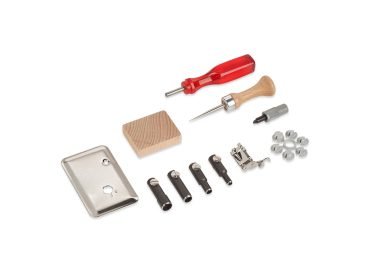
BERNINA accessories
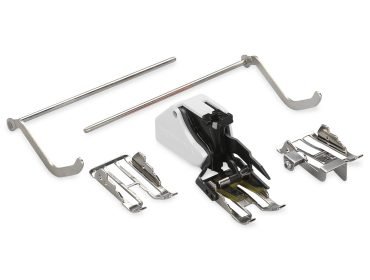
- Three-Sole Walking Foot #50
- Edgestitch Foot #10
- Open Embroidery Foot #20
- Universalnadeln 130/705 H 90


Other accessories
- Rotary cutter
- 7″ x 24″ quilting guide
- Large cutting mat
- Prym violet self-erasing
- Marker pen
- Prym loop turner
- Fabric scissors
- Small sharp scissors
- Mettler Seralon type-# 1678, color-# 1421 (Magenta)
Sewing instructions: Sewing cap
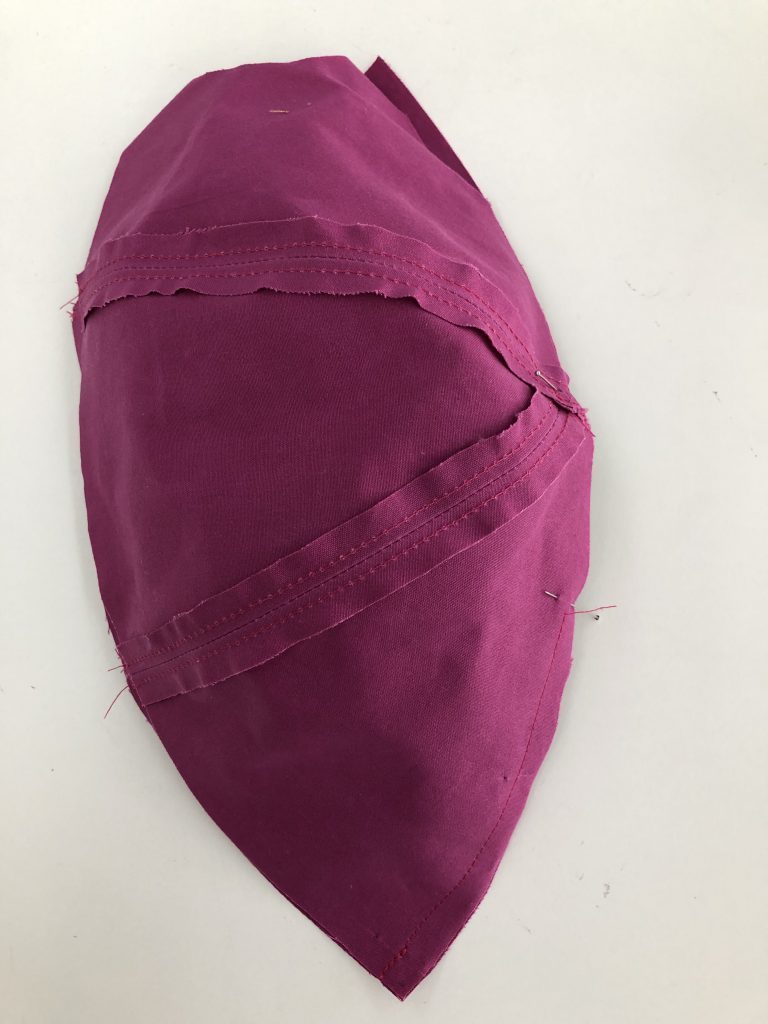
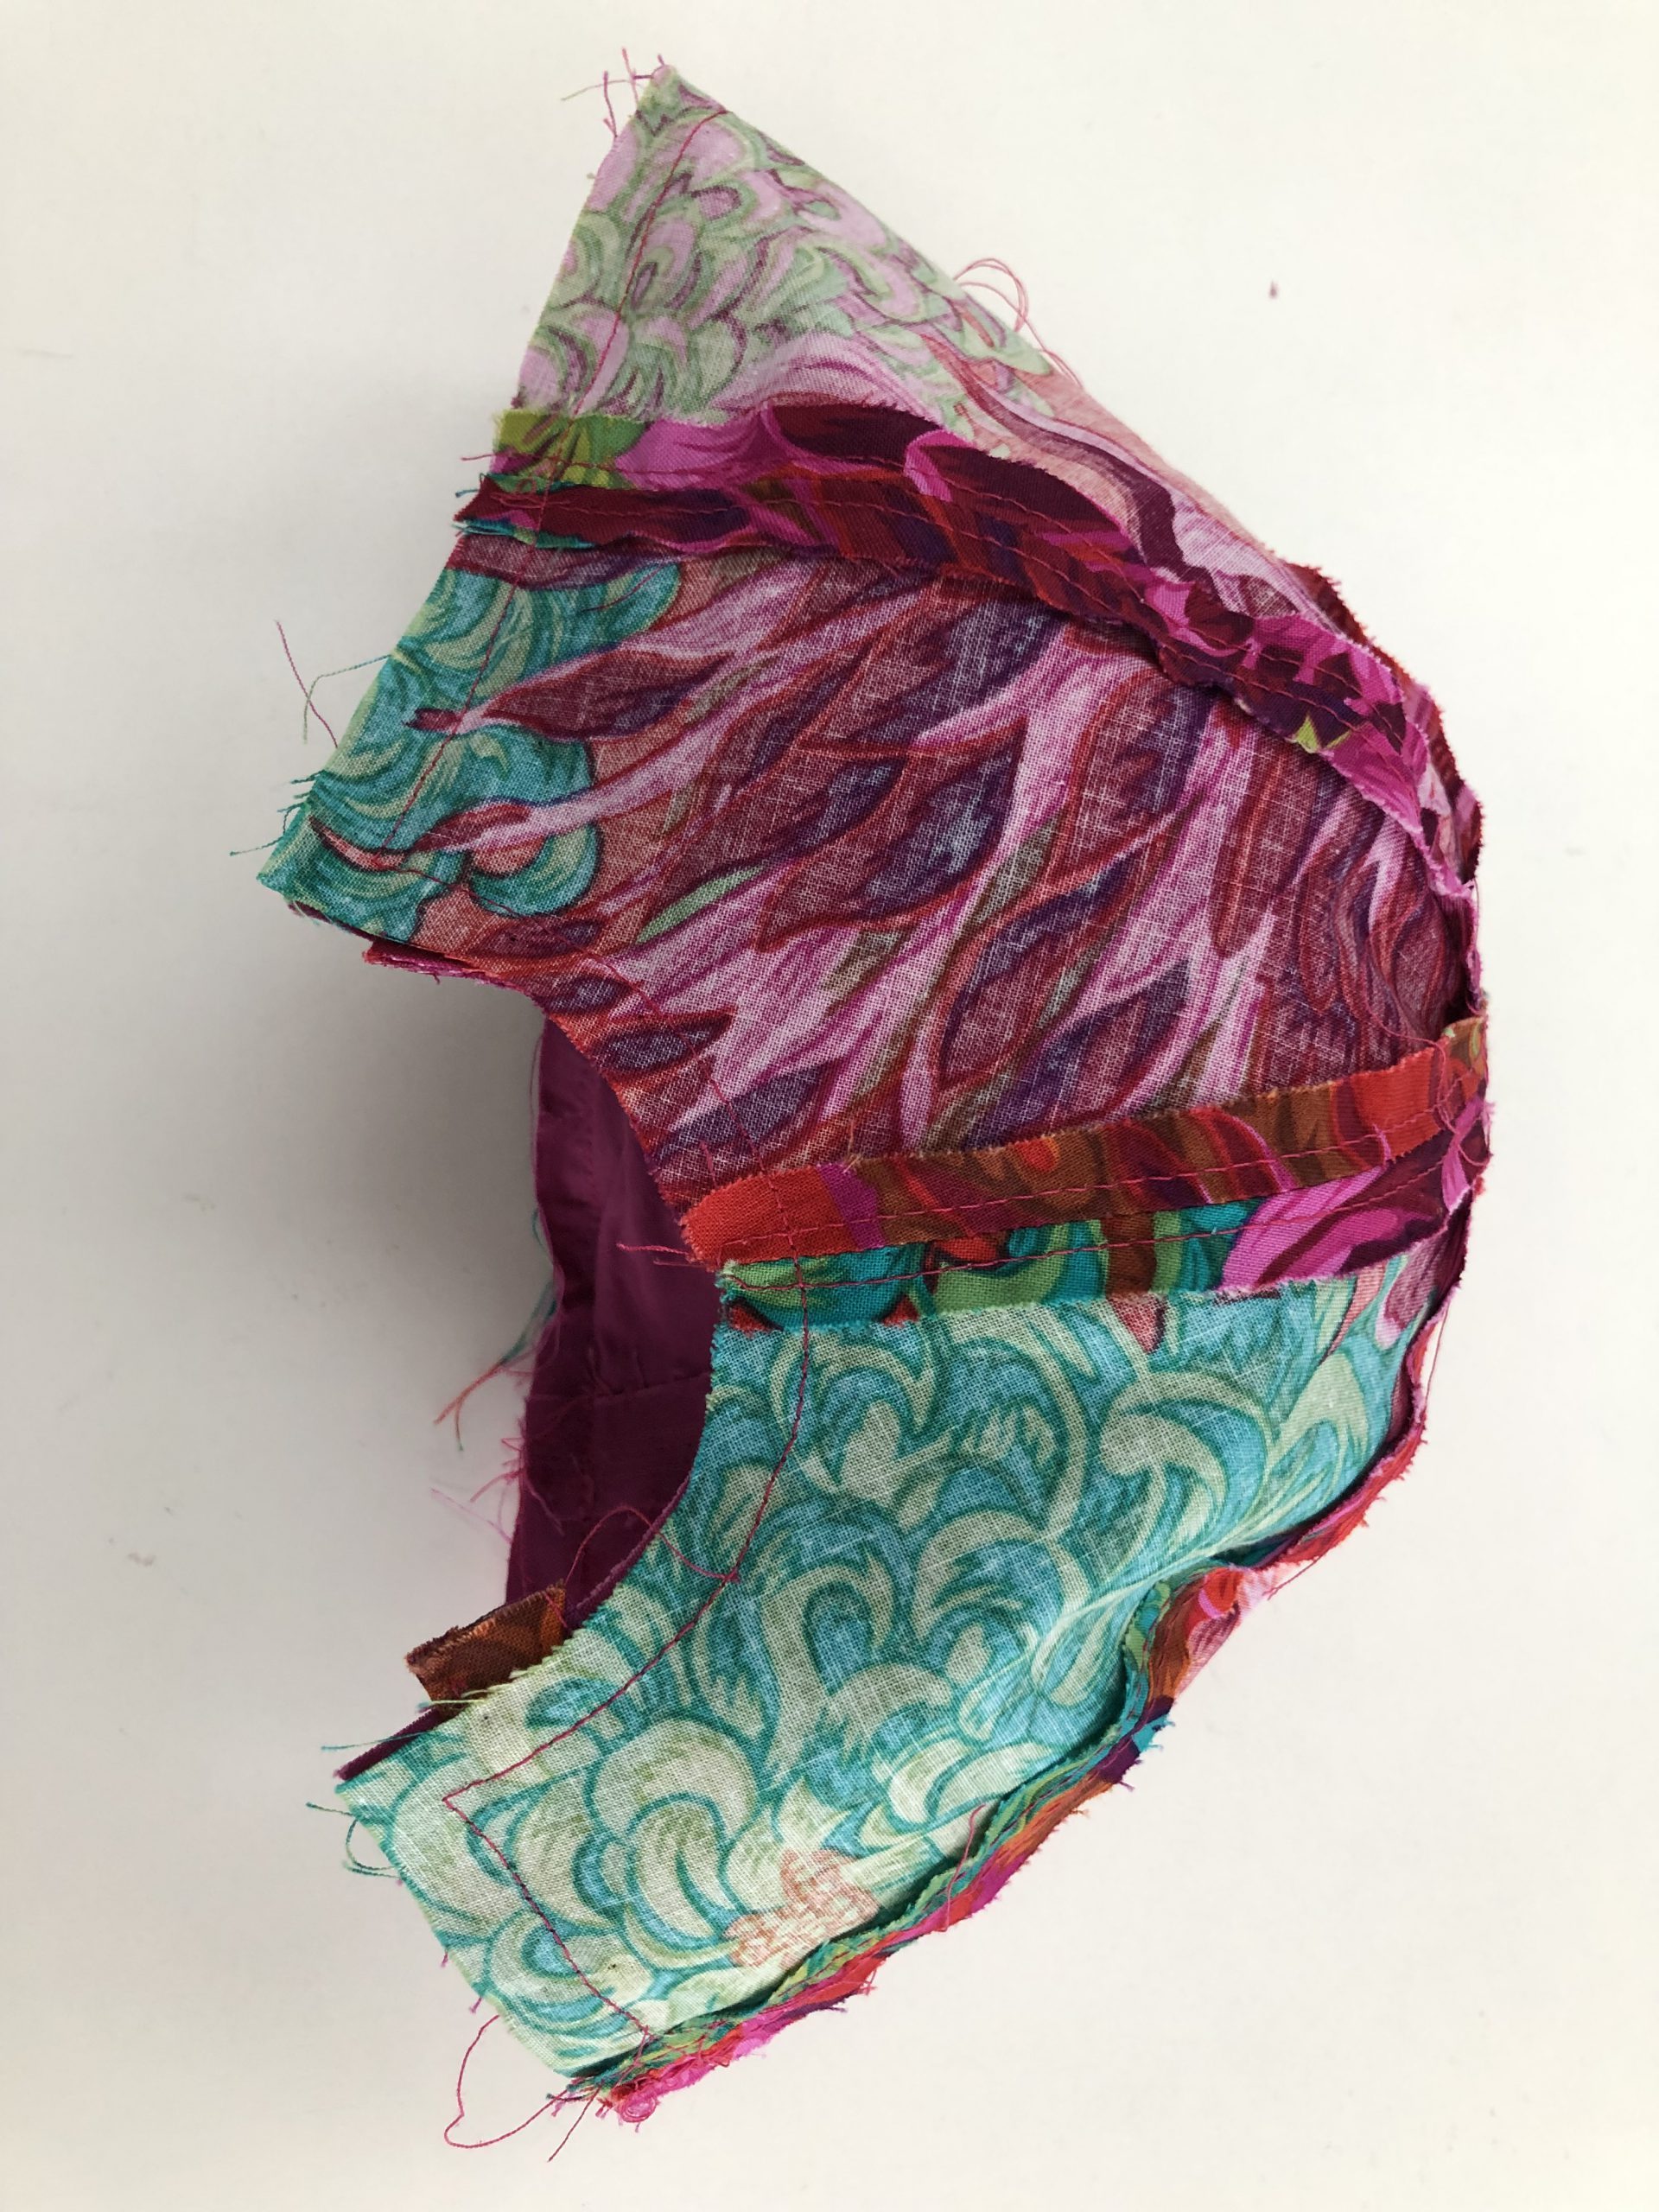
Sewing the cap piece (outer and inner piece):
Outer piece: Sew two front cap pieces together with right sides facing using the seam allowance – Use the marking on the needle plate for guidance!
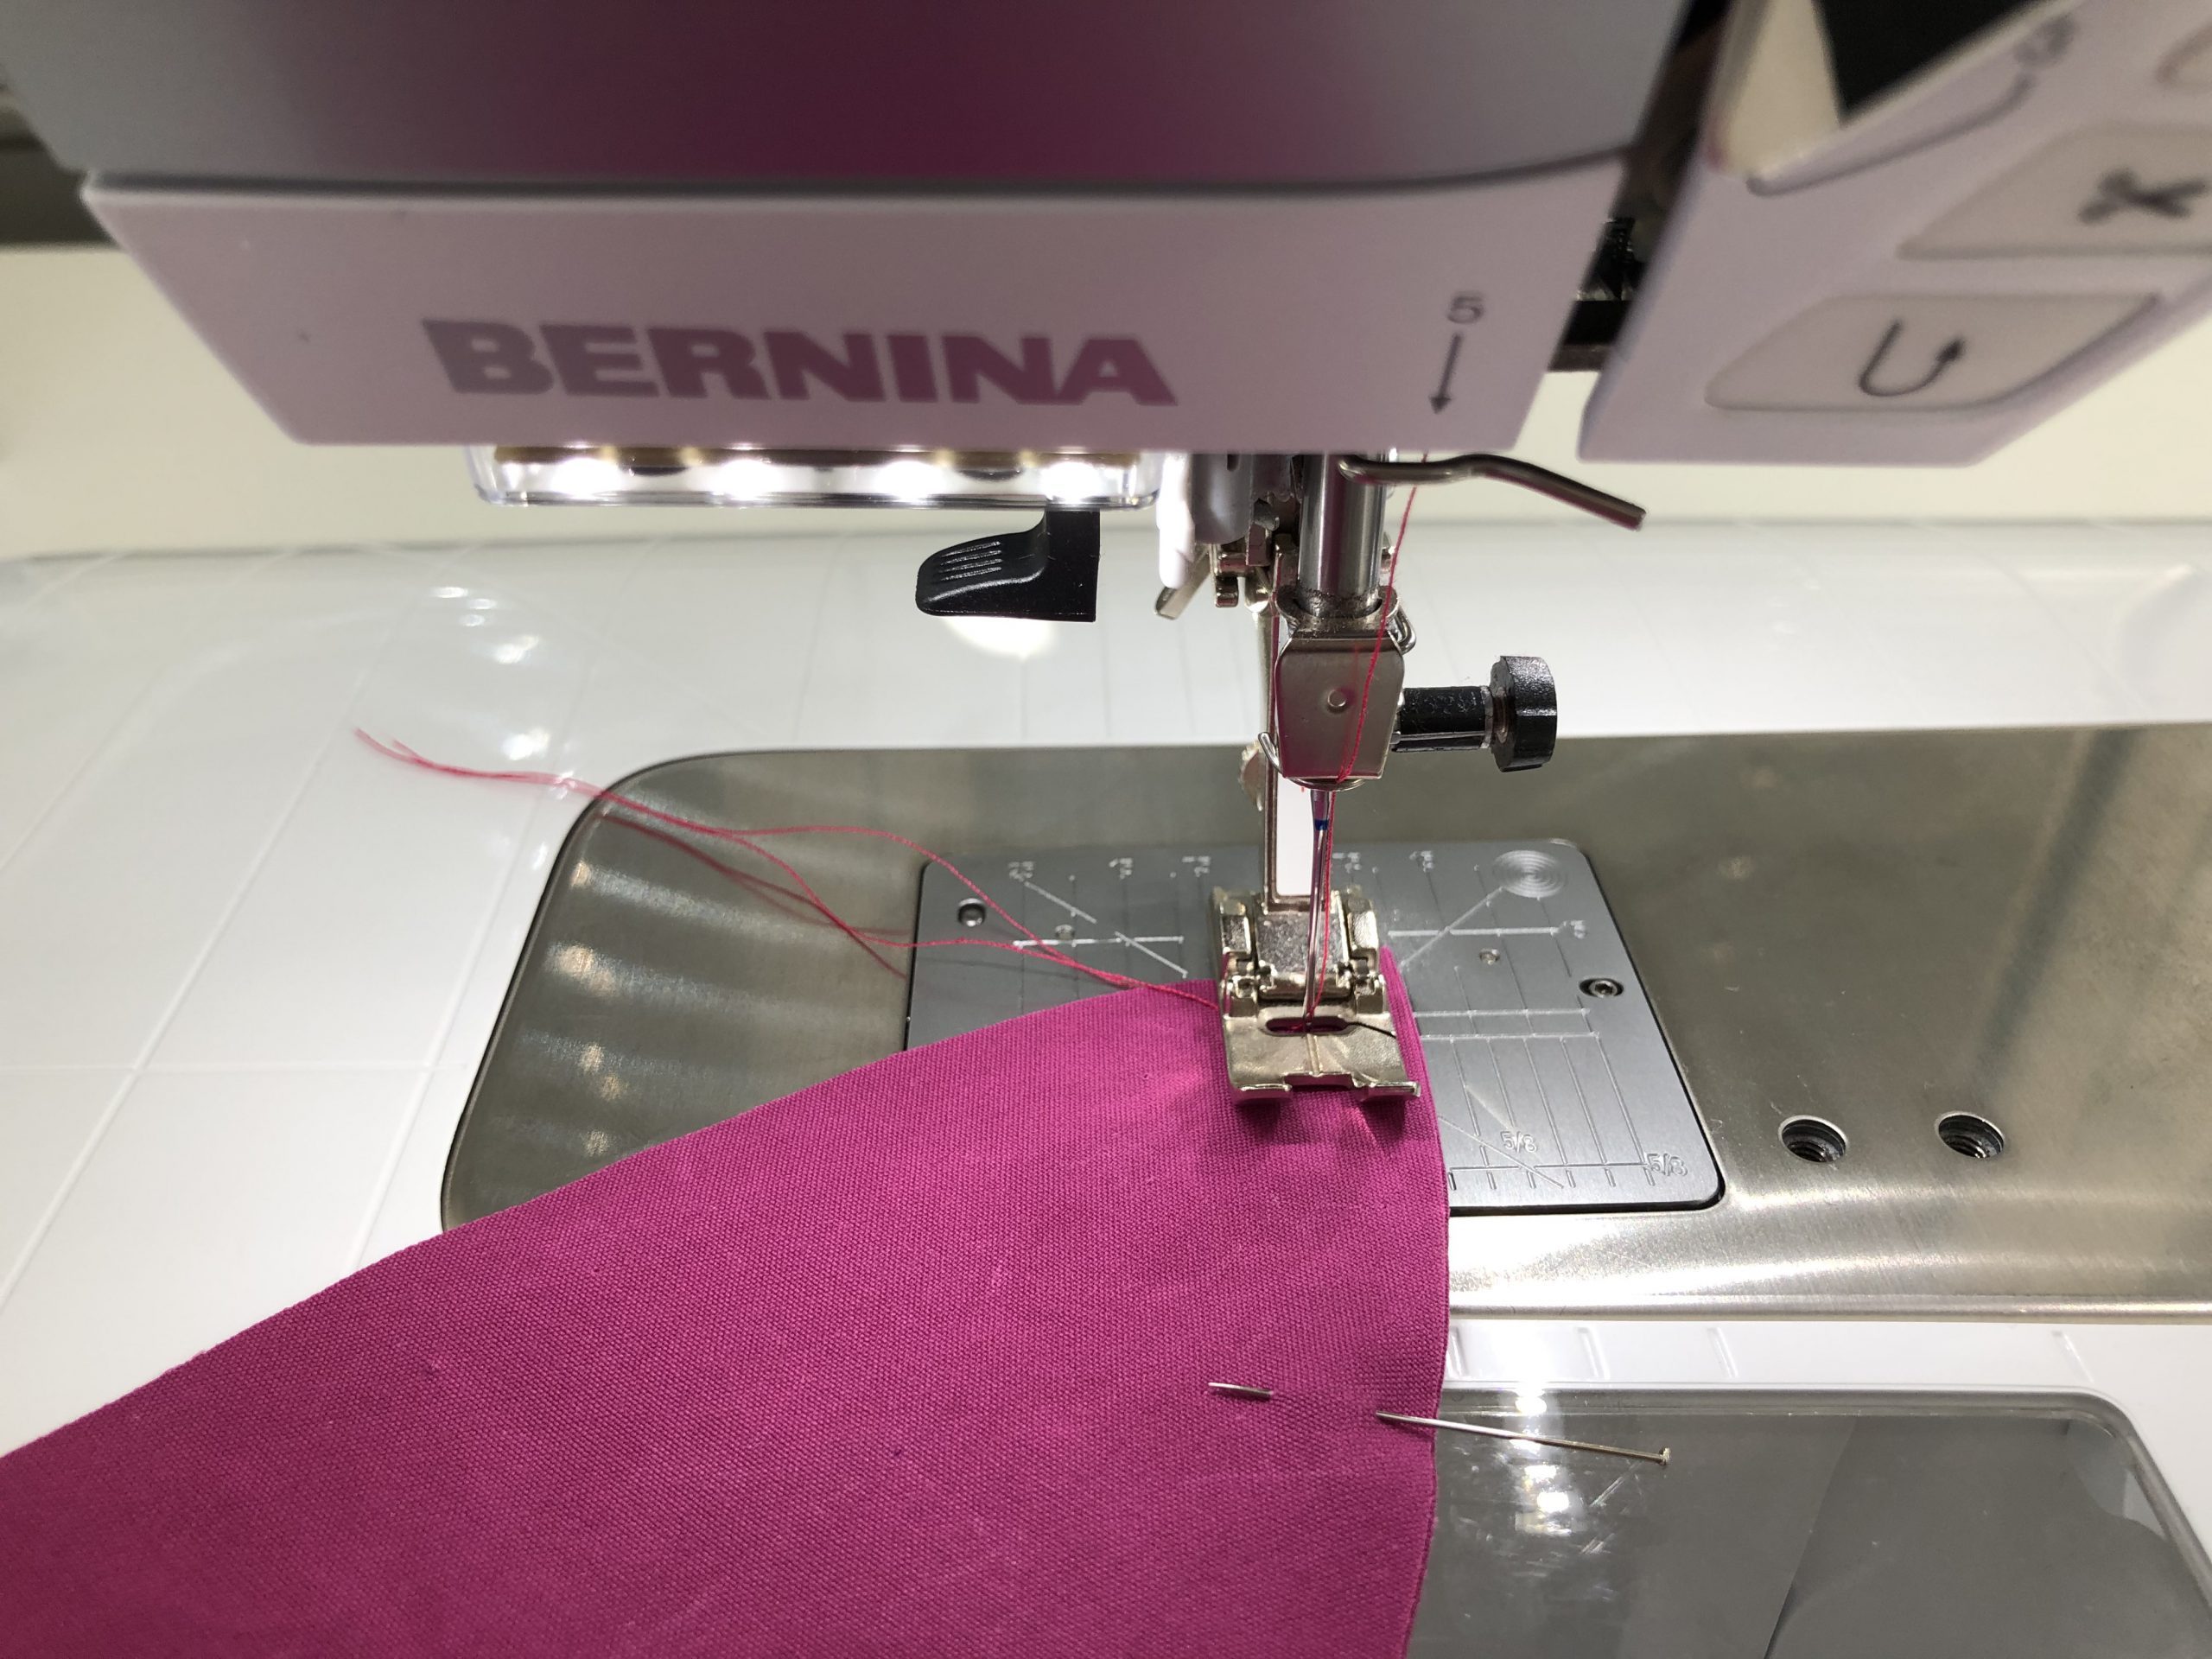
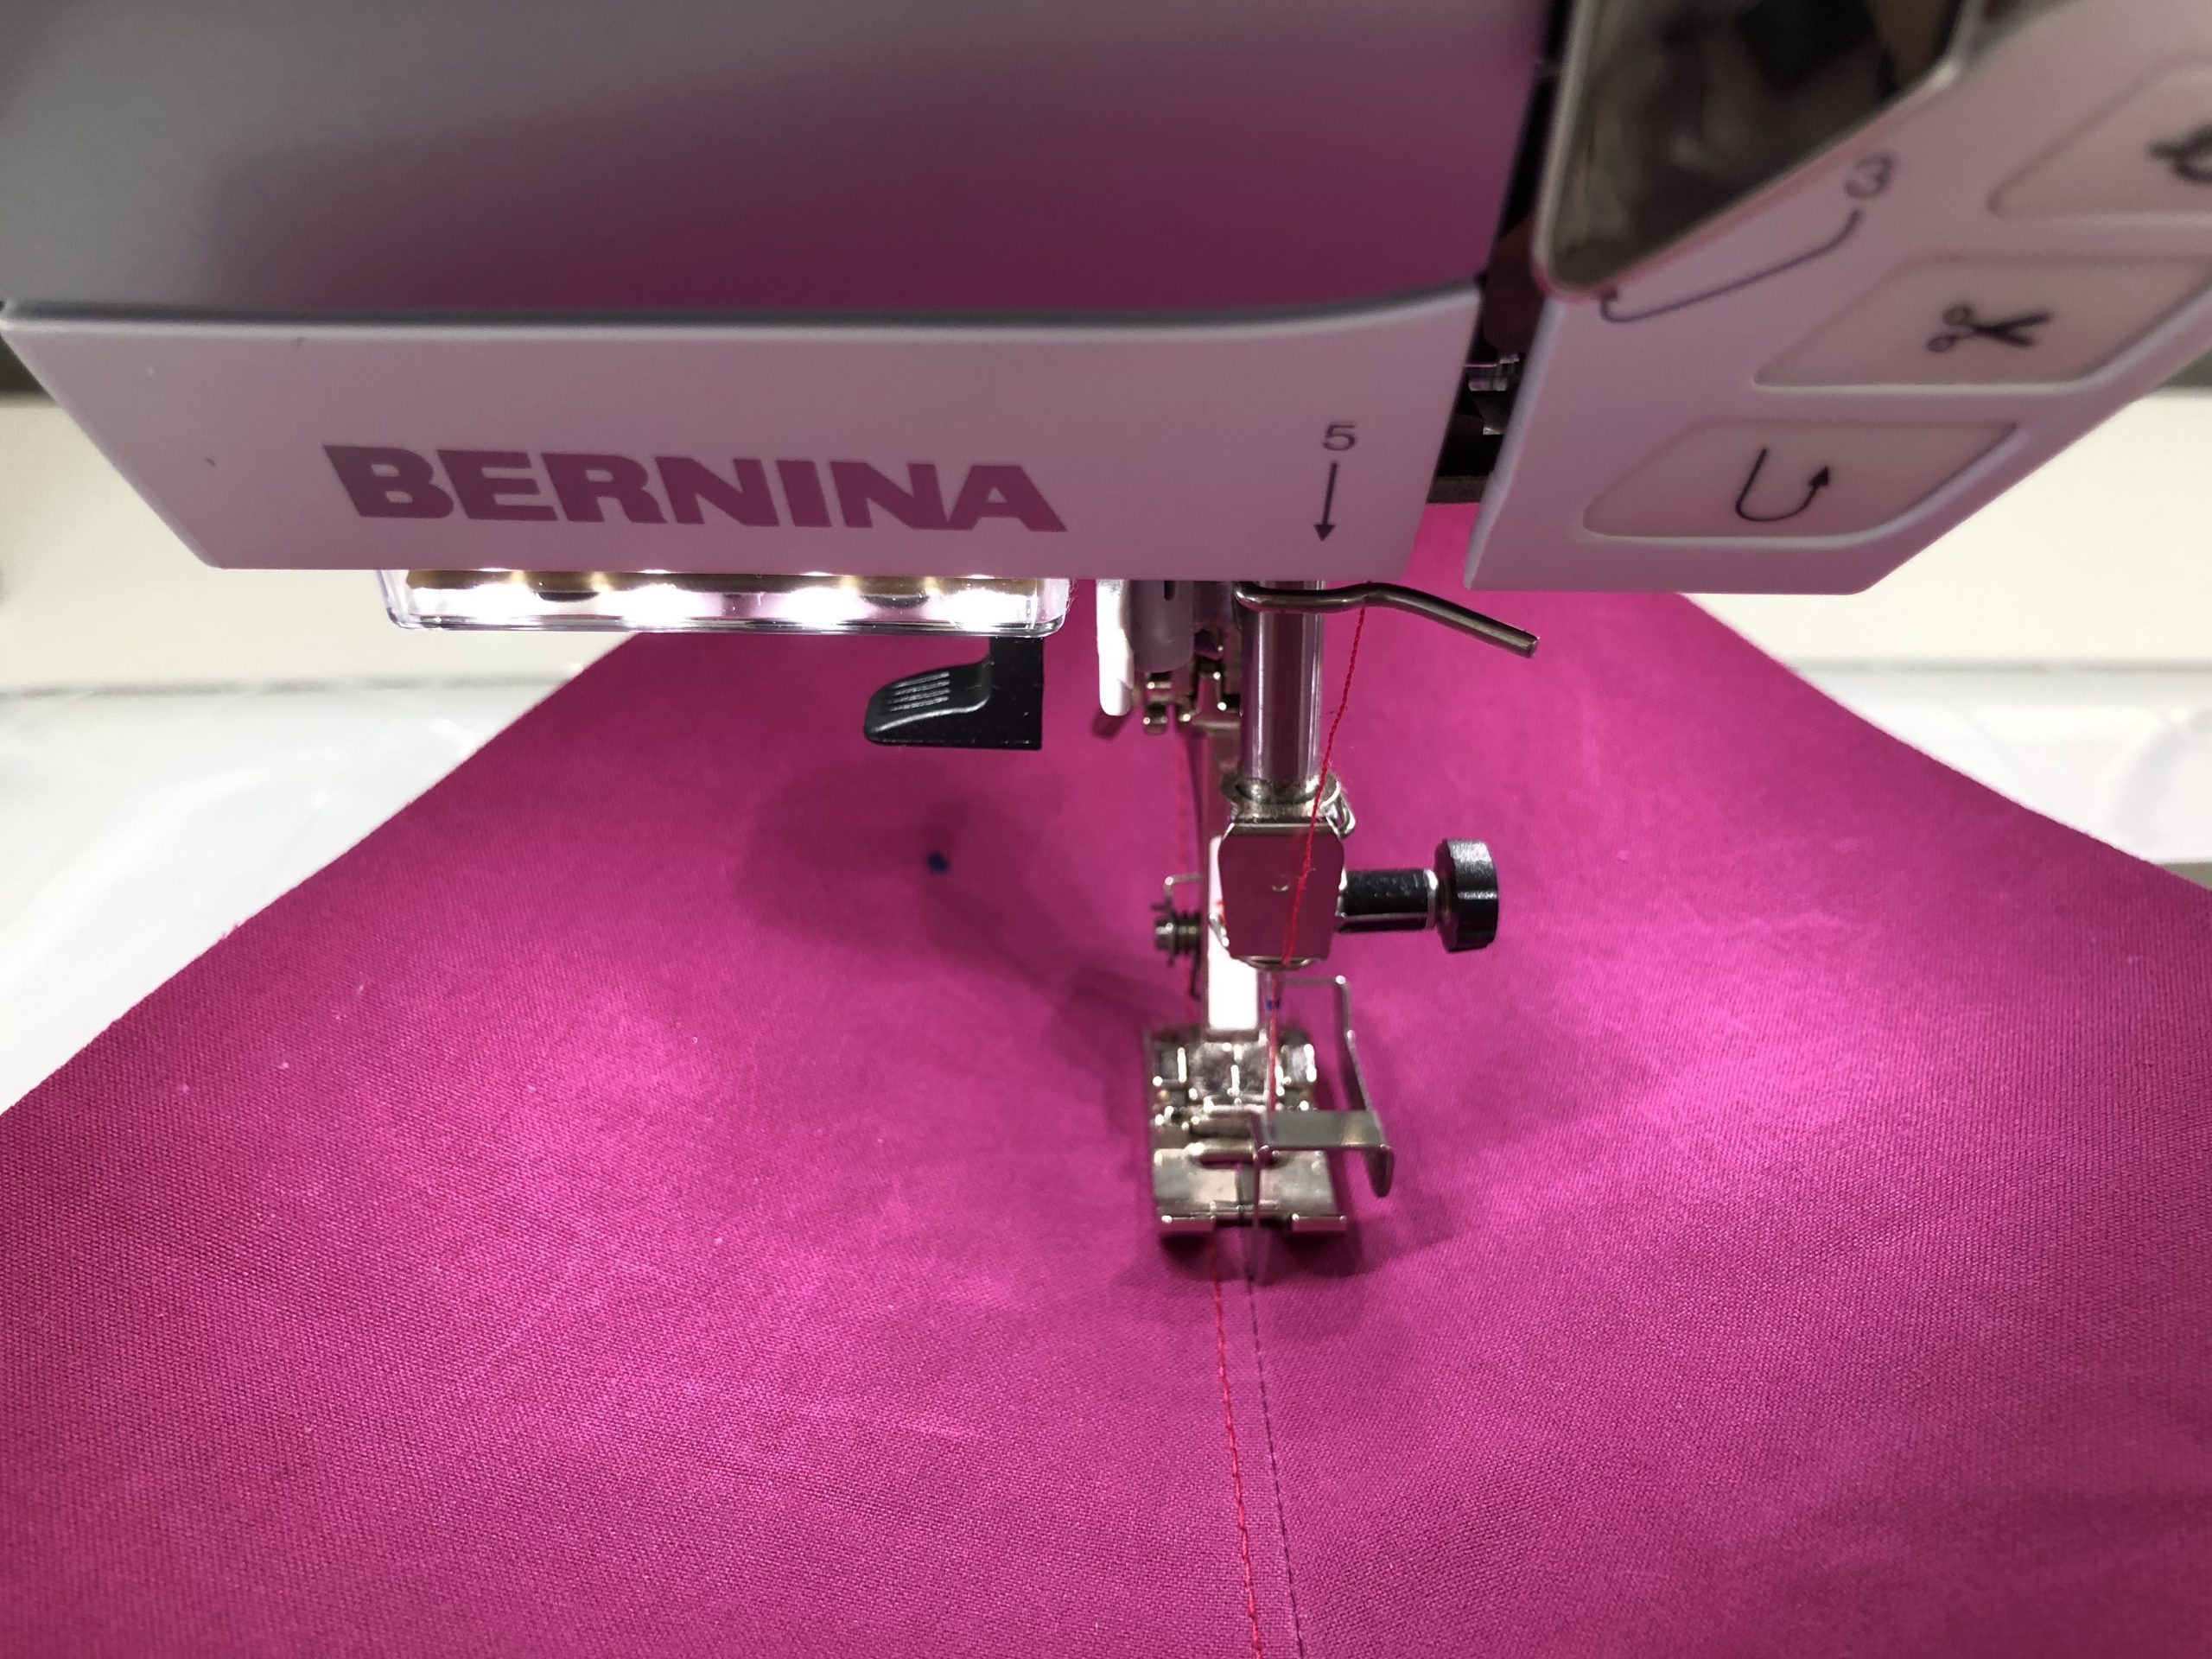
Inner piece: Sew 1 cap part with interfacing and 1 cap part with no interfacing together to make mirrored cap pieces! Finish the start and end of the seam using the automatic thread cutter. Press the seams. Stitch the sewn pieces on both sides close to the edge using Edgestitch Foot #10, stitch length 3, needle position on the right or left.
Outer piece: Sew a third cap piece (cap back piece with cutout) on one of the free edges.
Inner piece: Sew a third cap piece (cap back piece with cutout) onto the cap part with no interfacing.
- Pin the seam allowances exactly on top of each other.
- Note, you are making two mirrored cap pieces.
- Press the seams and topstitch close to the edge on both sides.

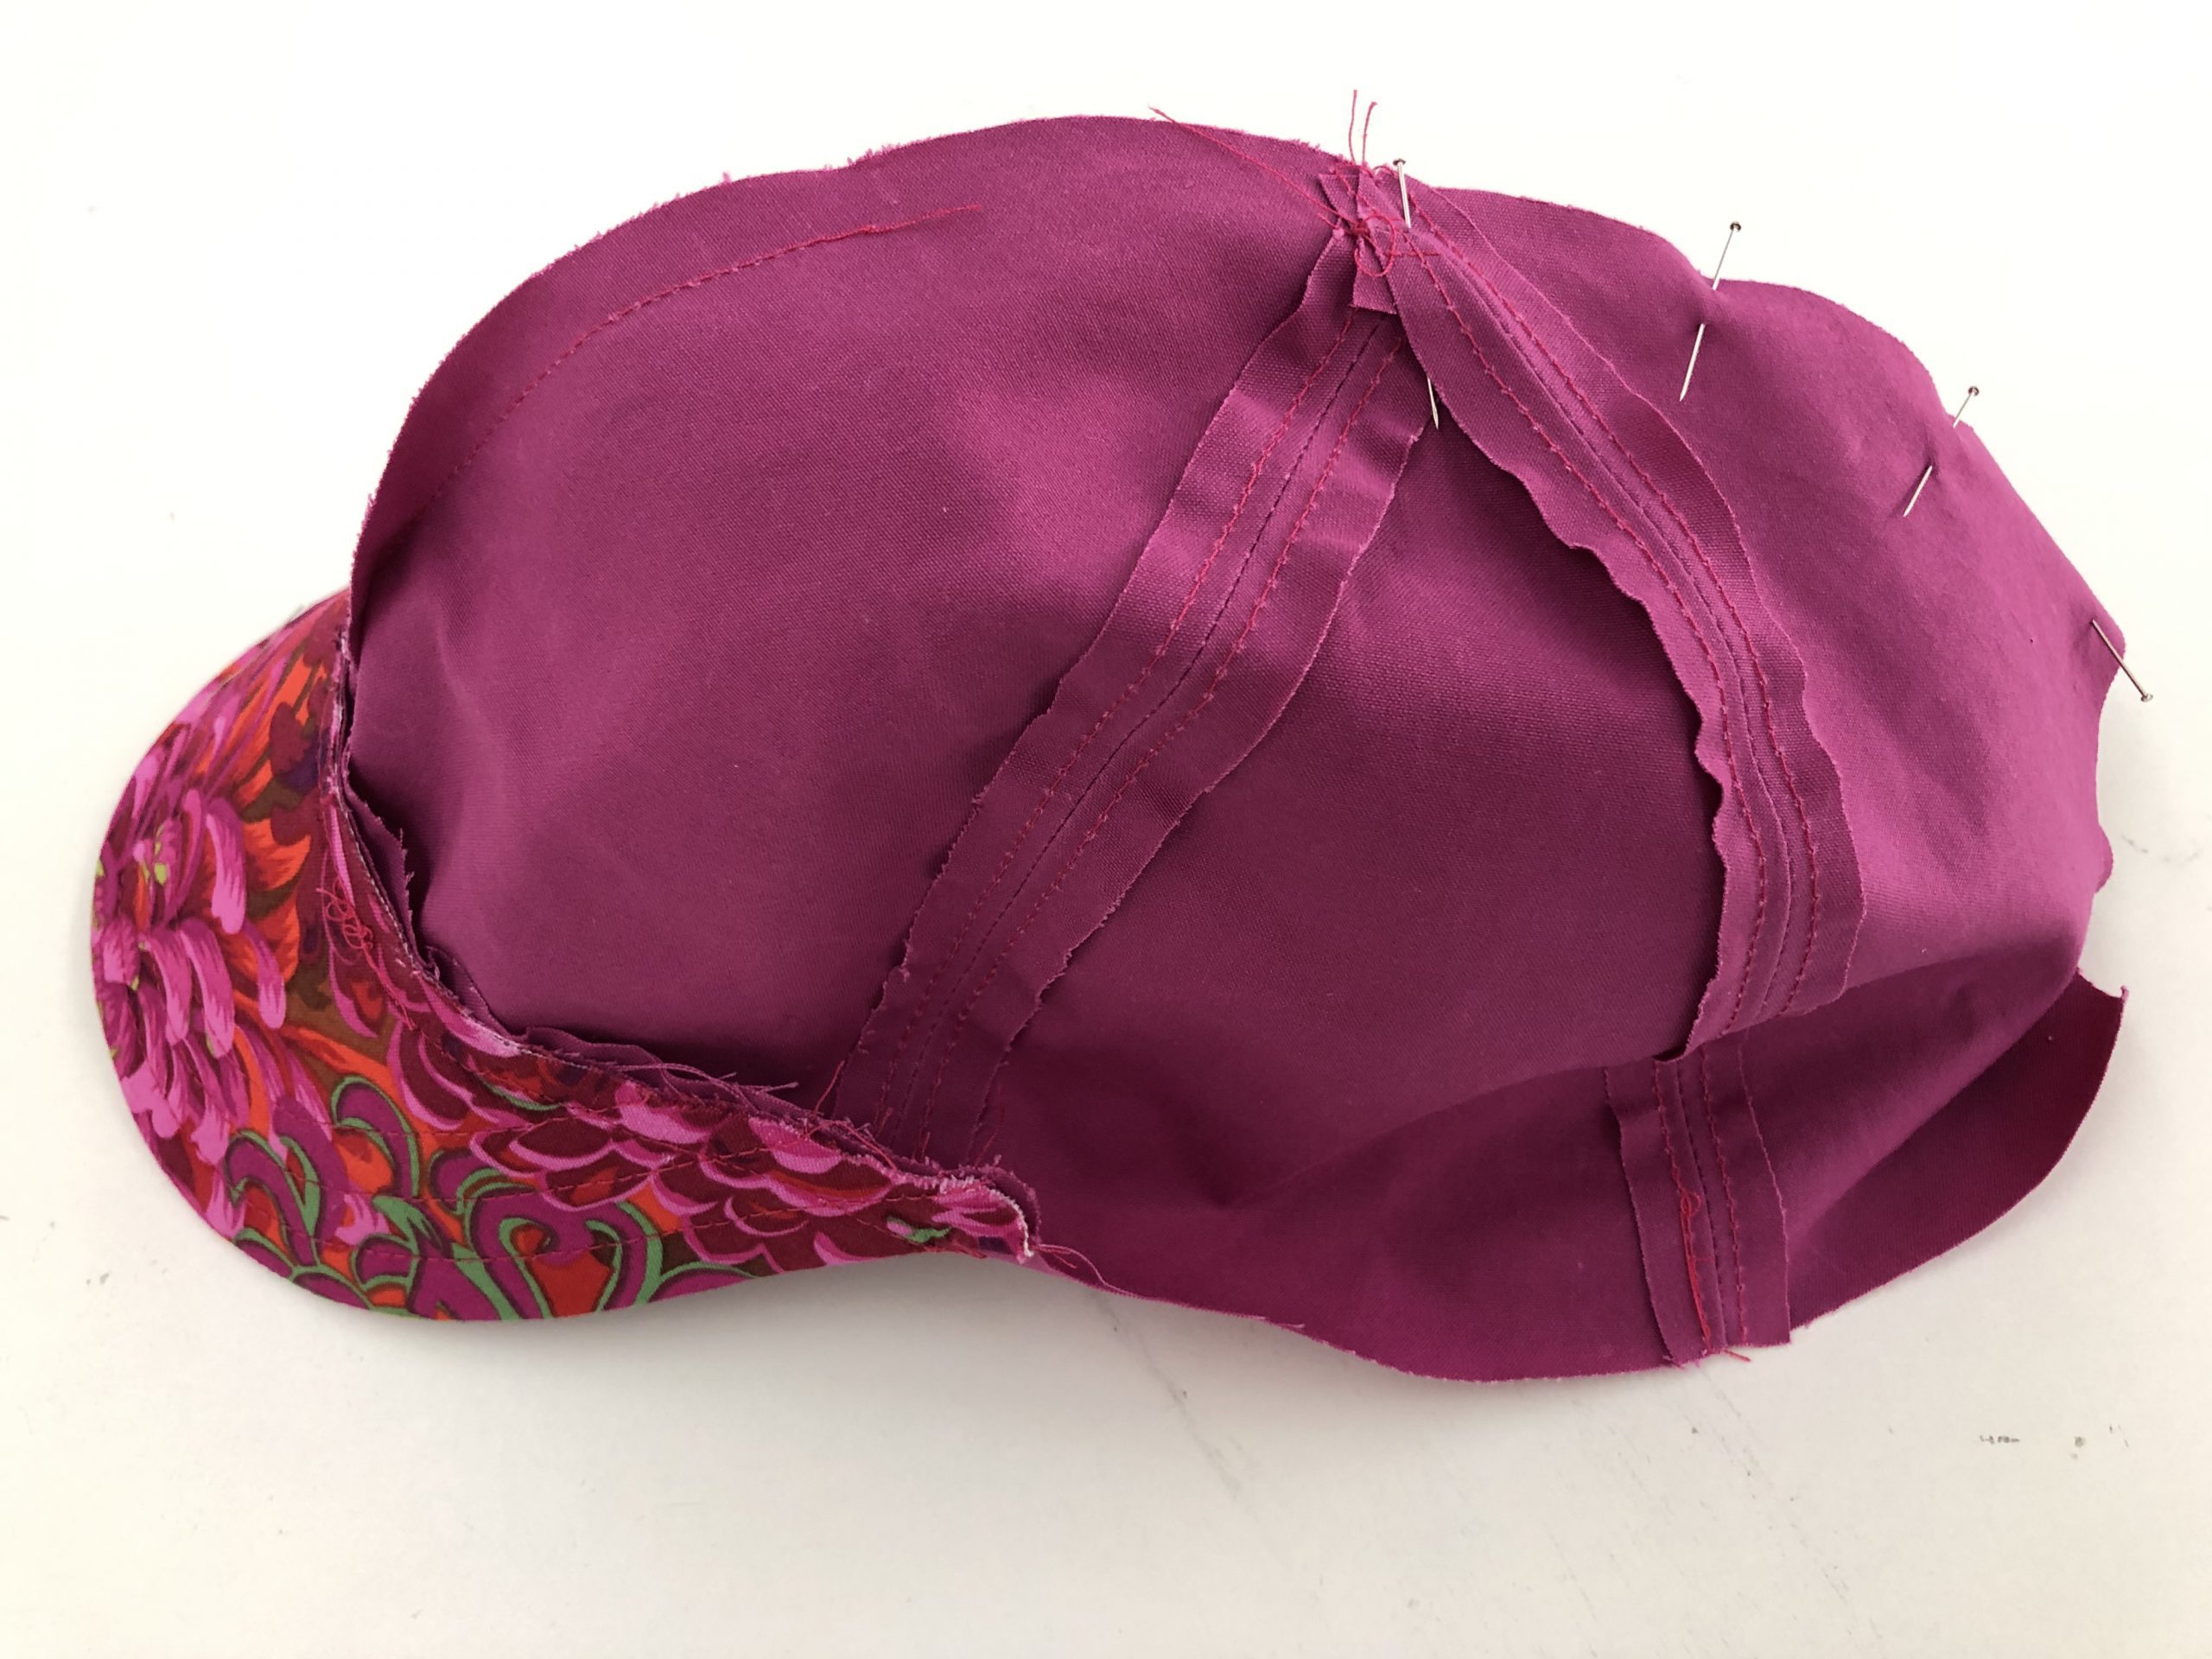
Pin the two cap halves (outer and inner piece) on top of each other with right sides facing.
Outer piece: Sew the center seam closed at the front to approx. 10-12 cm.
Inner piece: Sew the whole of the center seam closed.
Press the seam allowance.
Sewing the cap brim together
- Pin both cap brim pieces on top of each other right sides facing and insert Open Embroidery Foot #20.
- Change the stitch length to 2 and sew along the interfacing (Decovil) on the brim curve.
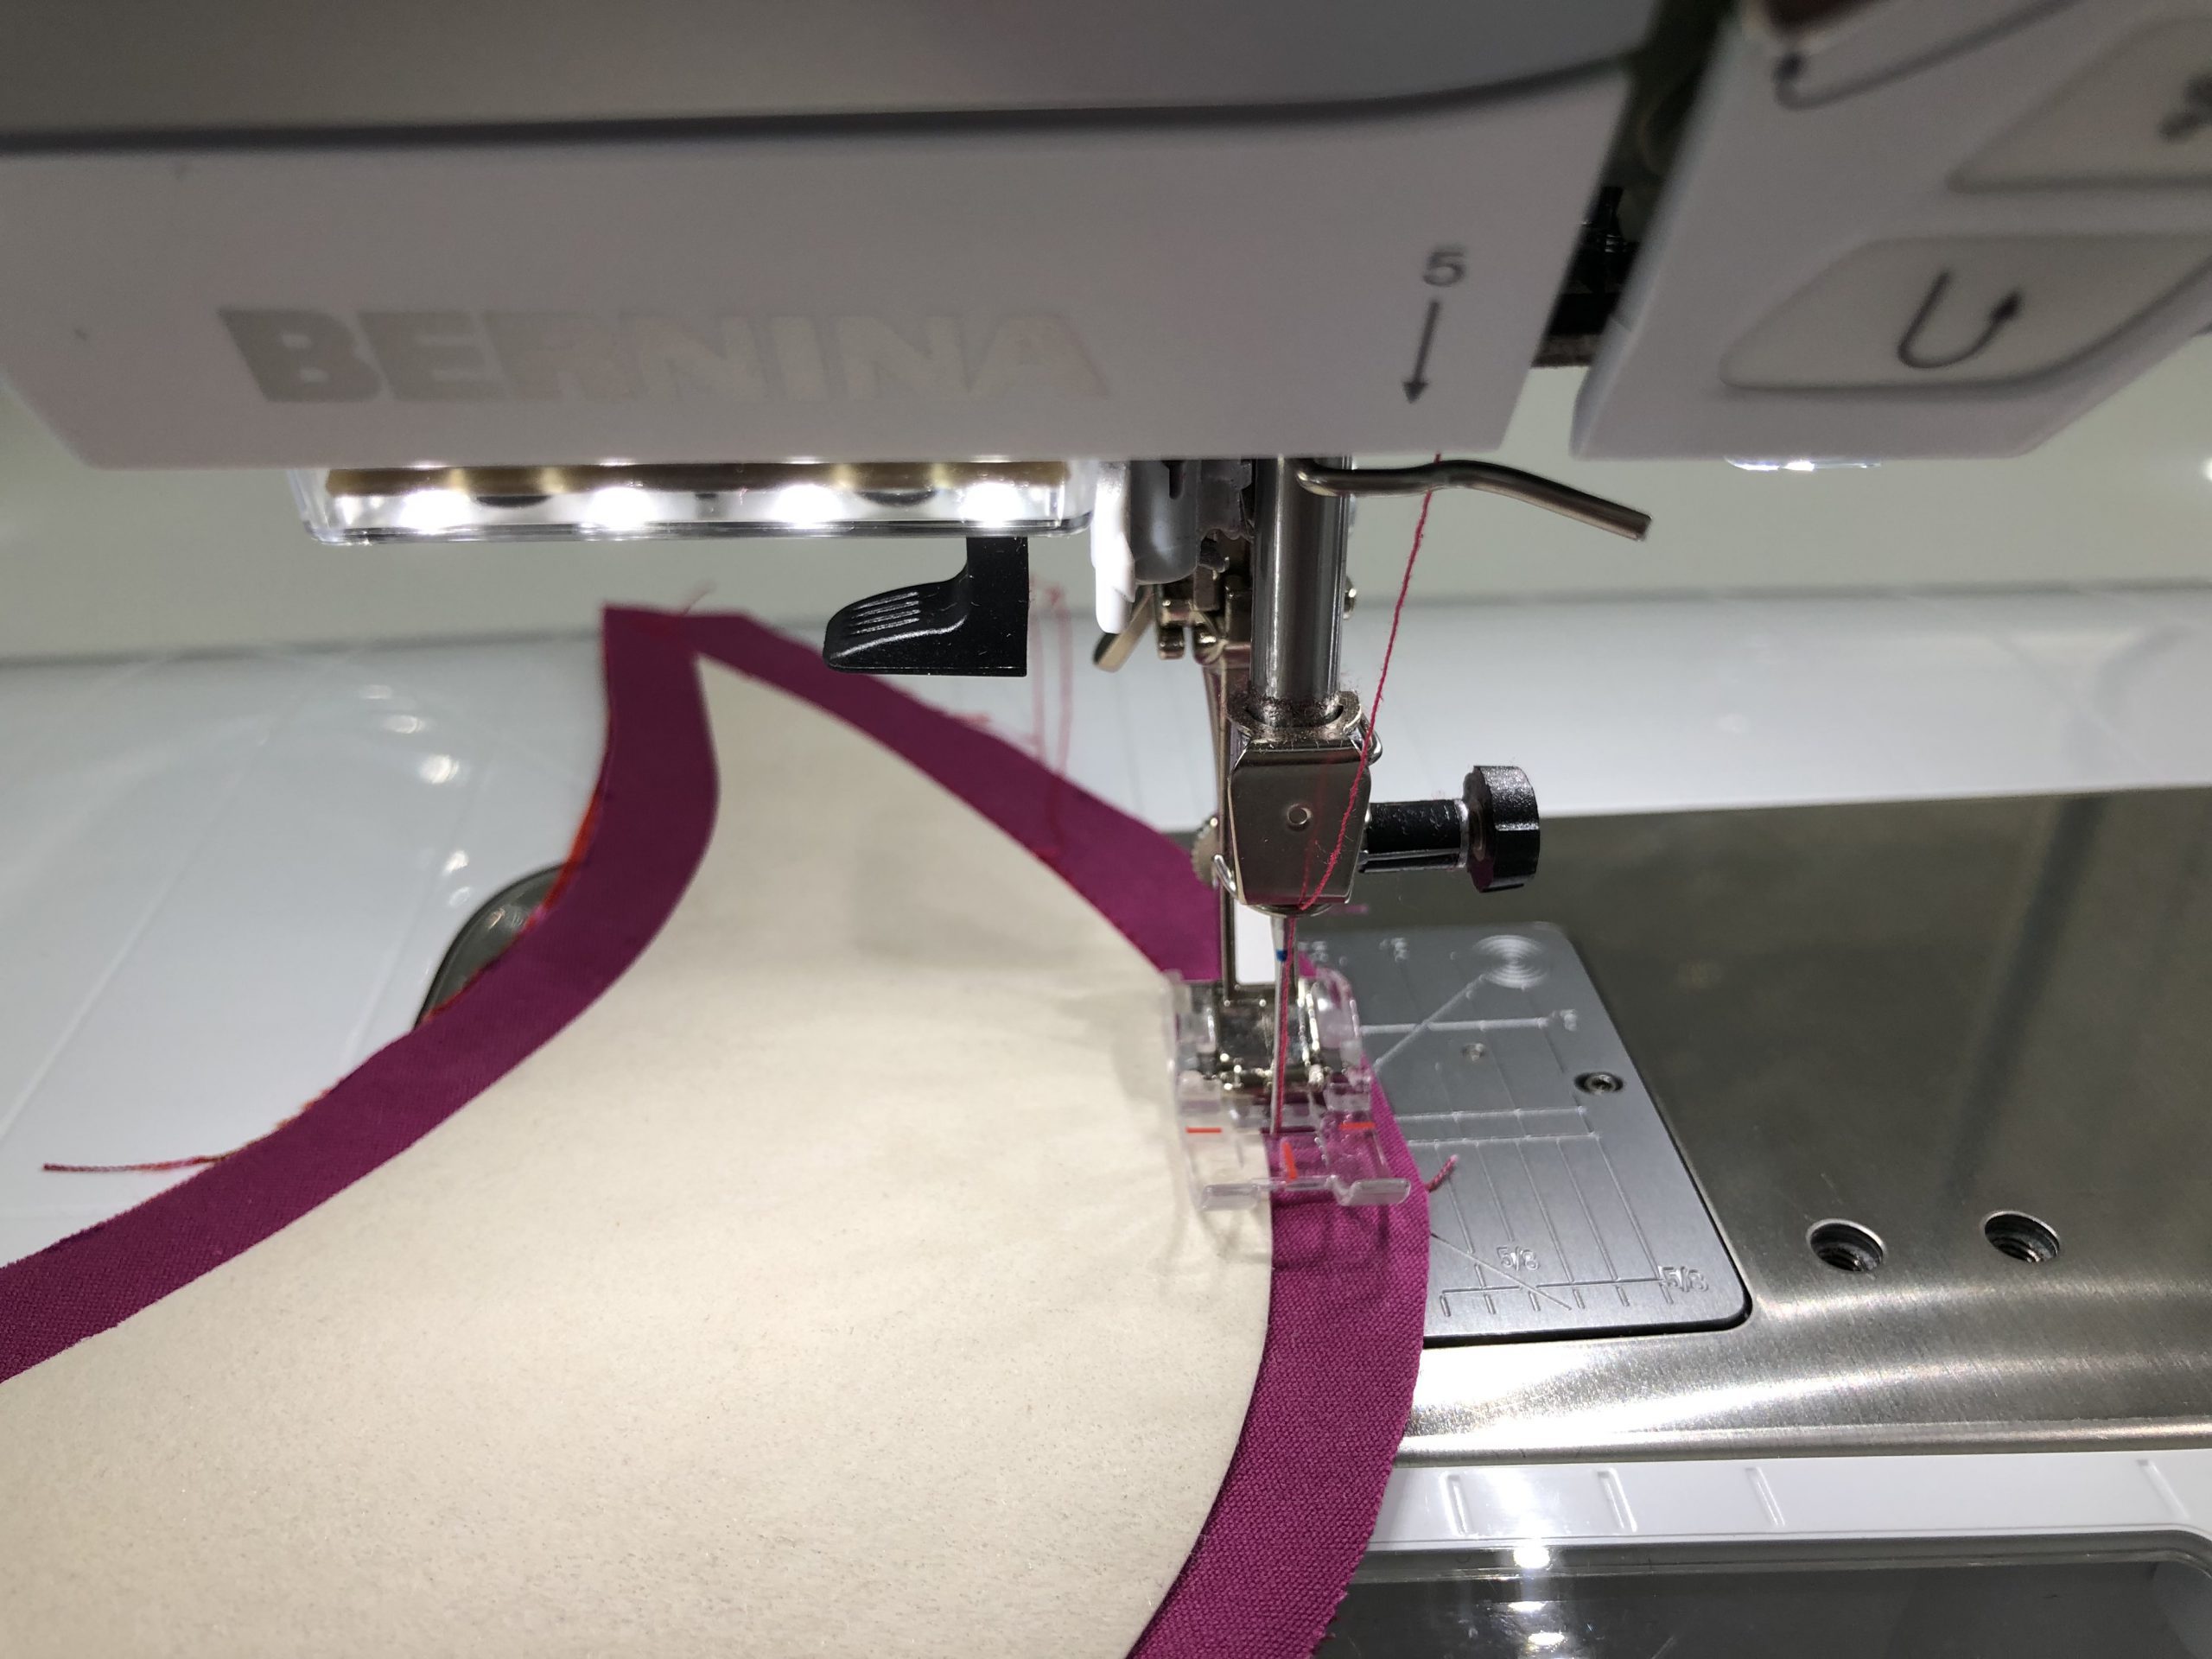
Trim the seam allowance slightly and cut into the curves and turn right side out and press.
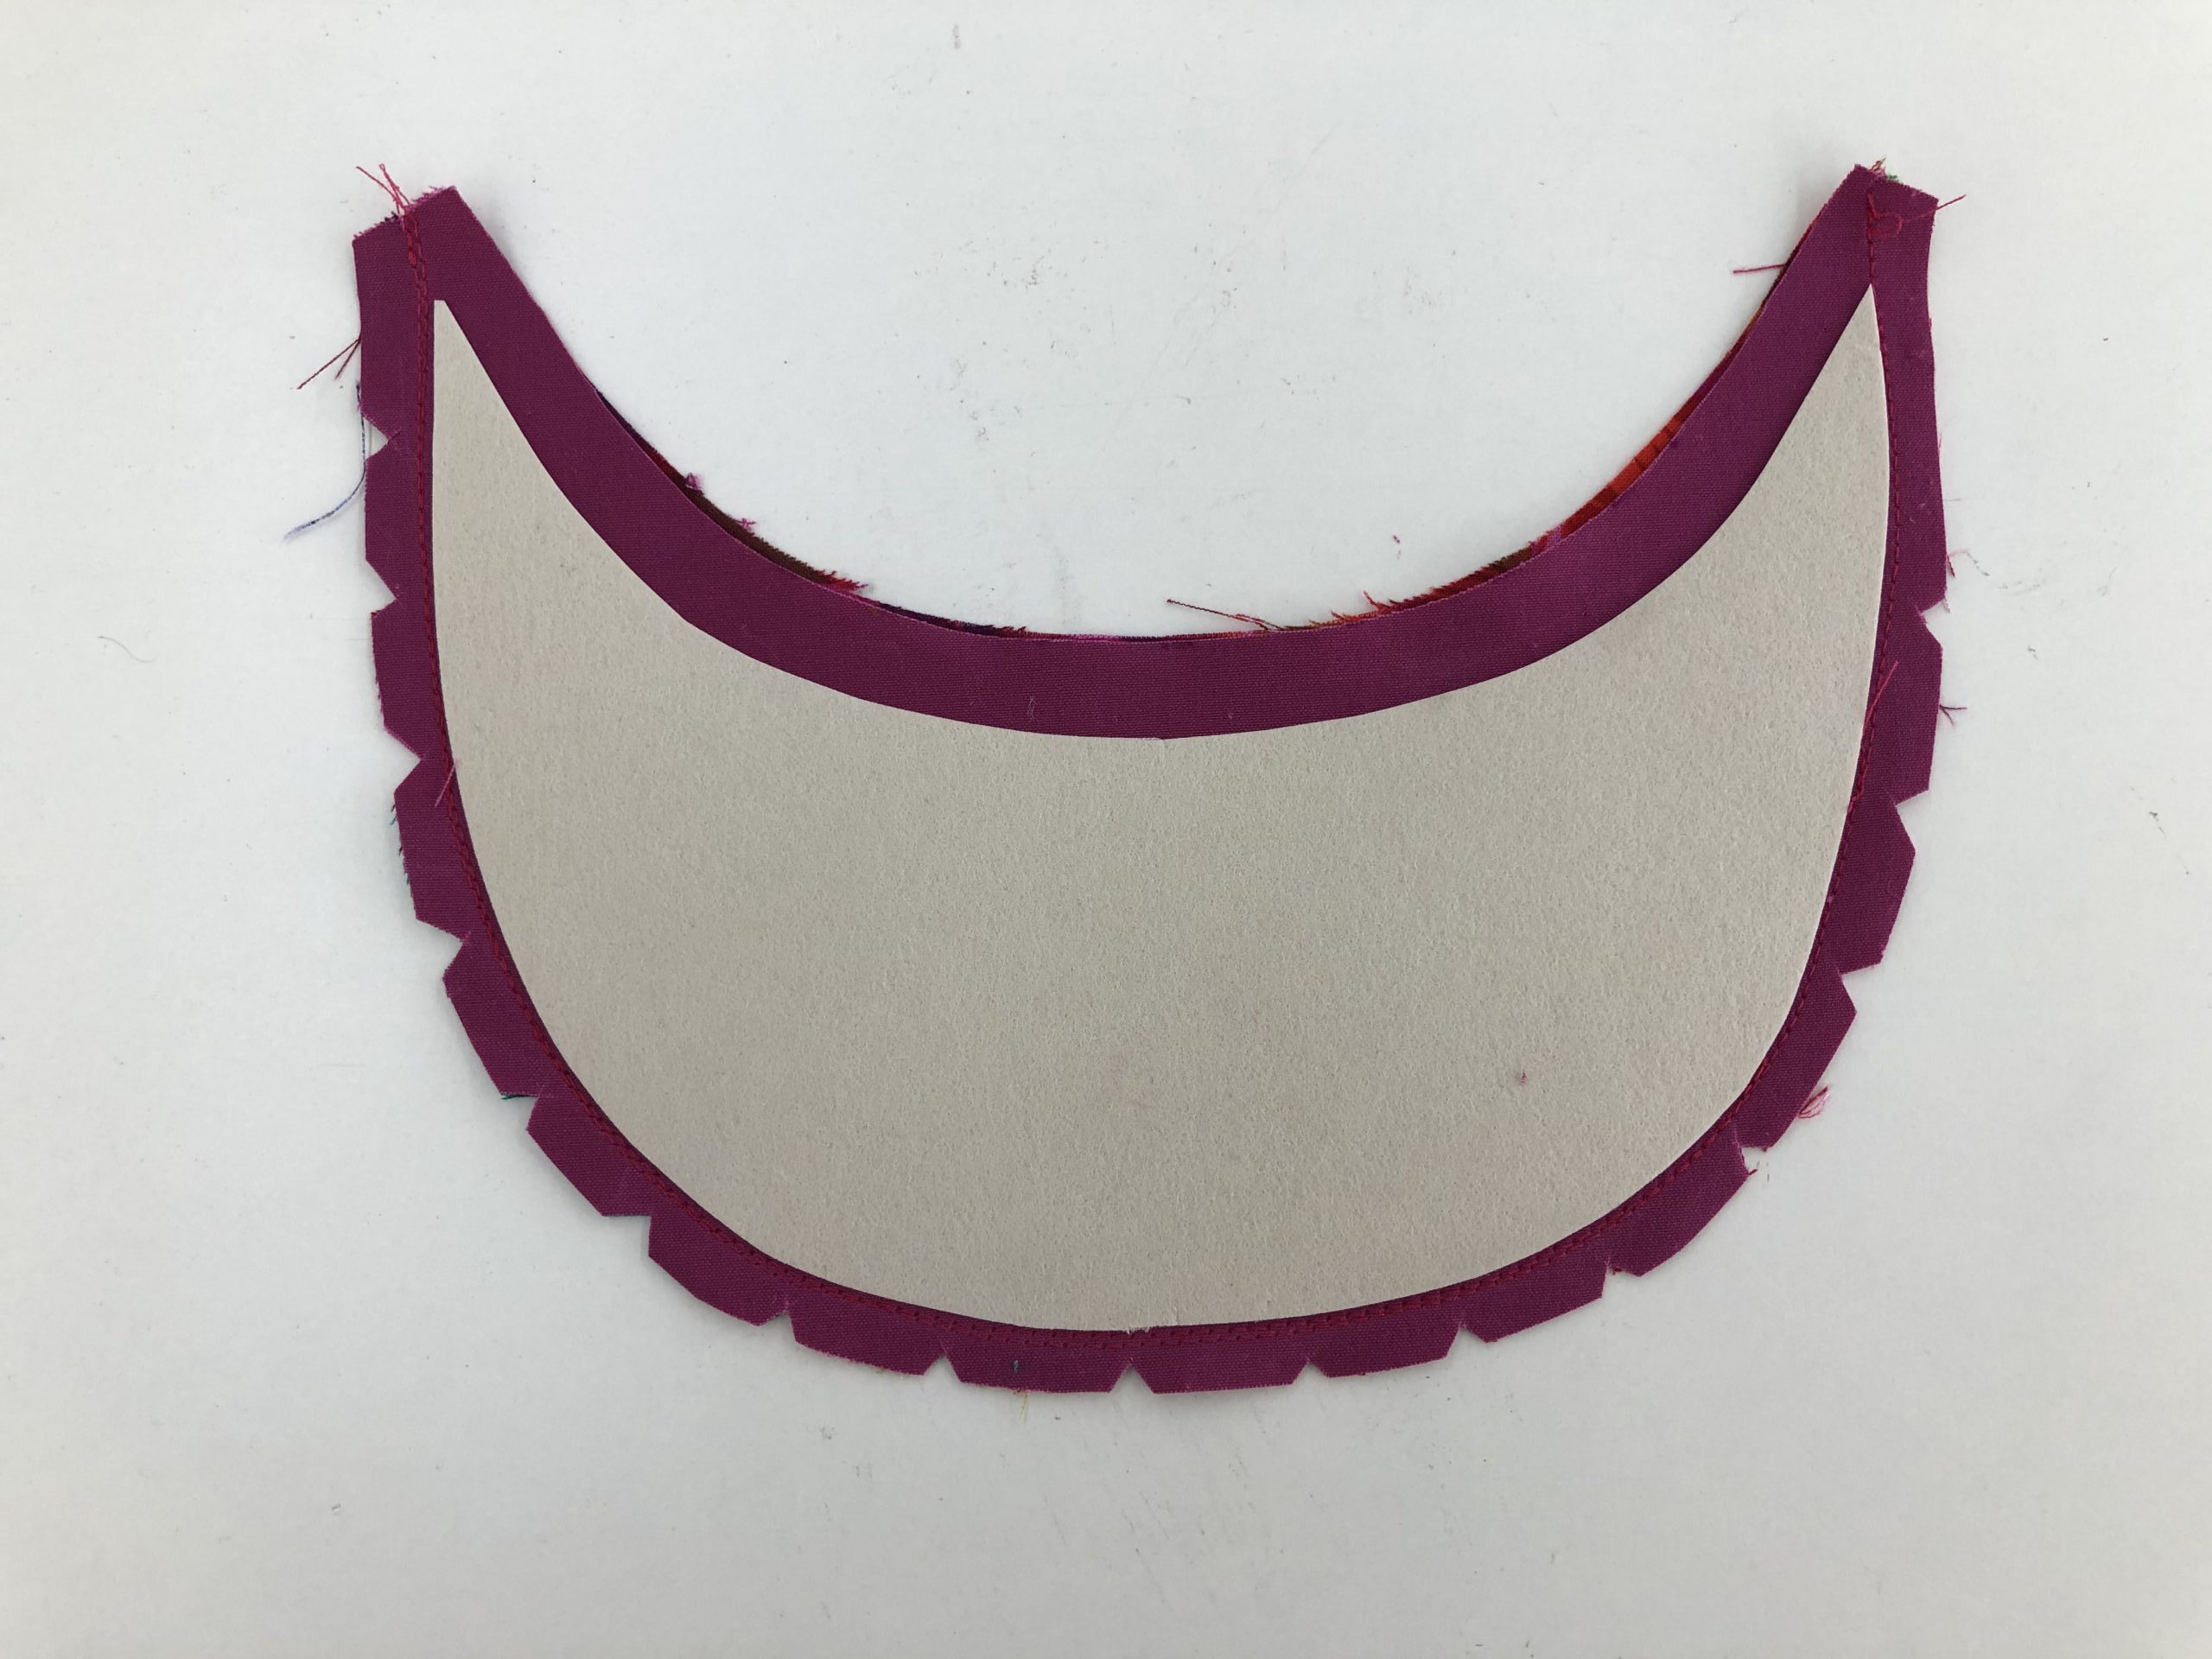
Stitching the brim’s curve for the typical cap look.
- Insert the Three-Sole Walking Foot with Seam Guide #50
- Stitch 3 lines about 6 mm apart
- Straight stitch #1
- Stitch length 3
- Needle position right
Preparing the cap brim.
- Mark the center and a seam allowance of 7 mm on the bottom side of the brim.
- Go along the interfacing using a sewing awl or fingernail.
- Mark and snip a 7 mm seam allowance.

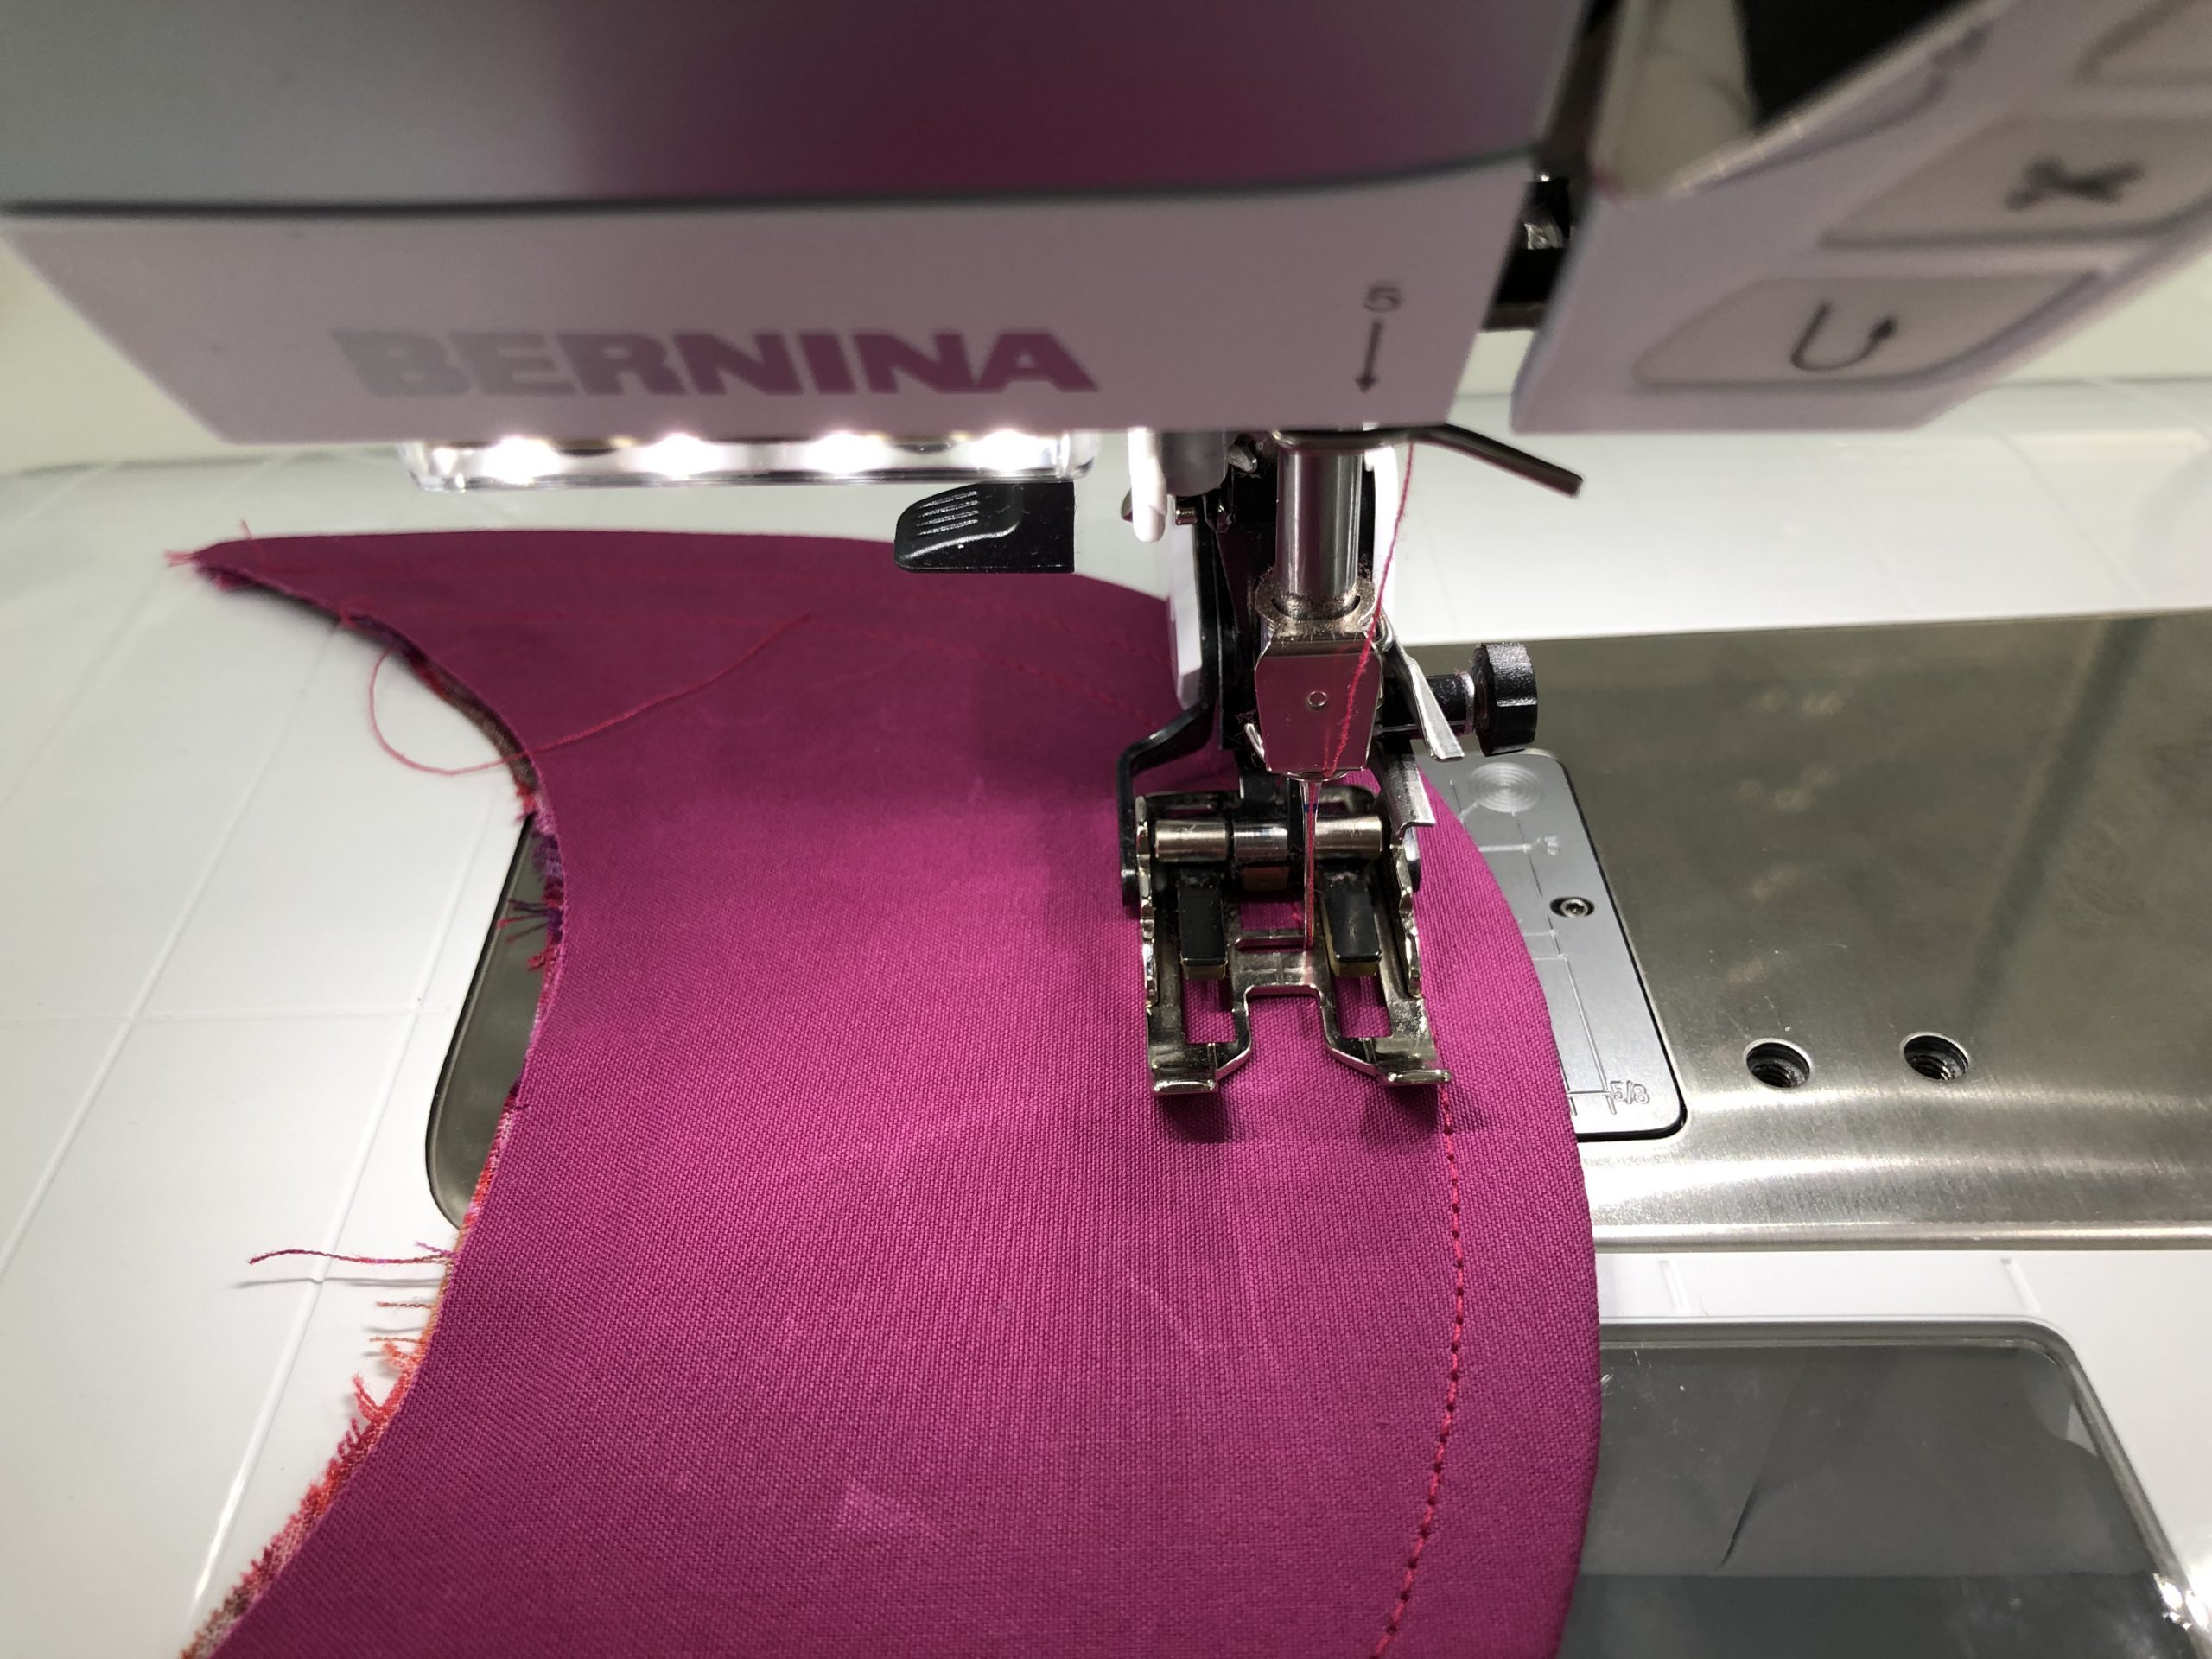
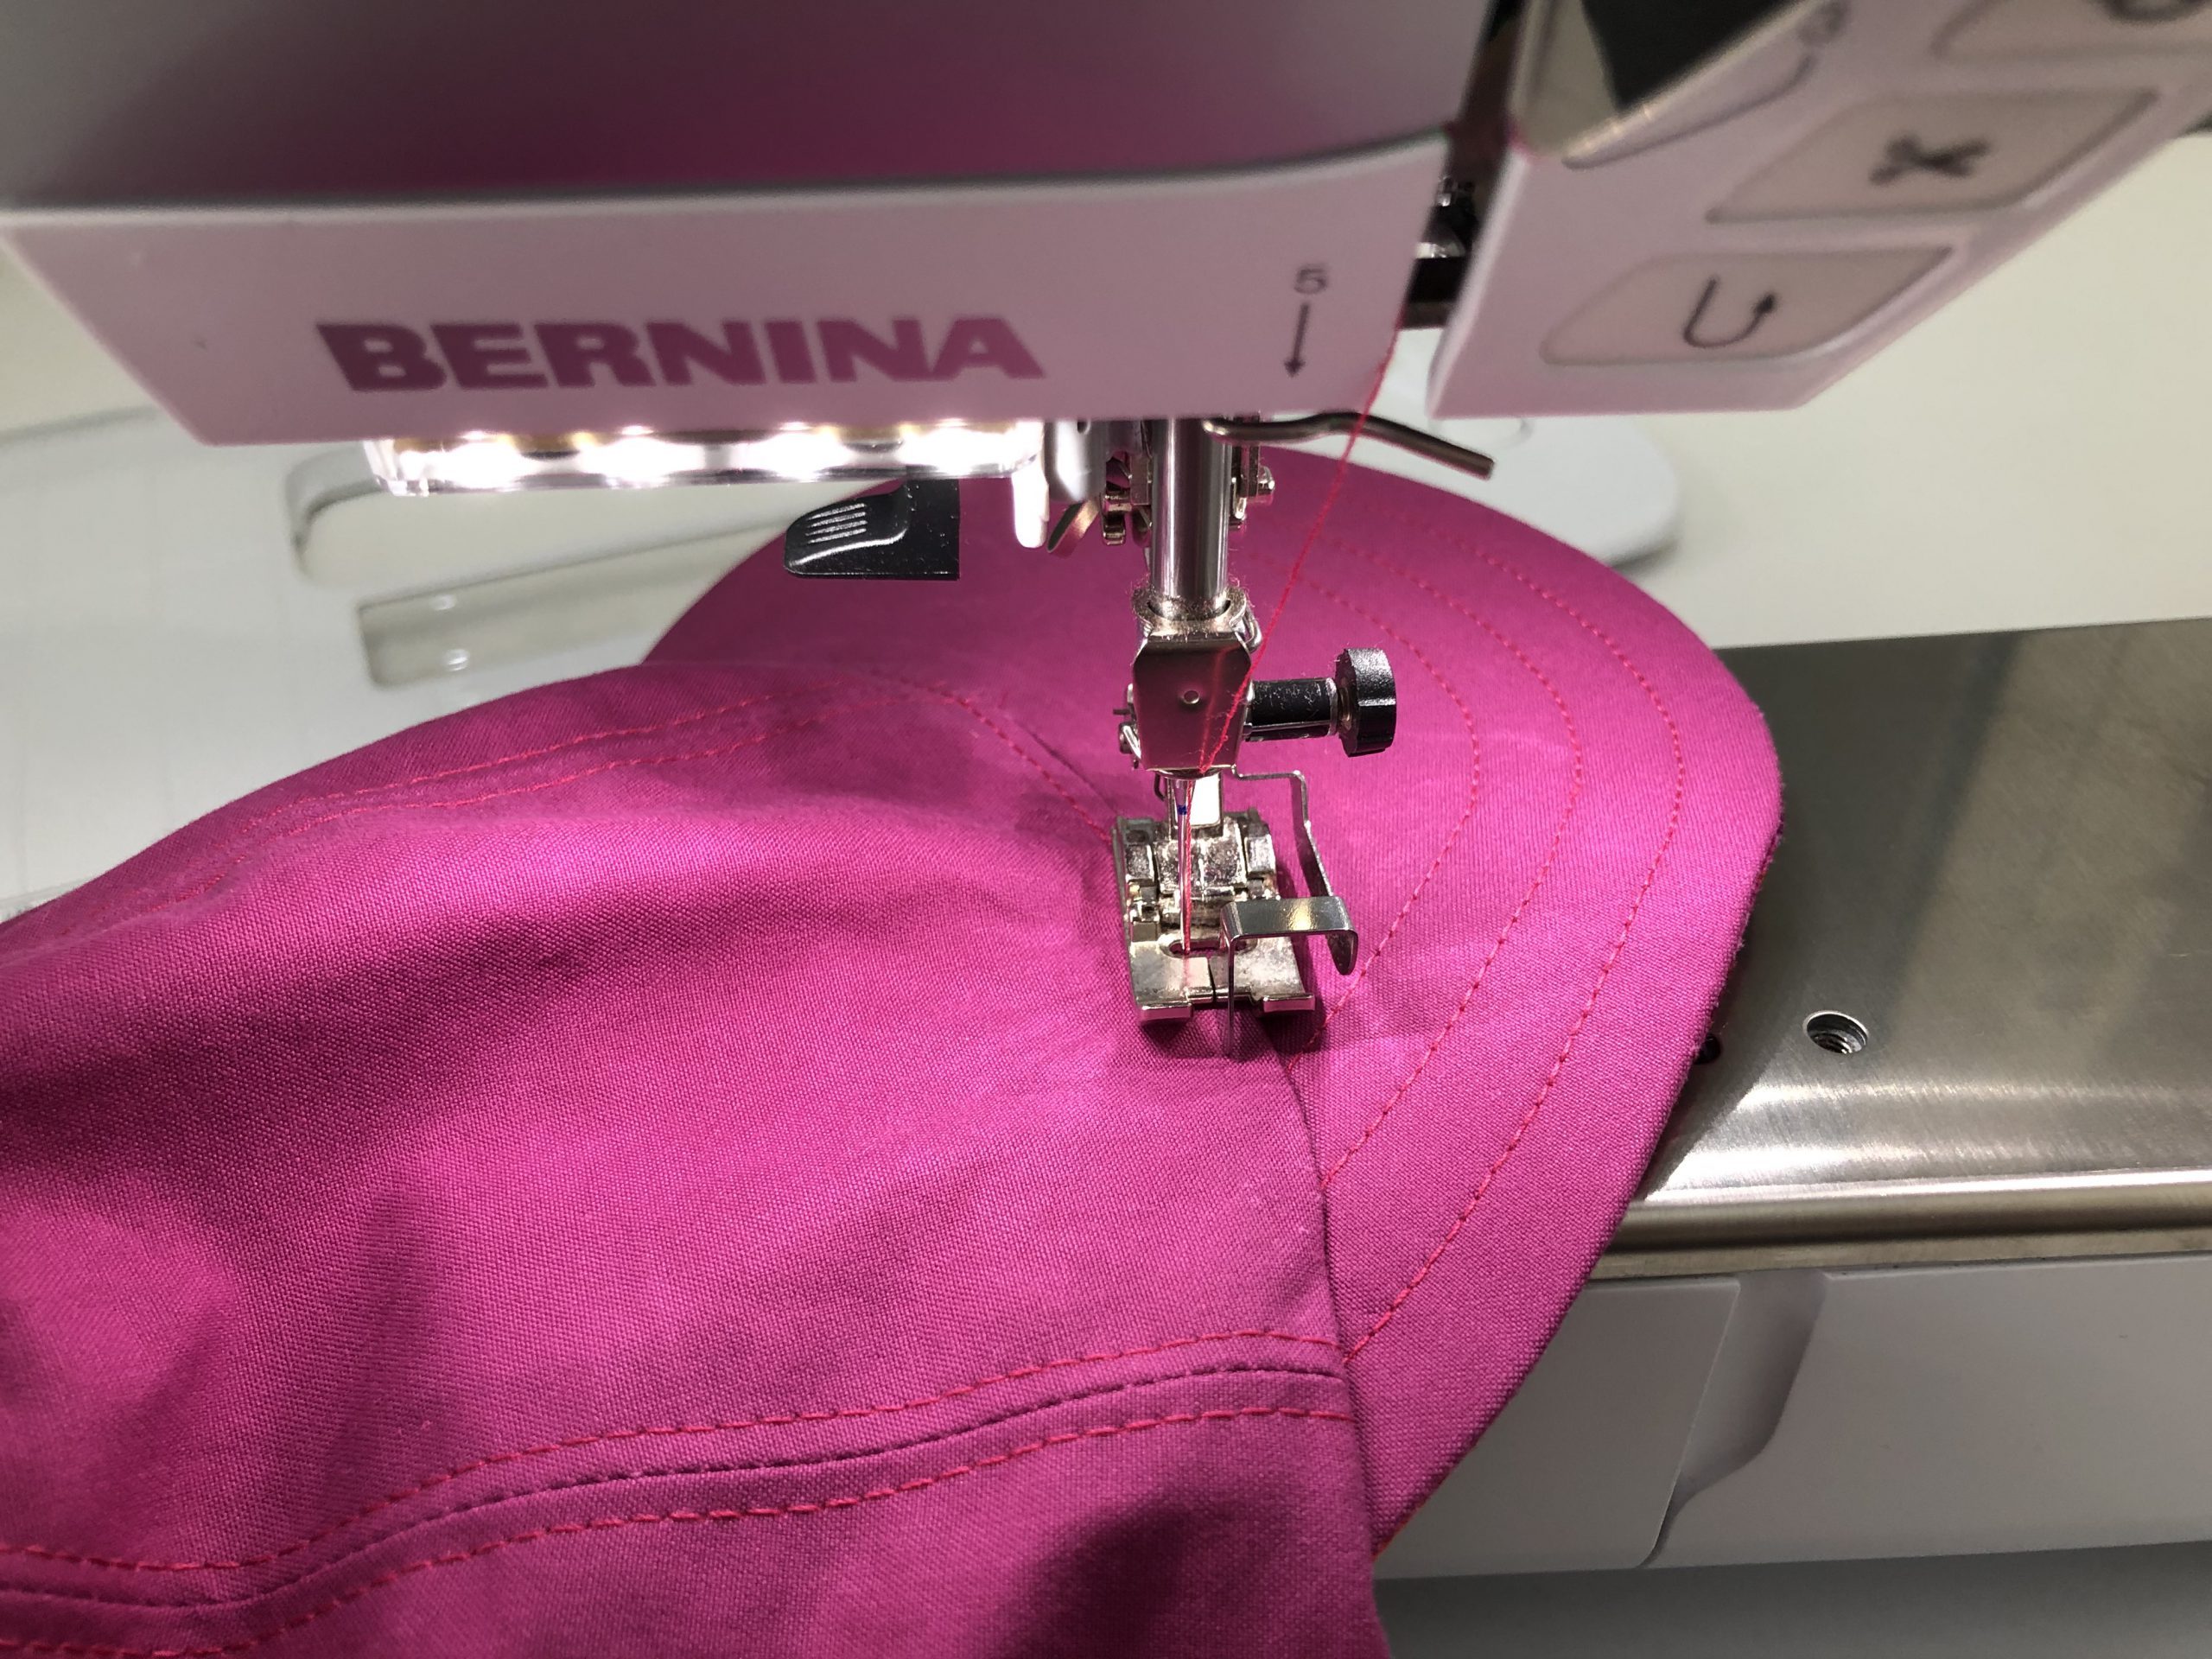
Sewing the brim on the outer cap piece
- Pin the brim onto the “outer cap” with right sides facing.
- Pin the middle of the brim exactly onto the cap’s center, front seam.
- Sew the brim on around 6 mm from the edge using needle position -2.
- Then sew the center seam using stitch length 2 so the cap is closed.
- Possibly cut seam allowances out in the tip and stitch close to the edge on both sides.

Turning the fastening ties over
Place the long side of the strips of fabric on top of each with right sides facing.
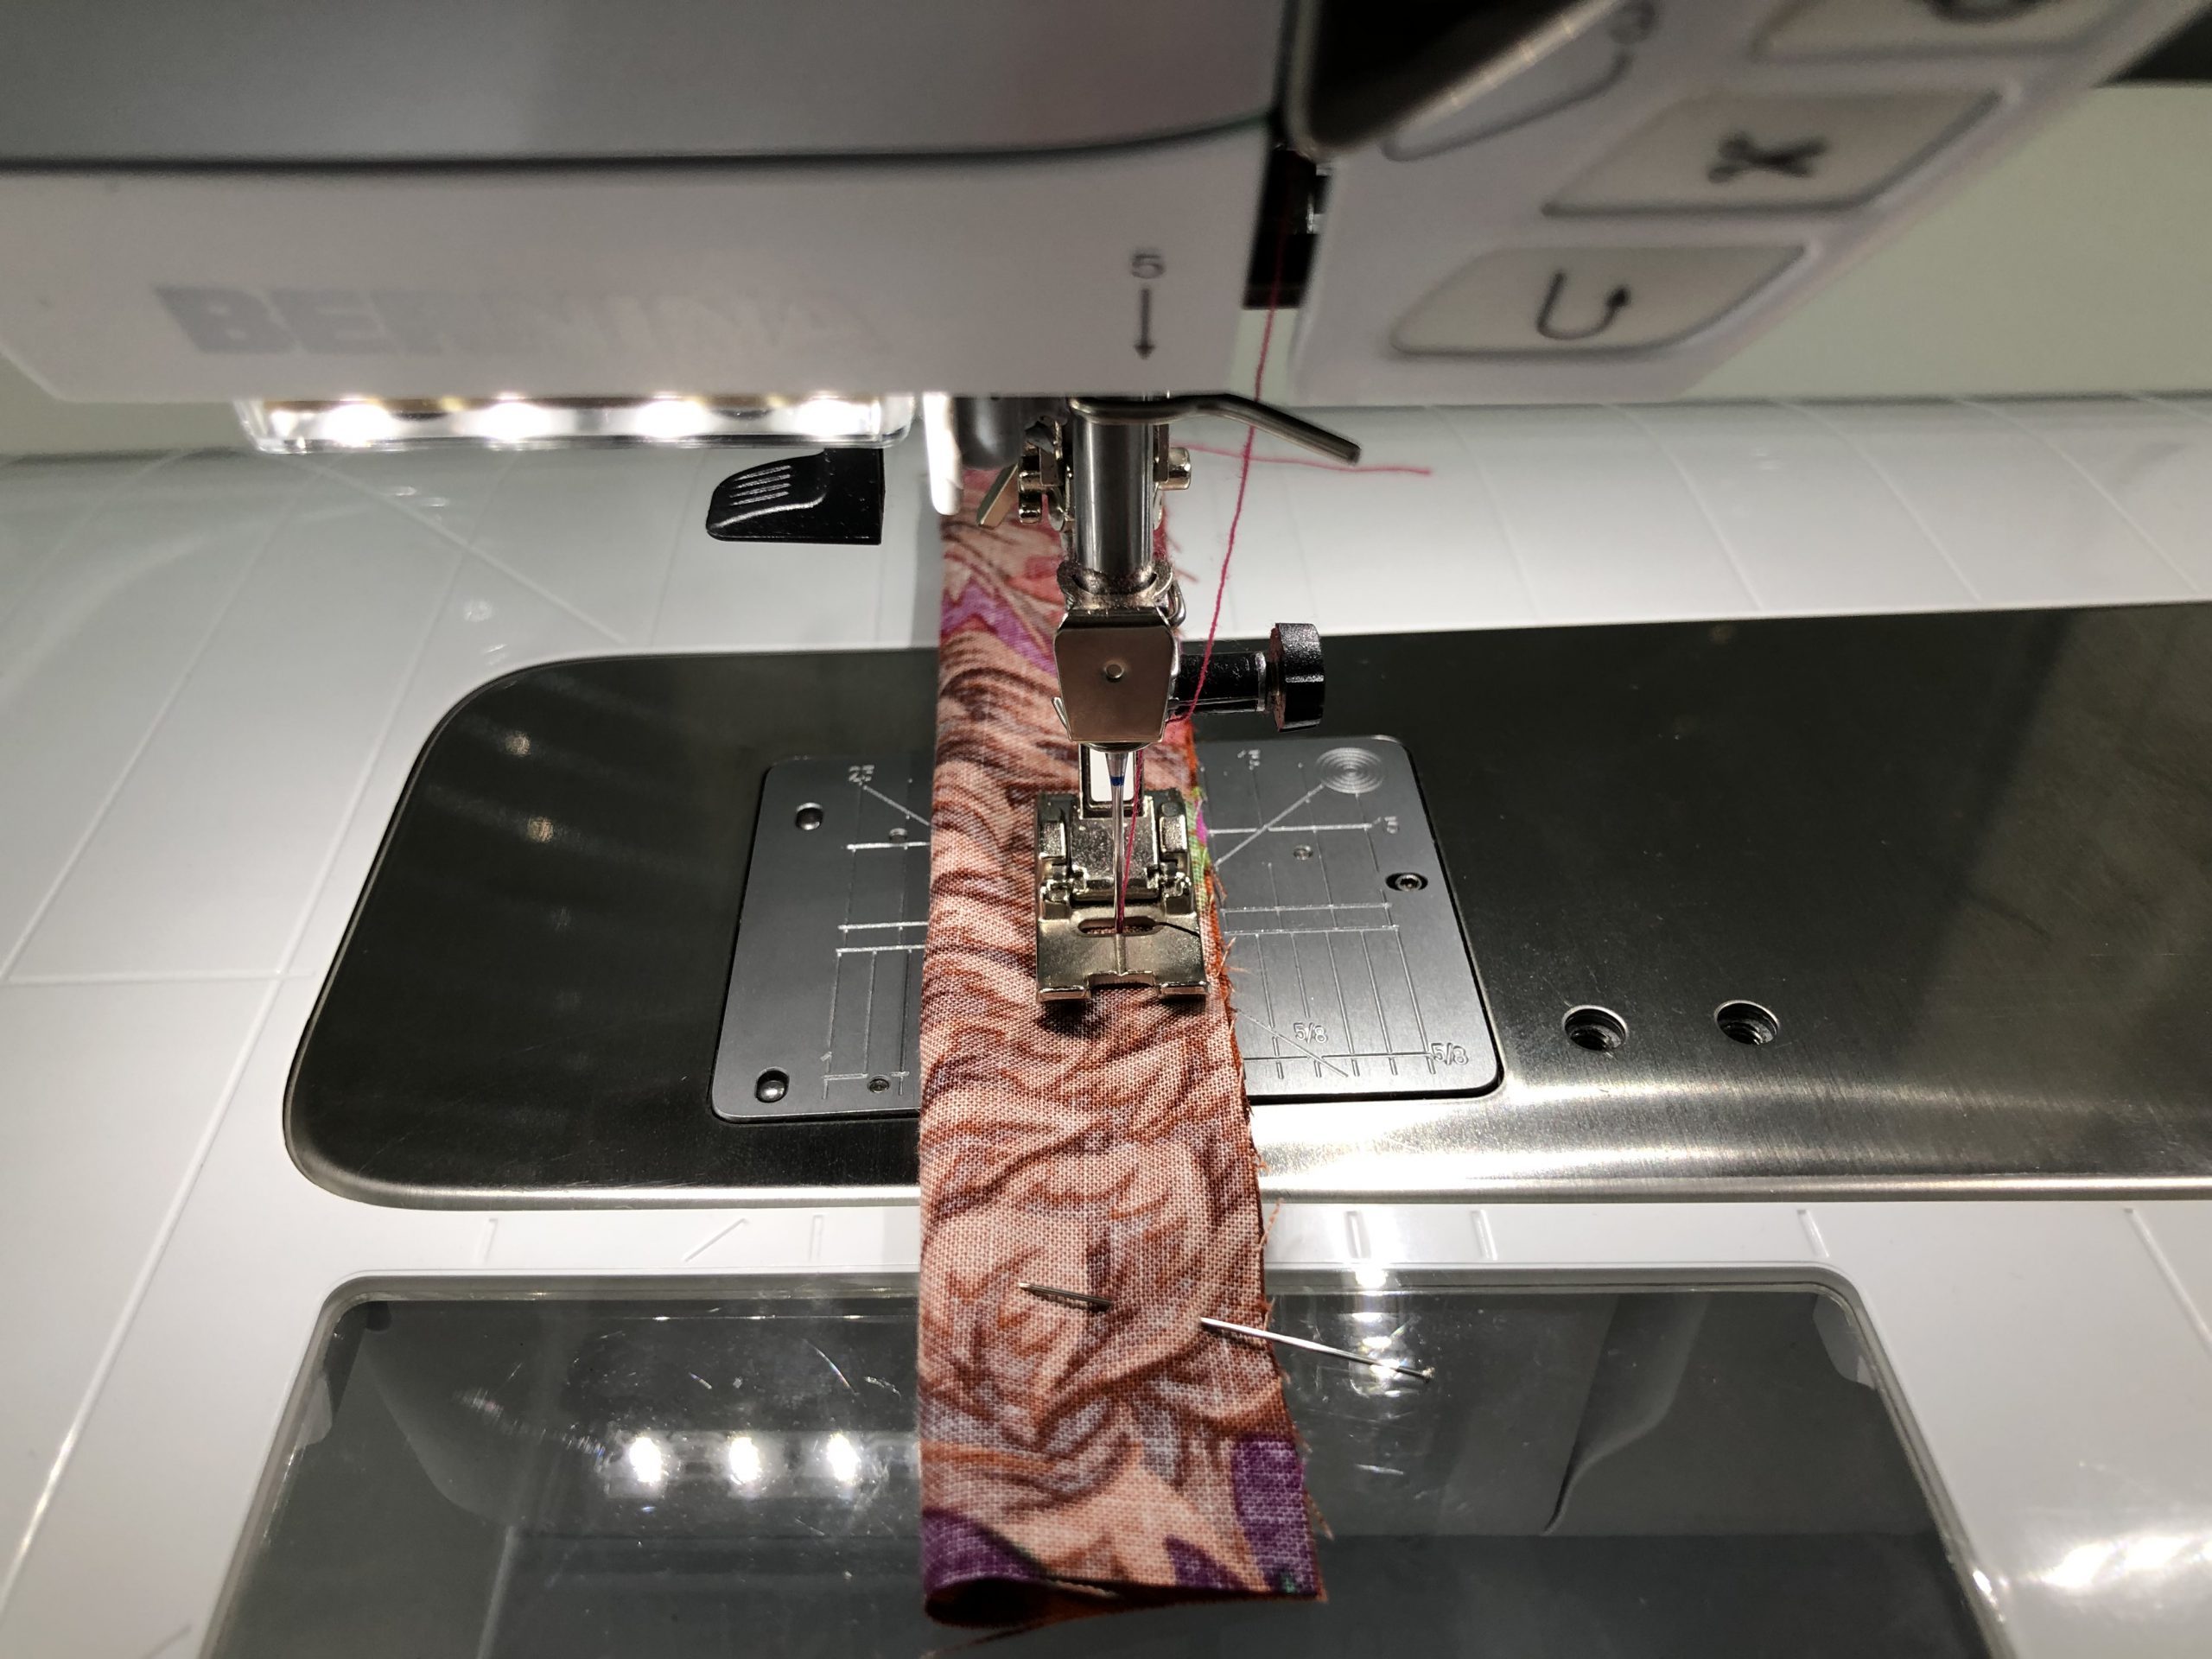
Sew along the long sides and one short side. Turn inside out, press the seam edges and topstitch close to the edge. Pin the strips with 1 cm seam allowance to the “outer or inner cap”.

Finishing the cap:
- Insert the two caps (outer and inner cap) into each other with right sides facing (the hat brim and fastening ties are on the inside)
- Sew together all around about 6 mm from the edge using needle position -2, but leave a turning opening on the brim
- Possibly trim and cut into the seam allowance
- Turn the cap inside out and carefully press the seam edge
- Pin the turning opening seam allowance along the sewing line and topstitch close to the edge using Foot #10
And the Cap “Cosmo” ist ready!

Alternative options:
Integrating air holes to ensure good air circulation
- Using Eyelet embroidery attachment # 82 including Eyelet Foot #94
- Insert eyelets
Alternative fastener options
- Buckle fastener
- Elastic fastener
- Hook-and-loop fastener


Love the sweatshirt with the quilt block on it is there a way to purchase it?
Dear Cheryl
You can buy the pattern but not the finished sweater 😉 you finde the pattern in our inspiration-shop https://inspiration.bernina.com/ the name of the pattern is lilac.
Thanks for getting back to me, I searched for the pattern but couldn’t find it in English. It’s listed on the German site but I can’t seem to be able to purchase it off that site. Any suggestions?
Dear Cheryl, I checked with our inspiration team. The pattern for the US and english speaking markets will come in the next weeks. We are still waiting on some of the translations and conversions to US-Letters. So in a couple weeks it should be online.
Wonderful cap design. Very nice information.