 BERNINA Corporate Blog -
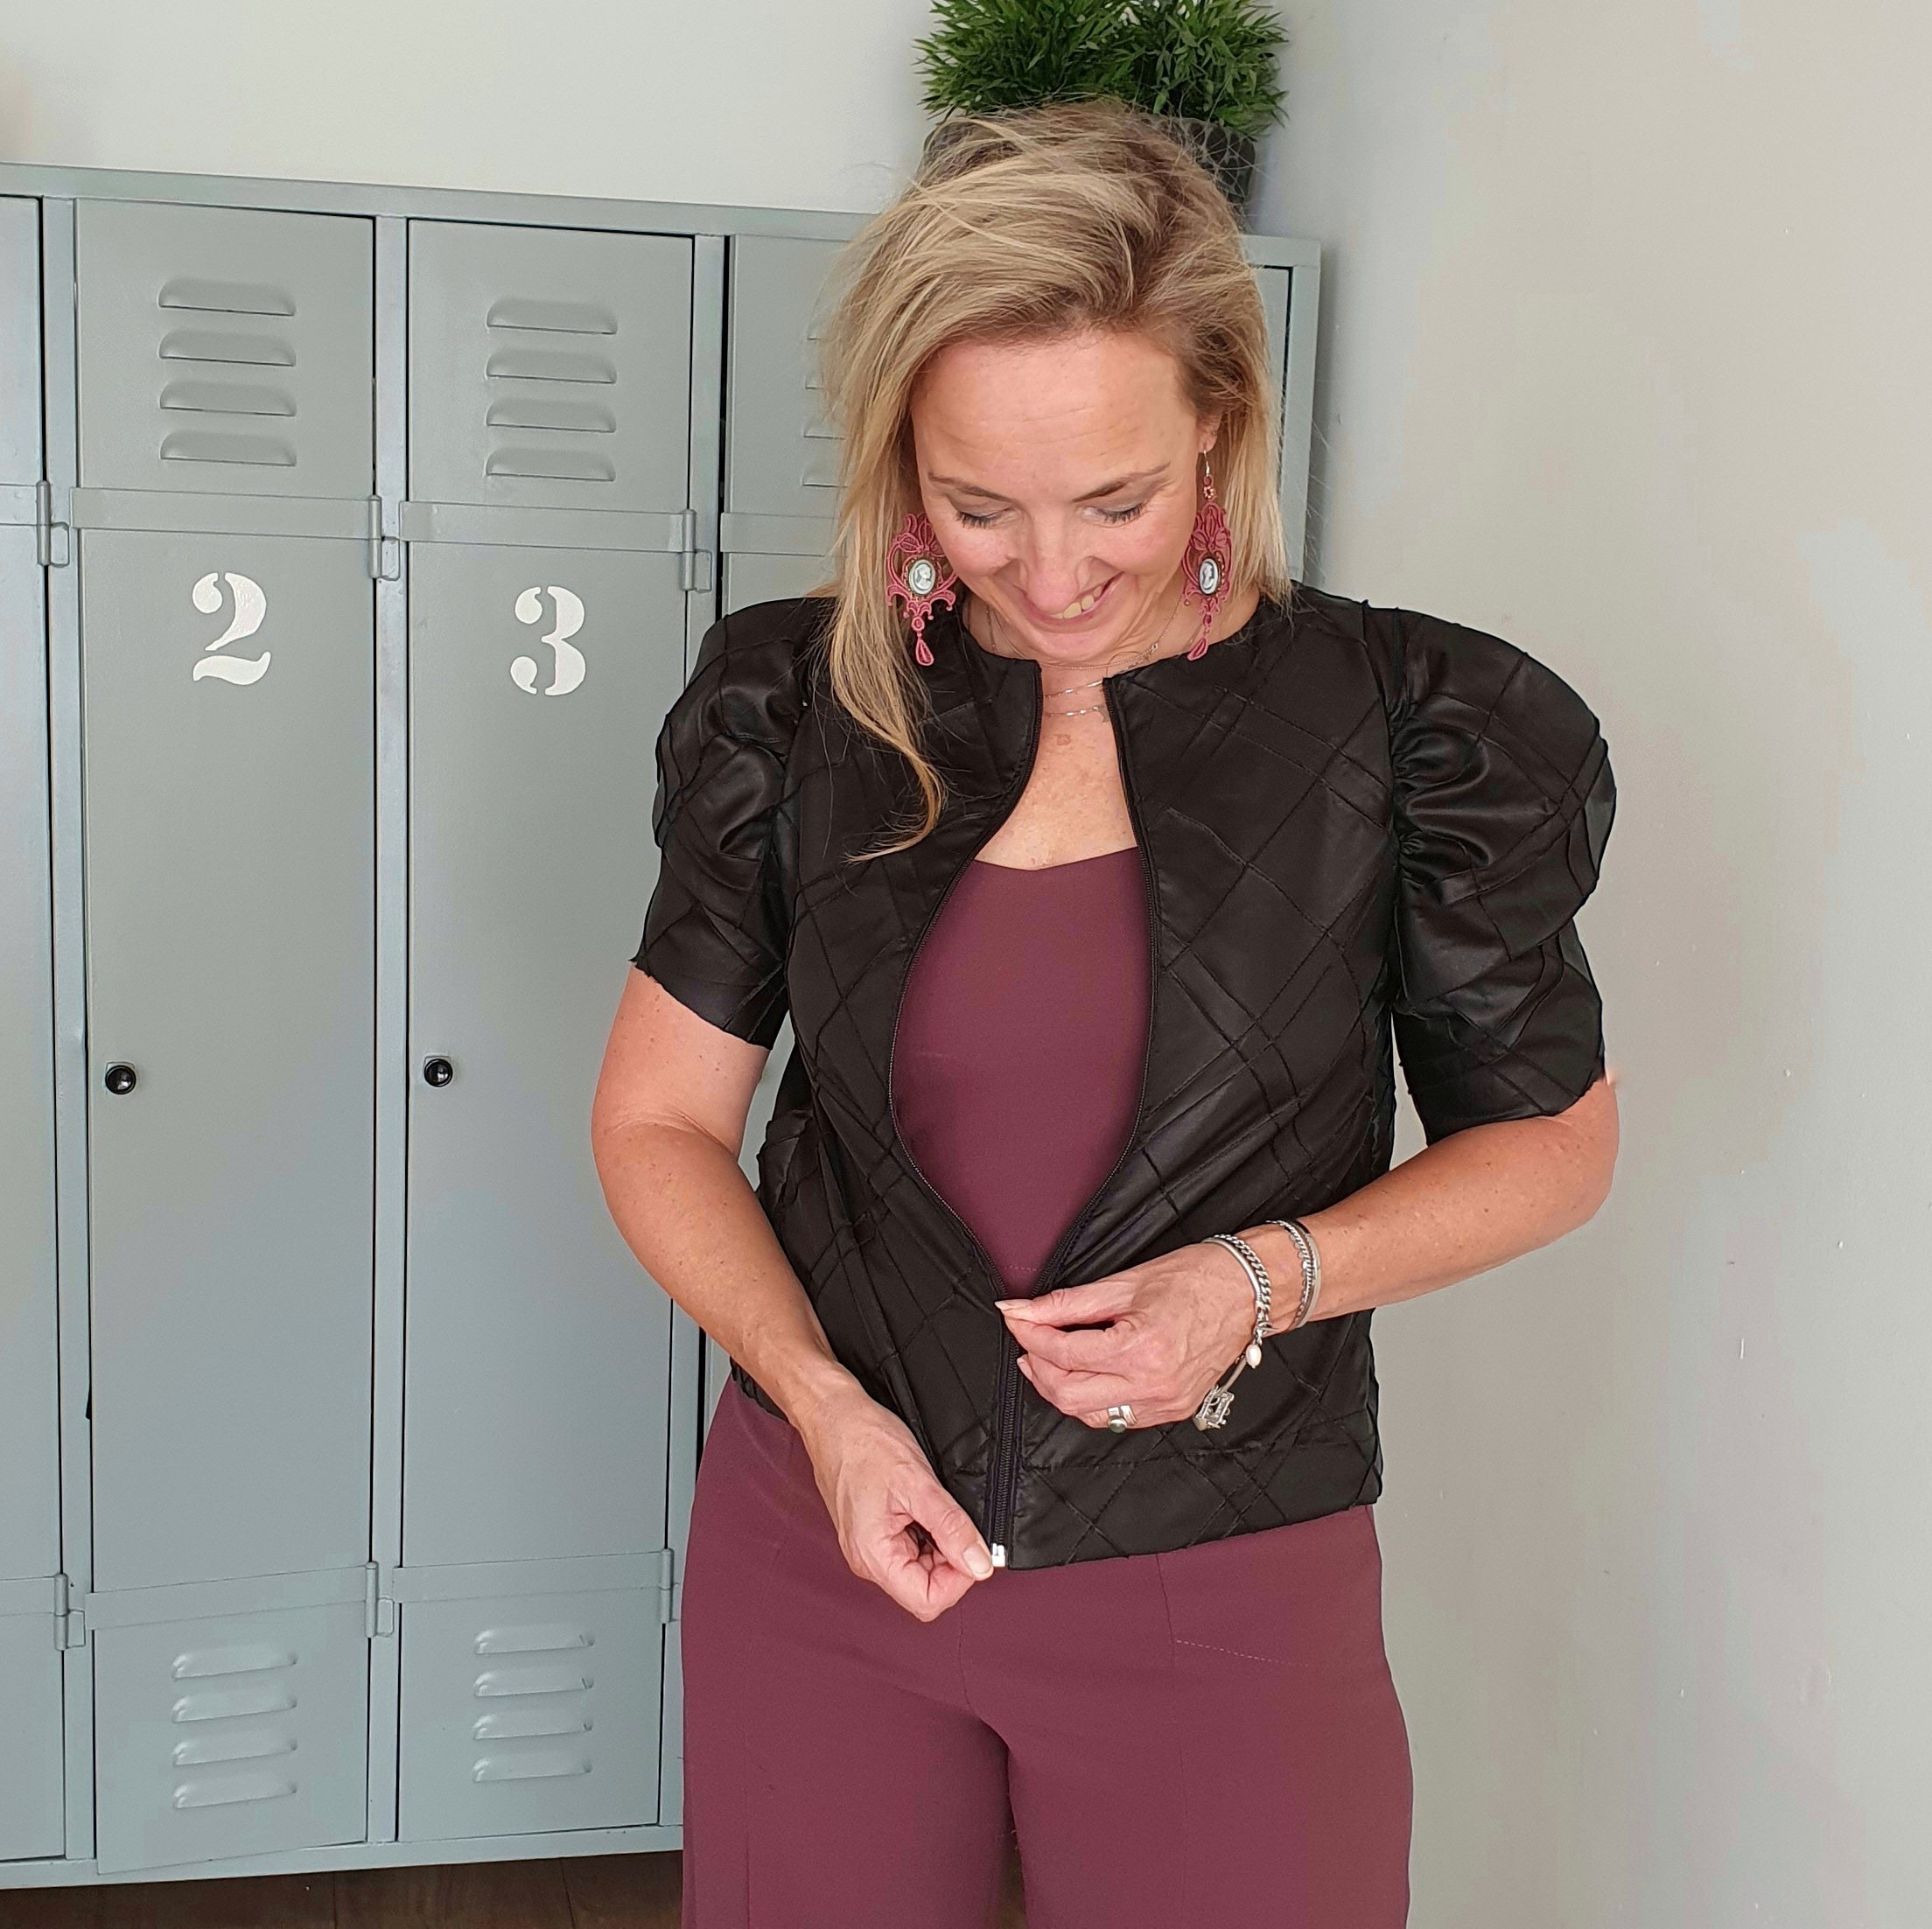
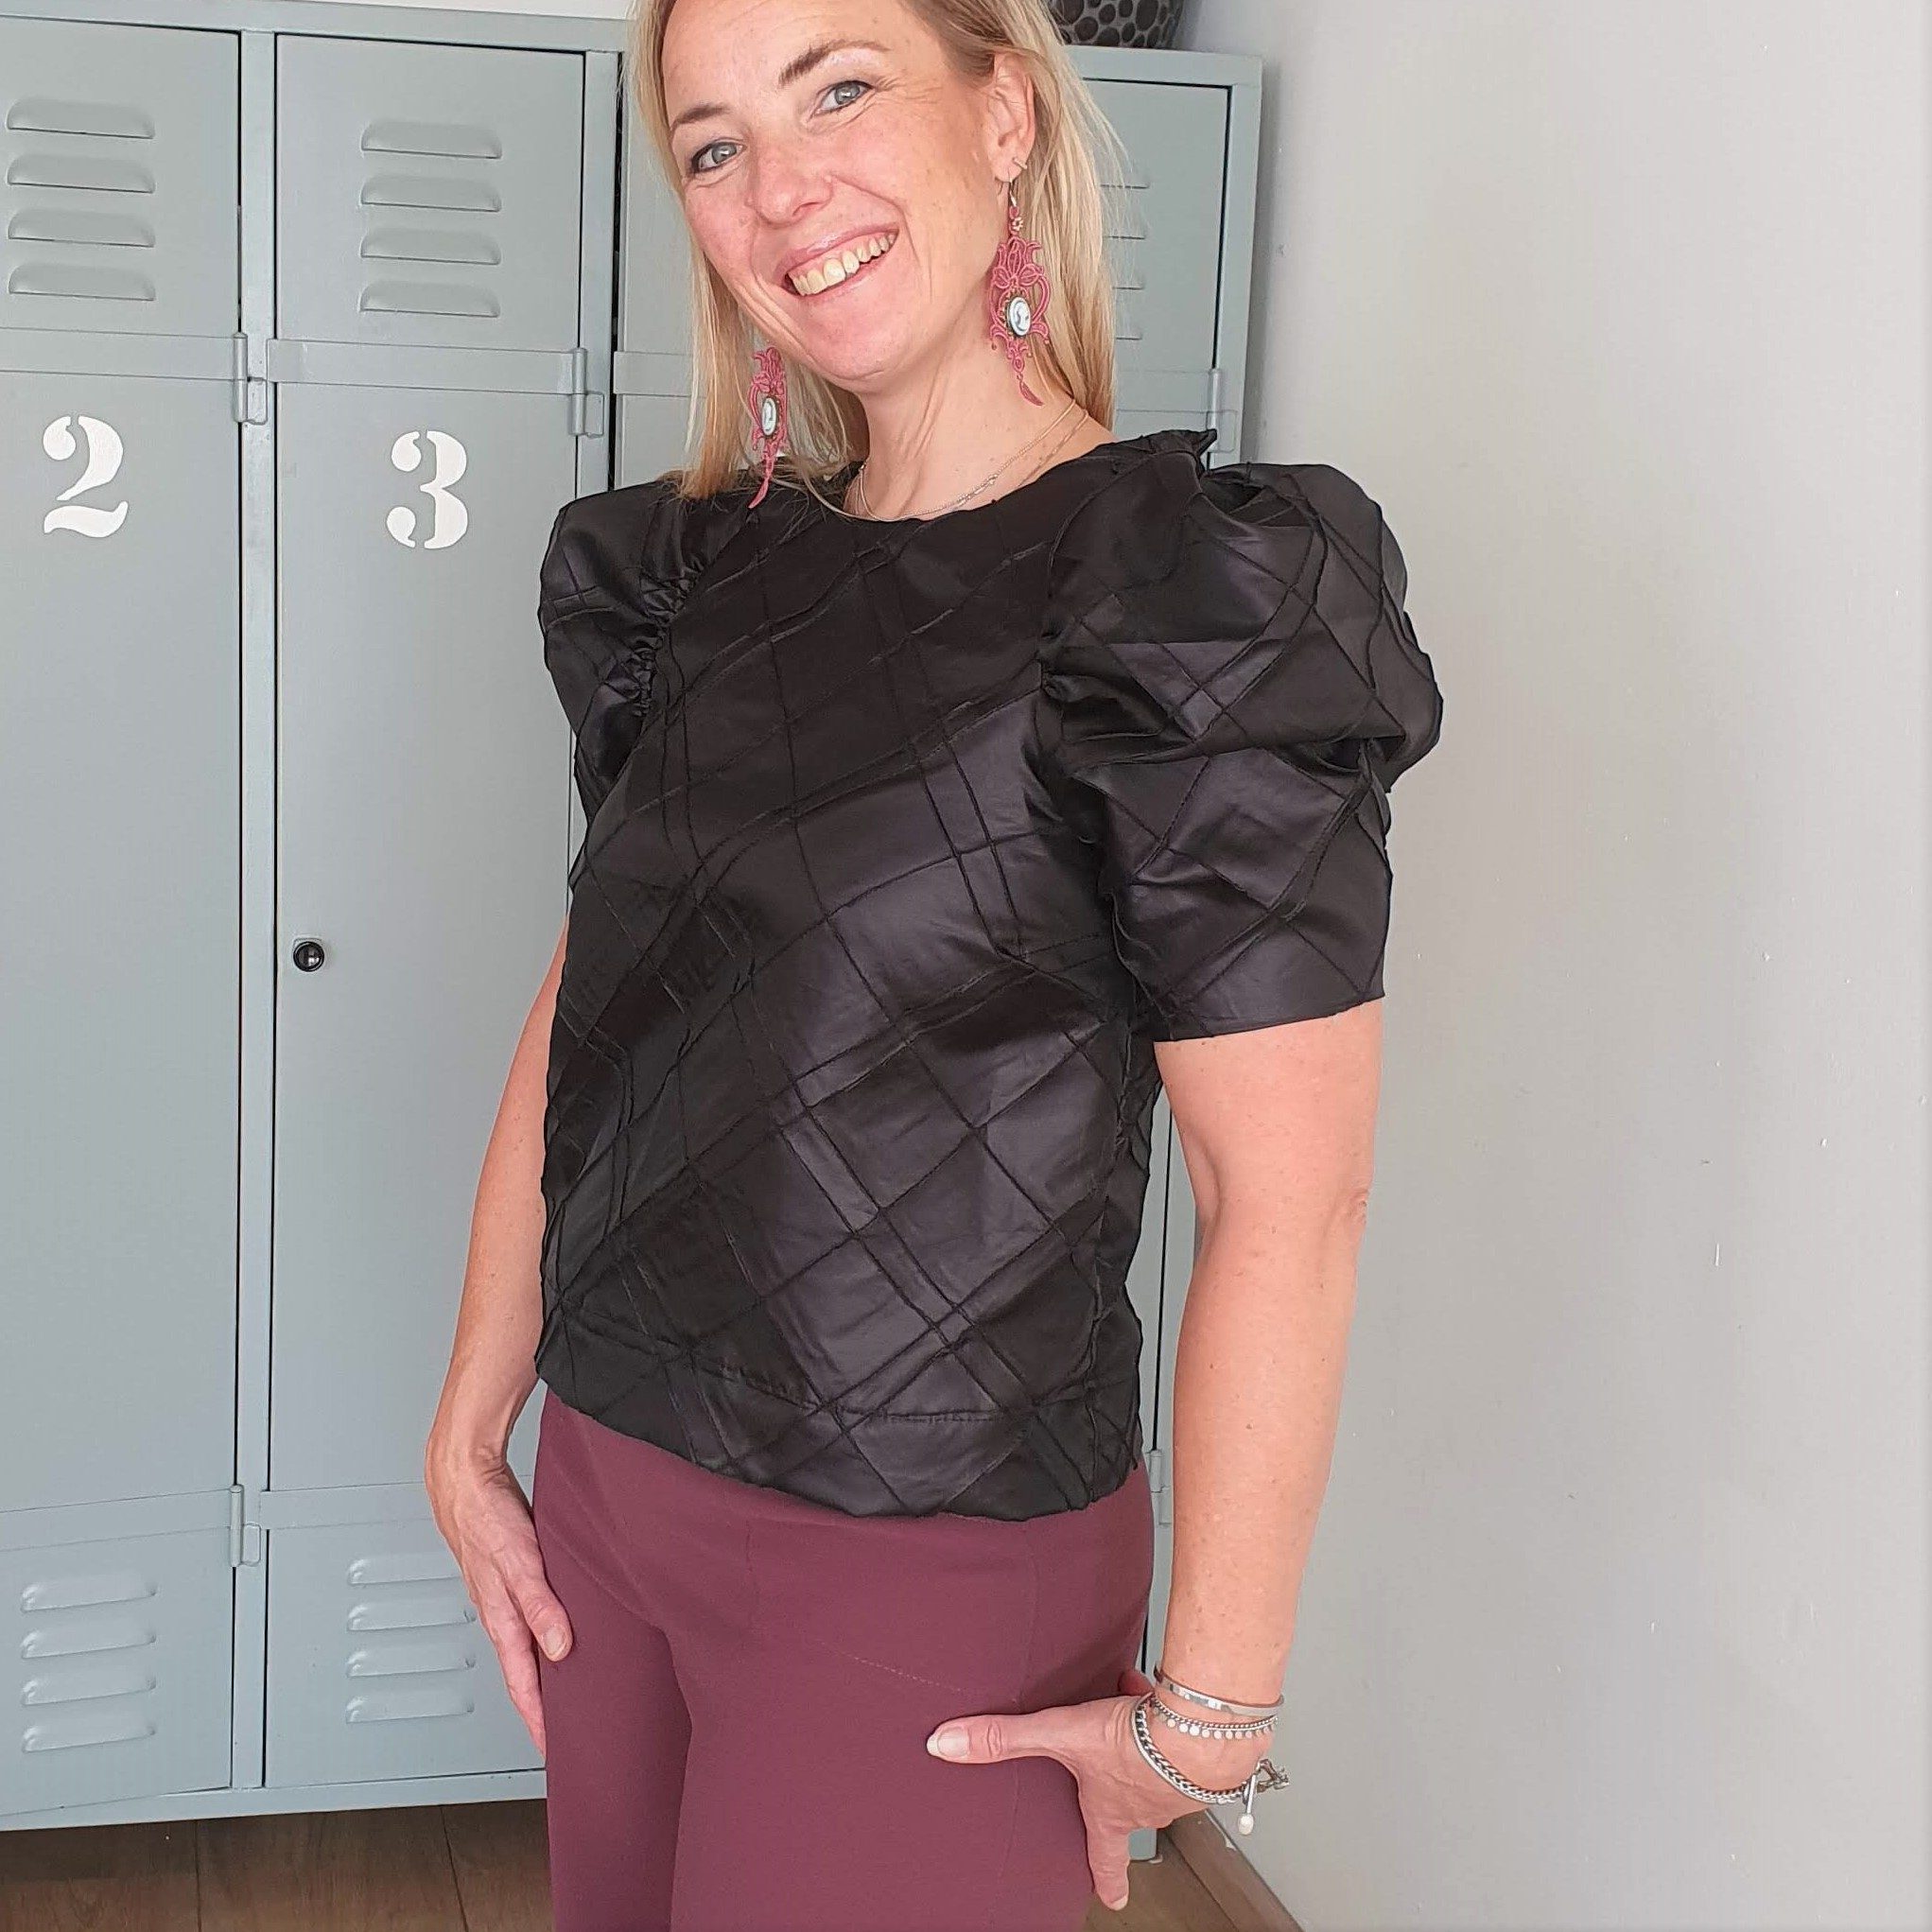
Time to Shine! Dina top and jacket in one
Remember when I started making the Time to Shine! capsule wardrobe? I made almost everything from the items then devised. One fabric was still waiting and this one breathes time to shine: a shiny satin with pin tucks. Once picked for €5 from the leftover bin at a fabric store. At first I thought of making a blouse with long sleeves. Unfortunately the piece was not big enough for this and it stayed in the shrinking pile…until now. In the latest FibreMood there is a great dress called Dina that is also very easy to make as a top. And now it’s even a Dina top and jacket in one! It was worth the wait.

Meet Dina
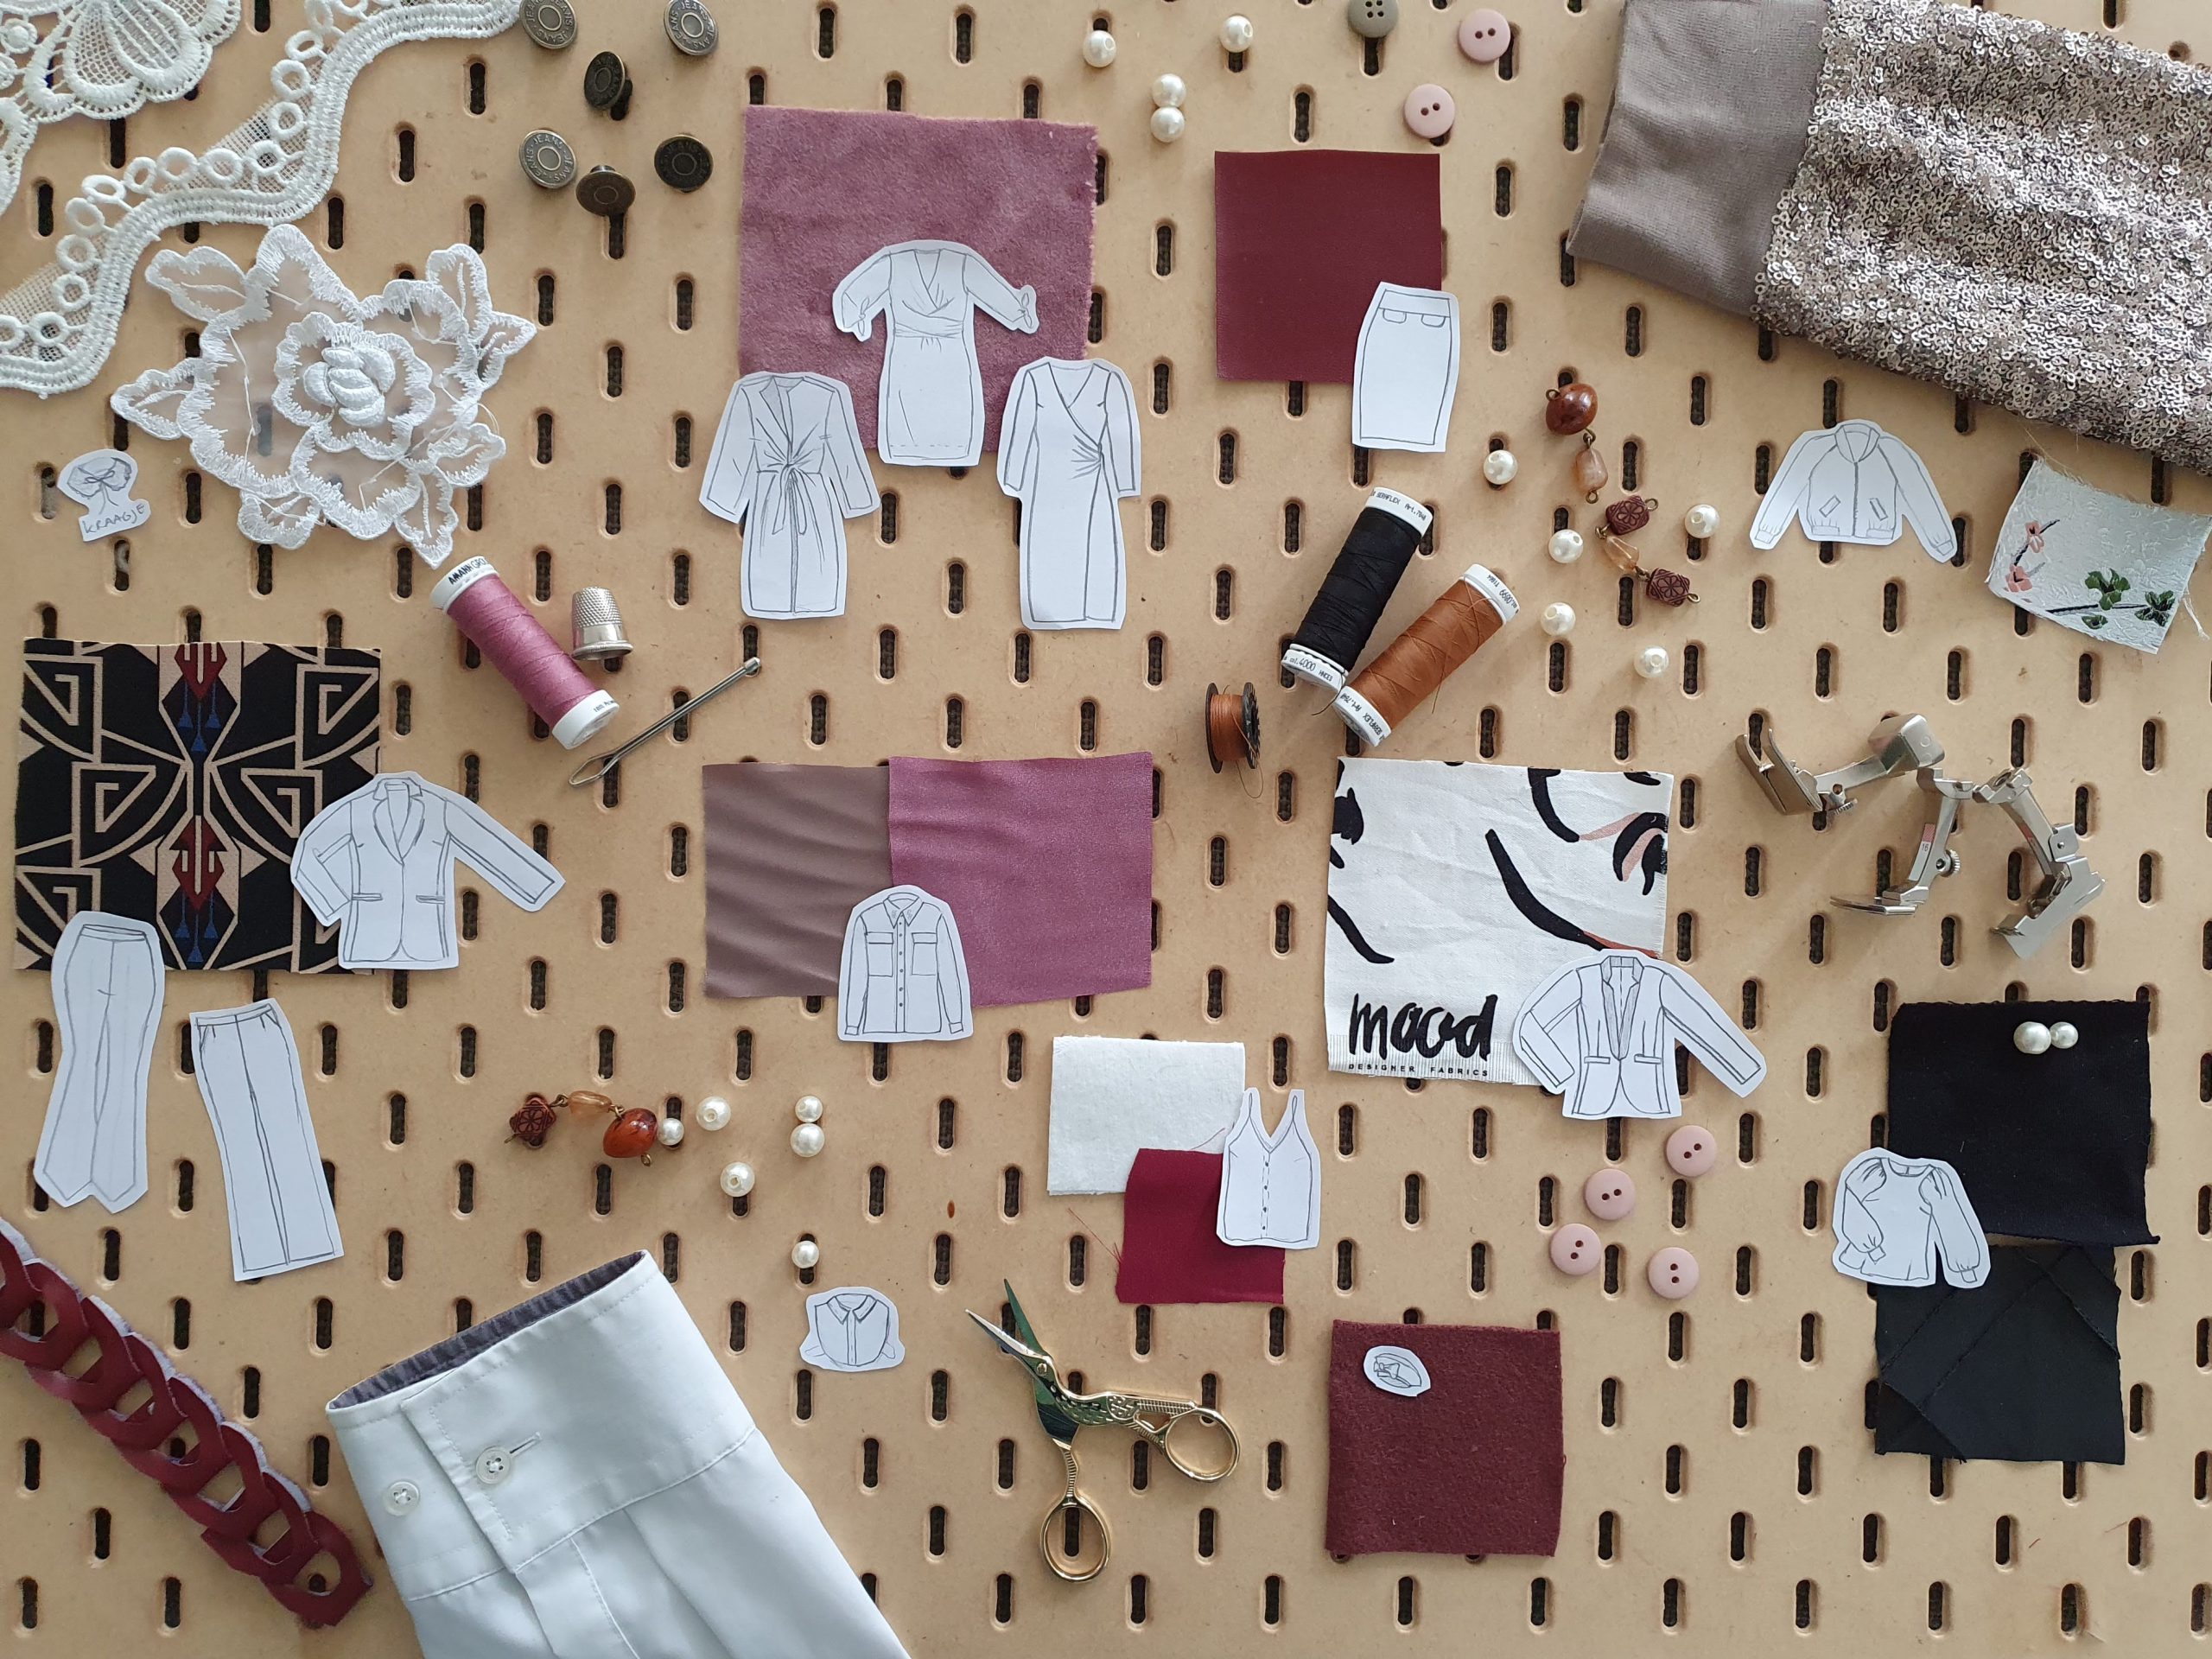
Time to Shine mood board
Fabric inspo

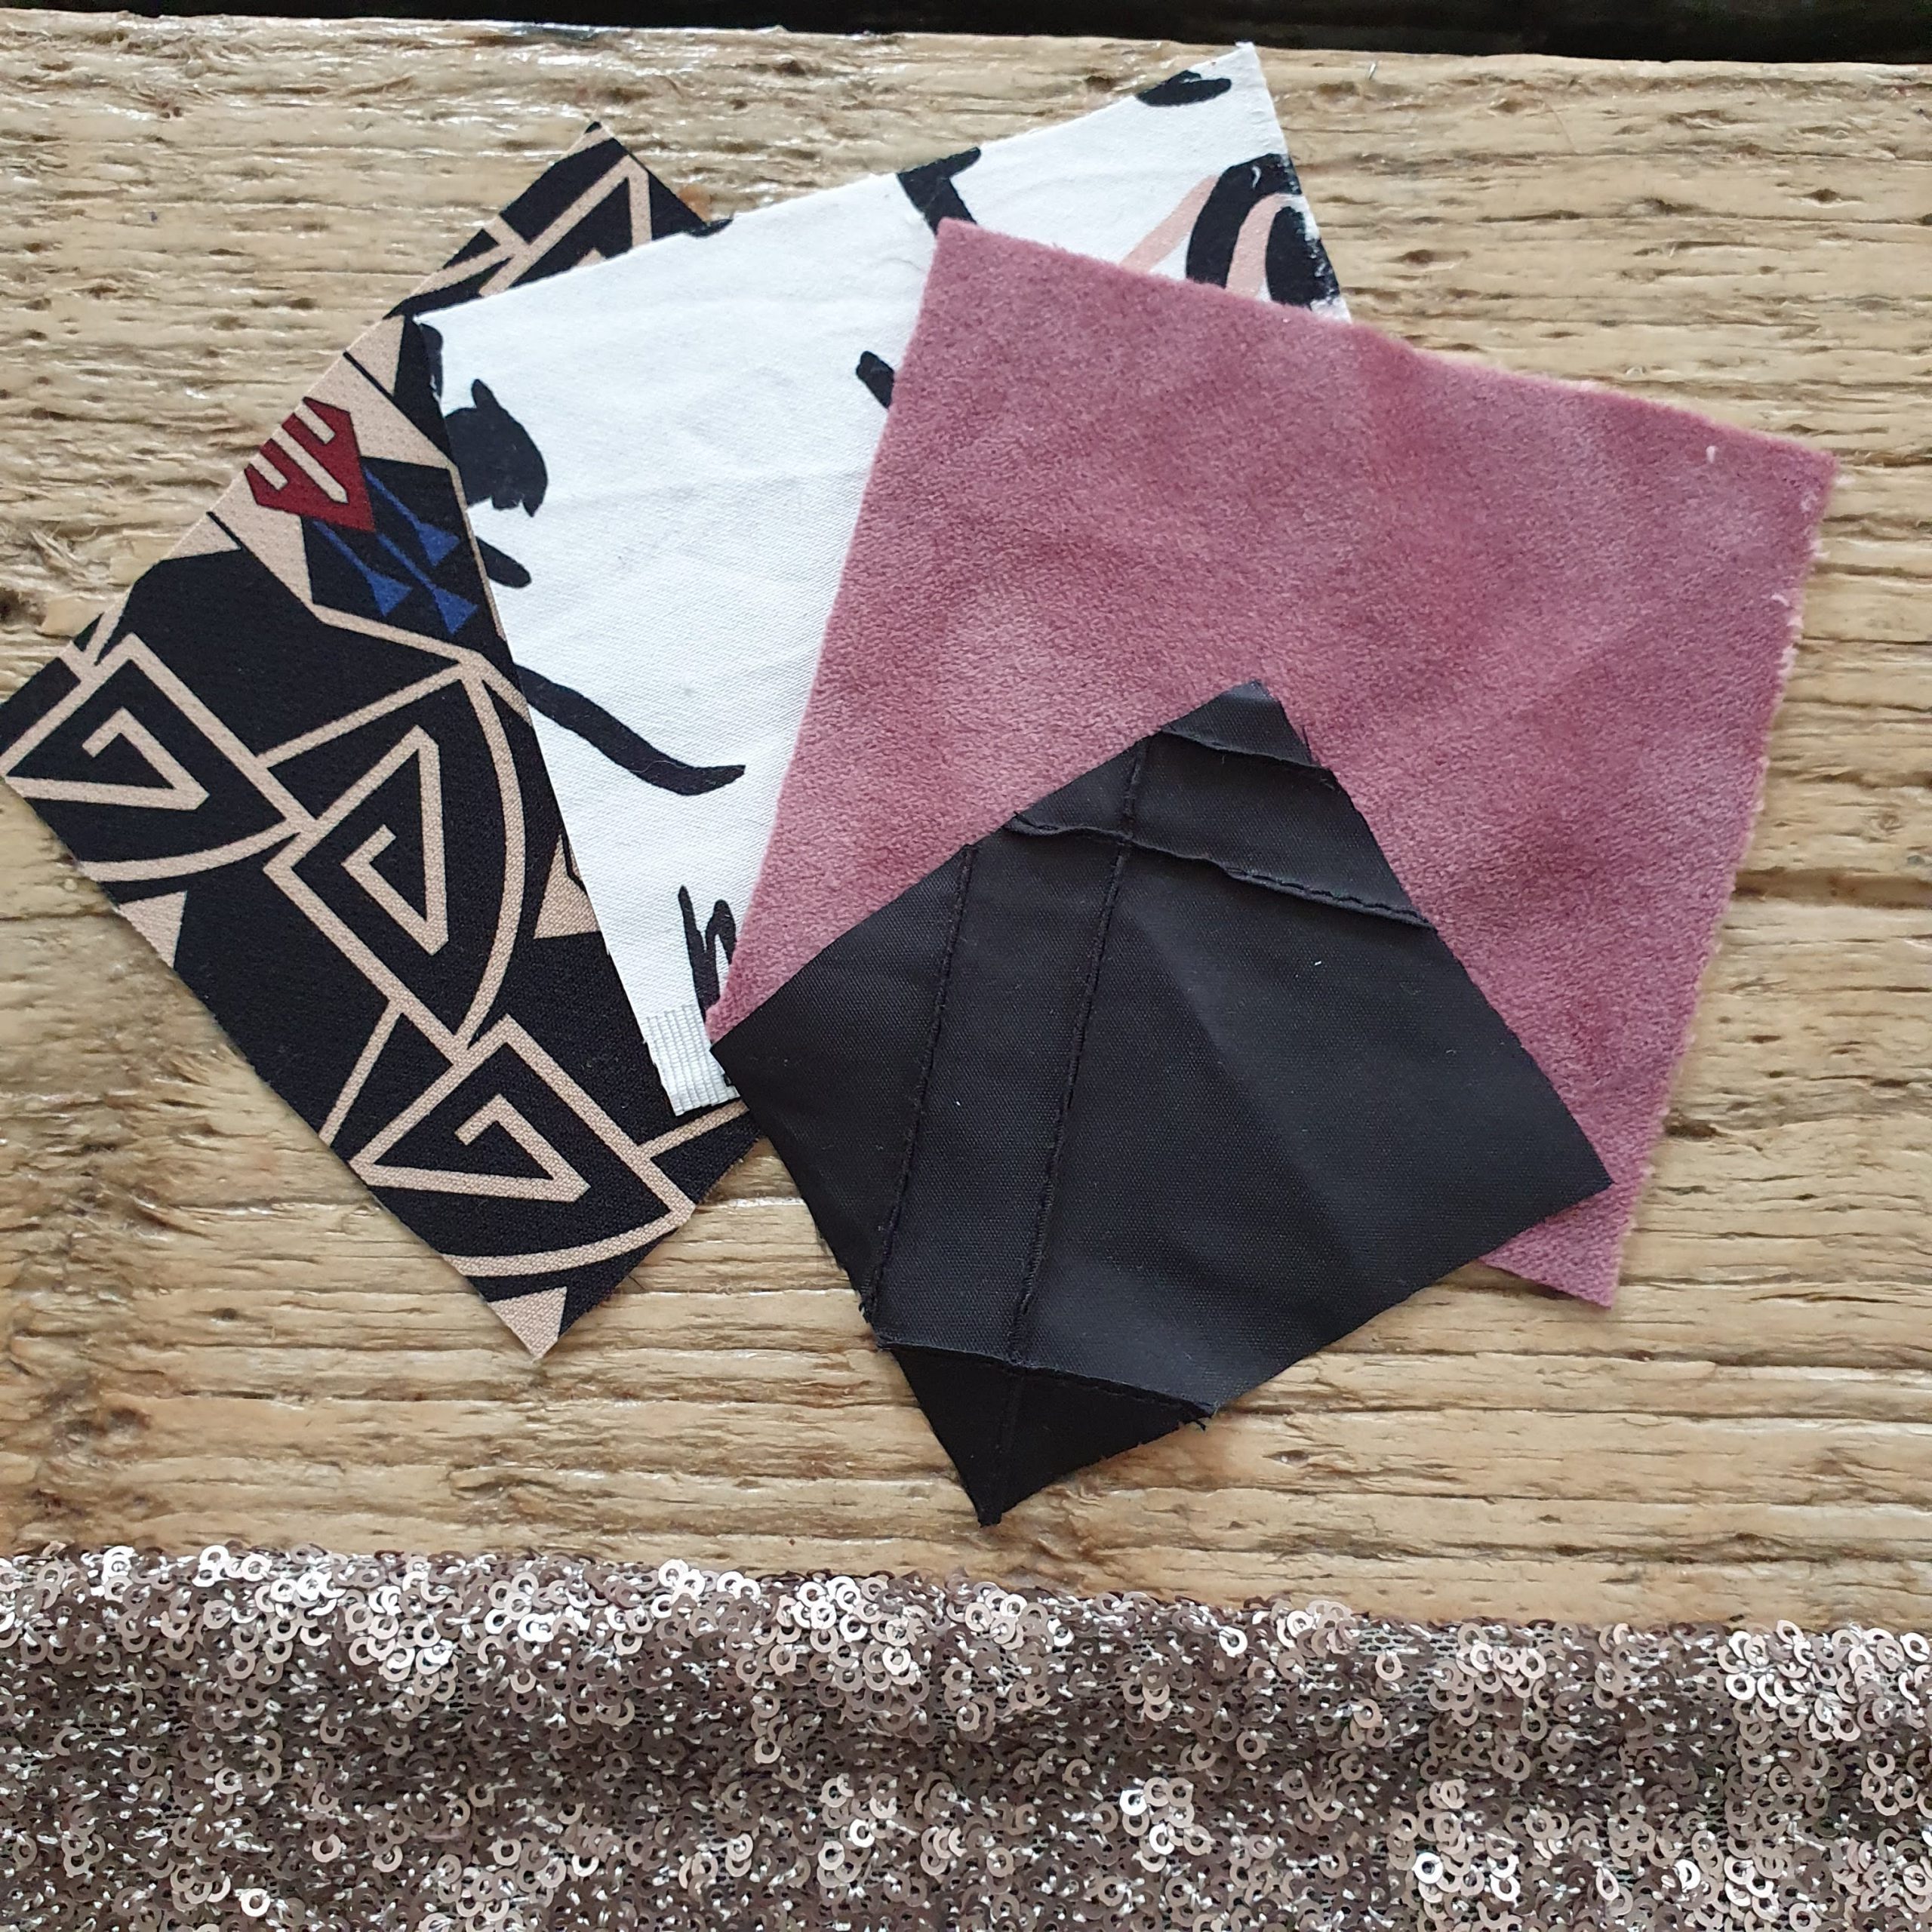
Last fabric
The idea
The dress and also the Dina top have a zipper at the back. Of the options I found in the zipper stock, one was divisible. This gave me the idea to use the top as a jacket as well. How cool is it to be able to make twice as many combinations with one item in your capsule wardrobe?
Keeping in mind that there are darts at the front, I had an invisible zipper standby in case the top didn’t fit properly the other way around. After a fitting session I took the plunge. Let’s go for it!
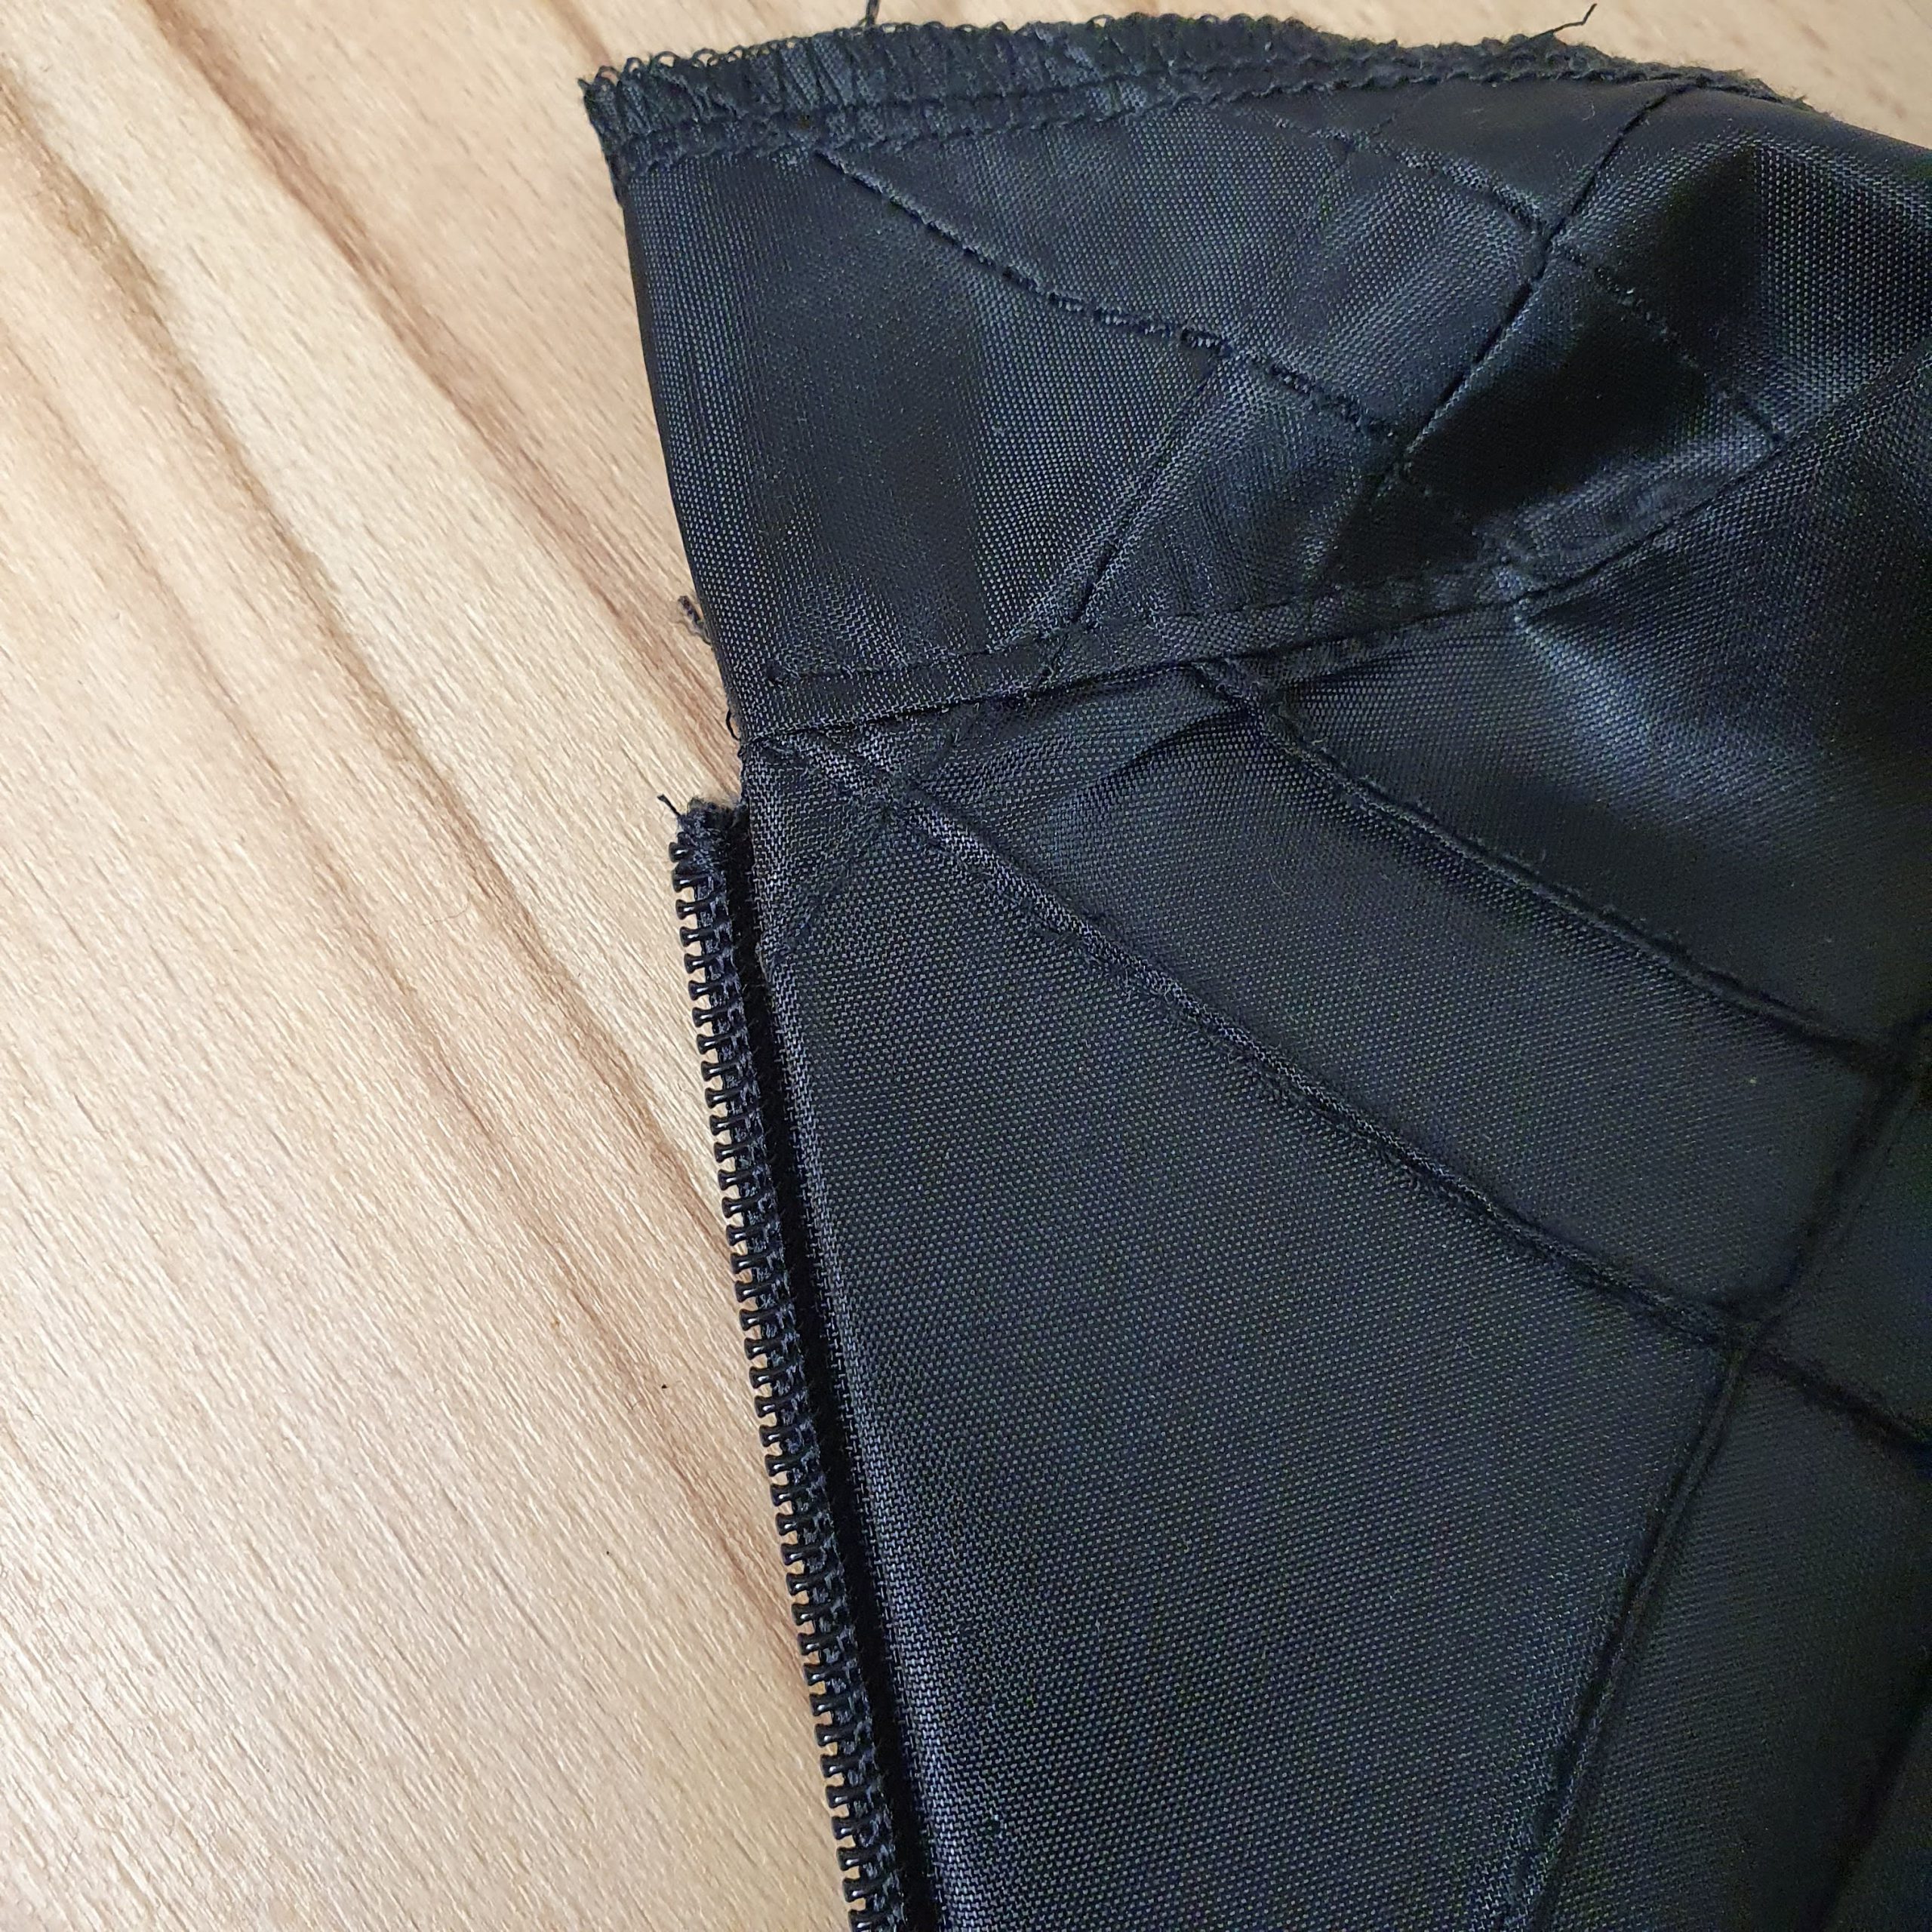
Split zipper
The zipper
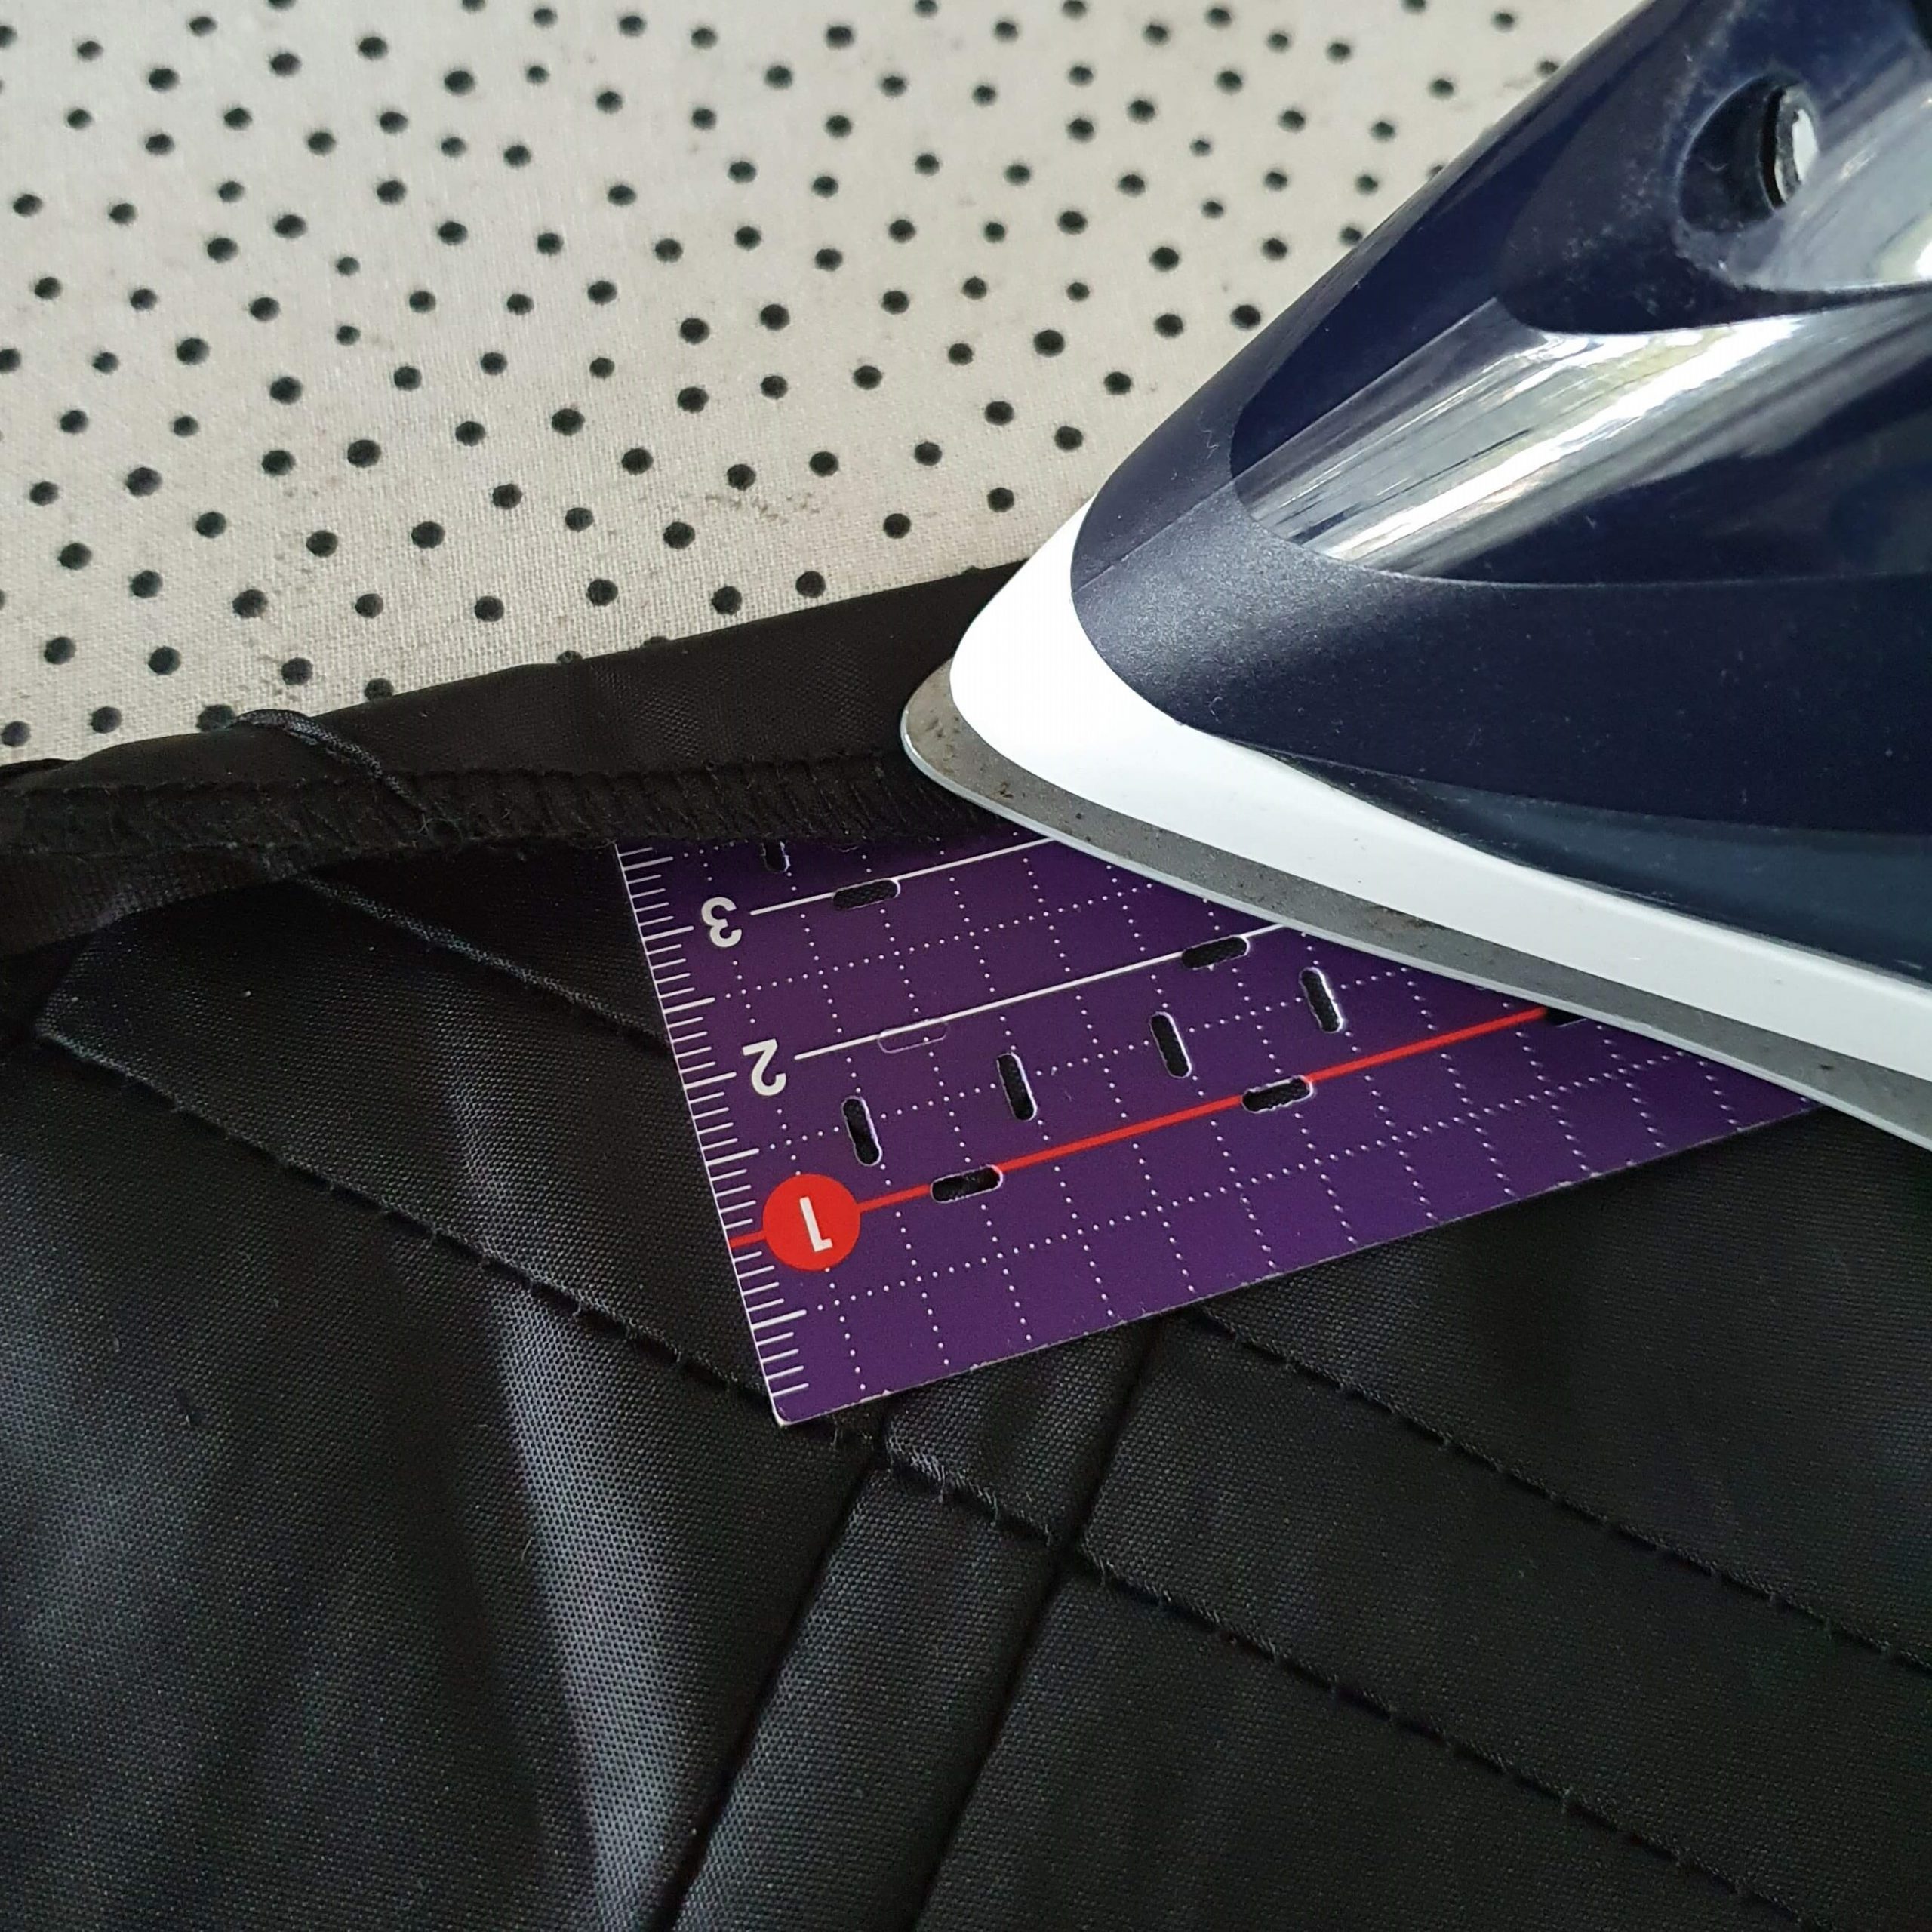
To reinforce the back seam you iron a 2 cm wide seam tape. Then you secure it even more with the overlocker. For this I always cut an 0,5 cm extra bit of seam.
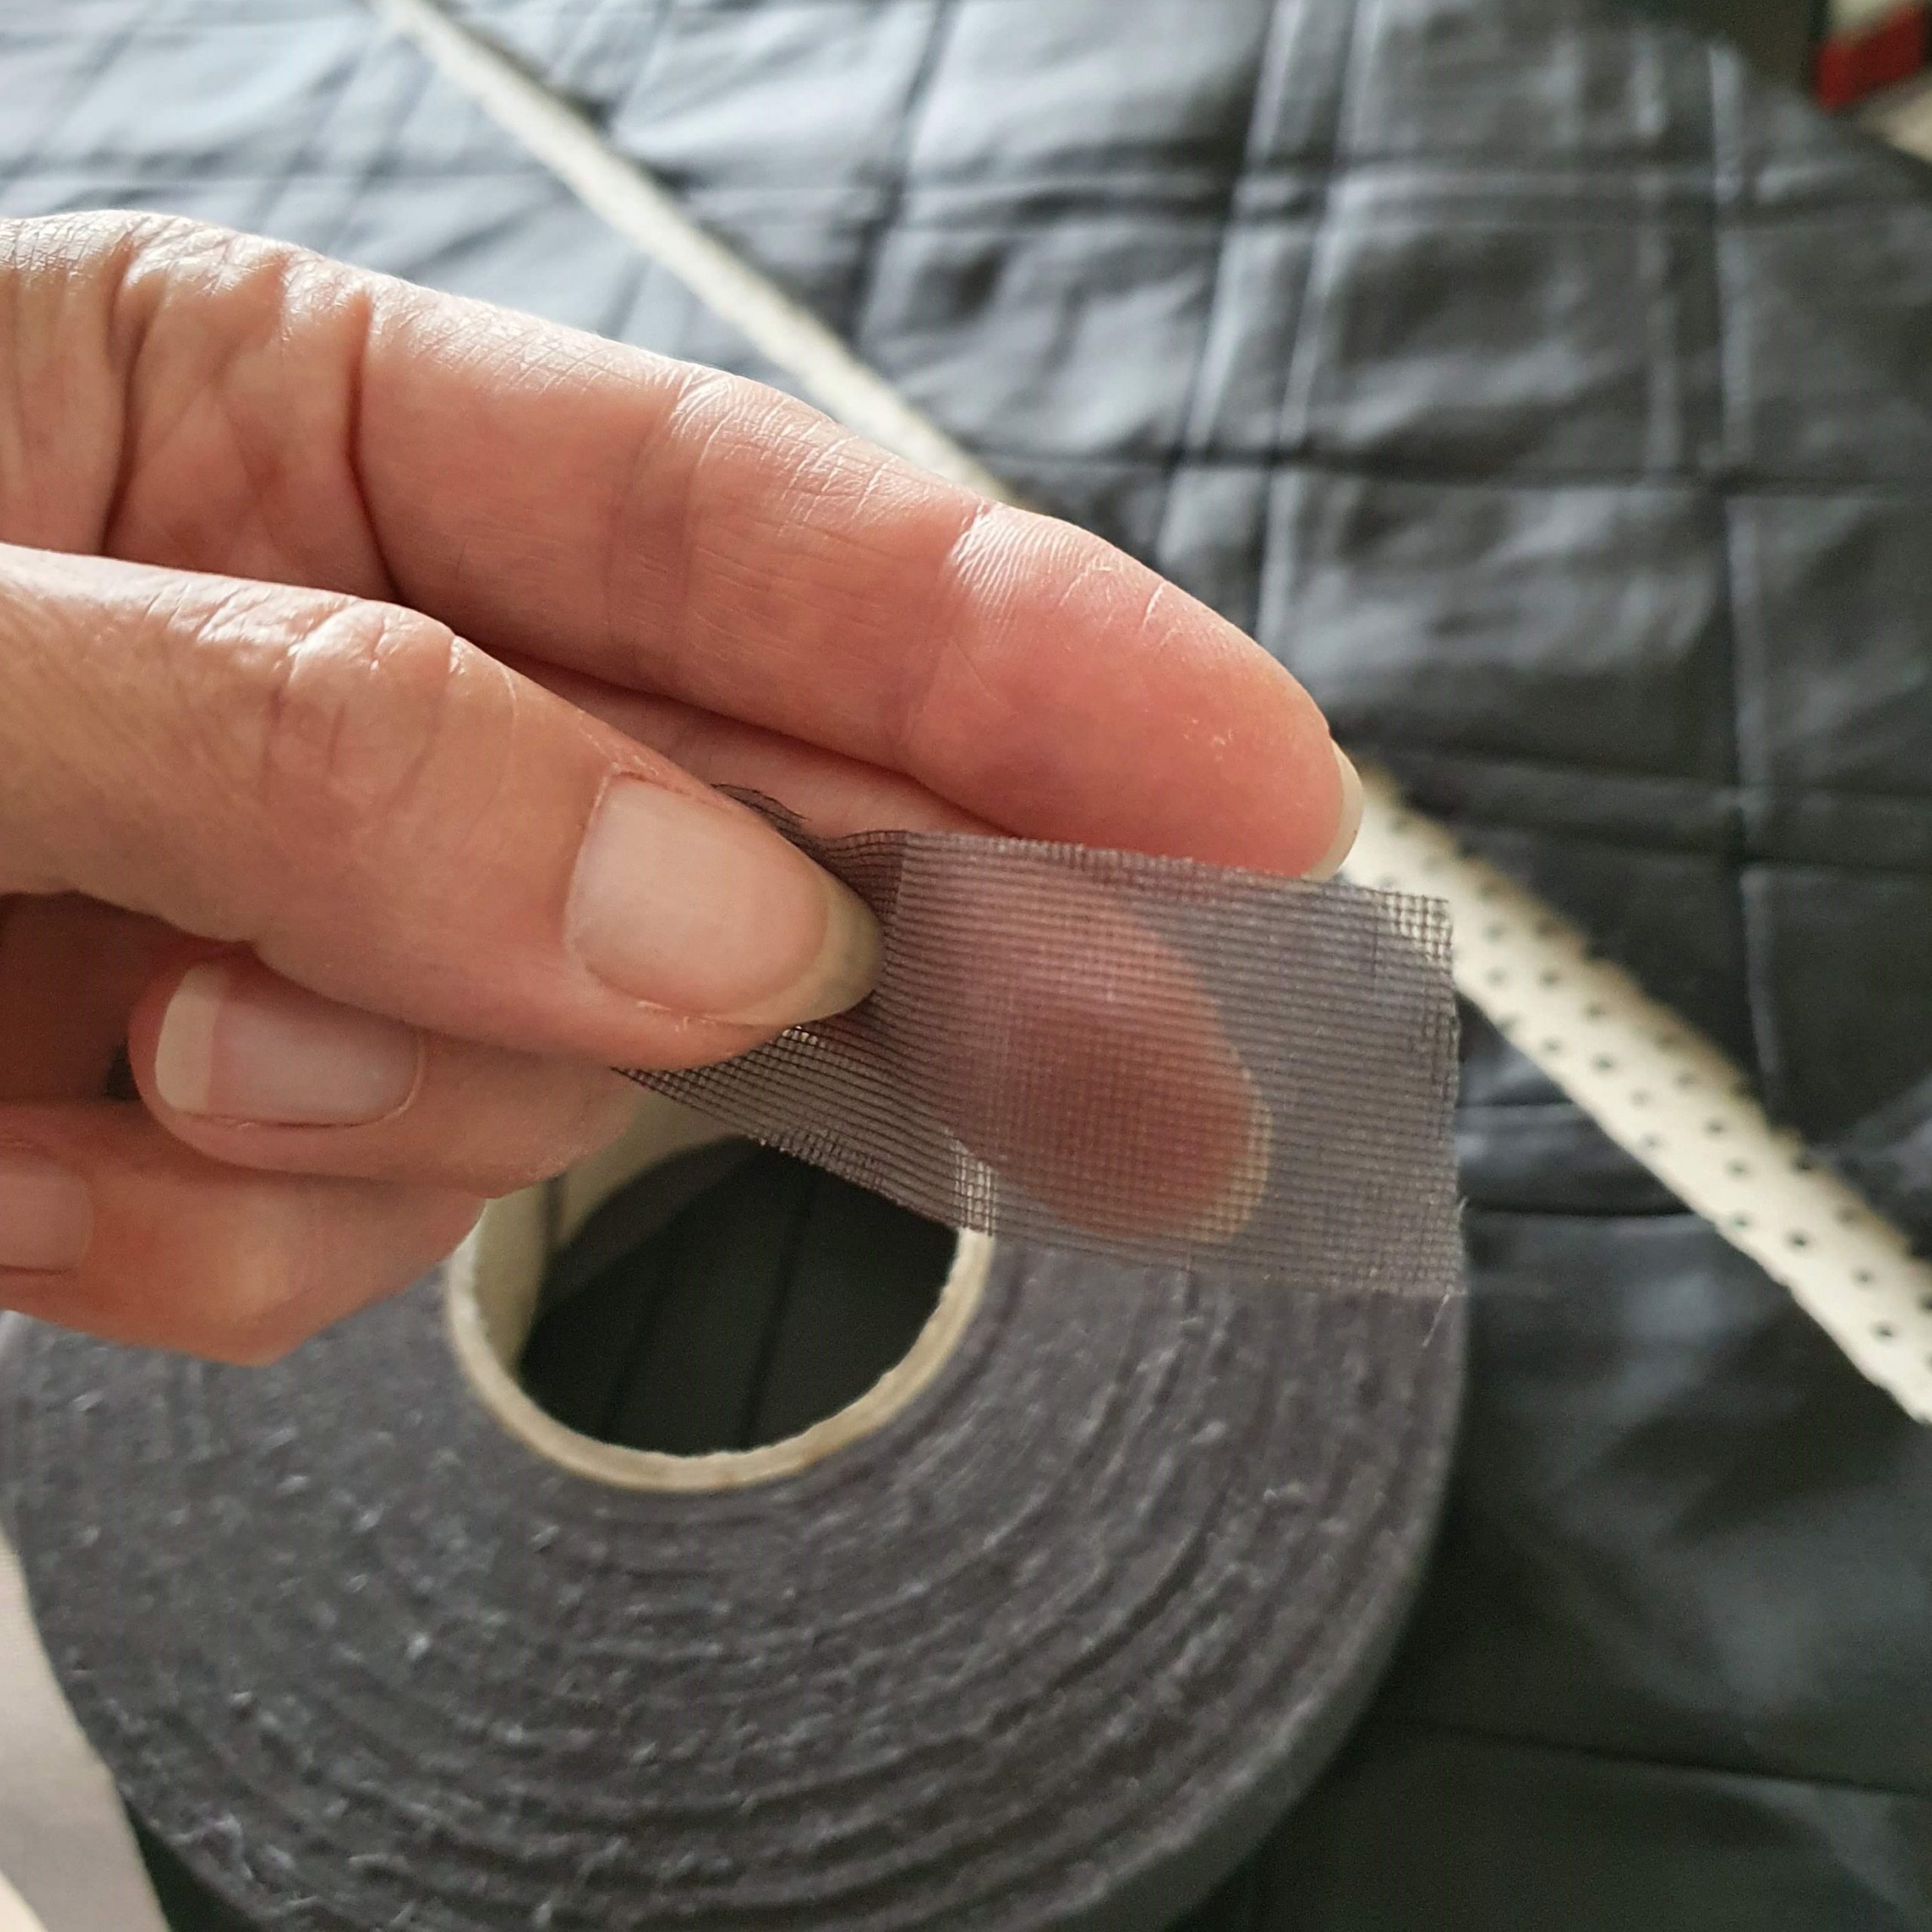
Seam tape

Iron
Secure
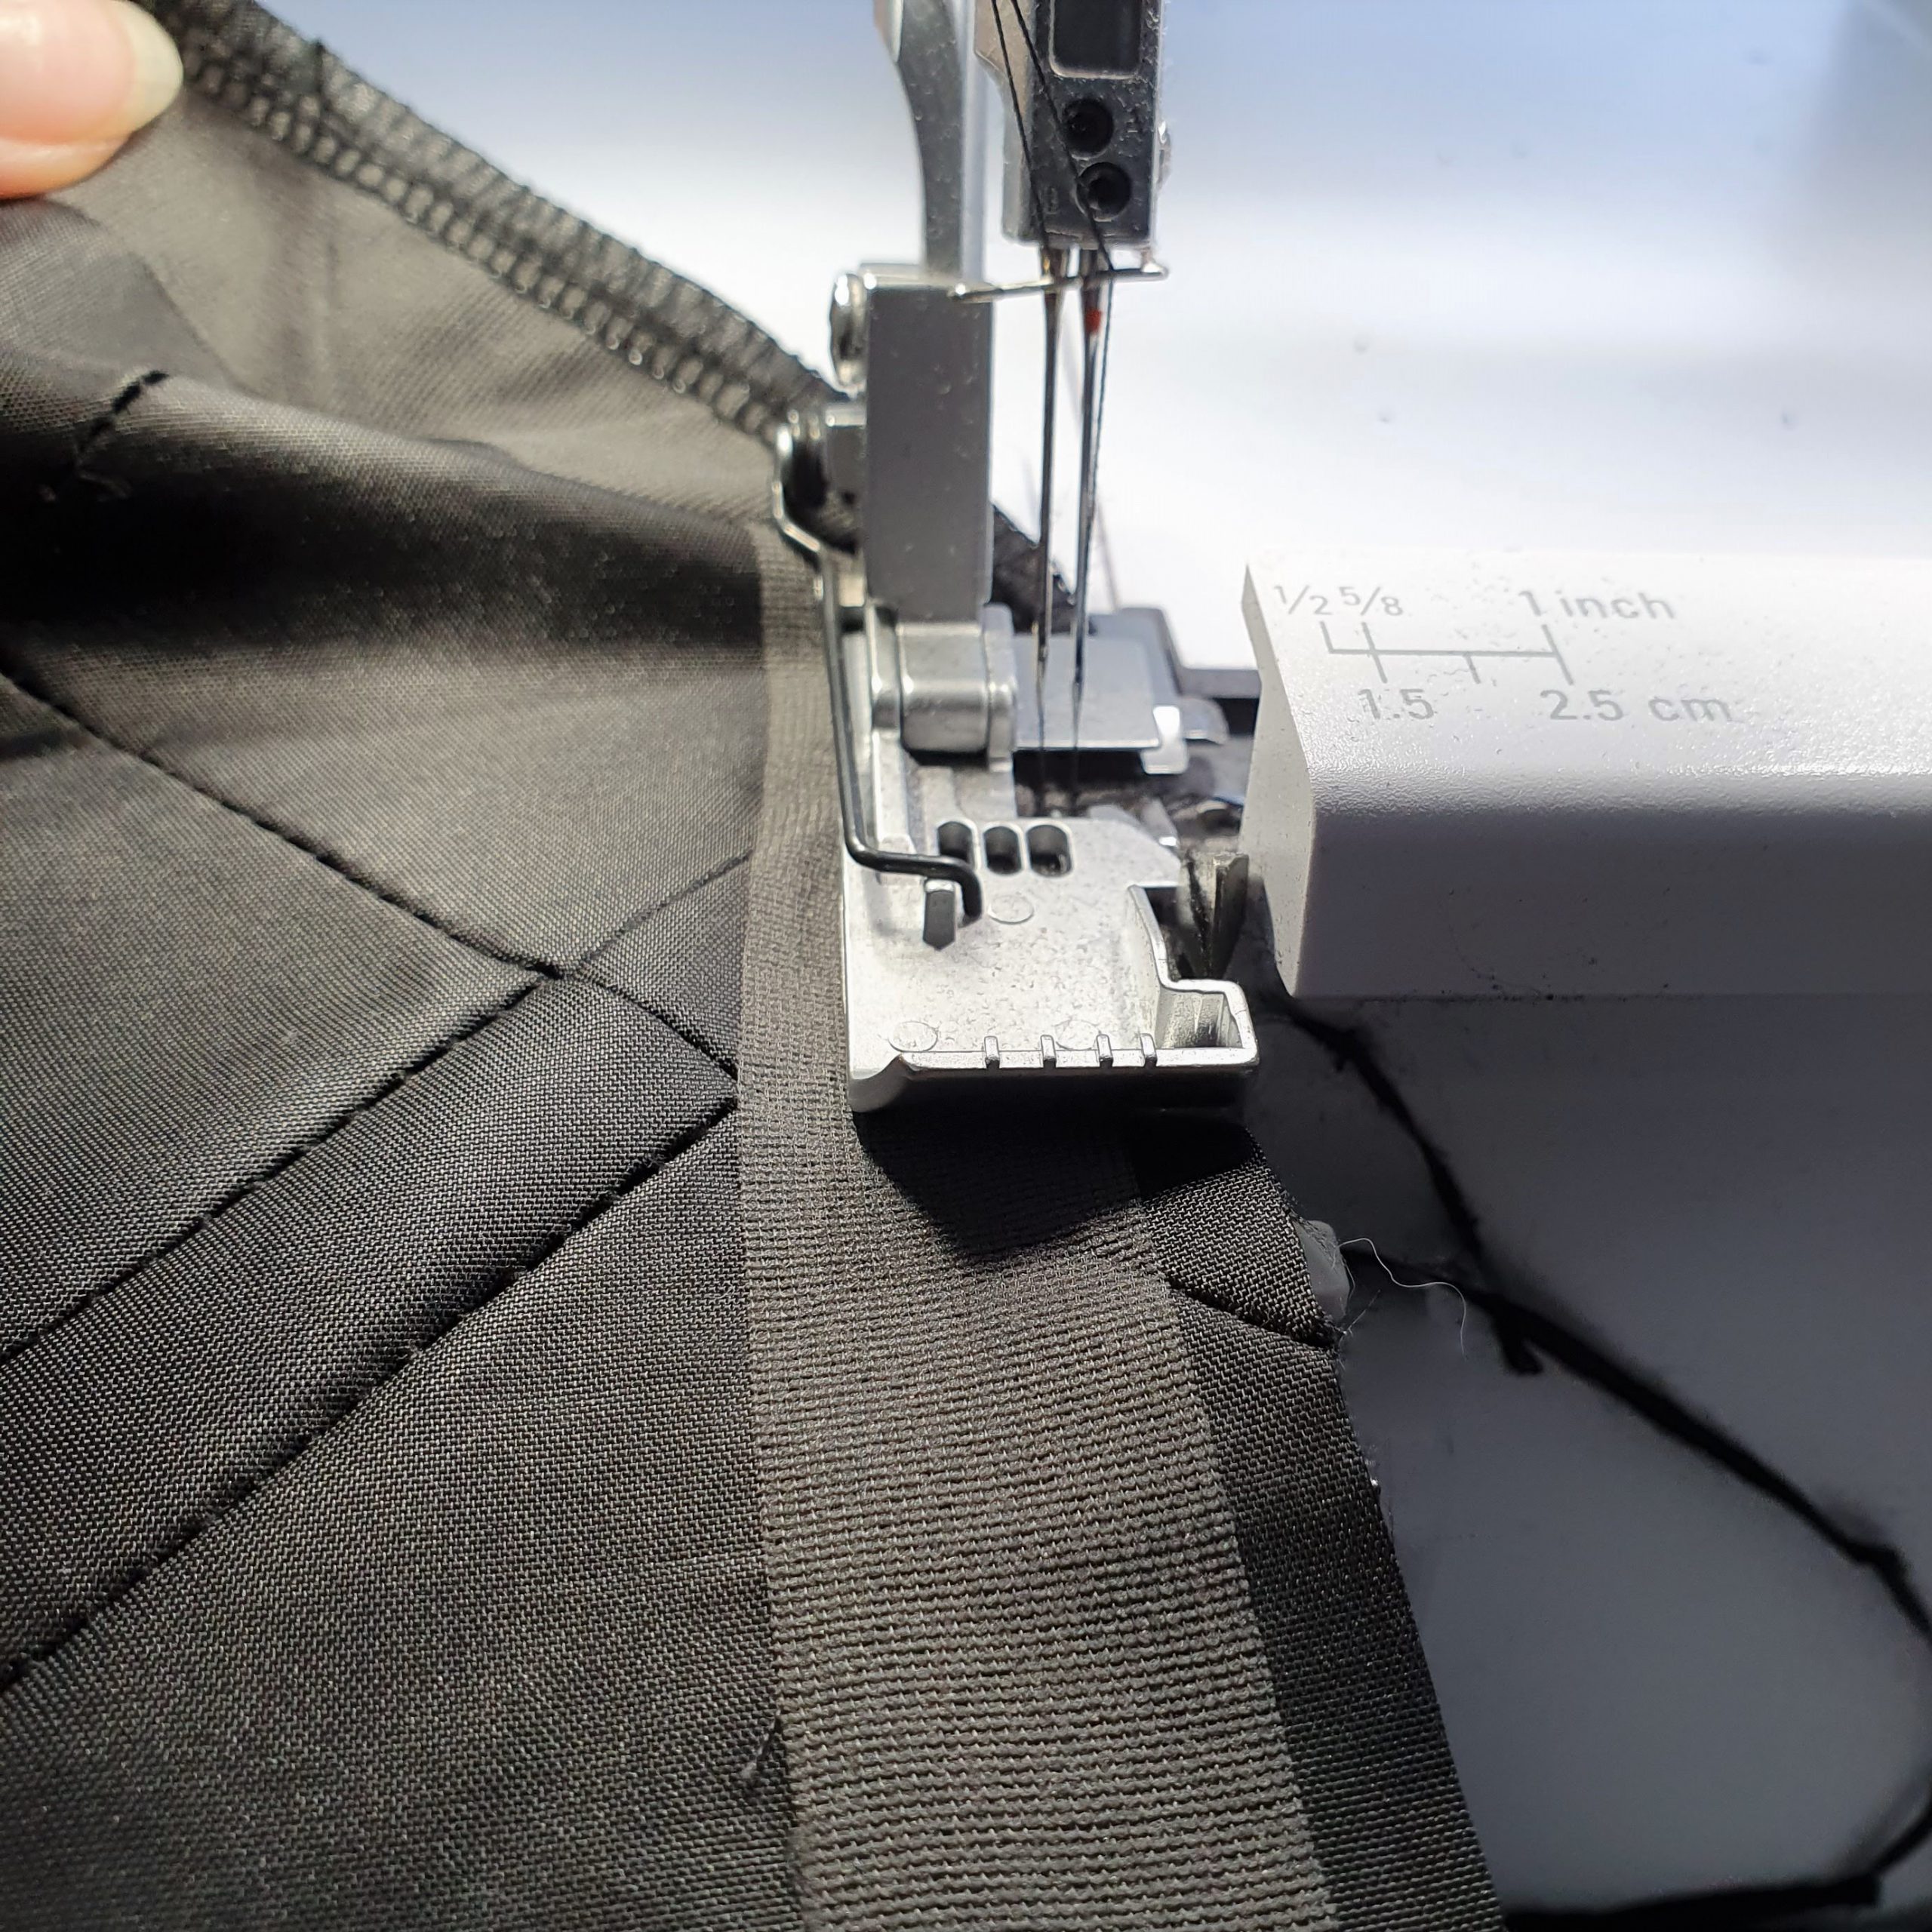
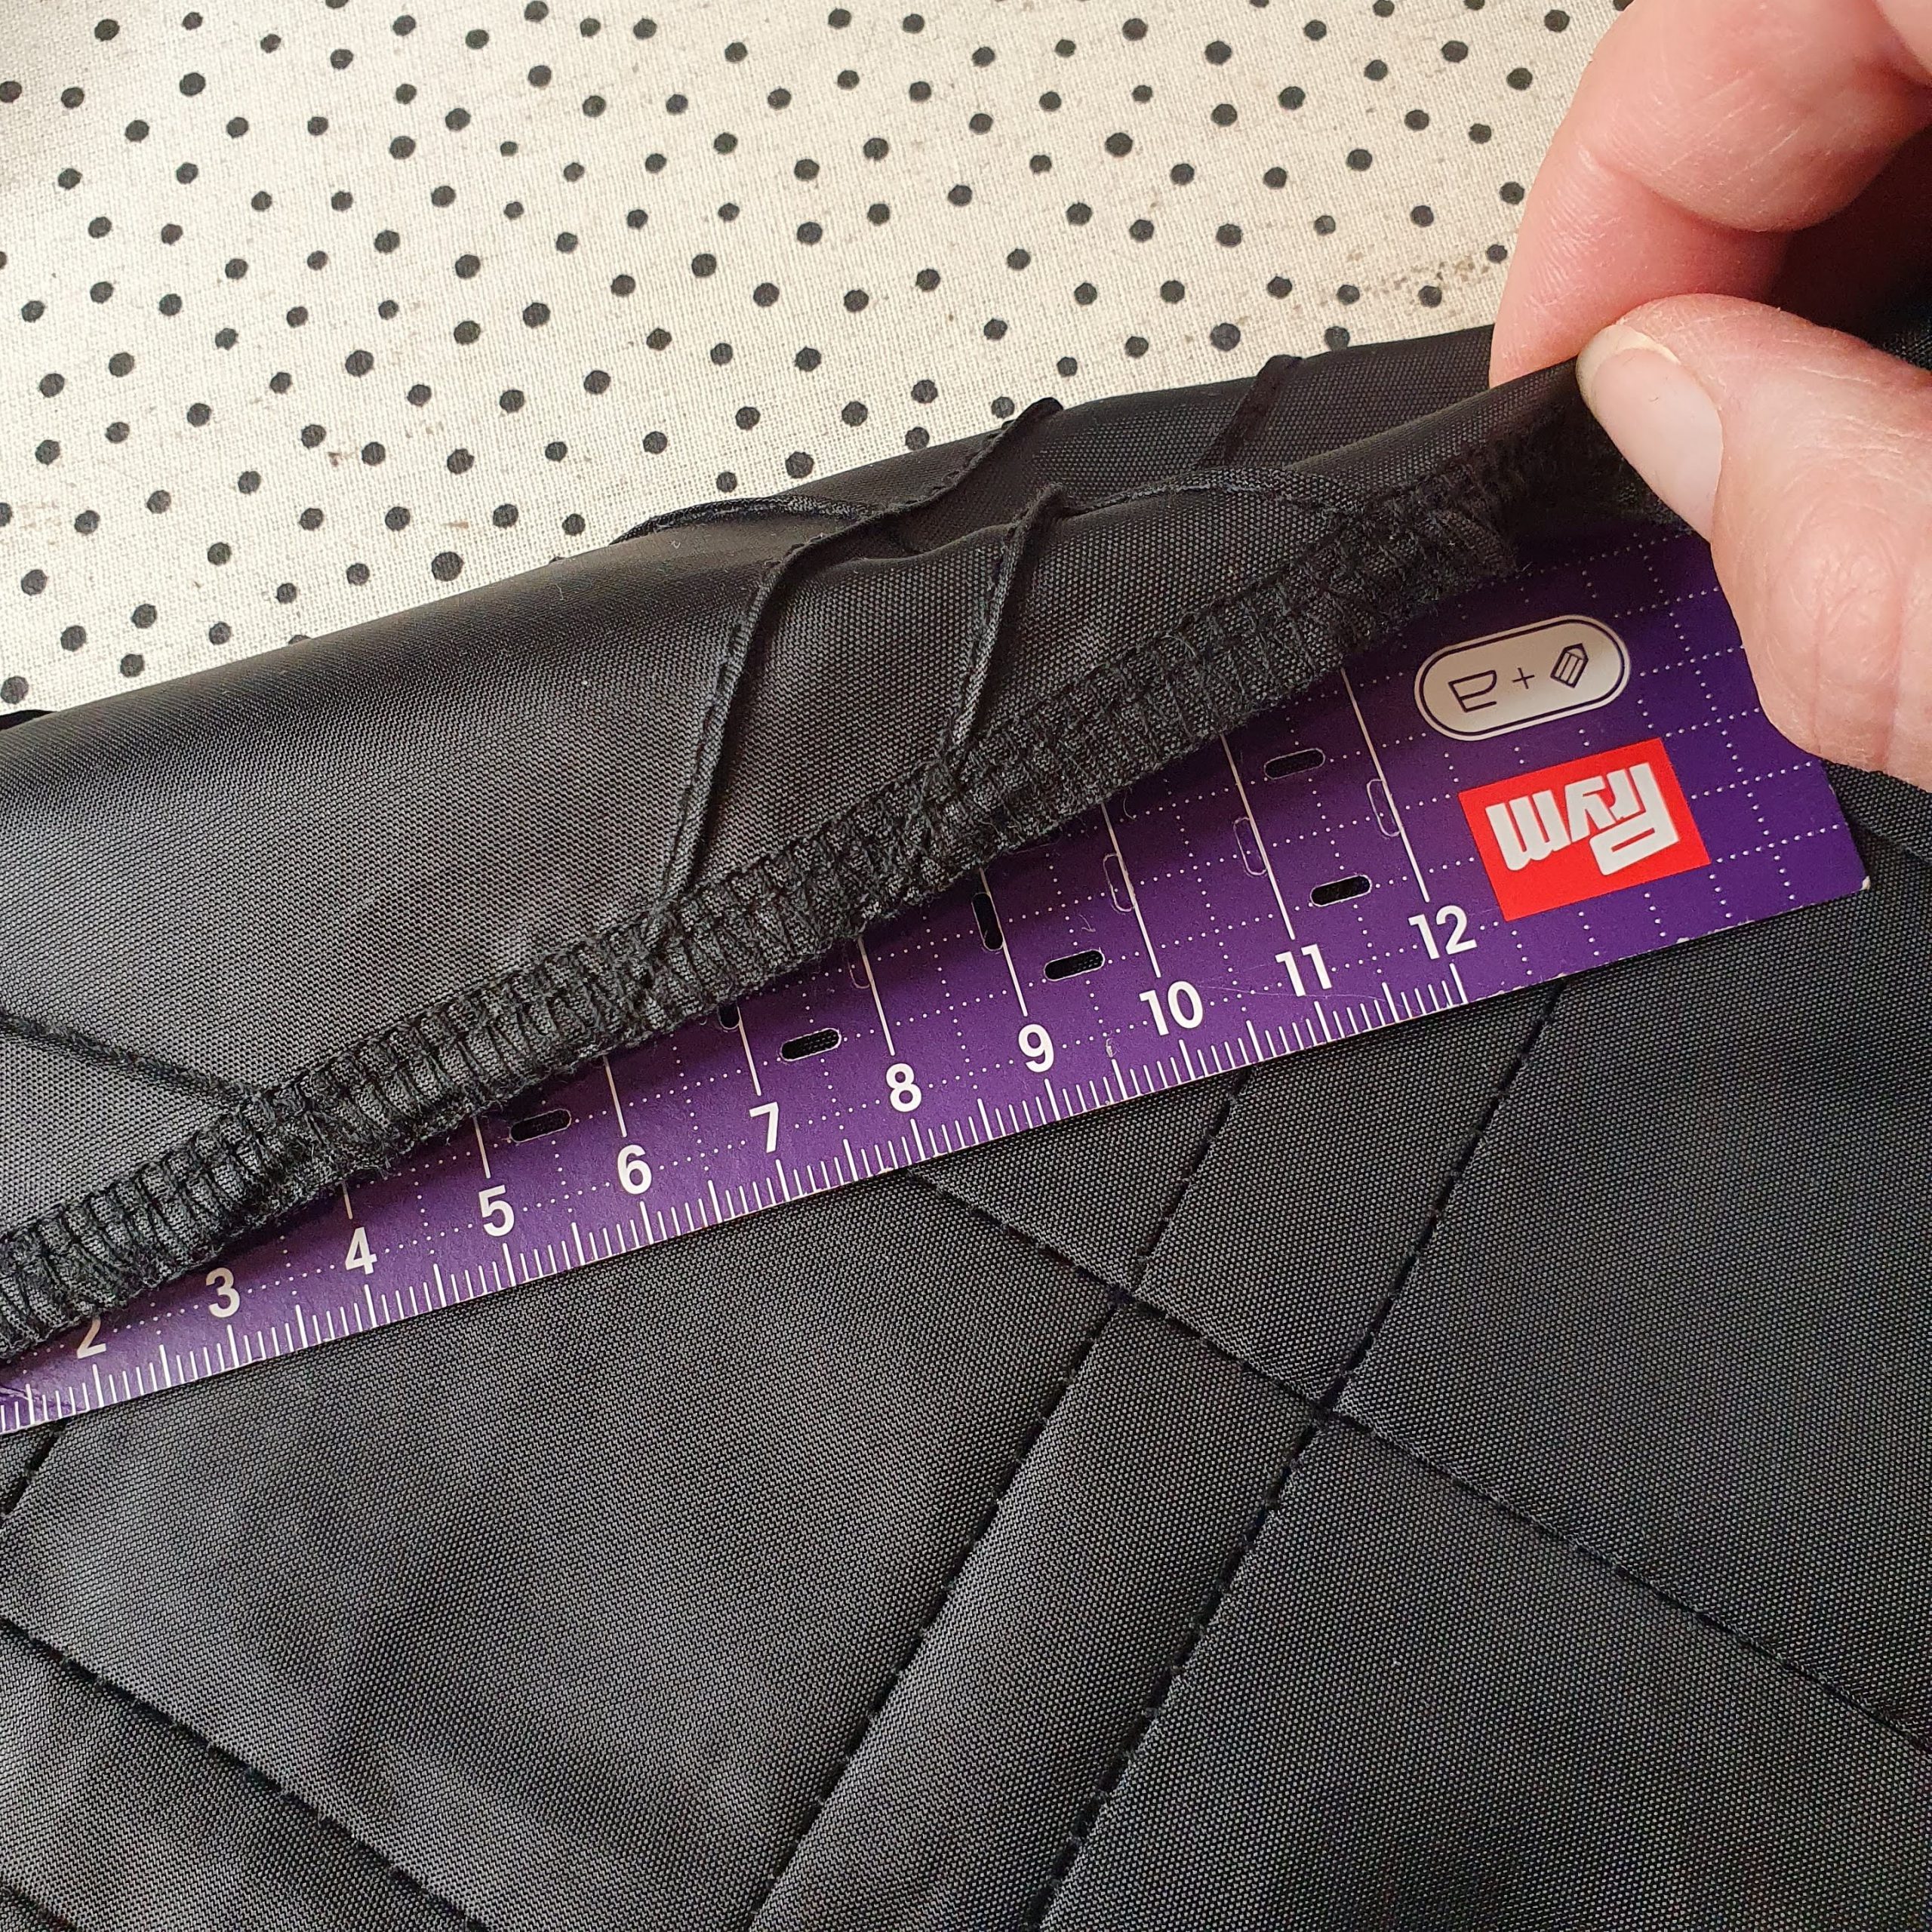
The zipper you place under the folded seam and then sew it in place. I’ve used with my BERNINA 590 Crystal Edition. When you iron the seam flat you can lay the fold neatly alongside the teeth of the zipper. You iron the 2 cm seam very easy with the help of a Prym ironing ruler.
Two cm seam
Flat fold
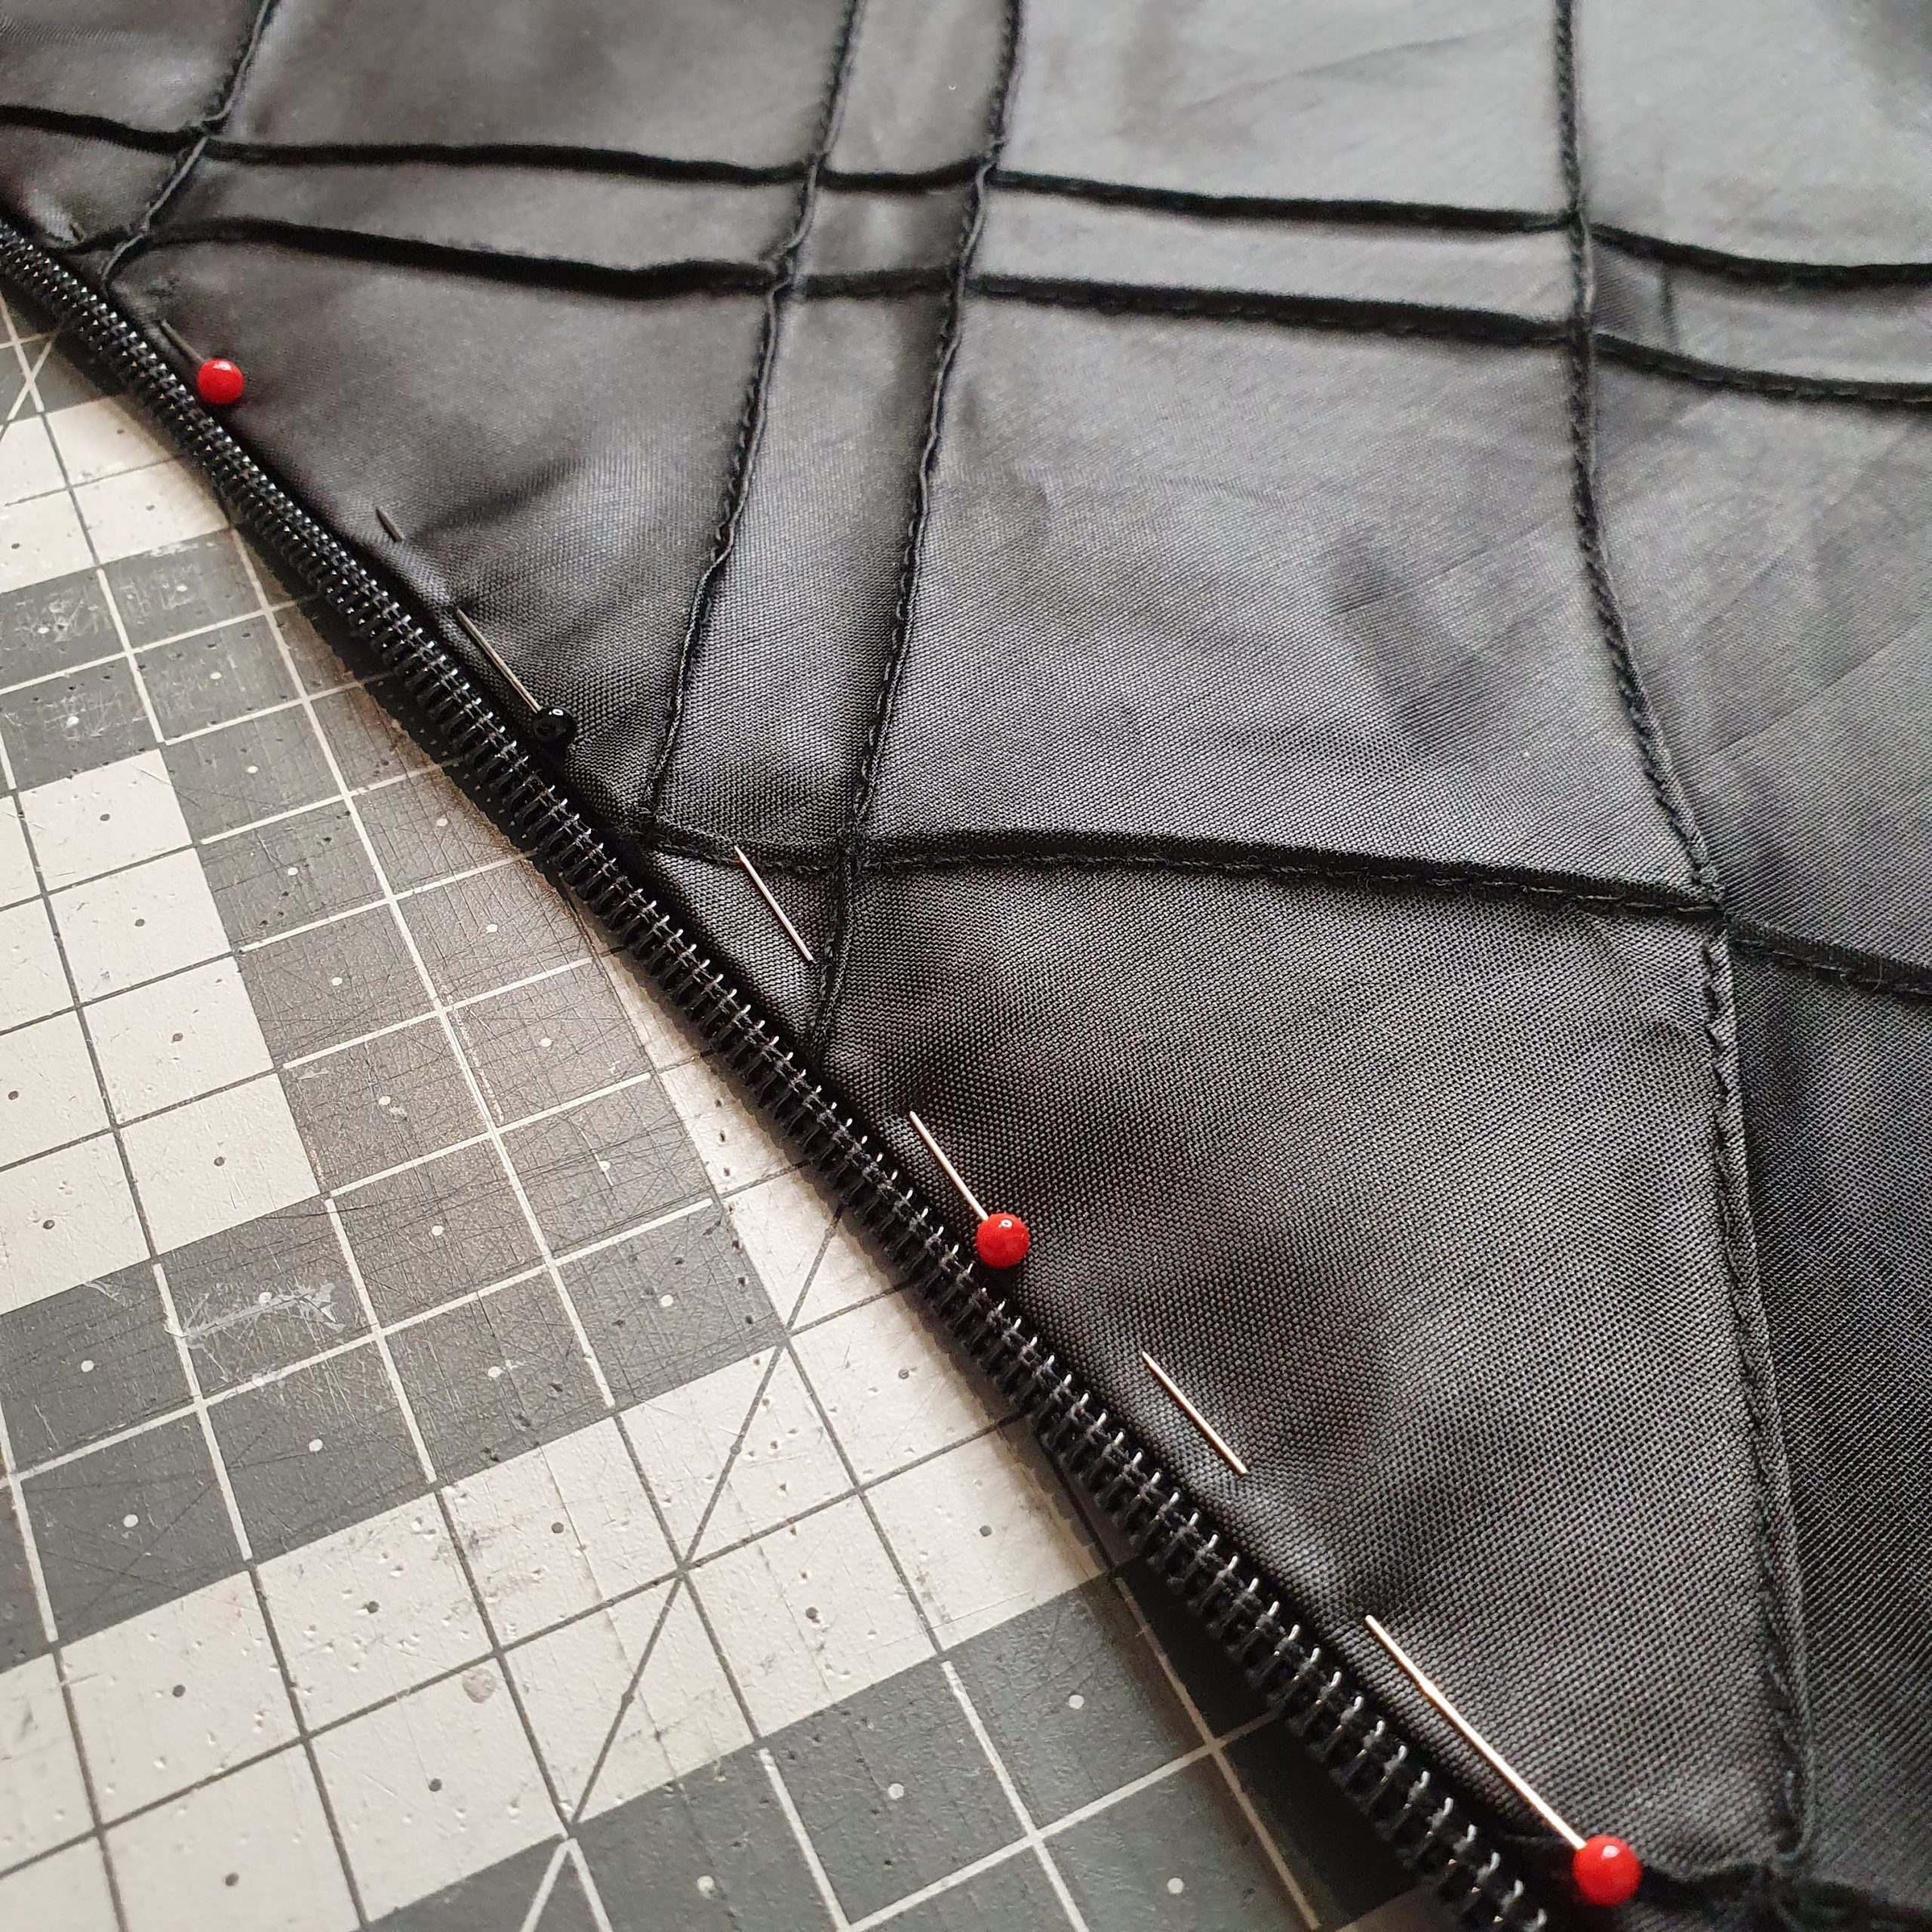
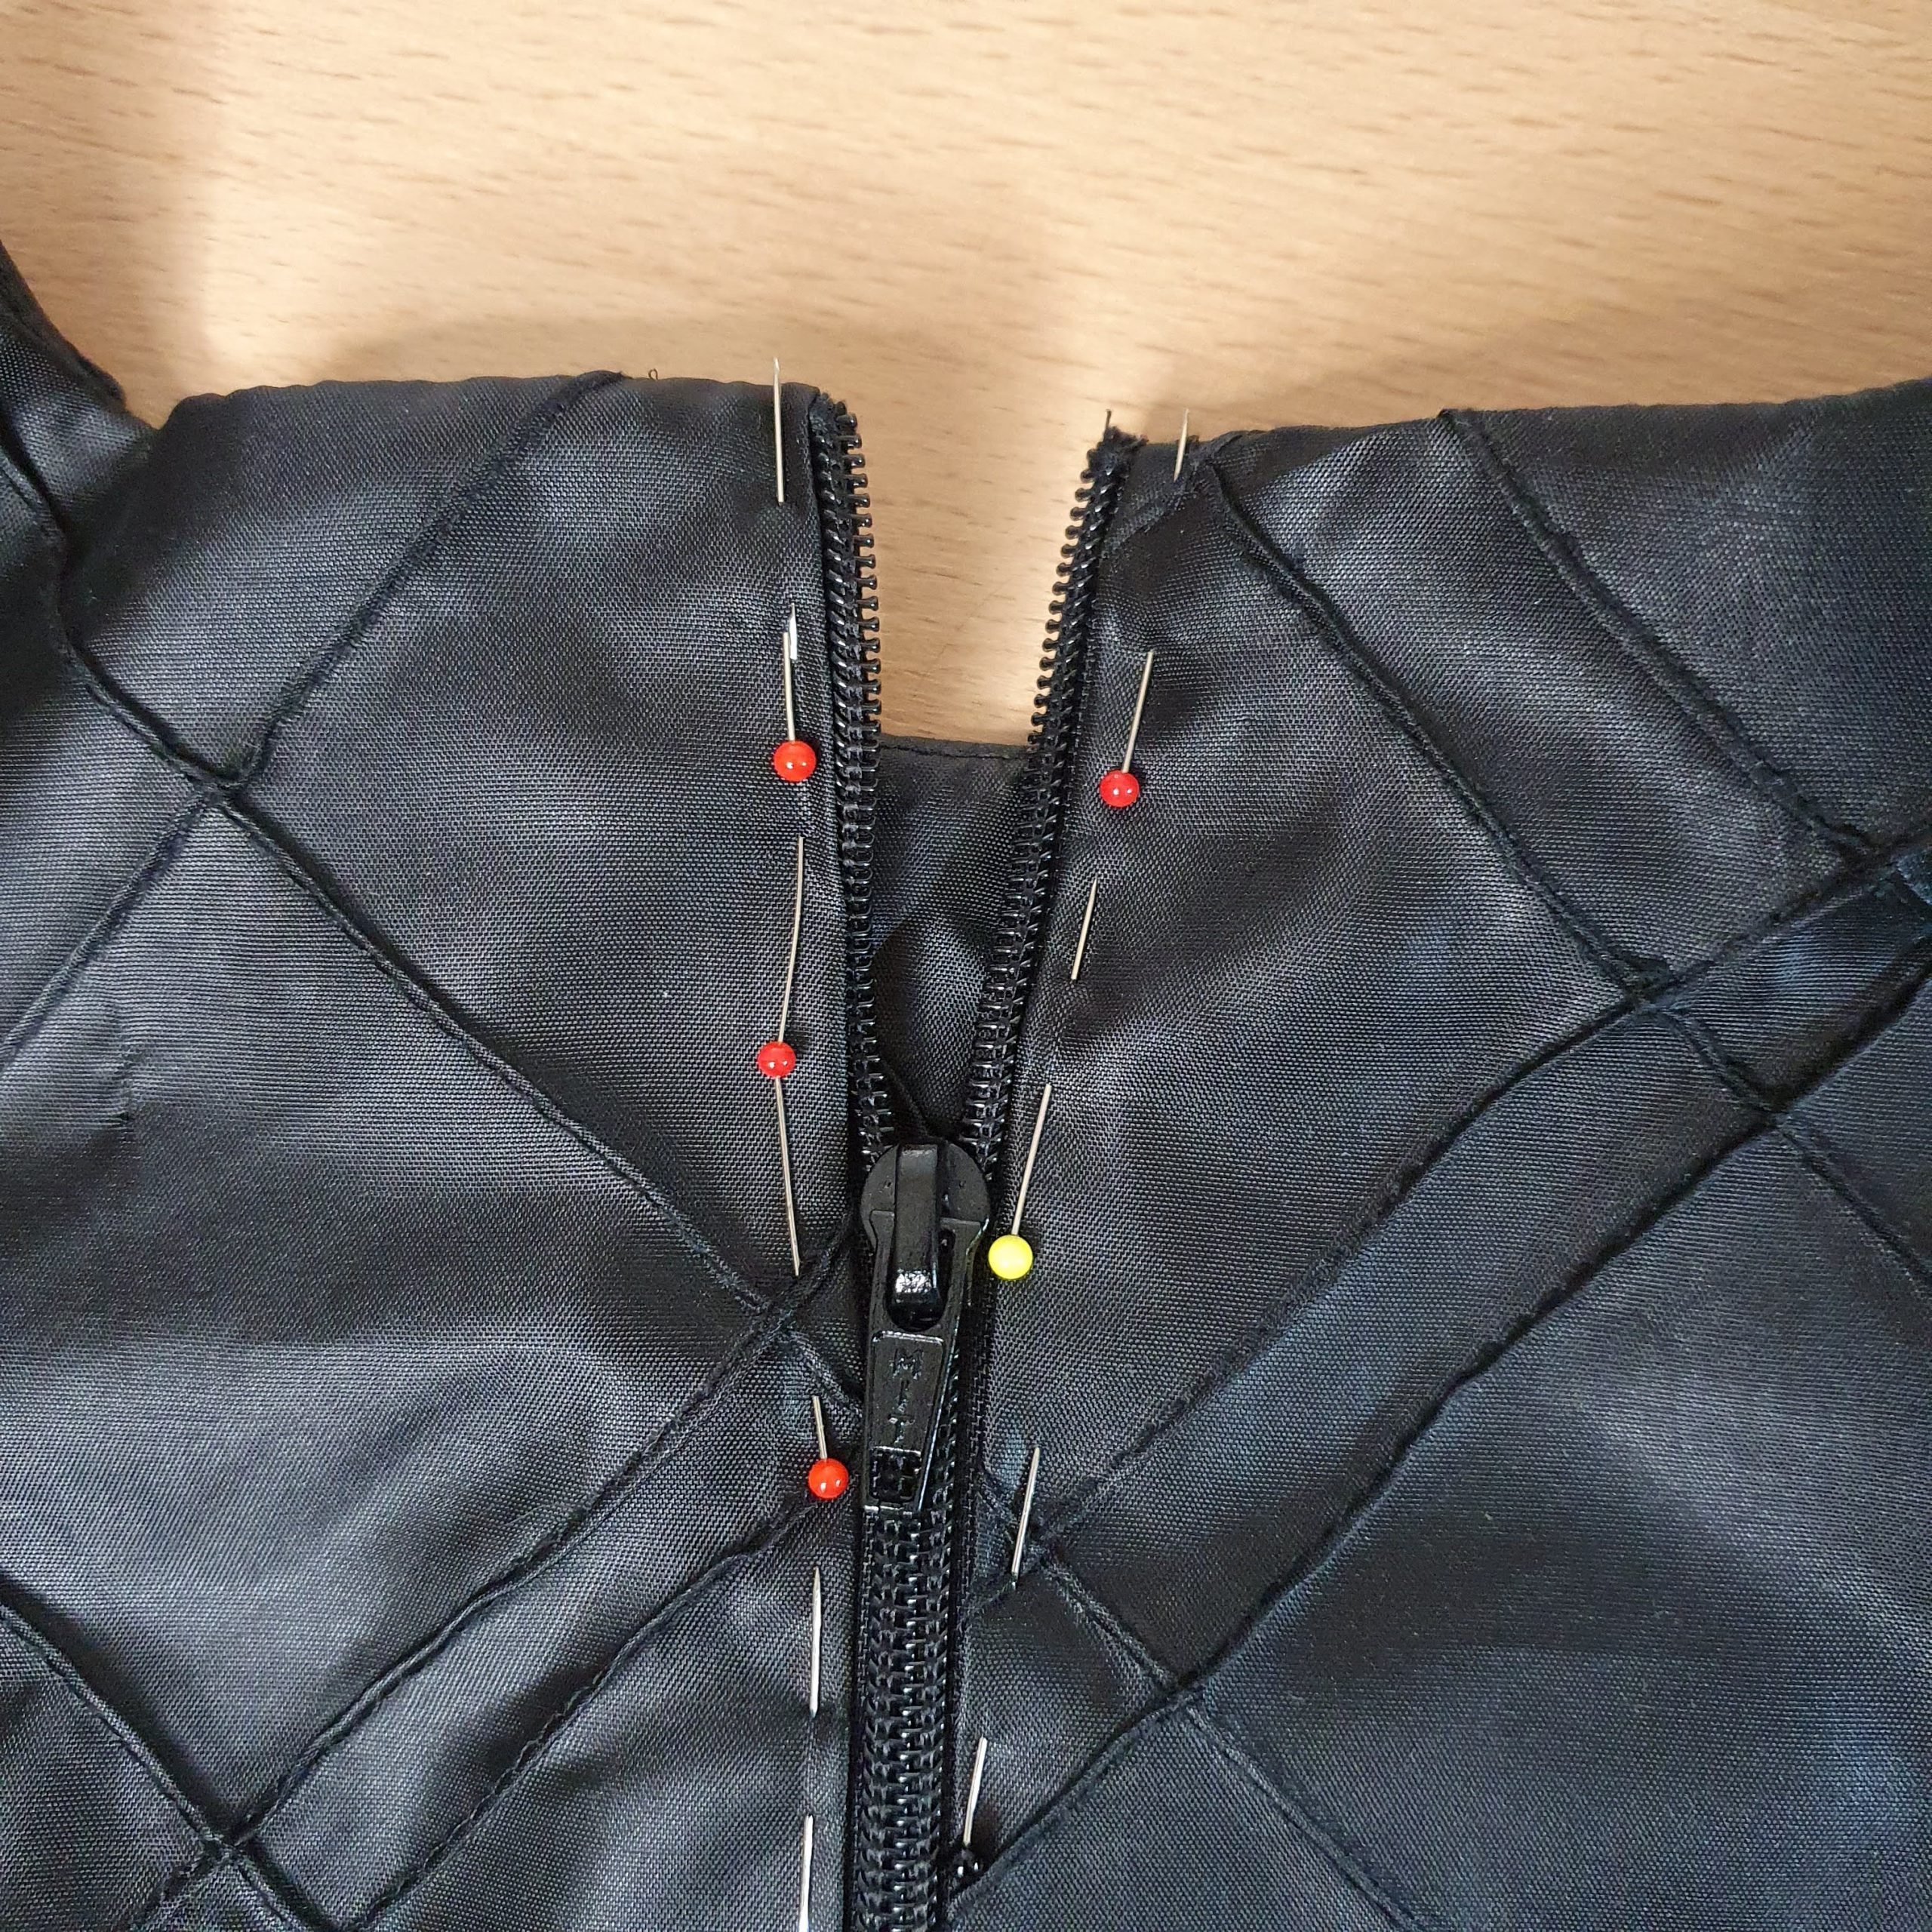
At the top and bottom you fold the facing and the hem around the zipper on the inside. Doing that fold the side seam inward. Here it’s also useful to iron the seam first.
Facing

Facing folded
Iron seam
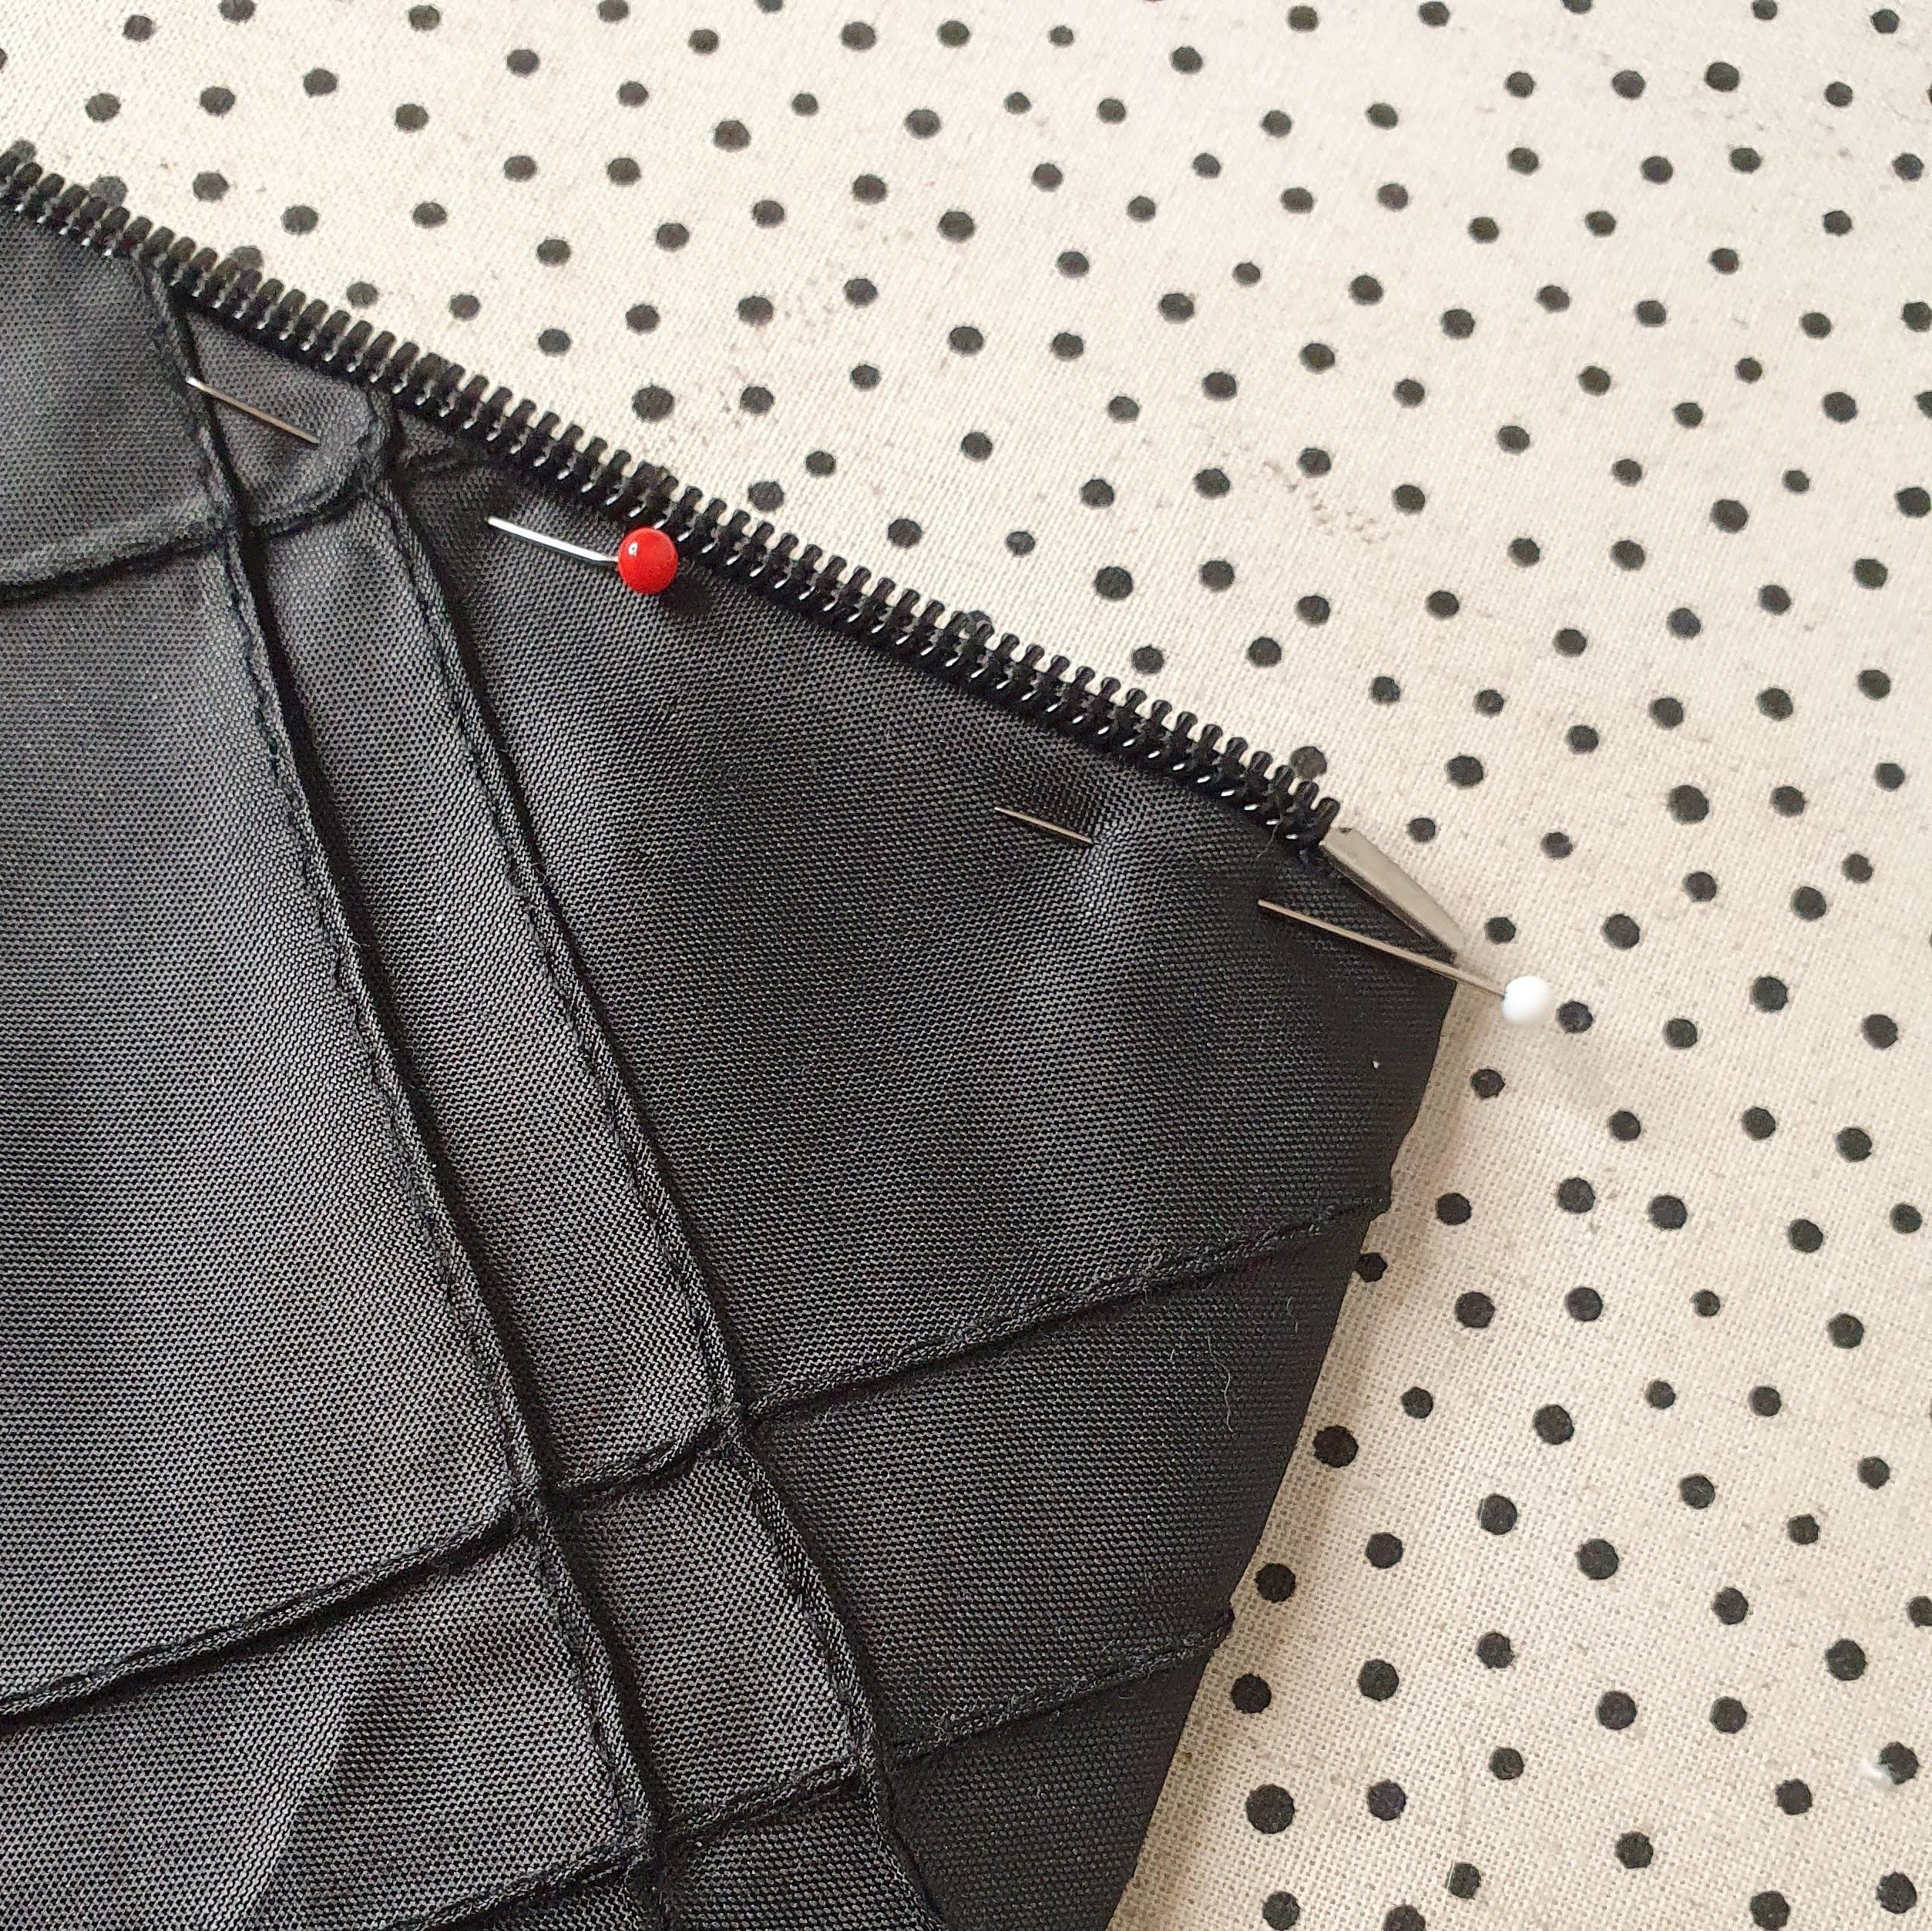
Hem folded and pinned at the right side
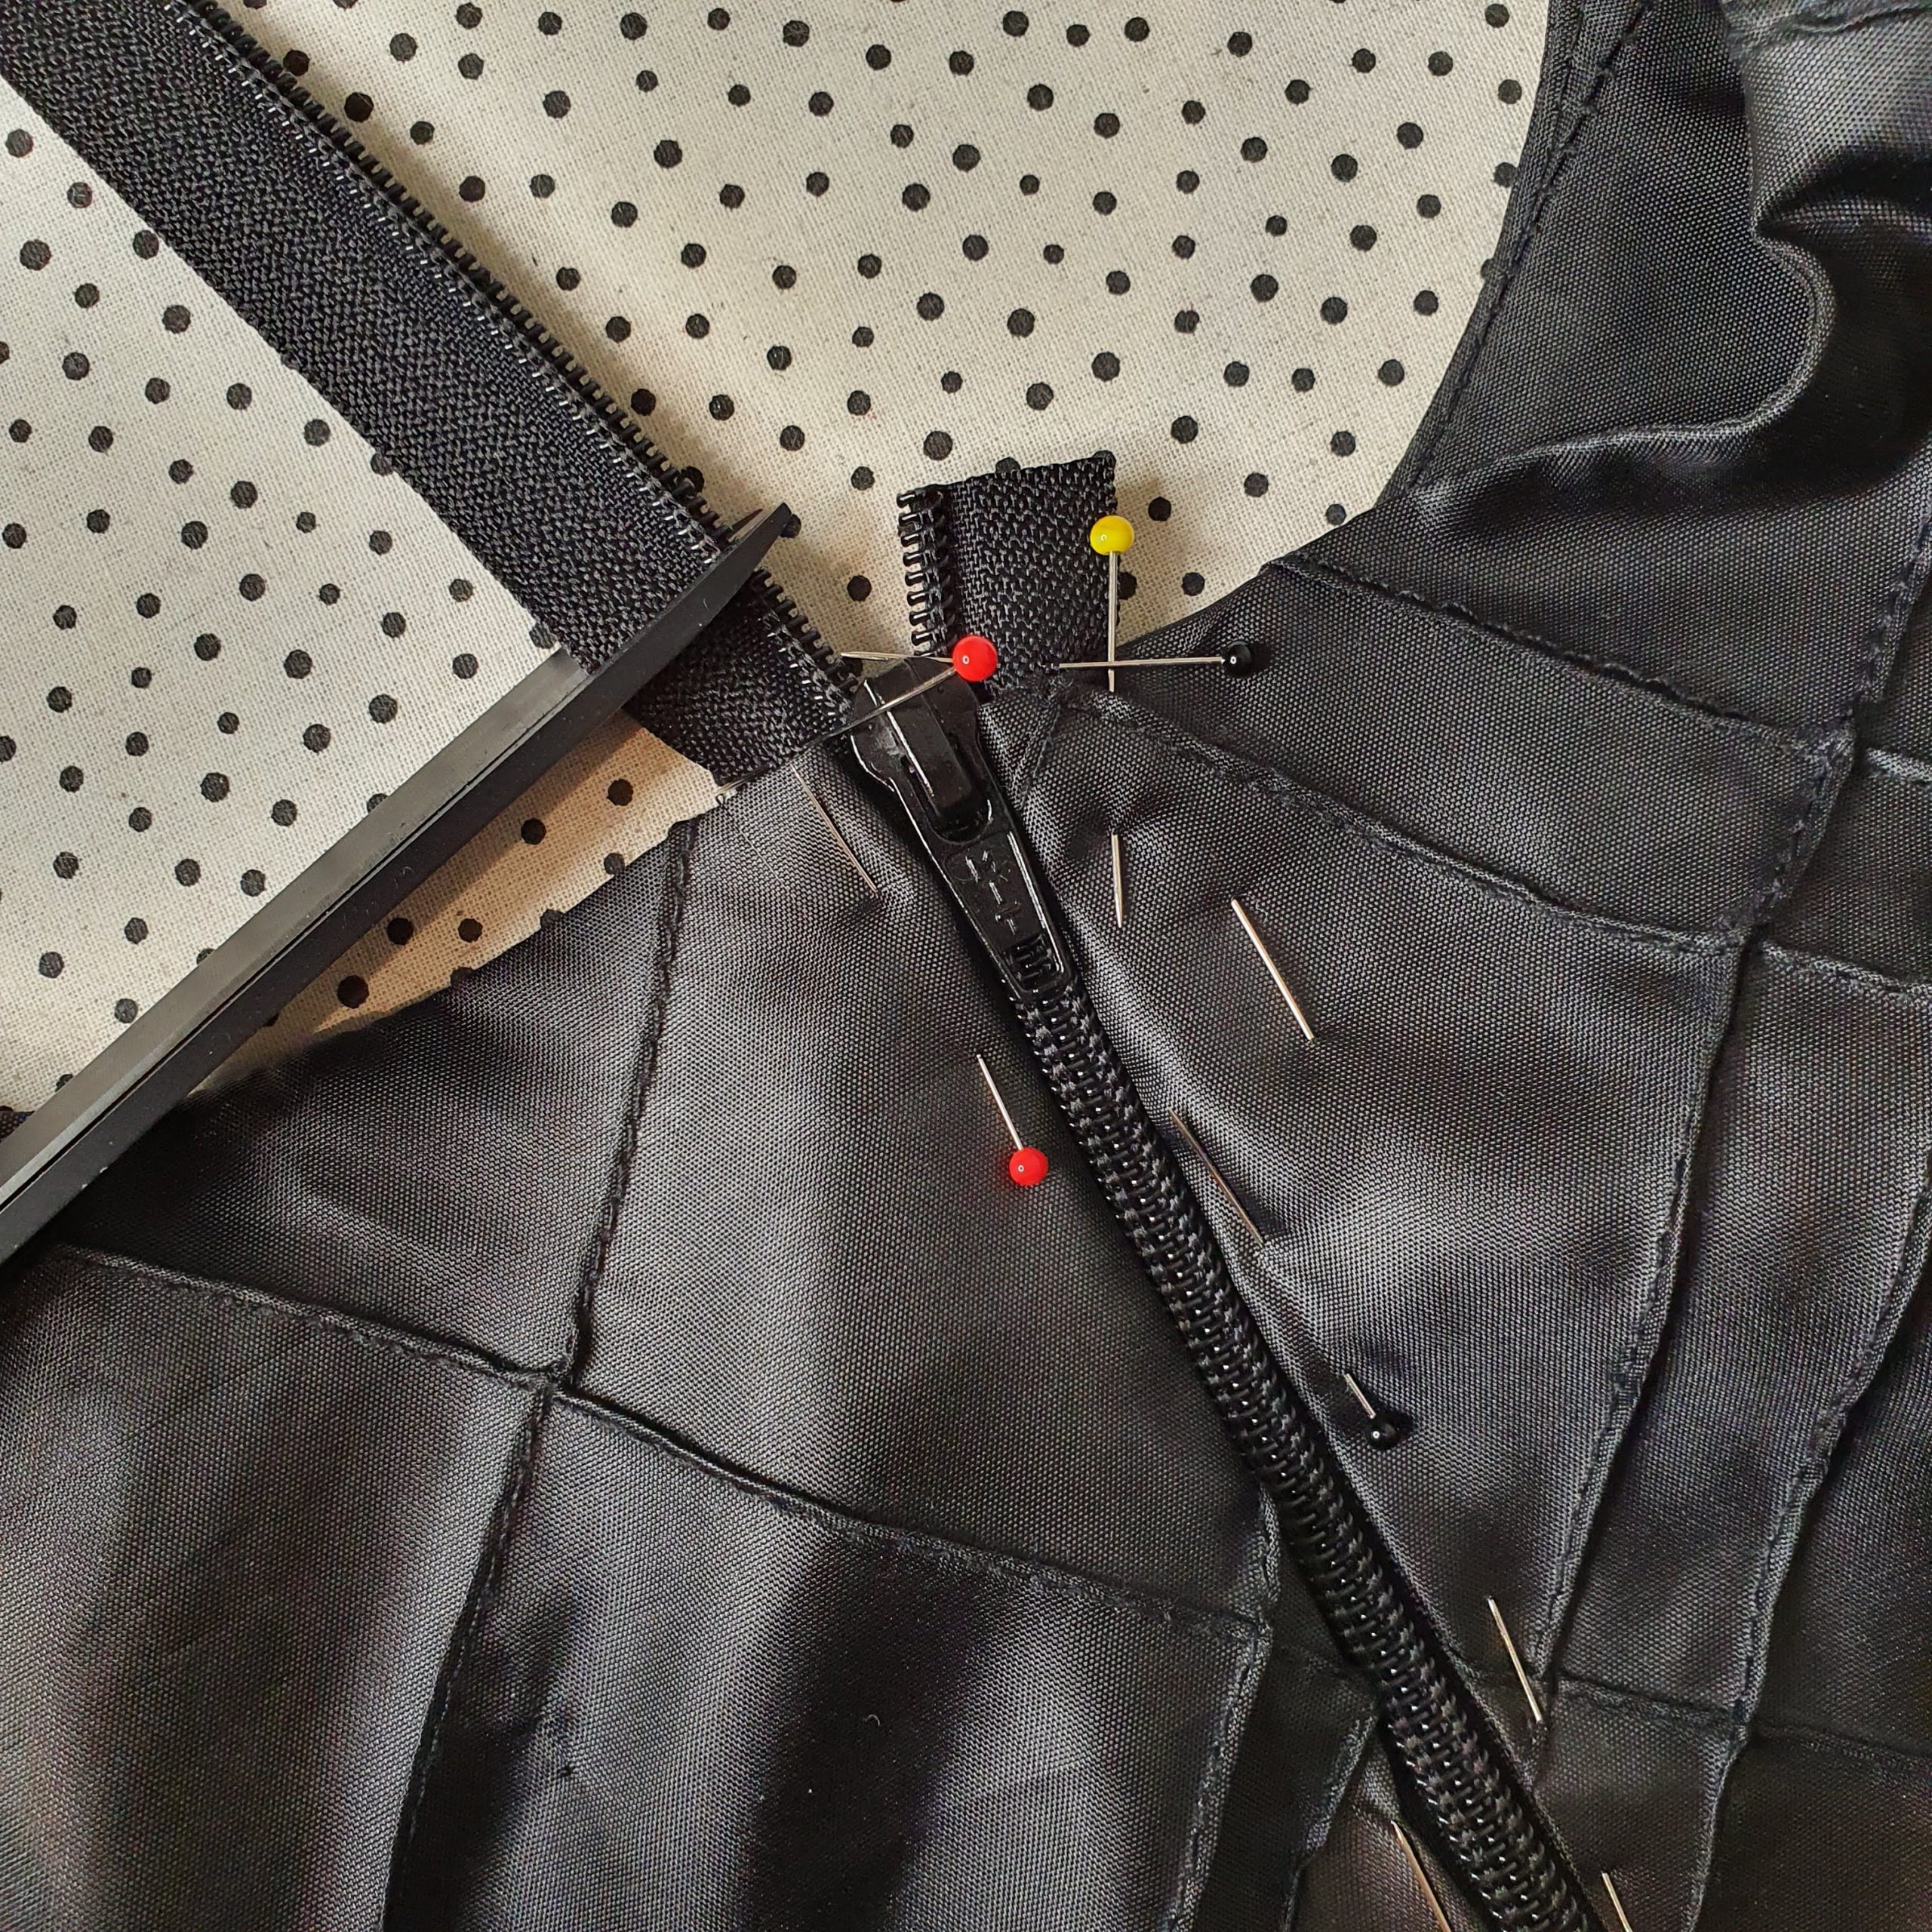
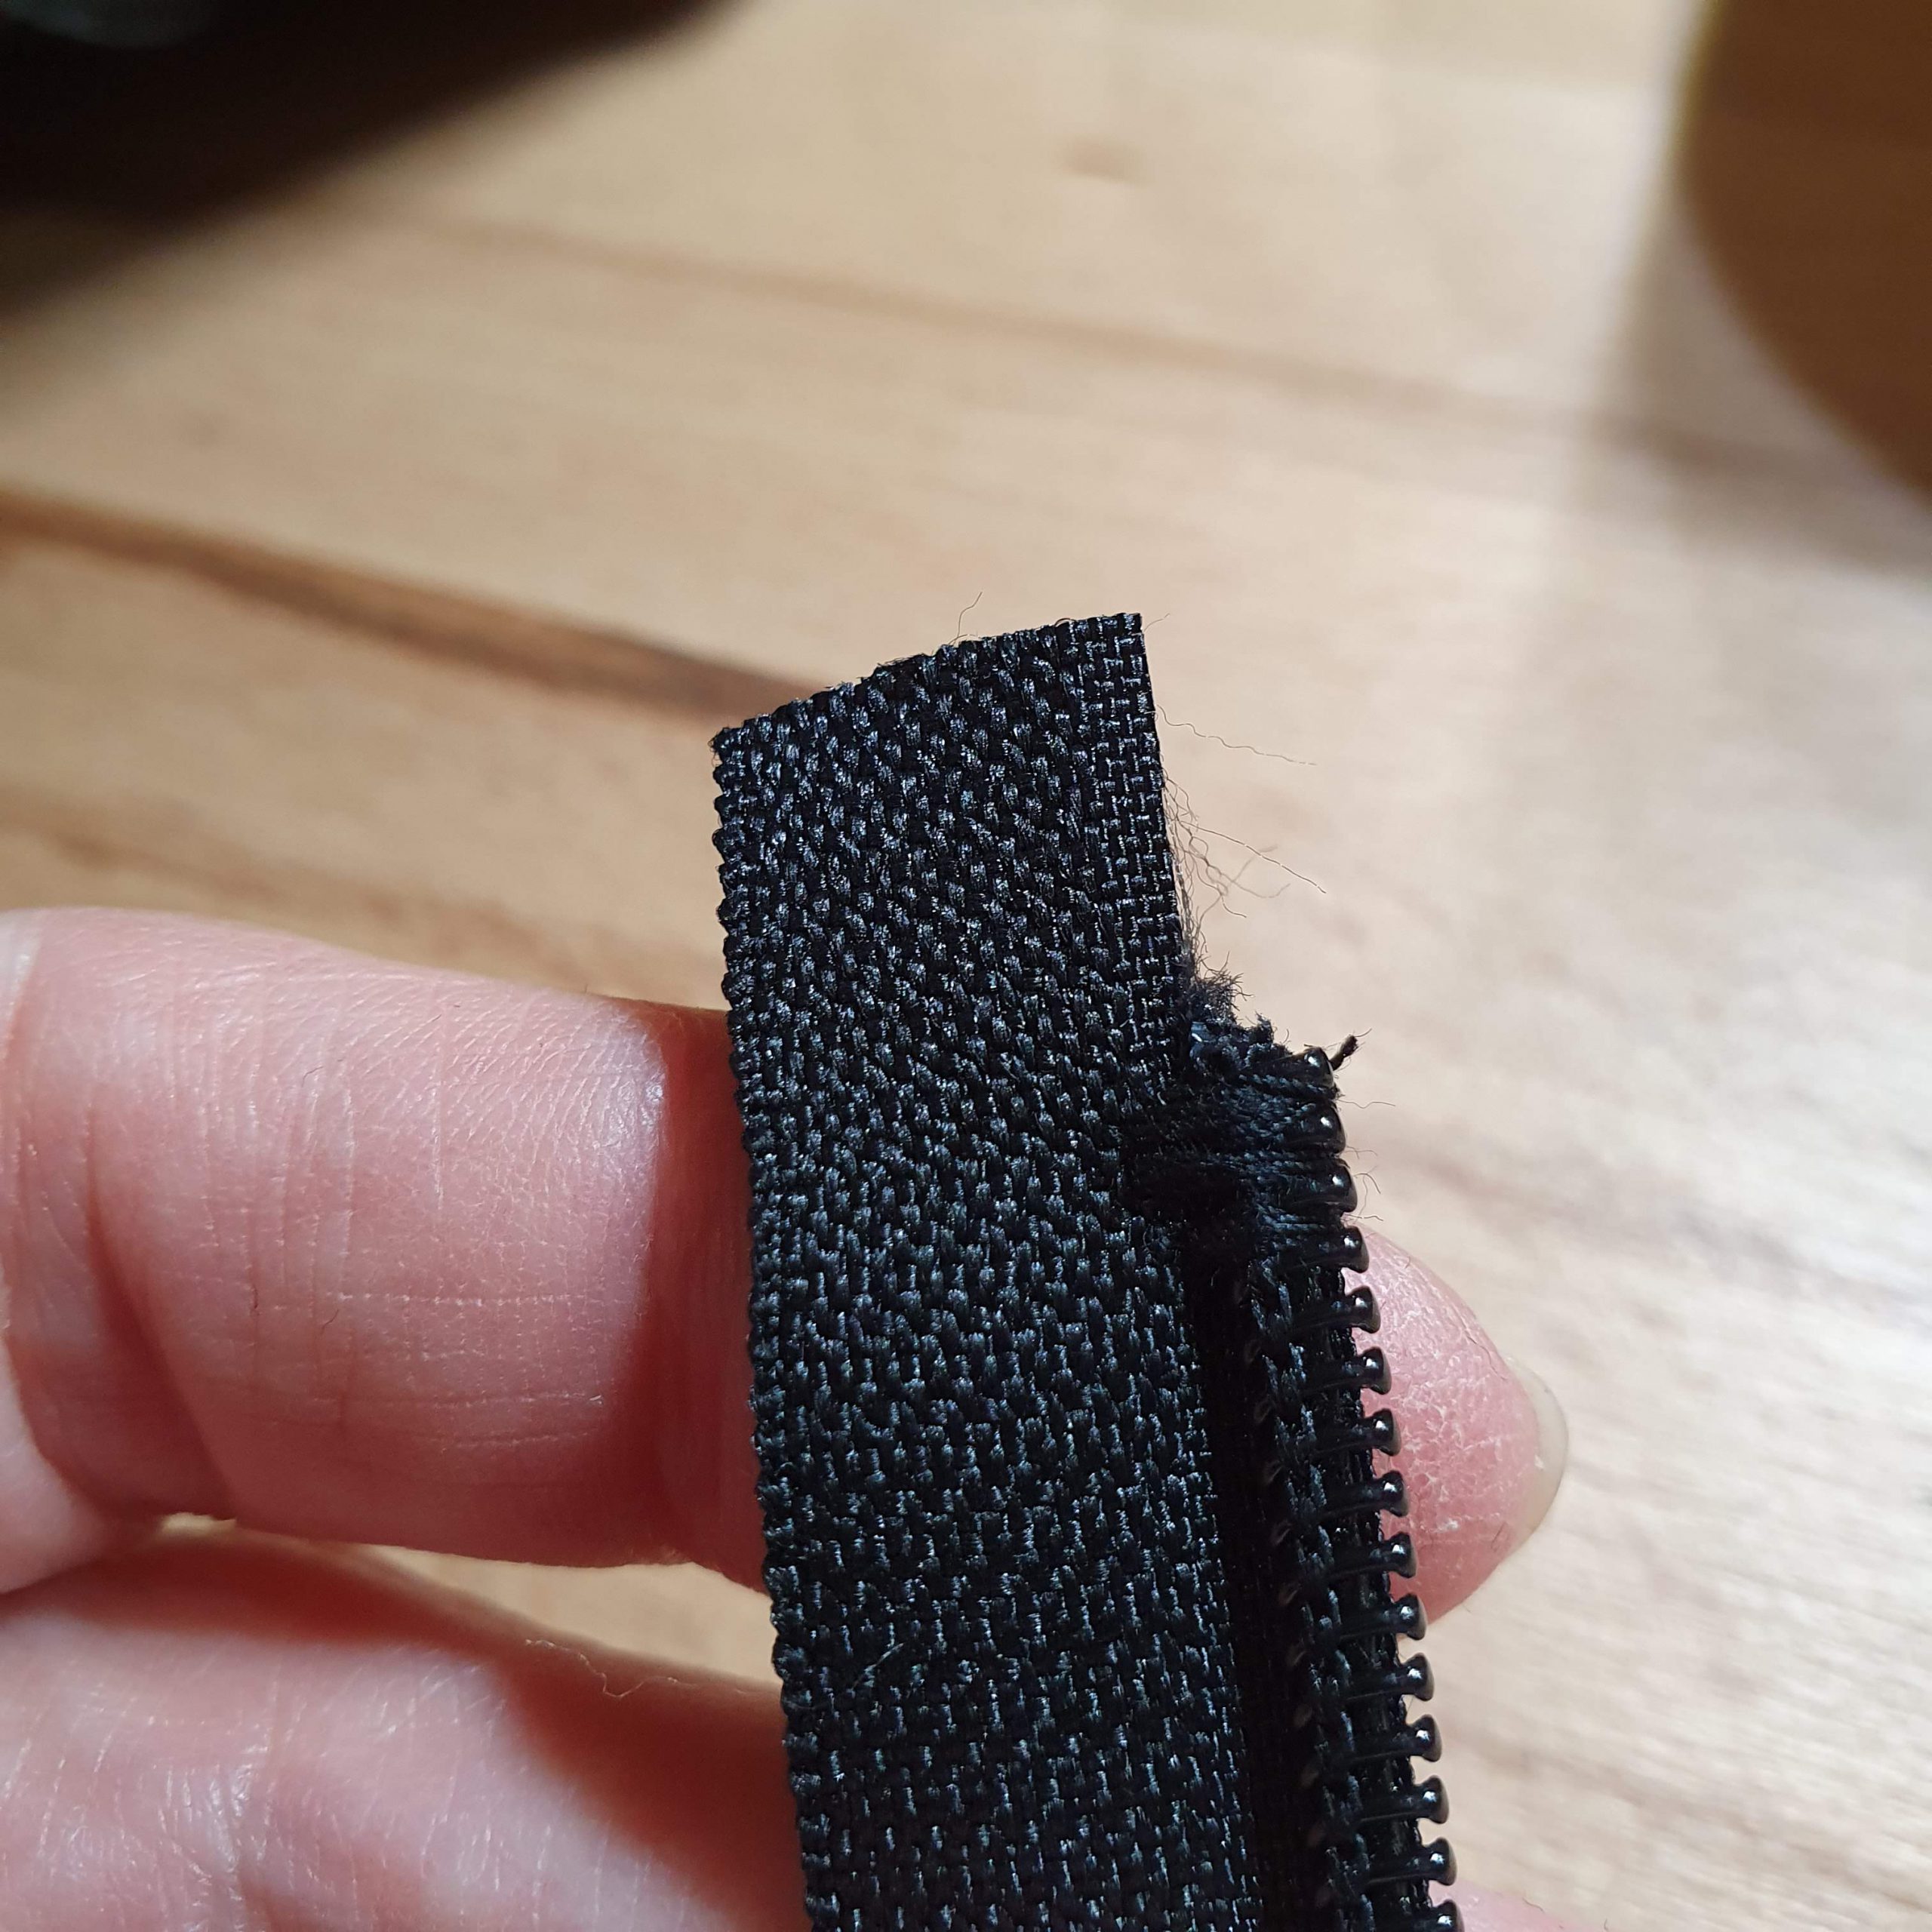
Customized zipper
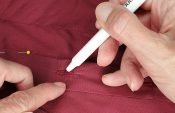
The observant viewer/reader has already seen it. The zipper for the Dina top is made to length. If you cut a zipper to size you have to make a new stopper. You can usually reuse the existing stopper. This did not seem possible with this spiral zipper. Then you can create a stopper by zig-zagging over it with the transport down. In the photo below you can see my settings.
Customize zipper
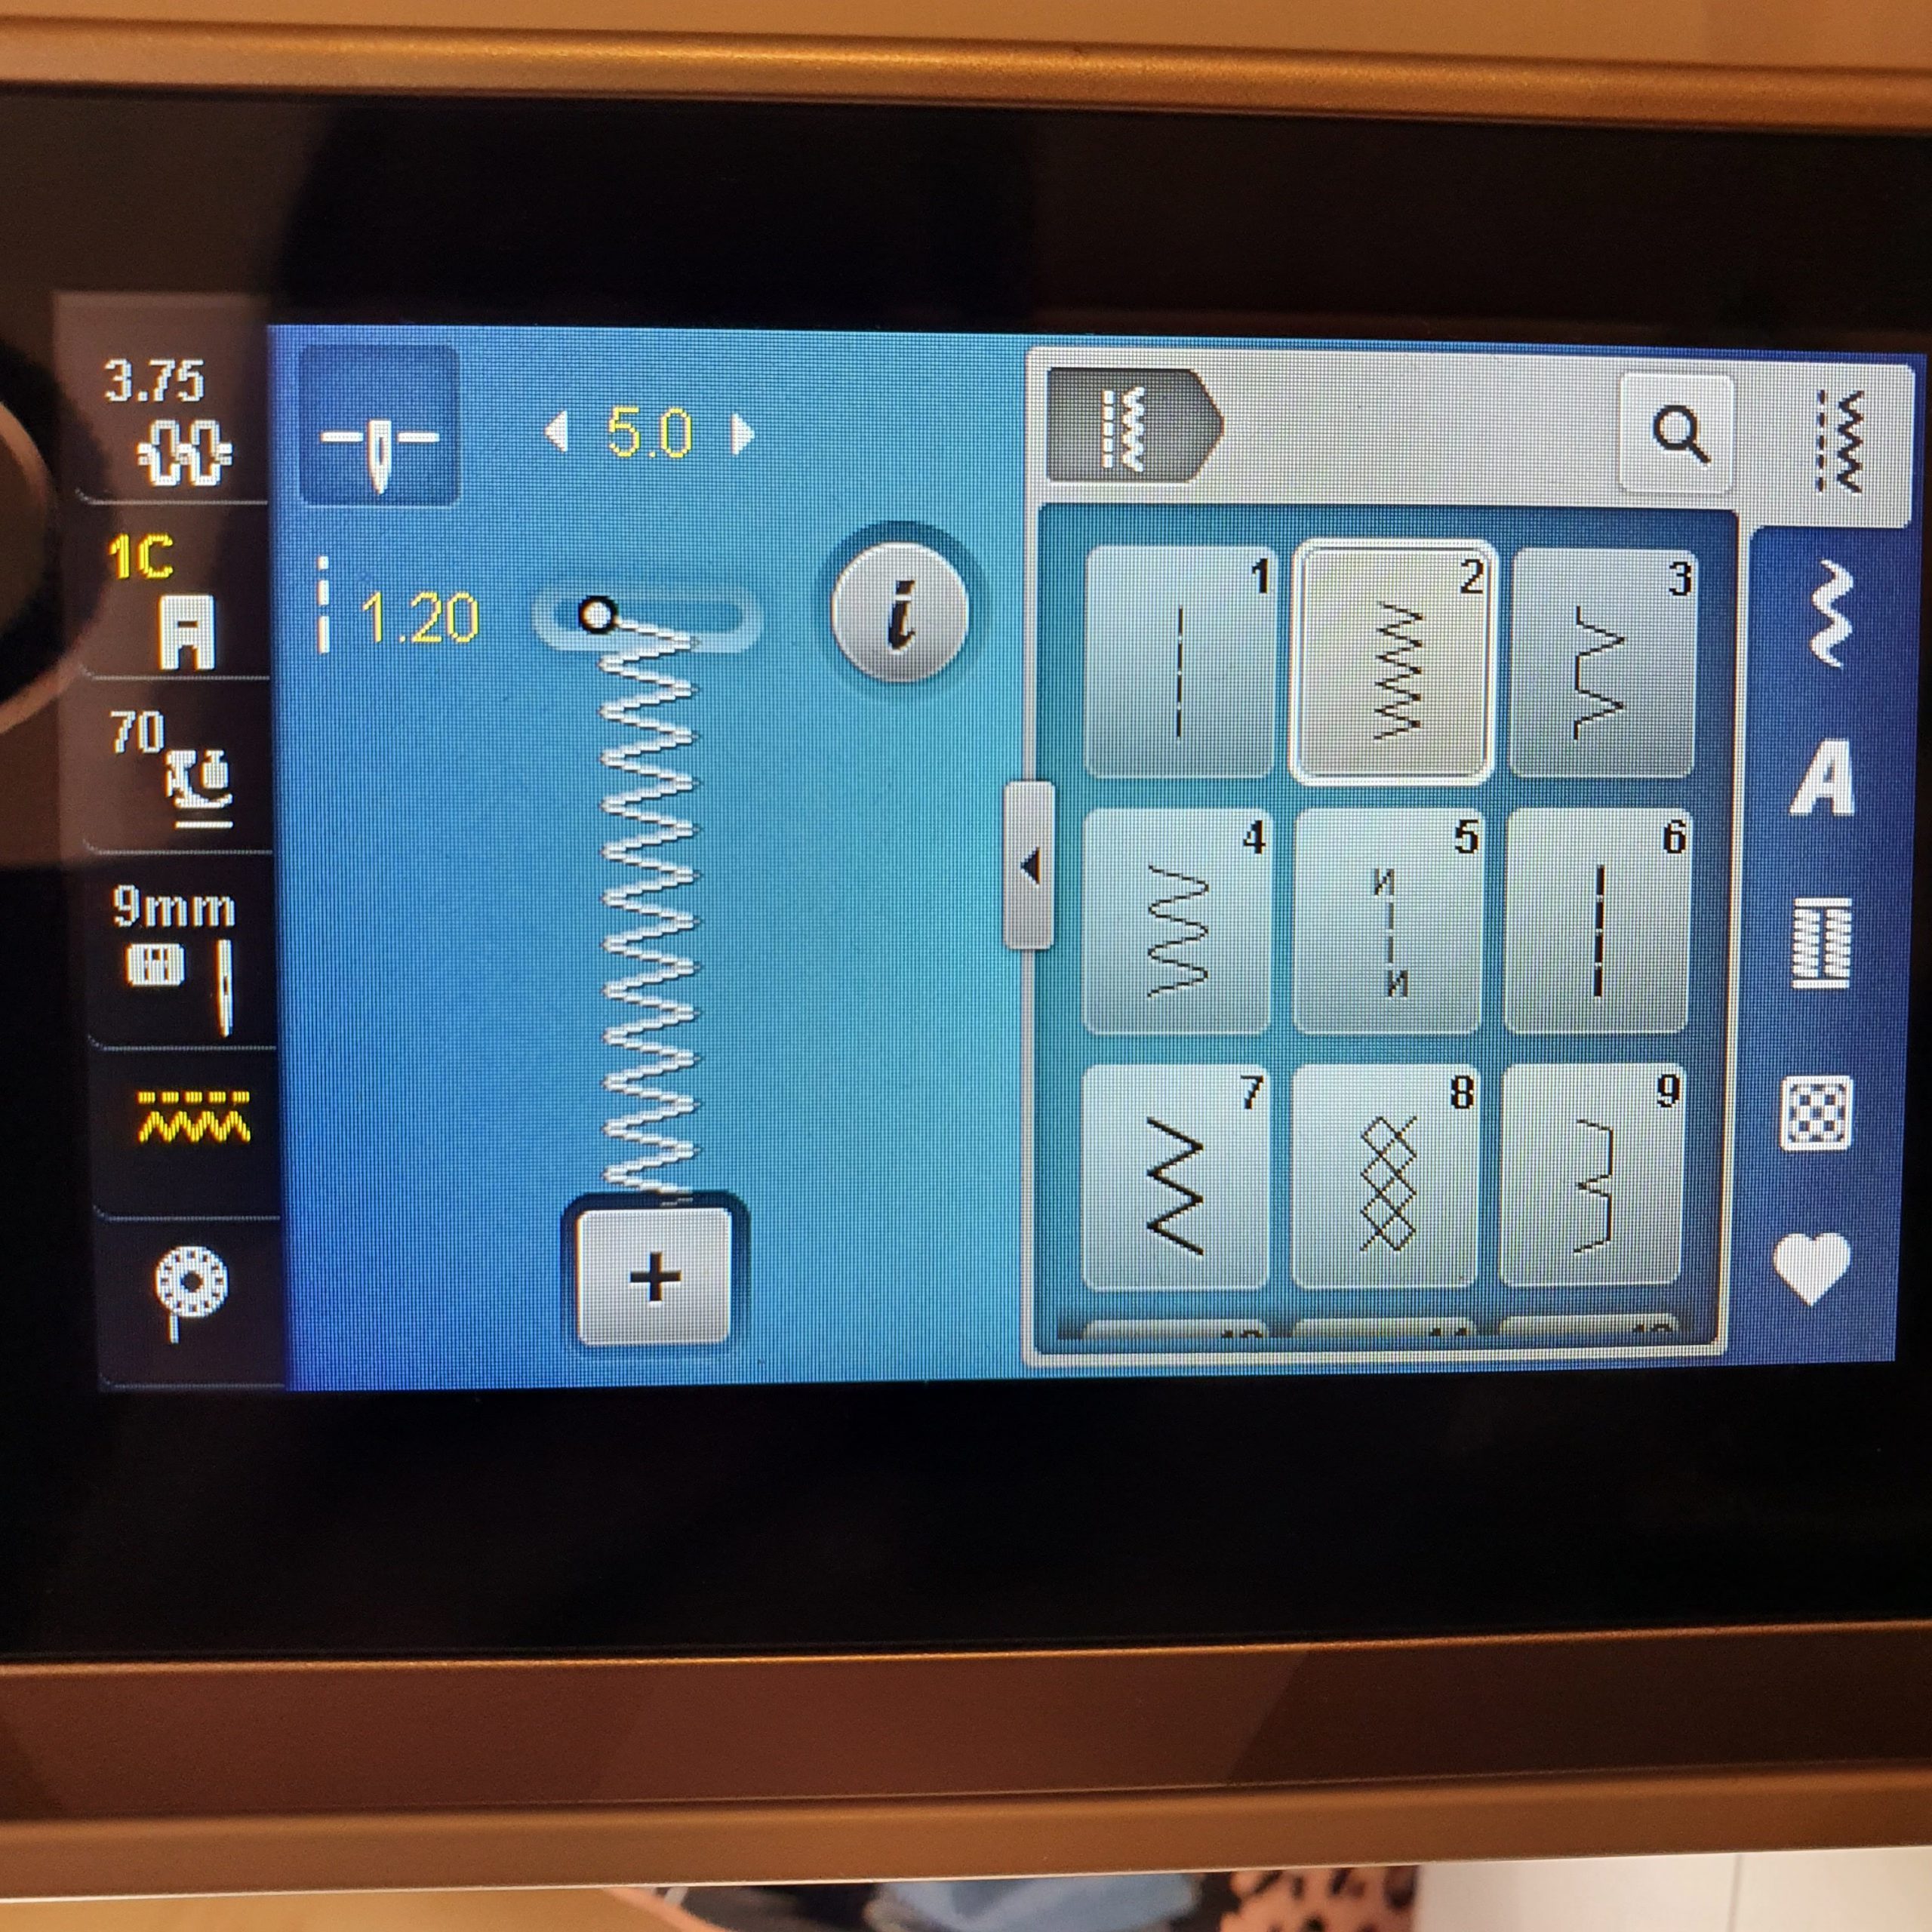
Settings
Then you can cut off the spiral part above the stopper. Fold the top piece of zipper tape out of the way when you fold the neck facing around the zipper as described above. Now the zipper is fully pinned and can be stitched.
New stopper
Ready, set, stitch
Stitching is done with Zipper Foot #4
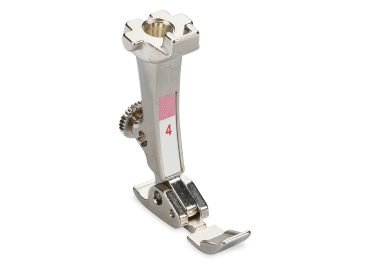
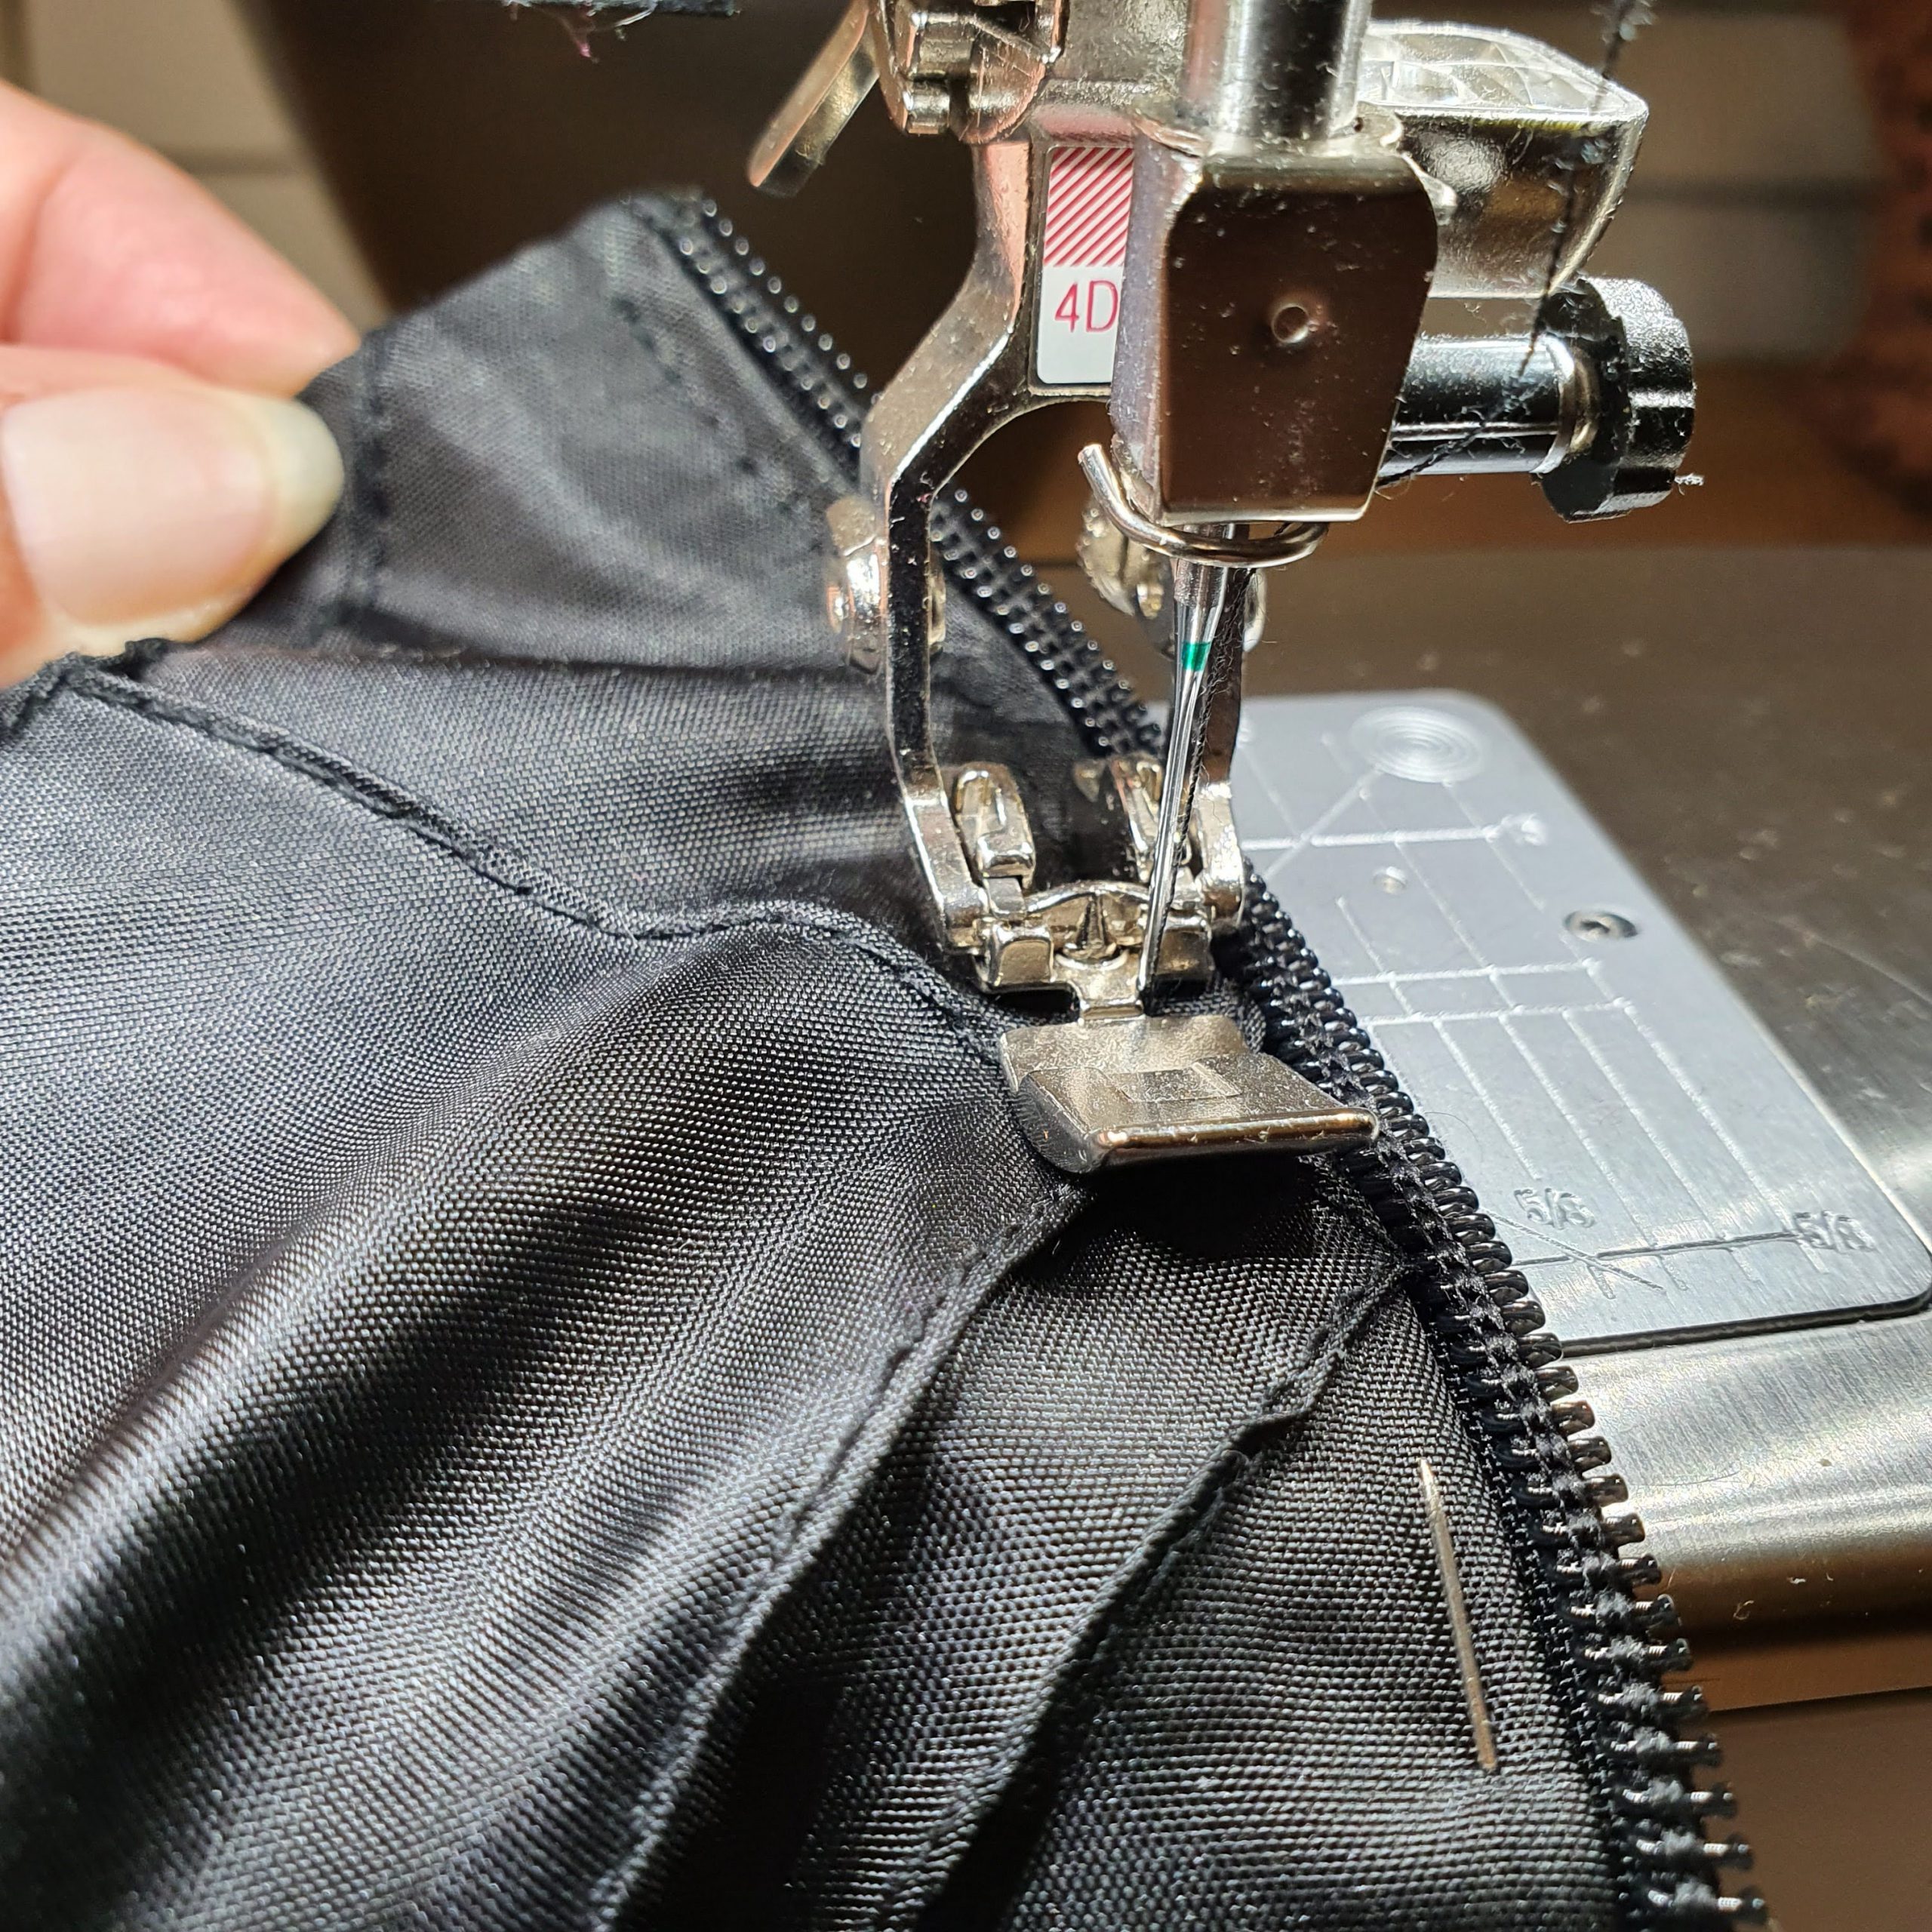
Foot 4D
The sleeves
The characteristic feature of the Dina top are definitely the sleeves. These are pleated and gathered. What I find useful for the latter is stitching a gathering stitch in one go. By this I mean that you do not stitch two threads parallel which hang loose on both sides, but that you stitch back and forth in one row. You start stitching at the first mark and turn around at the second. Ideal for small gathering lengths. You only have to pull on one side when gathering. This method was relatively new to me so I thought I’d share it here with you.
Sleeve
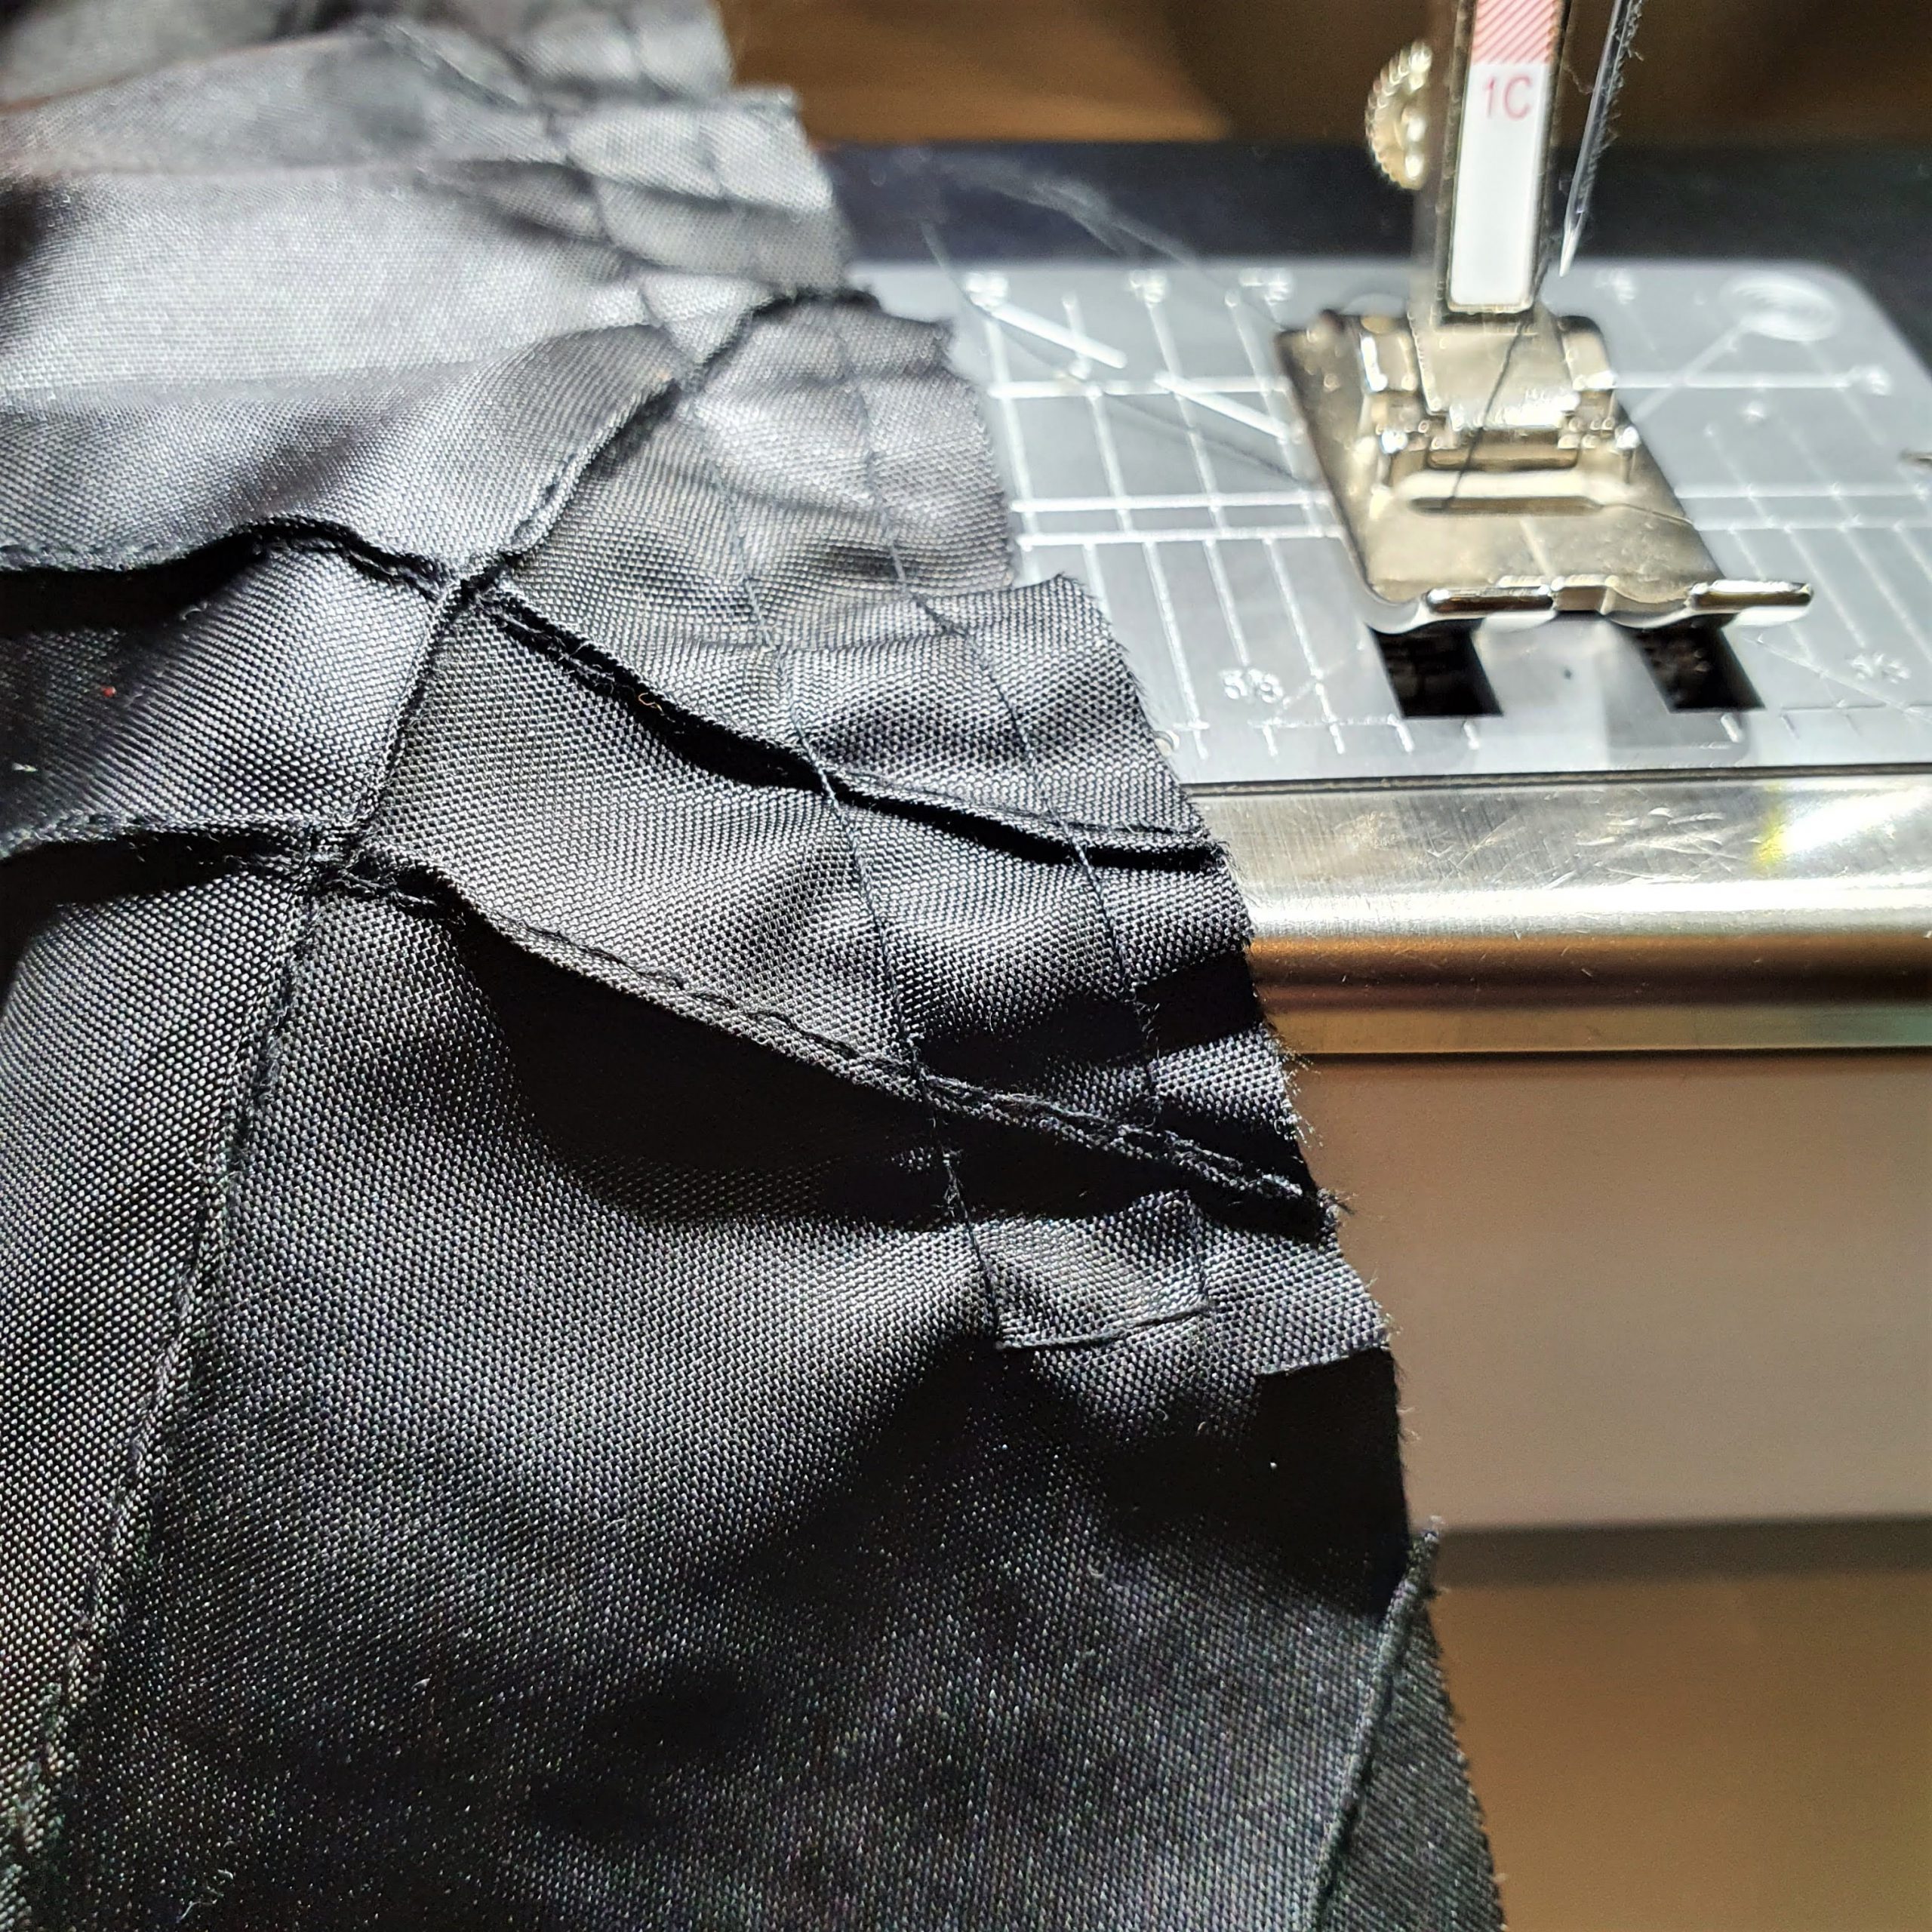
Gathering threads in one go
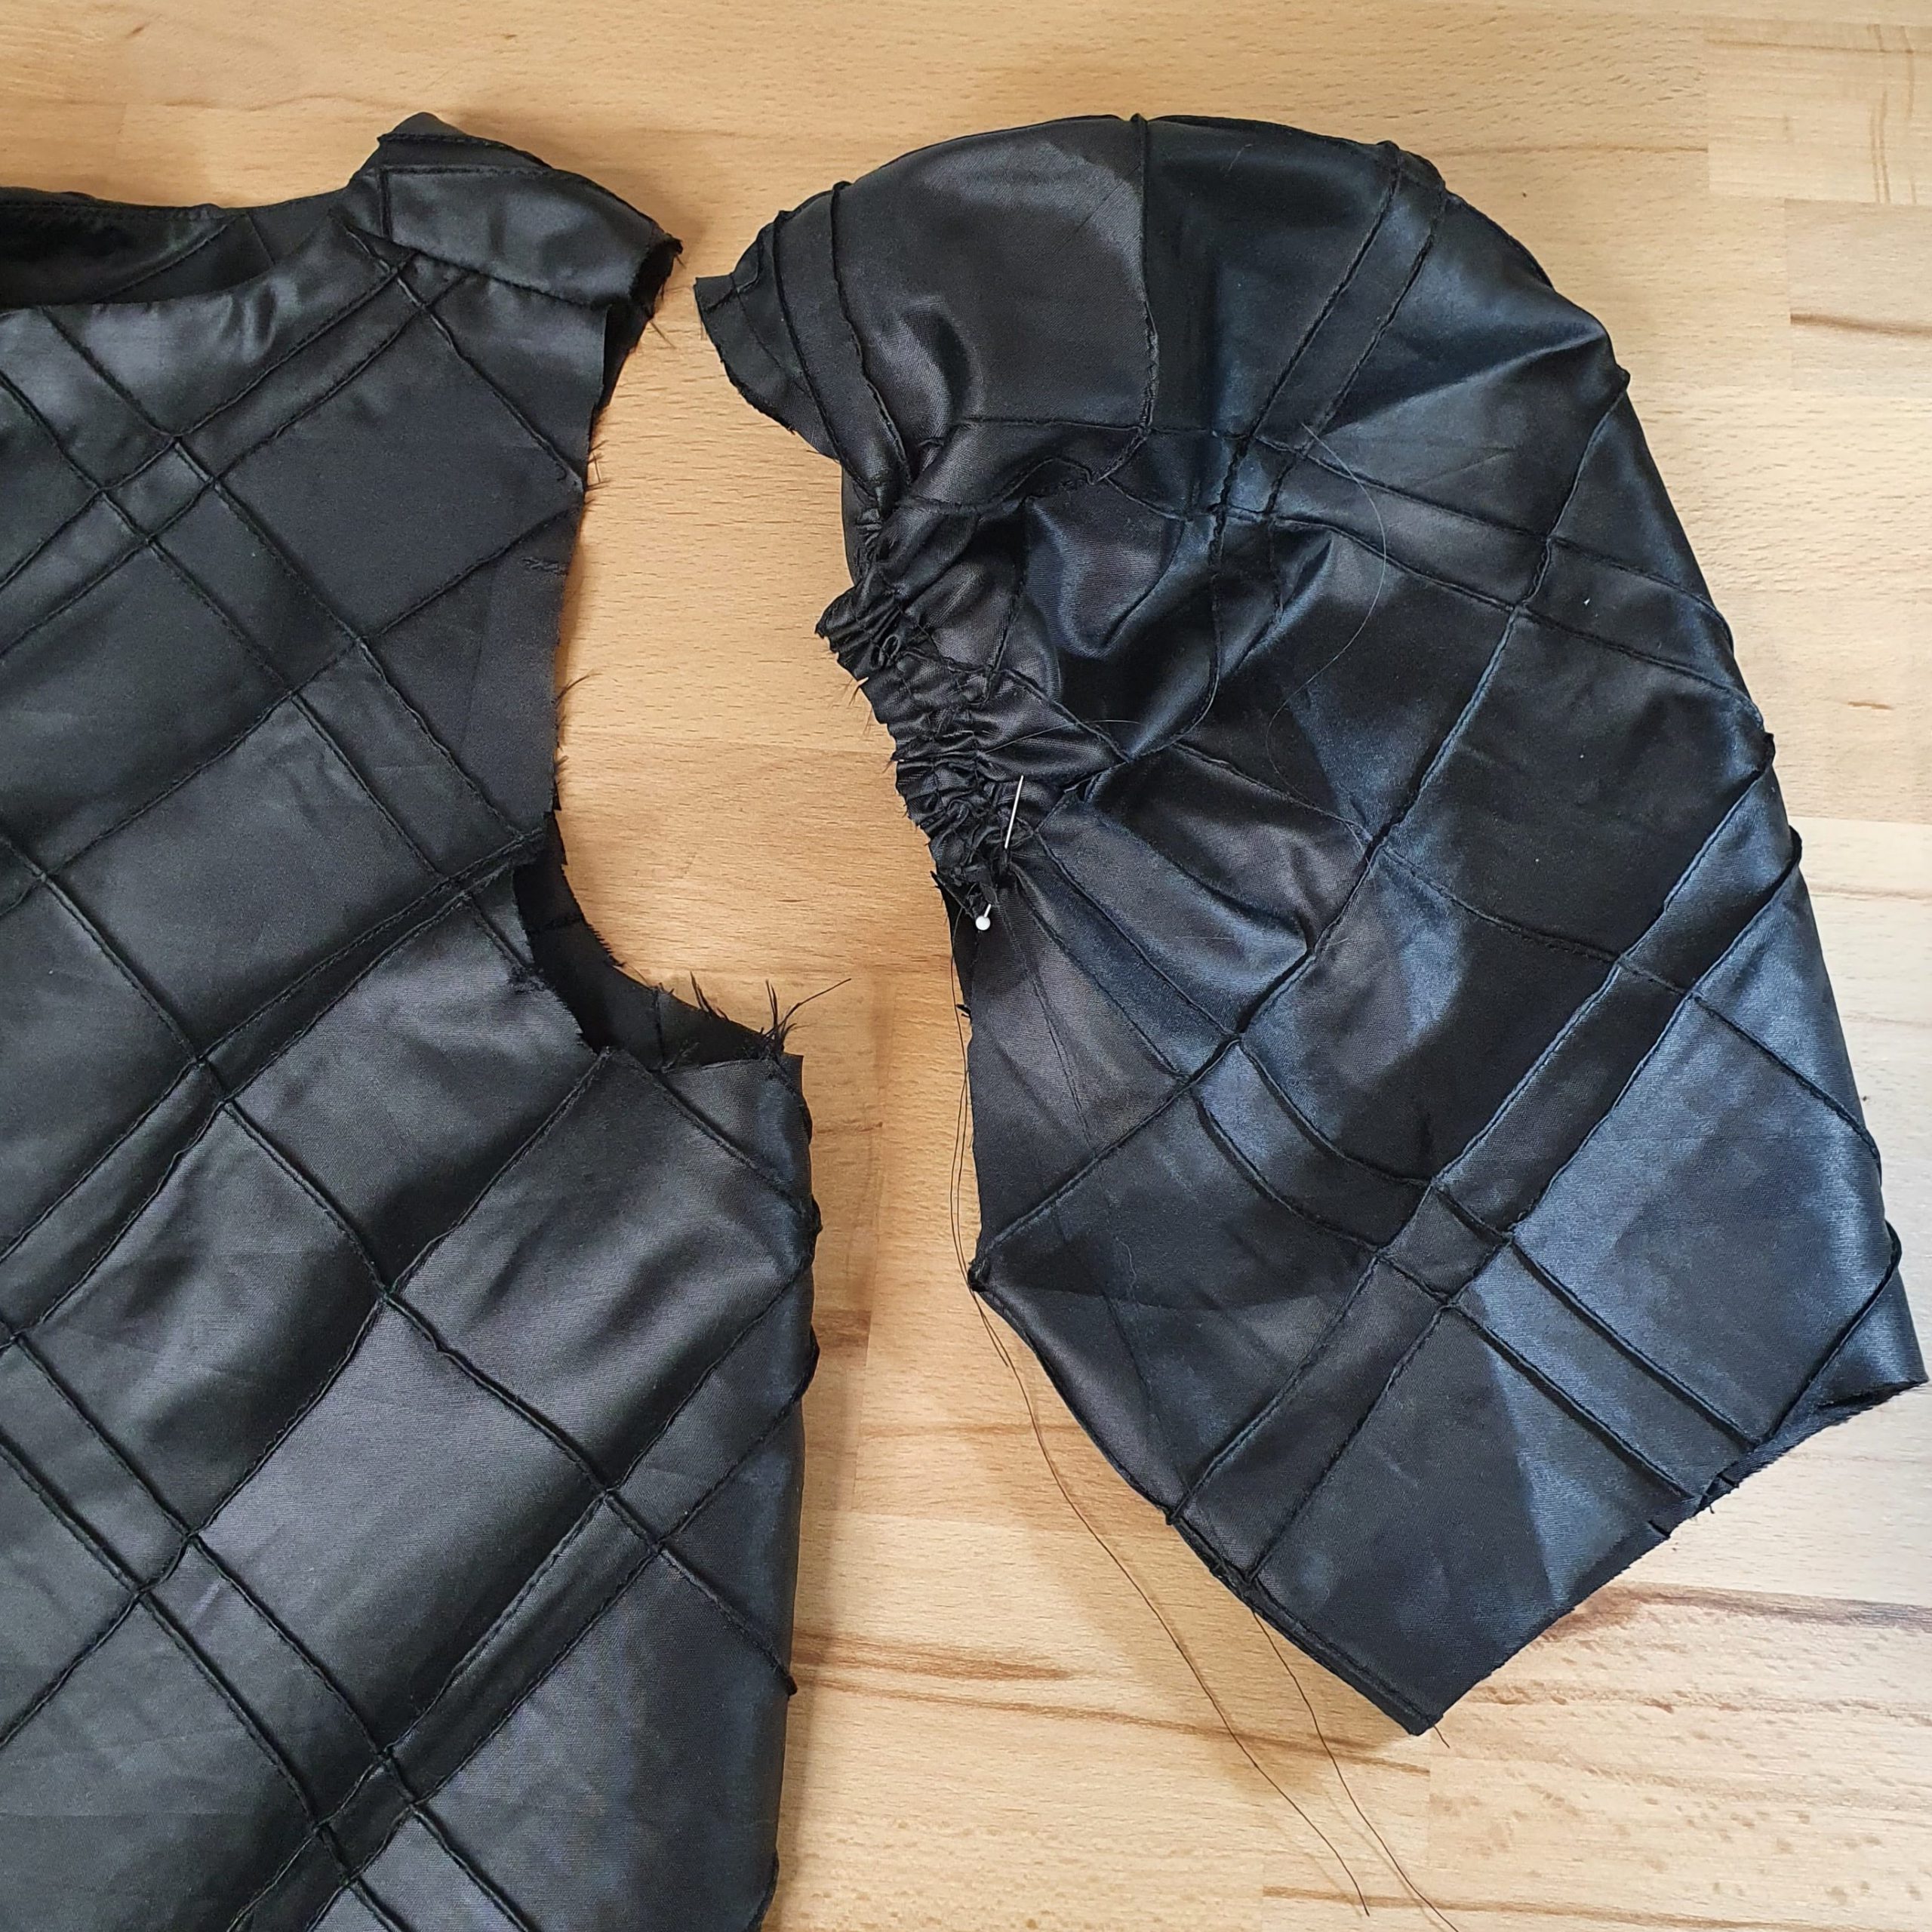
Set in sleeves
This cool Dina top a.k.a. jacket with a bit of a leather look fits perfectly in the LIESL Capsule Wardrobe.
Which look do you prefer?

Love,
Marlies


I love the jacket look. Its a beautiful pattern.
Thank you Nancy!