 BERNINA Corporate Blog -
I received a piece of the most beautiful printed Viscose Challis in the post from Minerva.com in exchange for an instagram post last week.
After a huge amount of Umming and Ahing! I finally decided to sew the Tilly and the buttons Indigo dress with the extra add on length to the skirt. It was not an easy decision! such a versatile print and fabric!!!
So, I thought Id share with my readers, how I made the dress, using a selection of photos I made along the way and ( in my own words ) tips and instructions.
Ive decided to write this blog post as a 2 part Blog, as the dress has many processes and I dont want to bore my you! Next instalment will be available soon
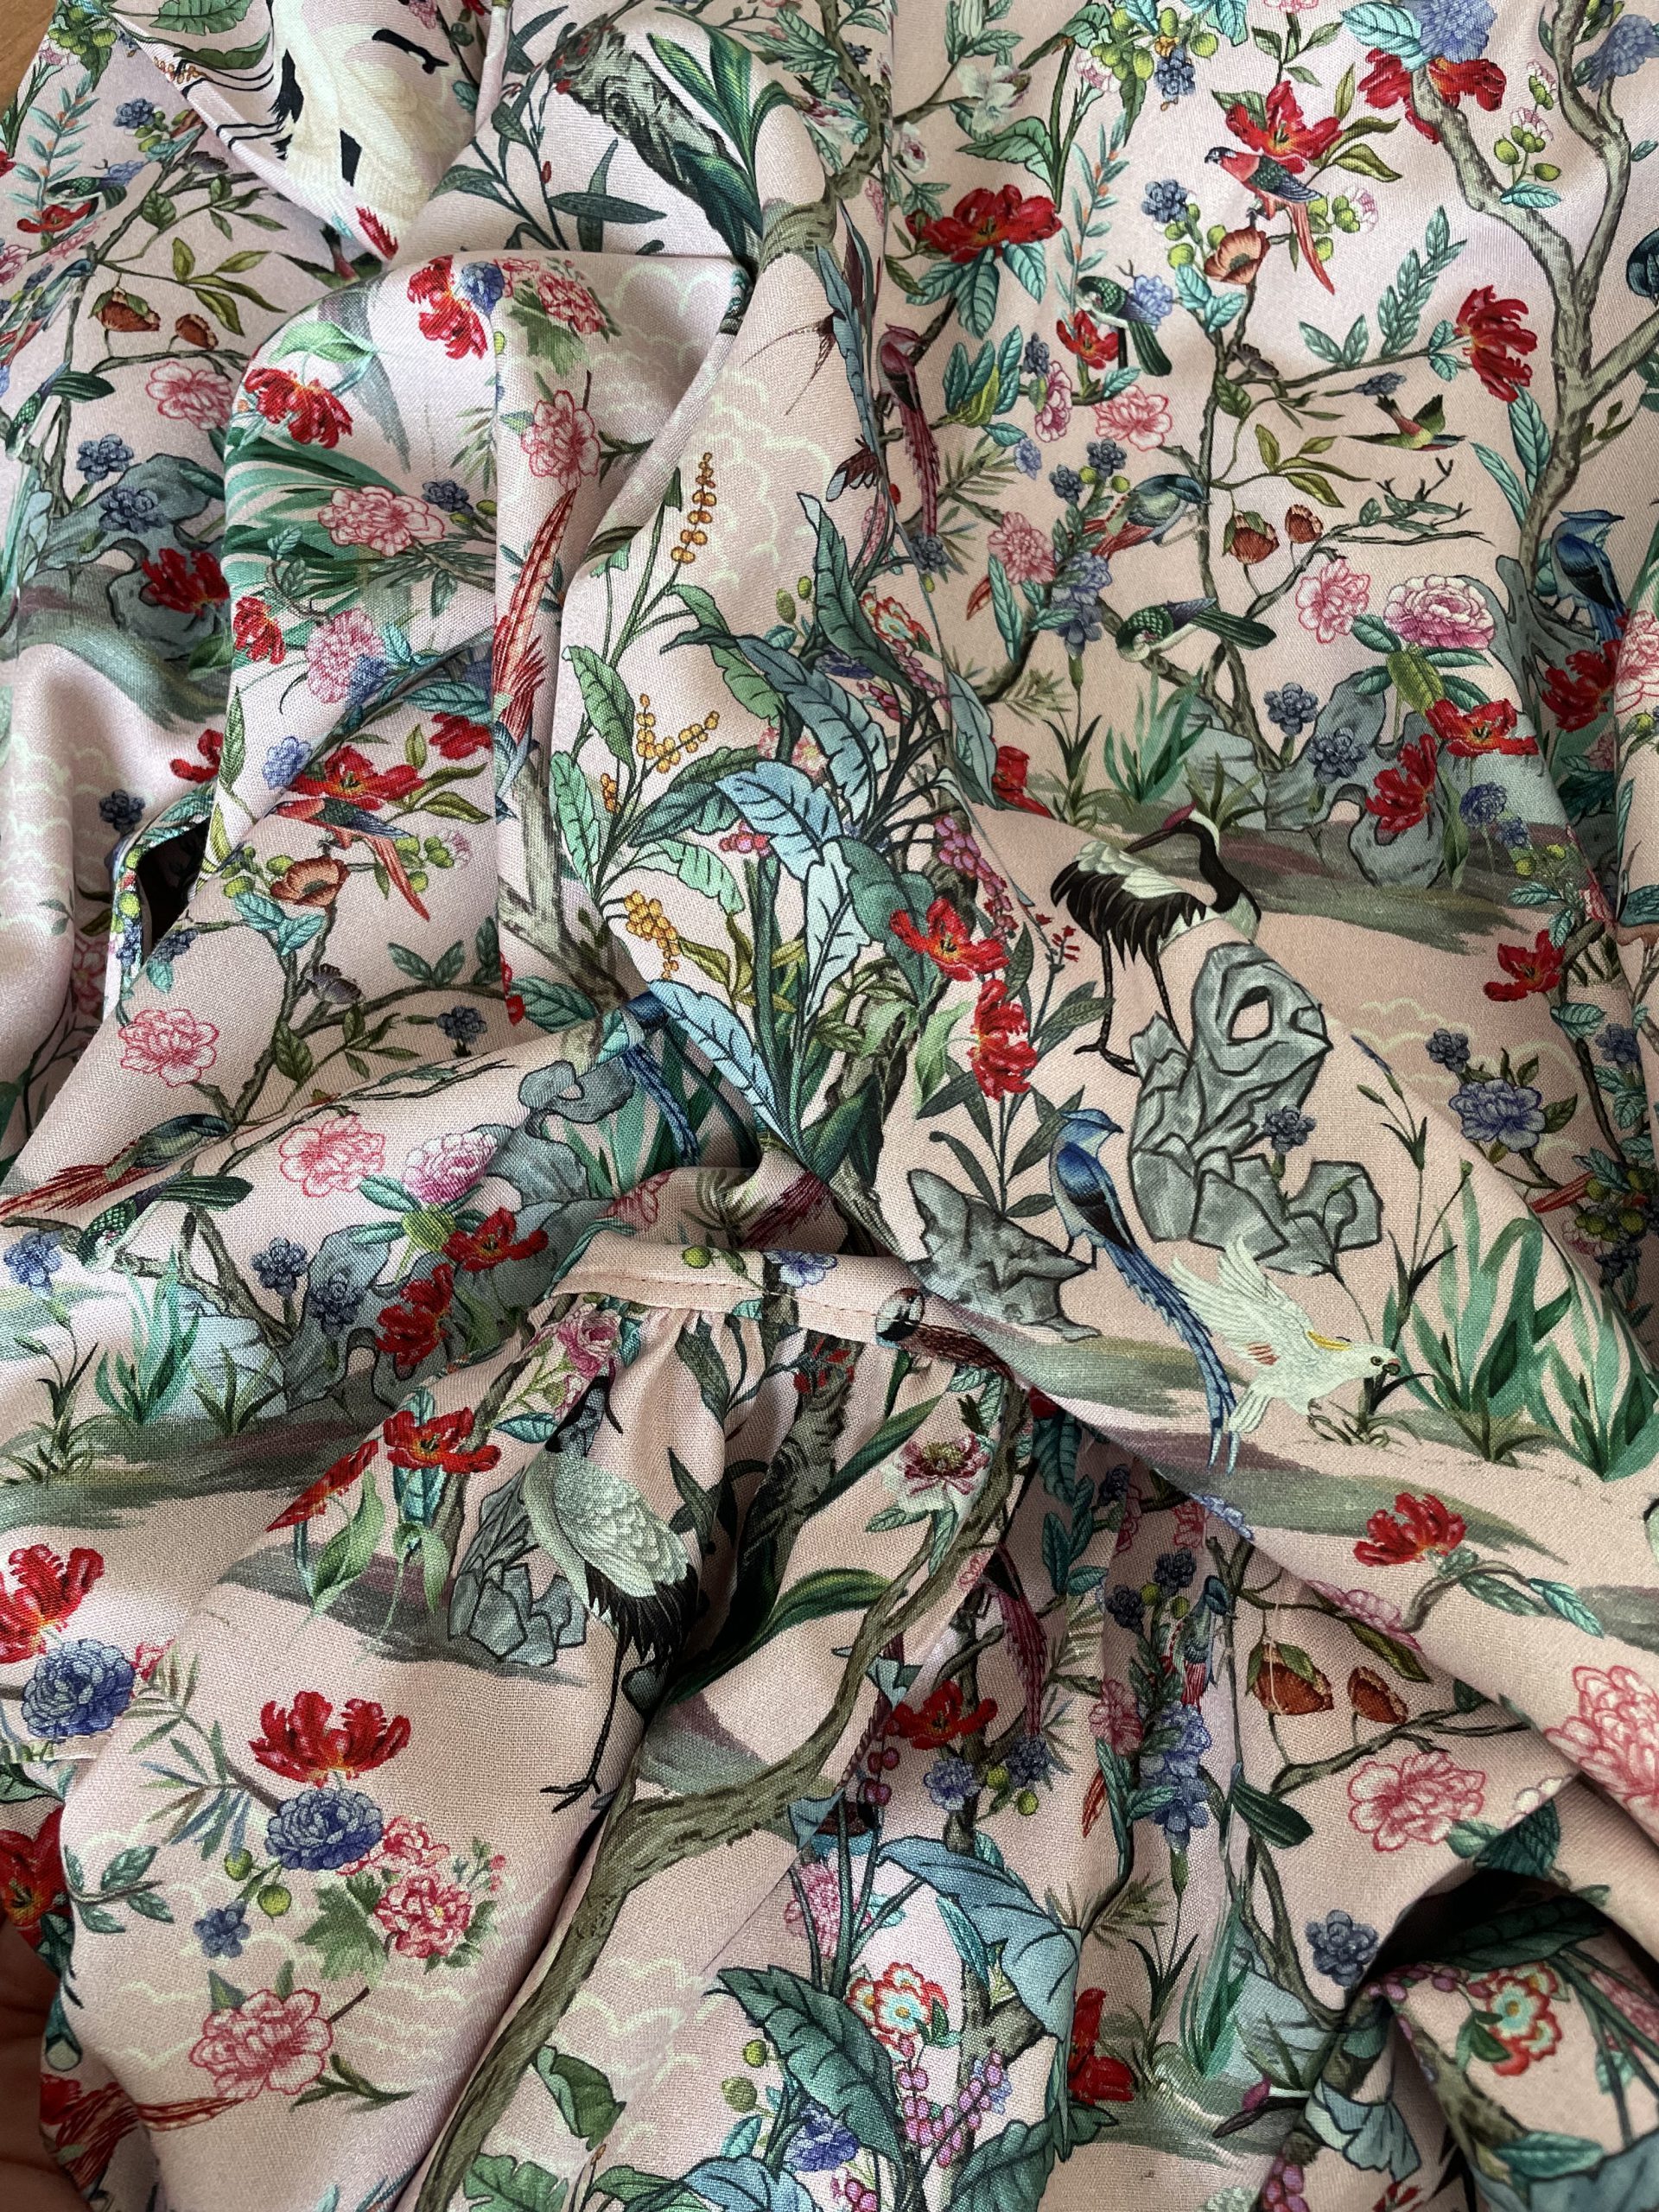
The delicious fabric
I work in a small collaboration with Minerva in exchange for a piece of fabric from their month offers. I write a small blog post on their website, attaching photos and links to my Instagram site Eversewme
The fabric I chose last month, was a beautiful dusty pink ground, Japanese Garden design print on Viscose Challis, it was a delight to sew and press and drapes beautiful.
I love sewing with Viscose, it presses well, has a little bounce, stretch in the weave ( this covers up all my little mistakes!) and drapes wonderfully. Perfect for tops, dresses and skirts throughout the whole year. A good all rounder!
My sewing pattern choice
After a lot of deliberation, skirt, blouse dress back to a skirt!!! I finally settled on one of my favourite go to patterns from Tilly and the Buttons. I think I have sewn roughly 6 of this pattern it’s my absolute fav versatile dress for every month of the year. Short sleeves and the shorter length for a cute summer dress or tunic and the longer length with the add on frill with a chunky cardi and boots in the colder months.

The Indigo top and dress pattern
Let’s get started!
You will need:
- Pattern cut out into your size ( the table on the pattern is very accurate)
- Pattern add on, if you would like the frill bottom of the skirt.
- Fabric… length depending on which version you want to sew and which style
- Vliesiline H200 iron on interfacing
- Lots of Pins
- Cup of Tea! very important!
- matching thread
- elastic for the cuff
- a little patience!
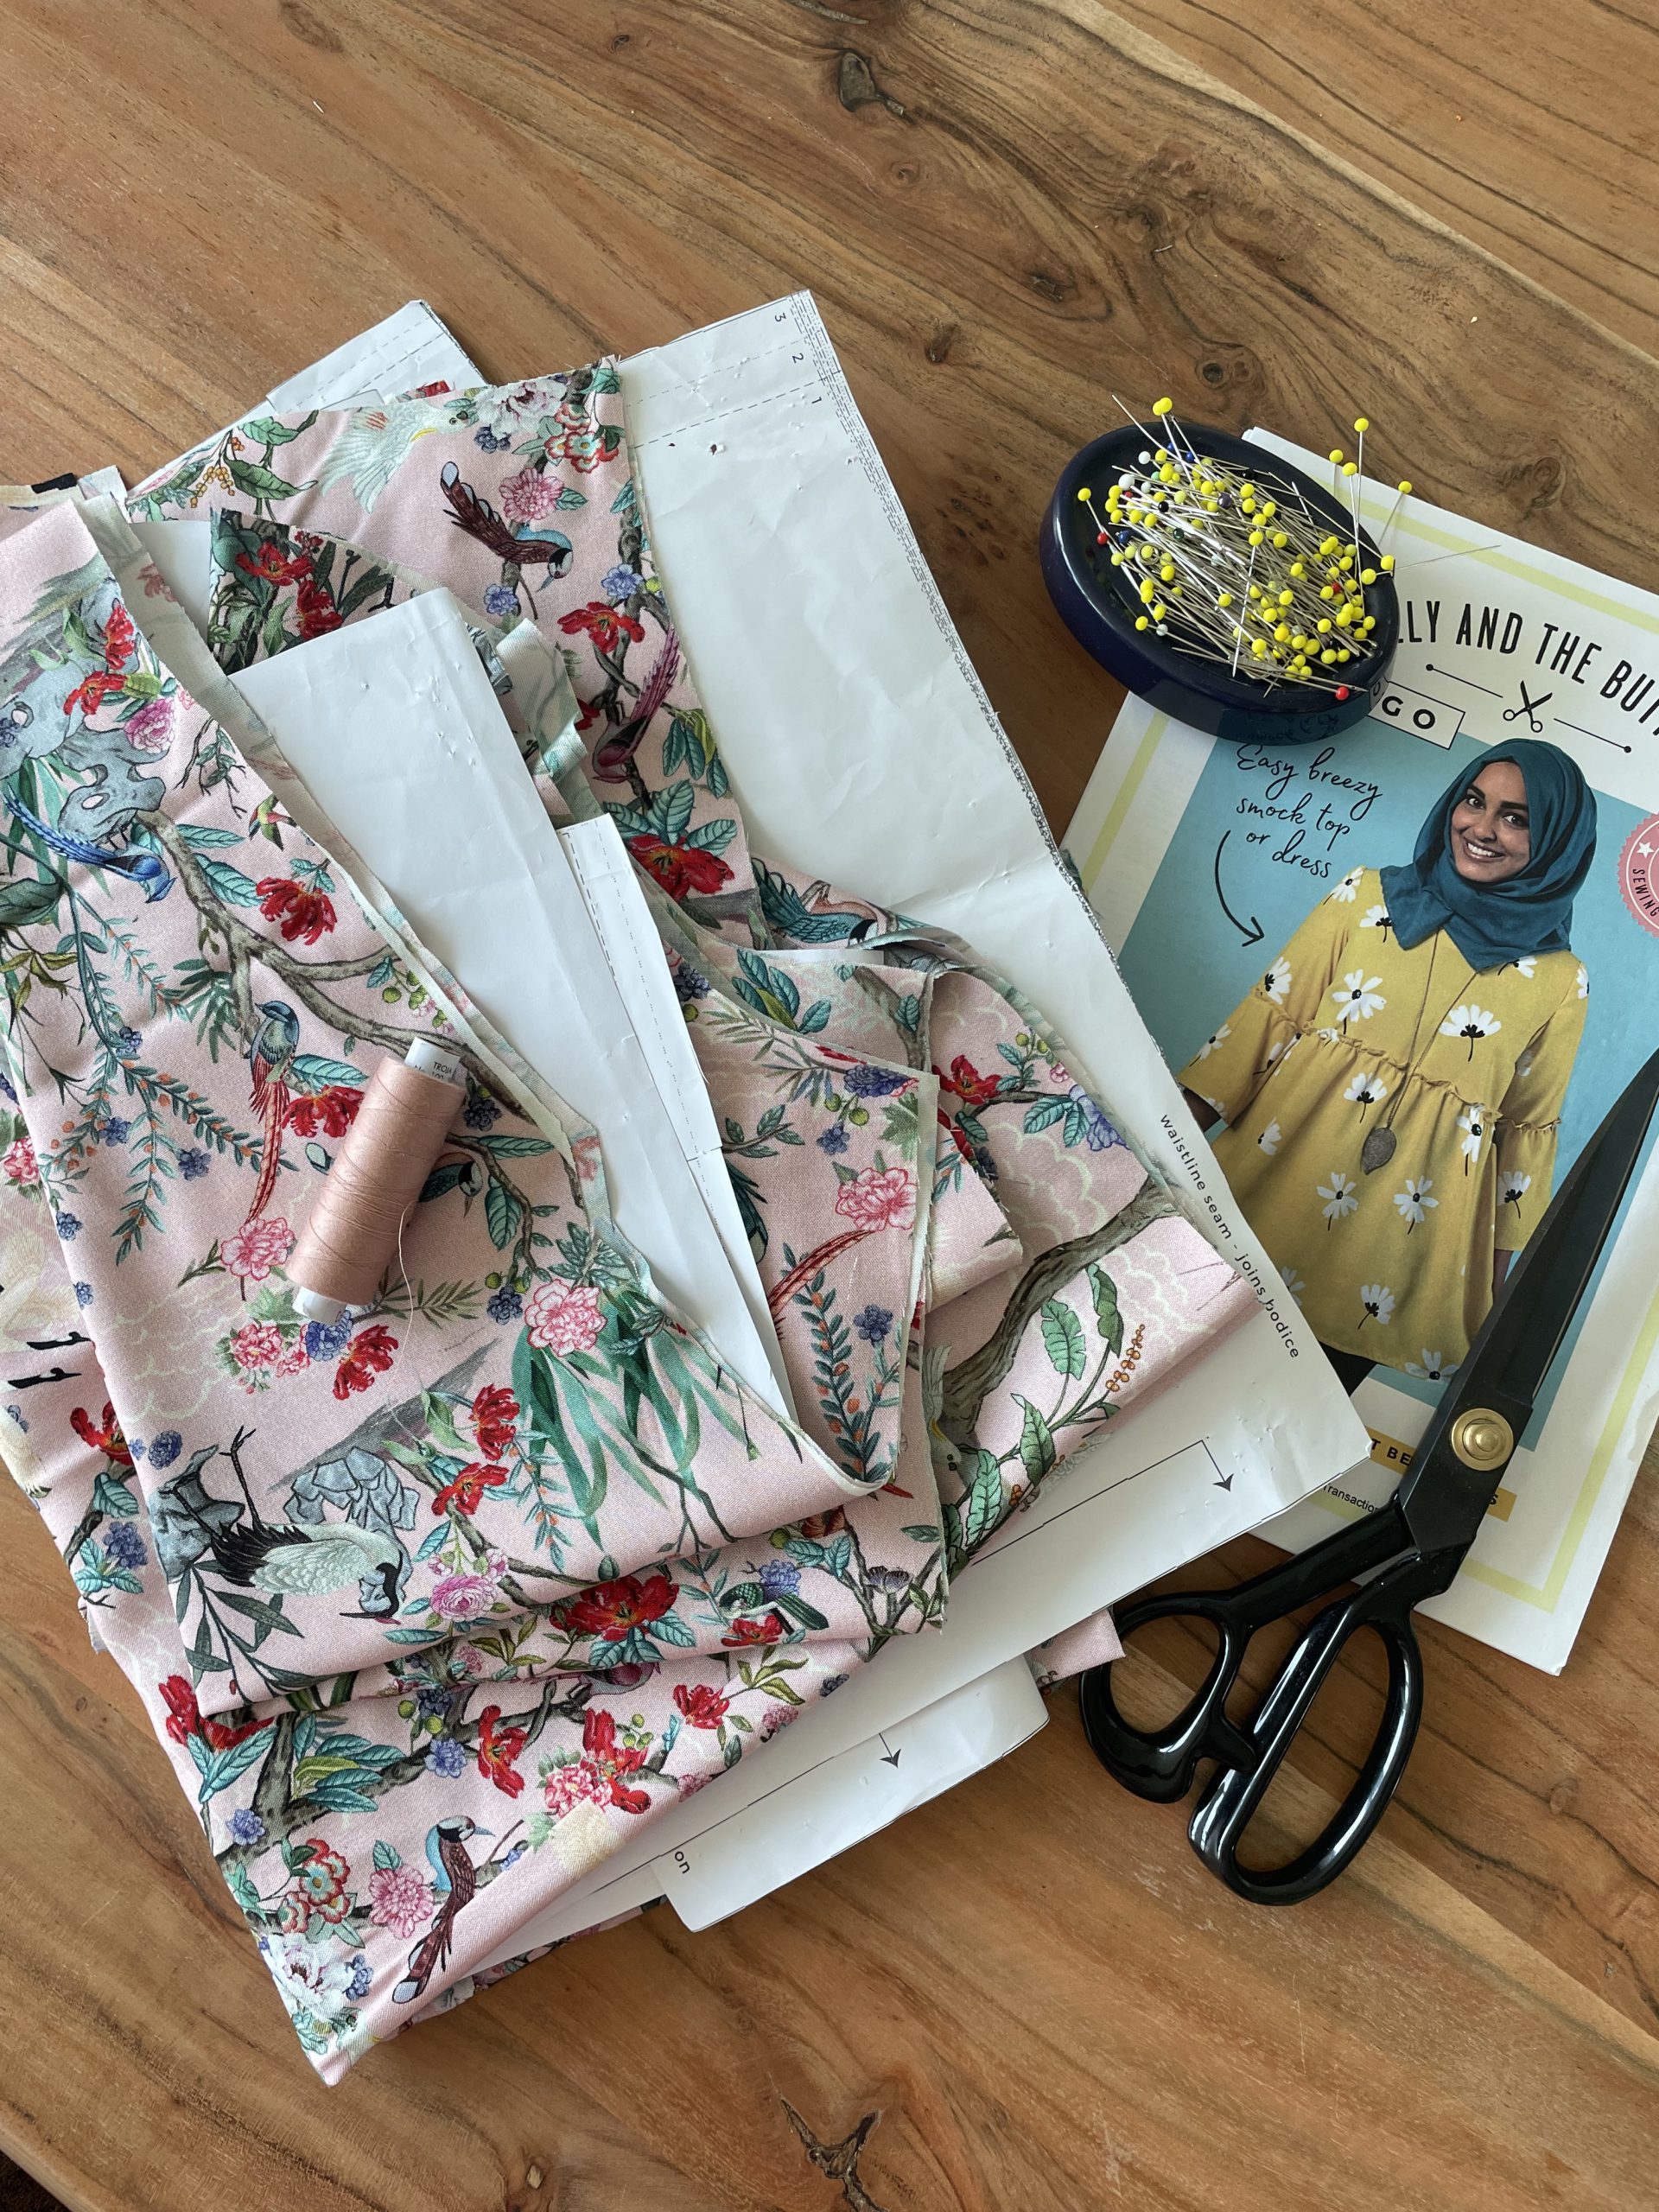
whats needed…
First step, measure yourself, print the pattern, copy and cut out the pattern pieces you need and lay them out onto the fabric. I tend to work on my floor for this, although for the lucky few who have a large table, use this.
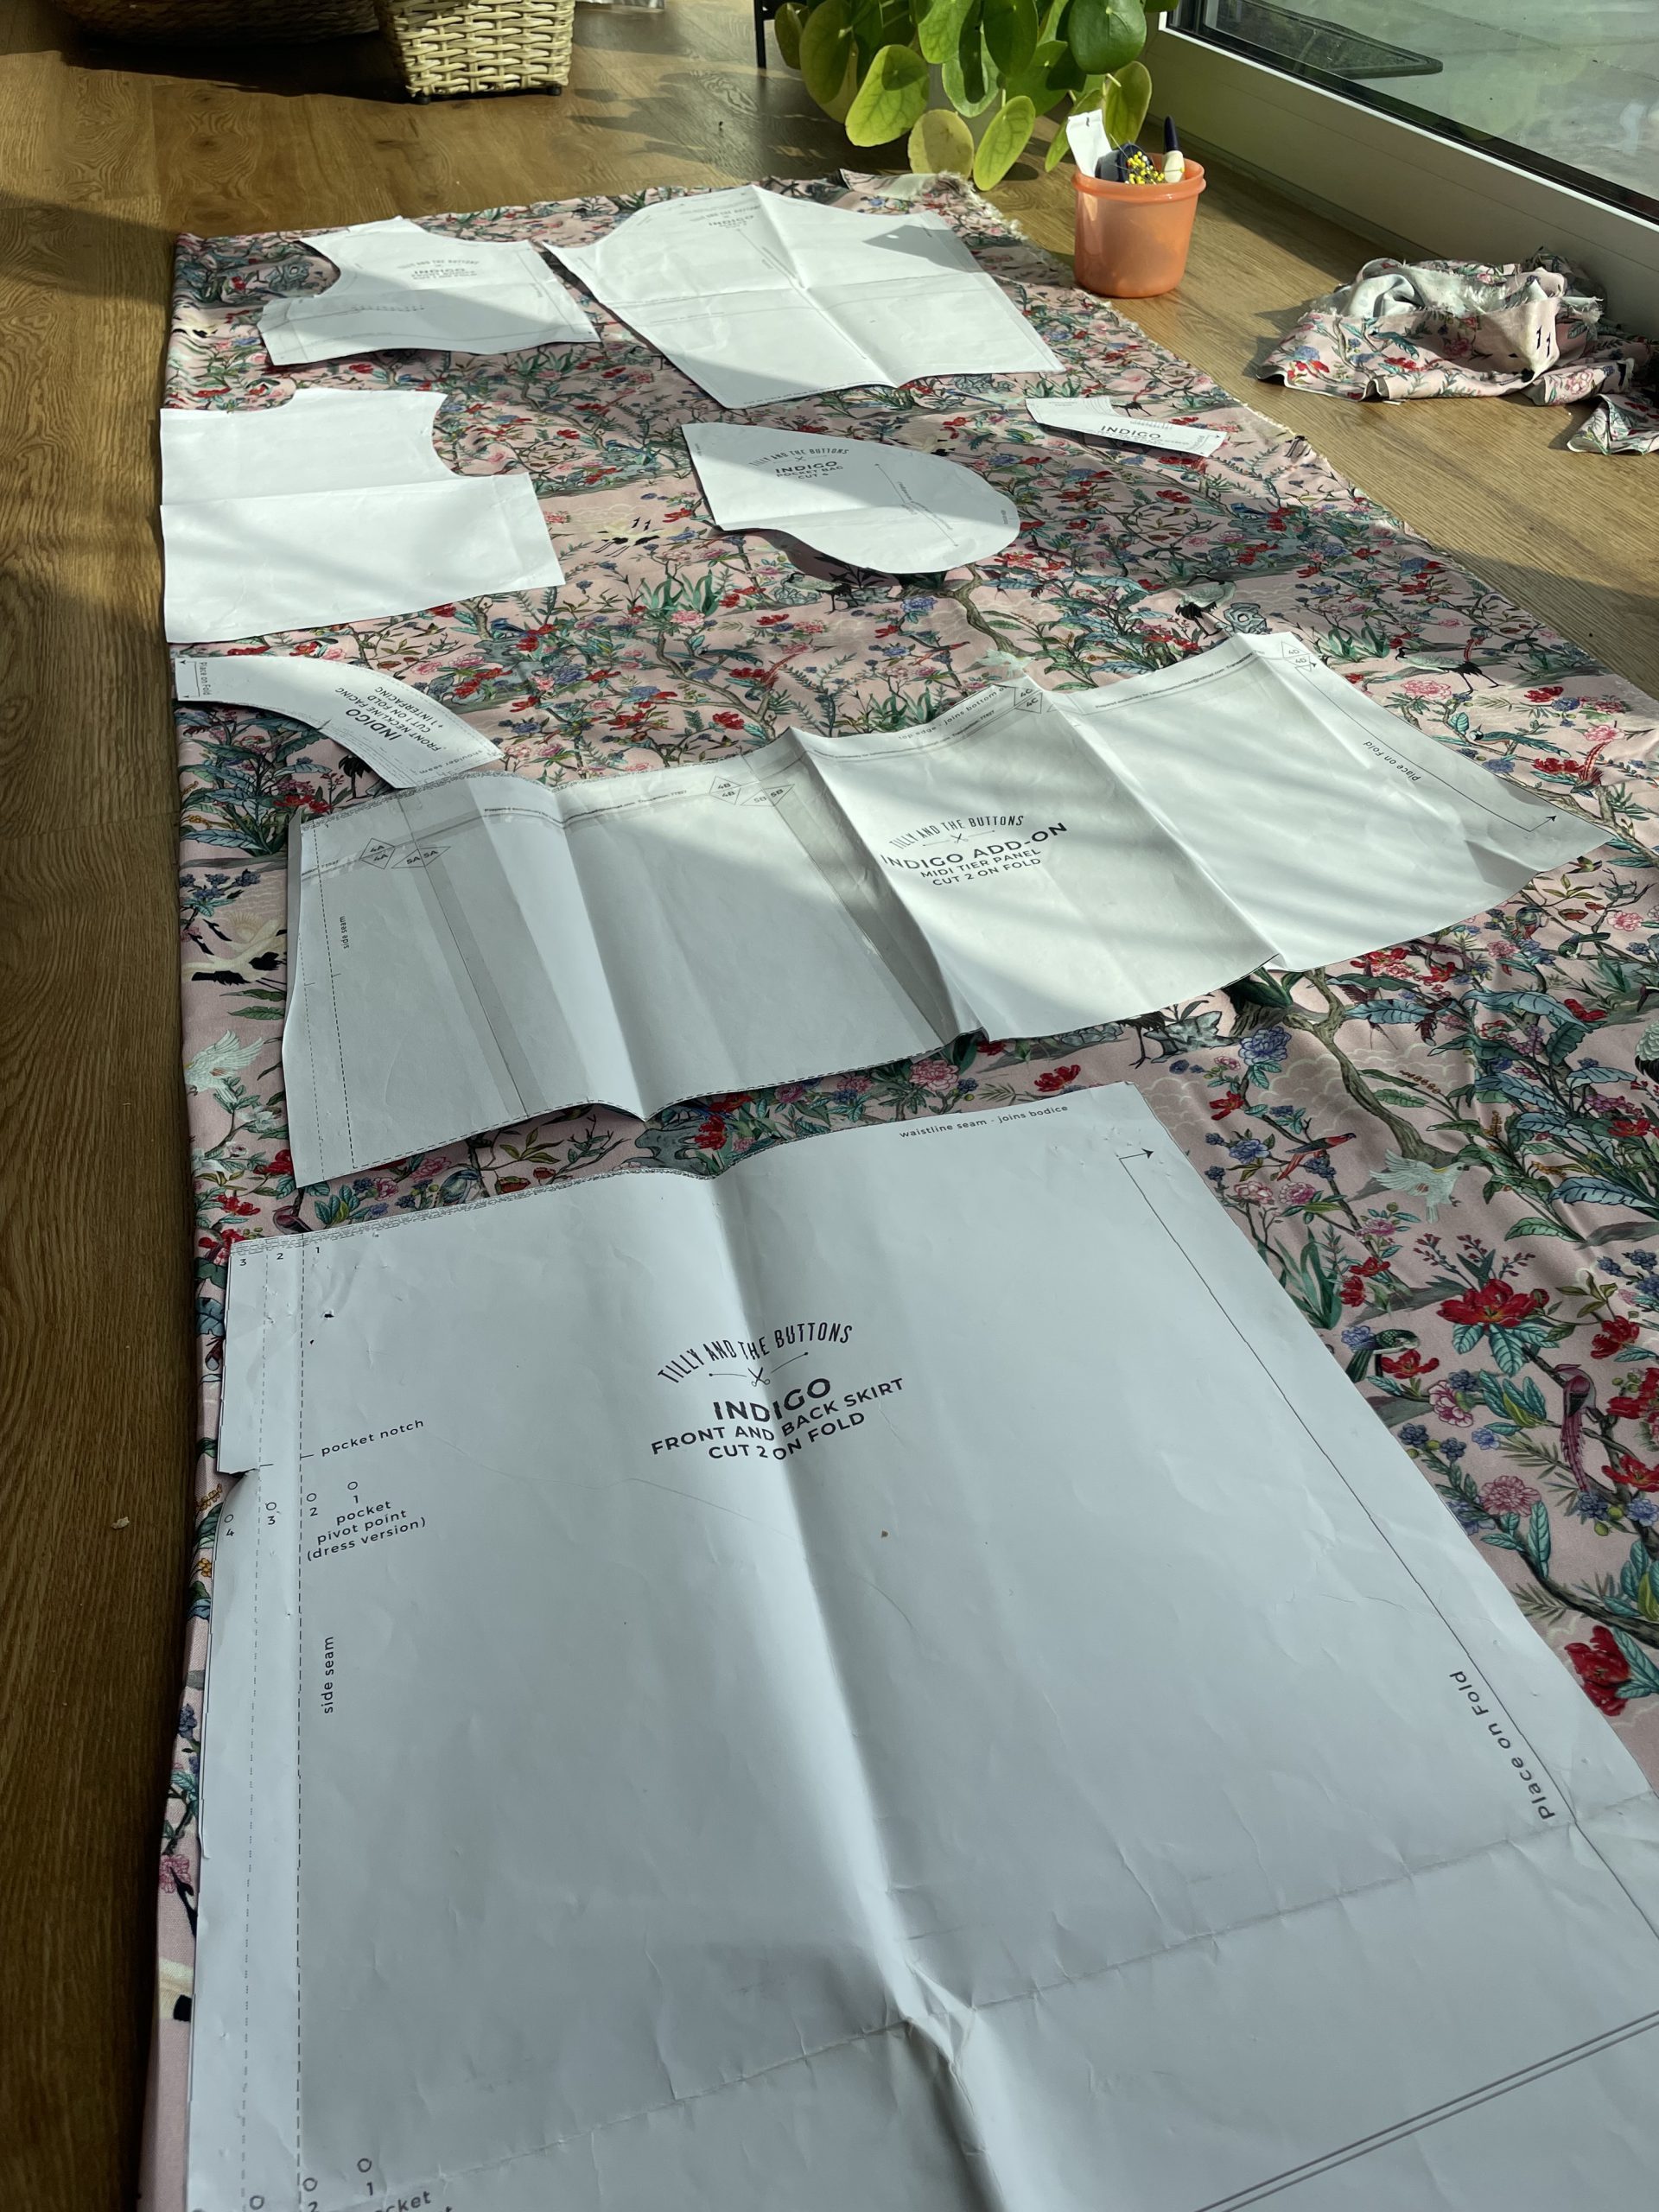
pattern pieces
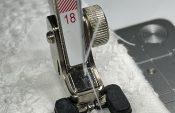
All pattern pieces include a seam allowance of 1cm. I used my Bernina L850 to finish off all the raw edges and my Bernina B480 for the seams. Please make sure ALL markings, notches bust darts are all added to the each pattern piece. This stage can not be missed!
Make sure all pattern pieces are laid on the grain of the fabric.
The alterations to my pattern
I made a few alterations to the pattern, I have added length to the sleeve length and an elasticated cuff. I am also using the add on bottom frill, and have reduced the depth of the main skirt and frill both my 20cm for a more Midi length dress.
Sewing tips when sewing with Viscose
- I tend to use a fine sharp sewing machine needle ( Schmetz universal 70/10 needle or a Mircotex 60 or 70) the fabric is a fine weave and a larger needle can mark and ladder the fabric ( I have made this mistake!) and treat yourself to a new needle, old needles can become blunt!
- Always have your ironing board at the ready, pressing throughout is very important.
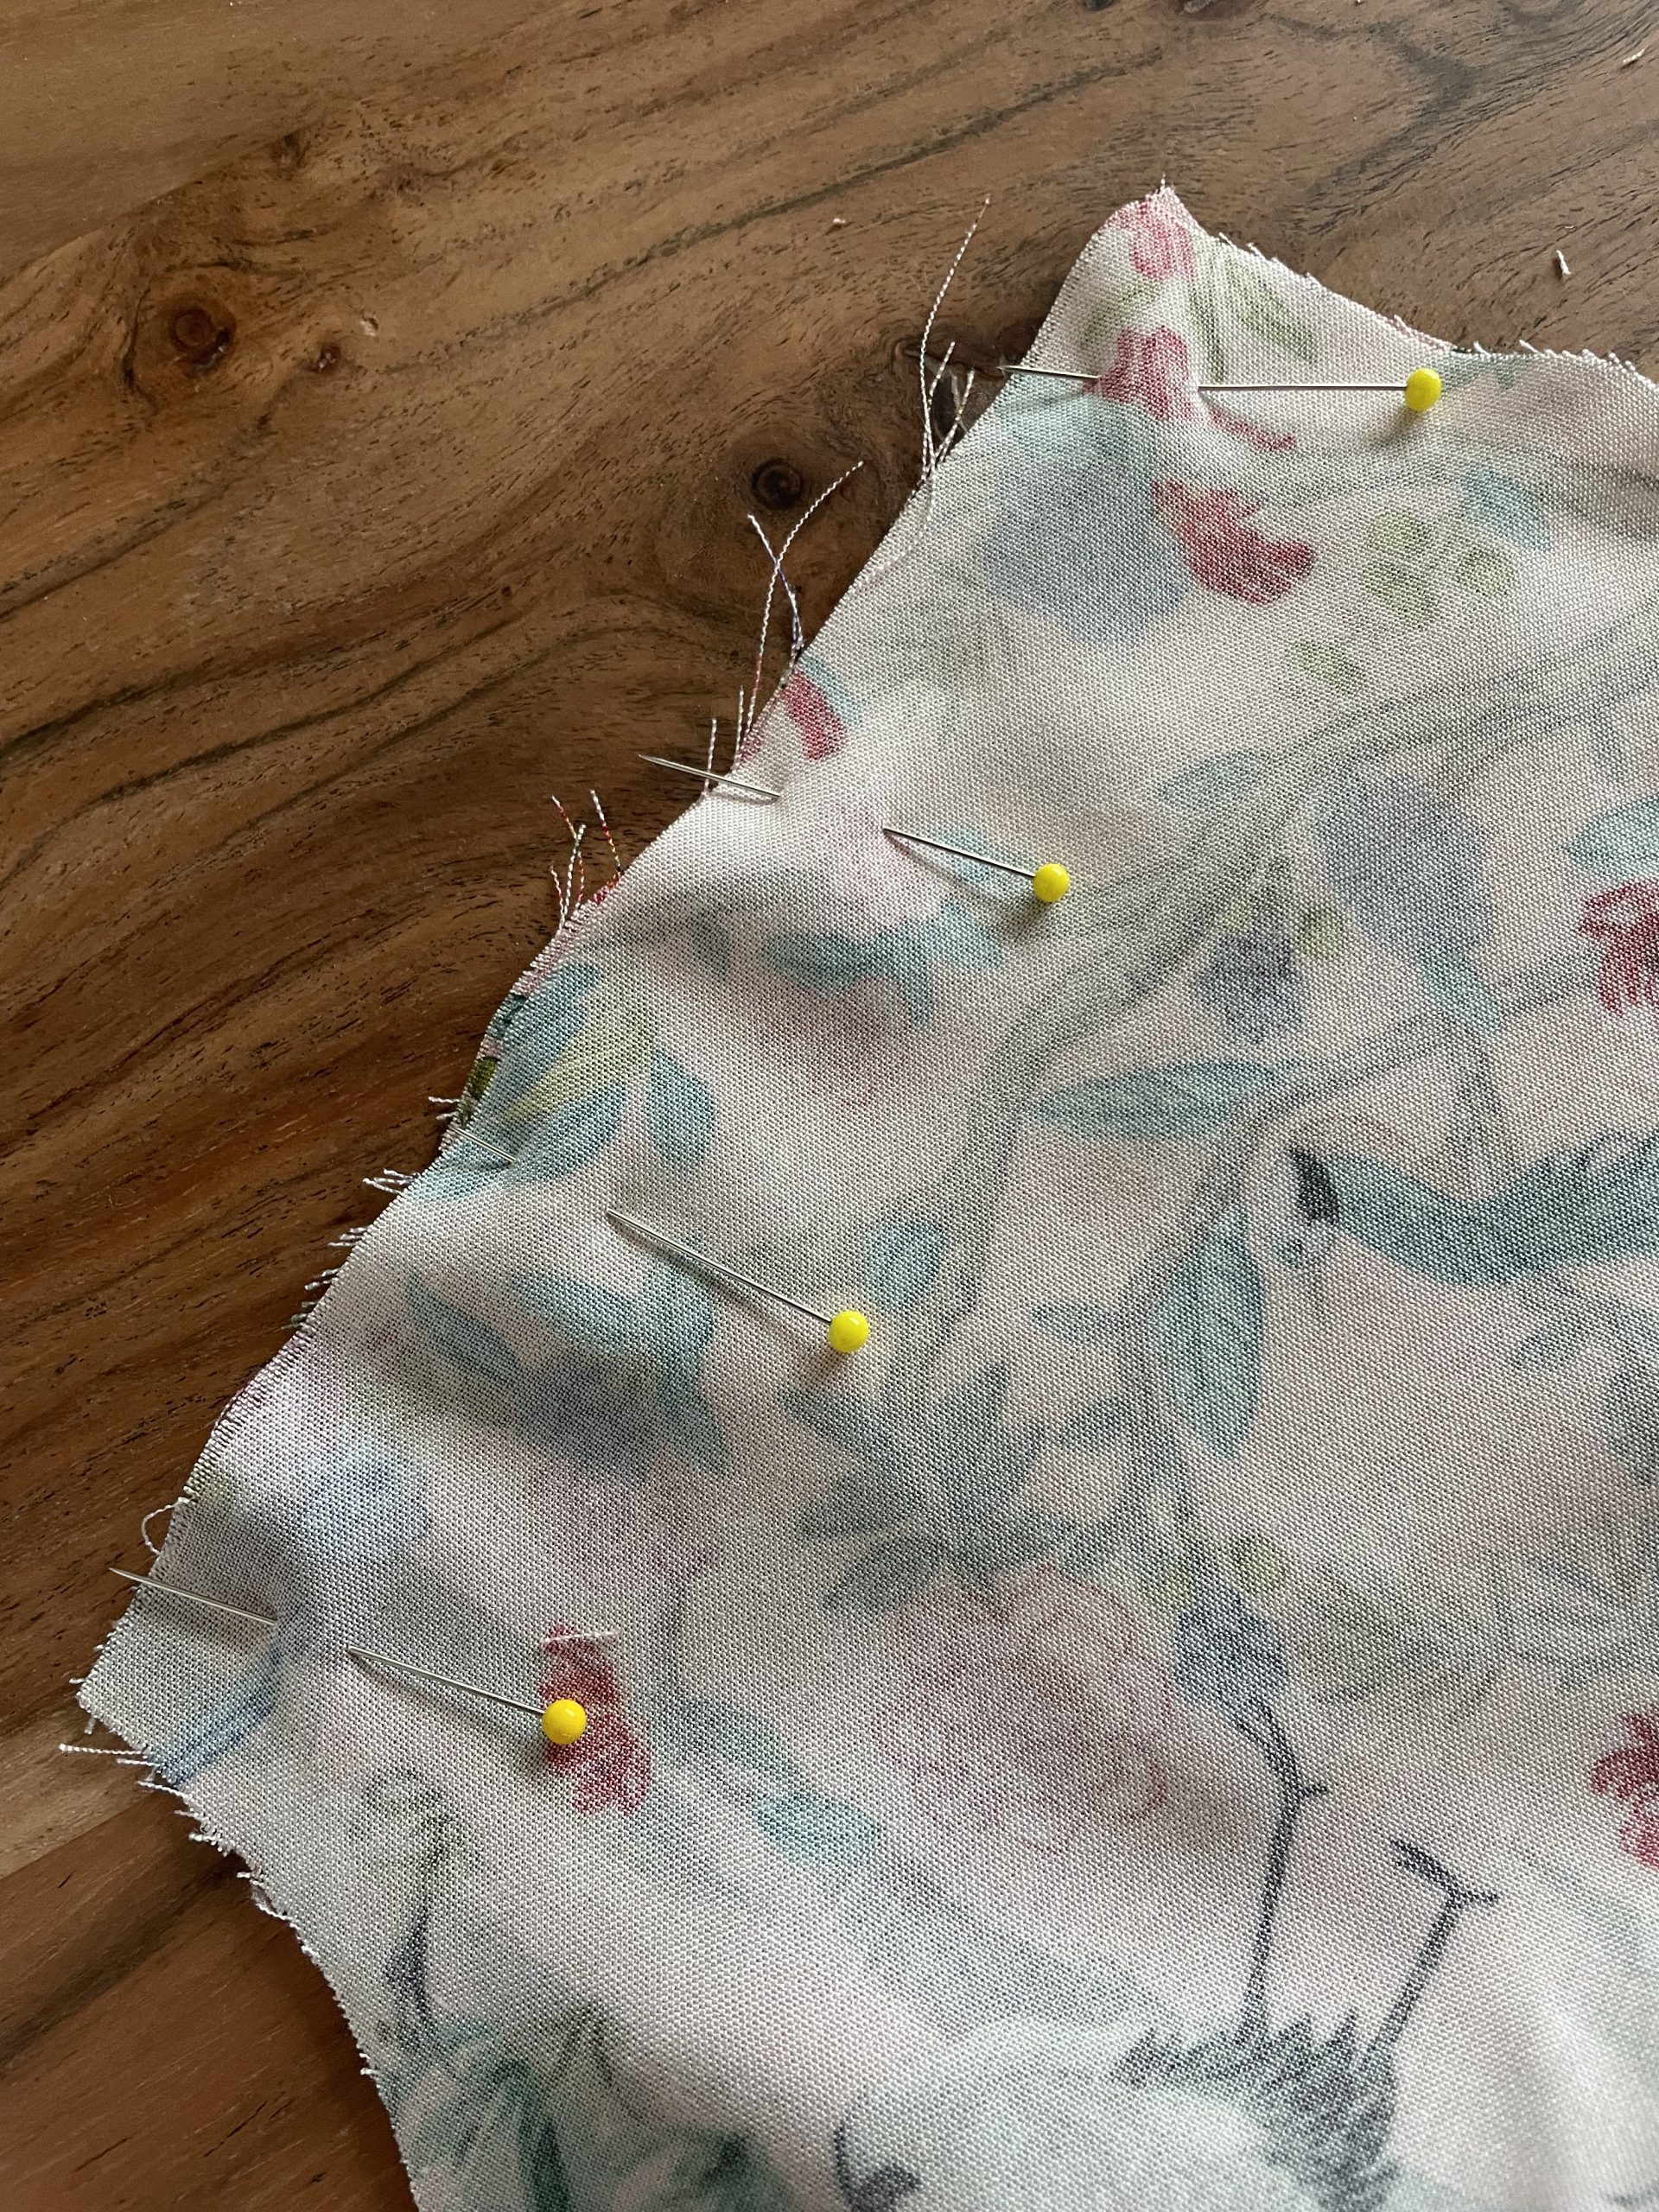
- Use lots and lots of pins, Viscose tends to move around a lot, and this will help to be more accurate.
- Pre wash fabric, I tend to wash at 30 degree to remove any fabric shrinkage
- Try not to over-handle the fabric as it can stretch out of shape
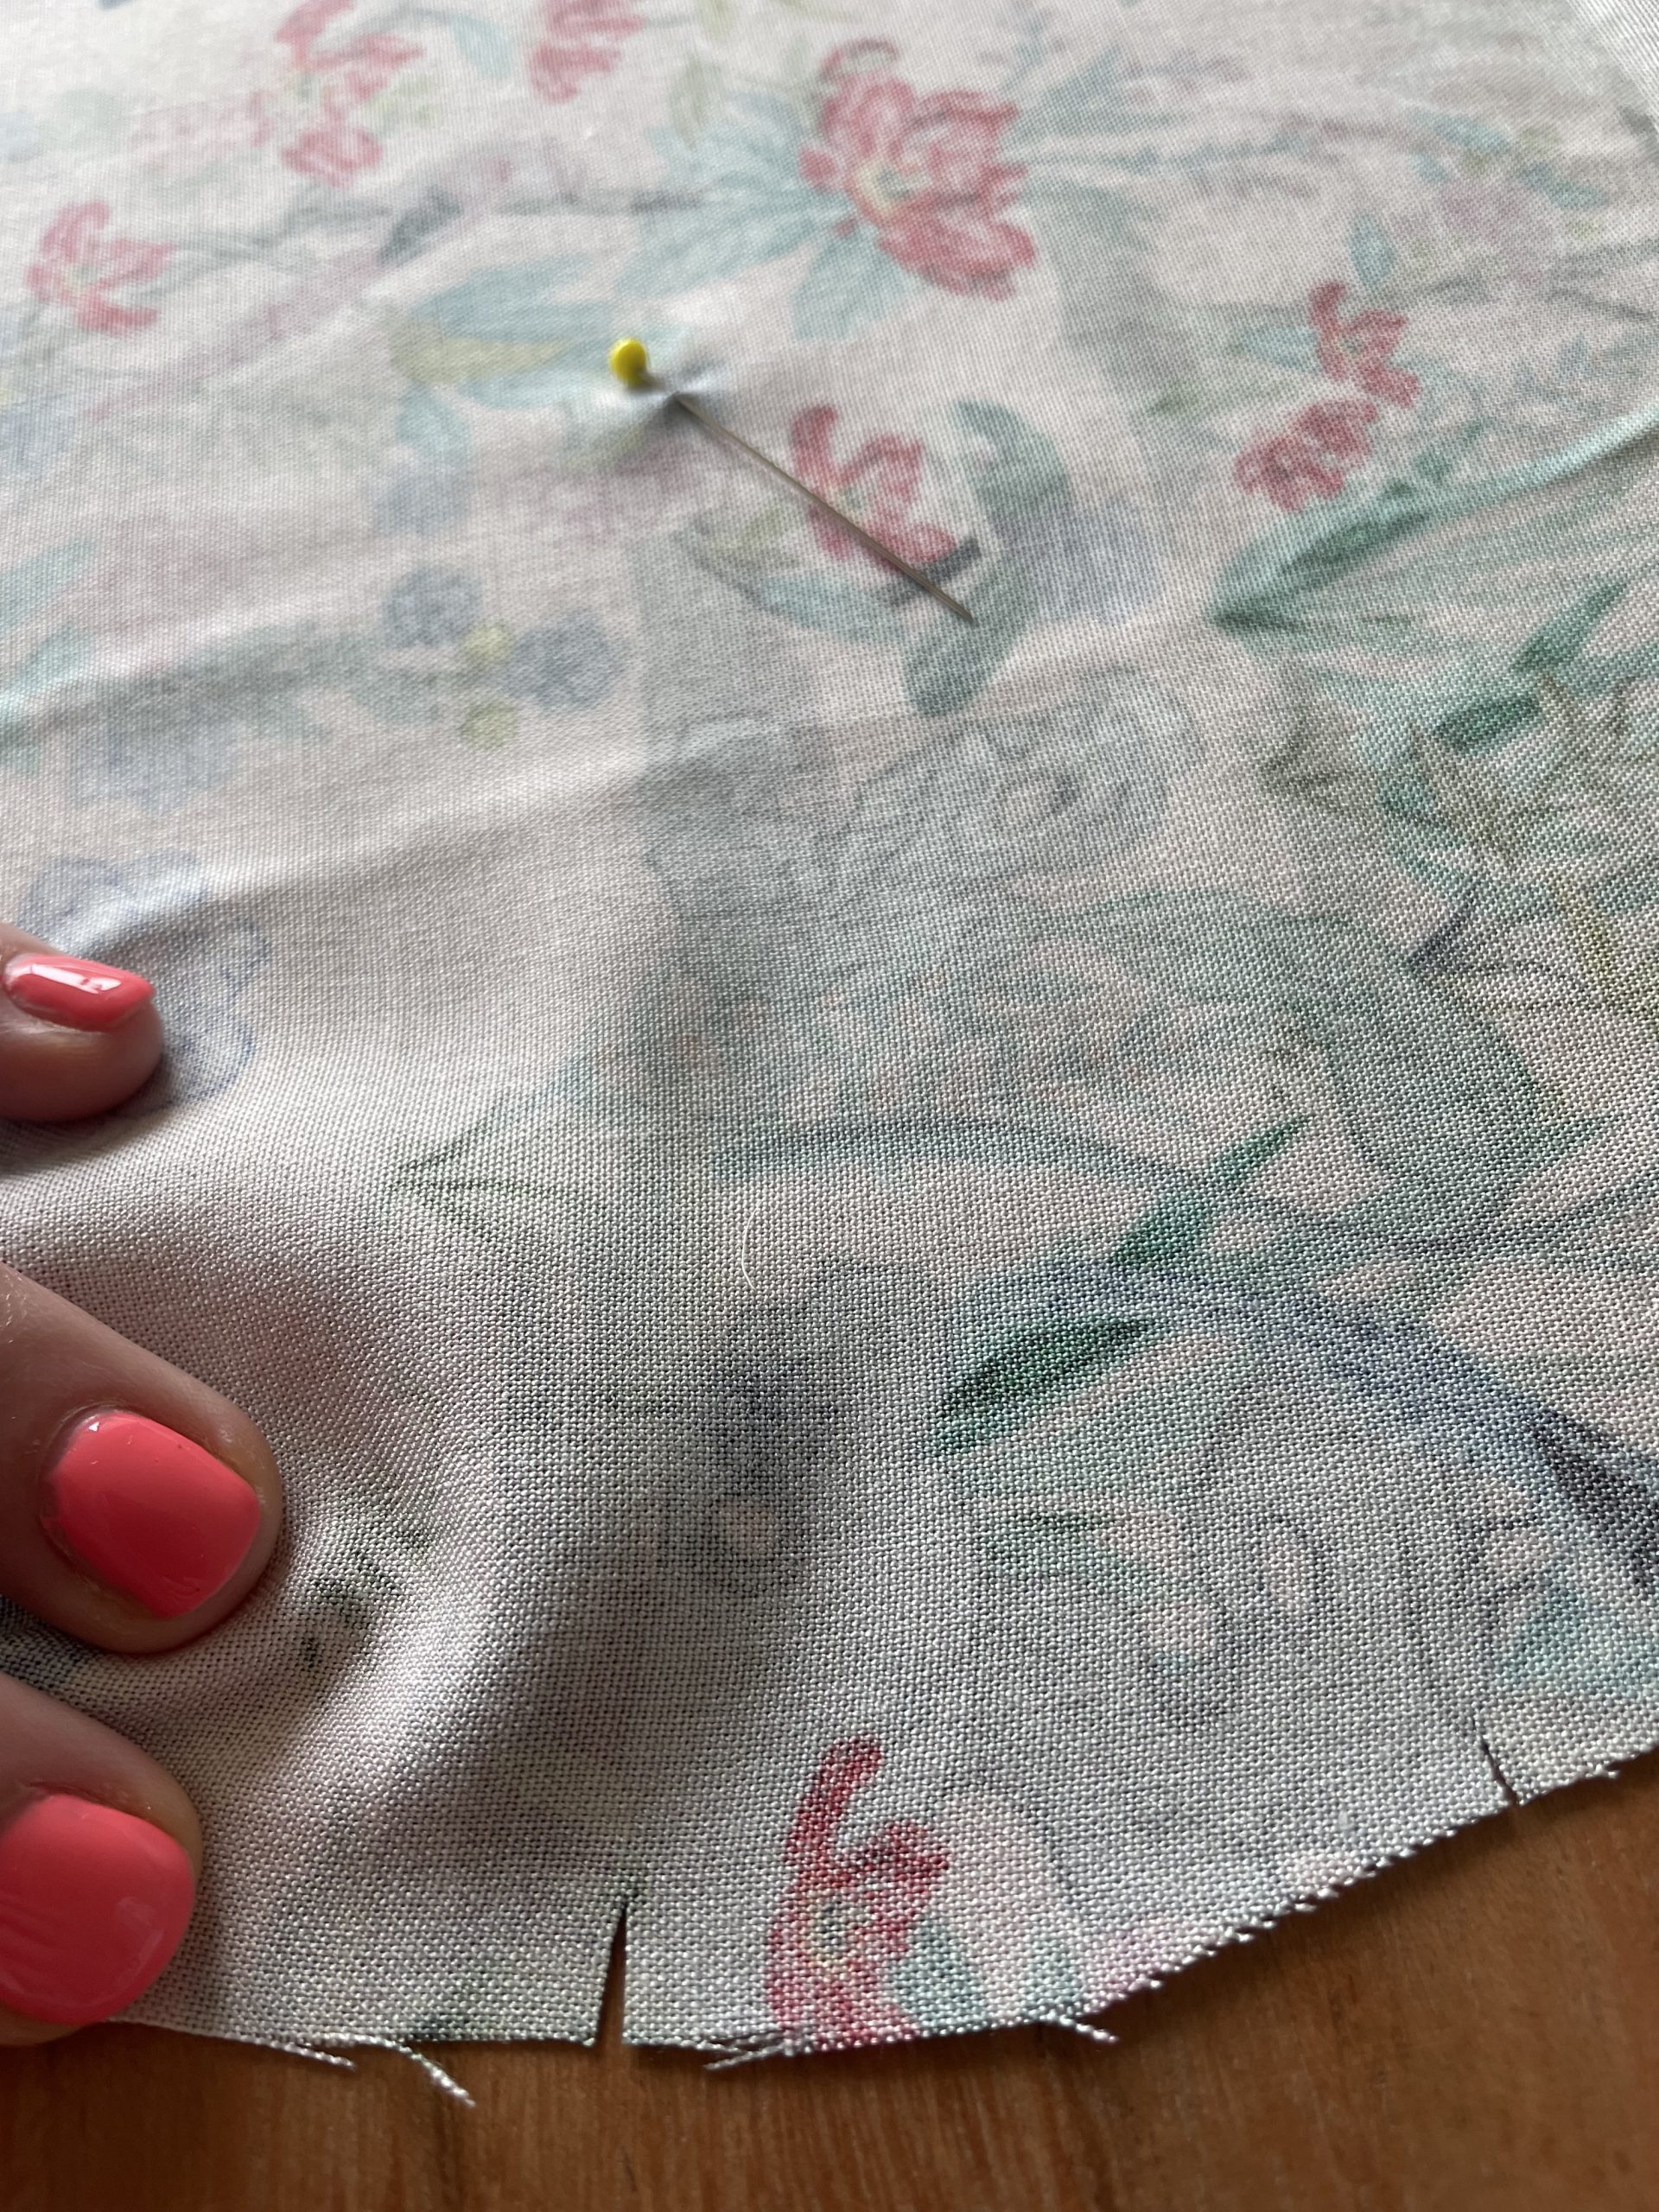
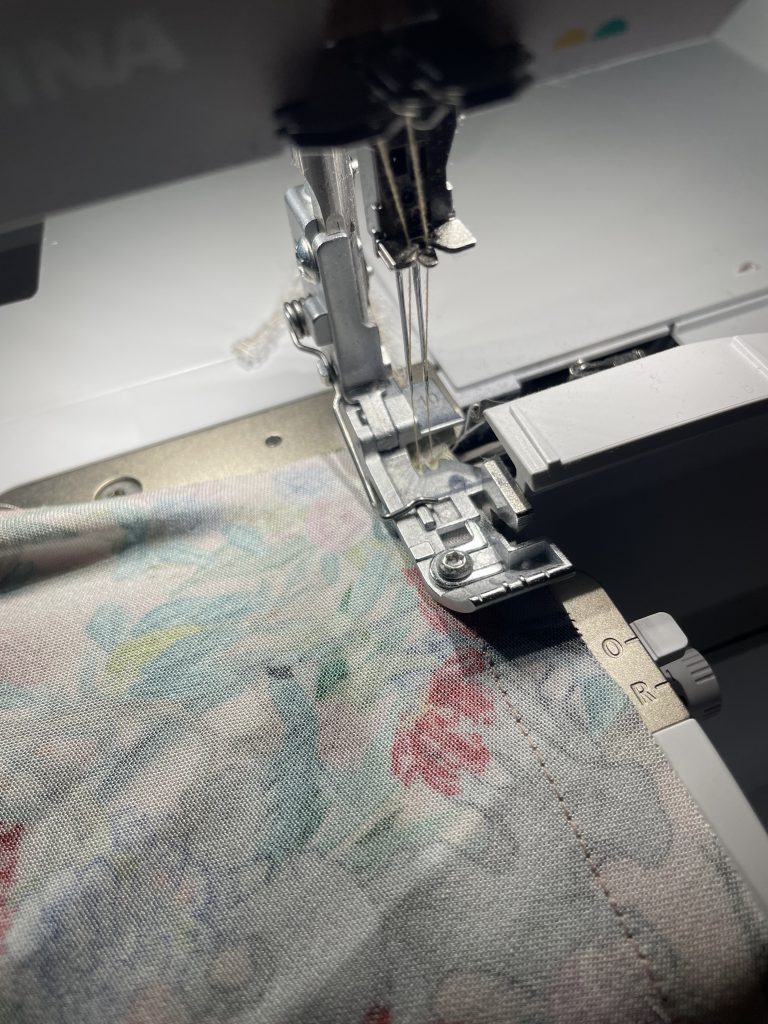
- A great tip for any neckline, is to first stay stitch ( sewing with a 3mm stitch length round 2-3 mm from the edge along the curve of the neckline, will prevent the neck from stretching out of shape.
Using interfacing
It is important to interface the facings of the dress, I use an iron on interfacing from Vlieseline H200, cut the pieces out and iron to the wrong side of the fabric.

Cut out and iron on the interfacing to the facings
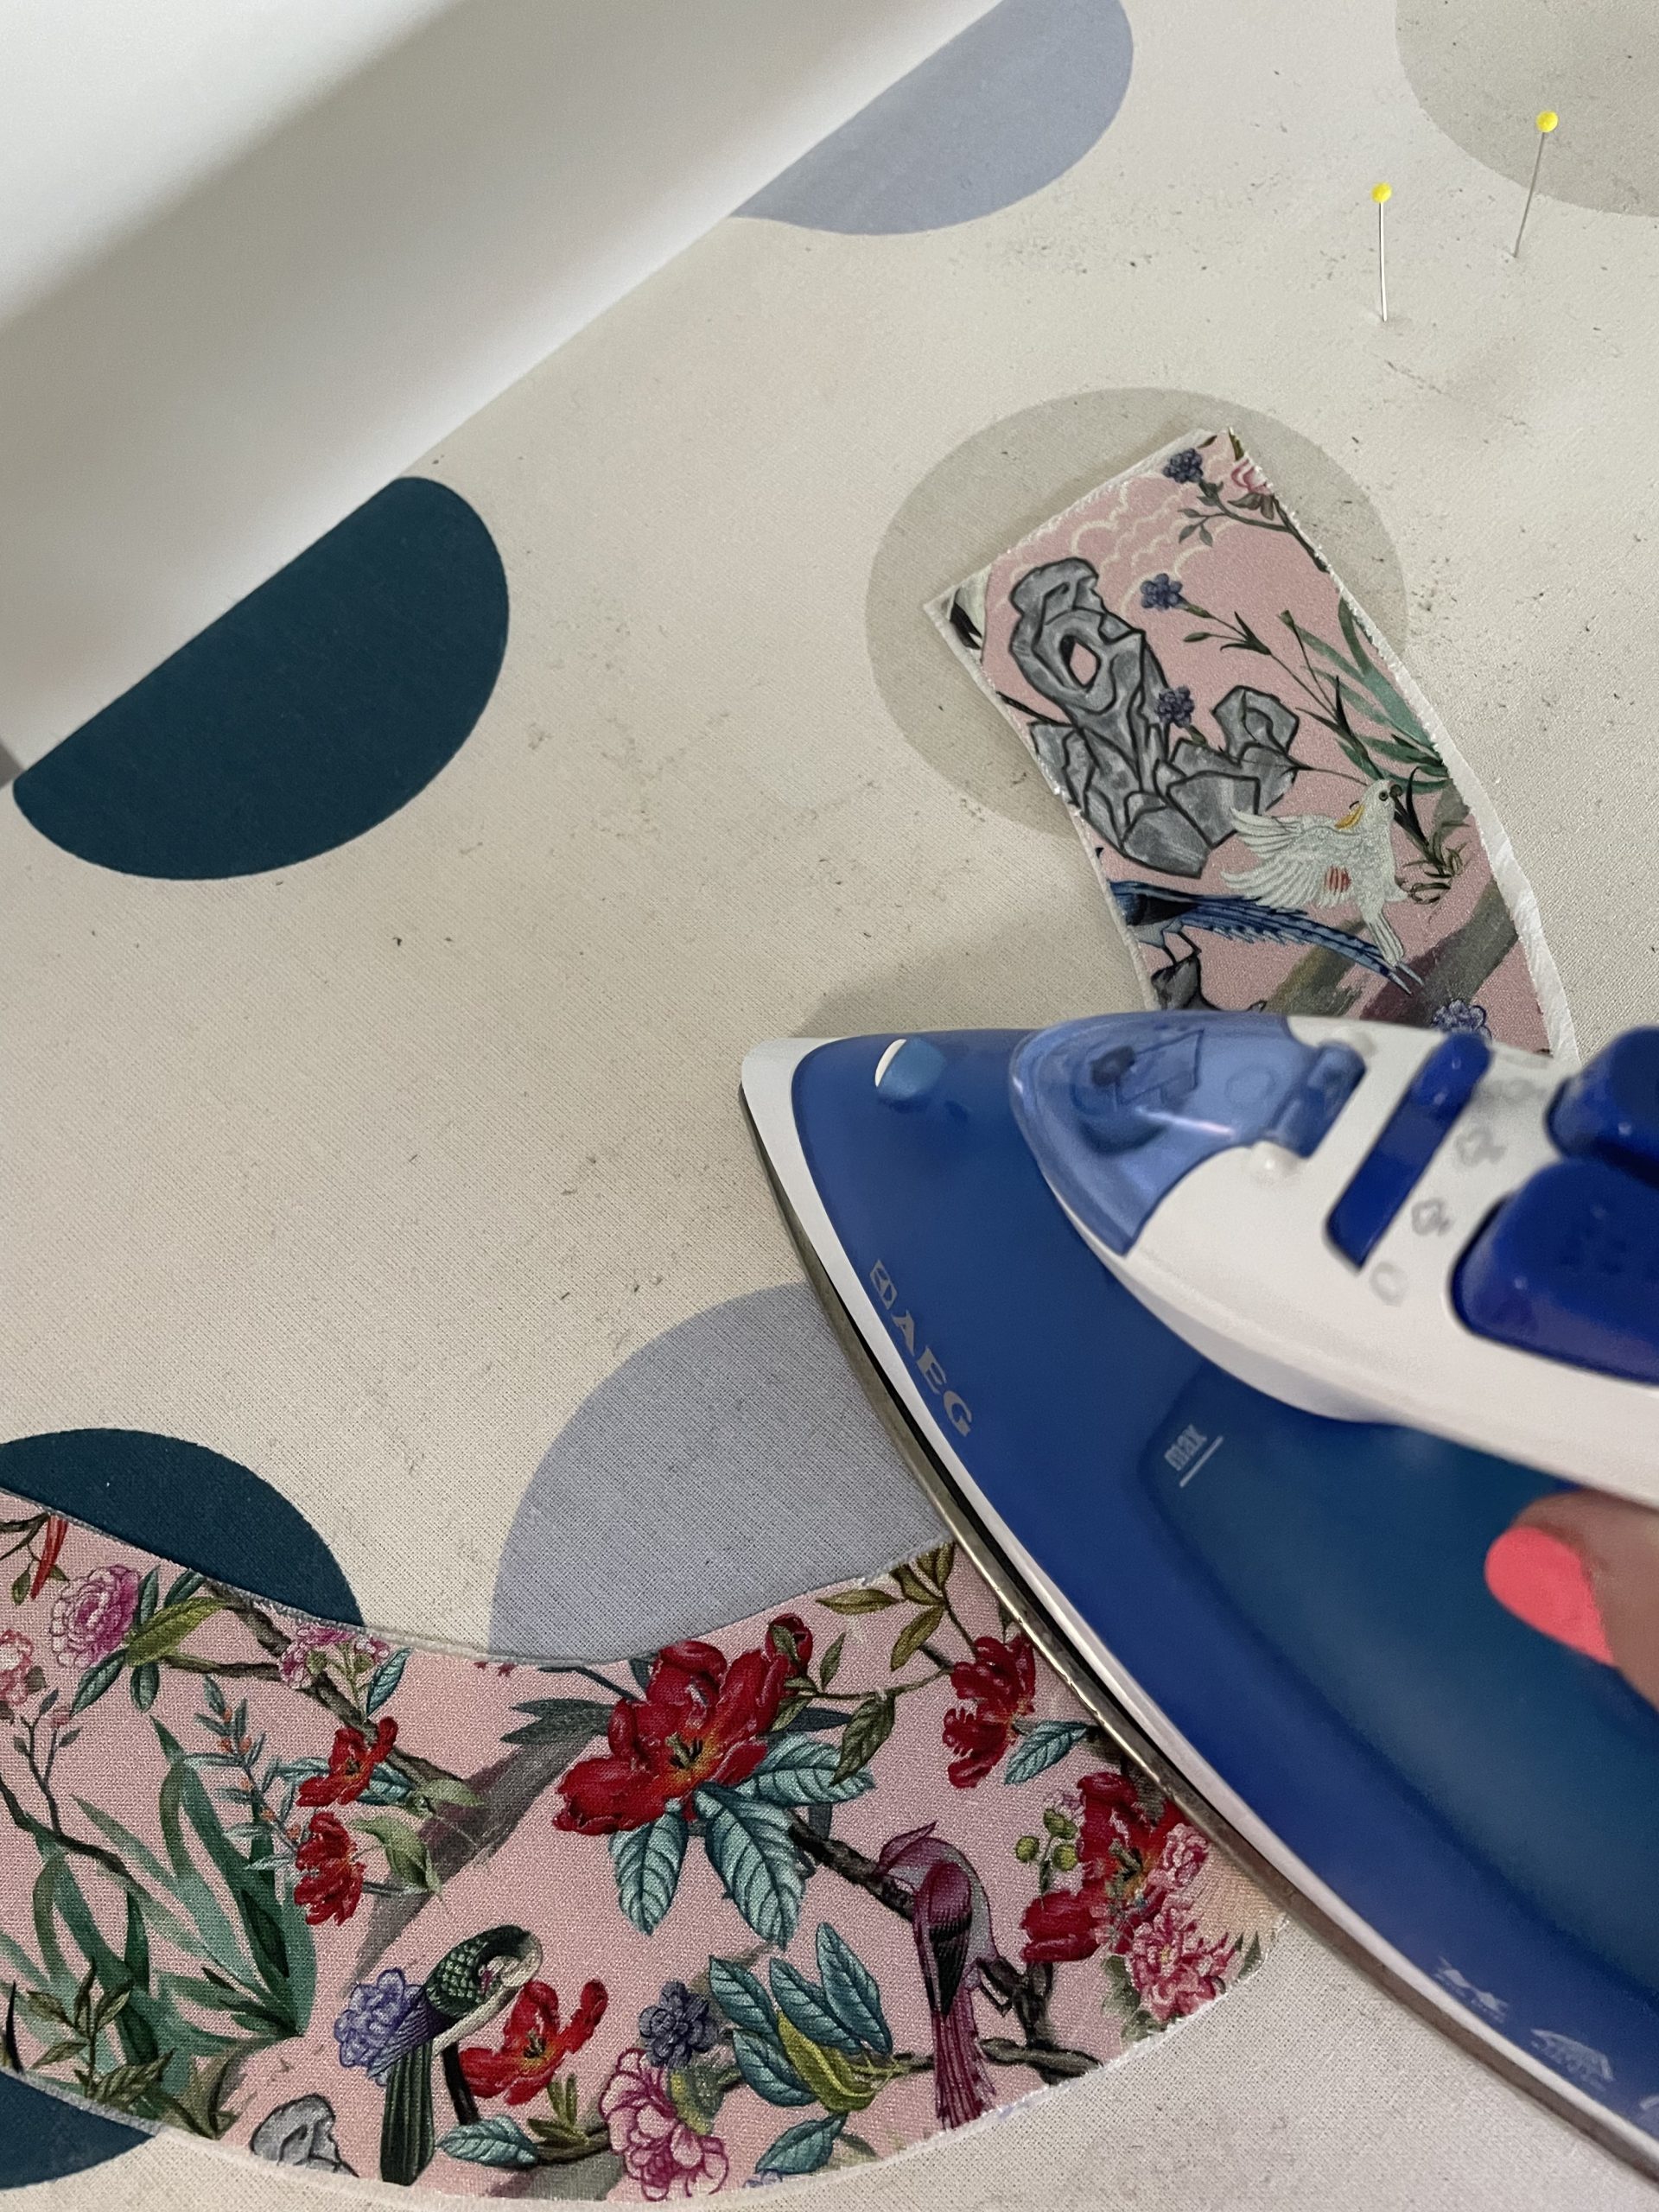
press on the right side of the fabric
Sewing the bust darts and shoulders
Let’s start sewing!
First job is to stay stitch the curve in the neckline on the front and back parts, Tips on how to do this are above under Tips!
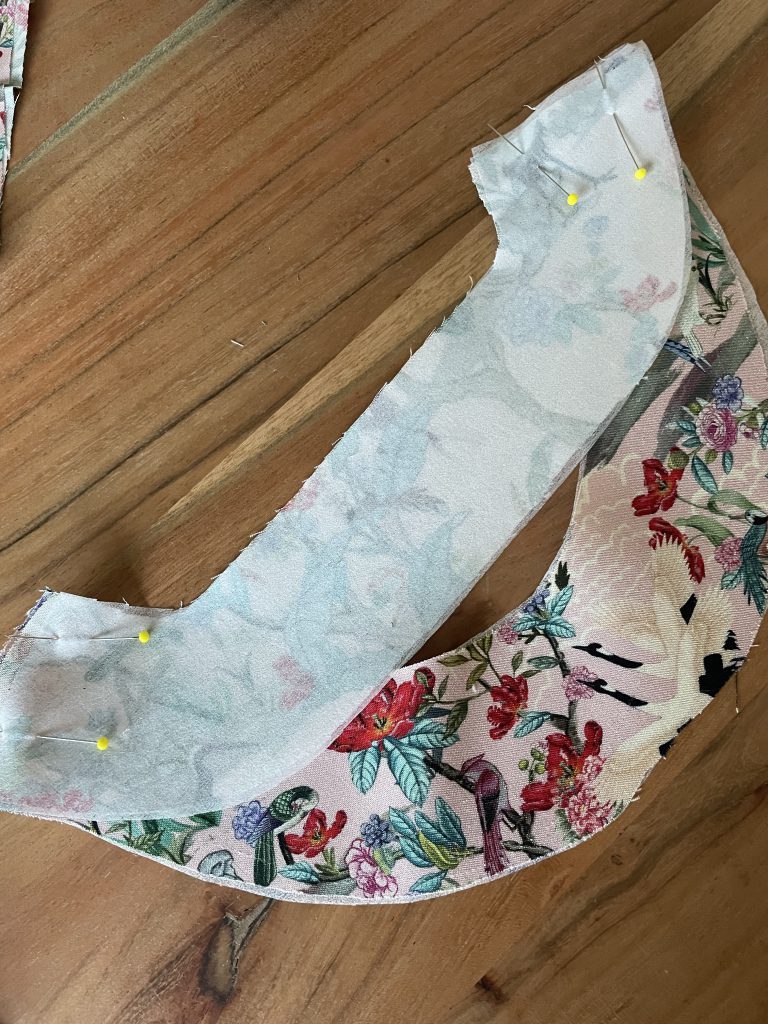
Next, sew the bust darts. Marking them firstly with the notch on the side seam and mark the point of the bust dart with a pin. Fold the fabric so the notches are aligned ( right sides facing) and then sew a diagonal line from the edge to the pin mark. knot the thread ends to prevent them from unravelling.
marked out bust darts
Press the darts downwards. Next job, the shoulders of both the back and front top parts and the facing.
Shoulder seams of the facing
Shoulder seams
Finish off the shoulder seam with a zig zag or a with your overlock machine and press towards the back
Attaching the facing to the neck line.
Press open the shoulder seams of the facings and finish the outer edge with an overlock or a zig zag.
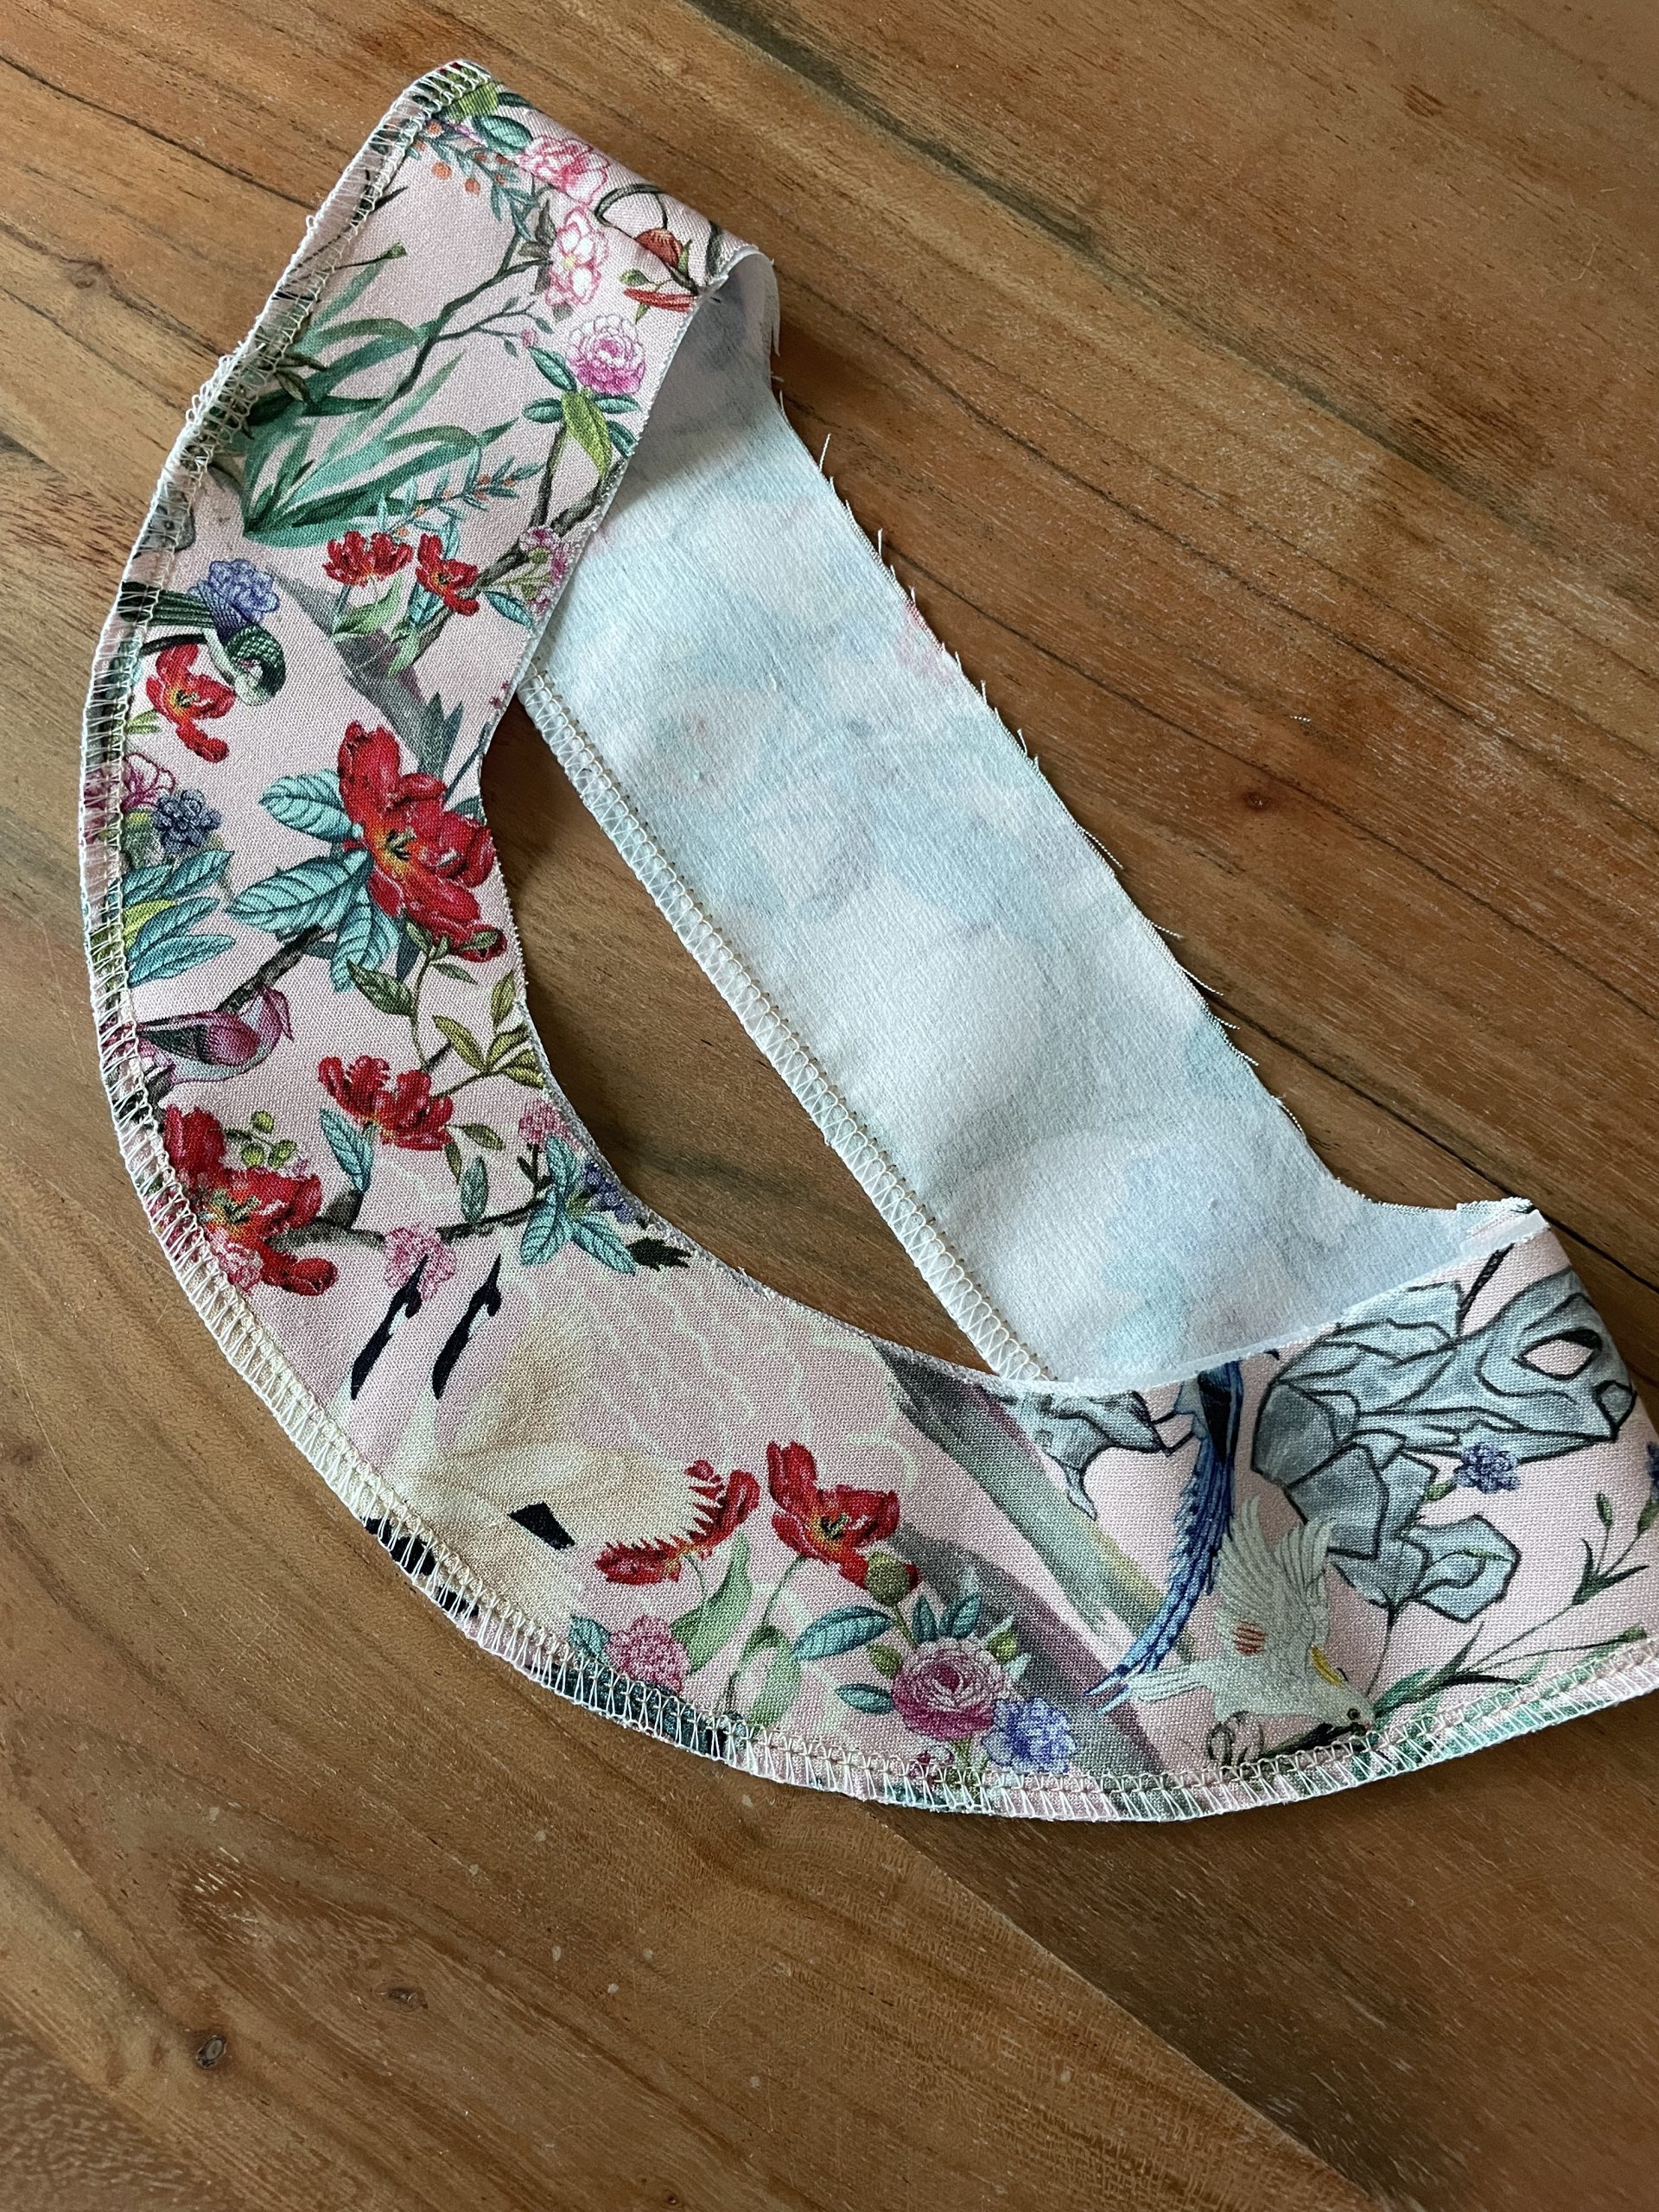
Finish off the outer edge of the facings.
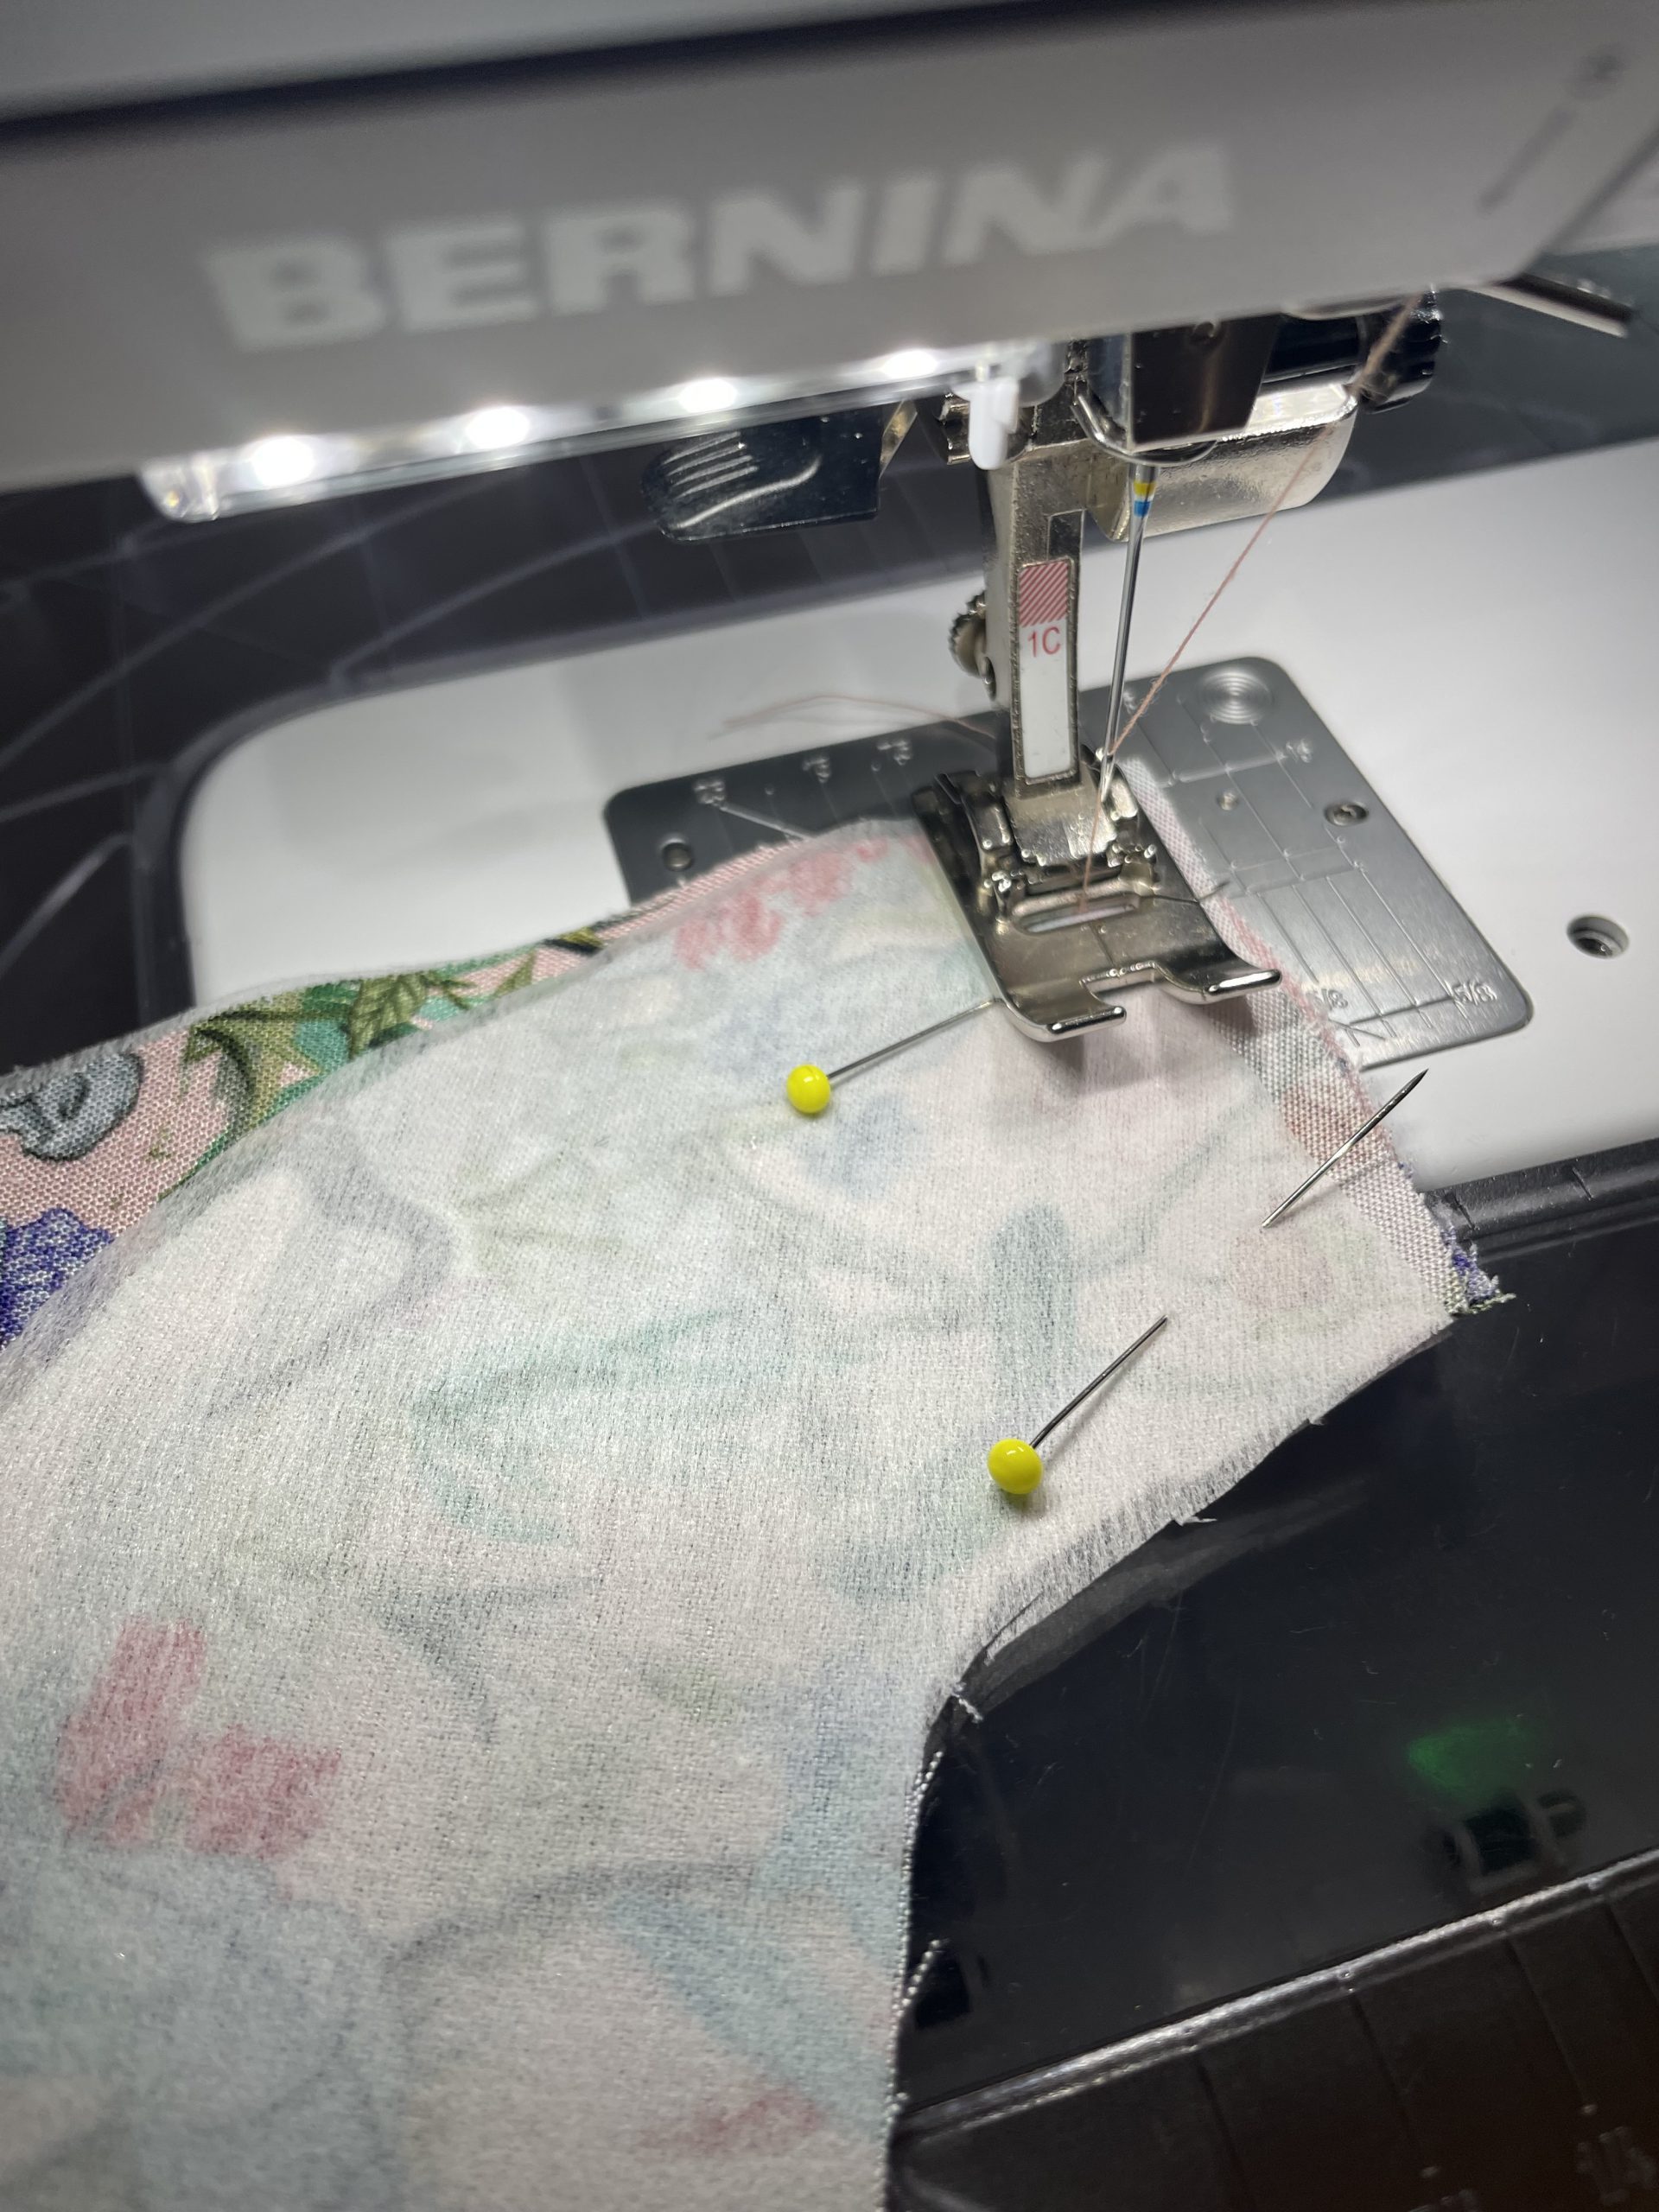
To attach the facing to the neck line, open out the front and back off the top and lay the facing right sides together. Matching up the shoulder seams and using a lot of pins therefore holding the two parts steady.
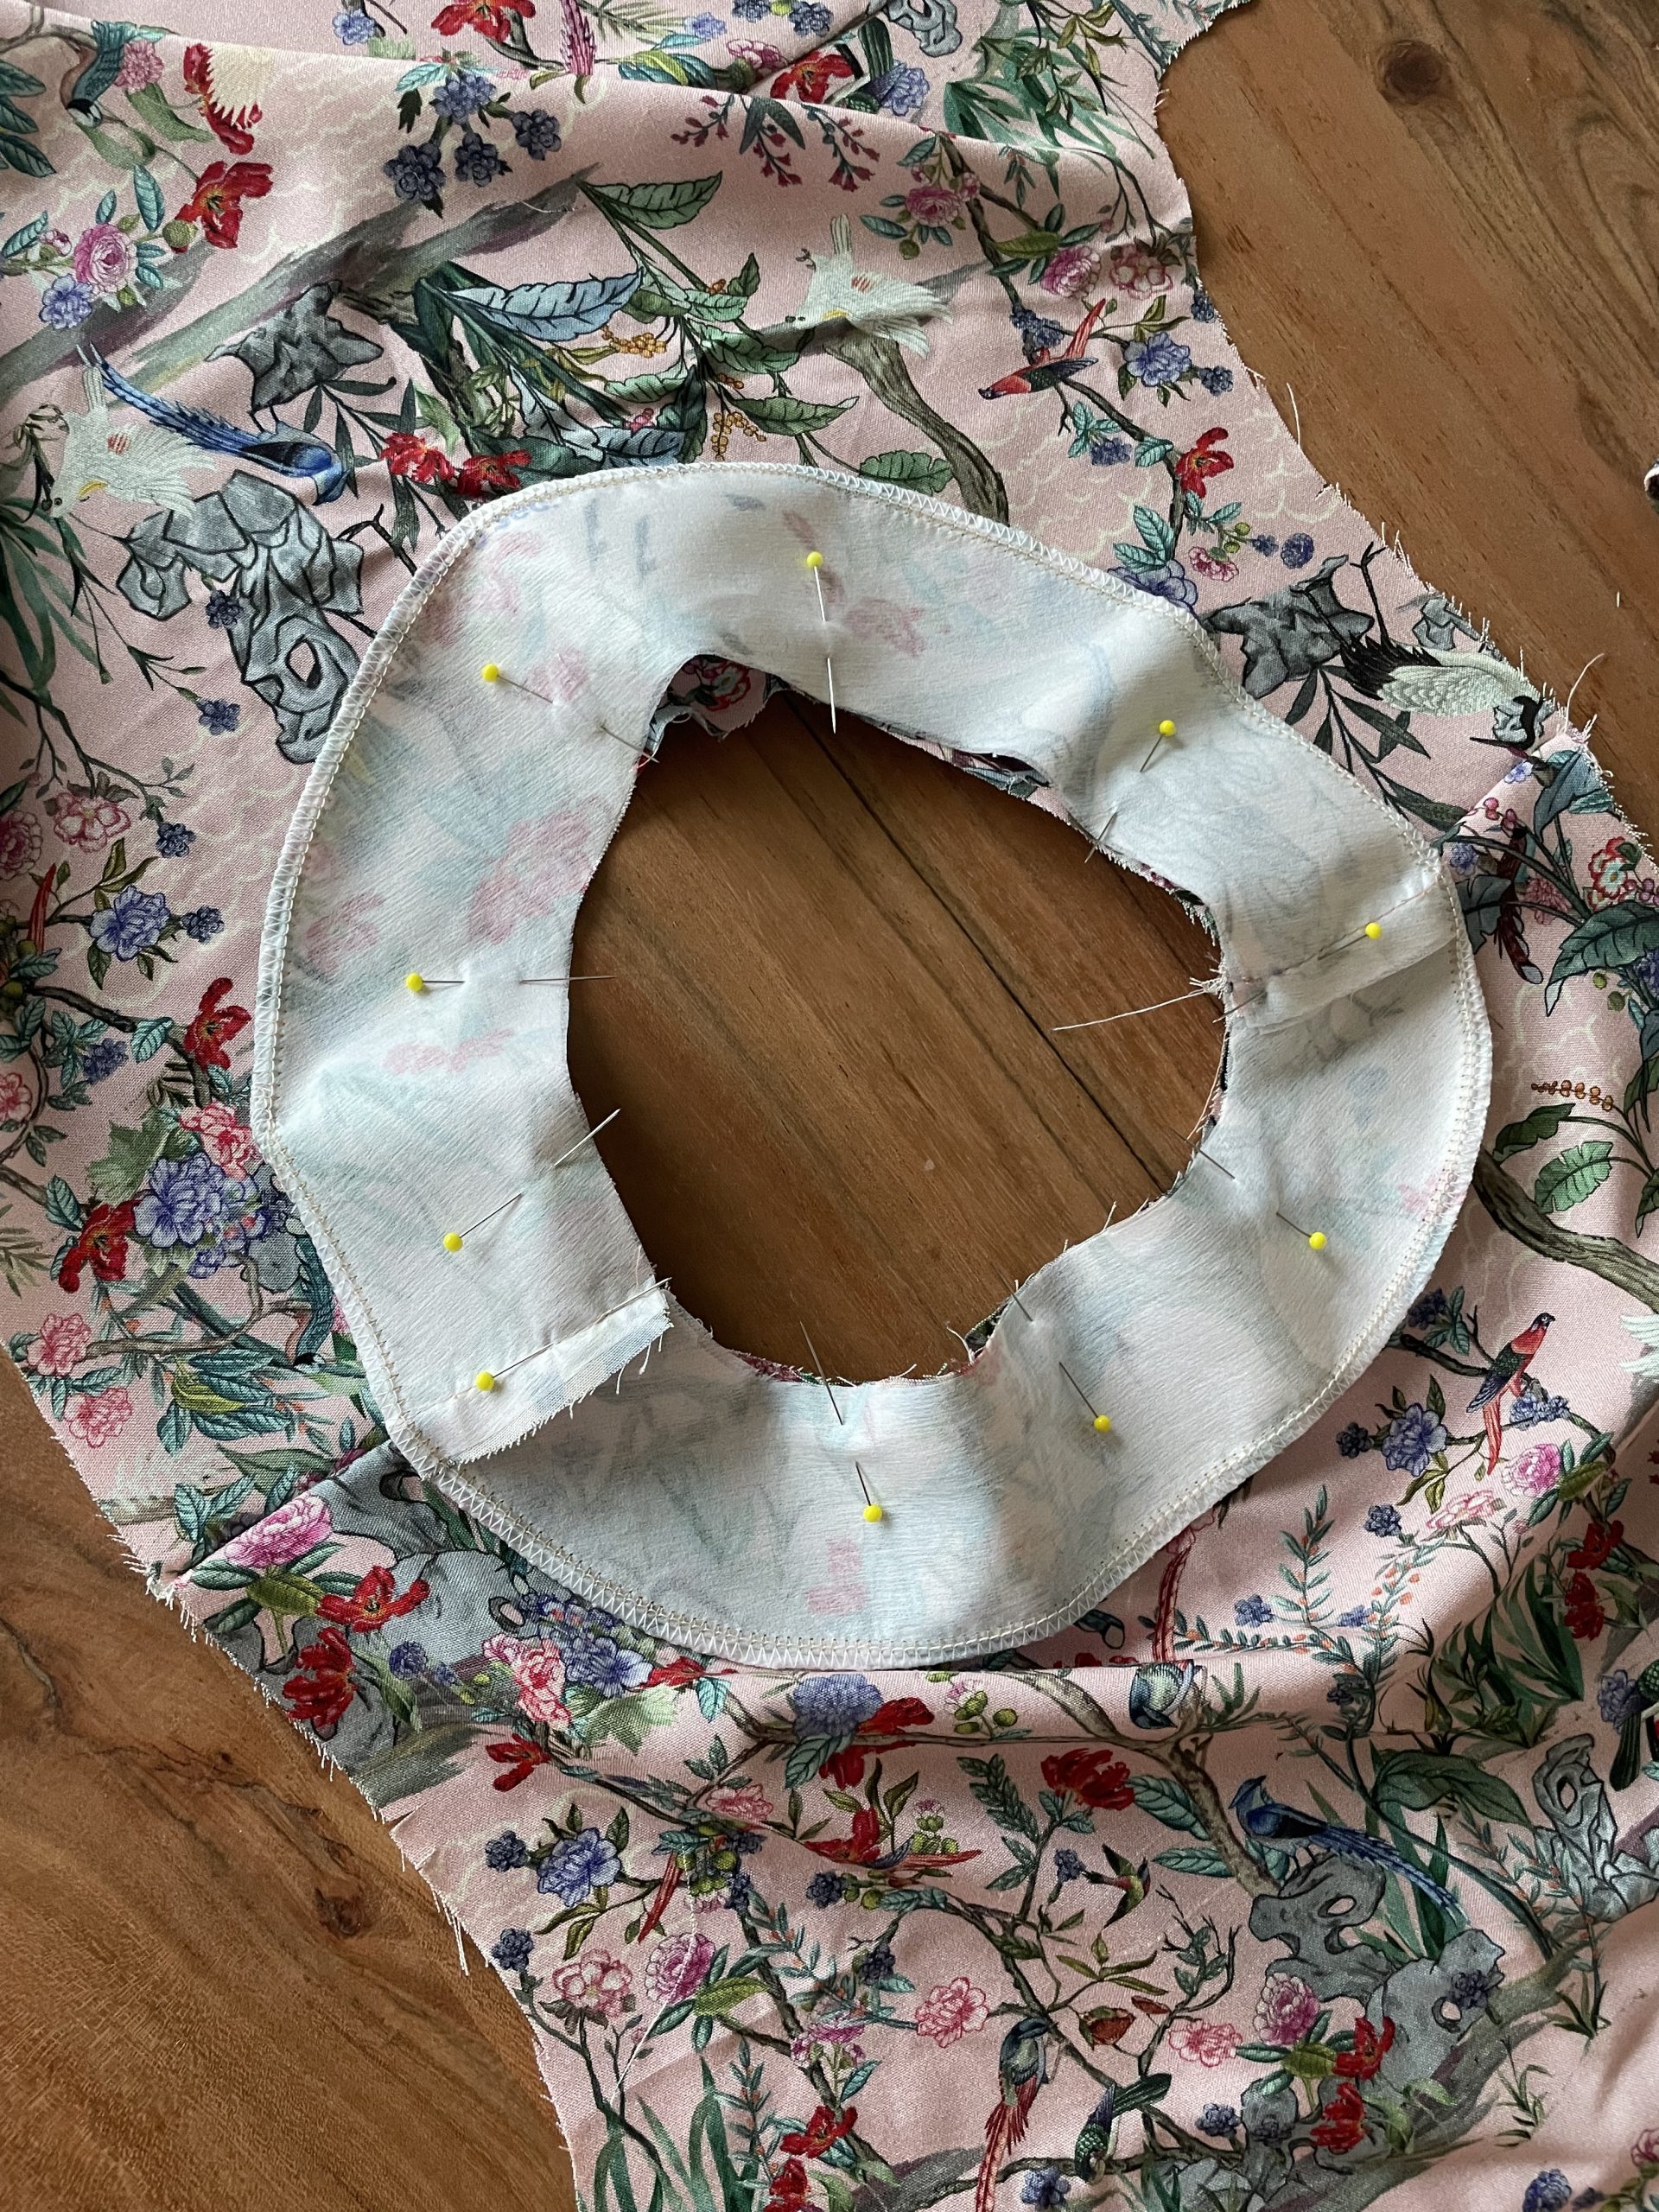
pinning the facing to the dress
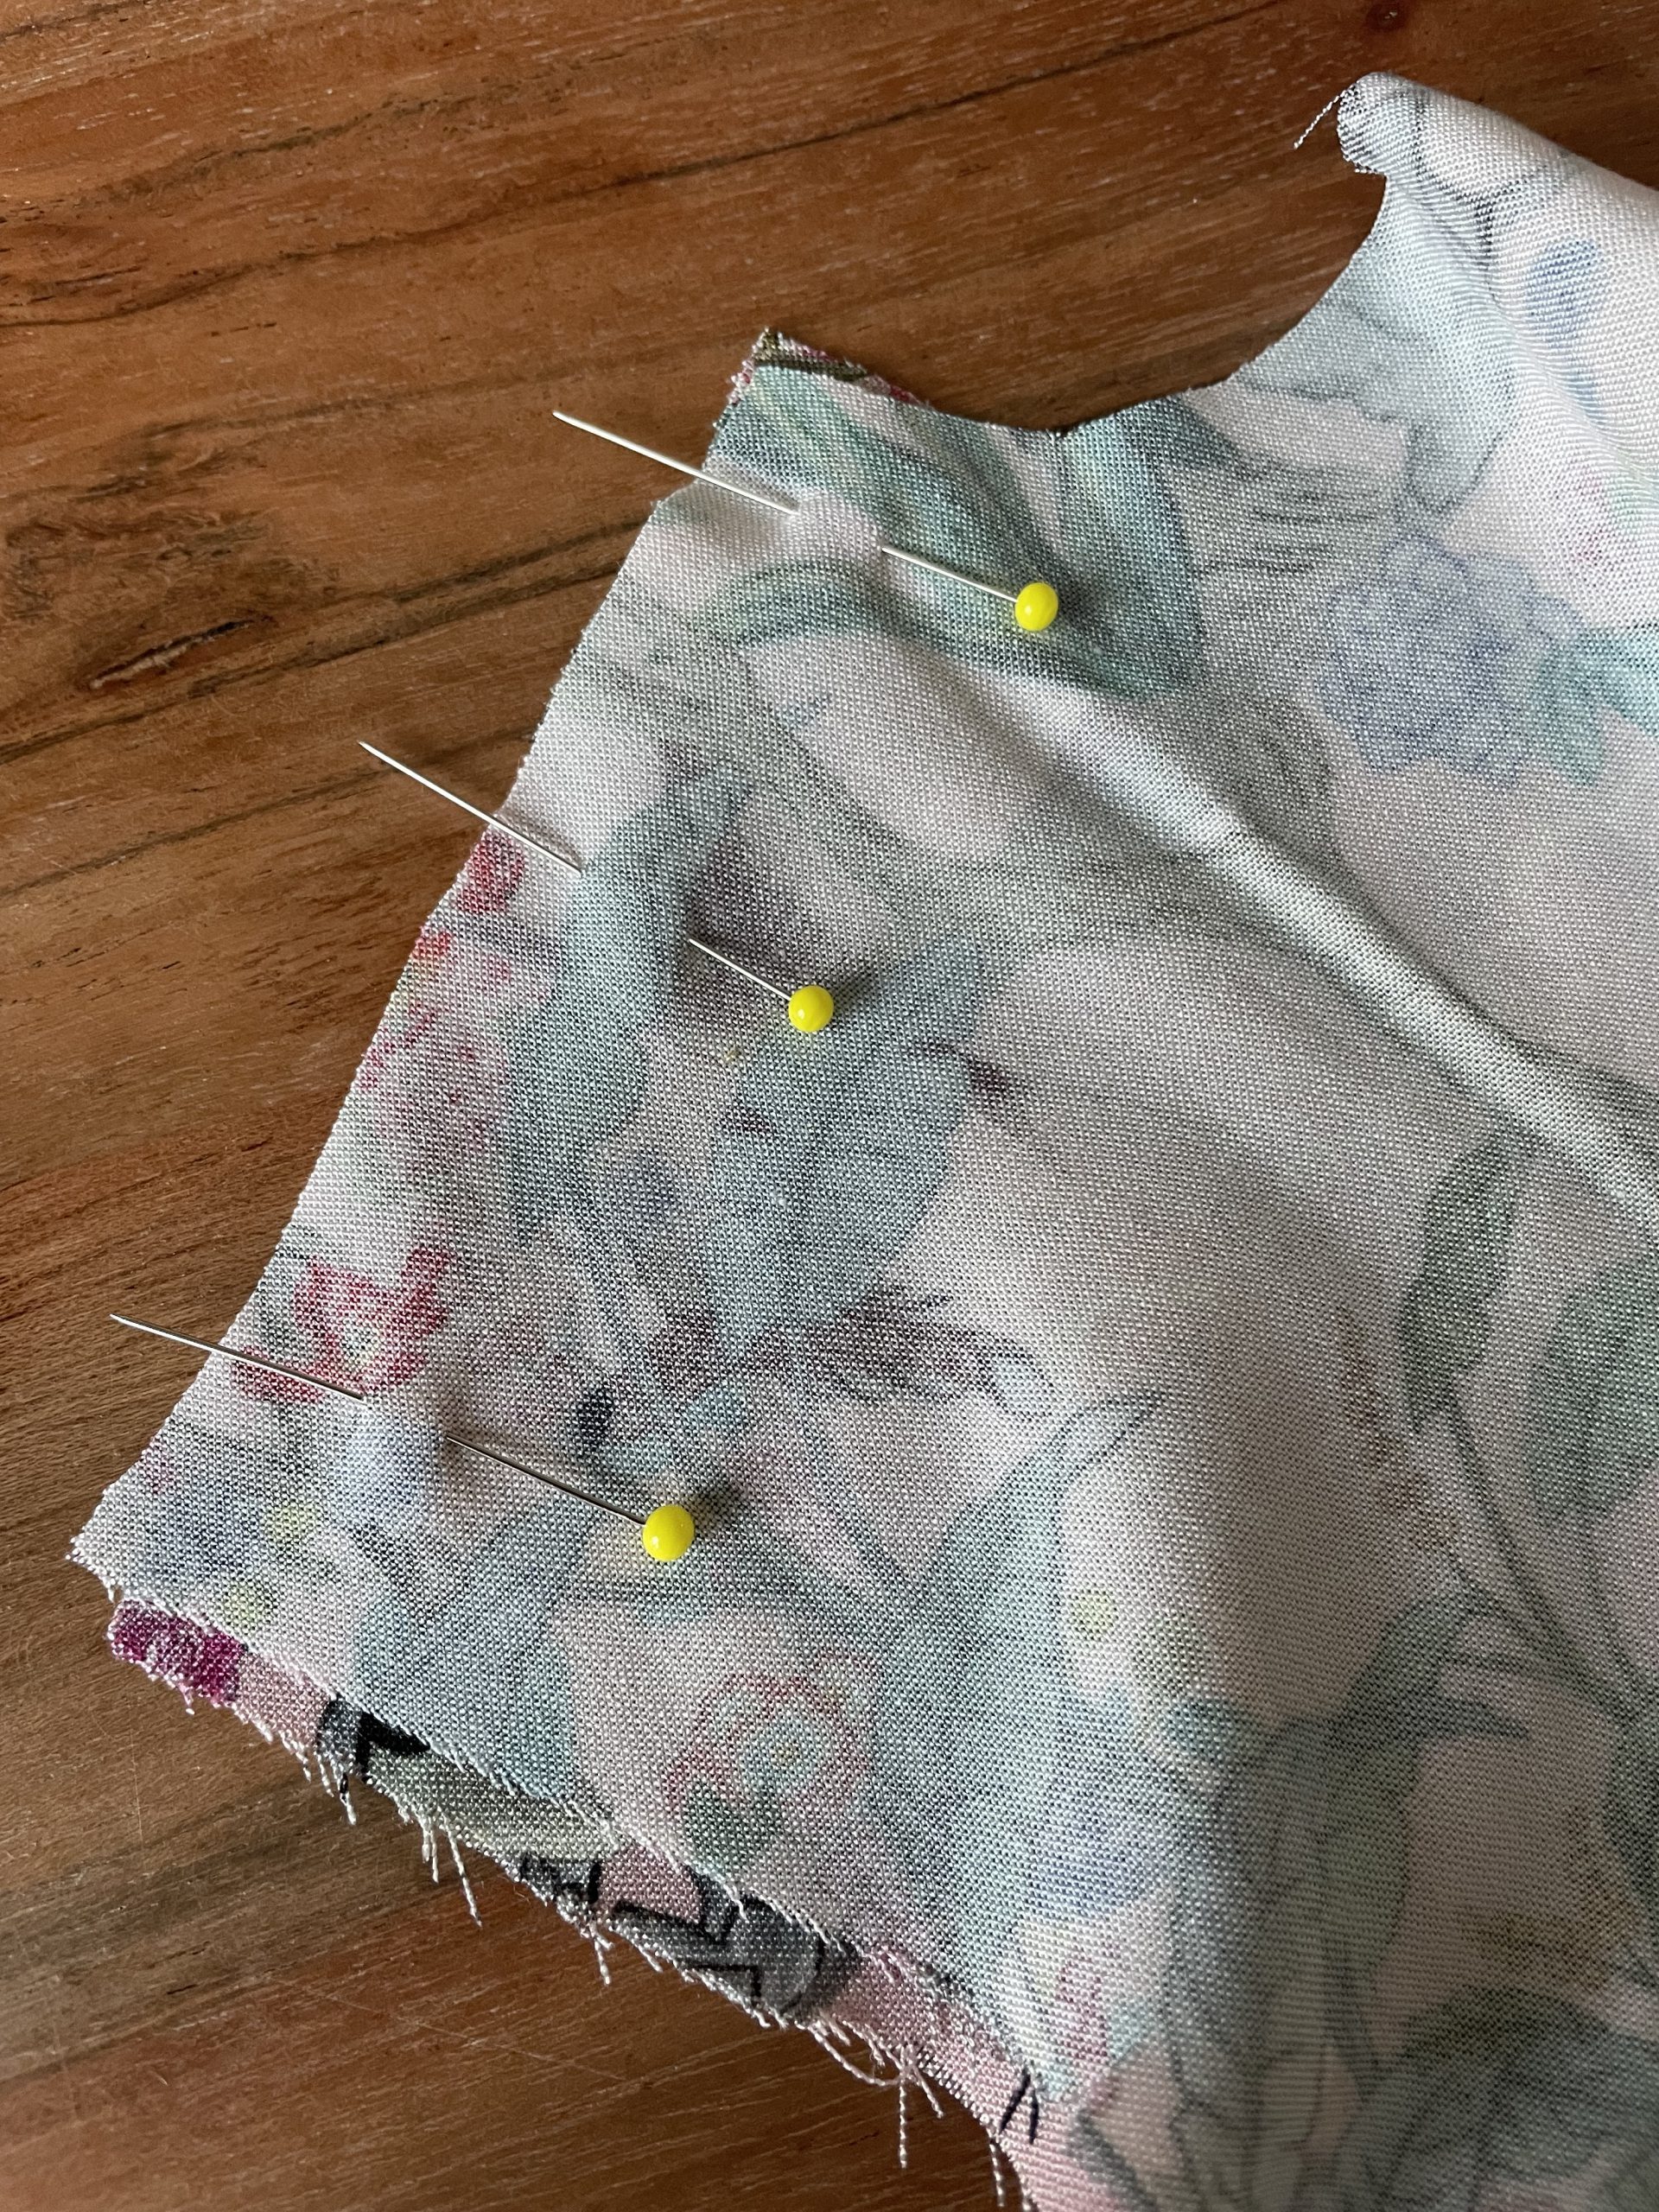
Sew the facing all the way around the neckline with a 1cm seam allowance. Once sewn, snip into the curved edges to help the neckline to sit flat, as seen below.
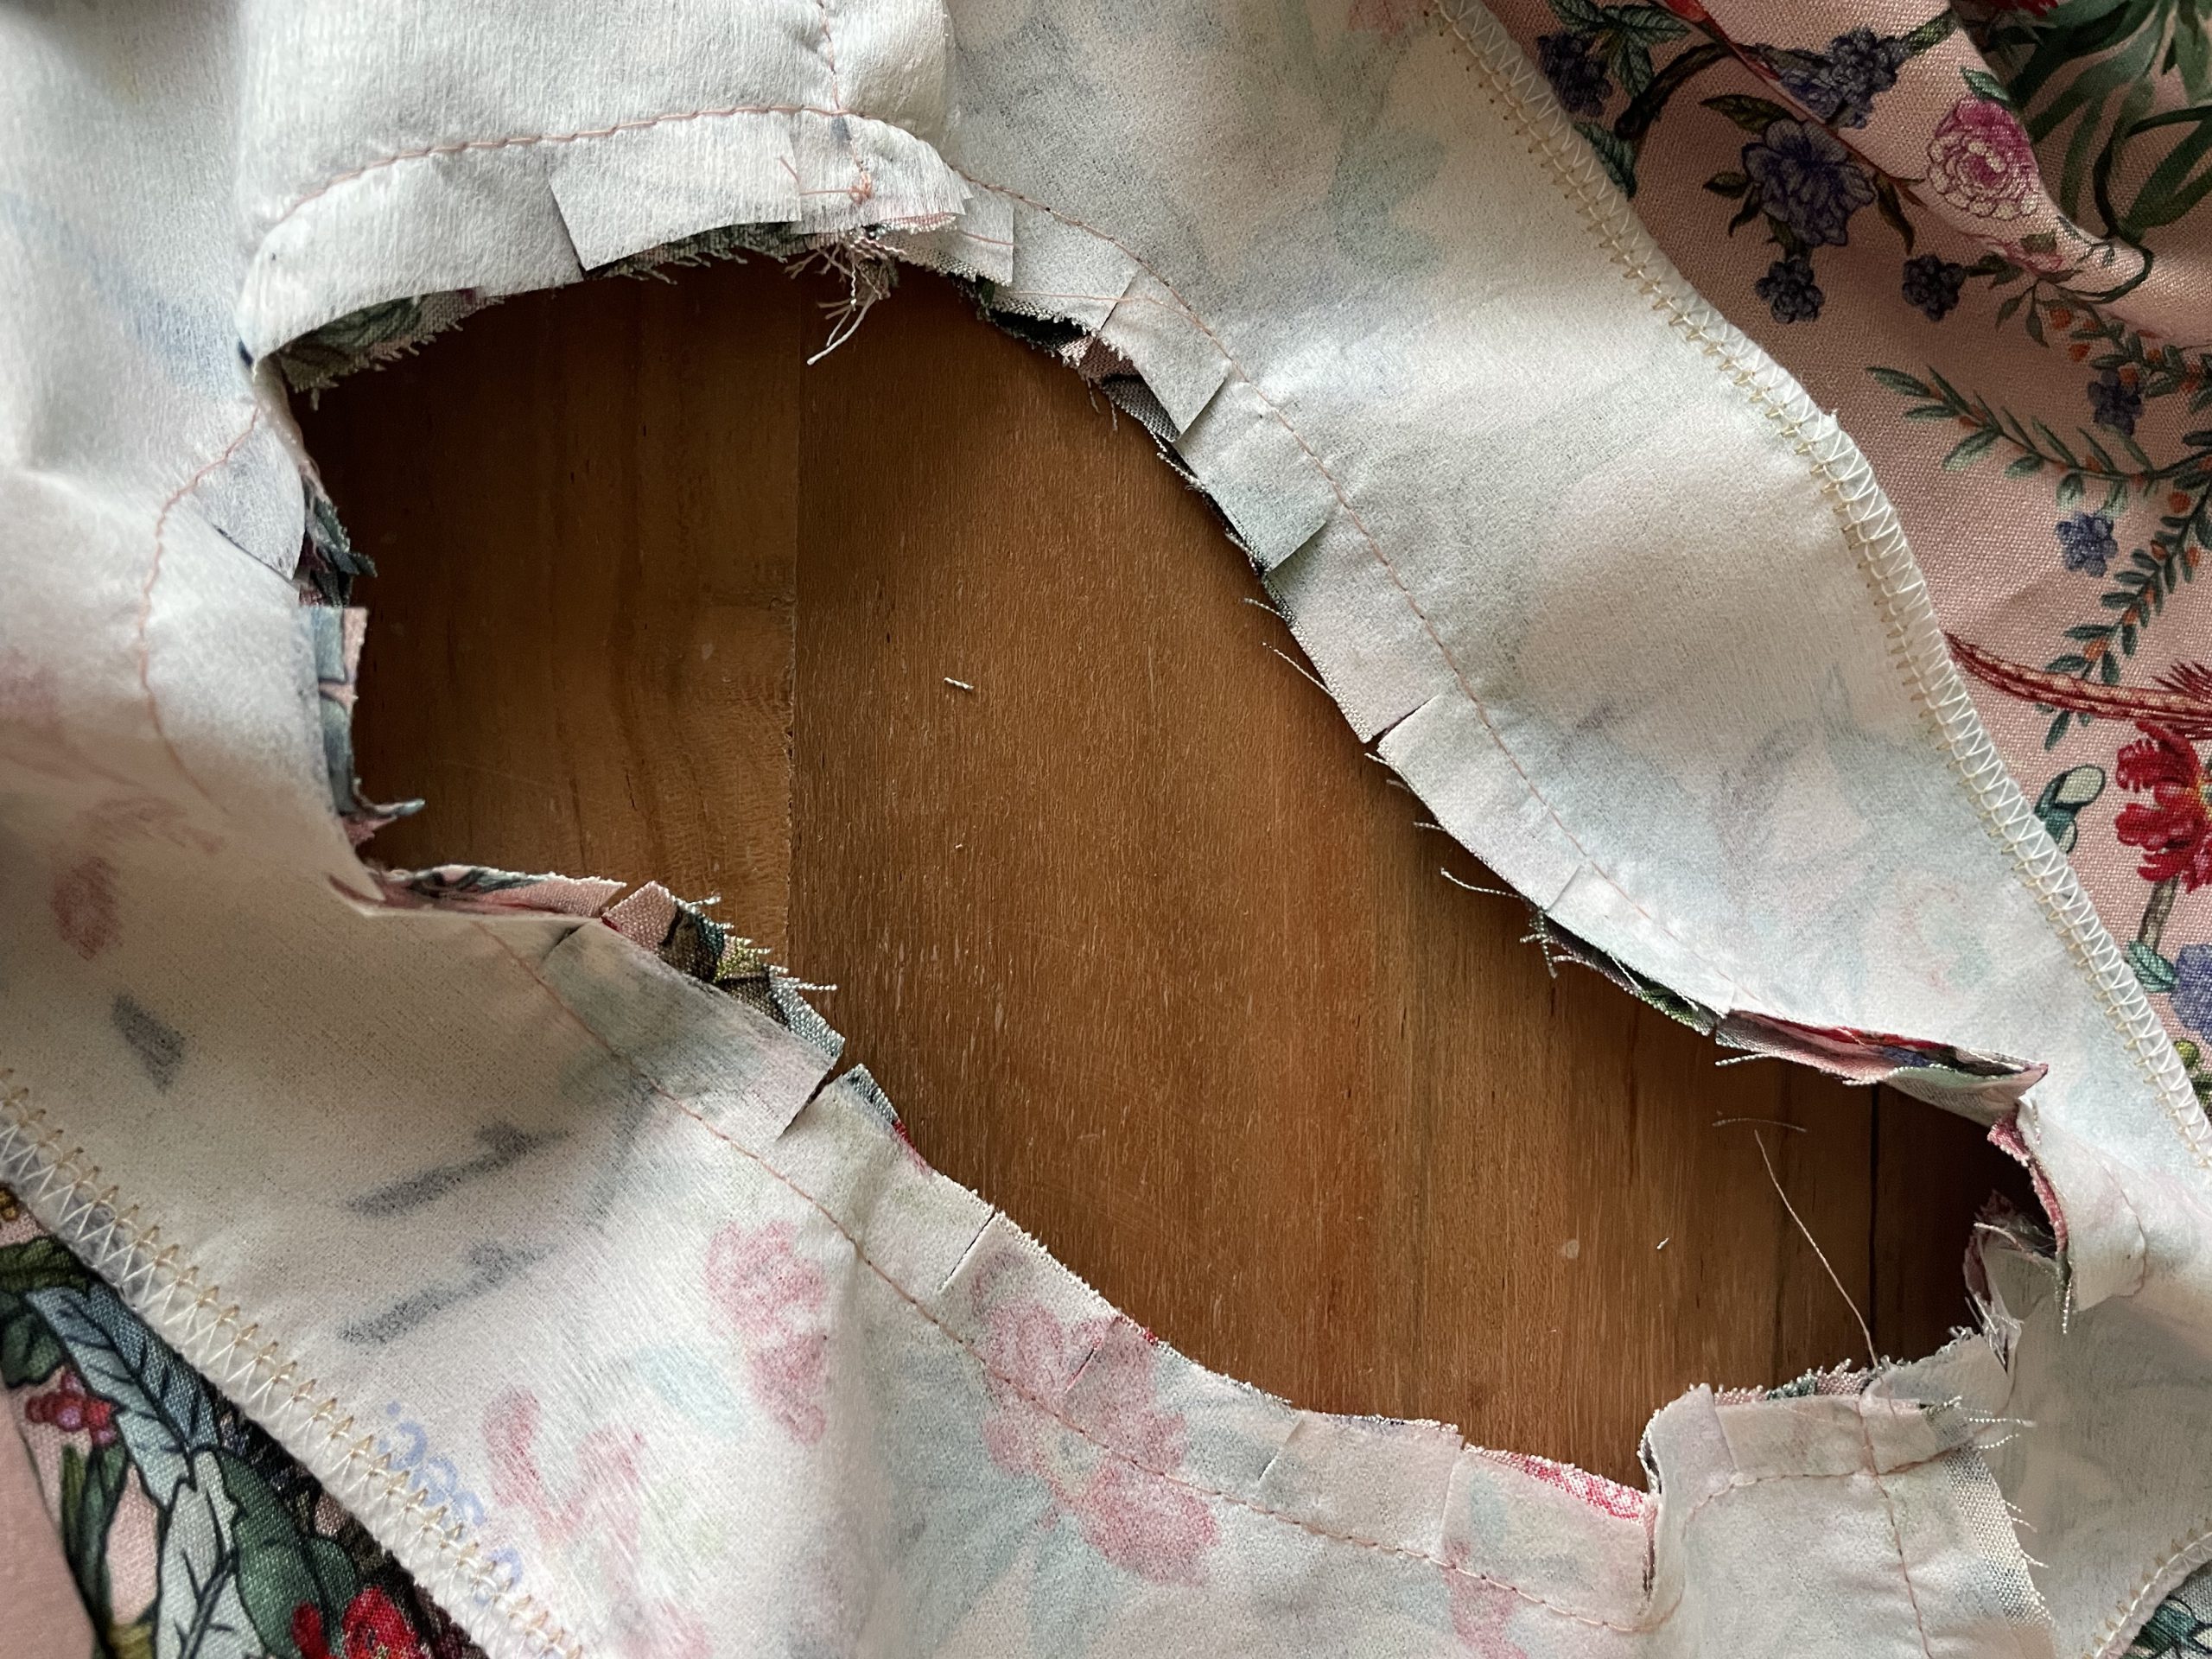
snipped neck curve
Press the facing and seam allowance away from the bodice and under-stitch the seam allowance to the the facing. This generally helps the facing stay inside the garment and not poke out!

under-stitching the facing
Now close the side seams and your bodice ( without arms is complete) Hurrah!!
Pin and sew your side seams together
Sewing the Sleeves
I tend to add the sleeves at this stage, I like to have the bodice complete before moving on to the skirt!
First step is to add the gathering to the sleeve head. Set your machine to the longest stitch length and sew 2 parallel rows between the notches on the pattern, at this stage, please dont backtack, and leave a nice long thread.

sewing 2 parallel lines between the notches to the sleeve head
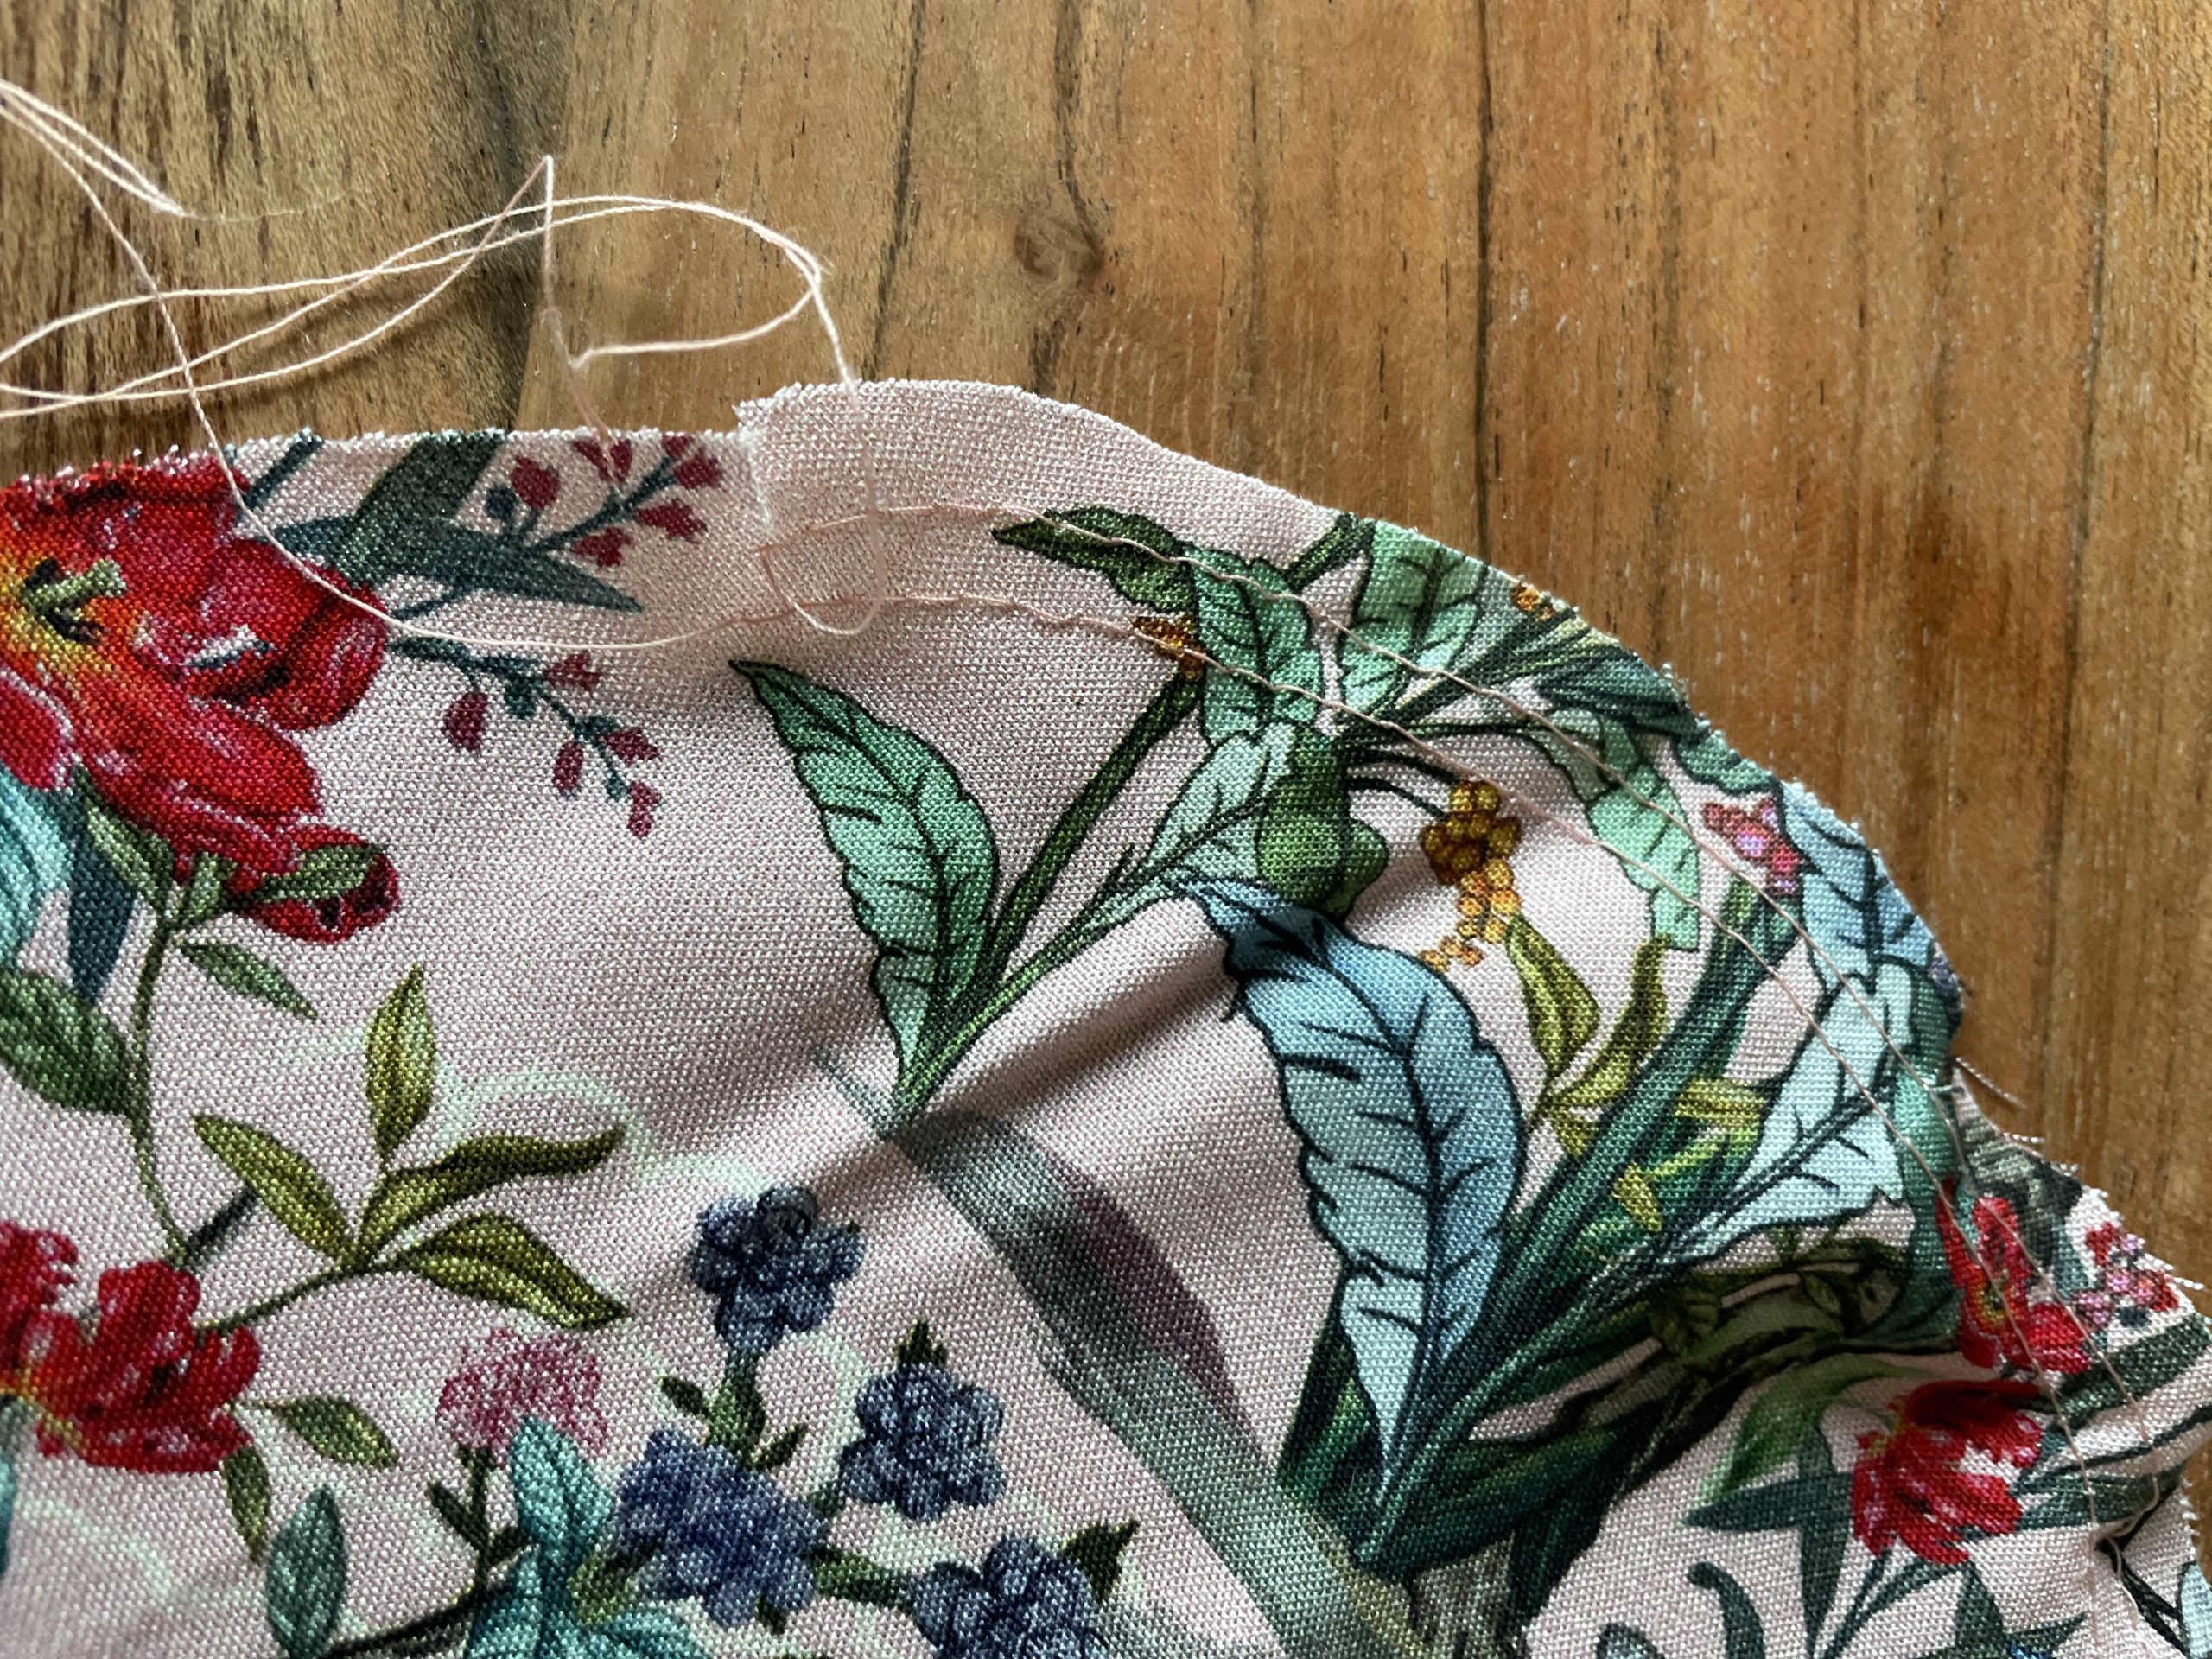
long end threads for pulling on! to create the gather
Pull the top 2 threads gently and gather the fabric. The gathered length can be adjusted when attaching the sleeve to the bodice.

gathered sleeve head
Next stage, sew the along the length of the inside sleeve right sides facing and neaten off the seam allowance.

always use lots of pins to prevent the fabric from slipping
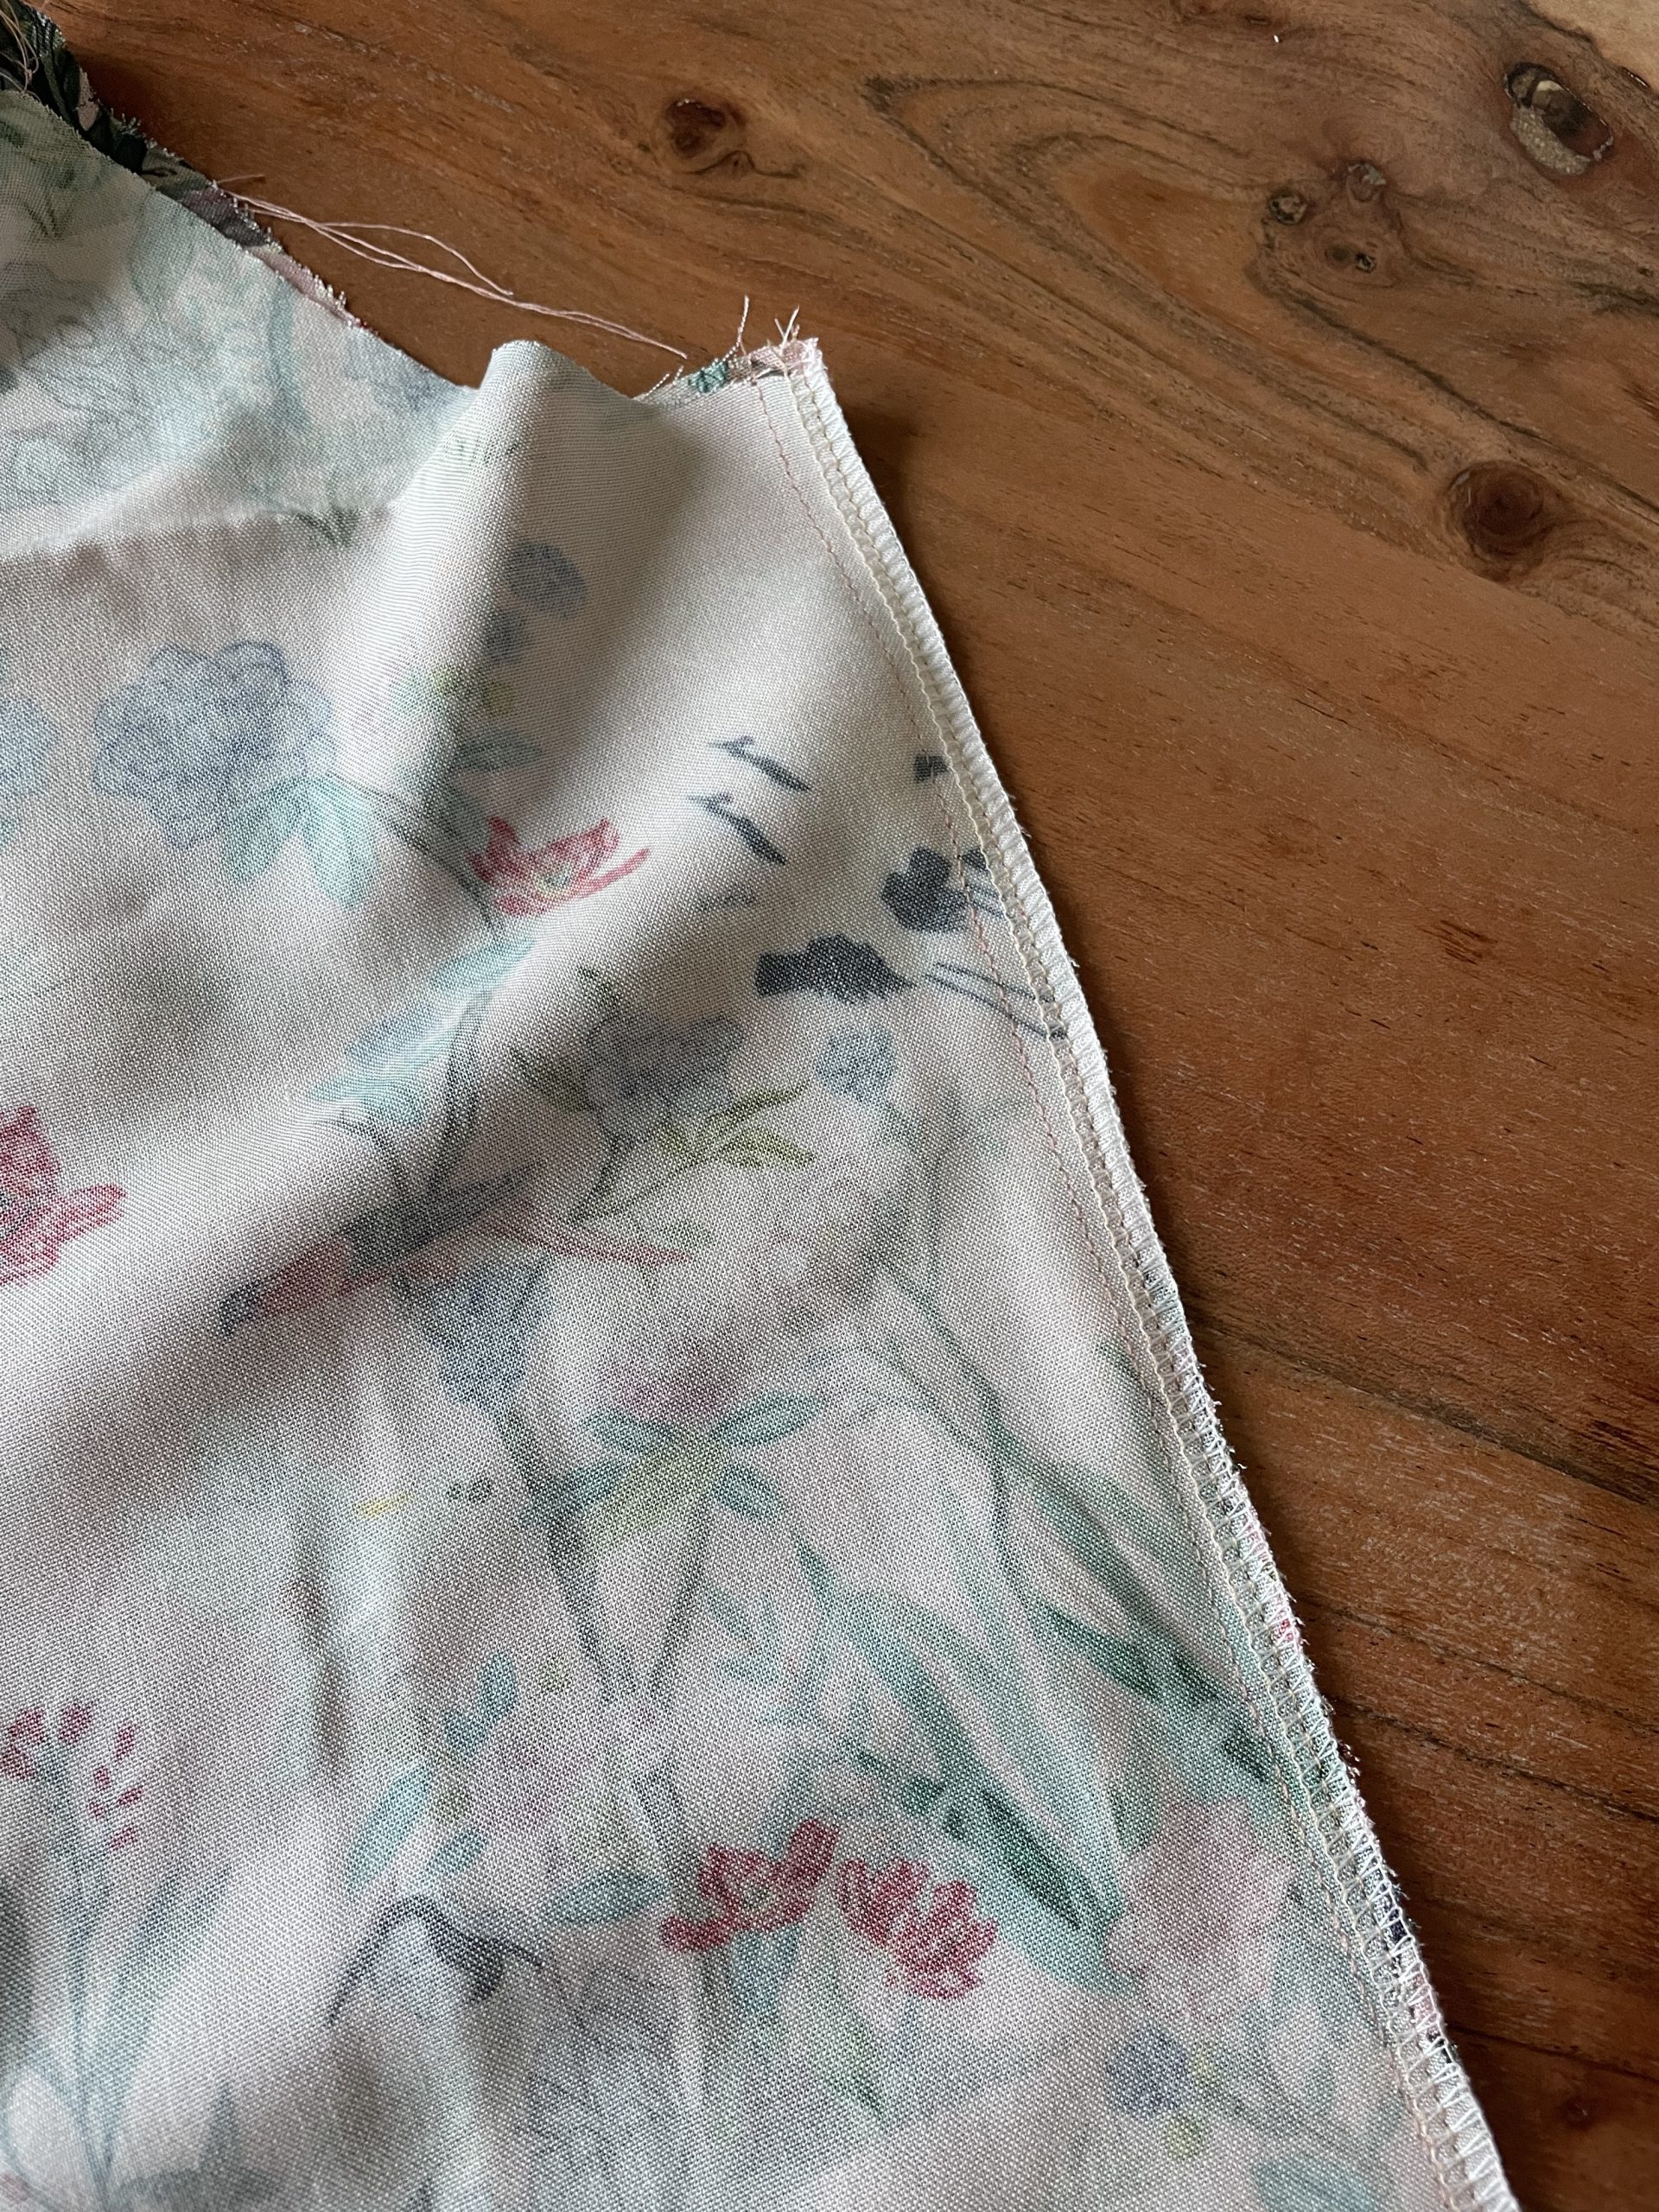
finish of the sleeve seam
Coming soon…
Keep an eye out for my second part of this blog. Next time, I’ll be showing how to add the sleeve to the bodice, add the skirt and ruffle and pockets.
for more inspiration of sewing, please take a look at Eversewme


Very helpful tutorial. Nice idea& good design. I like
Thank you so much
This is a great tutorial, easy to follow, given me inspiration to get sewing. Thank you, loving it.
Thank you so much, next instalment is coming soon!