 BERNINA Corporate Blog -
For my next Bernina project, I am very happy to present you the following post:
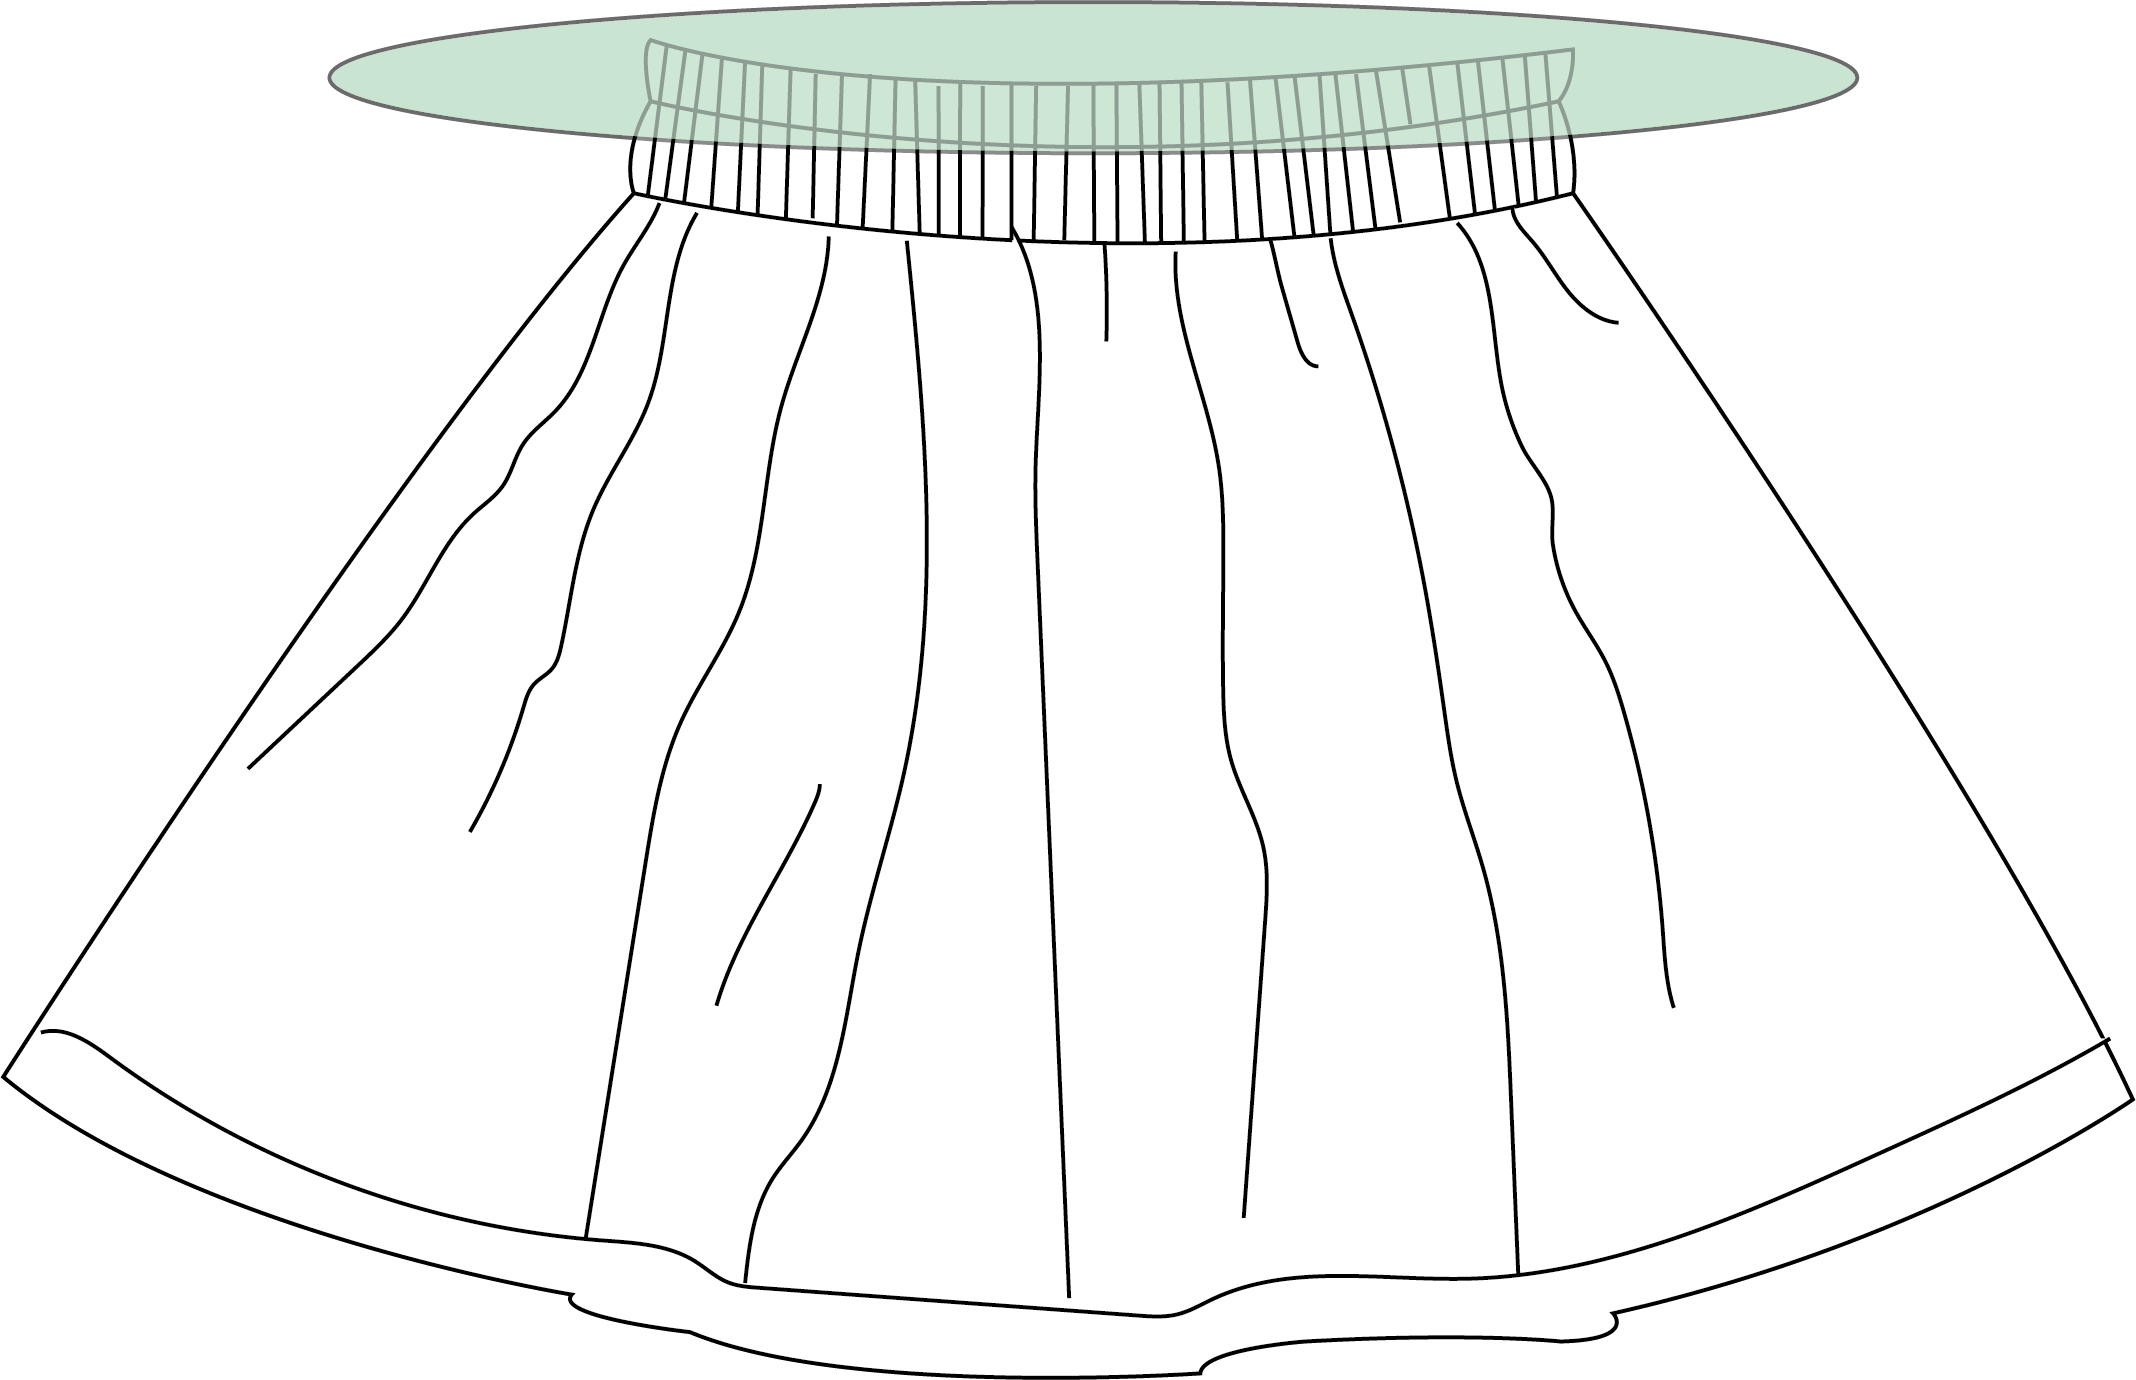
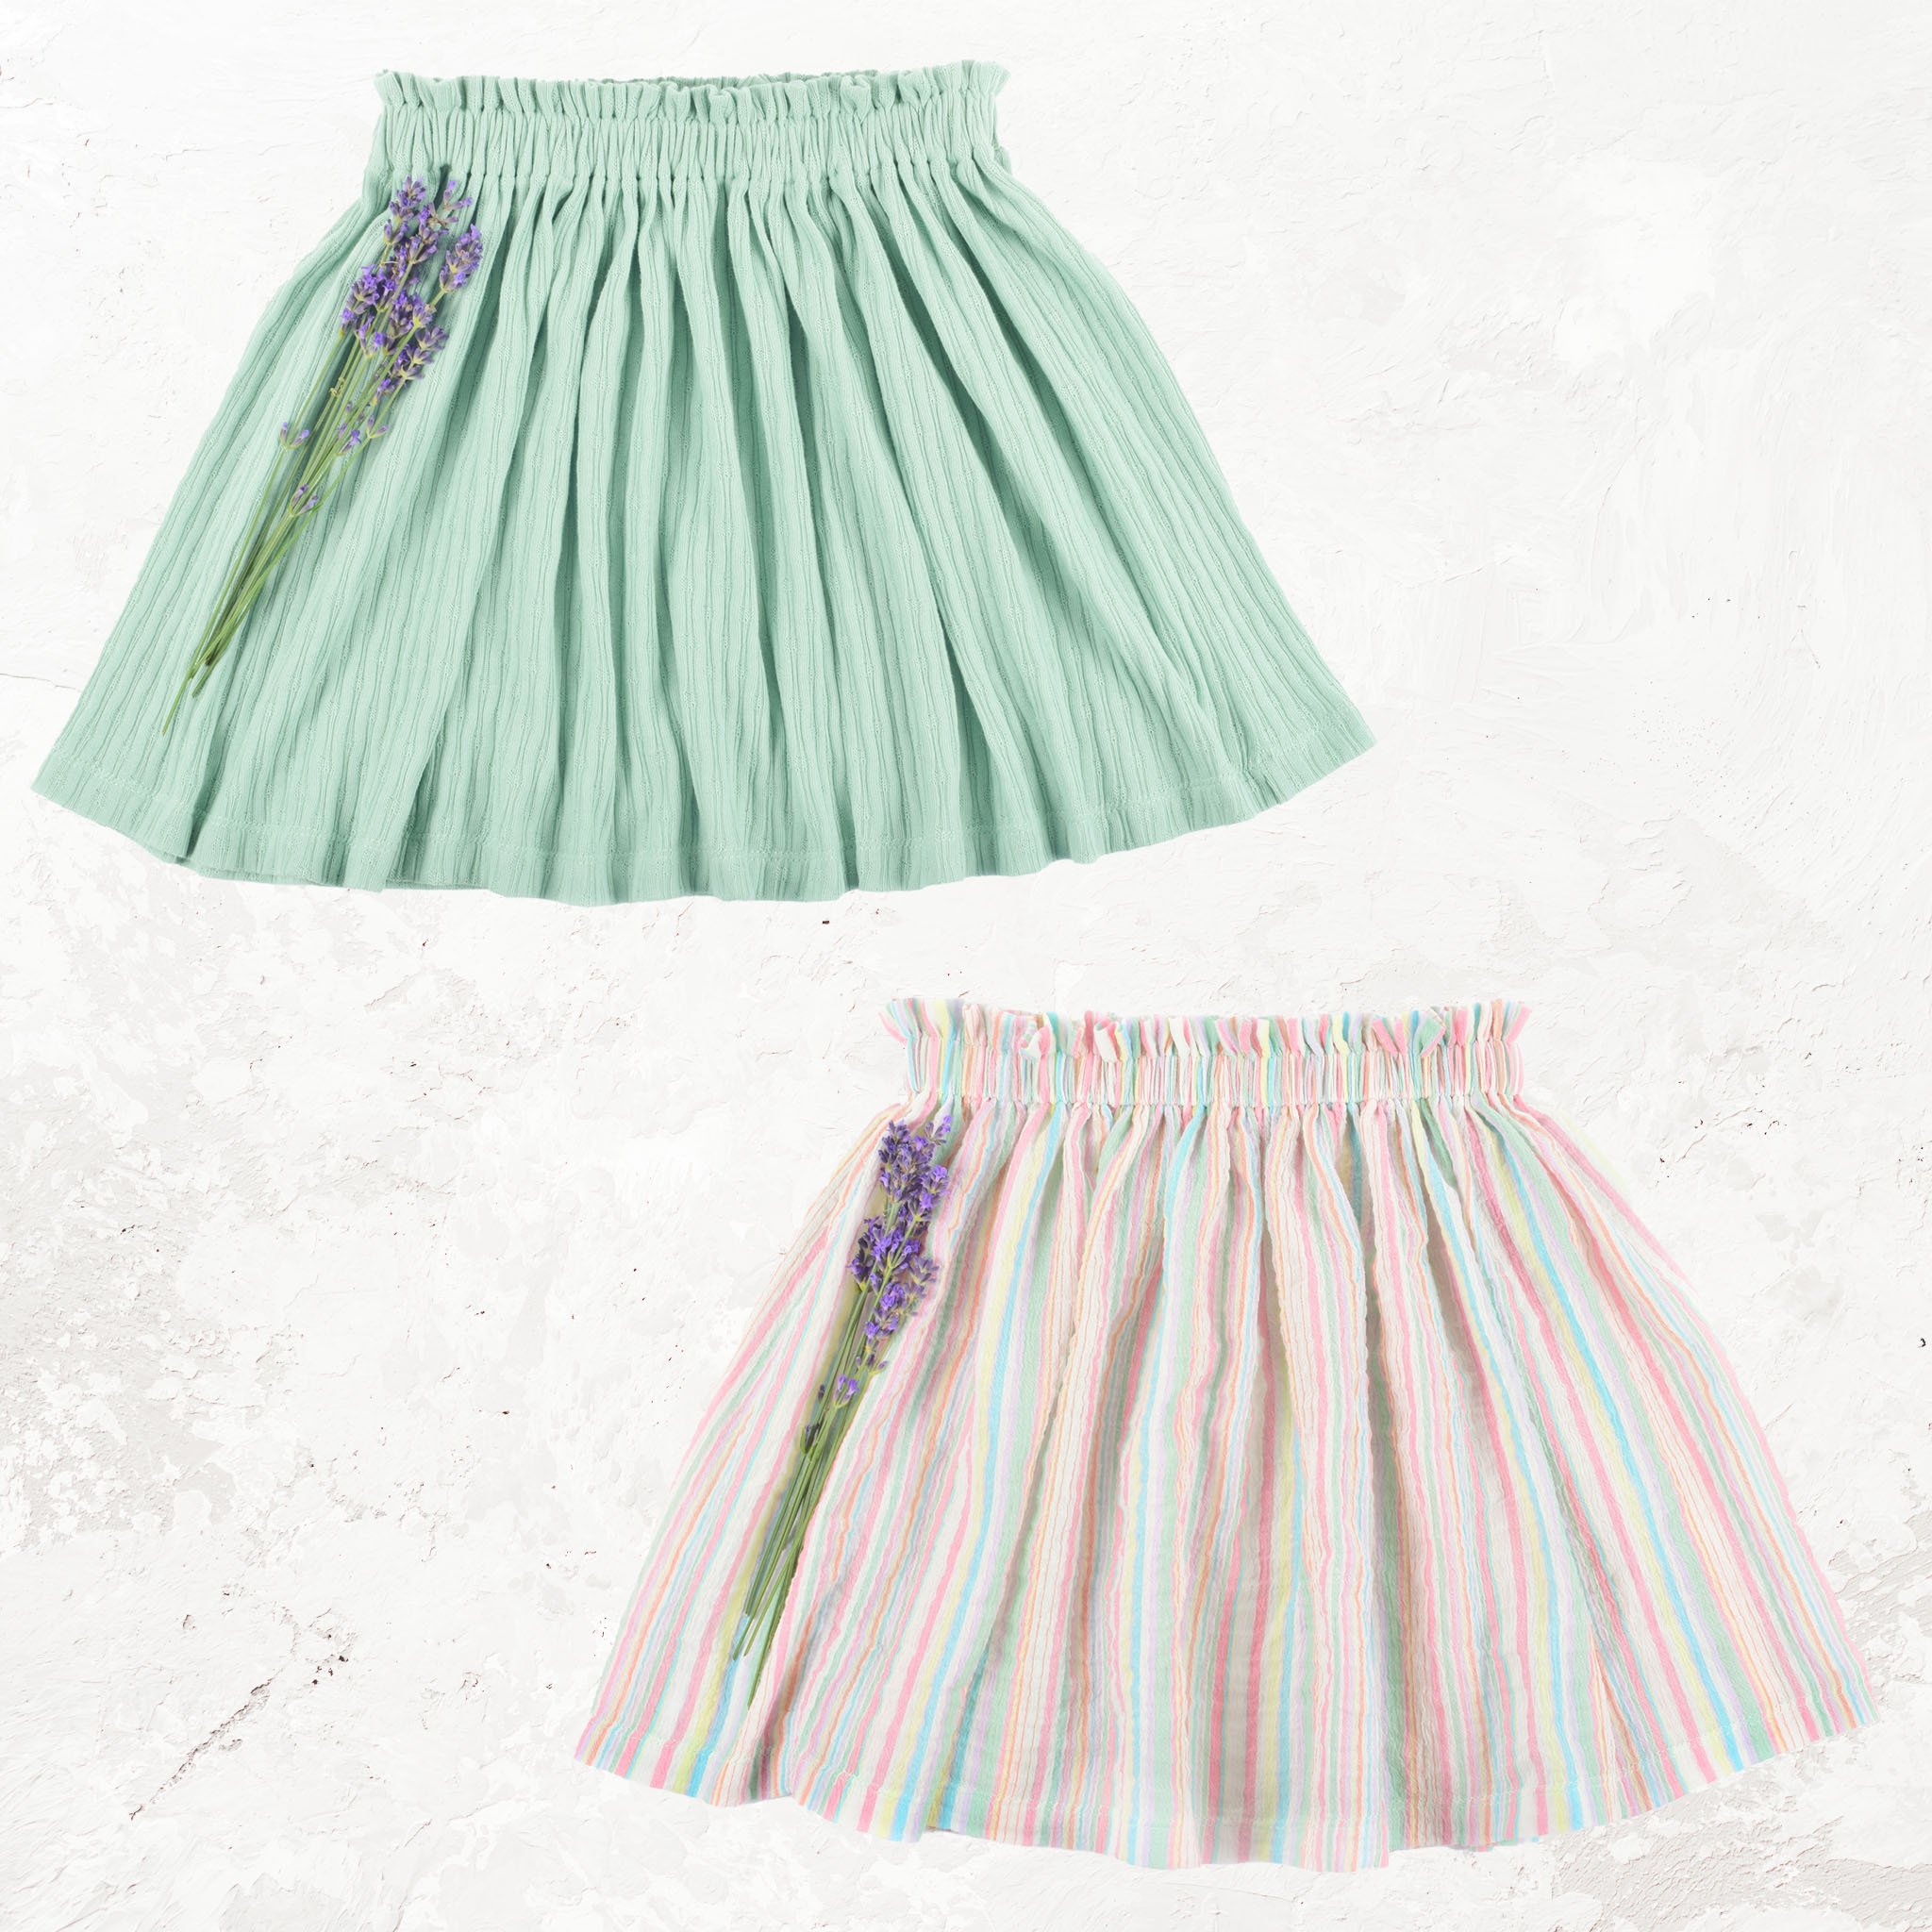
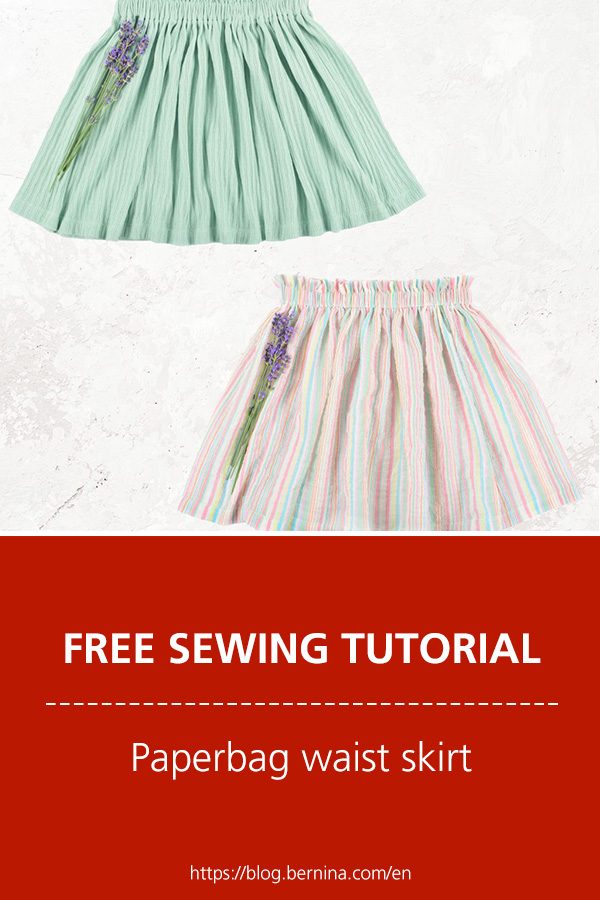
A free pattern and accompanying tutorial for a paperbag waist skirt.
The free pattern I use you may already know: skirt alert for girls.
It contains all the necessary pattern pieces, measurements and fabric supplies you need to make cool gathered skirts in sizes 80 (1 year) to 164 (14 years).
You can make skirts with elastic hidden in the waistband or skirts with a nice visible elastic as an eye-catcher.
Today we are going to work with the option “skirt with attached waistband”.

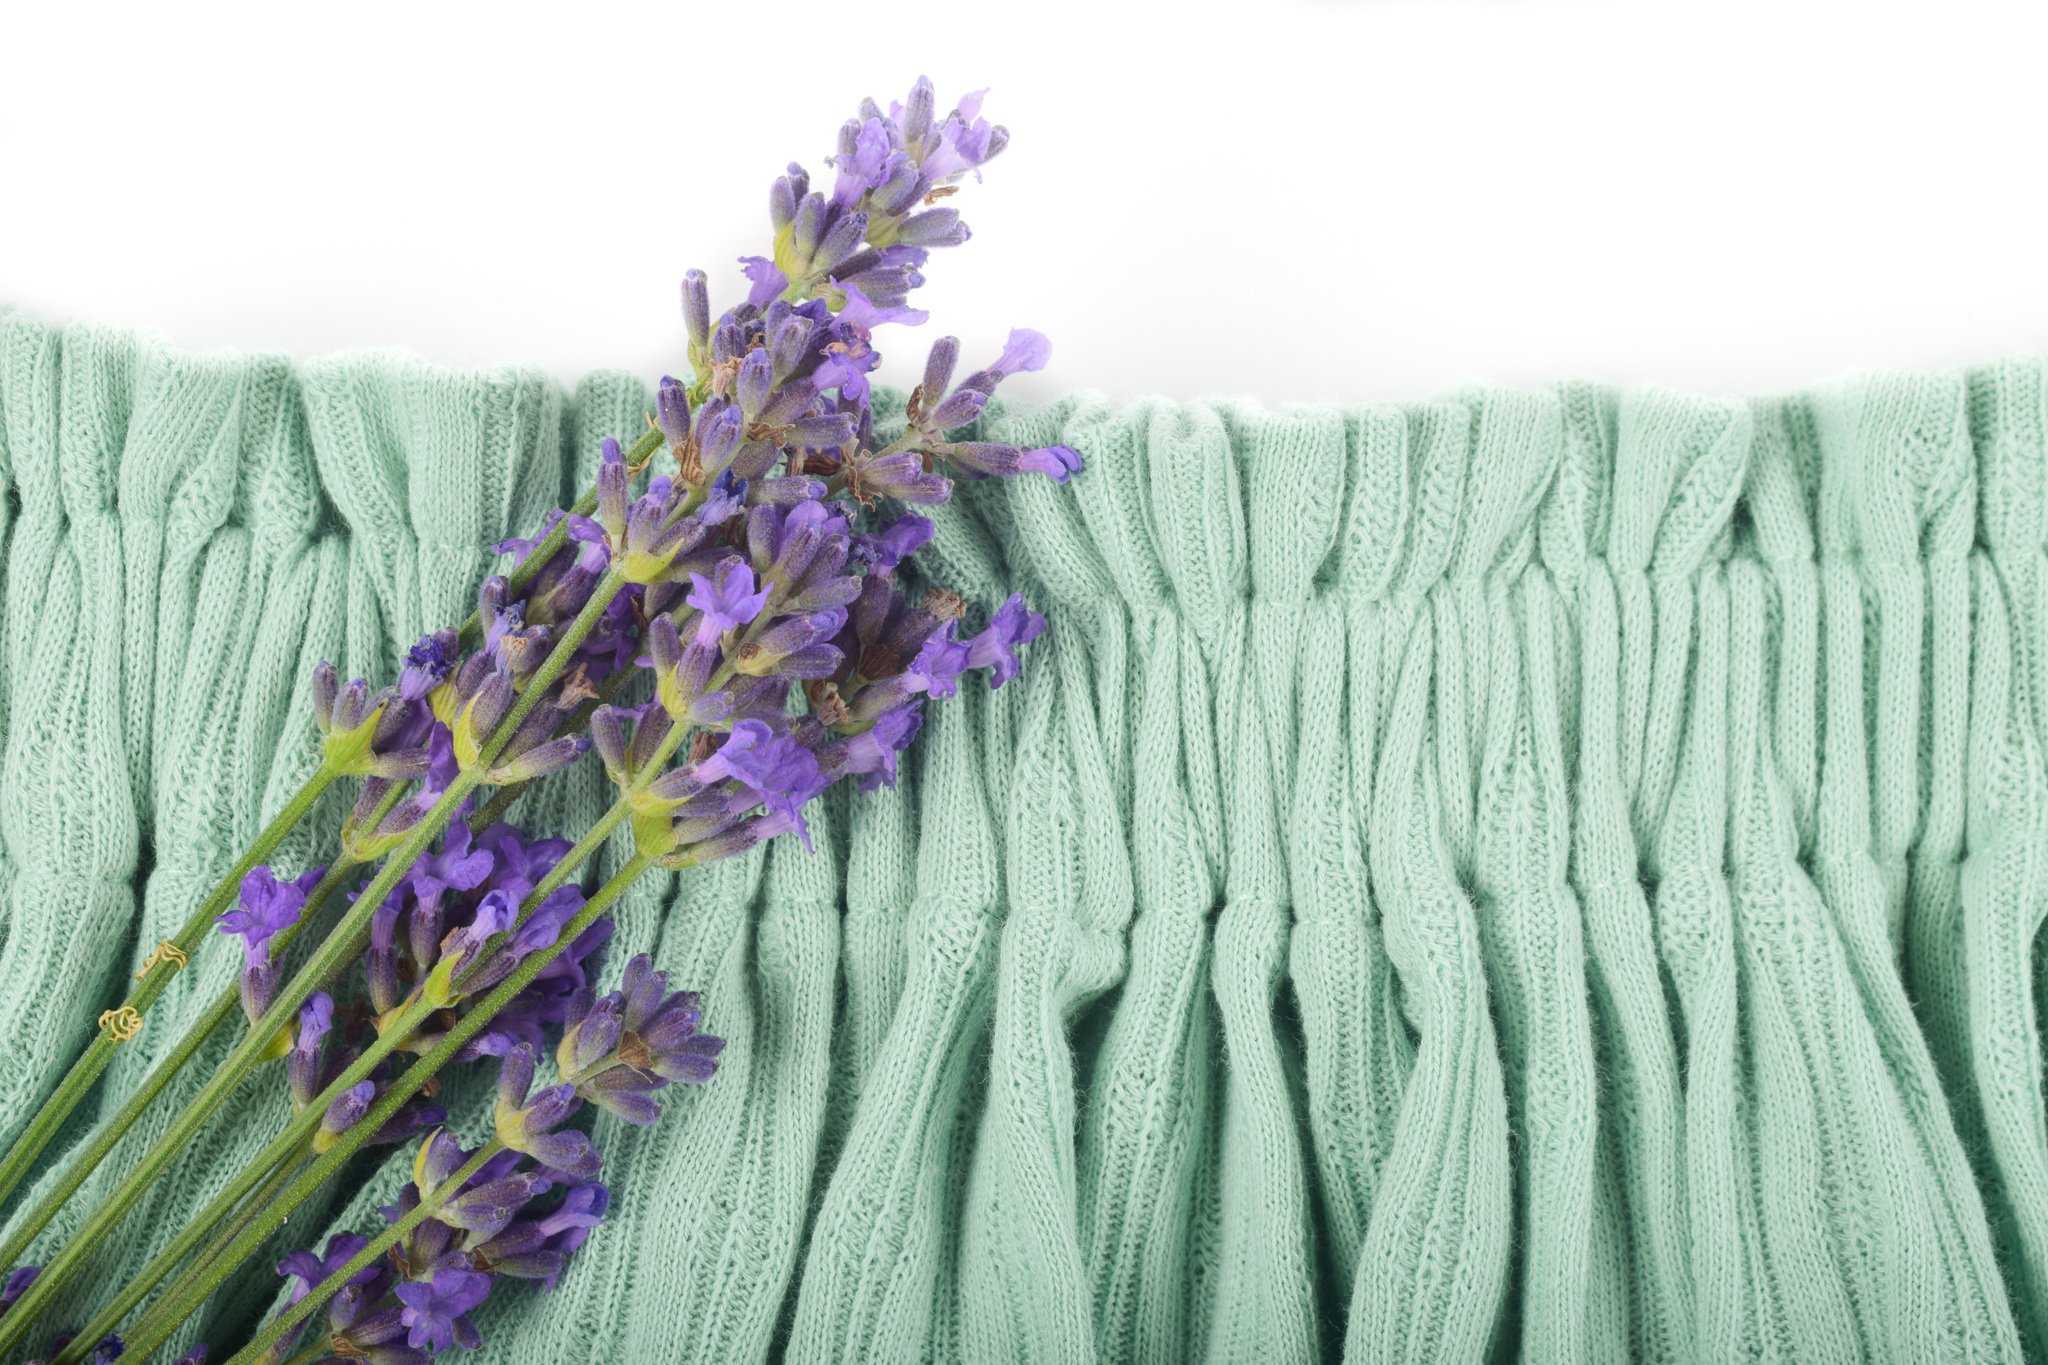
What’s a ‘paperbag waist’?
A paperbag waist is an extra strip of fabric that extends above your waist elastic.
The strip is wrinkled by the elastic, making it somewhat reminiscent of a paper bag tied at the top.

Requirement
-skirt pattern (click here to download your free copy of the skirt alert pattern)
-measuring tapre
-elastic – 2cm wide
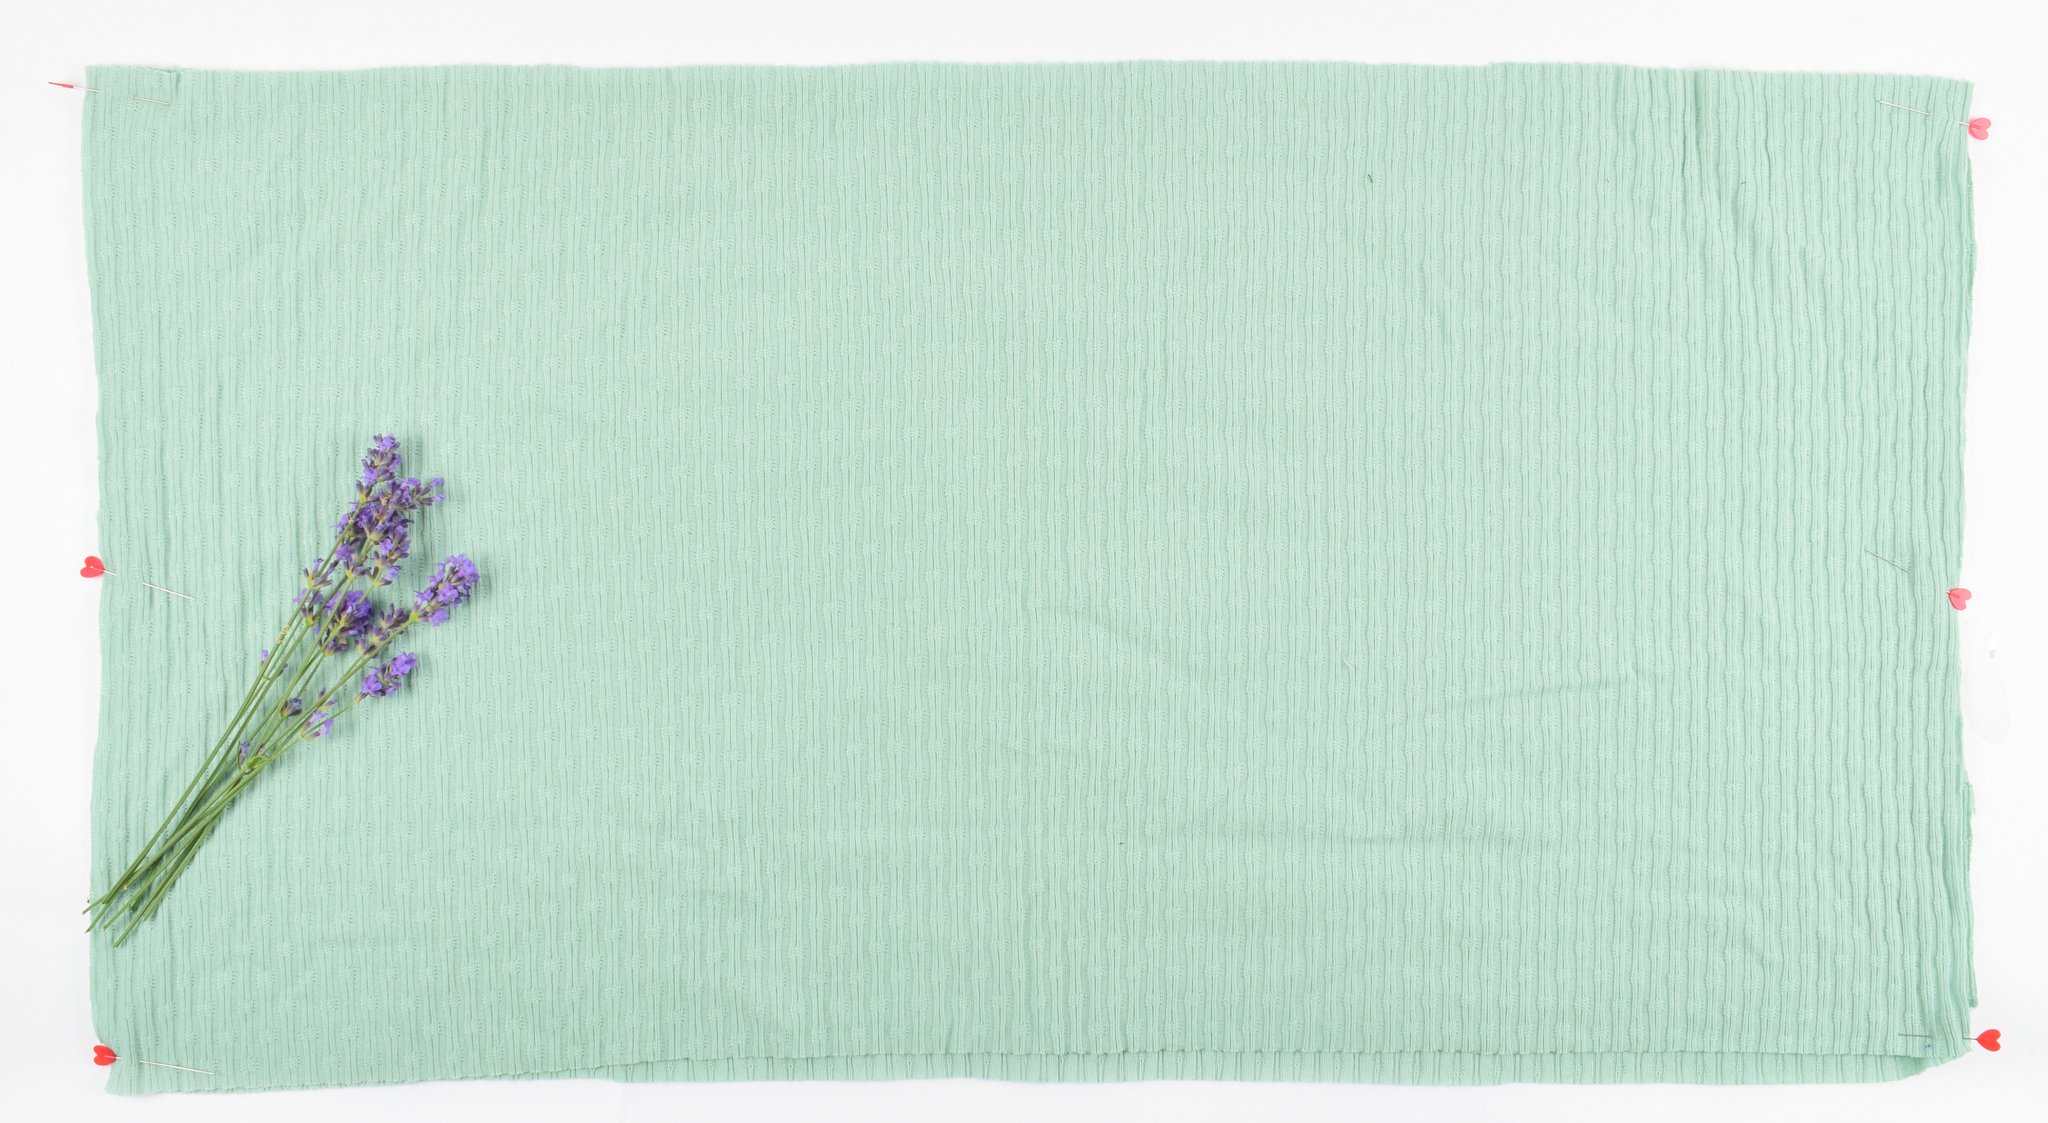
-fabric (see pattern)
-machines (I use my BERNINA L 890)
Adapting the pattern
A paperbag waist adds a playful effect to any gathered skirt.
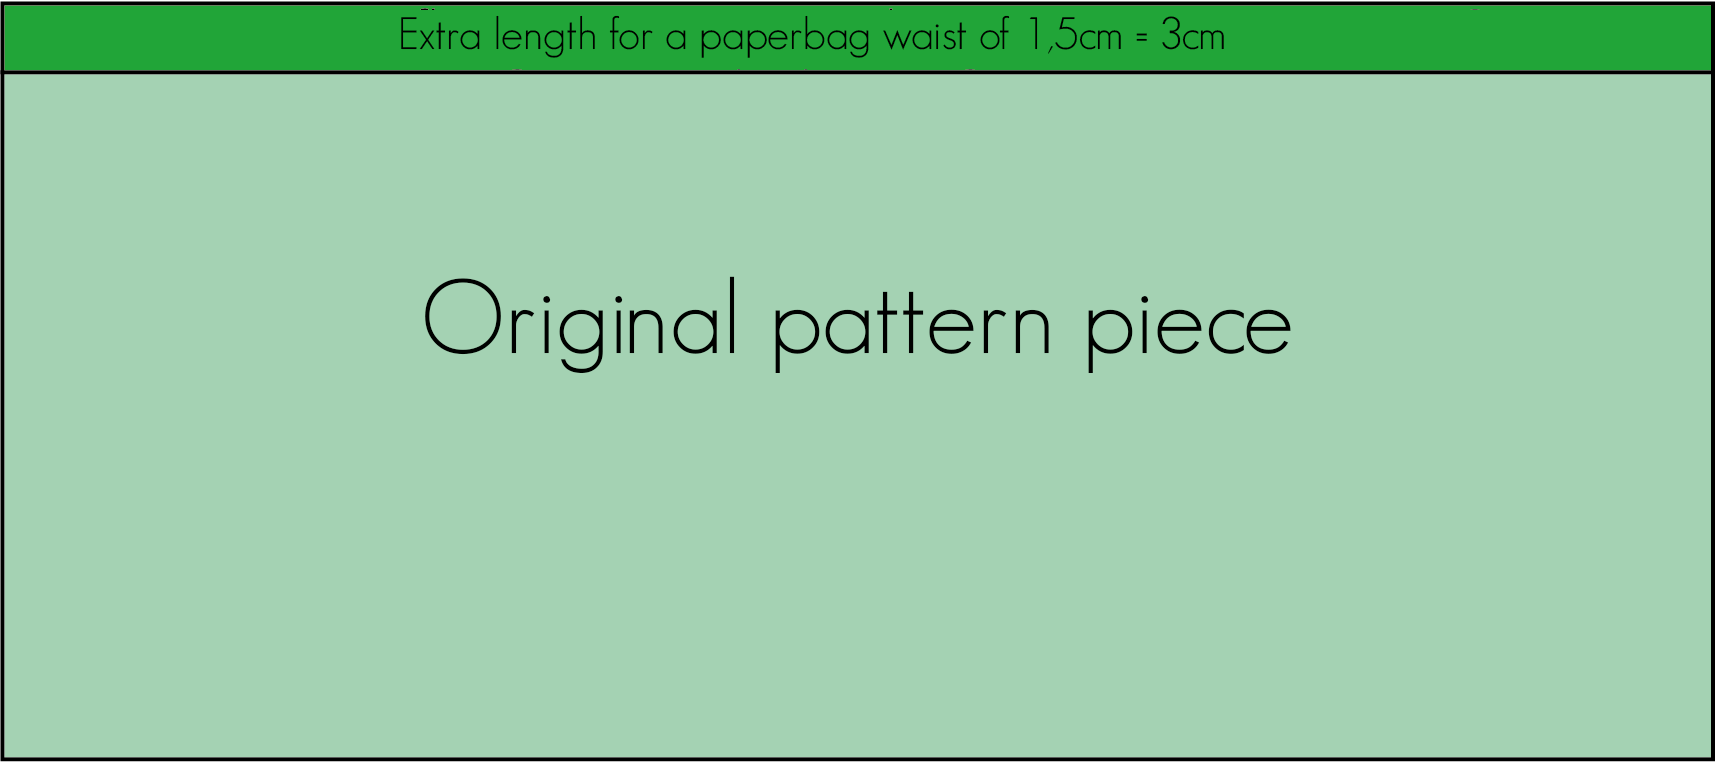
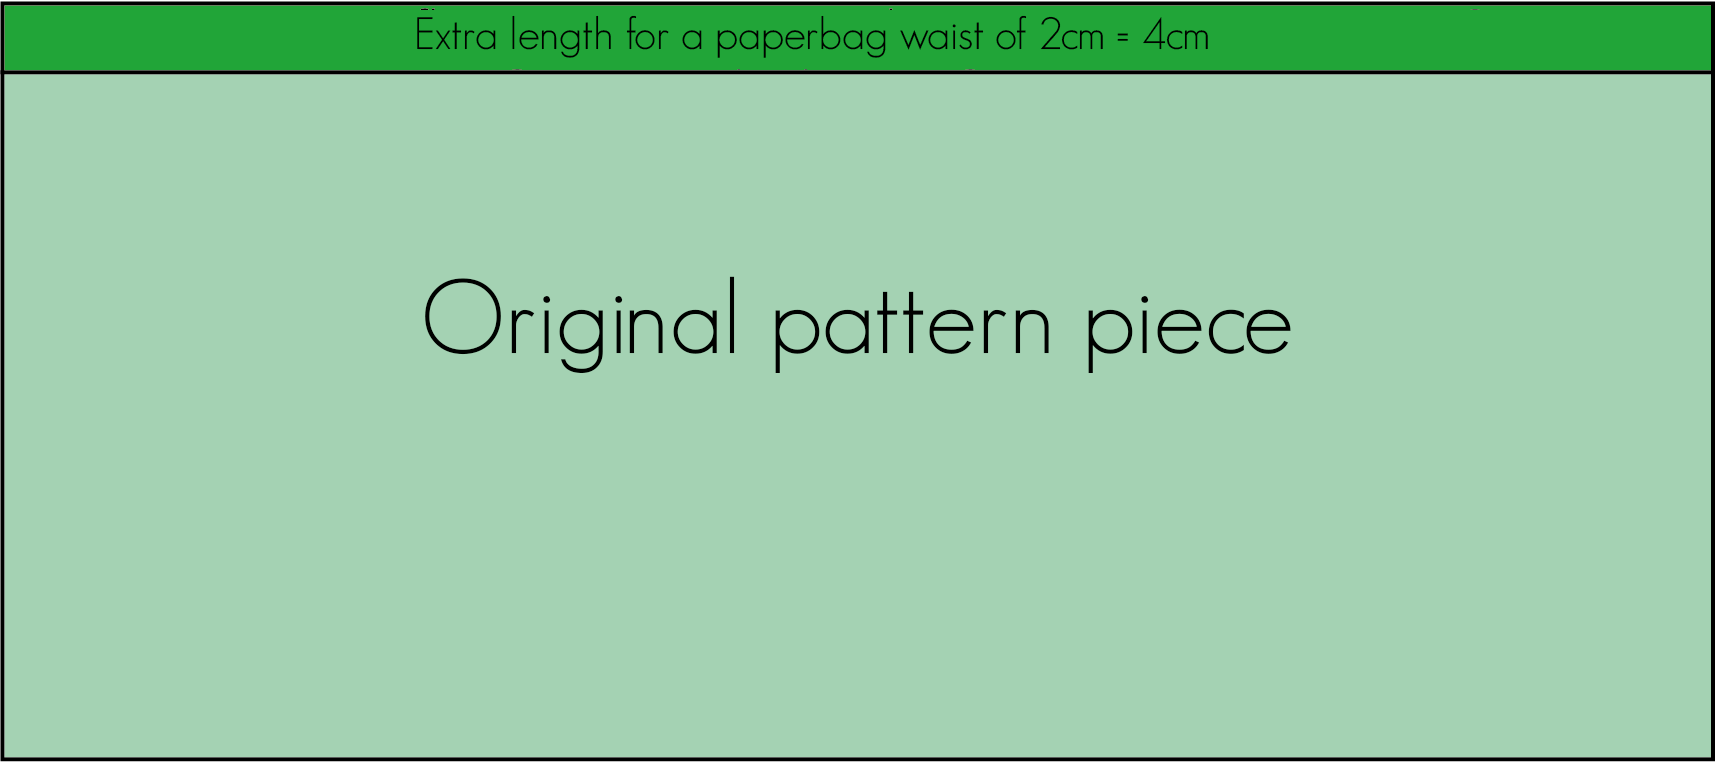
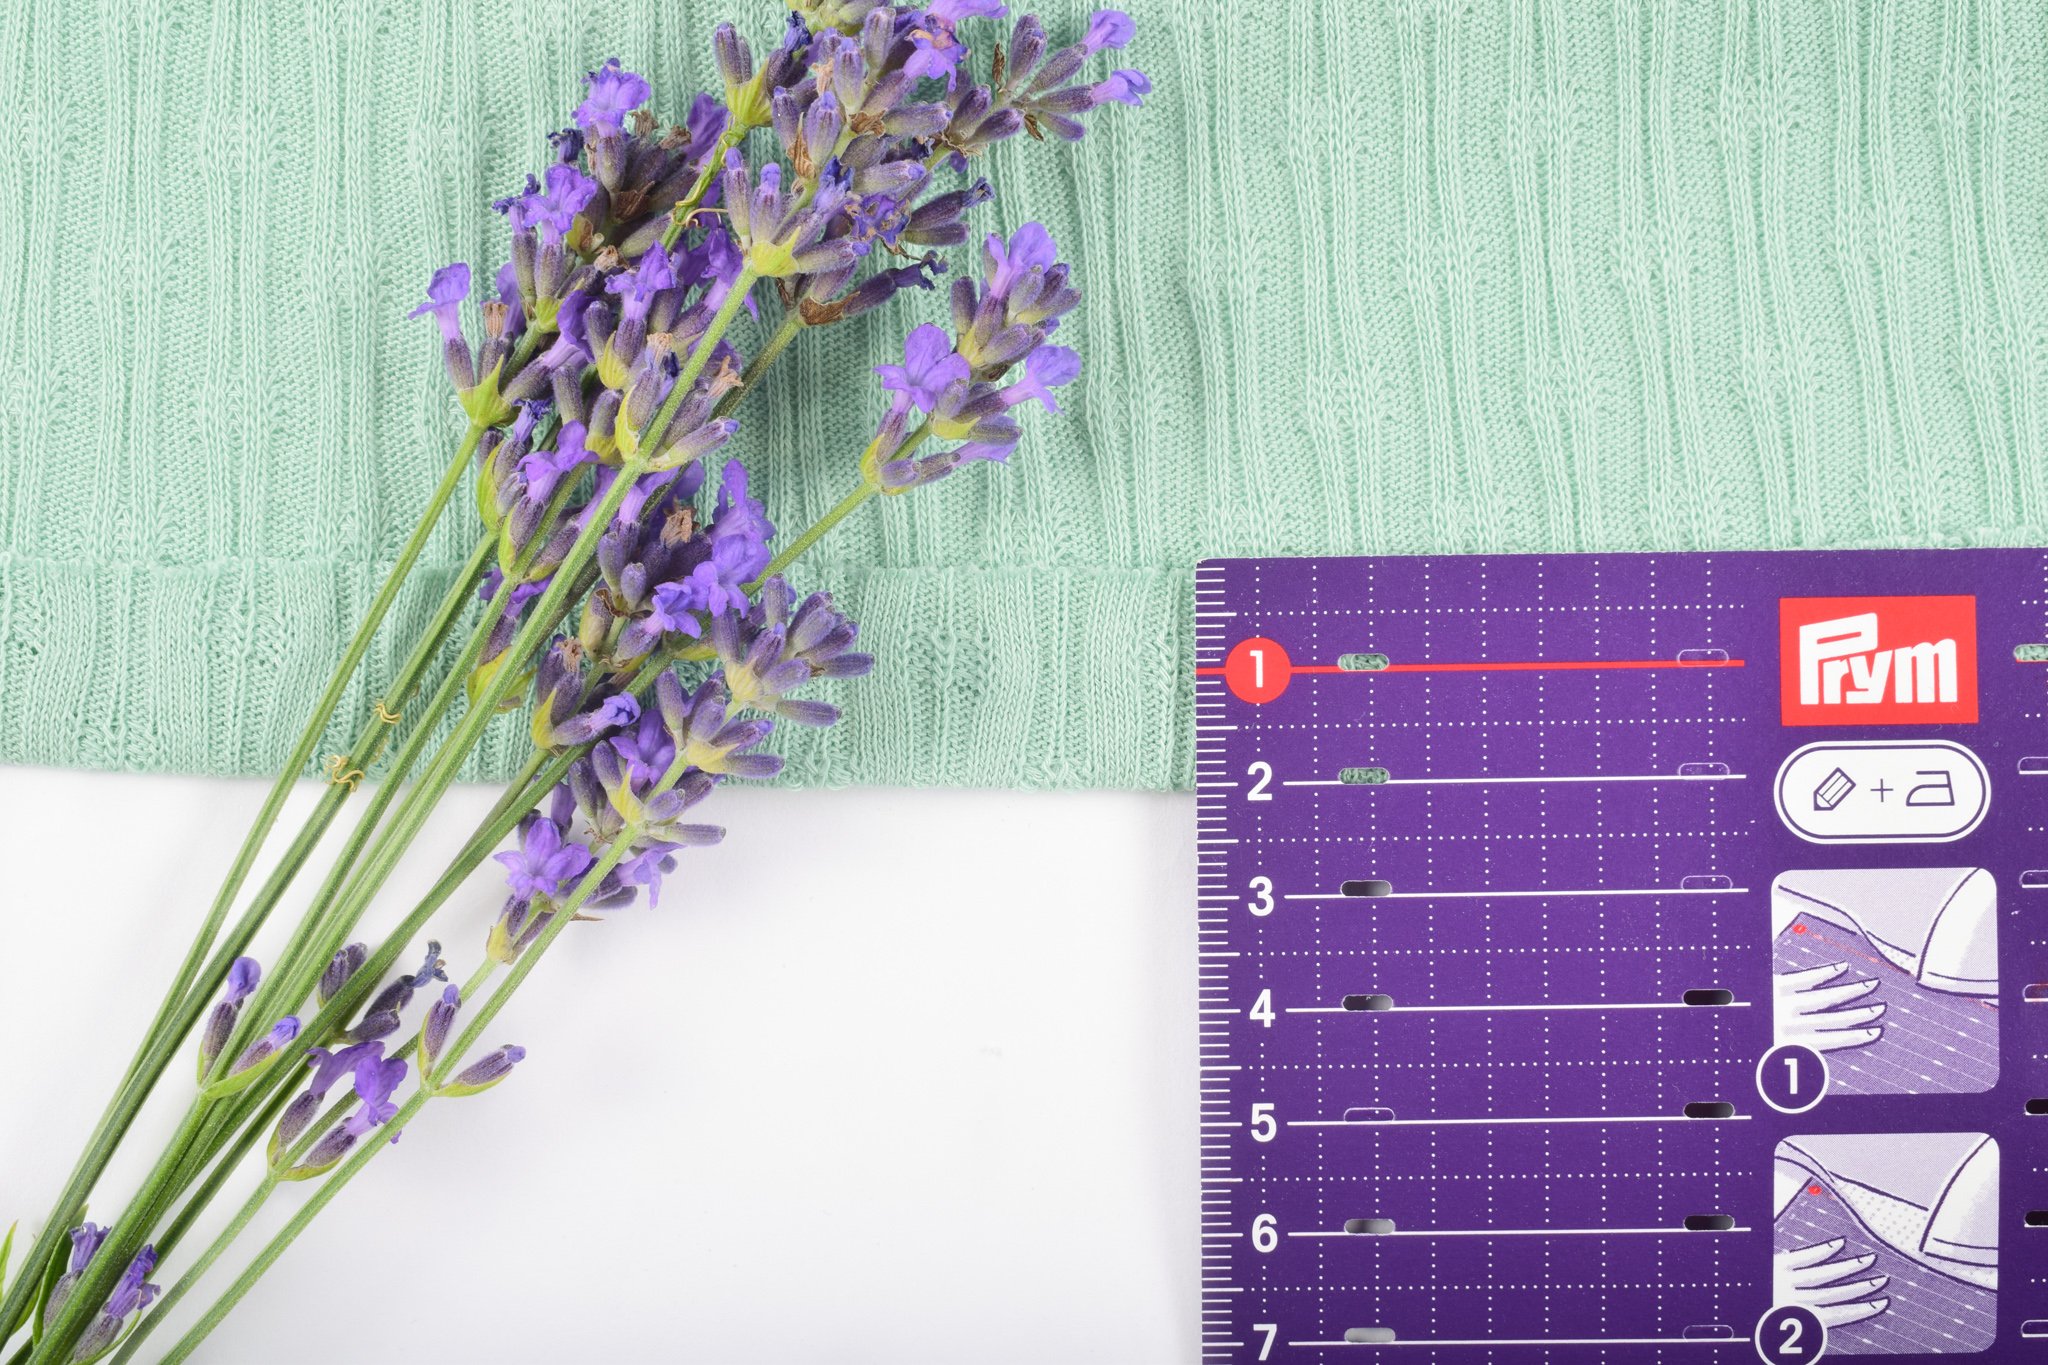
The first thing to determine is how “high” you want to make the paperbag strip at the top of your skirt.
In this tutorial I will make 2 skirts, one with an extra 1.5cm strip and one with an extra 2cm strip.
To do this, you are simply going to lengthen your original pattern piece by the value for your paperbag strip multiplied by 2.
Tutorial: paperbag waist skirt
Step 1: closing side seams
Stitch used on the L 890:
For stretch fabrics: 4-thread overlock stitch
For non-stretch fabrics: combination stitch 3-thread overlock + chain stitch
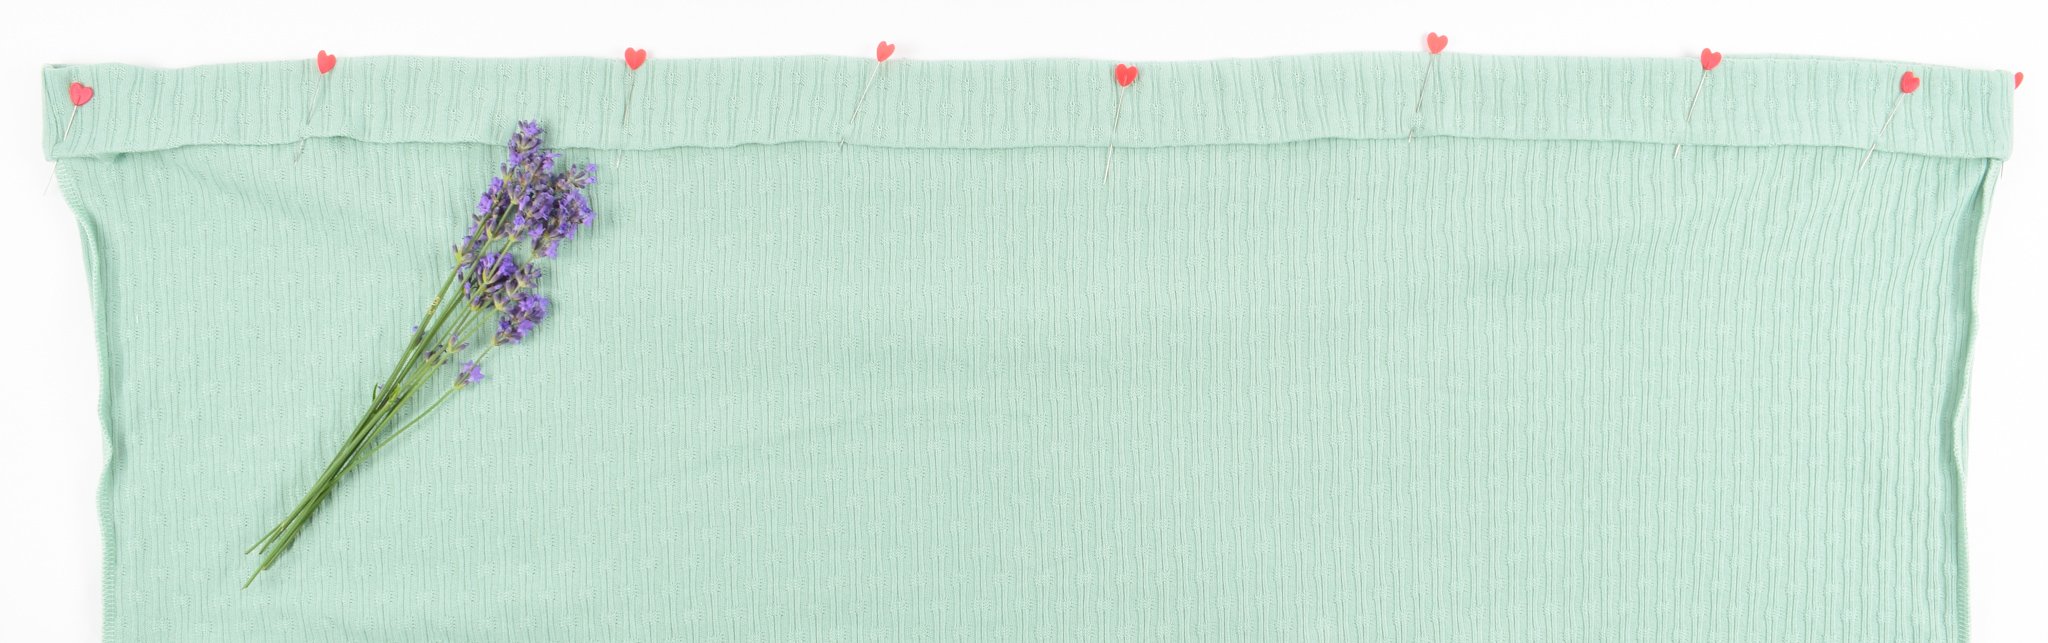
Place both skirt pieces right sides together and pin.
Stitch the side seams and press them.
Sidenote: This is a close-up of the combo stitch 3-thread overlock + chain stitch.
The great advantage of this is that with your L 890 you can stitch and finish non-stretch fabrics in 1 motion, how convenient is that!
Step 2: iron and sew the waistband in place
Stitch used on the L890:
for stretch and non-stretch fabrics: chain stitch
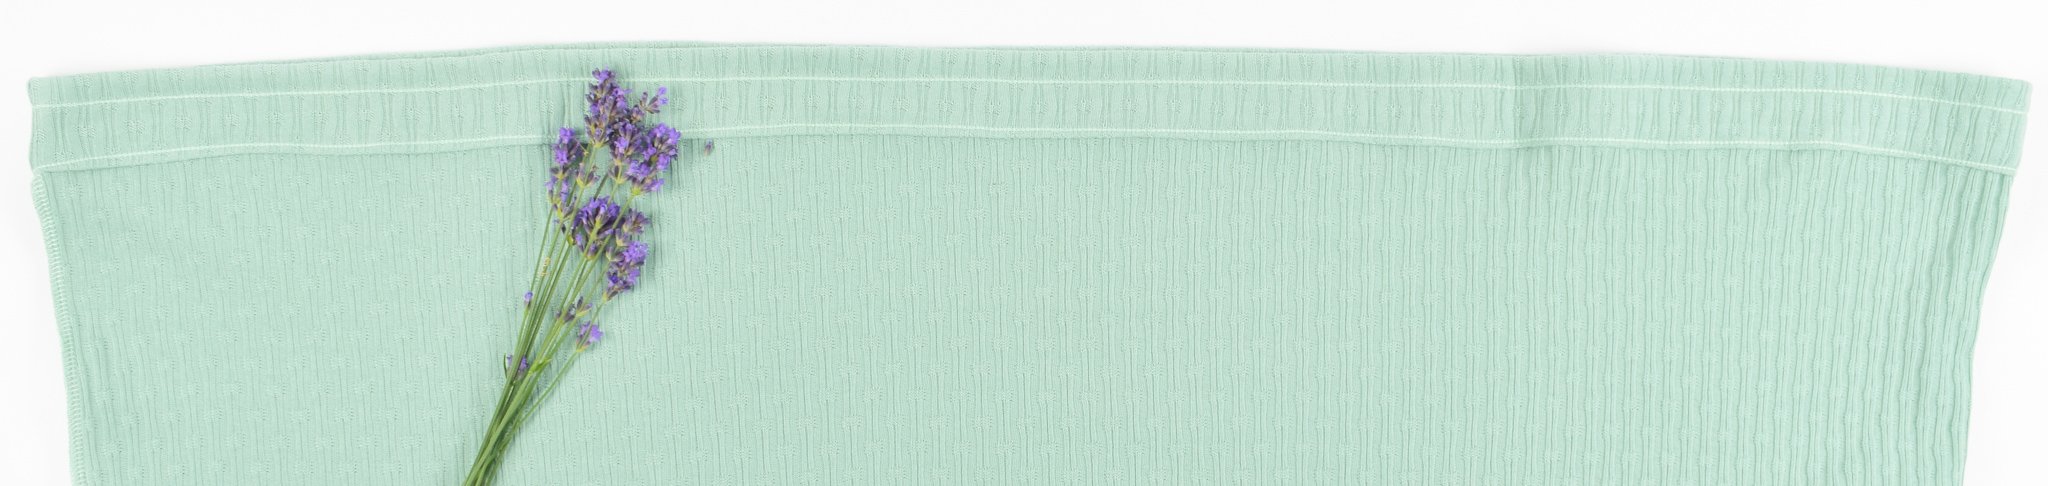
First press your waistband 1cm to the wrong side.


Then press your waistband 4cm (for the 1.5cm paperbag) or 4.5cm (for the 2cm paperbag) to the wrong side.

Stitch all the way around at 2 to 3mm from your pressed edge.
Leave an opening at the back of about 3 to 4cm to pull your elastic through.

Step 3: making paperbag waist
Stitch used on the L890:
for stretch and non-stretch fabrics: chain stitch
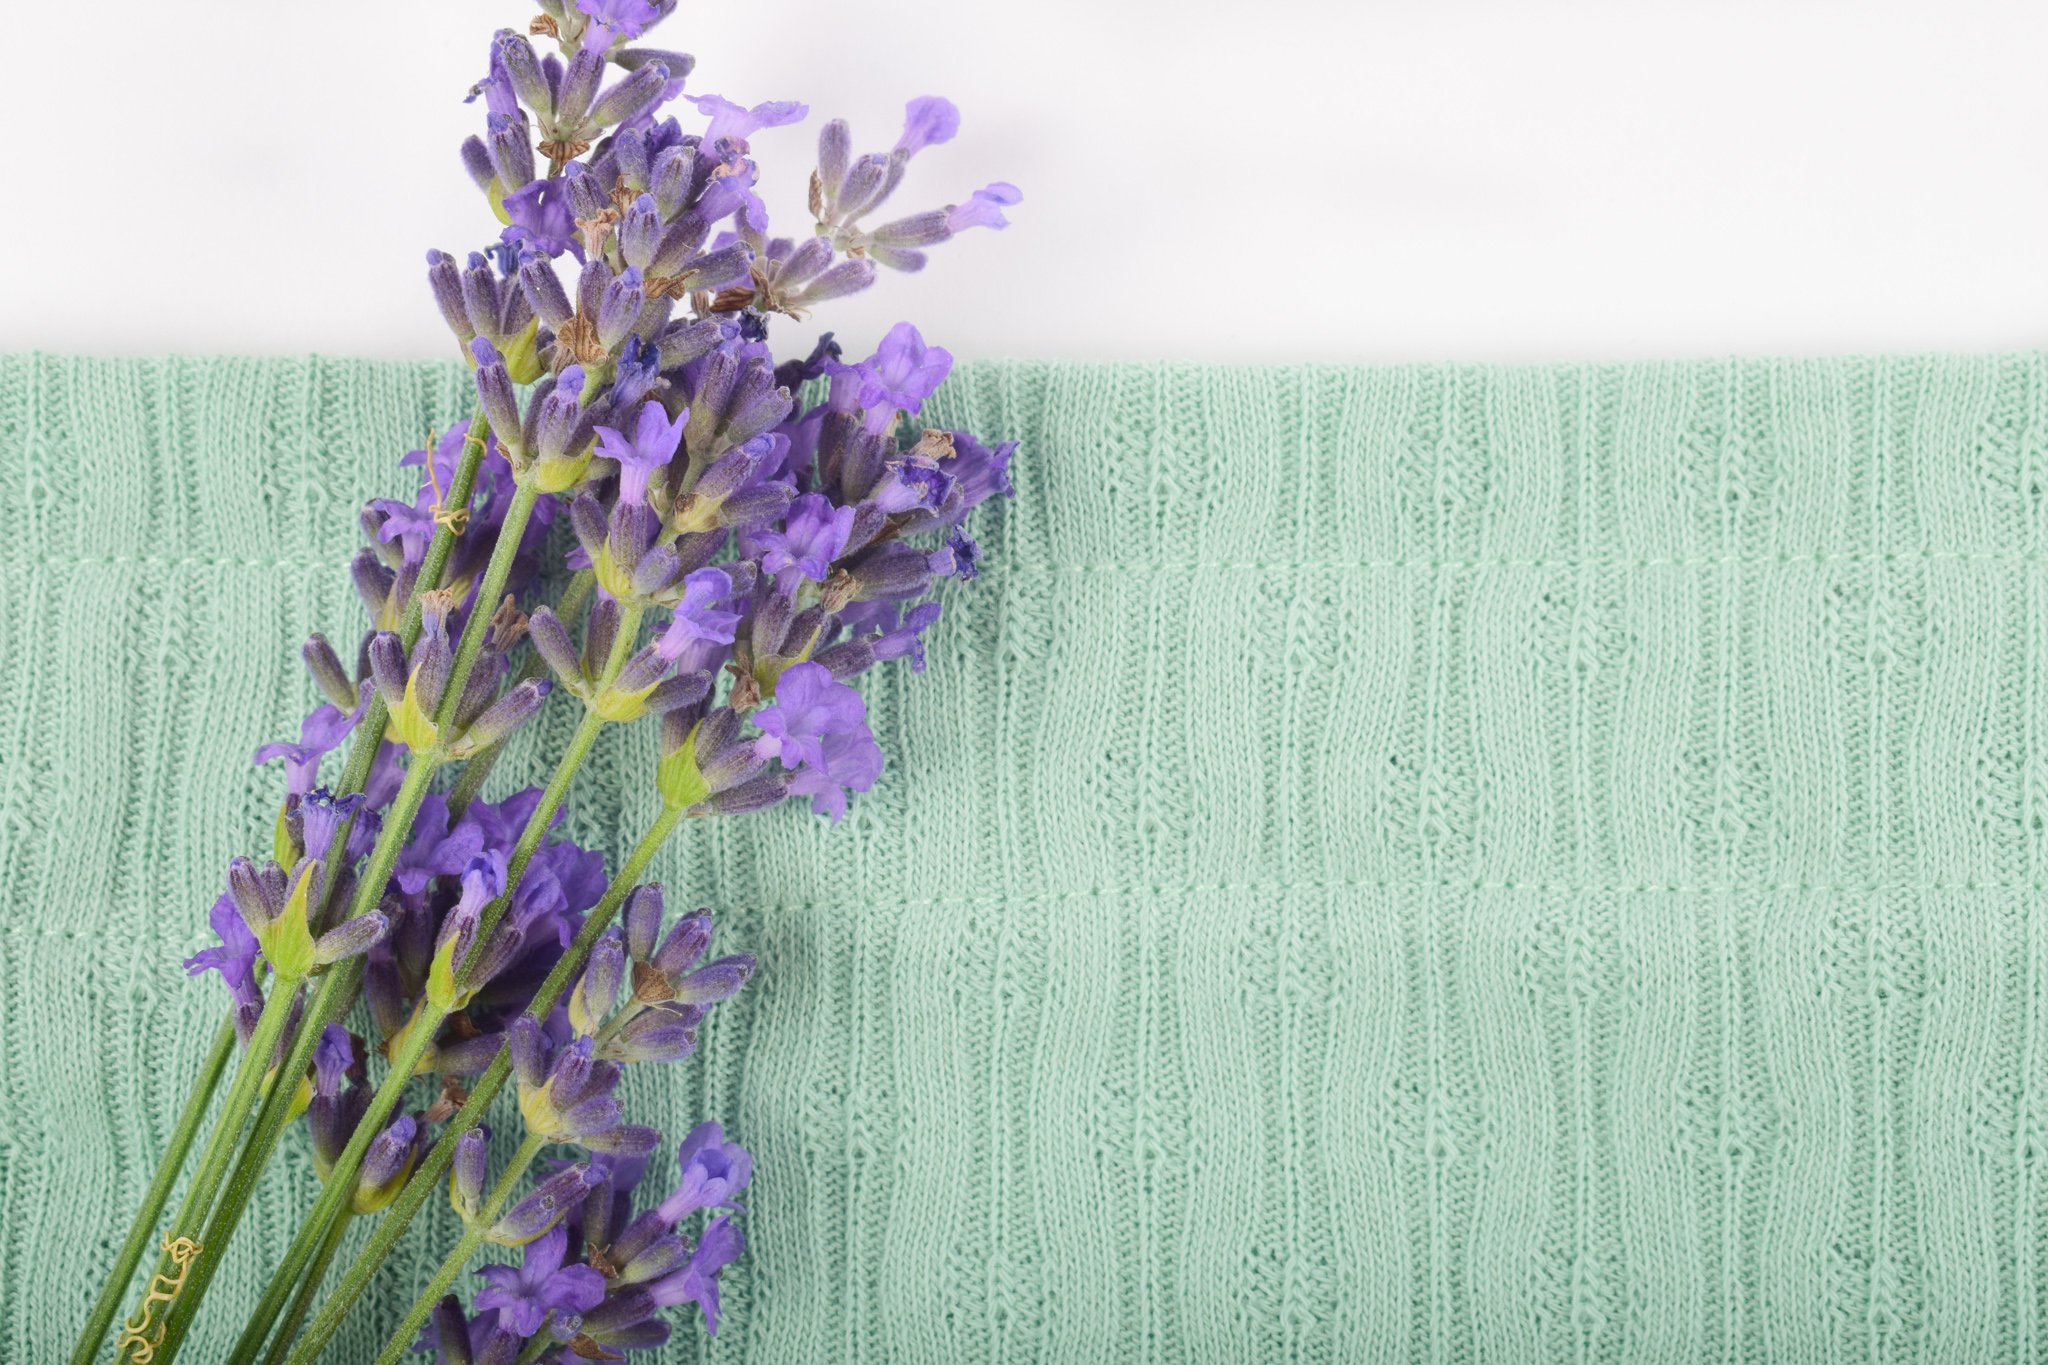
First, topstitch your waistband all around at 1.5cm or 2cm from the top edge of your skirt, depending on the paperbag you chose.
Close-up view from the inside waistband:

Close-up view from the outside waistband:
Thread your elastic through the tunnel and stitch the ends together.
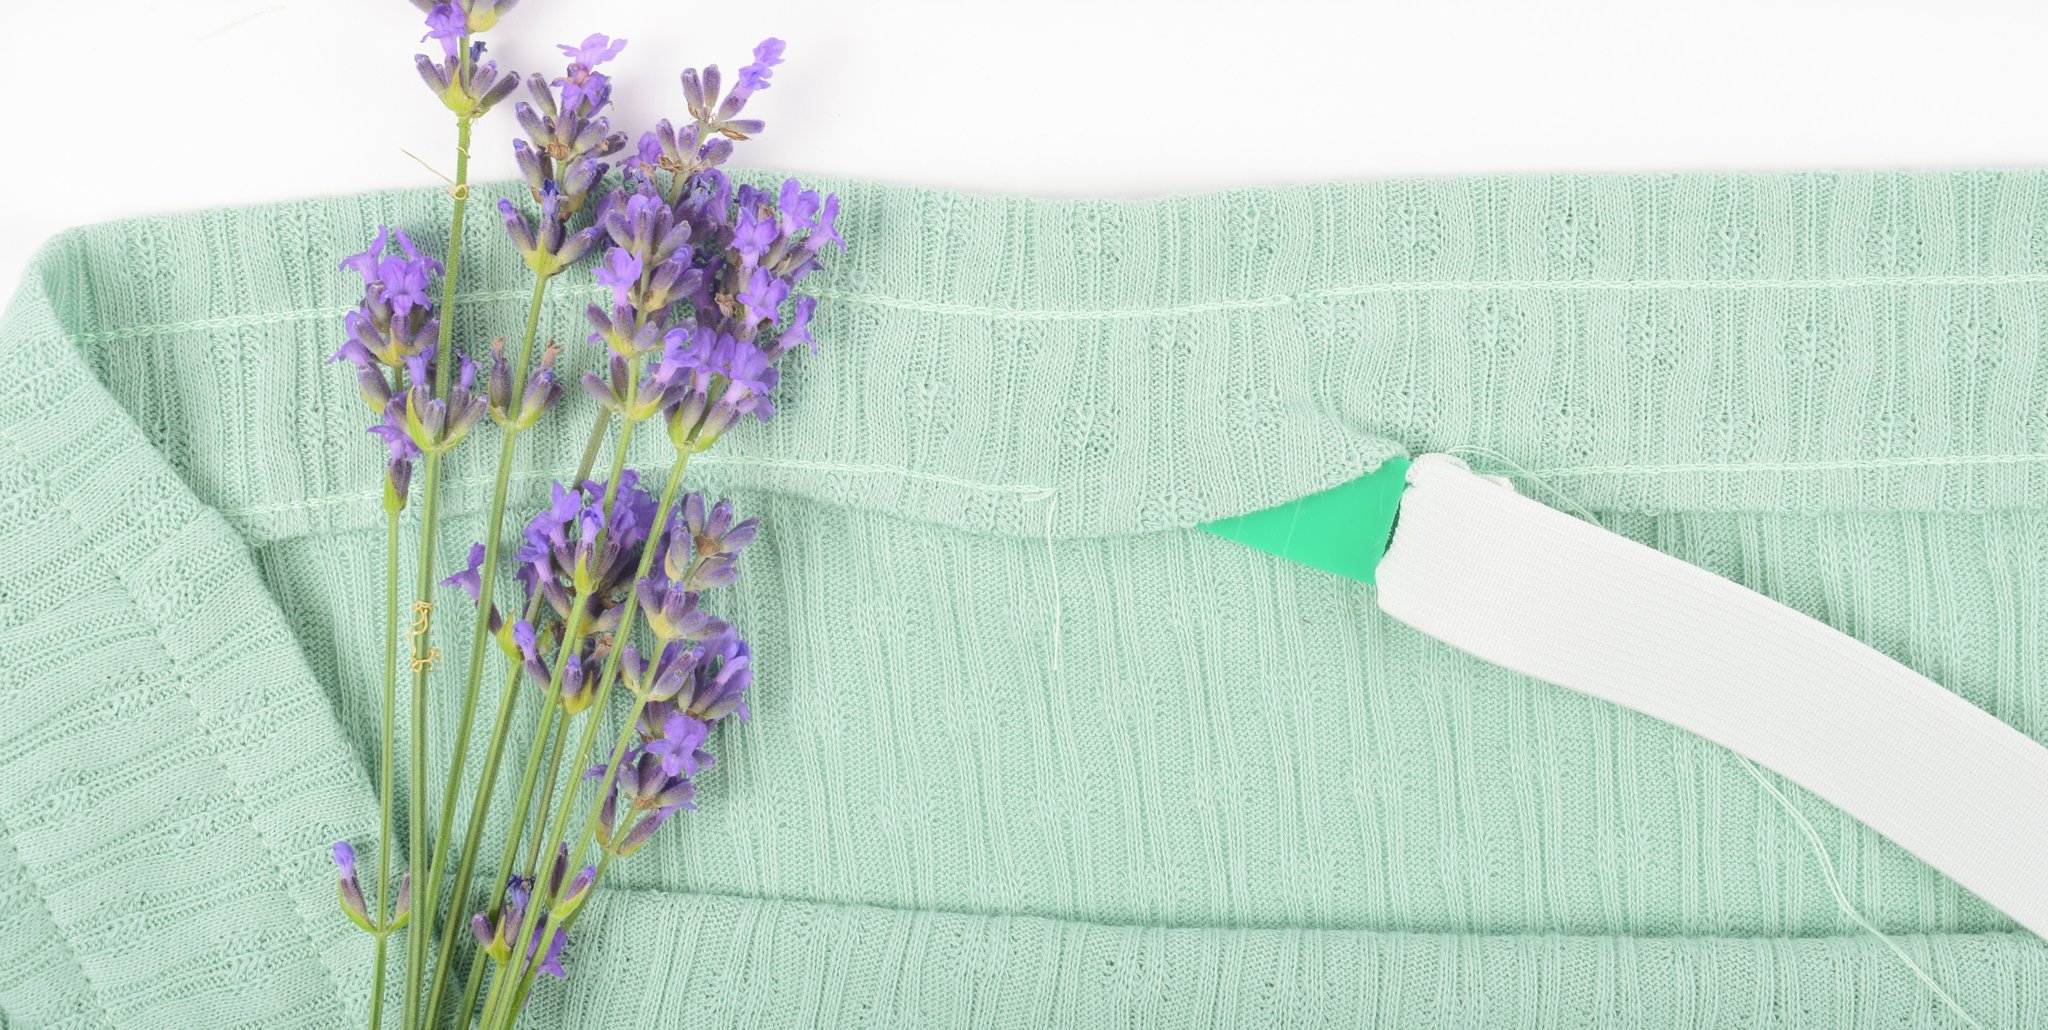
Close the opening you left for your elastic.
Step 3: hemming
Stitch used on the L890:
For stretch and non-stretch fabrics: 3-thread narrow coverstitch
Press your hem exactly 2cm to the wrong side of your fabric.
Precise pressing is important for a nice finish with the coverlock.
Stitch all the way around and press your skirt.
Your paperbag waist skirt is ready!
Want to see more?
Feel free to visit our Instagramaccount @_beletoile_!
Love, Isabel


0 Responses