 BERNINA Corporate Blog -
Hello Bernina Lovers !
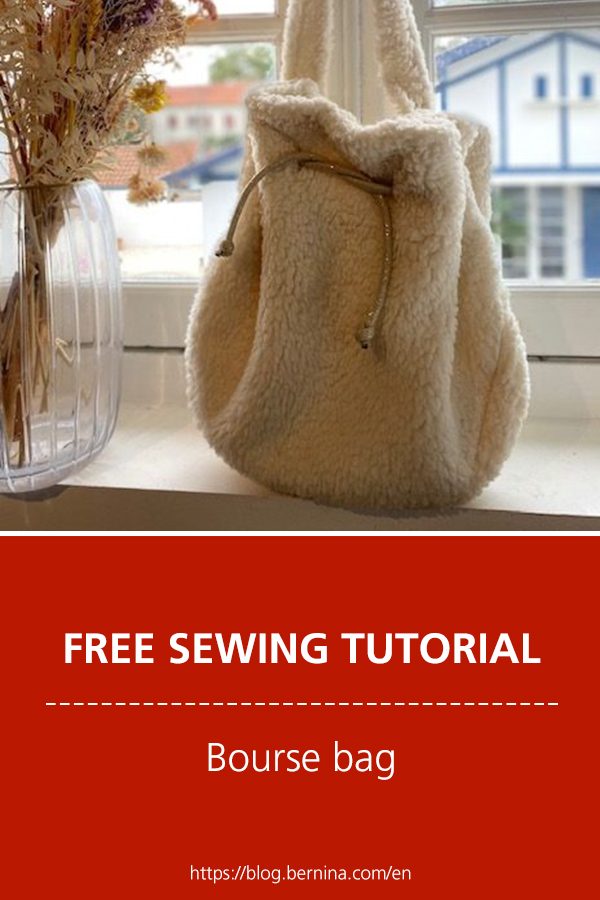
I have been wanting to make a purse bag for a long time so I thought the bag “Olivia” from the inspiration Magazine was the perfect occasion for it. The download and taping of the pattern is pretty much straight forward.
Choosing the right fabric…
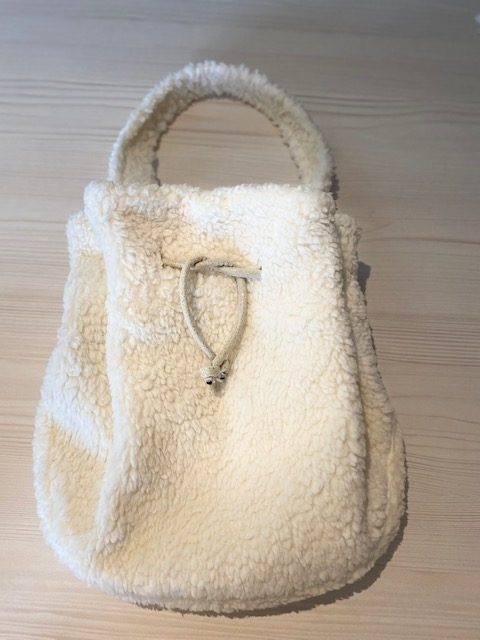
I wanted to make this bourse bag in a special fabric so it would have some consistency. The leather fabric I have is too thick for this bag that has this much gathering, so I moved onto some faux fur fabric… but giving it a second and wiser thought, I felt that the project would get too complicated due to the faux fur… so I chose some faux fleece sheep fabric scraps that I had from a previous project (you know I love using fabric leftovers).
As for the lining, I just used calico fabric that I have for my projects. Both fabric colors mixed perfectly, beige like…
I first downloaded the instructions in English, and I got stock on some of the steps. I then downloaded the instructions in French (the advantage of knowing different languages 😉 ) but I still couldn’t fully understand. I guess I am used to pictured detailed instructions. So I thought, while I make this bag, I can take pictures of the different steps and do a quick tutorial just in case someone is in the same situation as me.
In the making…
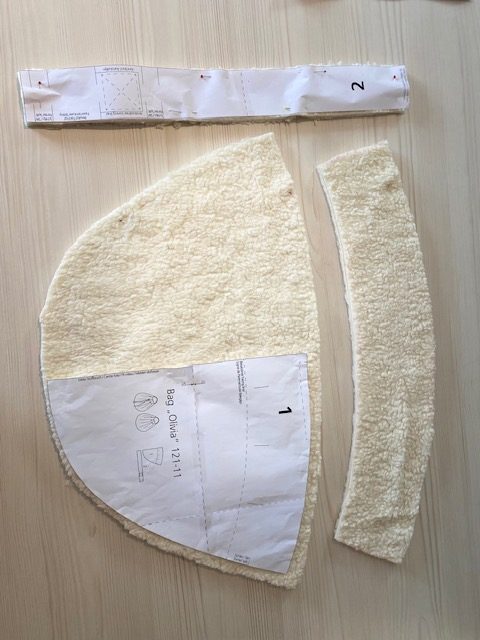
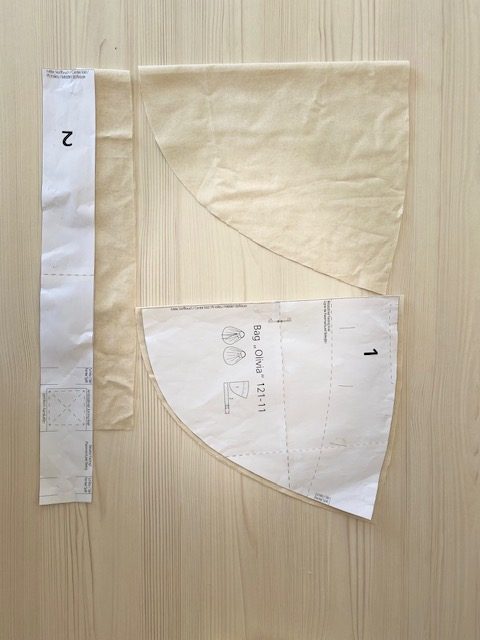
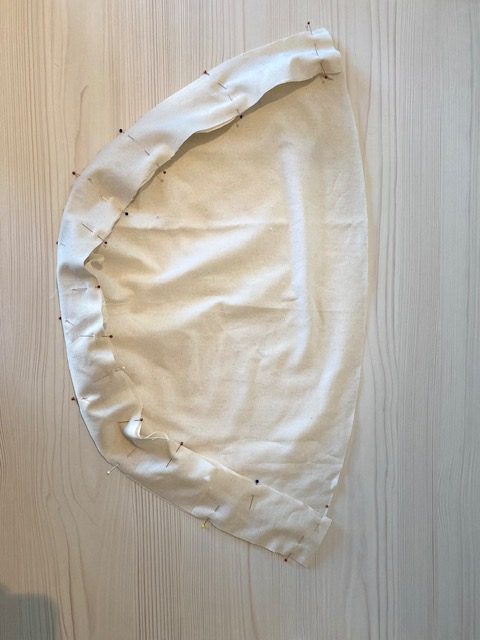
I cut all the pieces as explained on the pattern. I traced on the right side of the fabric since the seam allowance had to be added and once sewn, it wouldn’t be visible.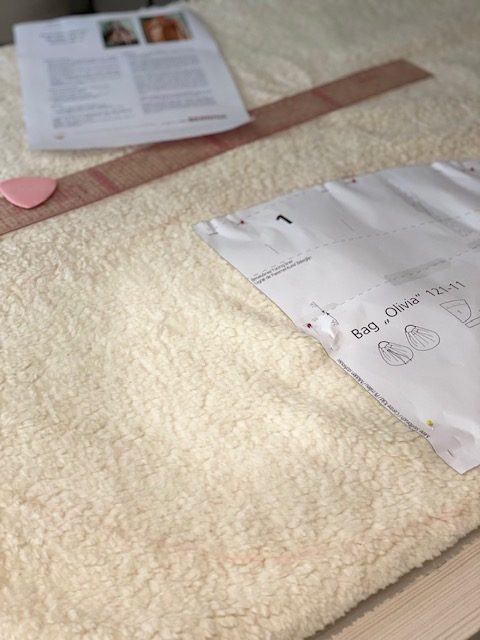
I left the handle for the end so I could decide the length with the bag almost finished.
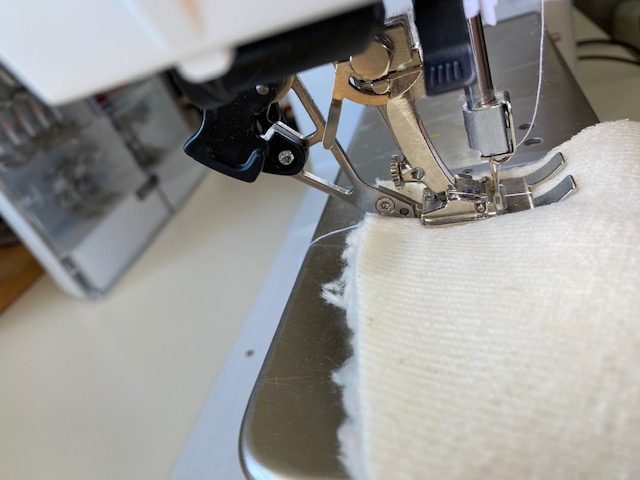
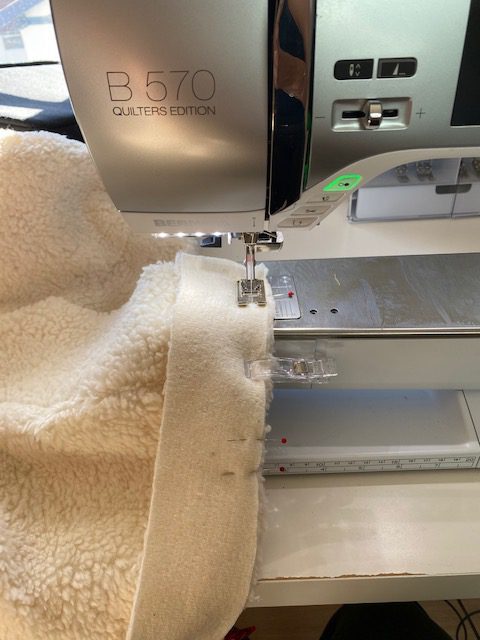
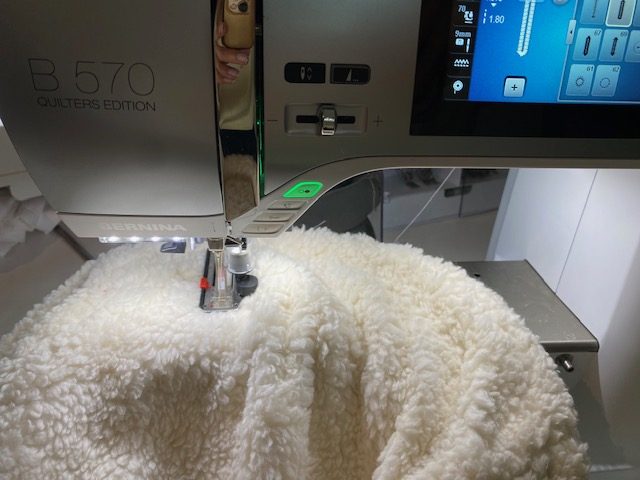
The Dual feet, a good friend…
Since my fabric was thick and slippery, I decided to use the dual feet that is included in my Bernina Q570. If you have it and your fabric is thick or slippery, I suggest you to use it.
Also, I should mention I didn’t top stitch the seams as suggested since my fabric is quite thick, as already mentioned.
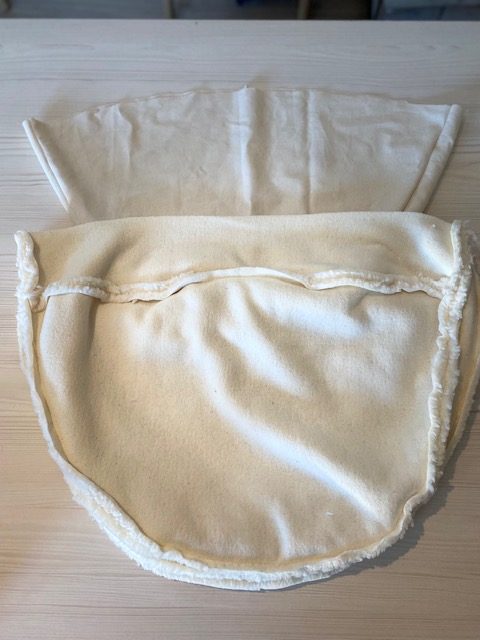
Firs I sew the outside of the bag to the top facings, right sides facing.

I then sew the bottom of the bag, which actually was the most difficult step for me to understand. And finally it is very simple. As you can see in the pictures below, you use have to sew the long band to both outside pieces as shown.
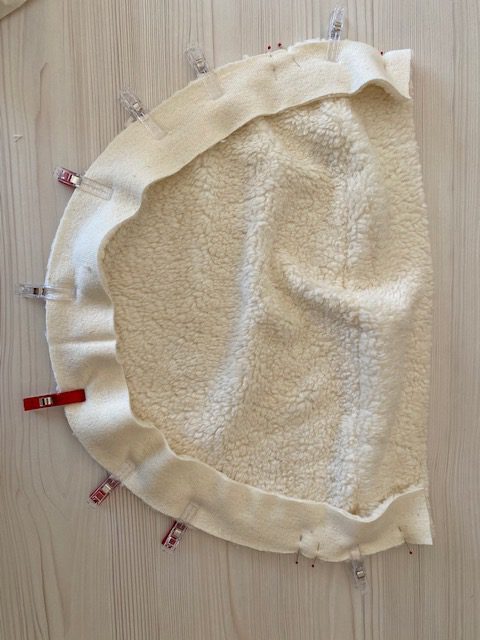
Once one side is sewn to the bottom band, the other side has to be sewn as well.

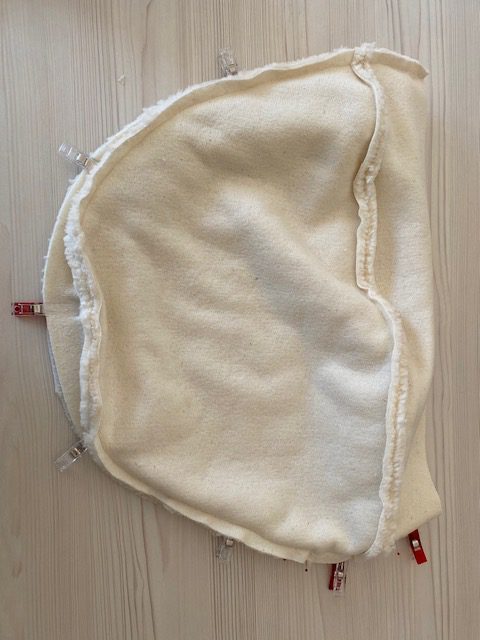
The same steps have to be followed for the lining, except that there is not facing to be sewn.
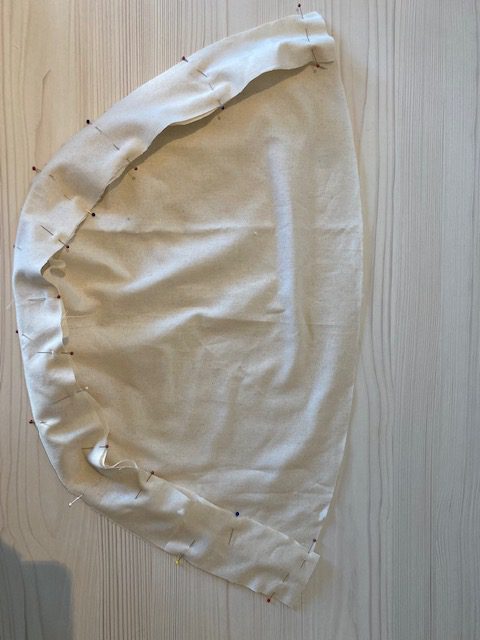
With the outer bag right side in, and the lining right side out, I inserted the second one into the first and sew the top seam together. I left a gap at the top so I could return it later. On the Bernina tutorial it is said to leave this gap when sewing the lining pieces together. I decided to have this gap between the facing and the lining since the hand stitch needed at the end will be easily hidden underneath.
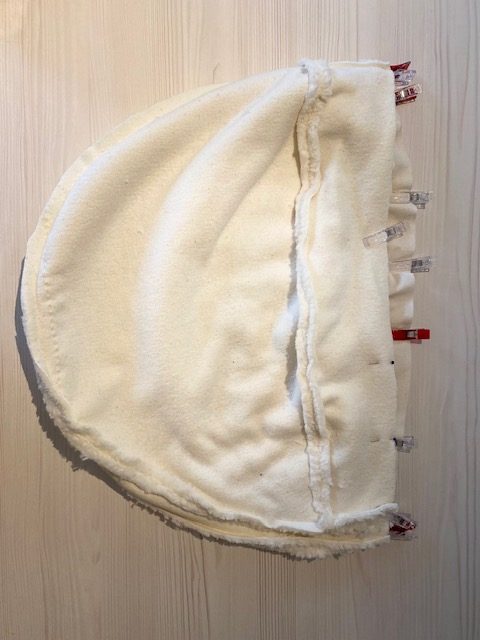
Once the outer fabric and lining are sewn together, you just need to turn the piece inside out by the gap left previously.
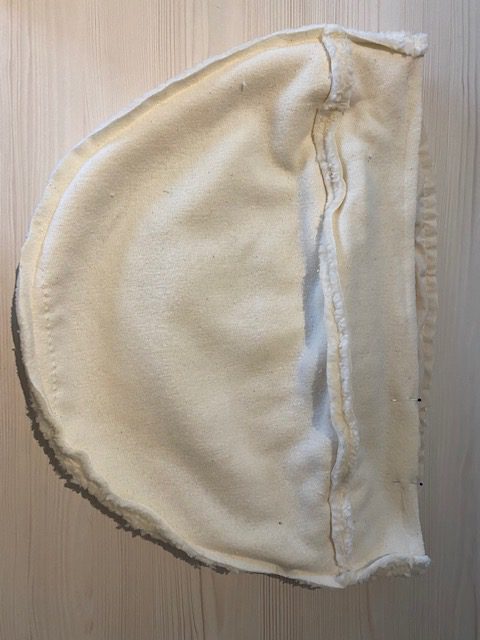

I pinned all the buttonholes that needed to be done, as well as the fences left.

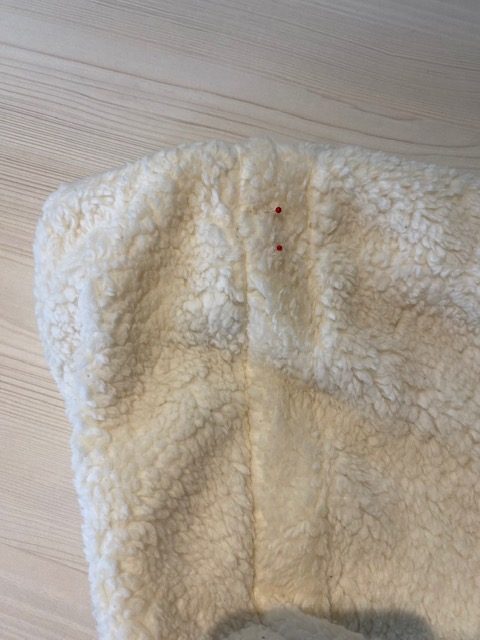
I fiercely did all my buttonholes. In this step I am always afraid that something is going to go wrong with my buttonholes. Honestly I used to always encounter a problem when making buttonholes, but that was before I had my Bernina.
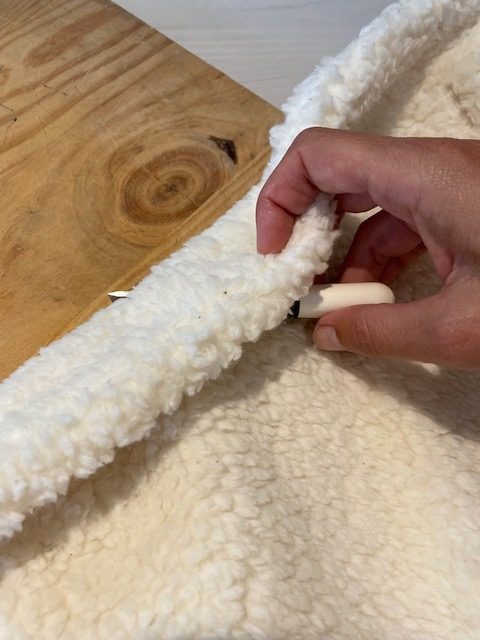
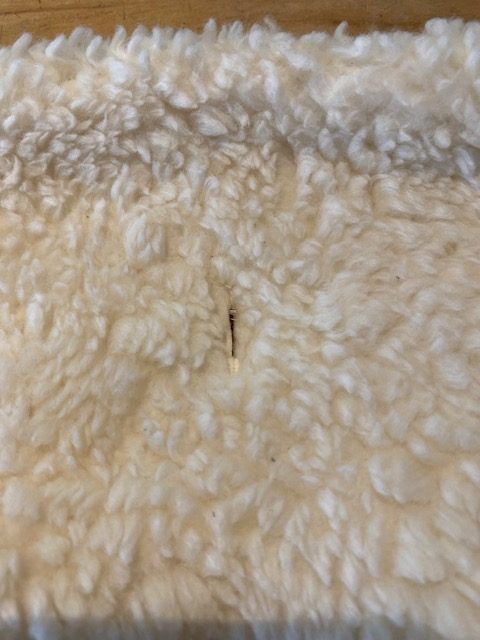
I easily cut open all my buttonholes using this Buttonhole cutter I bought last year. The combinaison of my Bernina Q570 and this cutter make the perfect buttonholes.

I didn’t make the little closing cord myself for the bourse bag, I used a leftover rope that combined well with the fabric used for this project.
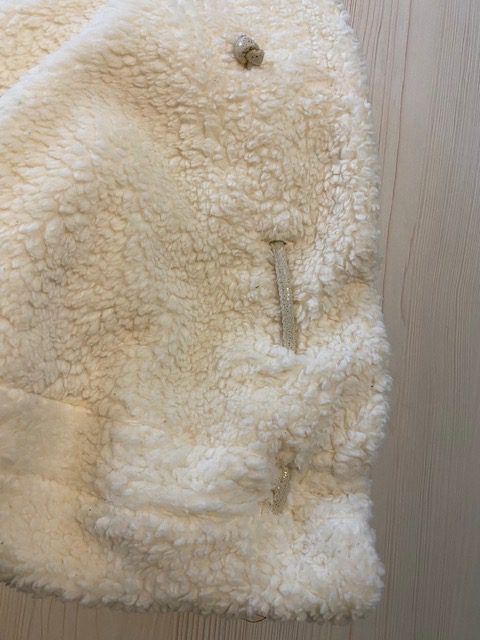
The handles…
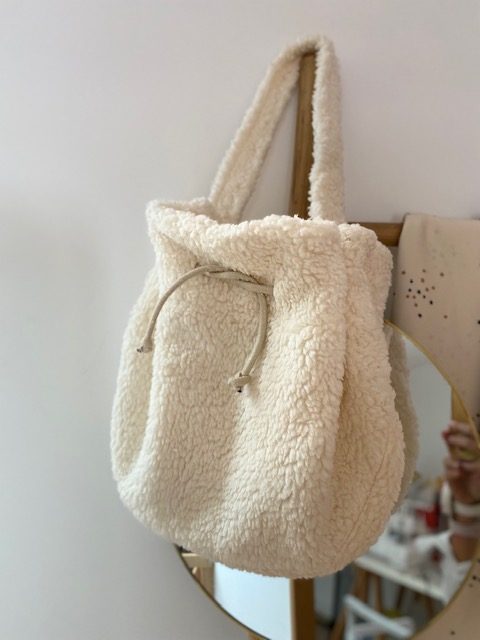
I cut the handles longer than what is suggested in the pattern. I wanted to see how it would look like (and you can always make it shorter afterwards). A longer handle would allow me to wear it on the shoulder. So I cut a 55 cm long piece. Sew it right sides facing and turn it right side out (if you want and easy technique for turning straps you can read my article here).

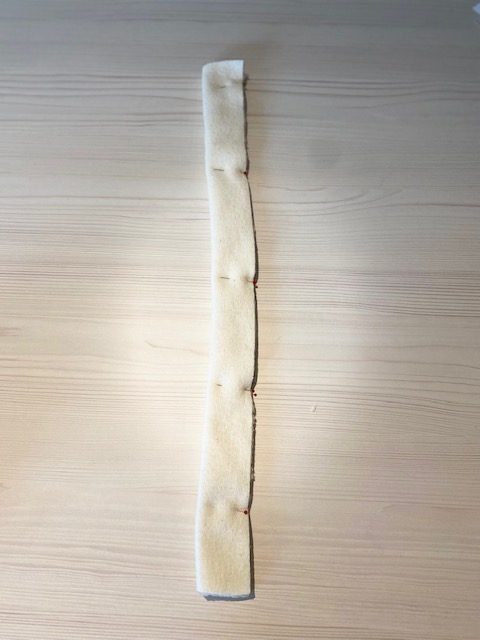

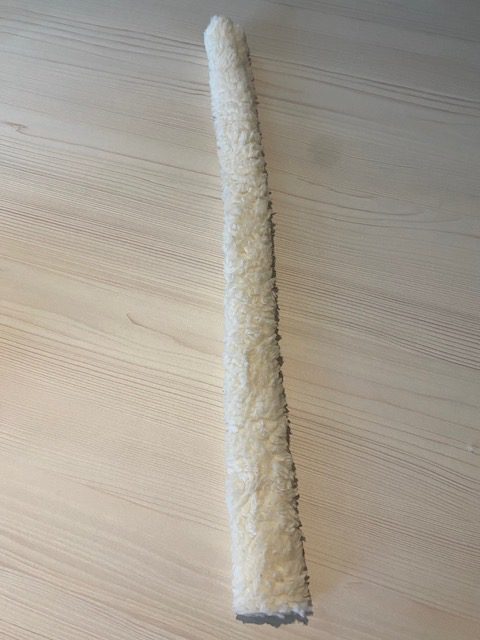
Since the faux sheep fleece is slightly stretchy, I top stitched at 1 cm from both edges to make it sturdier.
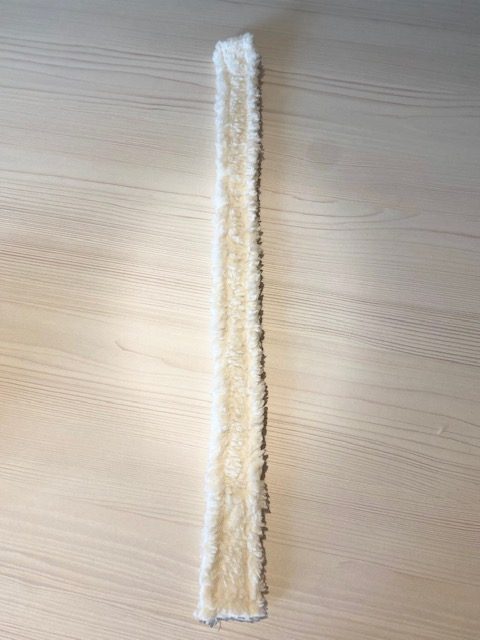
Then, I pinned it in place following the pattern instructions and top stitched it in place.

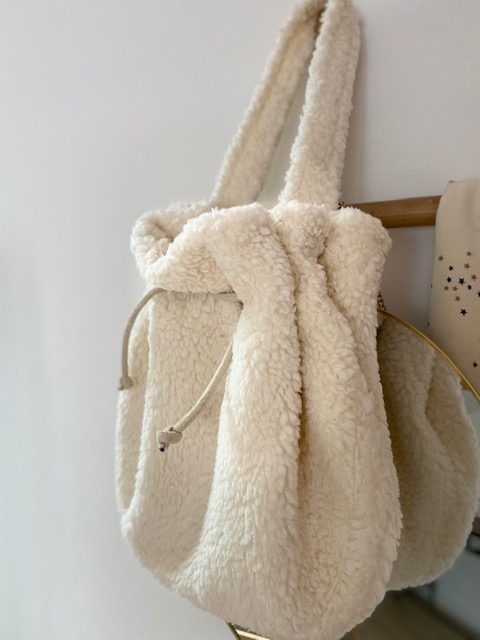
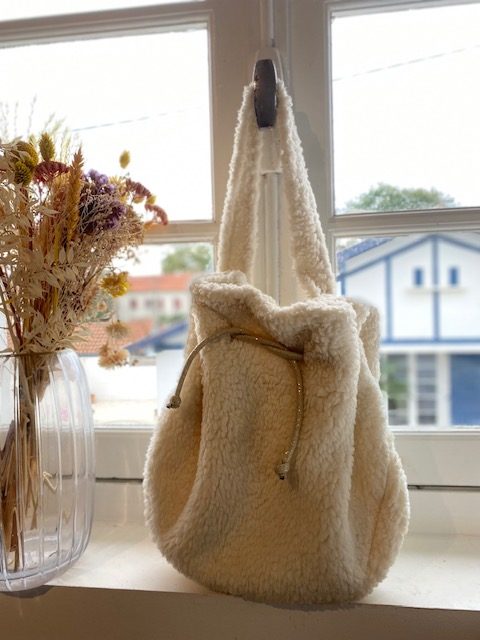
Tadam! My bourse bag is ready!!
I hope this little tutorial helps you if you have any difficulties making this beautiful Bernina pourse bag! I would love to see your versions!
0 Responses