 BERNINA Corporate Blog -
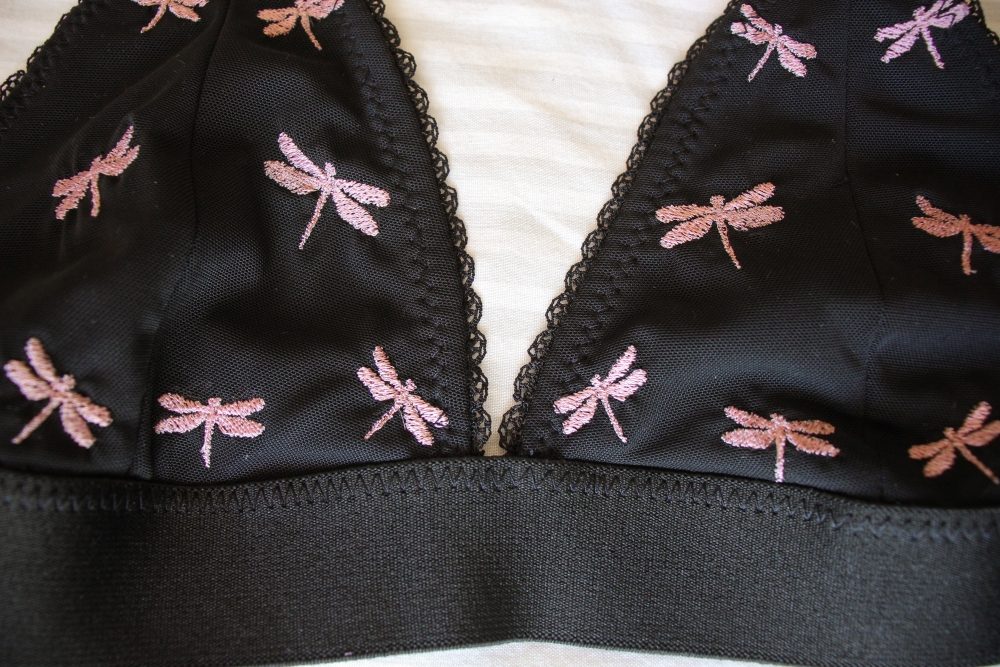
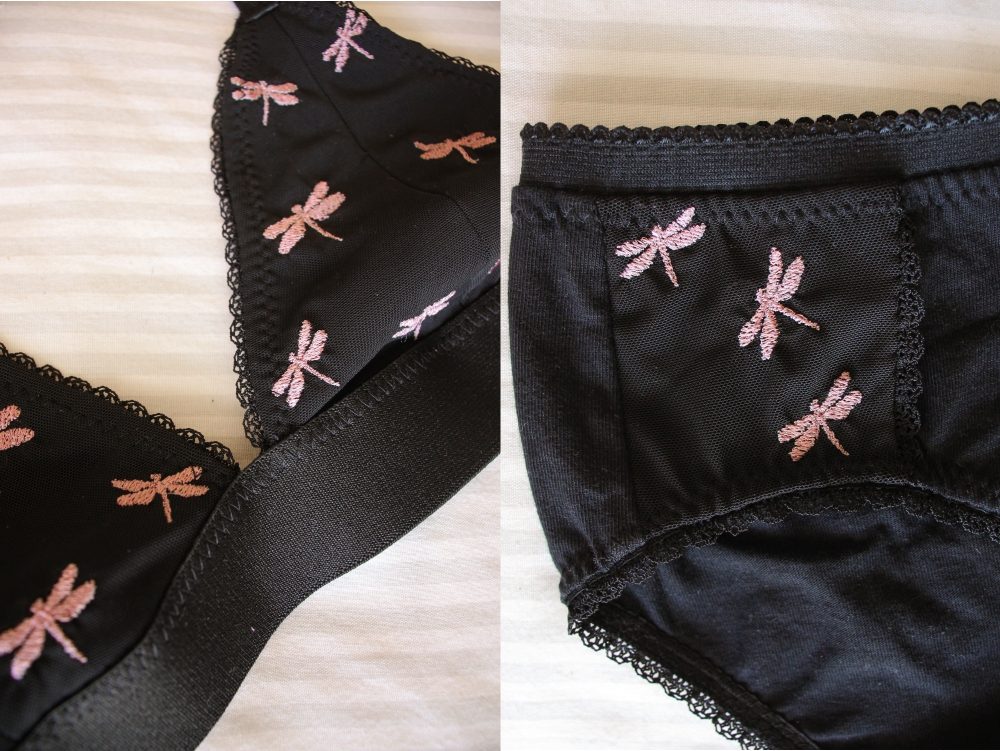
I love making my own lingerie. It is so a rewarding to make, relatively quick to sew and a great way to use up scrap fabric!
Comfort is my preference when making my own lingerie. But that doesn’t have to mean boring.
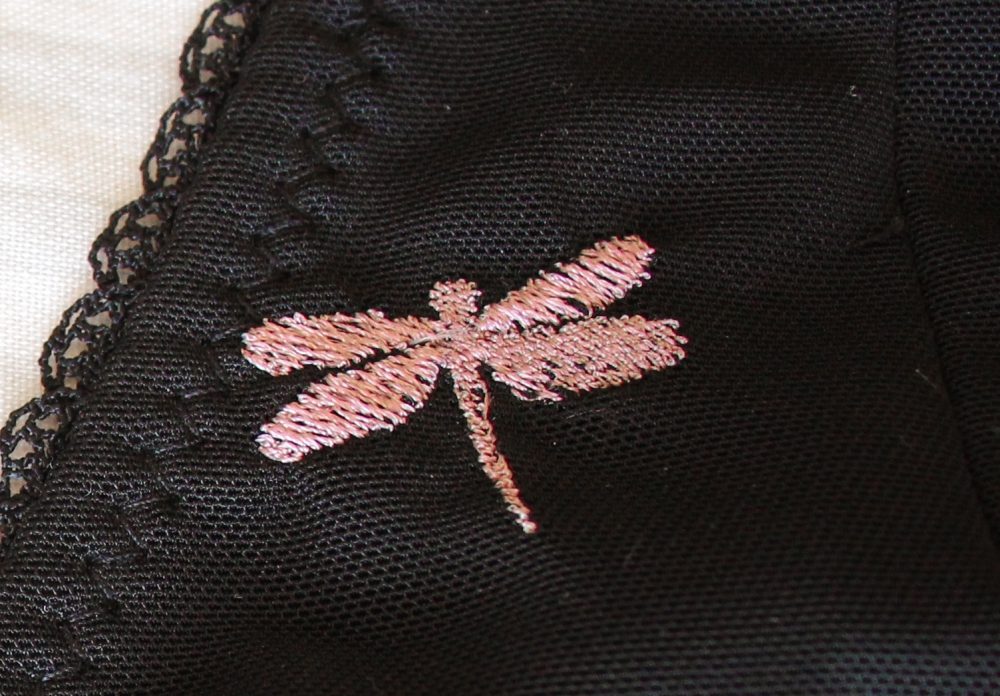
I decided to create my own embroidered tulle type fabric to line with a soft cotton knit fabric. By importing the pattern to Bernina’s Embroidery Software, I could accurately place the embroidery to create a custom embroidery design.
Check out my other blog post: Demystifying making your own lingerie. See how I used the embroidered fabric and learn how to make your own lingerie (free patterns provided).
What will be needed:
- Bernina Embroidery Software 9
- Sewing machine (B735)
- Embroidery Module
Large Oval hoop
Foot #26
Embroidery Thread
Wash-away Stabilizer - Pdf pattern /template
- Powermesh/Tulle fabric
How to open a pdf template in Bernina Embroidery Software 9
If your pattern is not in a digital format but you want to still use it as a template; you can scan the pattern and import it into the software. I’ll share those steps in an upcoming post about corsets.
Please note that this technique works best with smaller templates/pattern pieces. I.e. ones that fit within an A4 page.
It would be easier if you don’t have to piece together your template. But it is not impossible.
Also, please note that sometimes pdf documents have an extra security feature that will prevent them from being opened in editing software. If this is the case, you could print it out, scan and import the pattern pieces/template as image files.
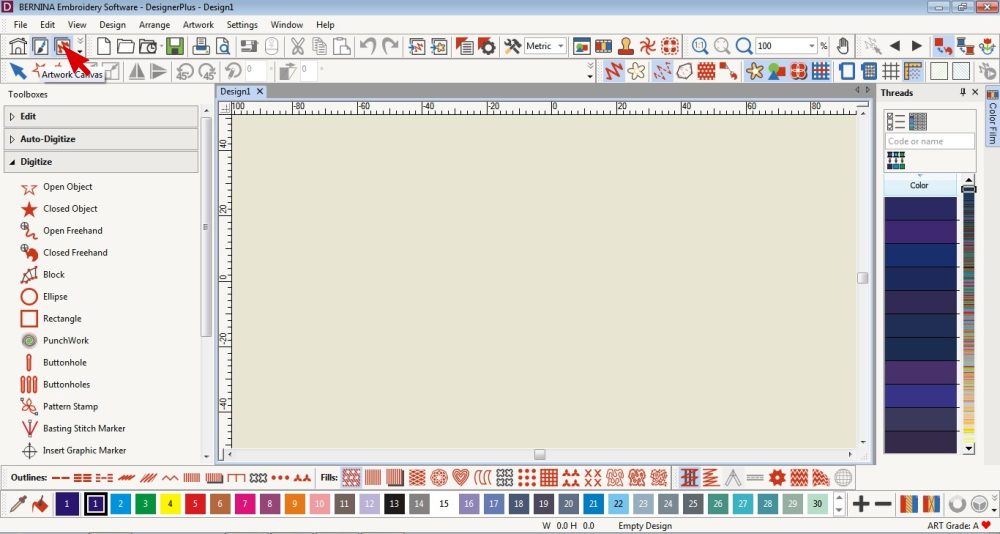
- Go to Artwork canvas
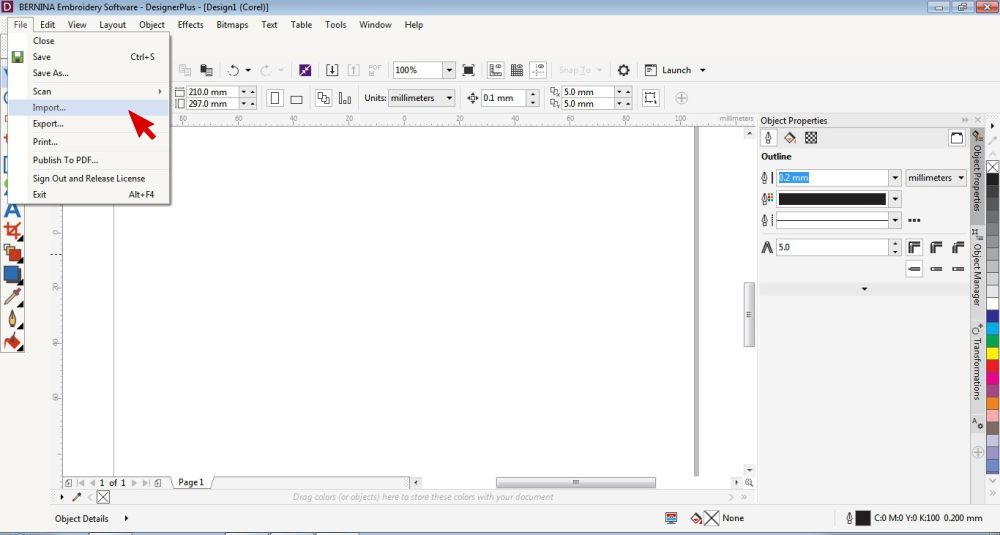
- Open File and select Import.
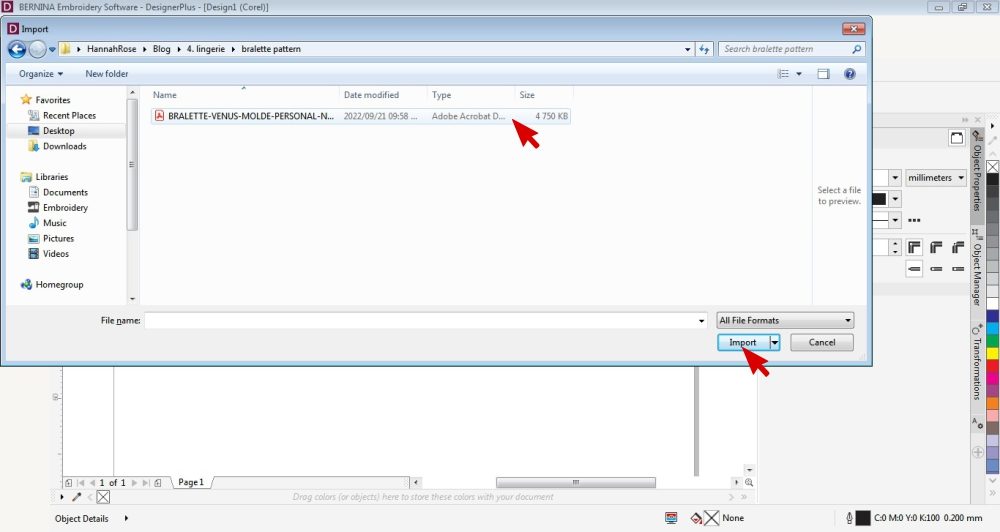
- Locate your pdf document and click Import.
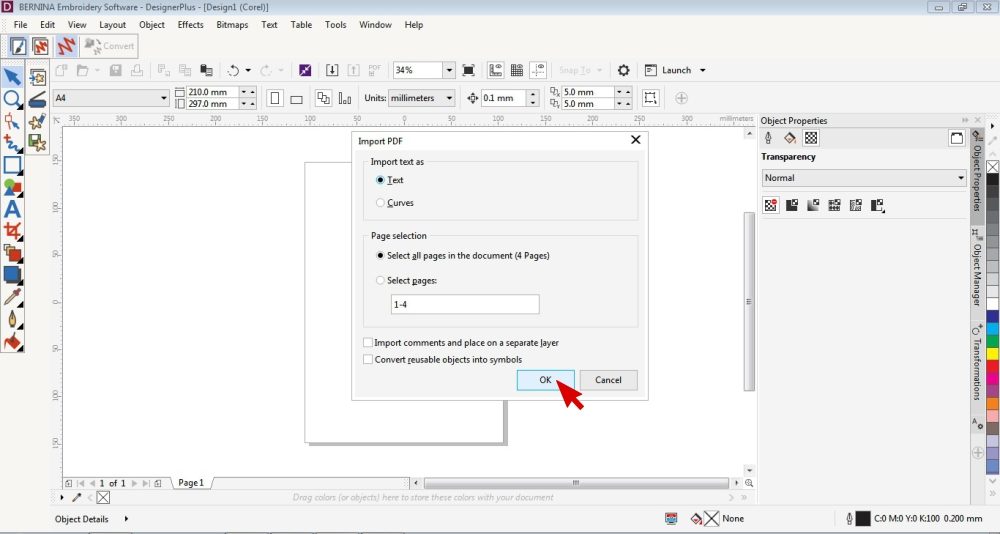
- Edit the information you require if necessary.
You can import specific pages of the pdf doc rather than the whole thing.
Click OK.
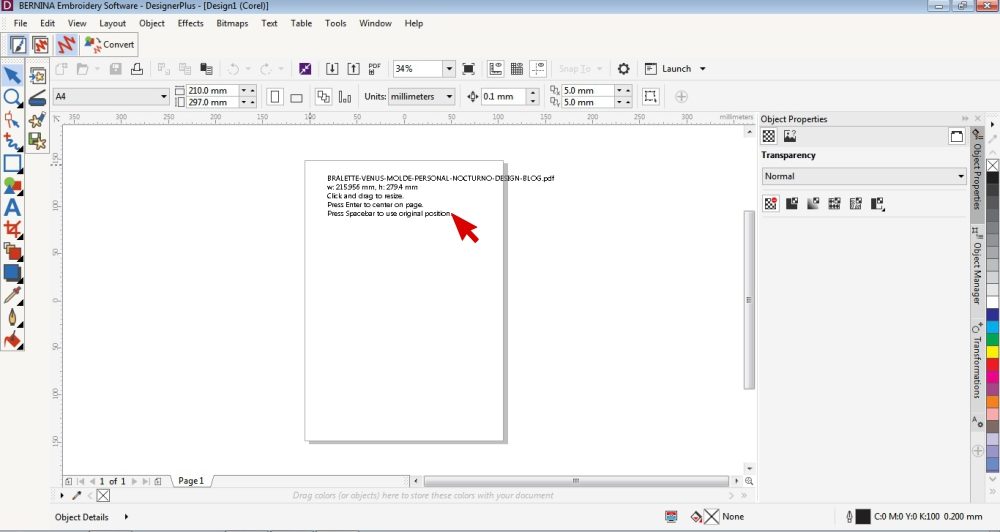
- Click Enter on your keyboard.
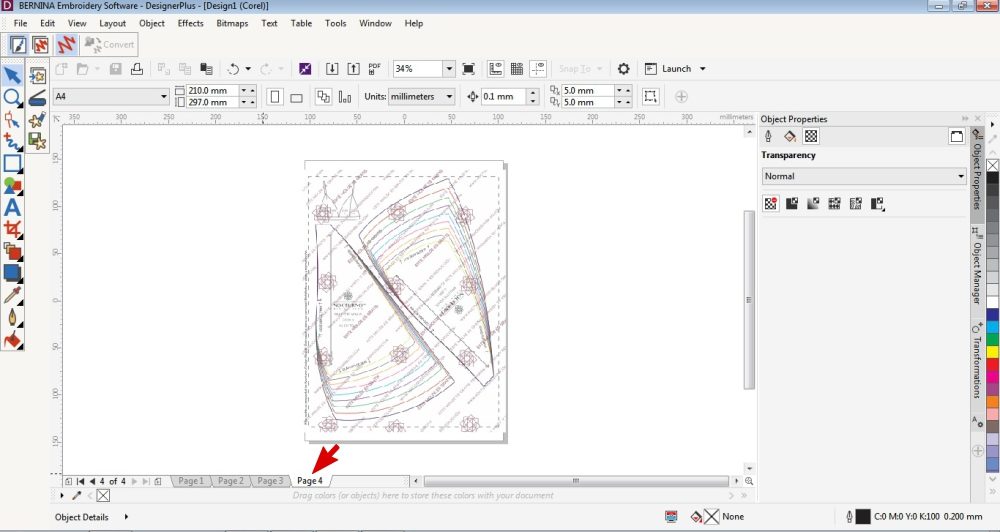
- If you have multiple pages imported, you can find them at the bottom toolbar.
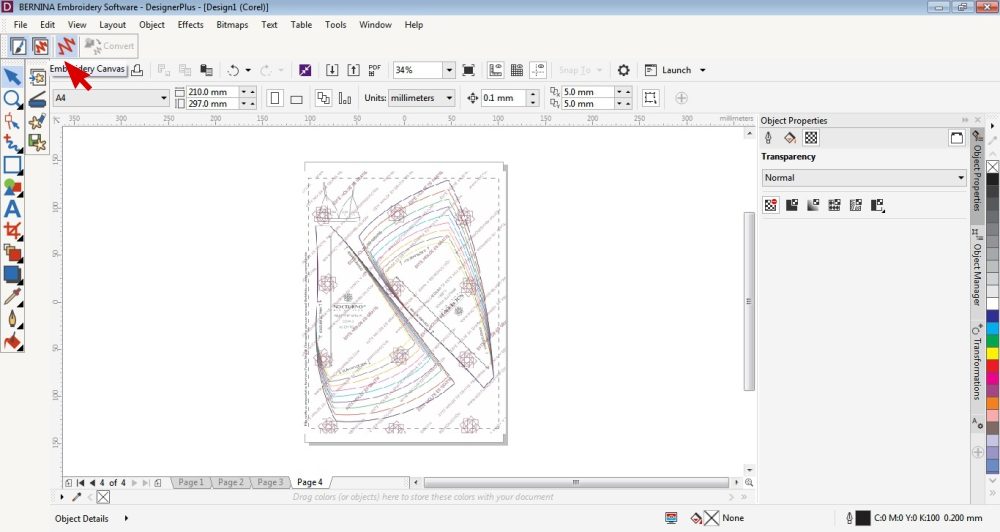
- While you have the particular page you want to use open, go to Embroidery canvas.
If you want to jump between pages, you’ll need to come back to the Artwork canvas.
If you want to crop the template, you’ll need to do that on the Artwork canvas too.
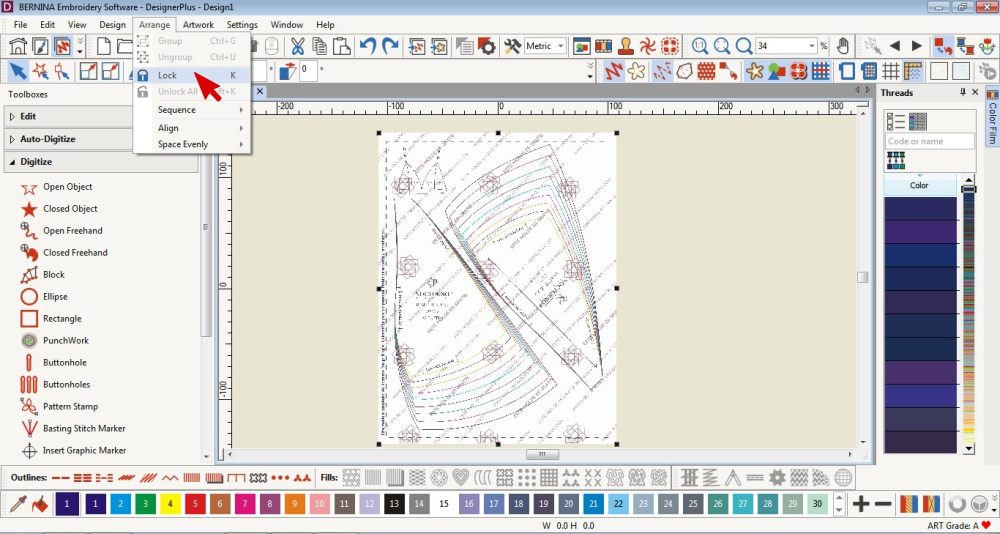
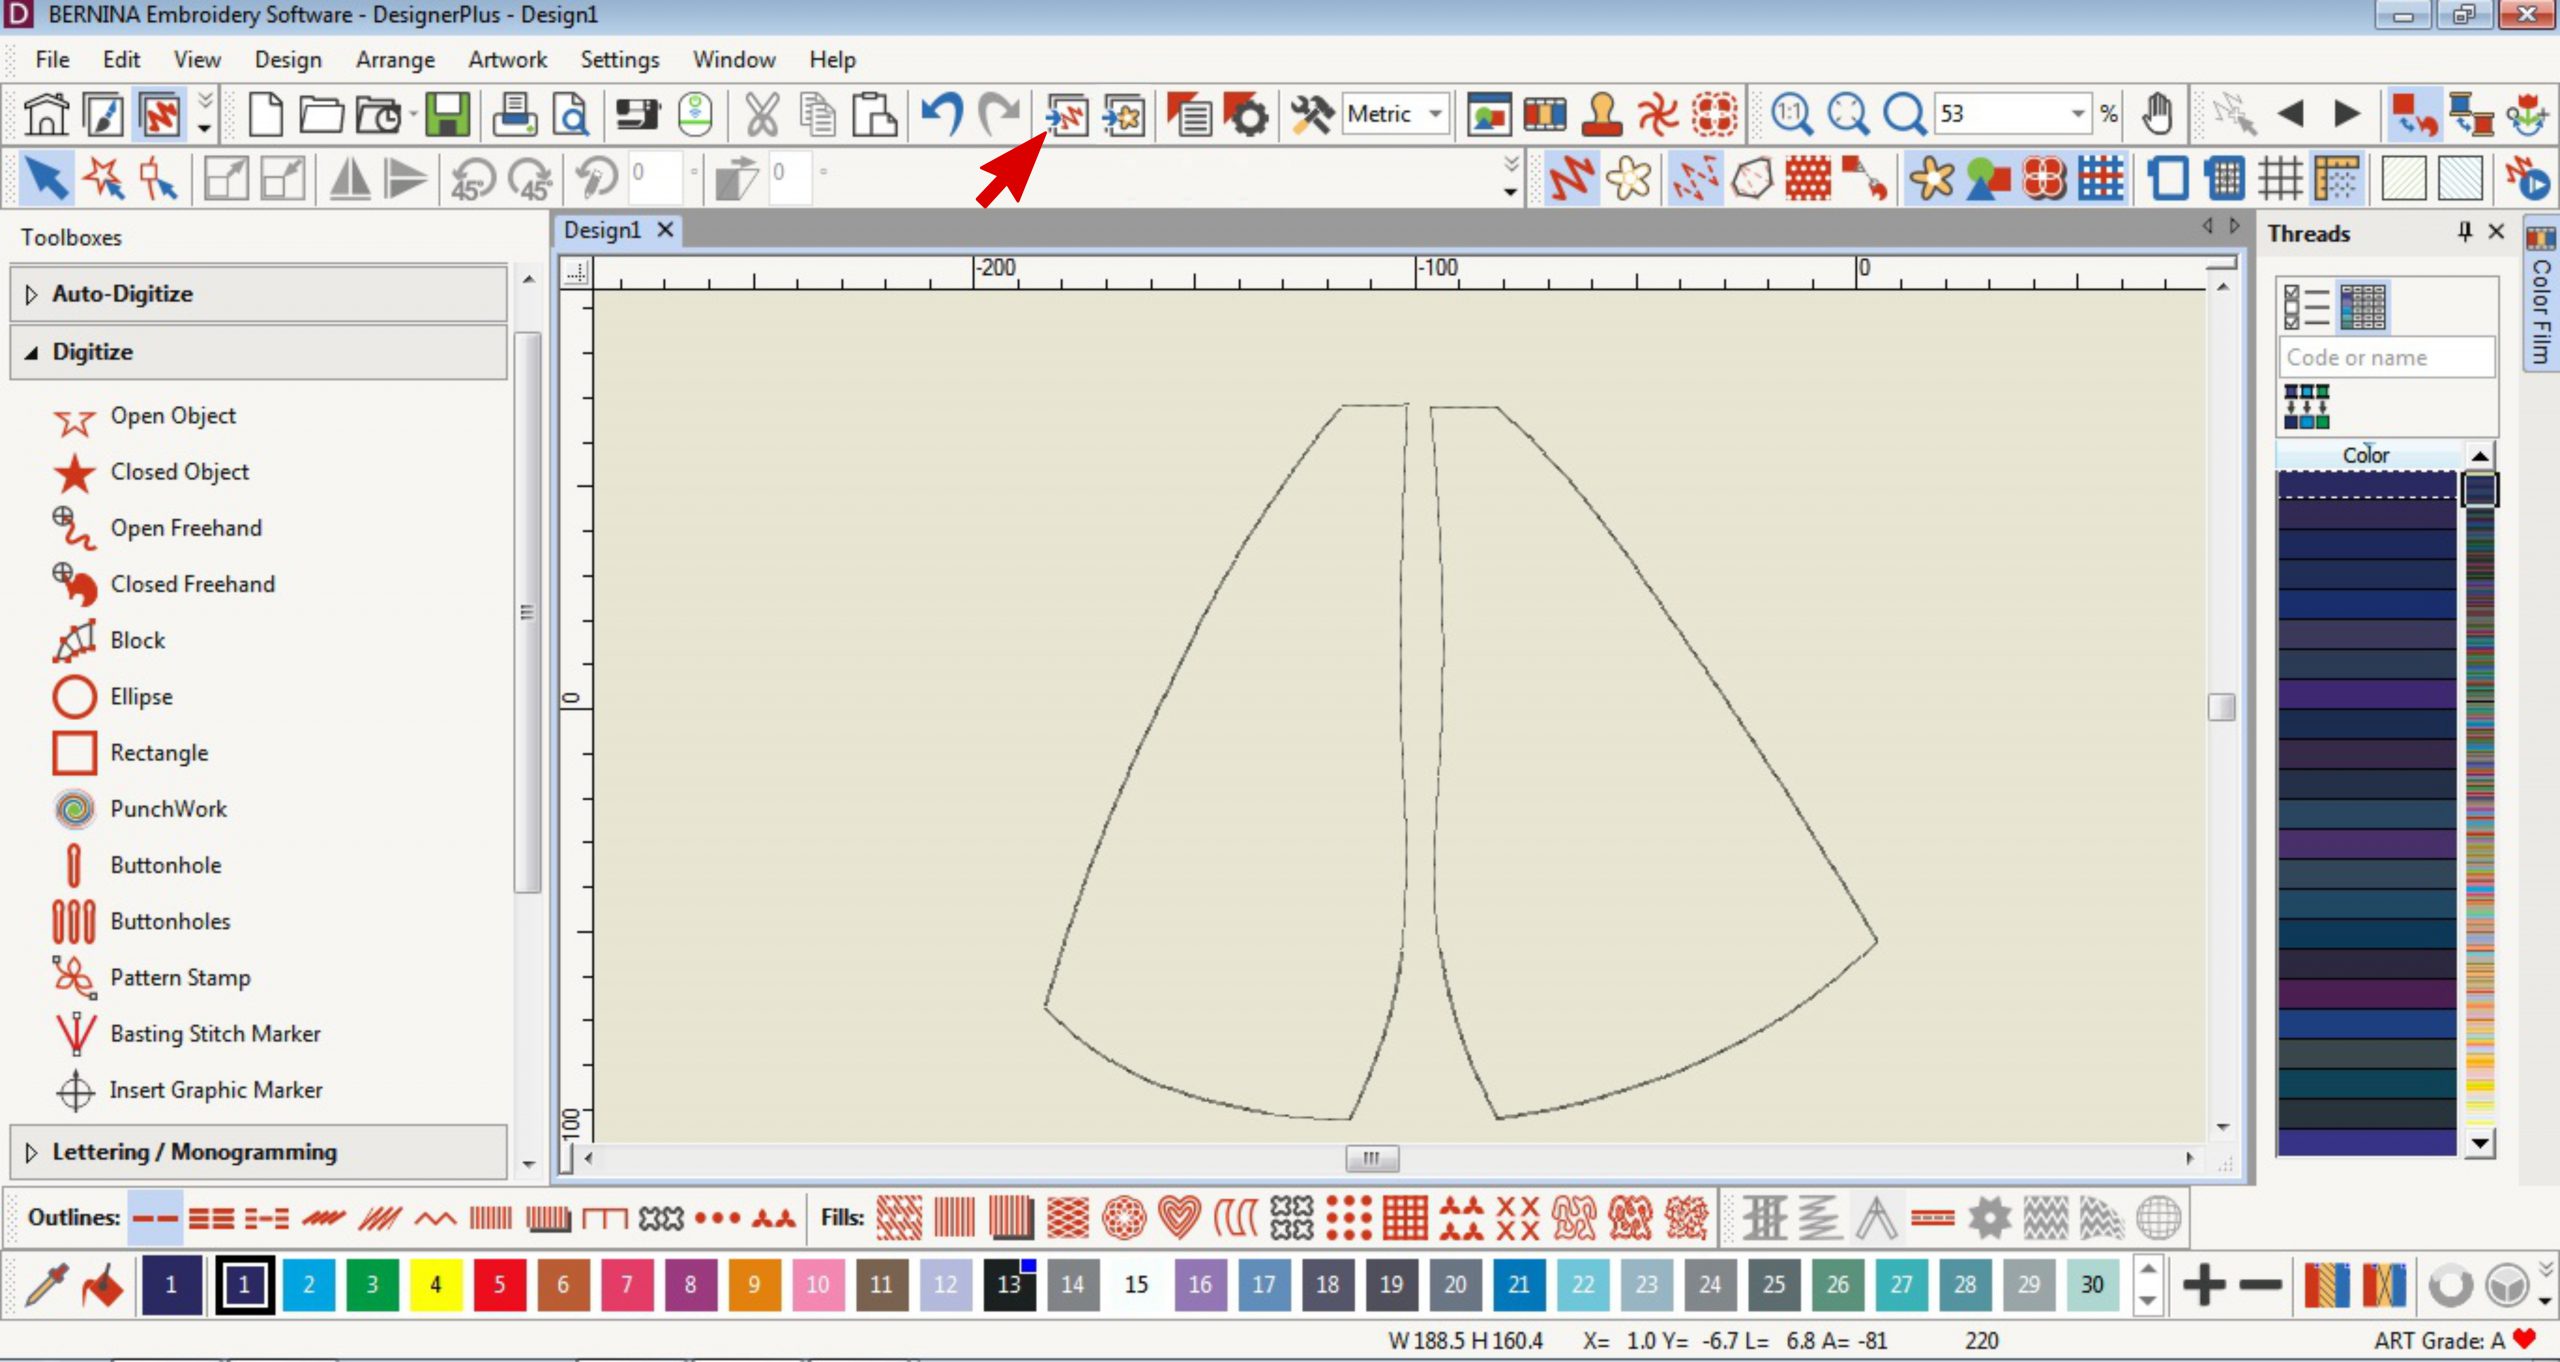
- You can lock the template in place so that it doesn’t accidentally move around or get modified while you’re digitizing on top of it. Select the object, open Arrange Tab and select Lock. To unlock, go back to the Arrange tab and select Unlock All.
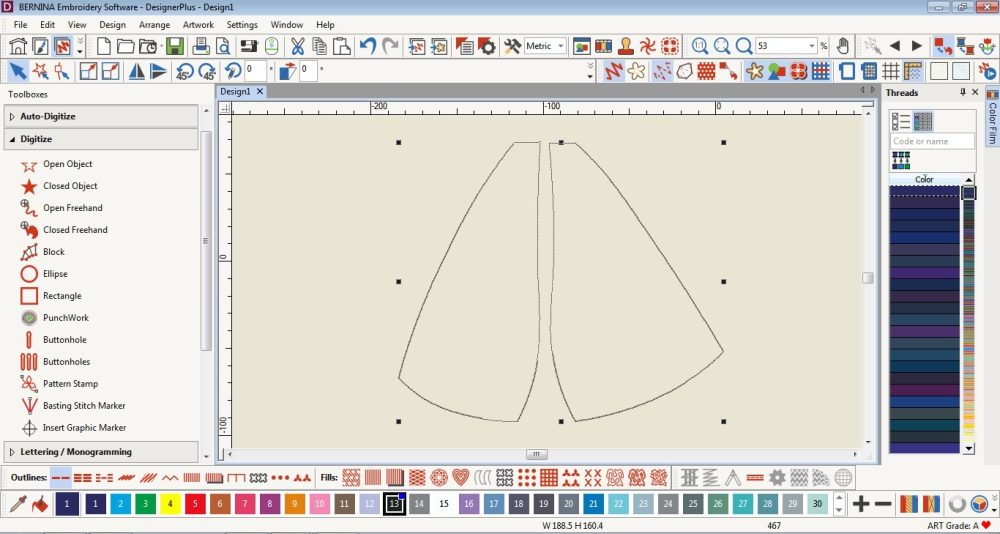
Digitize the template for basting
I decided to digitize the shape of the bralette cups so that it was easier to see and they would be helpful to embroider as basting stitches making it easier when cutting out.
This works best for templates/pattern pieces that fit within your hoop.
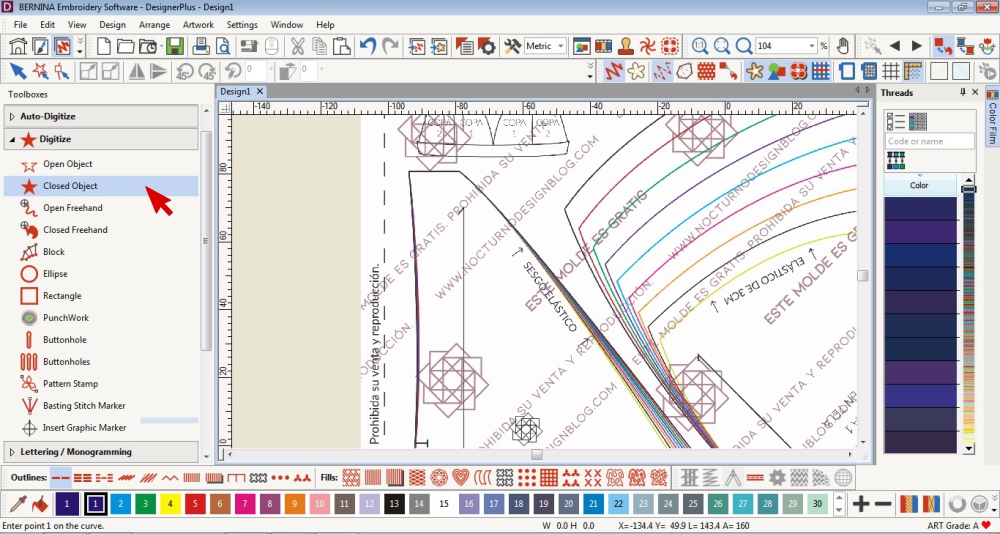
- Select Closed Object under the Digitizing Toolbox.
Select the Single Outline Stitch on the bottom Toolbox.
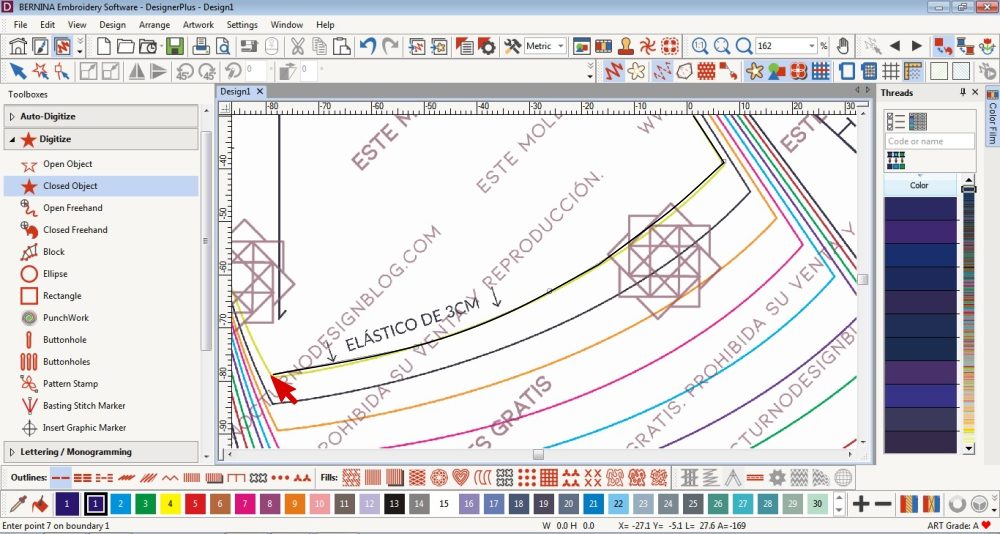
- Create nodes by clicking with your mouse.
Right click makes a curved lines and left click makes a straight line.
Press Enter on your keyboard before reaching the original click point and the software automatically closes the object.
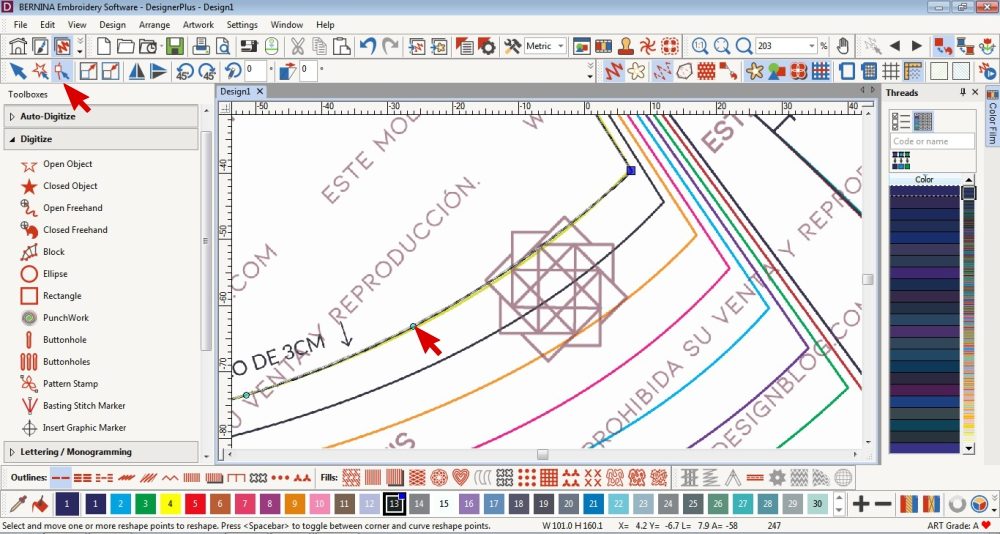
- Select the digitized design and click on the Reshape Tool to be able to edit the shape and move the nodes.
Click on a node to select it. You can move it, delete it or change it to a straight or curve by pressing the Space Bar.
You can also add more nodes.
- I then Unlocked the original template and deleted it.

- To make the stitches basting stitches, I increased the stitch length.
Select and double click on the object to open the Object Properties.
Increase the stitch length to at least 5mm and click OK.
The “variable run length” can also be edited. This helps create smoother curves. The smaller the length, the better the shape of the stitches around curves edges.
Edit an existing embroidery design
With Bernina’s Embroidery Software I can edit existing embroidery designs.
I have an existing embroidery design which has the shape I would like to use. As the embroidery design needs to be small for my project, I need to minimize the intricate details and alter its settings so that it will work best on stretch fabric. When embroidering stretch fabrics, small, low density designs work best.

- Select and lock the digitized templates.
- Insert the embroidery design from your documents.
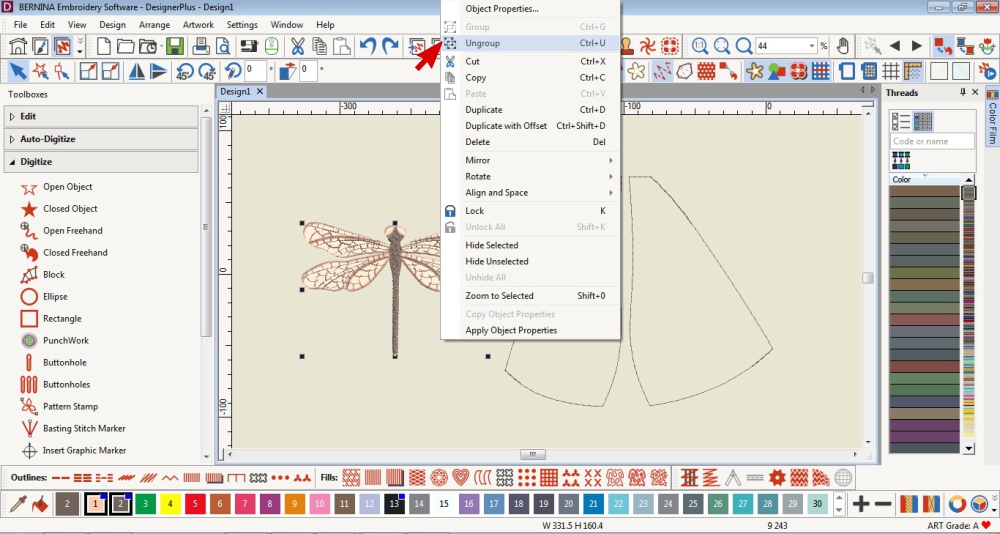
- As the embroidery design is a collection of designs, I ungrouped it by right clicking and selecting Ungroup.
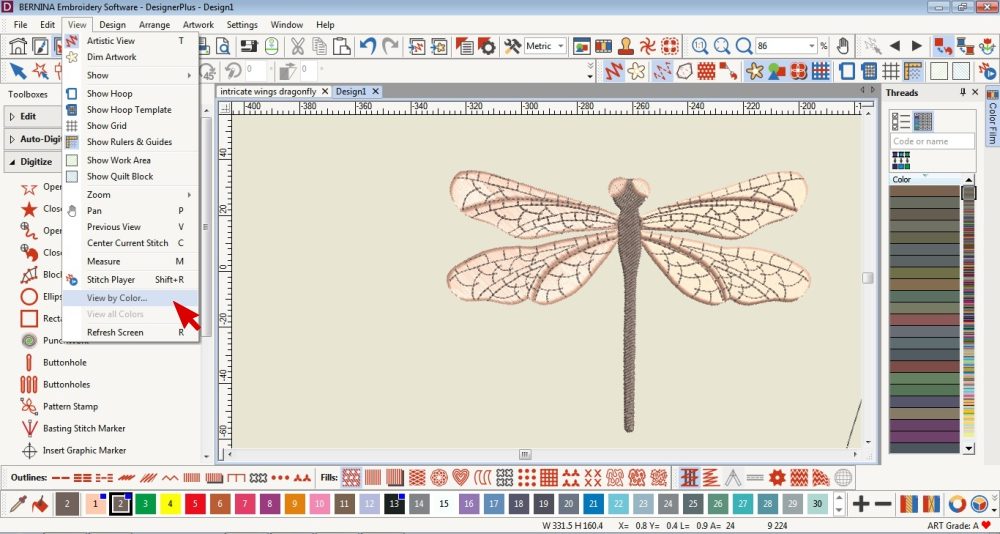
- Even though I love the intricate details, I need to delete them as the embroidery design needs to be much smaller and the details will be lost.
To make it easier to select just the thin lines (which are a different colour to the filled wings), I went to View on the top toolbar and selected View by colour.
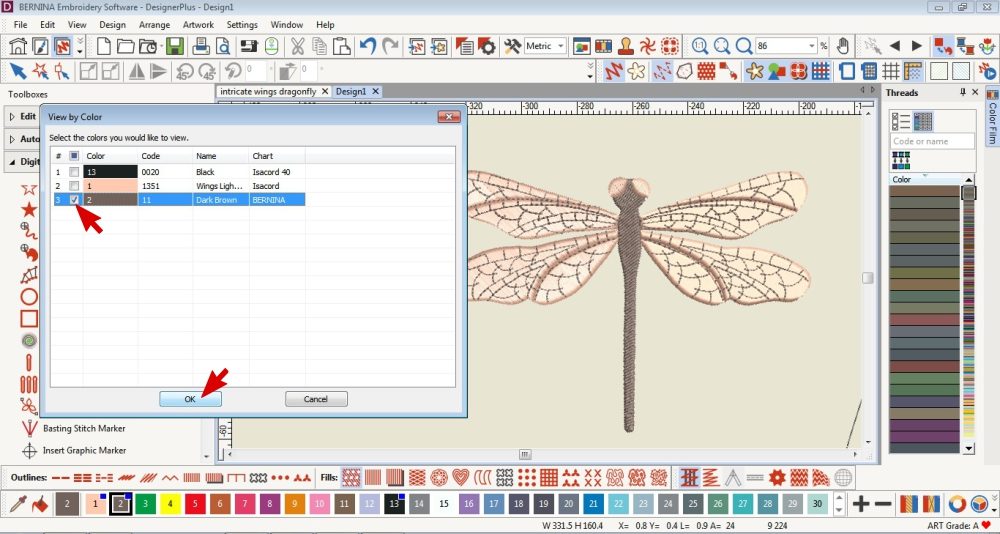
- Select the colour you want to view and click OK.
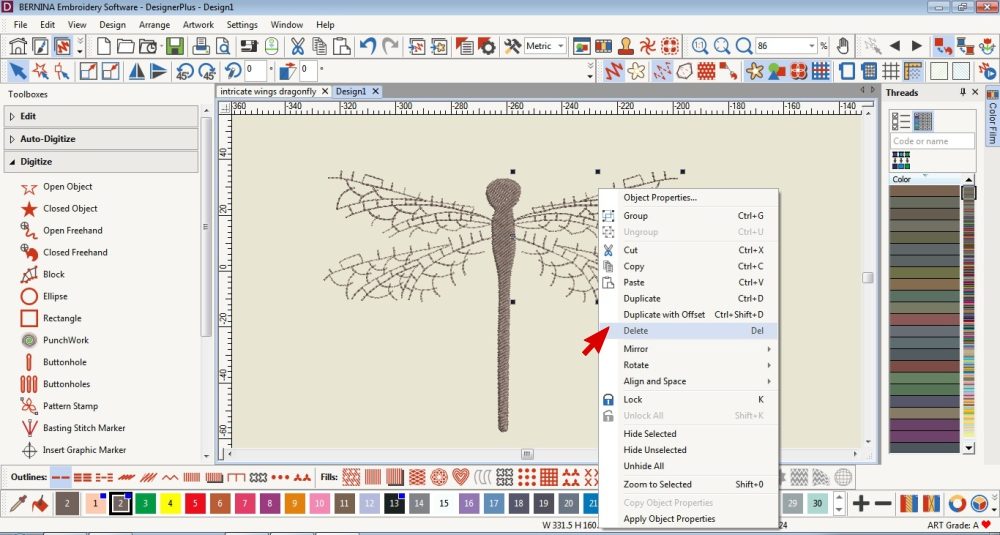
- Now I can easily select and delete just the intricate lines without also selecting the filled in wings.
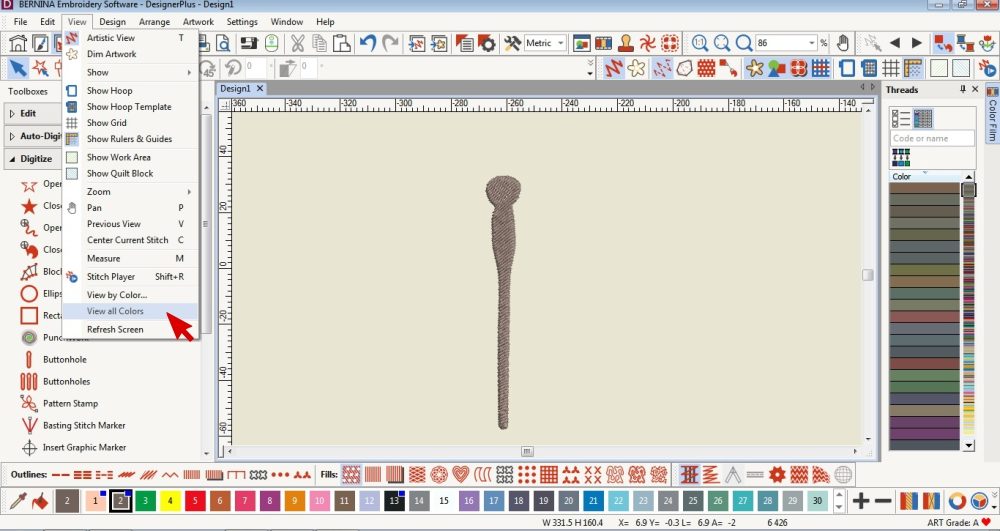
- To show the whole design, go back to View and select View All Colours.
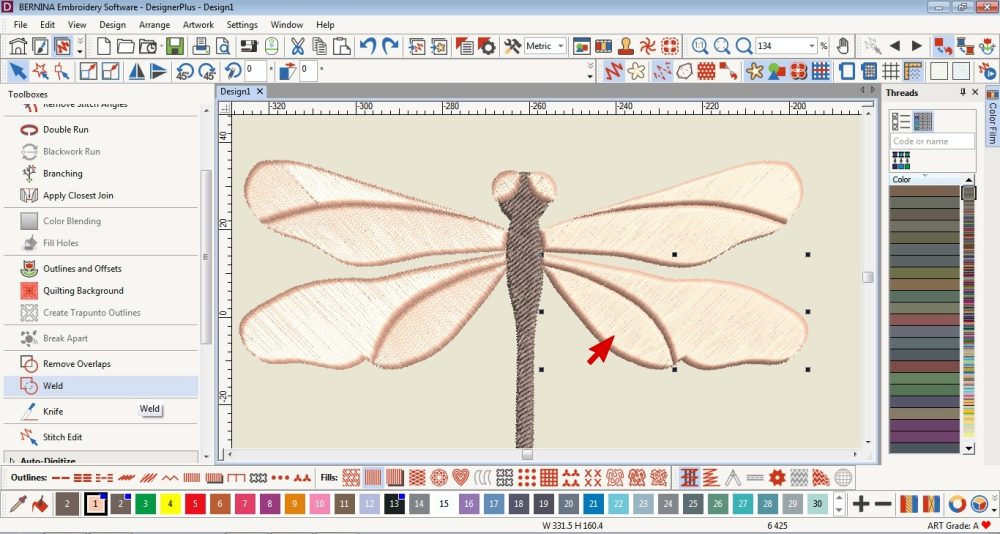
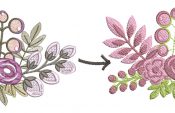
- I wanted to make each wing one whole wing (without the division across the middle) to further simplify the design.
I selected both objects and clicked on Weld under the Edit Toolbox.
The objects must be overlapping in some way in order for the Weld Tool to work. I moved one of the objects over in order for it to overlap just a bit. You could also use the Reshape Tool and move one of the nodes to overlap the other object.
I repeated the welding technique for each wing as well as the body.
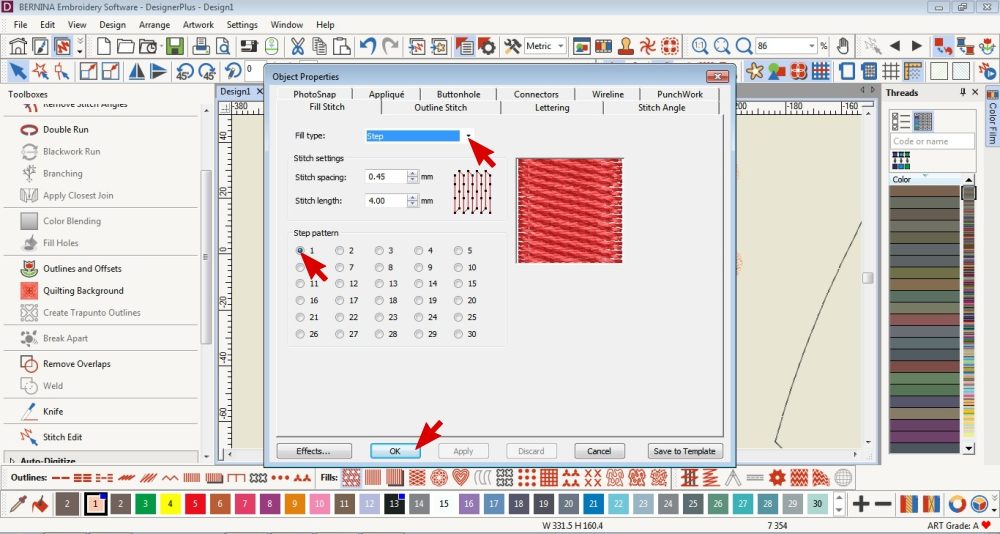
- To further minimize the detail and make the design more conducive to working on Powermesh, I changed the Fill Type.
Select the objects, right click and select Object Properties.
Here you can choose a Fill Type and a Fill Pattern.
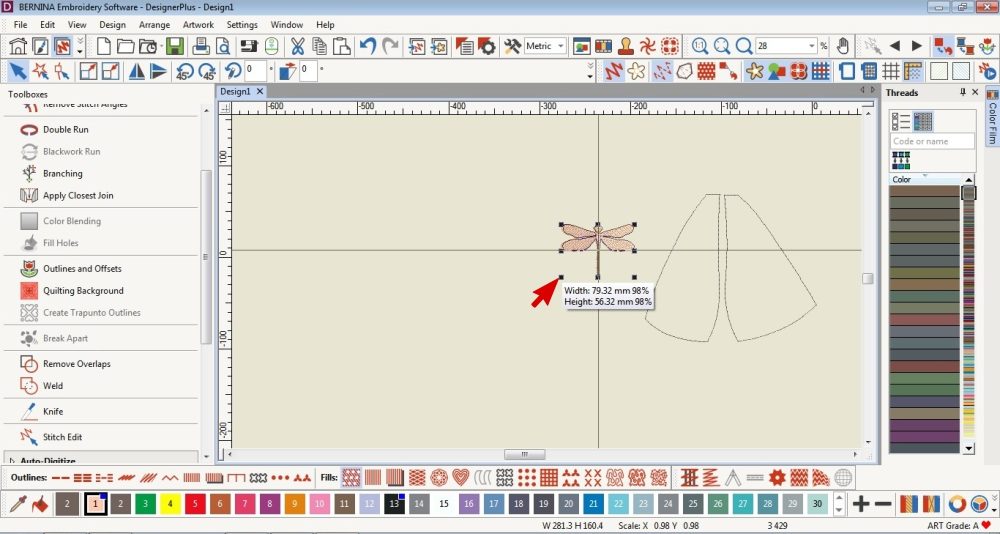
- Now that the design is looking how I want it, I grouped it together and resized it.
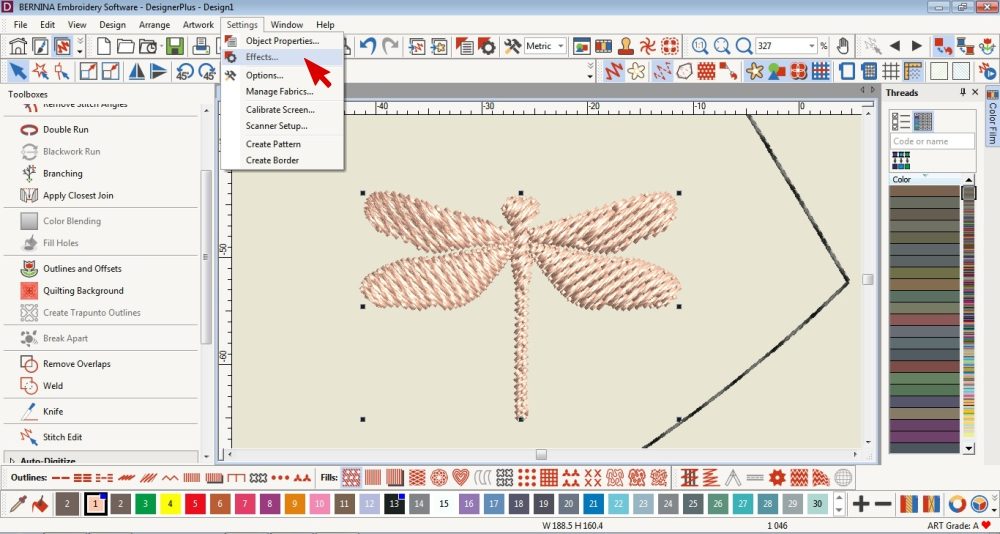
- In order to optimize my design for stitching on stretch fabric, I need to ensure that it has a light underlay of stitching for stability and the stitches can compensate for stretching.
While the object is selected, Open the Settings Tab and click on Effects.

- Tick Underlay 1, choose the type of stitch you would prefer and click Apply.
As I had a Step Fill Type stitch I went with a Step Underlay Stitch.
(Refer to the Help Tab and type “Stitch Settings Table” in the search bar for assistance)
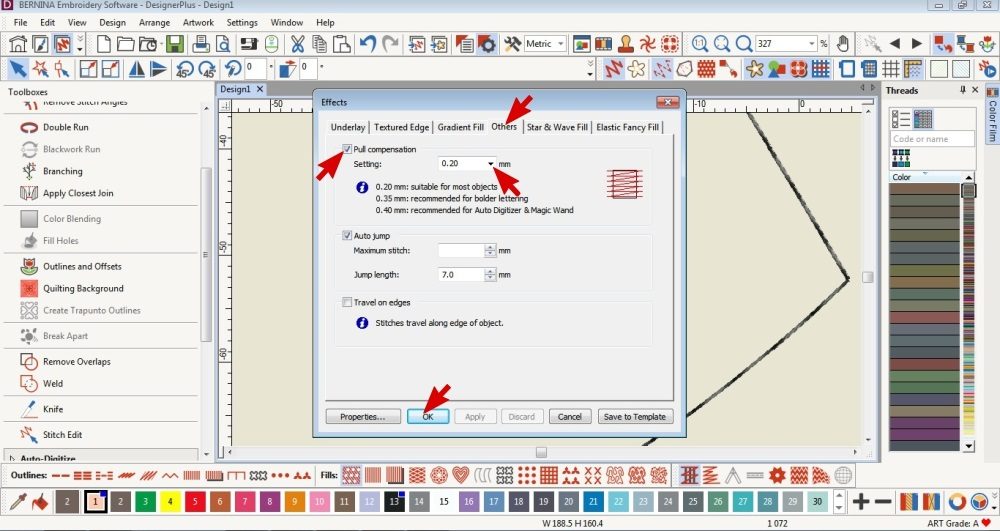
- Open the Others Tab, tick Pull Compensation, choose the setting and click OK.
I went with 0.2mm as that was recommended in the Stitch Table for Step stitches on Lightweight Knits.
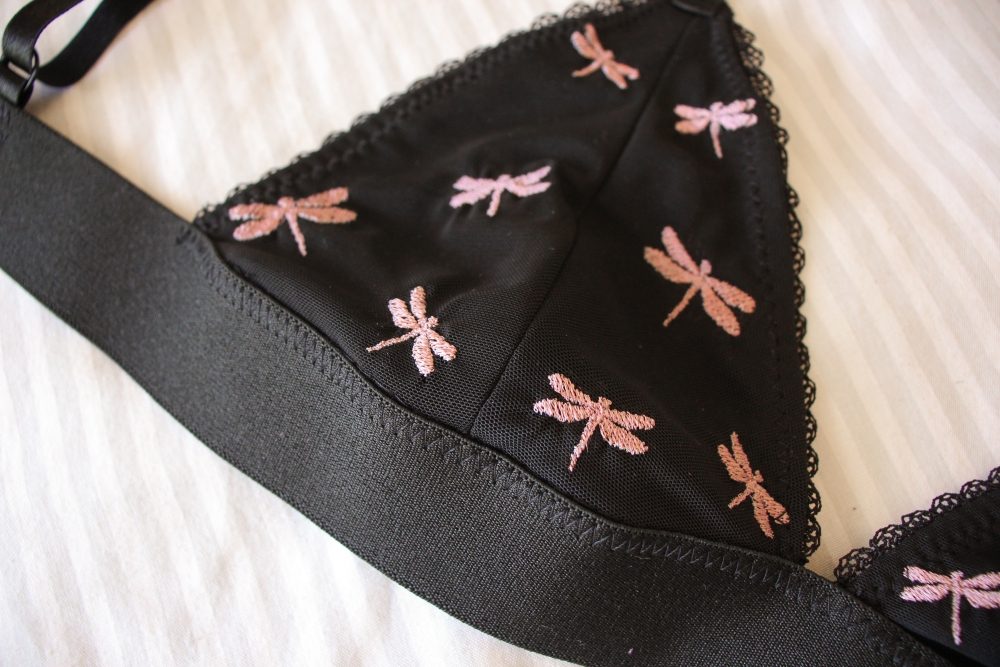
Finishing Touches
Now that my embroidery design is edited and optimized for stitching on a lightweight stretch fabric, I can place it in my template.
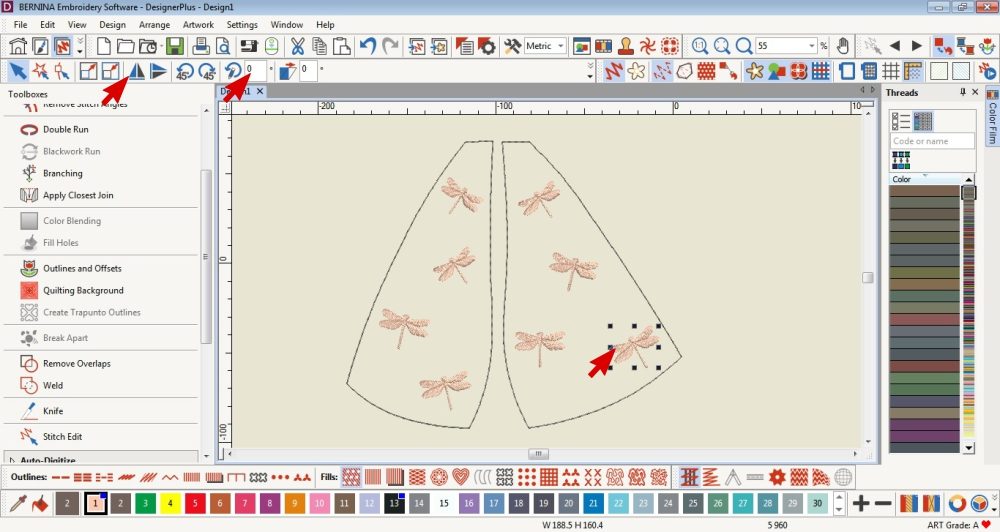
- Duplicate (on your keyboard hold down ctrl and press C), mirror, rotate and place the embroidery designs within your template.
Remember to factor in seam allowances.
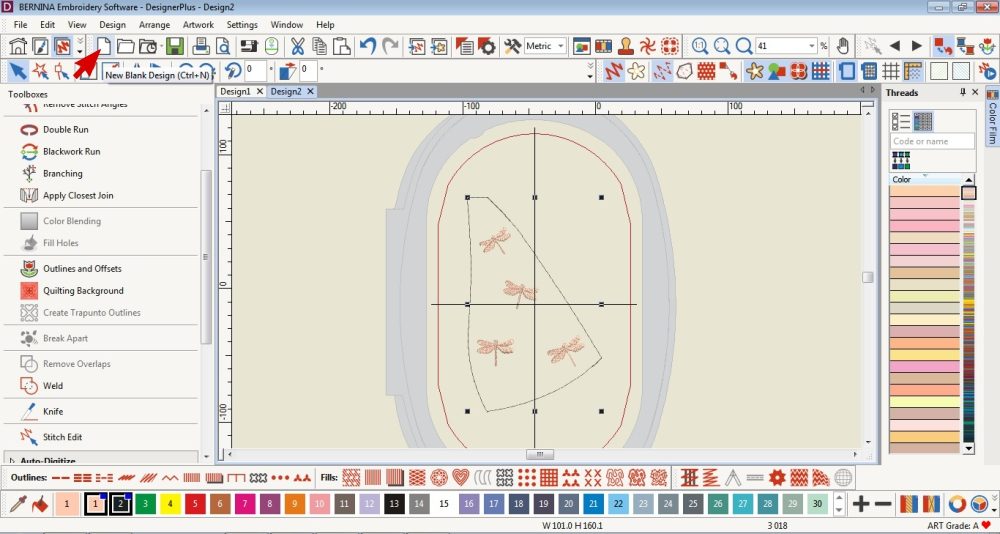
- As my design is for 2 cup pieces that won’t fit in a hoop together, I cut (hold down ctrl and press X) and pasted (hold down ctrl and press V) one of the designs/cup pieces in a separate page.
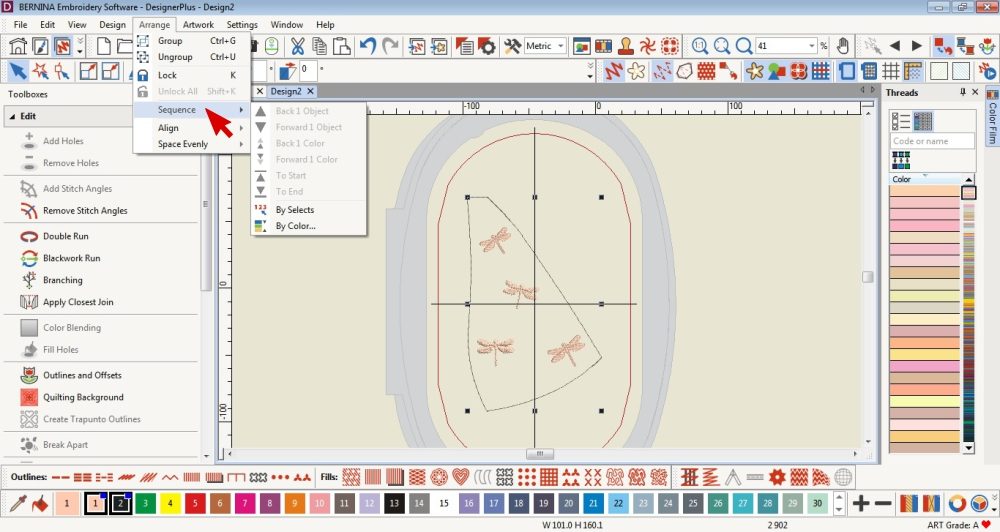
- Sequence the items.
The basting stitches must stitch first.
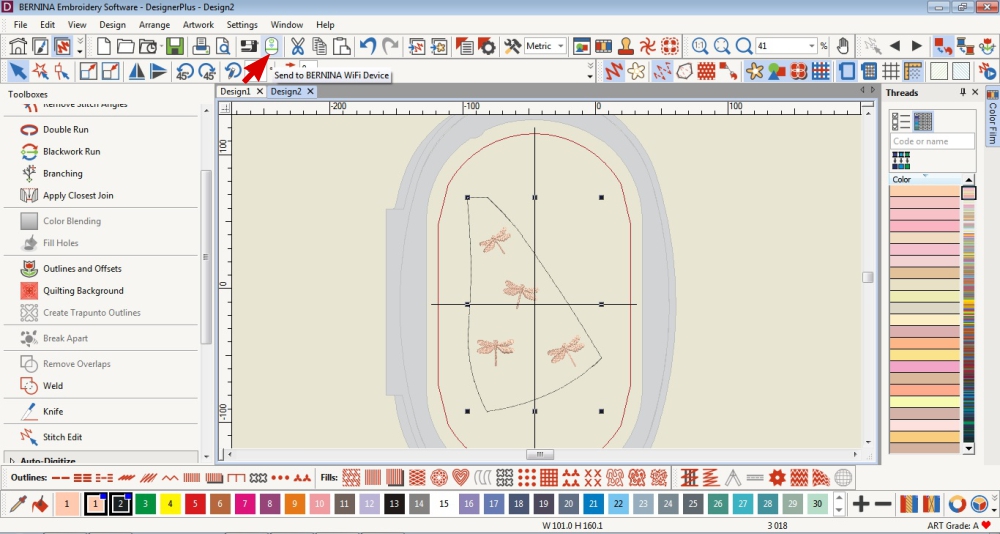
- Save, export or send each completed design to your Bernina machine via the WiFi Device.
Embroider
As my pattern pieces are small, I prefer to embroider thefabric before cutting it out. I also recommend testing the embroidery design with a smaller piece of fabric to see if you need a layer of stabilizer on top as well.
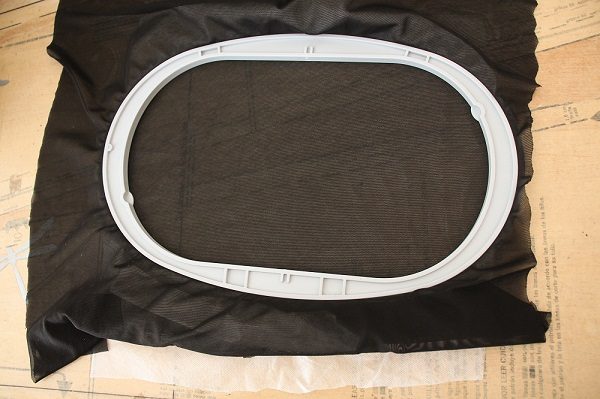
- Place the fabric in the hoop with Wash-Away Stabilizer below.
Be careful to not stretch the fabric too much as it will be distorted once embroidered and removed from the Hoop.
If your fabric keeps coming away from the stabilizer when the needle lifts up, you may want to use another layer of wash-away stabilizer on top.
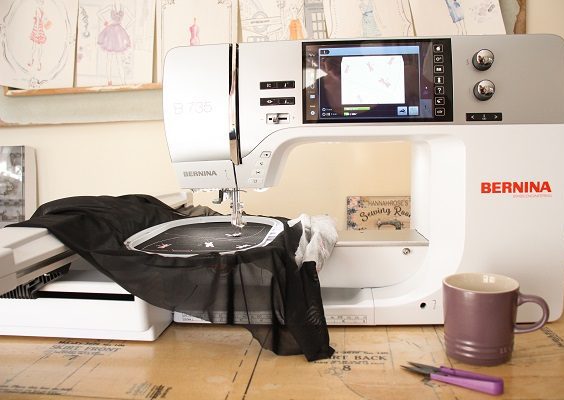
- Set up your machine for embroidery (refer to this blog post for the steps under the heading Embroider) and embroider your designs.
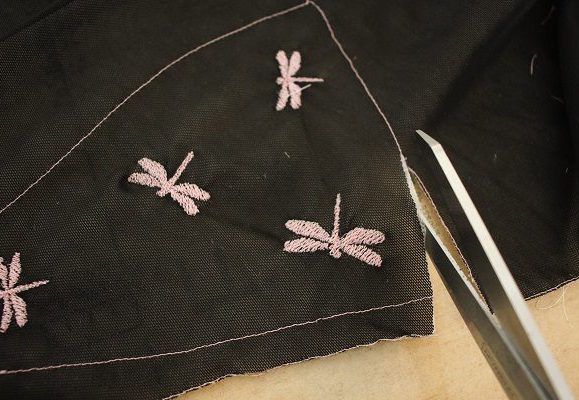
- Once you have removed the embroidered fabric from the hoop, cut out the embroidered items.
If, like me, you did an outline, cut along that line.
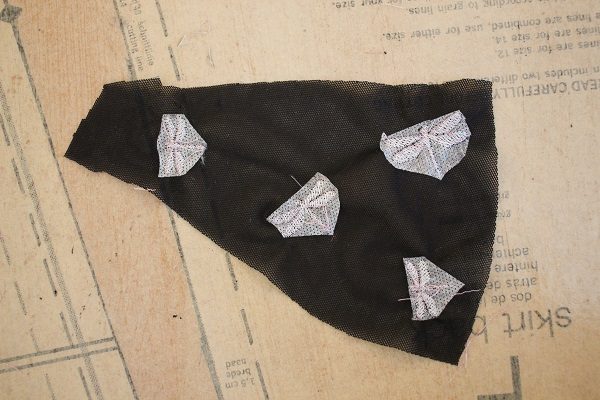
- Cut away the excess stabilizer and rinse or soak the items in water.
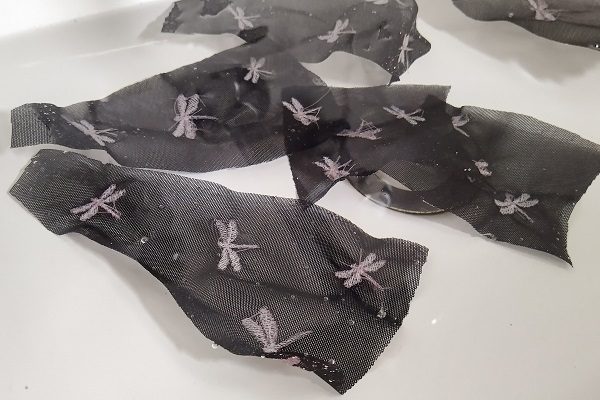 Refer to the instructions that came with your stabilizer to know if the water should be warm or cool.
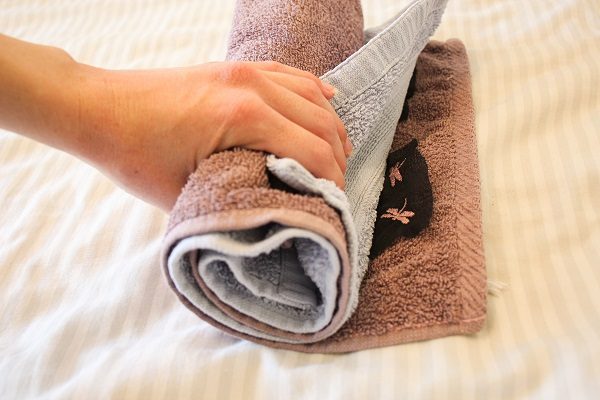 Place the embroidered fabric between 2 towels, gently roll and press out the liquid.
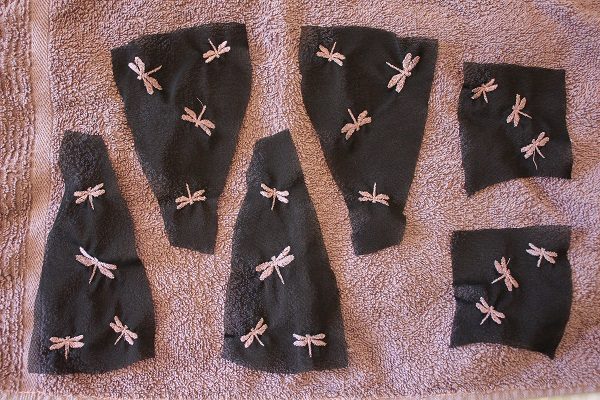 Lay the pieces flat to air dry.
Tips
- I used the Venus Bralette by Nocturne Design.
- Please be respectful of the pattern or template designers/creators and respect their T&Cs.
Don’t distribute the pattern/template or try pass it off as your own.
The only reasons for importing the pattern or template into the software is to be able to create accurate embroidery placement or figure out sizing.
I would love to see what you make, please feel free to share with me!
Instagram
Facebook
-Hannah-Rose
All rights of the patterns to the respective owners/creators/distributors.


0 Responses