 BERNINA Corporate Blog -
Hi Bernina Lovers!
I am a big fan of making things with fabric scraps. What about you?
I had some knit French embroidery fabric left overs from a sweat-shirt that I made a few weeks ago and I thought those fabric scraps and a large elastic band would make a perfect belt that could give that special sparkle to any outfit. I gathered my Bernina and the different materials and I made this quick and easy tutorial to make a floral elastic belt to accessorize your outfits and give them more life.
A nice way to recycle your leftover fabrics and contribute to sustainable development (even if it’s on a small scale)!
Materials needed
Any fabric of your choice, an elastic band (3 cm wide used for this tuto), your sewing machine, a pair of scissors and a little bit of joy!!!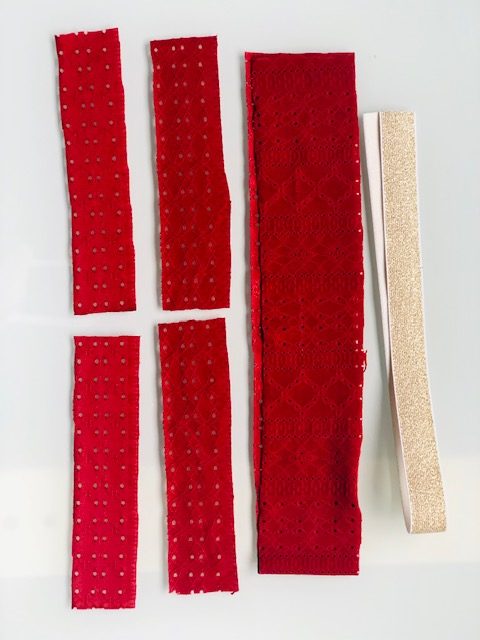
Time to measure
STEP 1: The first thing to do is to take your waist measurement for the length of the elastic, then your shoulder measurement for the length of the fabric. As the waistband is fully closed, it has to be stretchable enough to go through your shoulder line (or legs if you fit your belt from the bottom of your body).
To make it easier for you:
– Elastic length = waist measurement + 1 cm seam allowance (edges) / elastic = width: 3 cm;
– Fabric strip length = shoulder measurement + 1 cm seam allowance;
– Fabric strip width = 6 cm + 1 cm seam allowance;
– For the flowers: 4 cm x 23 cm + 3 mm seam allowance;
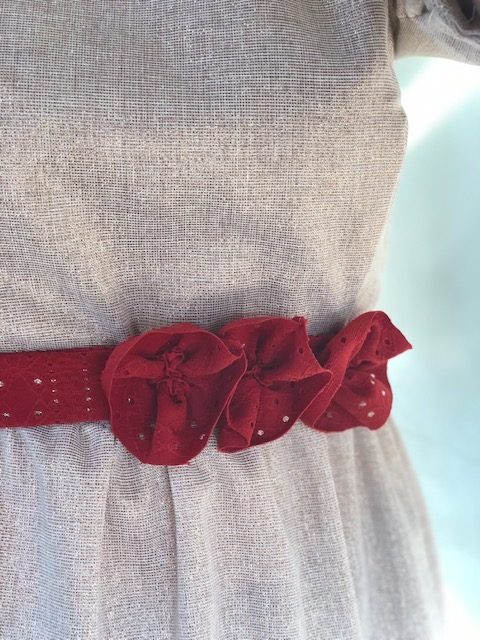
I chose to put only 3 flowers on my belt, so I have 3 strips. You can put as many as you like and just as you can play with the length and width of the strips to create the desired effect.
Making the magic happen
STEP 2: How to make the beautiful little flowers?
Using the measurements I mentioned earlier, cut the 3 strips for the flowers. Then, with a large stitch on the machine, sew a line 5 mm from the top edge of each strip to make the gathers. It is important not to use a back stitch on both the beginning and the end of your stitches, otherwise you will not be able to pull the thread to gather the fabric.
Once this step is complete, gather the flowers on the 3 mm seam allowance, placing the right side of the fabric on top of the fabric.
Starting your little bouquet of handmade flowers…
Now that you have your flowers, you can place them on your belt once it is finished.
Here comes the belt itself
There are two options for closing the elastic belt, which you will find below:
STEP 3a: For the waistband, fold the fabric and sew on the 1 cm seam allowance (top edge), leaving both sides open. Press the belt and turn it right side out. Press the 1 cm seam allowance on one edge to the inside (wrong side). Insert the elastic band into the waistband with a safety pin. Sew the edges of the elastic together, one on top of the other, and insert the 1 cm seam allowance of the un-ironed strip into the other edge of the strip and topstitch 1 mm.
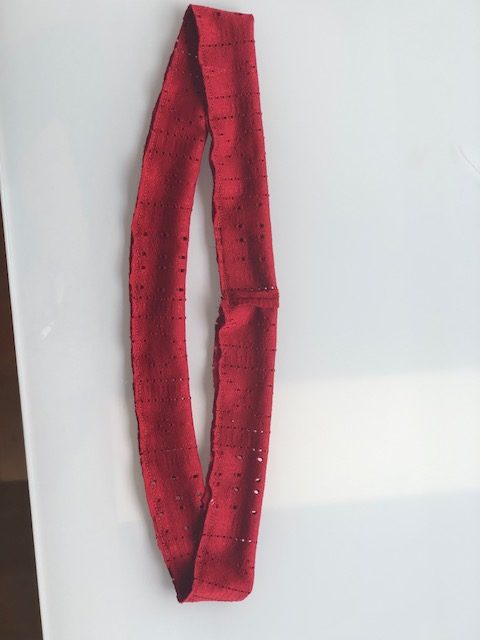
STEP 3b: The second option for the waistband would be to sew the side seam allowances of the waistband together, right sides together at 1cm. At the top, sew at 1.2 mm, leaving enough space to insert the elastic band later. Sew 2 mm above the centre of the waistband to the bottom. Fold the top and bottom seam allowances 1 cm and fold the width of the waistband in the opposite direction, wrong sides together, and topstitch to 2 mm. You can now insert the elastic and close the remaining opening by hand with an invisible stitch.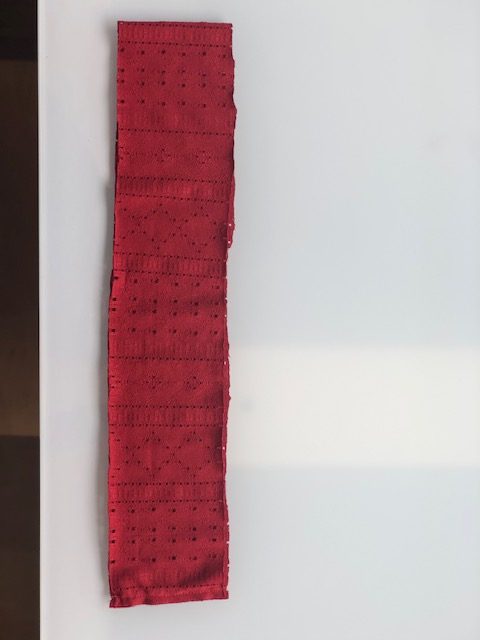
And the final steps…
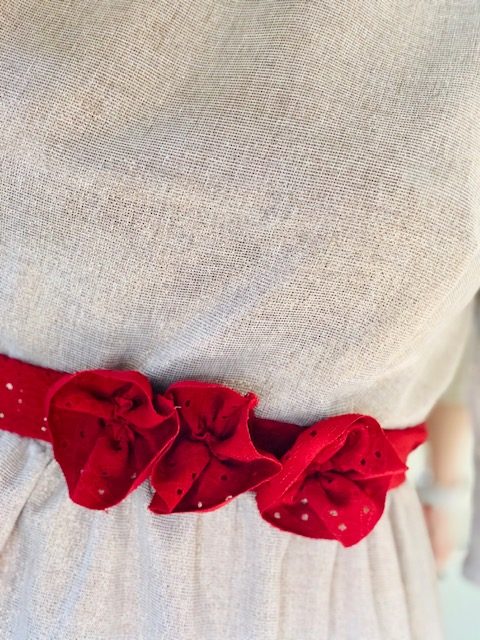
STEP 4: Once the belt is ready, start placing the flowers on the belt with hand stitches. Ideally, the seam should be hidden.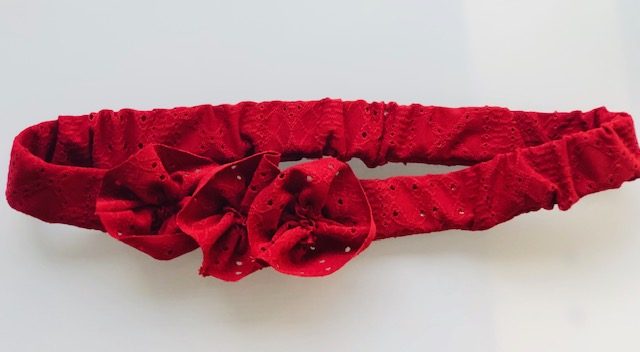
And TaDah! Your flowery elastic belt is ready to party!
This was easy, wasn’t it?


0 Responses