 BERNINA Corporate Blog -
Hello Bernina lovers!
A couple of weeks ago I showed you how to go from a basic t-shirt to a personalized an unique one with a simple embroidery on it. I made this t-shirt for a friend that lives far away to remember our times together.
And since I was shipping that t-shirt to her, I thought it would be cute to make something special for her daughter too. I knew she has a cute girly room and I thought that something to decorate her room would be nice.
A very easy to make personalized gift…
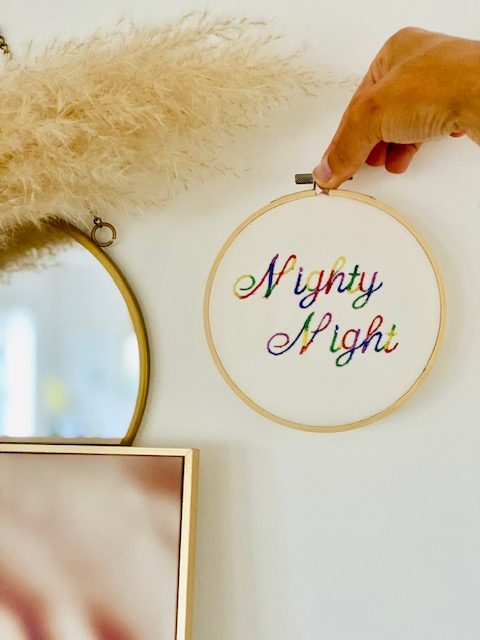
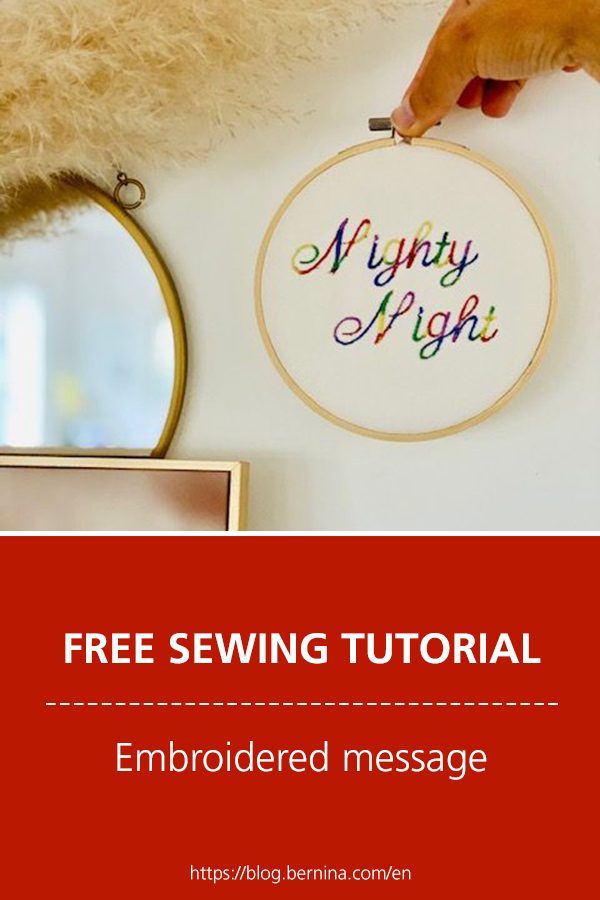
I had a few wooden embroidery hoops in my DIY materials and I thought that a nice message embroidered and framed on one of them would look super nice. A very easy personalized gift that you can do at any moment with a Bernina embroidery machine, and even with a Bernina that has letters as stitches. What kind of machine do you have?
I had bought the cutest rainbow like colored embroidery thread and thought that any girl her age (8 years old) would love that (I do love that thread and I am 45!!)
A sweet message for you…
As for the sentence that I was going to embroider for her, it took me a while… I am not that good at finding THAT message… Whenever I see someone wearing a message tee shirt I go “Oh wow! That is a nice idea! I should embroider one of my tees with it…” but then, when it comes to actually choosing the message I take a while to decide…
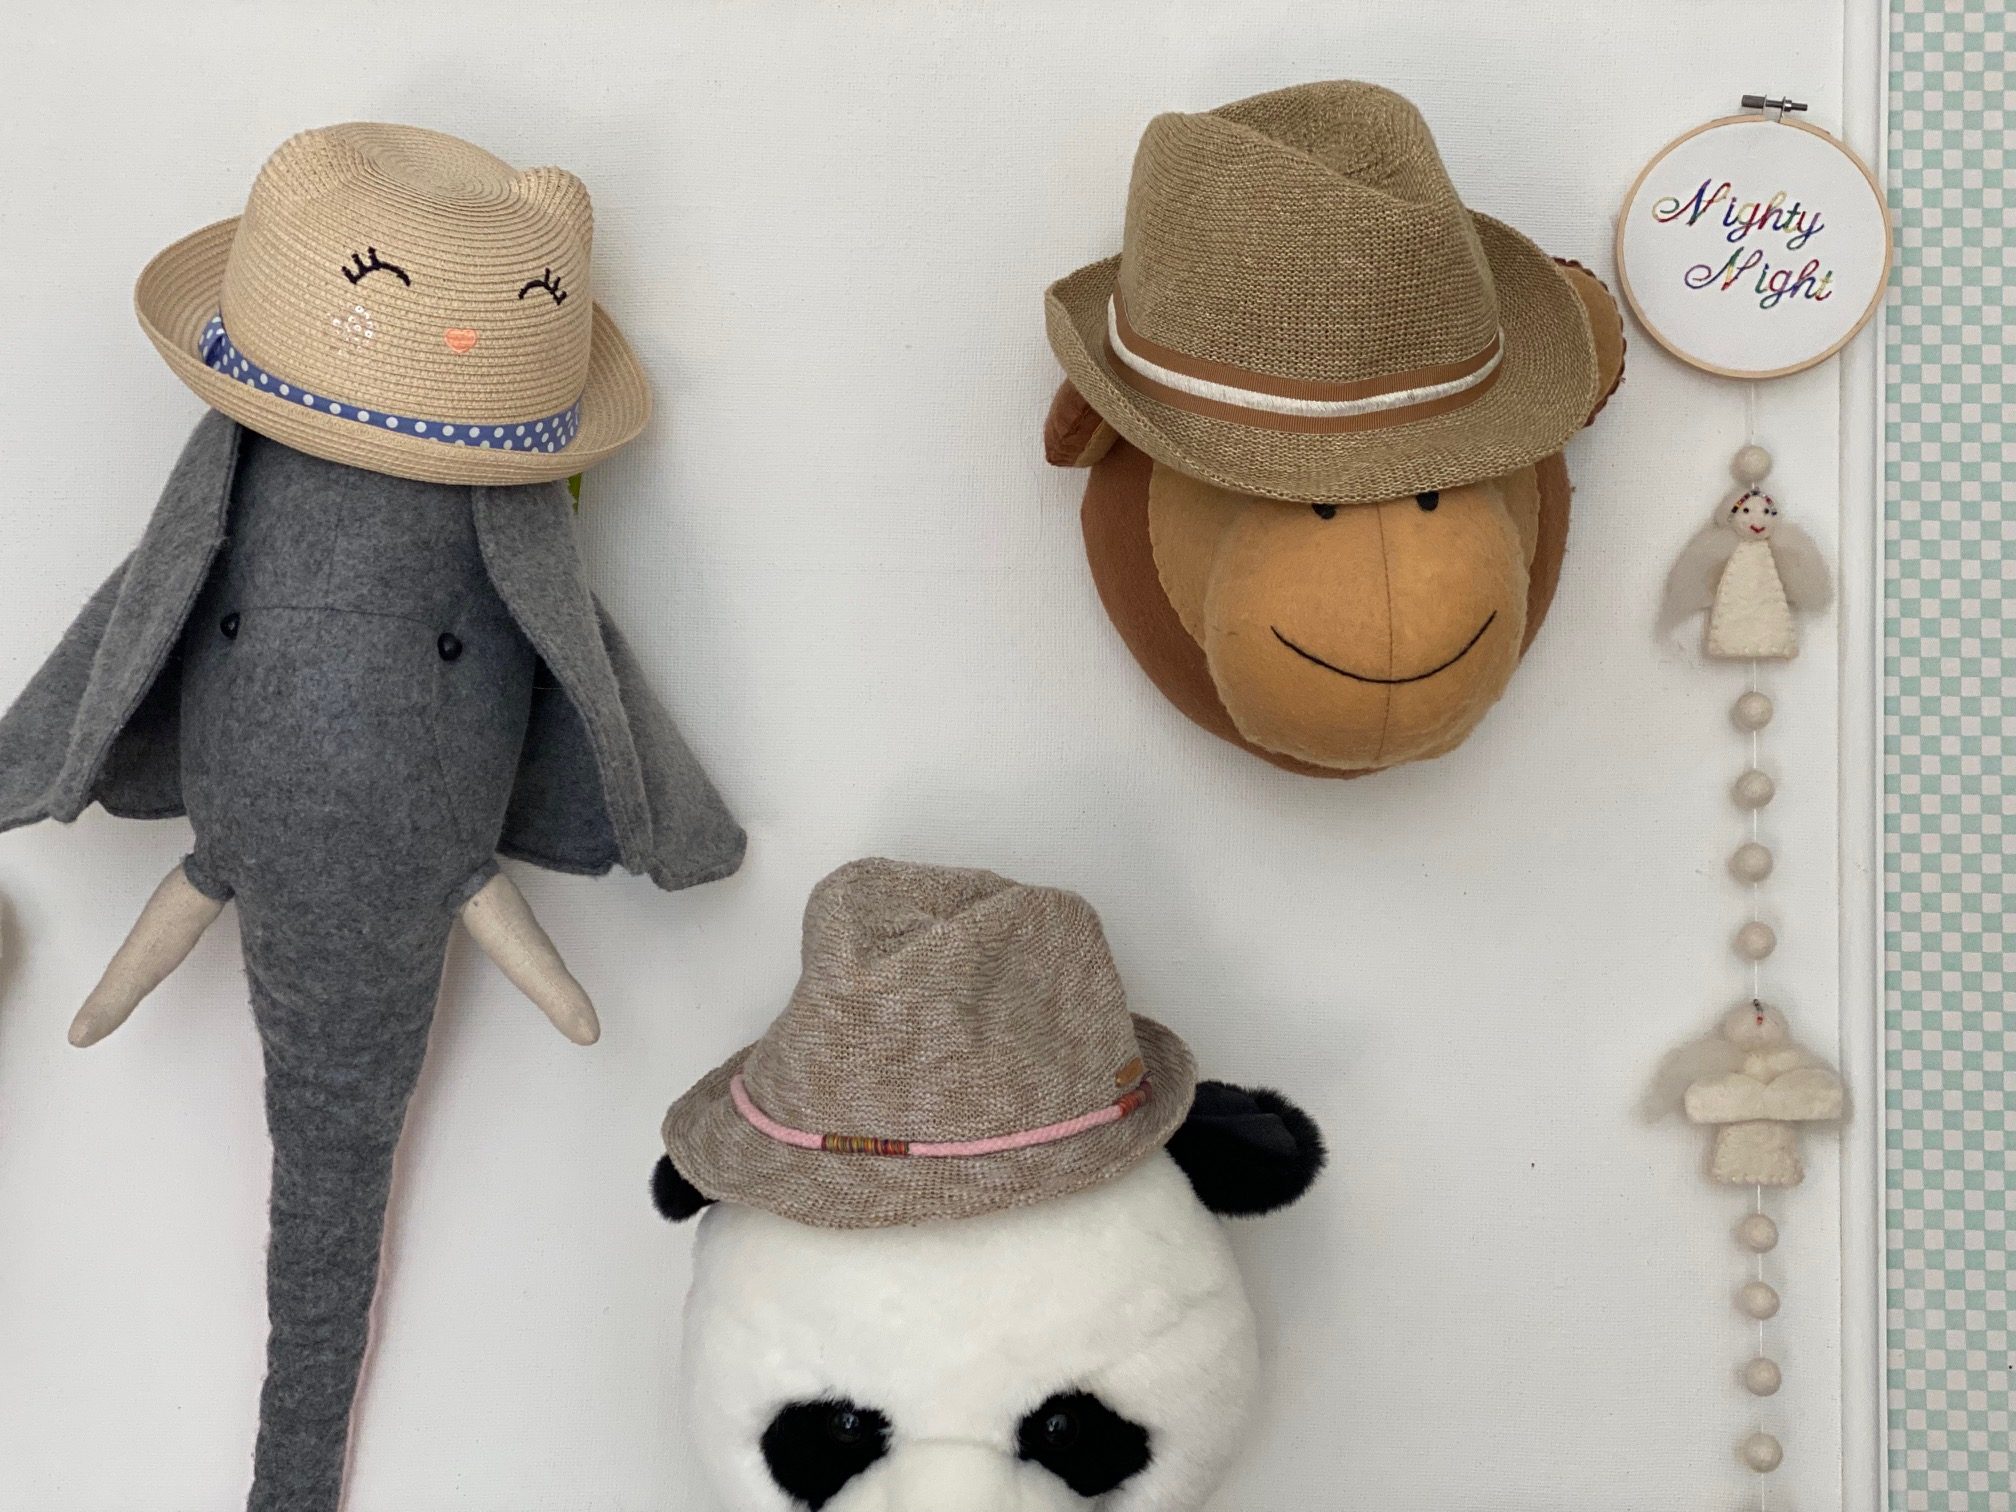
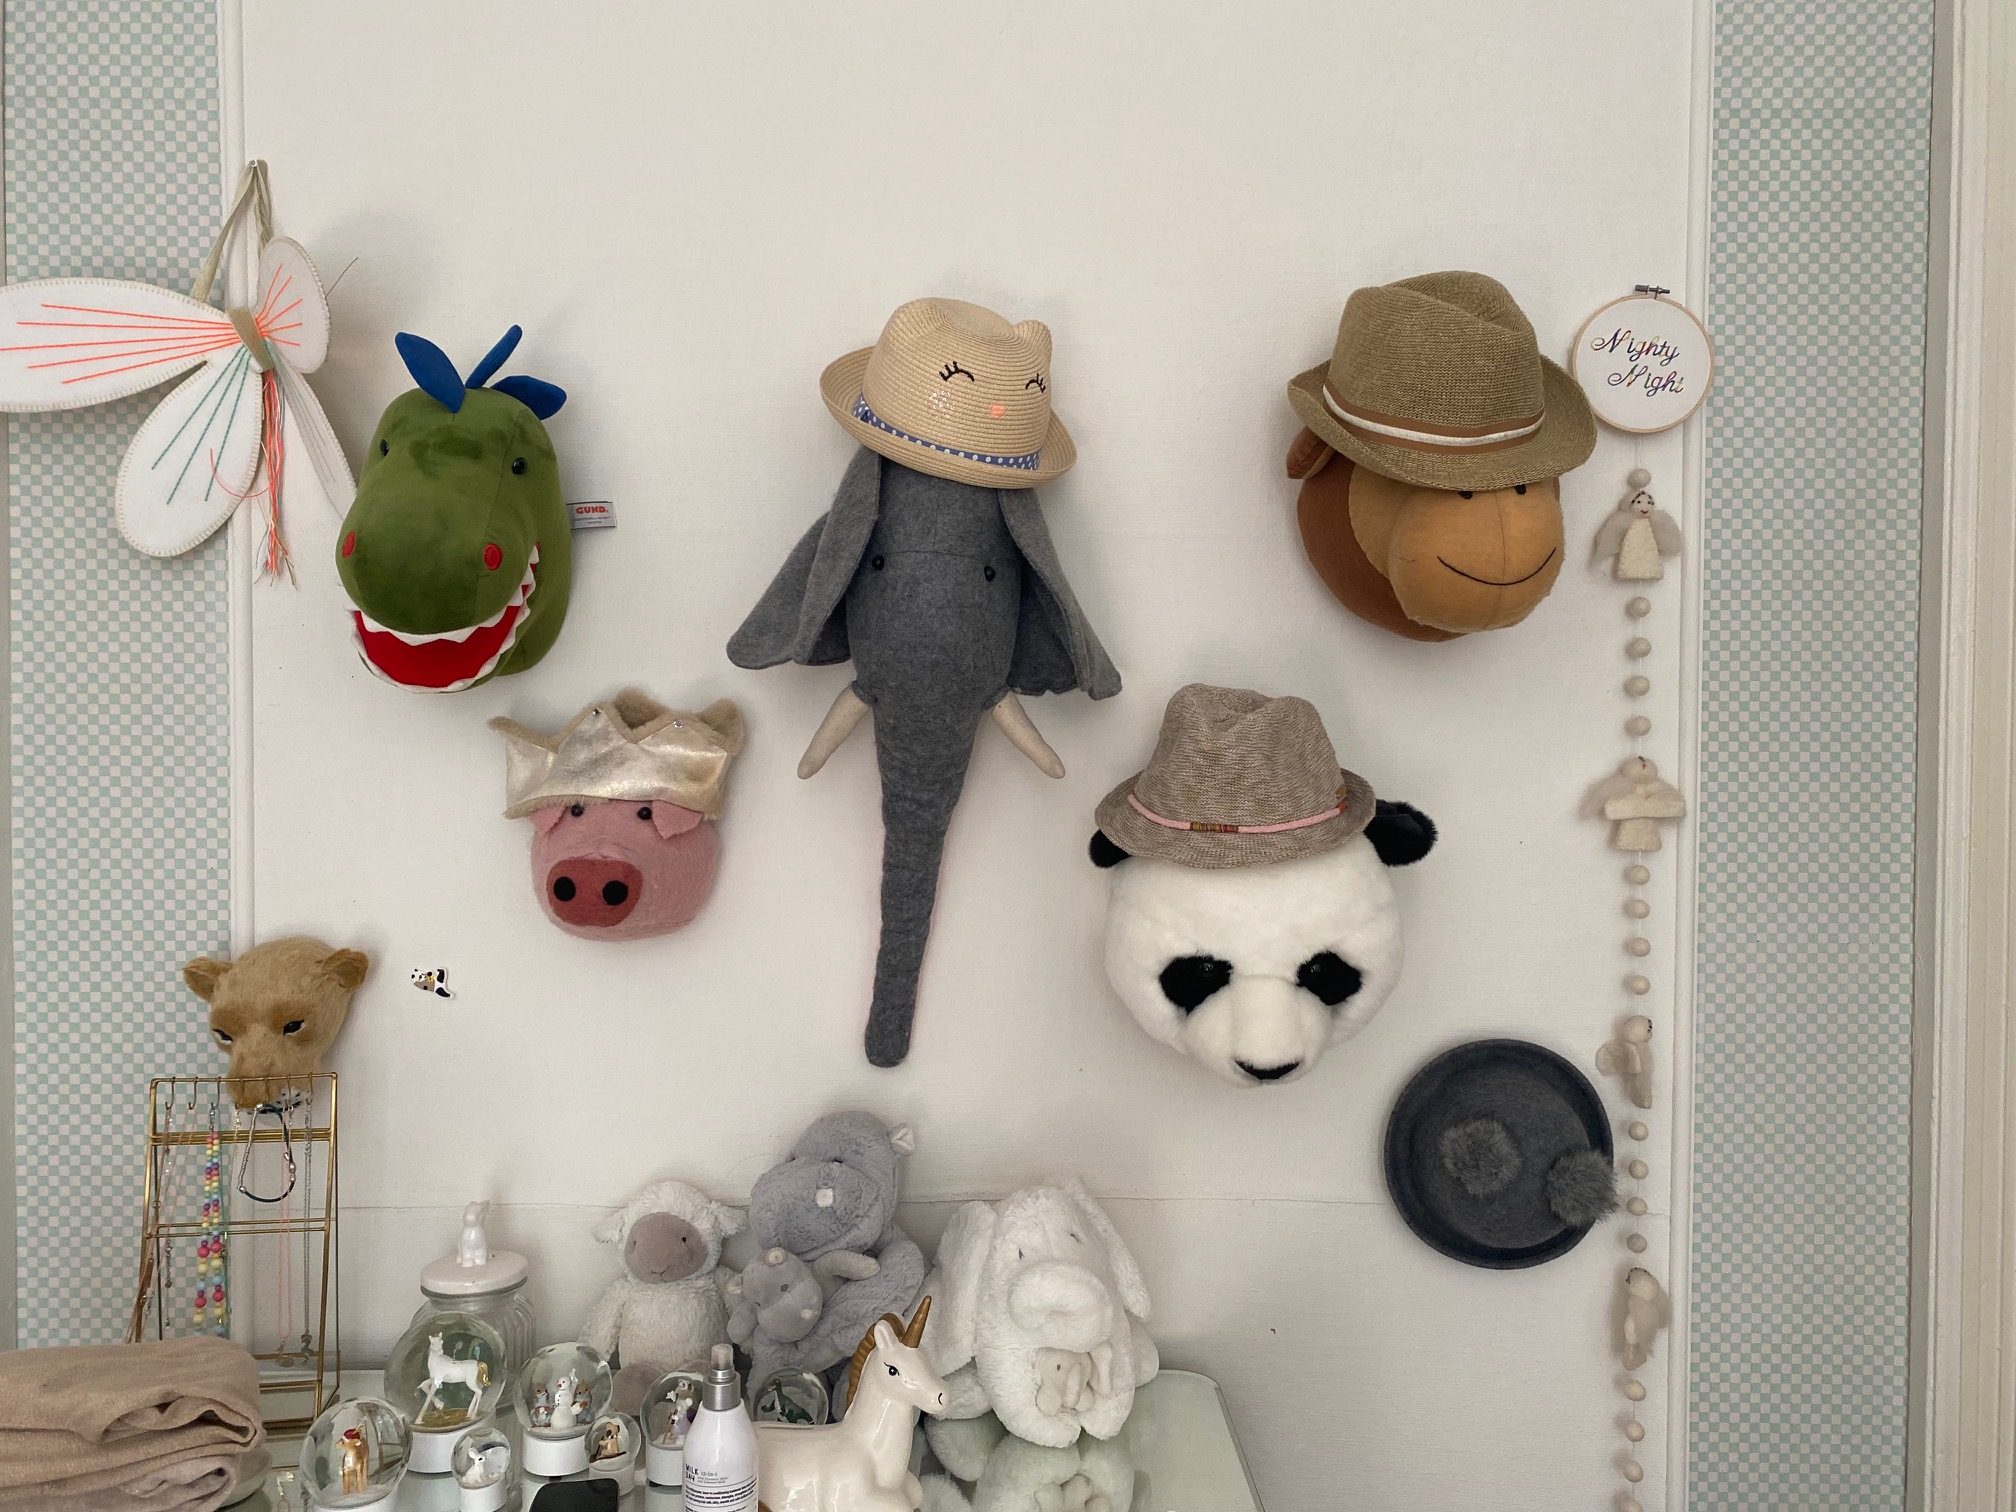
This one was for a sweet girls’ room, where she spends time playing with her toys and sleeping. And she has the cutest wall with soft animal heads… I thought that something sweet and shooting would do good and I came out with Nighty Night. What do you think?
Setting up my embroidery hook…
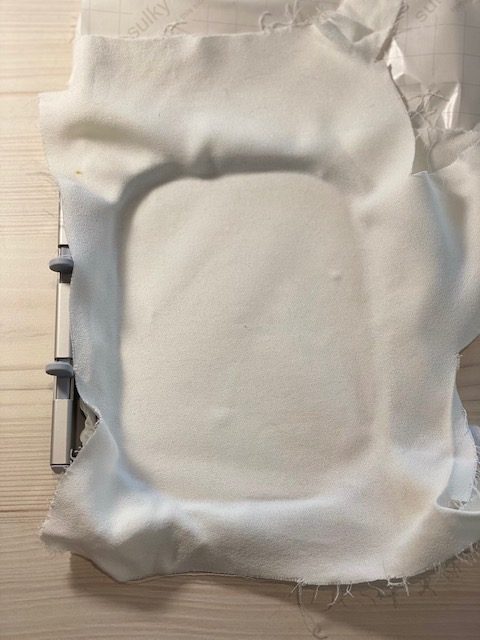
I decided to go with the smallest of the wooden embroidery hoops that I had so I just needed the smallest embroidery loop of my Bernina Q570.
I used a piece of white crepe fabric that I had in my leftovers scraps (this is also a great DIY idea to use those scraps you don’t want to throw away). The rainbowish thread would look better on a white surface.
I used normal sticking embroidery paper (instead of the plastic transparent one that I used on the tee shirt I made for my friend. This object wasn’t going to be worn, so no need to use the quickly washable one…)
Choosing the lettering… 3, 2, 1 and go!
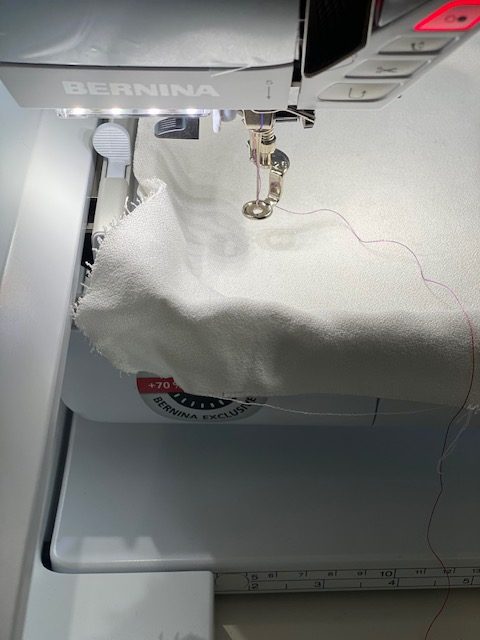
Once the loop was inserted in the embroidery arm and the thread was in place, I choose the letters I thought looked better for this project. And I just had to press start!
I am always super excited when my Q570 starts doing her job, I stare at it like a little girl.

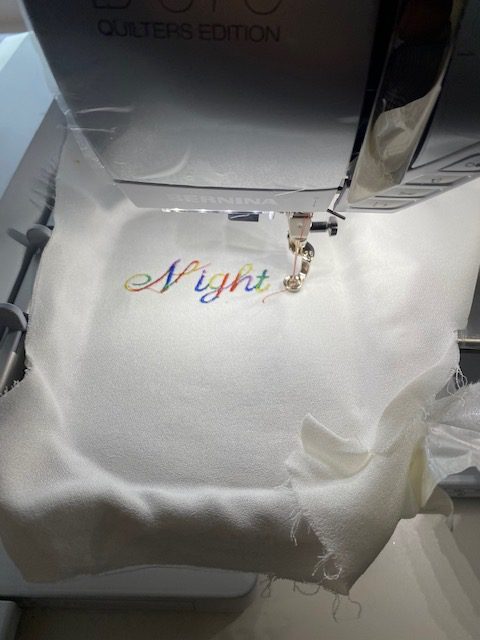
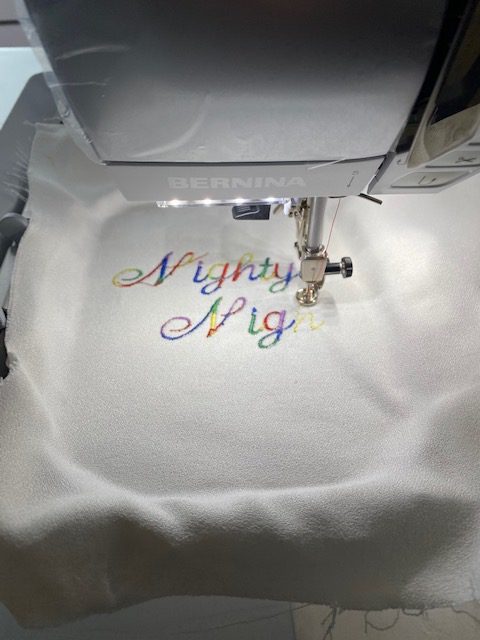
I think that pictures speak for themselves here… I pictured the message being embroidered, it is like seeing it becoming alive… I just love it.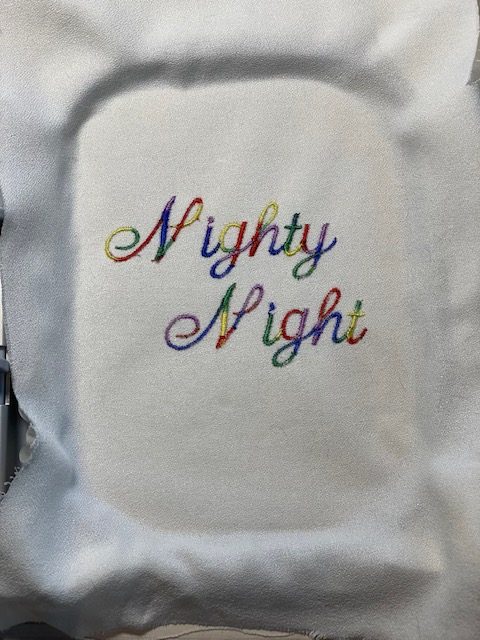
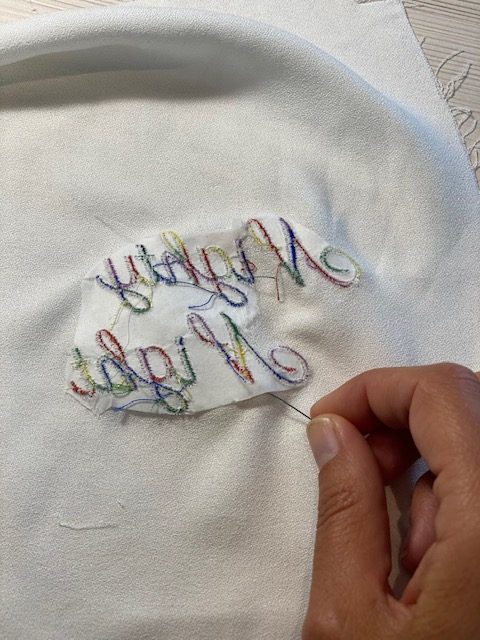
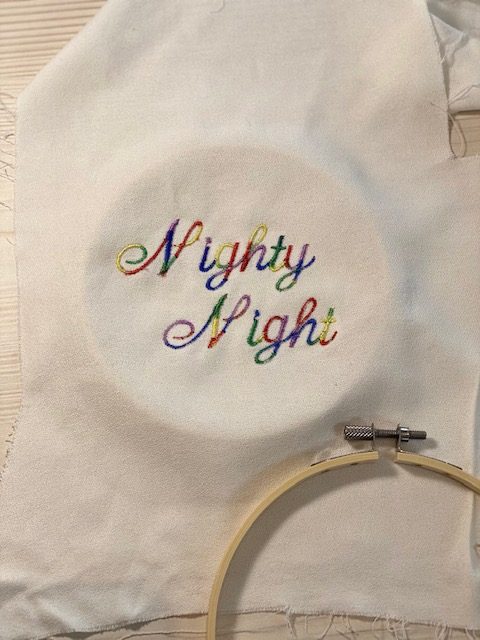
Once the Nighty Night message was embroidered, I took the fabric out of the embroidery loop and just had to manually remove the excess of embroidery paper underneath the project. I used a needle to help me doing it.
Almost there…
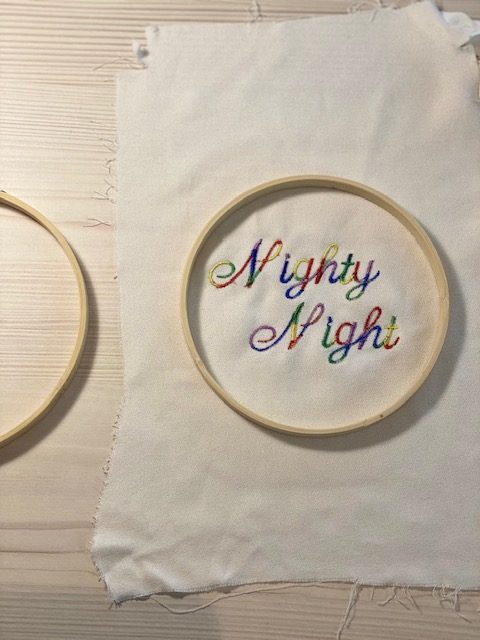
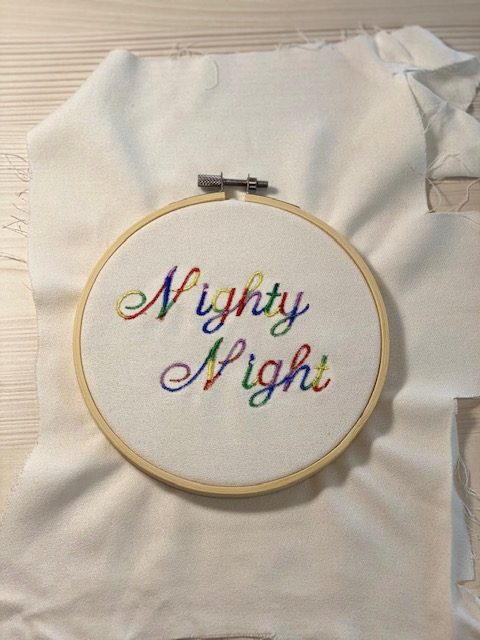
Once the embroidery finished and the embroidery paper taken out, I just had to frame the piece of fabric with the message inside the wooden hoop.
I don’t know if you’ve done it before (it was my first time), but it is very simple. You just had to open the wooden hoop in 2, as it actually has 2 loops. Place the fabric on top of the smallest, centering the message, place the biggest on top of it tucking the fabric in between booth loops. Once you are happy with it, you just have to turn the little screw on the top of the wooden hoop to firmly close it.
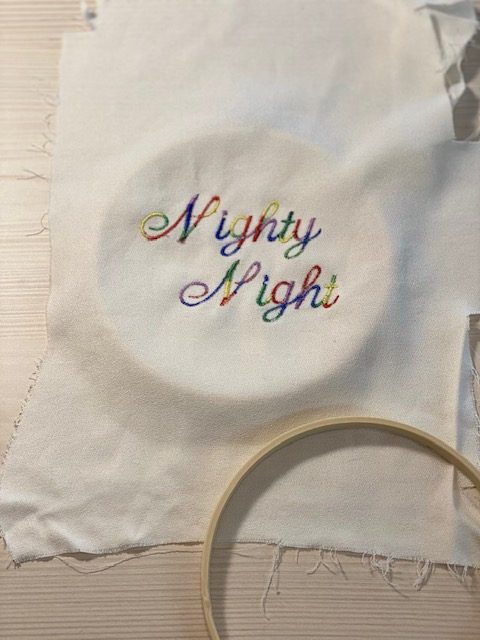
Then, I just cut the extra fabric around the wooden hoop and voilà!
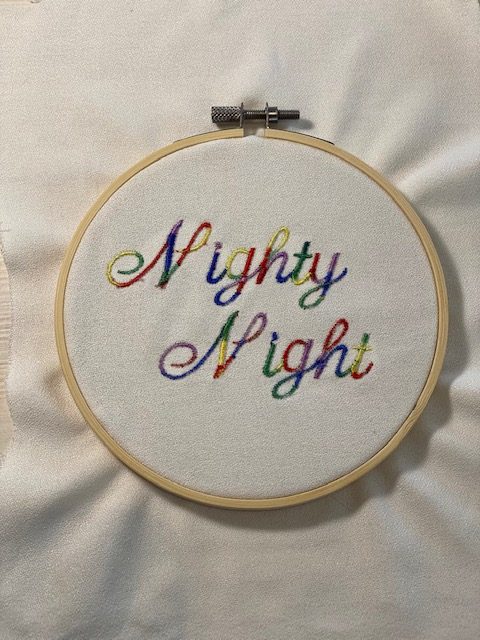
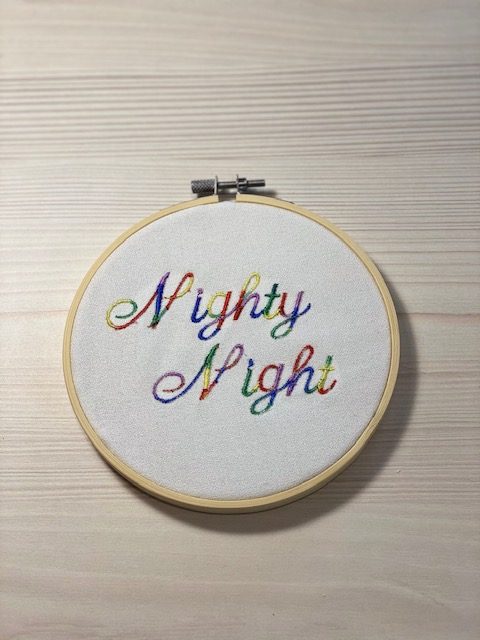
What do you think? This DIY/embroidery project is super easy to make, don’t you agree?
What other messages would you embroider? I would love to hear your ideas!
In place…
And cherry on the top! Back in April this year we paid a visit to our lovely friends in Amsterdam and took some pics of the gift in place, with the animal heads, don’t you just love it?


Clever. What kind of varigated thread did you use? thanks.
Hello Reecca, glad that you like it! I used Gutterman 9916. It looks lovely on an embroidery such as this one. Are you thinking of doing something similar?
Best,
Amaia