 BERNINA Corporate Blog -
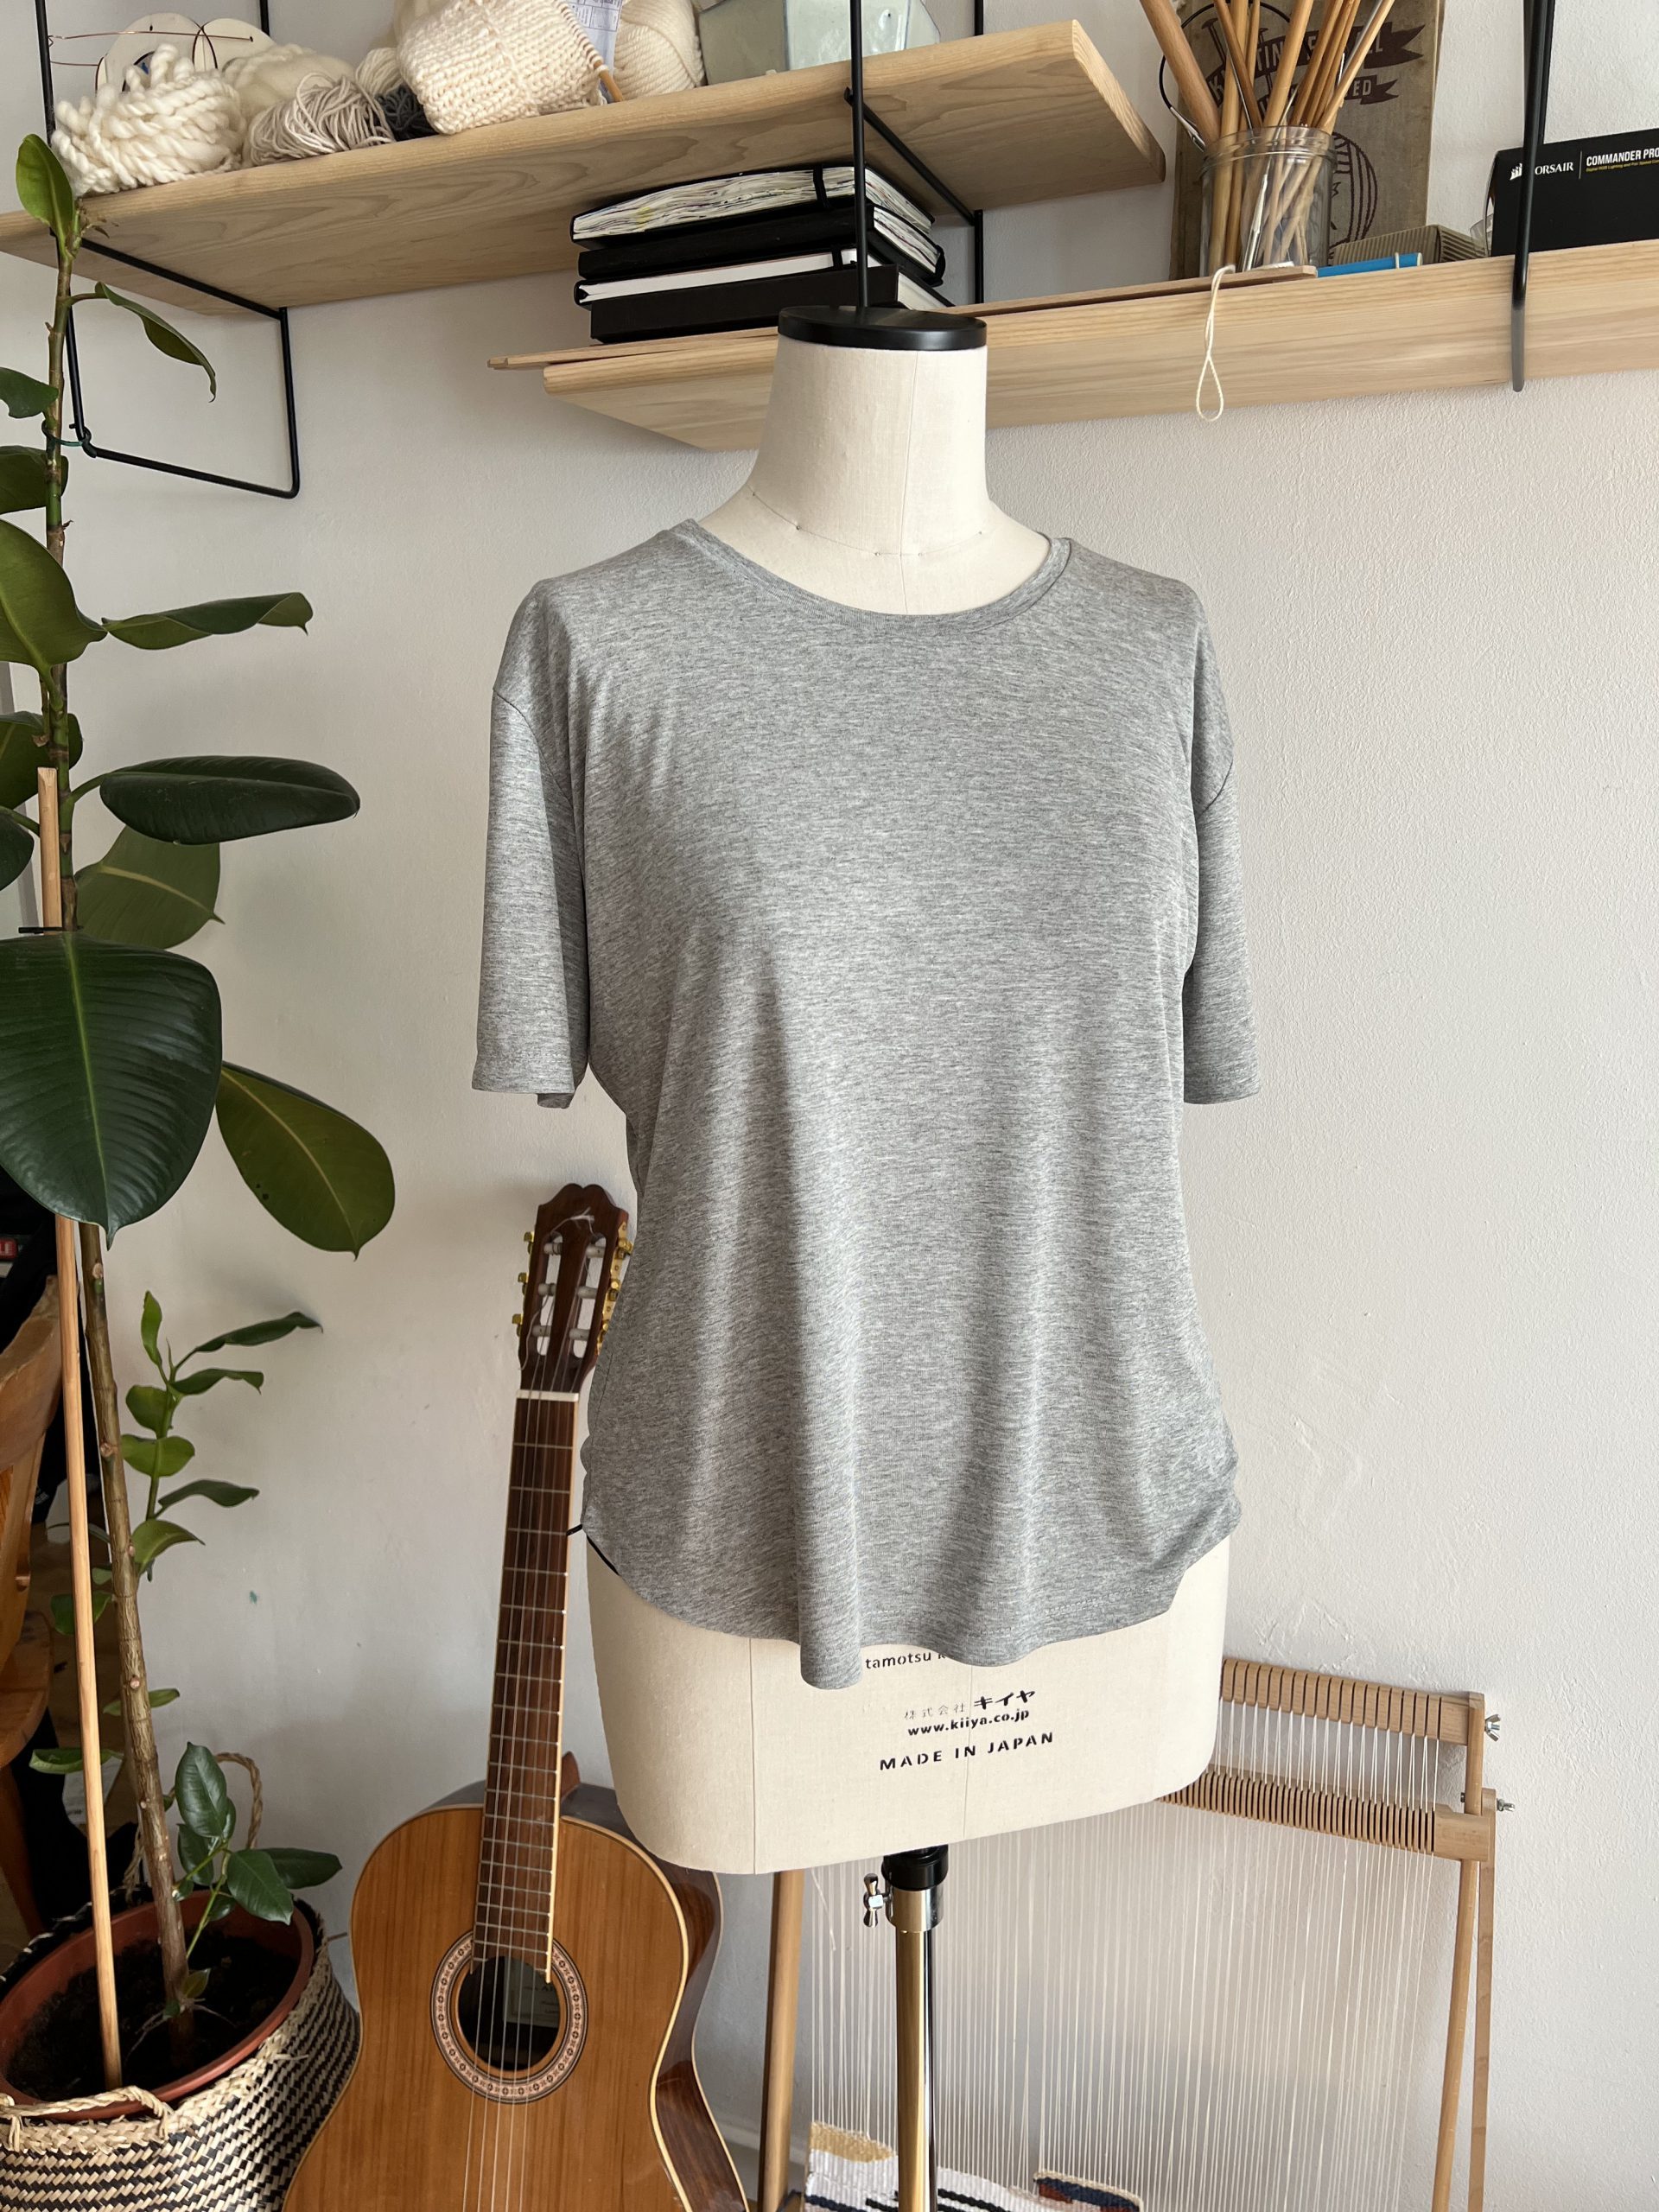
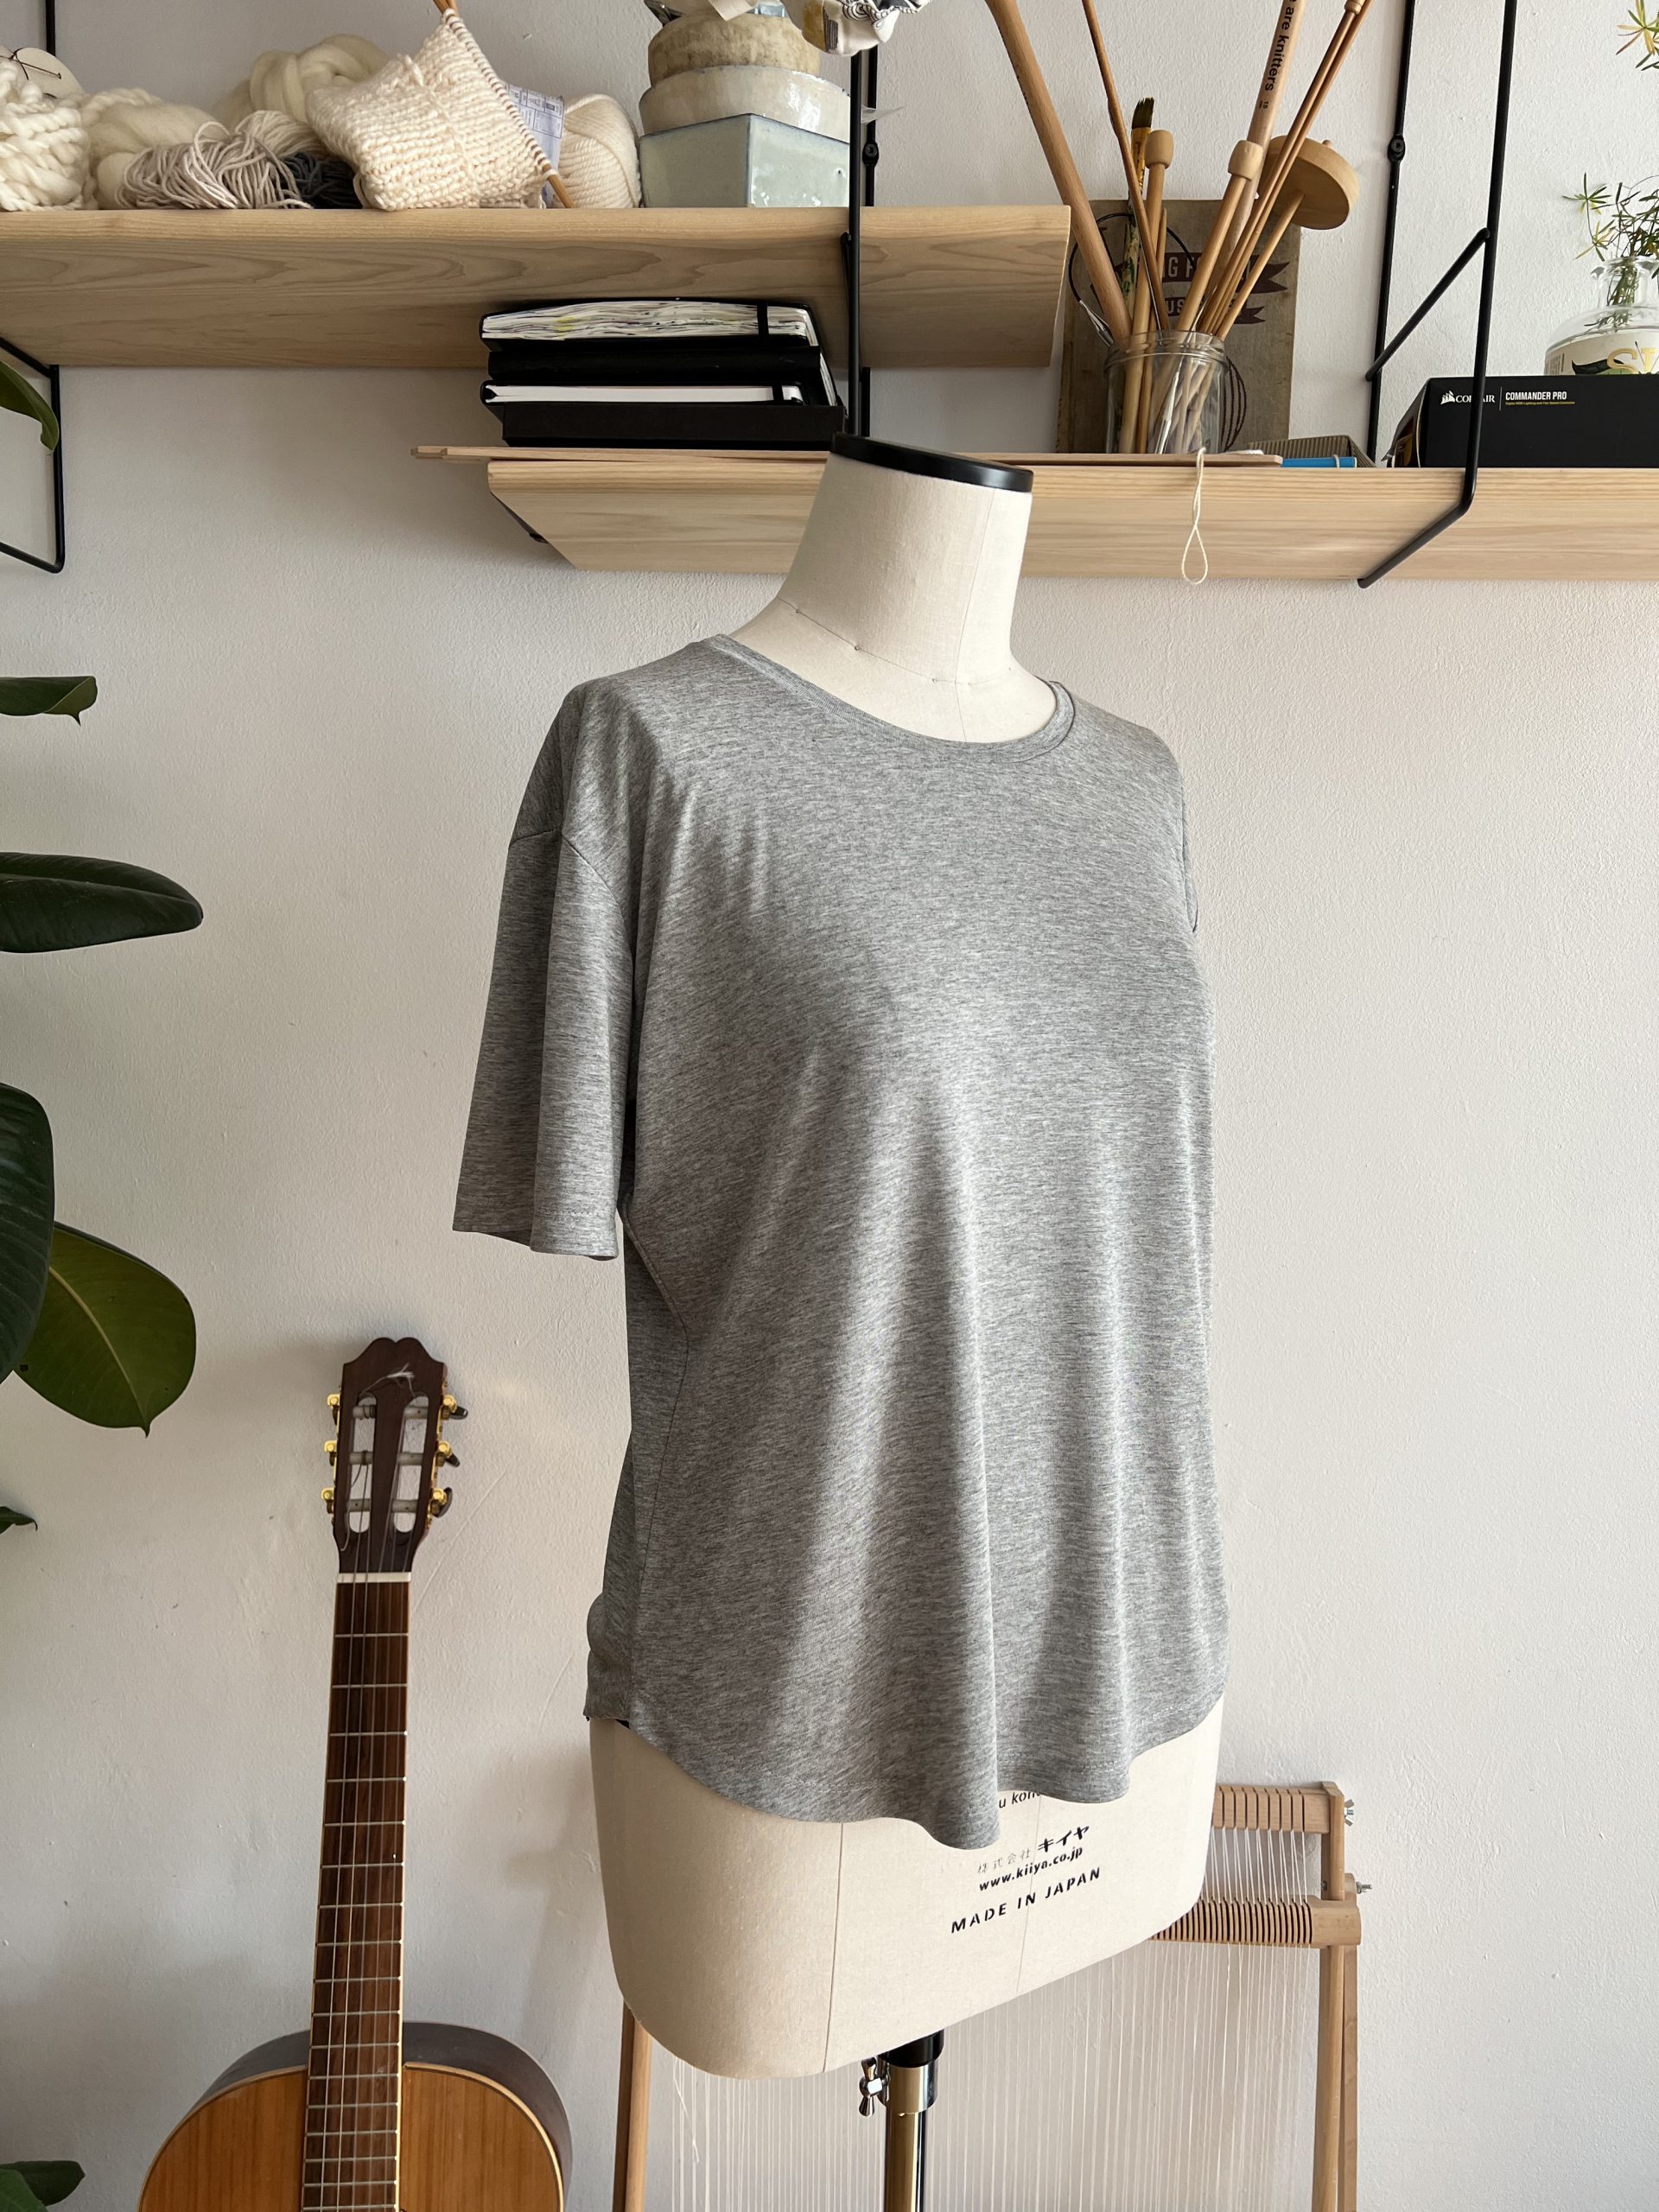
If you are looking for a quick and easy knit project that can be whipped up in an afternoon look no further than the French Navy Patterns Stellan Tee (free!) pattern. This project can be made entirely with your overlocker, I am using the BERNINA L890 Overlock/Coverstitch machine which gives such a professional finish! This pattern requires less than a meter of fabric, features a relaxed fit, slightly dropped shoulder, curved hem which hits around the hip level and longer than normal sleeves. I am making a size medium here and I didn’t need to lengthen as I usually do (I am 178cm/5,10″) so I guess you could say the fit is on the longer side of things.
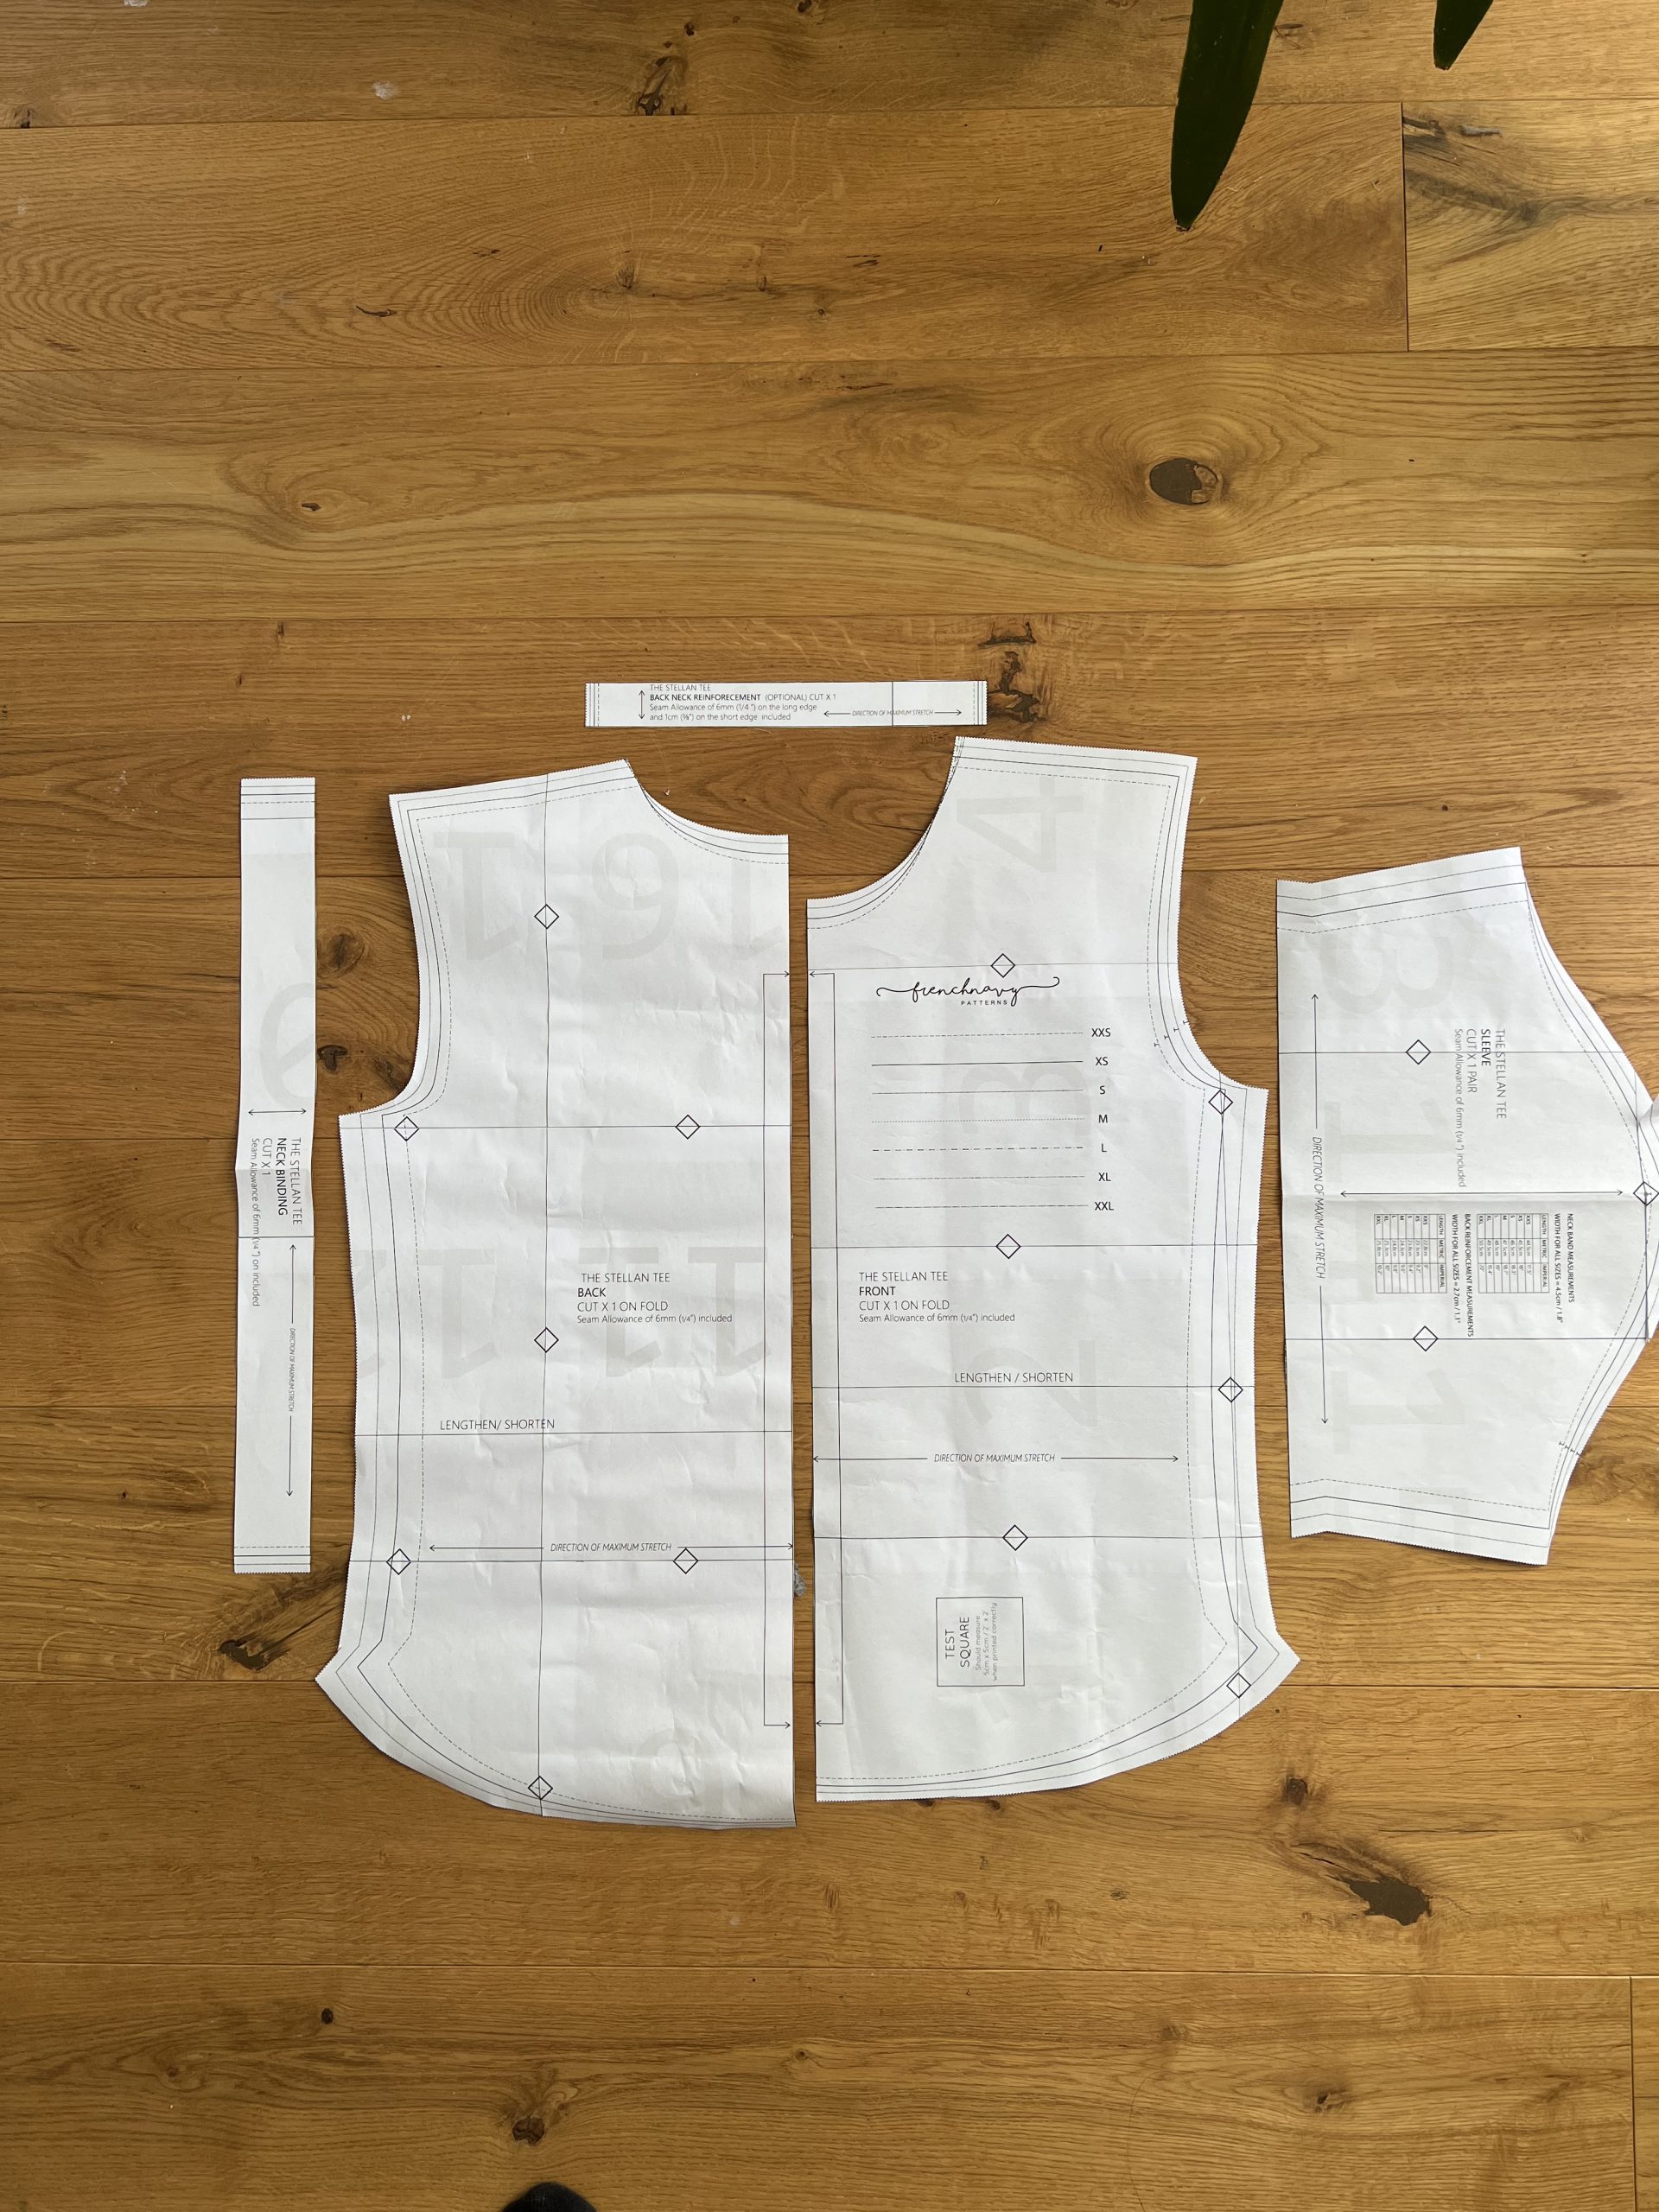
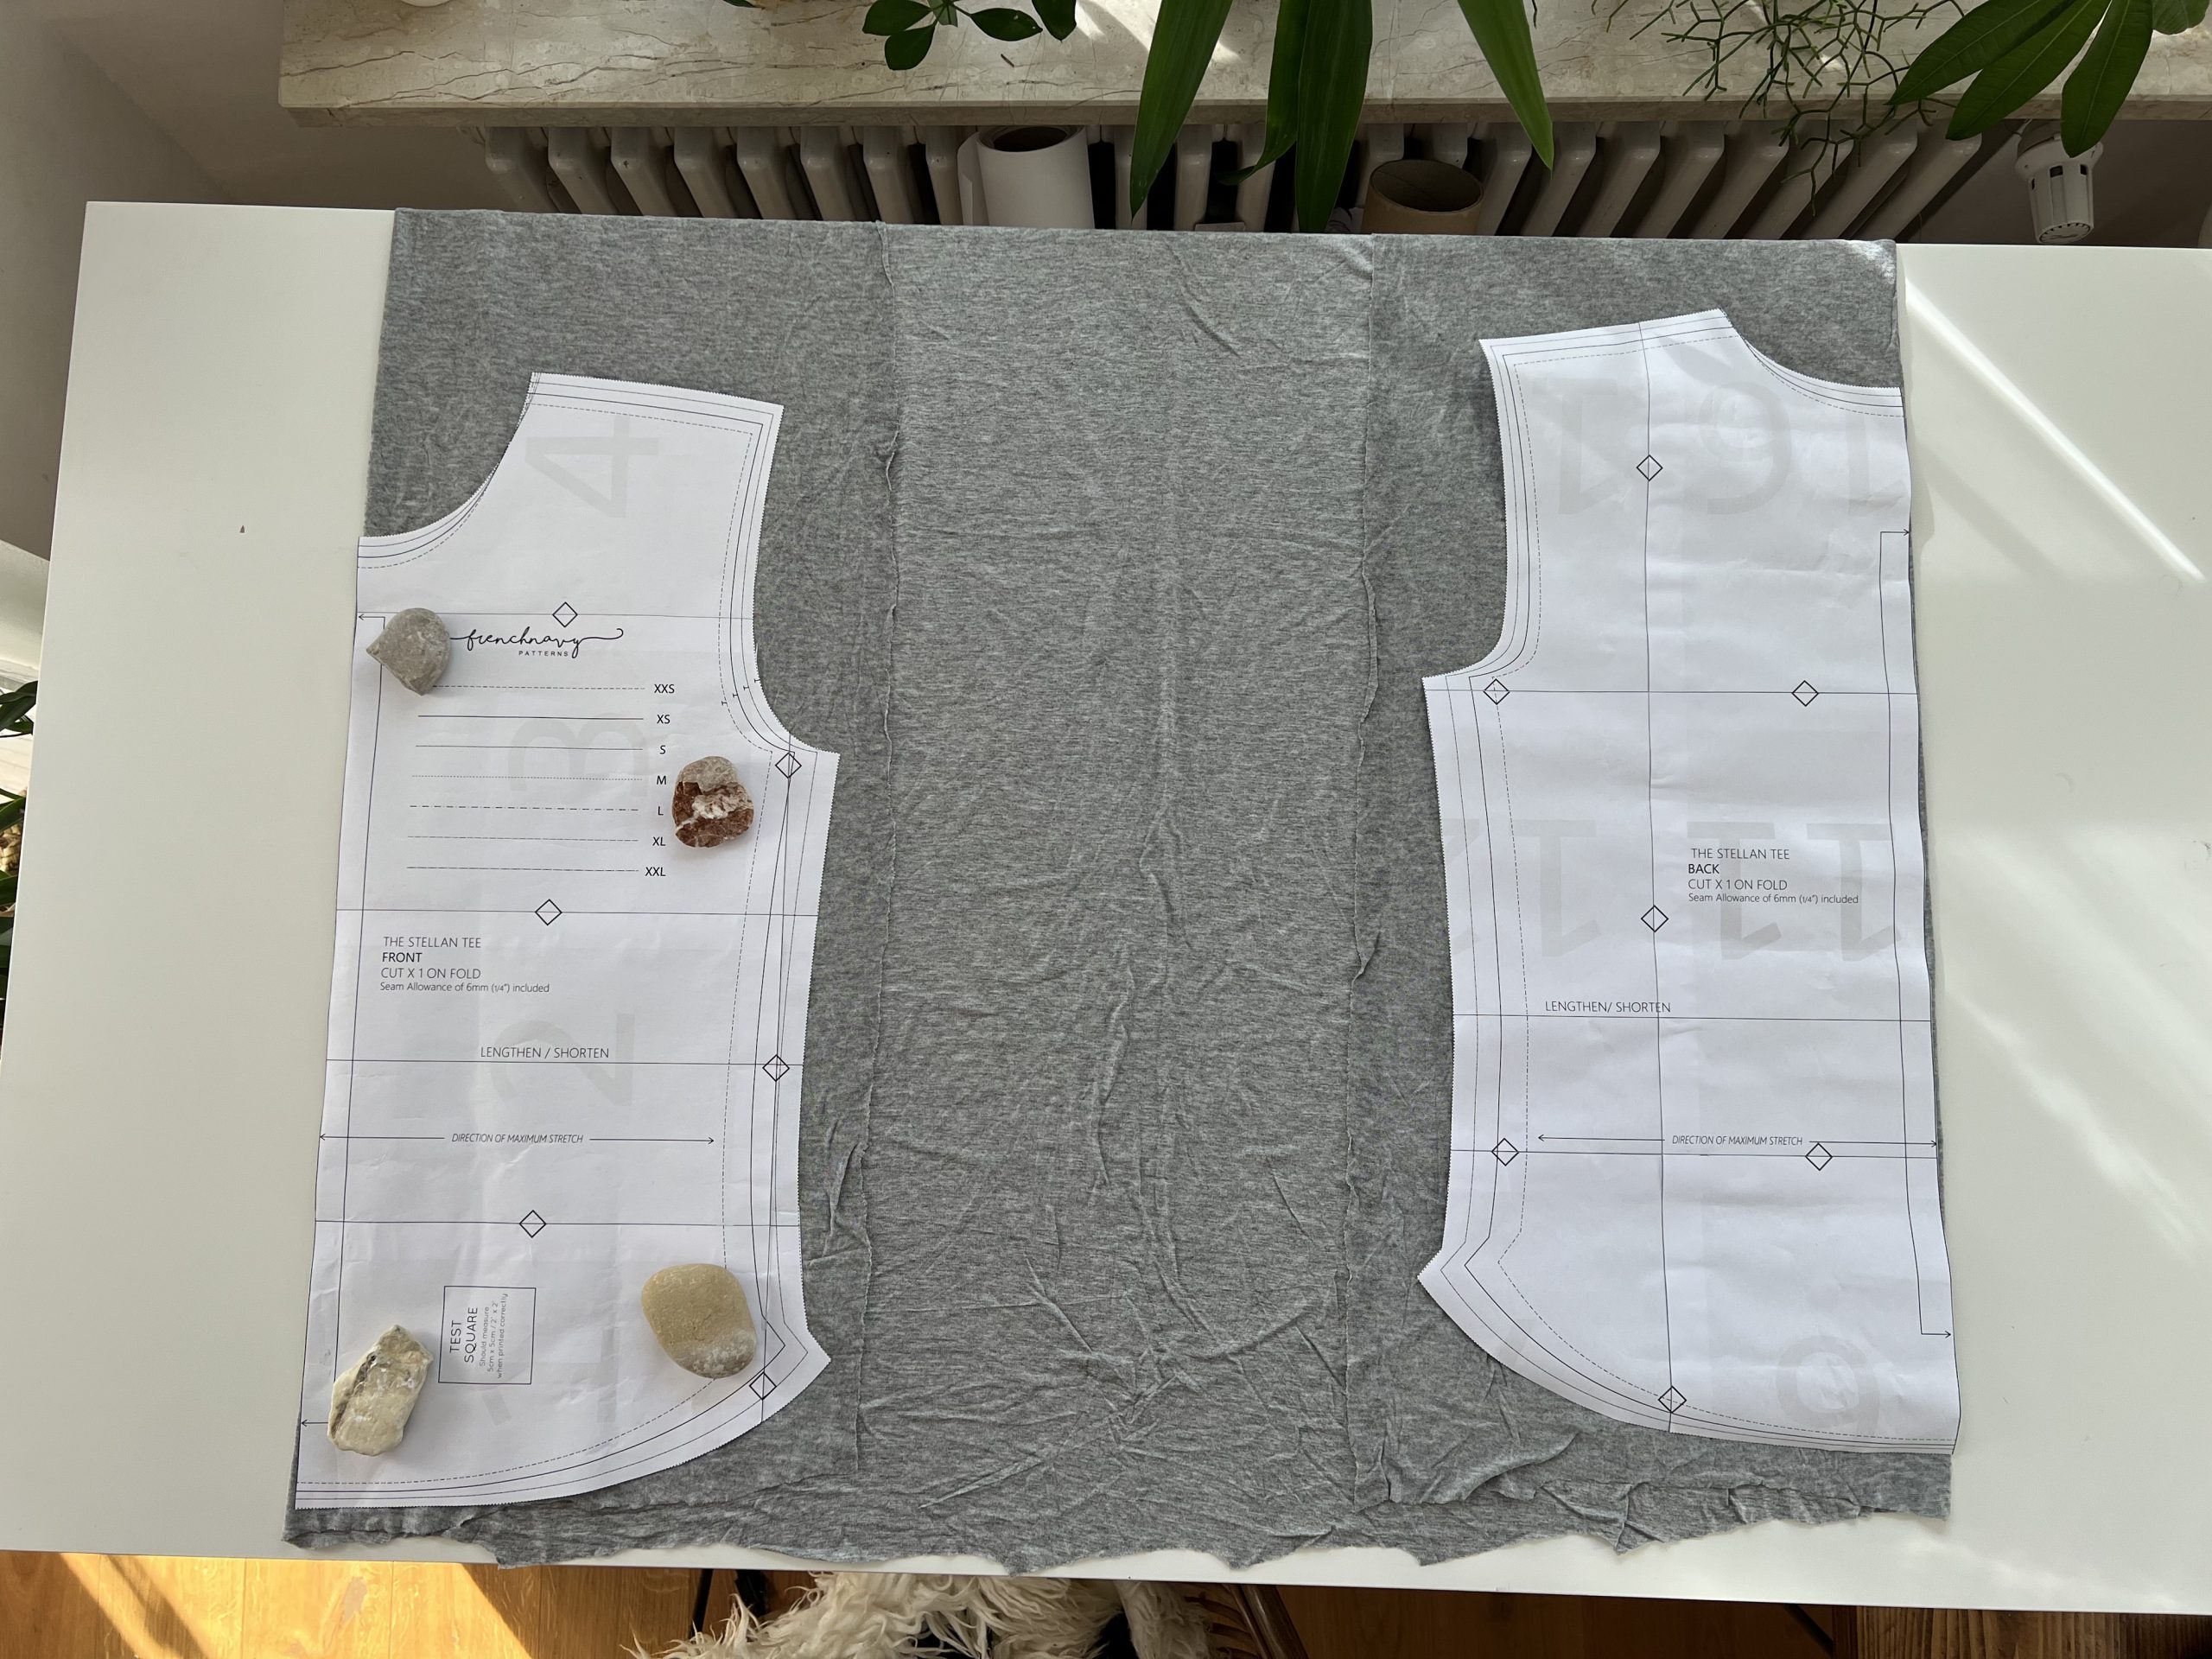
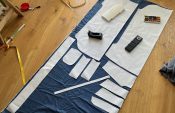
The pattern comprises 5 pieces. Do as I say and not as I do: don’t forget to prewash and iron your fabric before getting stuck into your project. Here my fabric is approximately 150cm wide. Fold the selvages towards the middle so you can easily cut your front and back bodices on the fold. I was able to squeeze the sleeves and neck binding out of the remaining length of fabric. Your lay plan may look different depending on the width of your fabric or the size you are making.
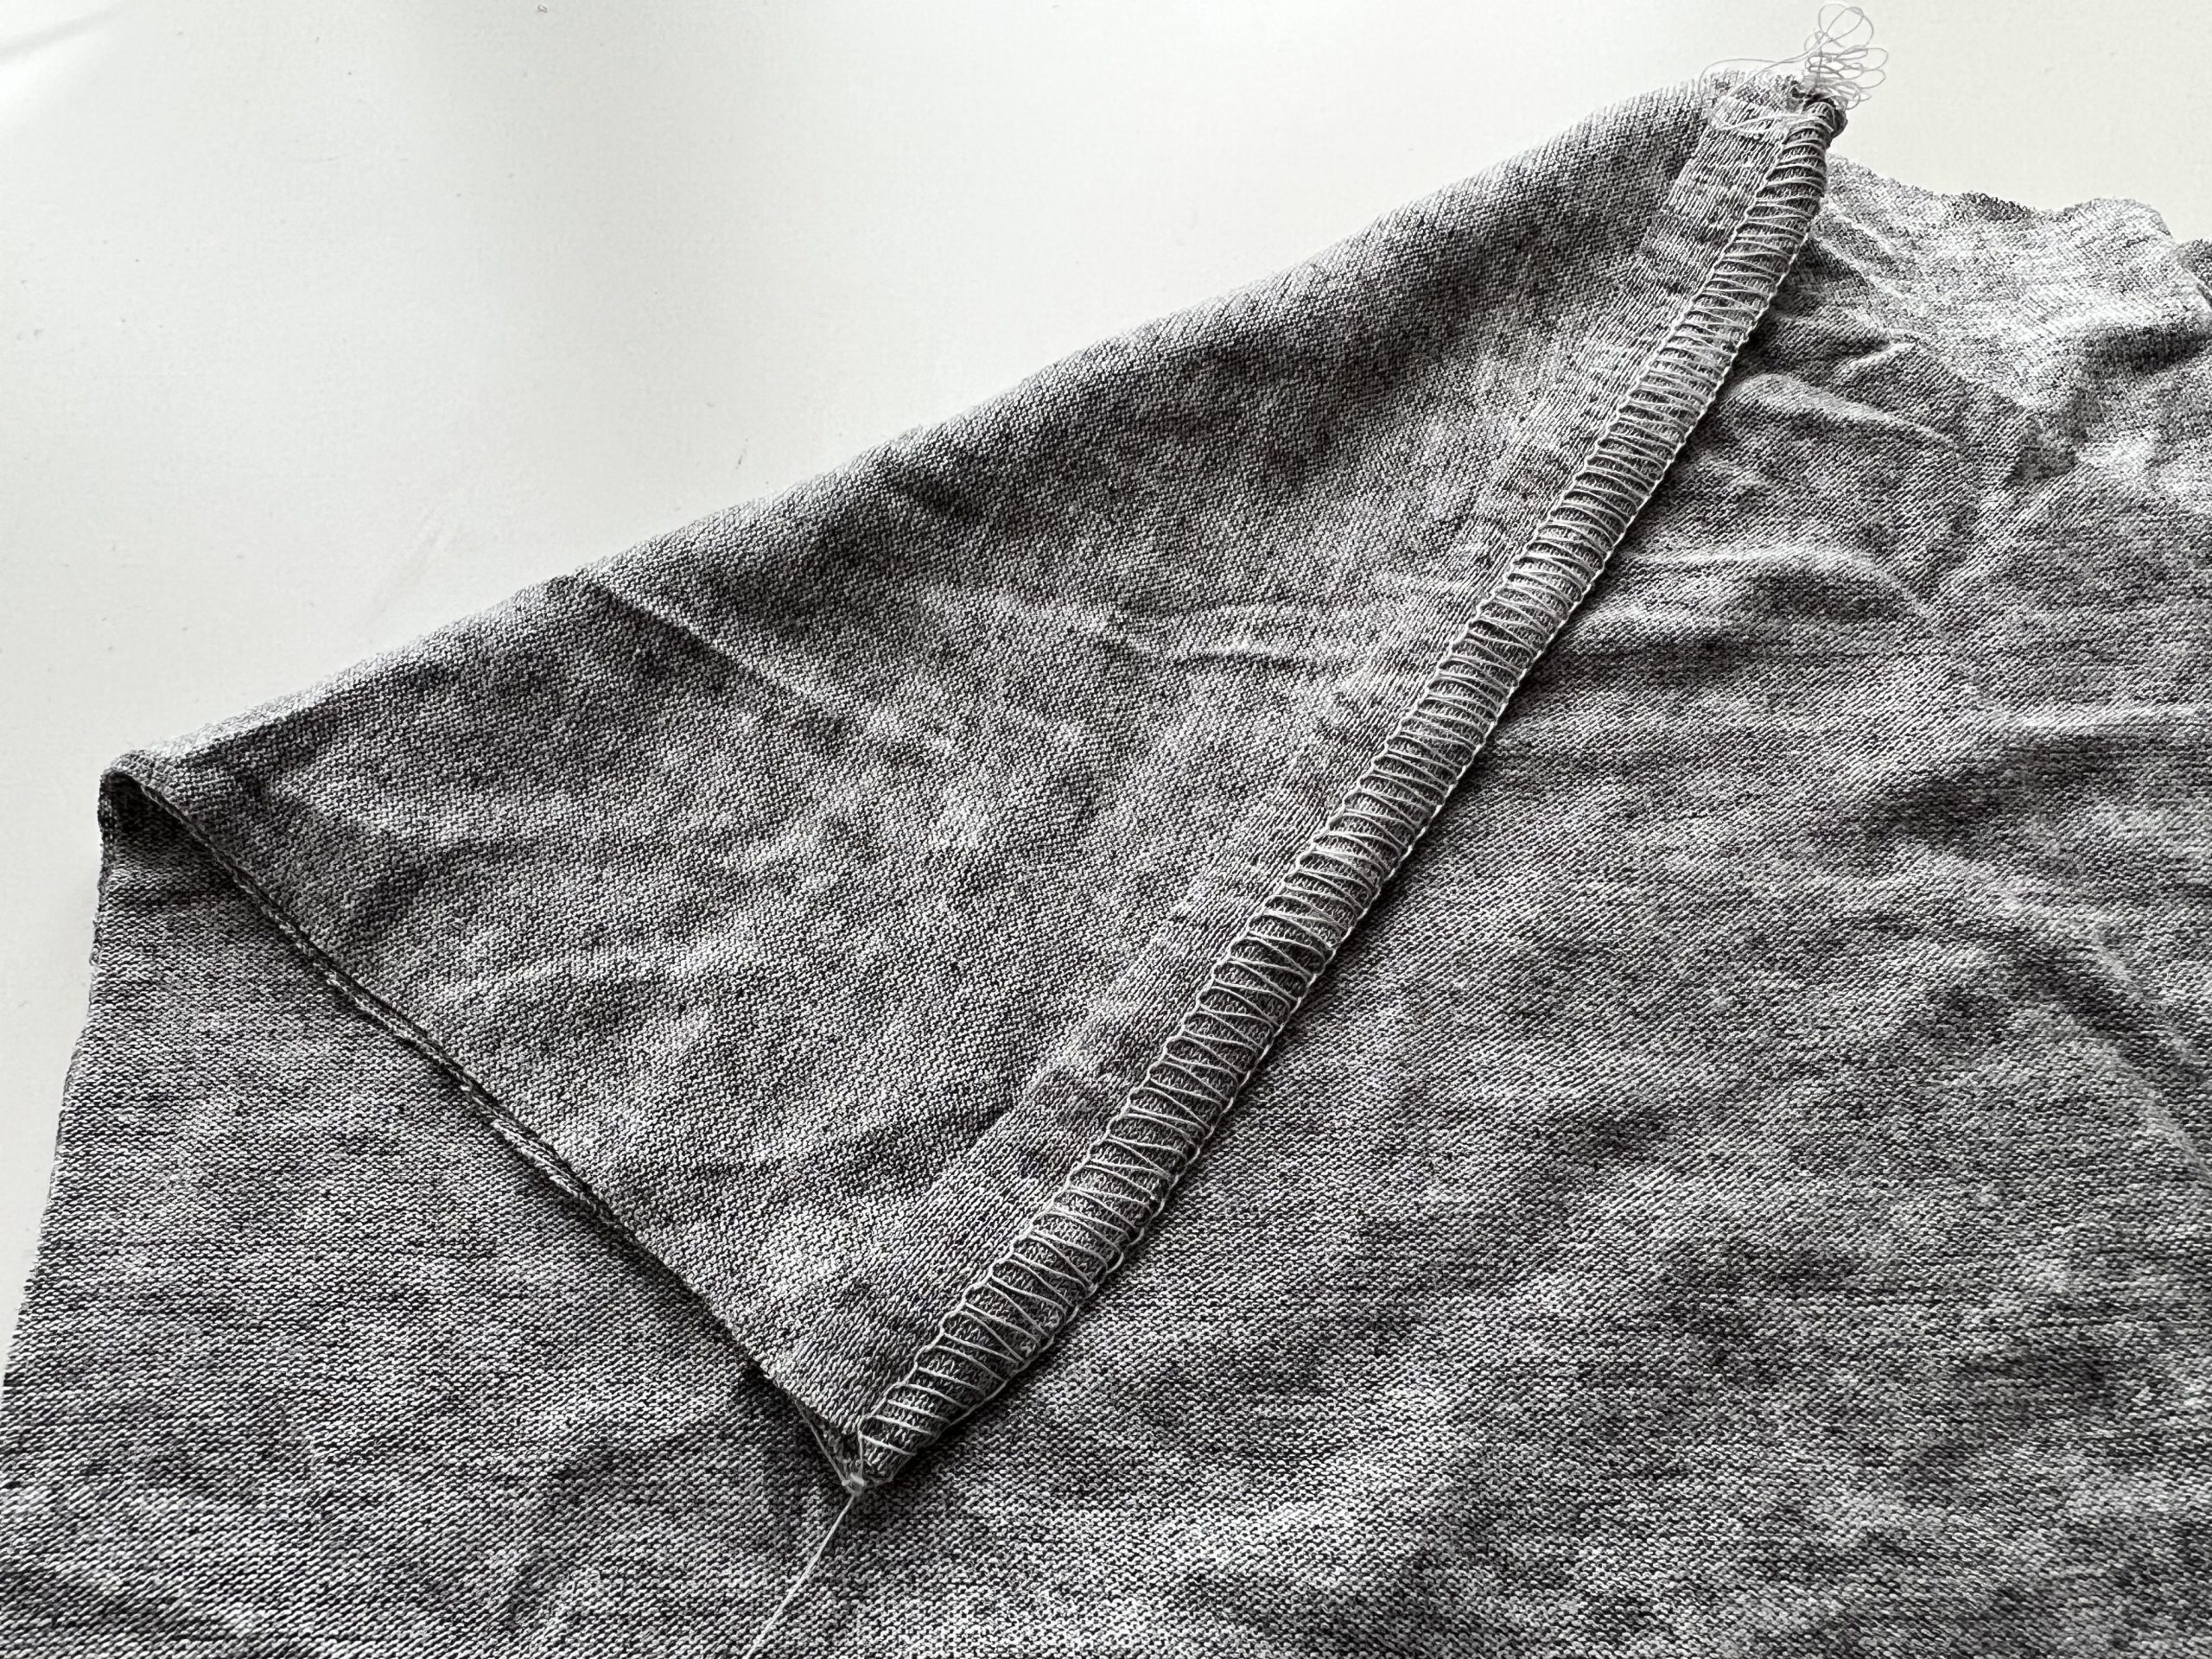
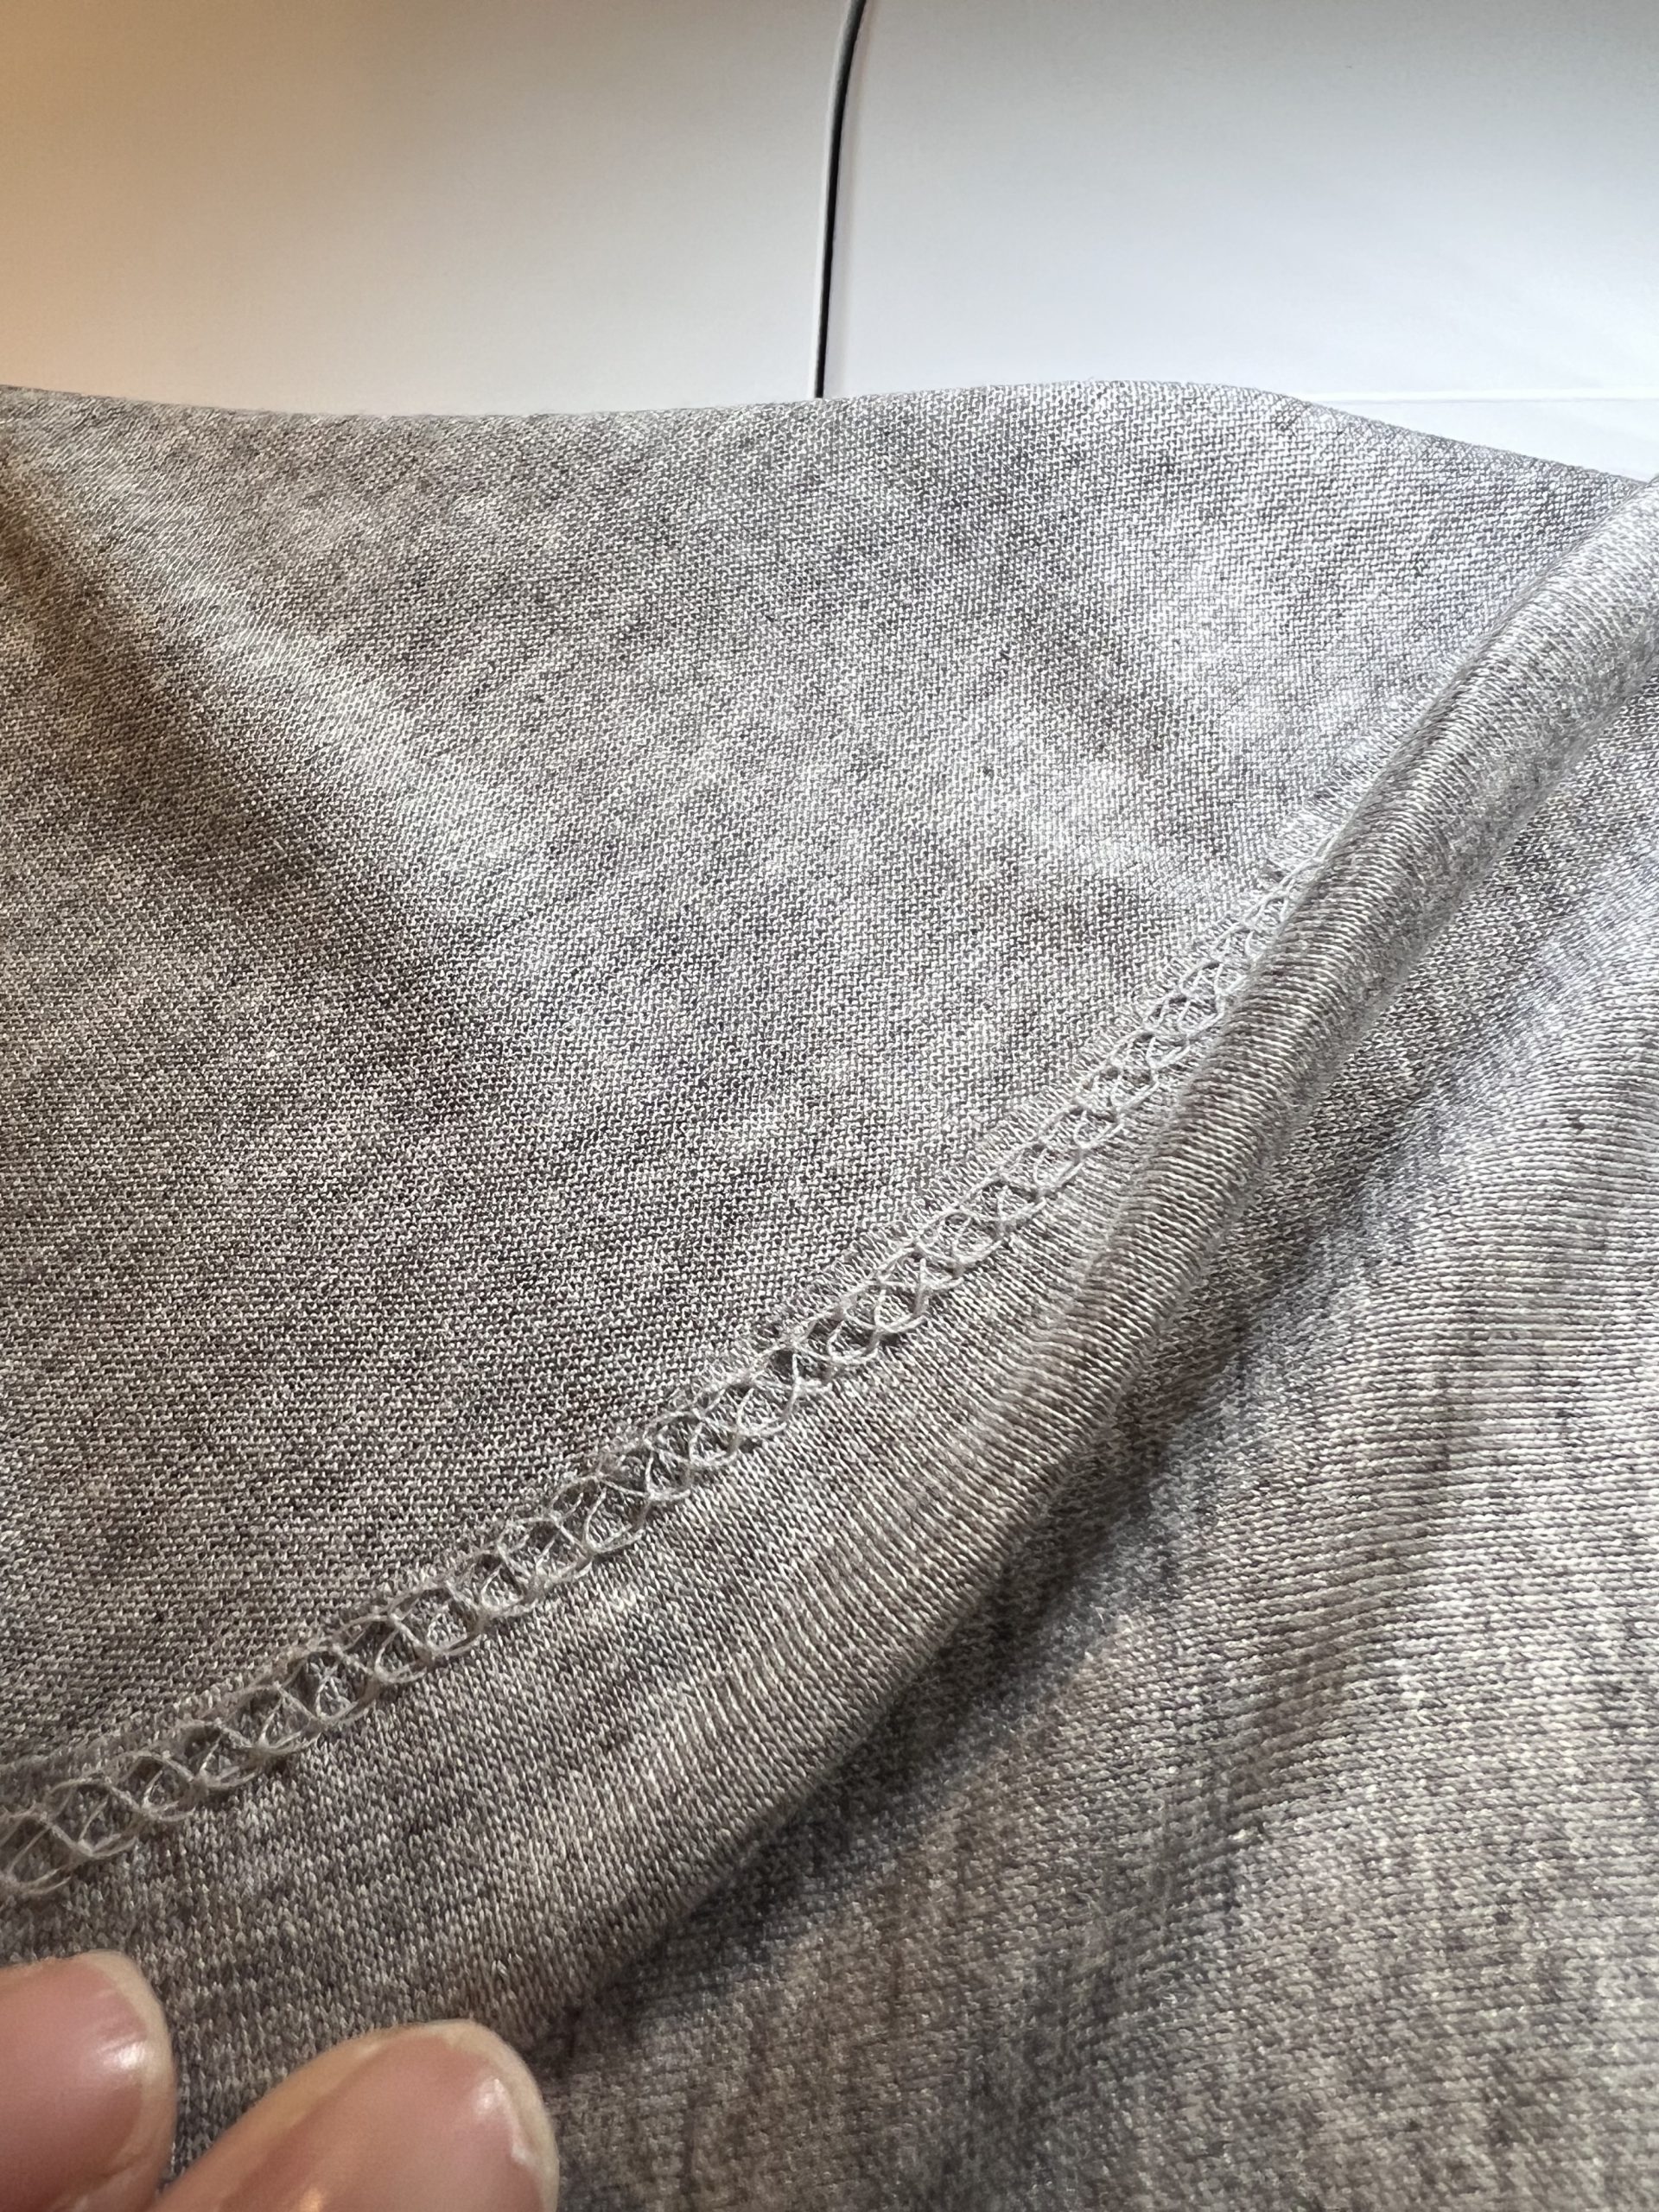
I overlocked my shoulder seams with a strip of self fabric to reinforce the seam. You could use a special tape or clear elastic here.

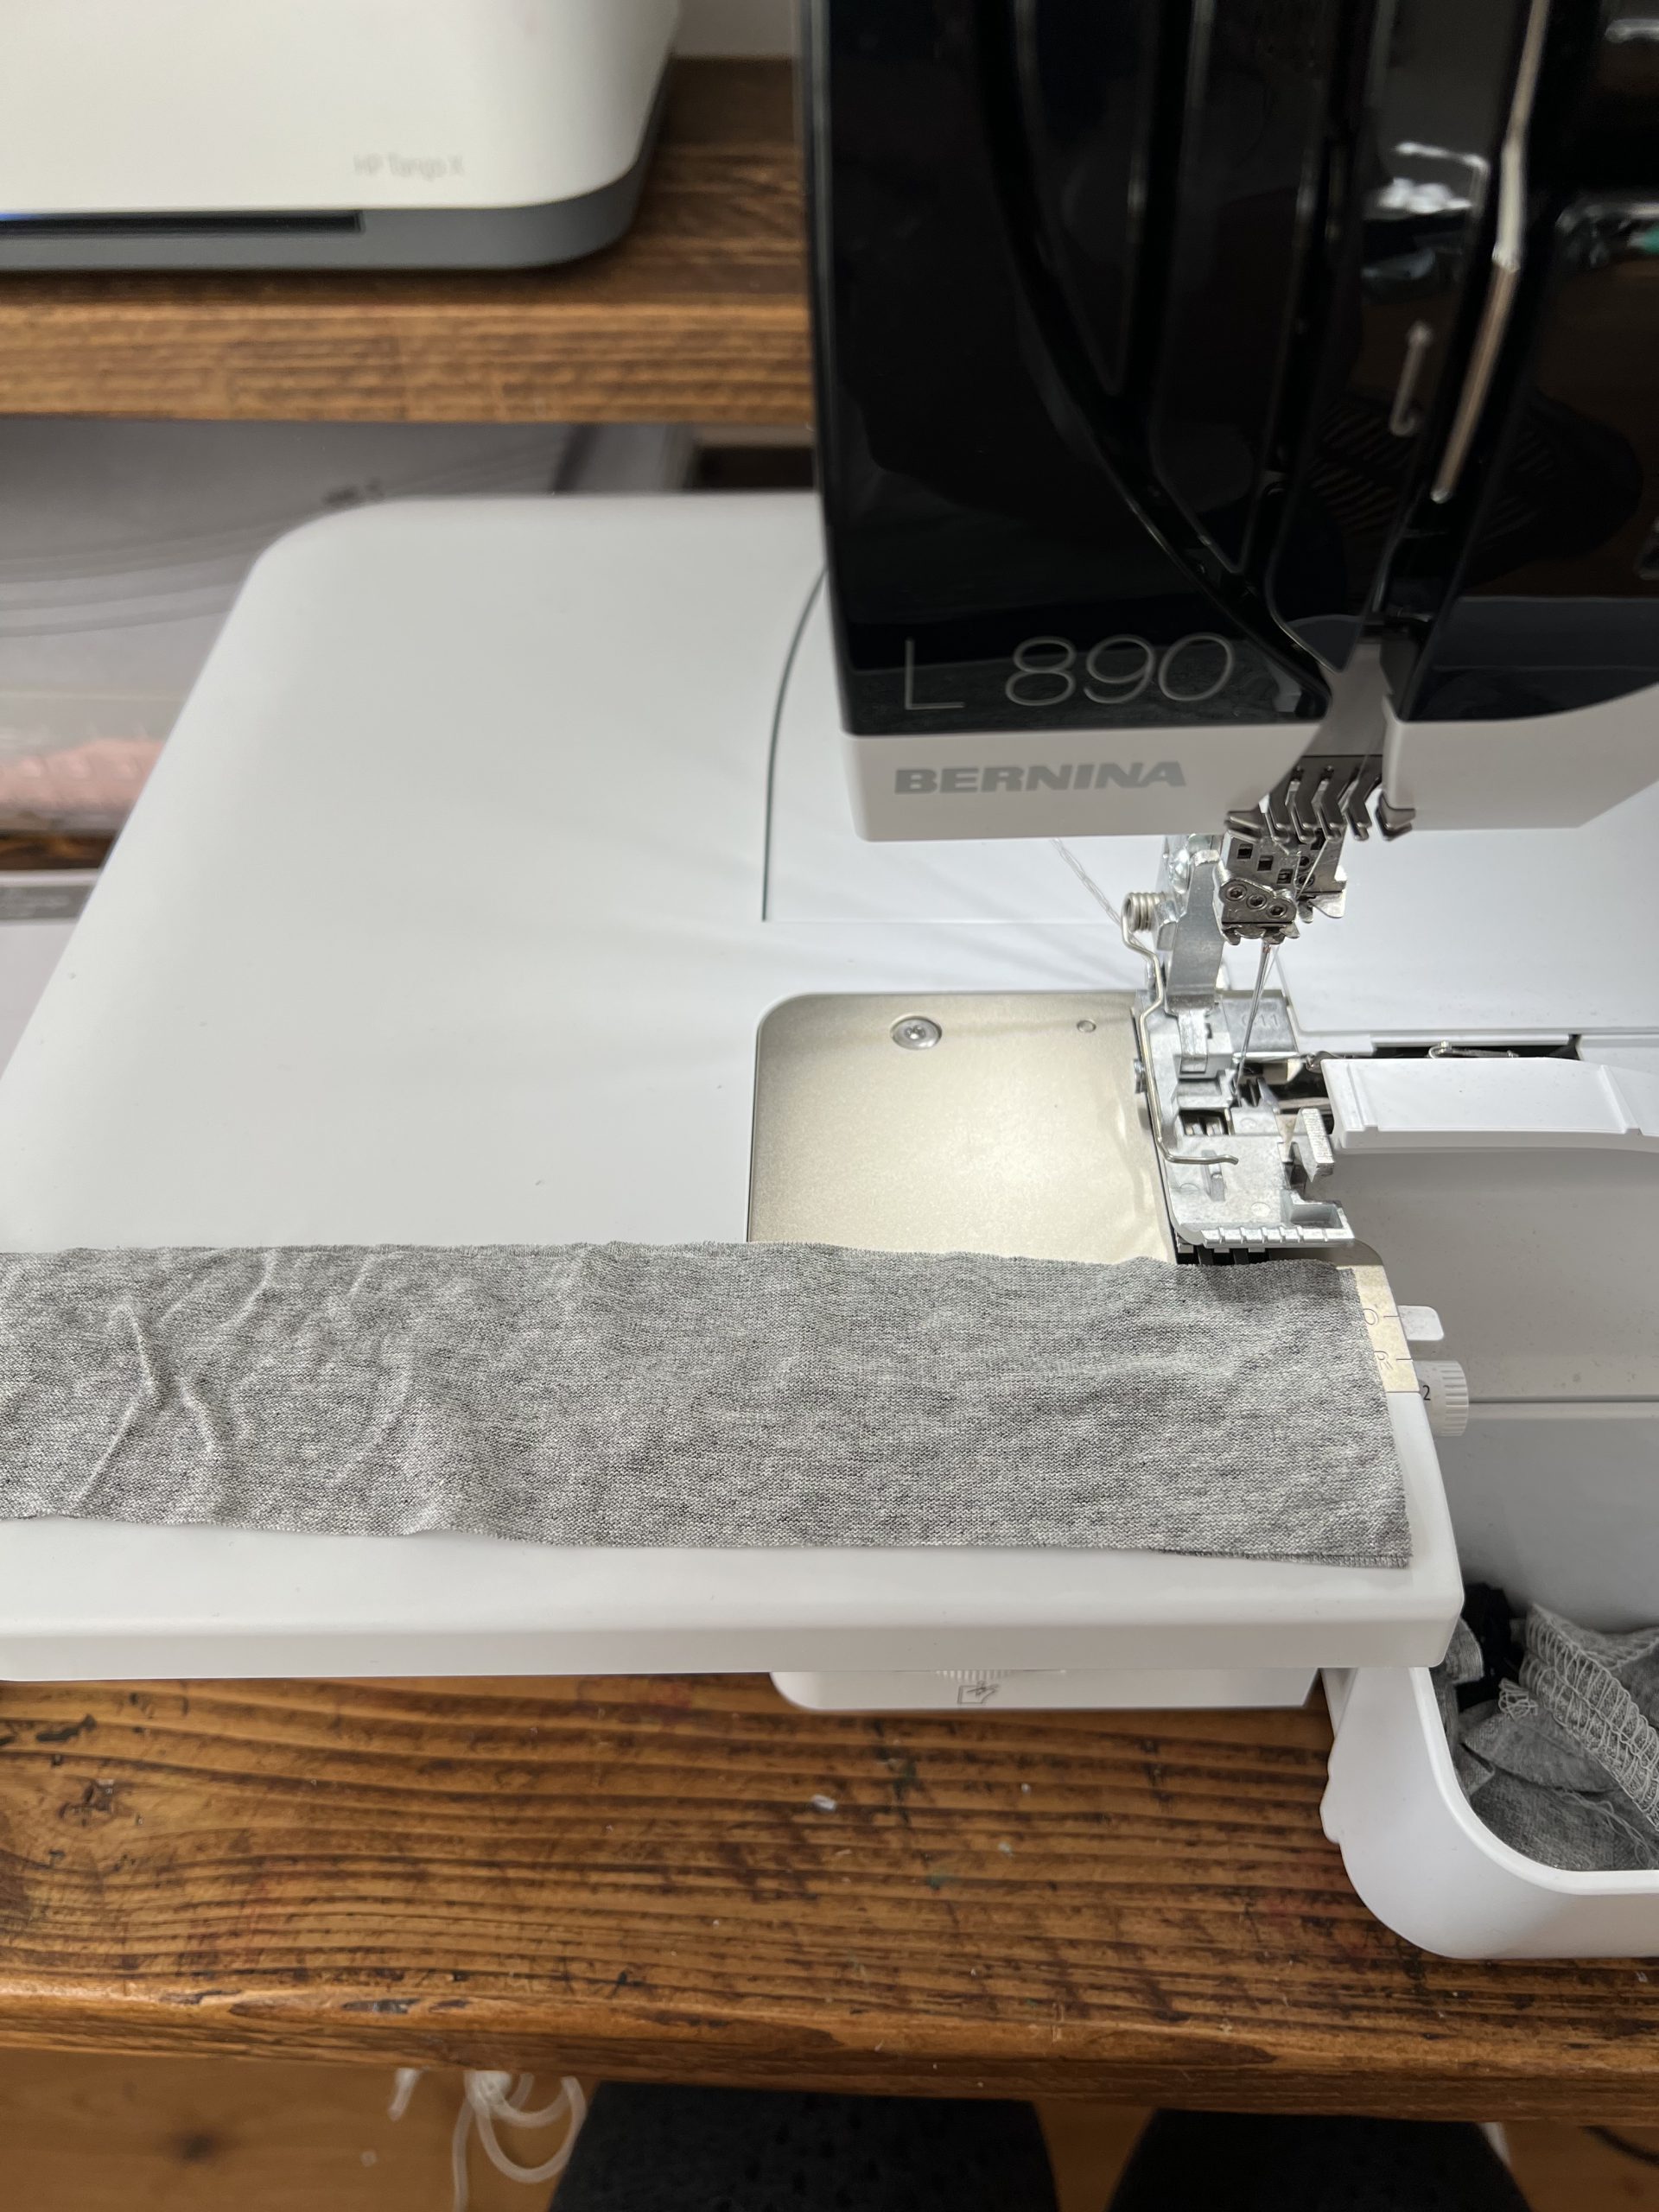
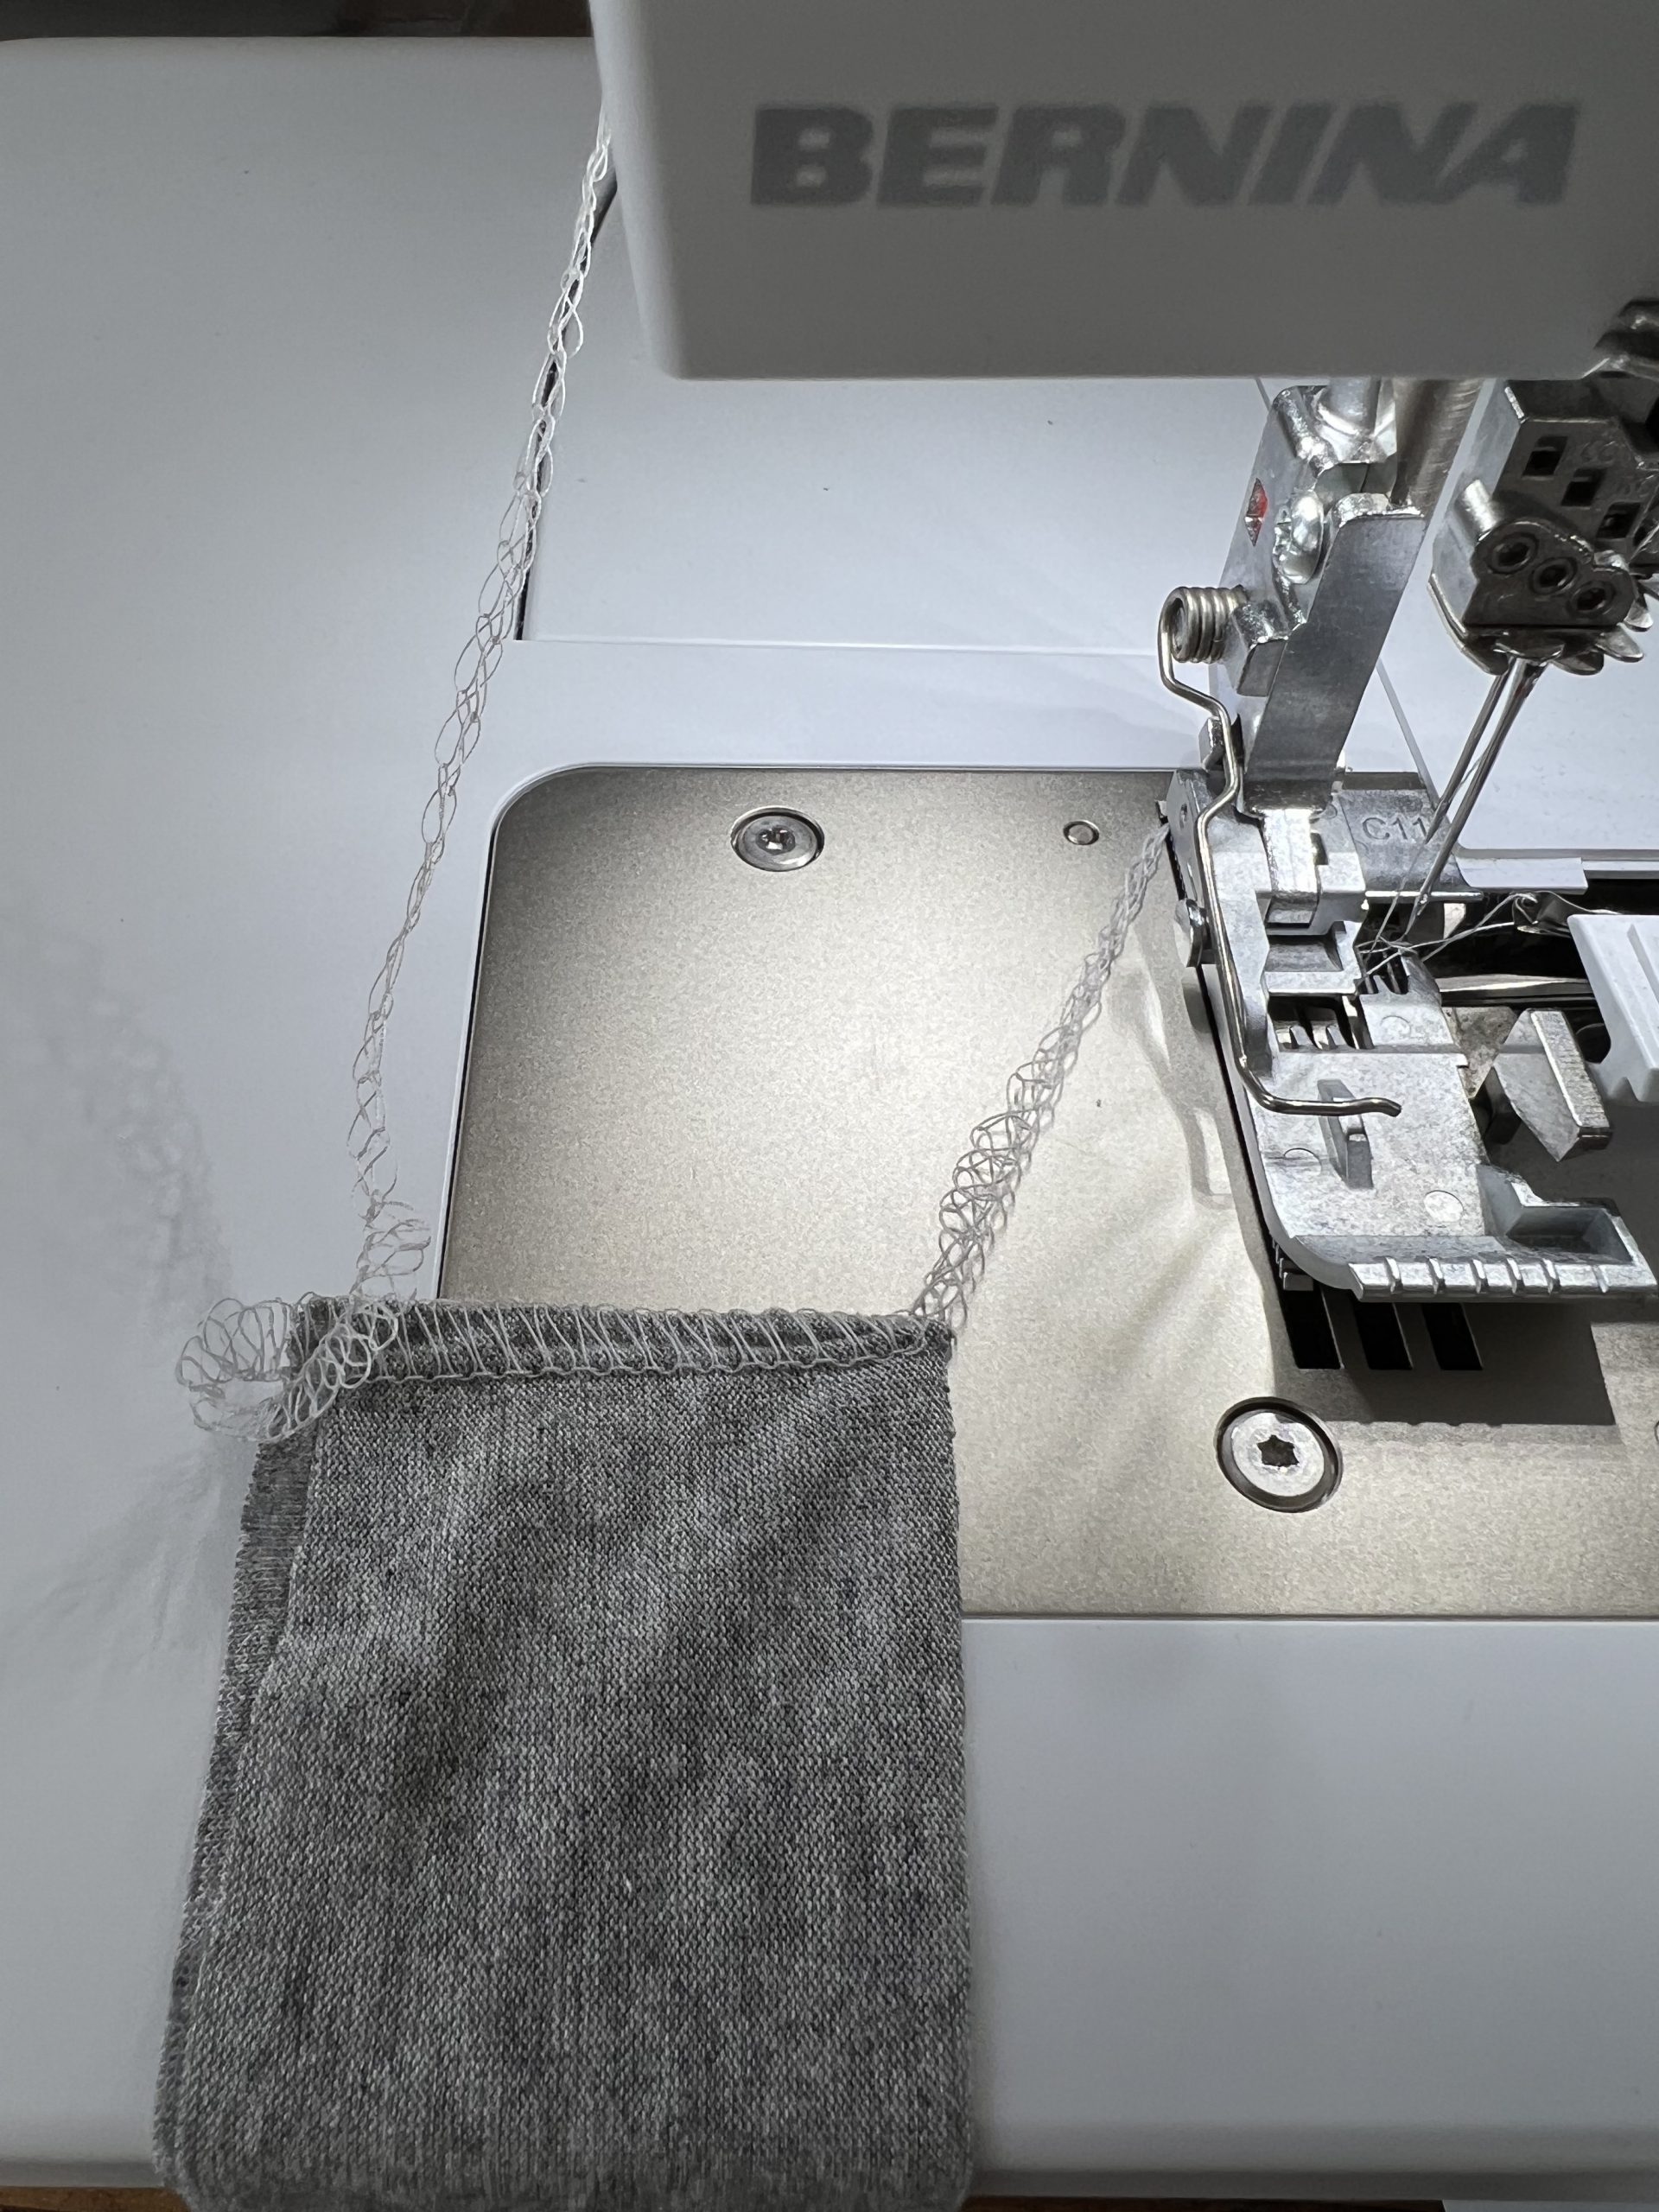
Next overlock the short ends of your neck binding piece then fold in half wrong sides facing.
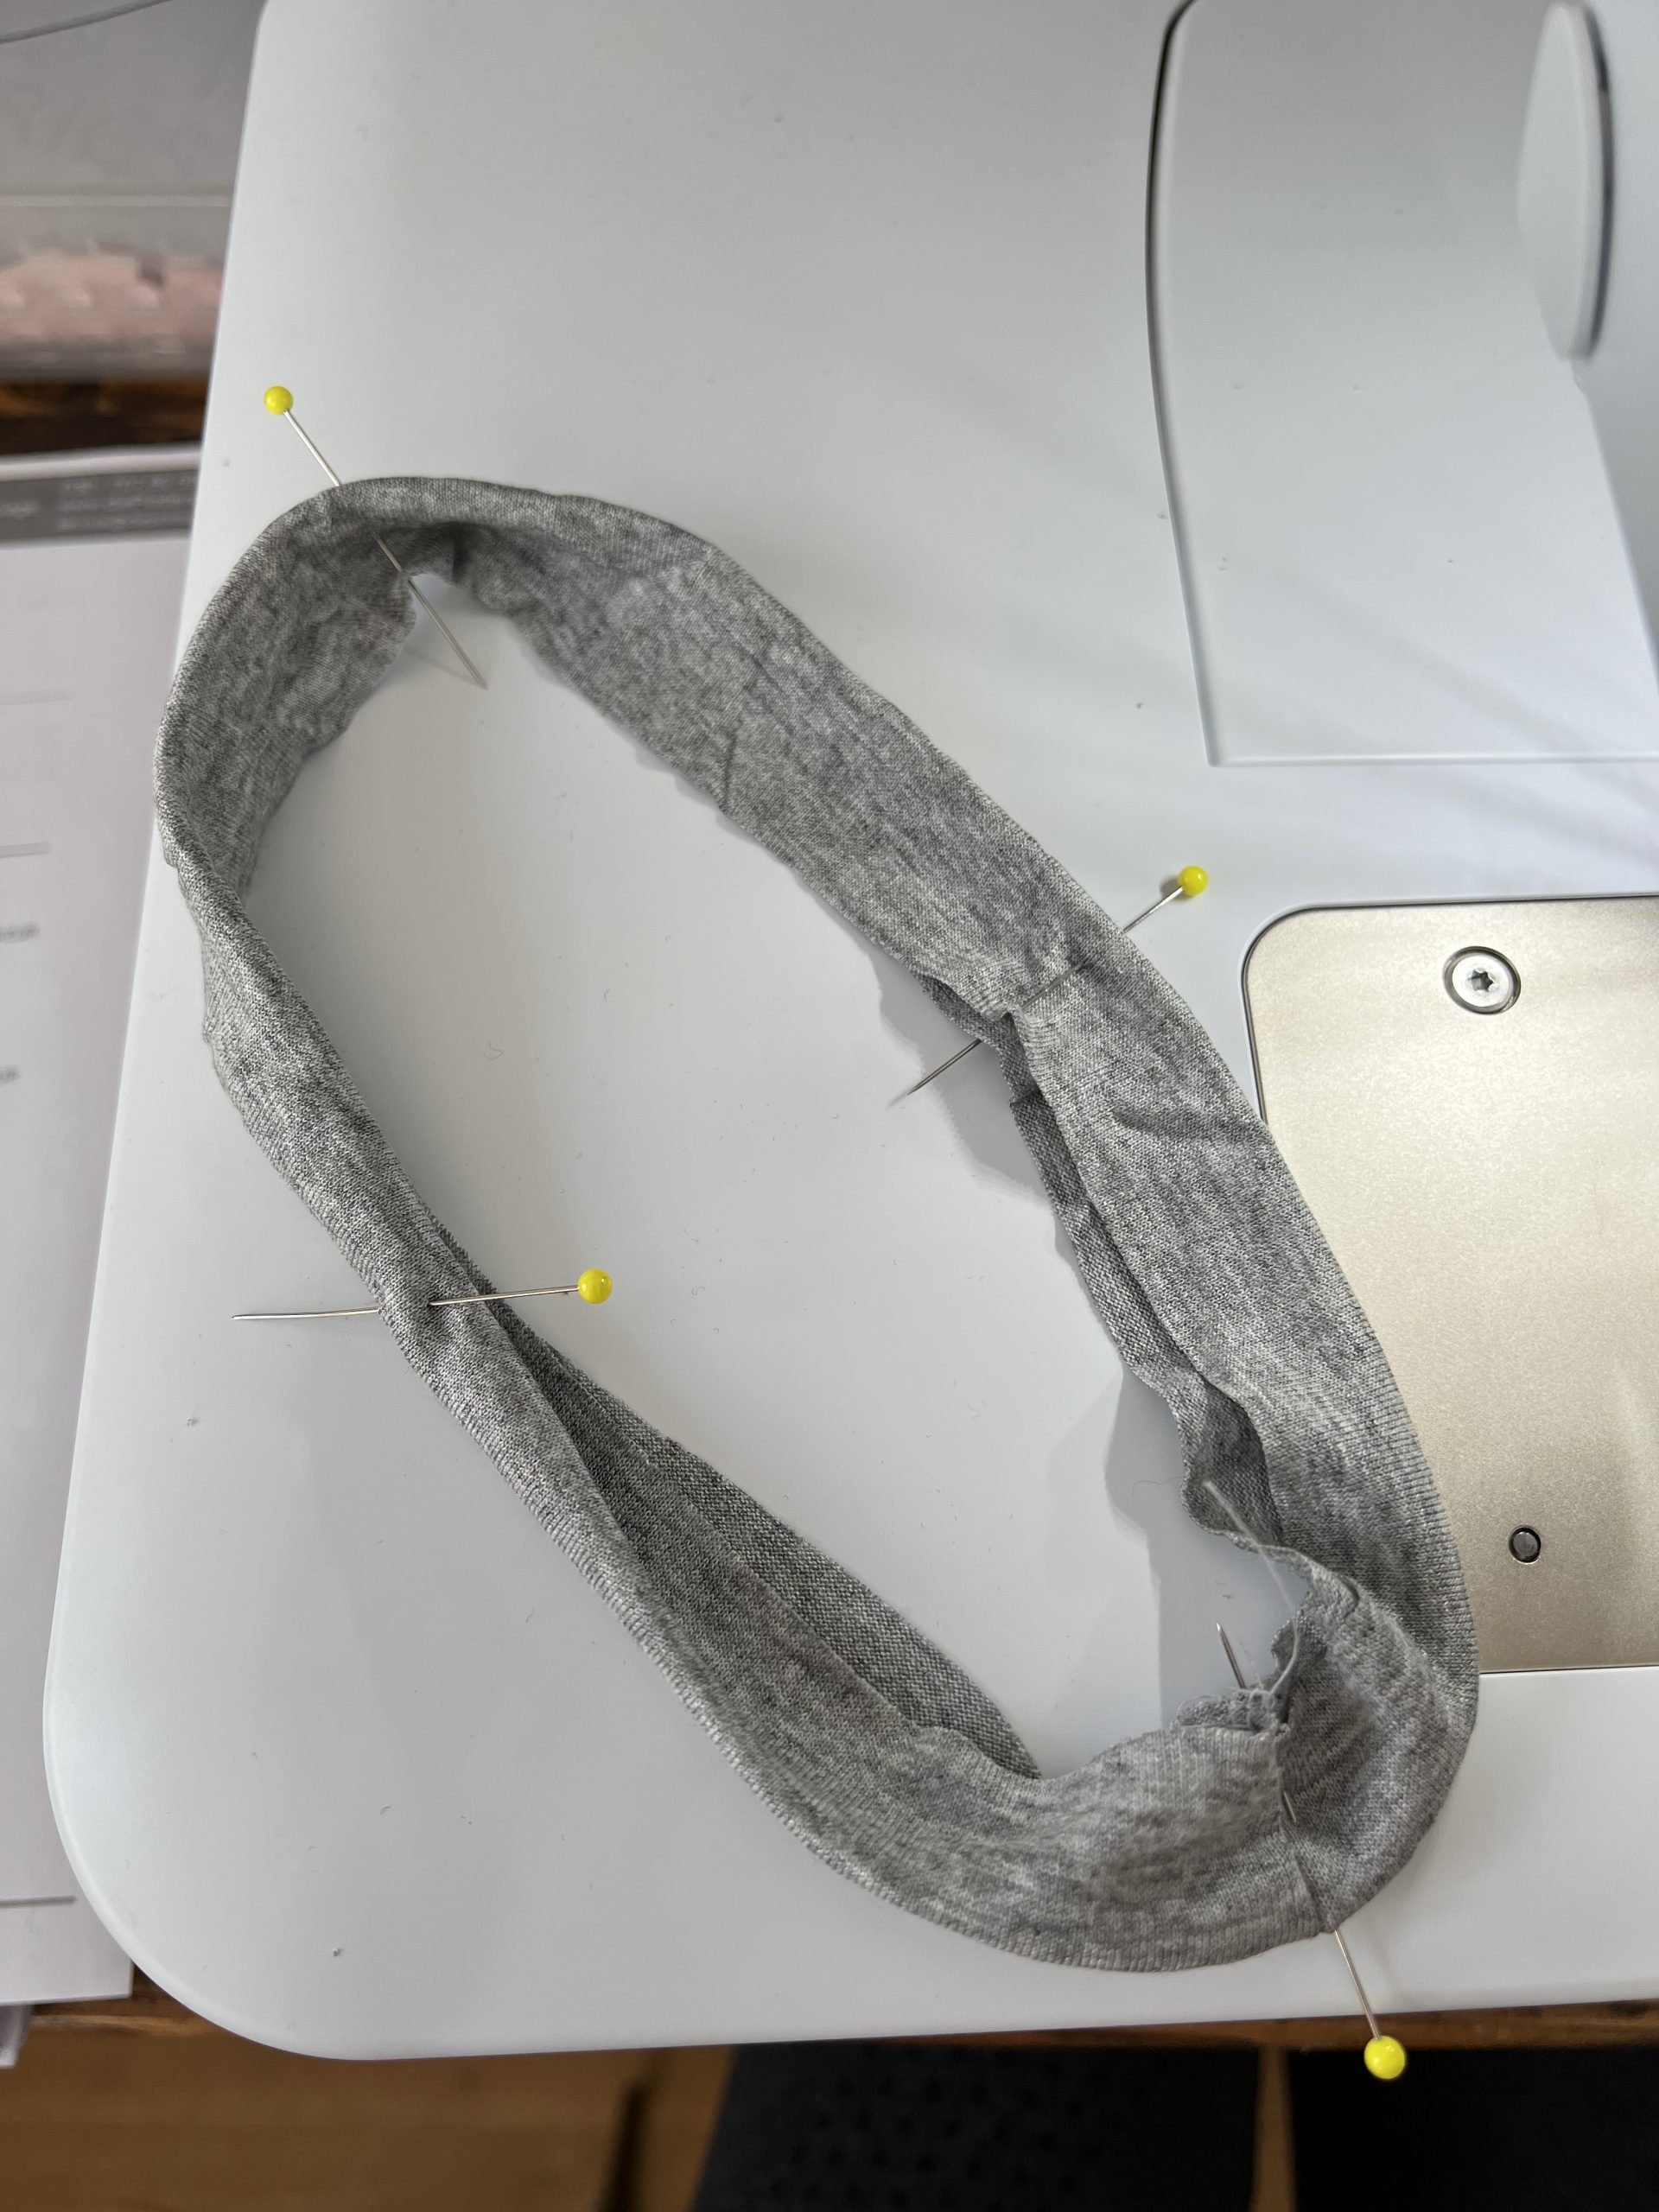
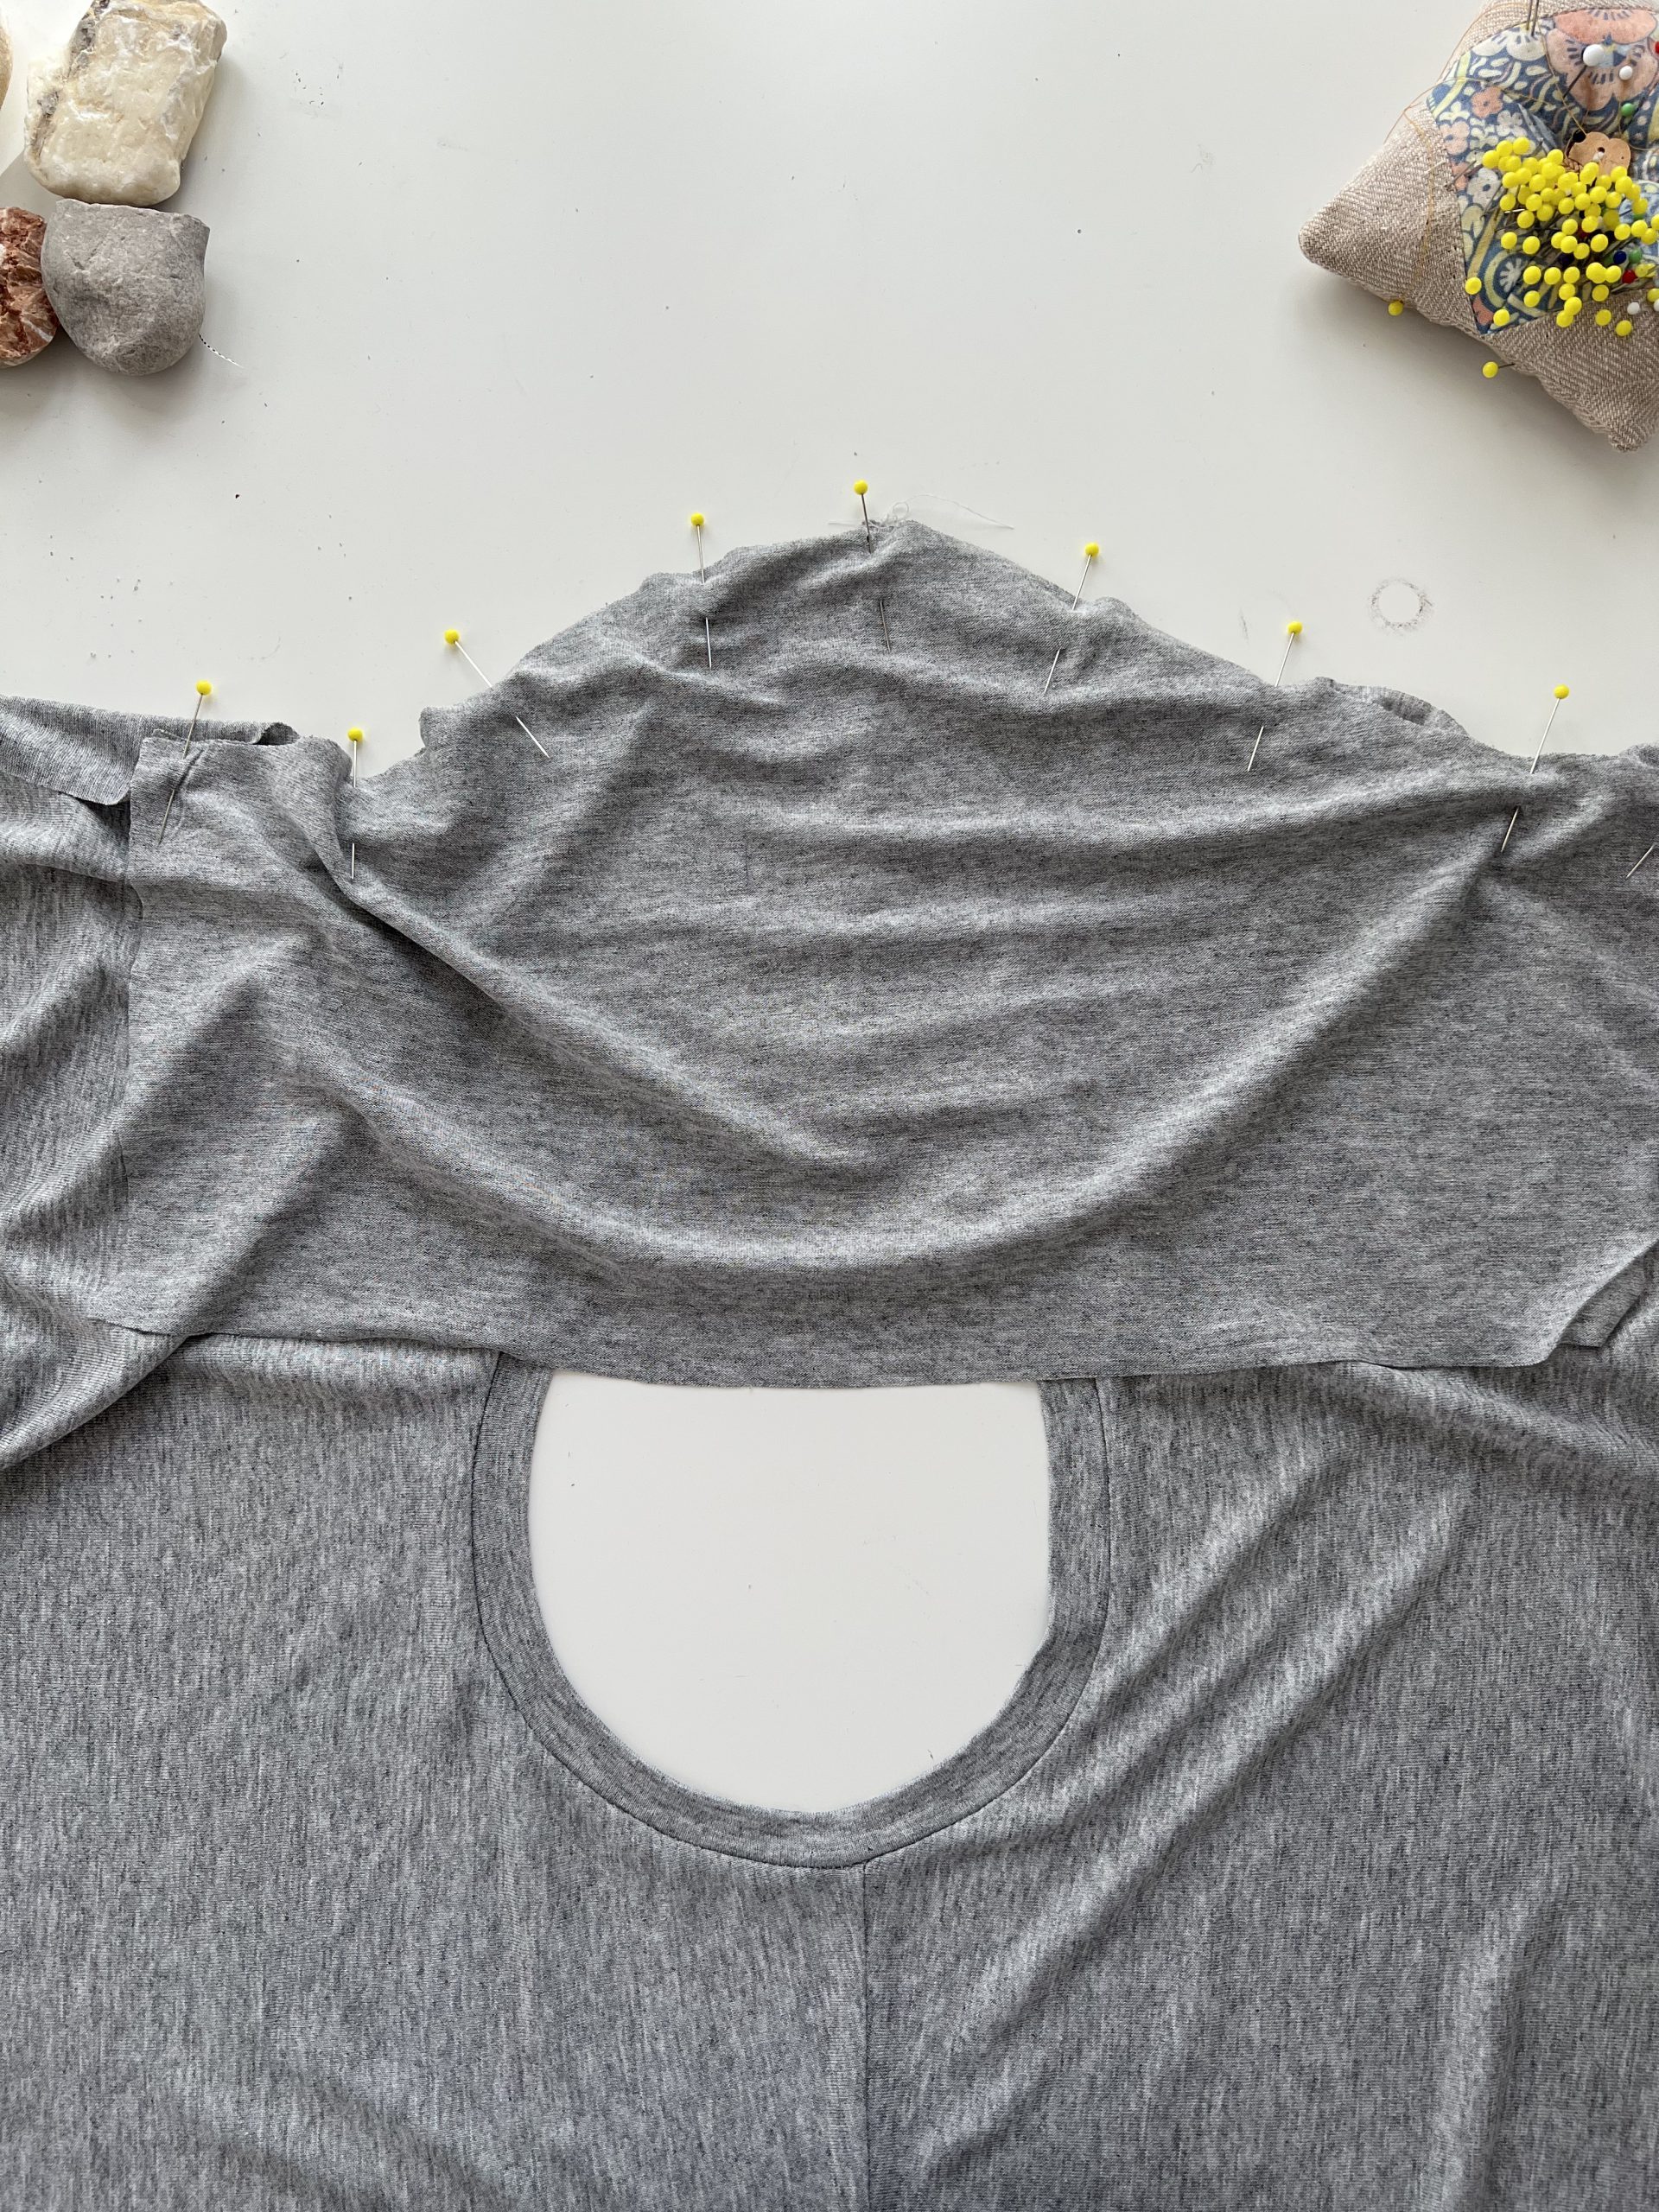
Find the quarter marks on your neck binding and do the same for your neck hole opening, then match up the quarter points. Add as many pins as you need to keep everything aligned (you’ll need to stretch your neck binding slightly to fit the neck hole opening.
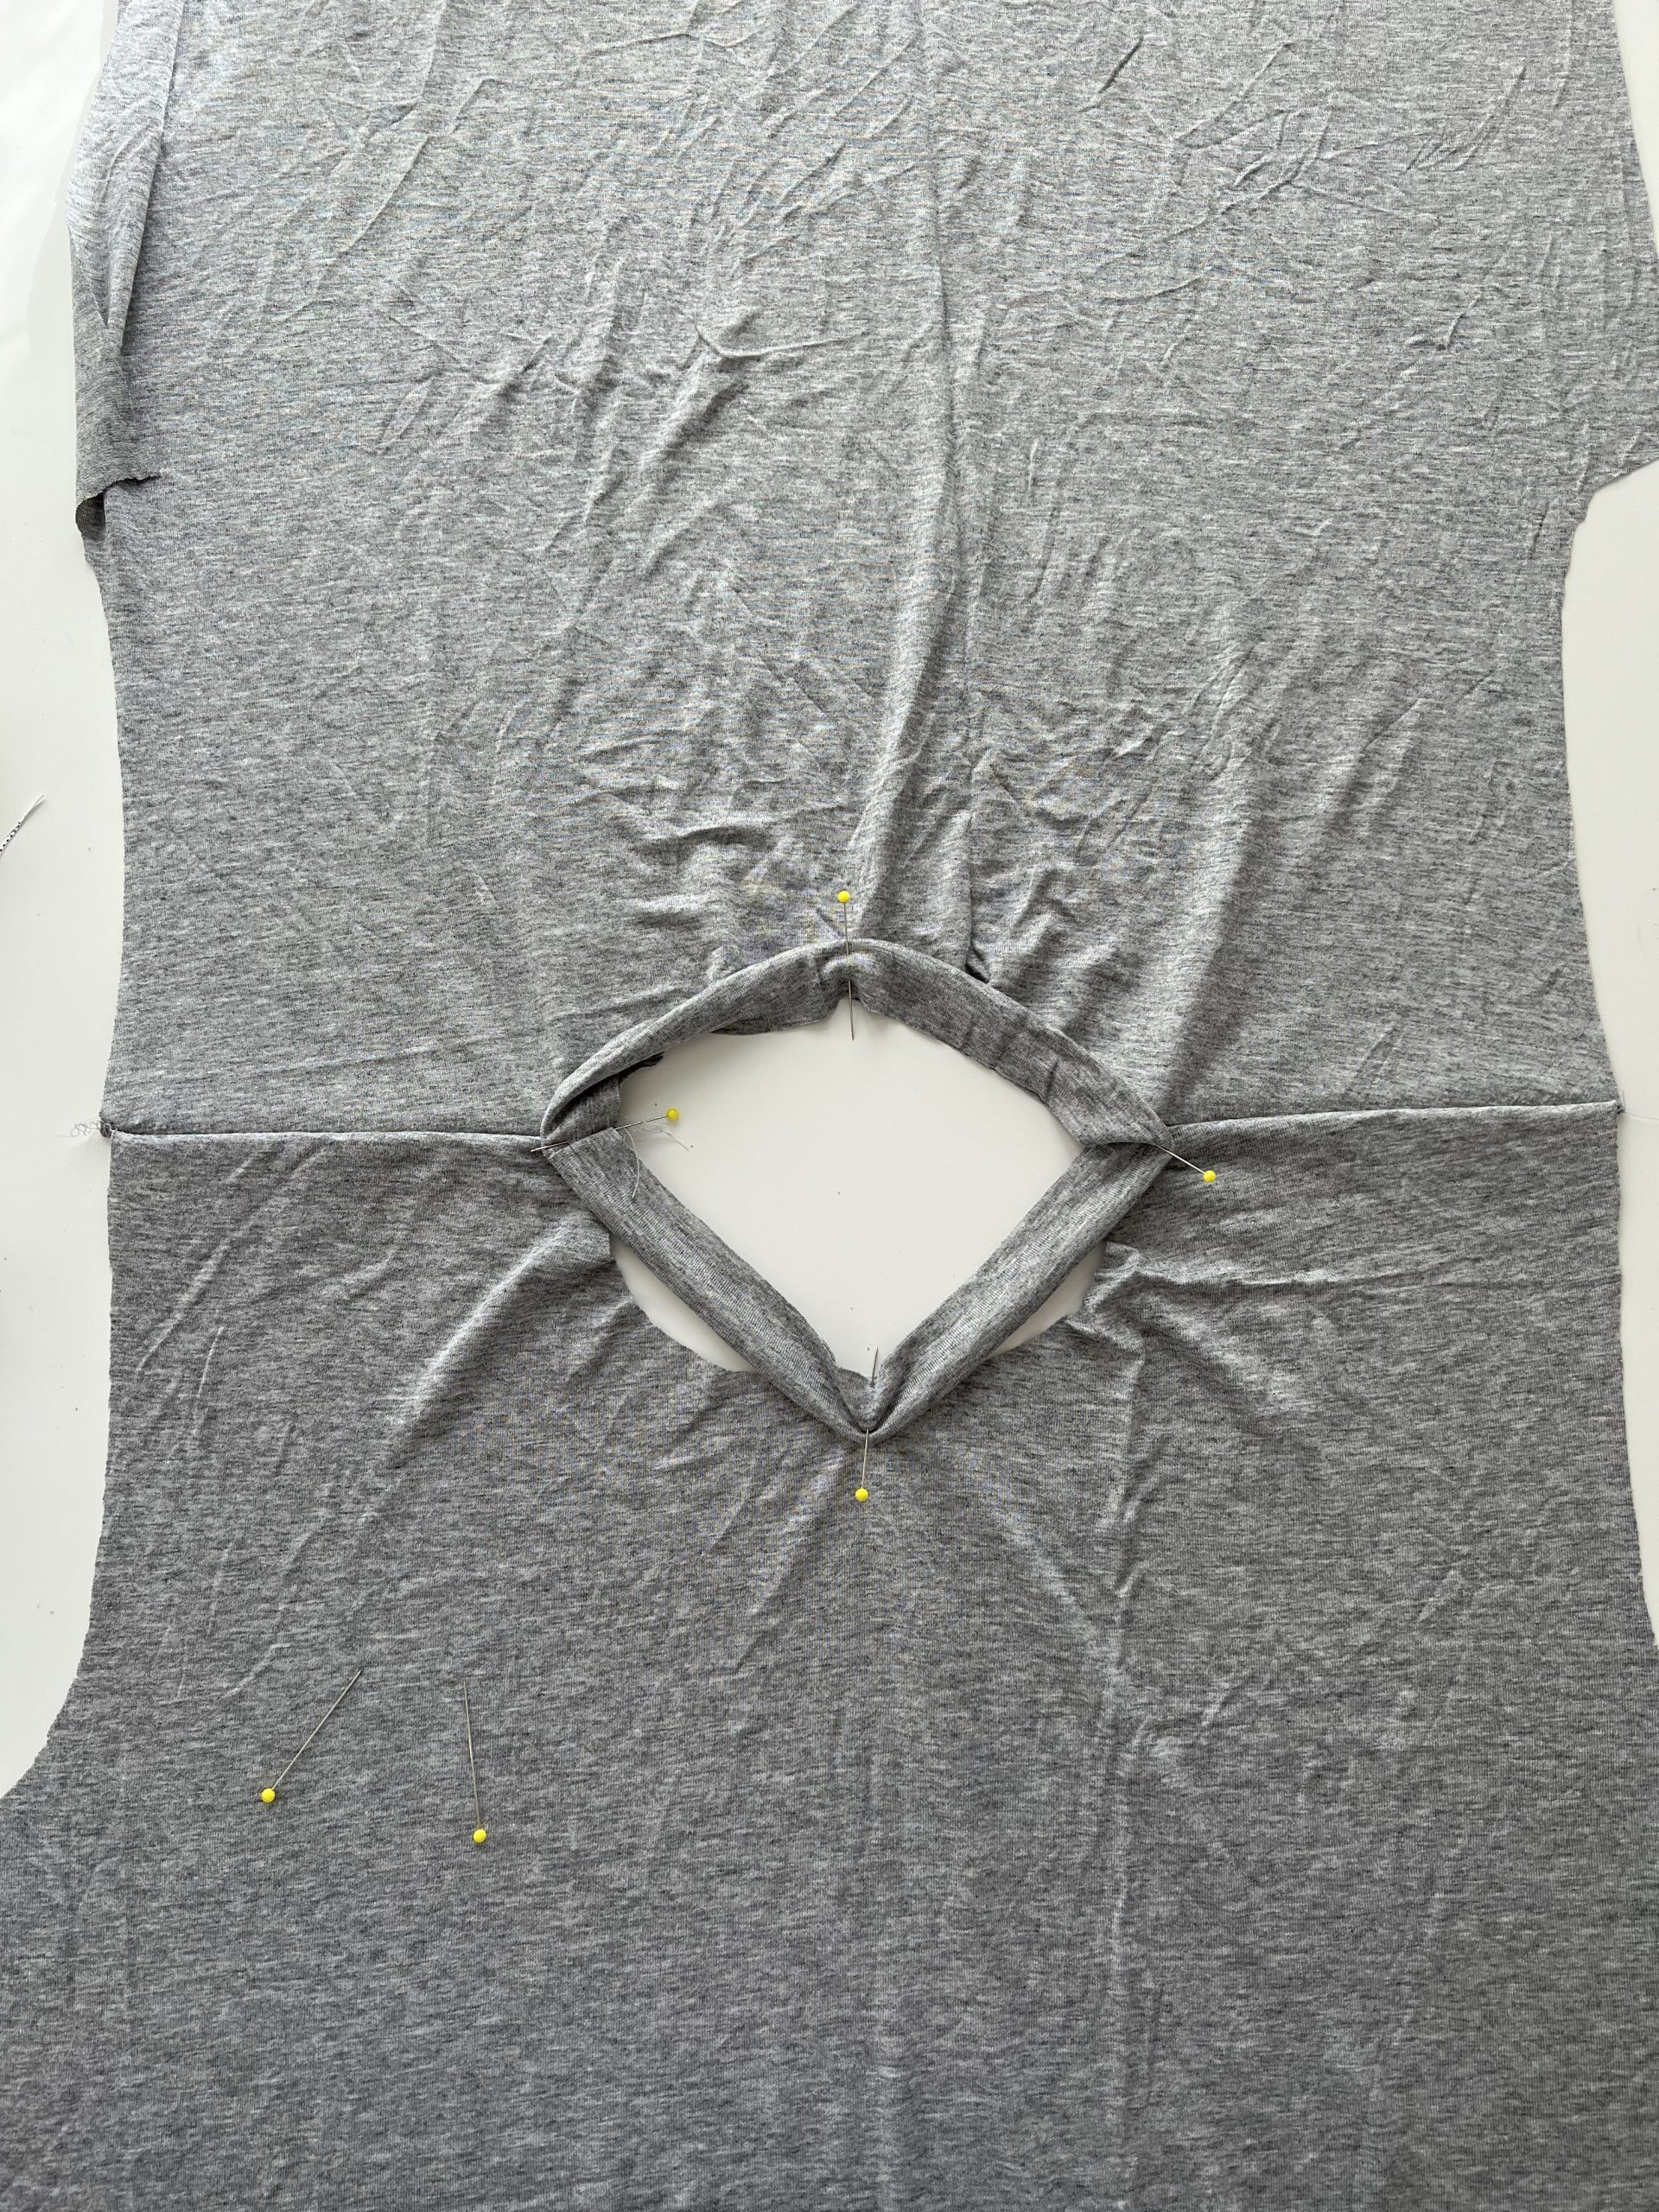
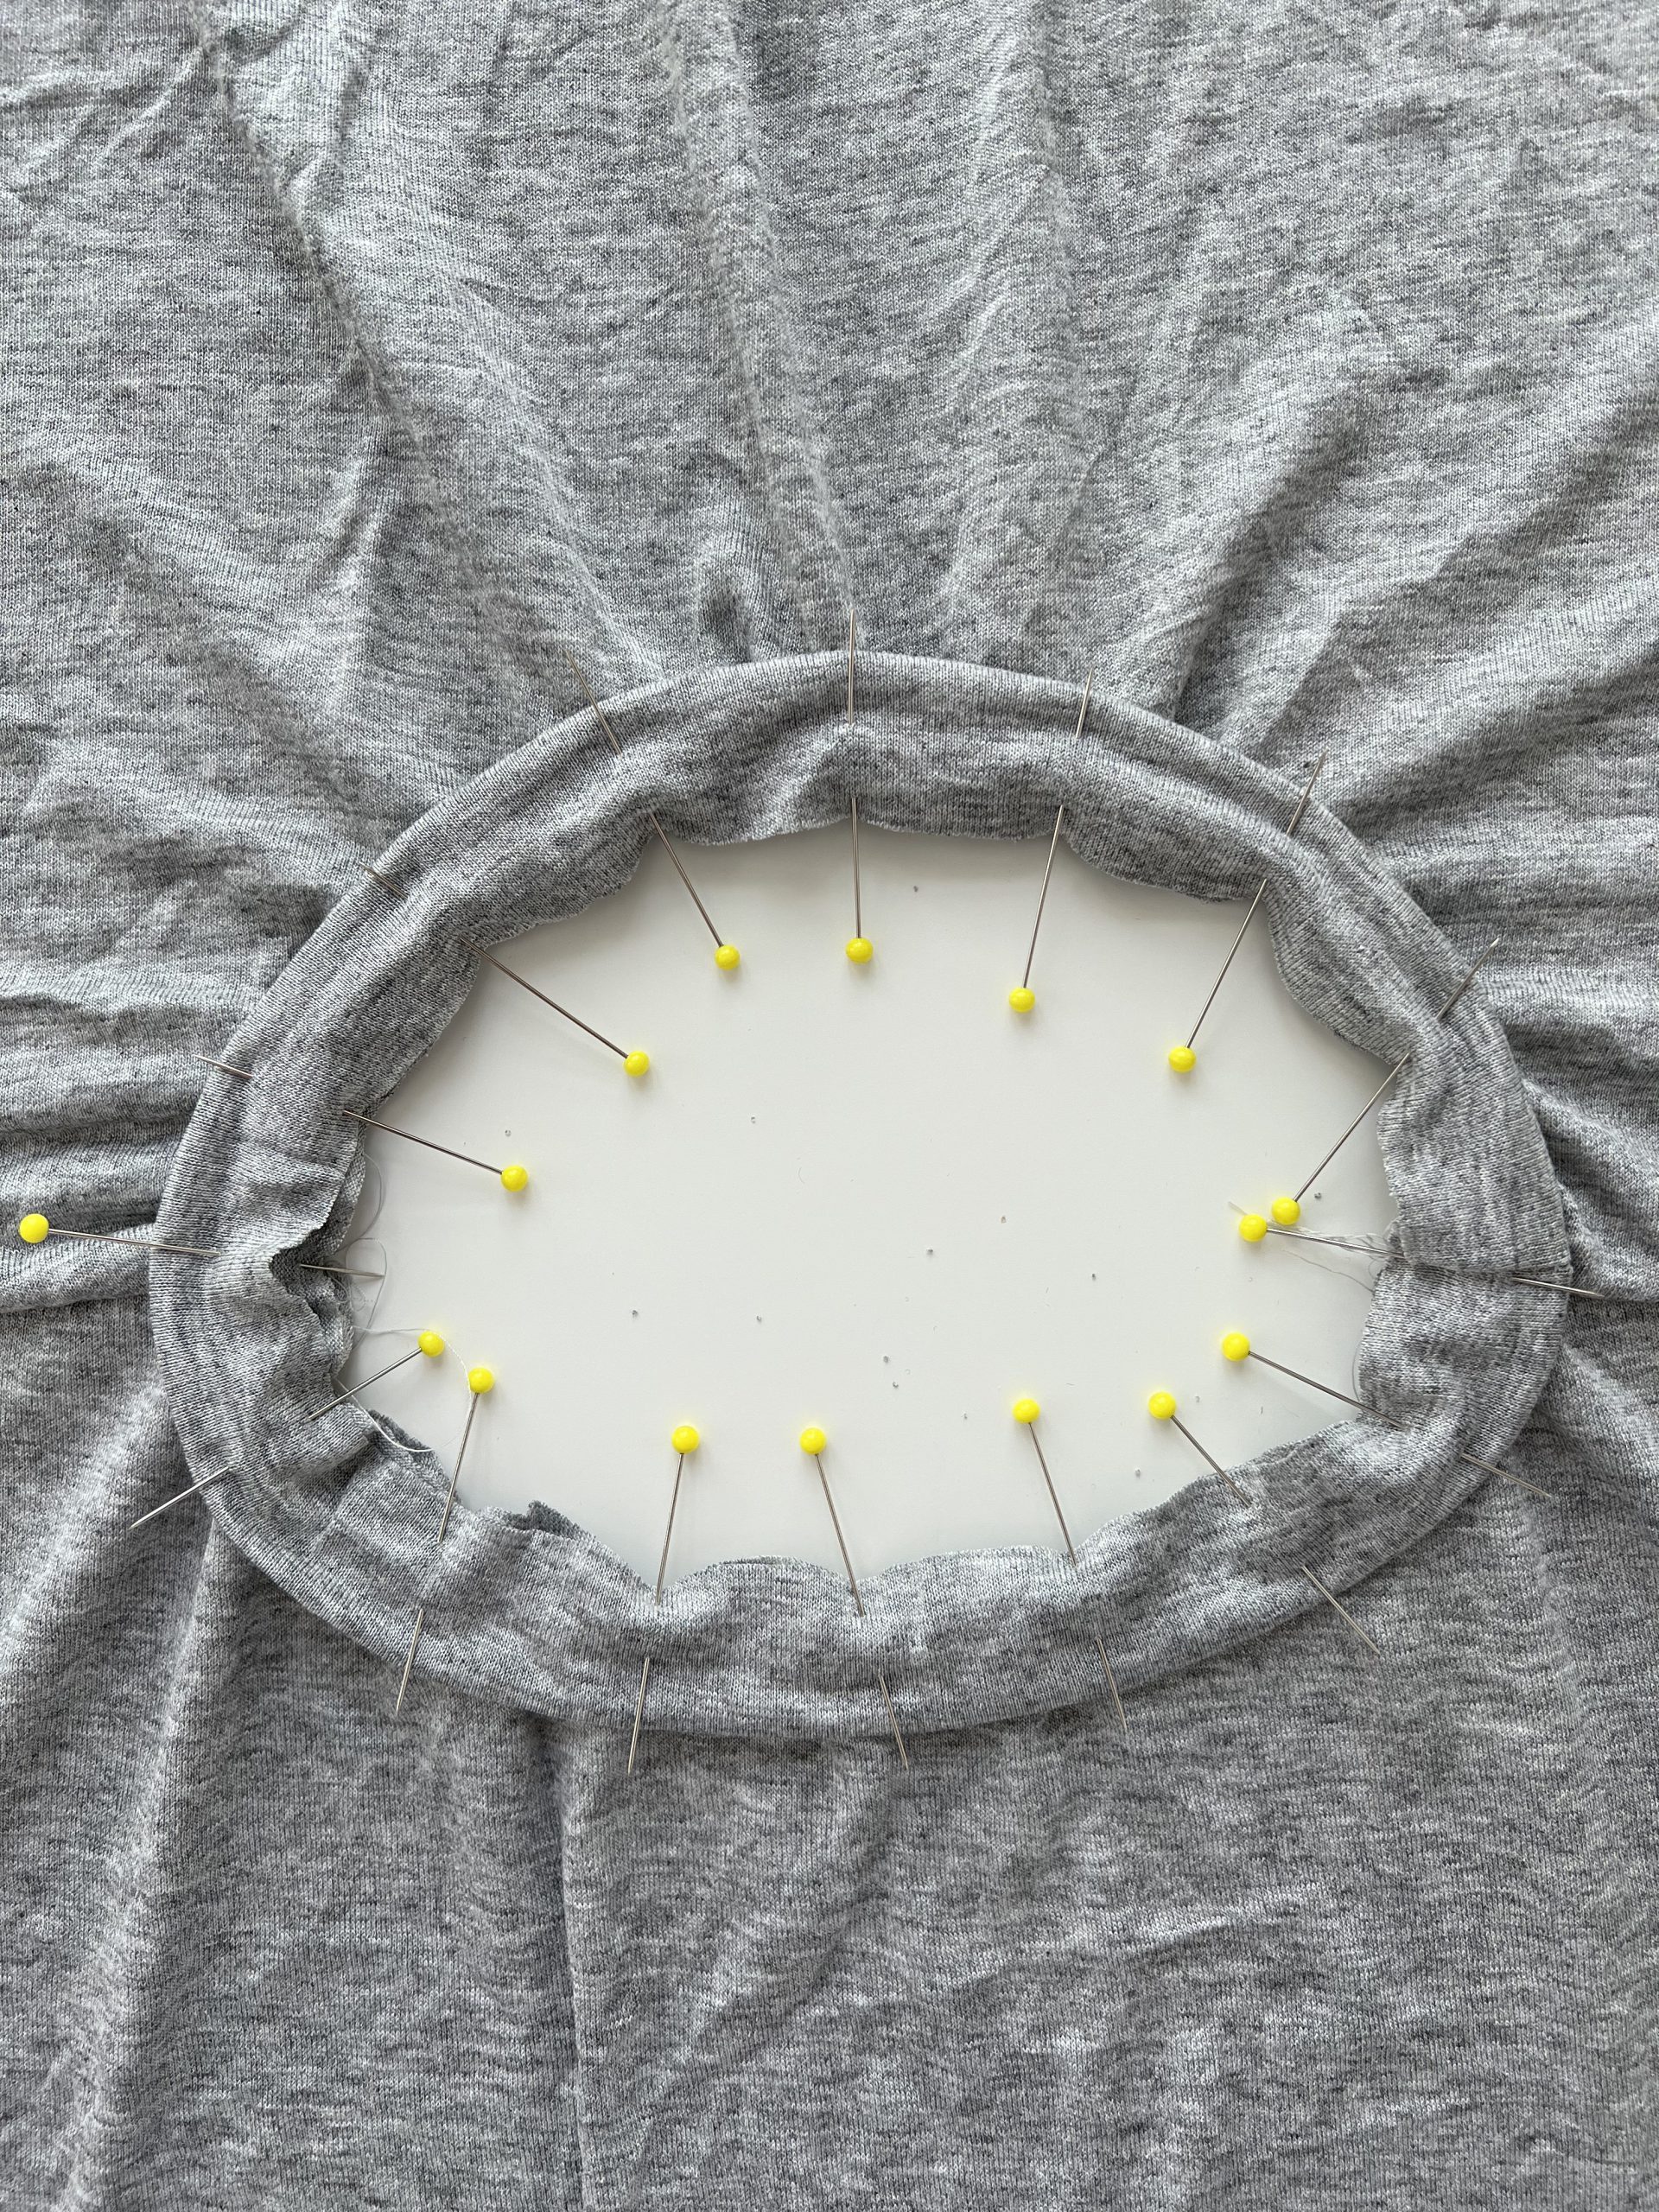
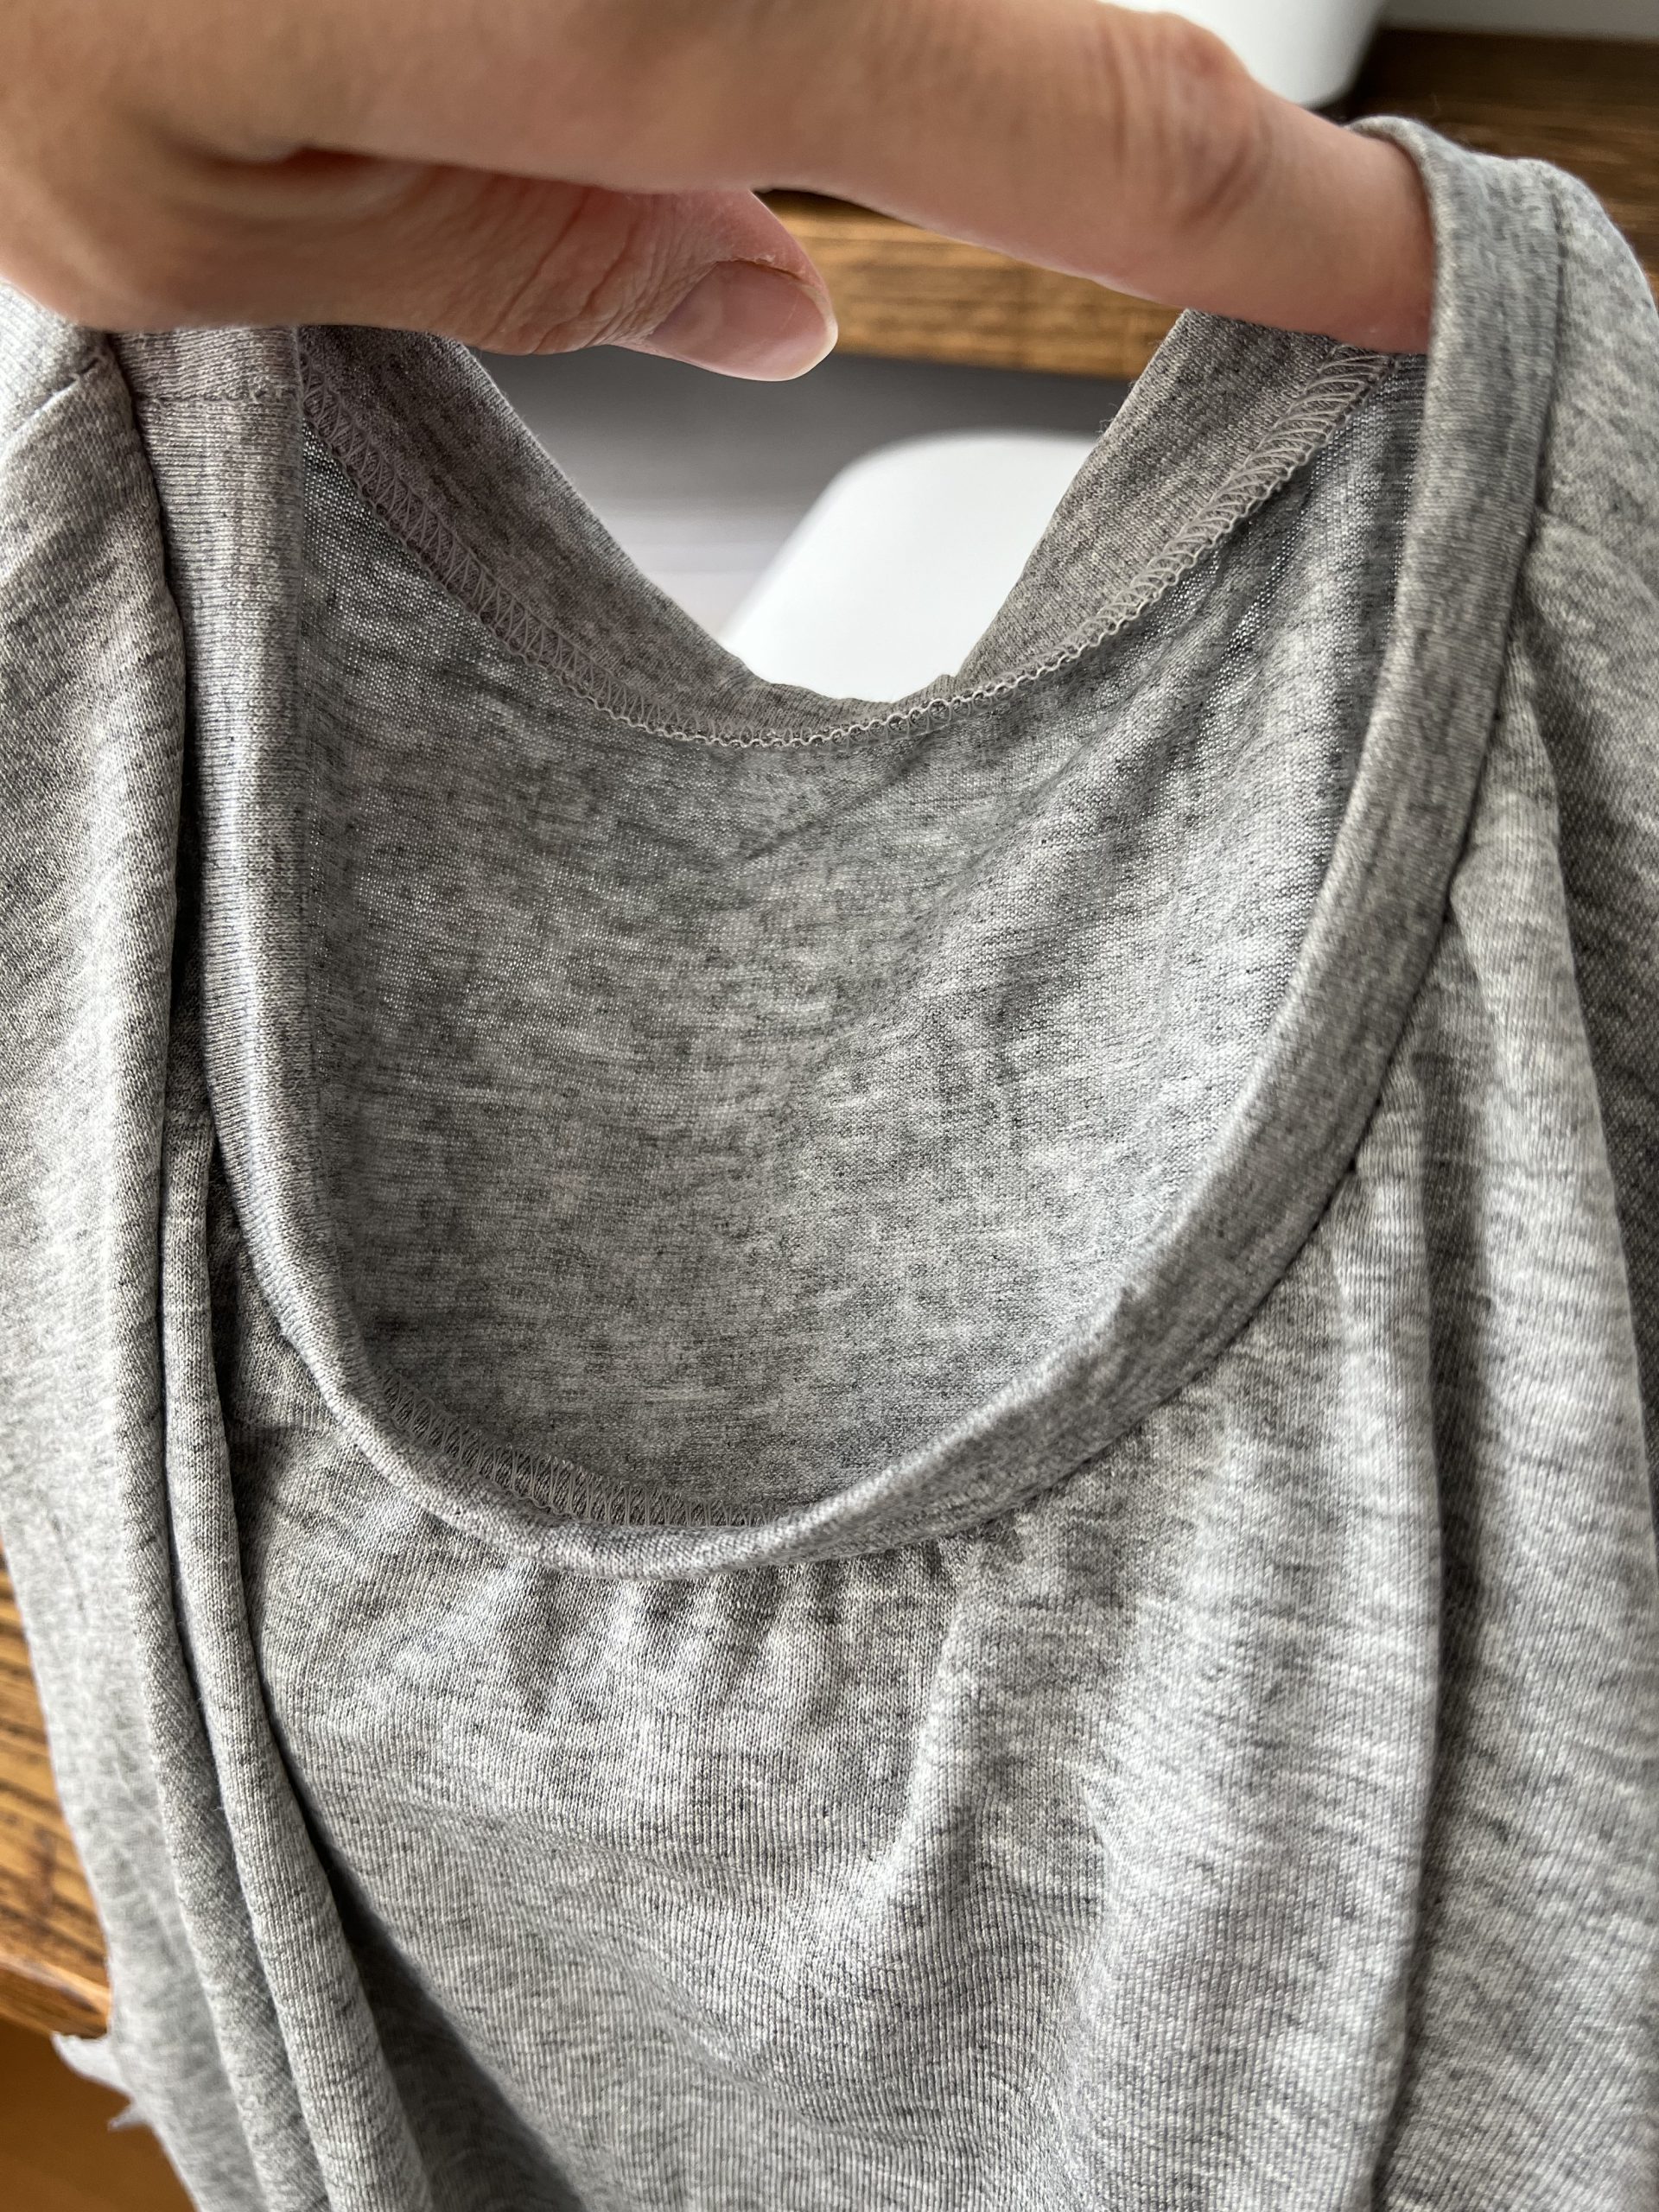
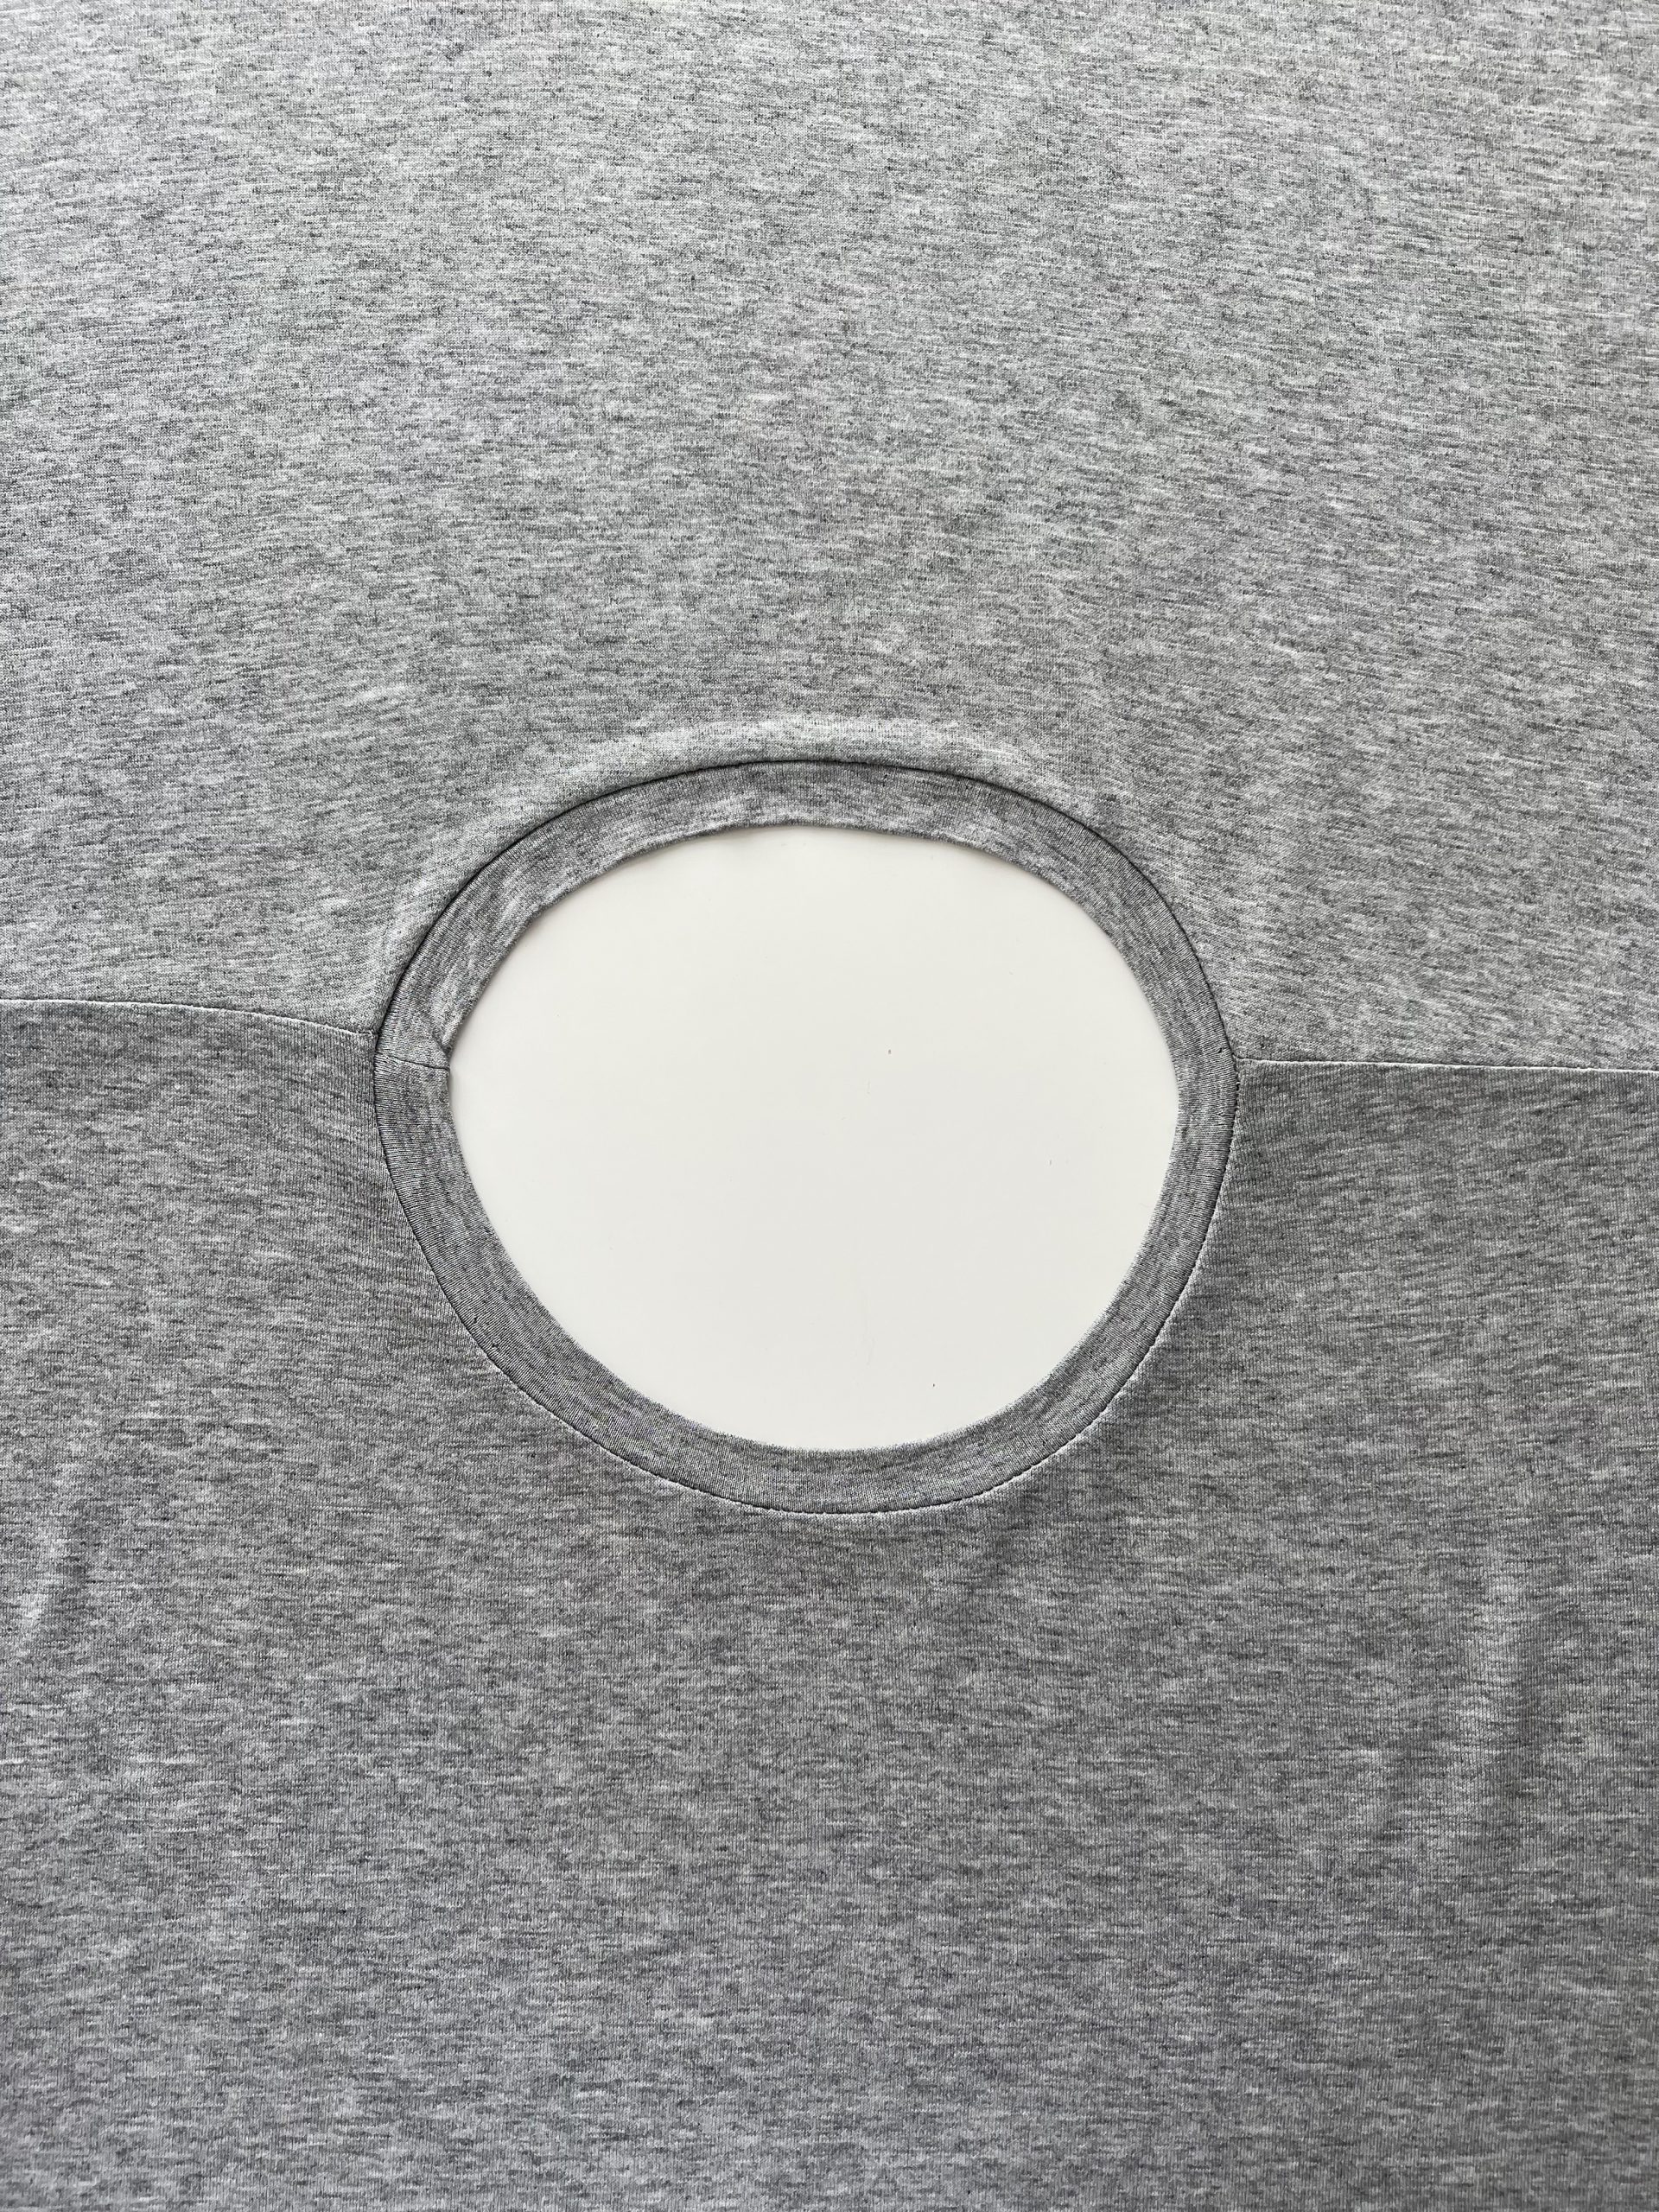
Don’t worry if your neckband is not lying flat, give it a nice press with lots of steam and that should make everything look pretty.

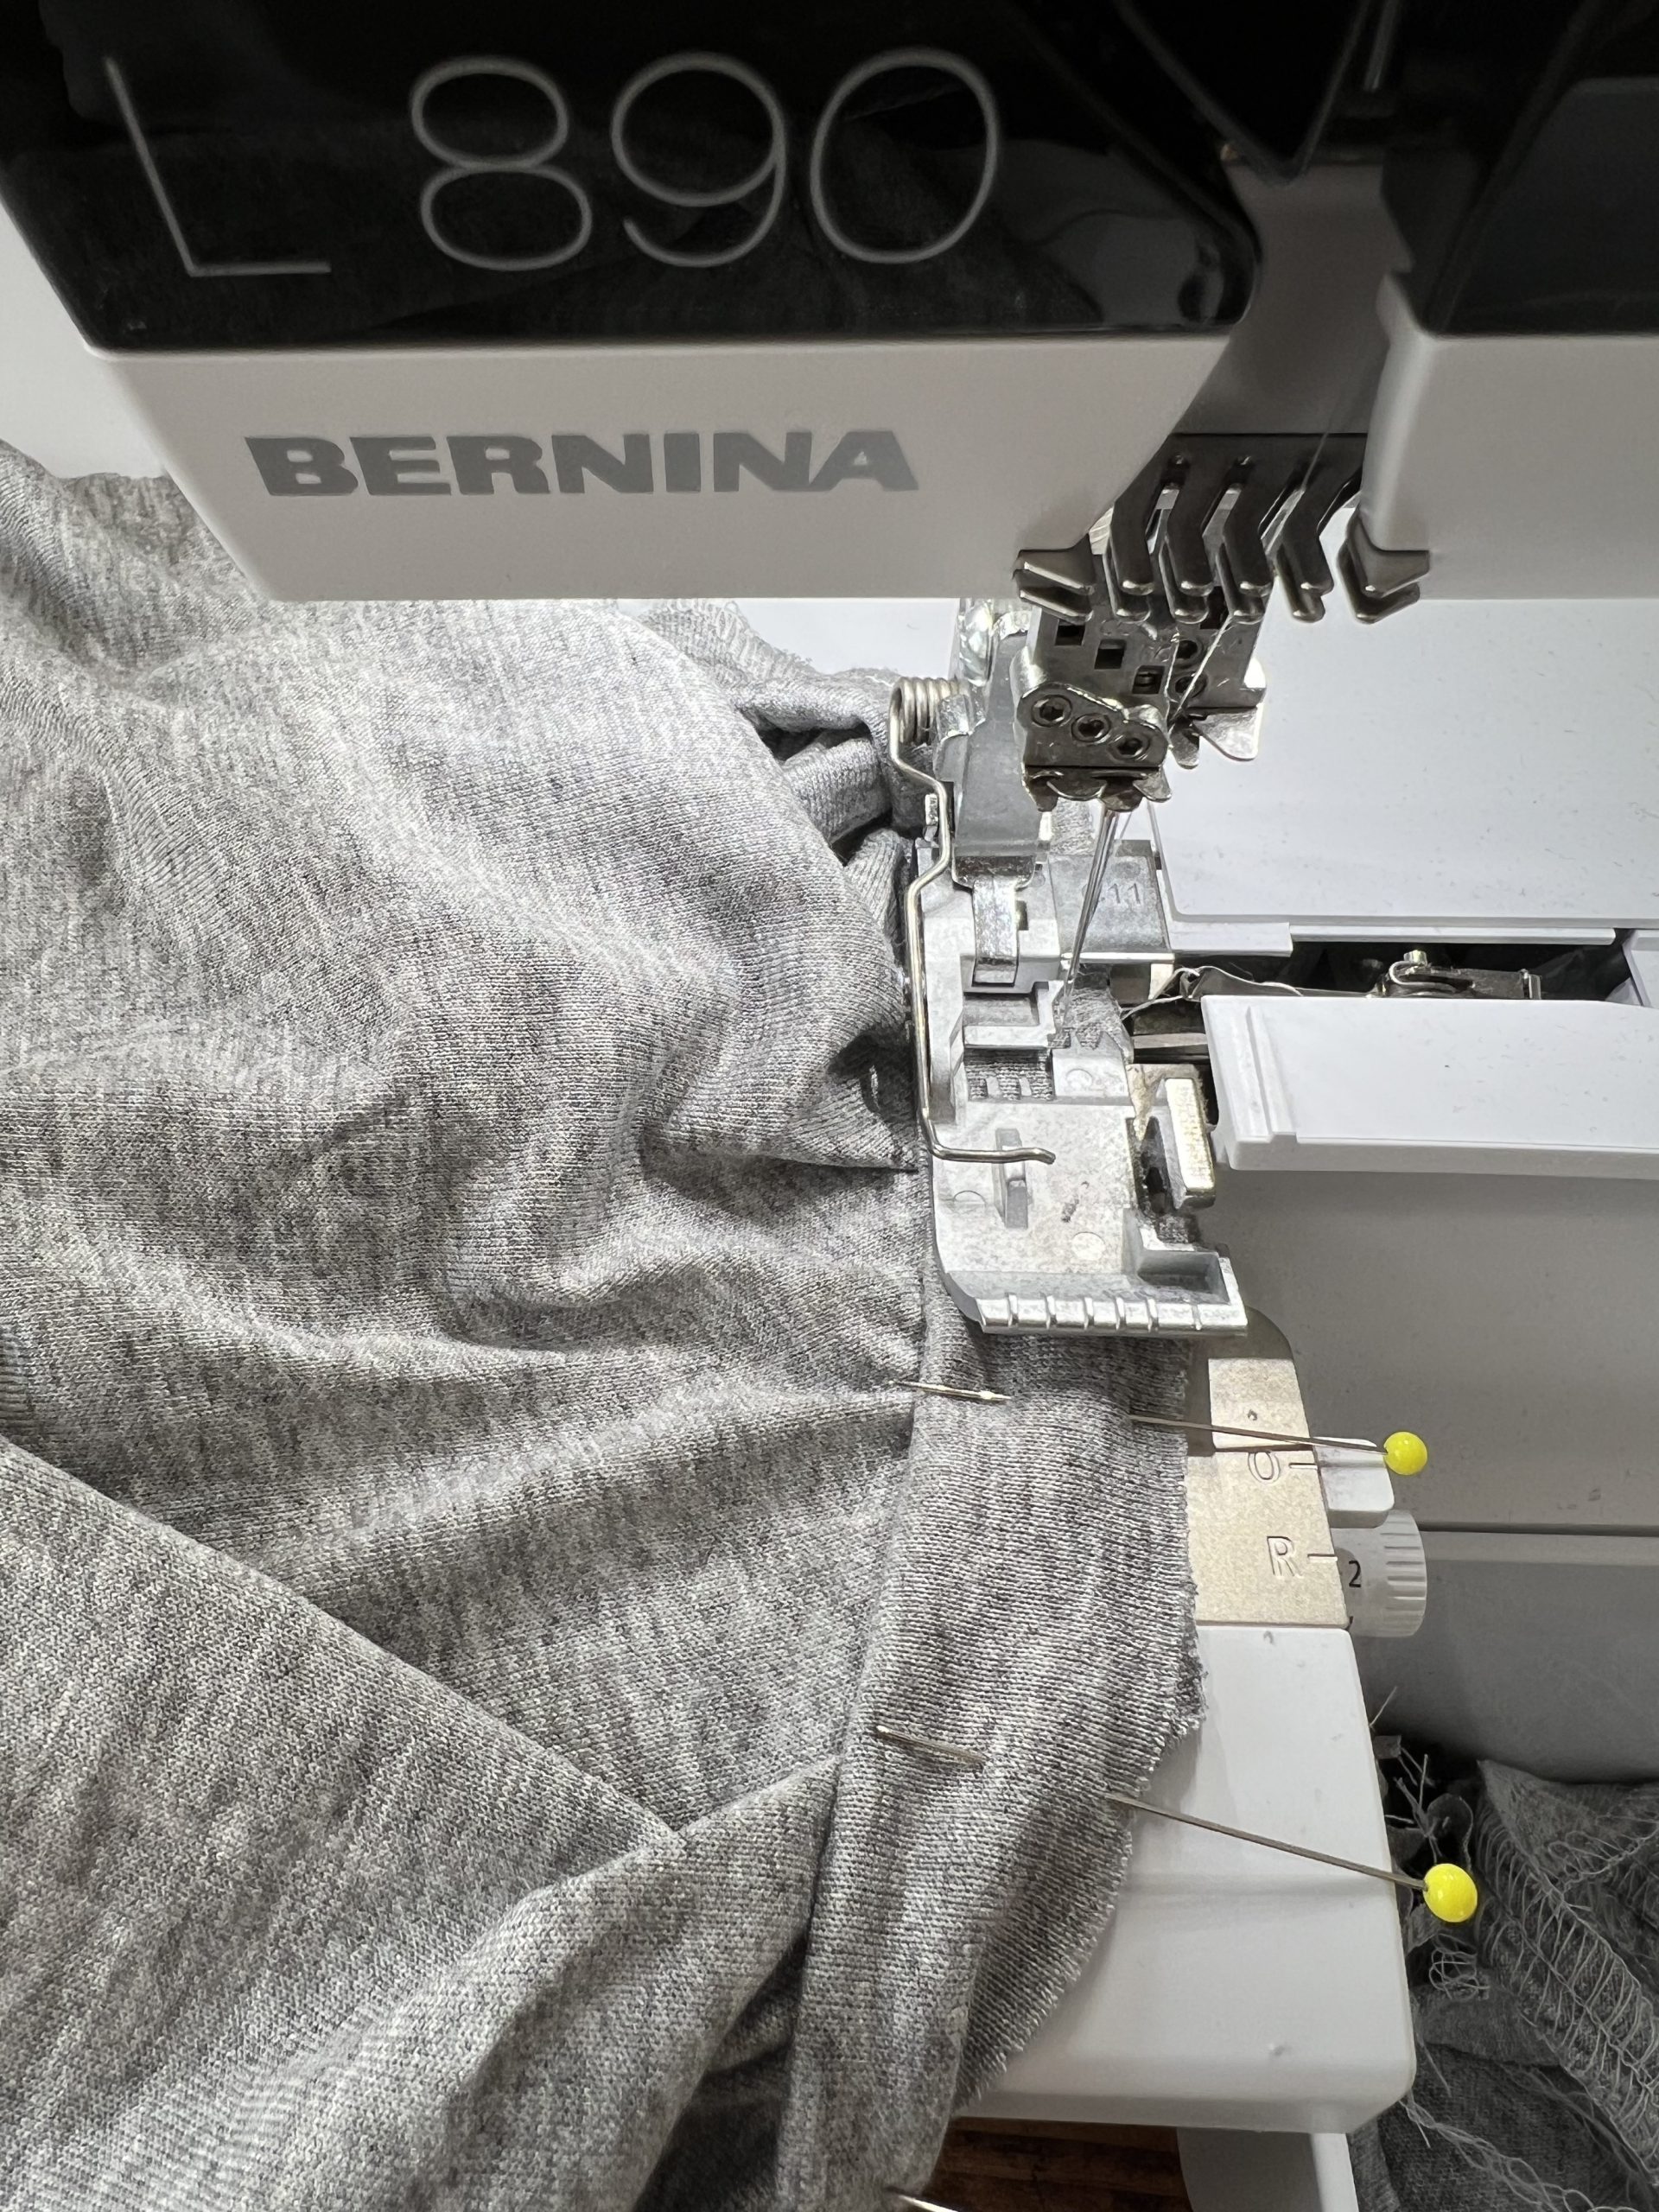
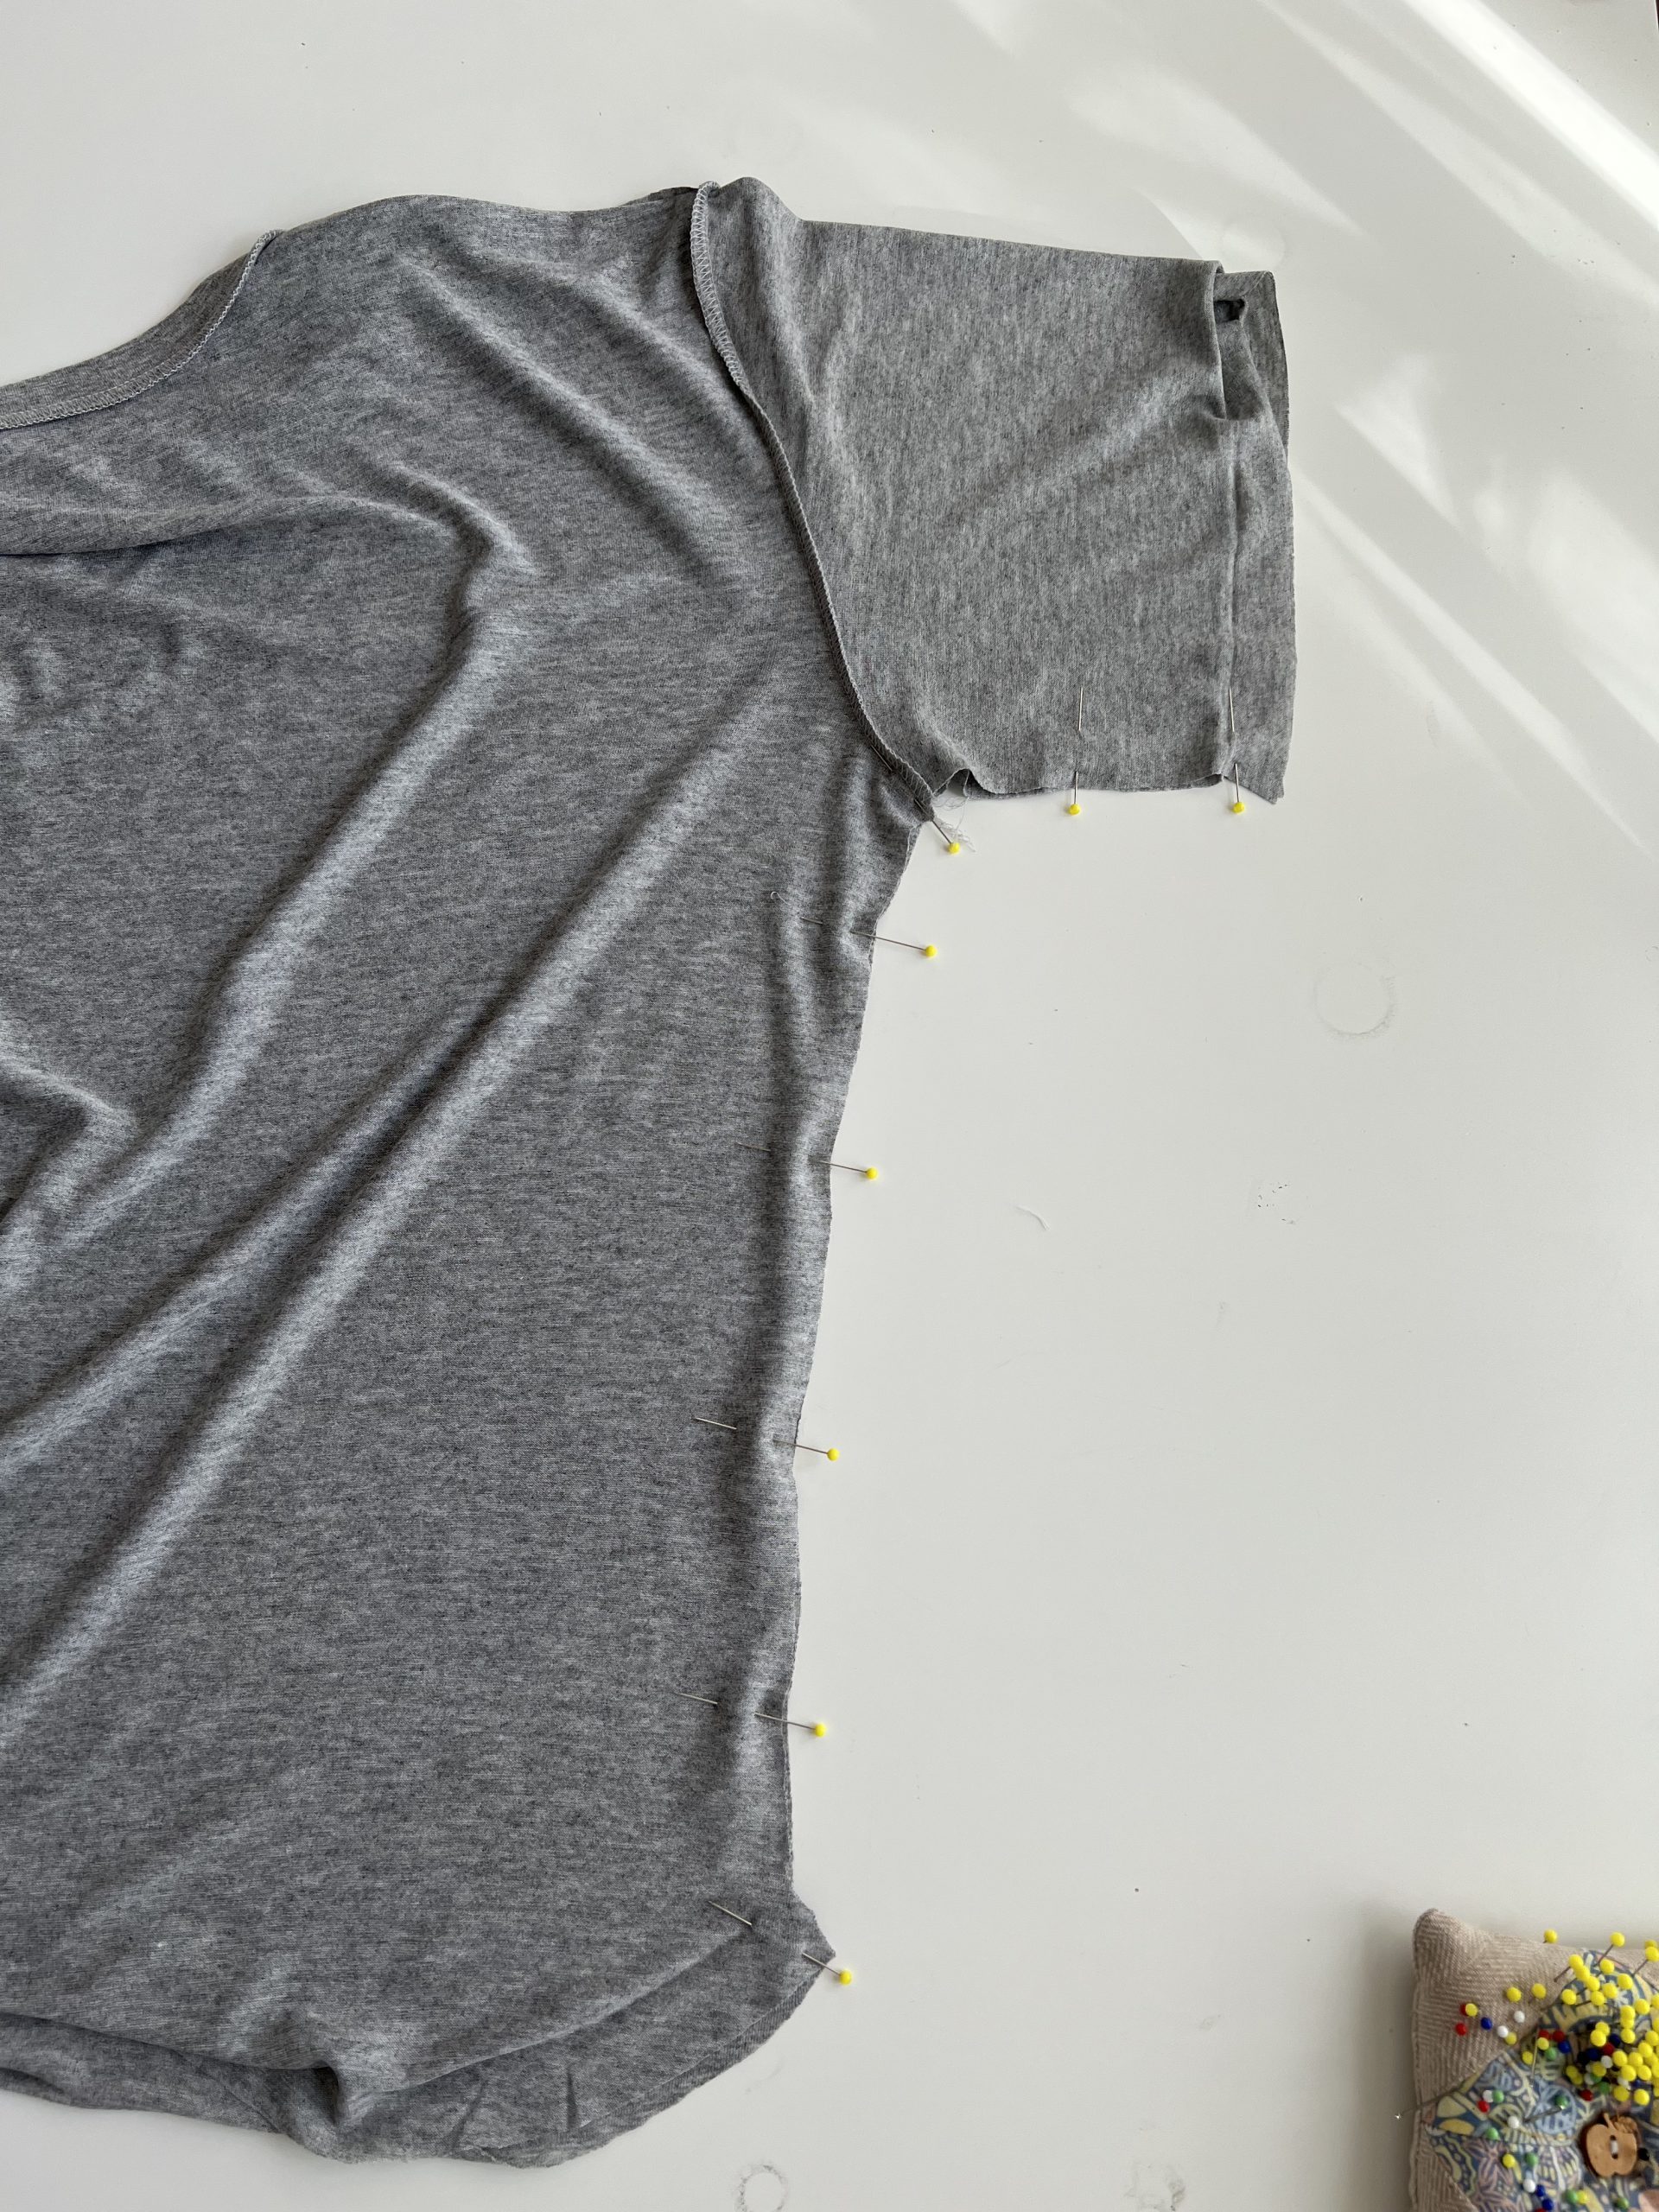
You could topstitch the neckband in place but I am choosing to leave as is since I want this to be a super quick project only on my overlock machine. Next attach the sleeves, right sides facing and matching notches. This pattern only has a single notch to indicate where the sleeve attaches to the front bodice.

Give your seams a good press as you go. If you have a tailors ham this is its time to shine! A rolled up towel does the trick too when pressing curved seams.
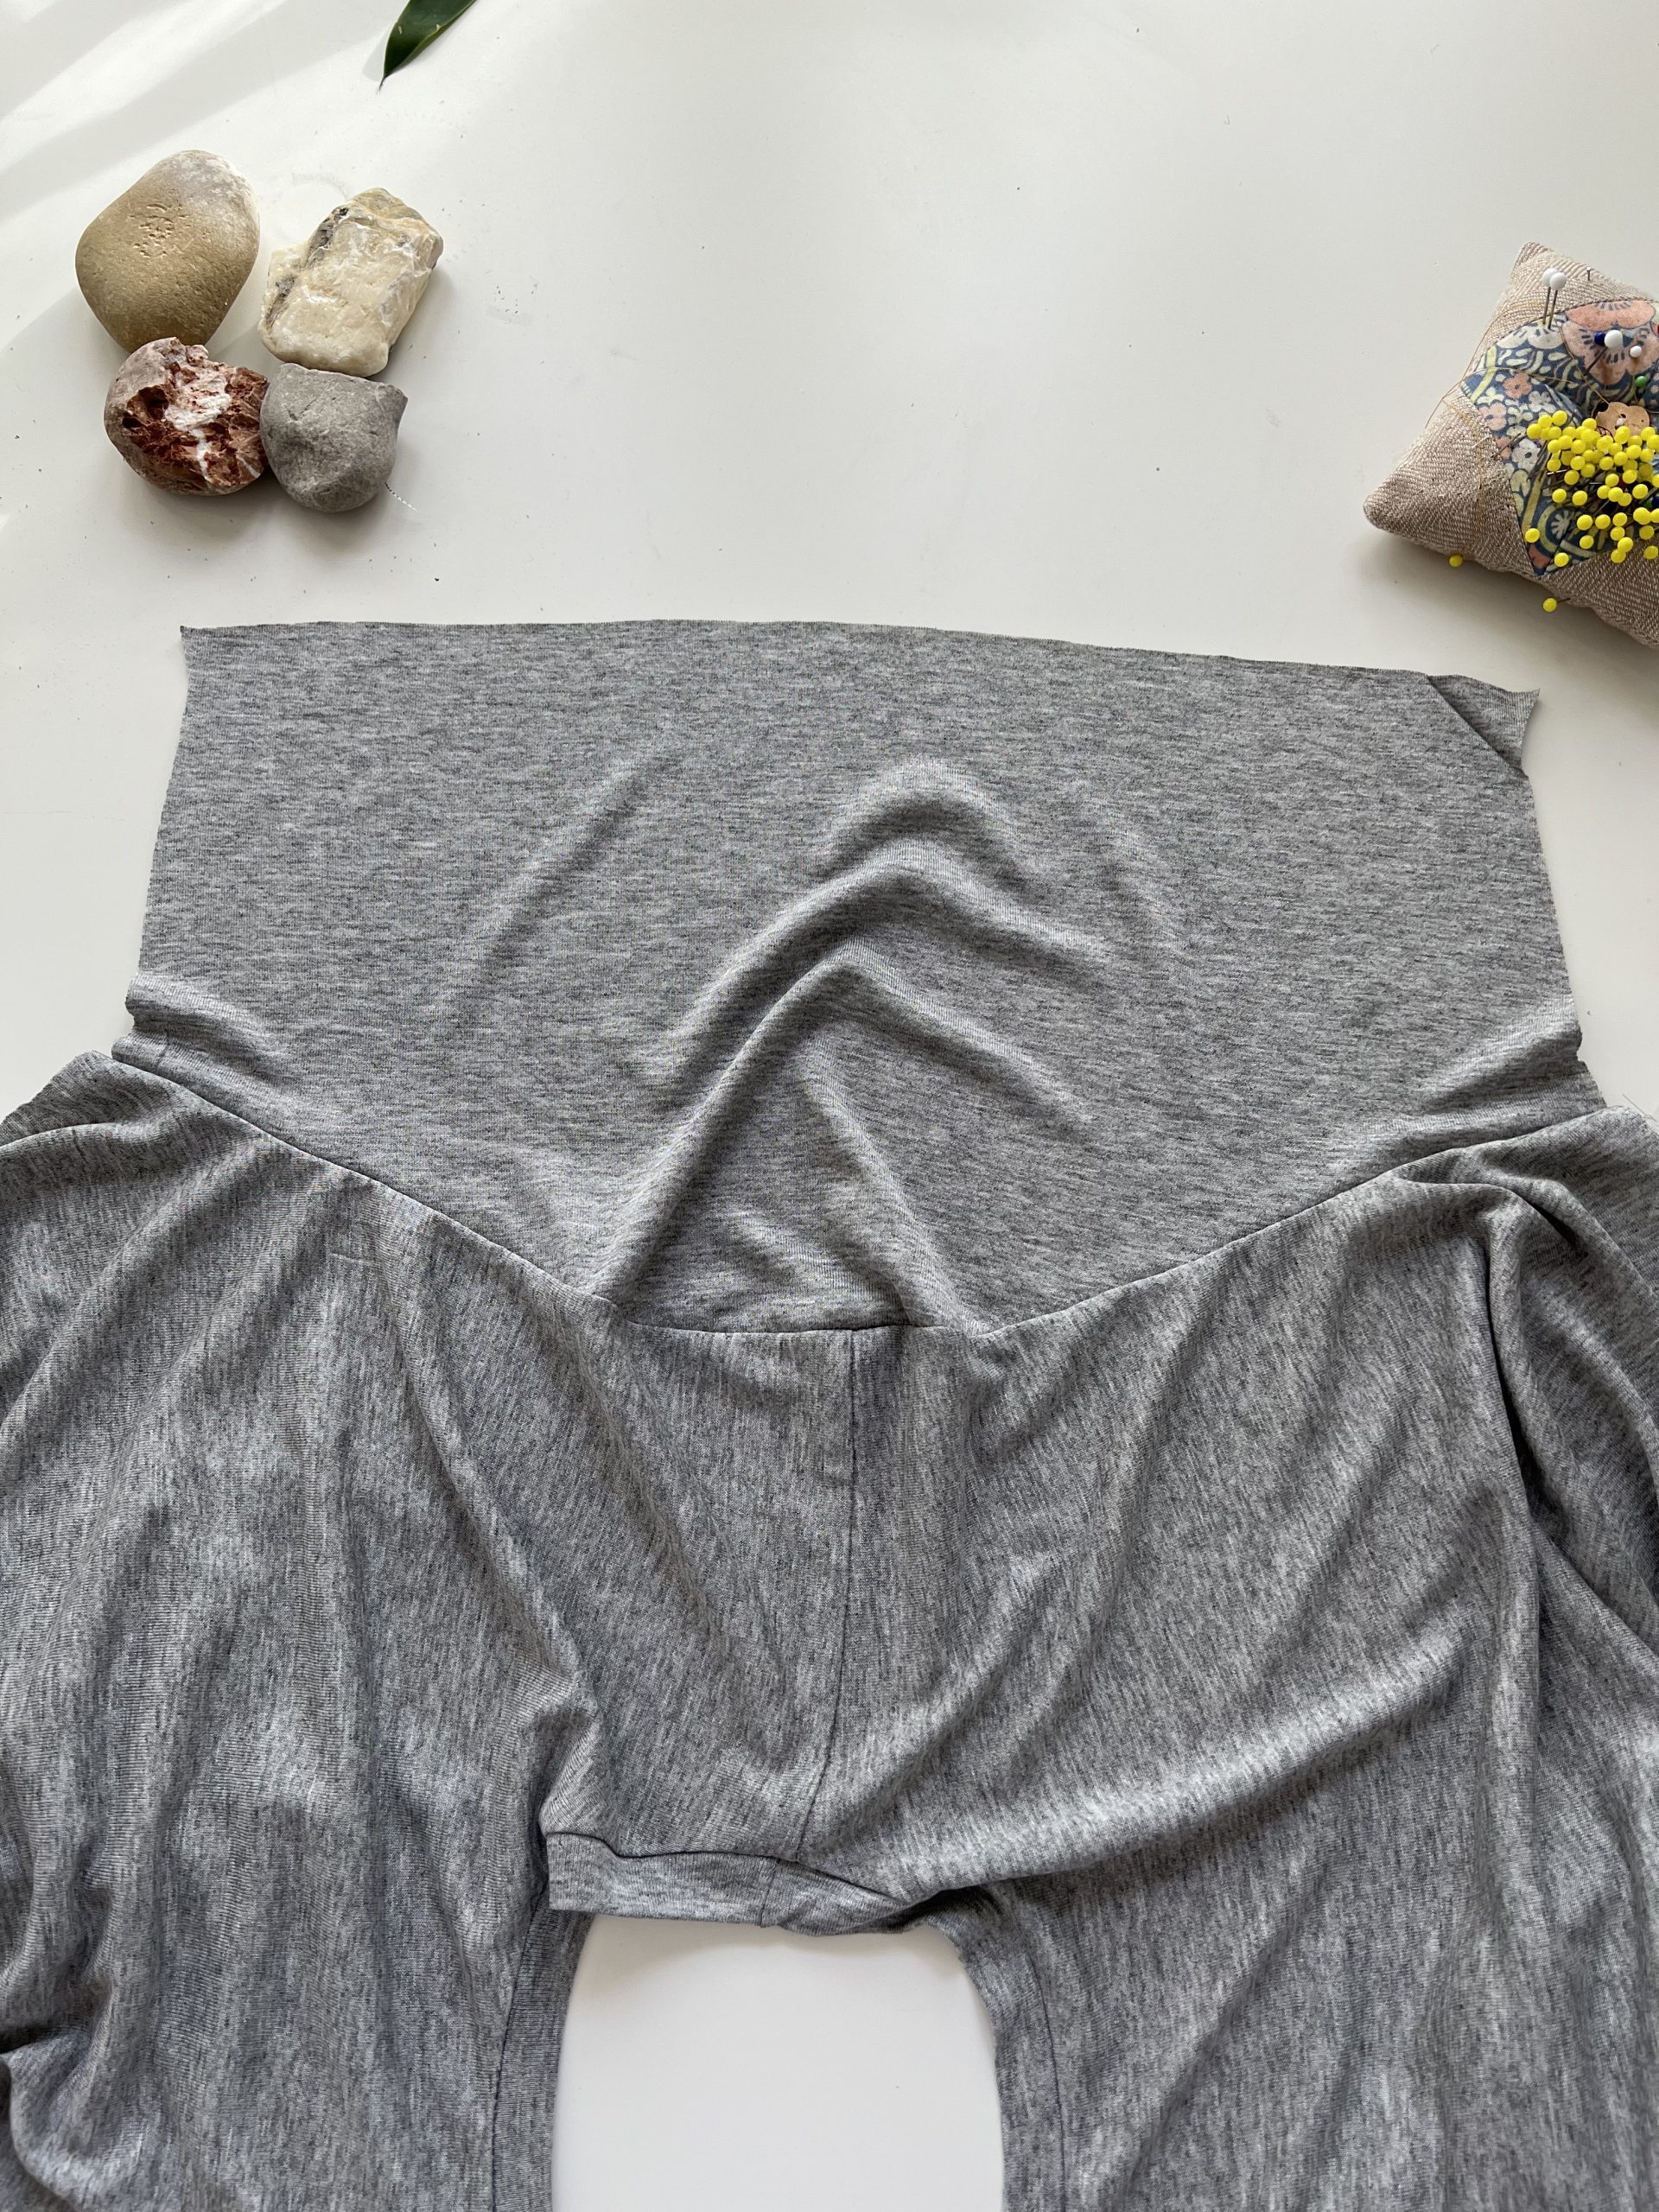
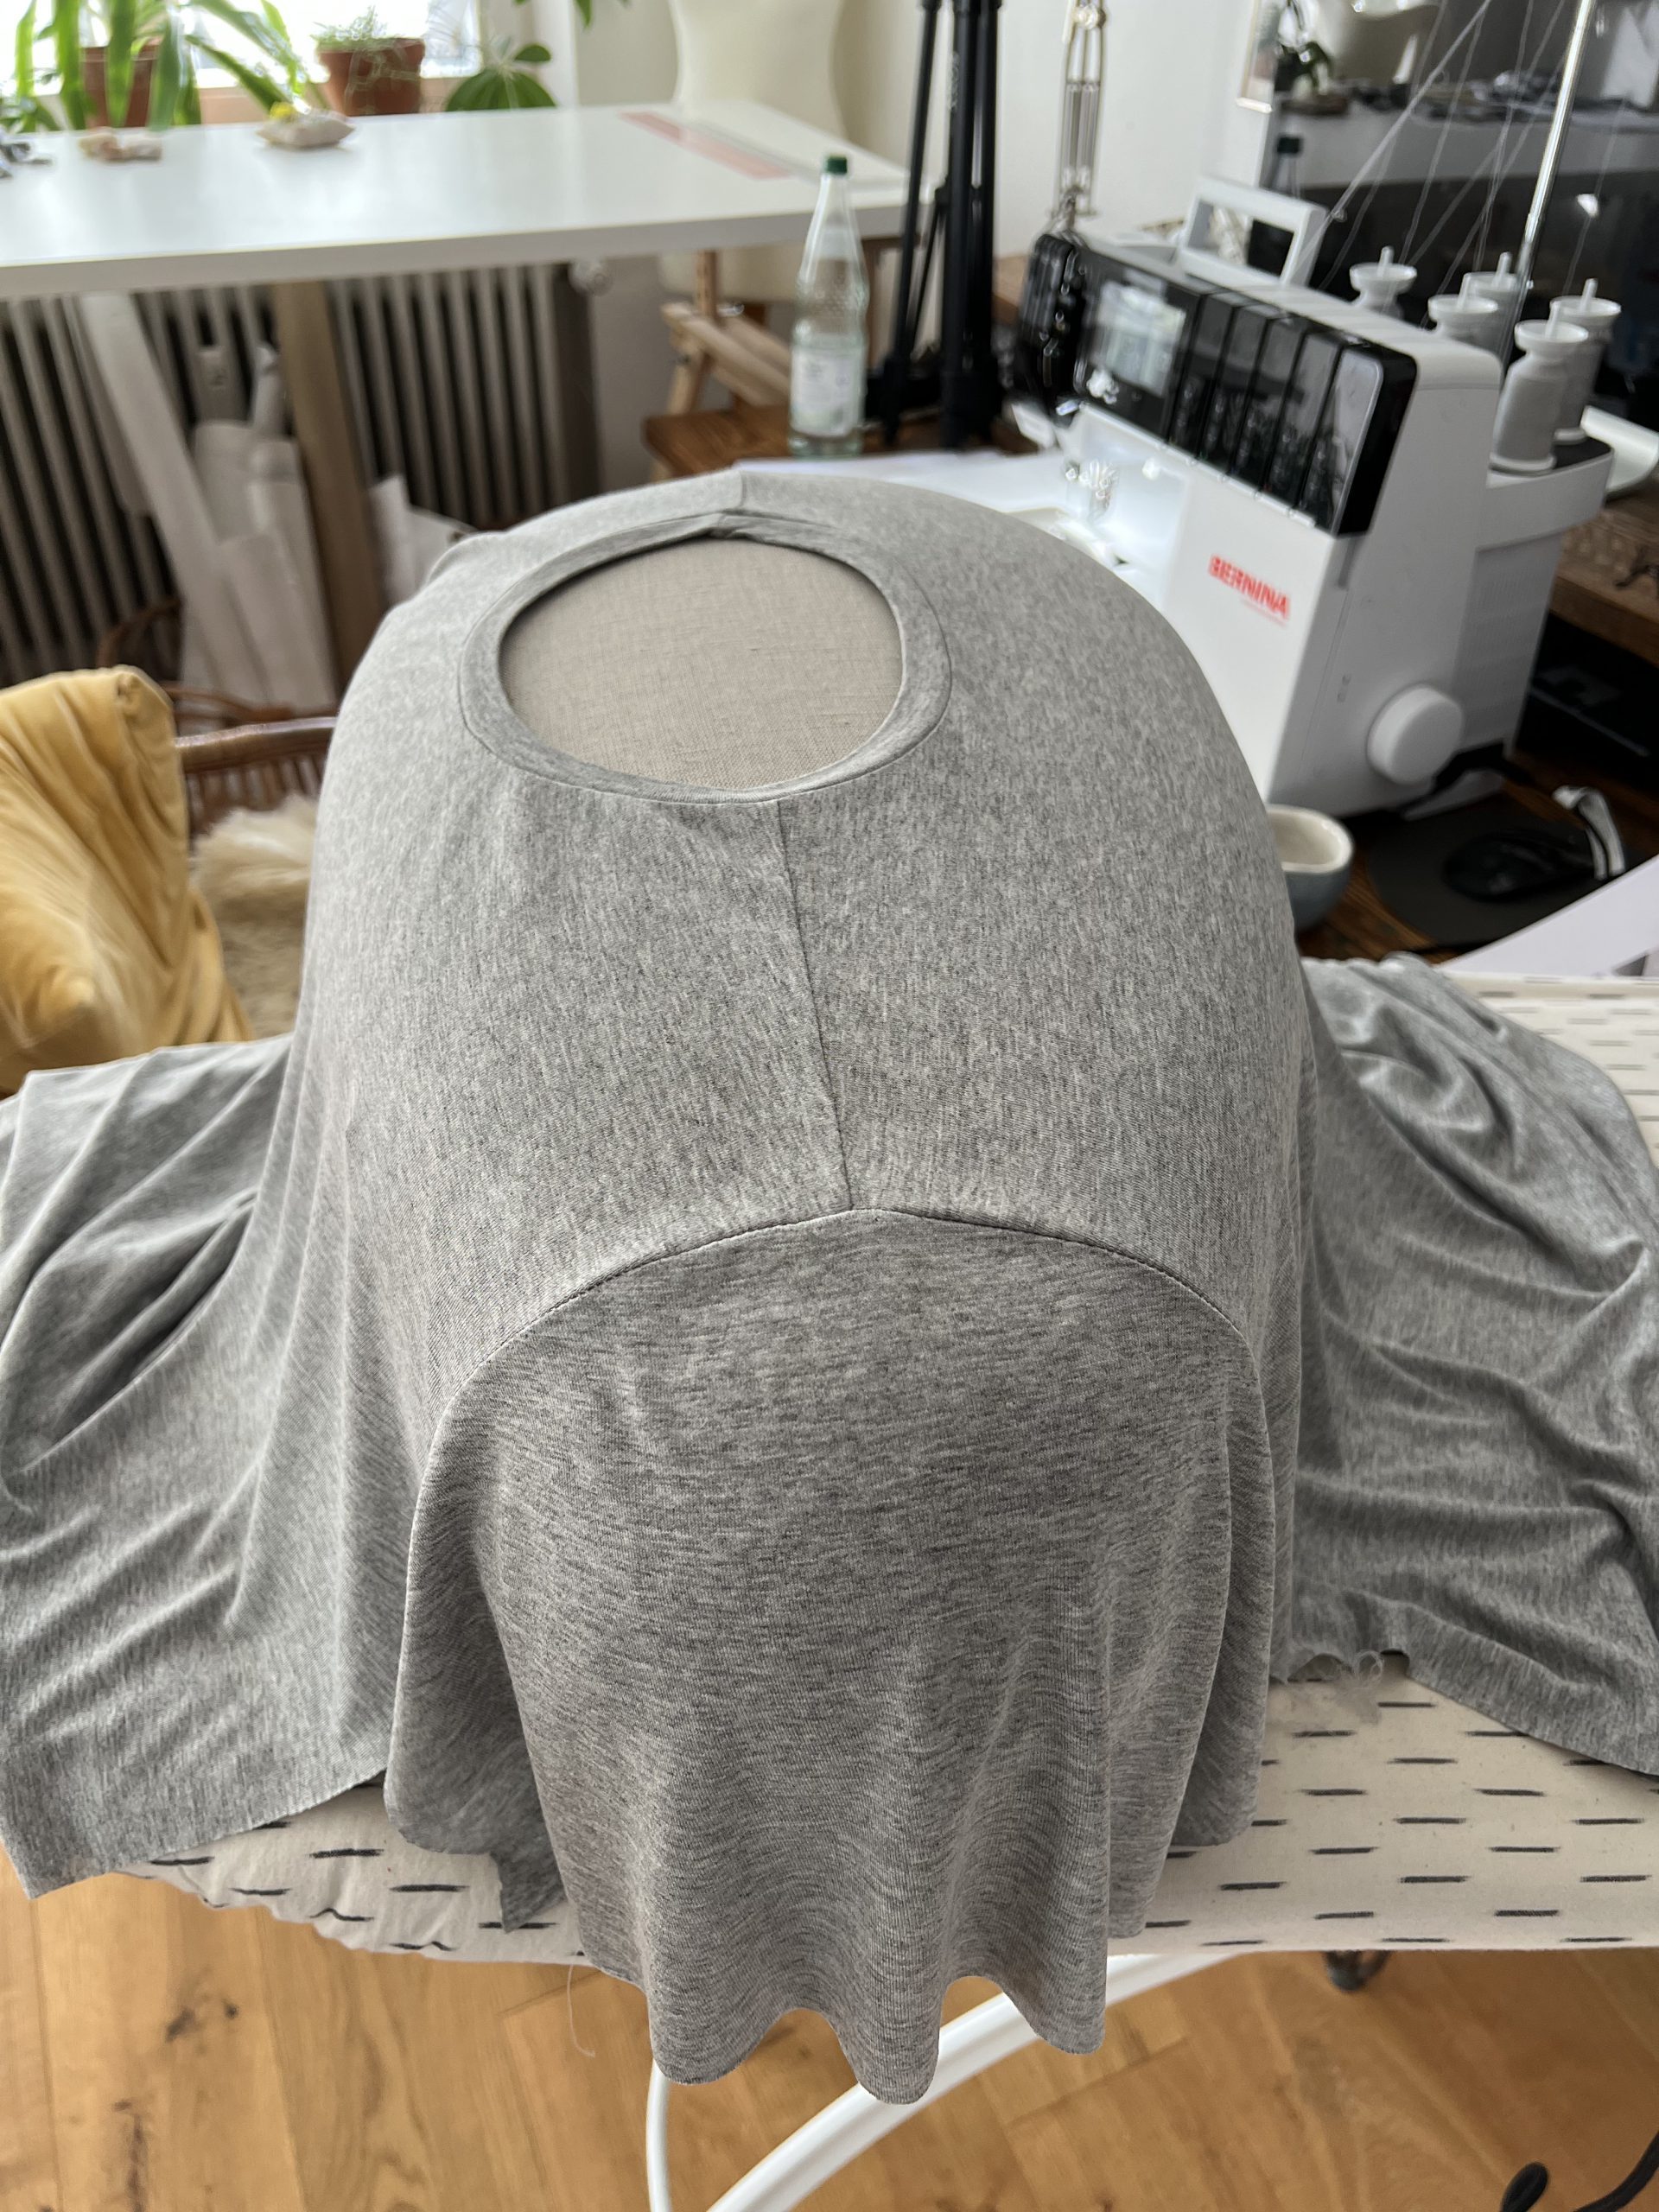

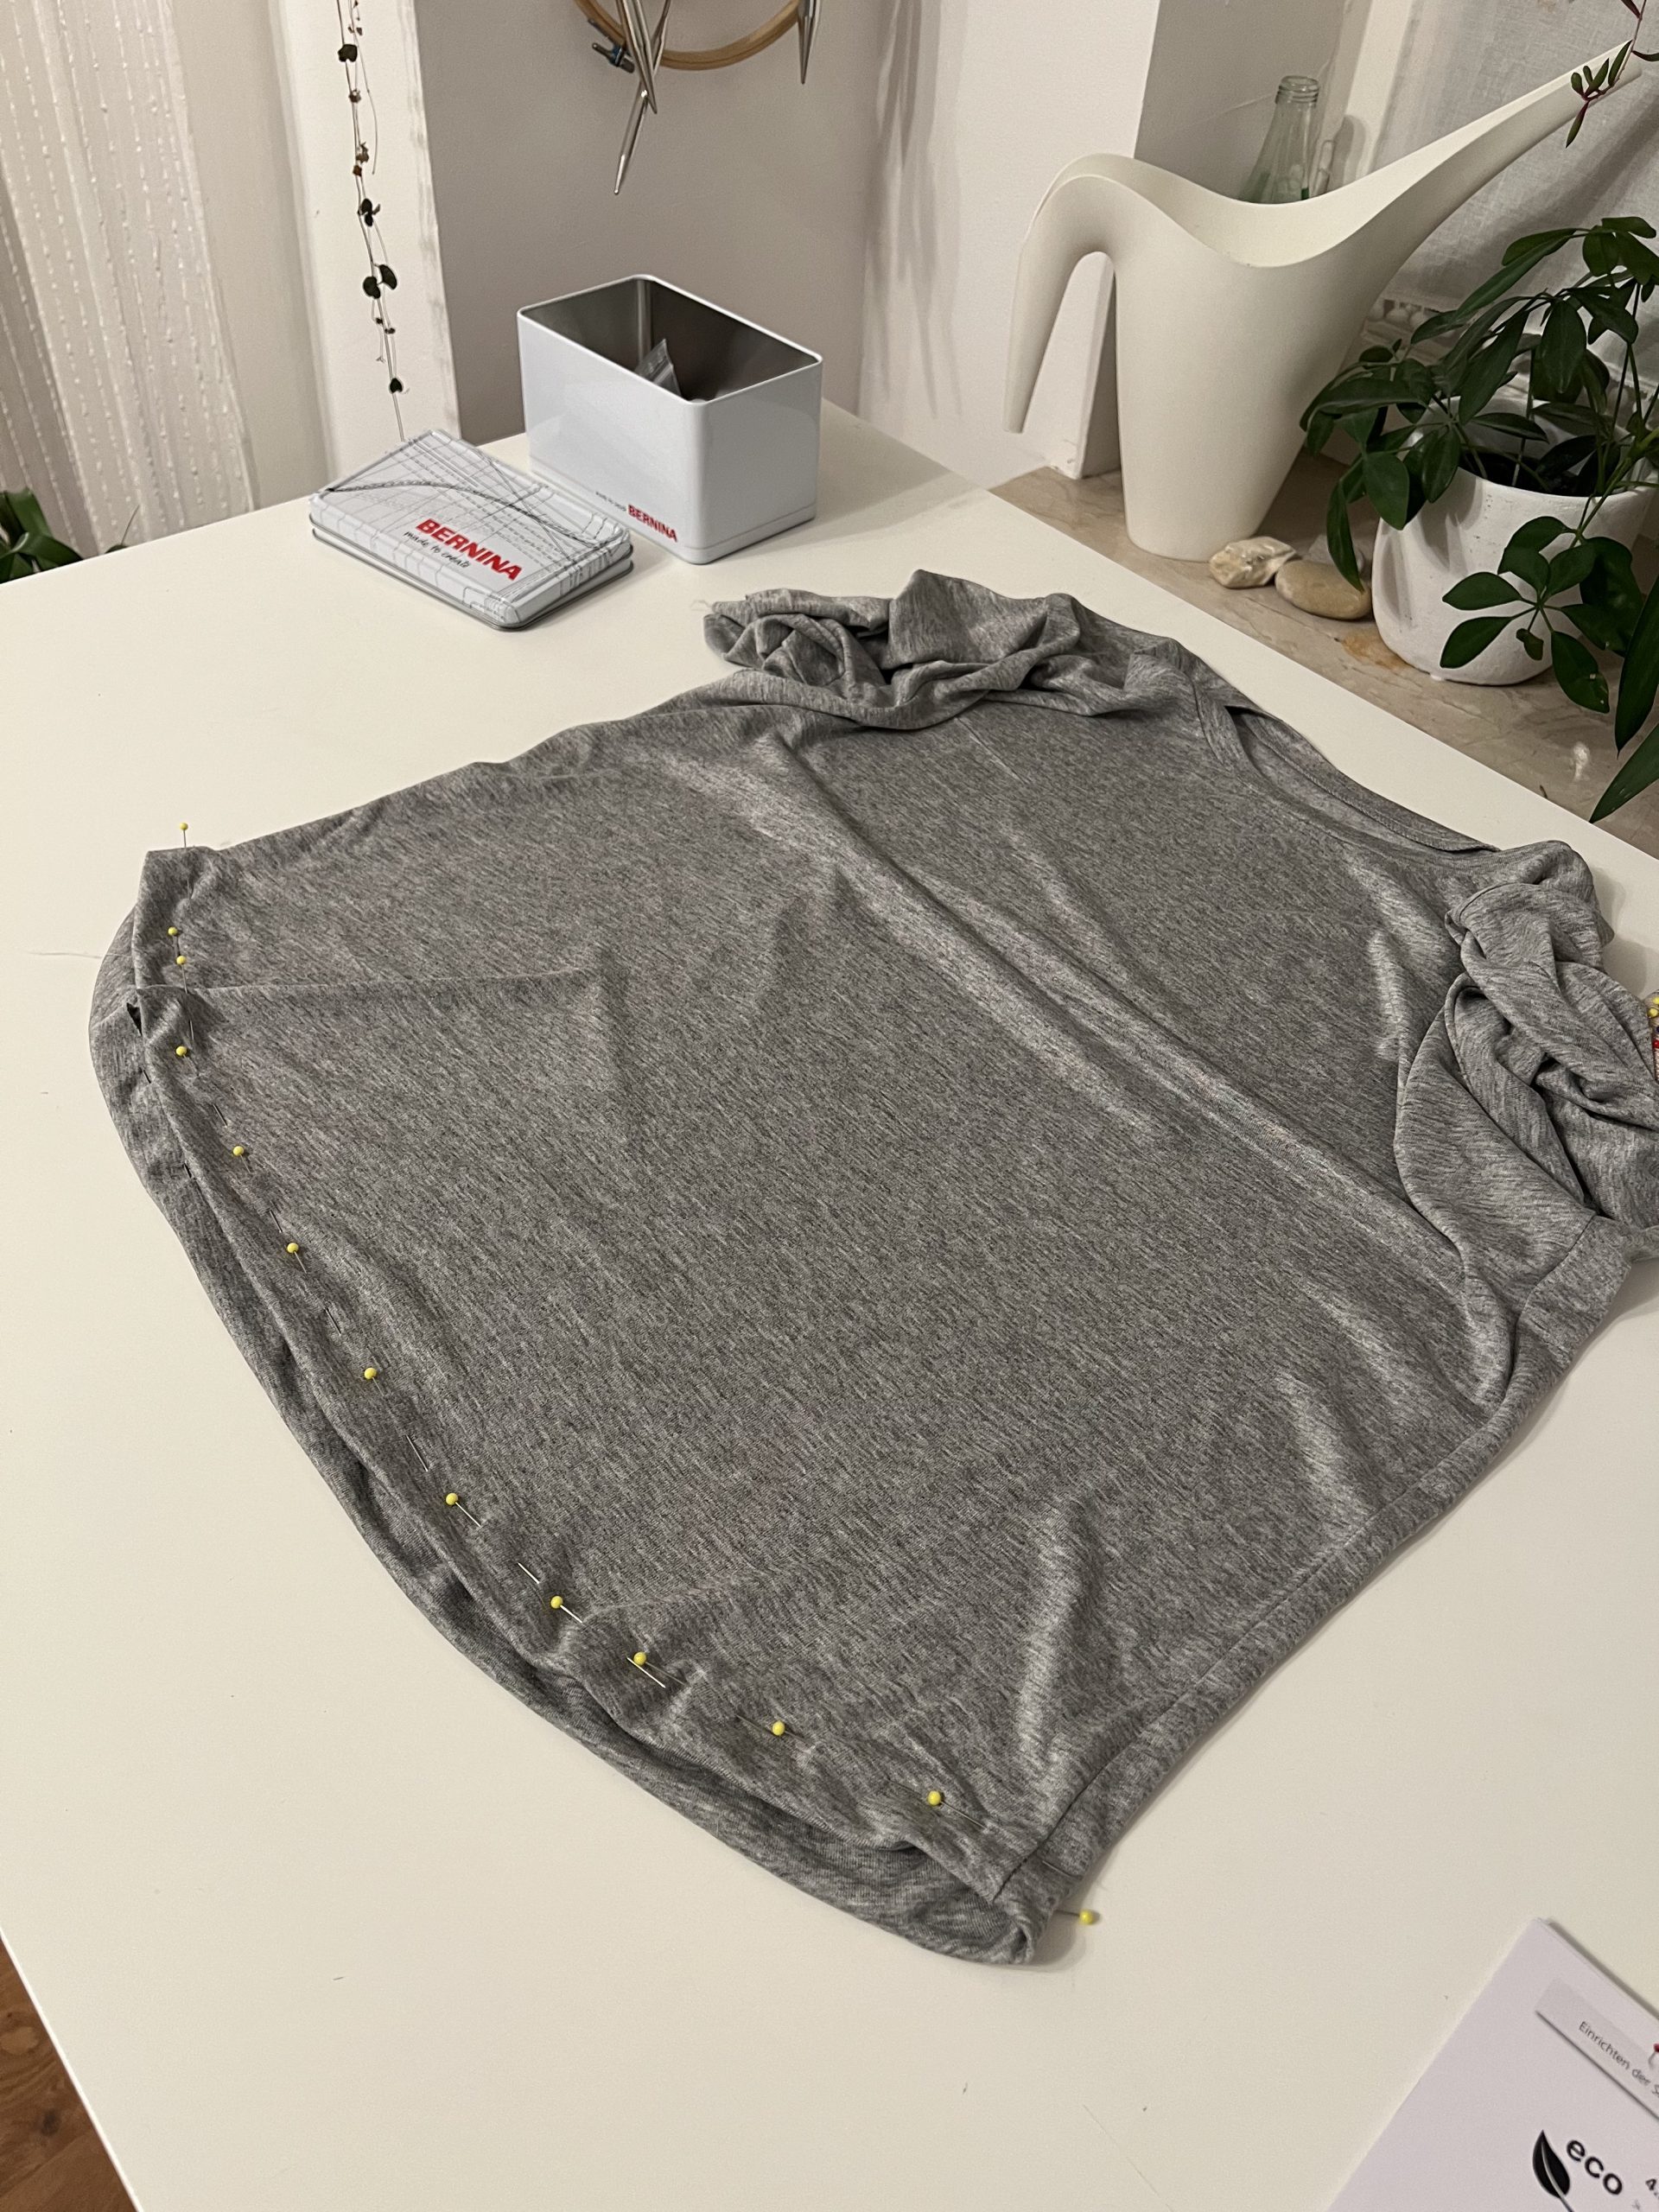
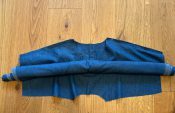
This is how things should be looking so far. Now is a good time to pre-press all your hems. Then you will pin and overlock your side seams.
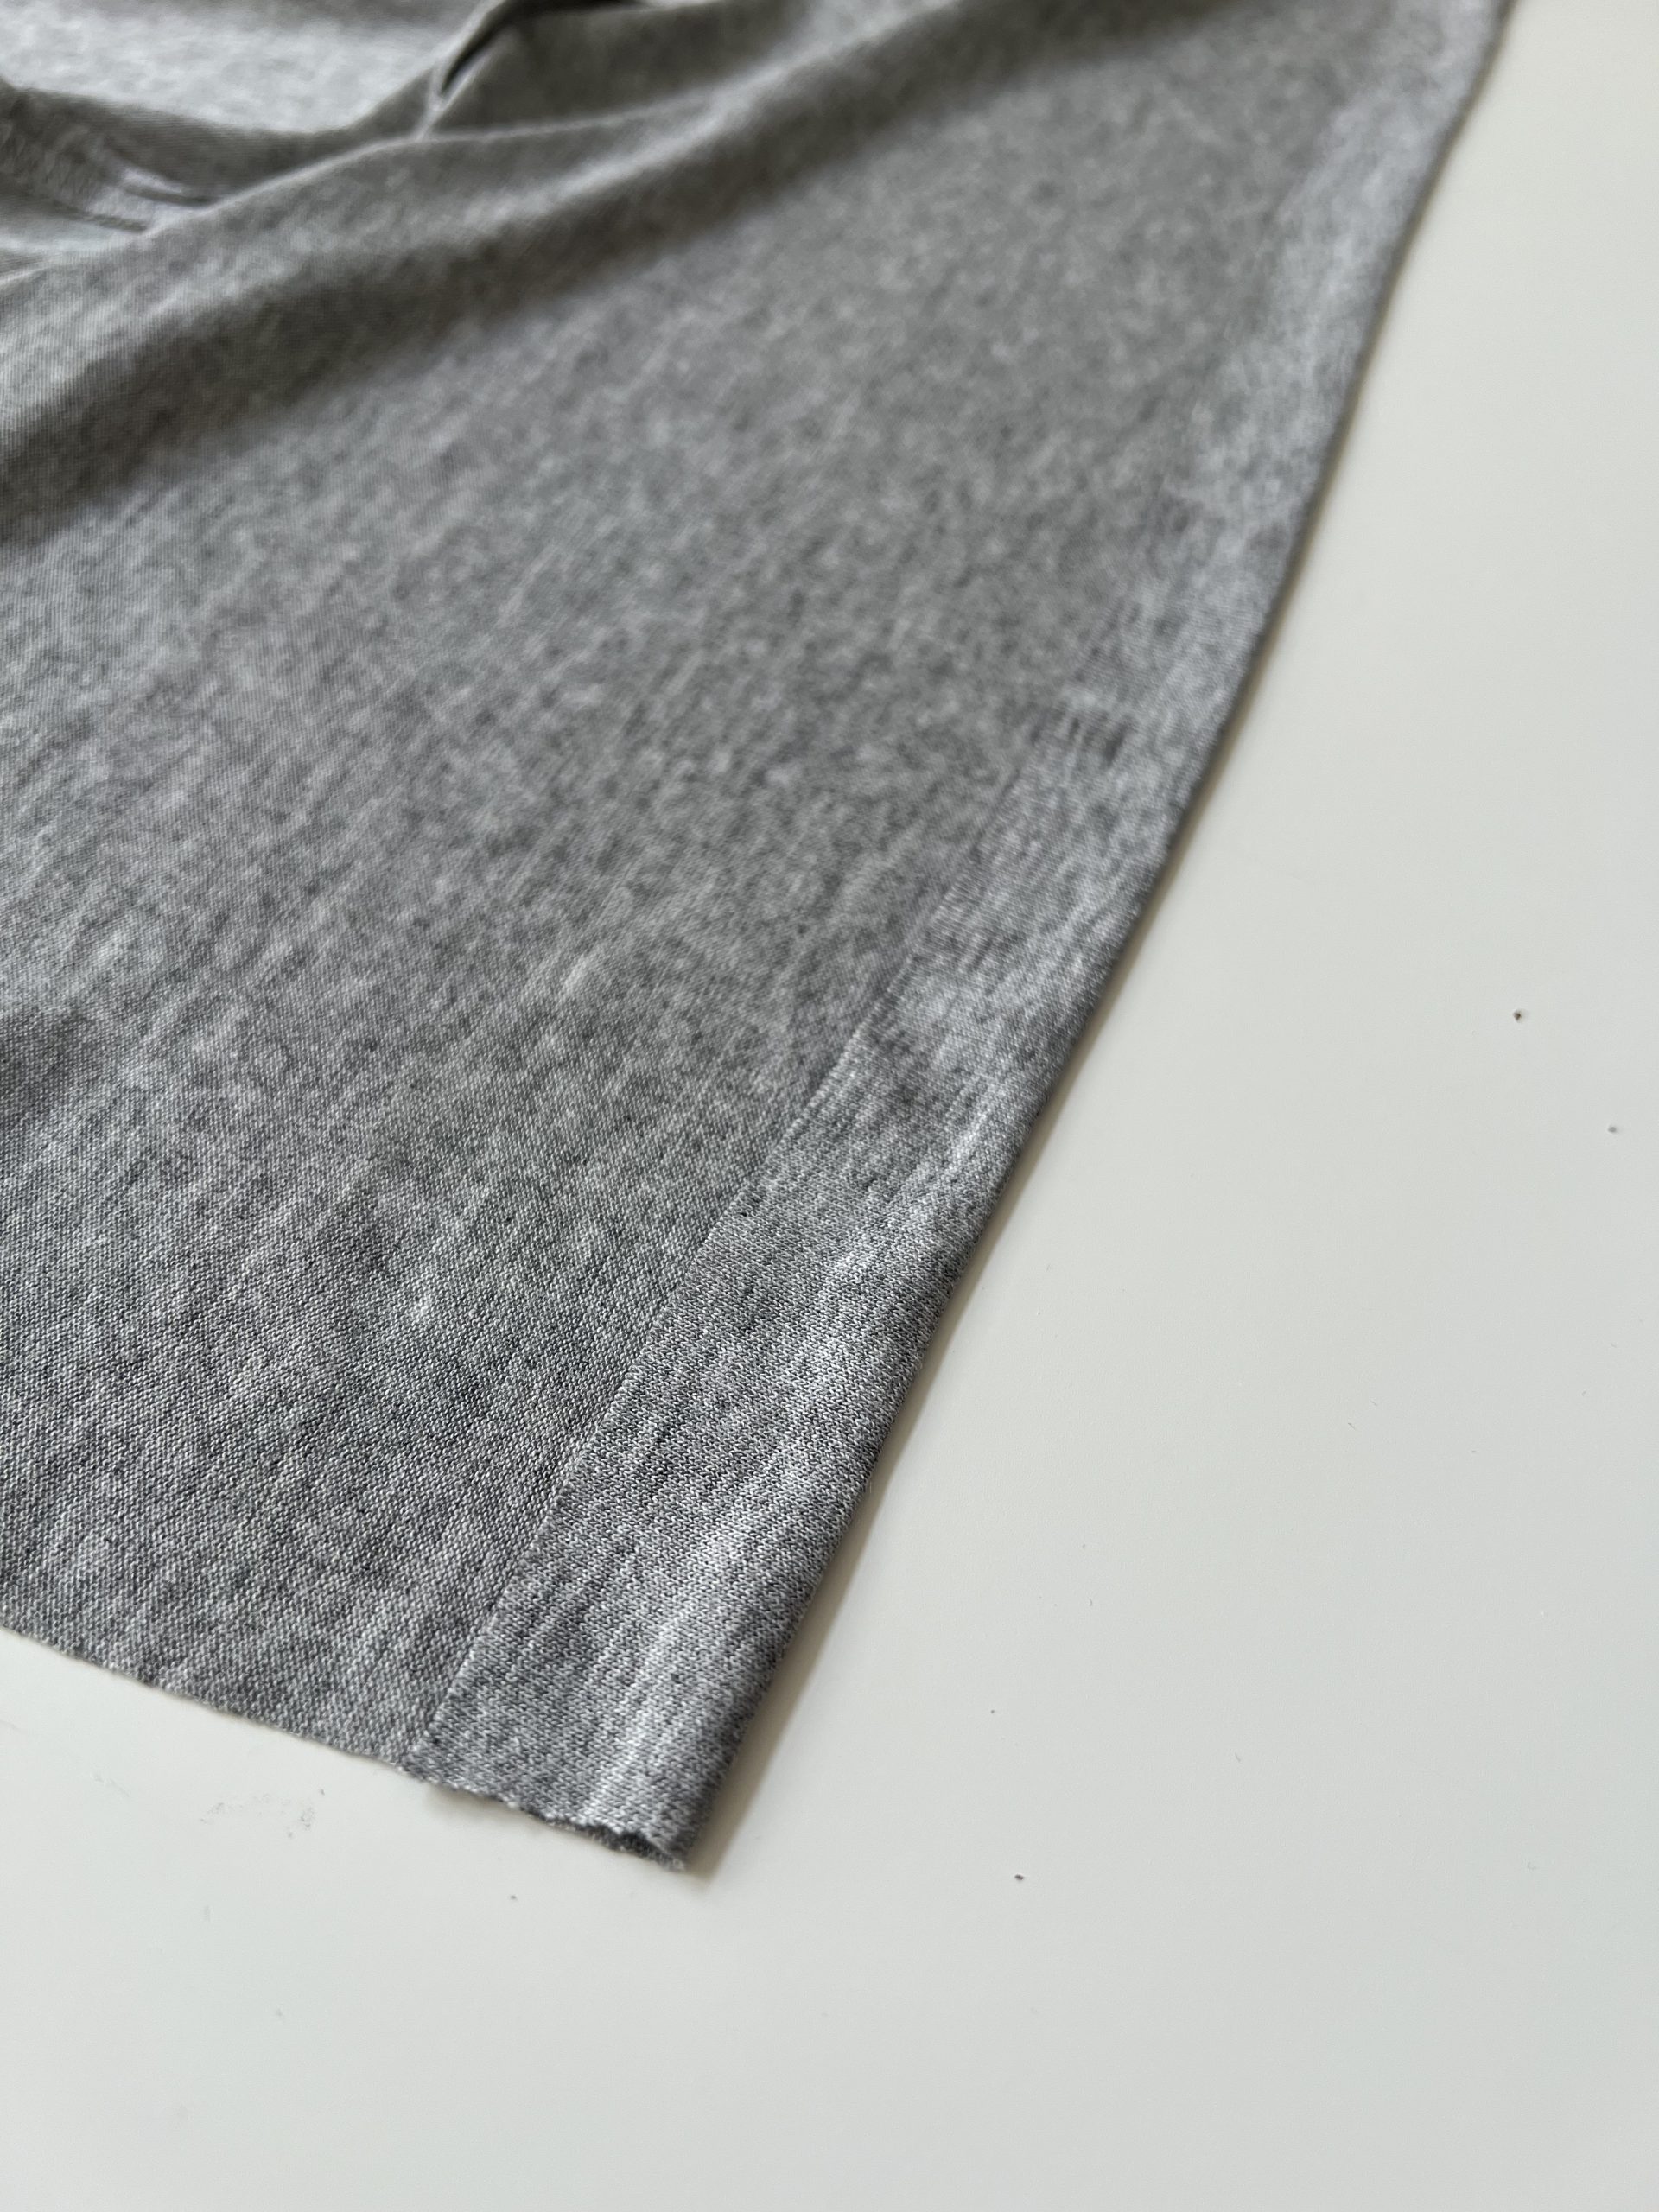
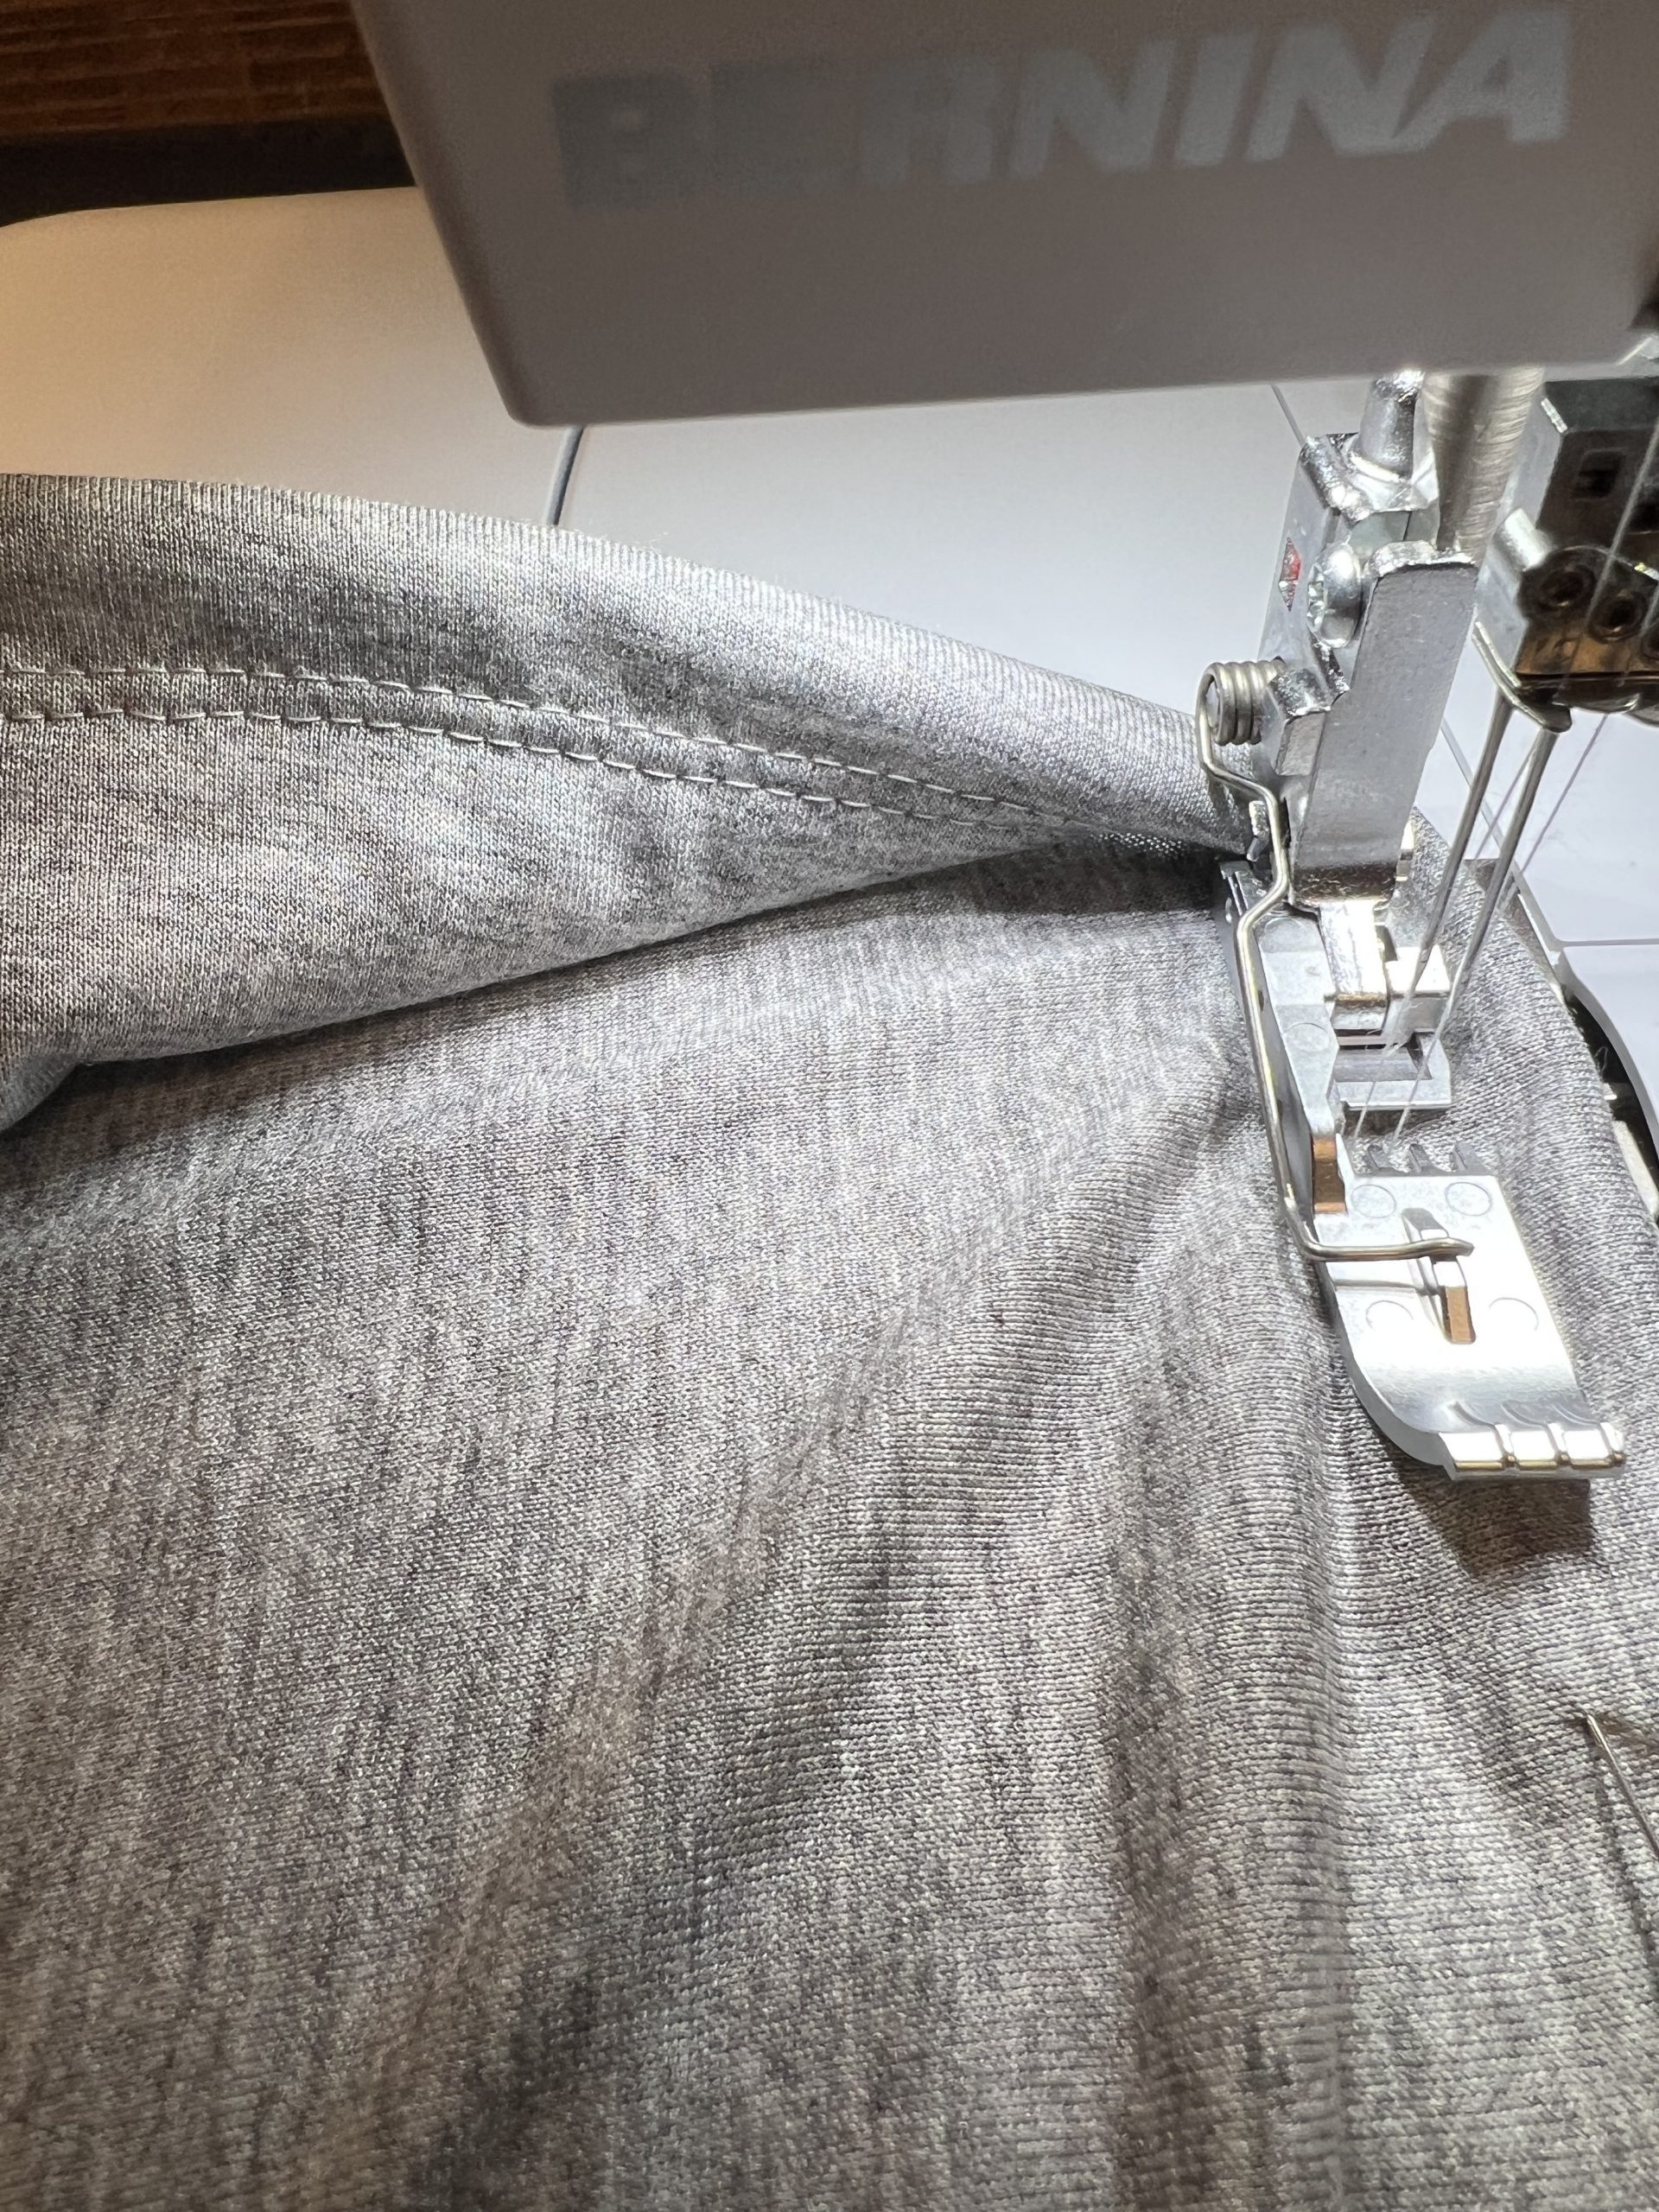
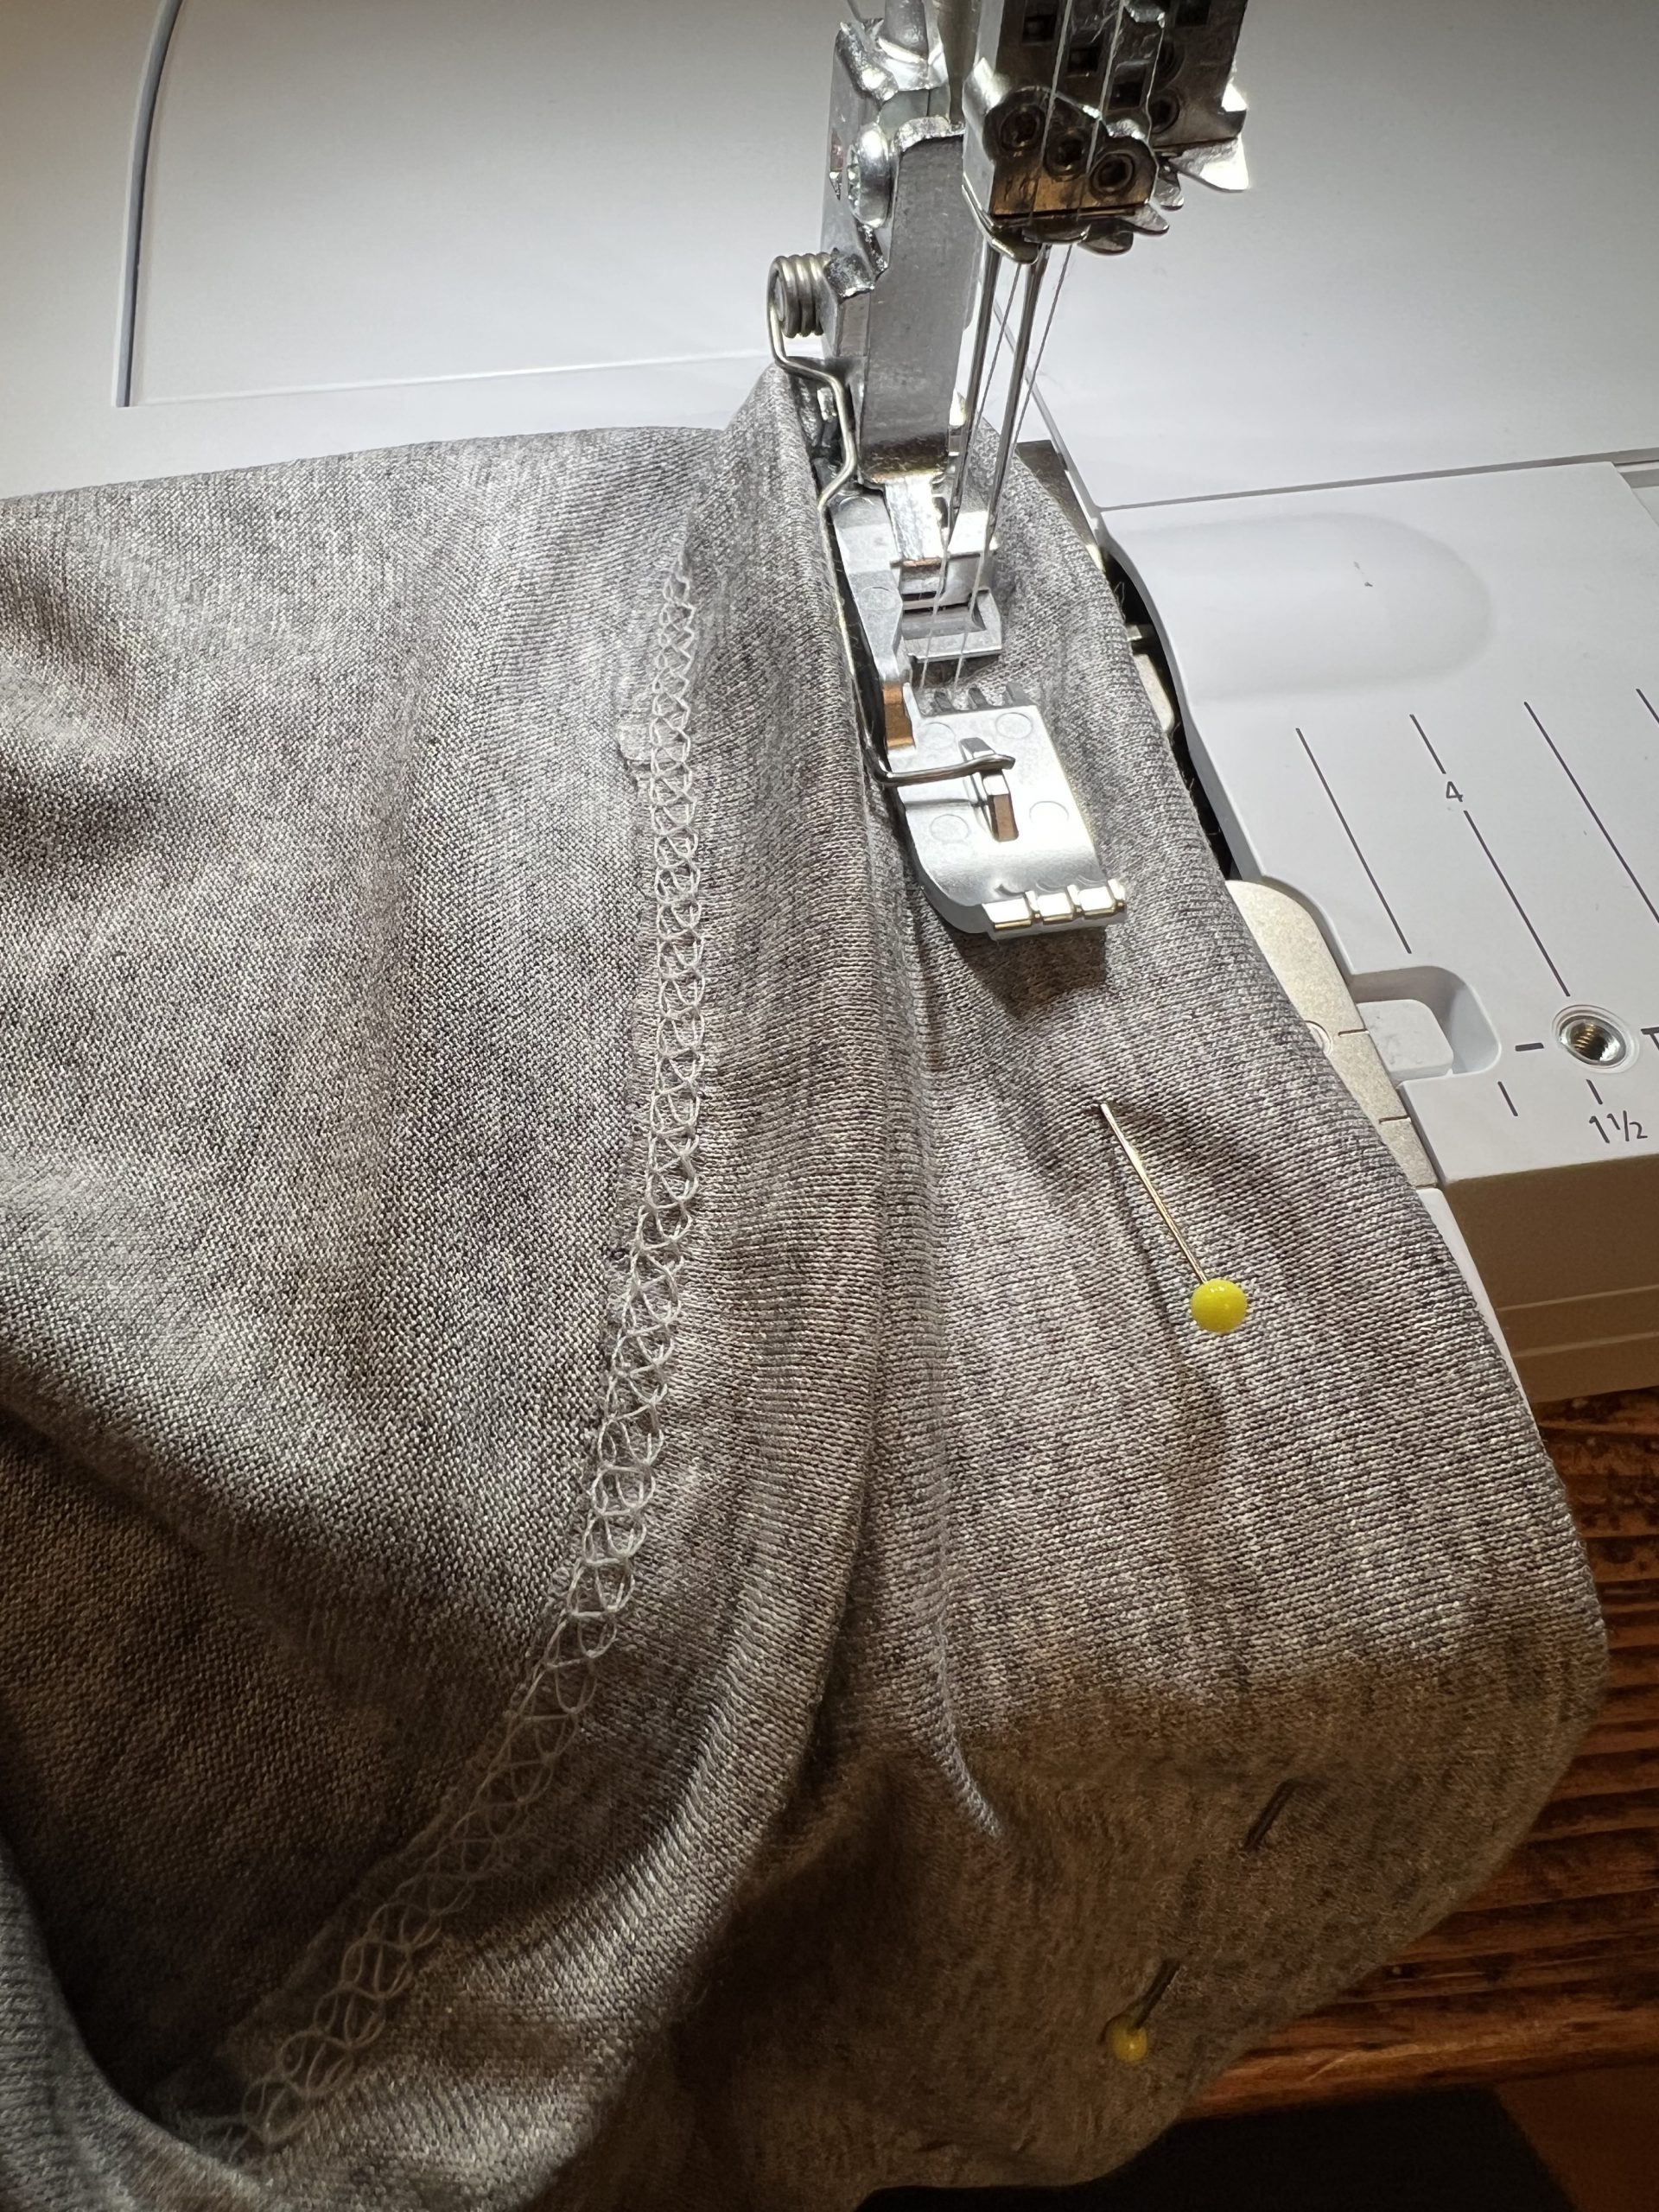
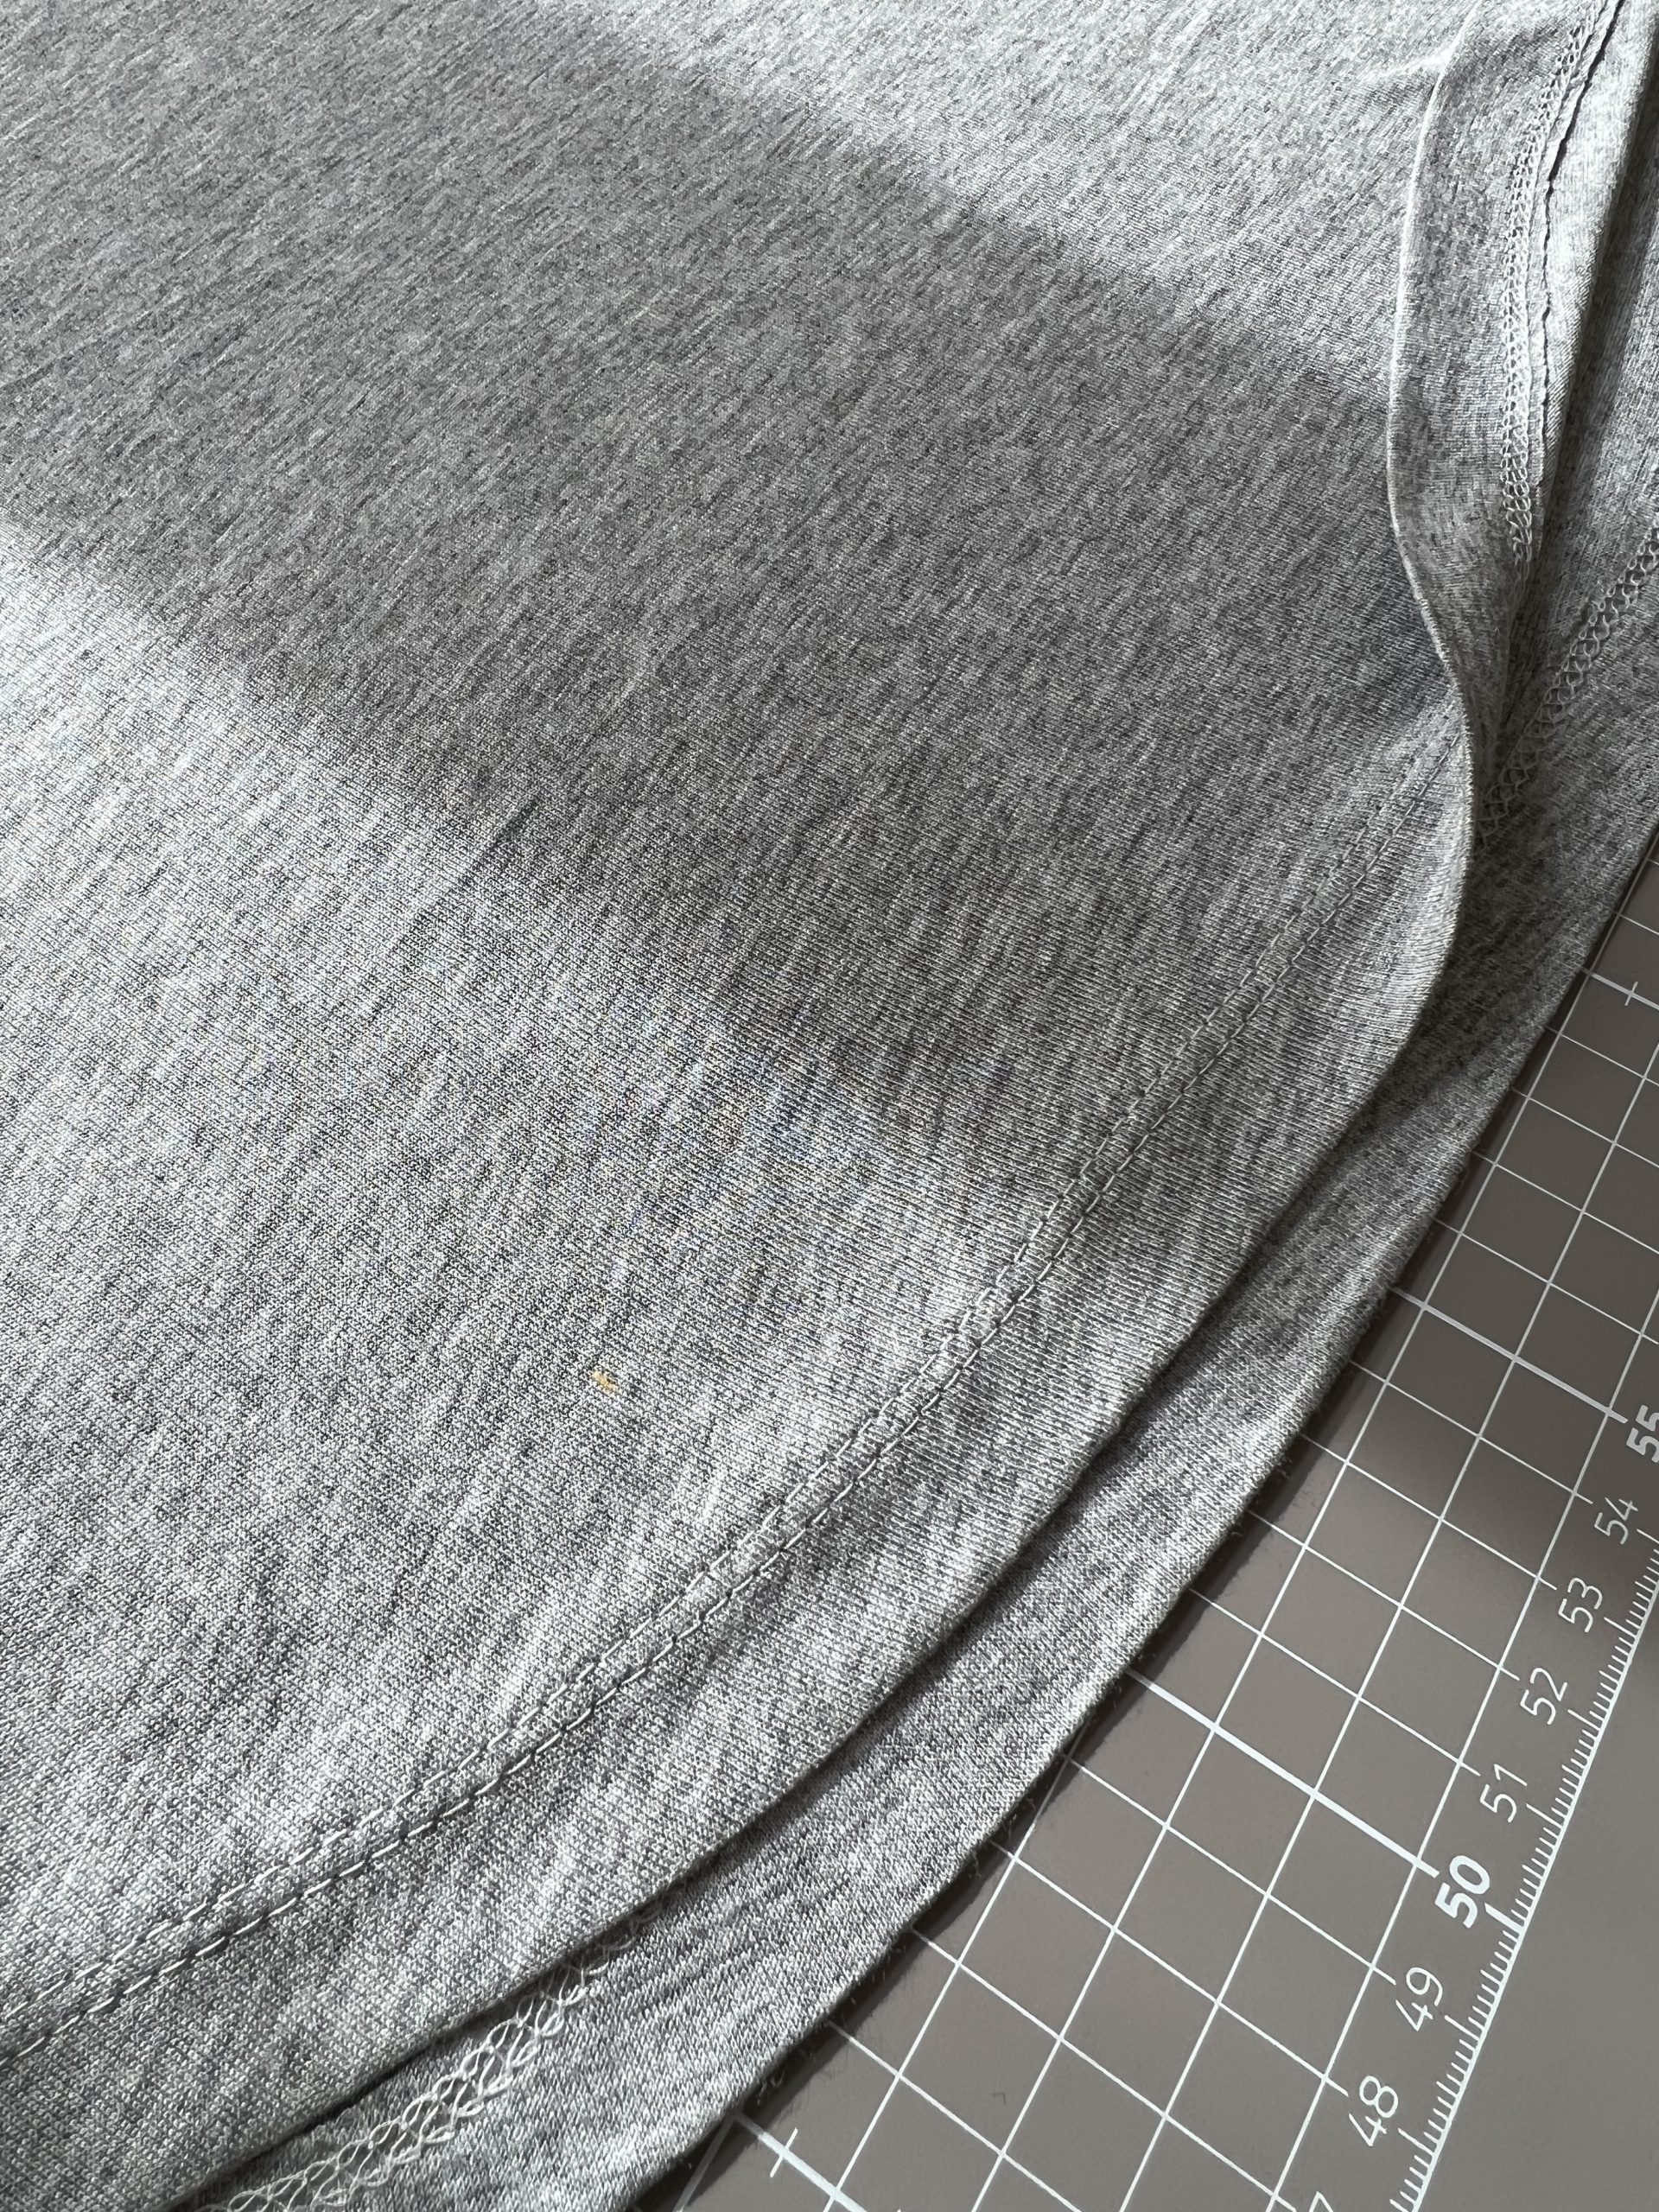
Next I converted my BERNINA L890 machine to the coverstitch mode. I will write a separate post to detail how I did that. If you have a different machine you could at this point switch to a regular sewing machine and hem your garment with either a twin needle or a zig zag stitch, or you could even leave your edges raw as the knit fabric won’t really unravel. Here are some pics of the professional finish that can be achieved with a coverstitch machine.

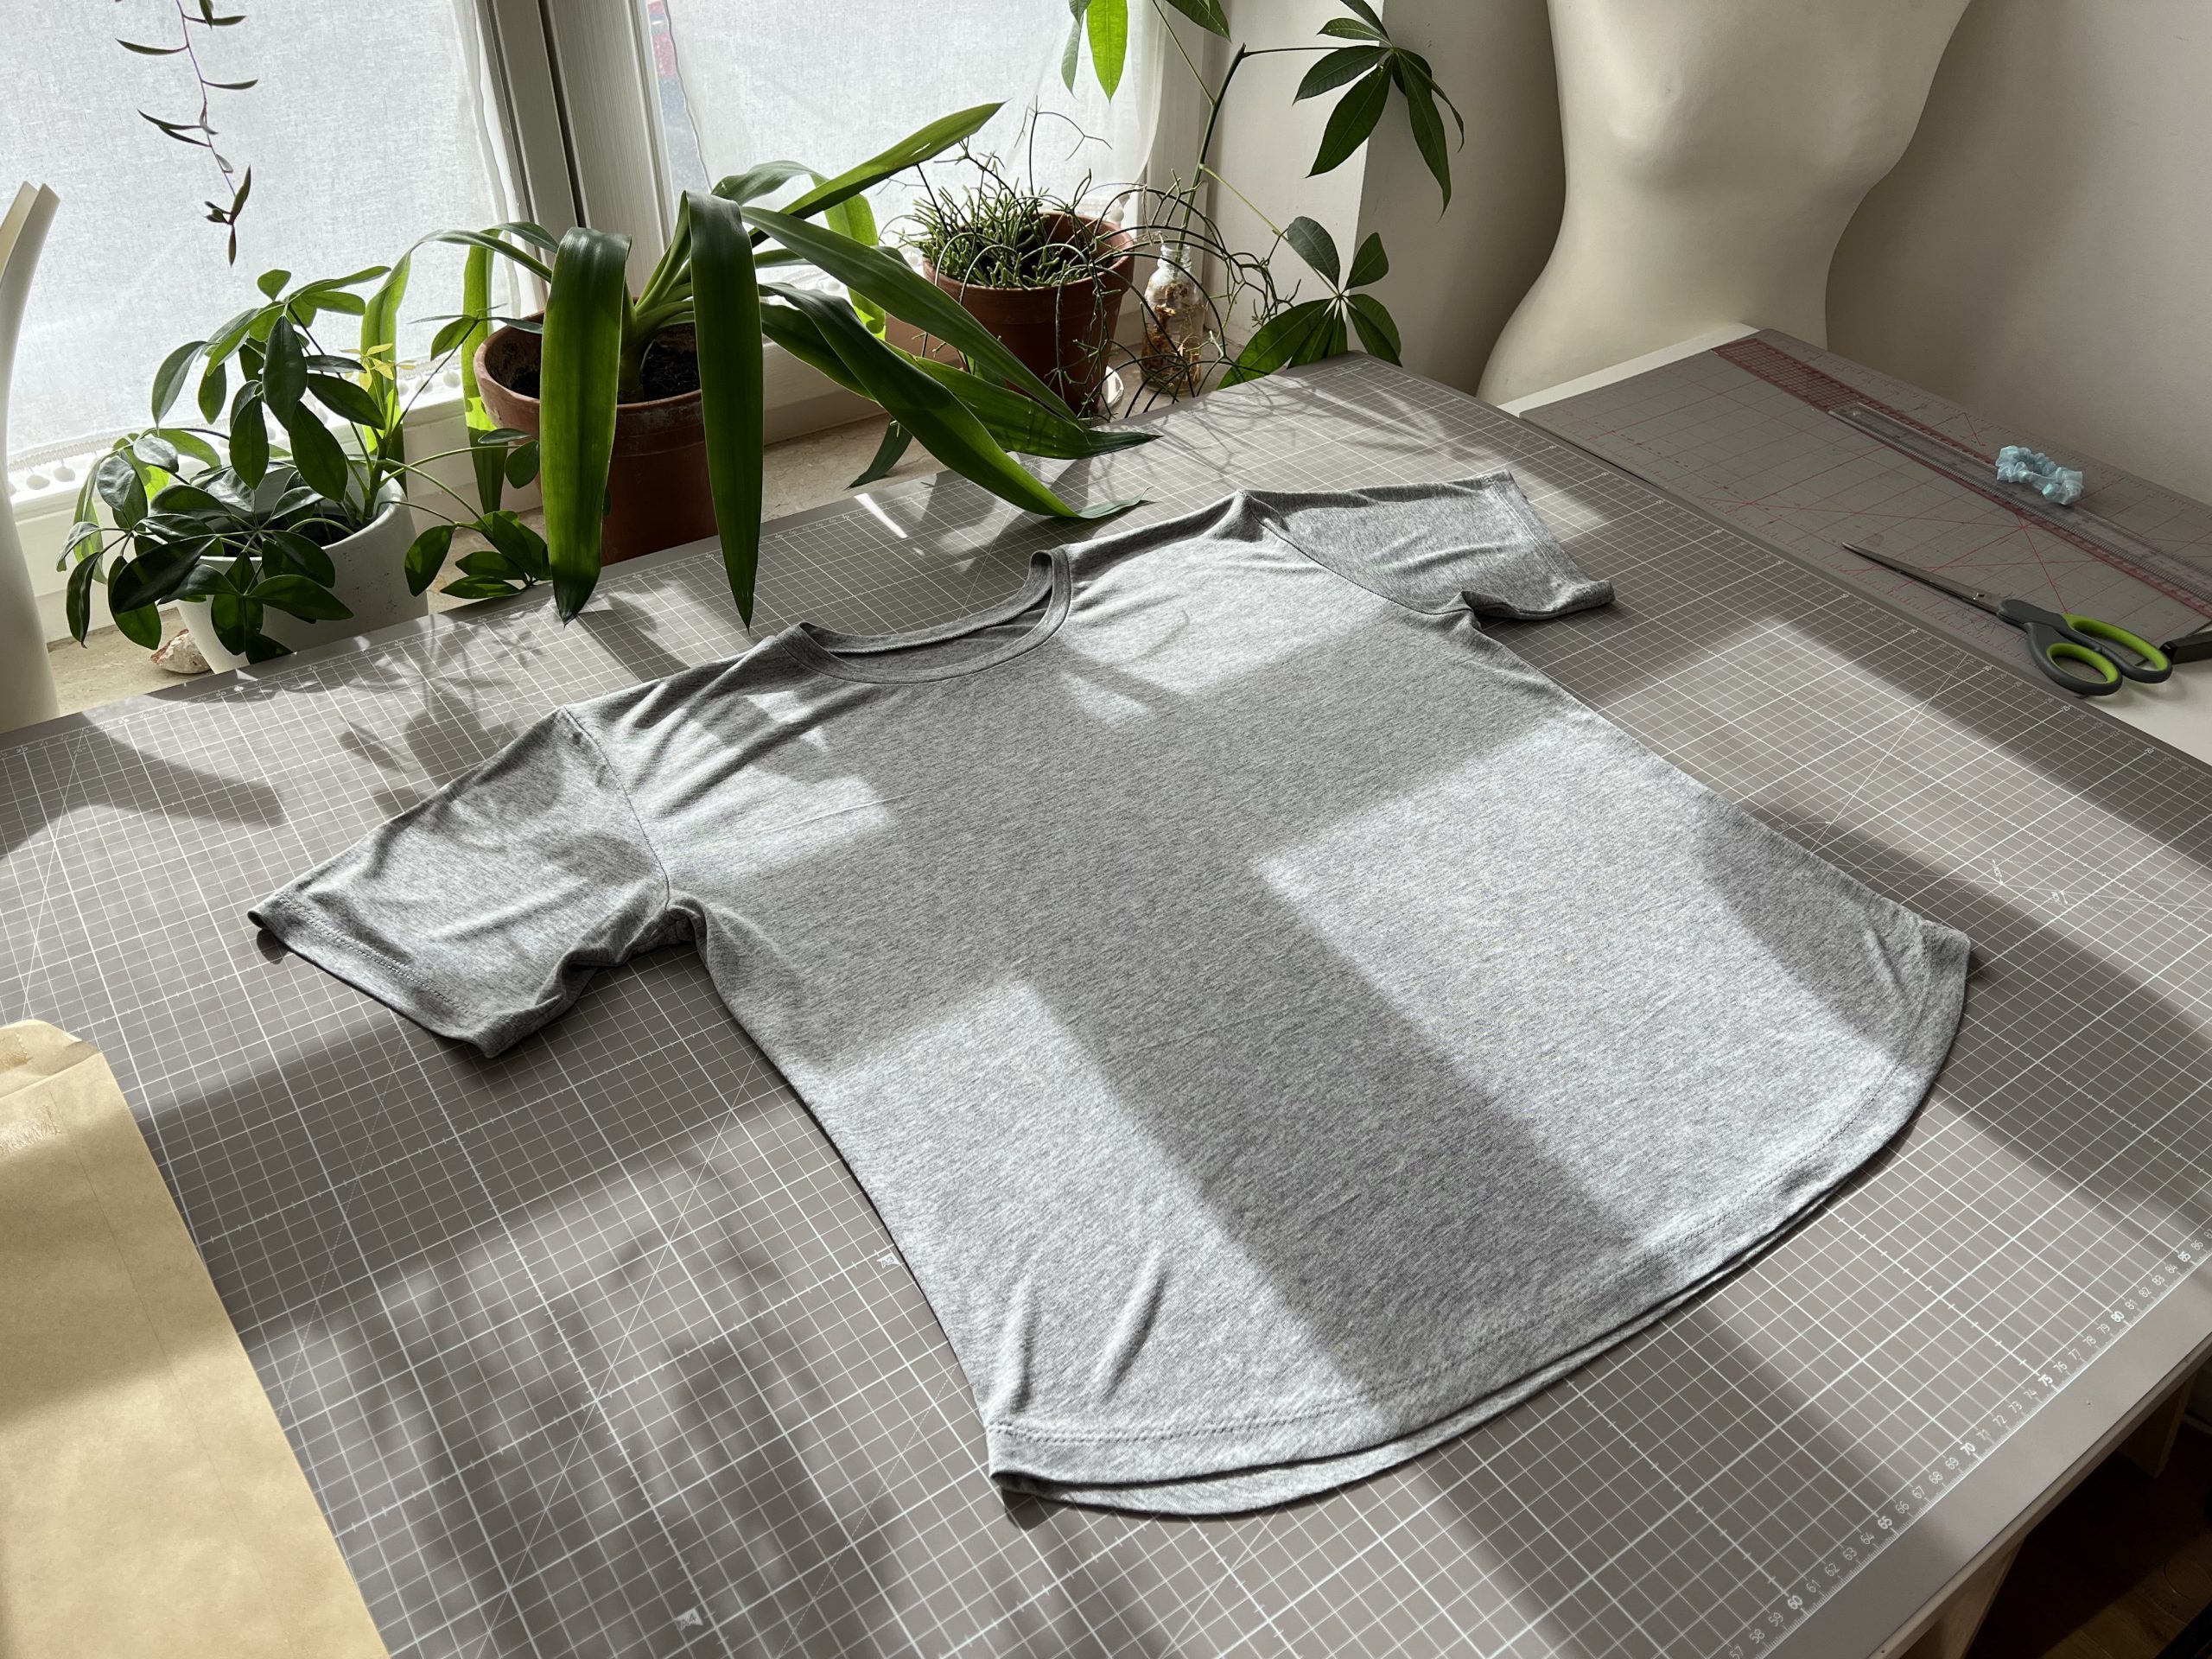


And ta da! You’re done! If you want to neaten up your neck back seam then you can attach the little back neck reinforcement piece and perhaps a cute label to really personalise your t-shirt.
Thanks for following along everyone! Remember, sewing with knits needn’t be scary! Actually the process goes really fast if you skip the sewing machine for most of it and just use your overlocker. I hope I’ve inspired you to give it a go too. Happy sewing!
Stay up to date with all my latest makes over on my website: www.leannelekai.com
Come follow me over on Instagram: @leanne_lekai


Thanks for this pattern. Looks so easy to make.
You’re welcome Vickie!
thank you so much for this pattern. just in time for summer 🙂
You’re welcome Donna, glad you found the blog post helpful, happy summer sewing! 🙂
Love the pattern. Thank you for sharing
You’re welcome Rose 🙂 Happy you found it helpful! Leanne x
Many thanks Leanne. The tutorial is so helpful for me as I am a very beginer in the art of sewing
You are most welcome Michael, good luck with your t-shirt and happy sewing! Leanne
I found it ! Thanks!!!
Glad you found it Vicki, happy sewing! Best wishes, Leanne
Where can I get a copy of this free pattern?
Could I please get a copy of this pattern?
Yes! It’s called the Stellan Tee and you can access it over on French Navy Pattern’s website, here’s the direct link: https://www.frenchnavypatterns.com/product-page/copy-of-the-calyer-pants-pdf-sewing-pattern
Happy sewing! 🙂 Leanne