 BERNINA Corporate Blog -
Hello Bernina Lovers!
I love a DIY decorated house! and specially when it comes to kids’ rooms. A few days ago I showed you the cutie embroidered message frame I made for a friend’s daughter using the embroidery option of my Q570.
A cute and easy sewing project even kids can do…
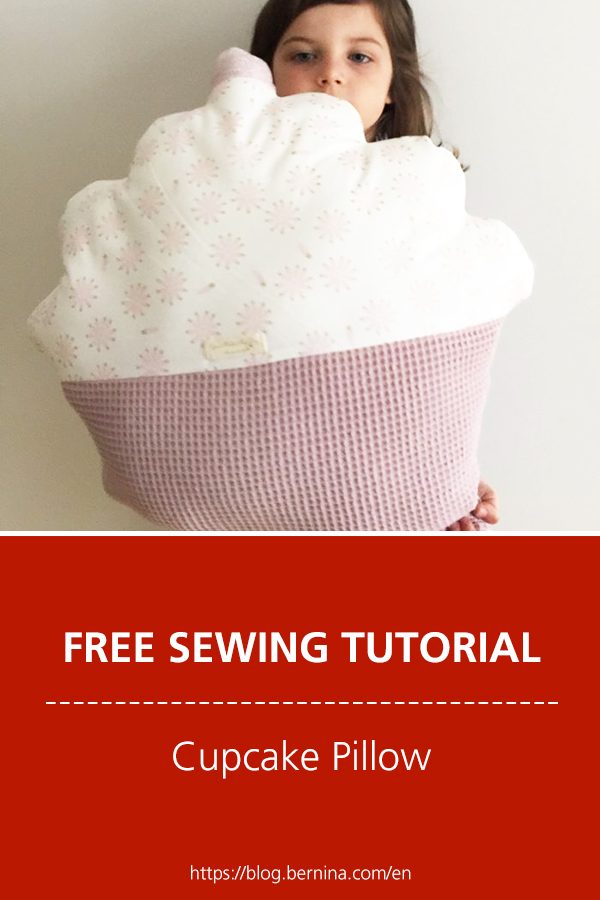
Today I am offering you my Cupcake Pillow pattern. Such an easy make, that looks super cute and that you can even sew with a kid. They love making it. I used to propose it in my sewing lessons for kids and they loved coming back home with this stuffed cupcake pillow they could use to decorate their room.
You can use fabric scraps, a concept that I love, and mix up to 3 different fabrics in order to make the cupcake paper wrap, the cupcake itself and the cherry.
In total, you’ll need no more than 50 cm x 70 cm of fabric.
In addition to the fabric, you’ll need stuffing.
This project is pretty much straight forward.
Download and print out the Cupcake Pillow pattern…
Download the free Cupcake Pillow pattern you will find by clicking here. When printing it, set up your printer at 100%.
Here are the steps…
Then, you just have to cut 2 times every piece. There are 3 in total, so you’ll end up with 6. Easy maths, isn’t it?
For this one, I used a pink waffle fabric for the paper wrap bottom of the cupcake. And 2 different scraps of cotton, all in the same colors as the pink waffle fabric, so the overall look is cute.
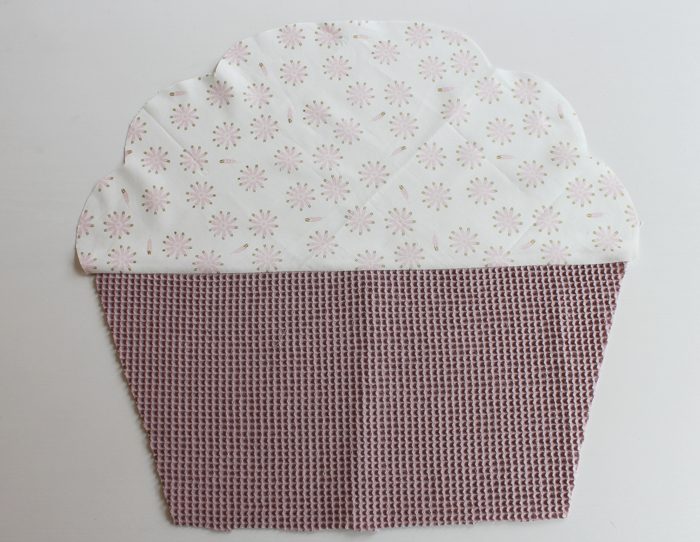
Then you start sewing the cupcake paper wrap (or bottom) to the cupcake, right sides facing as shown in the picture below.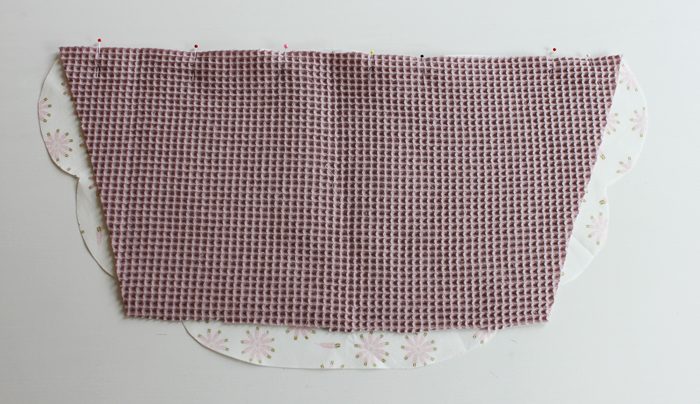
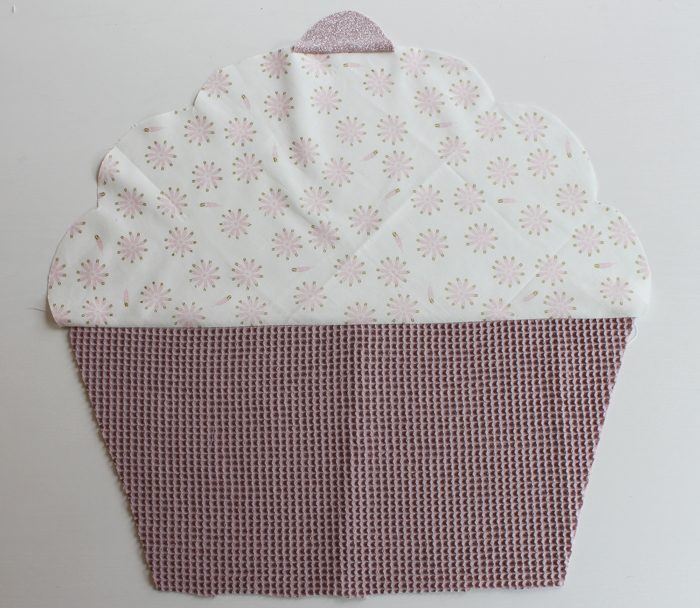
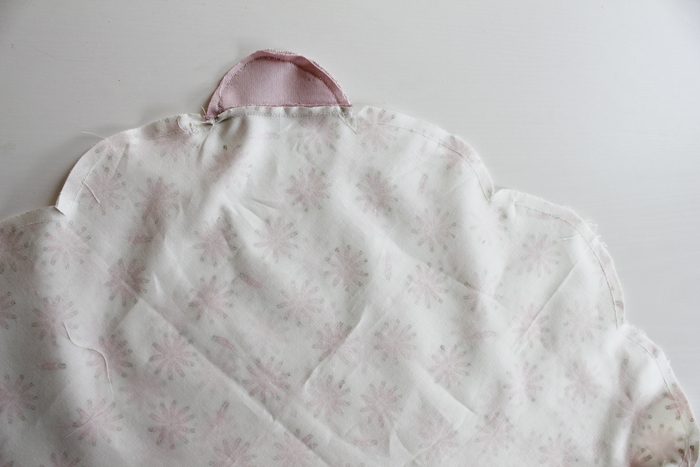
Next, do the same with the top part of the cupcake and the cherry. Still right sides facing.

Follow the same steps with the other side of the cupcake pillow.
Now you can serge all the seams and press them down.
Place both sides of the pillow right sides facing and stitch all the way around leaving a 5 cm gap at the bottom.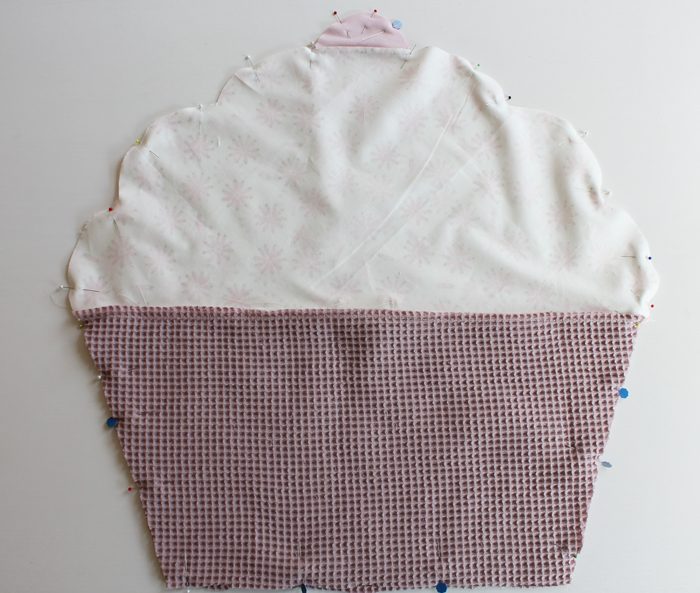
Pay special attention to the round shapes of the cupcake. Notch where the curves meet.
You can serge the seams all around.
Turn the project right side out by the gap you just left.
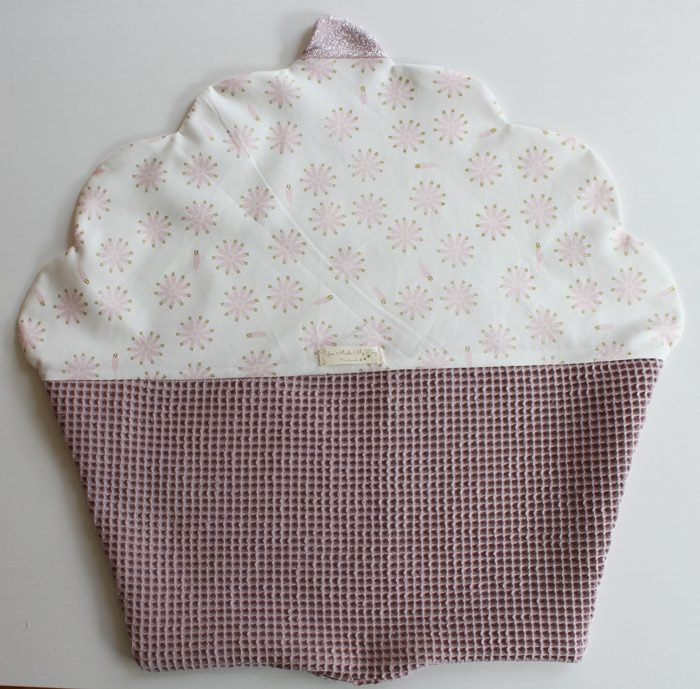
Press the cupcake paying special attention to the corners and round shapes.
Almost done…
Then, start filling the pillow by the gap left. Once is fully puffy you just have to fold the gap seams in and do an invisible hand stitch to close the pillow.
And voilà, your cupcake pillow is ready to decorate any room and be cuddled all day long.

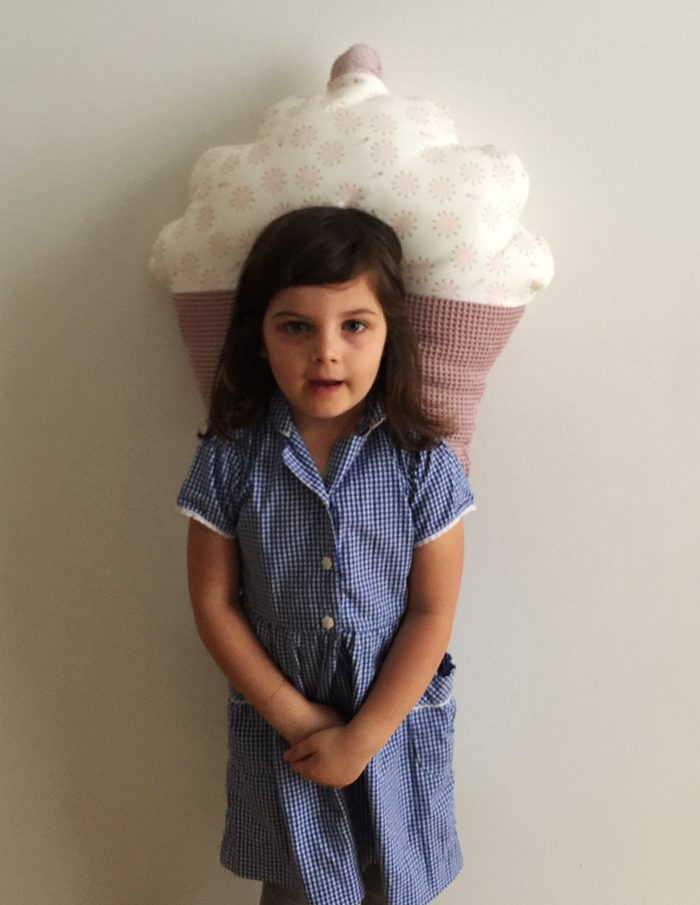
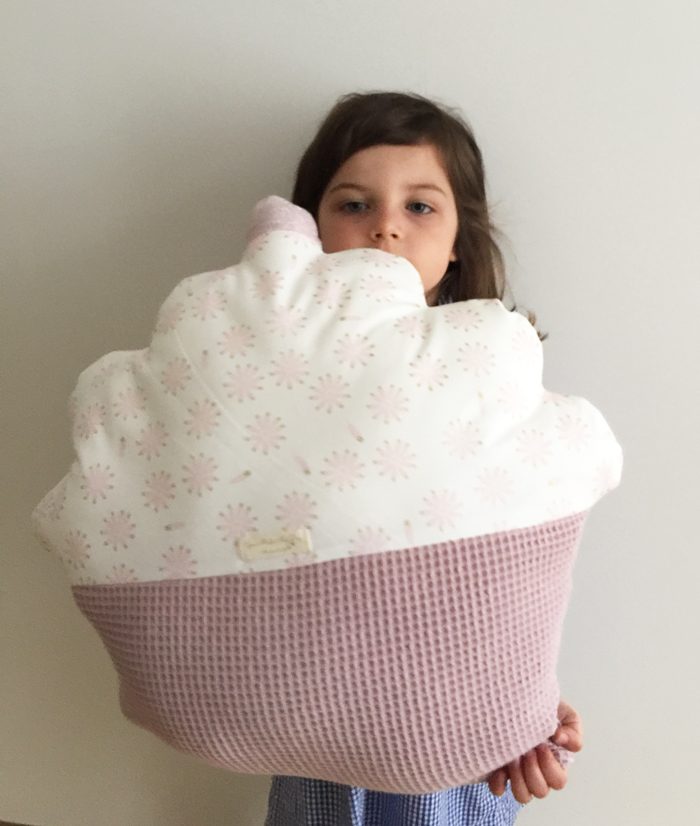
I did this Cupcake Pillow a while ago and I have made many others that I have offered to my children’s friends… every time they have loved them as much as my daughter when she first saw it (as you can see in the below pictures 😉 )
Do you like making this kind of projects? They are pretty good to use fabric scraps and to do as presents.


0 Responses