 BERNINA Corporate Blog -
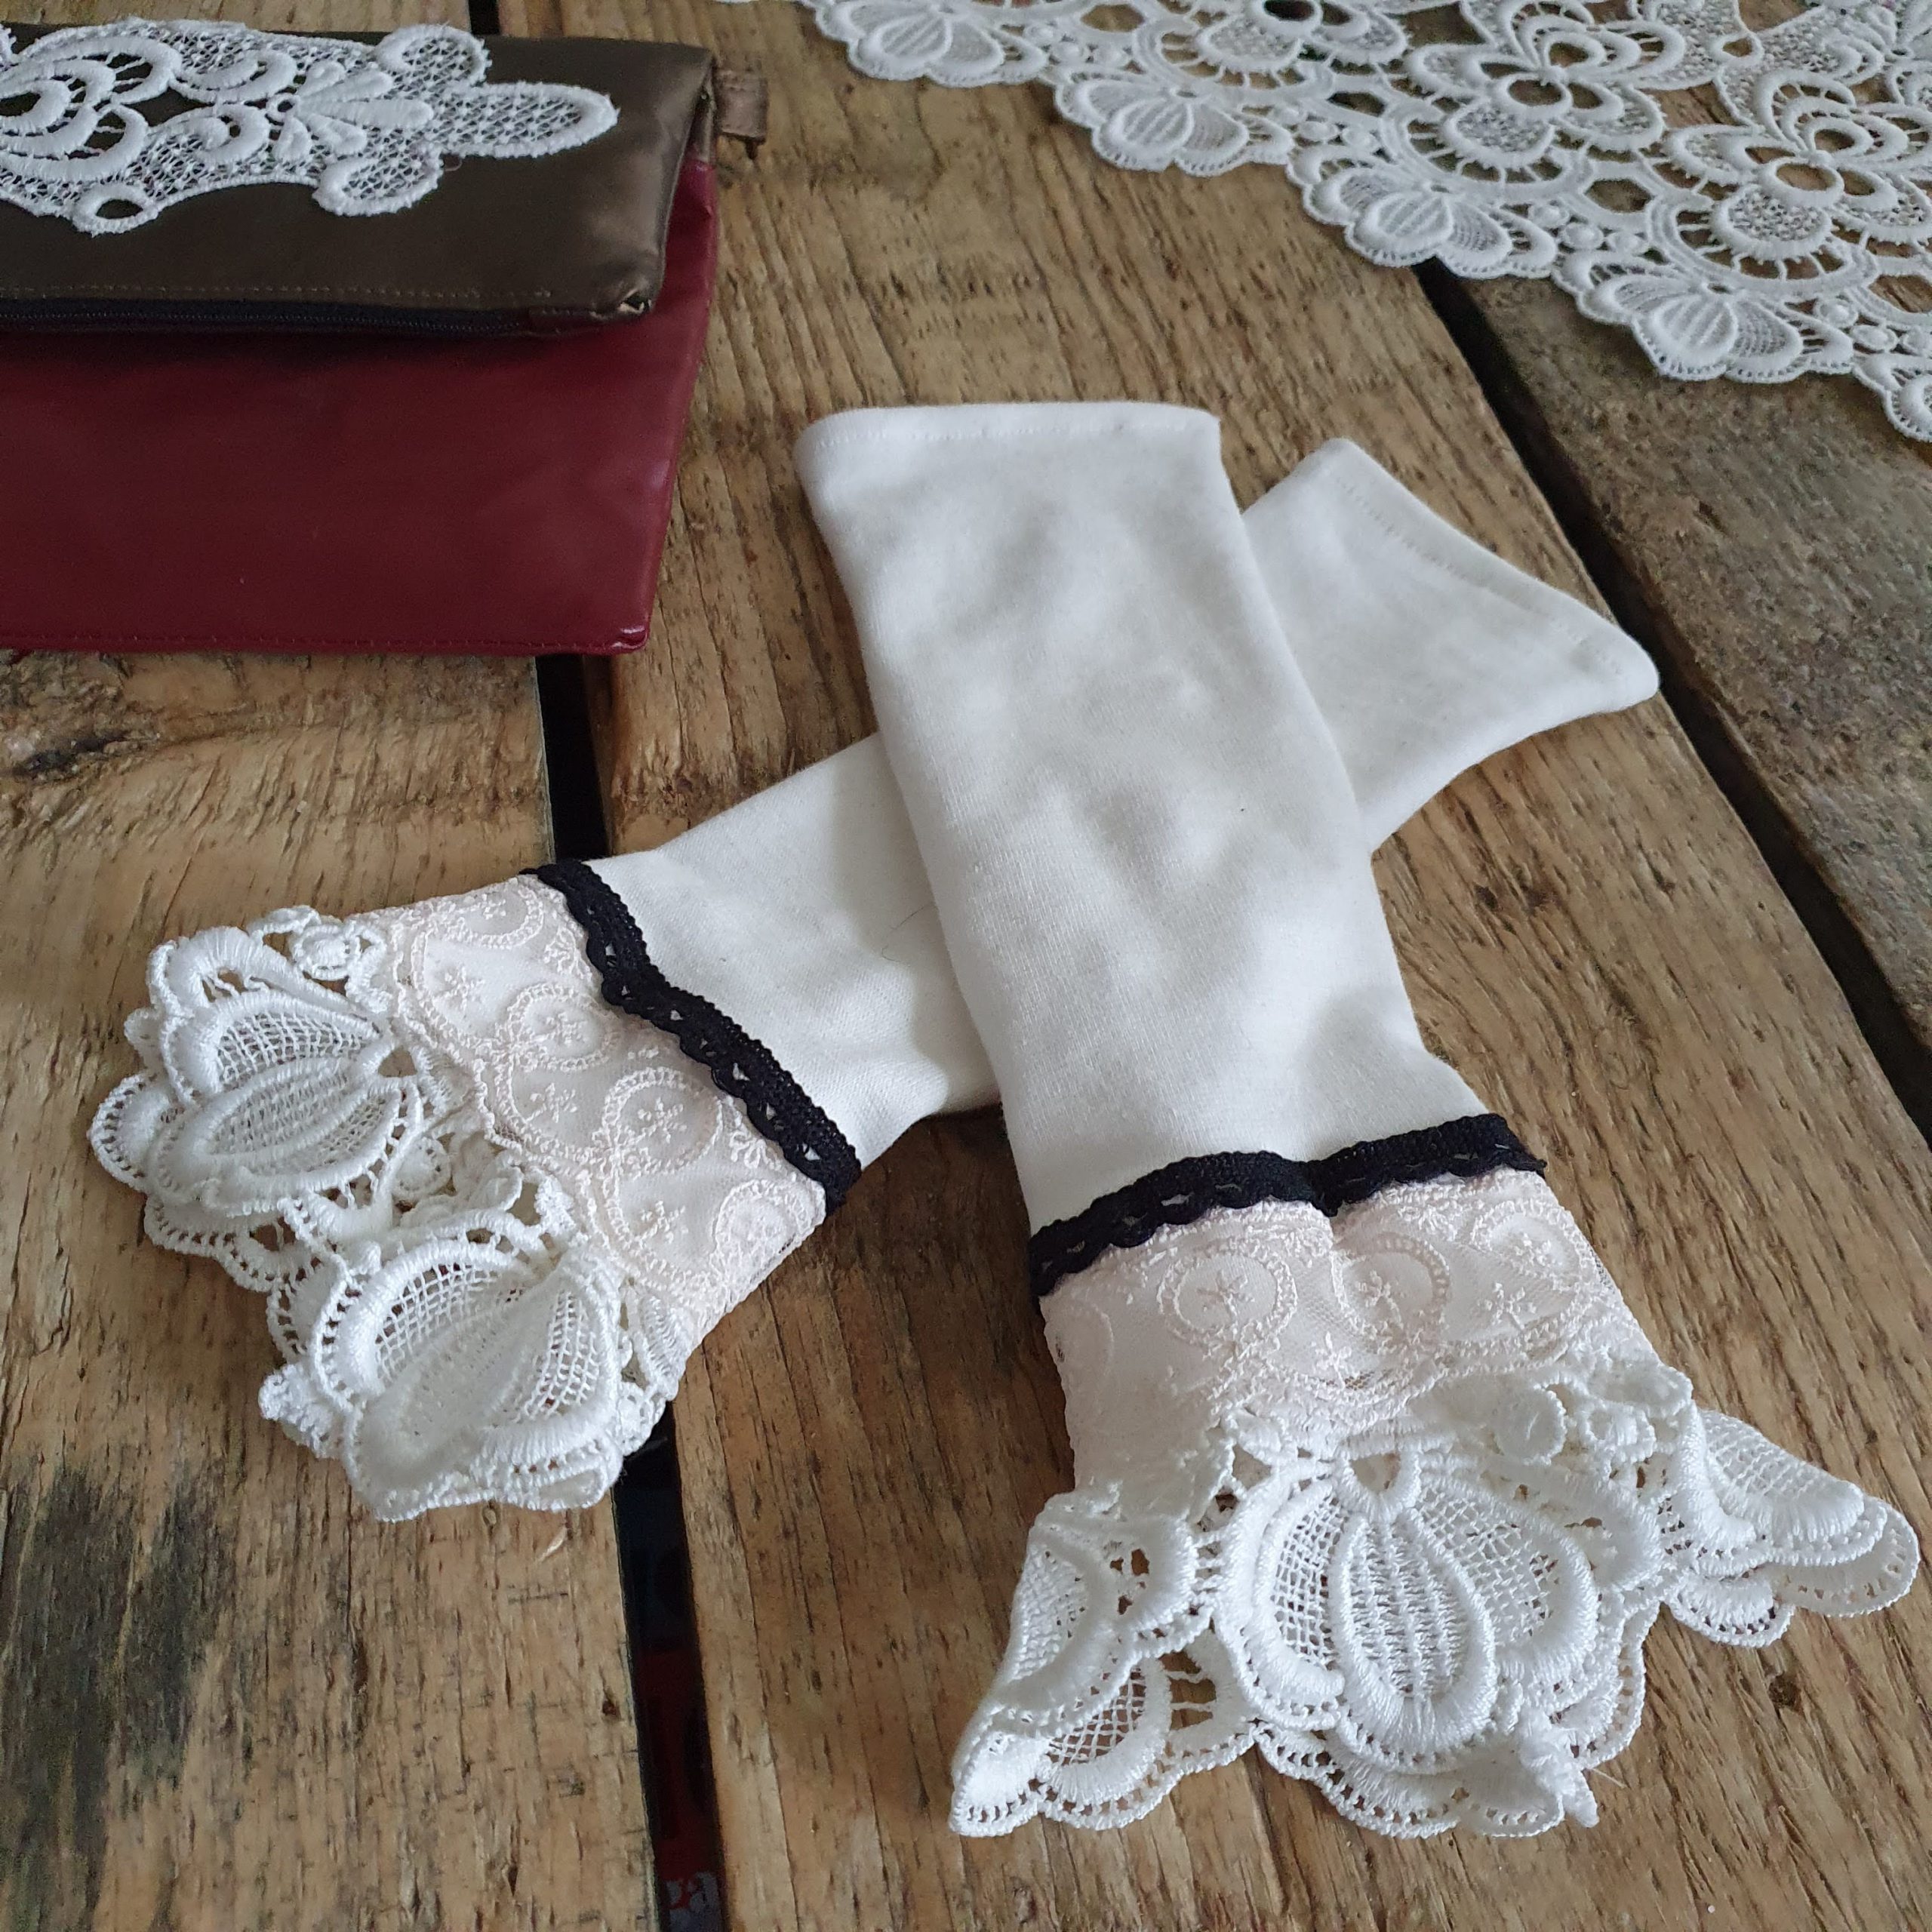
Time to shine! with Victorian inspired wrist warmers
I am a fan of Victorian styled clothes. Ruffles and lace. You might seen this in the Time to shine collection and in my other blogs. You can do so many fun things with a piece of lace (found in the thrift store) and more decorative trims. For example, embellishing a clutch, upcycling tops or creating a statement collar. In this blog I use it to give wrist warmers a Victorian touch. The wrist warmers are a great accessory to wear with the last basic of the Time to shine capsule wardrobe: a black sweater.
Love lace

Last capsule basic
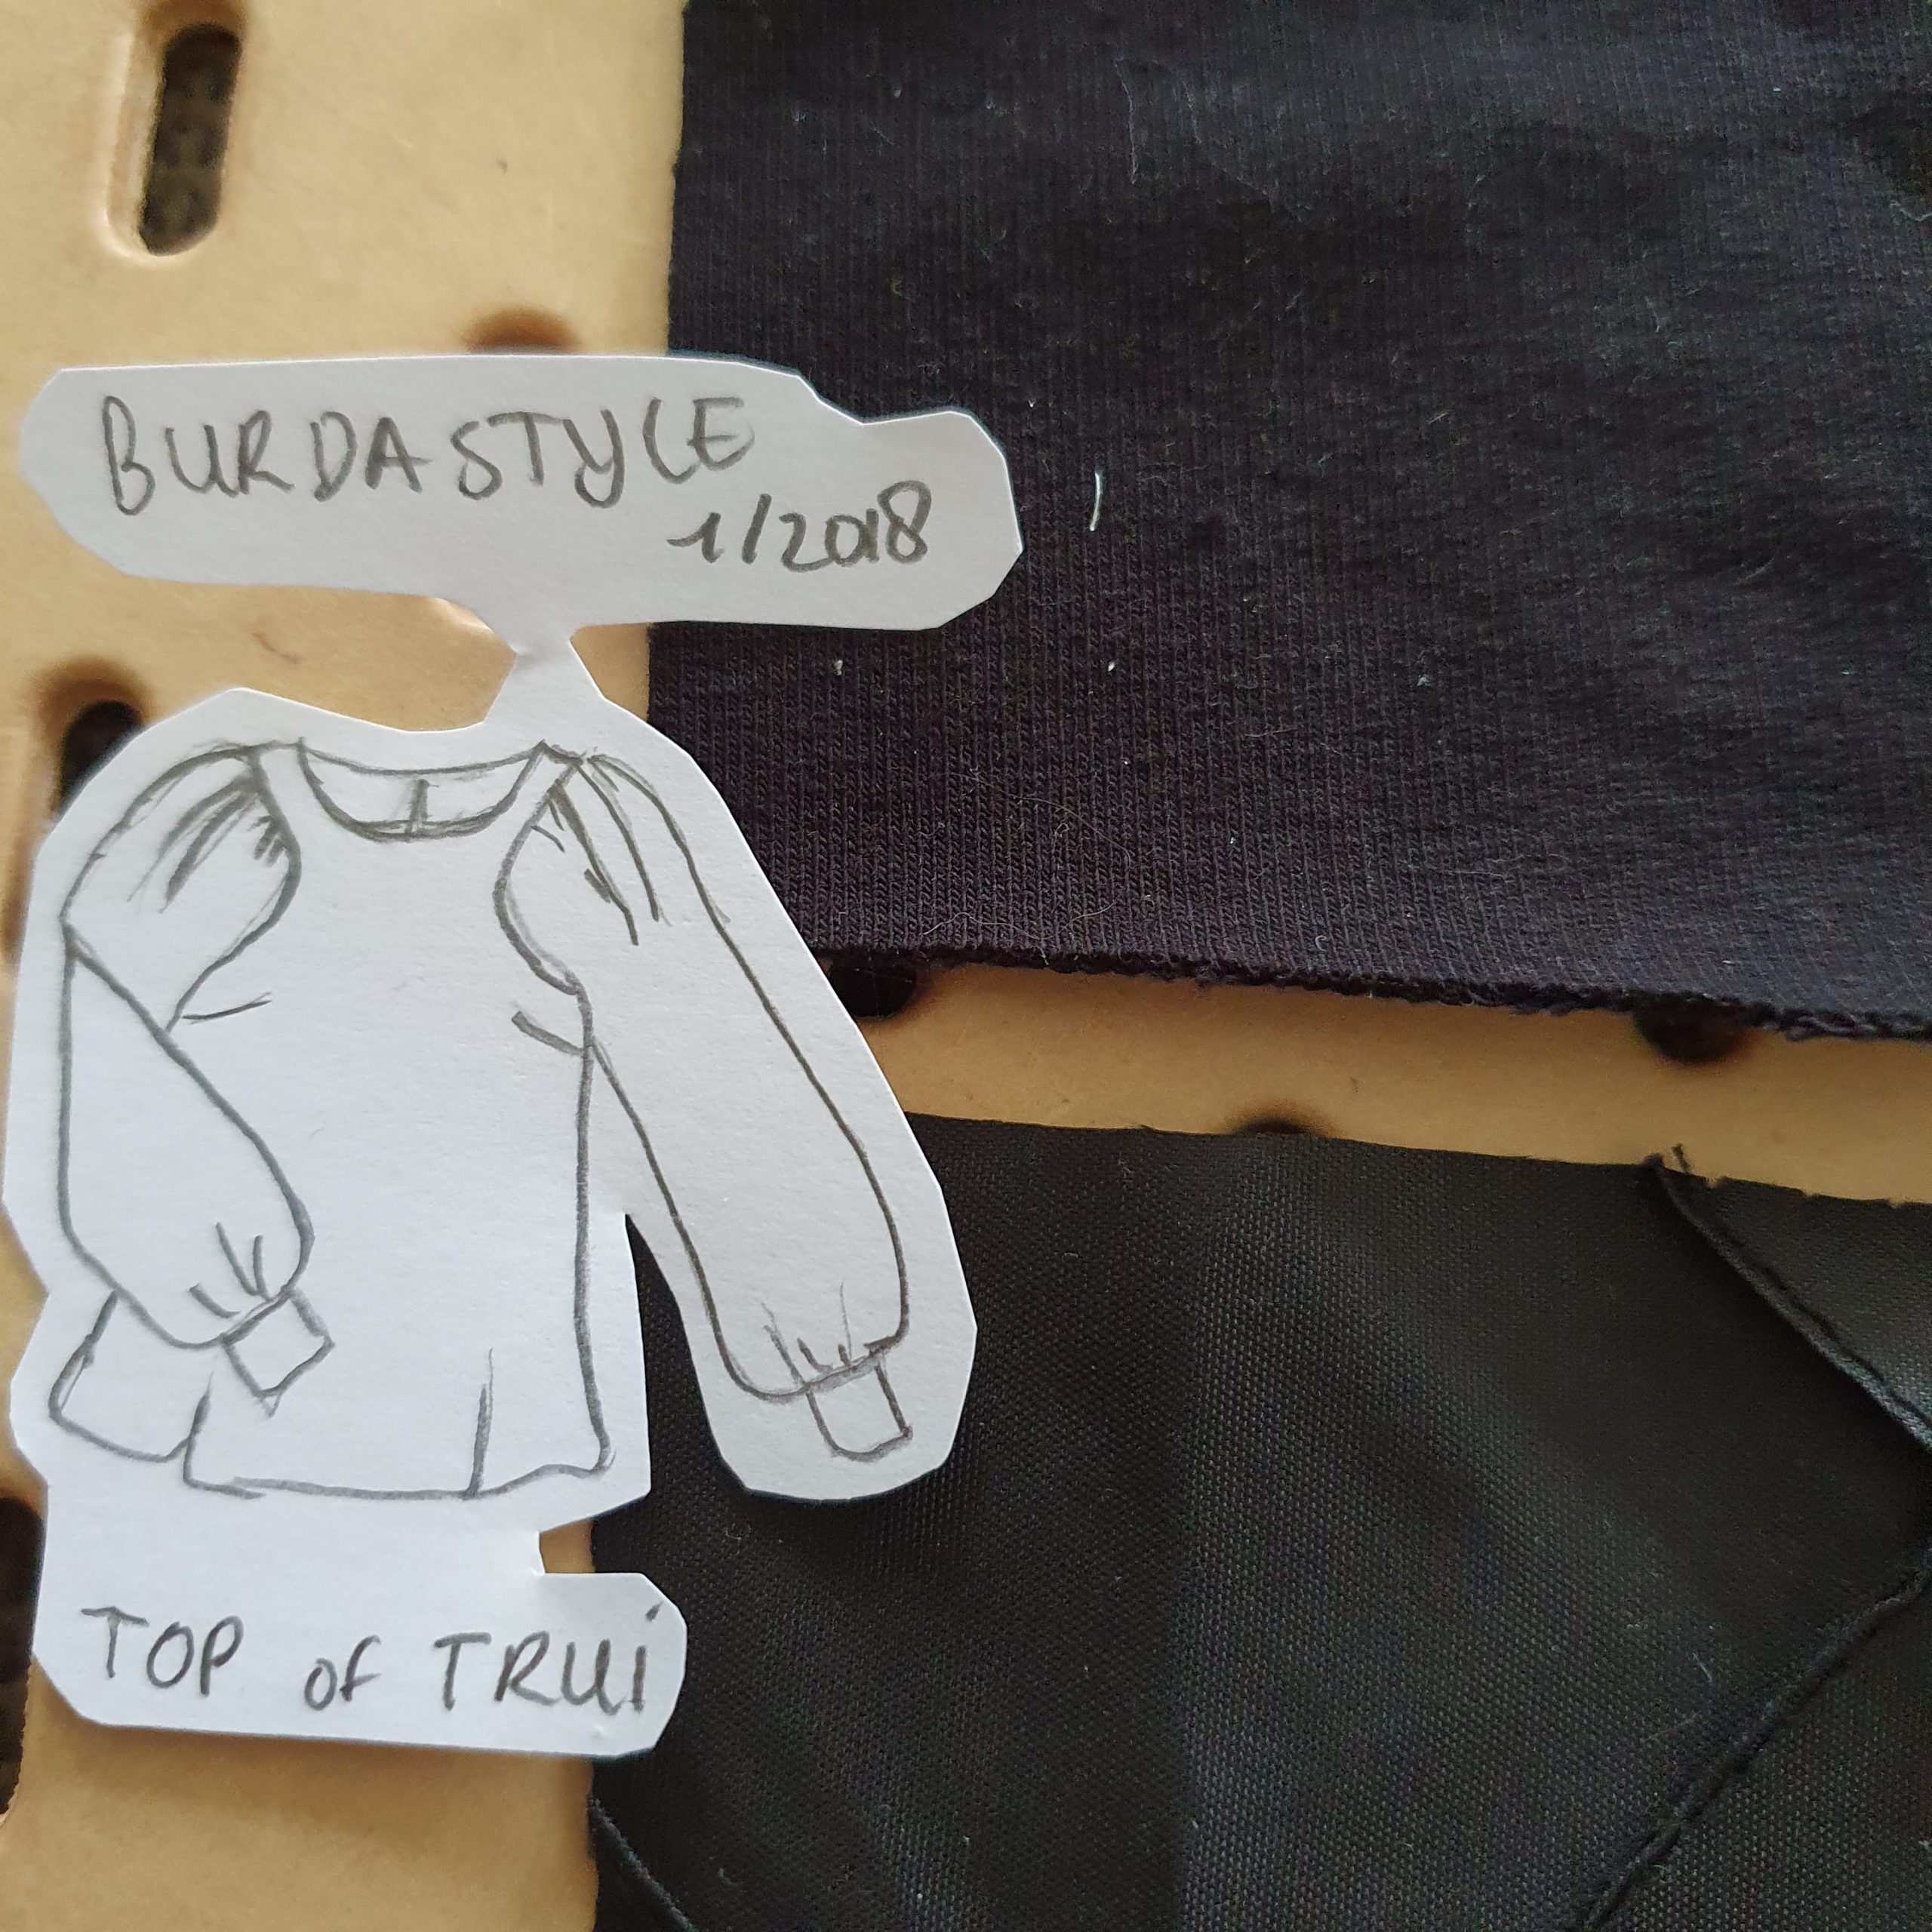
Sweater pattern
Materials
To make the wrist warmers you will need the following:
- jersey or ribbing 50×30 cm (2 pieces of 25×30)
- lace 60×6 cm (2 pieces of 30×6 cm)
decorative tape A 50 cm (2 pieces of 25 cm)
decorative tape W 50 cm (2 pieces of 25 cm)
For making the wrist warmers I use the BERNINA 590 Crystal Edition
Make your pattern
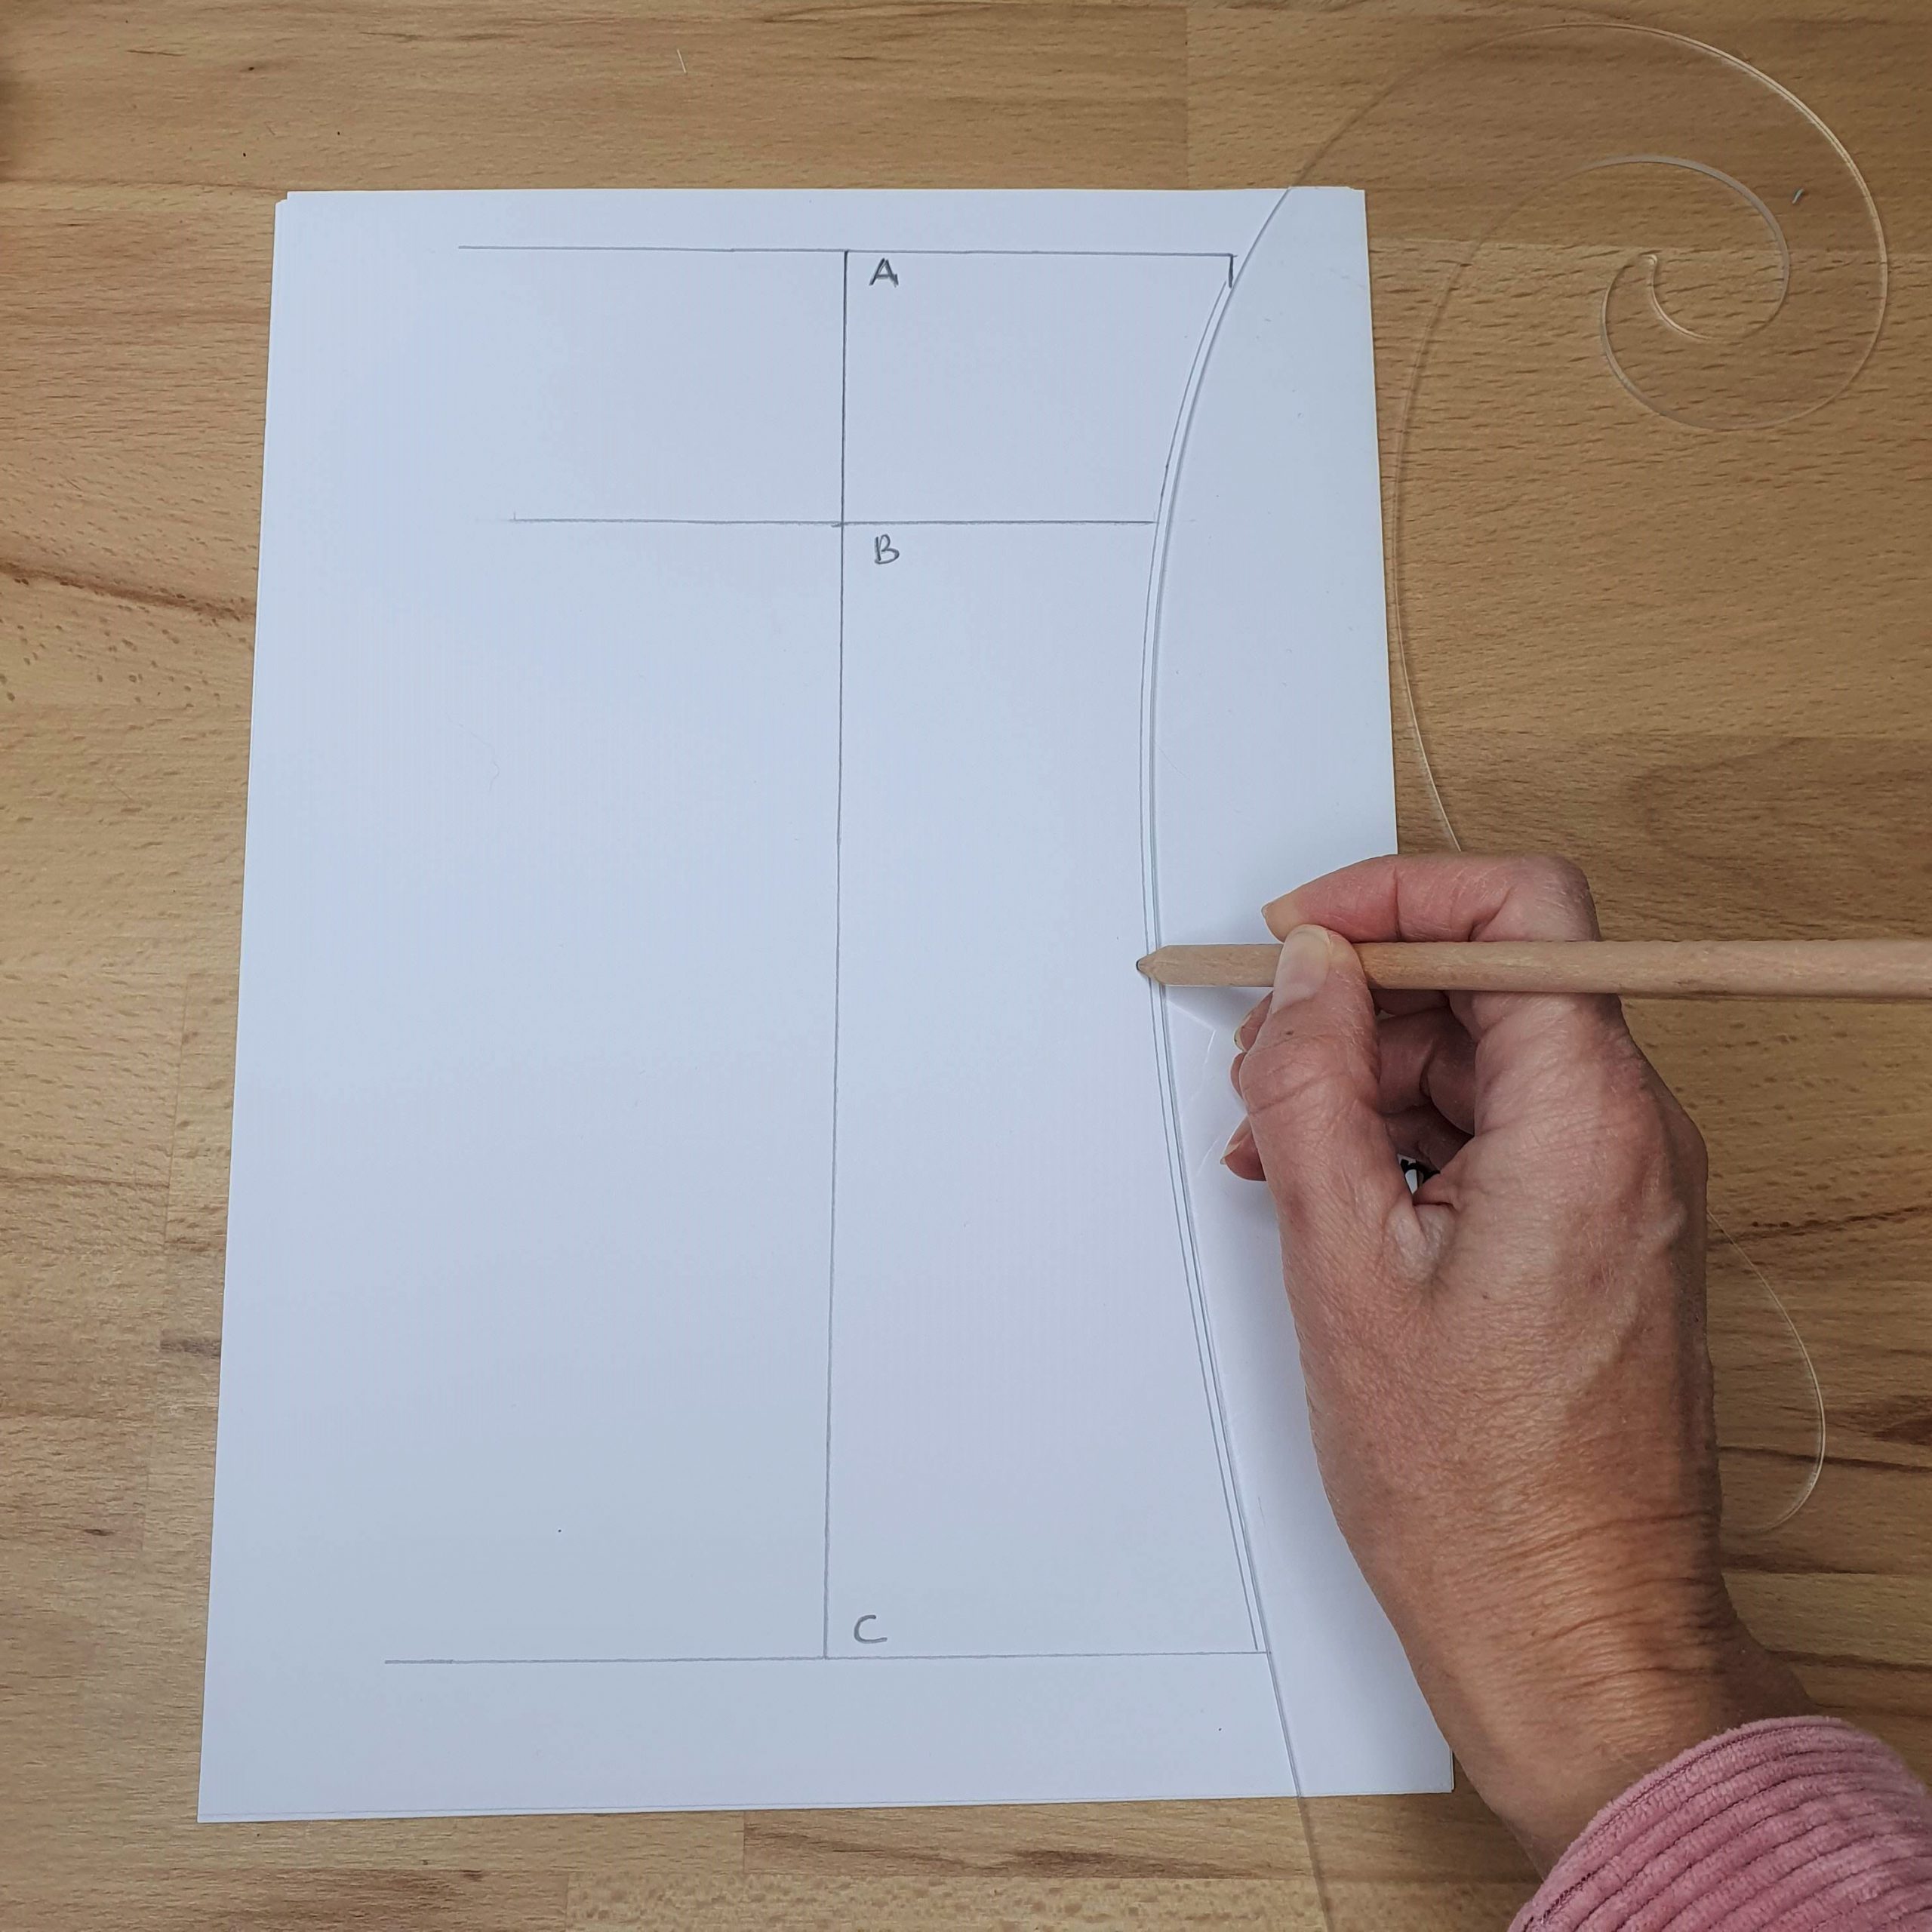
These wrist warmers are without a thumb hole and they start at the base of your thumb, with the lace a little further (halfway your hand). To make your pattern, measure the circumference of your hand (A) where your thumb begins. Measure the distance from this point to your wrist (5.5 cm for me) and from your wrist to where you want the wrist warmers to end (19 cm for me).

Then measure the circumference of your wrist (B) (narrowest point of your pattern) and the circumference of your arm where the wrist warmer ends (C). Because of the stretch of the fabric, subtract 2 to 4 cm from the circumferences. This depends on the amount of stretch of your fabric. When in doubt start with 2 cm off; you can always get more off after you have fitted the wrist warmer. Draw your pattern fluently (with the help of a curve ruler) on one side. See example below. Then fold it in half and cut out. This way you have made two of the same sides.
Draw a fluent line
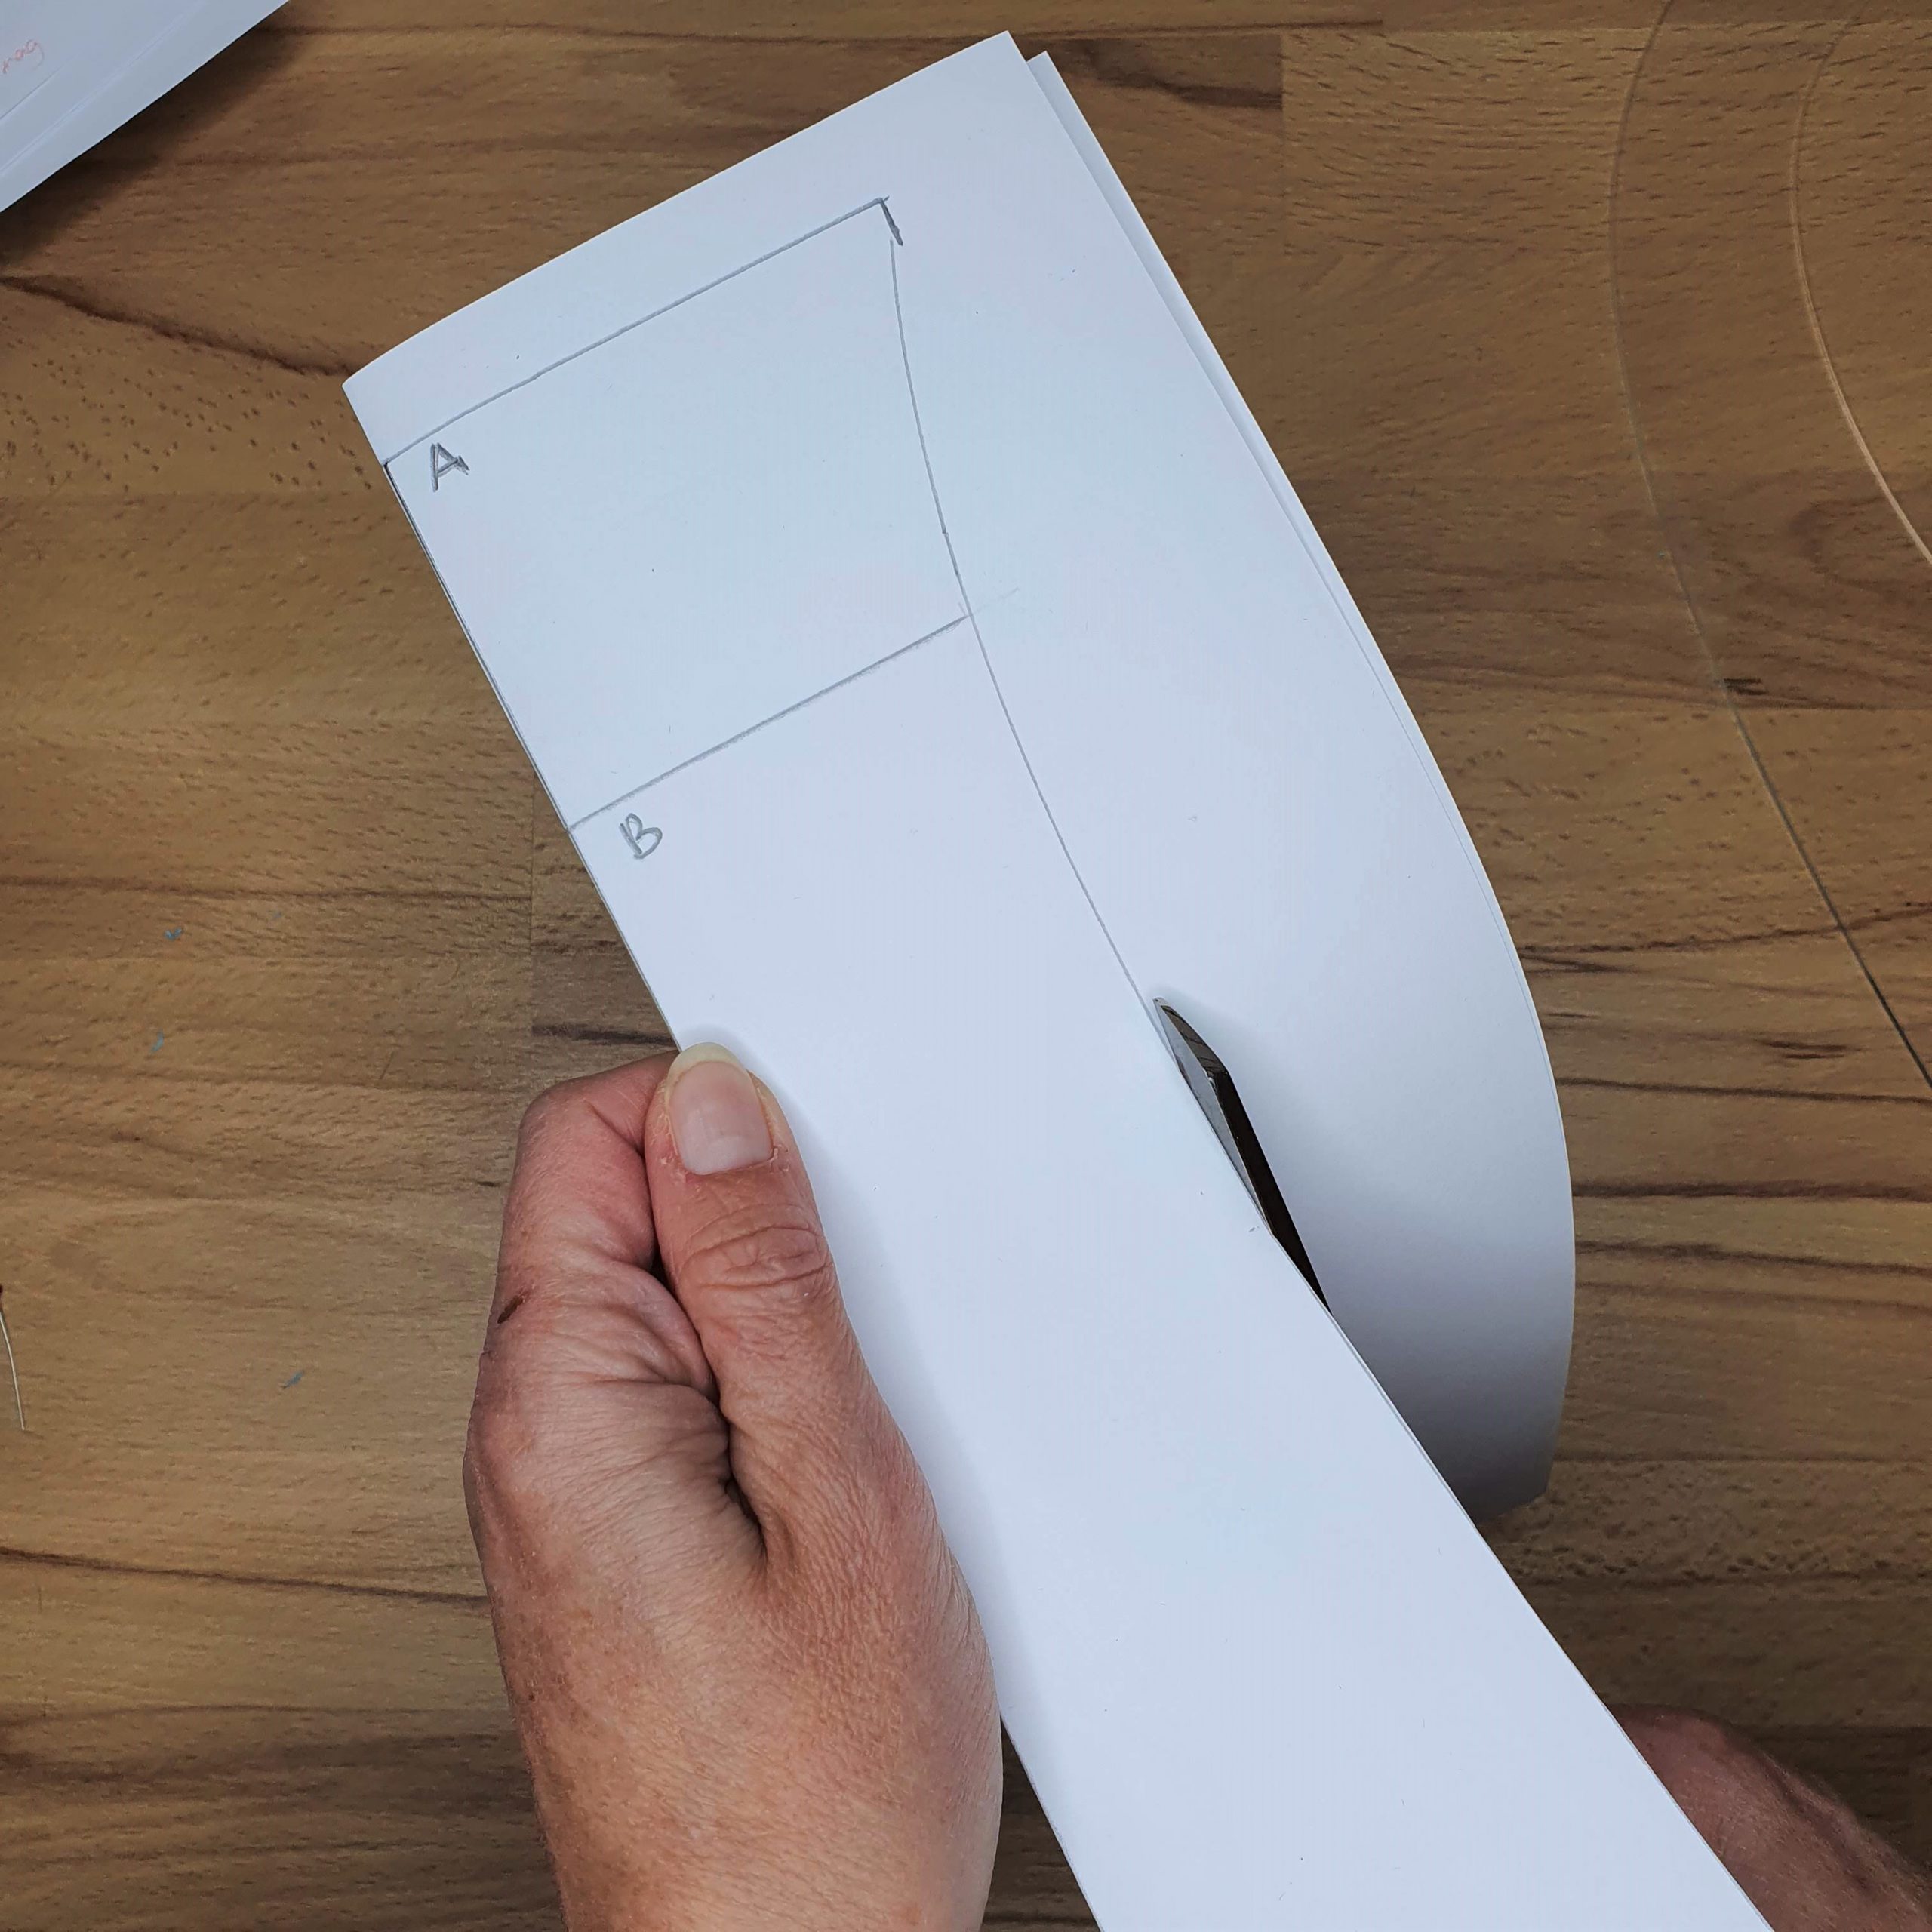
Fold and cut
Place the pattern on double fabric layer and cut out with 1 cm seam allowance around.

Place on fabric
Lace en trim
The lace and decorative trims are attached to one end of the cut pattern piece before closing the wrist warmer. (If you are in doubt about the fit, you can first baste the wrist warmer on and try it on.) The lace and the trims are not stretchy, the jersey or ribbing of course is. Therefore, take generous dimensions. Take the lace 6 to 8 cm wider, so that you can let it ‘swirl’. The trim is about 4 cm wider.

Trim sticks out 2 cm on each side
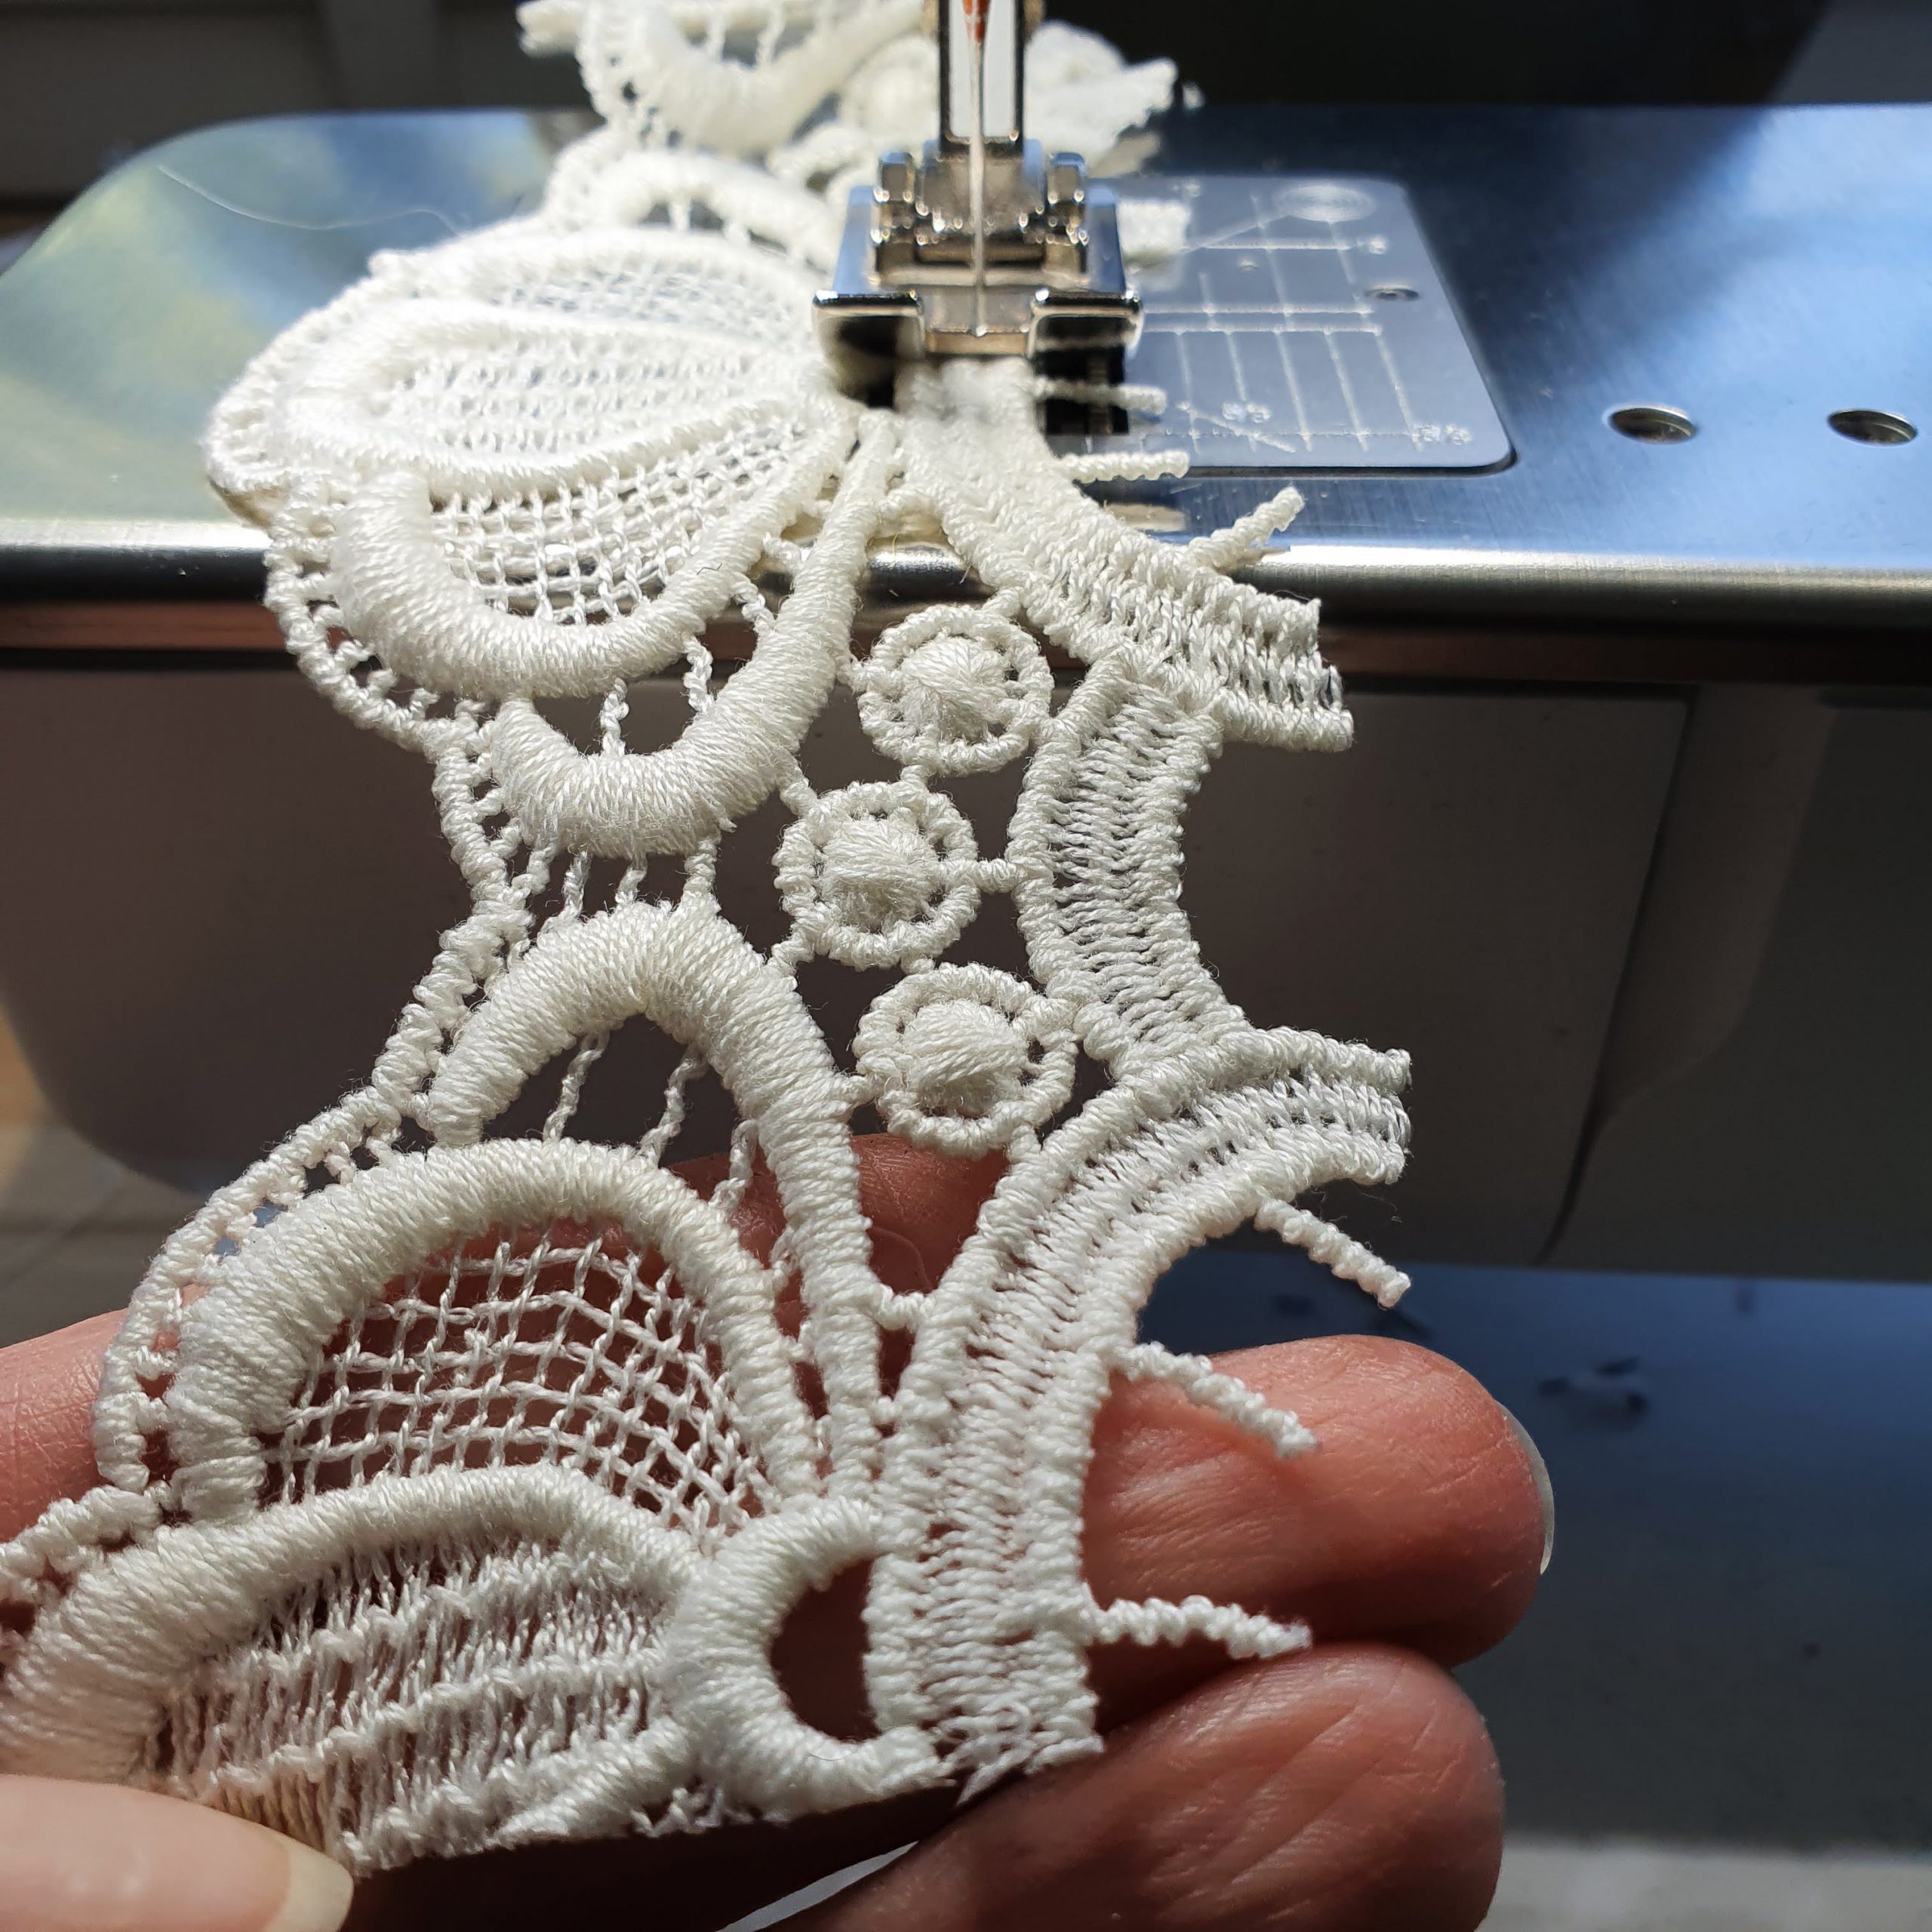
Lace
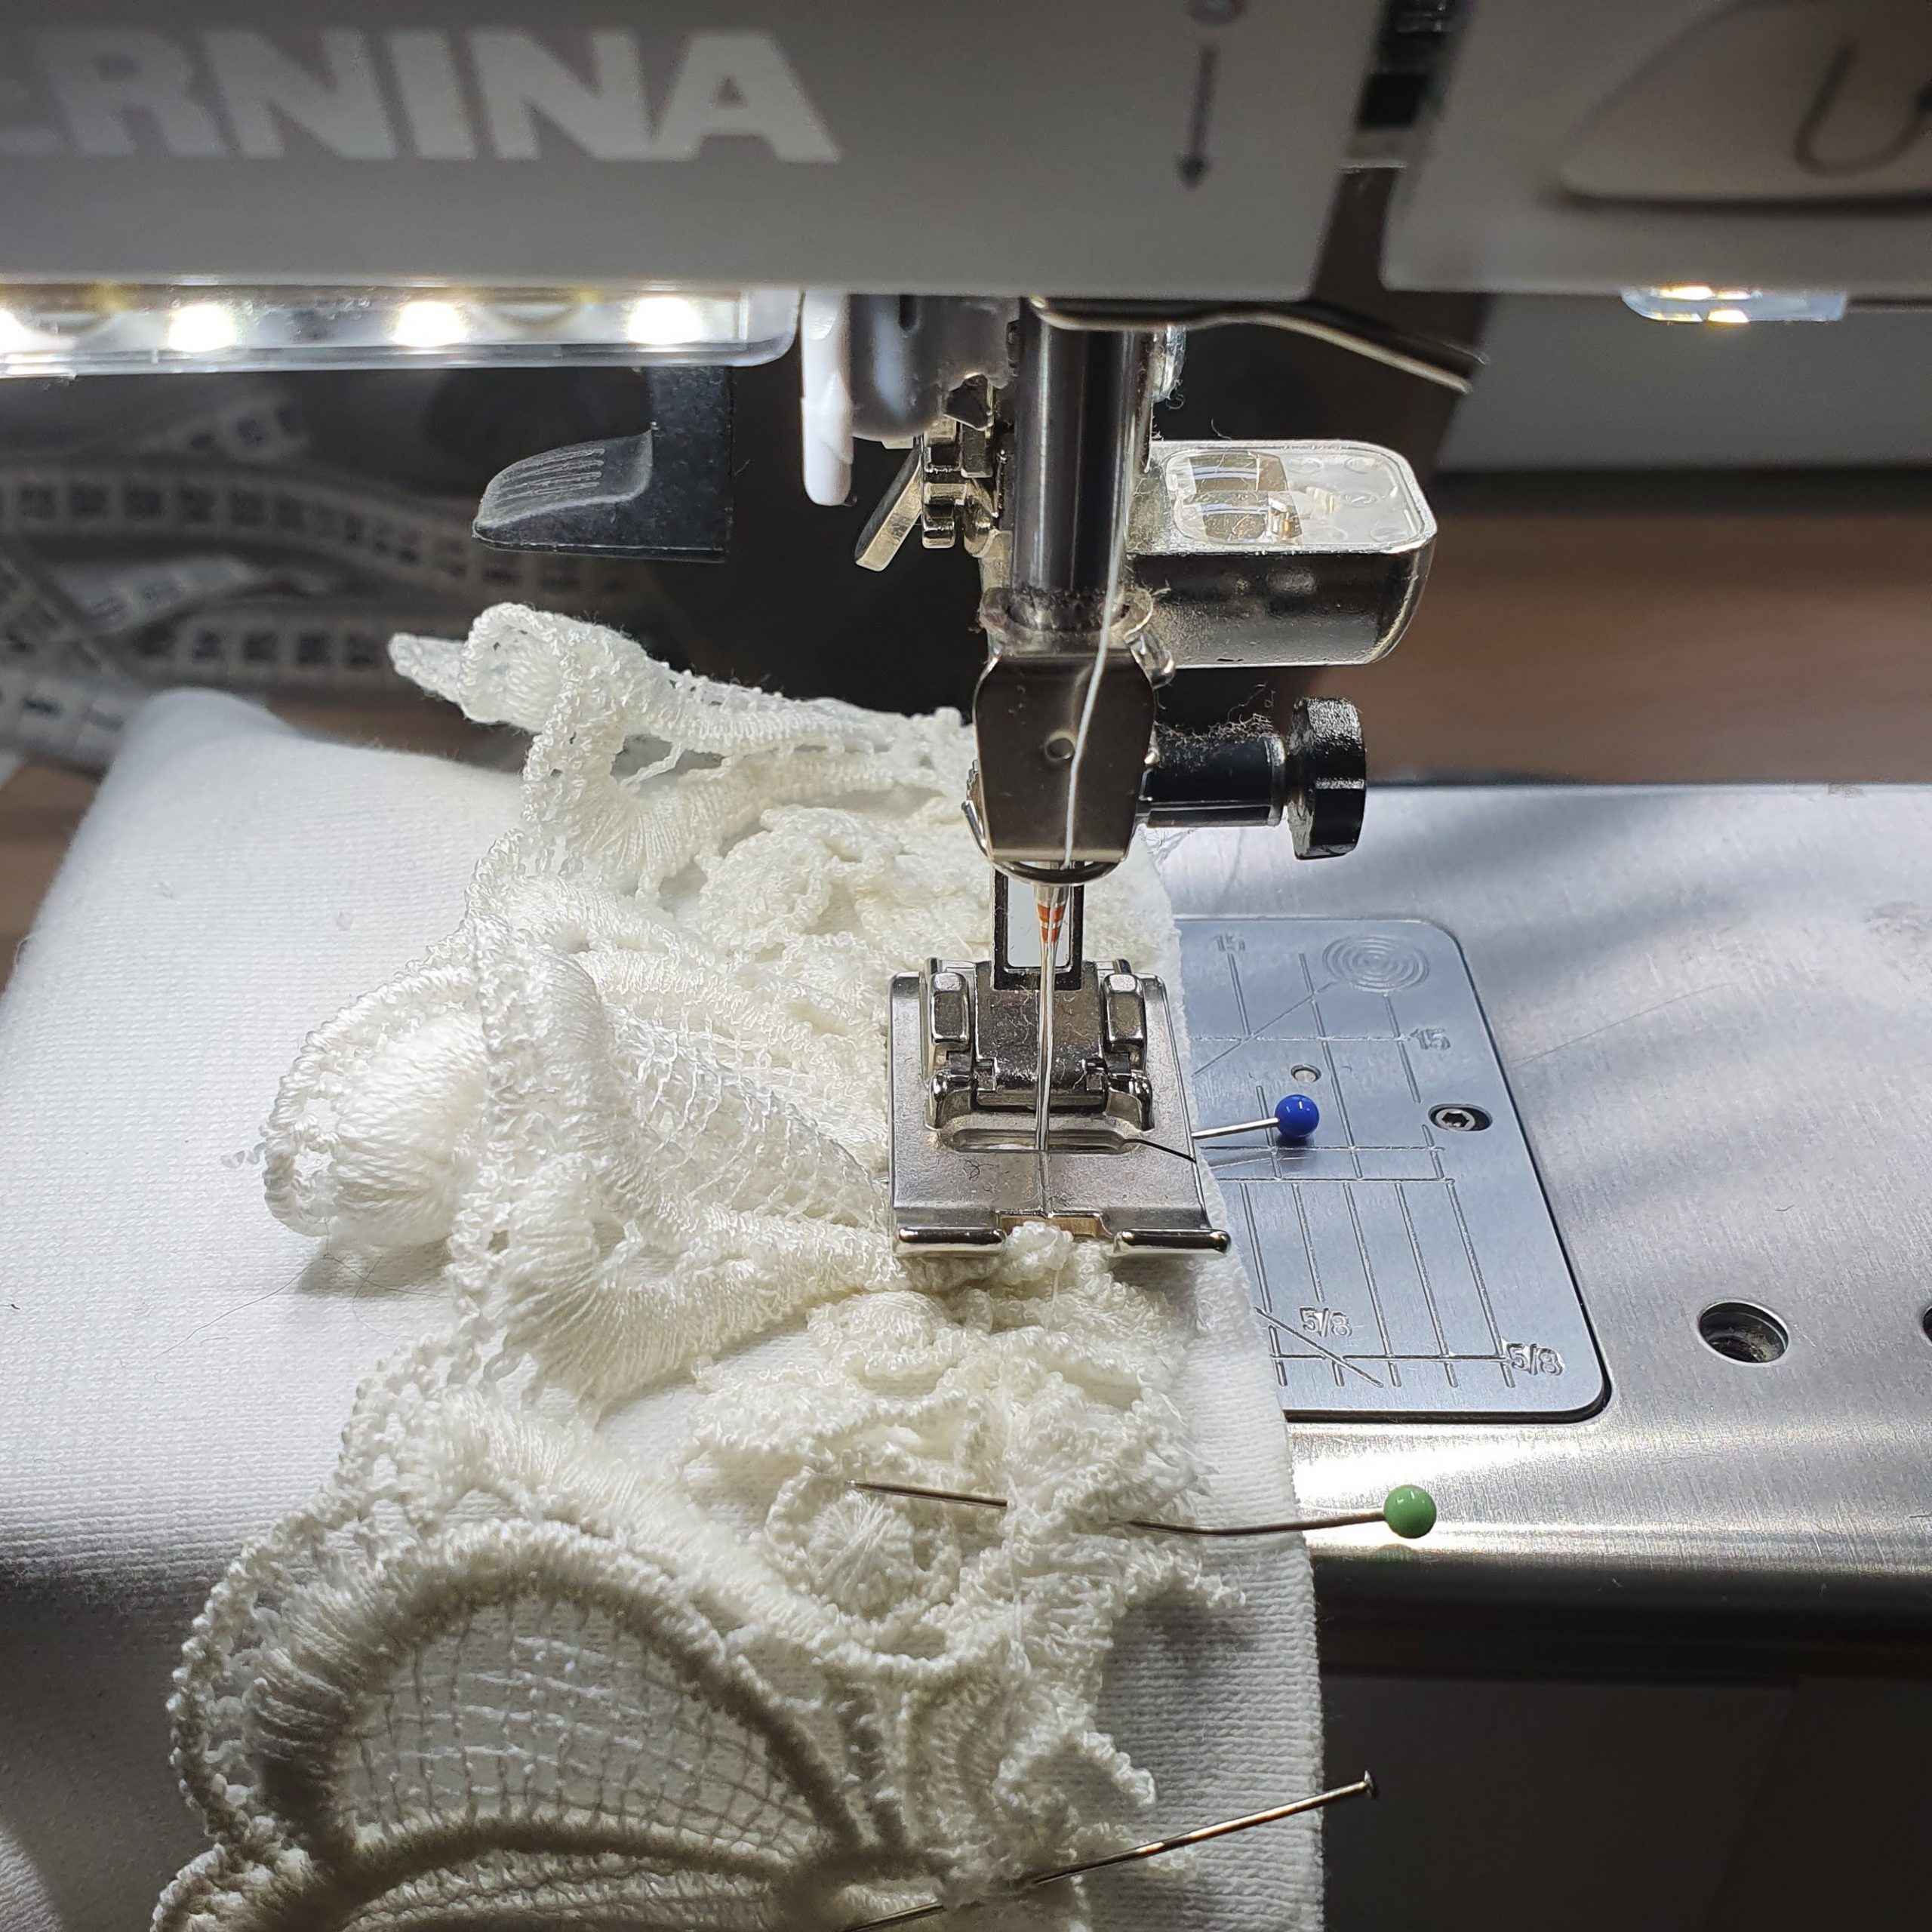
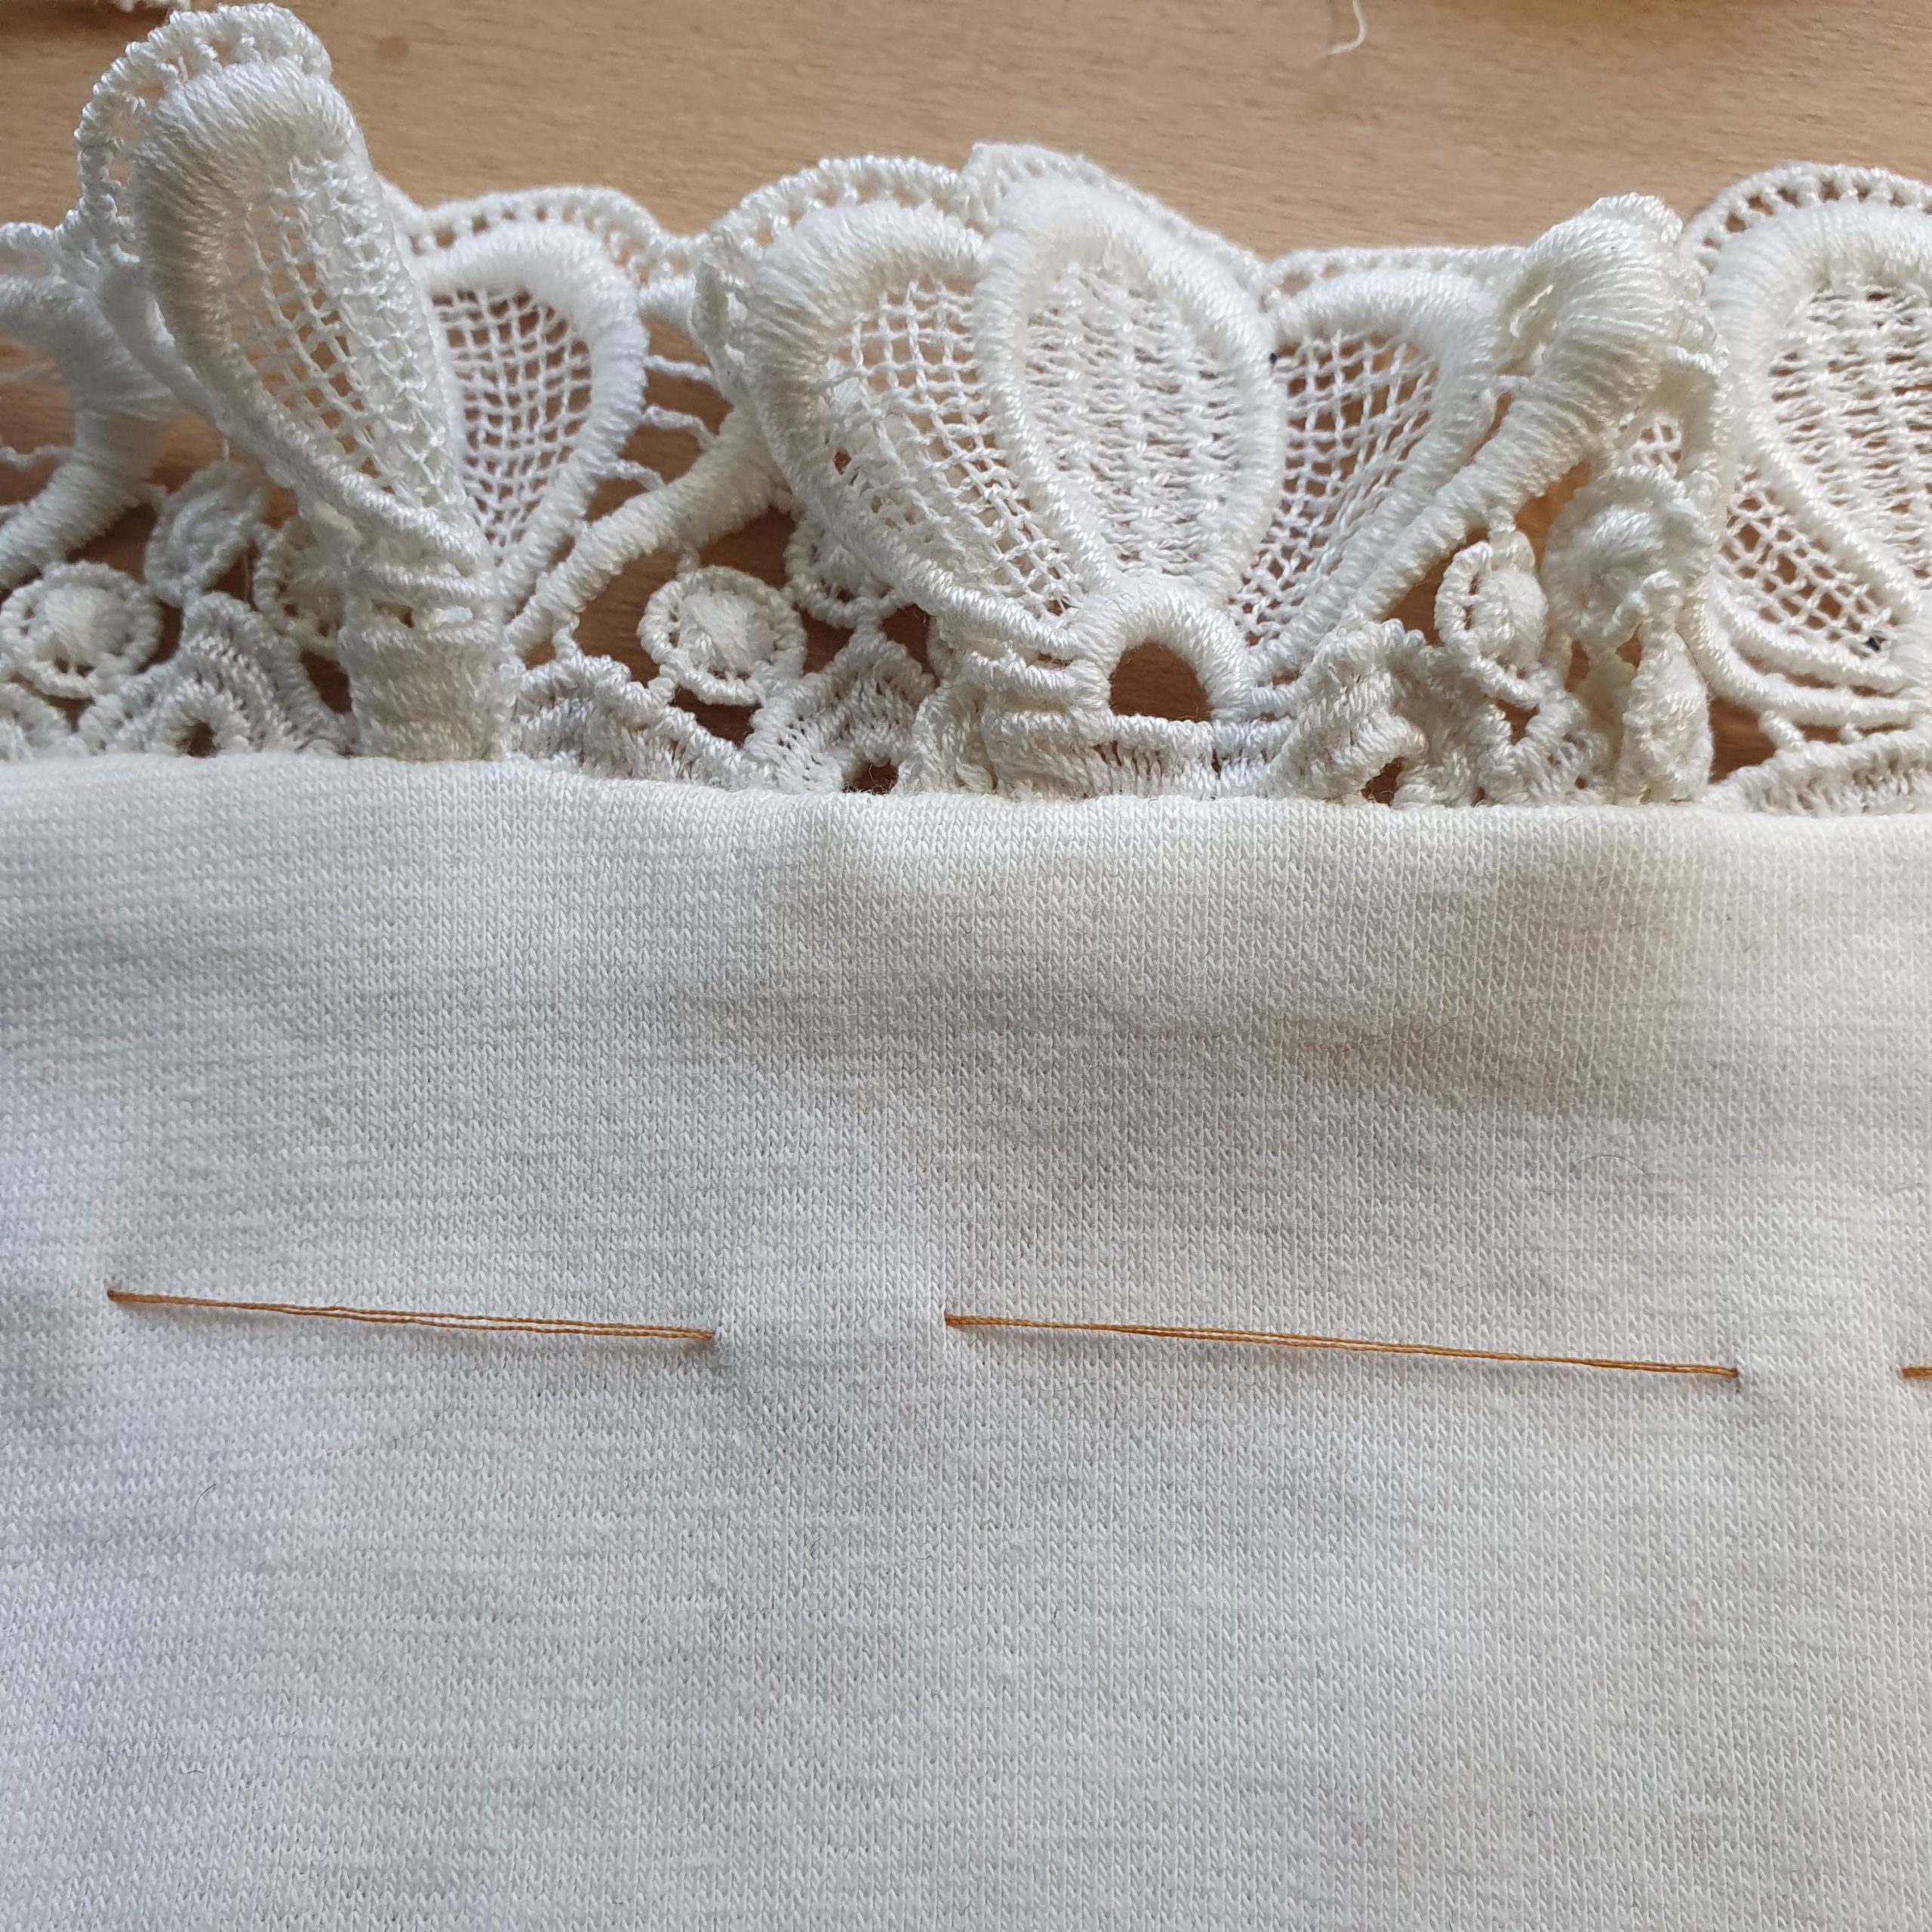
The lace used is easy to cut and doesn’t fray after cutting. I cut the lace 6 cm wide and to make it ruffle at the end of the wrist warmer I stitch a single basting thread along the edge.
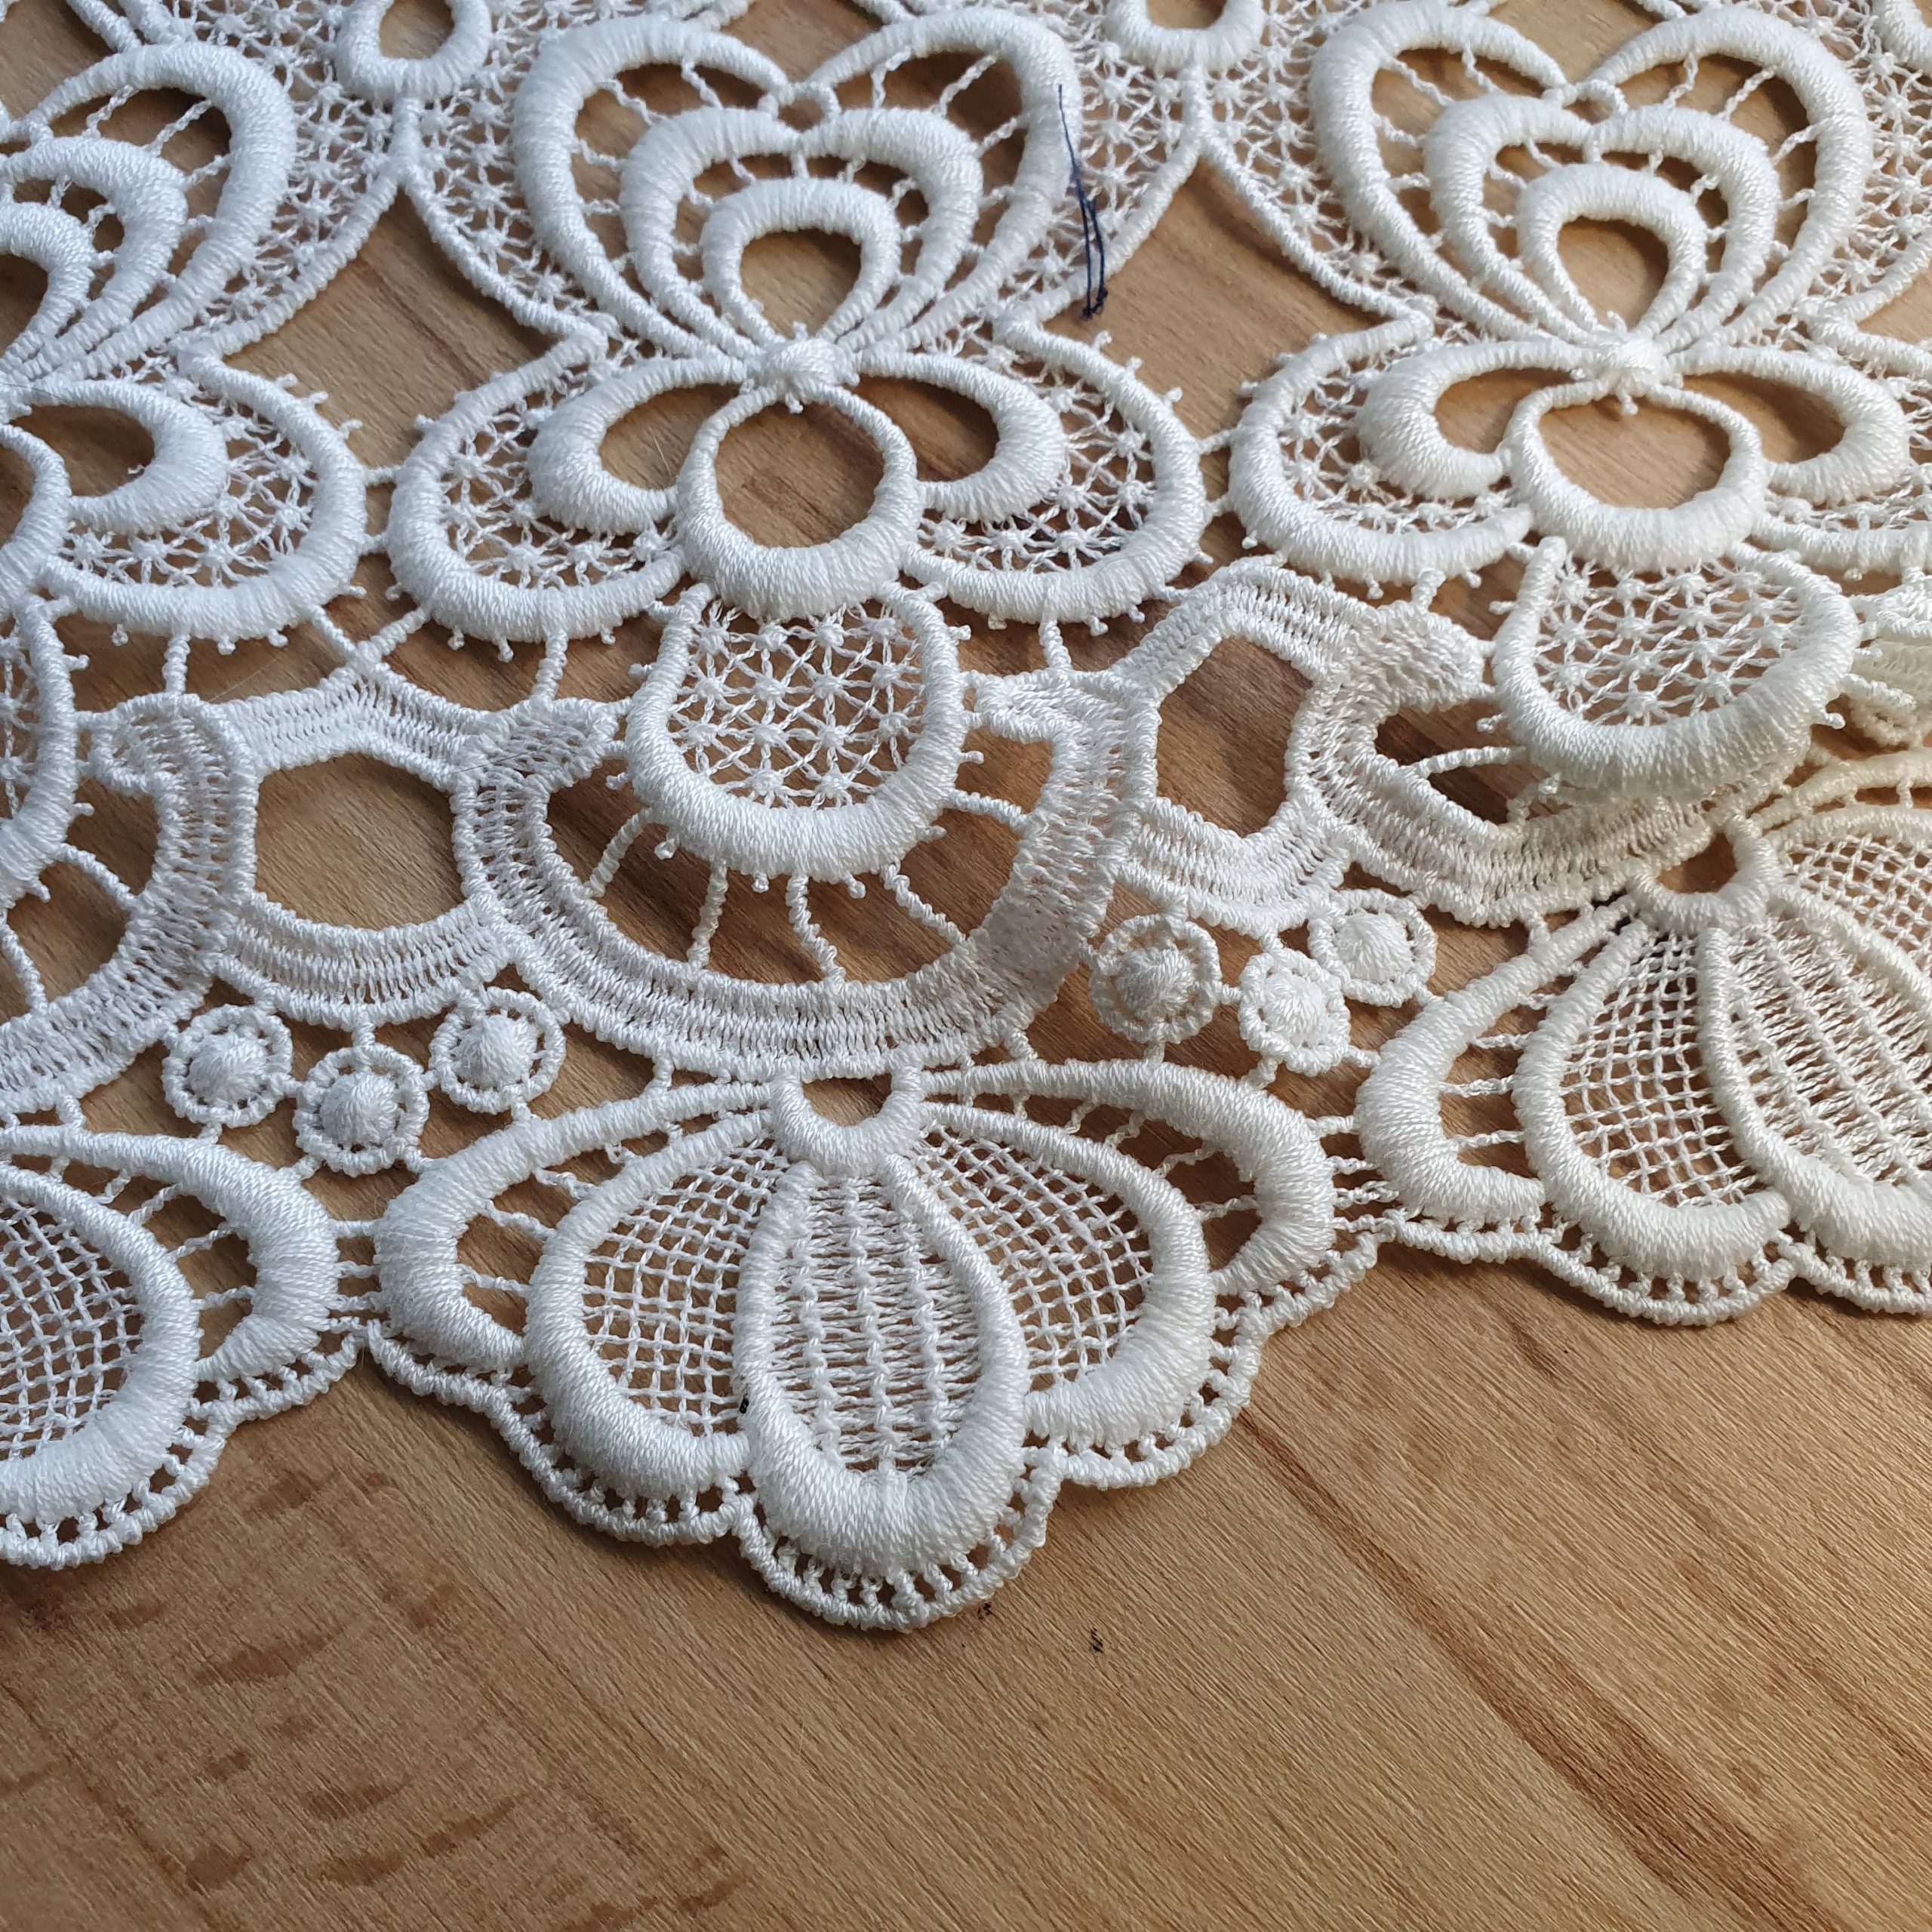
Cool scalloping

6 cm wide
Sew gathering thread
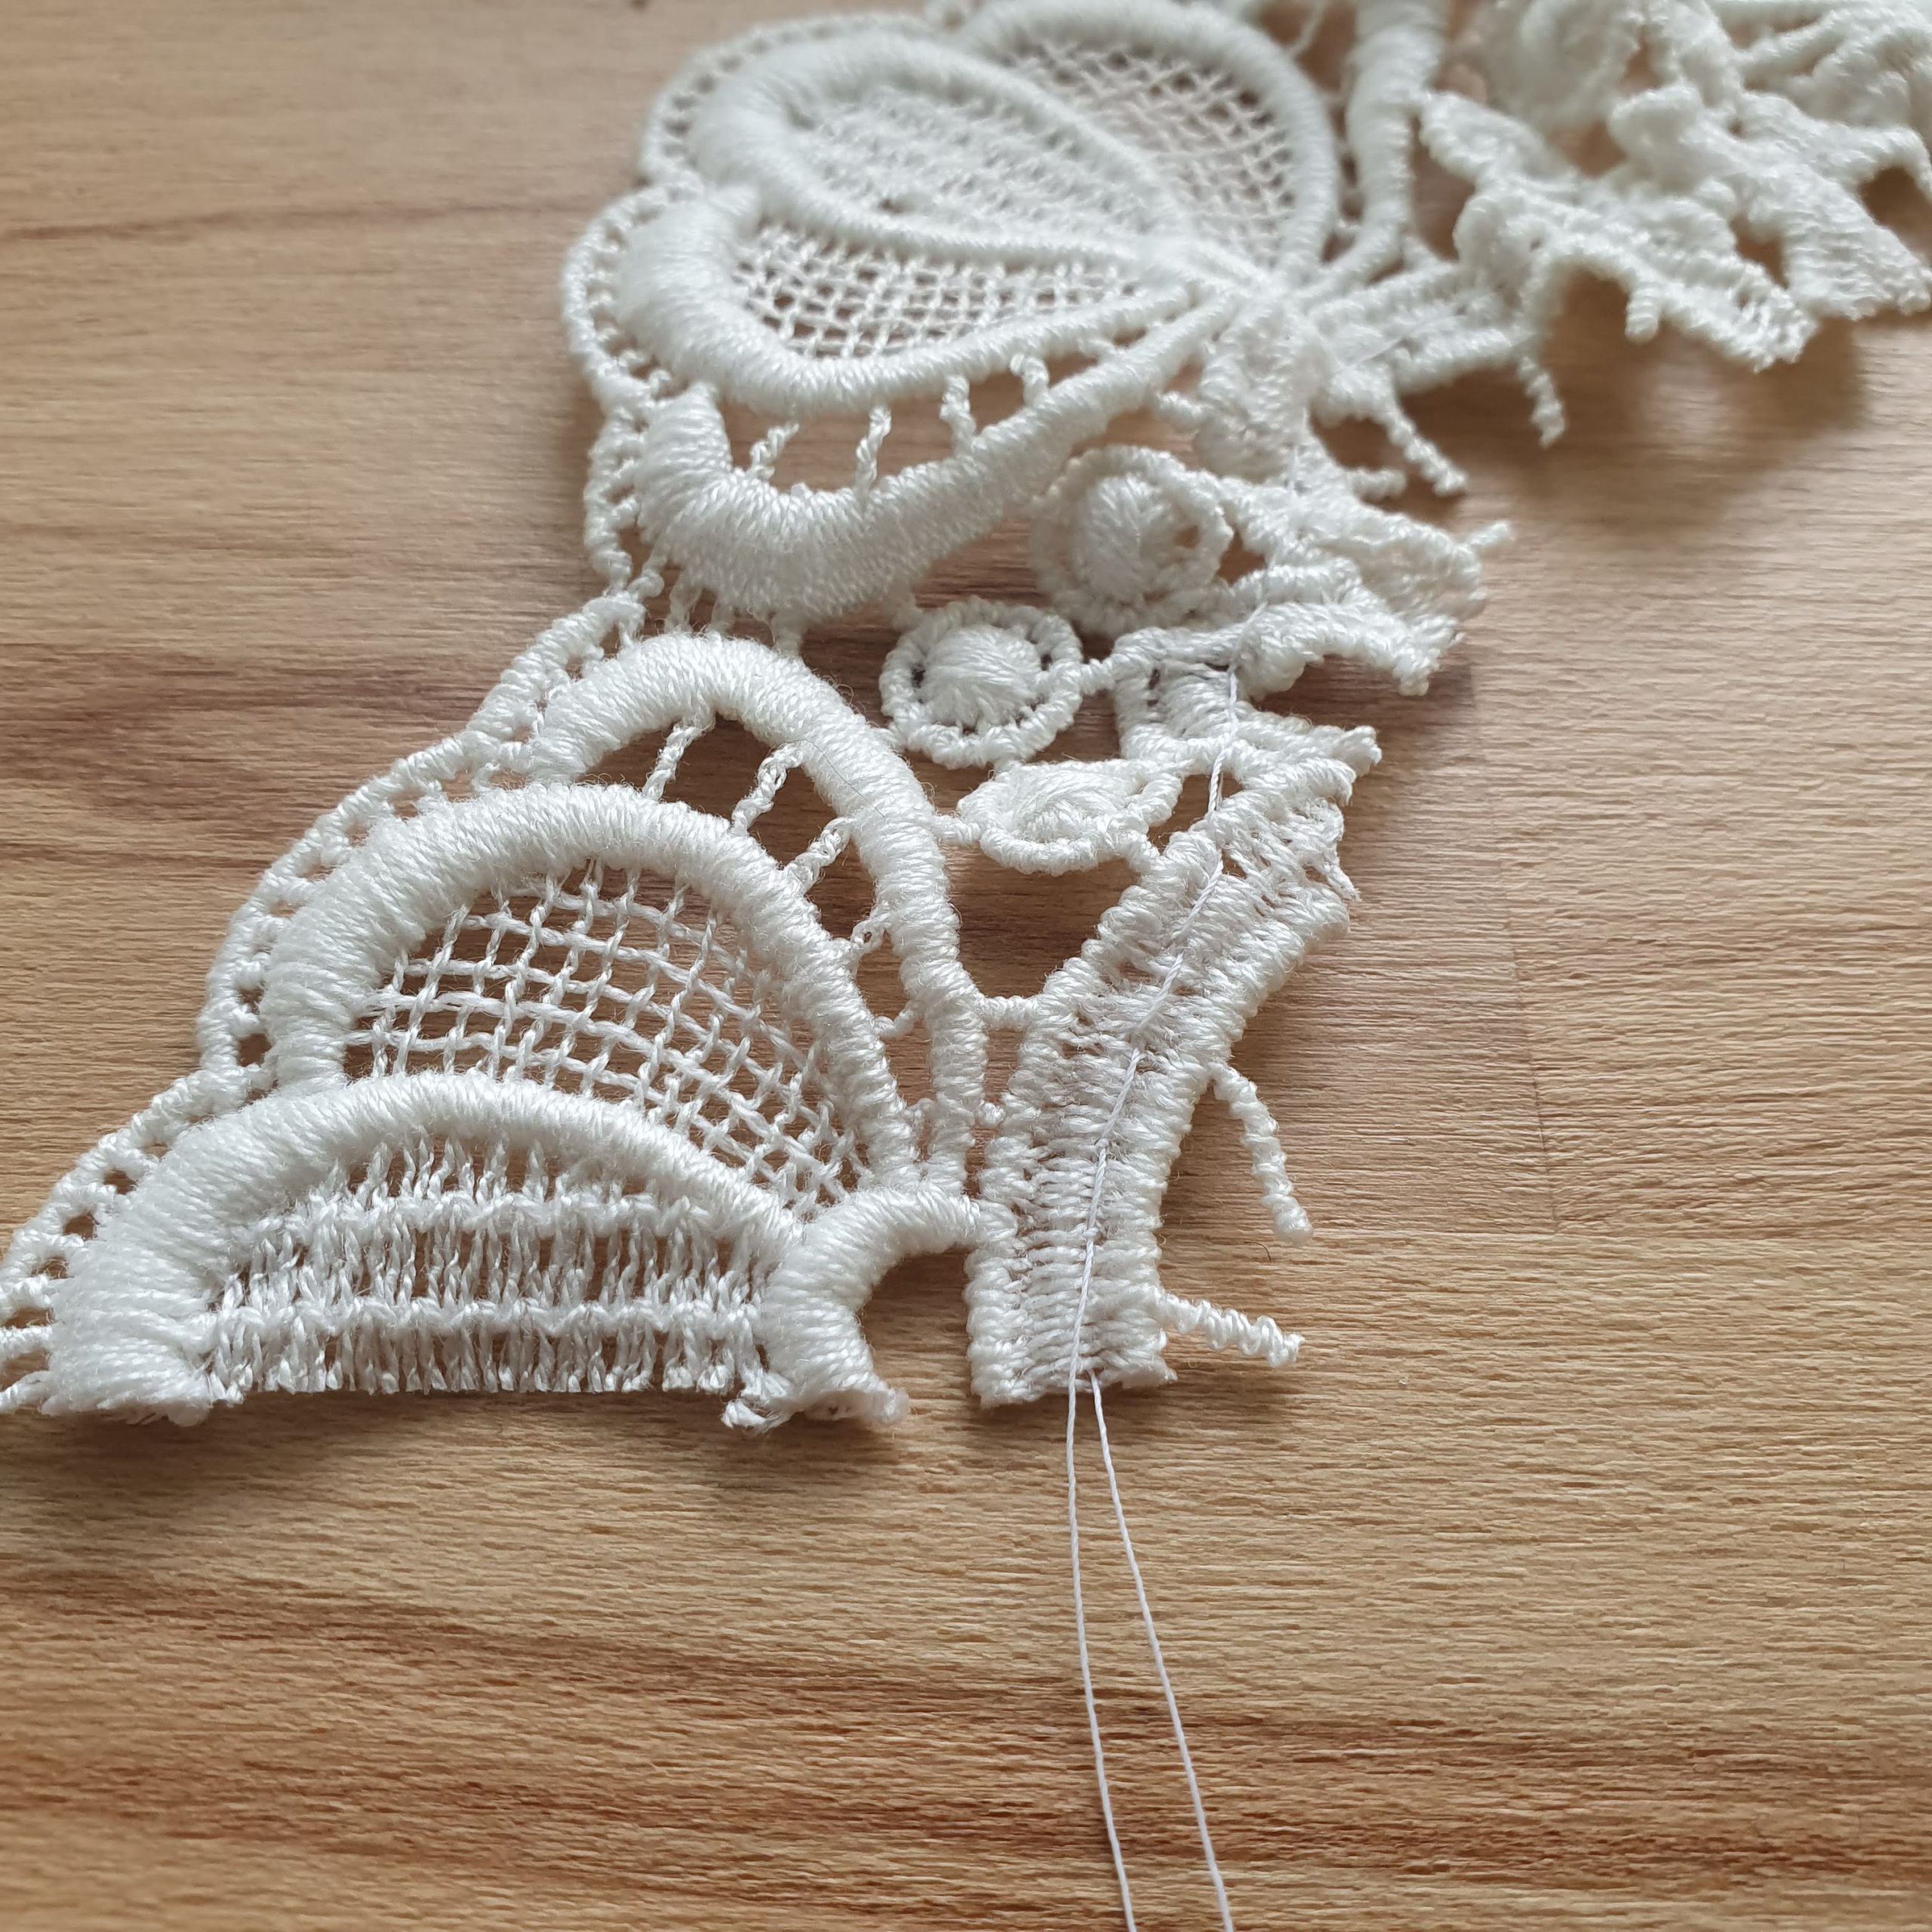
Single thread
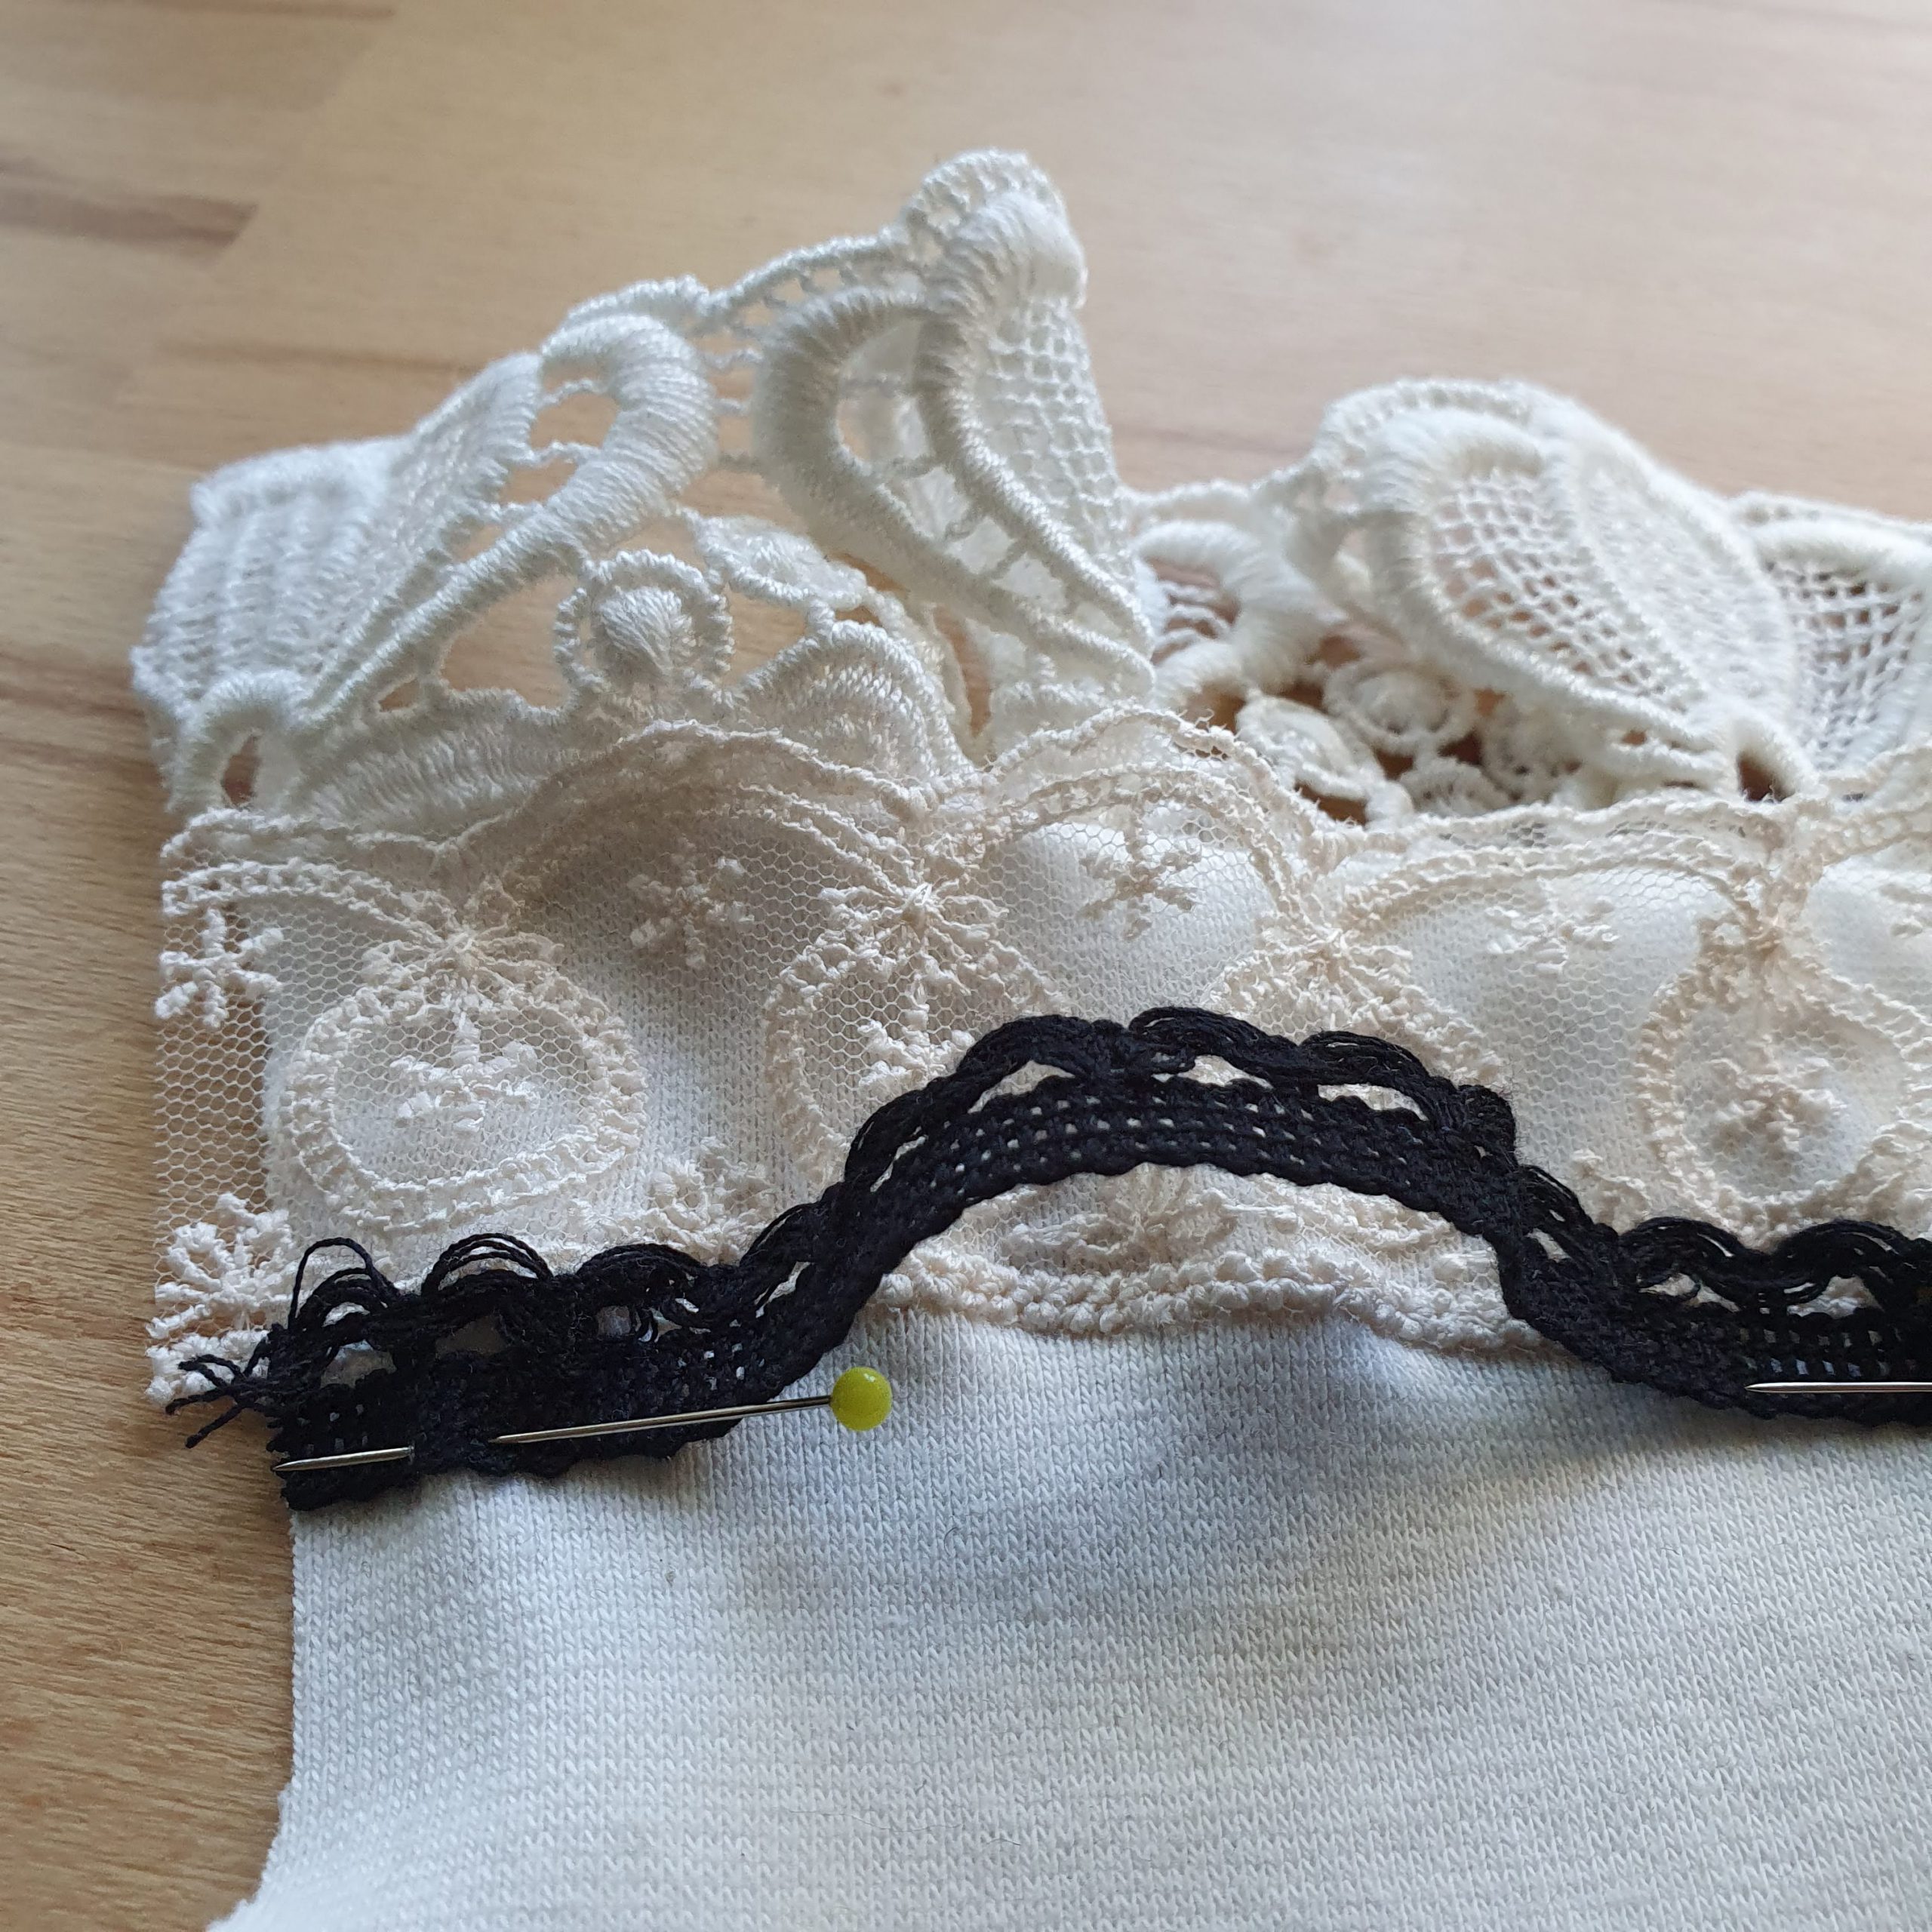
The lace is sewn on 1 cm from the edge with the right sides together. Then I fold and iron the seam with the lace. Now it’s time for the first decorative band. If necessary, mark the location with a basting thread.
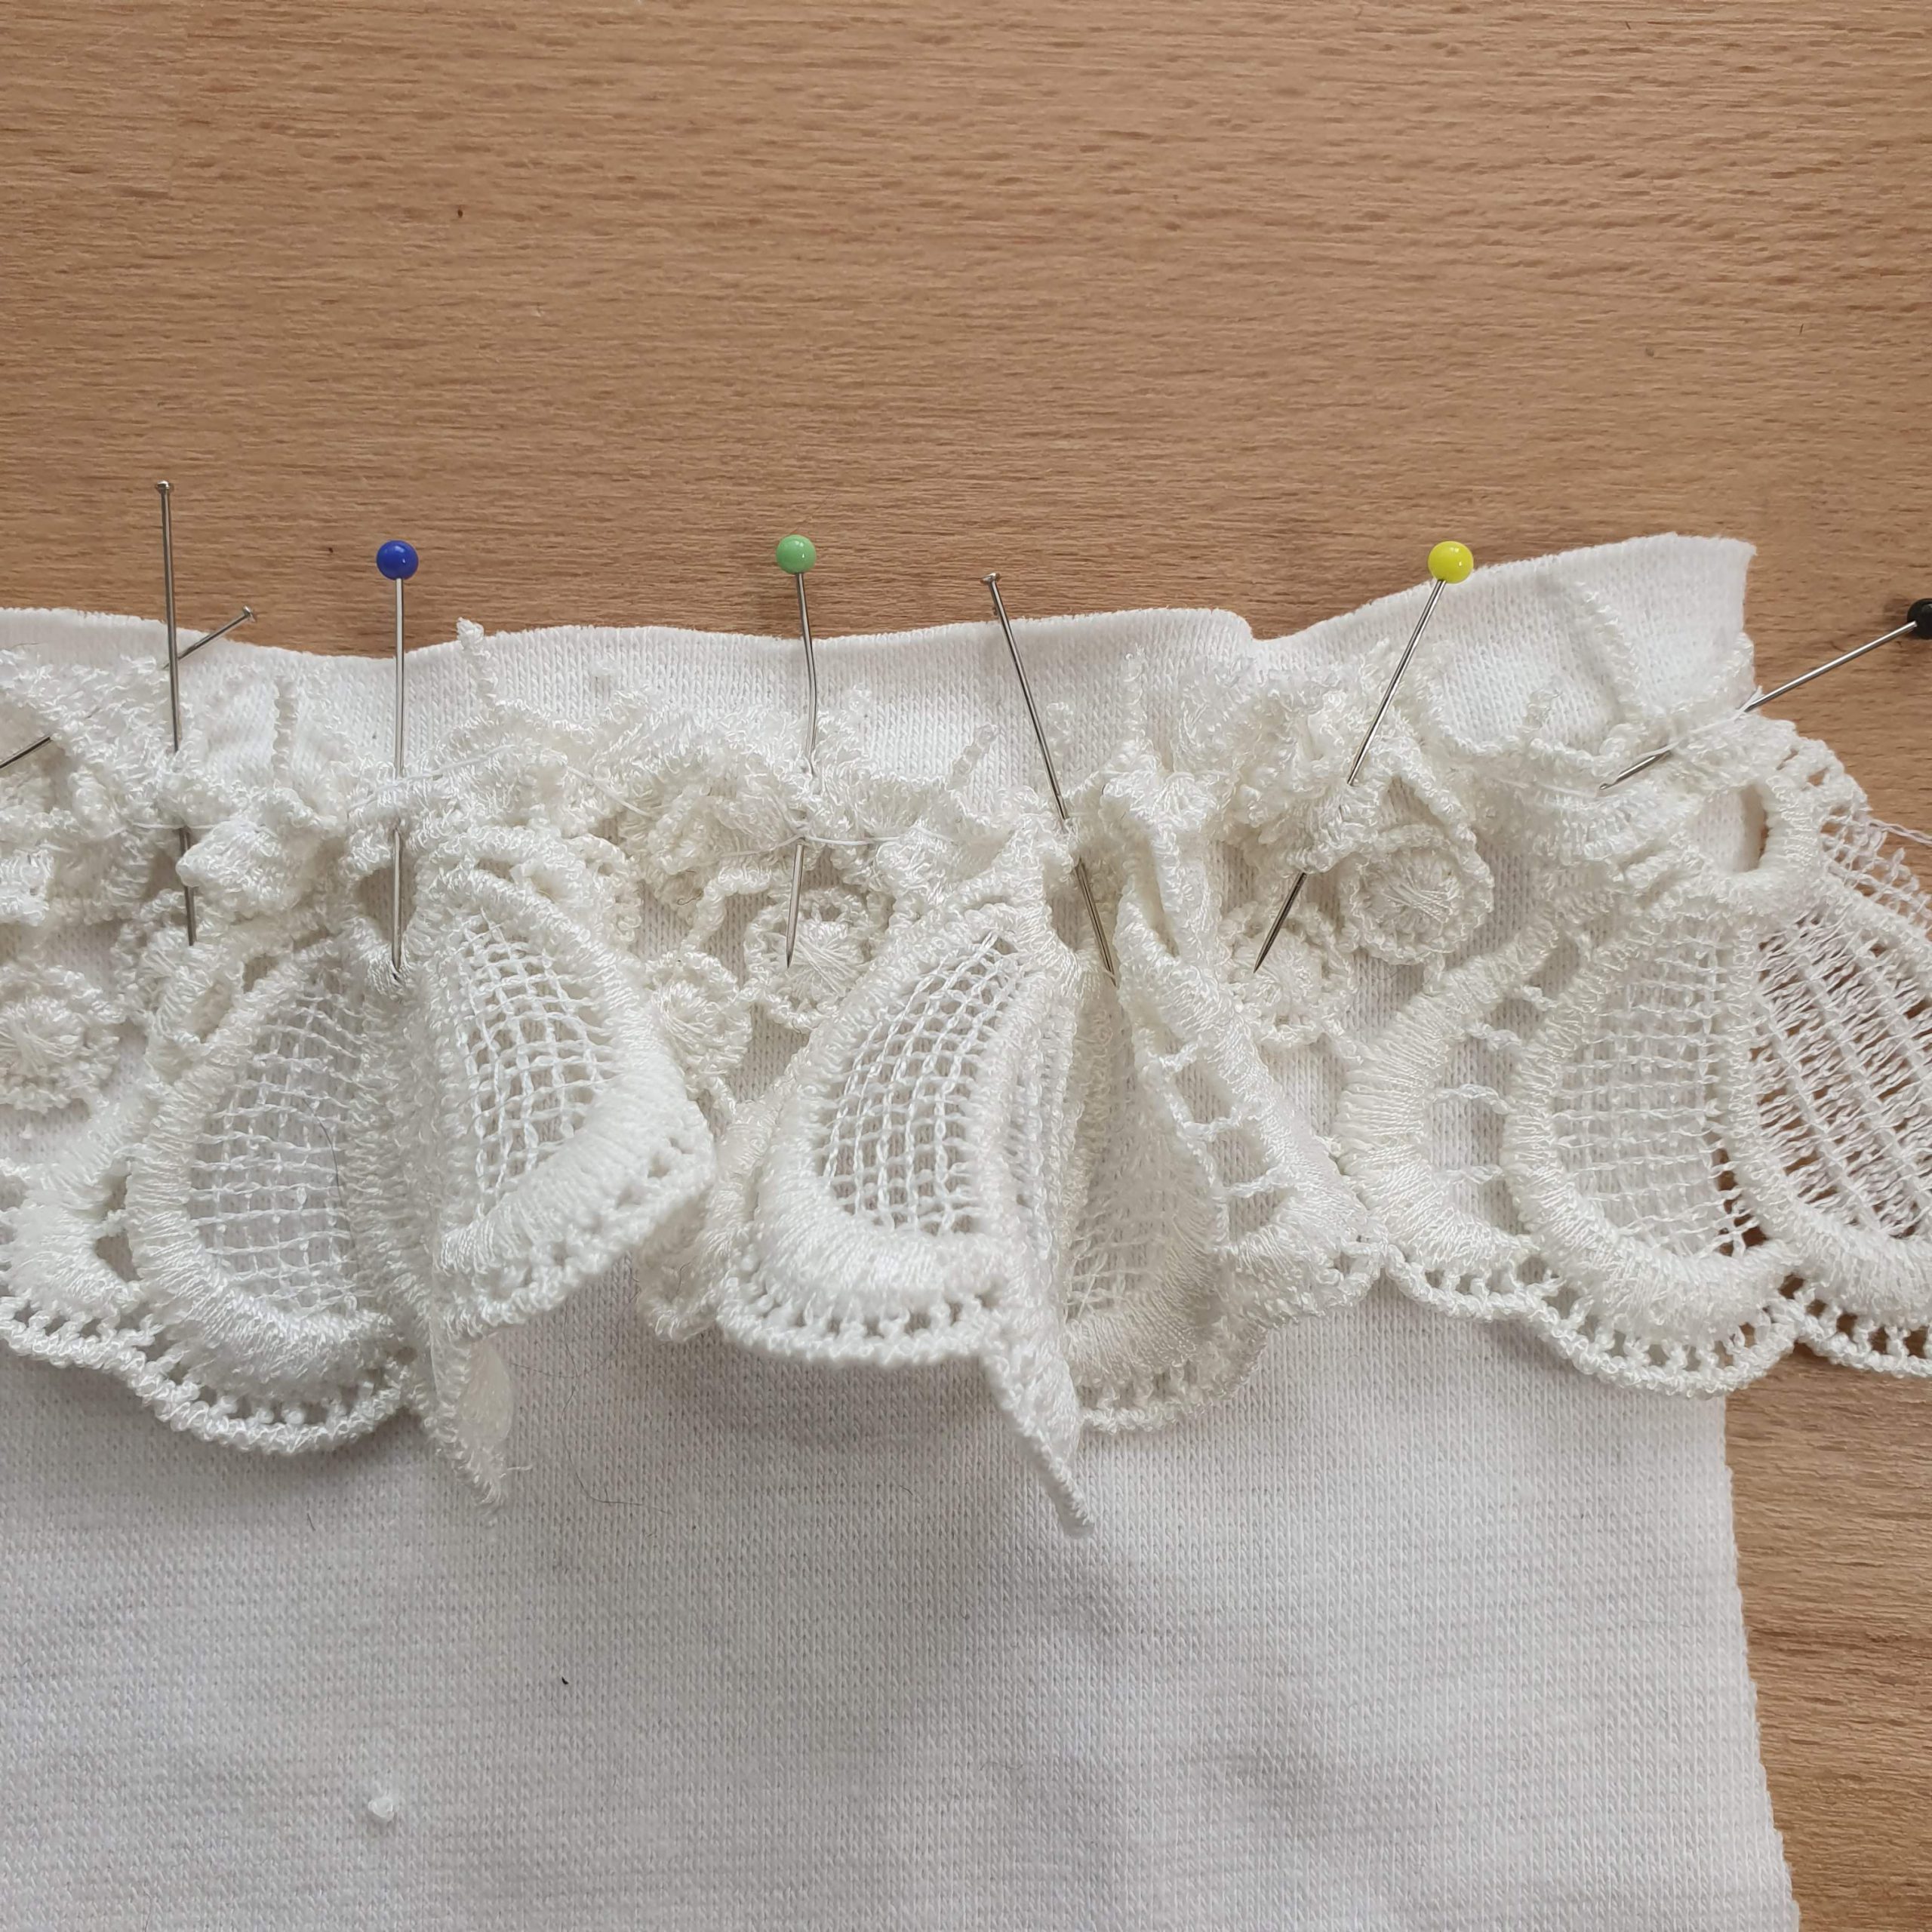
Pinned lace
Stitch at 1 cm
Fold and iron
Trim
Pin the centre of the first trim to the centre of the wrist warmer, aligning the ends with the sides. Stretch the wrist warmer slightly while stitching so that the band is stitched flat on it. Use a zigzag stitch or stretchy thread, such as the Seraflex from Mettler. Also use stretch threads on the bobbin and decrease the top tension. Always test the stitch on a sample piece first.
Tip: Mark your bobbin with different thread with a dot of nail polish.
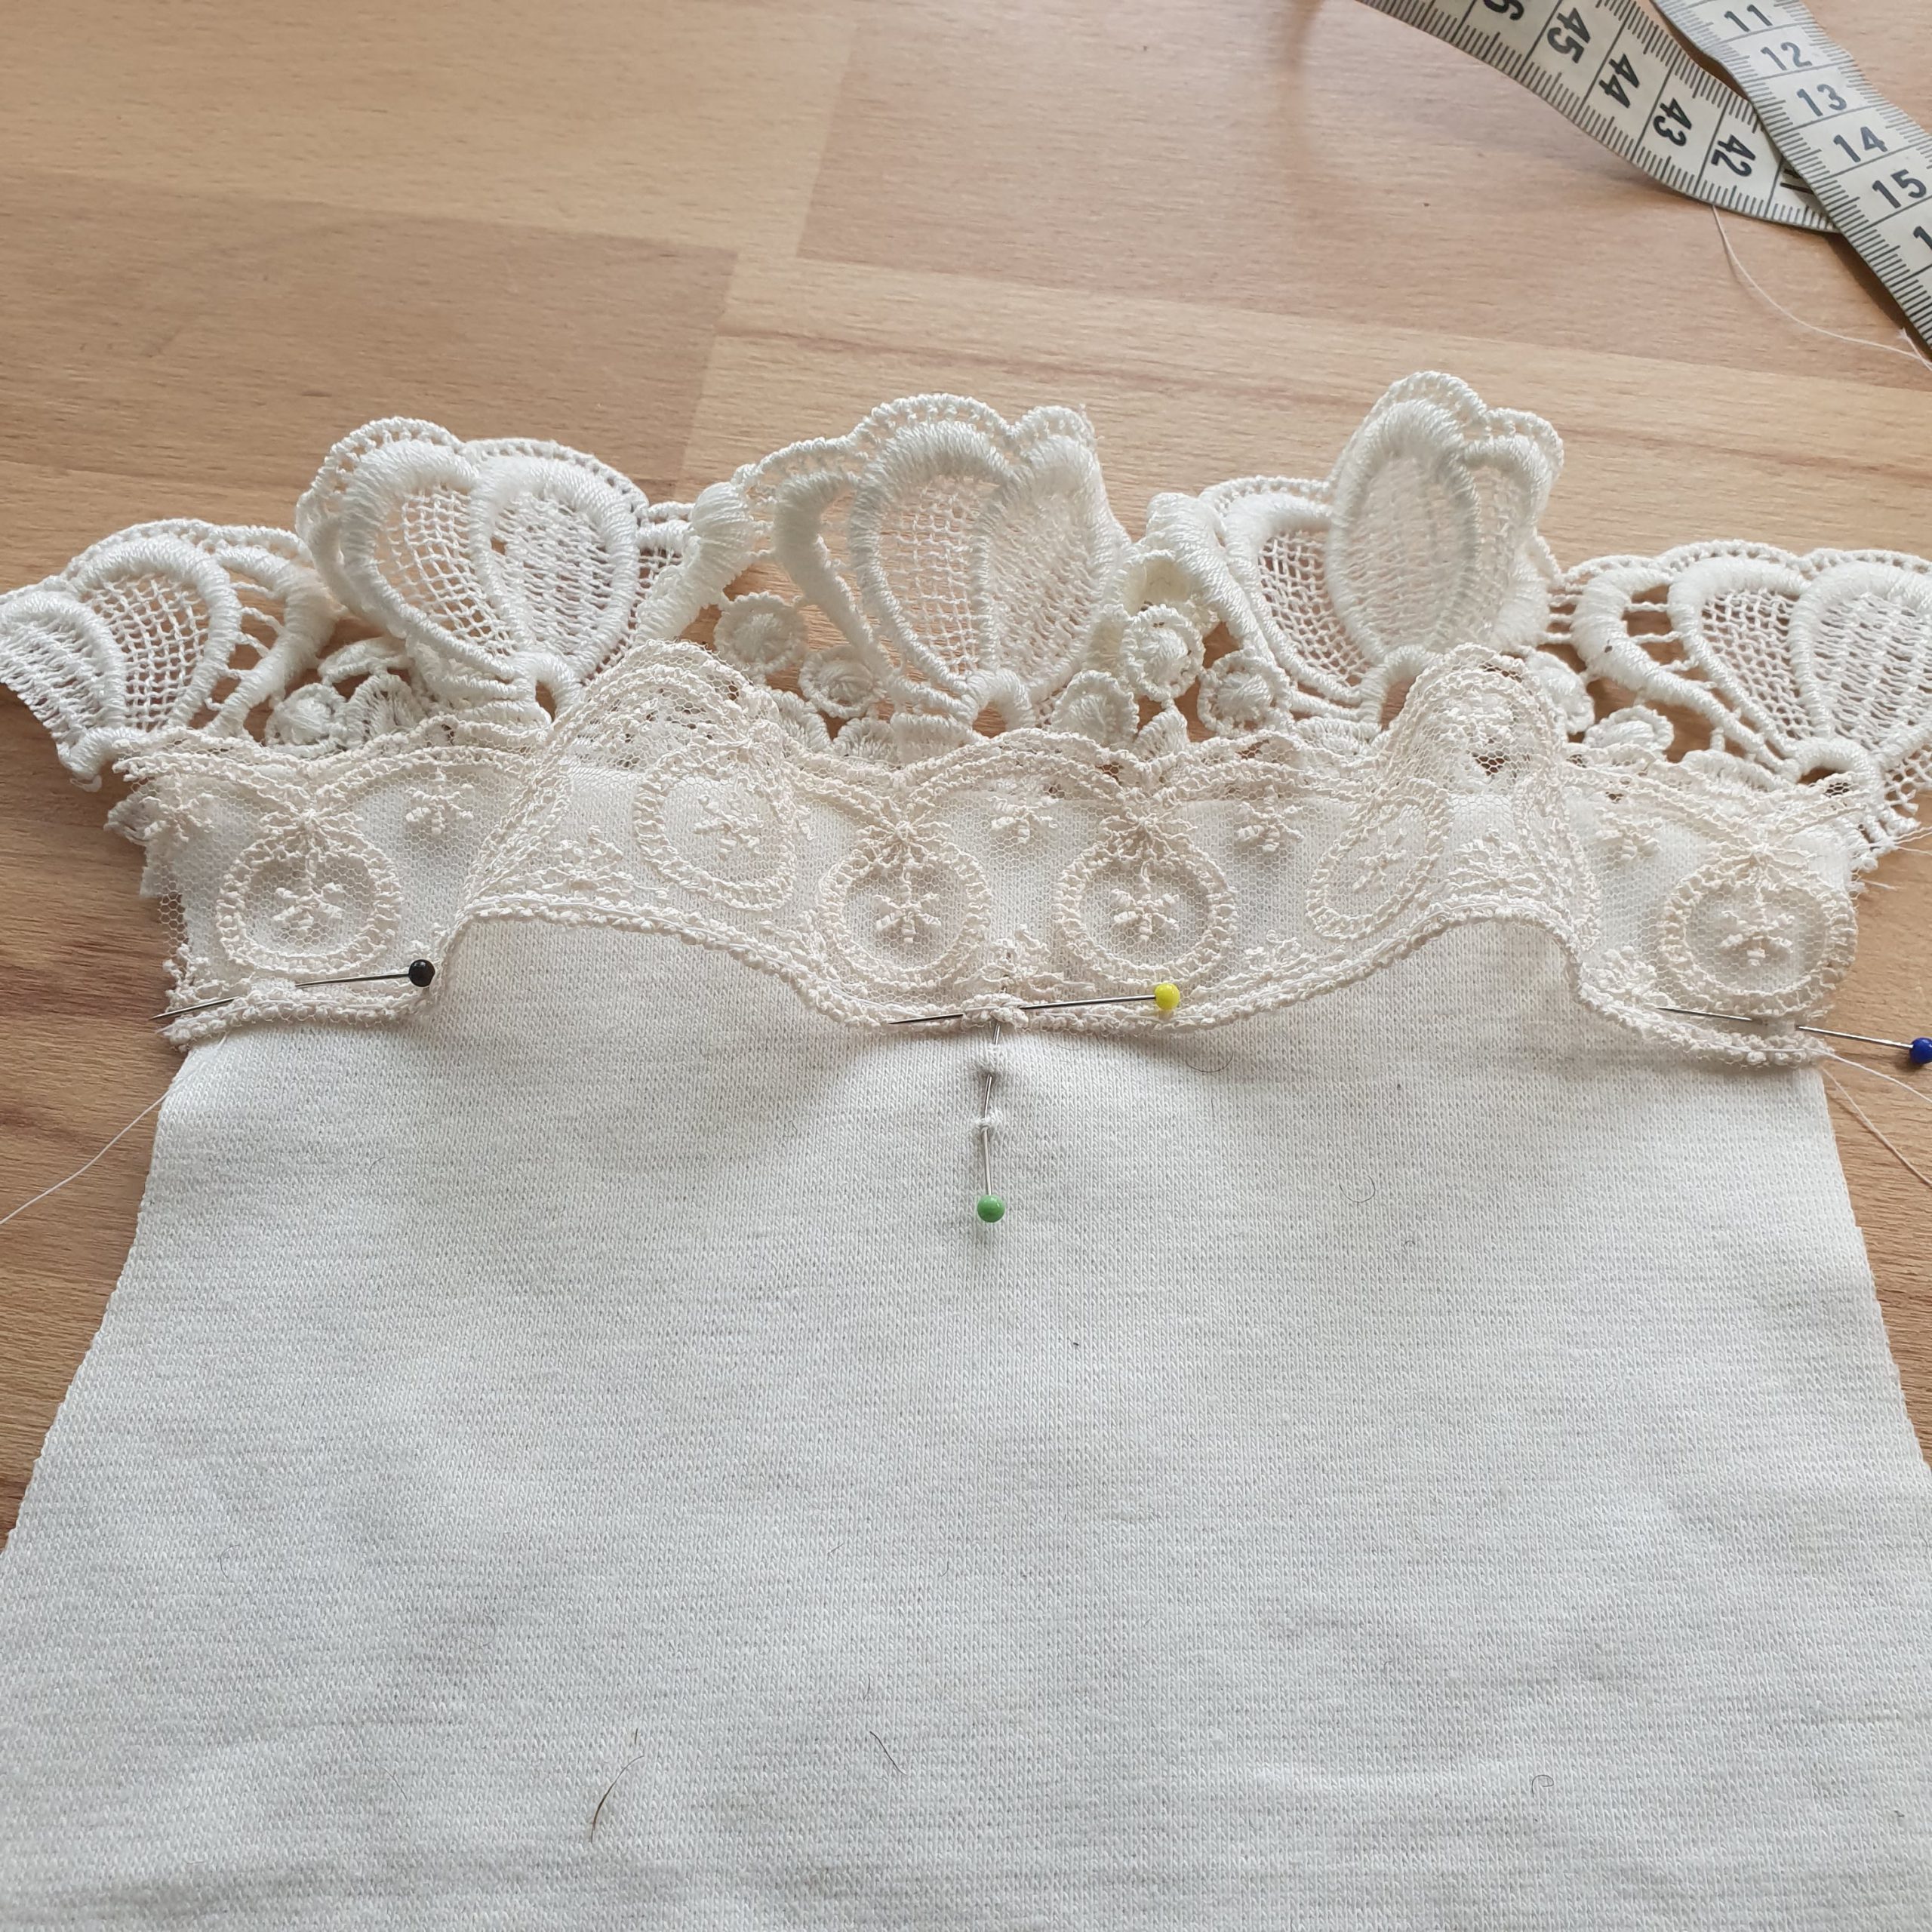
Pin at three places

Stretch a little while sewing
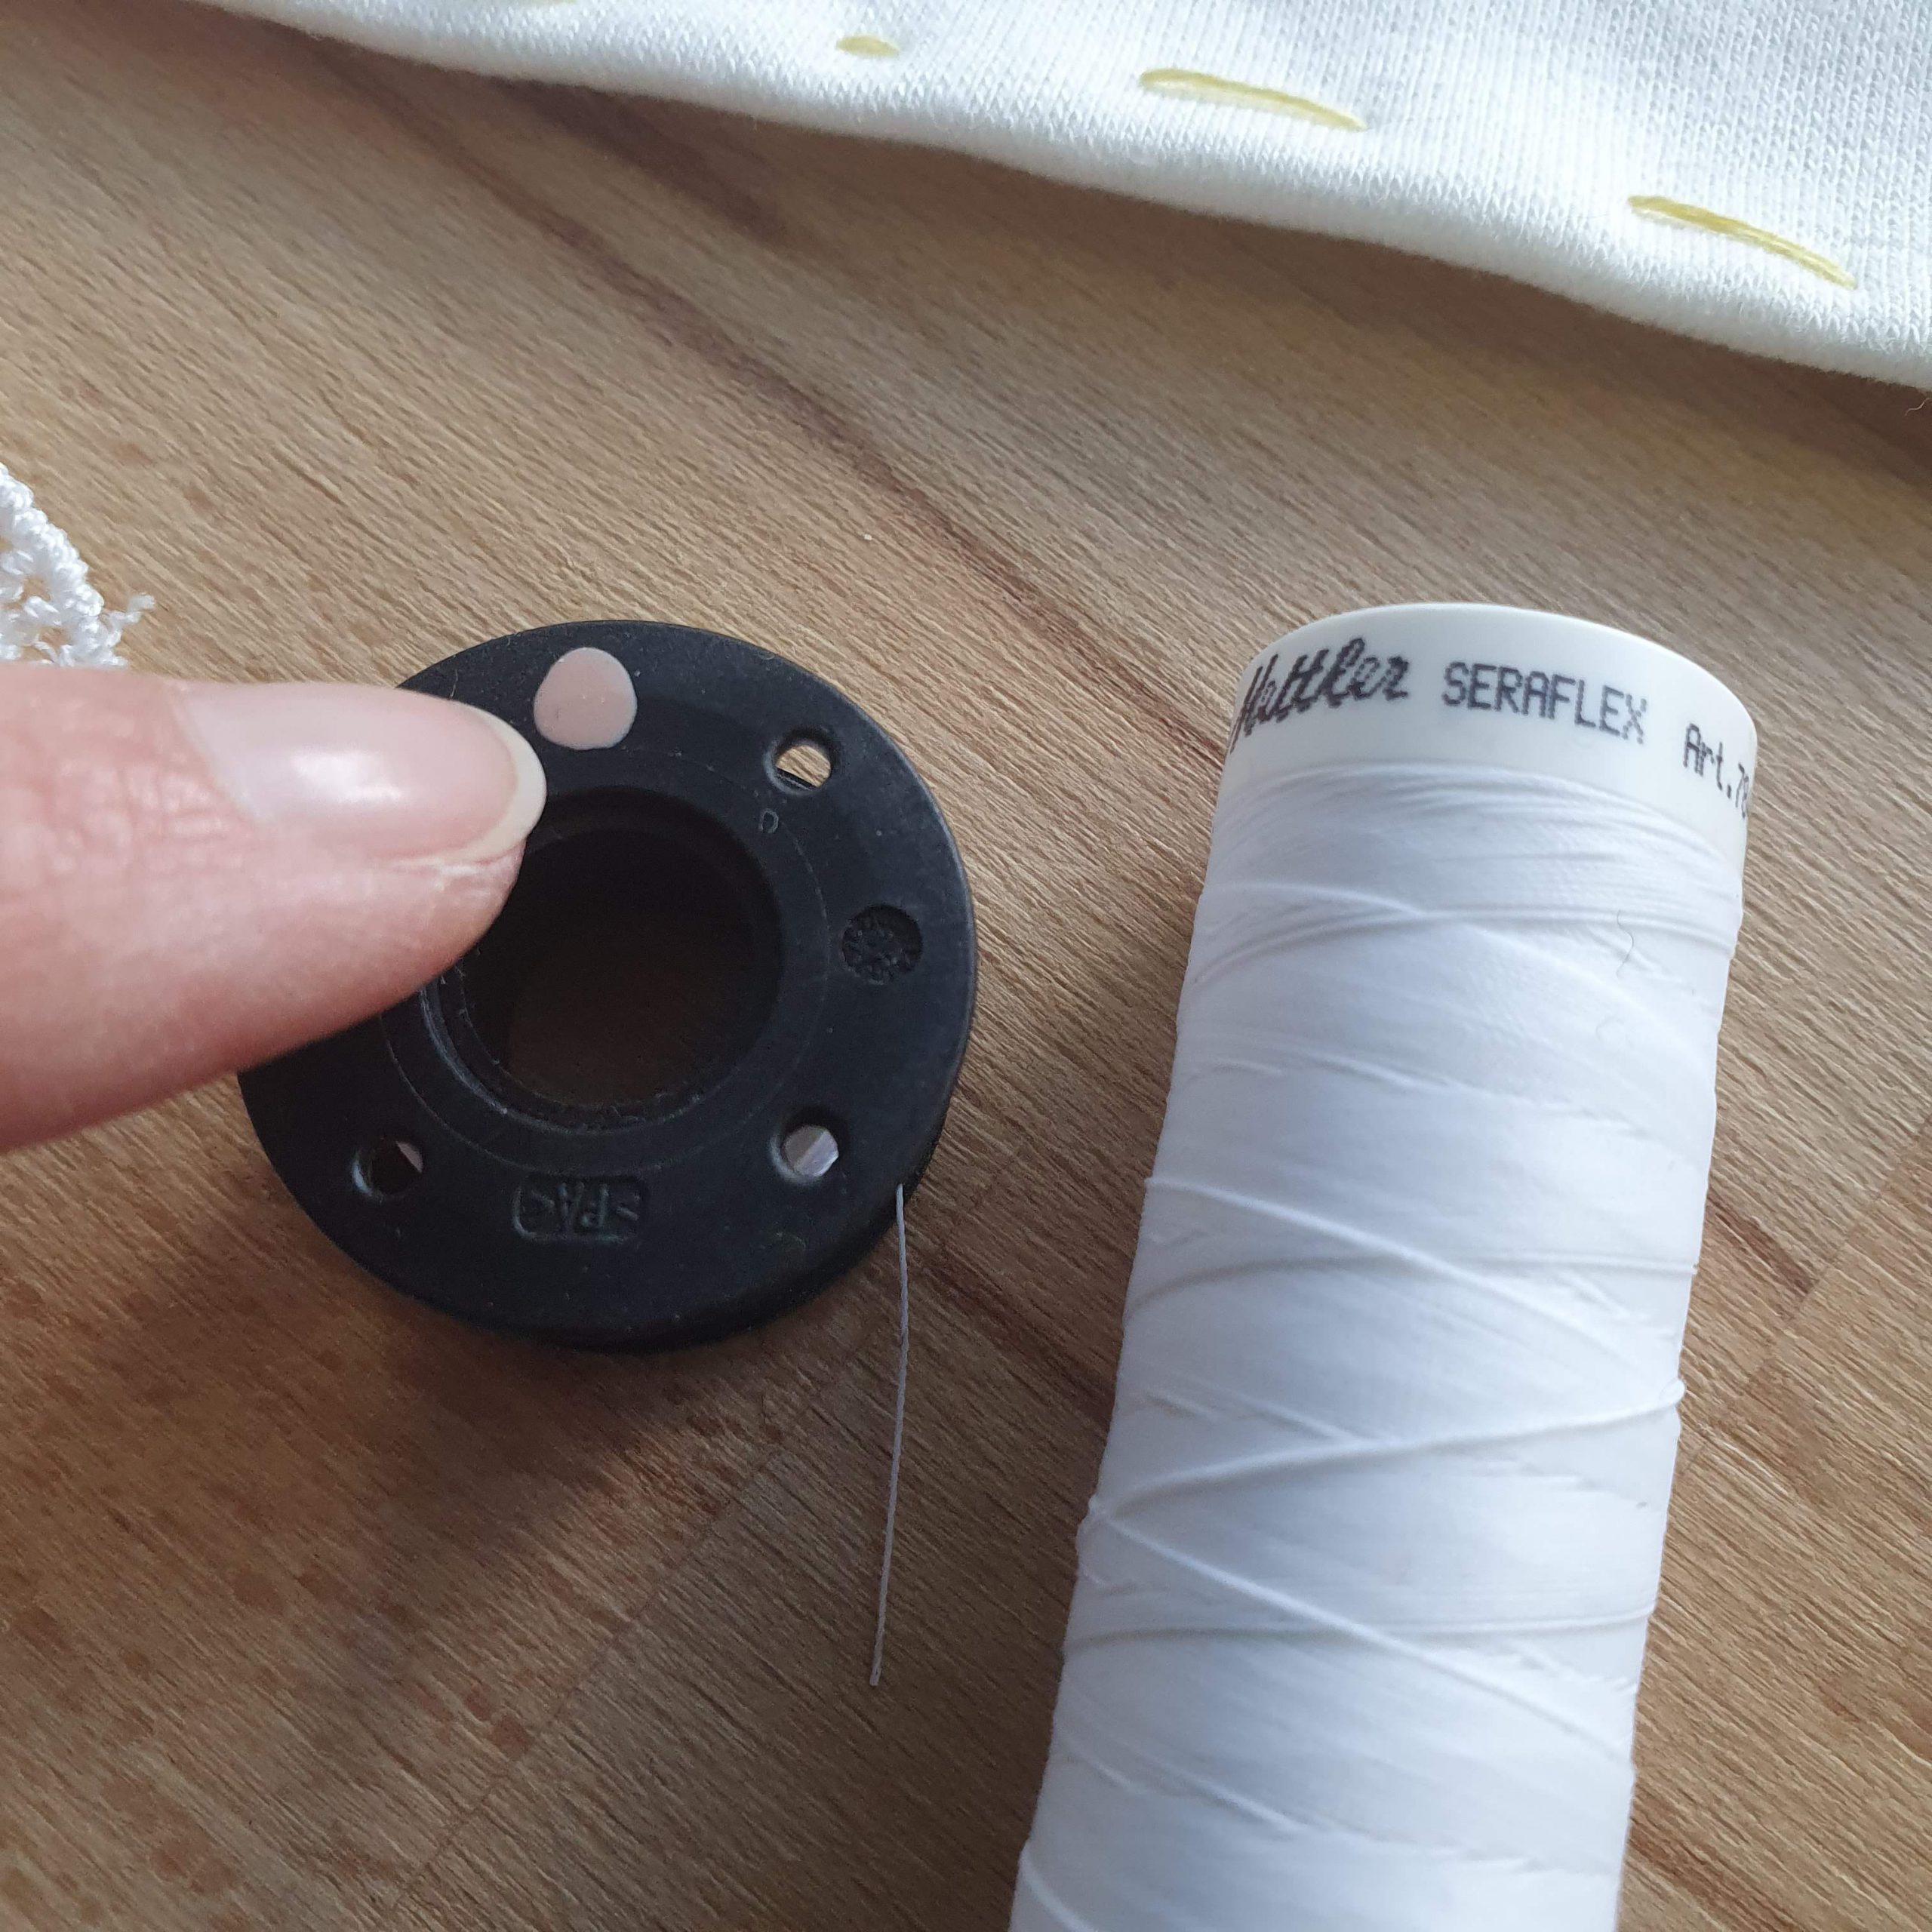
Mark your bobbin
Repeat steps for second trim.
Second trim

Seraflex black
Wrist warmer
With the Victorian inspired decoration in place, close the wrist warmer. Pin the long sides together. Make sure that the trims in the seam match nicely. To do this, insert the pins perpendicular to the stitching line. To prevent slipping, carefully (!) stitch over the pins.
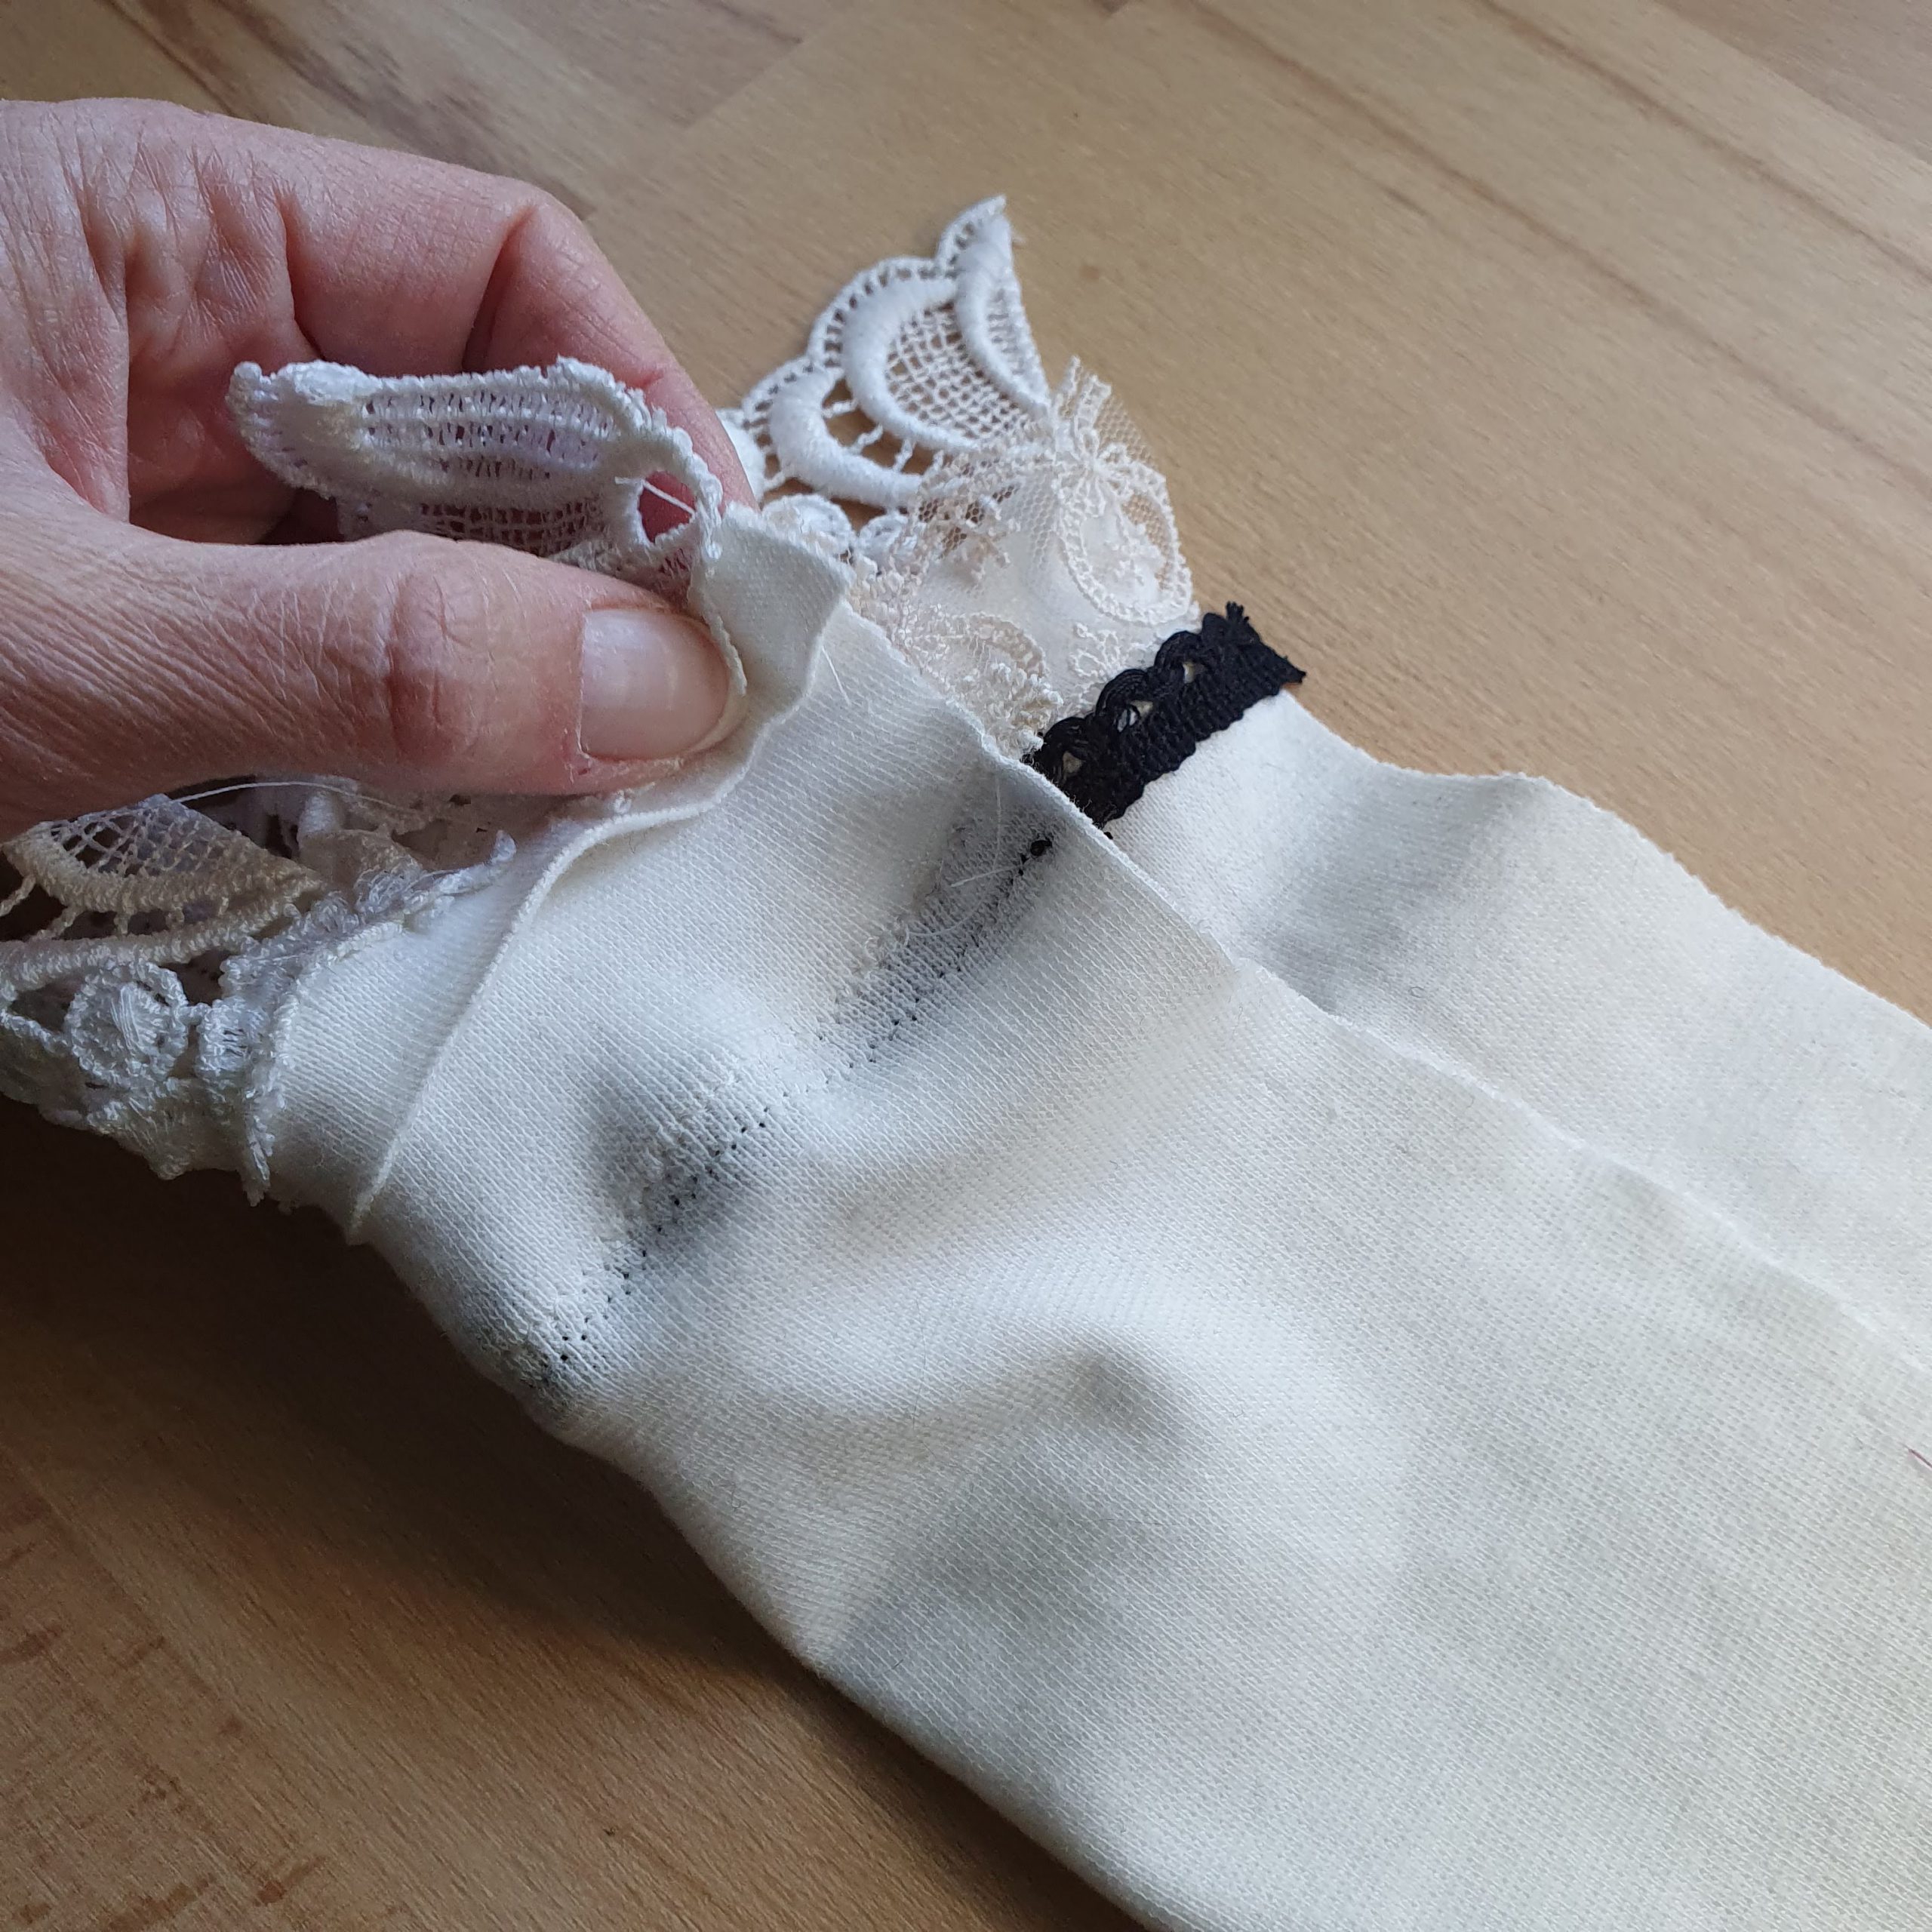
Long sides together

Match trims in the seam

Carefully stitch over the pins
Iron the seam open. I use the Tailor’s topper for this. Finally, stitch the top seam, possibly with a twin needle. The wrist warmers are ready! You could also wear them folded as a cool cuff. Makes an outfit just that little bit different. #sewmystyle
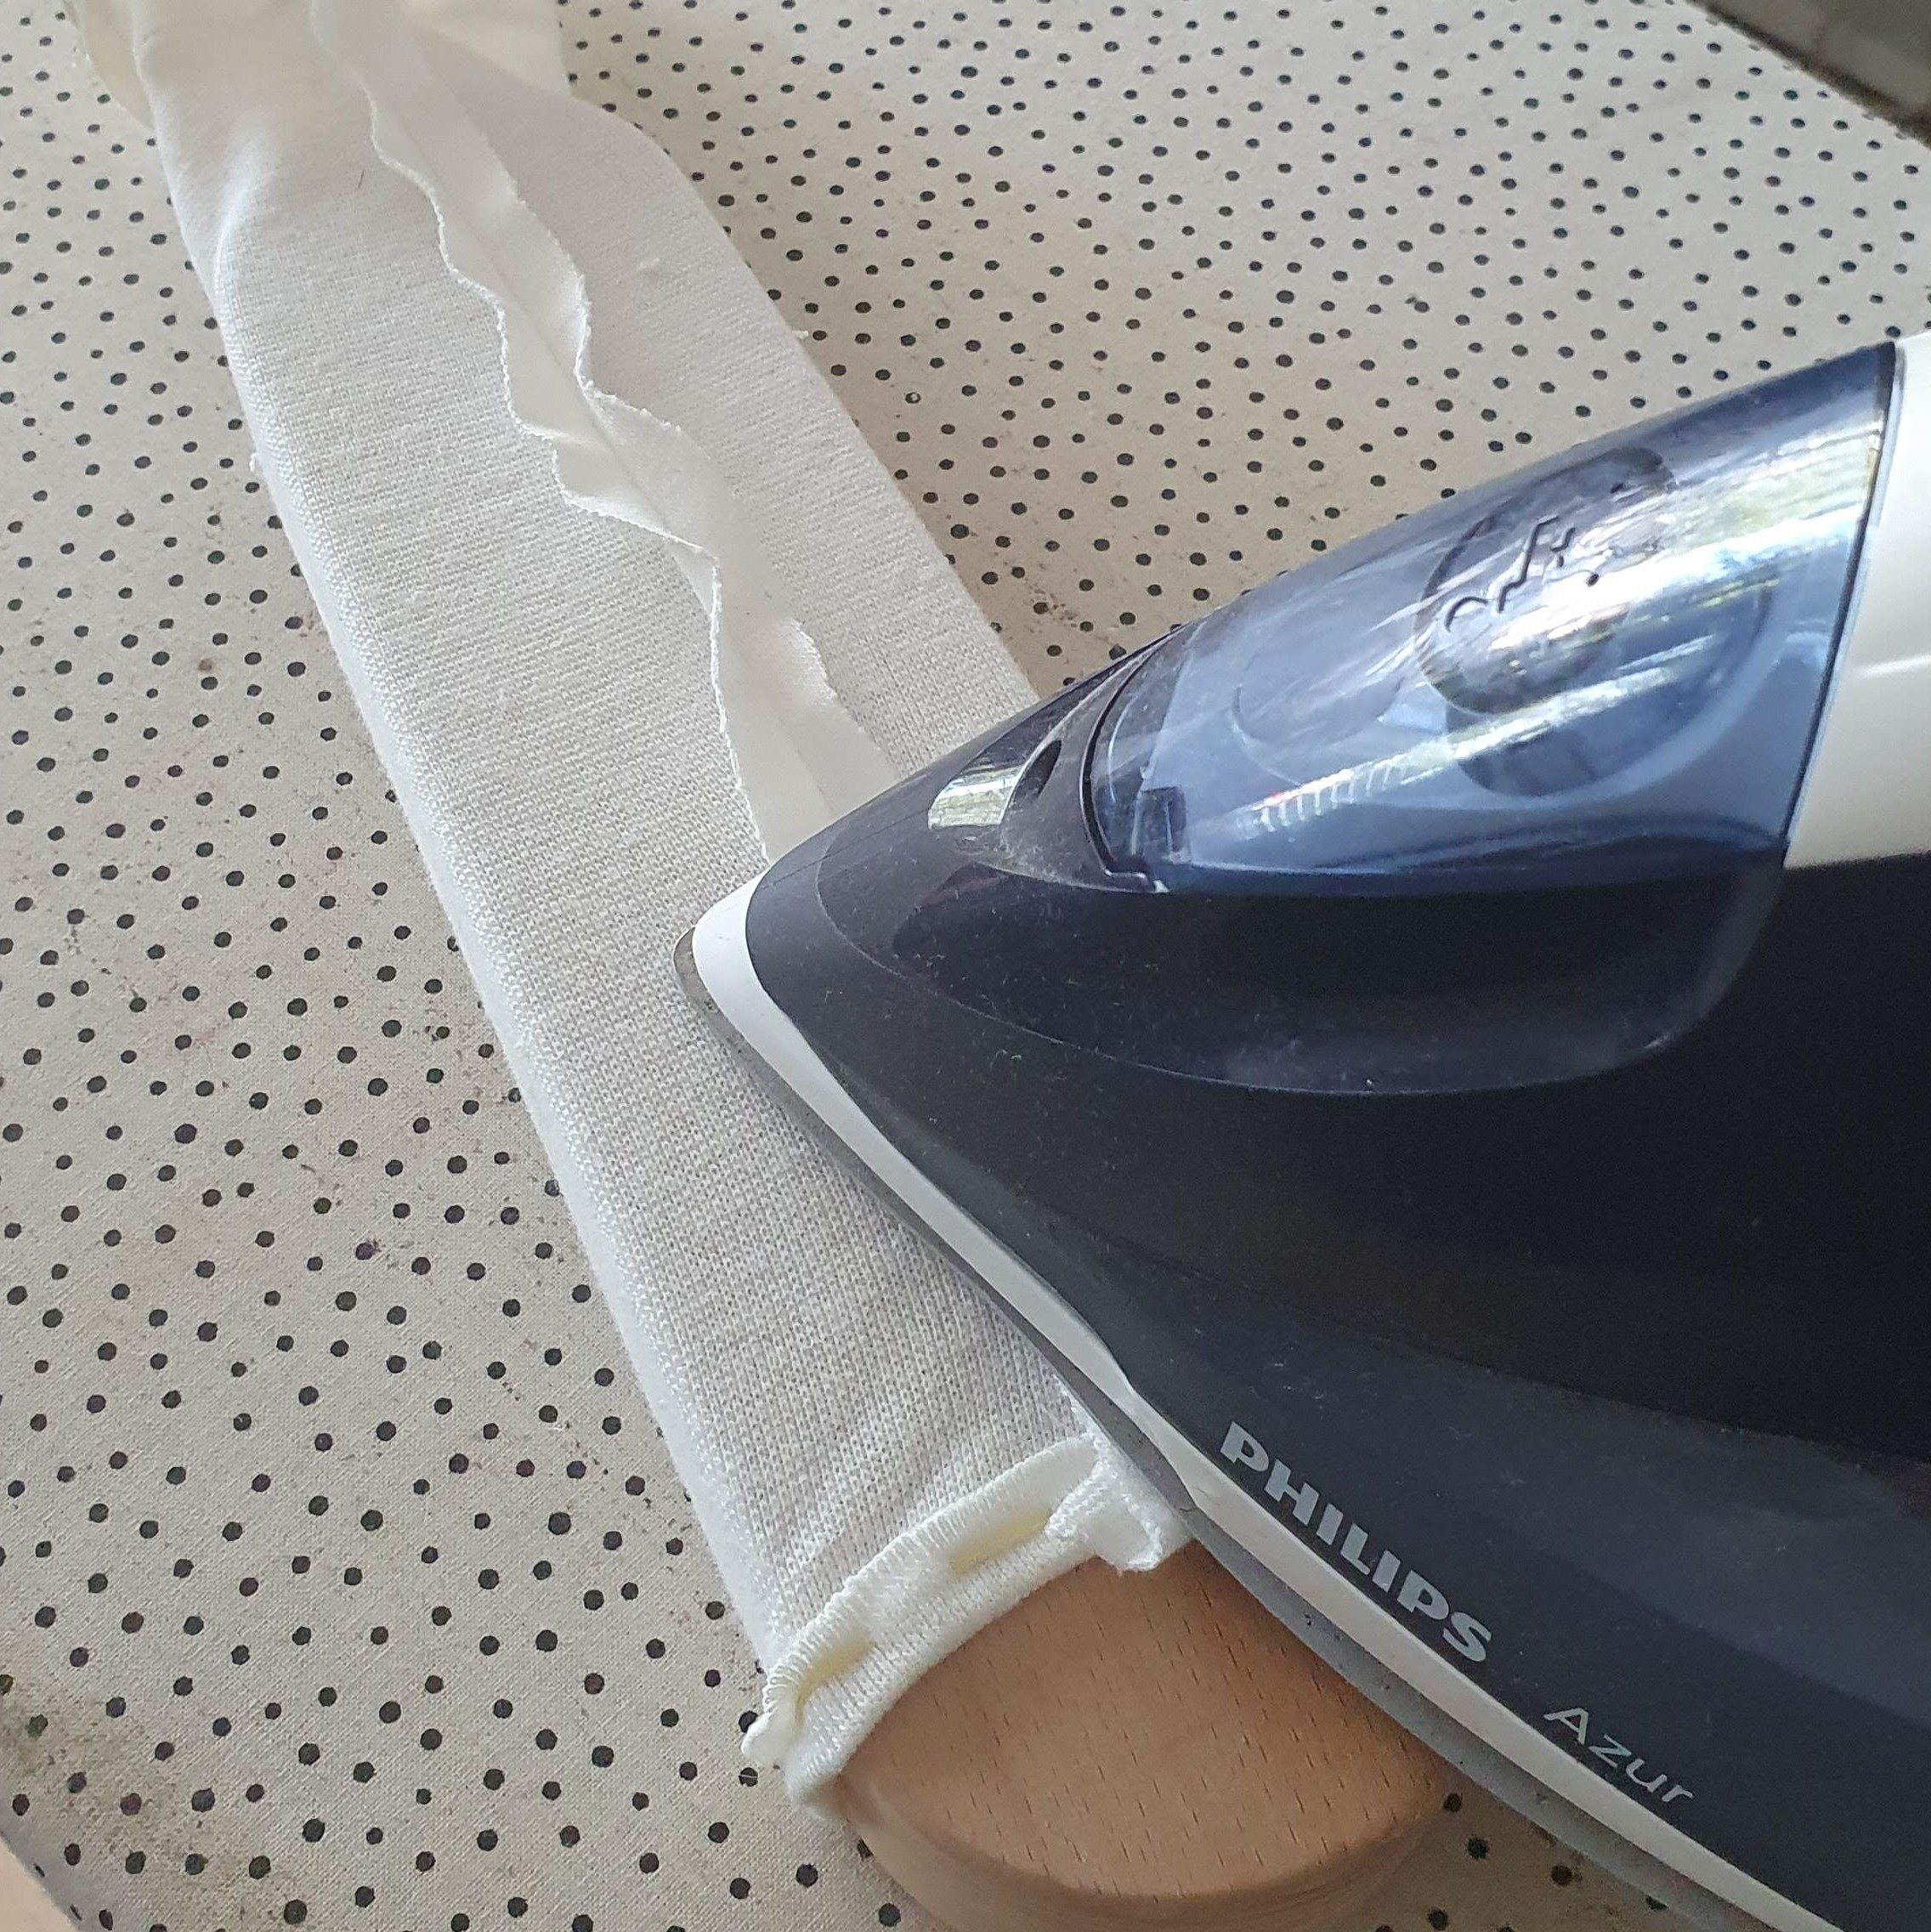
Iron seam

Short and long

Such a fun accessory
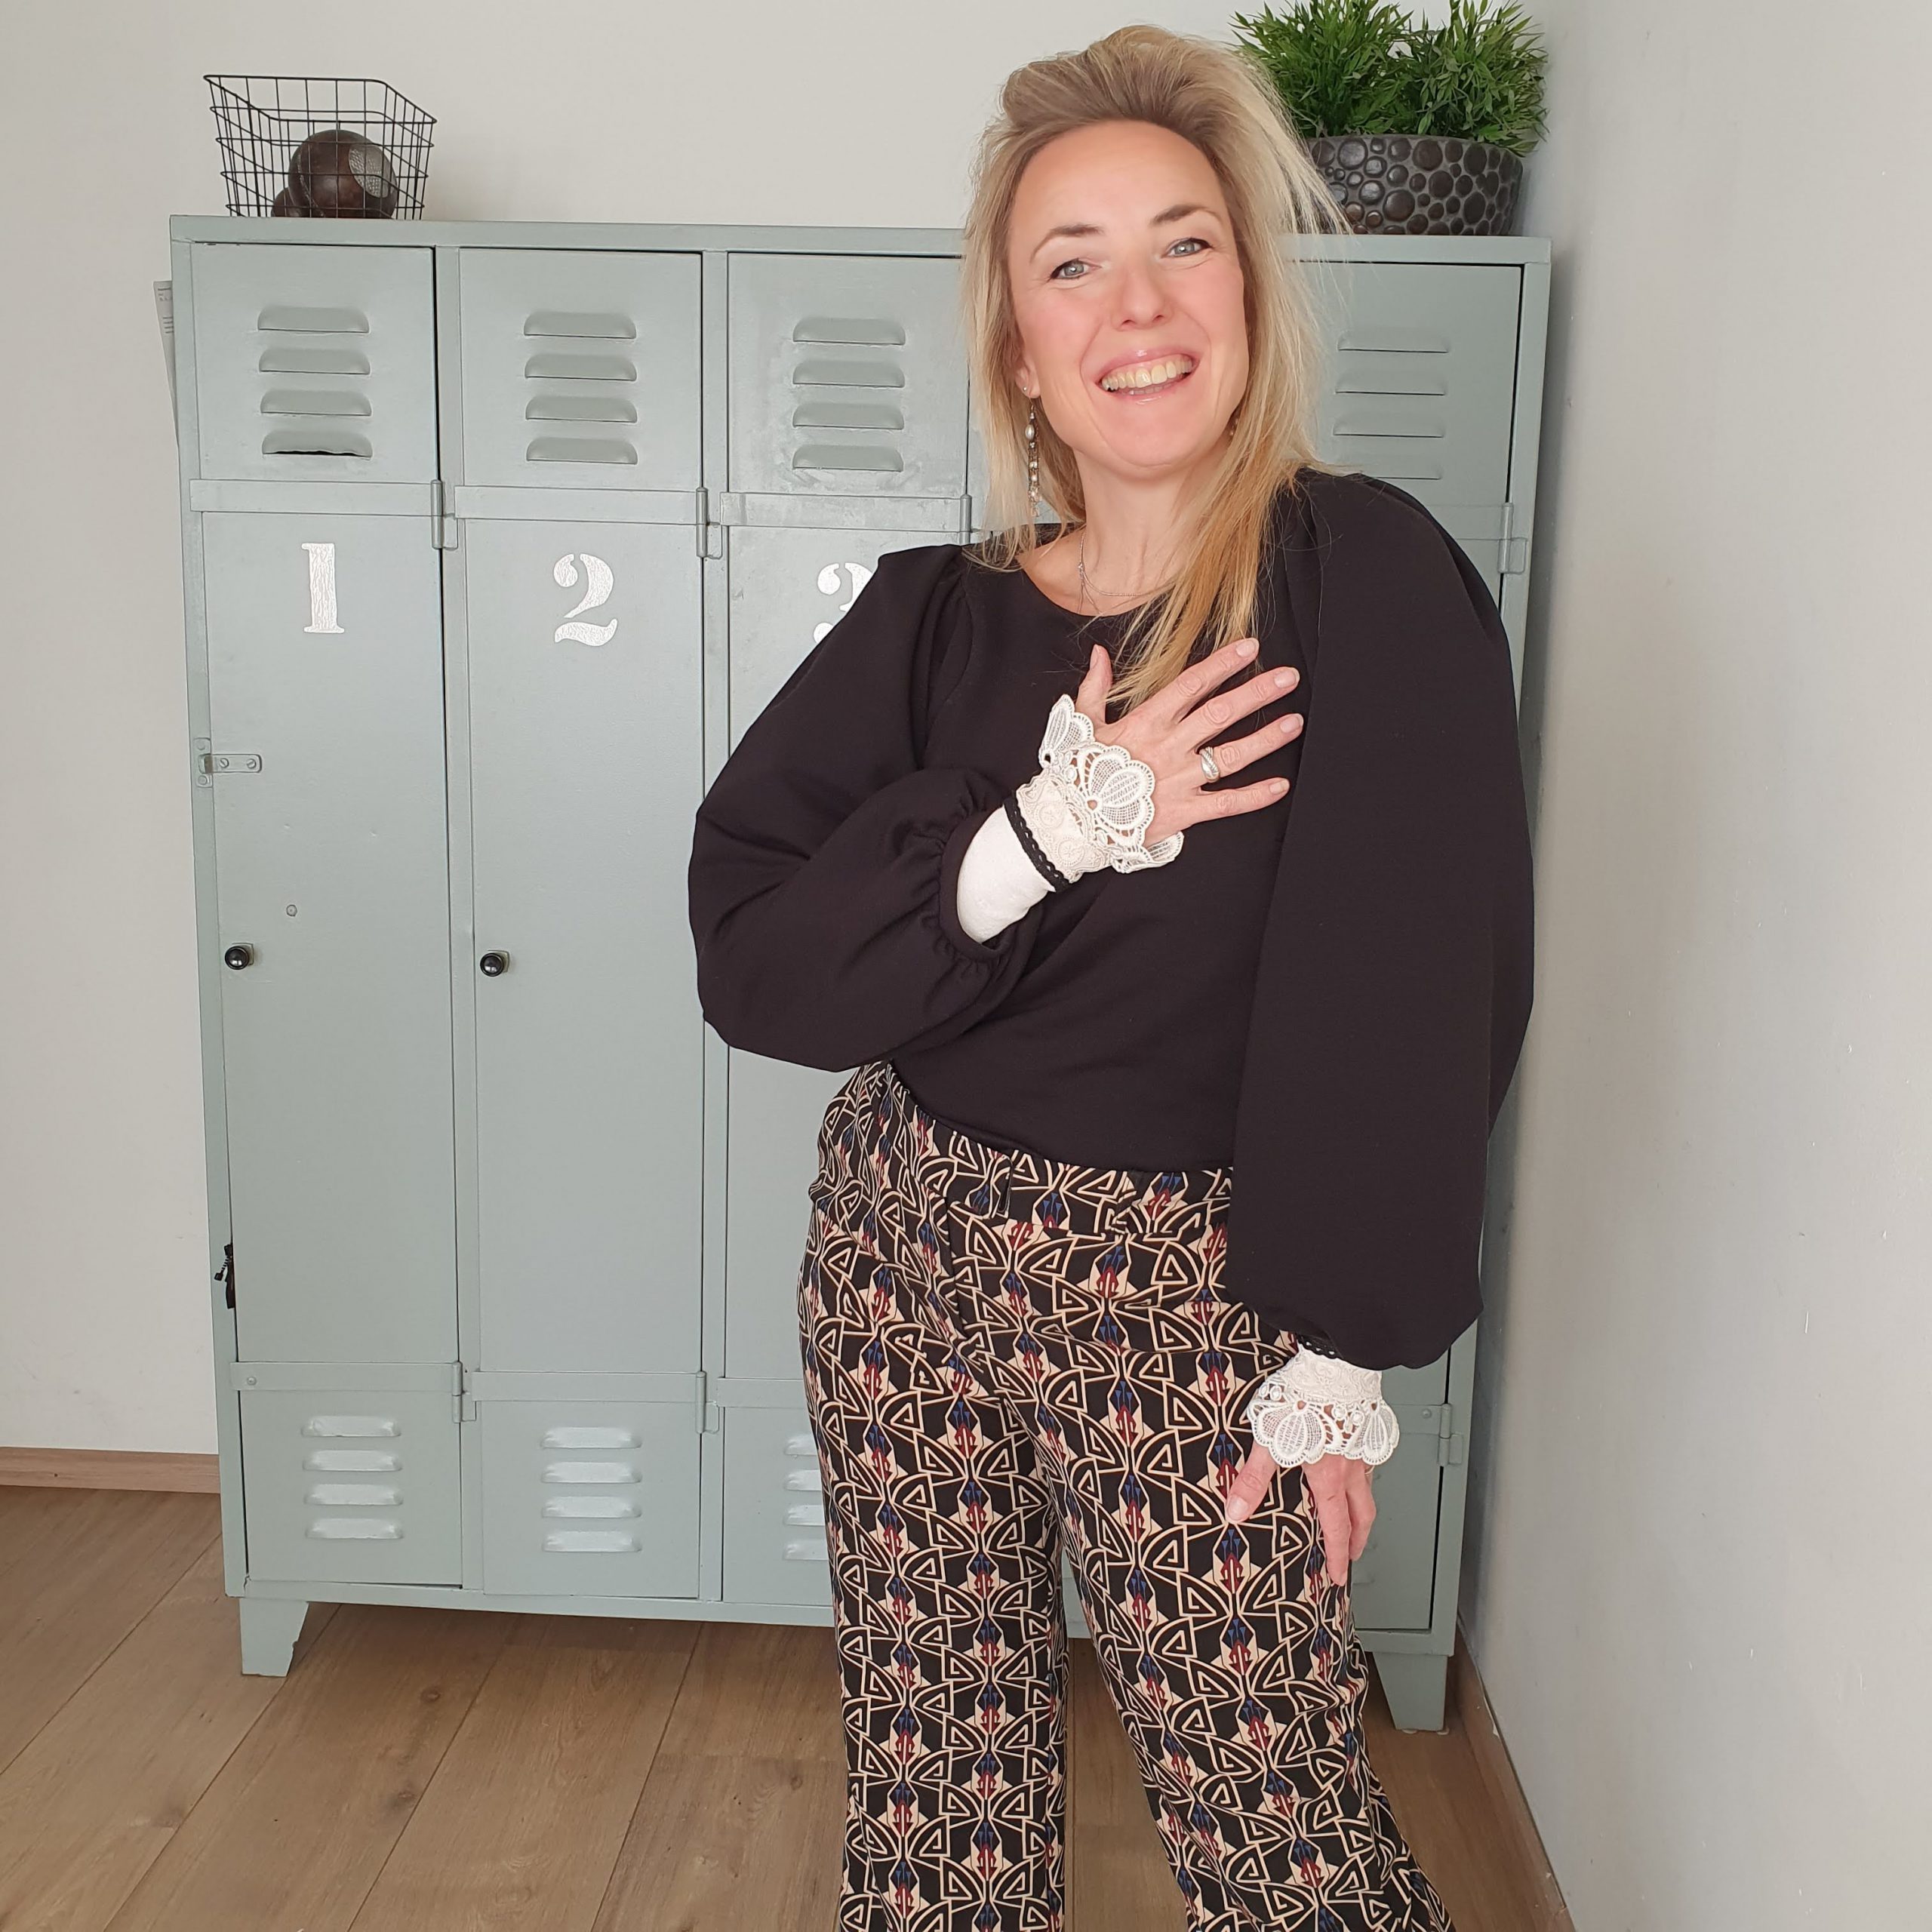
Slightly different
Love,
Marlies


0 Responses