 BERNINA Corporate Blog -
Welcome to my second part of the Tilly and the Buttons Indigo Dress sew-along.
Attaching the sleeves to the dress!
I think this maybe the trickiest part of the dress! but we can do this!!! pins and lots of small Tea breaks maybe required!
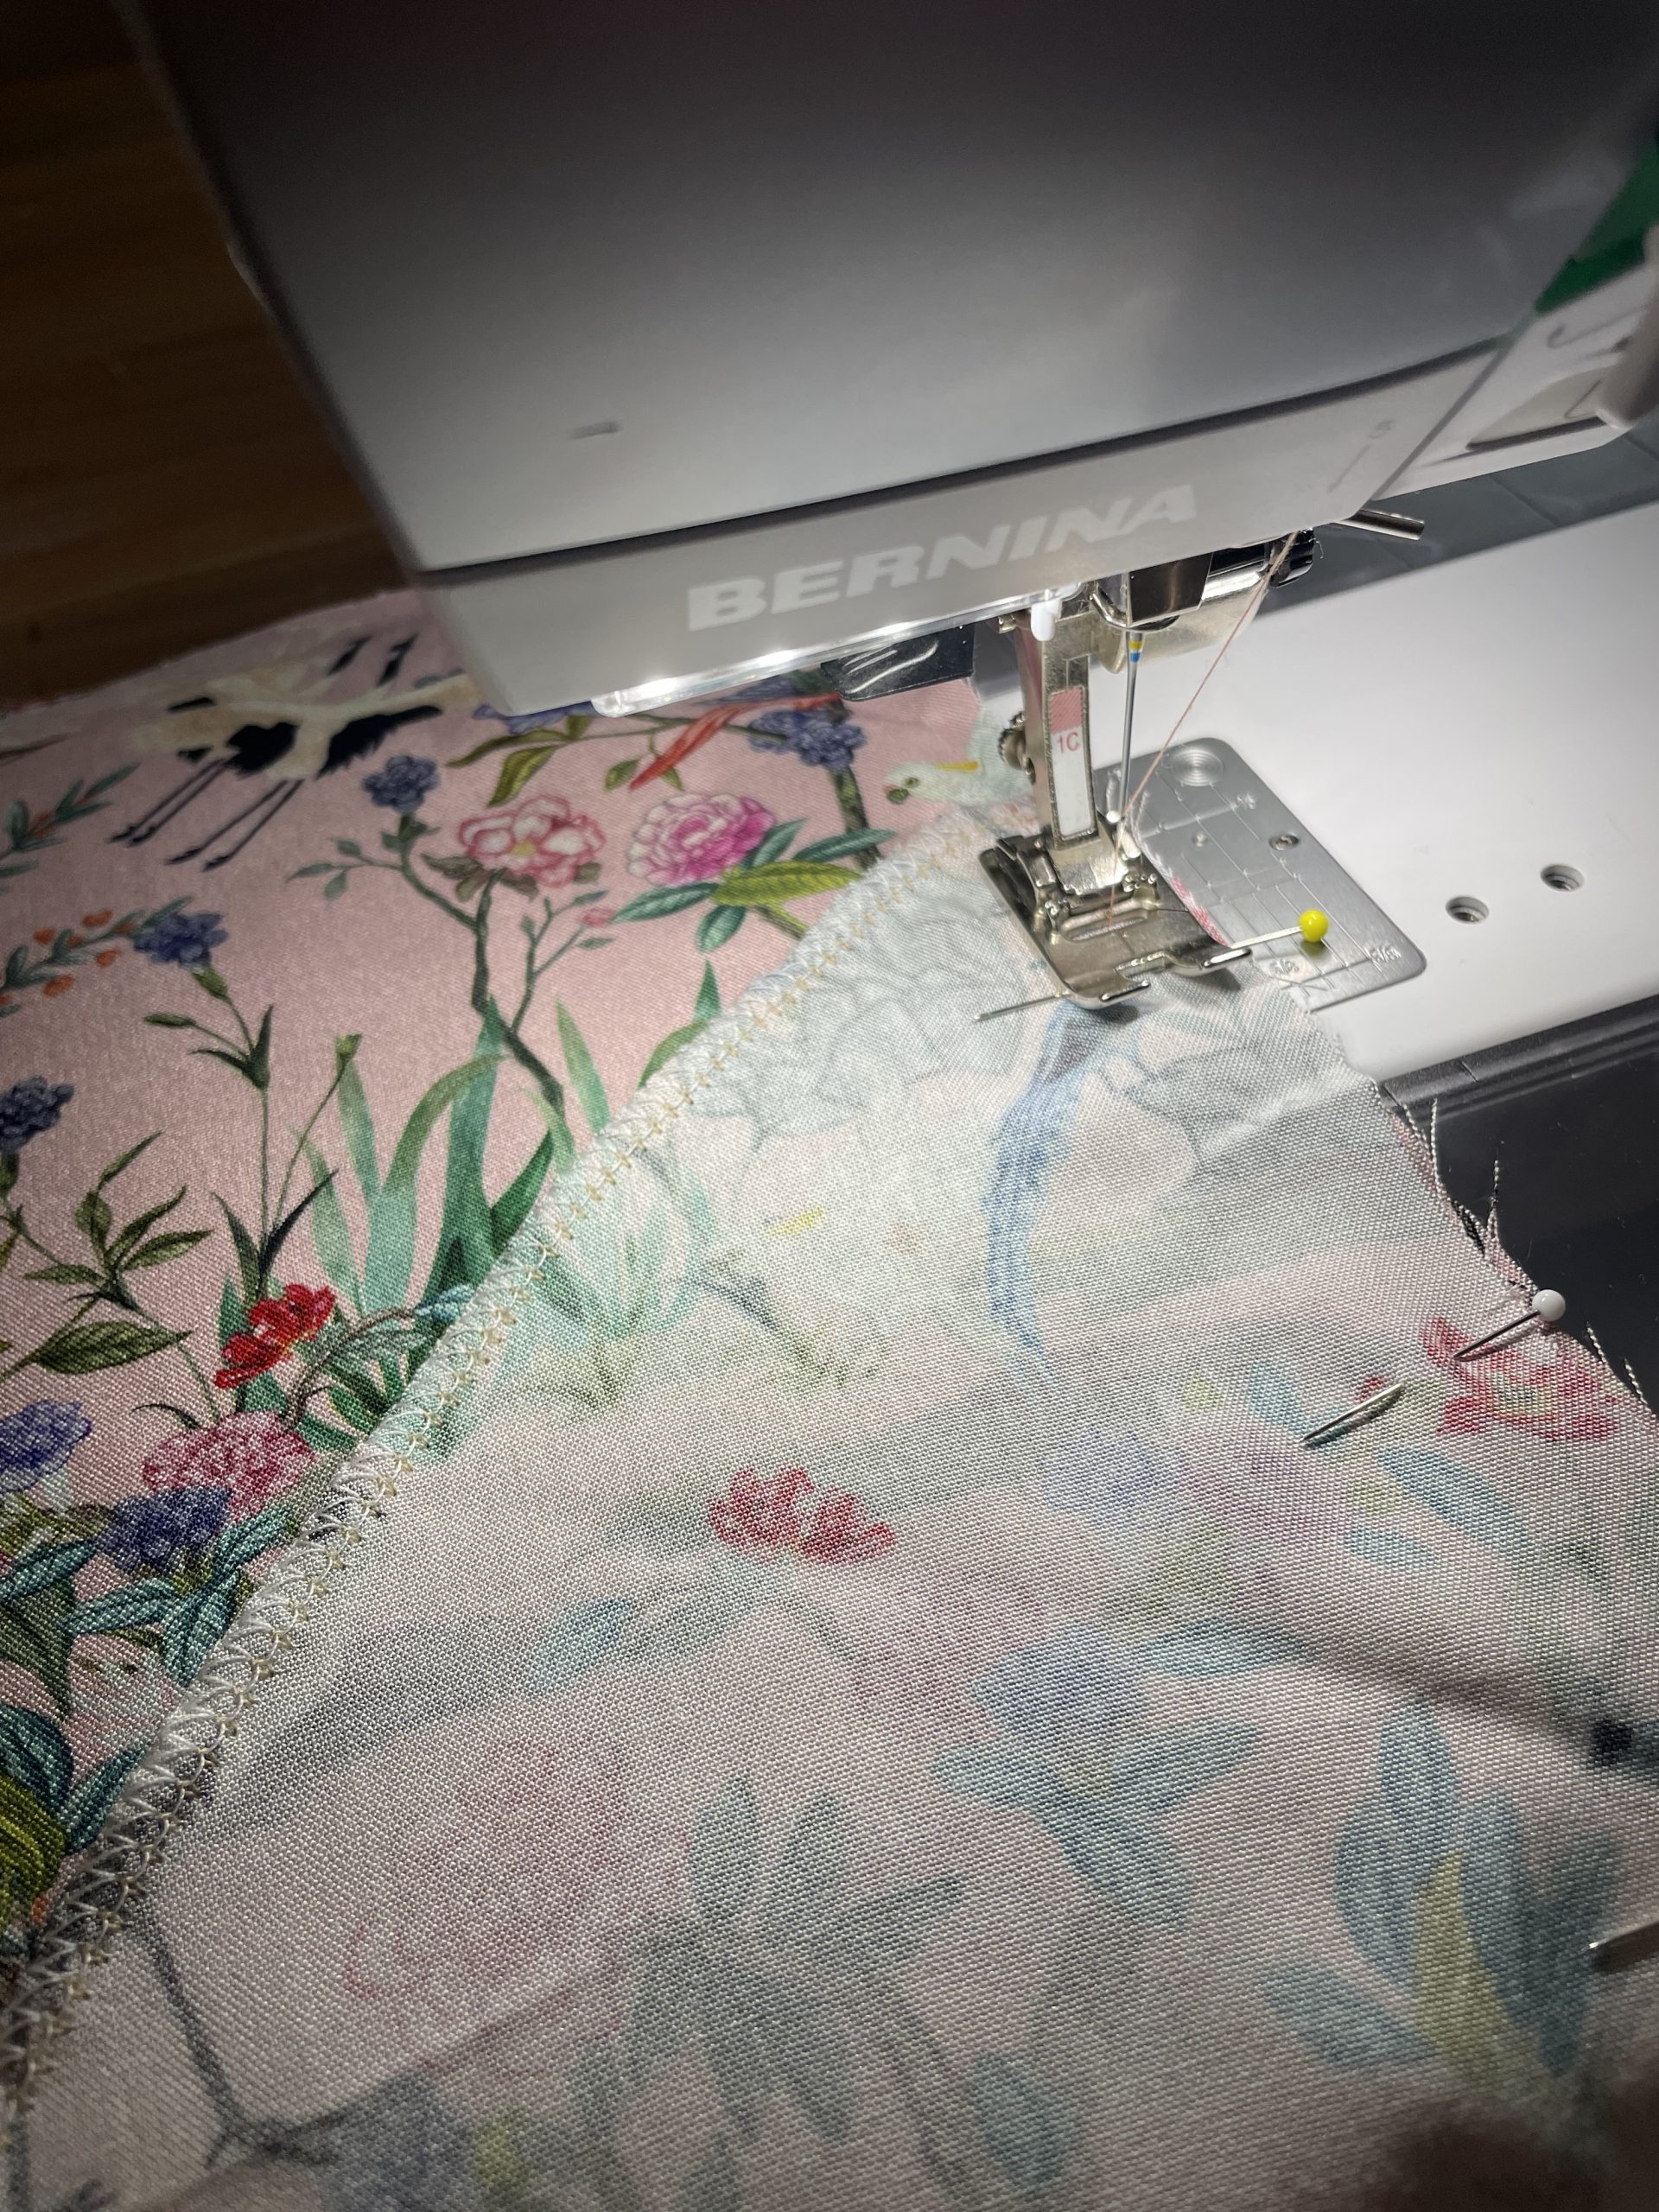
First turn your dress body inside out and the sleeve the correct way round. Matching the arm notches, 2 notches are for the back of the dress, place the sleeve into the armhole of the dress body and line up the 2 notches on the head of the sleeve and the armhole on the body. The right sides of the body and sleeve should be right sides facing. The front of the sleeve and body are marked with one notch mark. Double check these are matching.
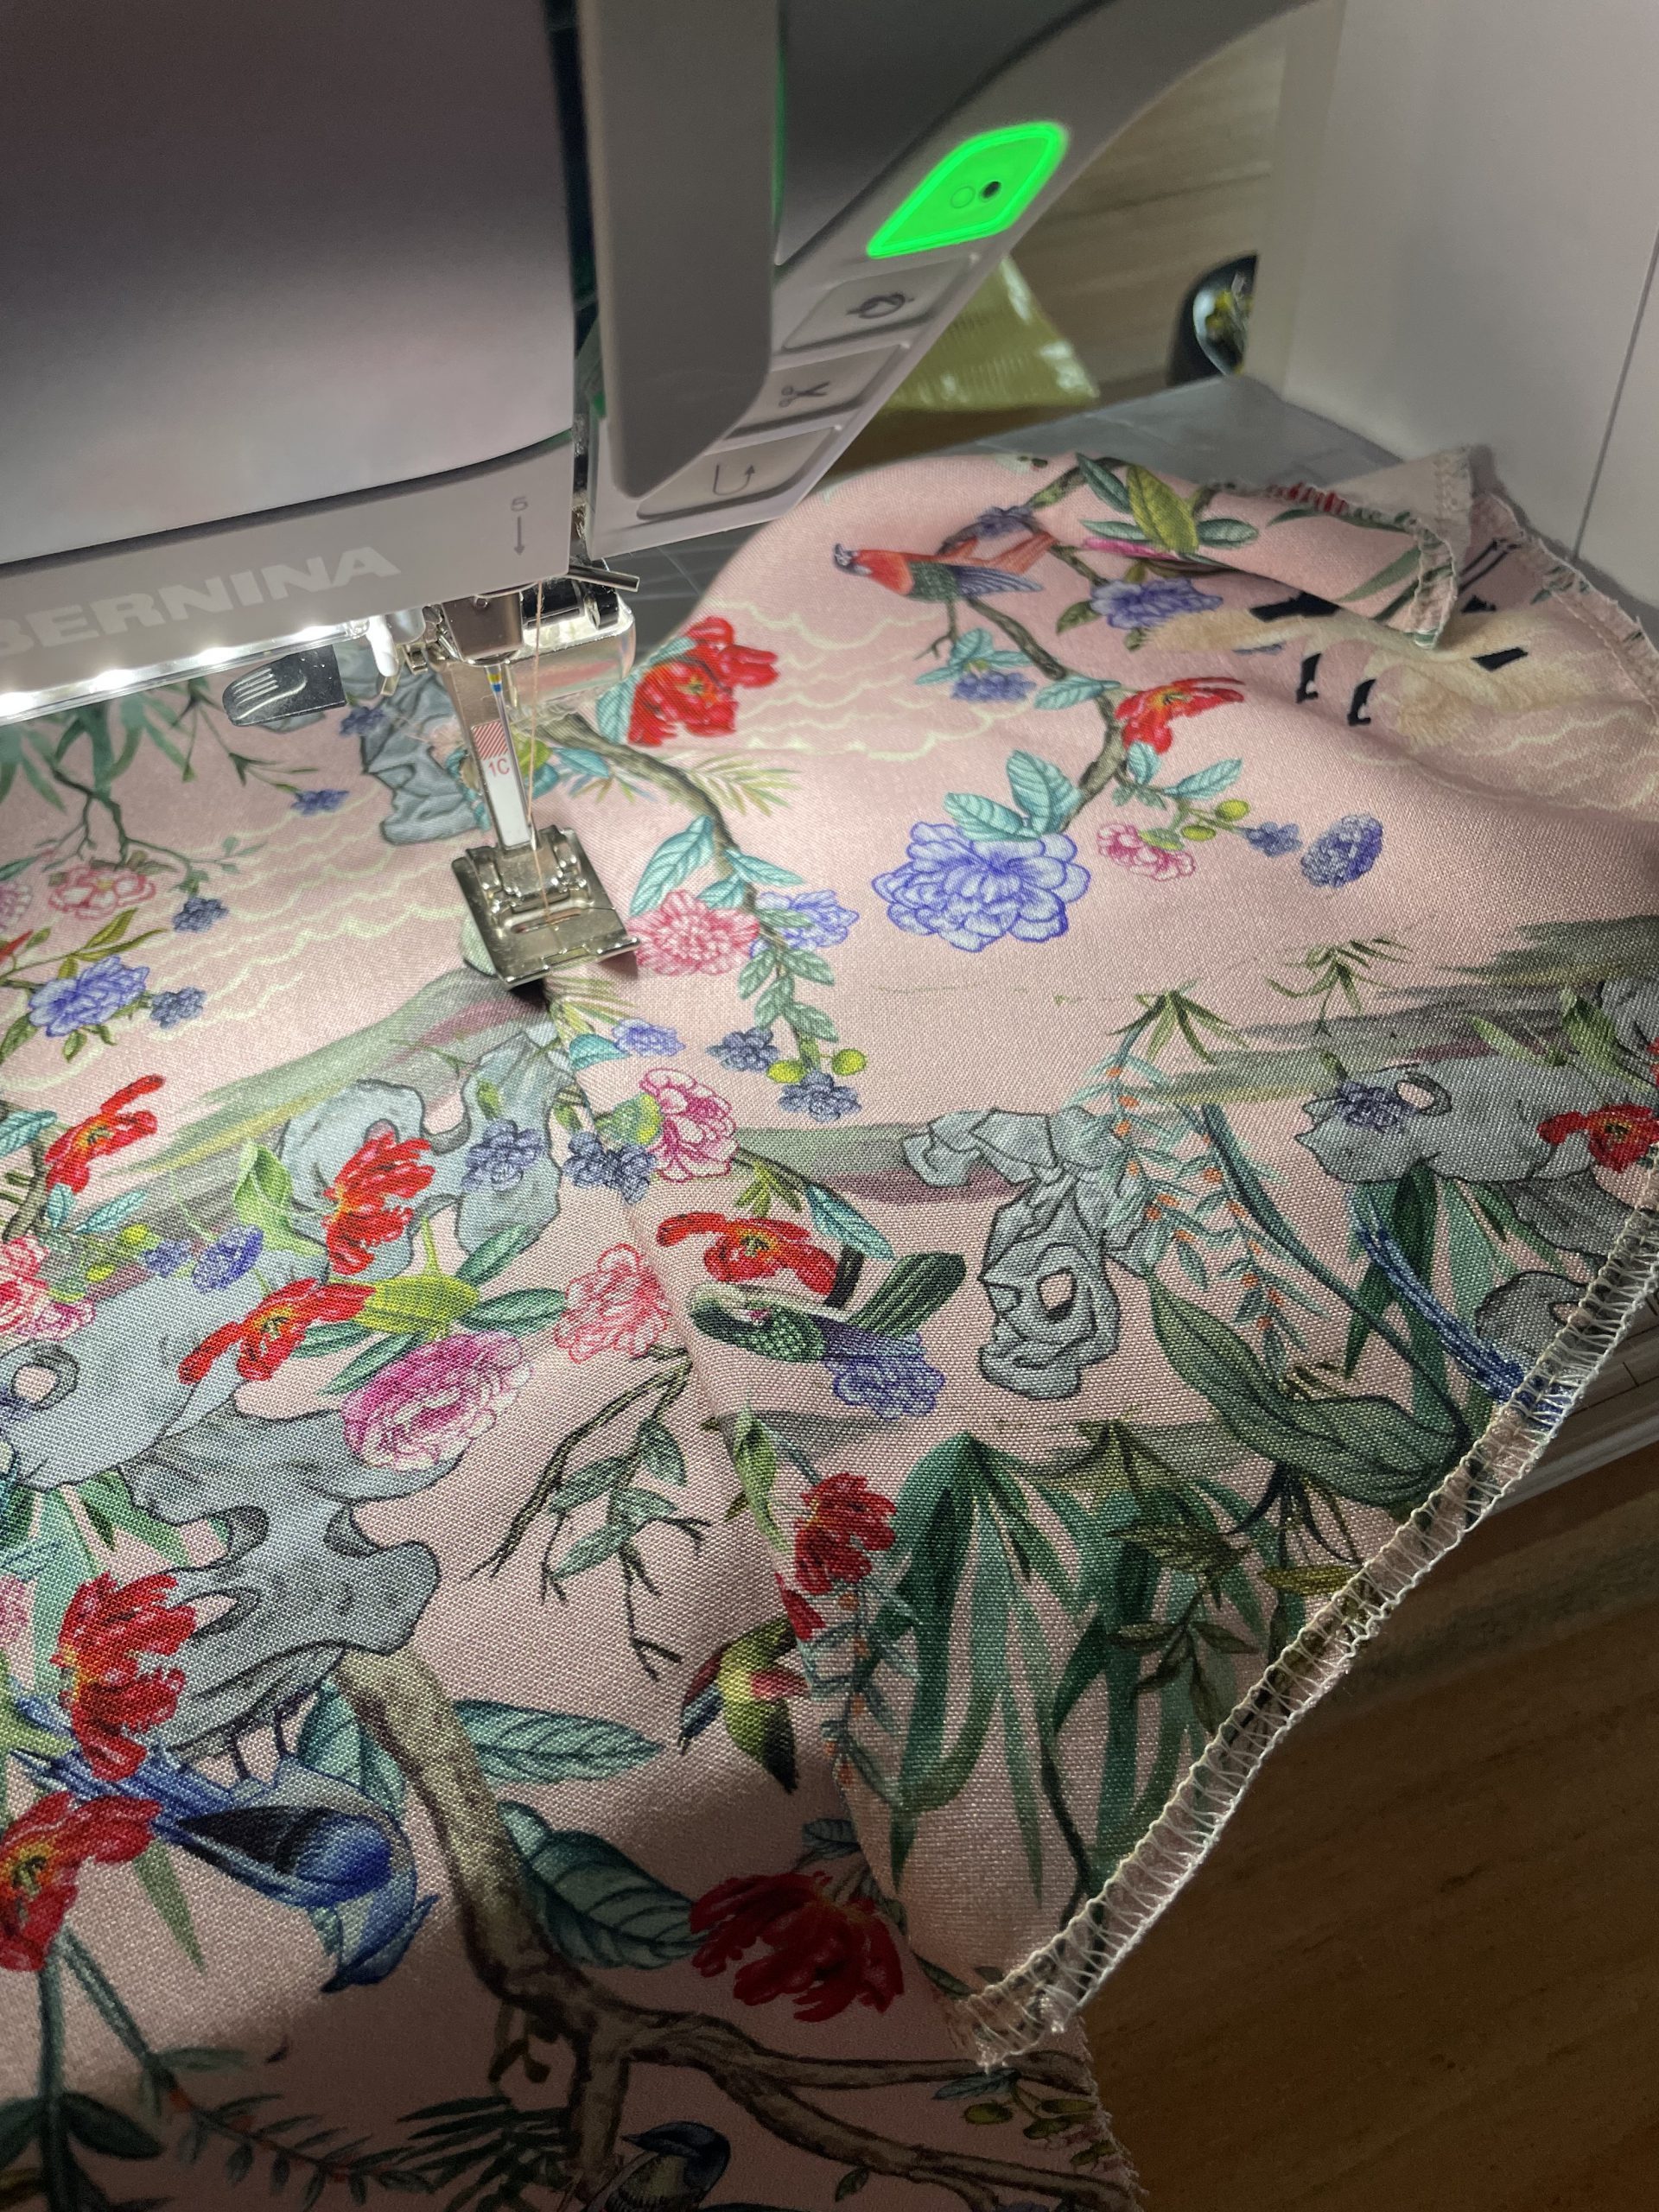
The trick is to use lots and lots of pins!. I tend to start by aligning the underarm seams first, then the shoulder notch and the arm notches together. Afterwards gently pull the gathered stitches ( tip: only pull the top 2 threads ) until the sleeve fits into the armhole, evening out the gathers with your fingers and pin securely to the sleeve head. Sew all the way around and finish off with the overlock or Zig zag, then press the seams towards the sleeve.
If you are not feeling so confident, first tack the sleeve in place with another colour thread using a longer stitch, and once it all looks even, sew again.
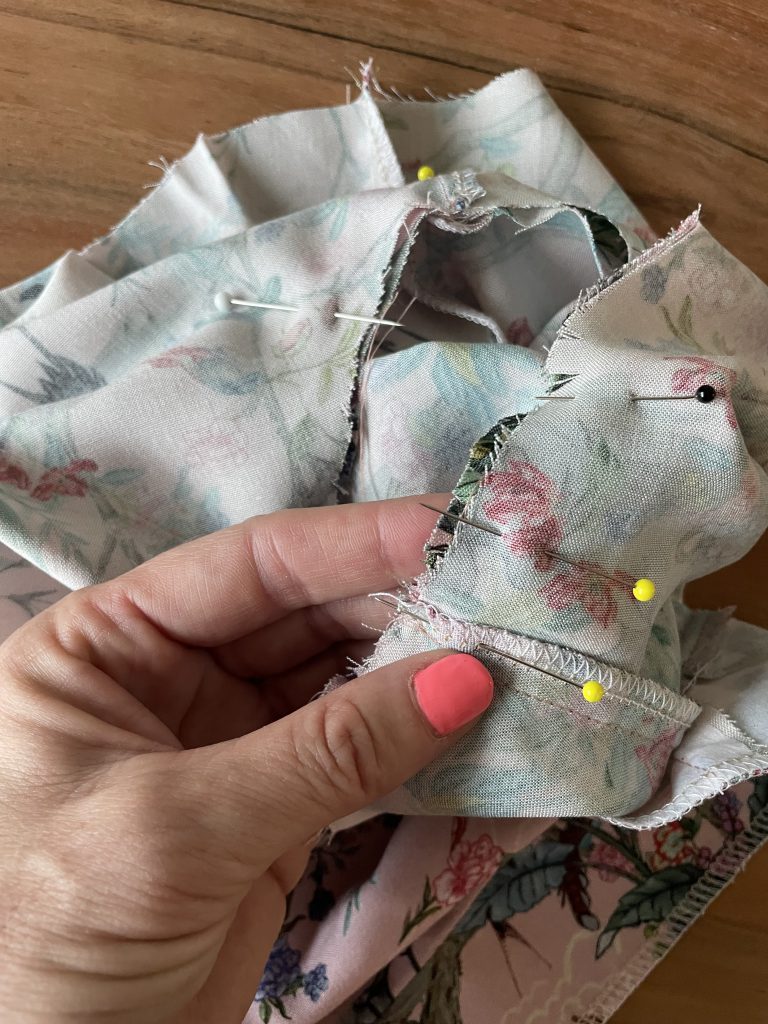
Sleeve head pinned into place
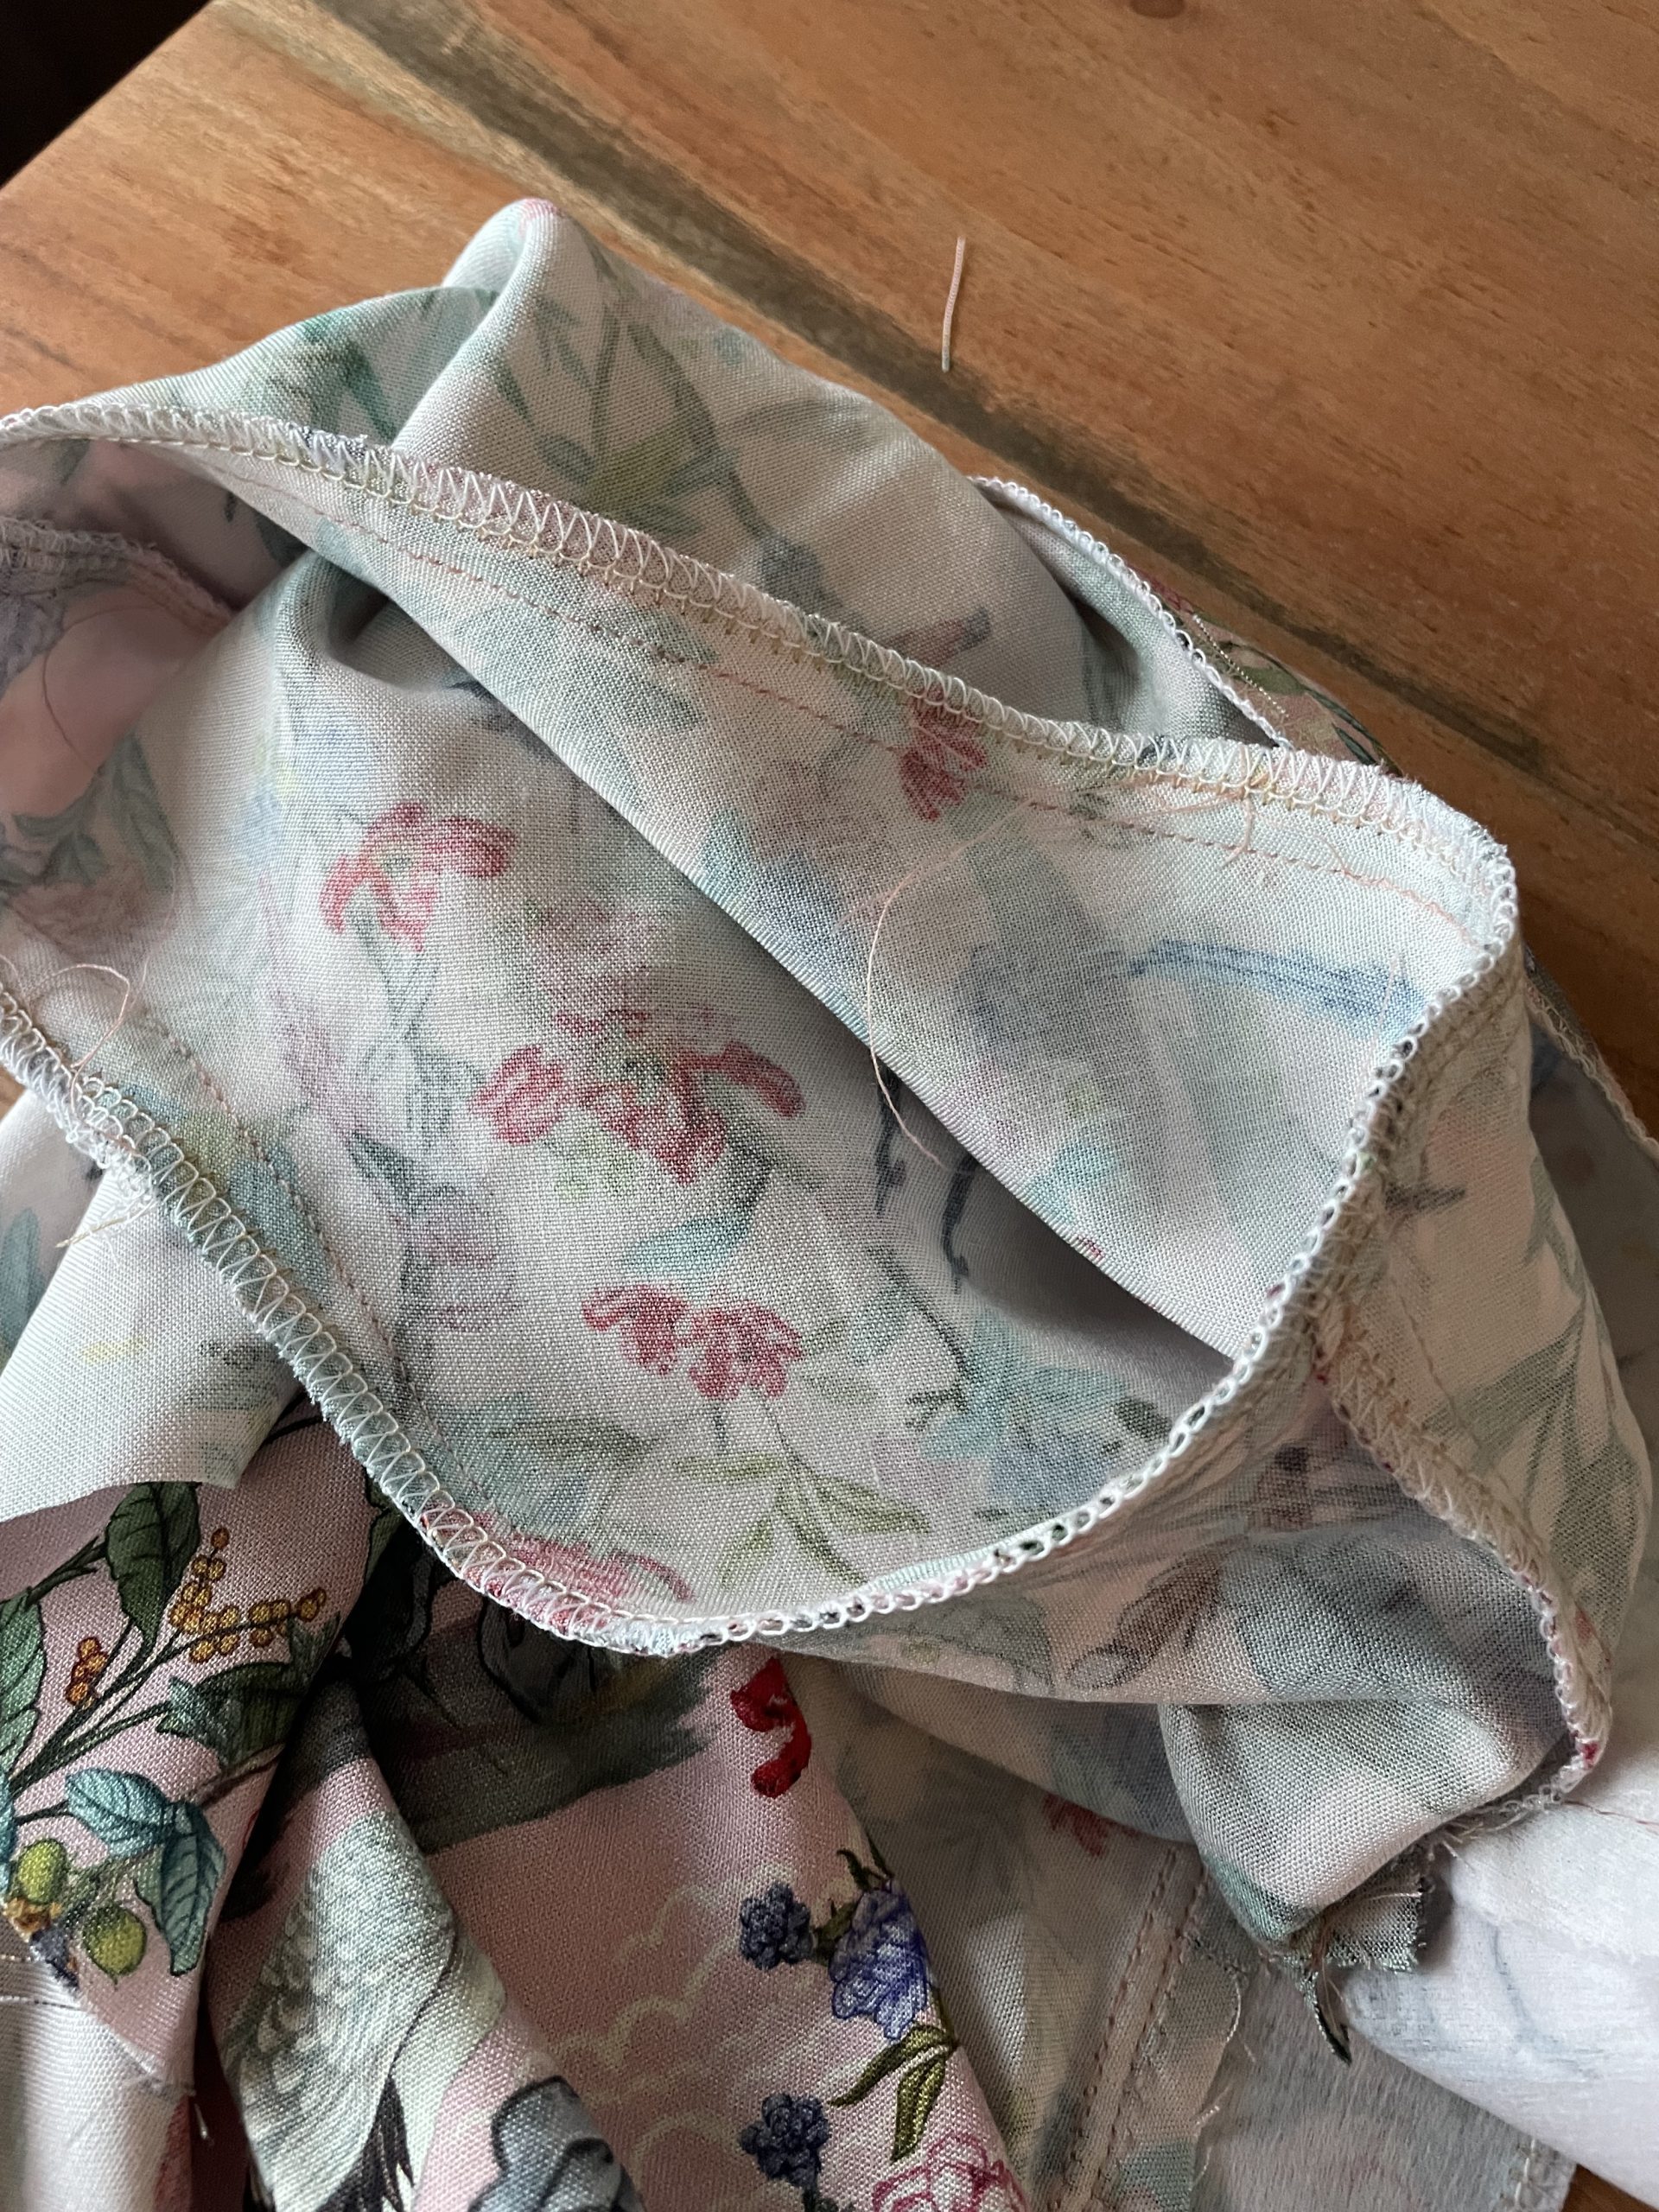
Finish the sleeve seam with an overlock or zig zag.
Attaching the pocket bags ( yes! it has pockets!!!)
Finish off all 4 pocket bag edges and the edges of the skirt pieces with an over lock or a Zig Zag.
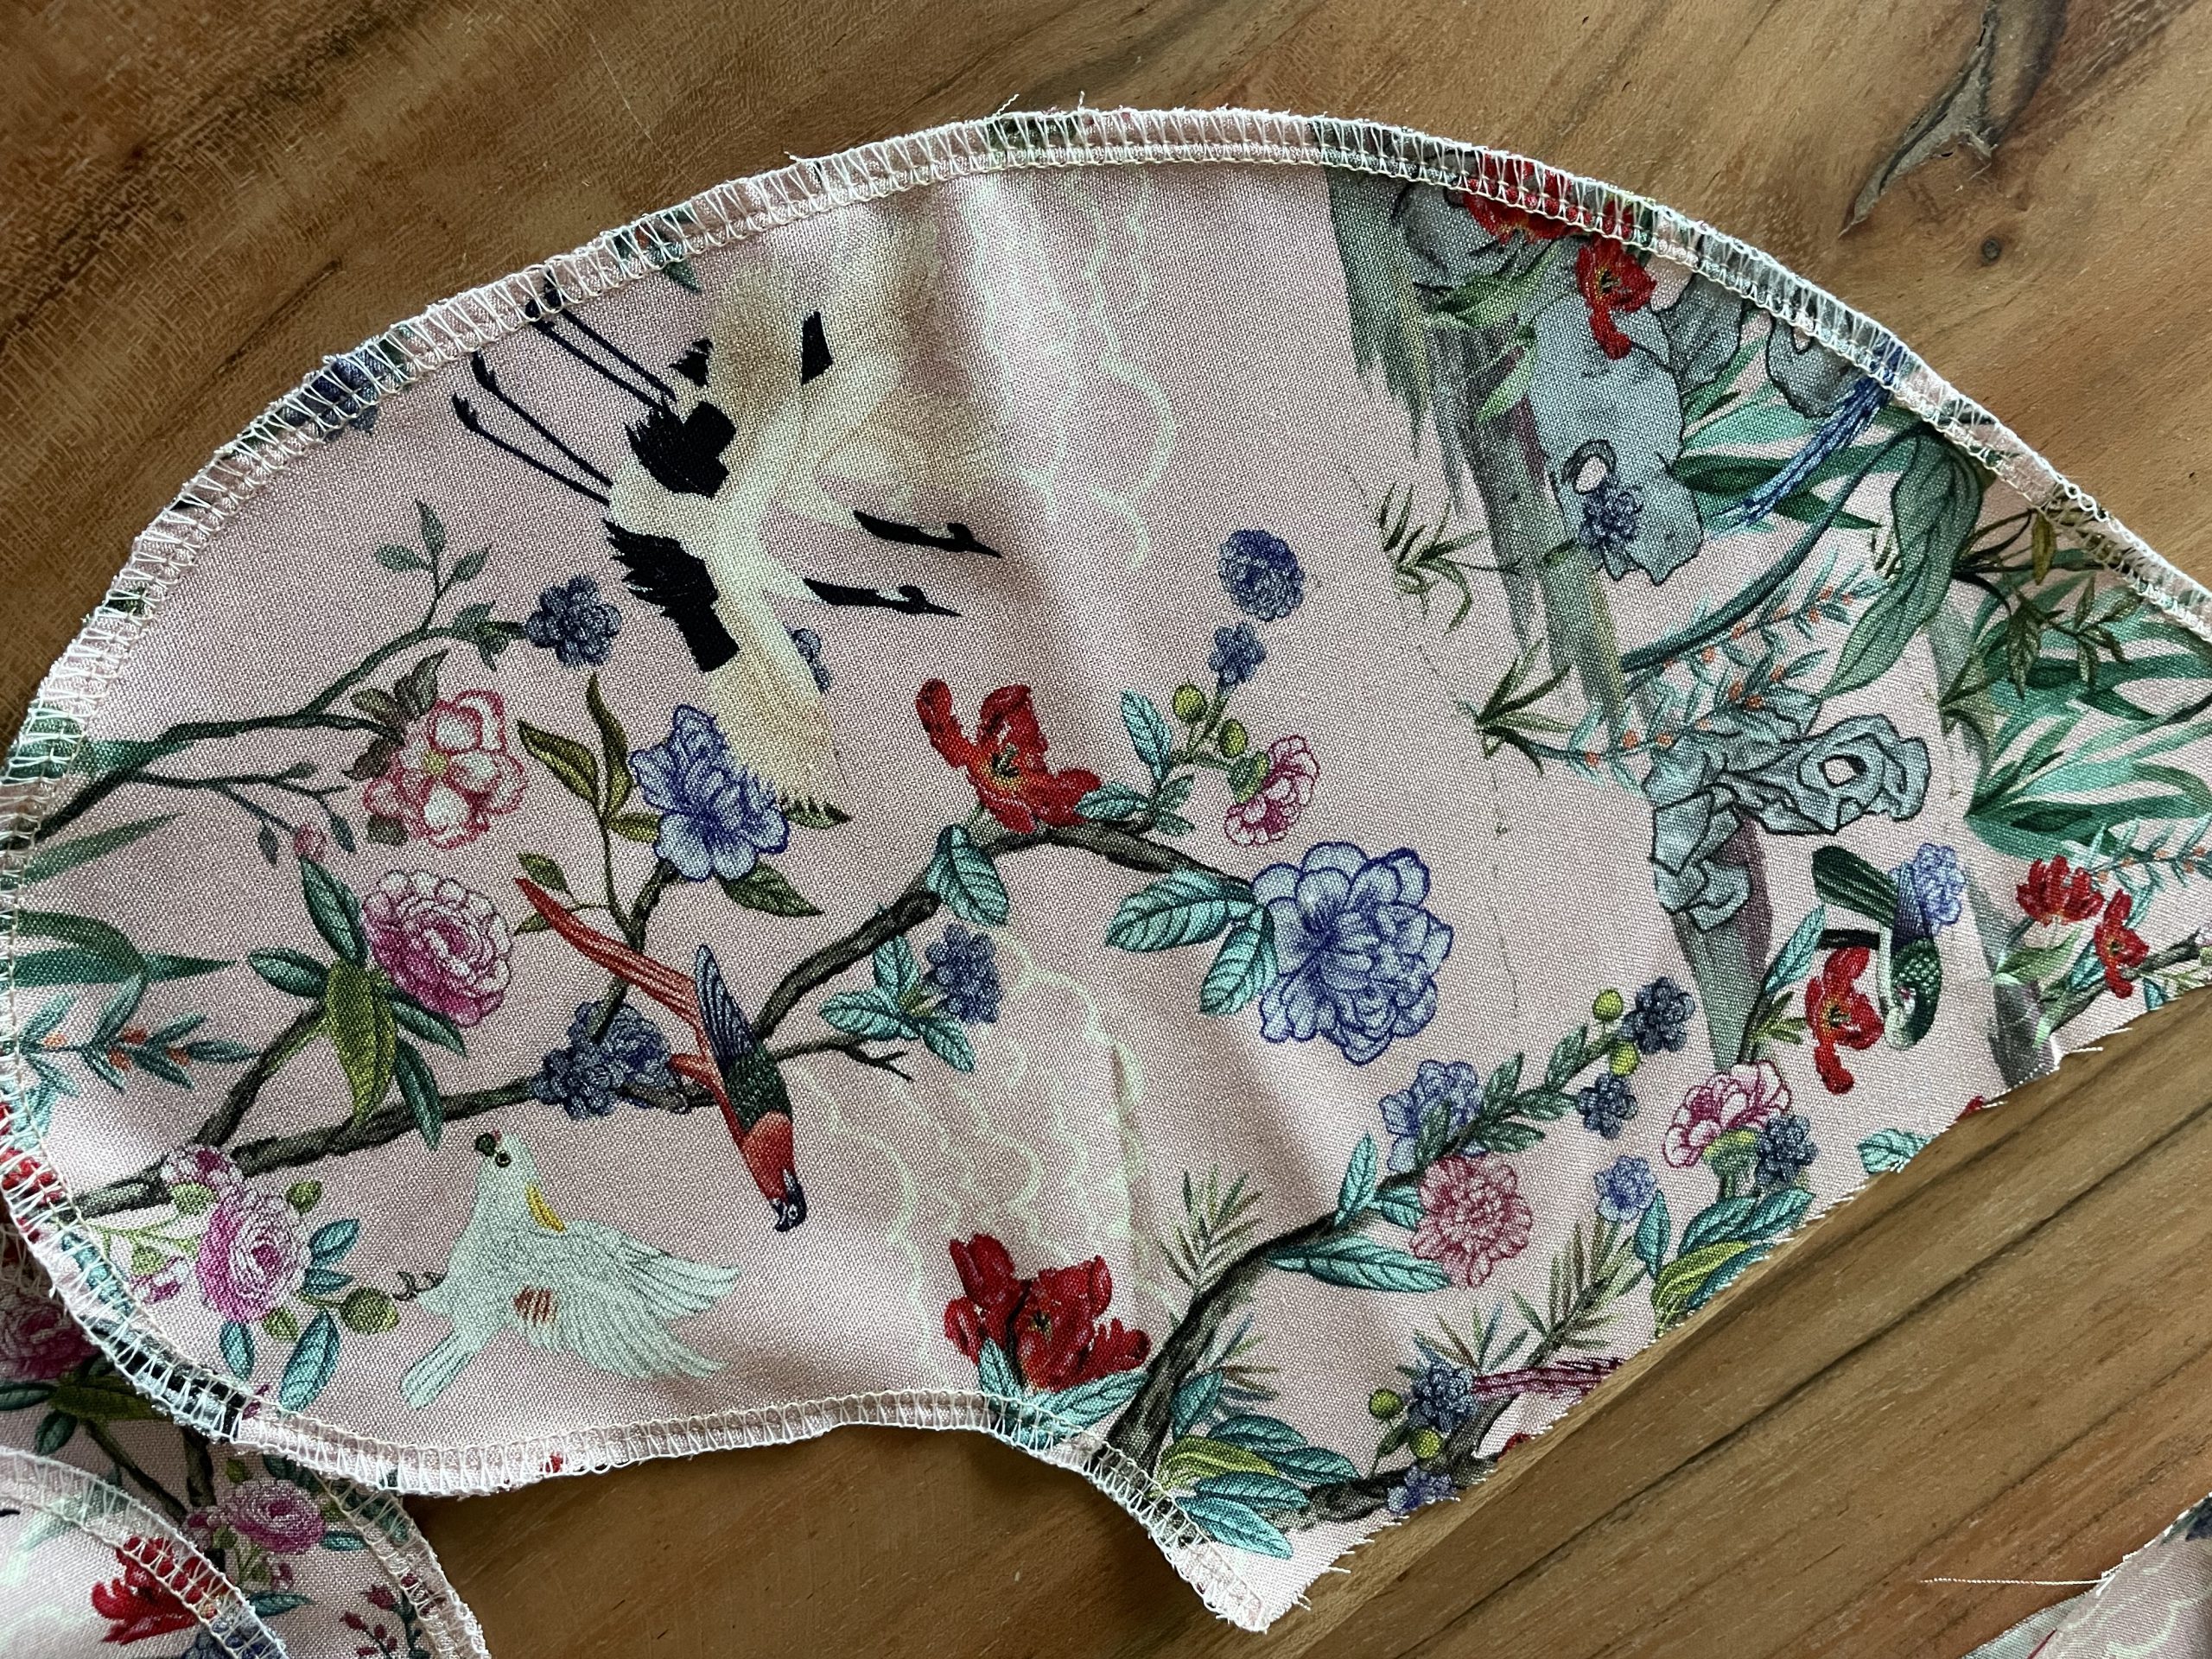
Finish of the raw edges of all 4 pocket bags
Lay the pocket bags on the front and back pieces of the main skirt along the sides, matching the notches. making sure right sides are facing. Pin and stitch the pocket bags to the skirts along the side seams seams
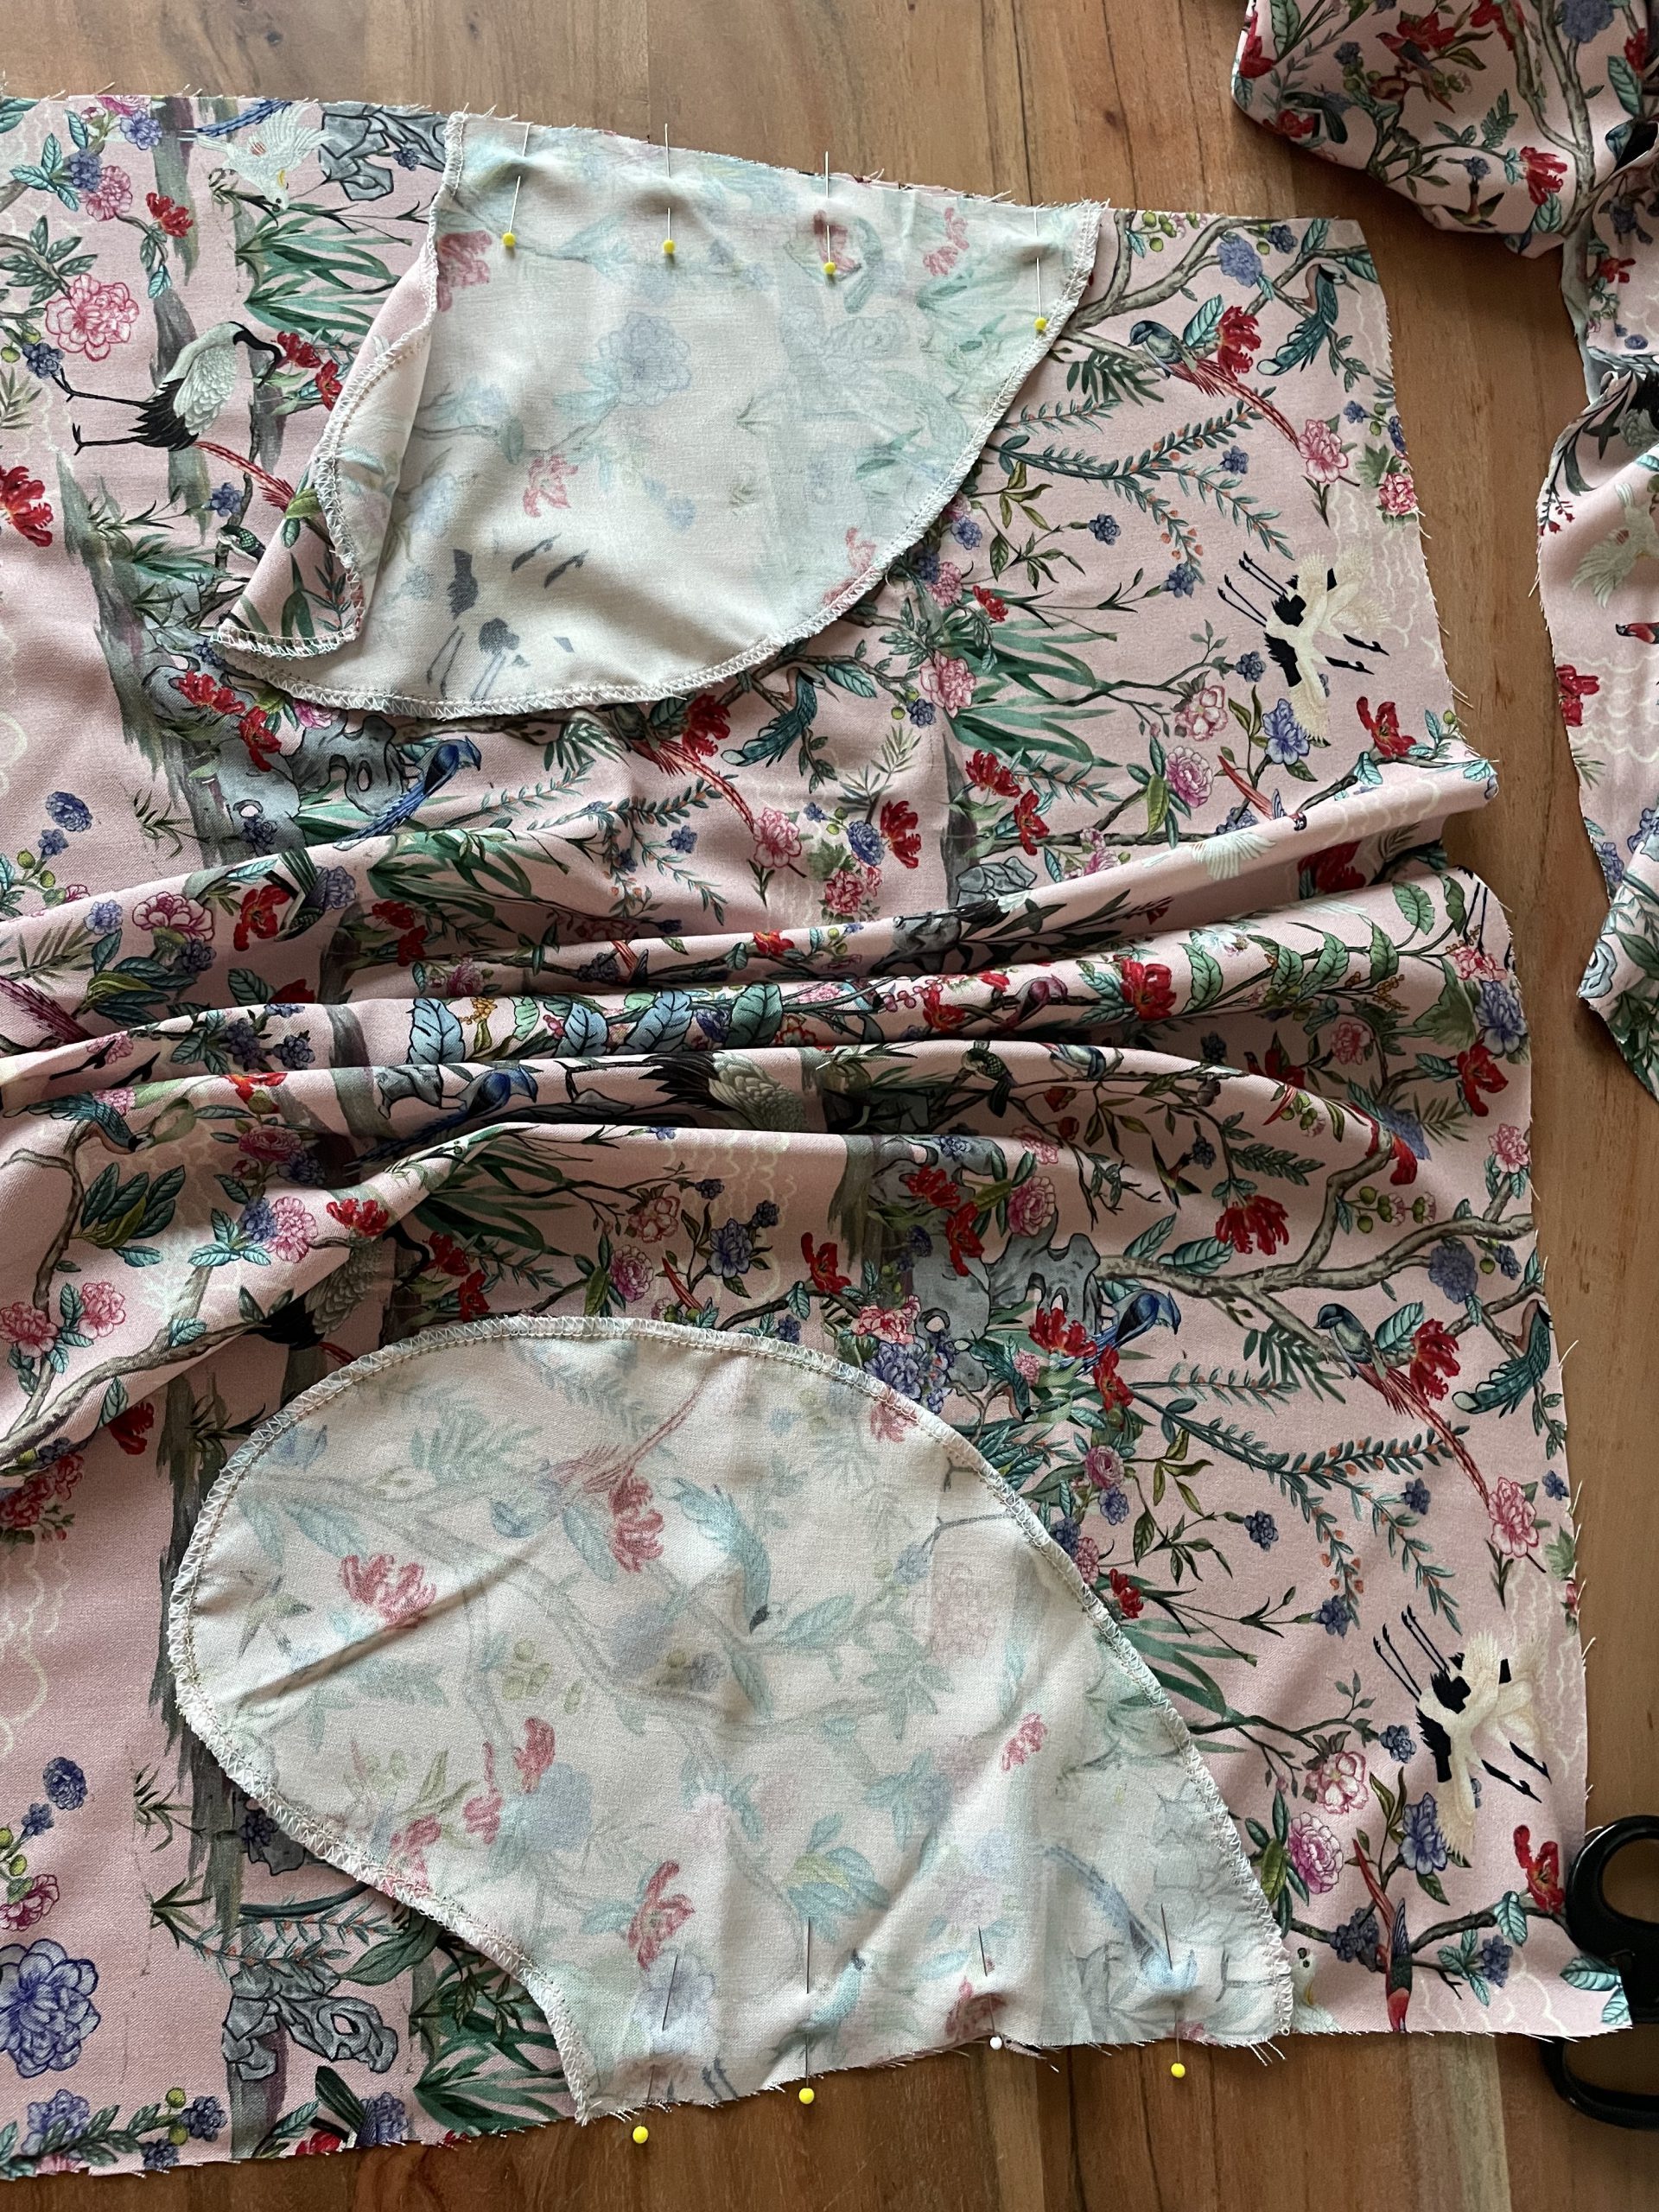
Pocket bags positioned on the front and back skirt panels
Attaching the pocket bags to the skirt along the side seams
Press the pocket bags away from the skirt and under-stitch the seam allowance to the pocket bags close to the seam line, this will help prevent the pocket bags from rolling out.
Under-stitching the seam allowance to the pocket bag.
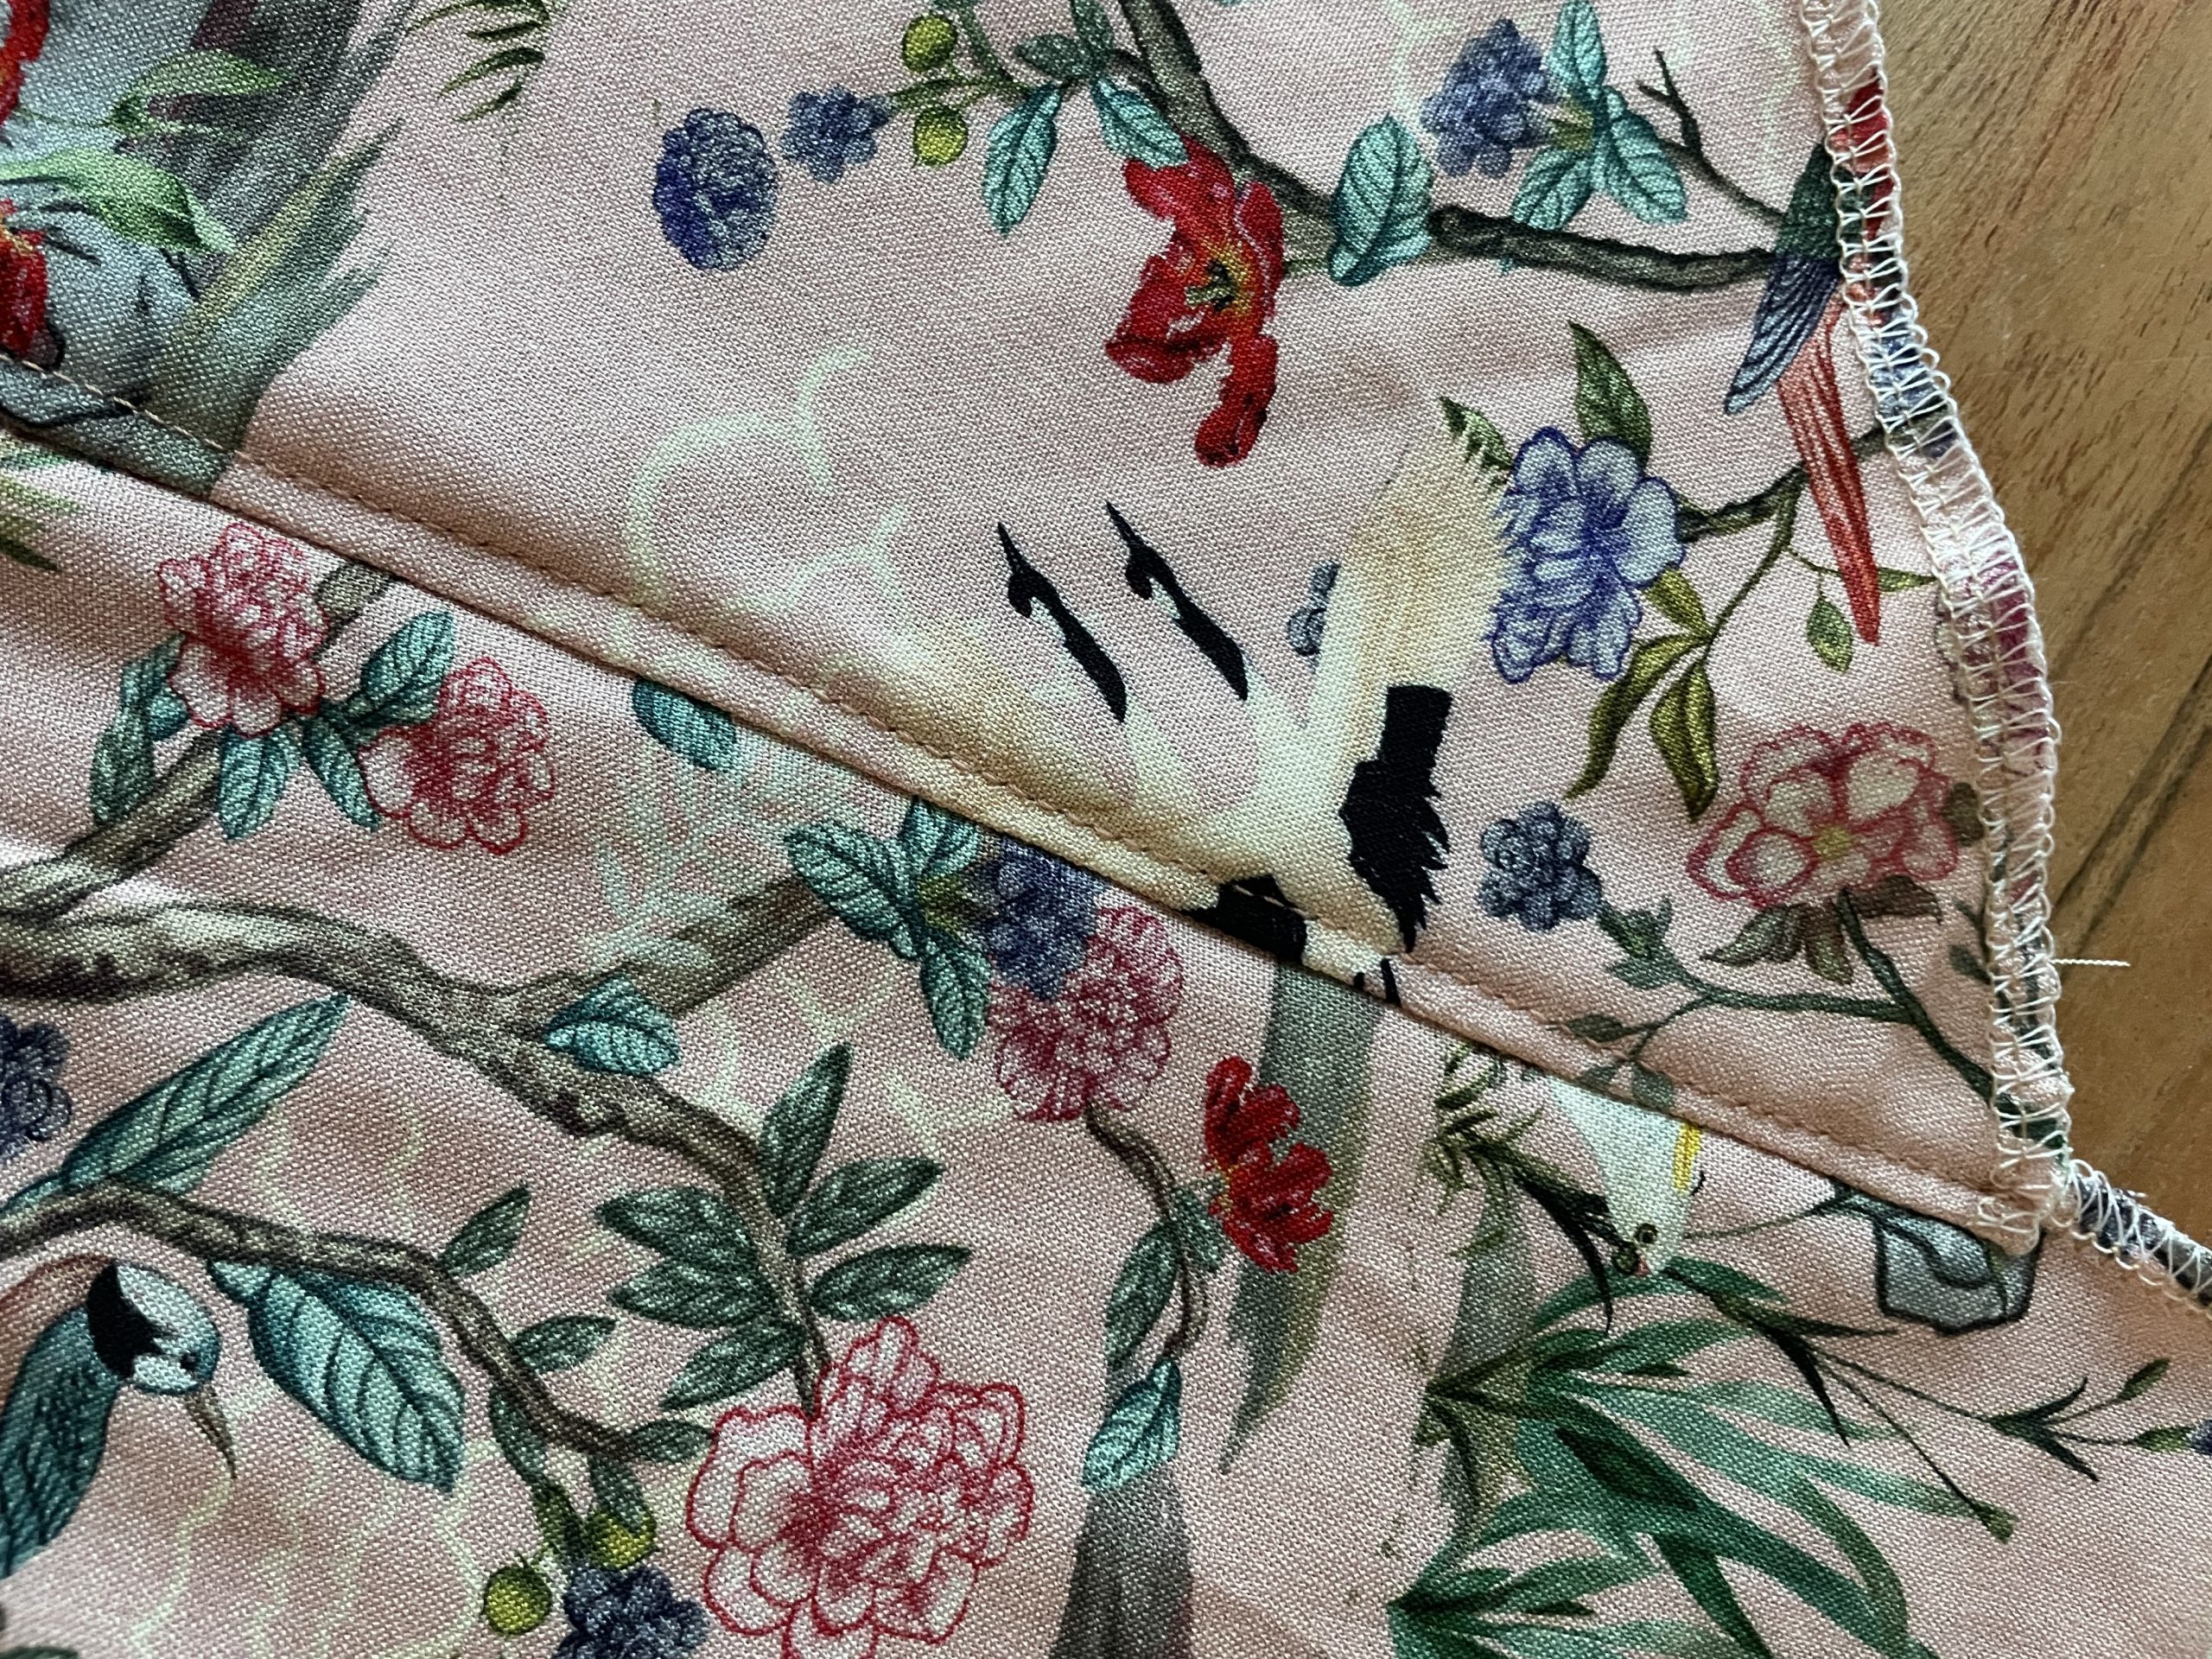
Under-stitched pocket bag
Sewing the side seams
Now we need to sew our skirt together. lay both pocketed front and back skirt pieces on top of each other, right sides facing. and start pinning!
Pin around the outer edges of the pocket bags and along the side seams . Afterwards we are ready to sew! Start sewing from the waist down, pivoting the needle at the top of the pocket bag. Sew around the outside edge of the pocket bag and once again pivot the needle to continue sewing from the bottom of the pocket opening to the hem of the skirt.
Clip into the side seam allowances just above and below the pocket.

Pinning the side seams and pocket bags together
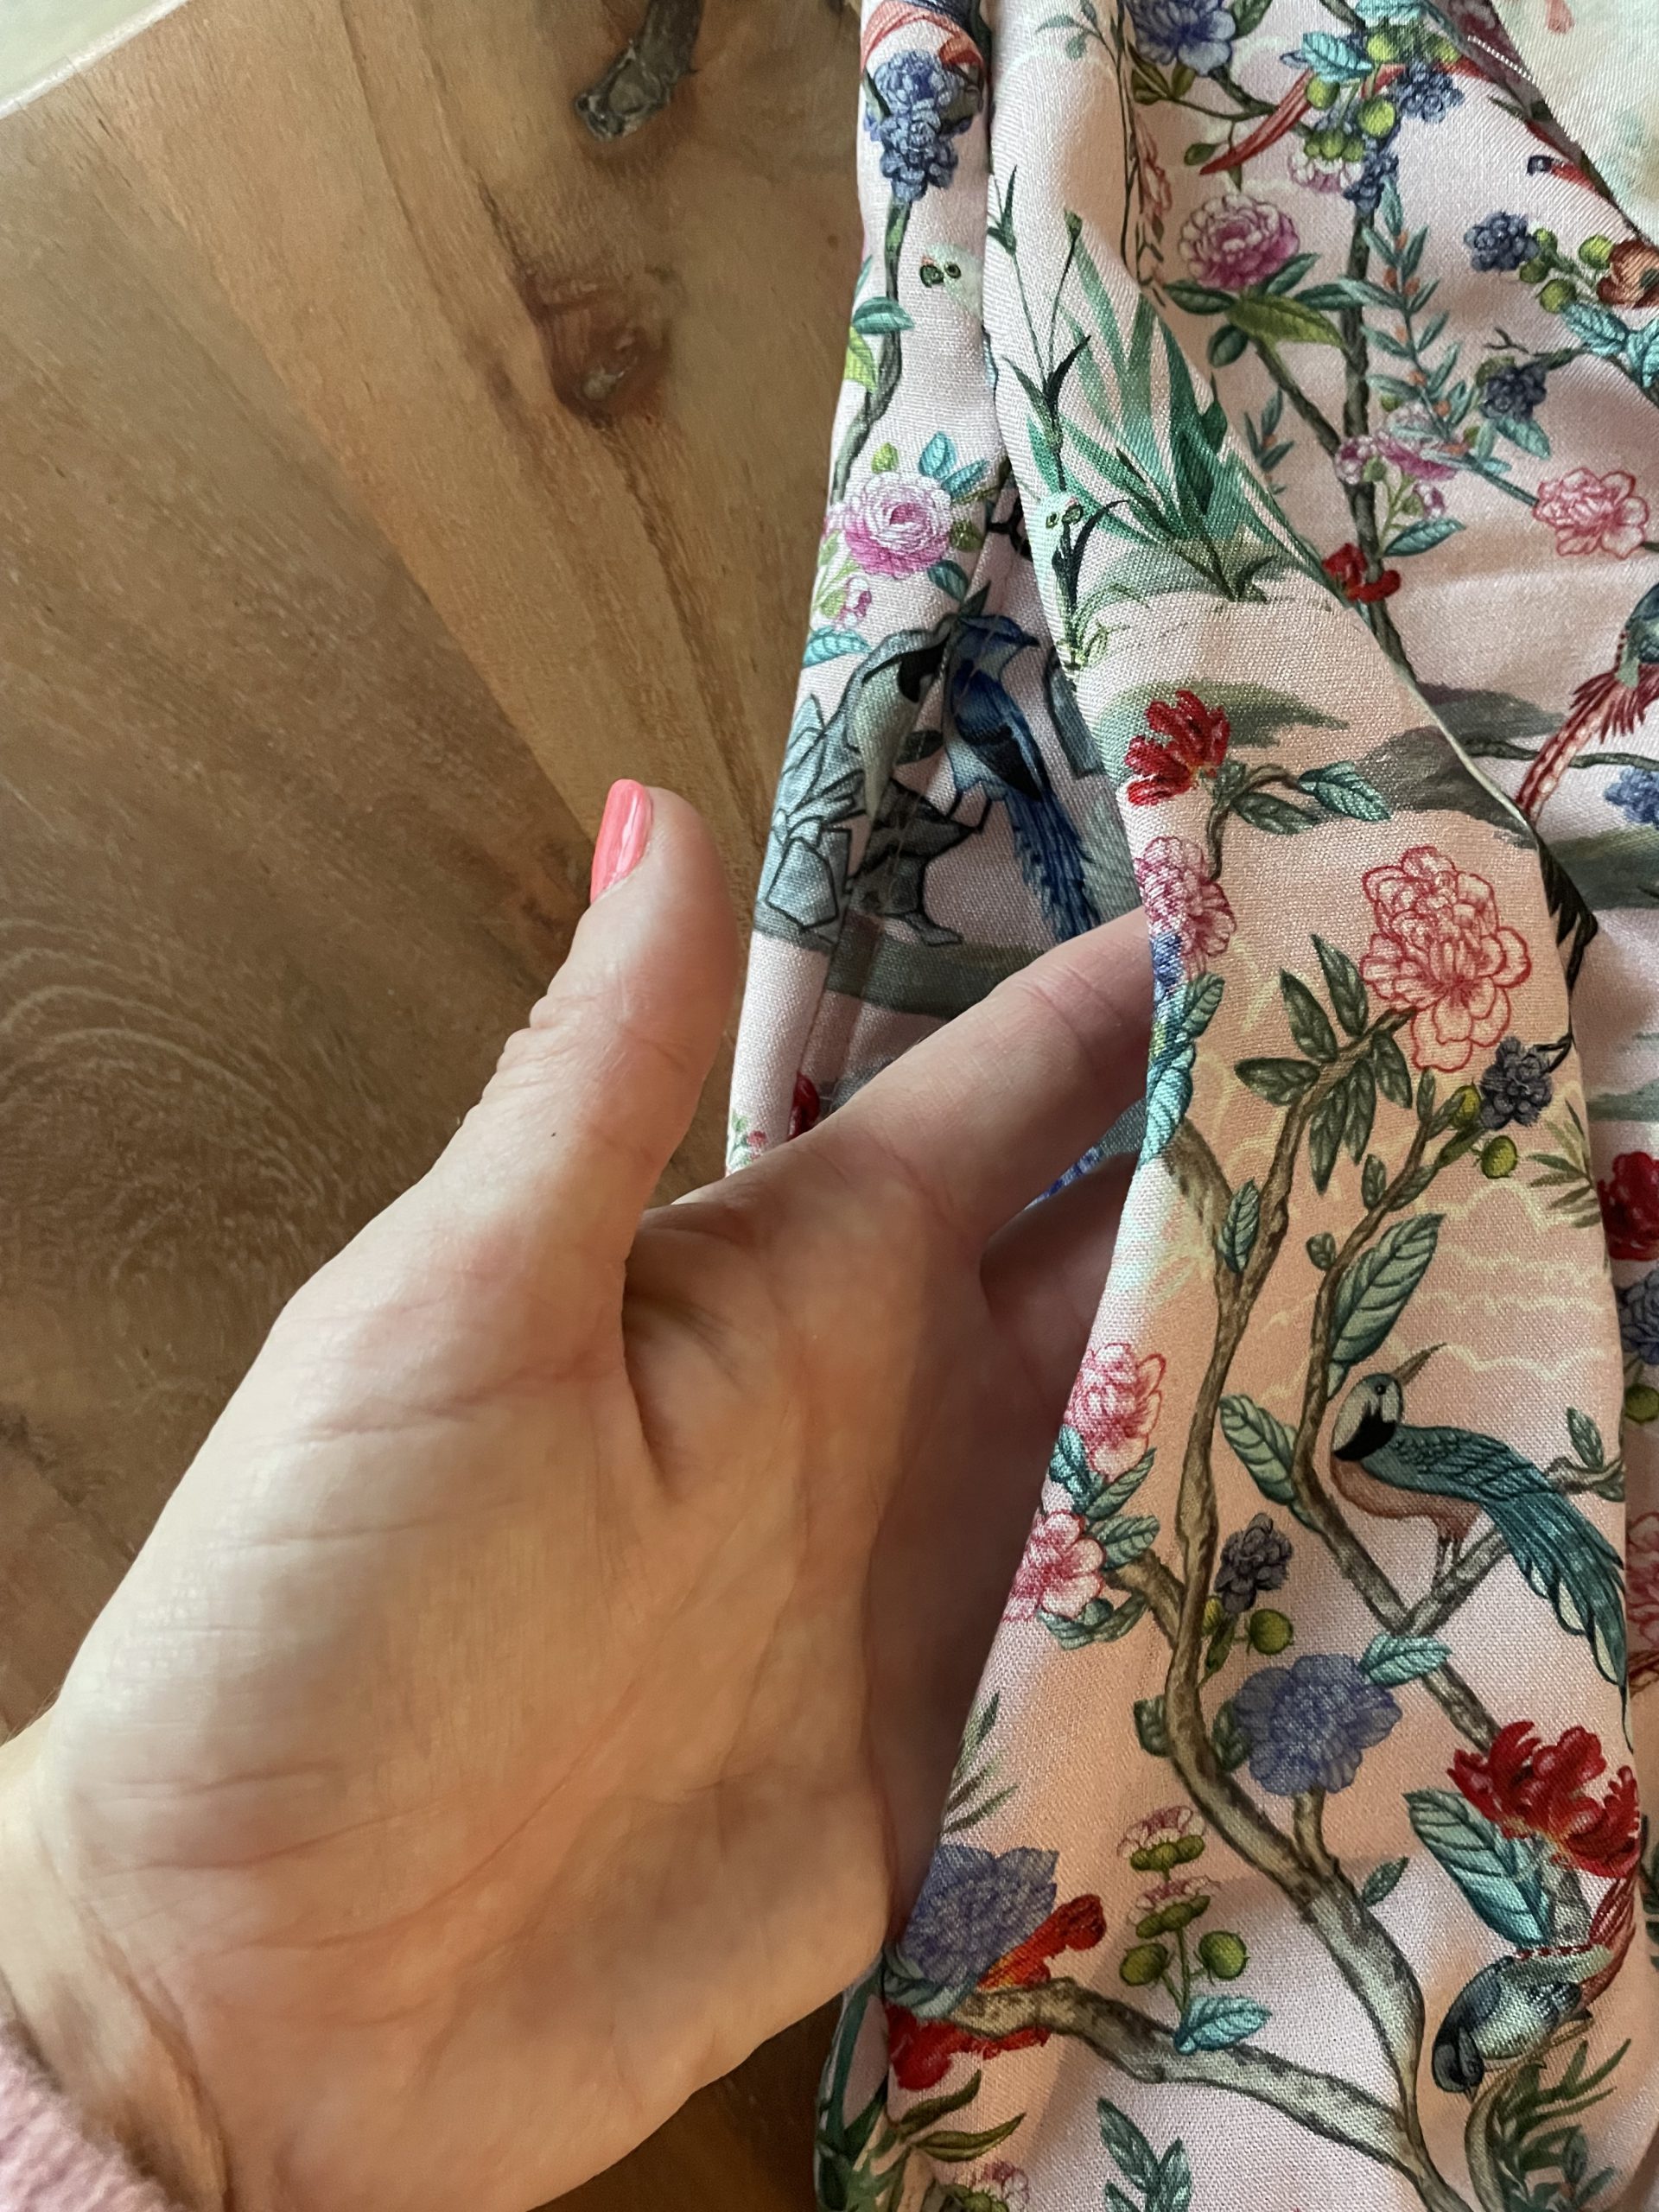
Finished pocket bag openings
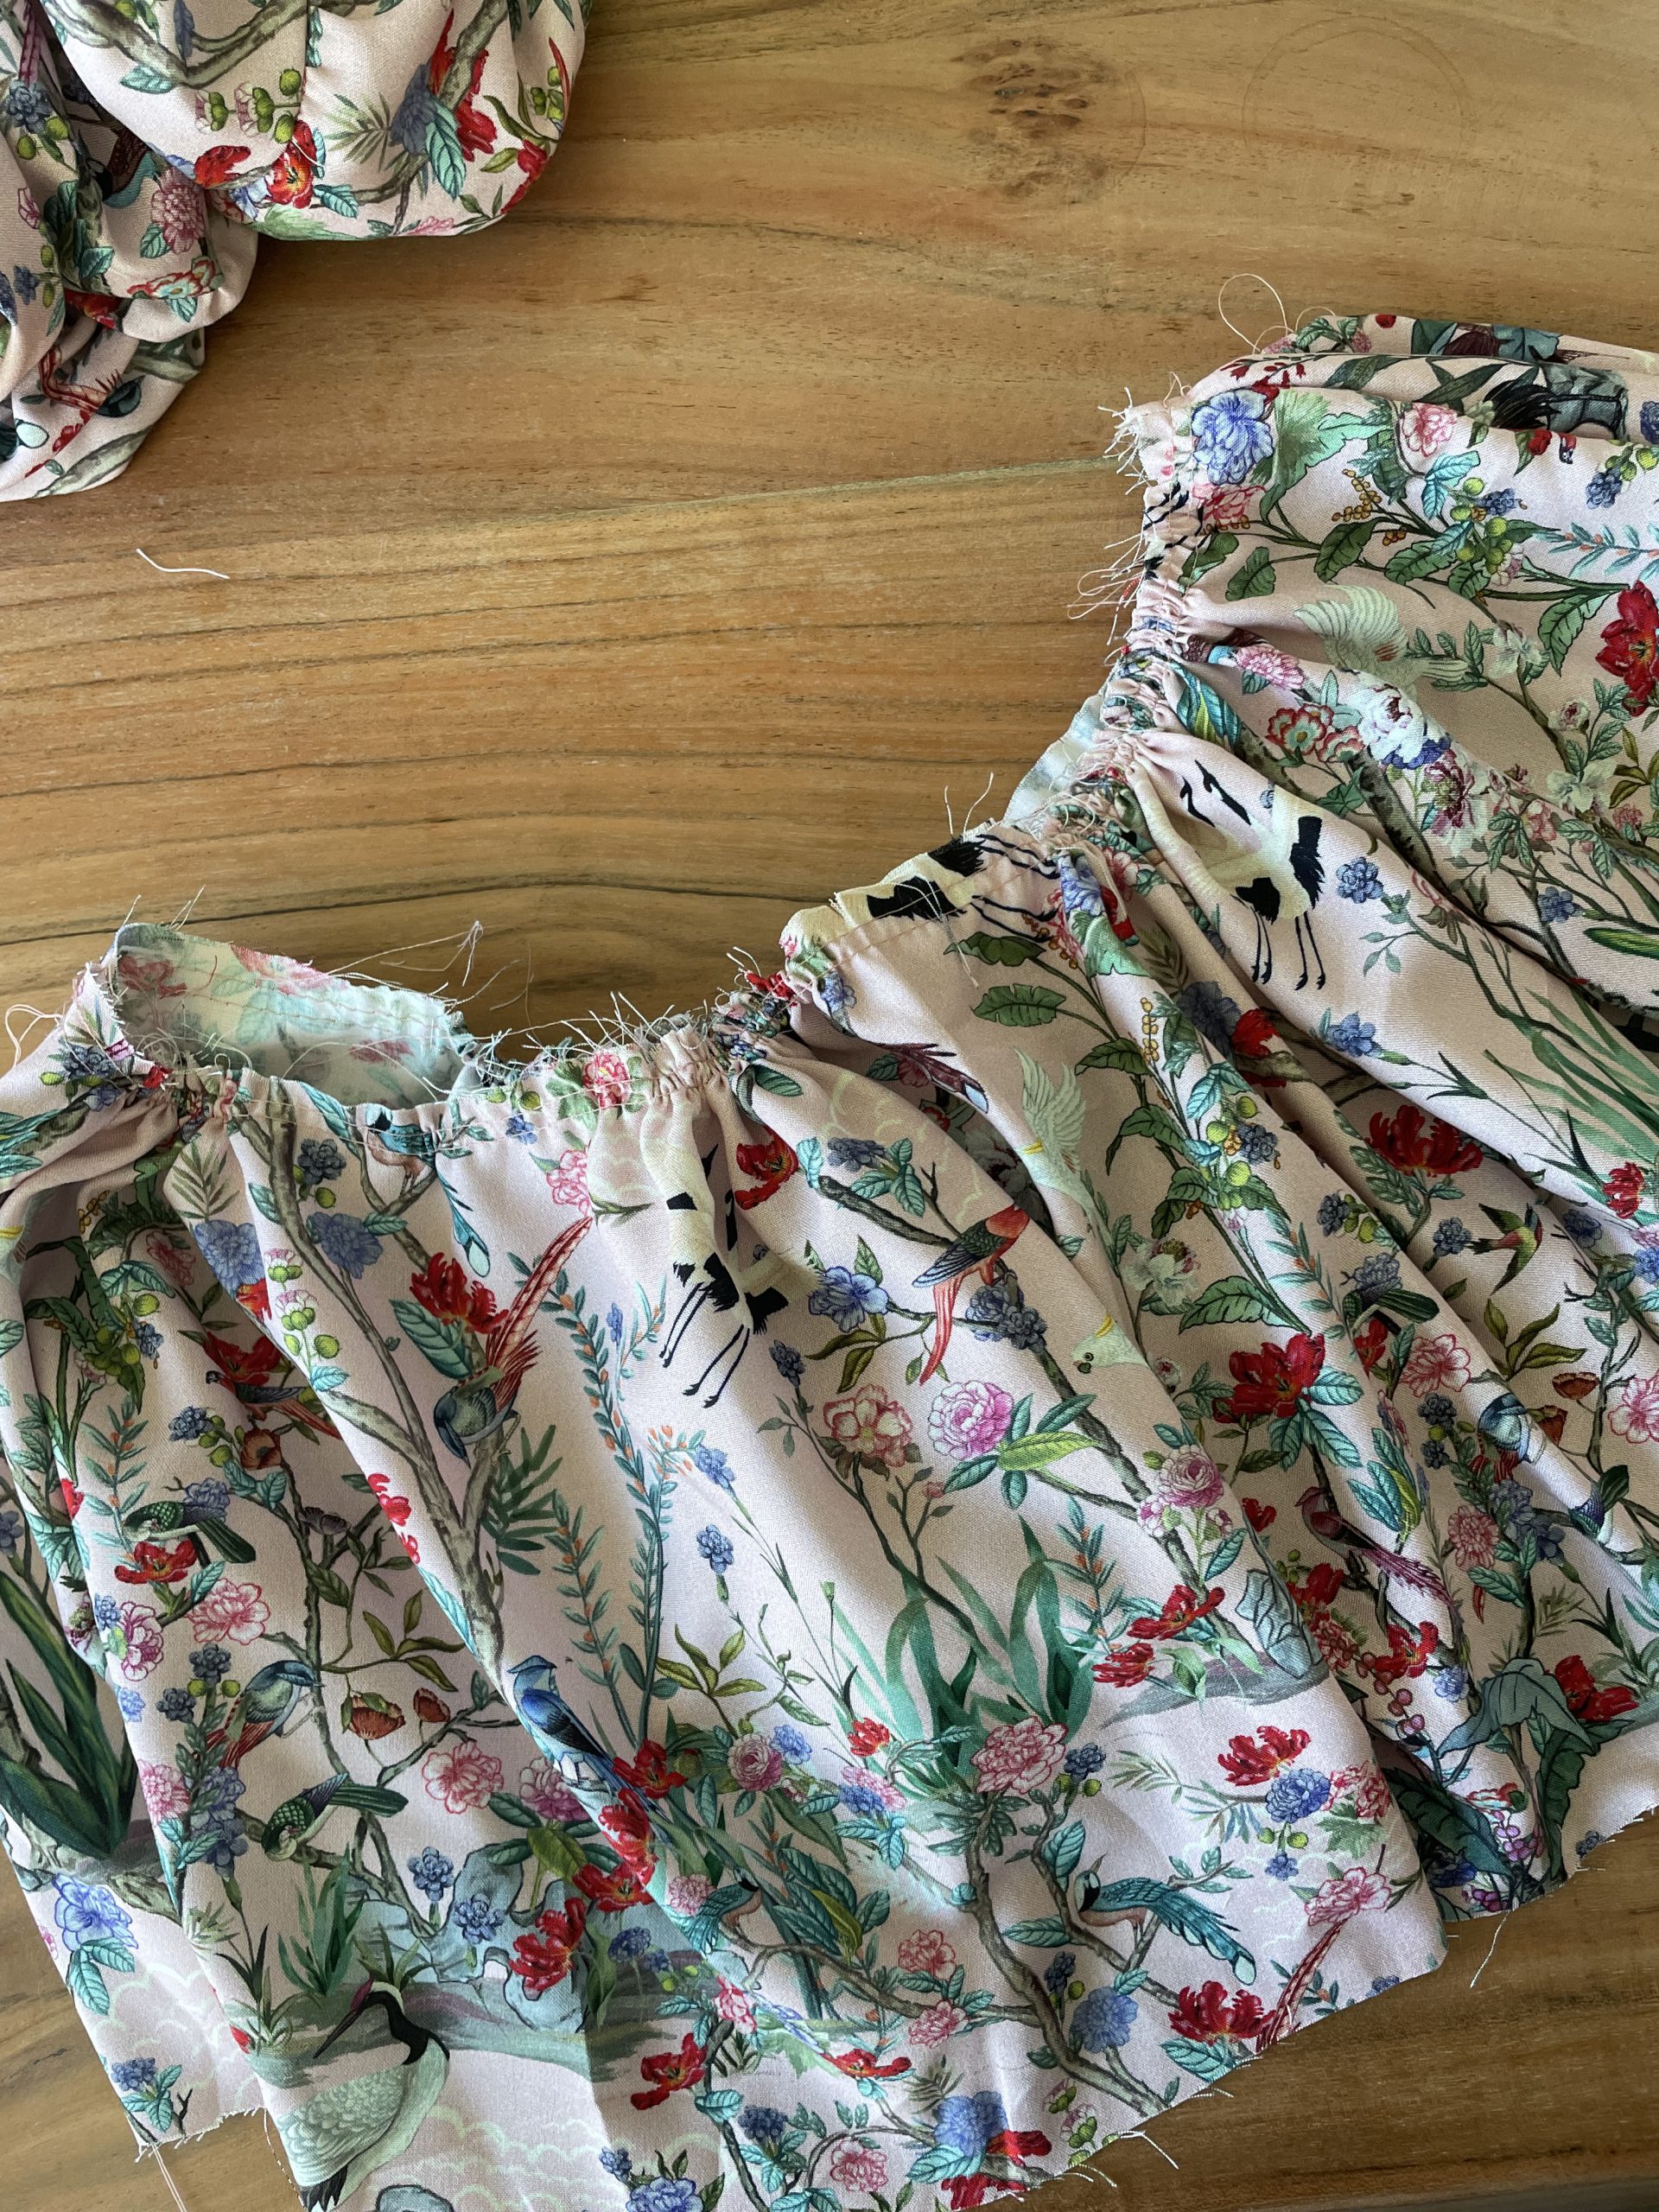
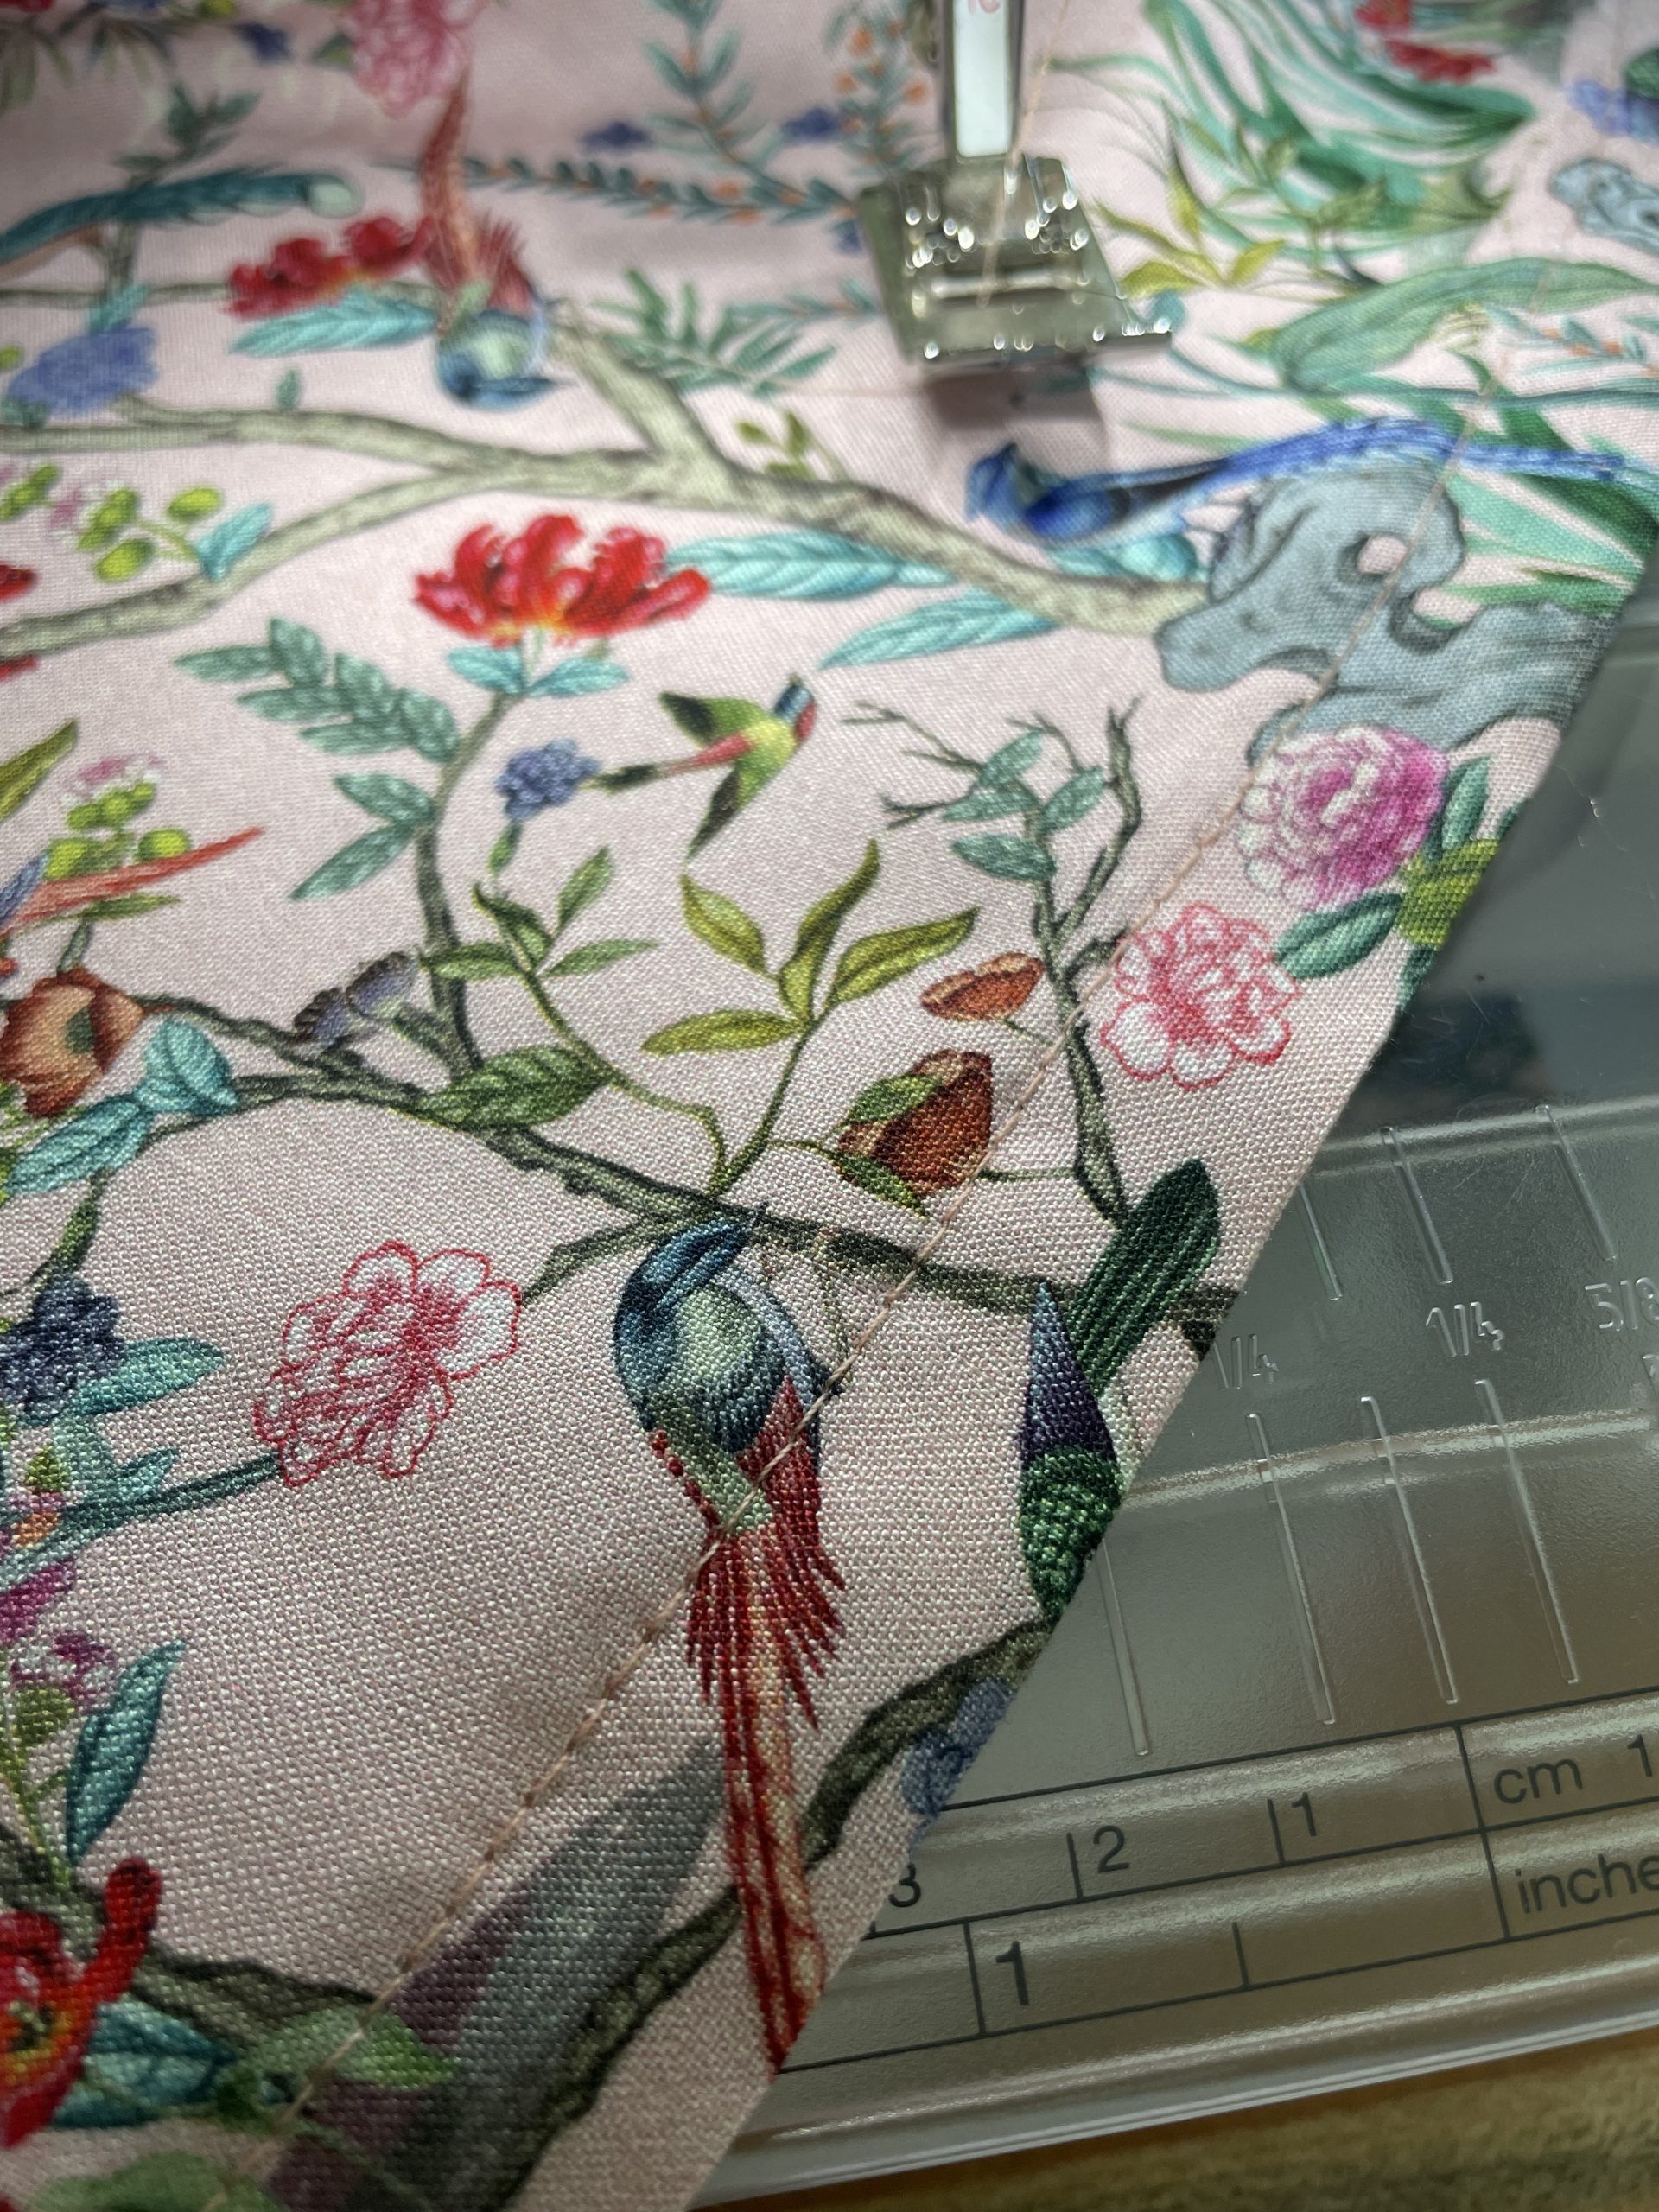
Creating the skirt top edge ruffle
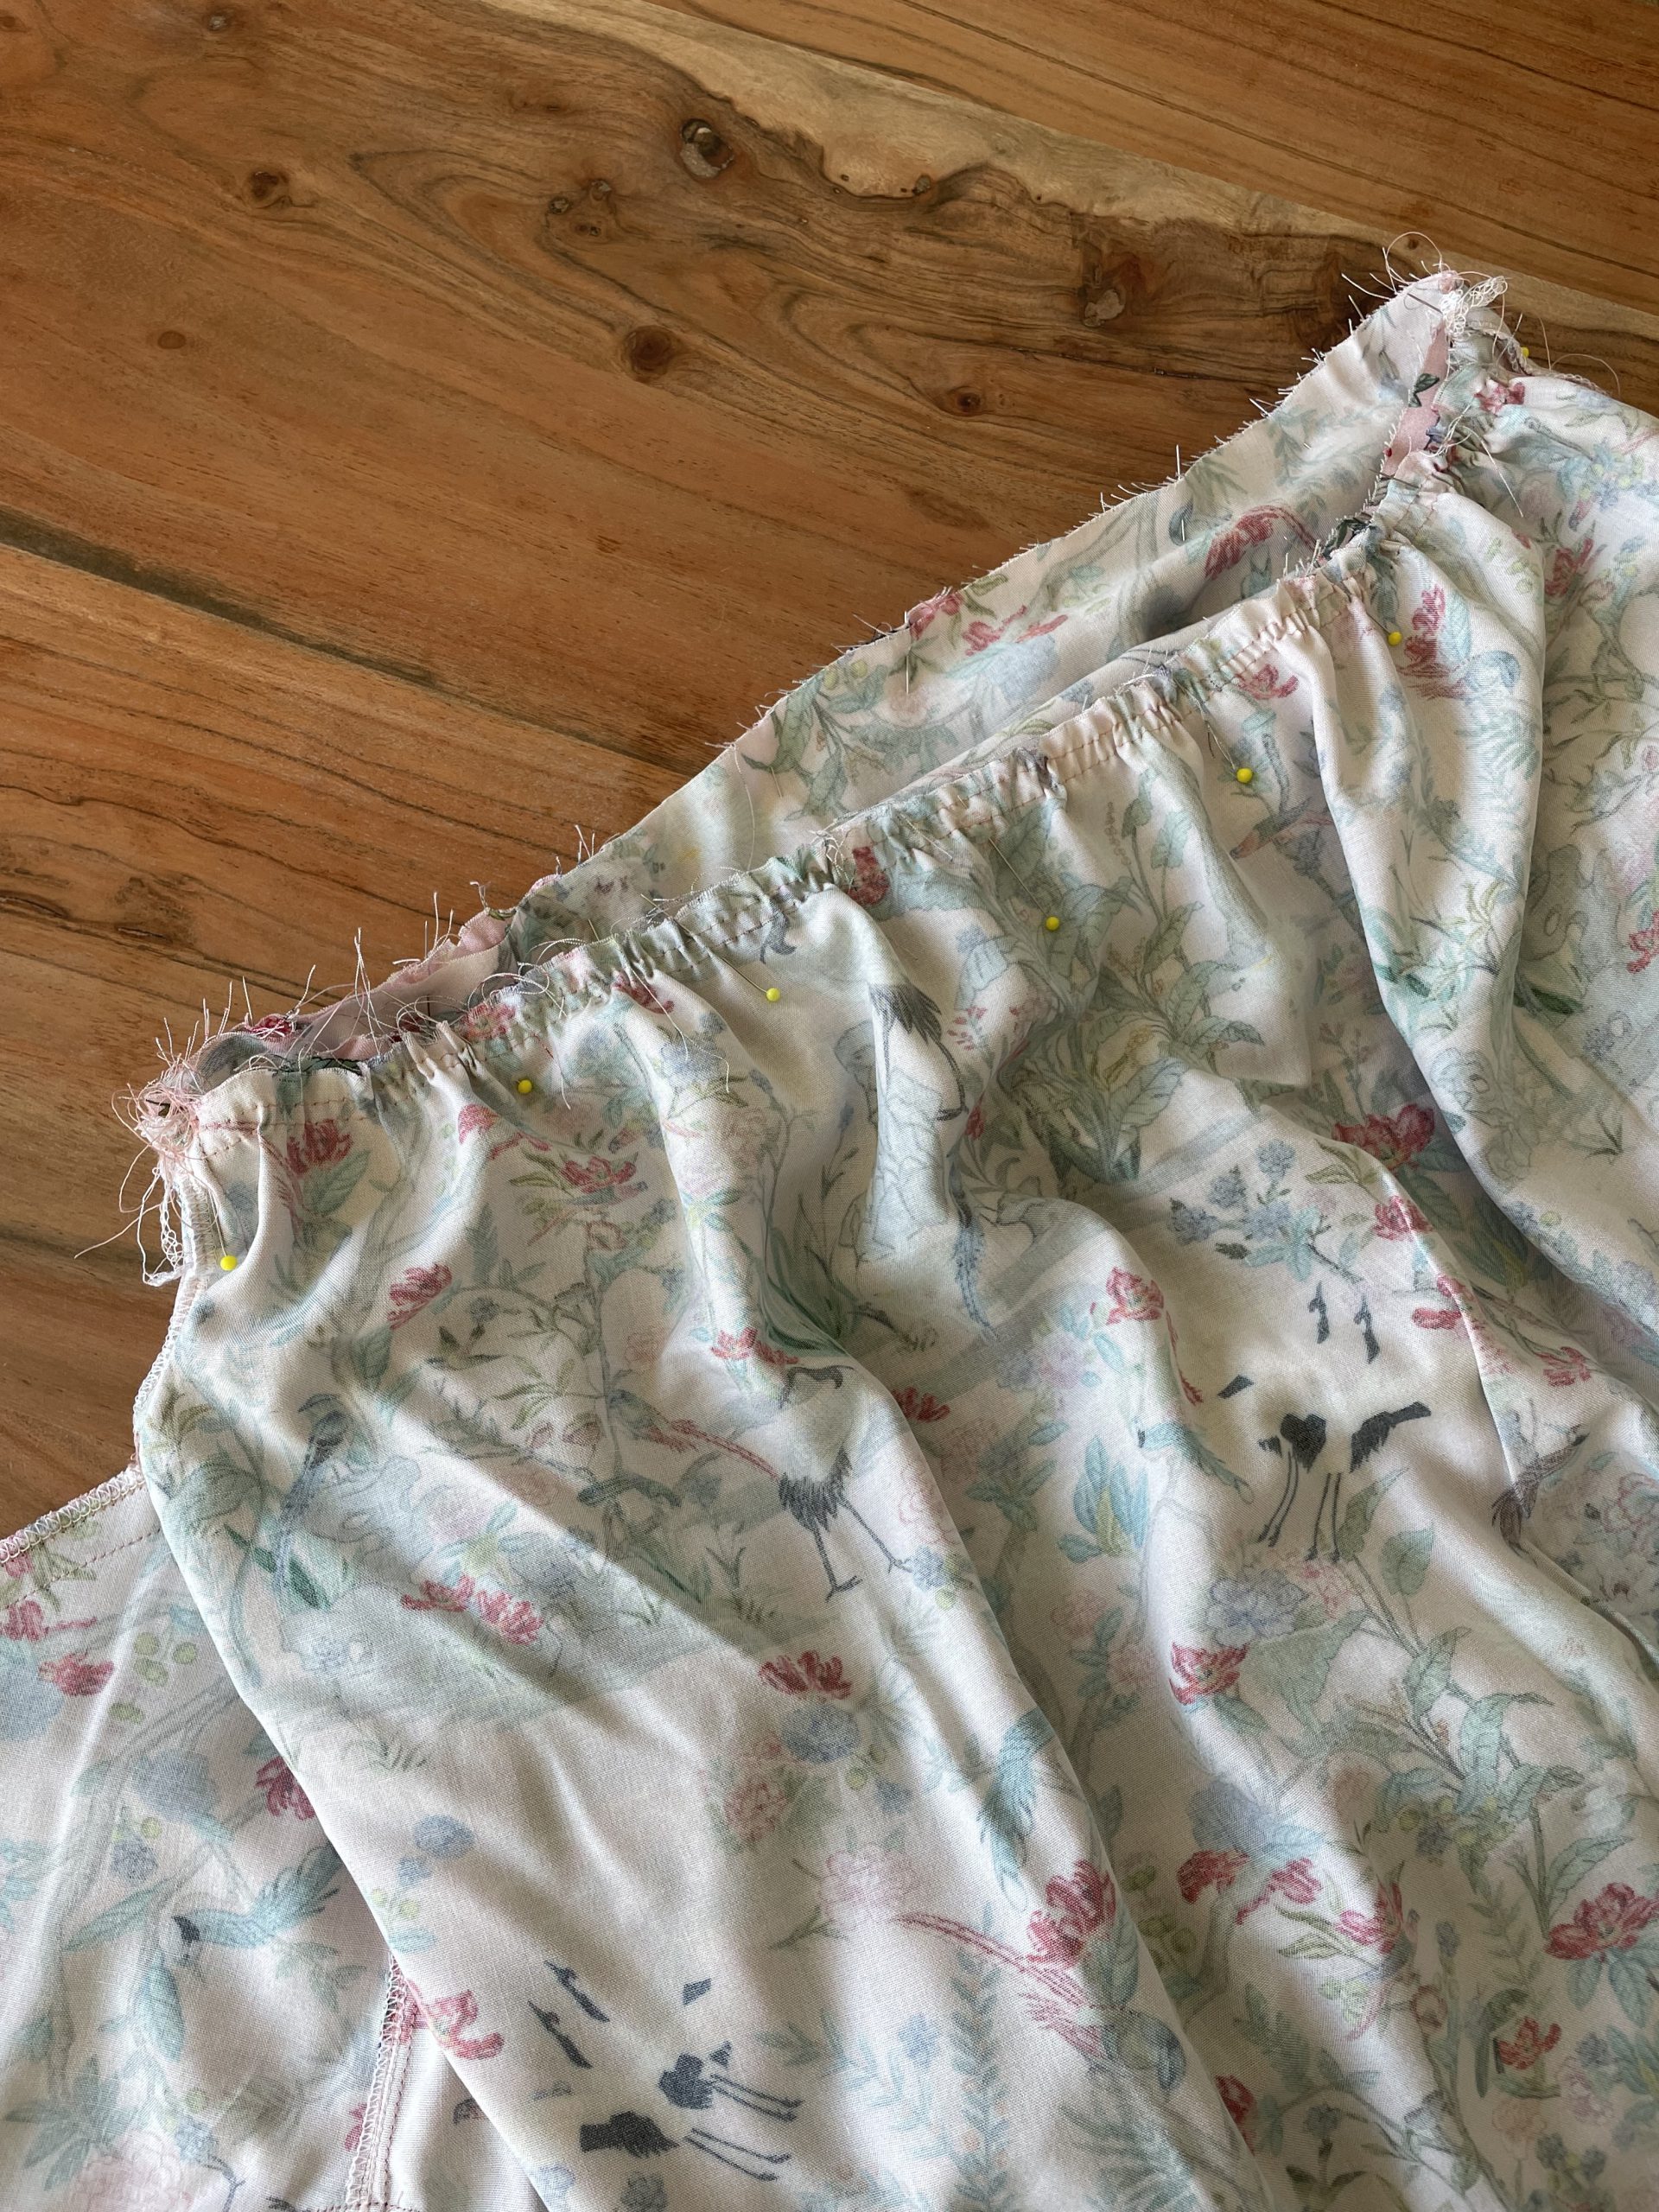
To sew gather stitches on the skirt set your machine stitch length to 4.5 -5mm. Sew a row of stitches along the front skirt, start and finish close to the side seam. Remember to NOT back tack and to leave a long thread at the ends. Repeat this step about 5mm below the top row. Sew a further 2 rows onto the back panel along the top.

Two rows of gathering stitch
Fold the skirt and hem of the bodice in half and mark with a Pin the centre back and front with a pin.
Very gently pull on the upper threads, using your fingers move the gathers along the fabric. Repeat on both the front and back gather stitches.
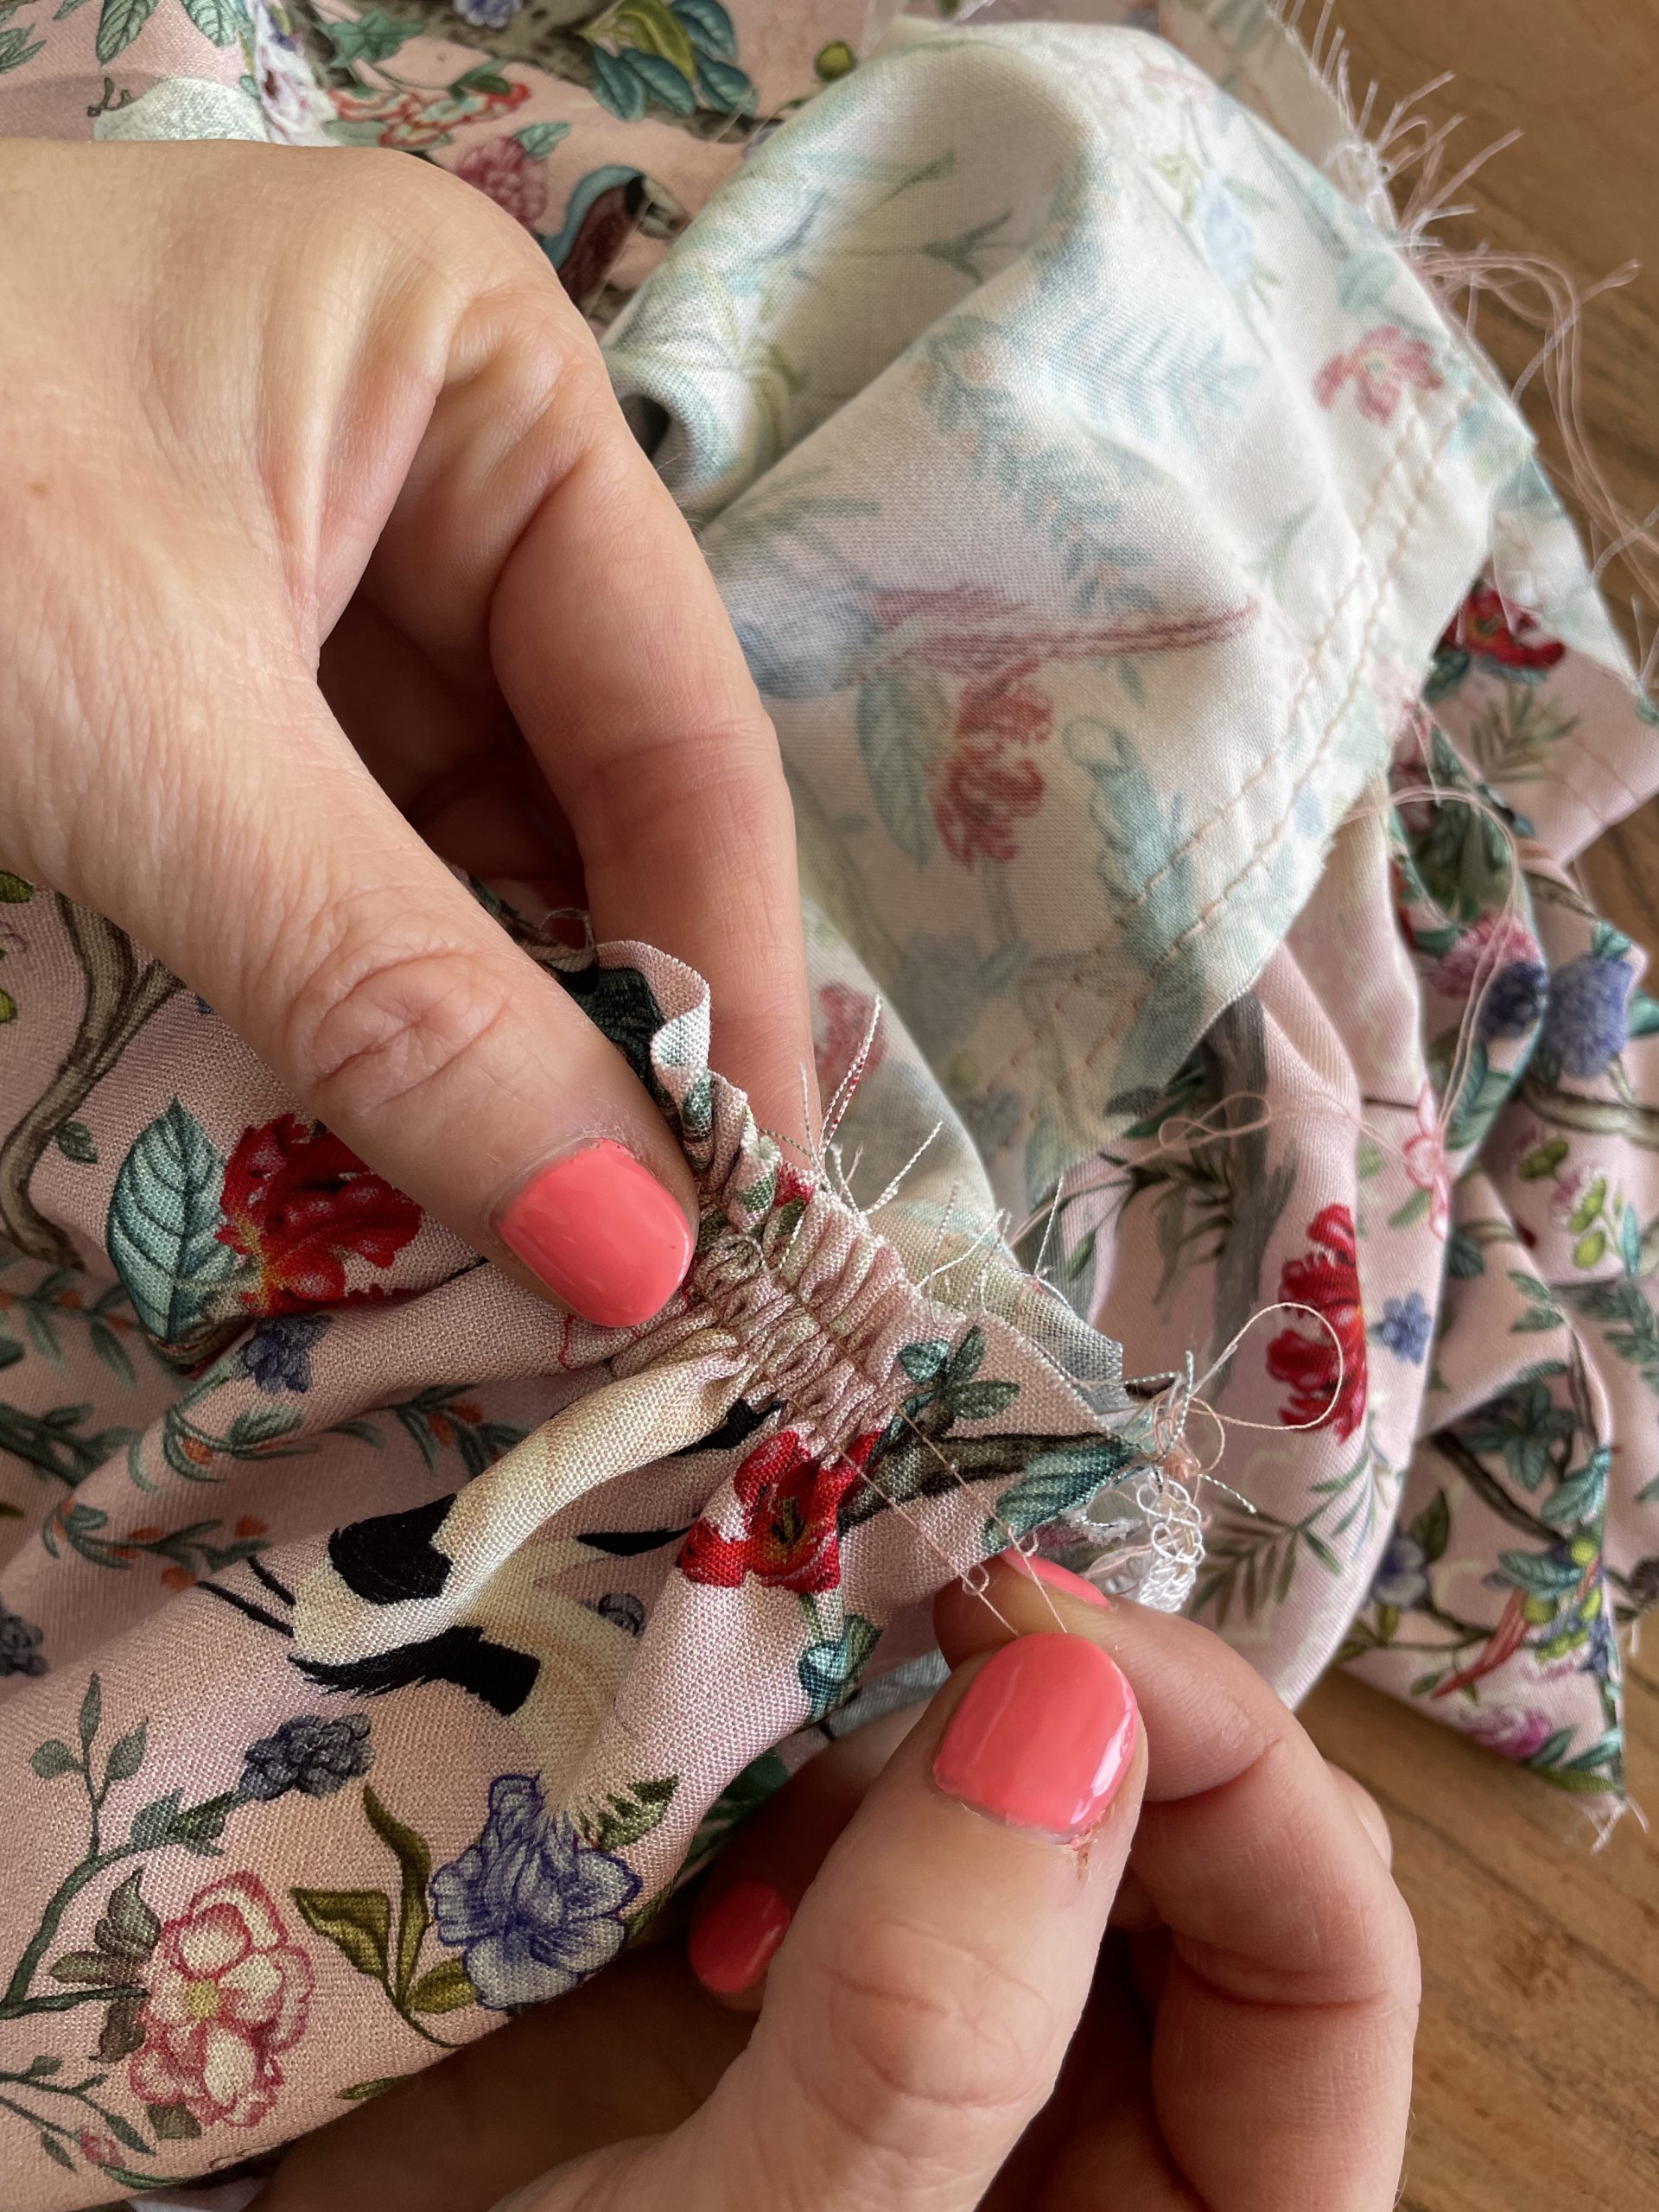
Gathering to the front and back skirt.
Dont pull on the threads of the gathering too tight! we can alter the width to fit the skirt in the next step.
Attaching the skirt to the bodice
Turn the skirt inside out and place the bodice into the skirt, right sides facing. Matching the side seams and the centre back and front pins of the skirt. Slowly even out the gathers ( I tend to wriggle them along with my nails and finger tips ) between the pins and pin in place.. continue this process around the top of the skirt and sew in place.
Gathers evening distributed and pinned
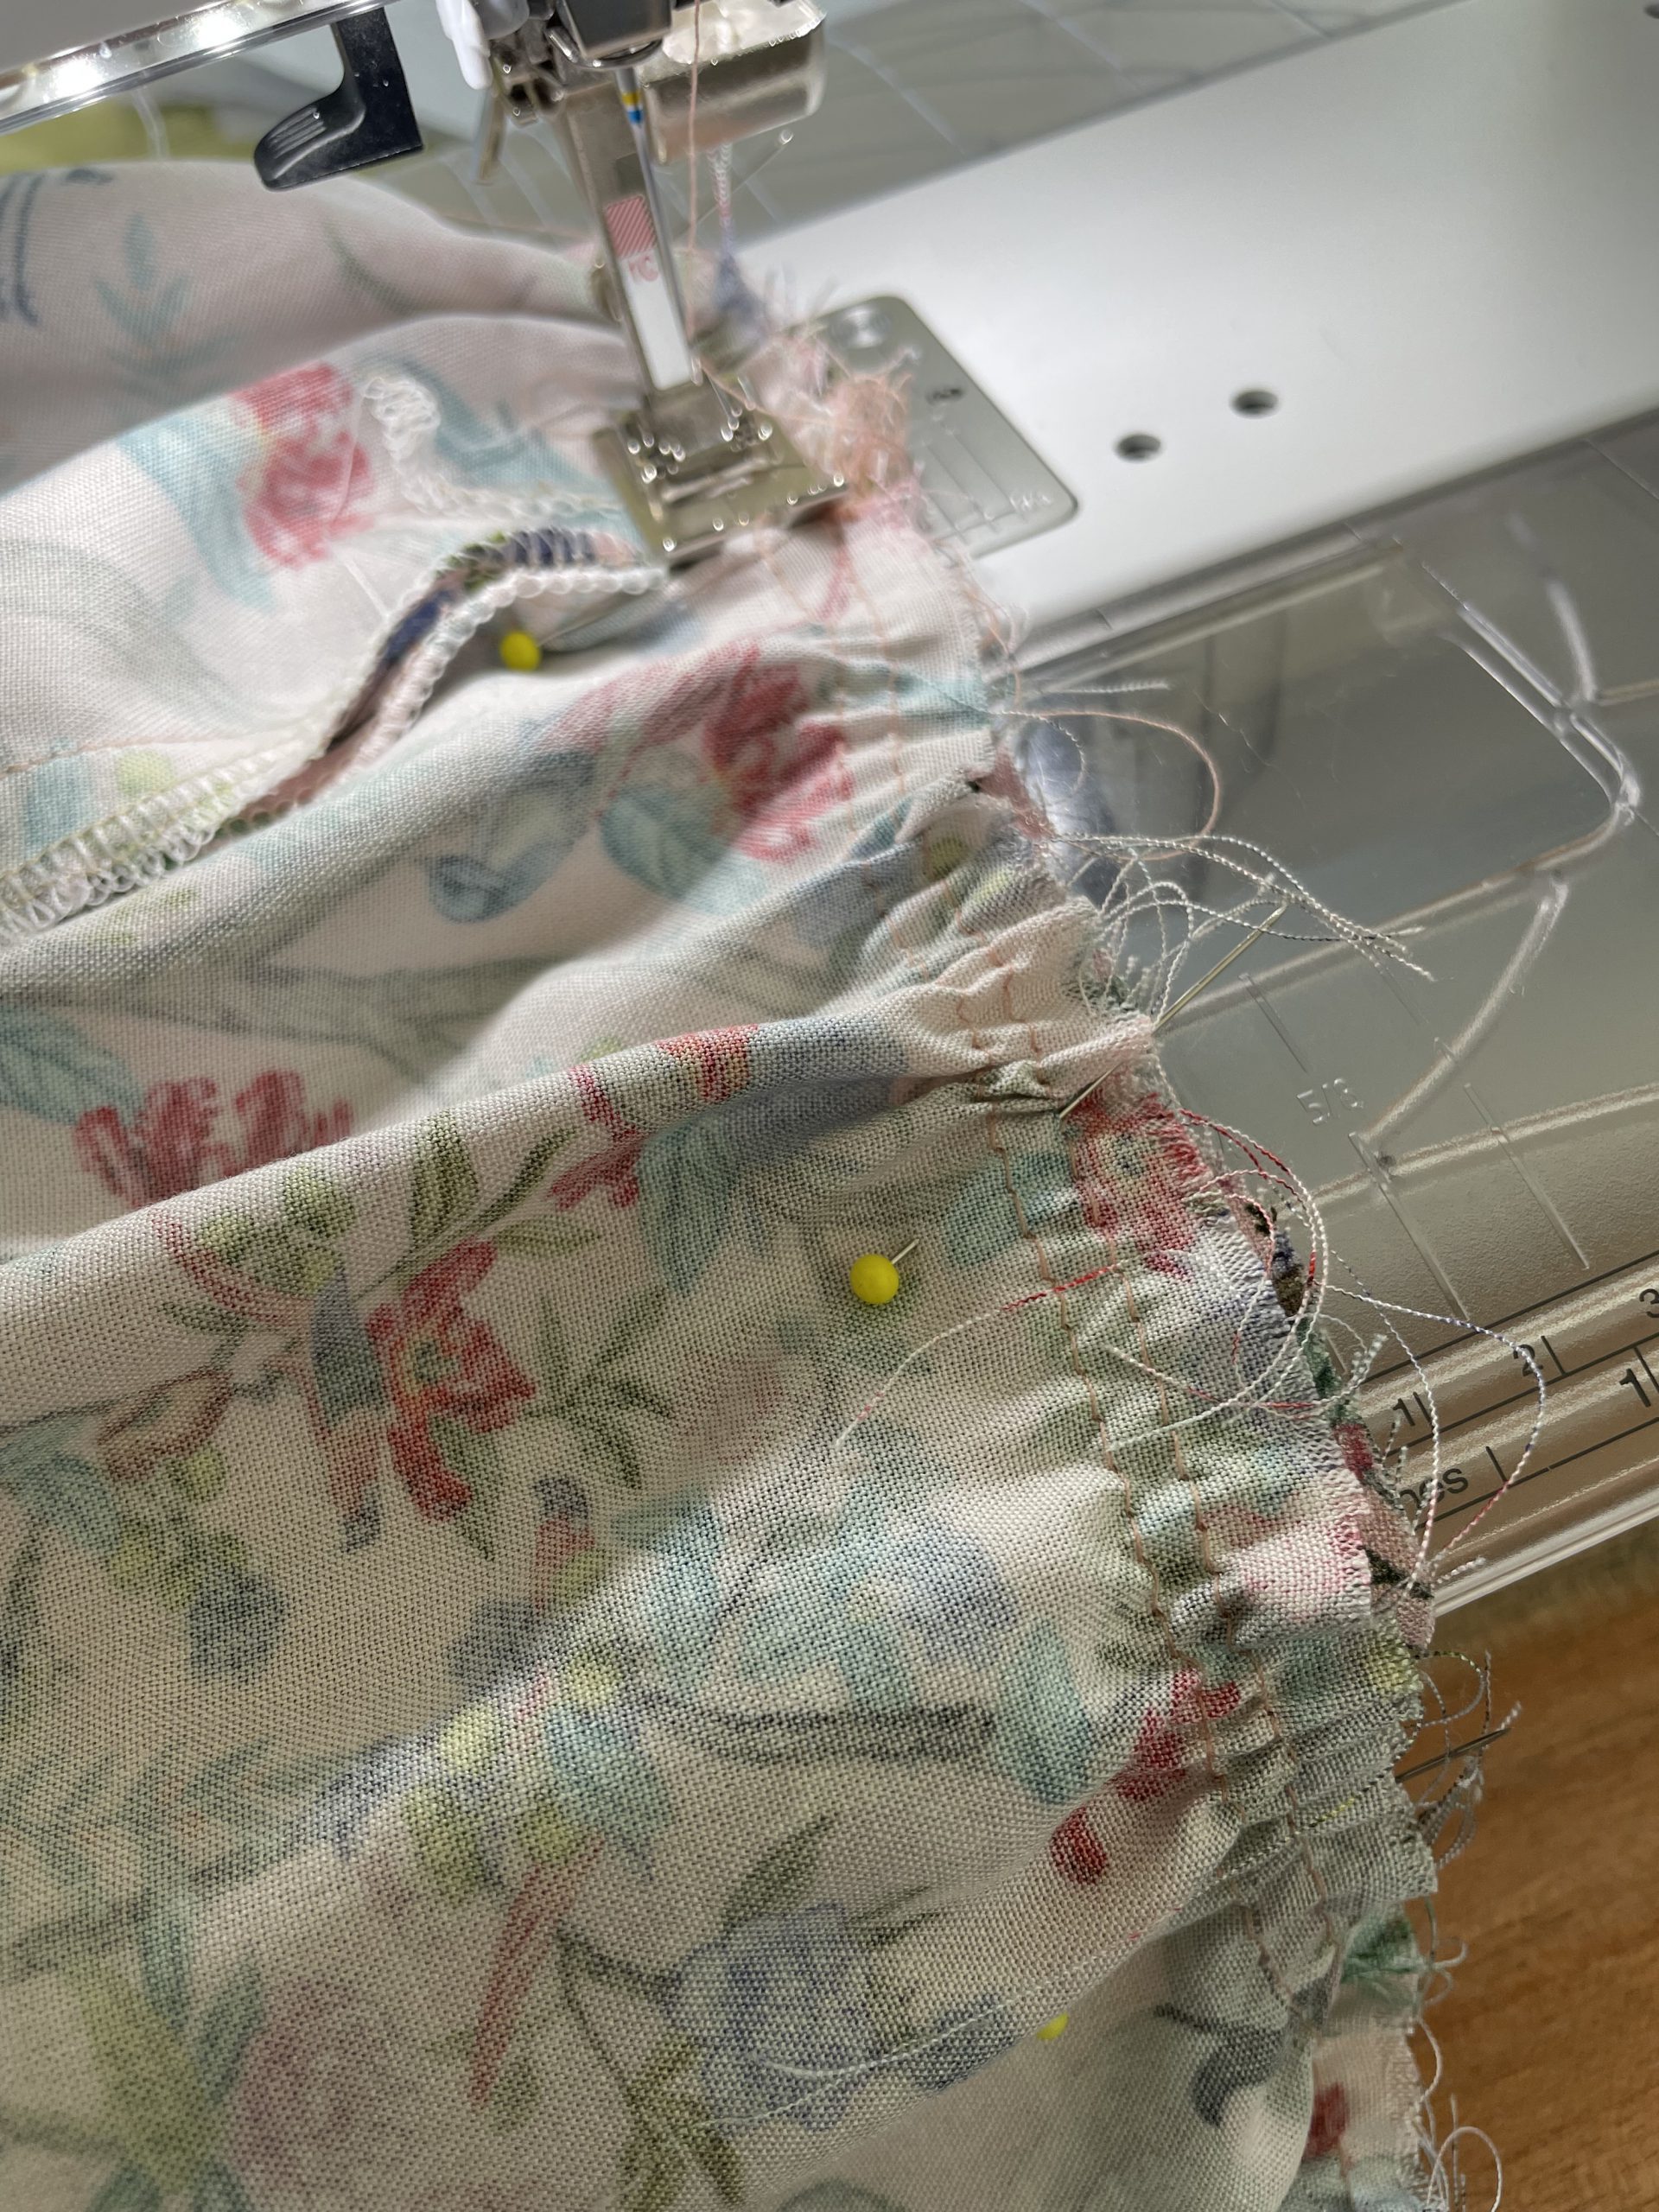
Sew the bodice and skirt together, with a 1cm seam allowance
Once sewn together, make yourself a hot cup of tea and remove the gathering threads, these can be eased and pulled out by hand.
Finish of the edge with an overlock or your sewing machine with a zig zag stitch.
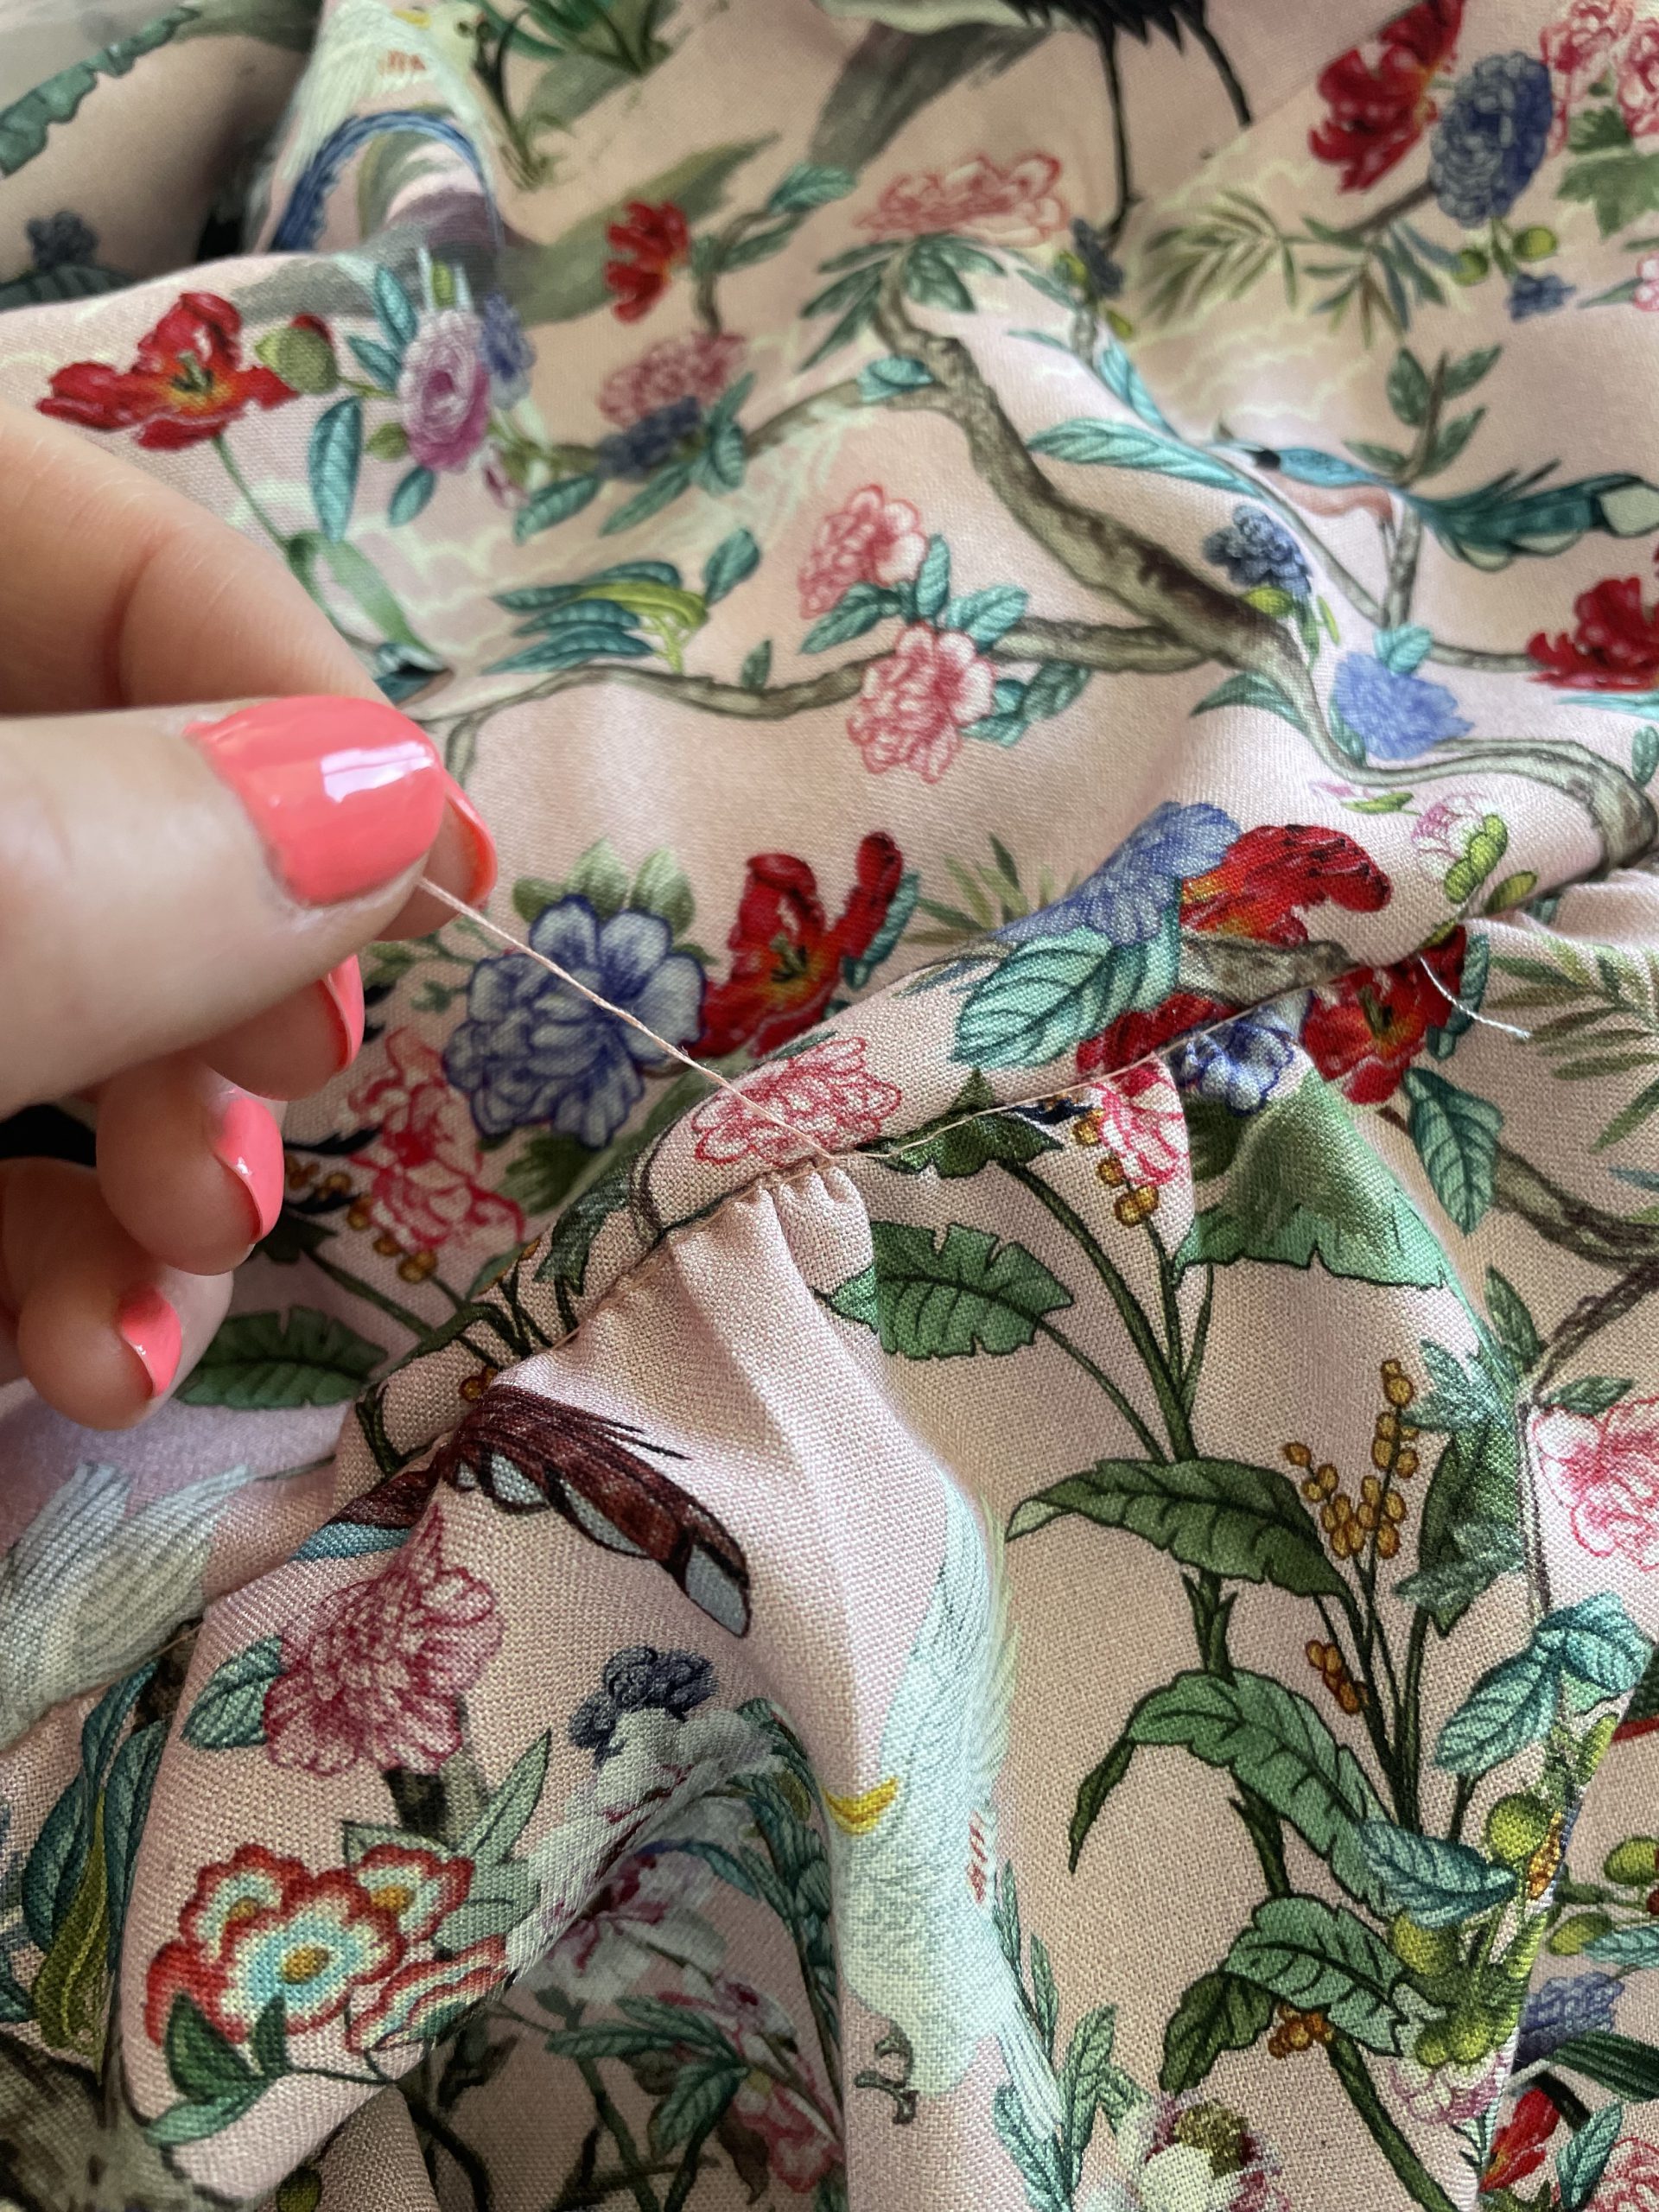
Removing the gathering stitches

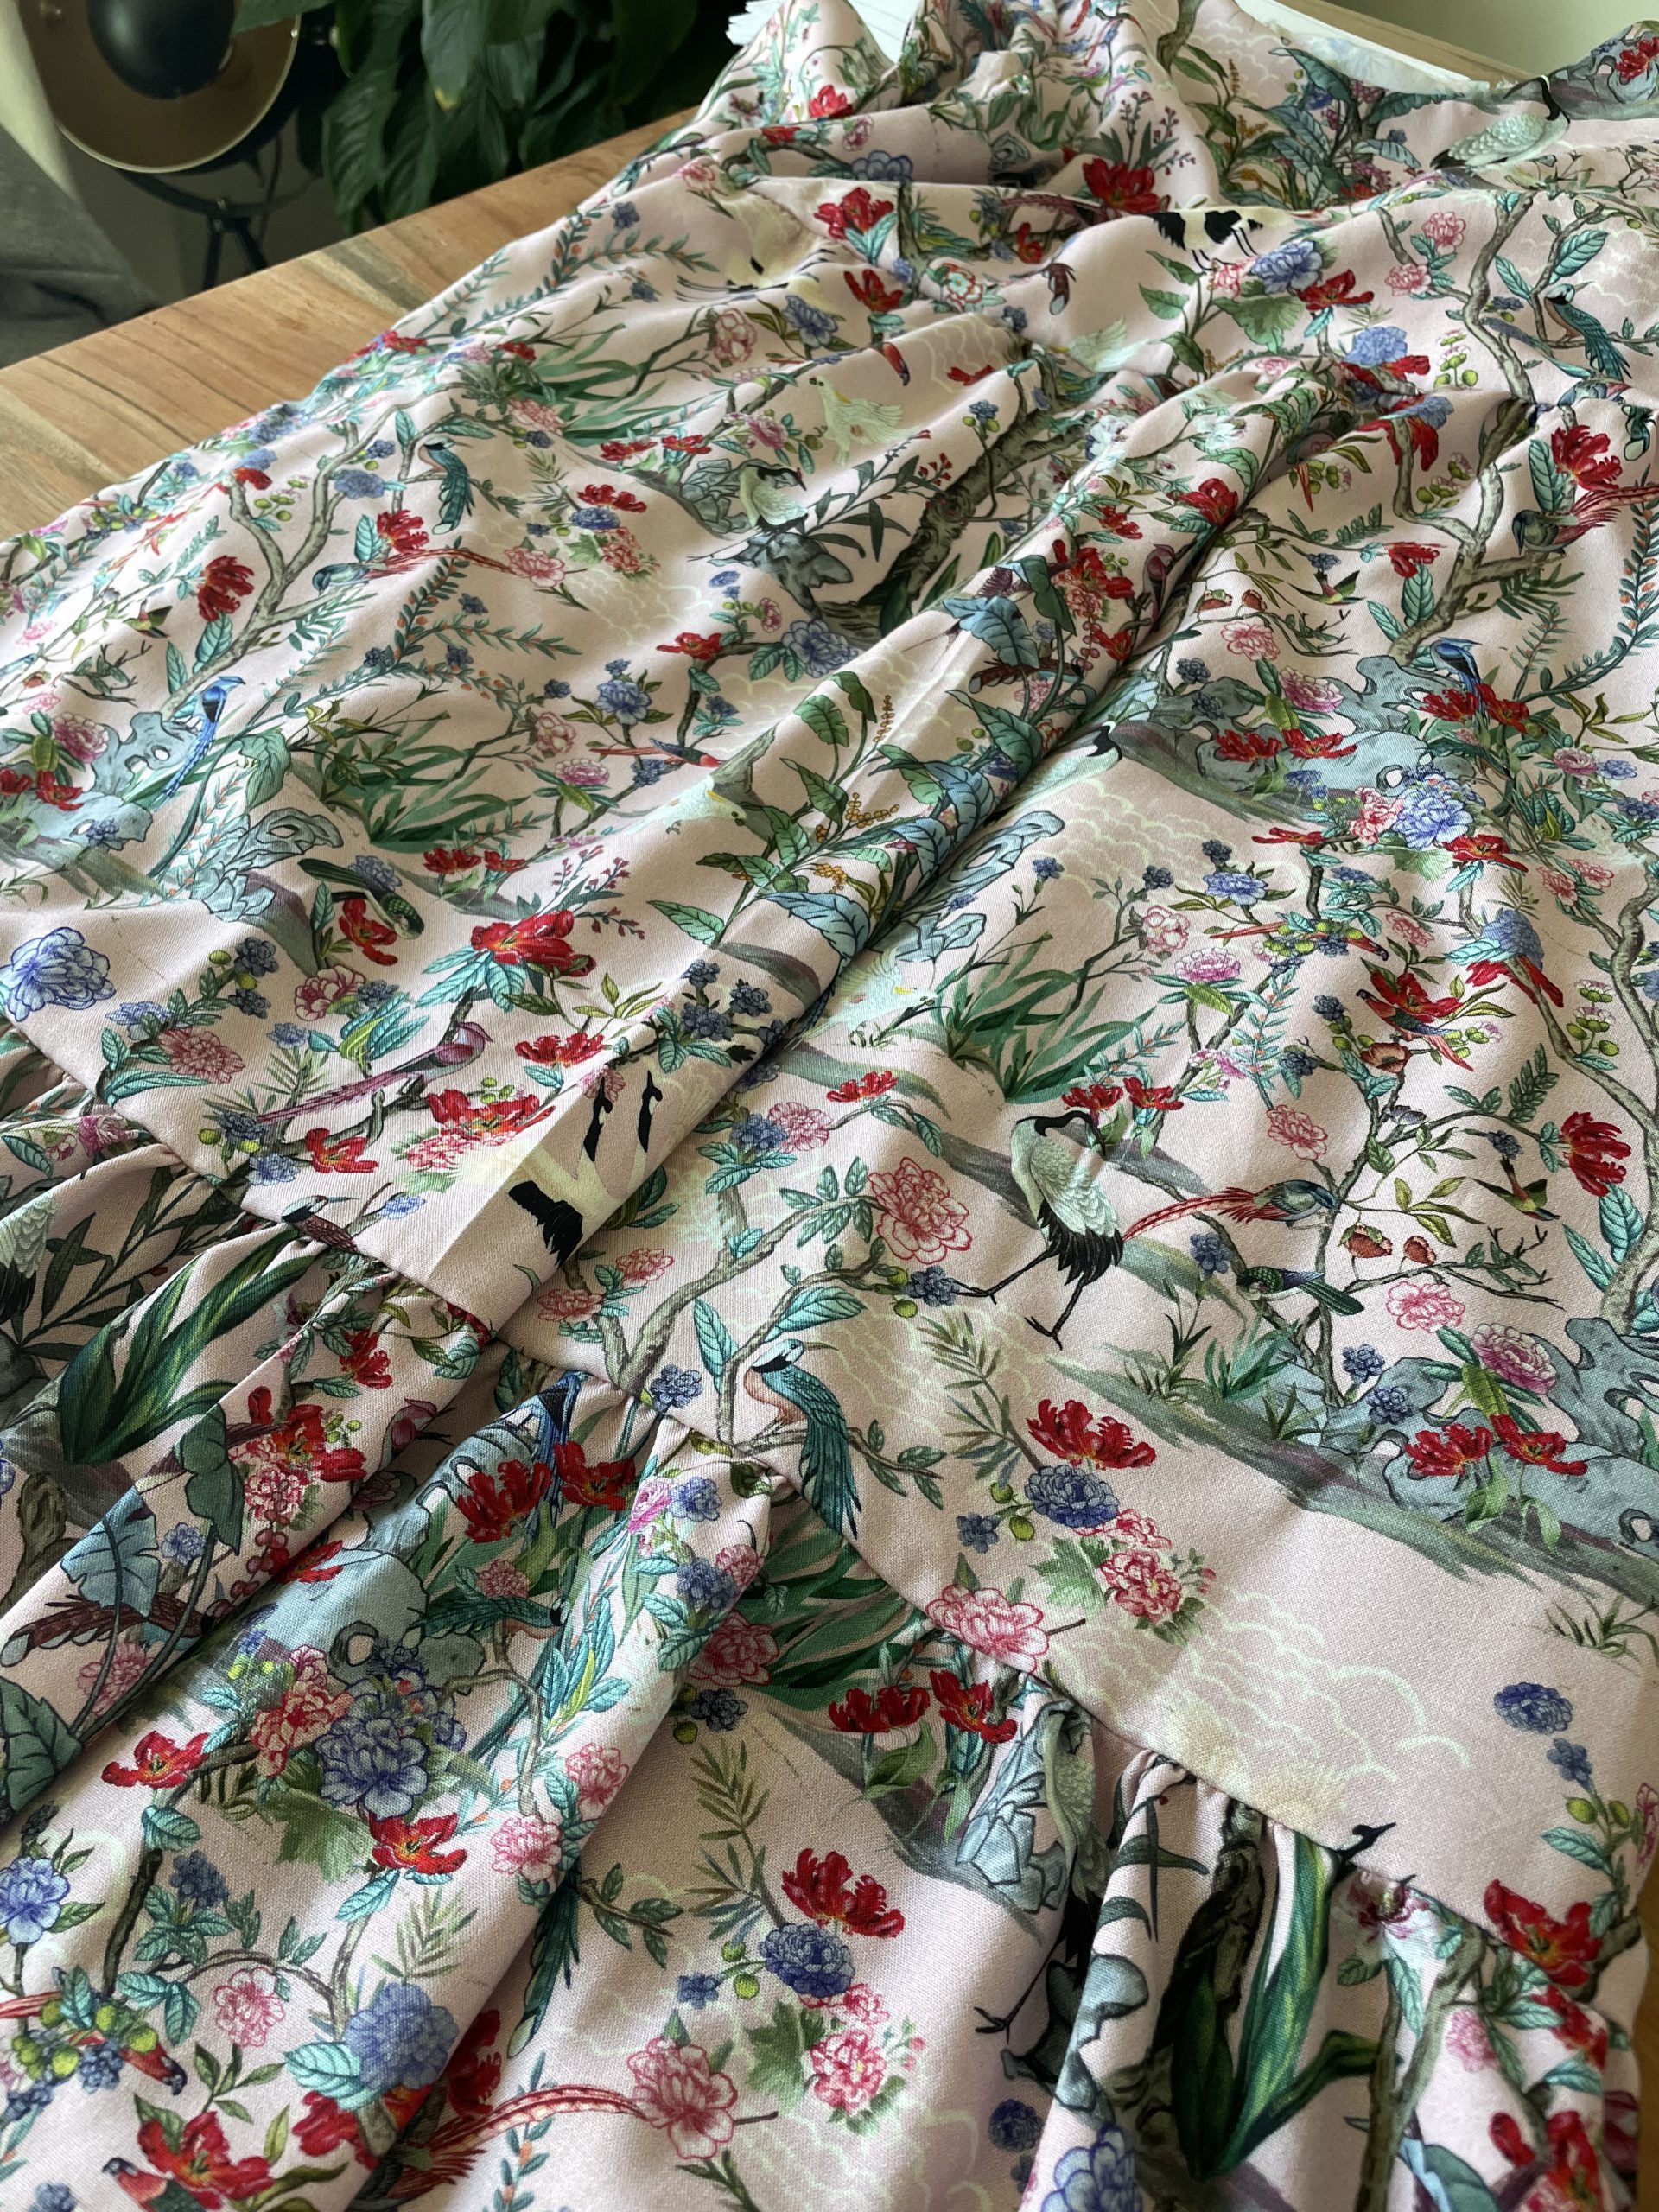
Finished gathered skirt
Sewing the extra gathered tier
This is an extra frill and sewn if wanted. This is a good time to try your dress on and work out the length you would like. I wanted to achieve a midi-dress length. ( hem sitting about 10cm under my knee) I worked out the depth I wanted my ruffle ( 30cm deep) and worked out from that length ( with hem allowance and top seam allowance added ) how much to remove from the length of my skirt.
Once all calculations have been made and your happy with the length, you can create your ruffle. Pattern piece is included in the add on Indigo pattern available on line. found HERE
Using the gathering technique as used for the top of the skirt sew your ruffle to the hem of the skirt.
Hem ruffle depth and gathered
Ruffle attached to the hem of the skirt
Finishing of the sleeves
I decided to add elastic to the cuffs of the sleeve. I overlocked my sleeve cuff, pressed a 2cm hem and sewed a channel leaving a a small whole to feed the elastic through. The measurement of the elastic can be determined by placing around your wrist and adding a little stretch.
Once the elastic was fed through the channel, I secured the ends of the elastic together and closed the cuff seam.
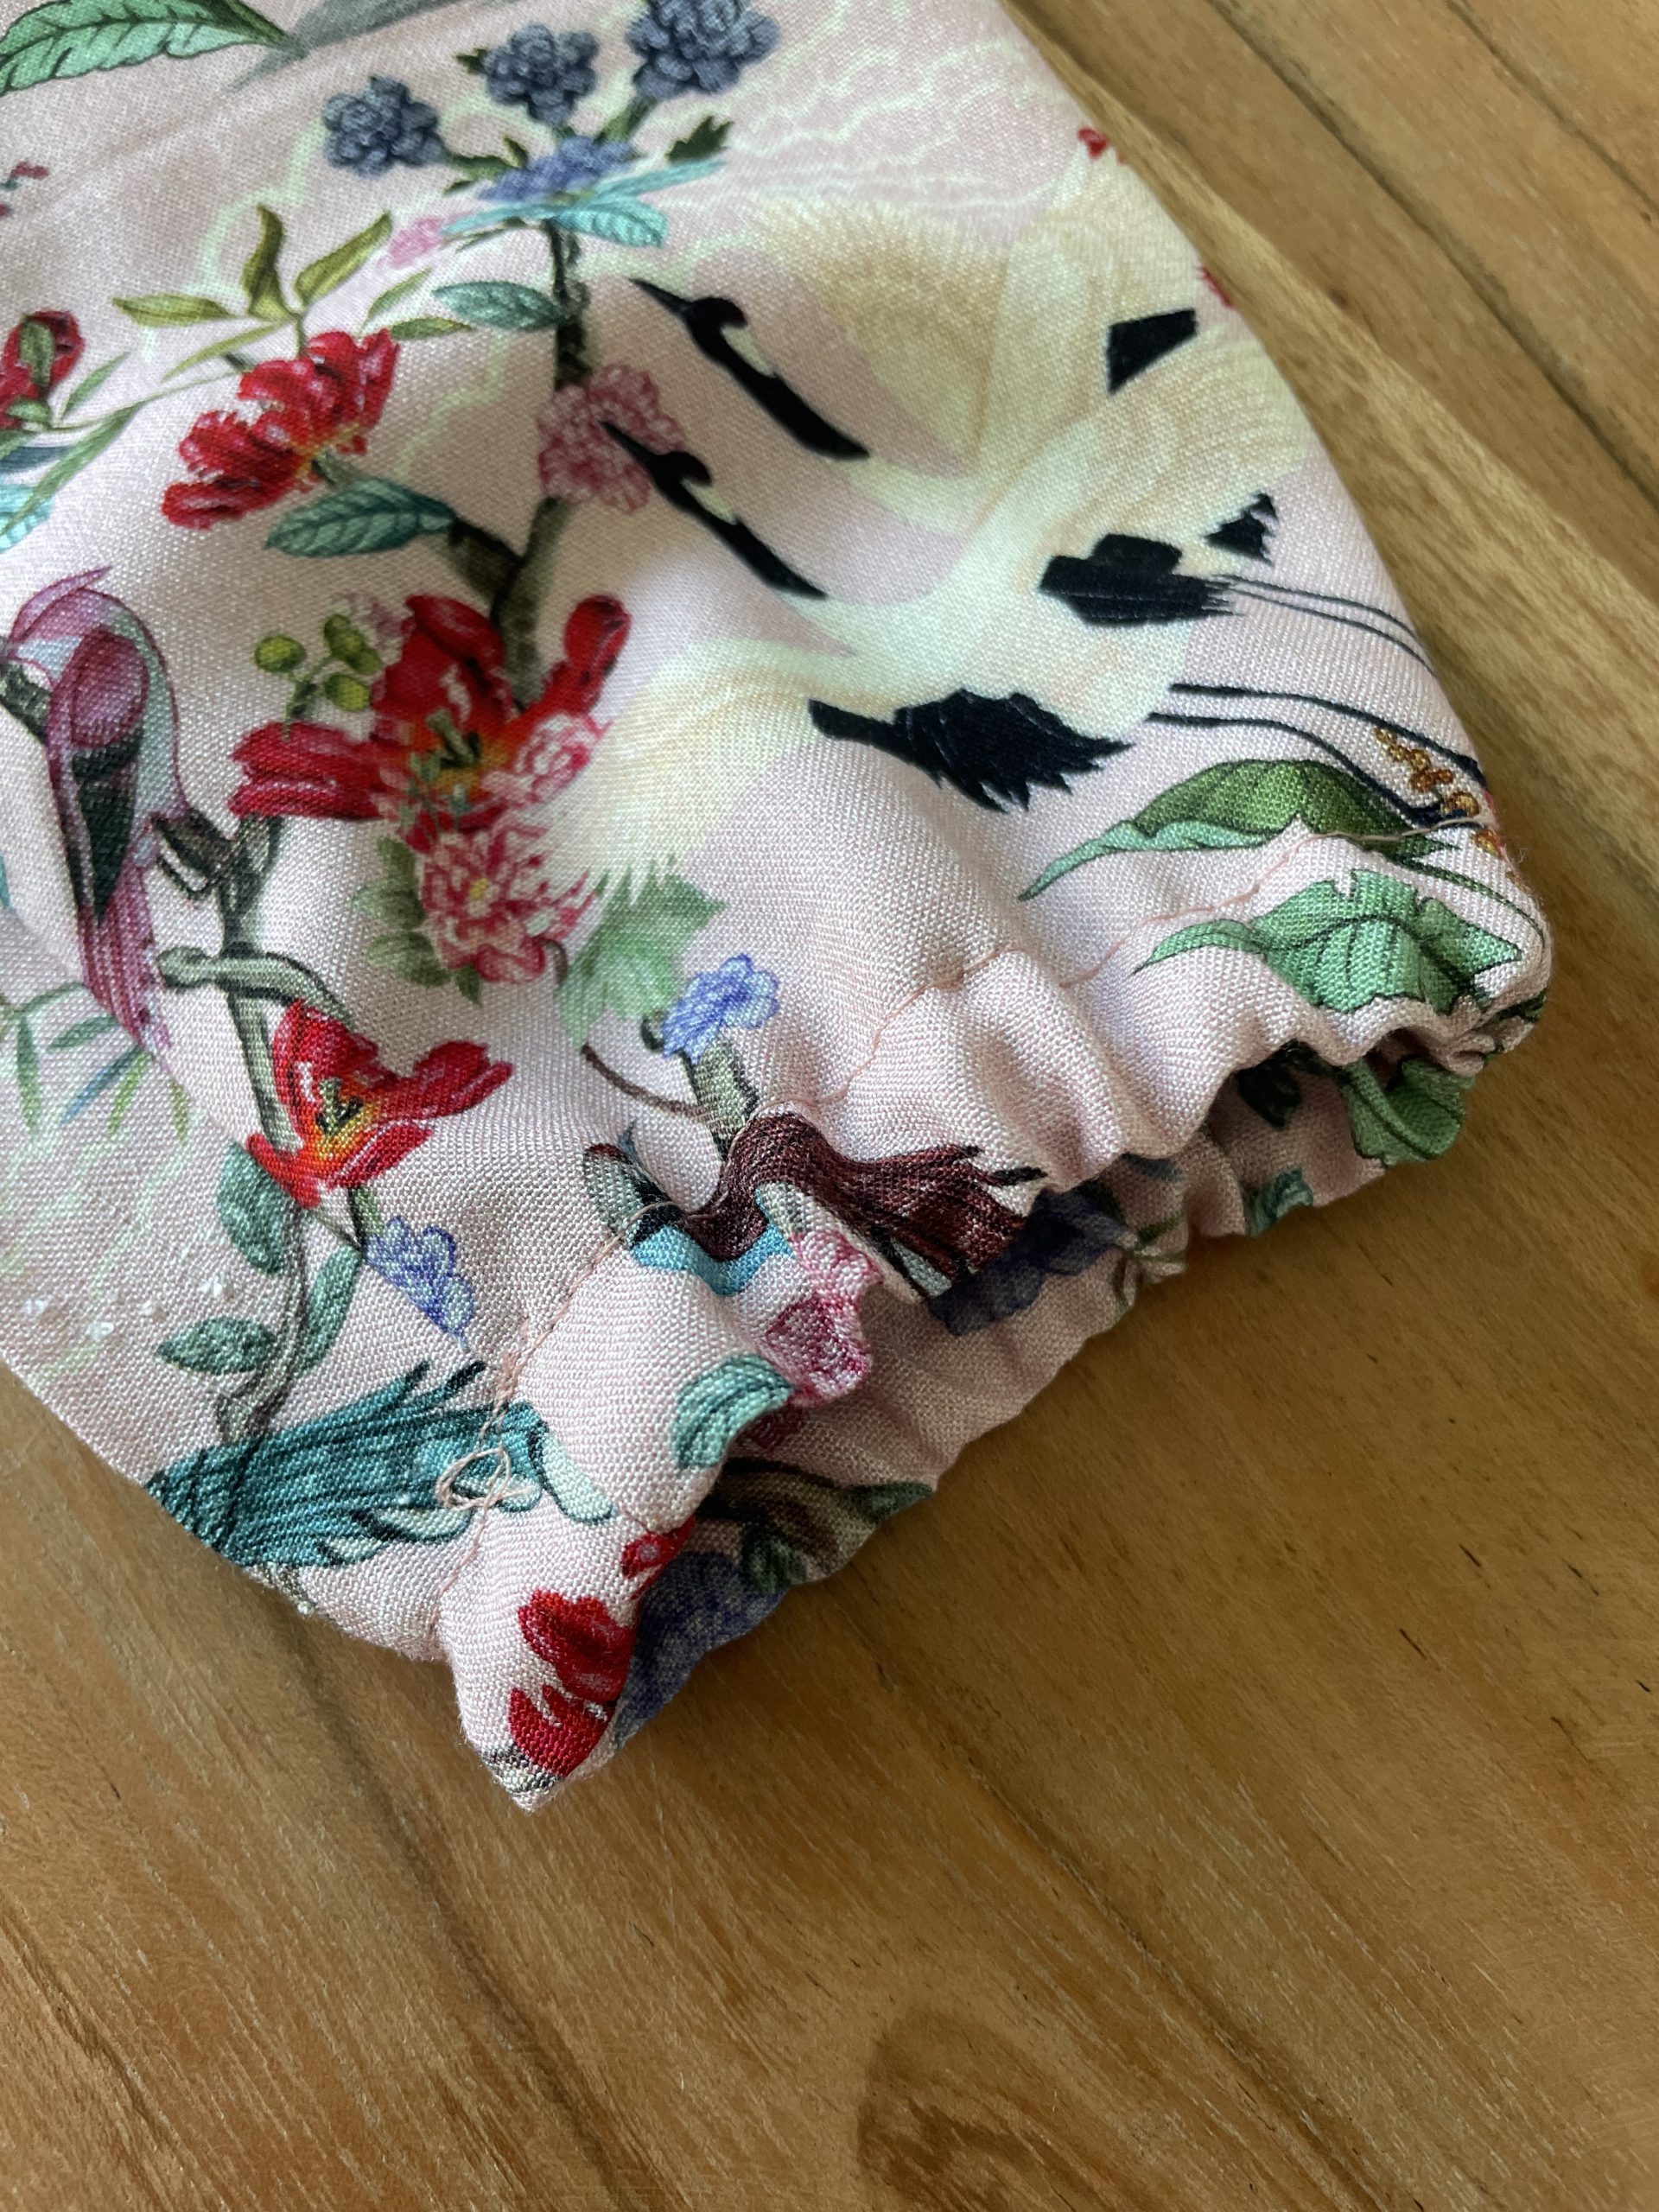
Elasticated cuff
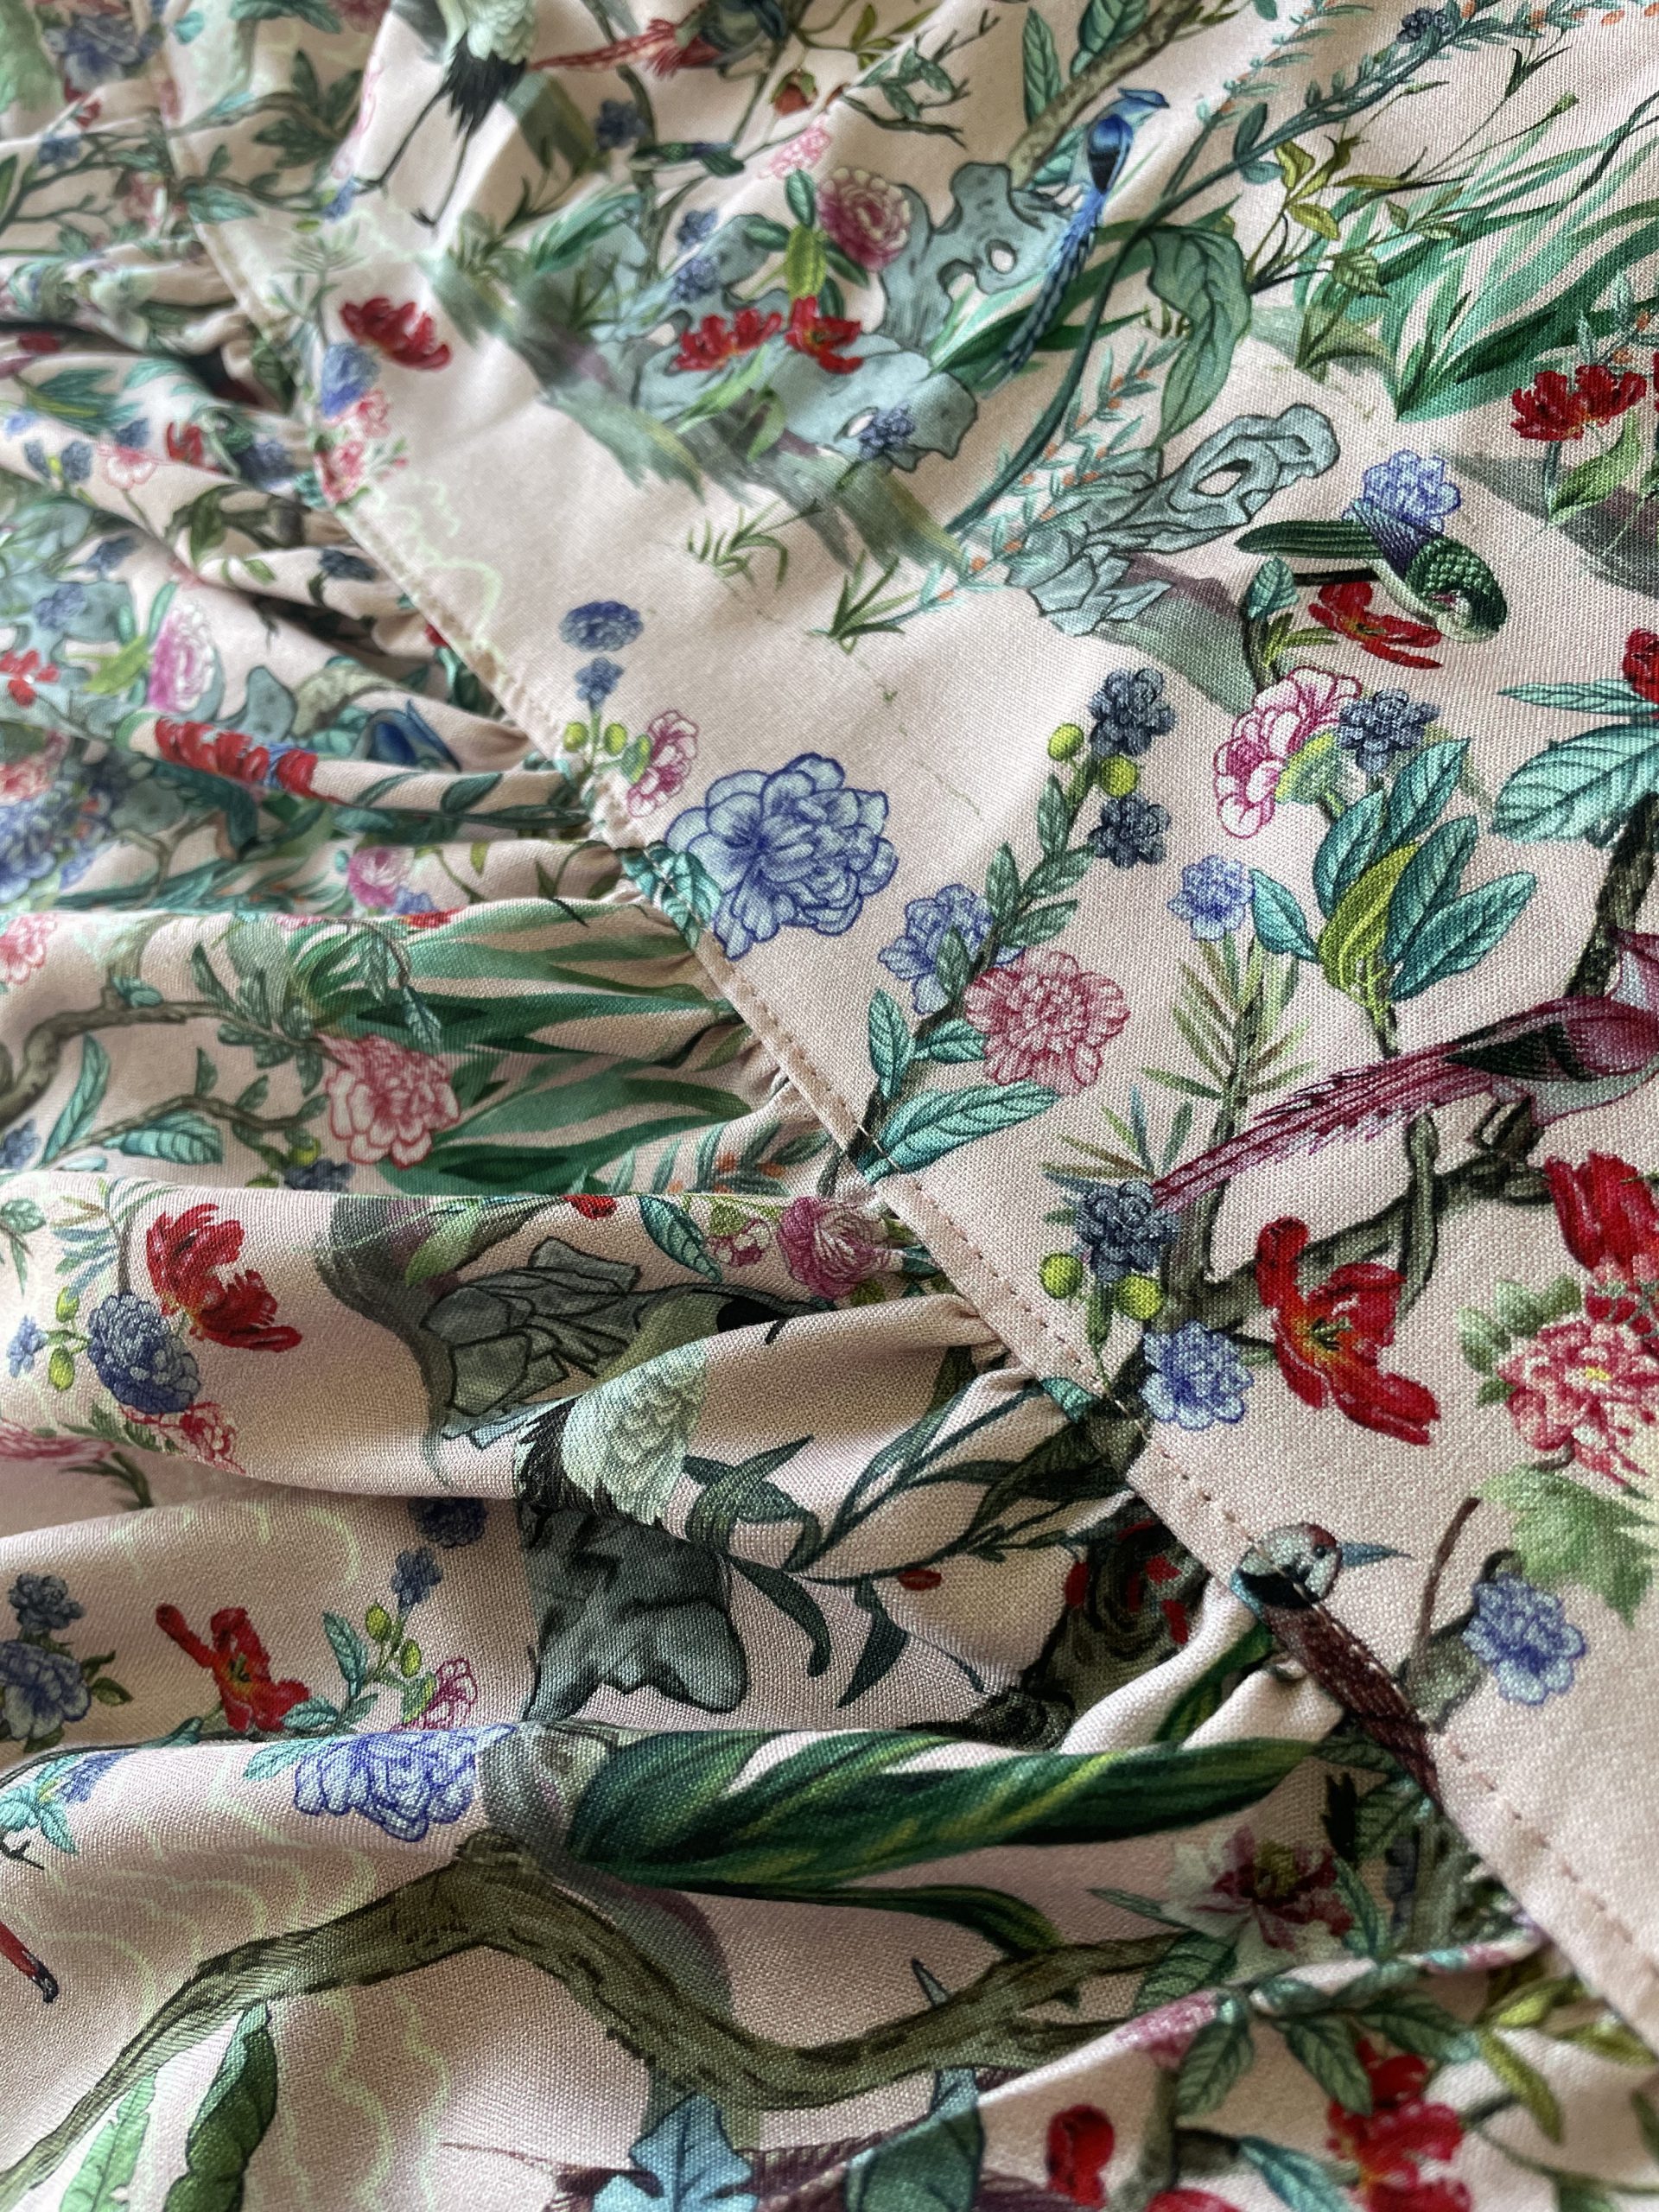
Extra detailing
I wanted to makes sure my ruffles sat flat in my dress, so I top stitched the ruffles in place on both the skirt and the ruffel. This is an extra detail, this is not necessary.

Top stitching the Ruffel
End result
Hemming your dress
There are many methods to hemming and here you can choice your own. With a lightweight fabric I tend to overlock the hem, press by 1,5-2cm and sew in place using a 3,5 stitch length on my machine. From the wrong side of the fabric. Of cause you could double roll the hem, hand-stitch, or blind-stitch your hem.
Finished hem
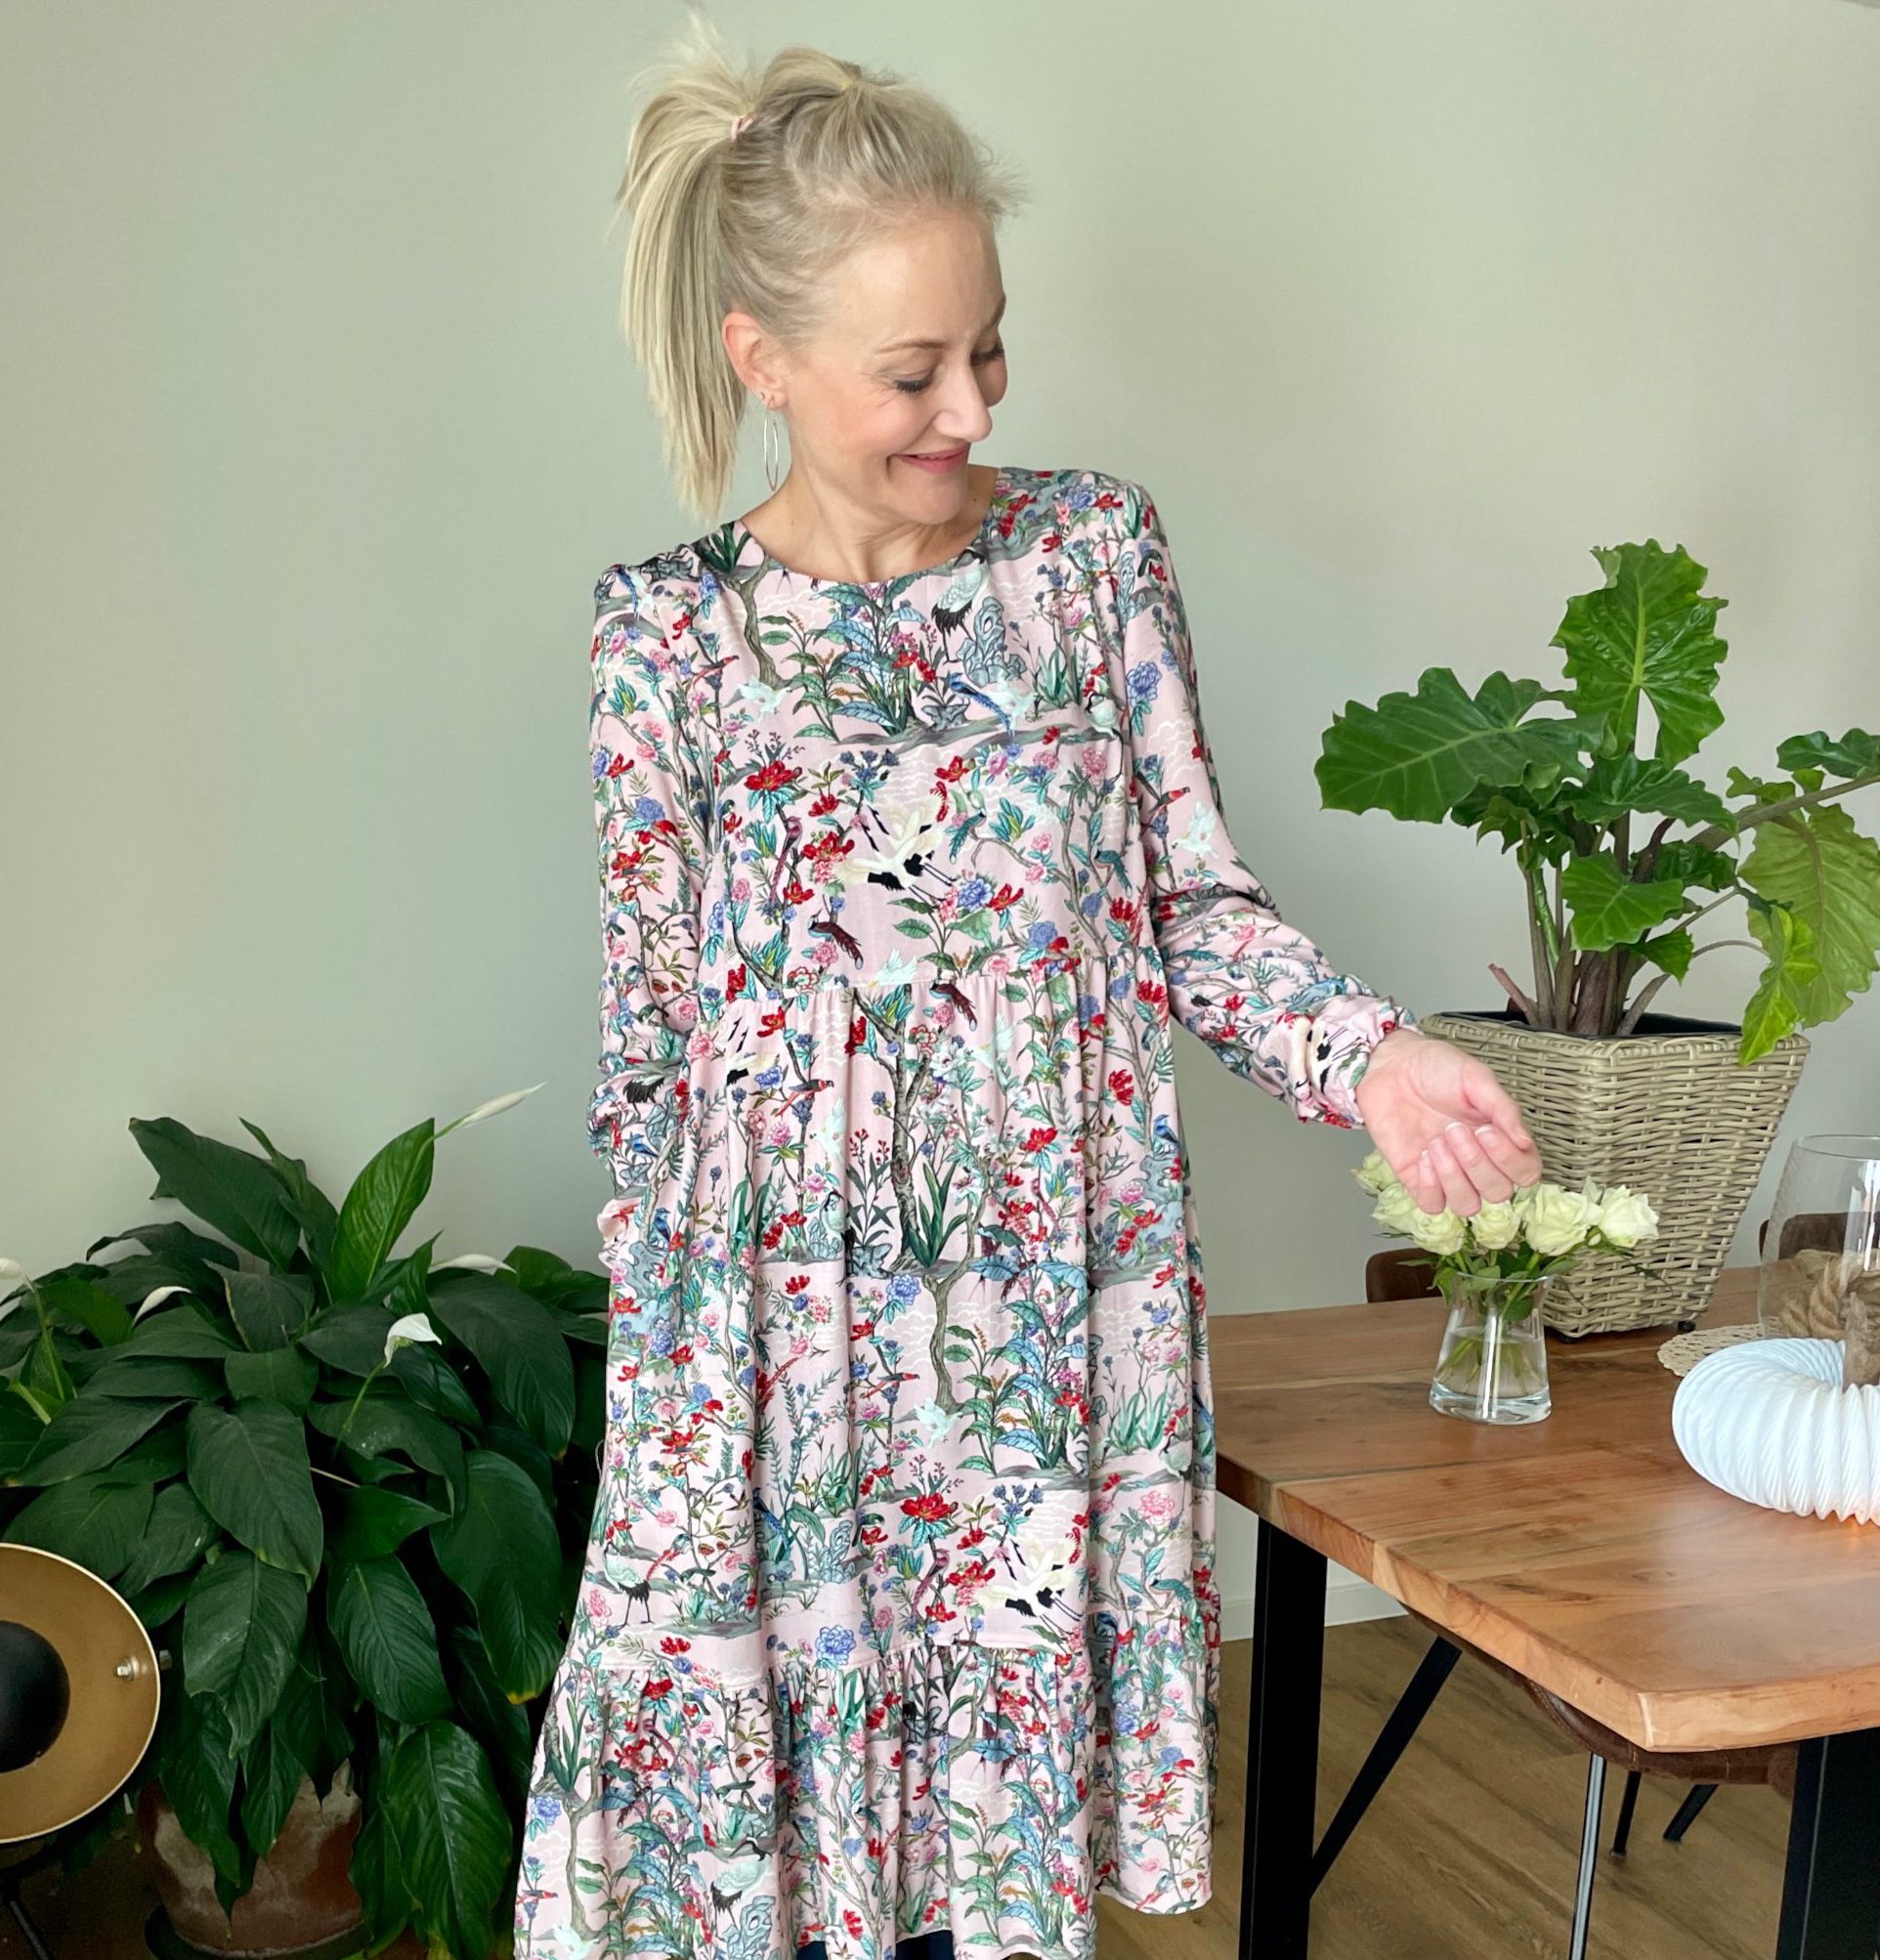
Tadaaaaa!
Here is my end result! Im super duper happy with it, Ive already worn it with a chunky knitted Cardi. Enjoy sewing your own version and when you have time come and check out my other makes on:
Regards Katie

Finished


0 Responses