 BERNINA Corporate Blog -
Hello Bernina Lovers !
If you follow the Bernina updates you must know that there are two new Embroidery hoops (if you weren’t aware you can read this article here 😉 and I was lucky to get to try the new Freearm hoop.
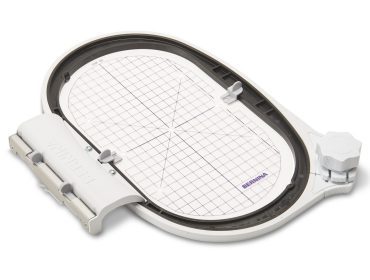
I love embroidering with my Bernina Q570 and I always wanted a bigger hoop that would allow me to embroider bigger designs.
Choosing the garment…
A few weeks ago I bought a black shirt, a little bit too classic for me 😉 and when the new hoop became available I thought it was the perfect garment to embroider and give it a different attitude.
I was hyper super happy to try new hoop and before starting with my black shirt I decided to give a try on an old shirt ‘toile’ that I had, to see how it would look like before proceeding with the final garment I wanted to embroider.
Choosing the design…
I spent quite a while to search for the embroidery design that would fit my desires. A few days before this, I had been talking about Frida Kahlo, the colors she liked and the kind of art she made. I thought that making a big flowery embroidery in basic and strong colors as they ones she used to use, would be great.
Finally, I chose an embroidery design that came with my Bernina (thanks!!) as I thought it was very Frida Kahlo looking, I just had to change the thread colors suggested to make it more “mine”.
Facing a difficulty…
Once the design and the colors were chosen I followed the usual steps…. sticking my embroider paper into the back of the shirt, marking where the center was, and placing the shirt into the hoop.
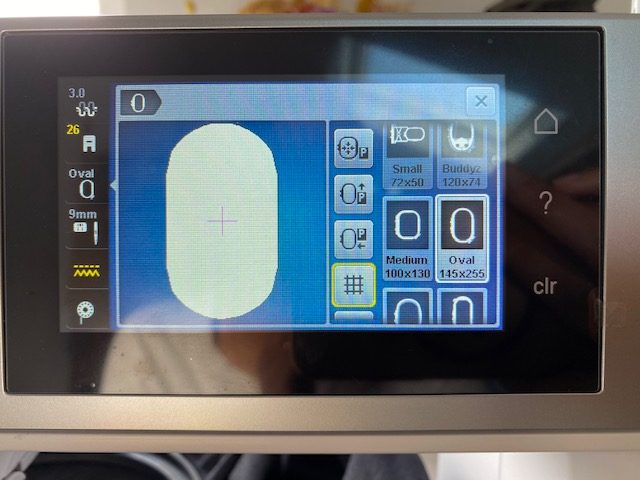
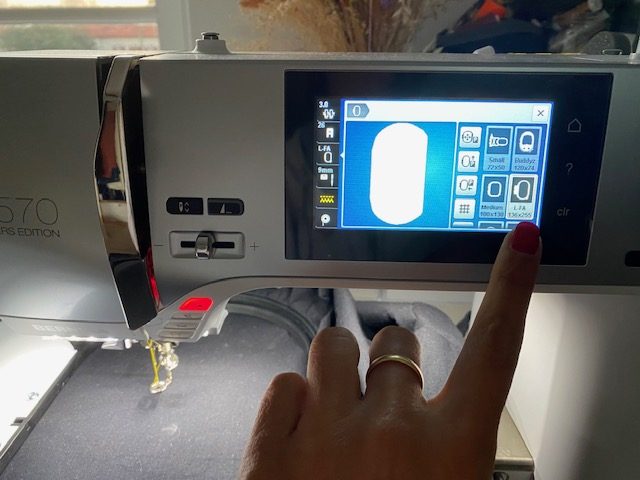
Then I inserted the embroidery hoop into the embroidery section of my Bernina, chose the hoop on the screen and I thought the embroidery would start. But what was my surprise to see that my Bernina kept on saying that I had to take out the hoop and insert it back.
I tried this for a while, thinking I was missing something.
I thought my new Embroidery Hoop was the oval 145×255 that you can see selected on the screen, but it is not, my mistake.
Just in case, don’t do this…
I even put my needle down to try a new option… and of course, the needle move to its natural place and ripped my shirt 😉 So don’t do the same… Fortunately it was my trial shirt…
But you may have to do this if you encounter the same issue…
Then I thought the best option would be to contact the Bernina team and ask for help. They are the best and I got my answer straight forward. What I had to do is to update my machine, since the new hoop wasn’t recognized by the actual software I had (although I thought I had chosen the good hoop on my screen, it wasn’t the good one)
So I am quickly going to explain the few steps I proceeded to, in case you face the same issue.
Follow these steps to update the software…
First of all you have to download the software update, you can find it by clicking here.
It is better if your USB is fully empty before you save the software in it.
Also, I recommend using a Bernina original USB. I tried on a non Bernina USB and it didn’t work on my side.
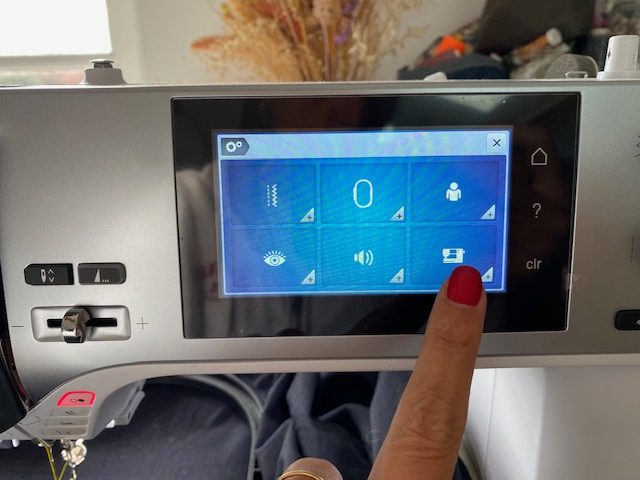
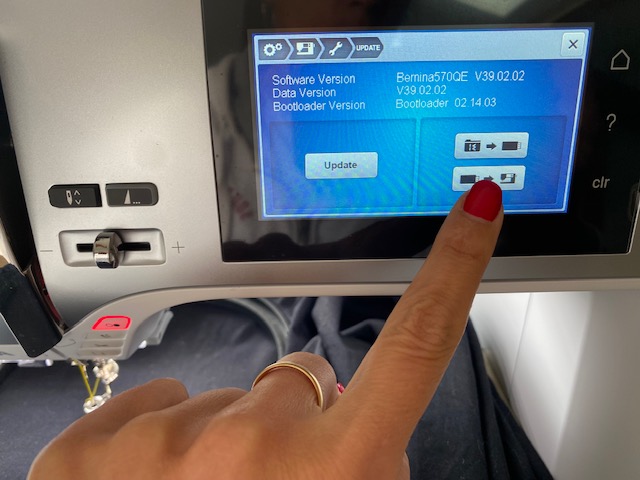
Once the USB is inserted in your machine, you have to go to Home and the Set up.

Then choose the Machine.
Next, choose Tool.
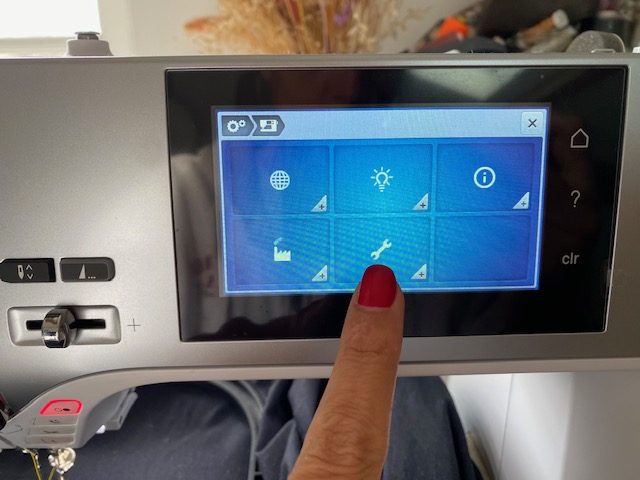
And finally, Update.

Select the software in your USB and it will proceed to update it on your machine.
It will take a while, so don’t switch off your machine.

Once the software is updated you’ll get a message and you can start using your machine.
I could finally see my new hoop on the options. Yay!!
So I could finally embroider my shirt!
But I will tell you that in the next chapter!
Has this happened to you? Getting stock and not knowing what to do? Have you updated your Bernina software in the past?
I hope this post helps you if you get into the same situation. Let me know!
Dear Amaia, thank you for the explanations!
Note for all B 770 QE owners: Please check your machine’s flash memory capacity. You can only install the new firmware if your machine has enough space. You can find the compatibility notes in the support section of the machine.