 BERNINA Corporate Blog -
Hello friends,
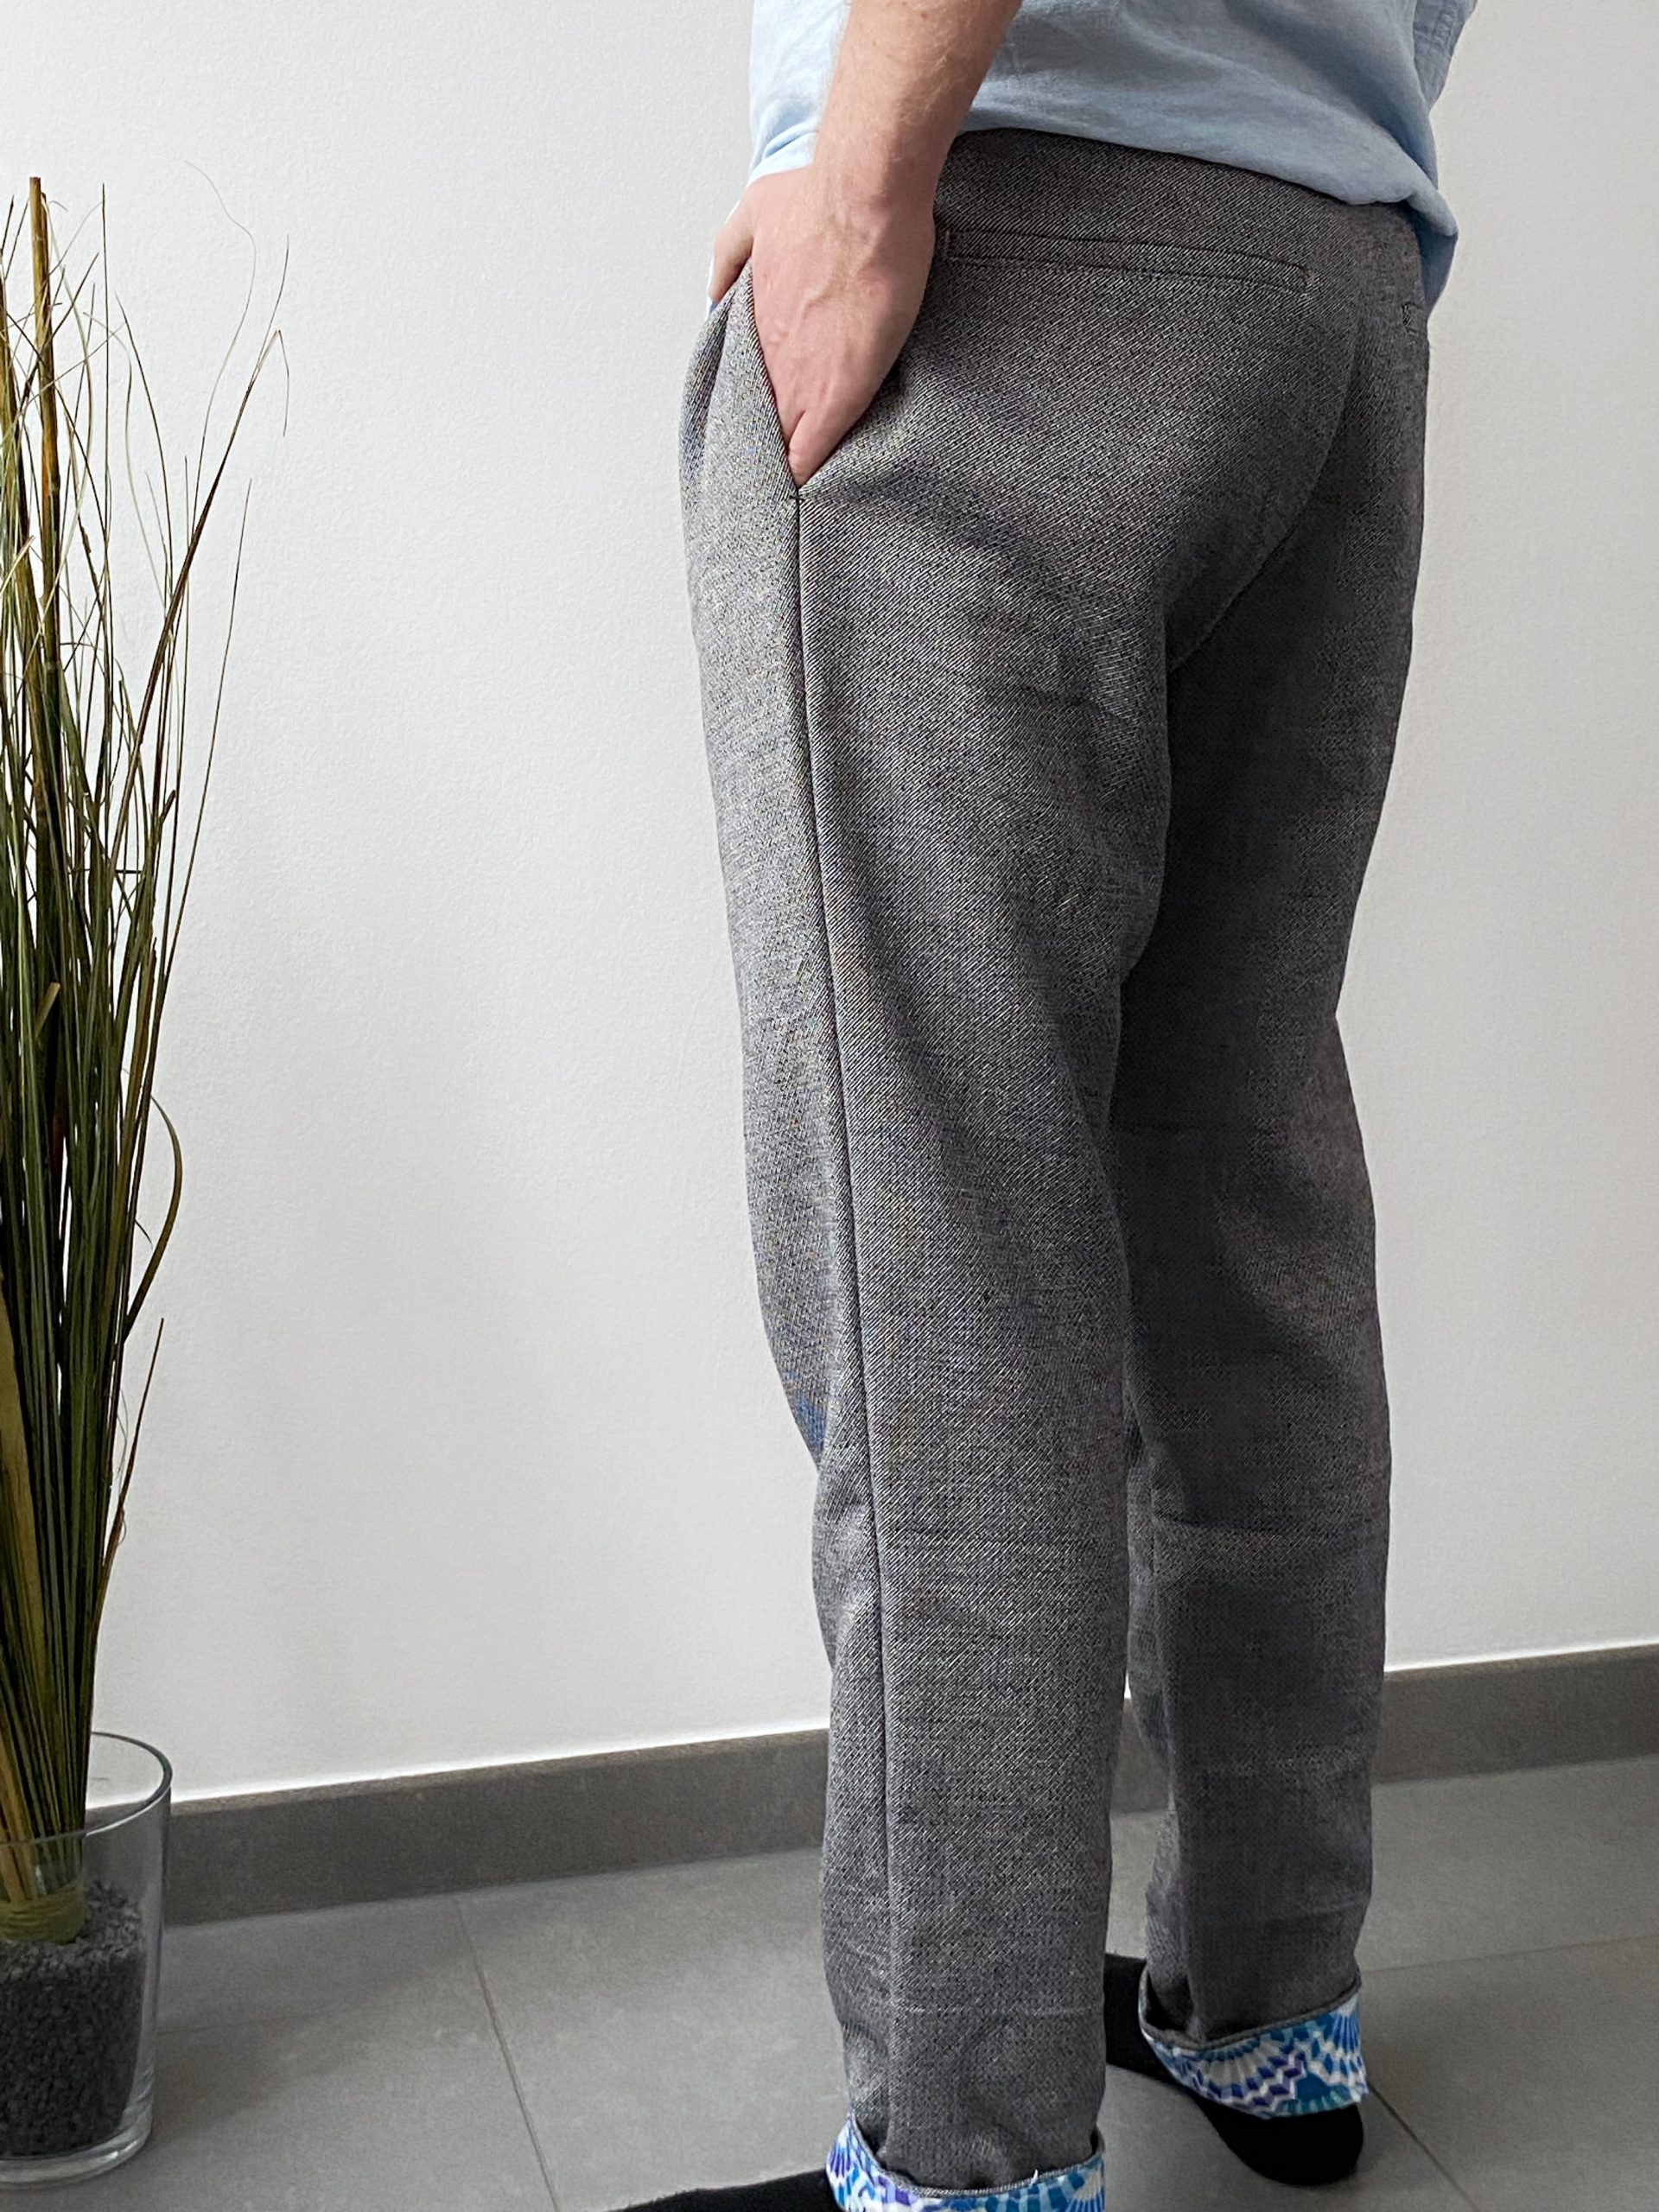
Today I would like to sew another great item from the Fashion Looks by Irène Münger range with you: The pants Aster
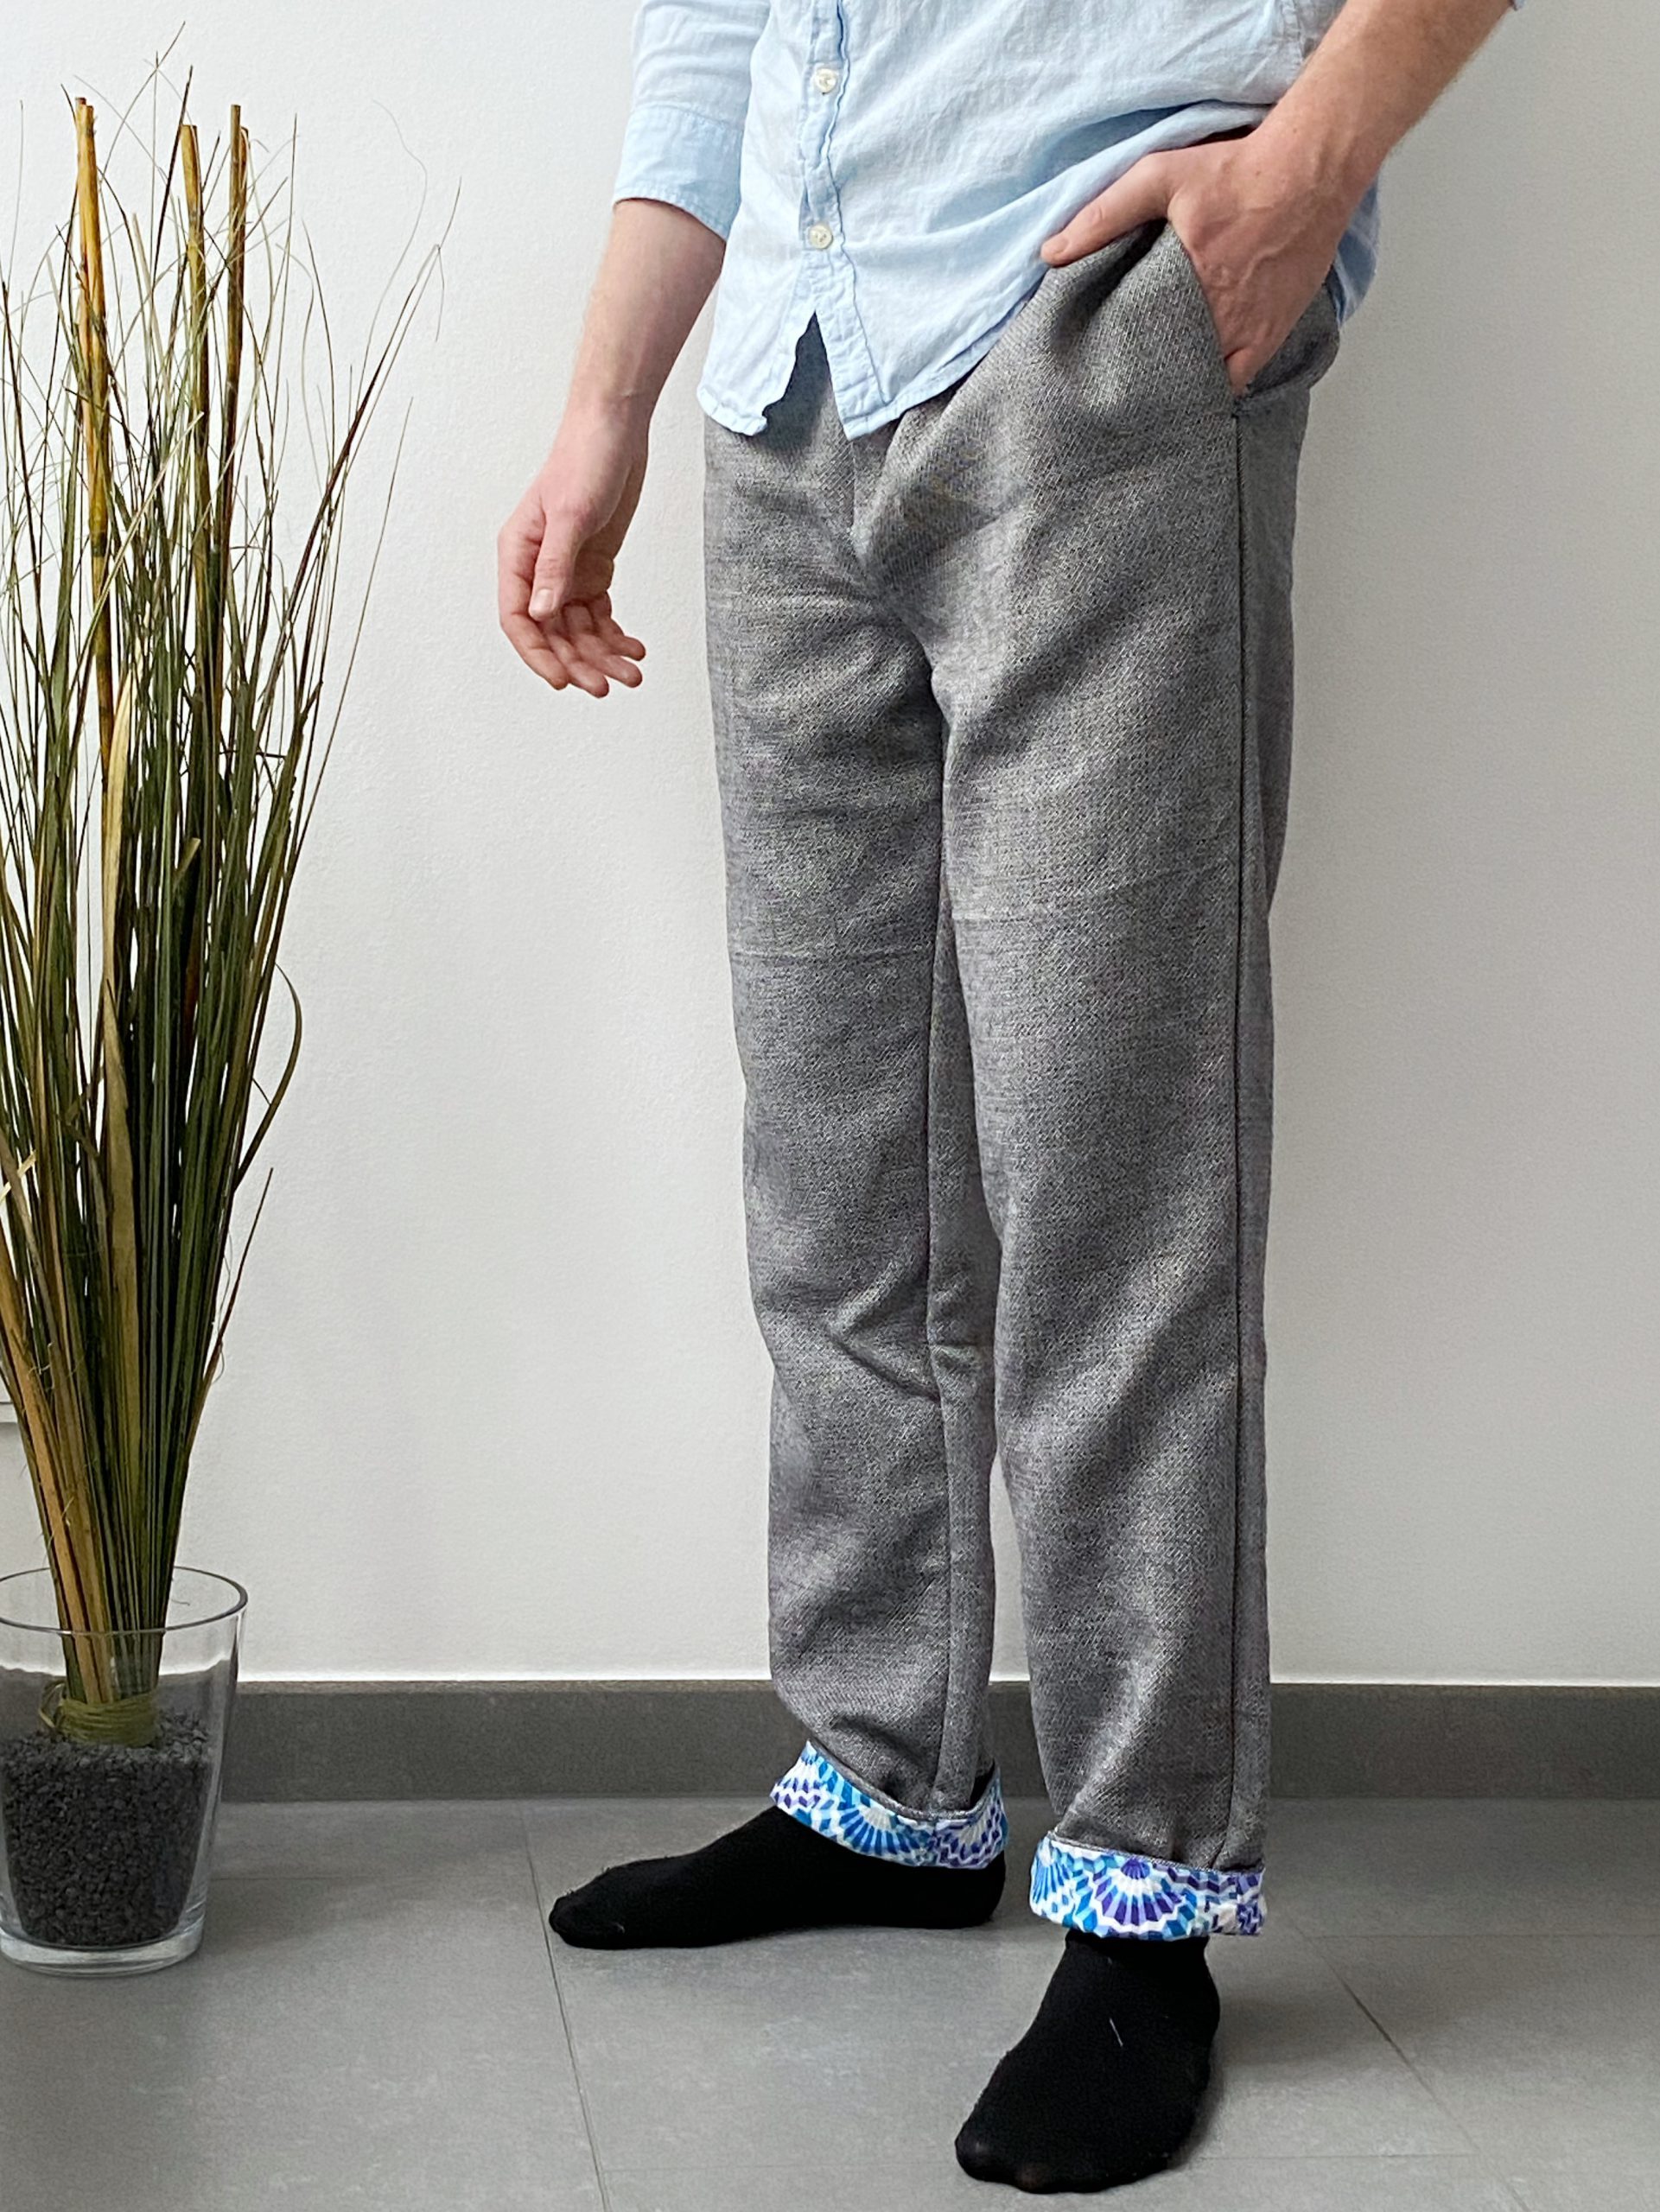
The pants Aster are cozy men’s pants with a look you can easily customize with your choice of fabric. The elastic waistband makes the pants incredibly comfortable, but still a stylish option with the right choice of top.
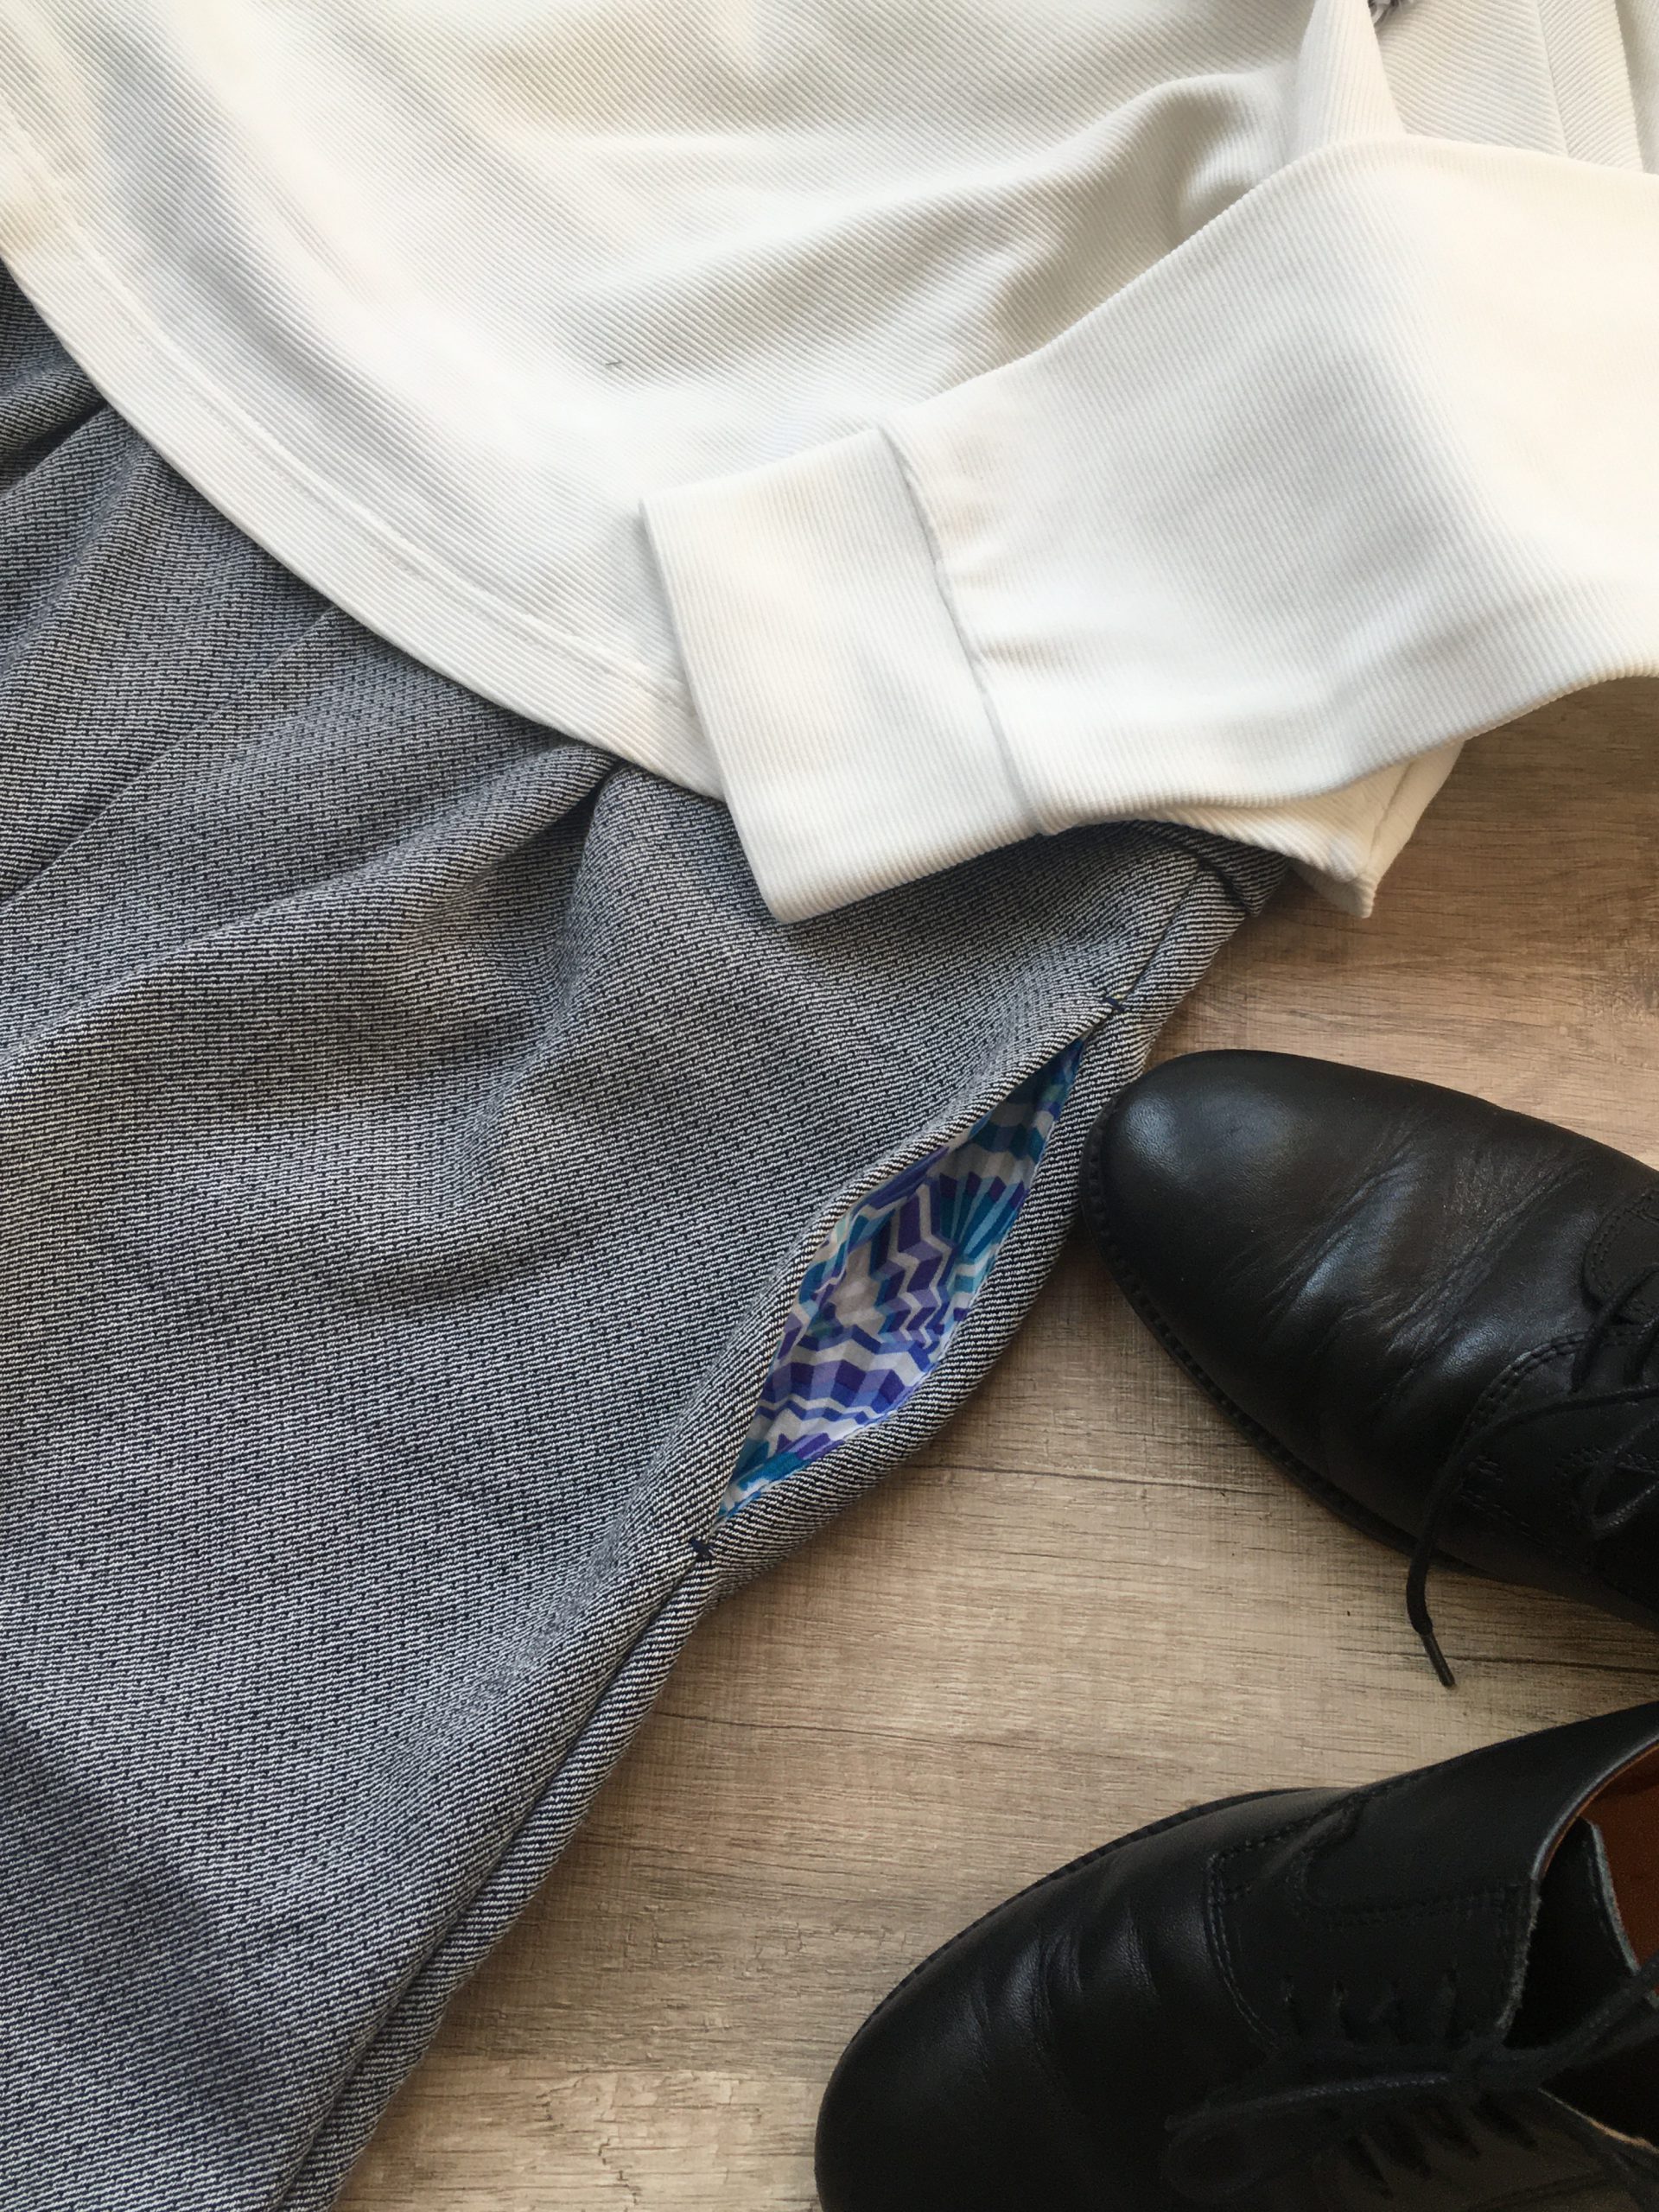
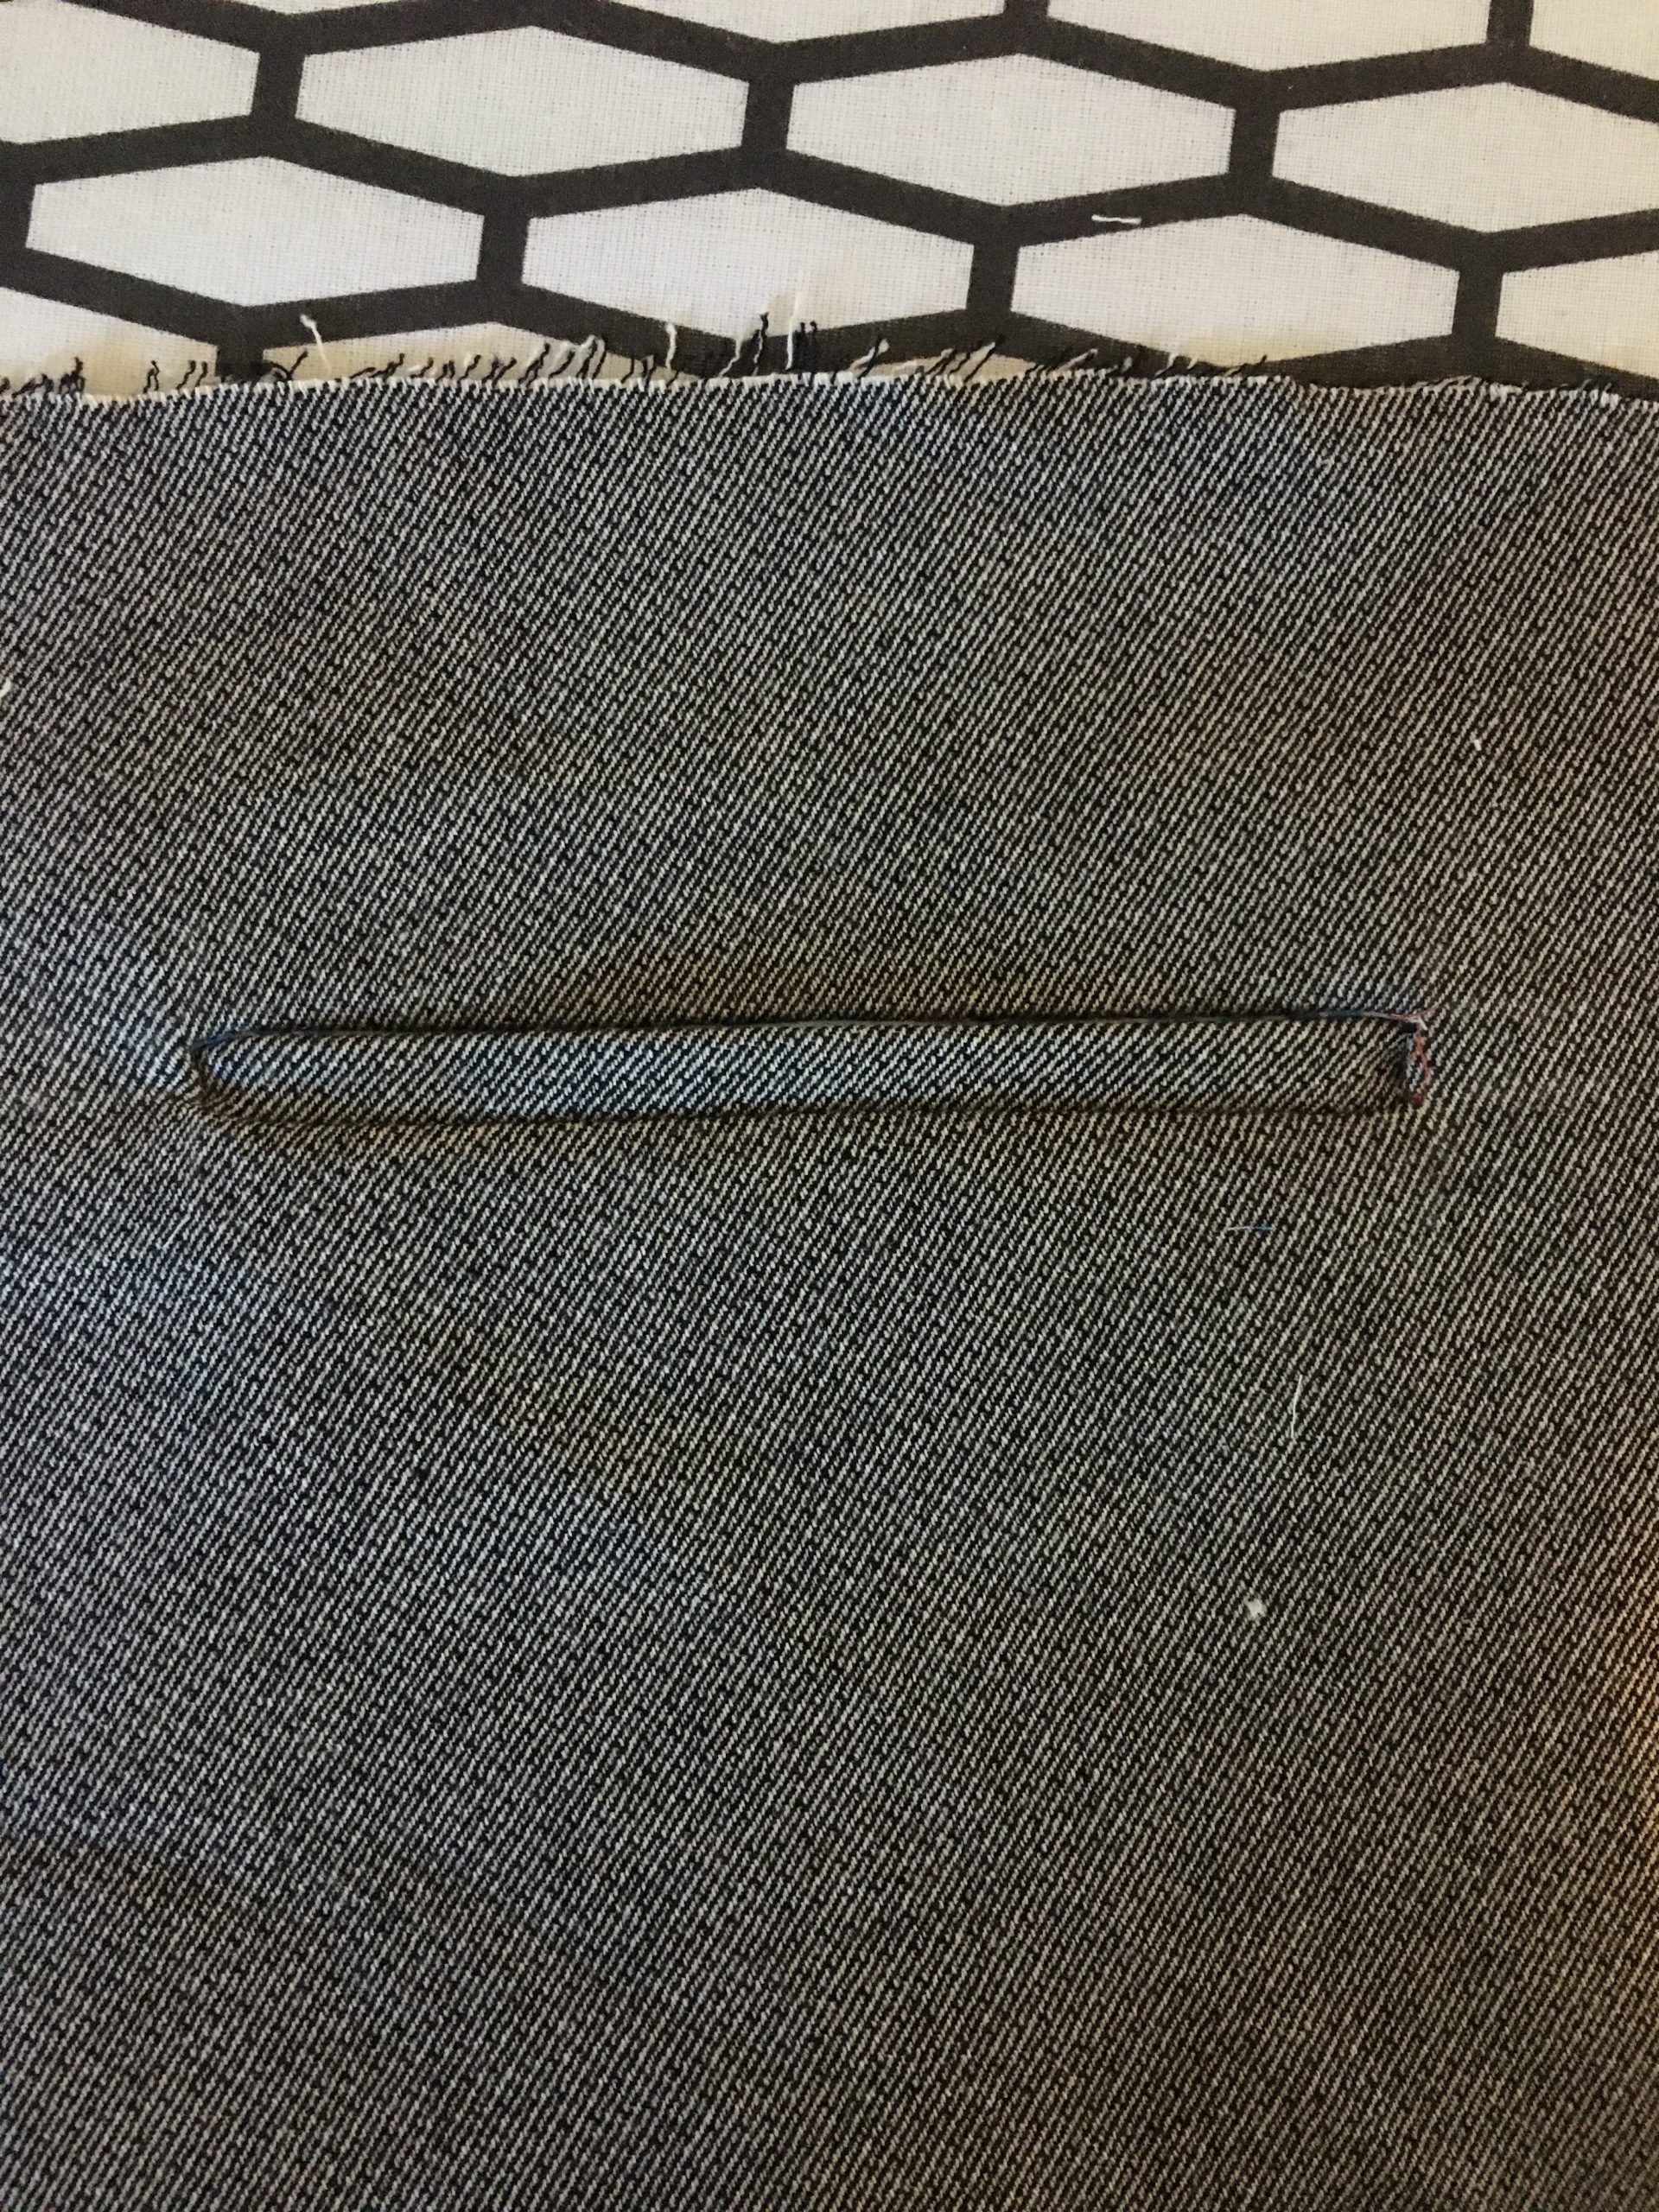
Aster also ups the style credentials with chic piped pockets at the back as well as the turned-up hem, so you can use a brightly colored fabric to subtly show it off.
I made the pants with the b05 ACADEMY and the BERNINA L 860.
Sewing the Aster pants – let’s get started
Aster pants material and pattern
First you’ll need the pattern for the Aster pants. You can download this from the Bernina Inspiration website: Aster pants pattern.
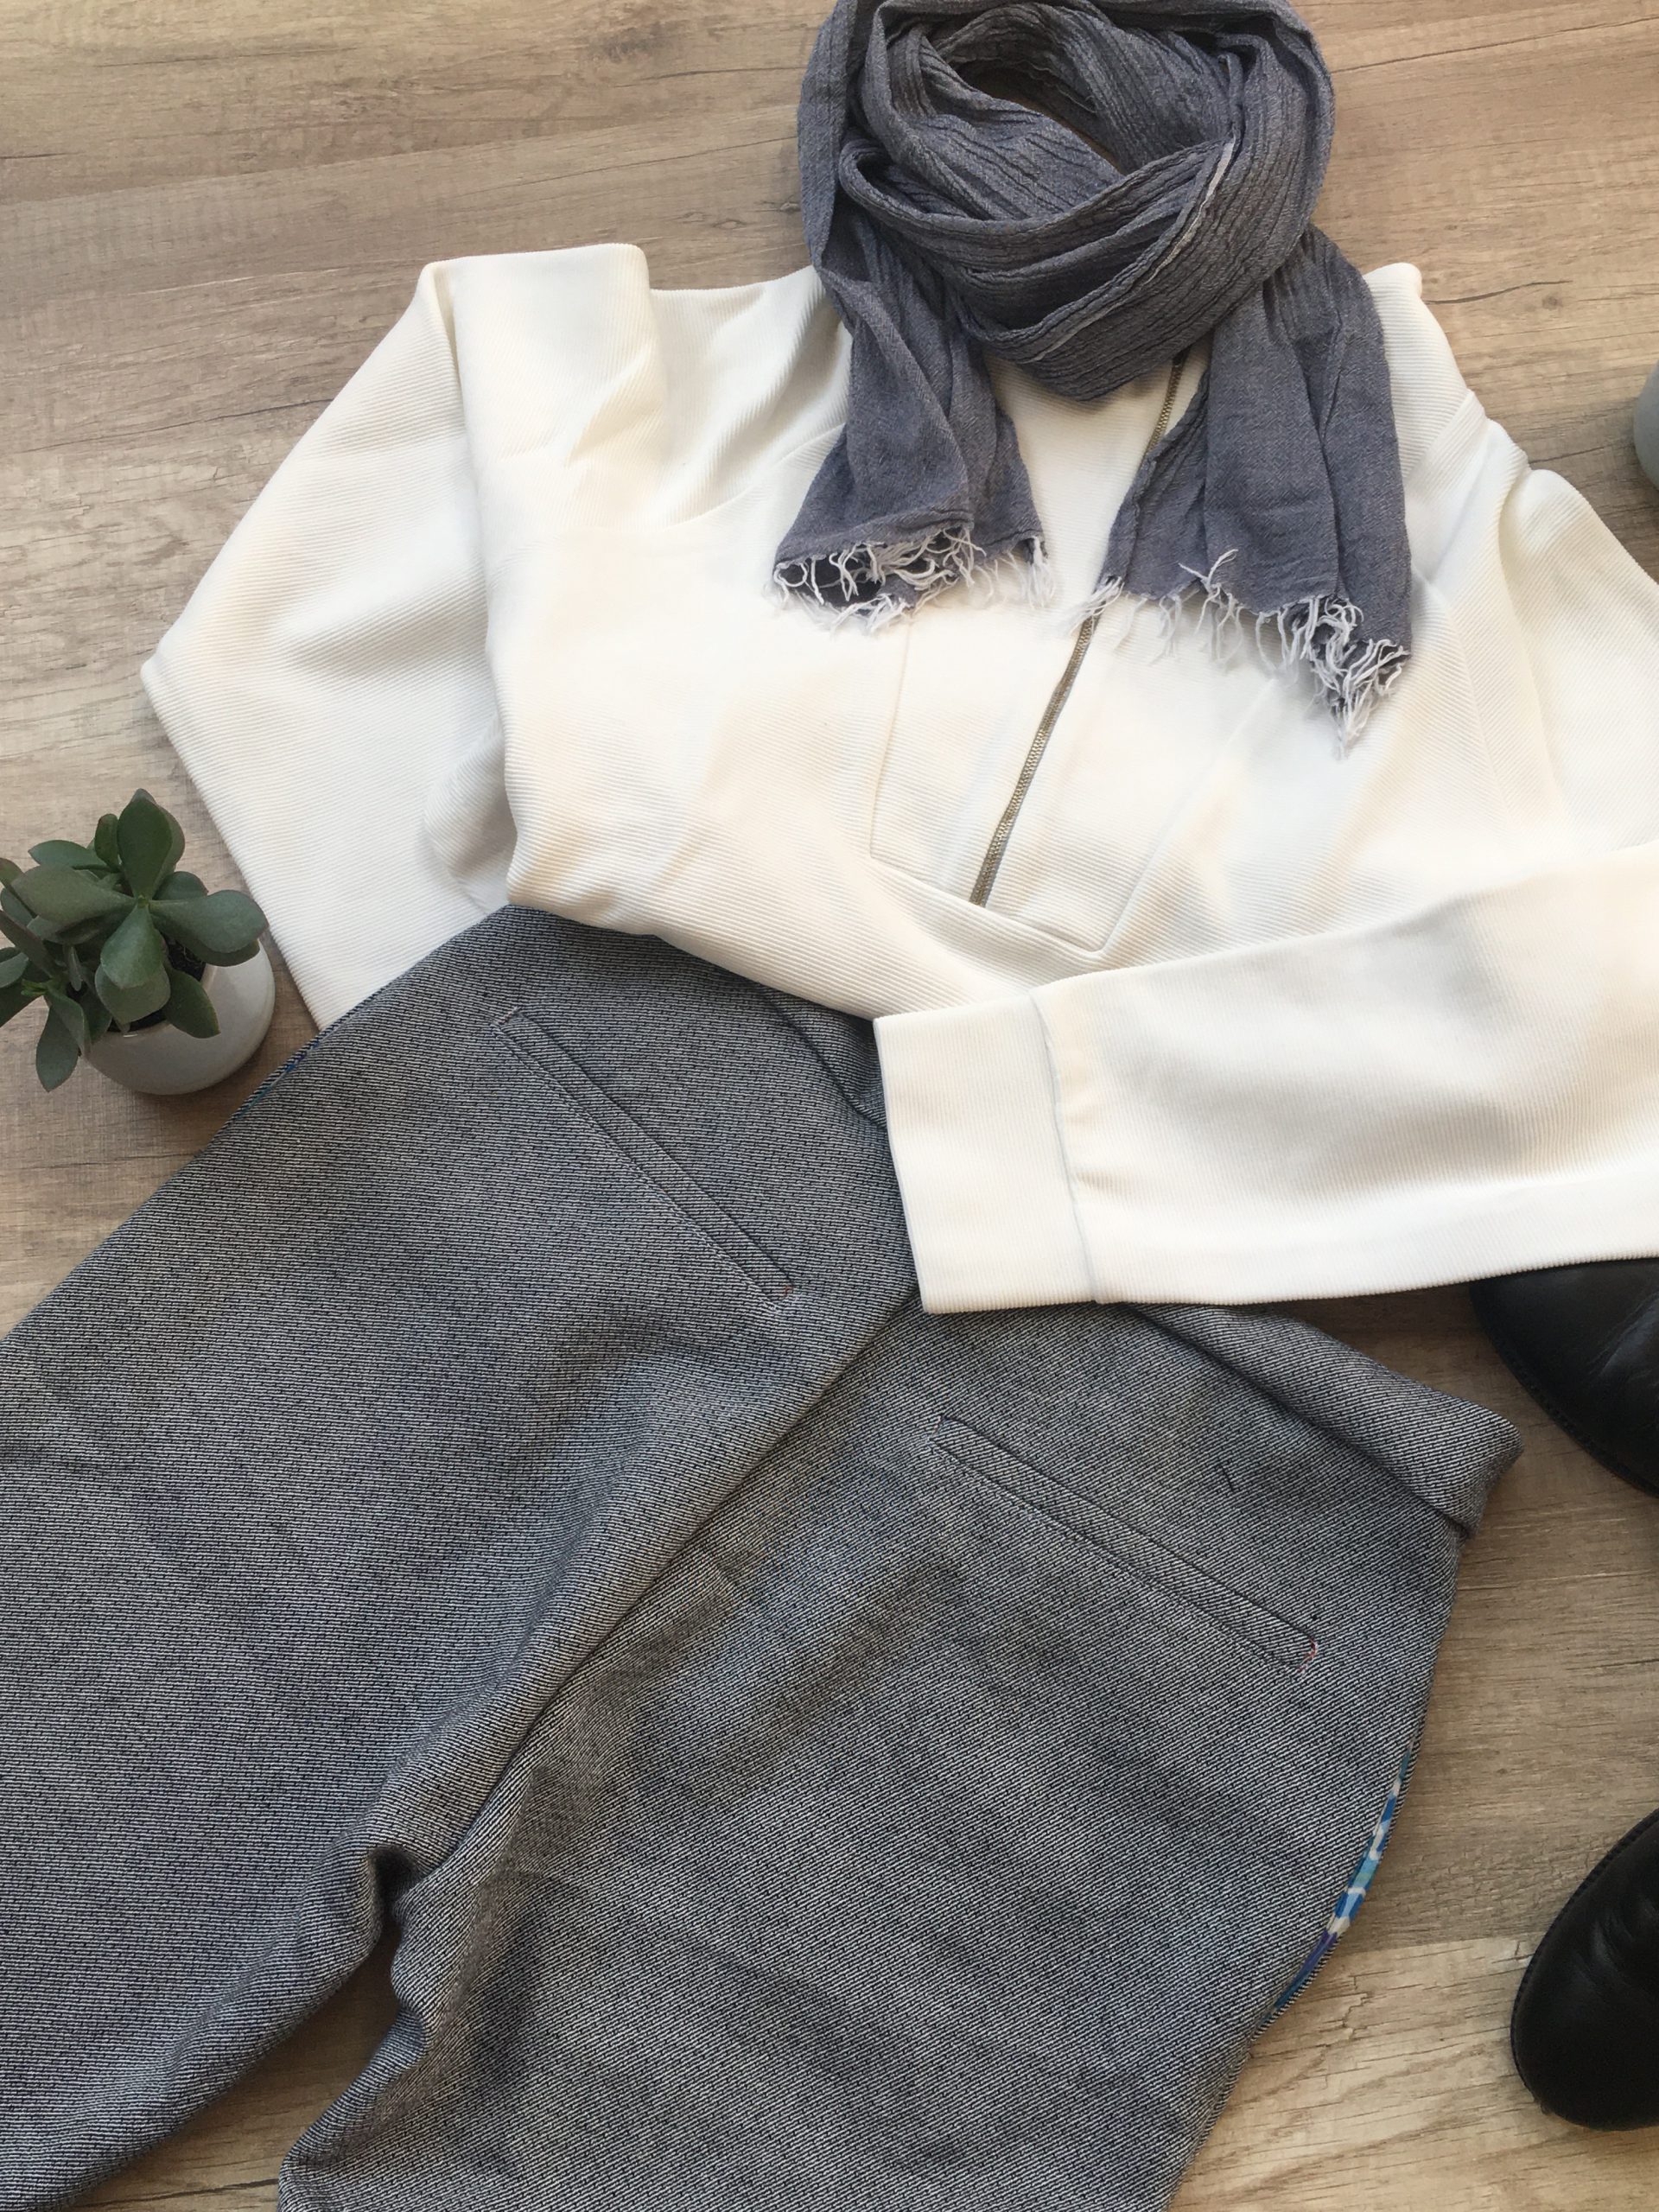
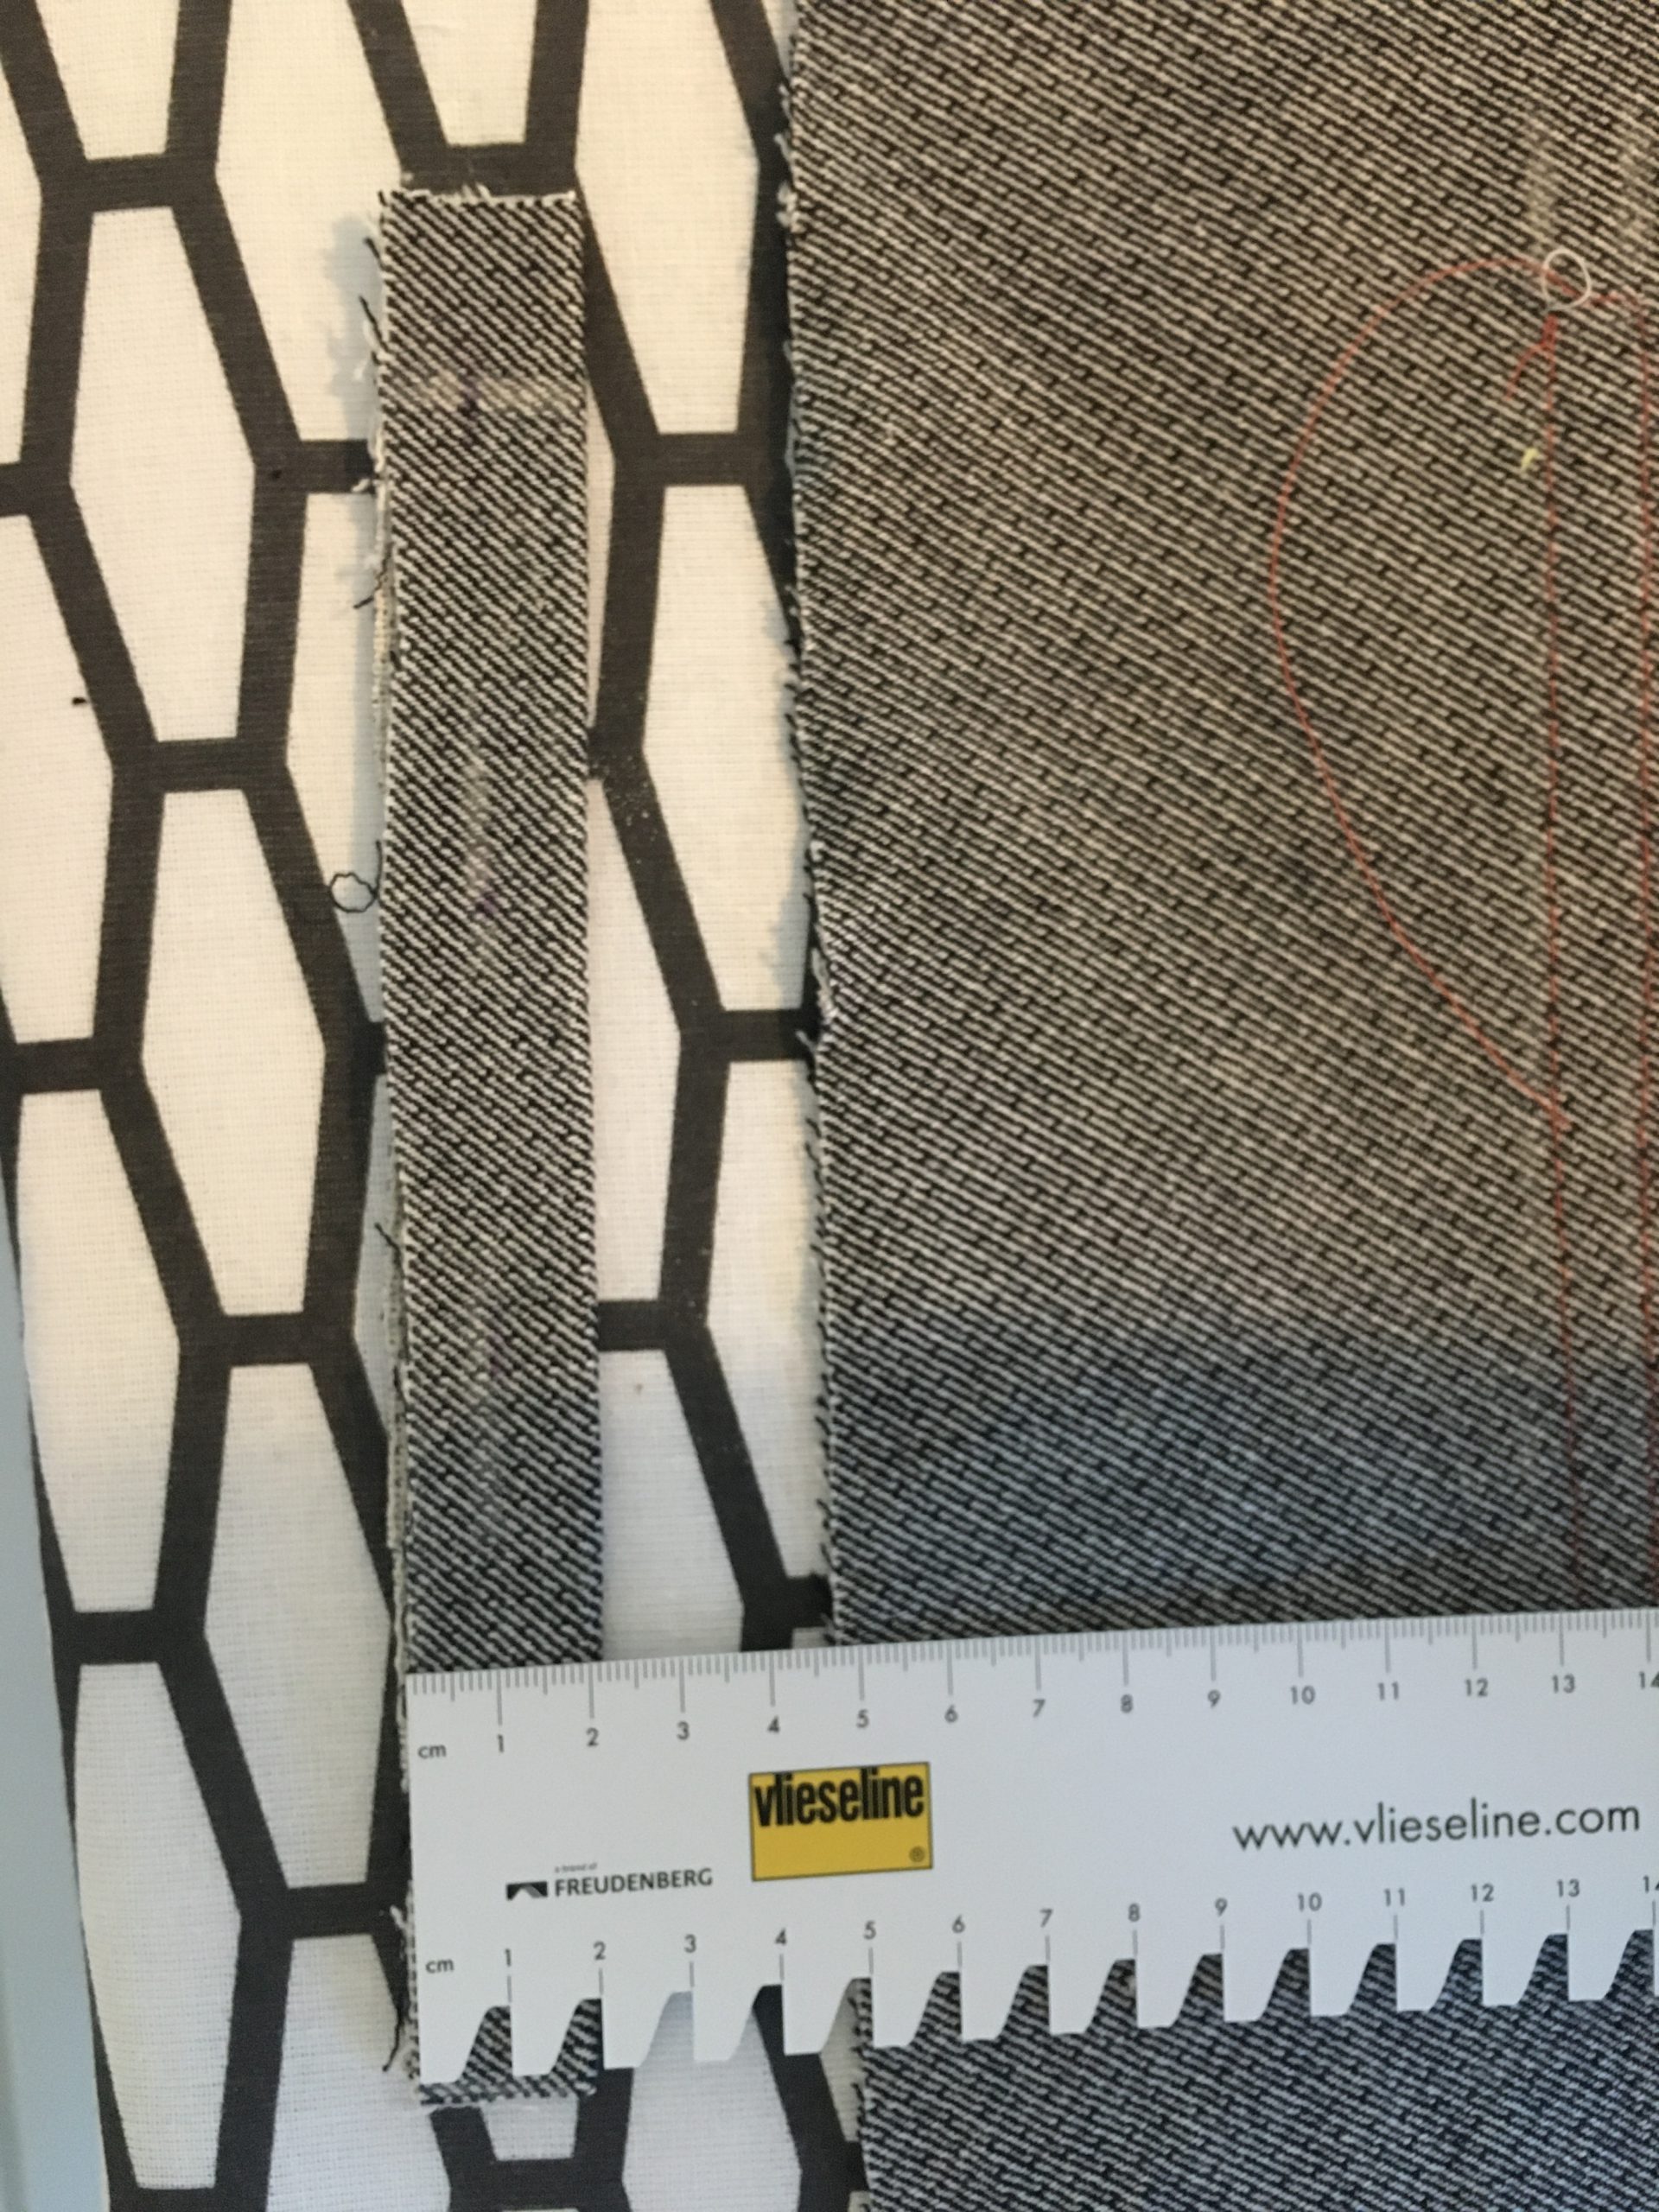
As well as the pattern, you’ll also need some material. The main material should be a thick woven material such as canvas, twill or any other fabric specifically for pants. I opted for a wool-mix twill for the winter.
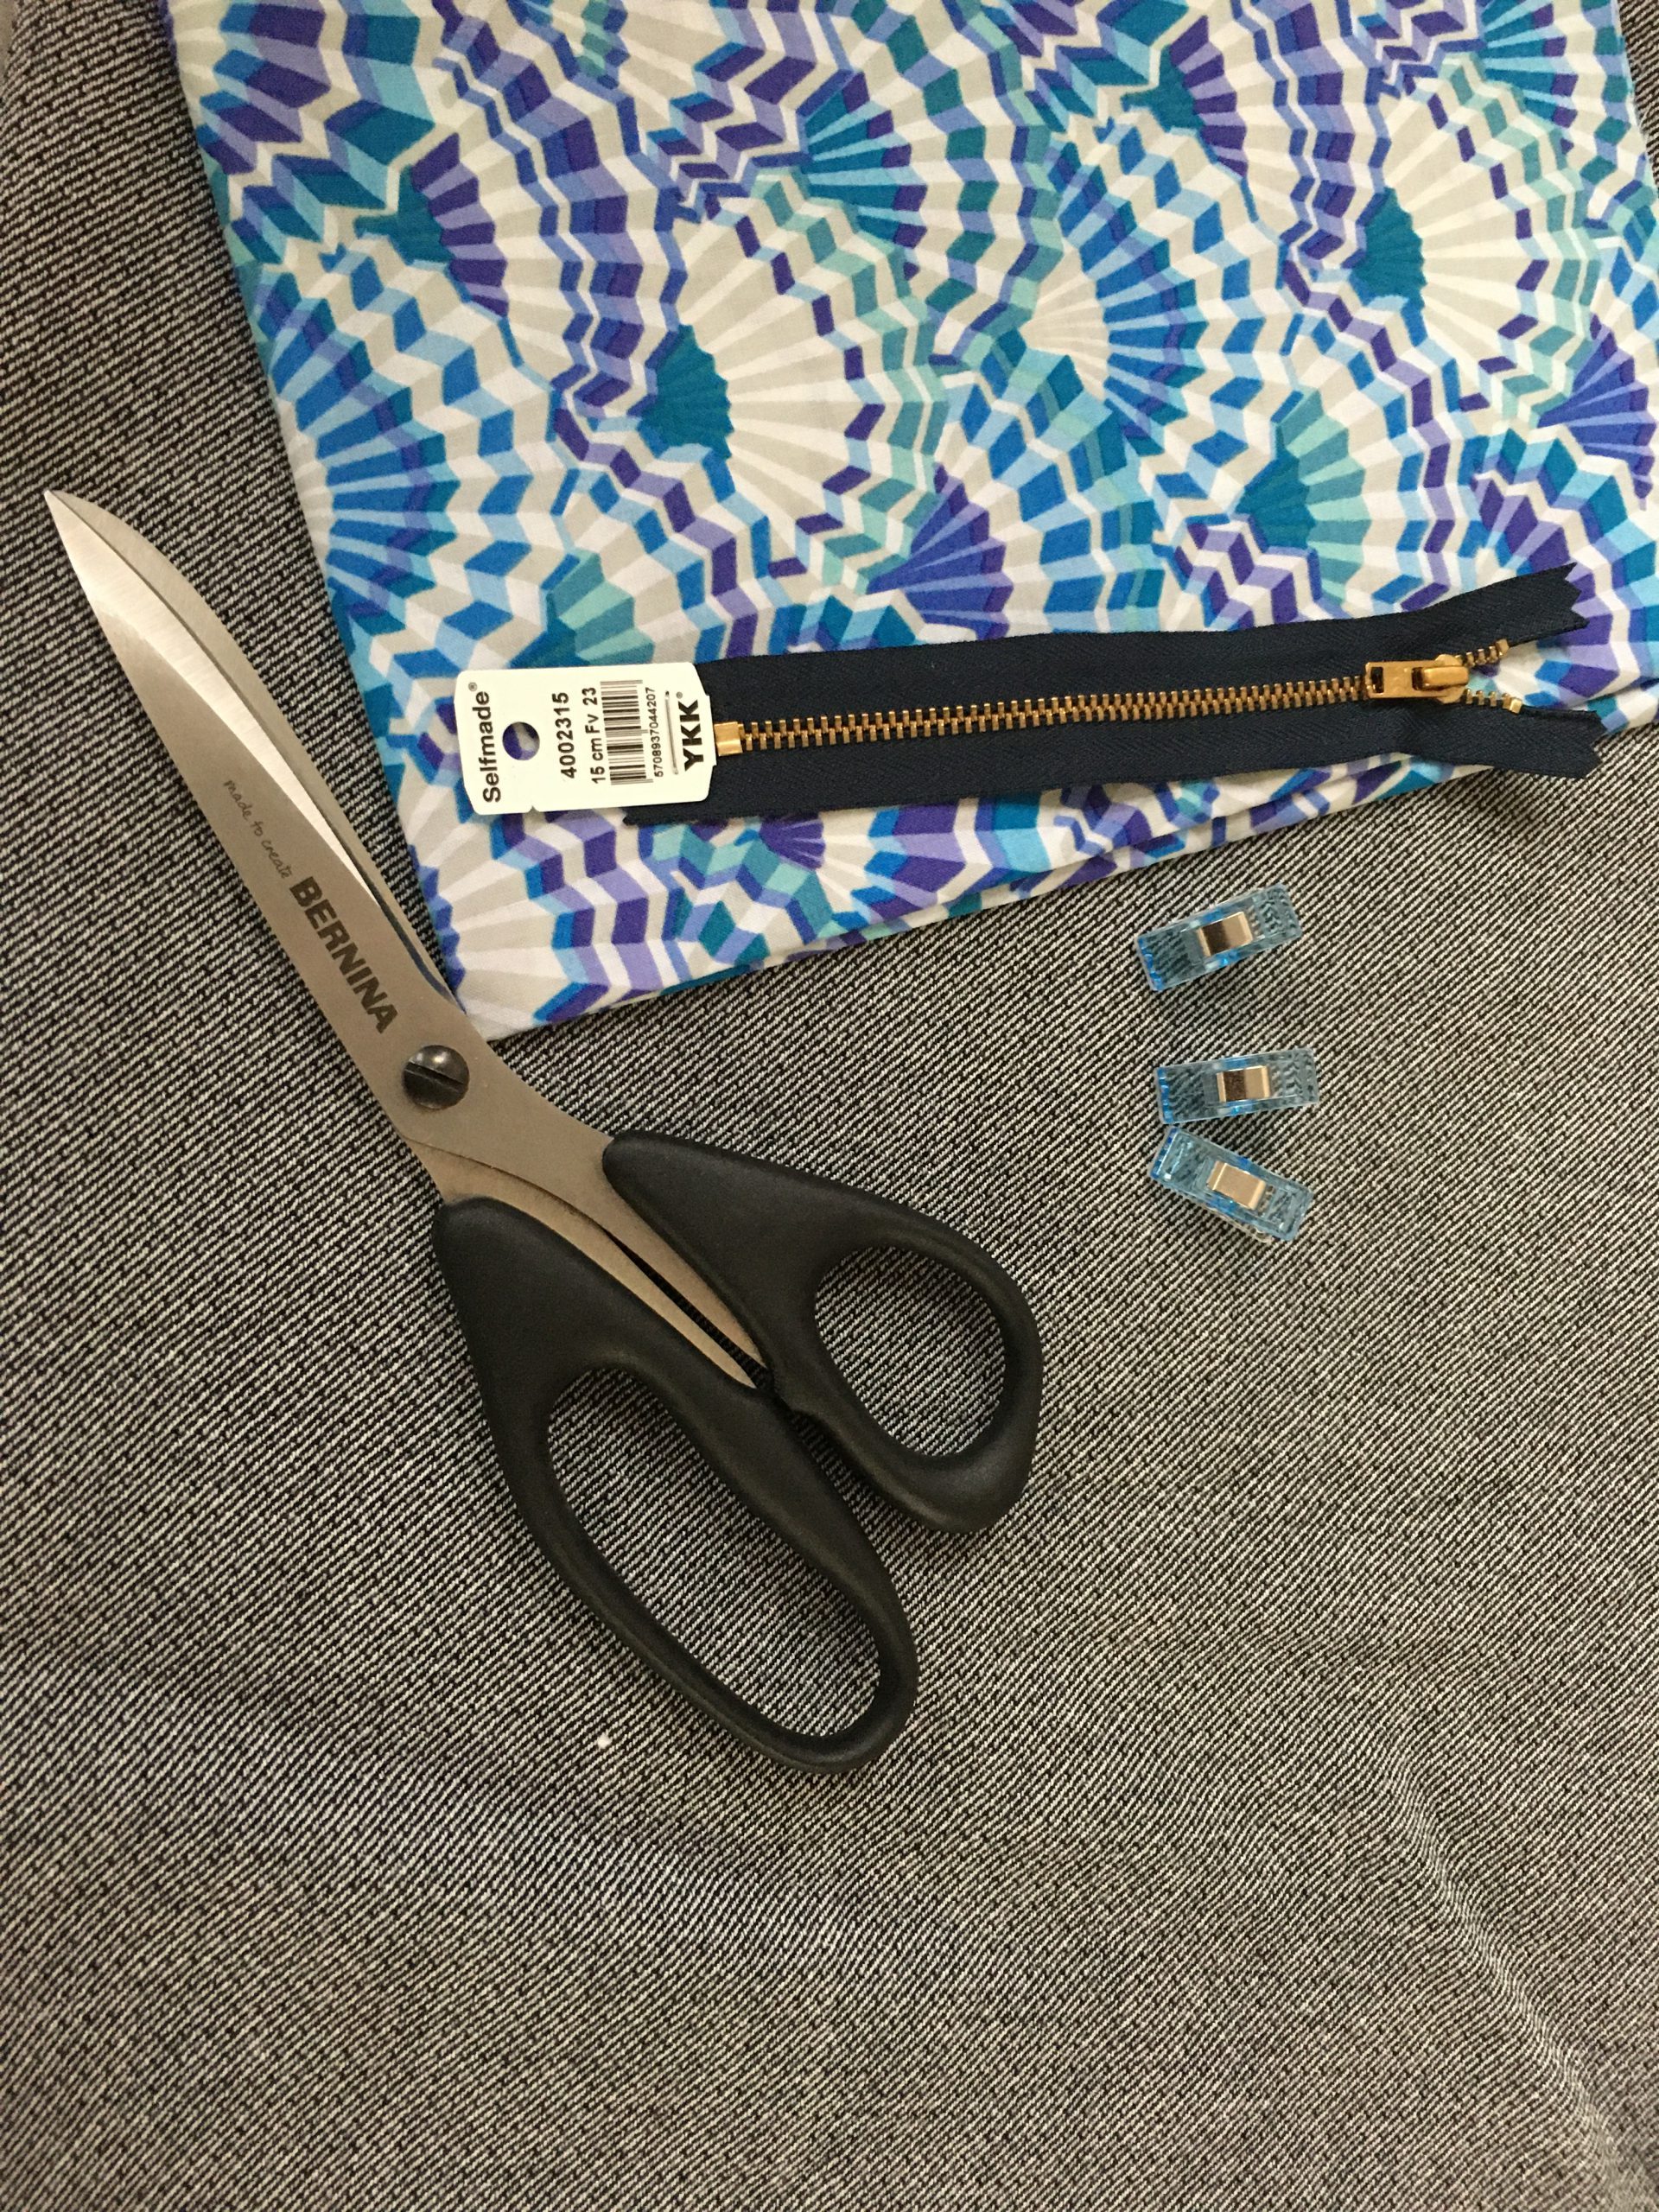
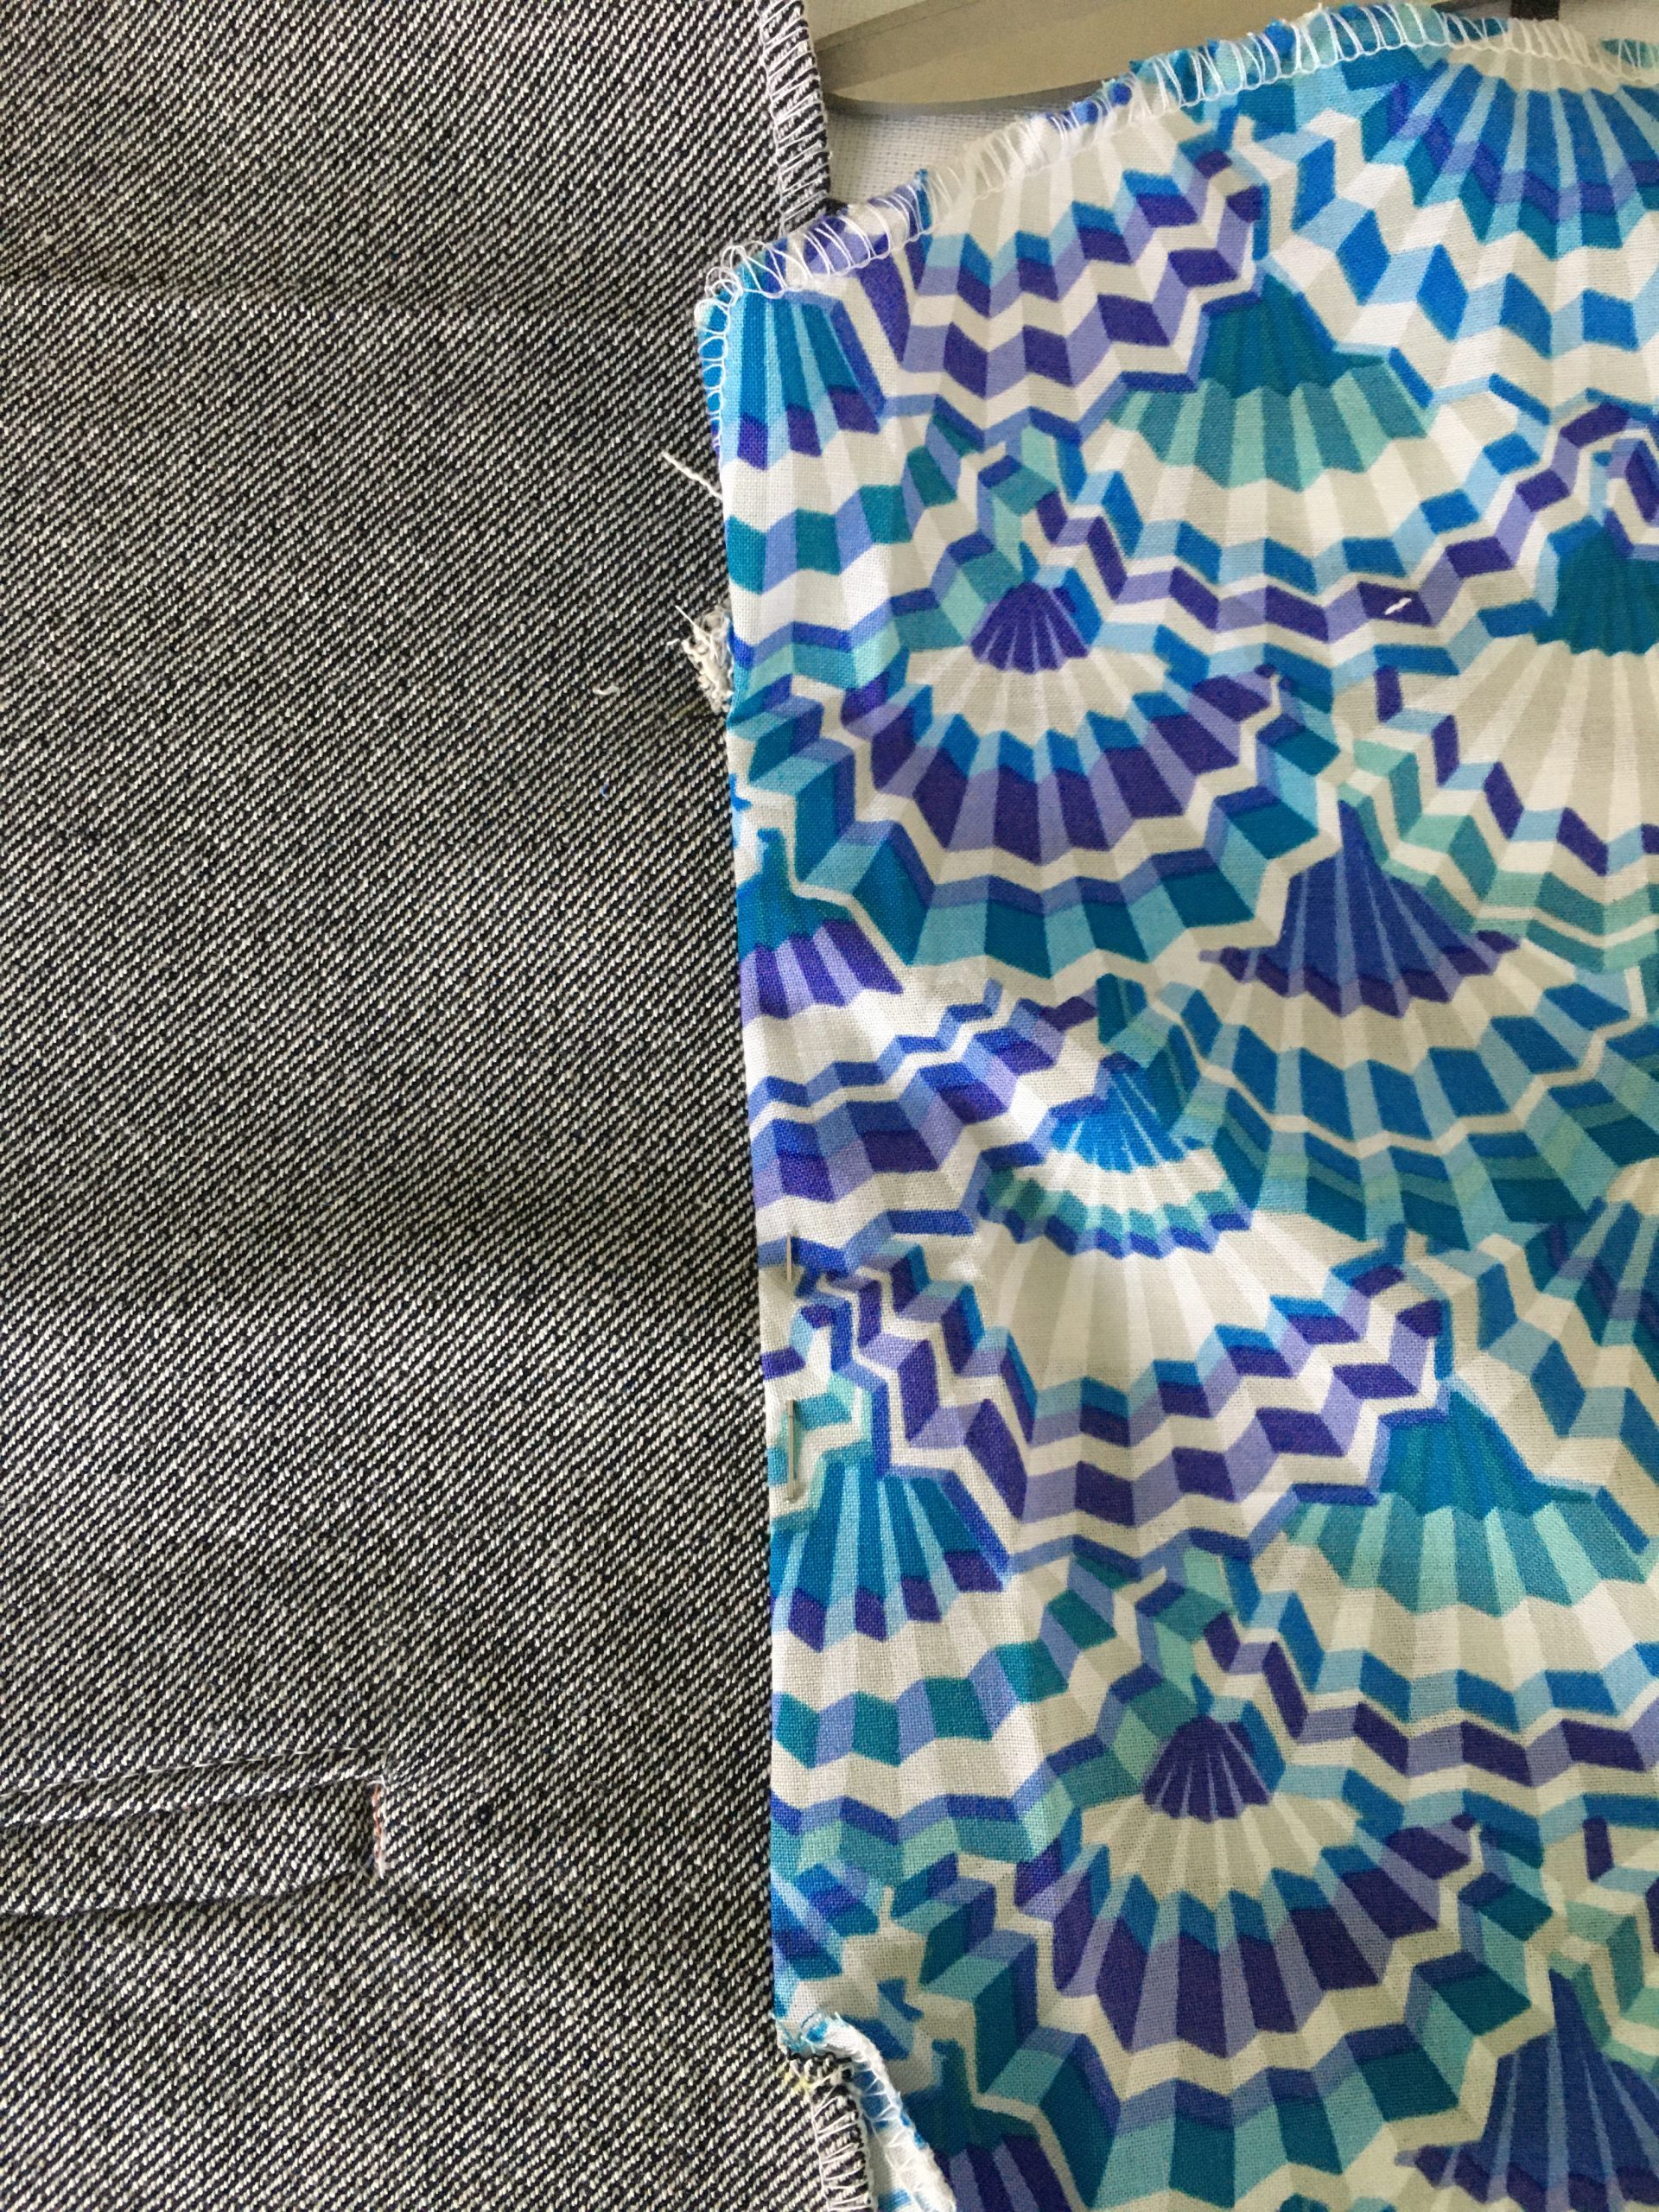
You’ll need a second fabric for the pants pockets, the hems and decorative elements. Here, I chose a colorful patterned fabric from Kaffe Fassett.
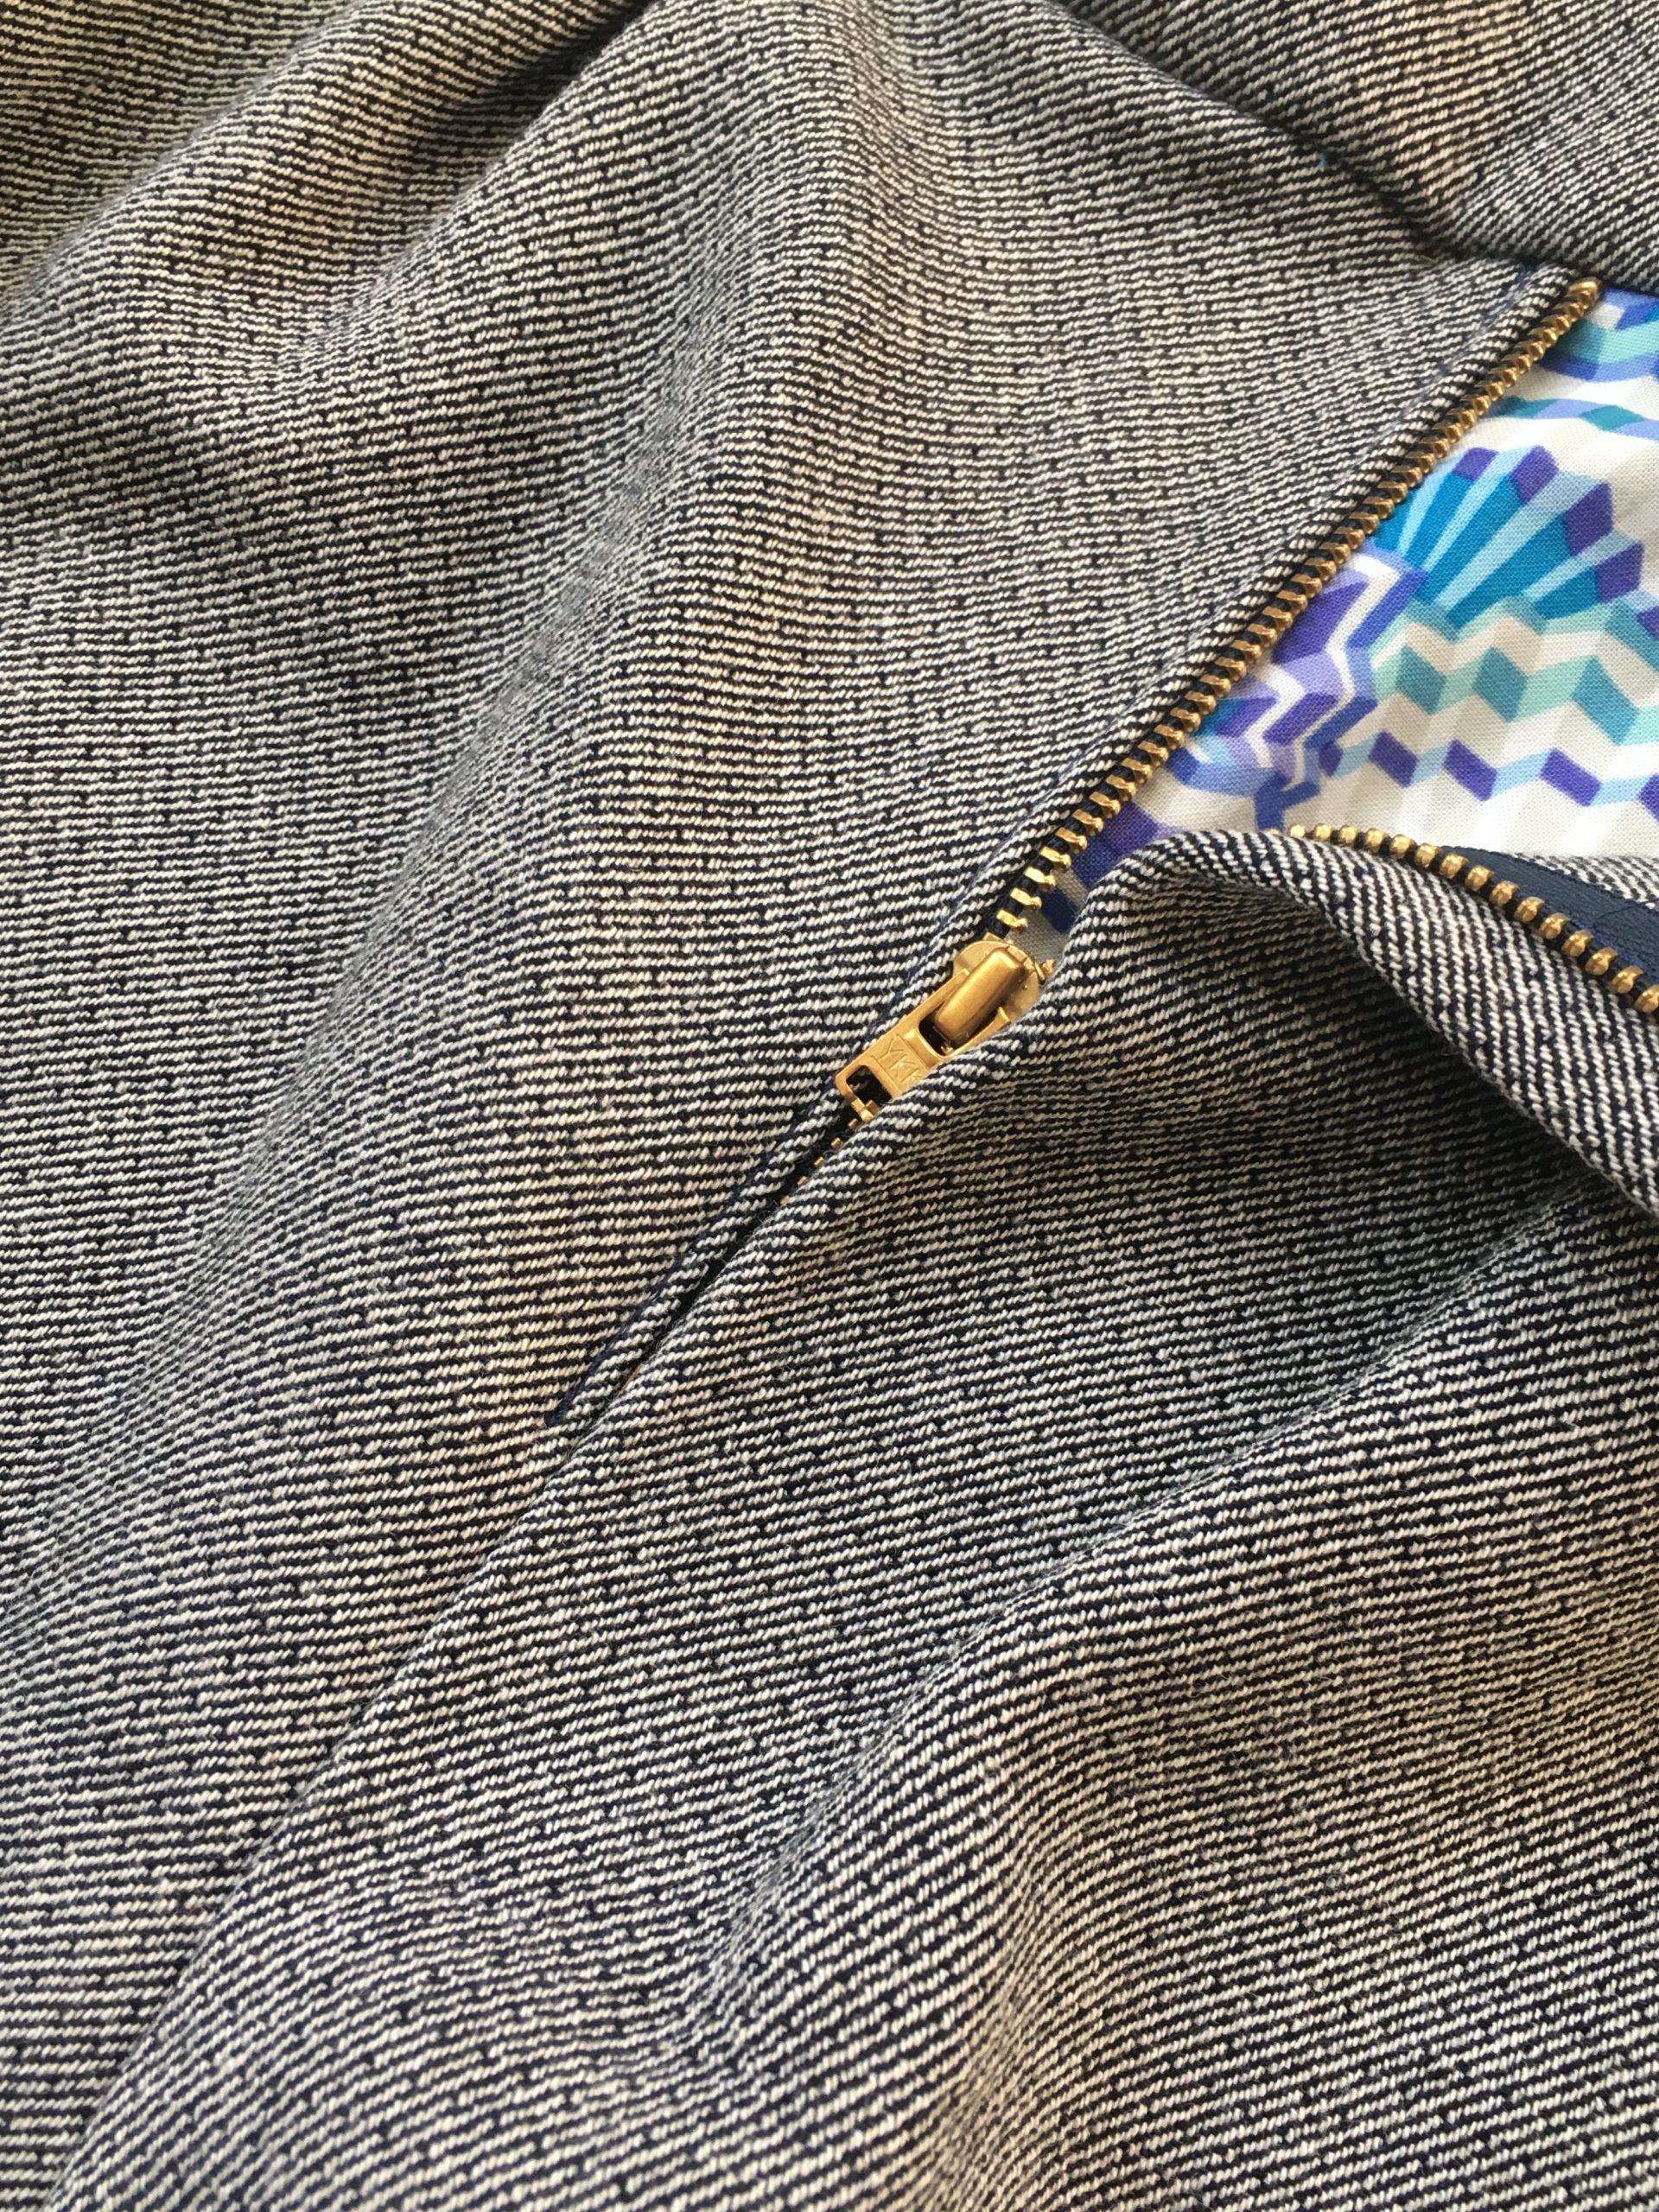
You also have the option of adding a zipper. If you want to do this, you will need a 14 cm long pants zipper and a hook closure.
You will also need:
- Sewing thread
- Tailor’s chalk
- Vlieseline Waist-Shaper and Vlieseline G700
- Pins
- Ruler
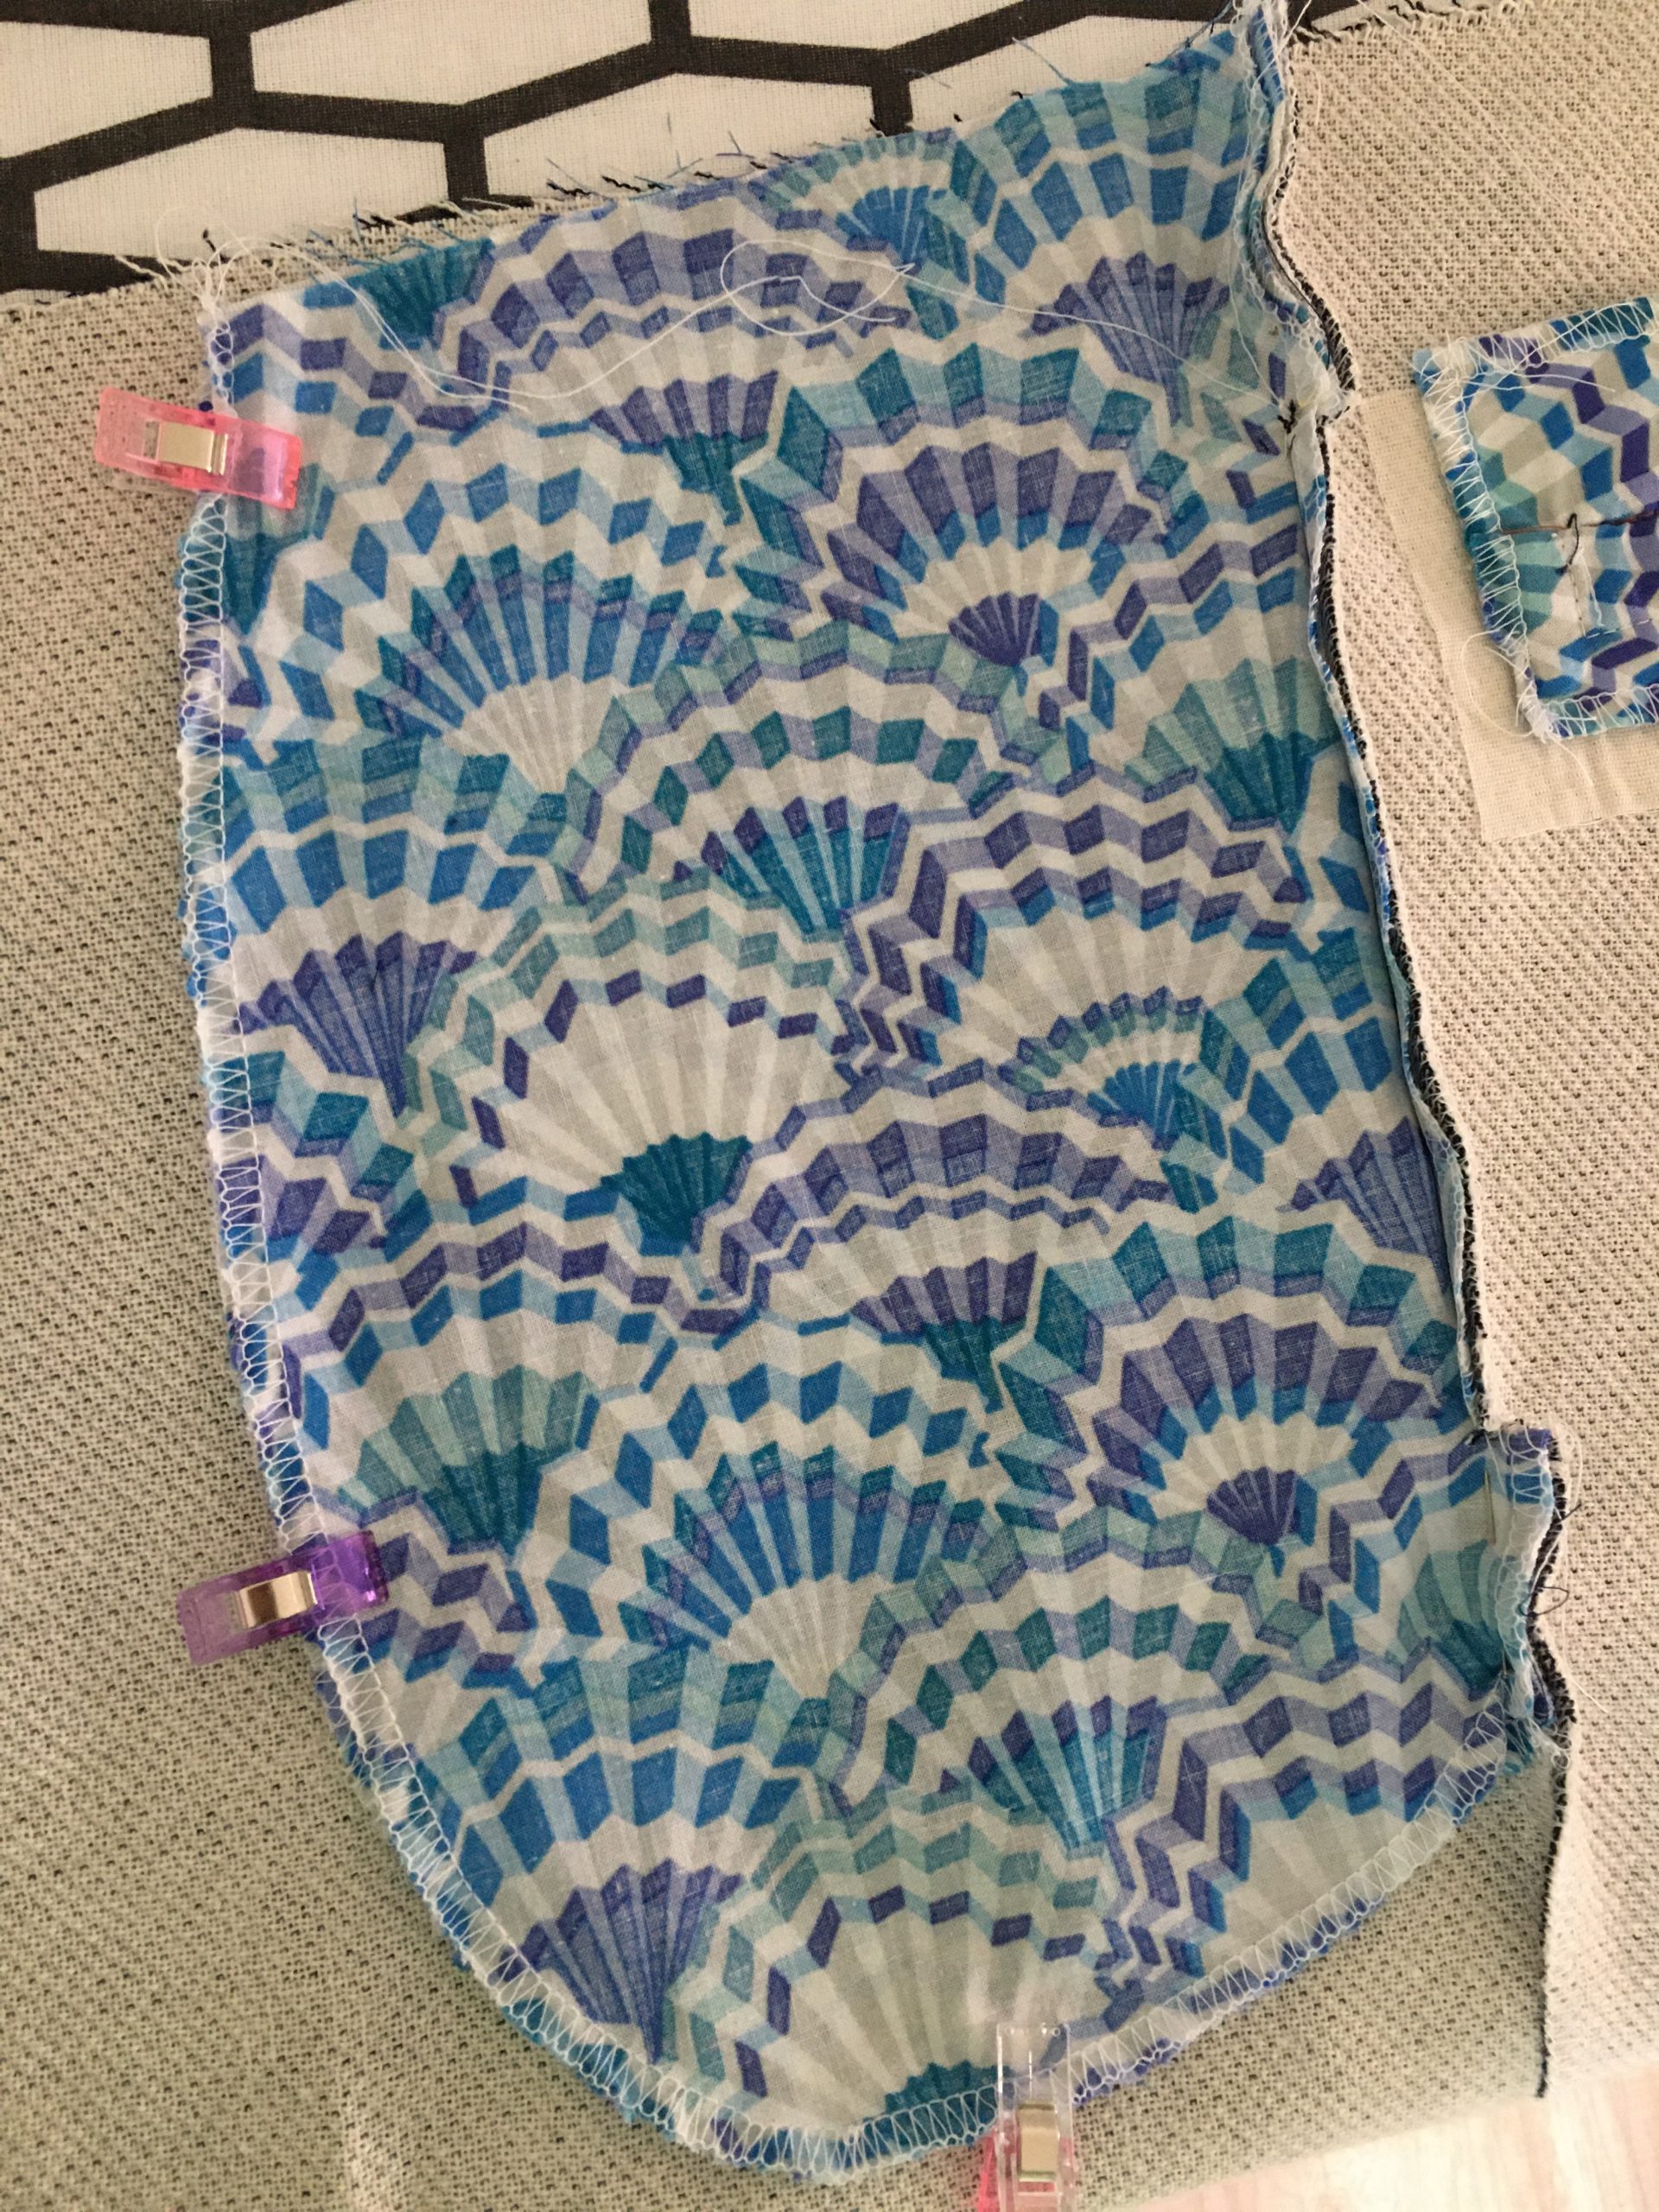
Step 1: Making the piped pockets
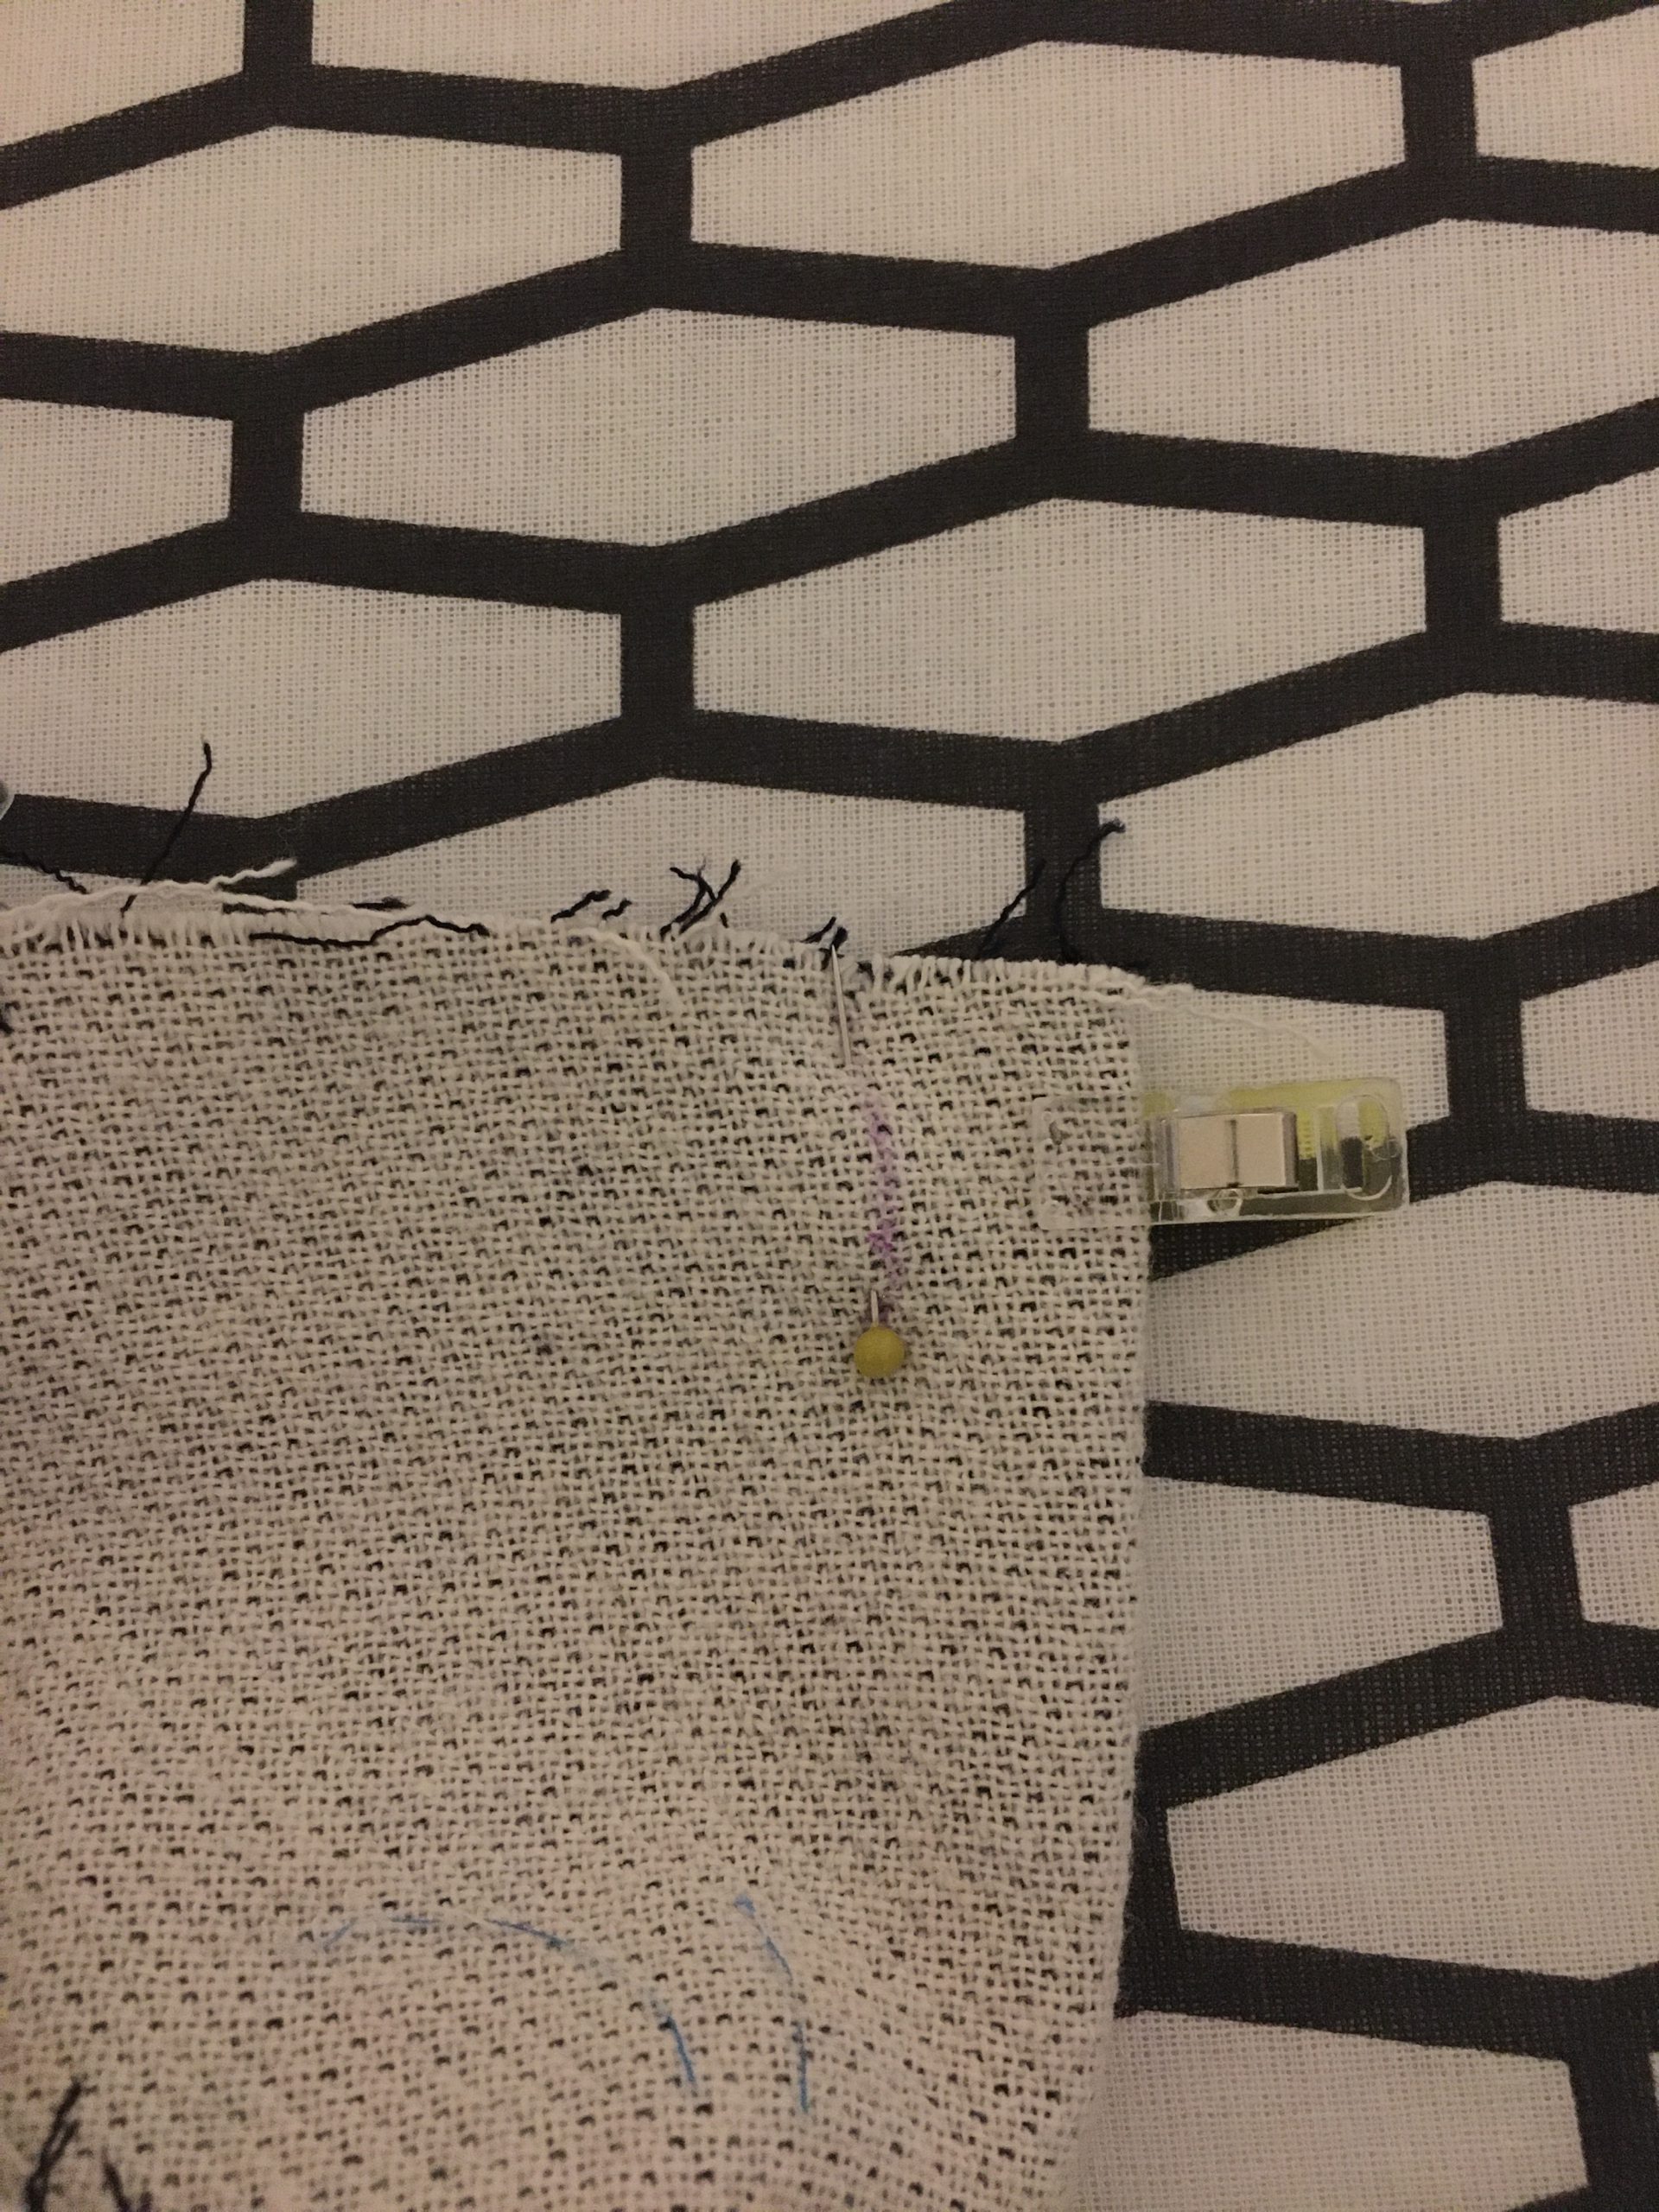
First, sew the piped pockets of the Aster pants. Draw the position of the pocket onto your fabric using the pattern and reinforce this area on the wrong side of the fabric with fabric interfacing.
Then draw the pocket again but directly onto the fabric interfacing this time. To transfer the whole thing to the right side of the fabric, I now sew a seam along the mark using my sewing machine without locking and with the largest stitch length in a contrasting colored thread.

Then place the piping itself wrong sides together and measure your seam allowance of 1 cm at the open edge at the top and mark it lengthwise. Also mark the seam allowance on the short edges.
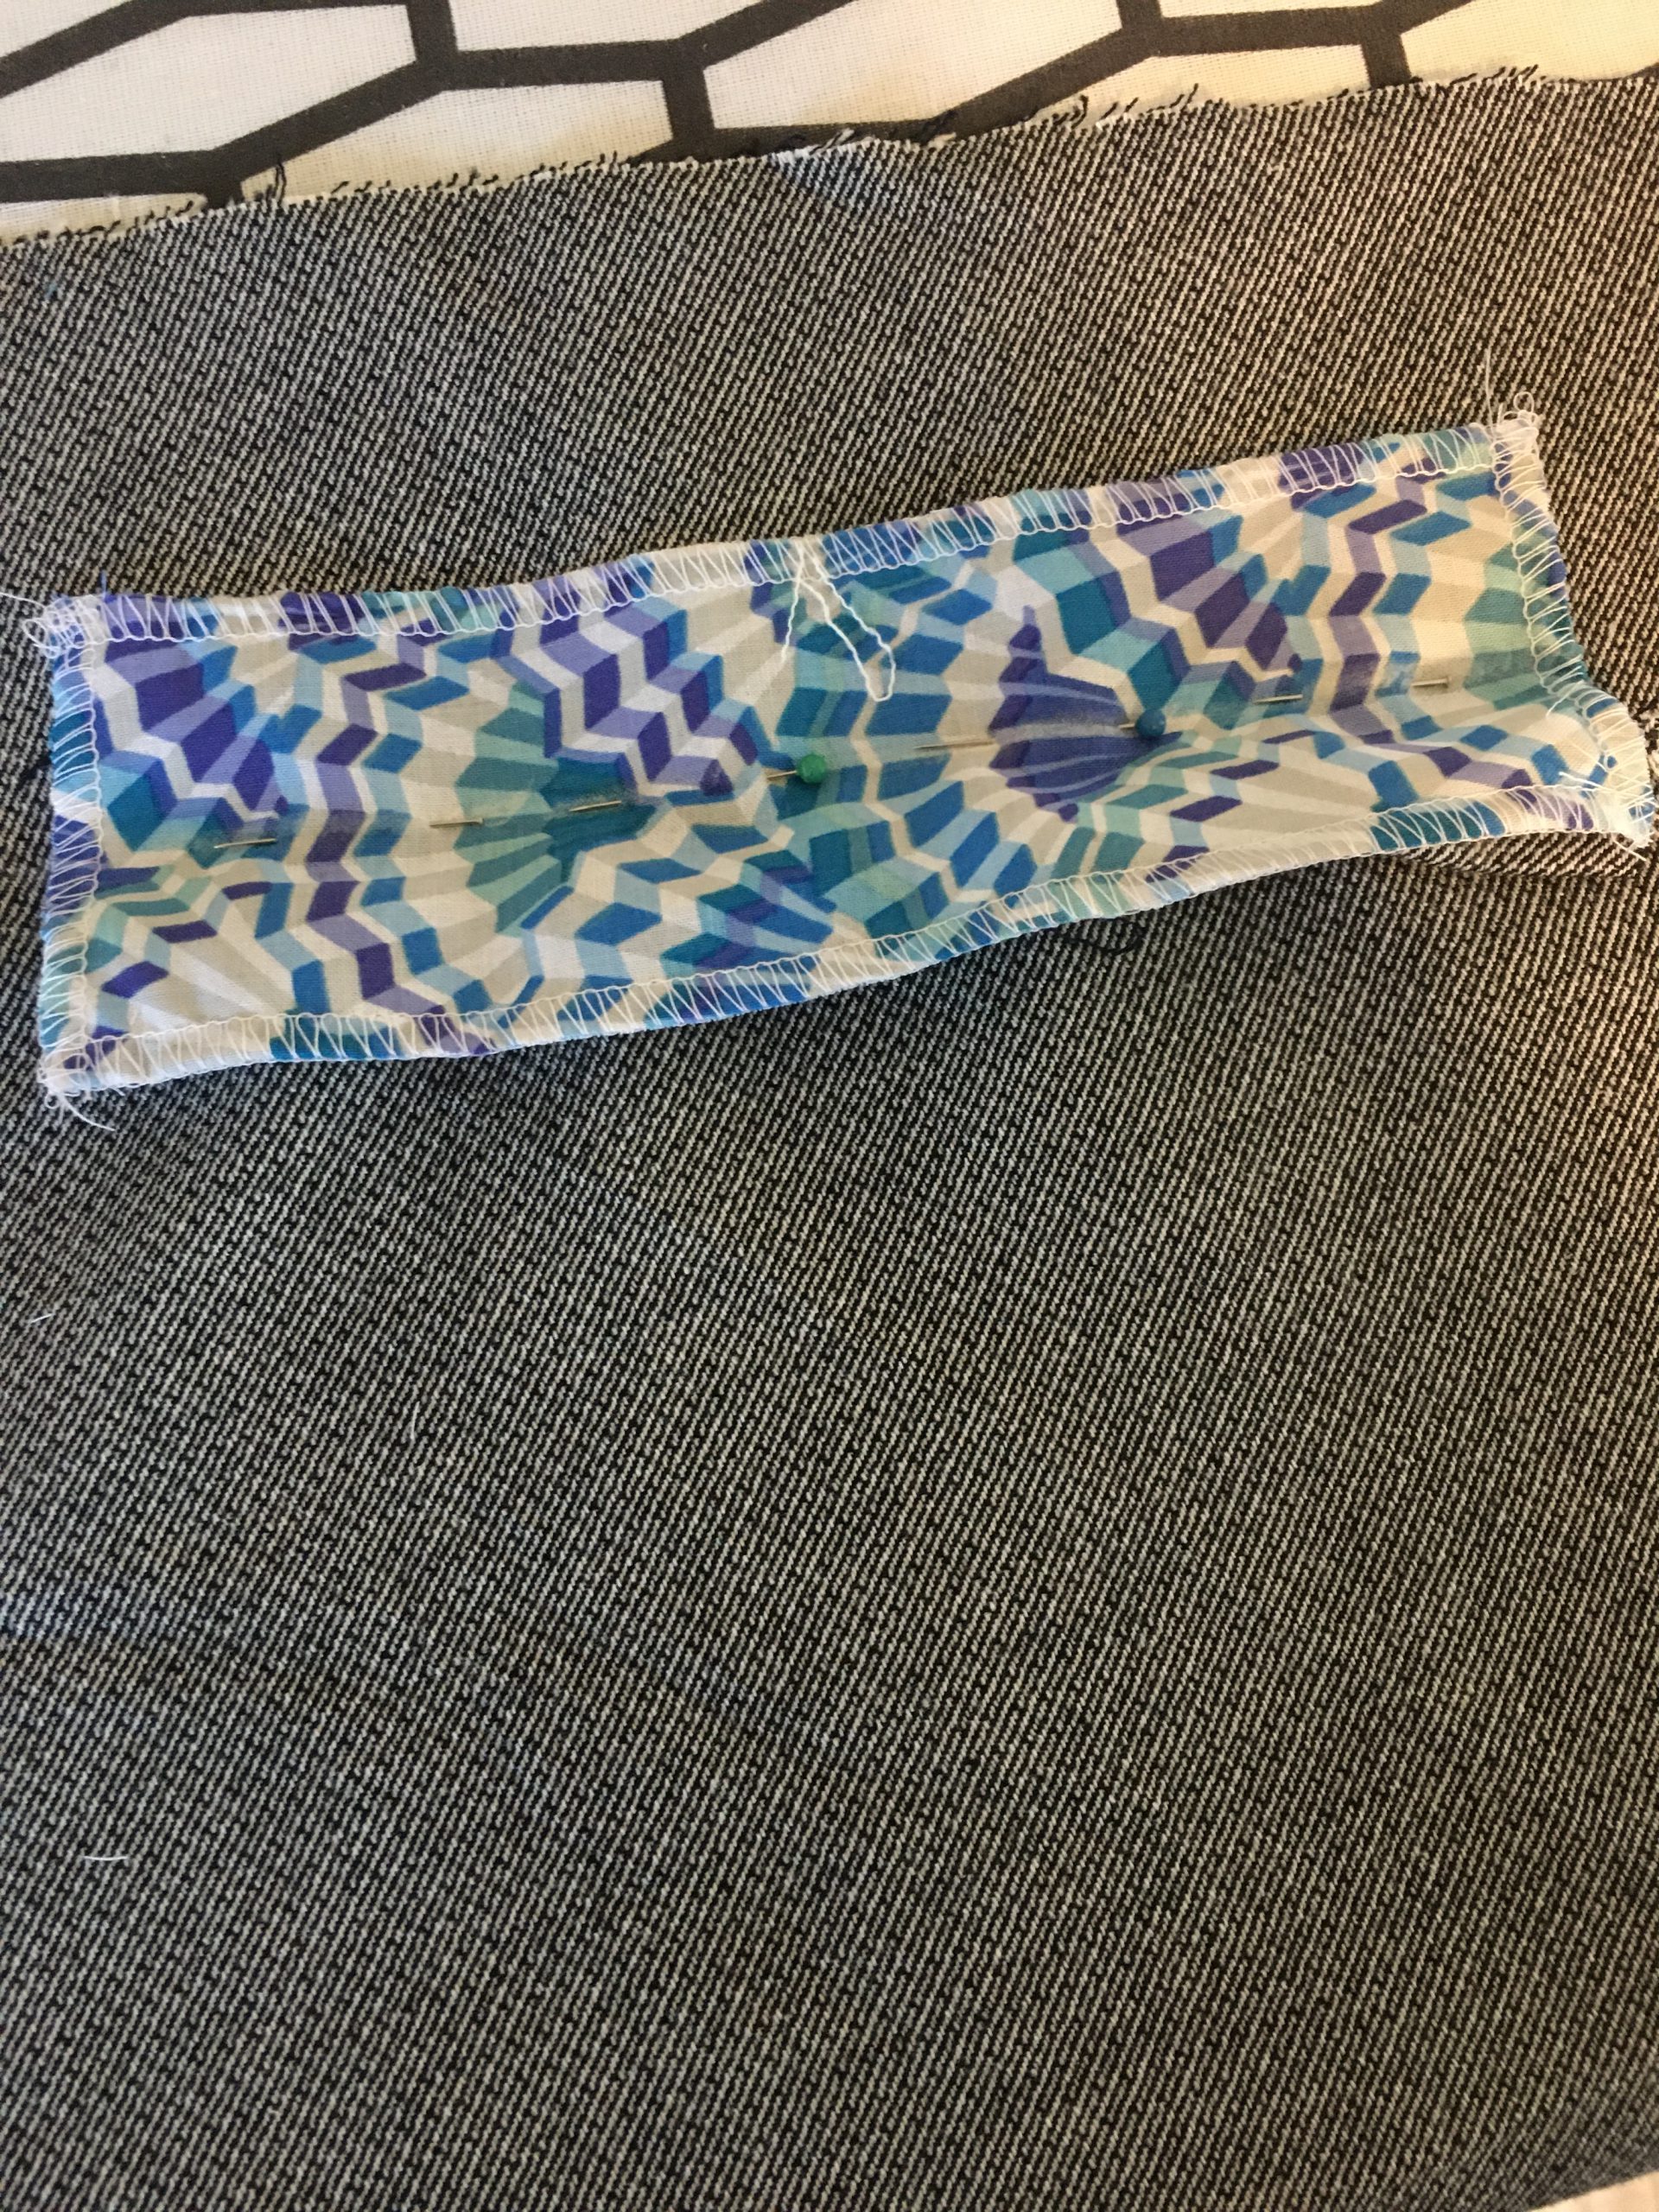
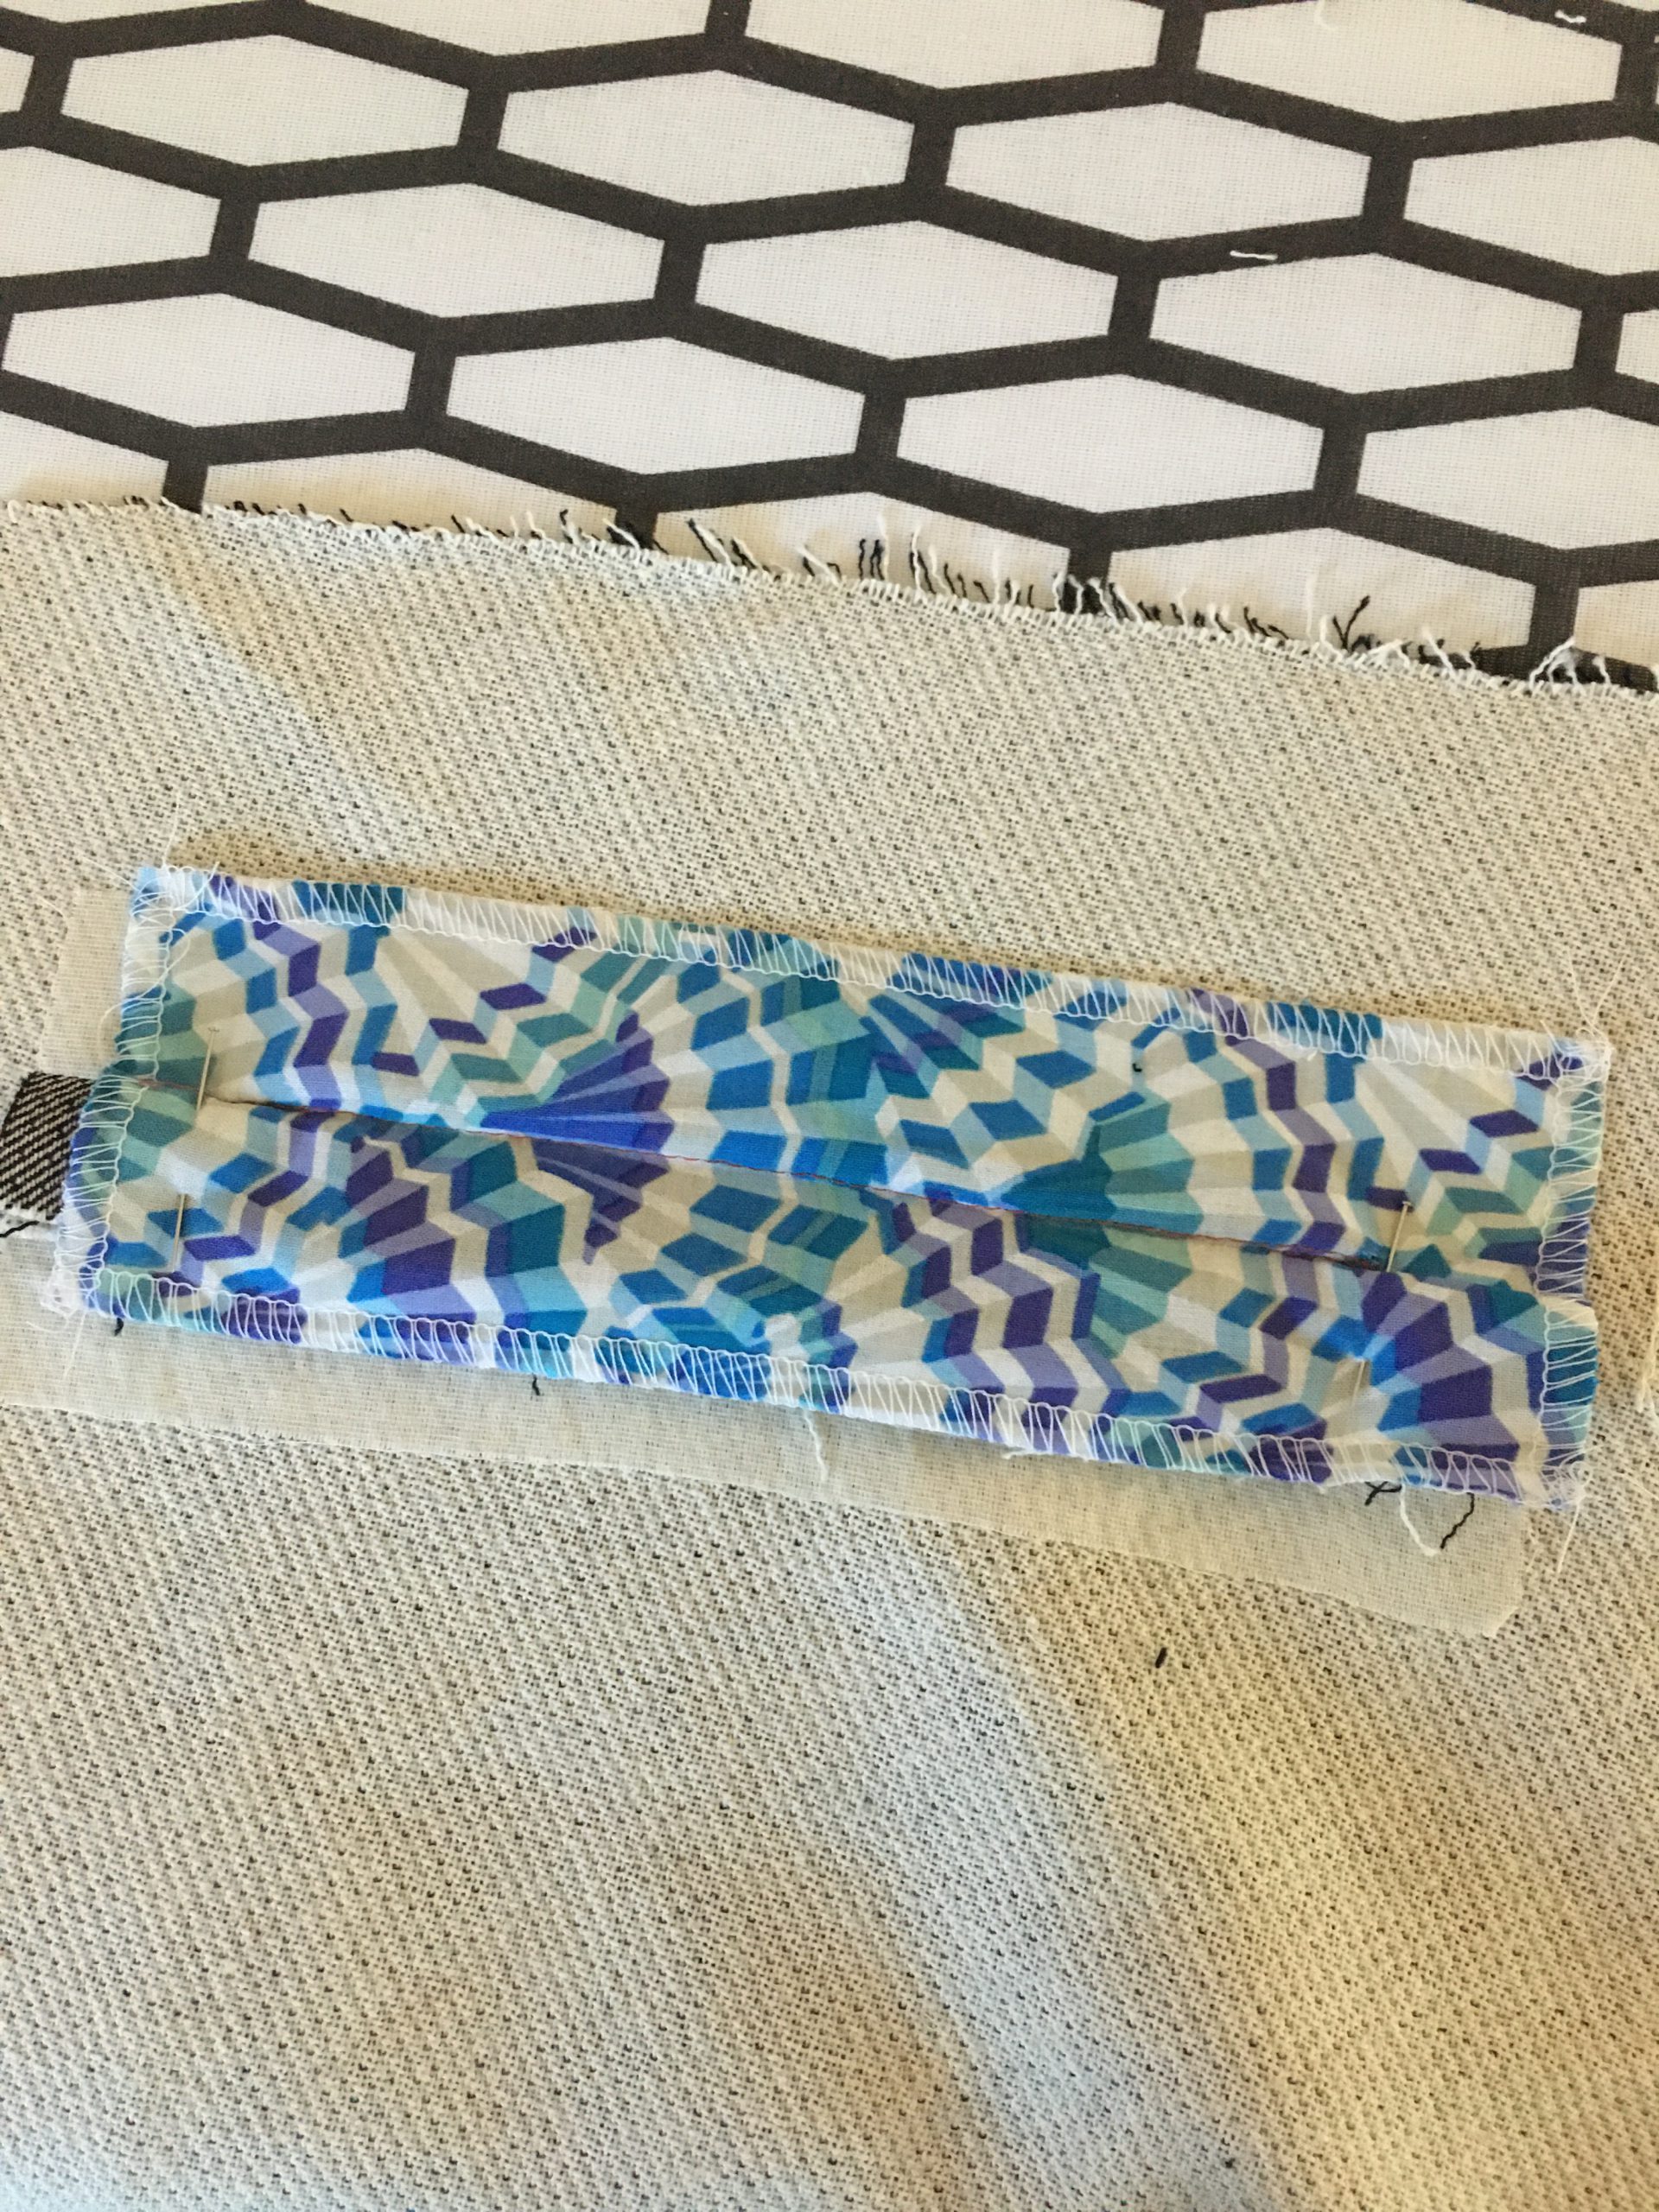
Finish your pocket lining all around with the overlocker and mark the center on this piece as well.
Next, mark the center of your contrasting colored pocket position.
Step 2: Sewing the piped pockets
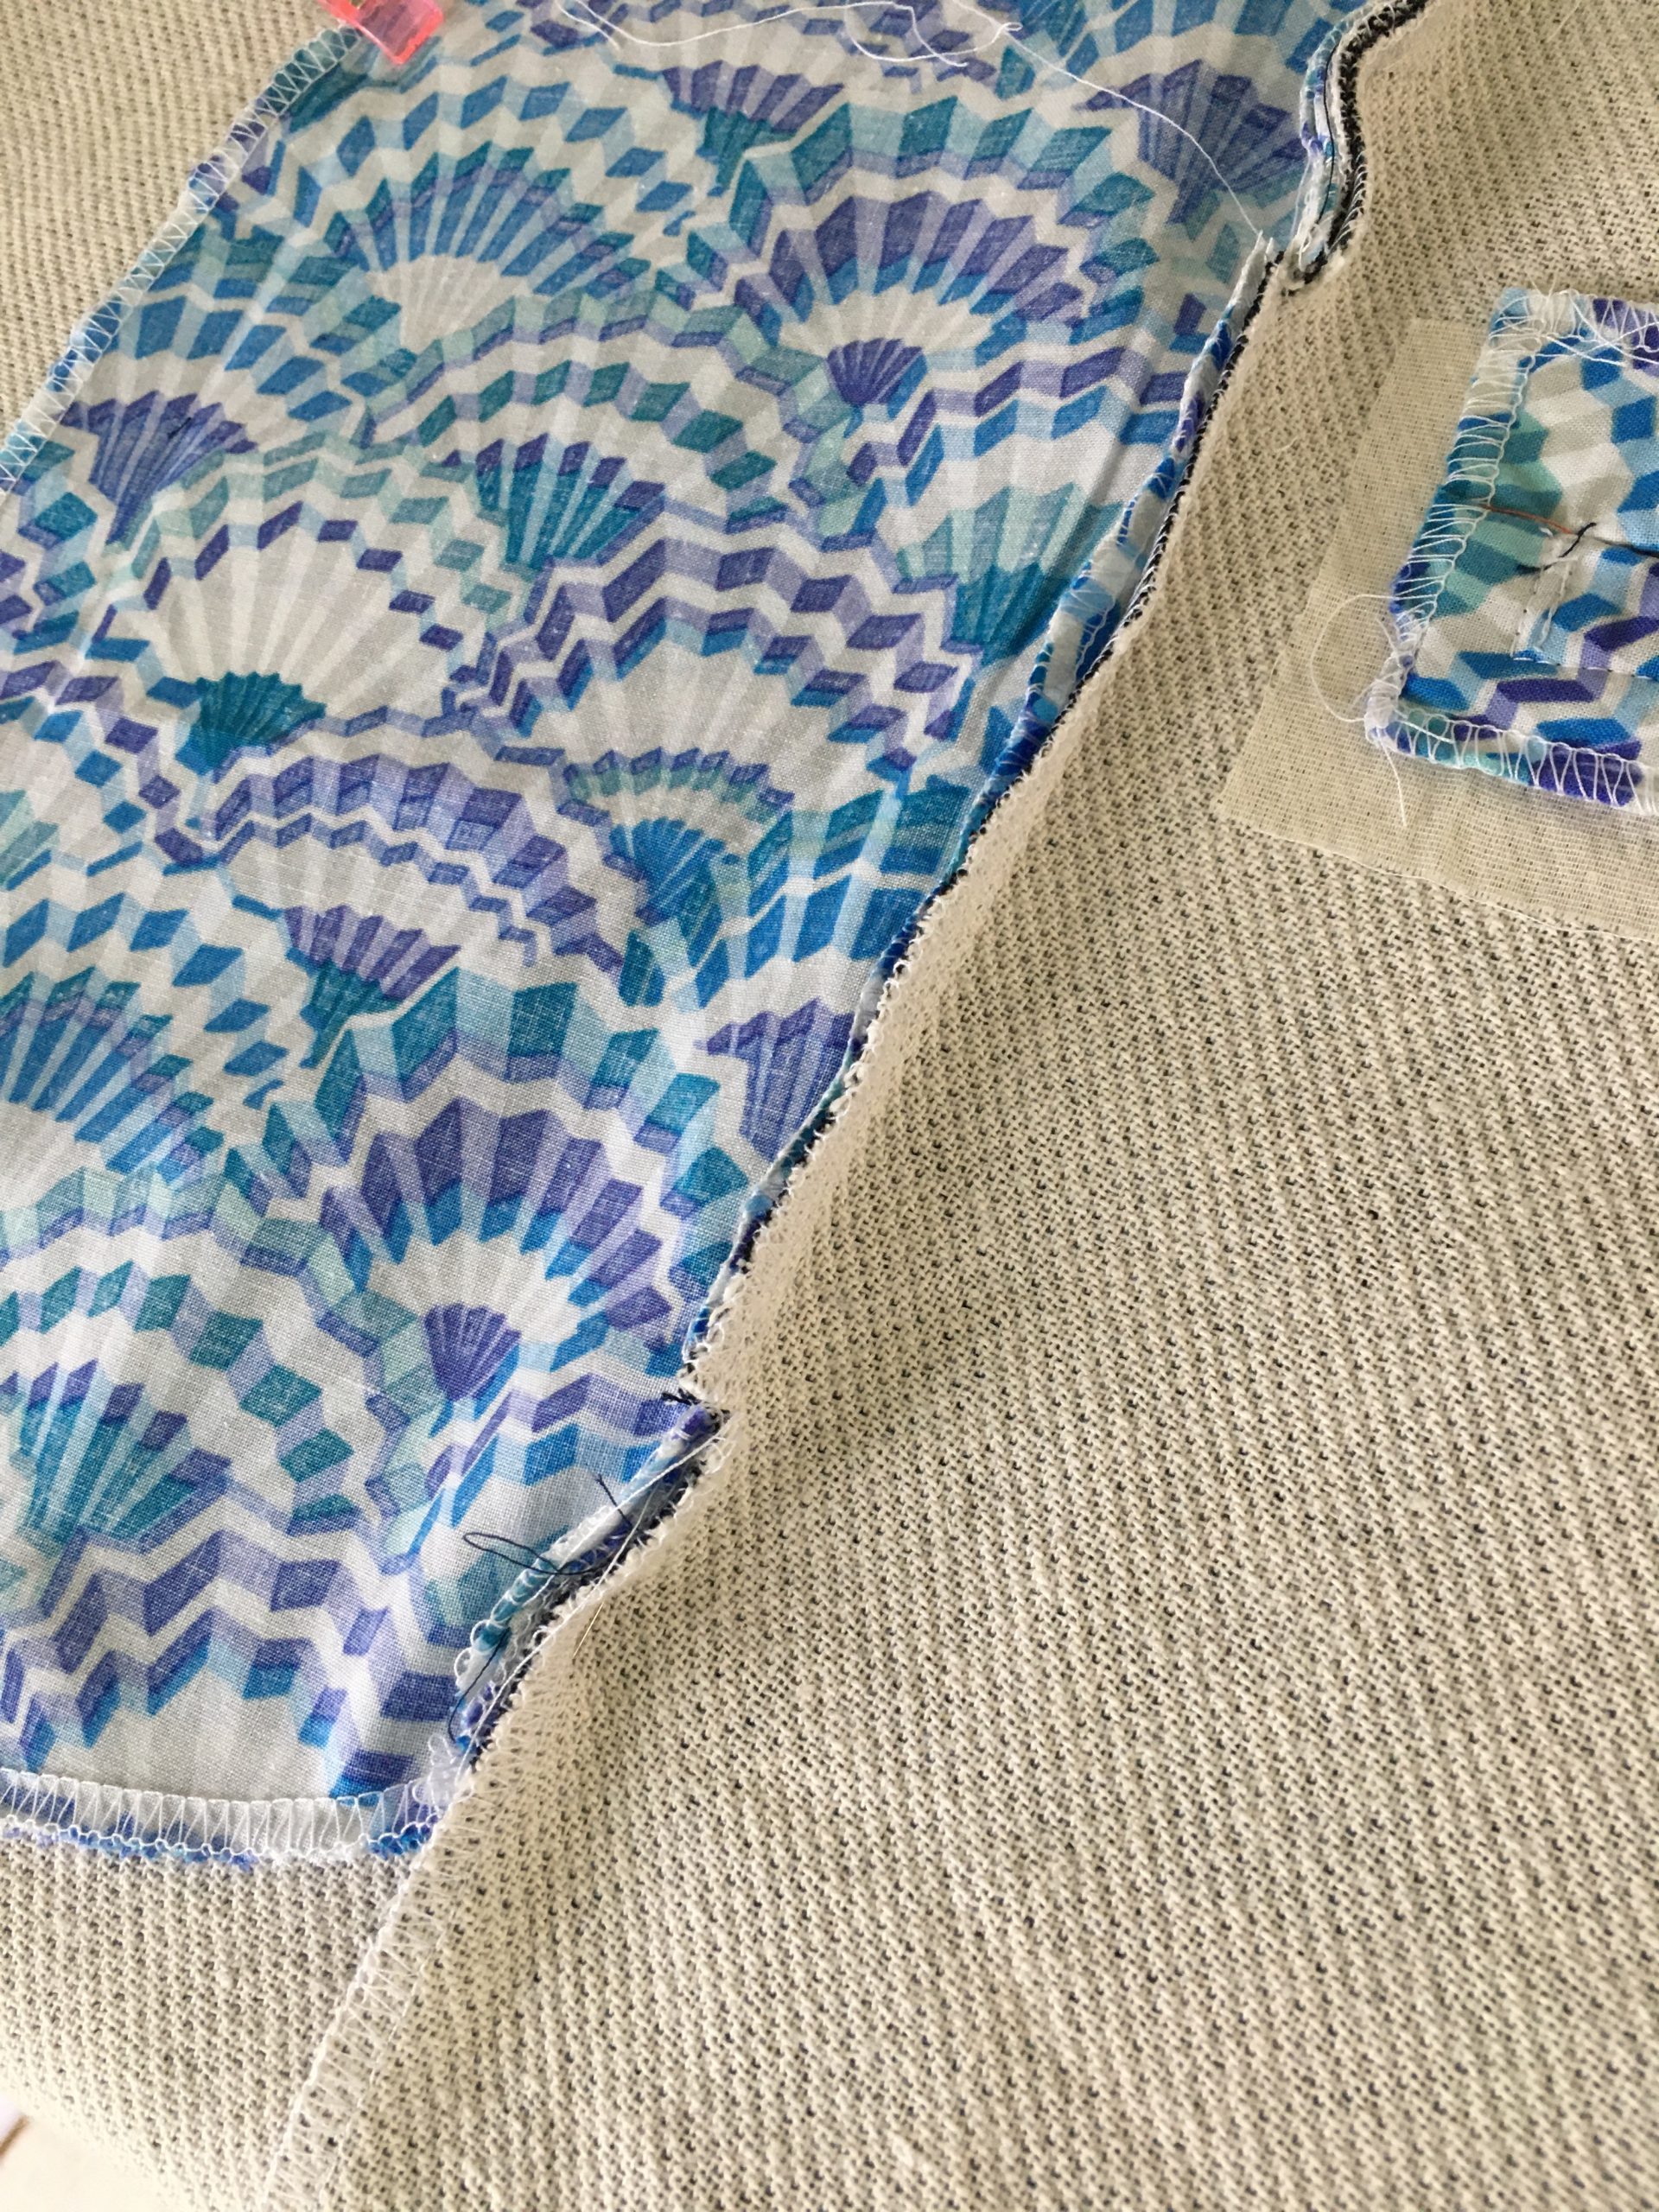
Place the piping with the marked seam allowance line on the bottom mark of your pocket position, right sides together. Sew along the marked seam allowance, beginning and ending each time at the seam allowance mark on the edge. Then fold the seam allowance down and pin it in place using a few pins, if needed, so that it doesn’t get in the way during the next step.

Next, place the pocket lining piece right side up on the right side of your fabric, with the centerline of the lining exactly on the top mark of the pocket position. On the centerline of the lining, again sew a line starting and ending at the mark of the seam allowance of each of the short edges. Tuck the bottom half of the lining up here so it’s out of the way.
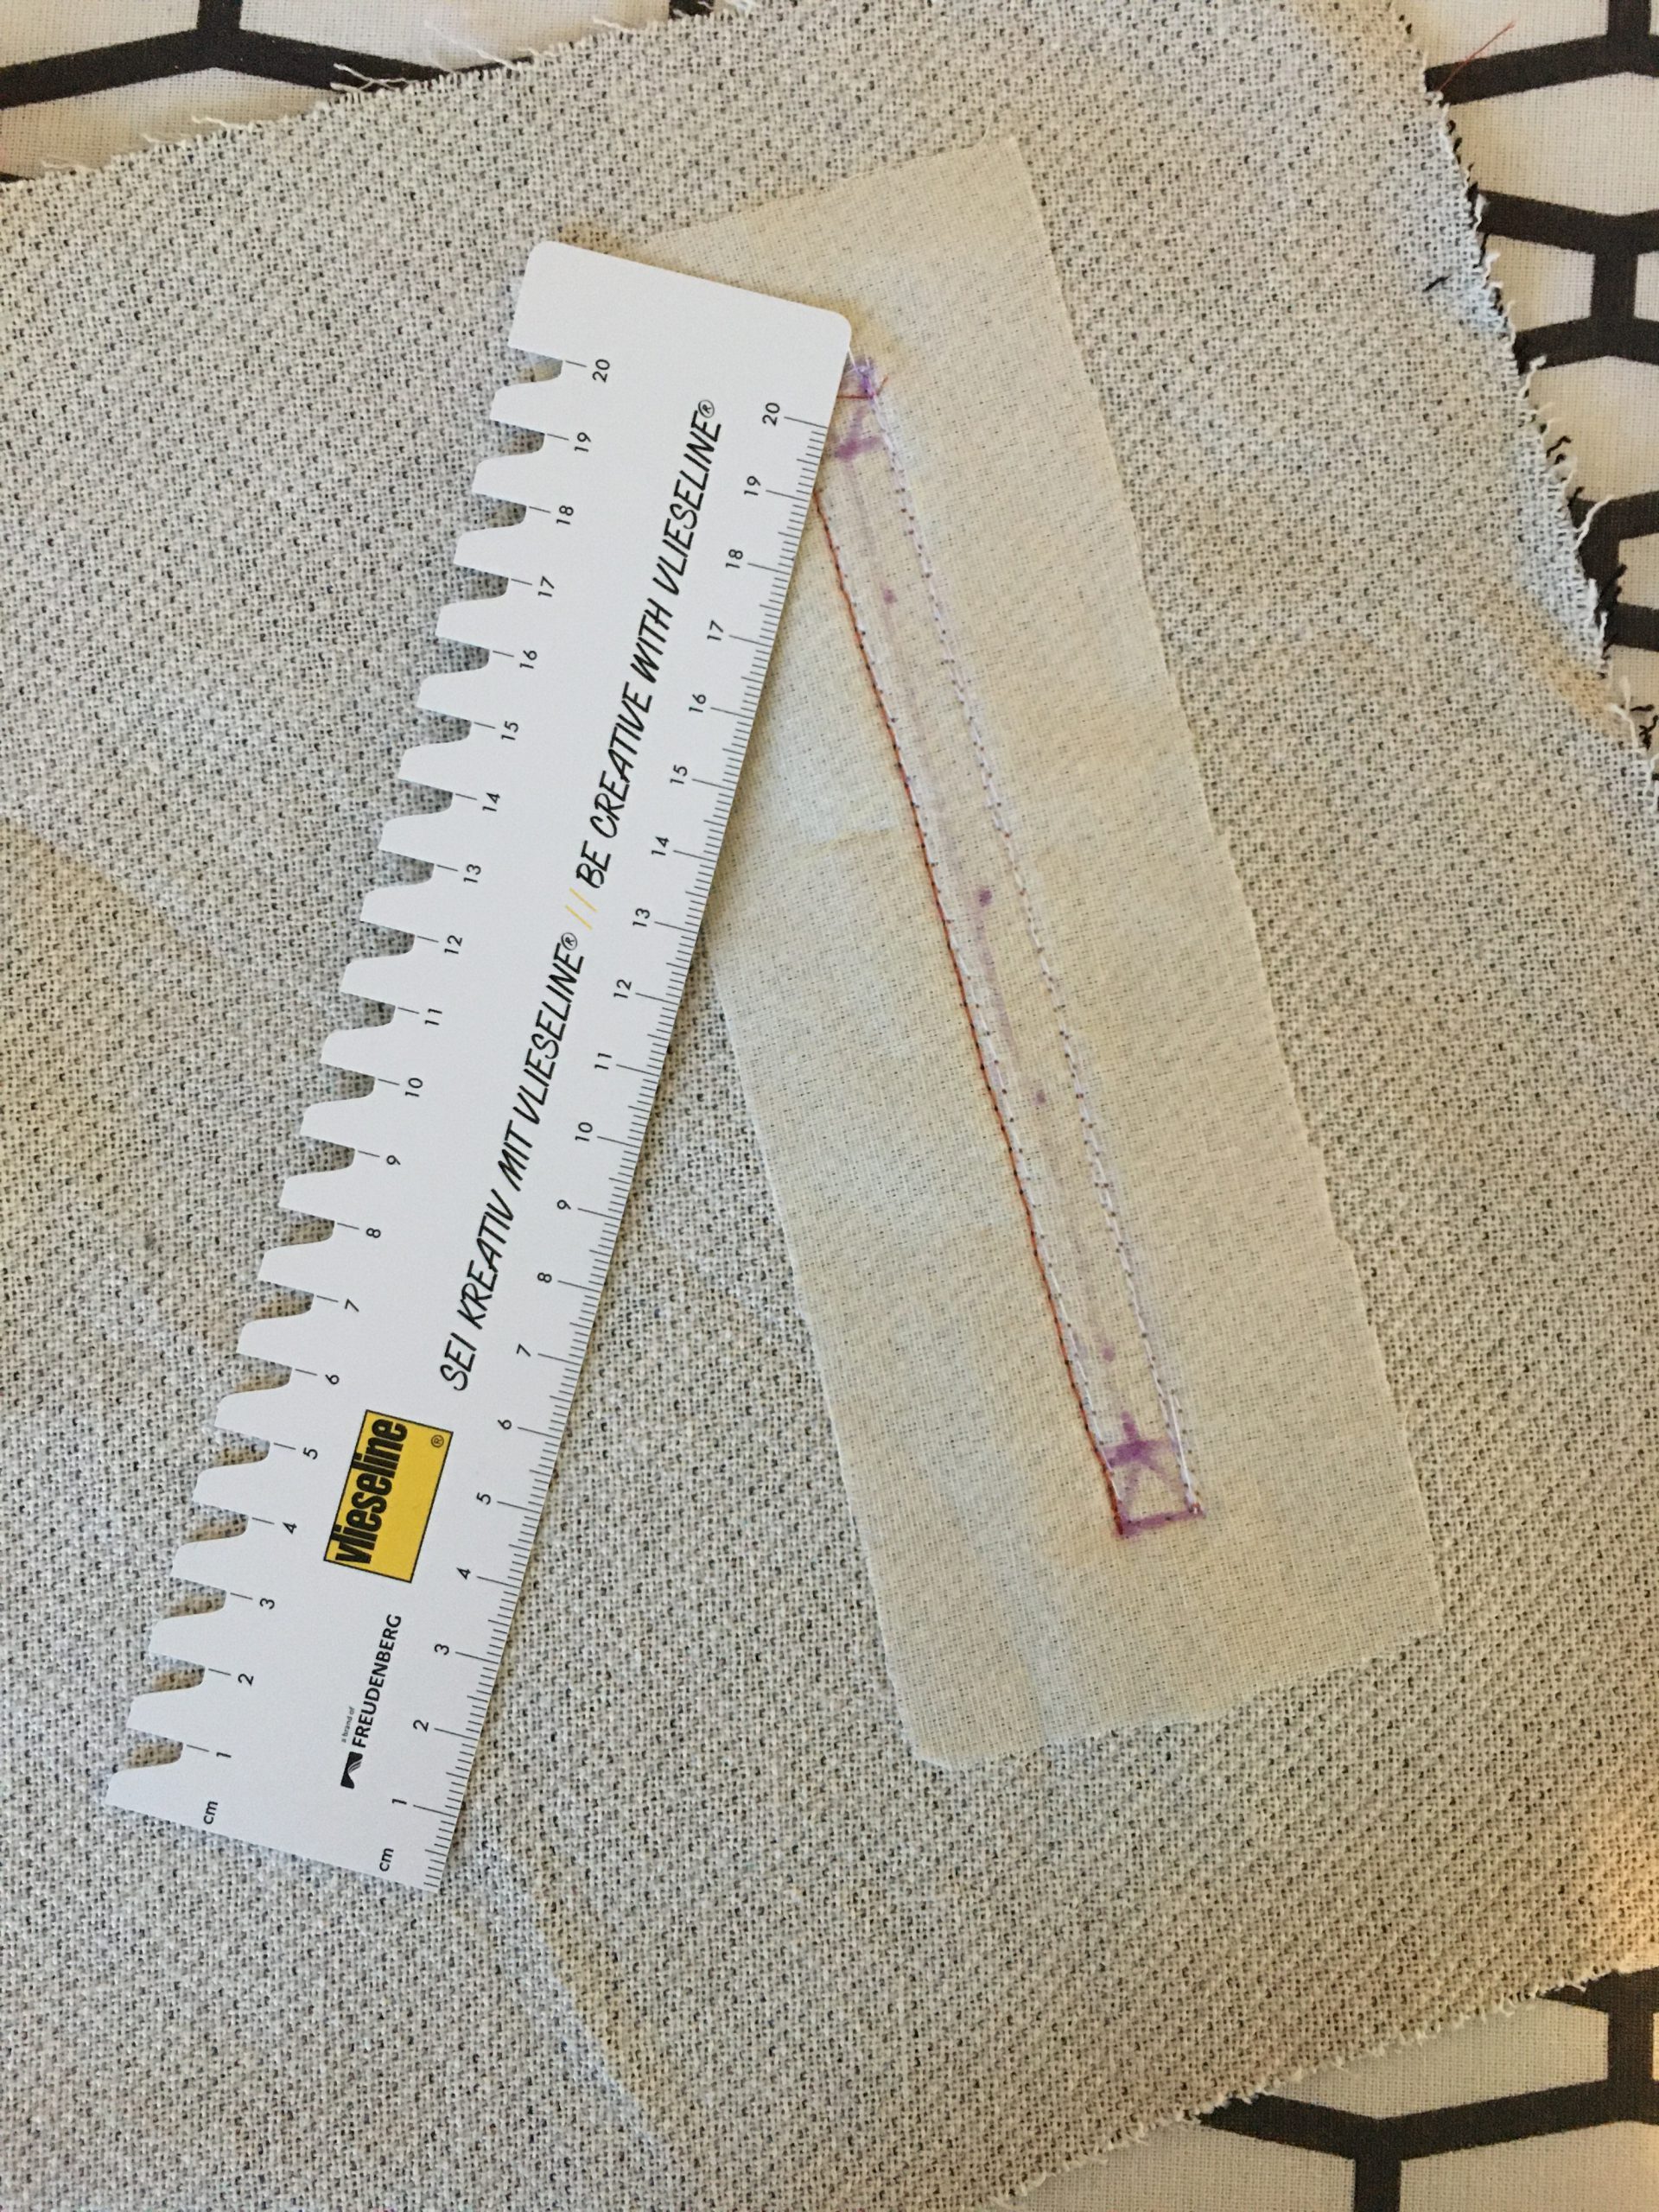
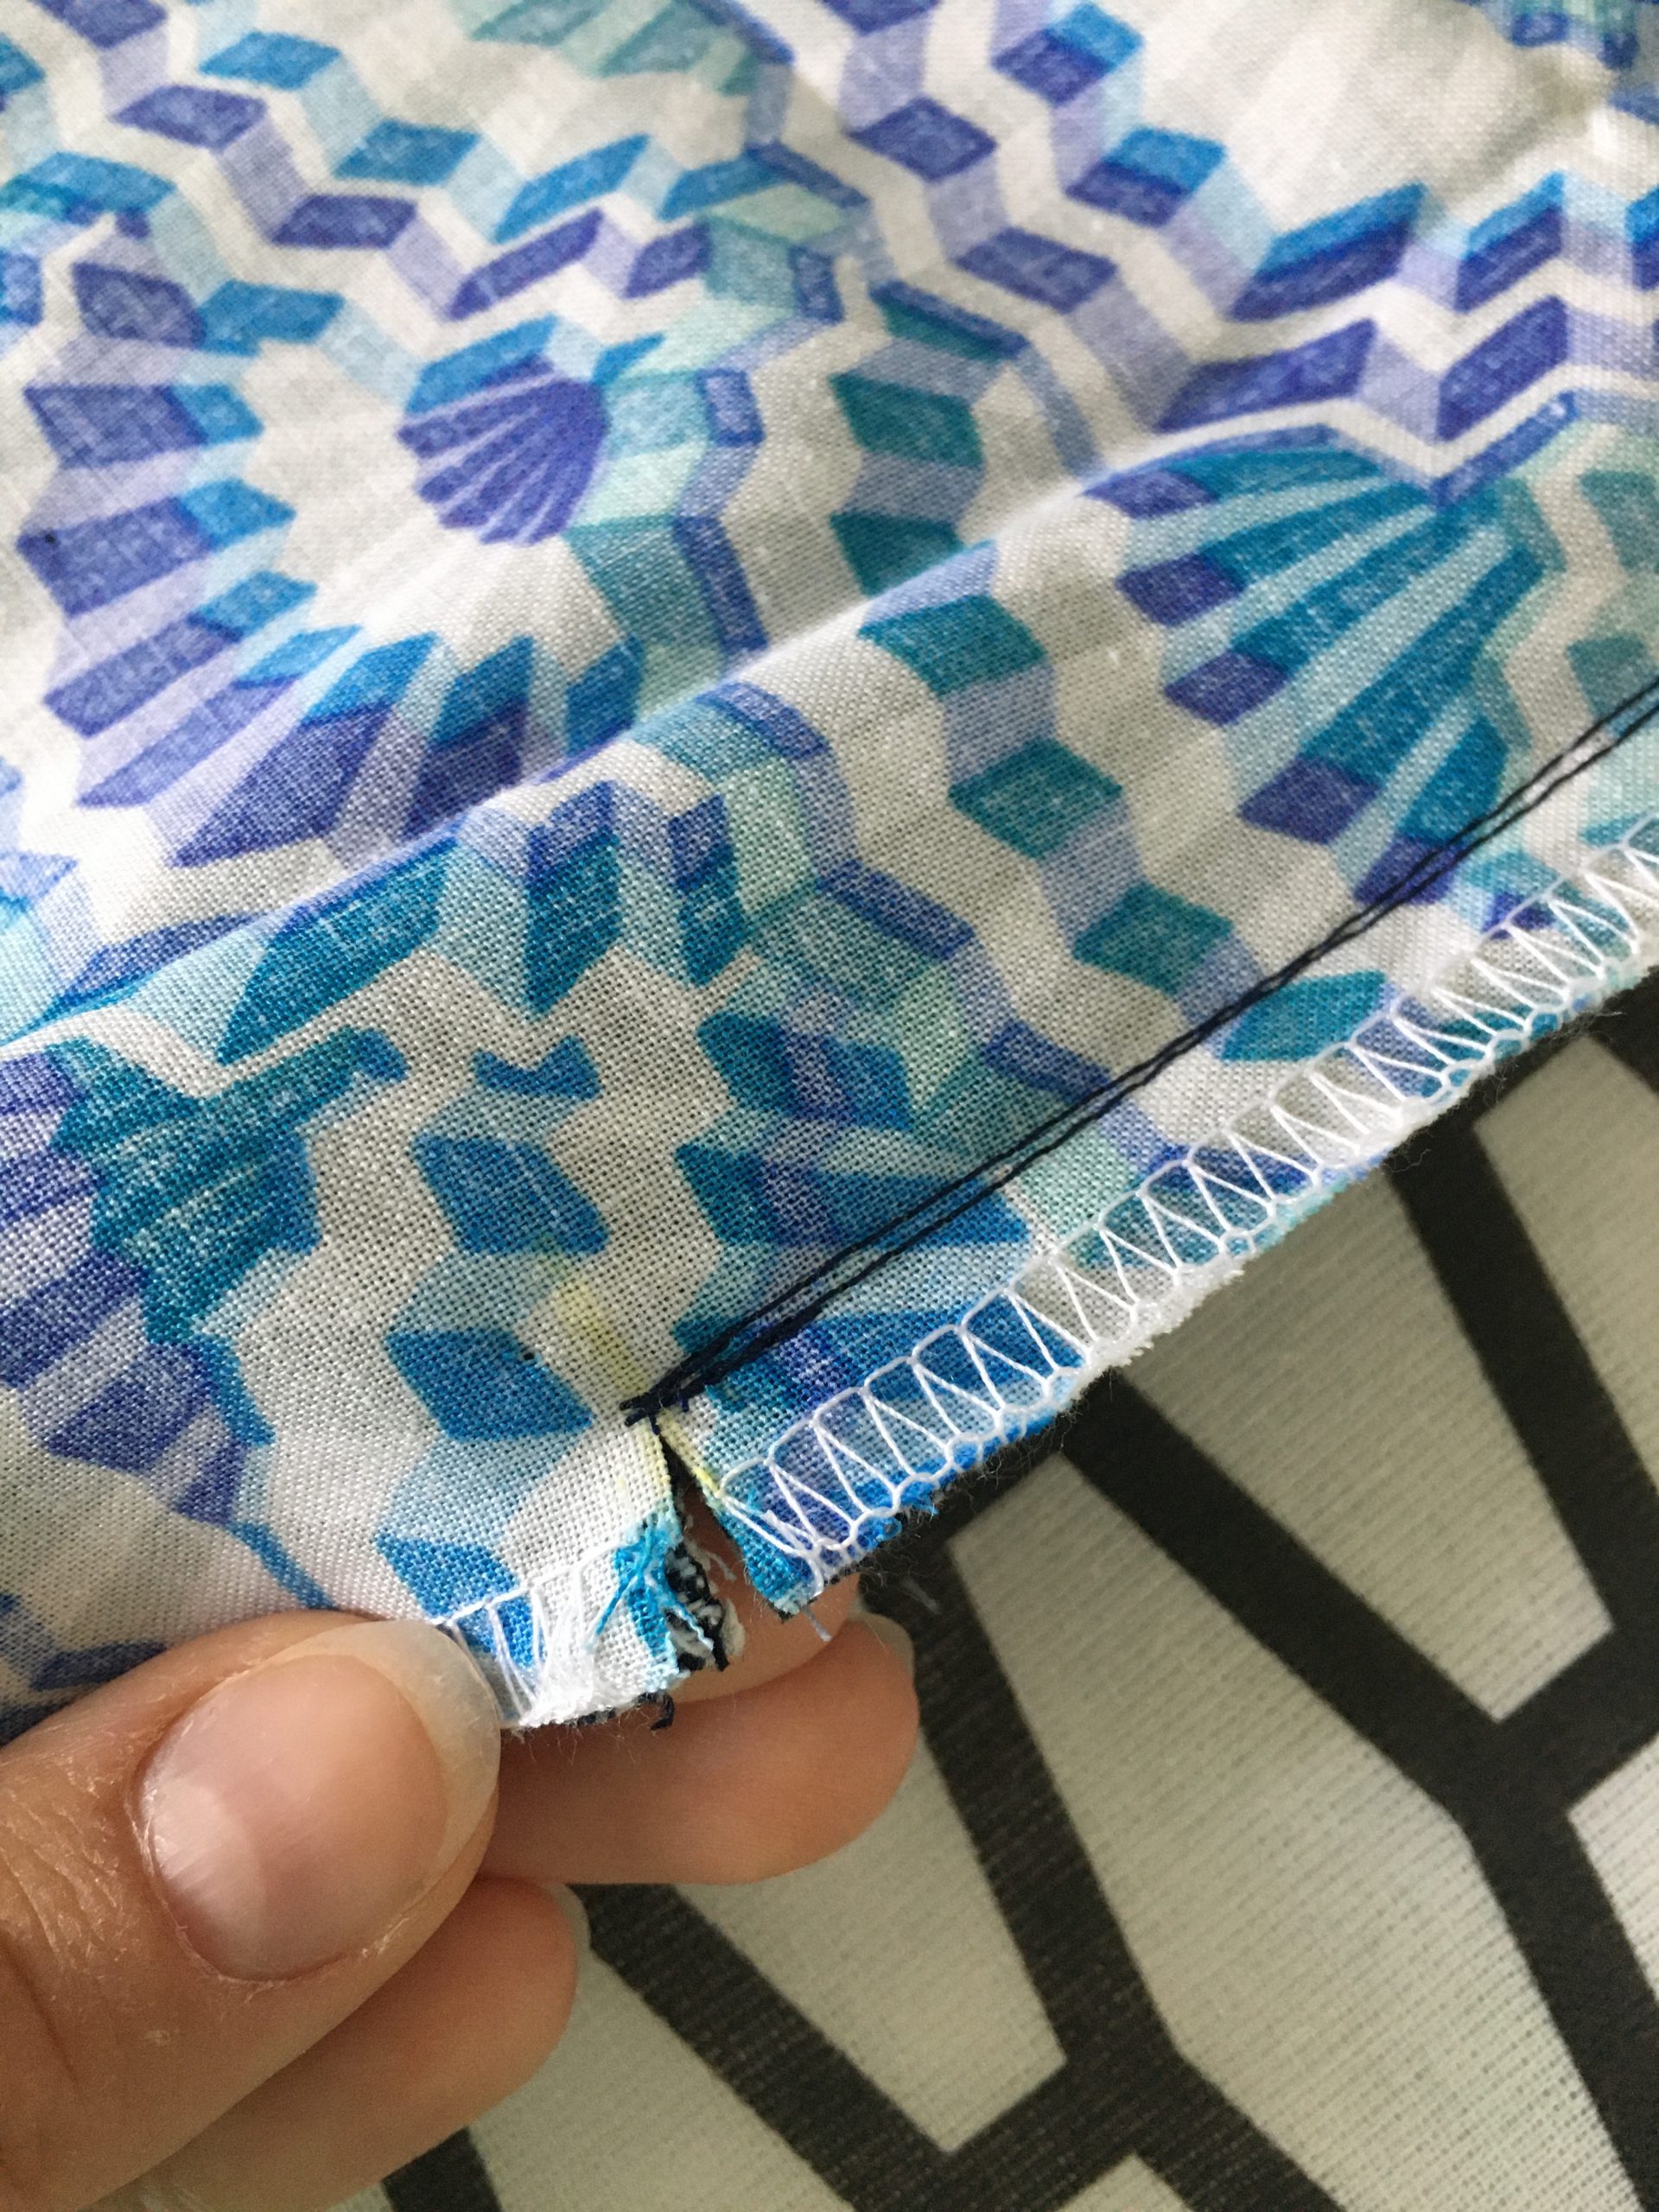
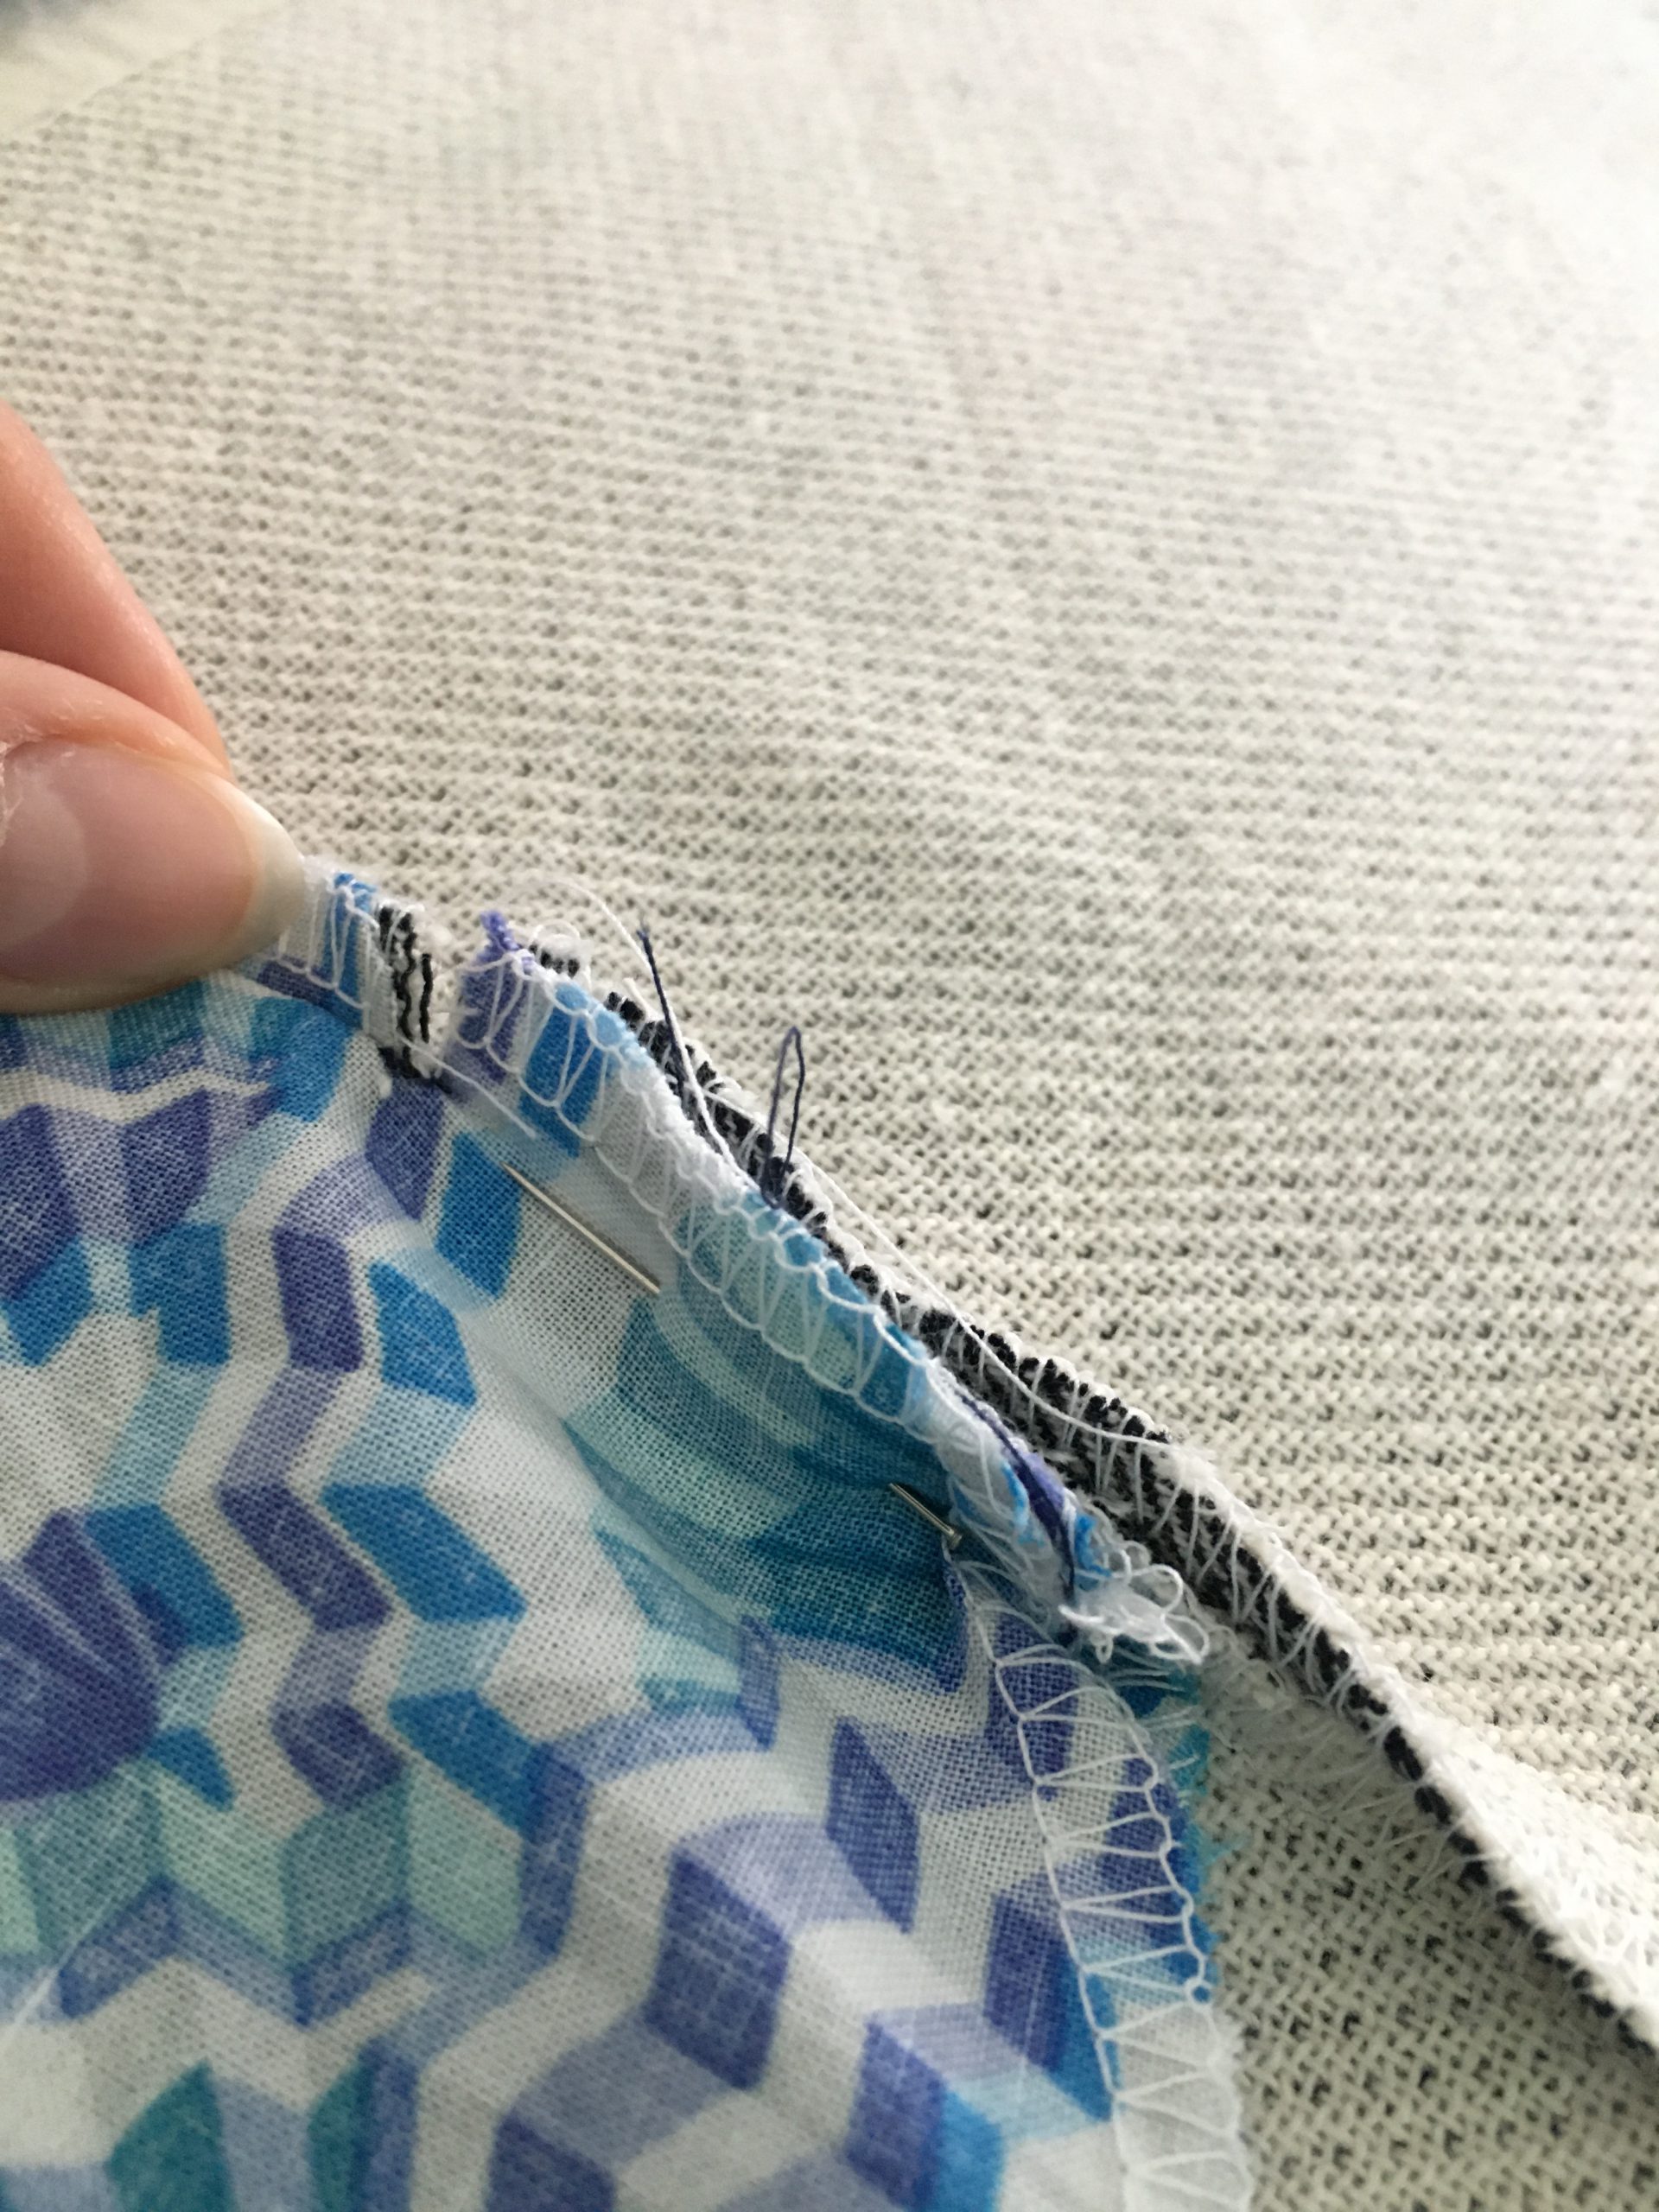
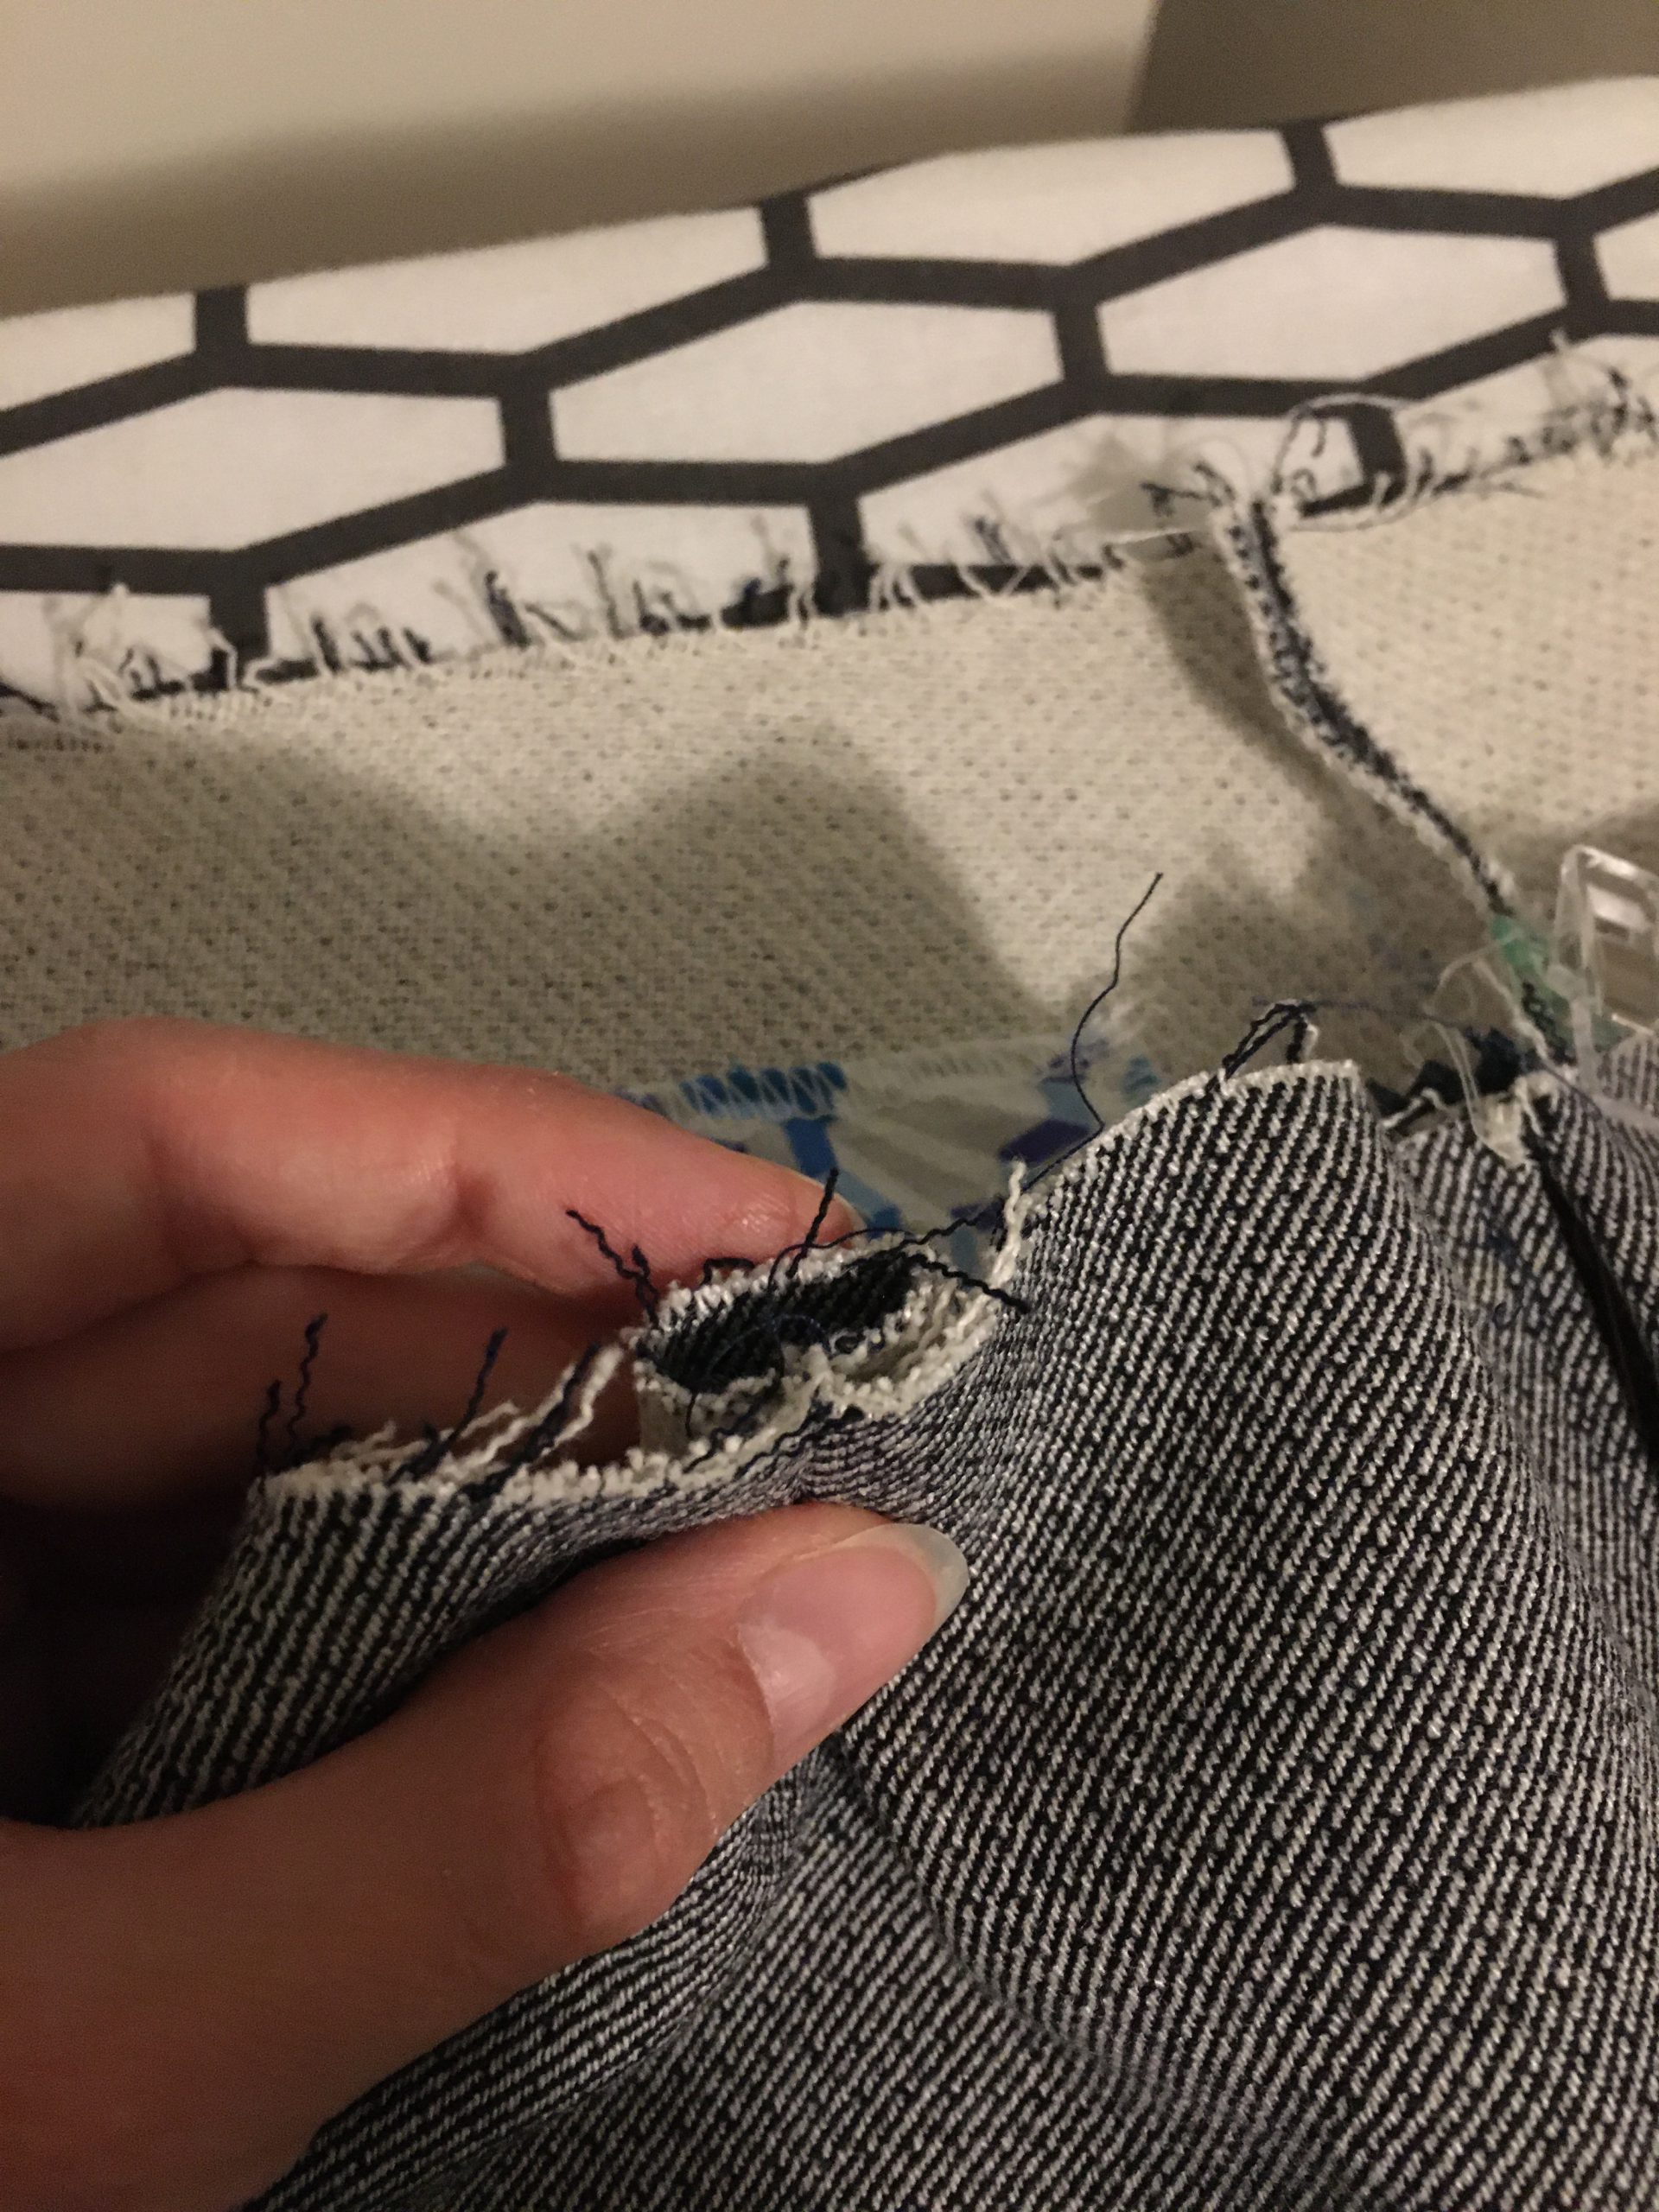
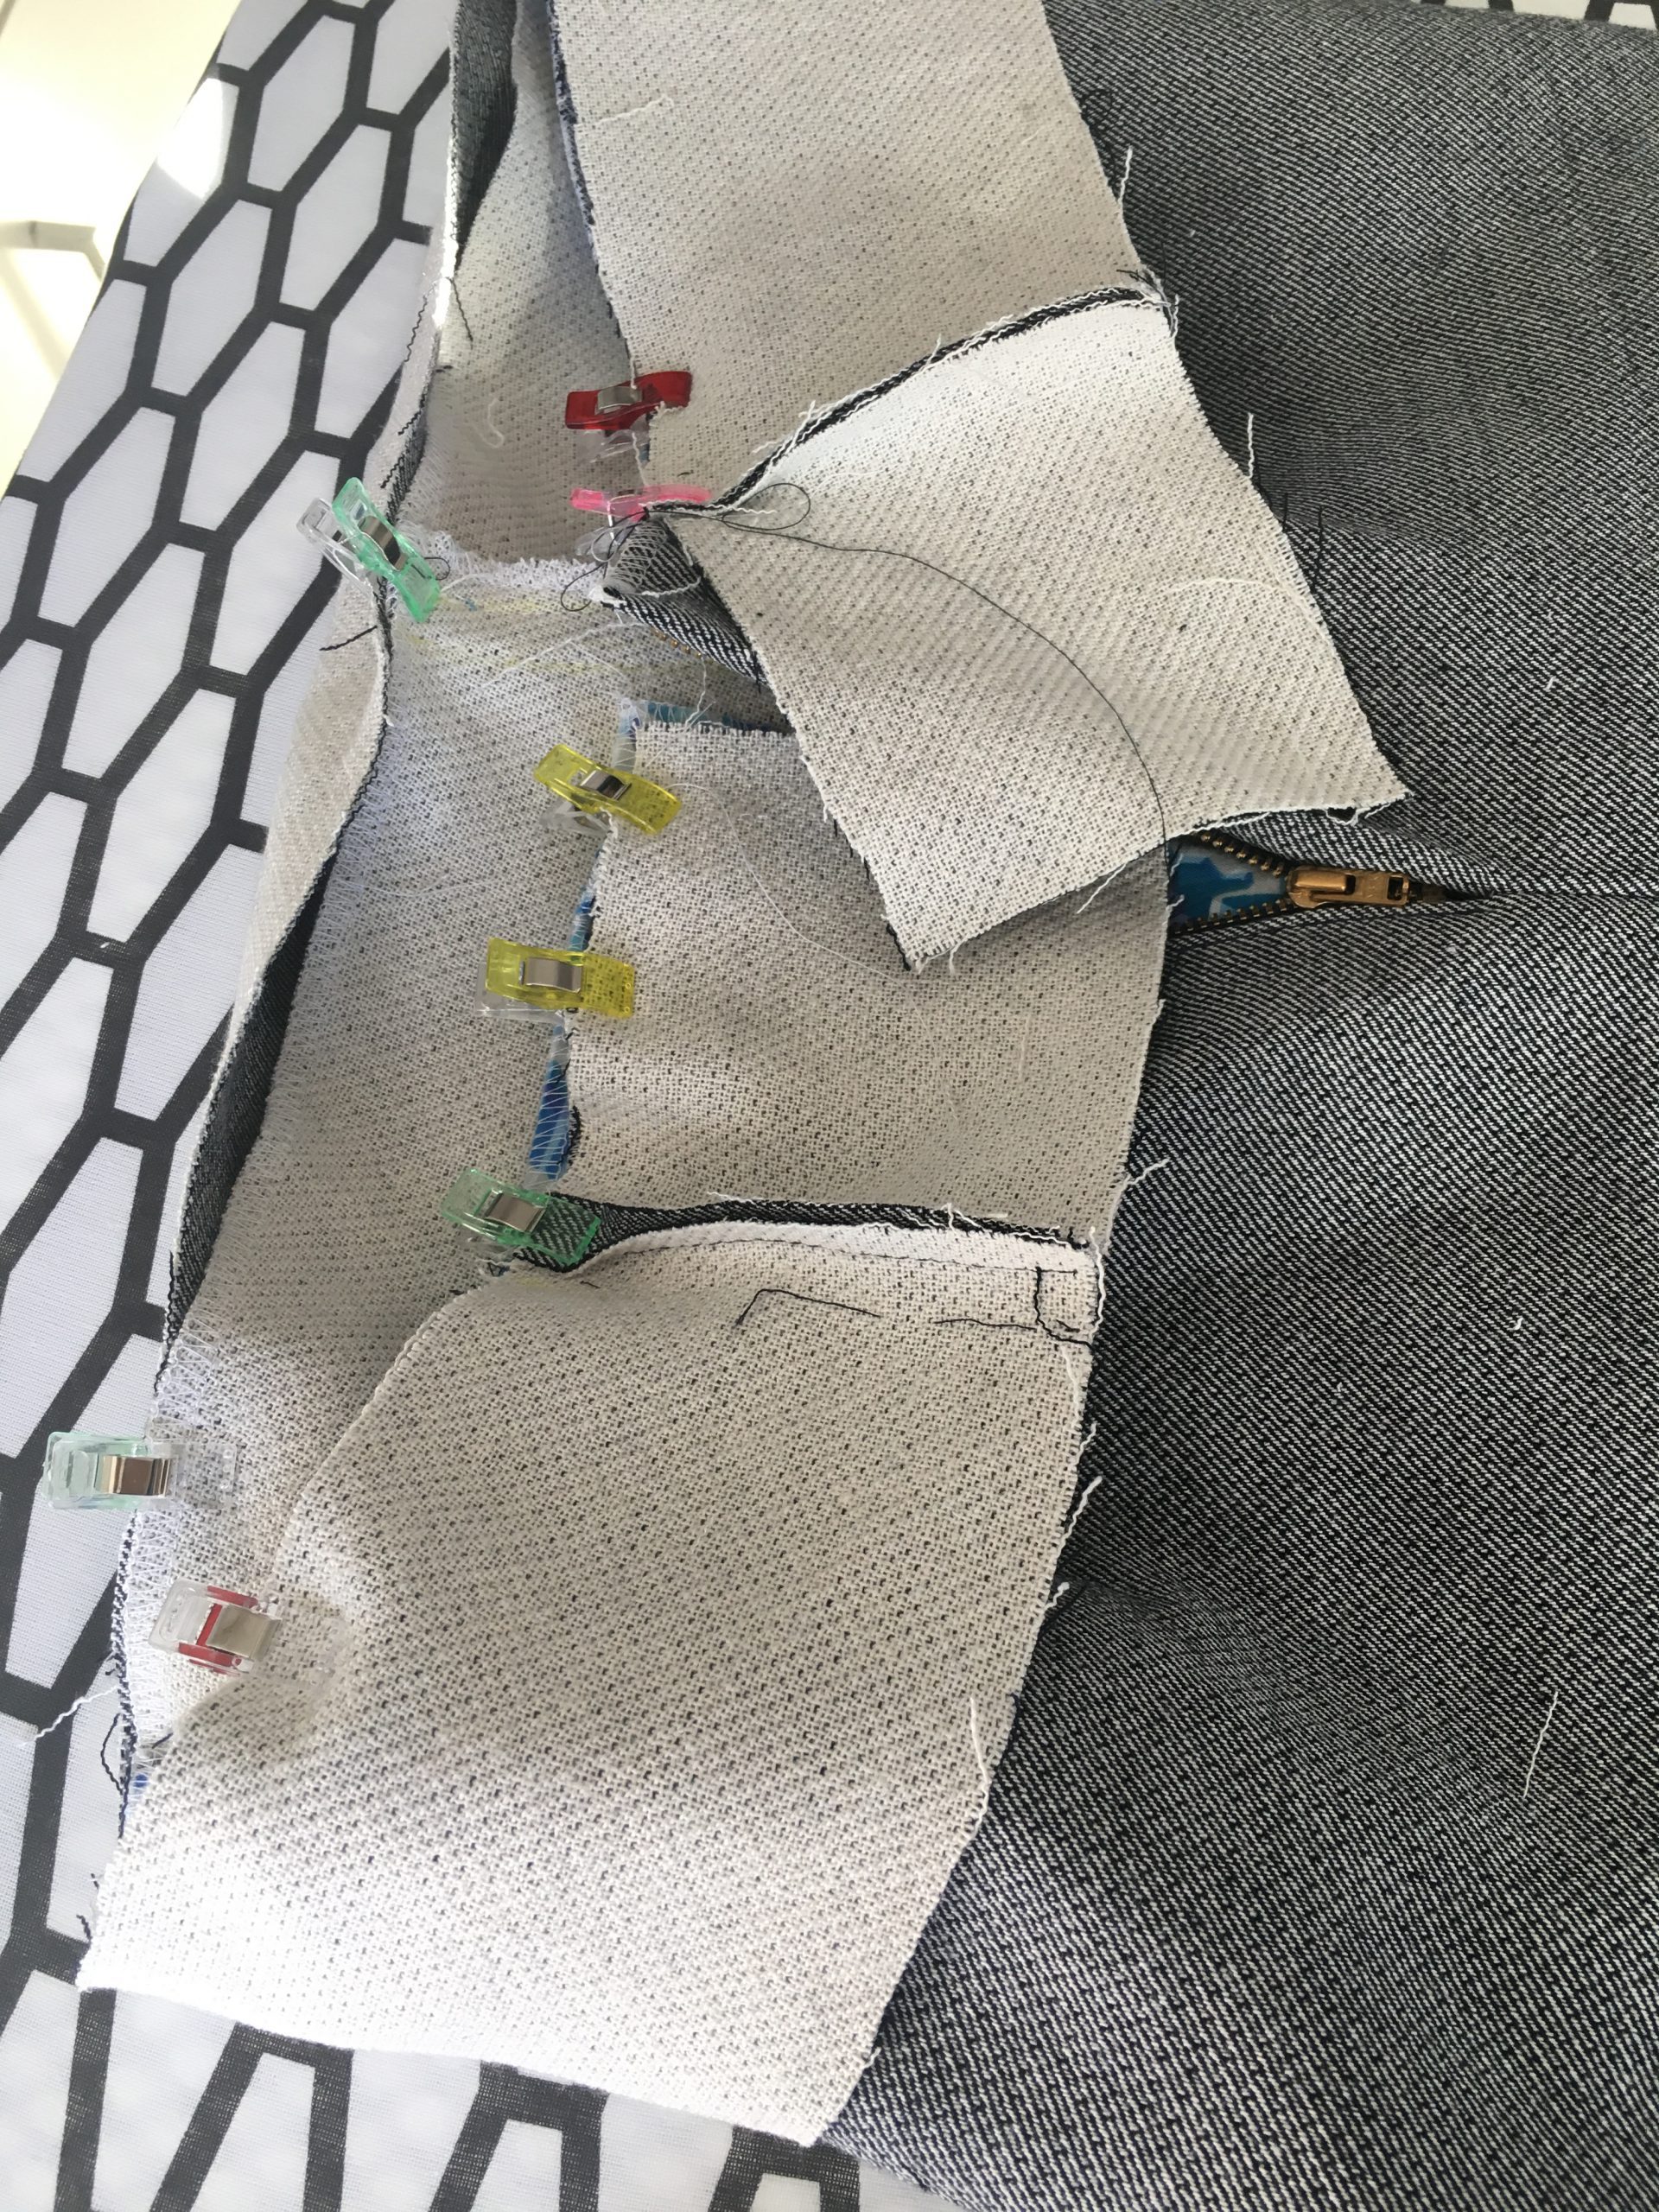
Now turn your pants piece inside out and mark 1 cm from each of the short edges of the rectangle to the inside. Cut exactly along the center of the rectangle up to the marks and from there at an angle of about 45° right up to the corner. Be careful not to cut the seam or the piping or lining on the right side of the pants.
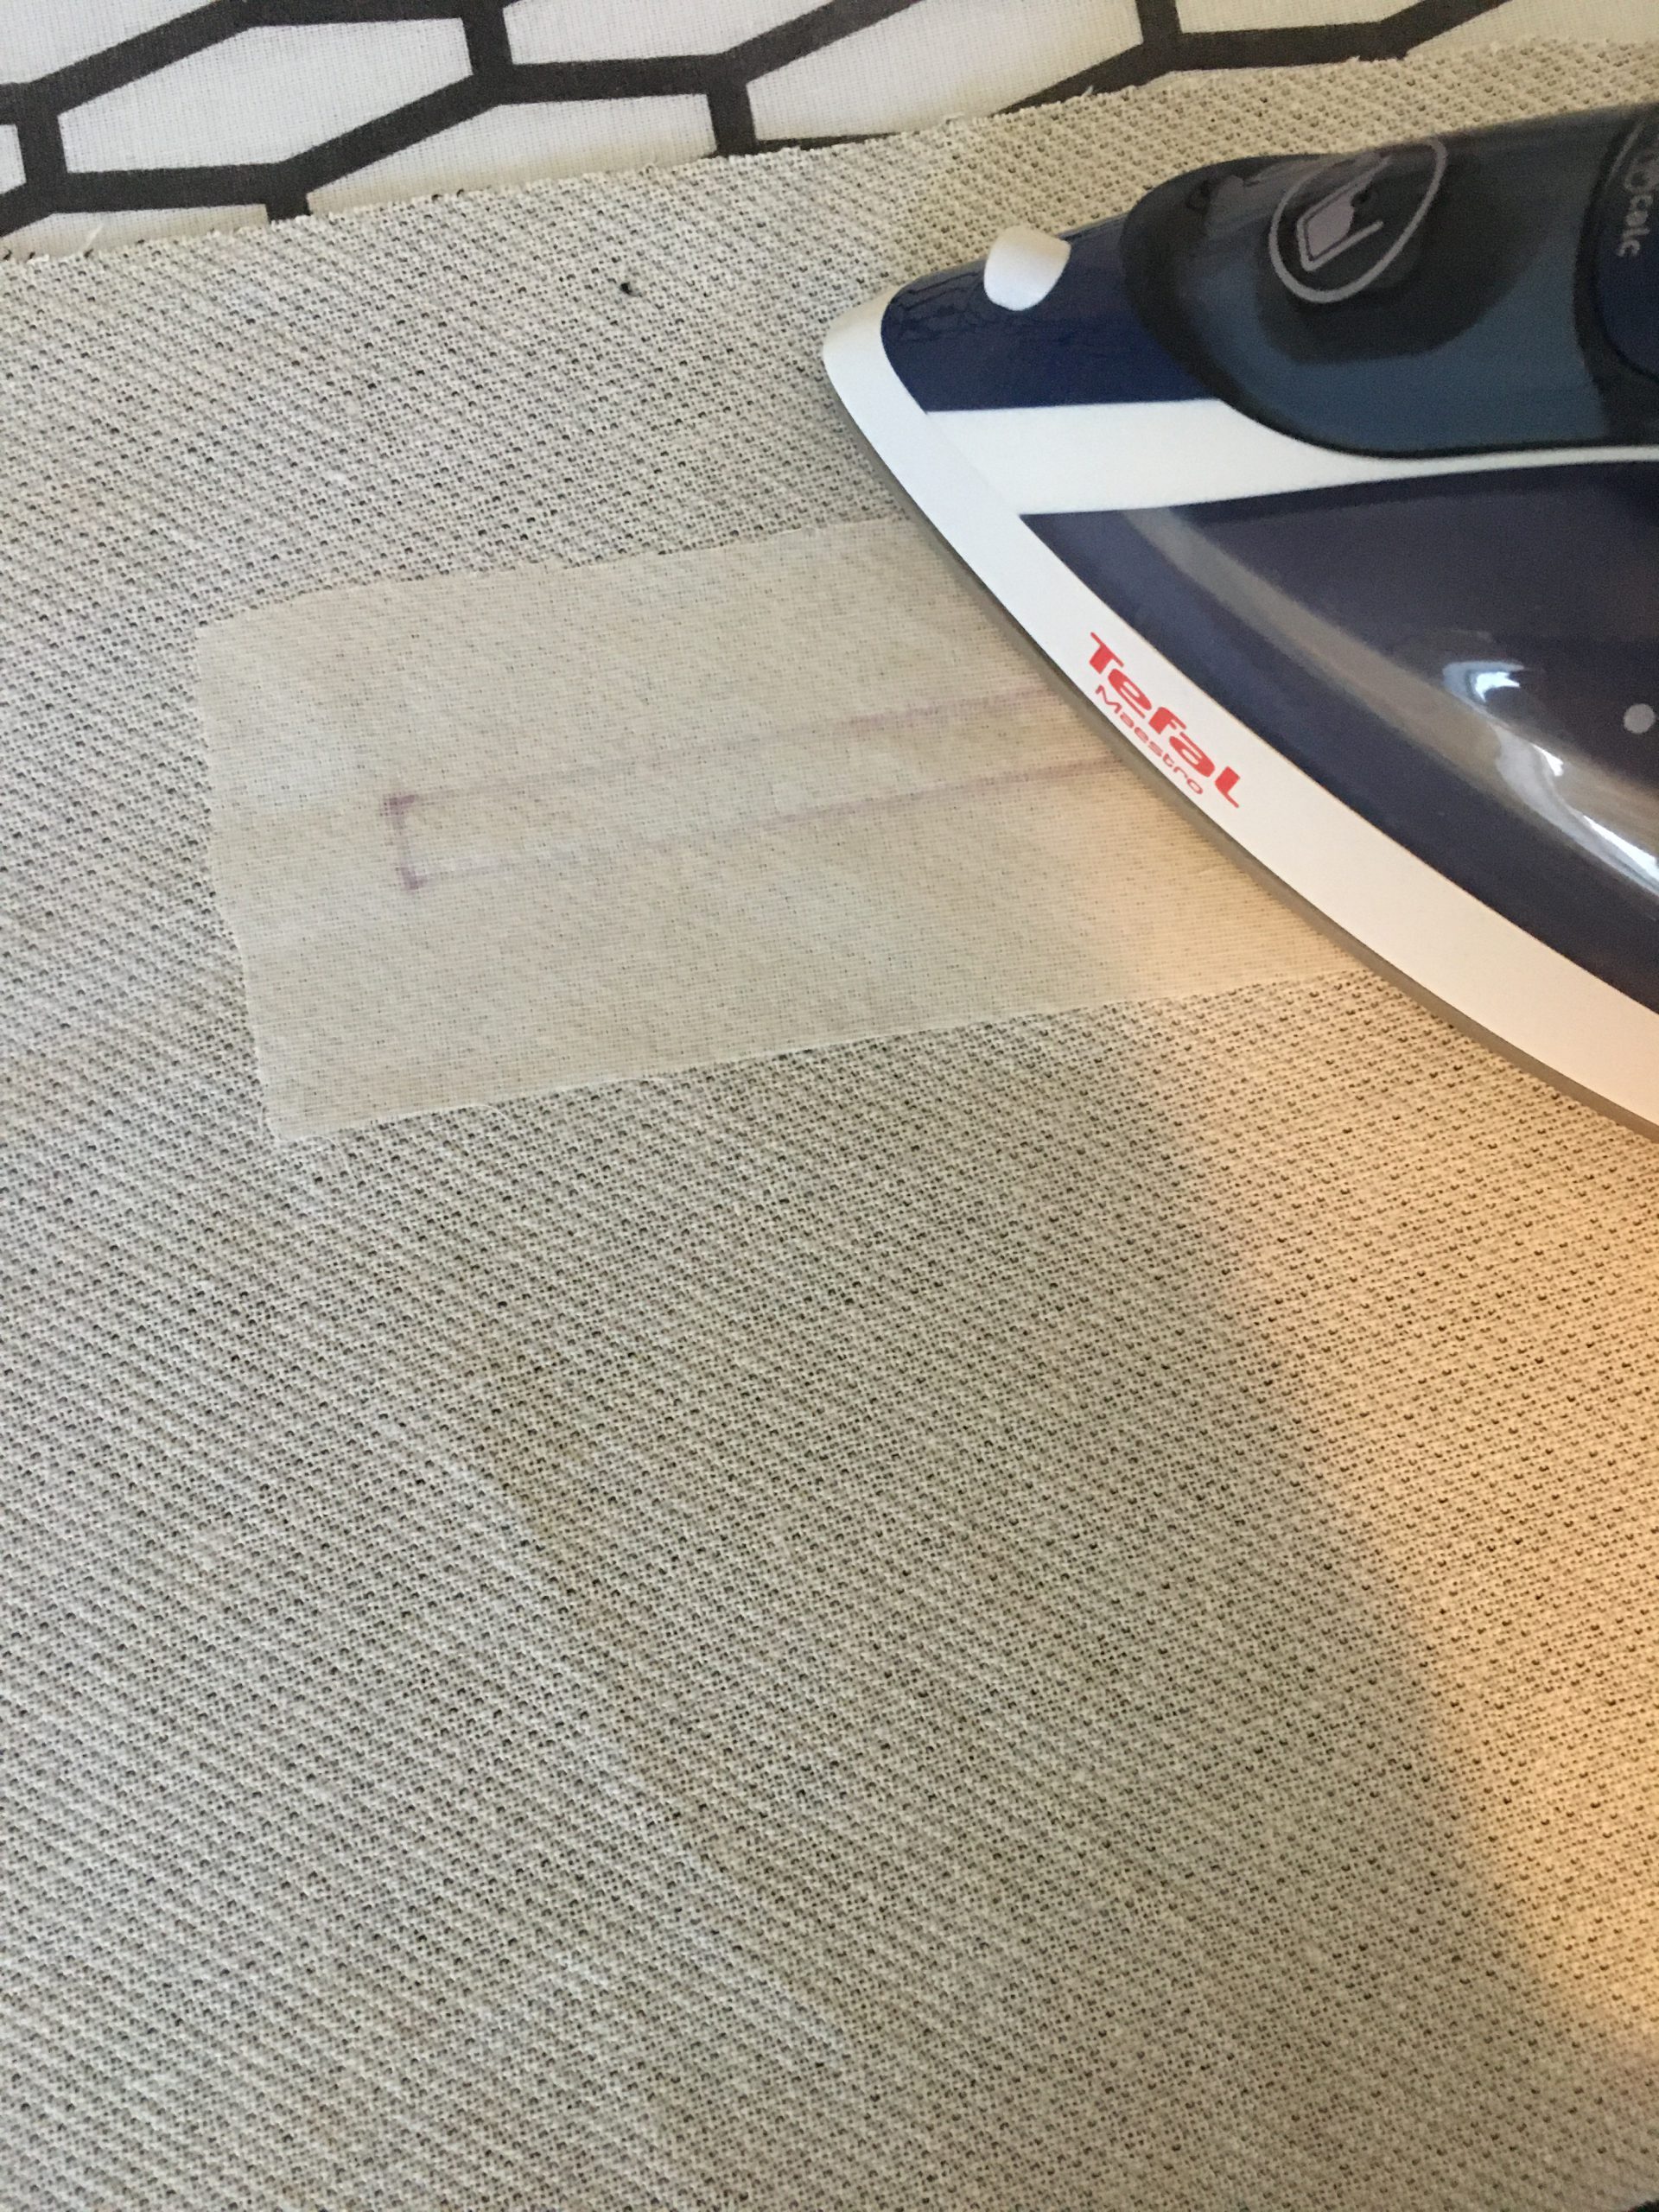
Now turn the seam allowance of the piping and the lining piece through the opening to the wrong side of the fabric and iron everything thoroughly.
Now sew the small triangles on the left and right of the pocket to the lining with a short seam.

If you like, you can topstitch the piped pockets from the outside.
Step 3: Sewing in the side pants pockets
In addition to the purely decorative piped pockets, the Aster trousers also have practical side pockets.
First, finish all 4 trouser pocket pieces all around with the overlocker. I used the 3-thread overlock seam for this.
Now place one pocket pouch on the outside edge of each front and back pants piece and pin at the clip position.

Sew from clip to clip with 9 mm seam allowance (1-2 mm less than the seam allowance in the pattern).
Now shift the clip up to but no further than the seam.
Unfold the pants and pocket and sew the seam allowance close to the edge on the side of the pocket pouch.
Next, place one front trouser piece on each back trouser piece and pin the pocket pouches along the round edge, right sides together.
Sew the just pinned edge with a straight stitch.
Step 4: Closing the side seam of the Aster pants
Now the side seam of the pants can be closed. To do this, place one front trouser piece on each back trouser piece and pin along the edge from top to bottom. Begin sewing at the top and end at the first clip/incision. Then continue the seam at the second incision and end at the hem of the pants.
Step 5: Closing the inseams and sewing the pleats
First close the rear inseam. To do this, place the two back pant pieces right sides together and sew with a one centimeter seam allowance.
Do the same with the front inseam, unless you want to use a zipper. That’s how I did it with these trousers and followed exactly the same procedure as with the women’s Cecelia pants. You can see how the zipper is sewn in again in this blog post: Fashion Looks – Cecelia pants.
Now sew in the pleats on the front piece at this point. Why am I only sewing in the pleats now? The pleats give you the chance to vary the circumference a little. This means the pants can be tried on to see if they fit. If they are a bit too wide or too tight, you can narrow/widen the pleats a bit.
To do this, fold each of the front pieces from clip to clip, measure the length of the seam from the pattern and sew this short stretch. Lock the seam at the end. Fold the seam allowance like a bellows and secure with a short seam.
Step 6: Closing the inside leg seam
The Aster pants are taking shape. Now place the front pants pieces on top of the back pants pieces and pin the entire inside leg seam, sewing along the entire length from one pant leg to the other.
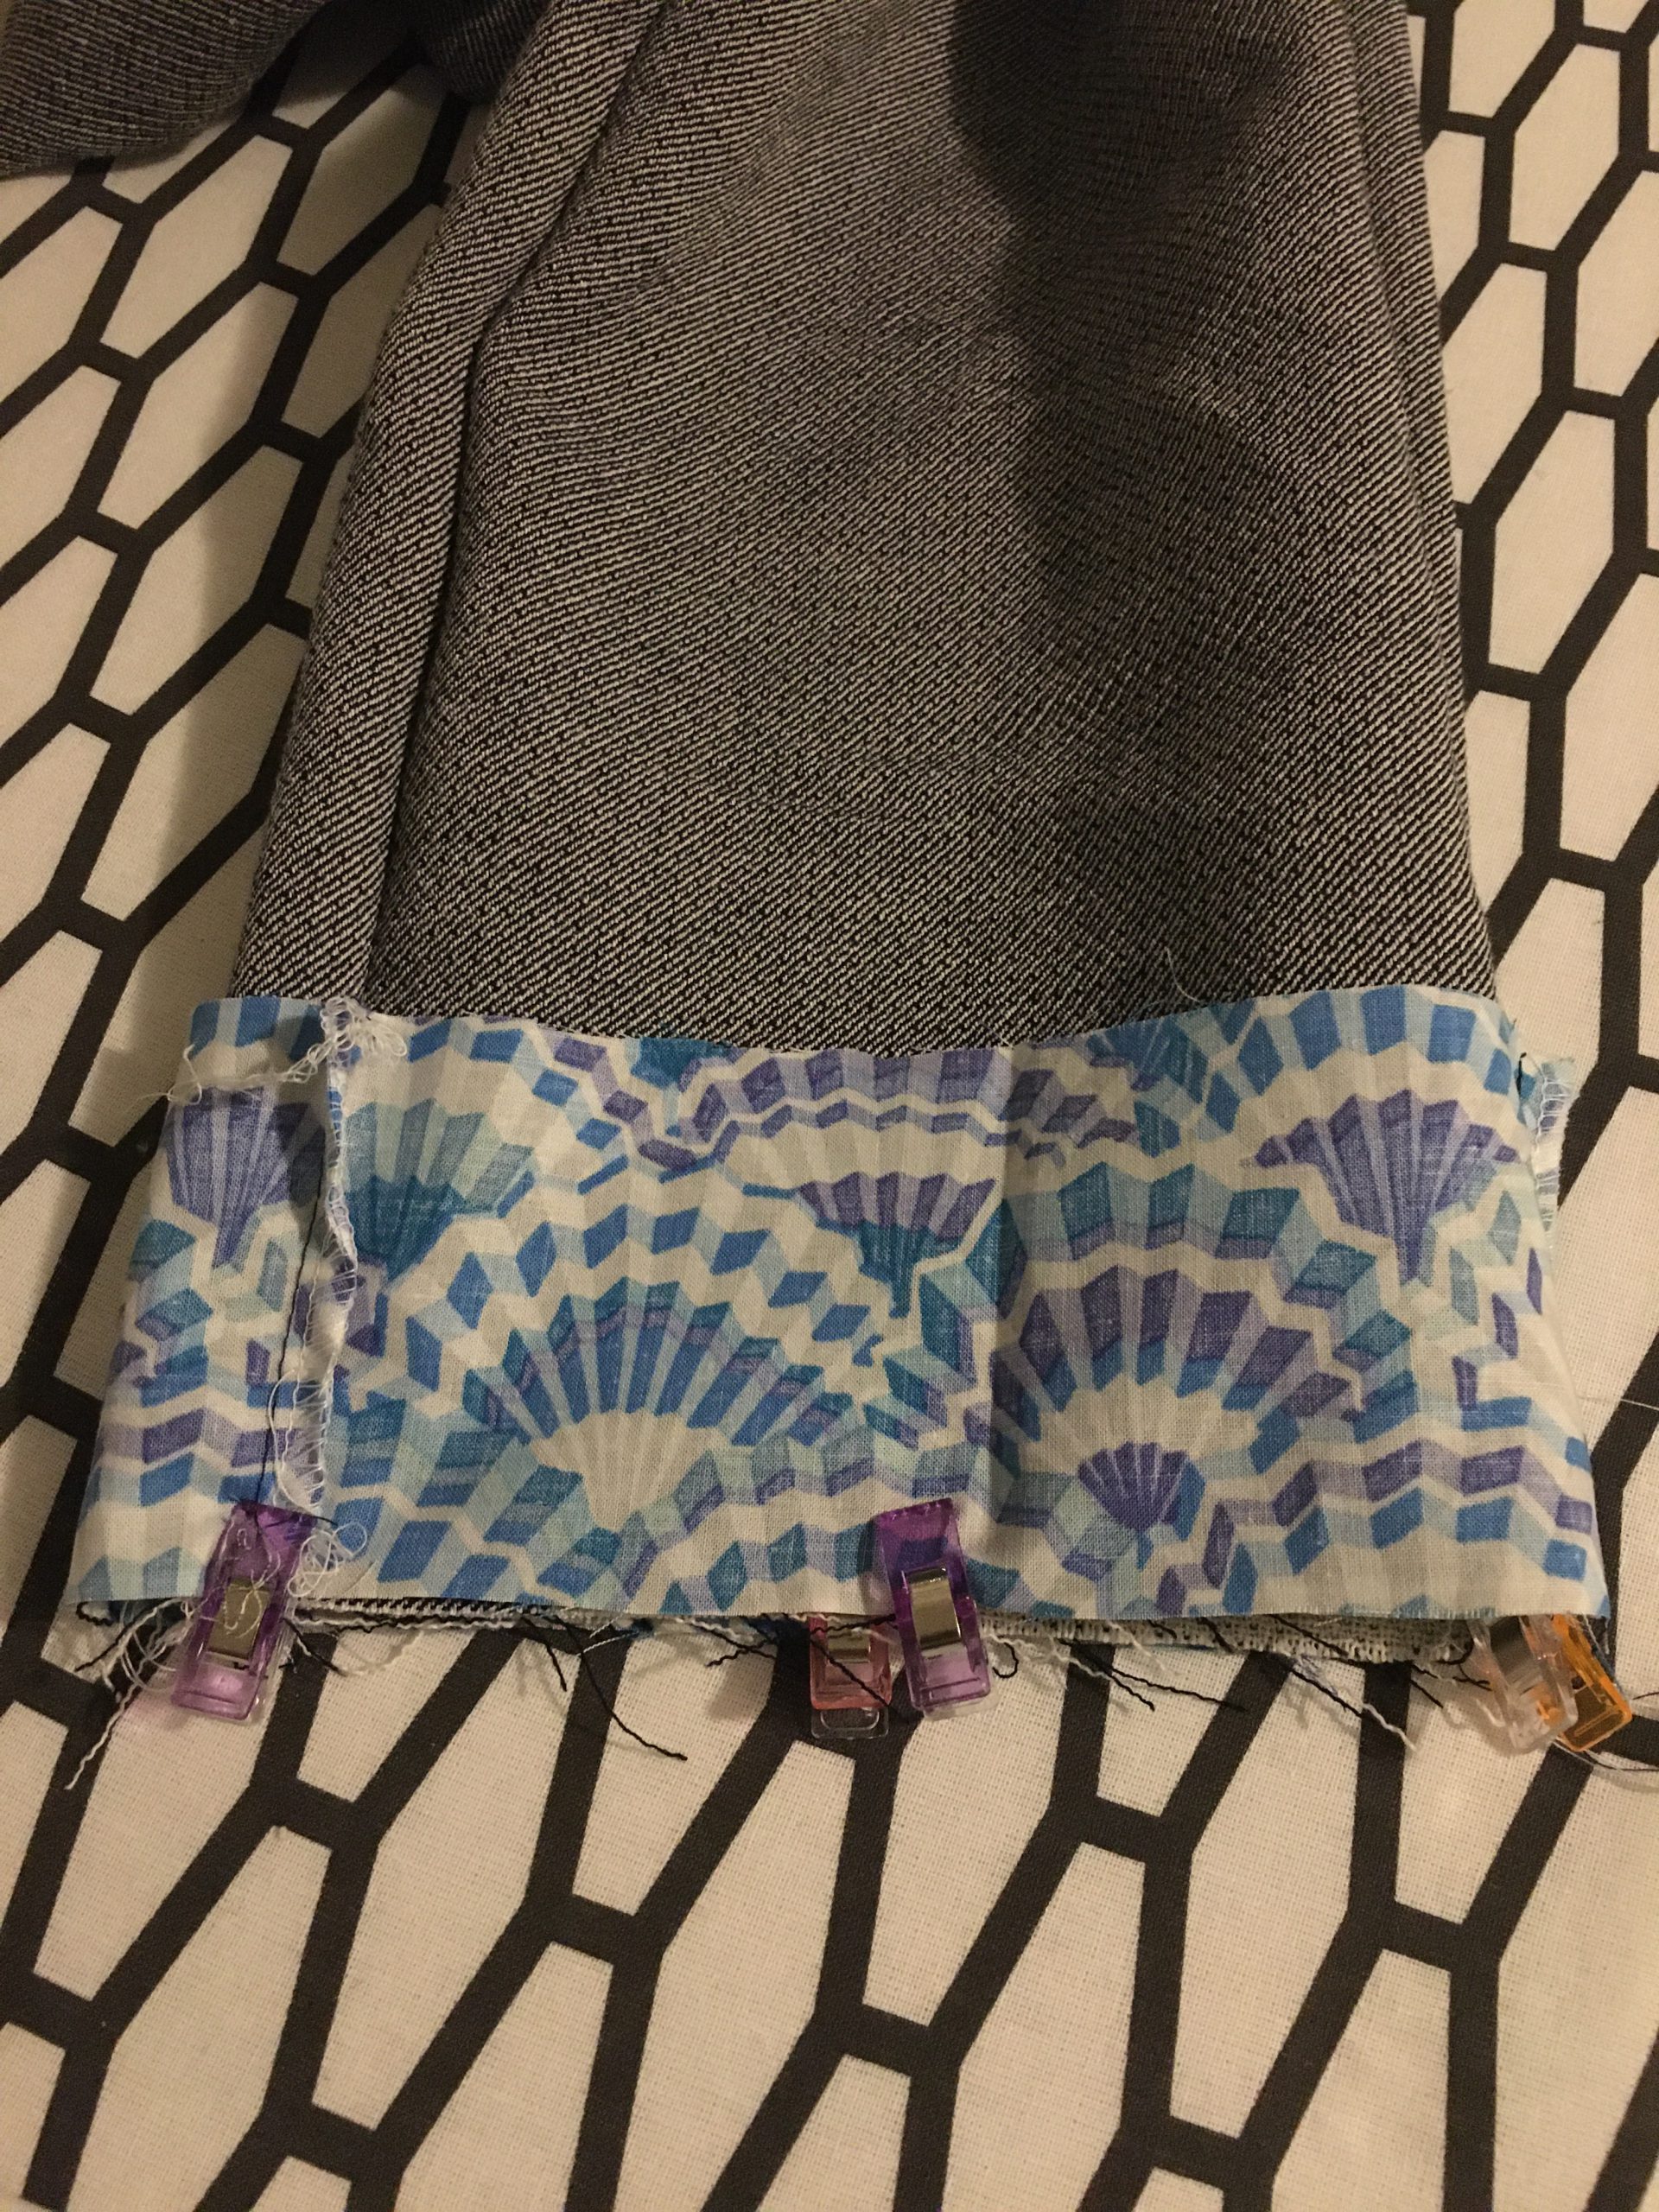
Step 7: Colorful hems – sewing the hem overlays
In the hem of the pants, the Kaffe Fassett fabric is now very subtly incorporated again. To do this, place one short and one long hem overlay right sides together and sew them in place at the short edges.

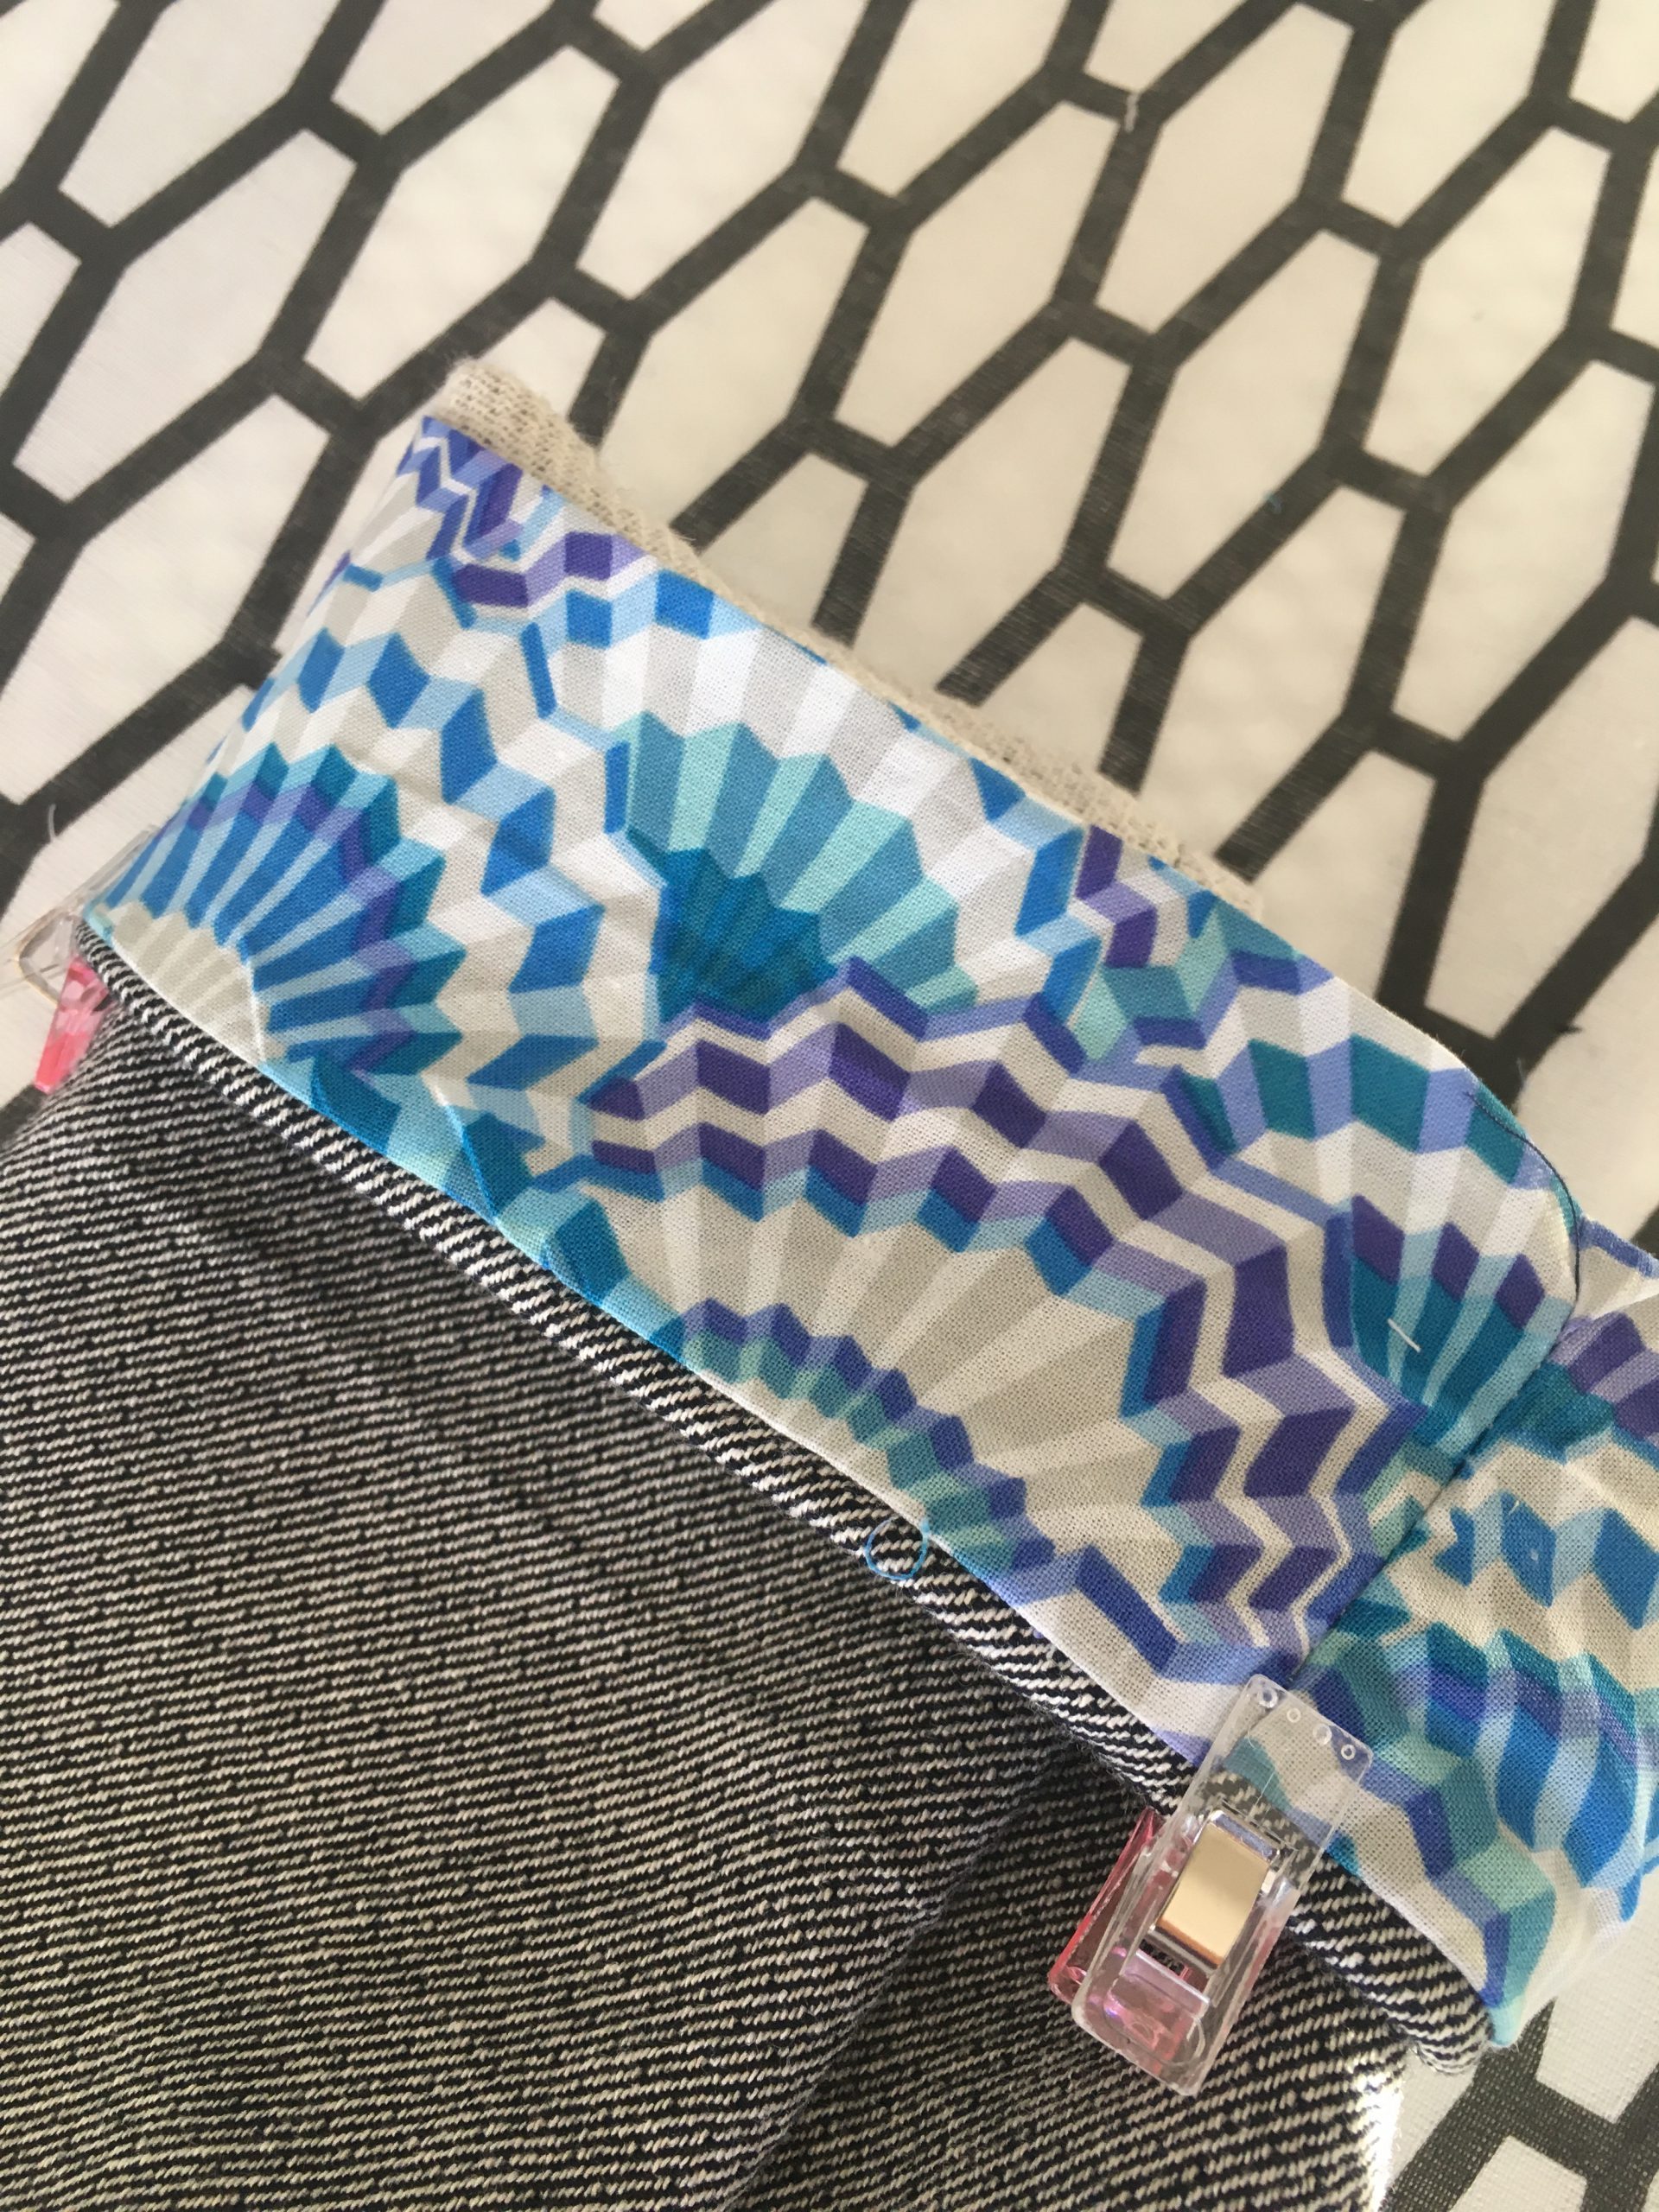
Then pin the facings right sides together onto the pants leg ends. Sew the overlay all the way around and finish the seam with the overlocker if necessary.
Iron the top centimeter of the hem overlay to the wrong side and turn the entire hem overlay into the pants. Now sew the hem overlay to the pants with a blind seam. When doing this, the centimeter that is folded inward should also be grabbed so that you get a clean inside of the pants.
Step 8: Sewing on the pants waistband
For the waistband of the pants, you will need the waistband piece and the two ties. If you are sewing the pants with a zipper and button/hook closure in the front, you will need to cut the front waistband piece in half when cutting the waistband pieces and cut it with a seam allowance in the front. When choosing the allowance, you should take into account the overlap and underlap of the pants at the zipper.
Sew the front (short) waistband pieces right sides together to the back pieces and place a tie in the center of each of these seams.
Iron the waistband with Waist-Shaper unless your fabric is already very firm on its own. In my case, I did without it because the fabric is very thick and heavy.
Then pin the outer waistband on the pants with right sides together and sew it.
Now sew the lining of the waistband to the upper, still open edge of the waistband. In this process, you’ll also close the short edges at the front when working with a zipper. Make sure that the waistband ends exactly at the overlap or underlap. How this looks is also described in more detail in the post about the Cecelia pants.
For the next step, it’s a good idea to put the pants on your model. Measure the elastic cord on the model from the short seam at the waistband to the other side at the seam. While doing this, the elastic cord may be a little stretched, so that the pants fit comfortably later. Add a seam allowance of 1 cm and cut the elastic cord like this.
Sew the elastic cord to the inside of the short edges. I sewed it directly onto the seam allowance compared to the instructions in the pattern and left it in one piece.
Then iron the seam allowance of the waistband lining at the bottom and pin everything to the pants all around. Now sew the waistband lining to the pants from the outside.
Now just quickly hand sew the hook closure to the pants and then your Aster pants are ready.
Happy sewing!


Thanks for providing the menswear patterns and tutorial. Great looks!
Hi,So beautiful idea & pattern the Aster pants sewing. Very nice information for the Aster pants. So nice look. I like.
wow amazing