 BERNINA Corporate Blog -
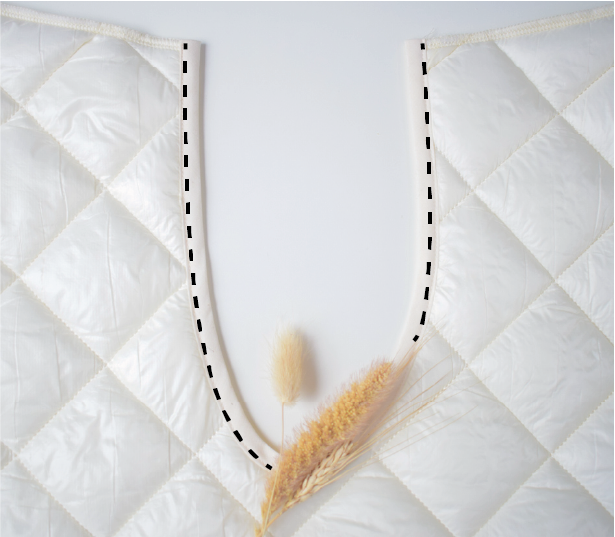
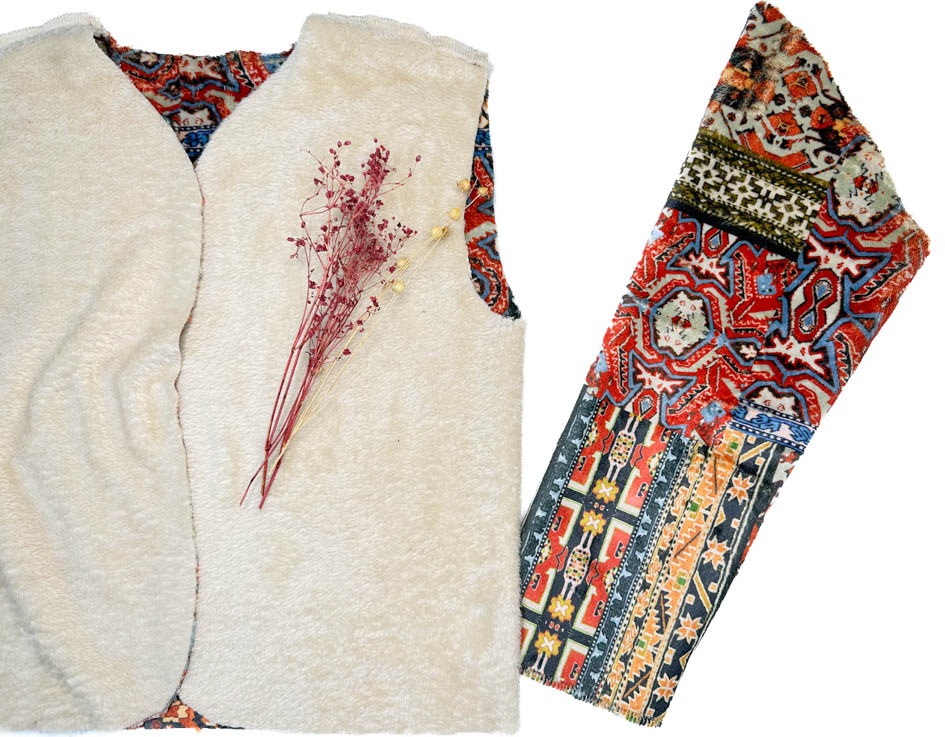
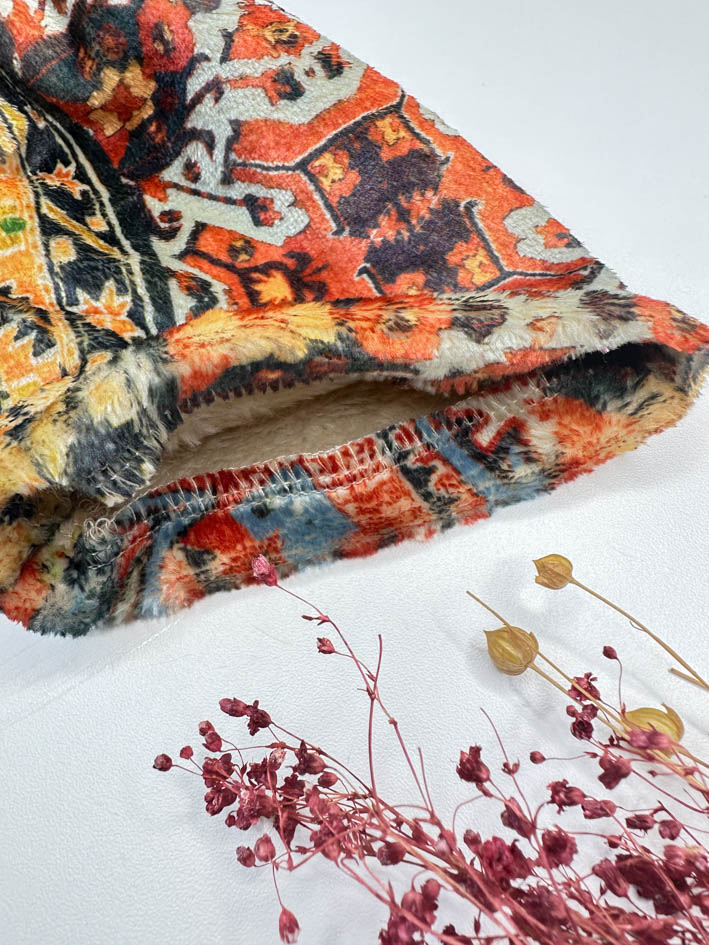
Junna vest for kids and women – tutorial
Black Friday, it is a concept that made its appearance with us a few years ago.
Originally it comes from America, where most people hathe day off on Friday after Thanksgiving.
That day the Christmas shopping period starts, with major discounts and interesting offers.
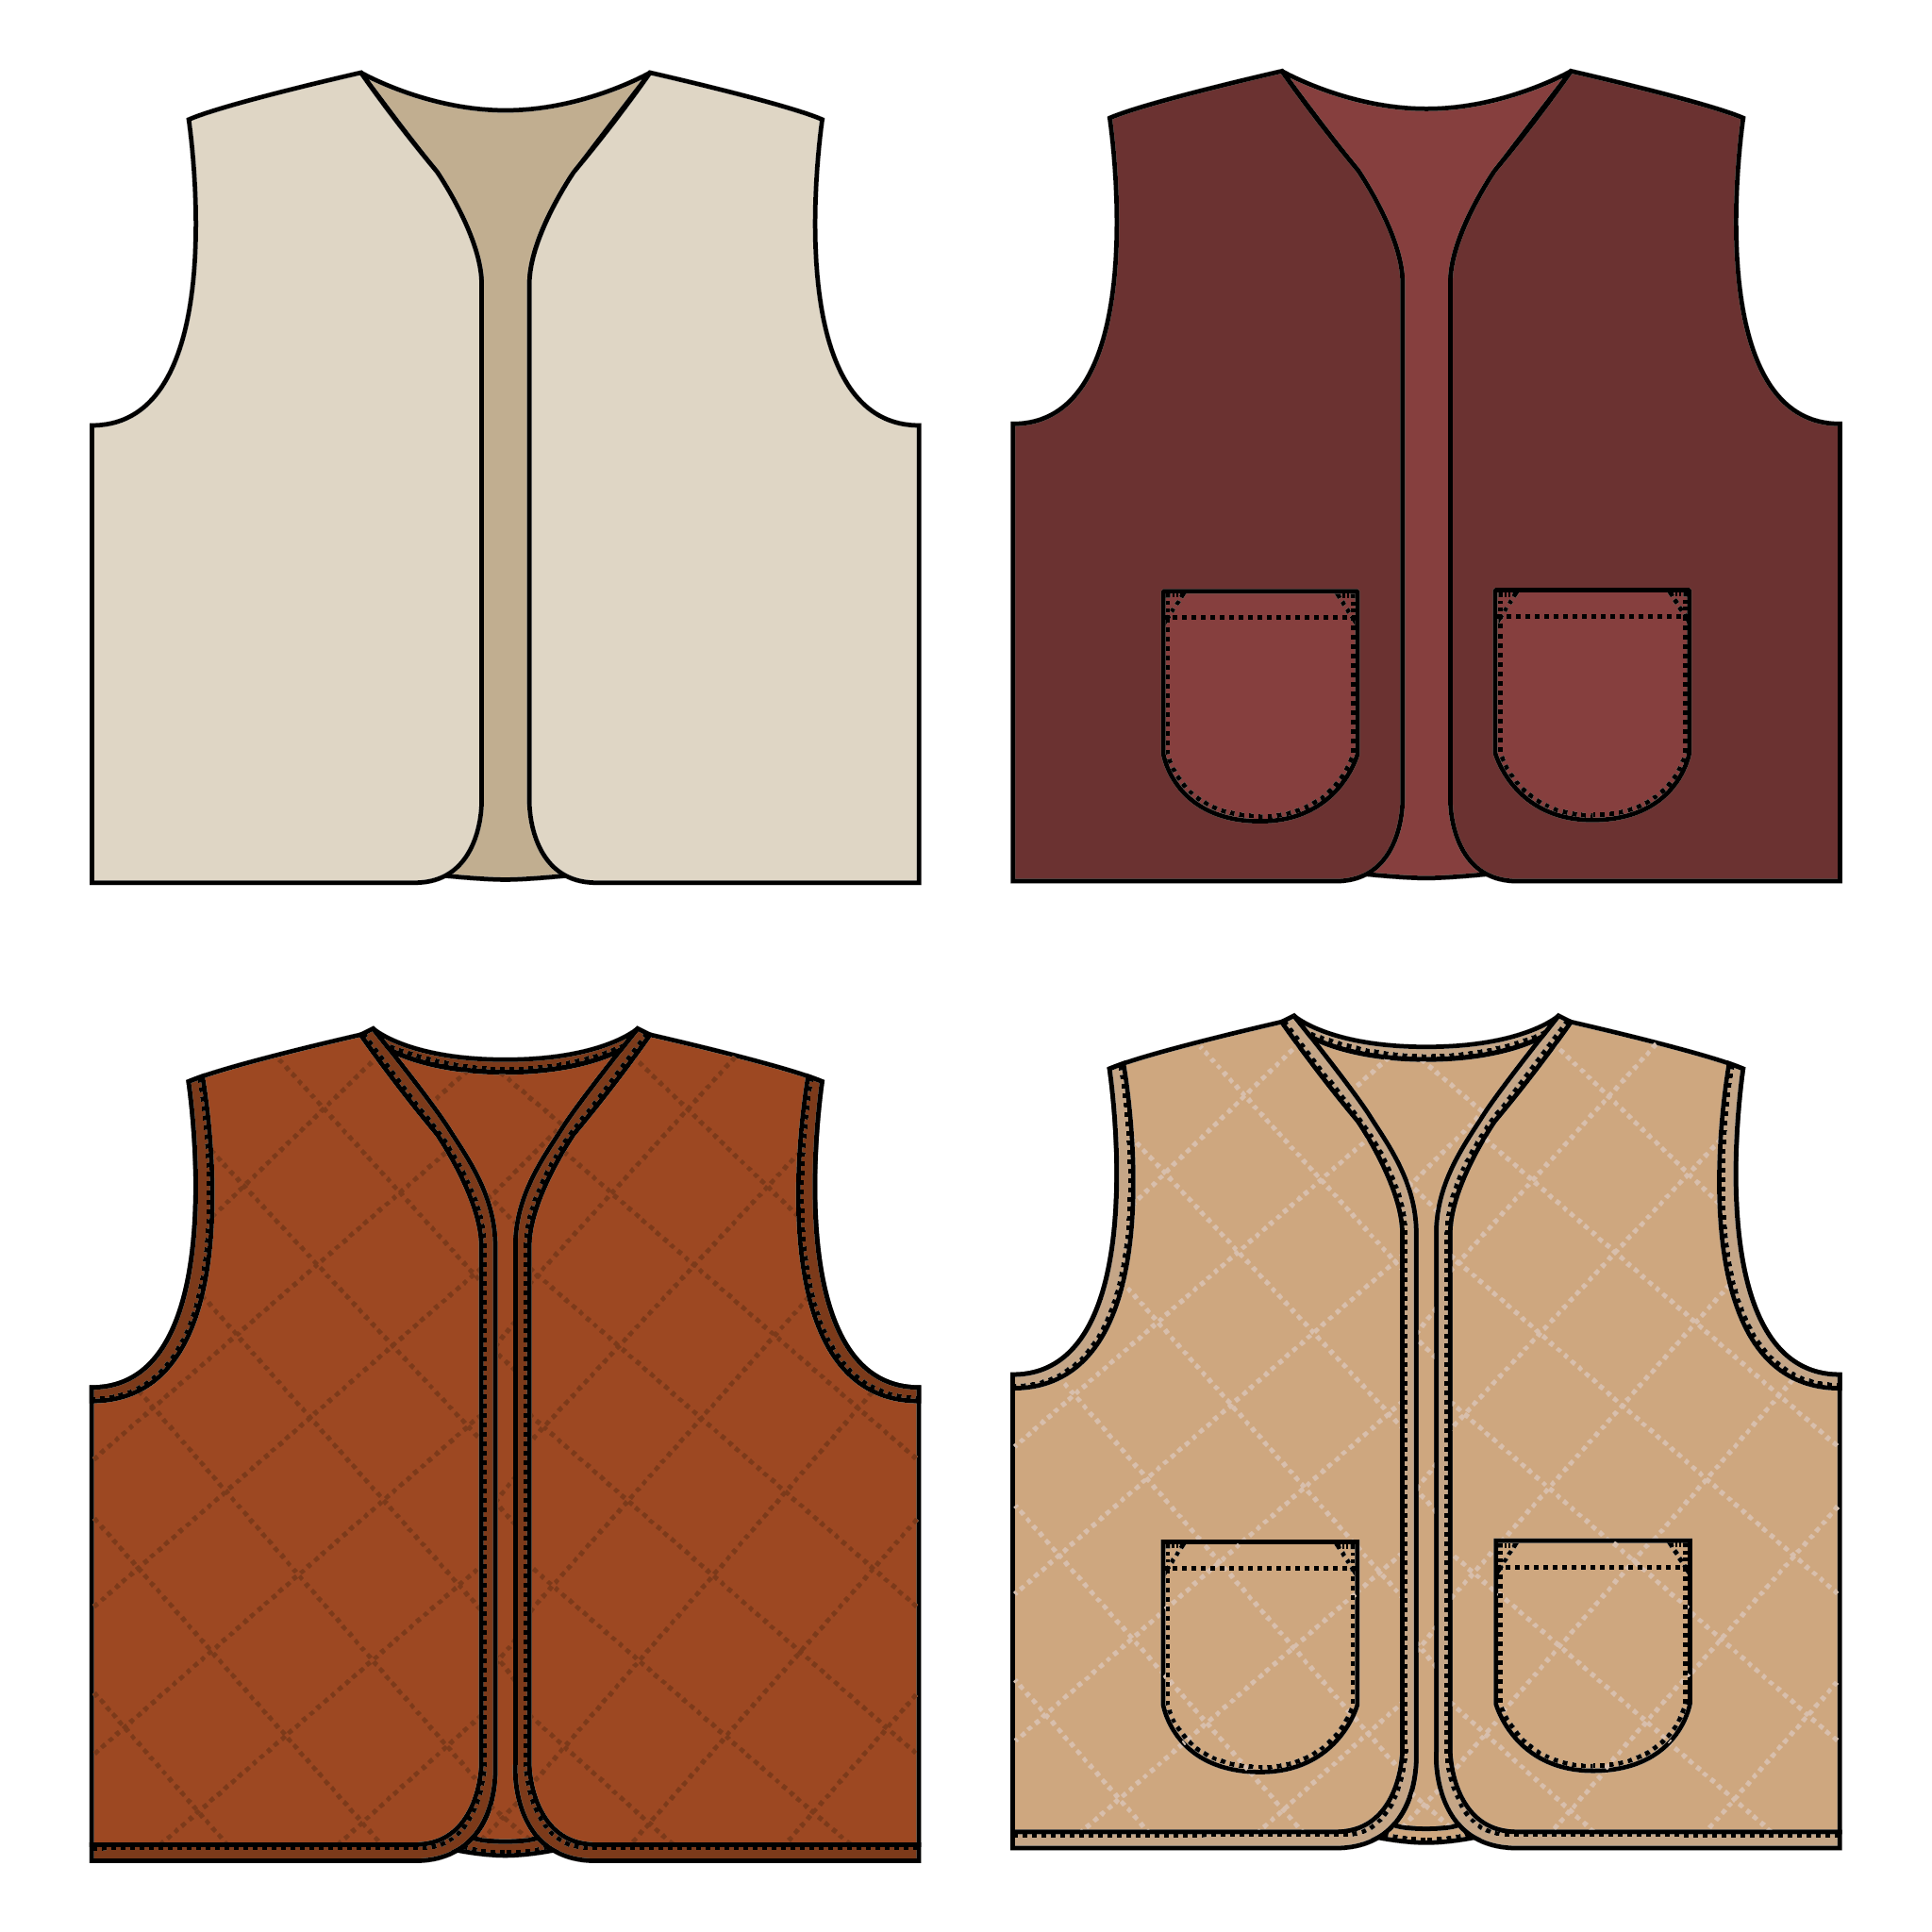
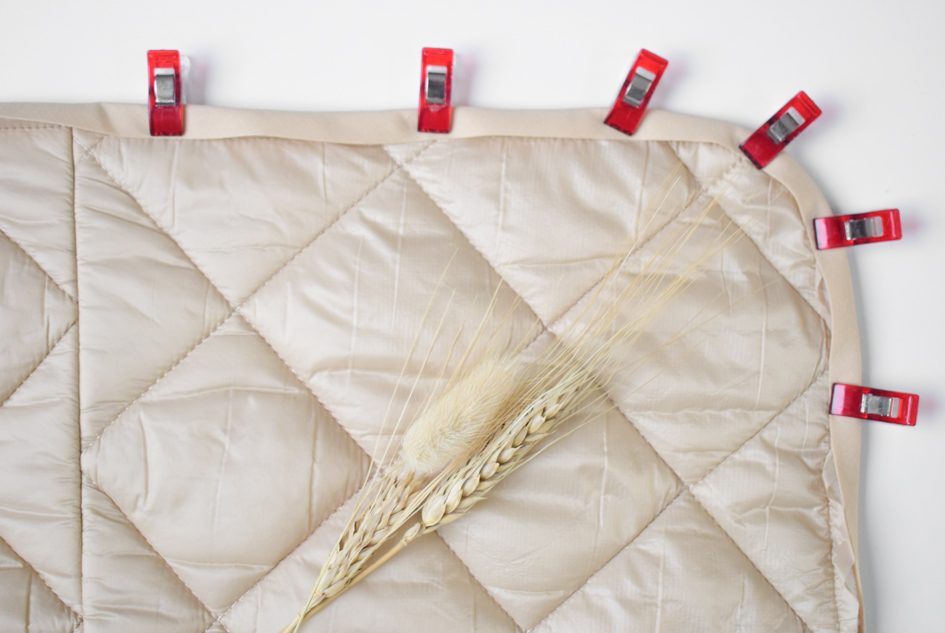
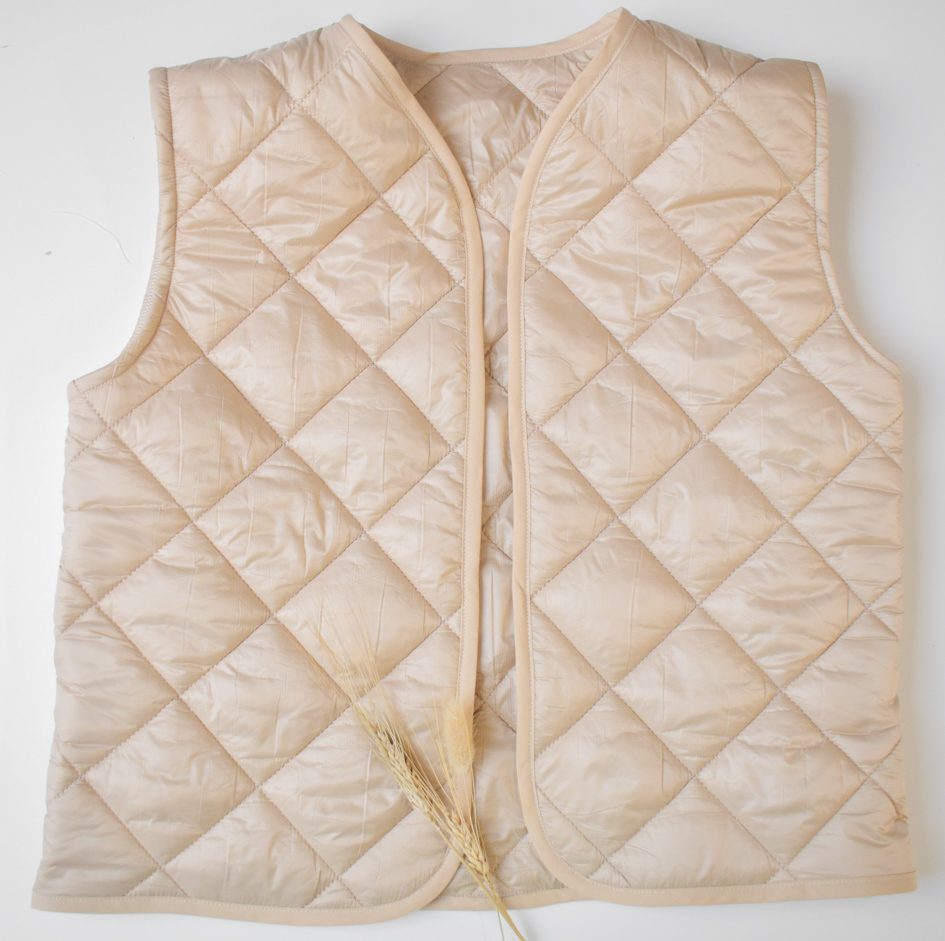
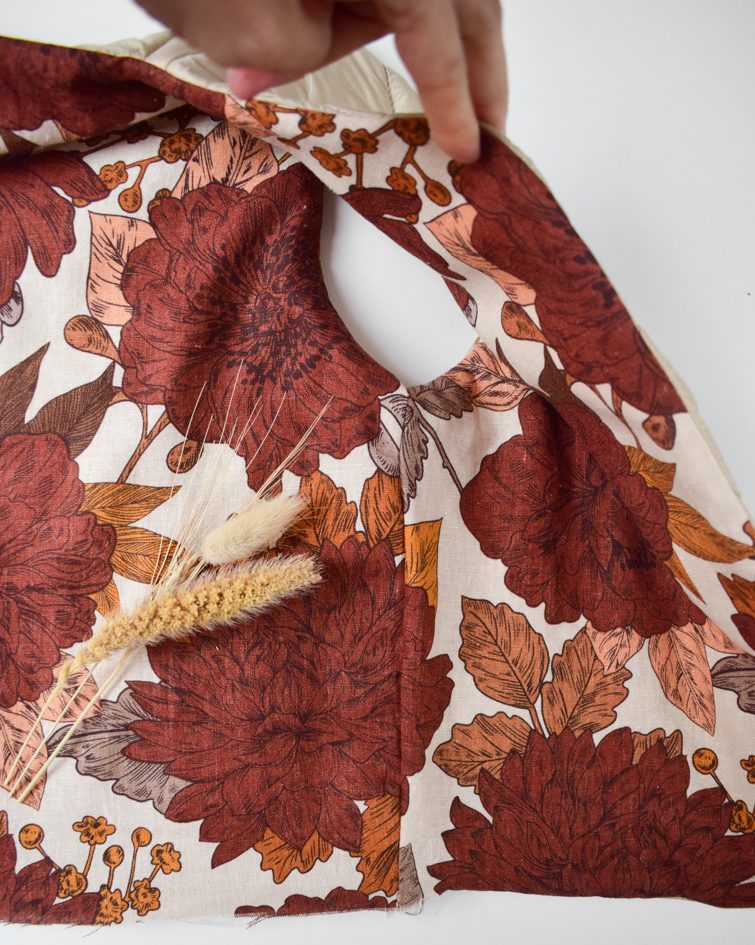
This year we’re also participating, not with a huge discount, but with a free pattern for every order: the Junna vest for kids and women.
For kids we drafted sizes 80 to 164, for women sizes 32 to 52.
You get this full pattern for free with any paying order on www.beletoile.com, between November 25 and November 30, 2022.
You don’t have to do anything extra, the free product will appear in your shopping cart right after adding your favorite pattern(s)
You can find the tutorial here on the Bernina blog, so we’ll dive right in ;-).
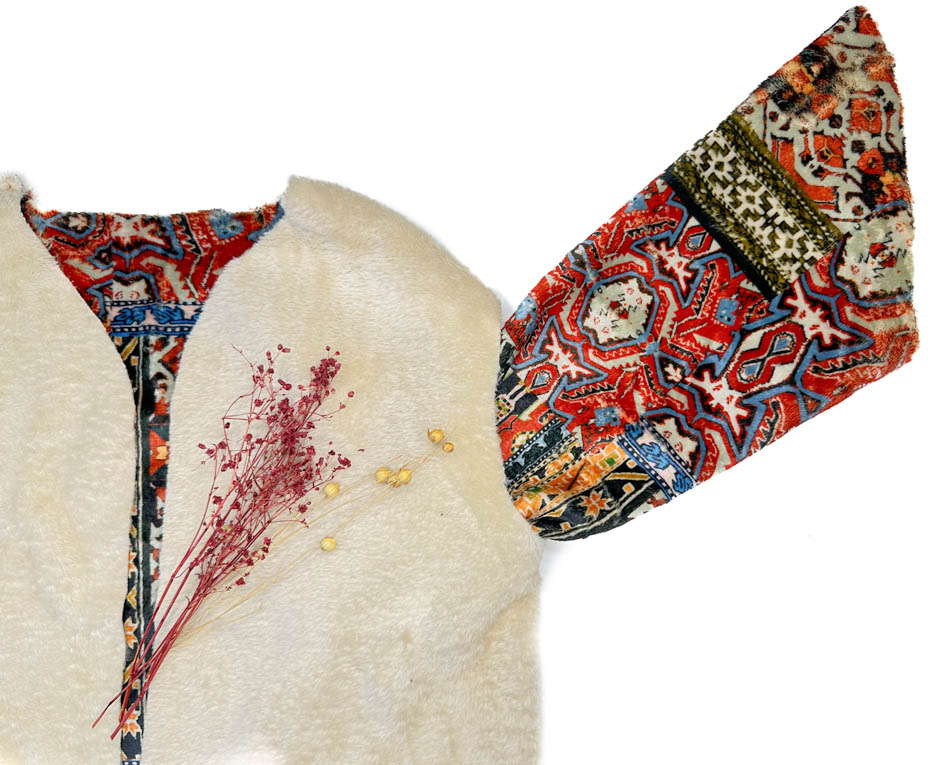
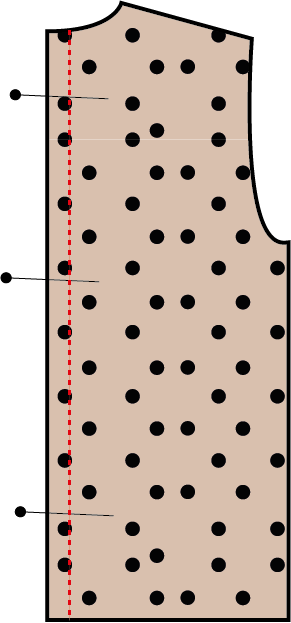
The pattern provides 2 ways of finishing:
-finish edges with bias tape
-lining the vest completely (then it’s reversible too!).
You can also add patch pockets on the front, as an extra accent and to keep your hands warm ;-).
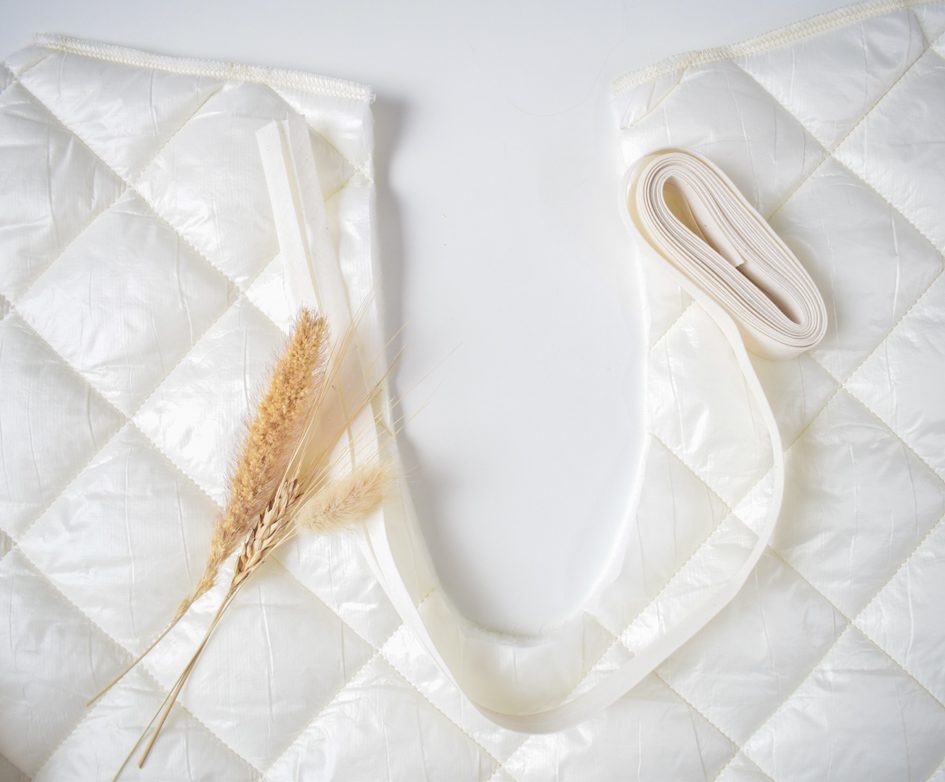
Supplies
-sewing machine and overlocker (optional)
-pattern of the Junna vest
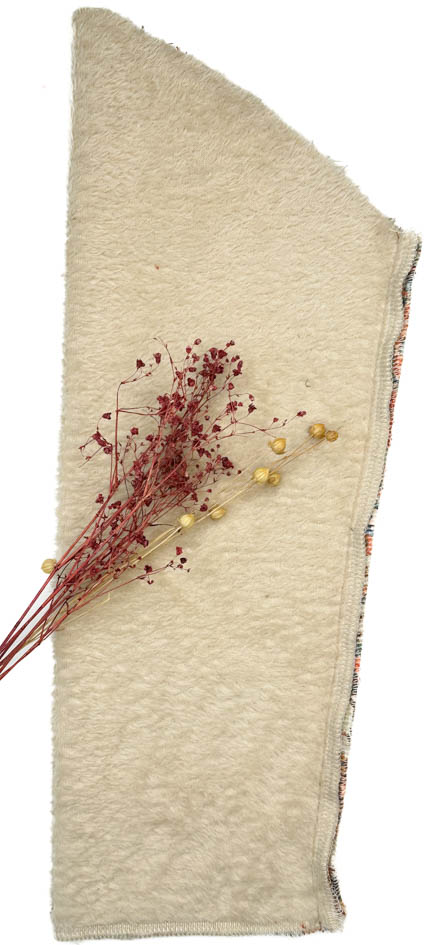
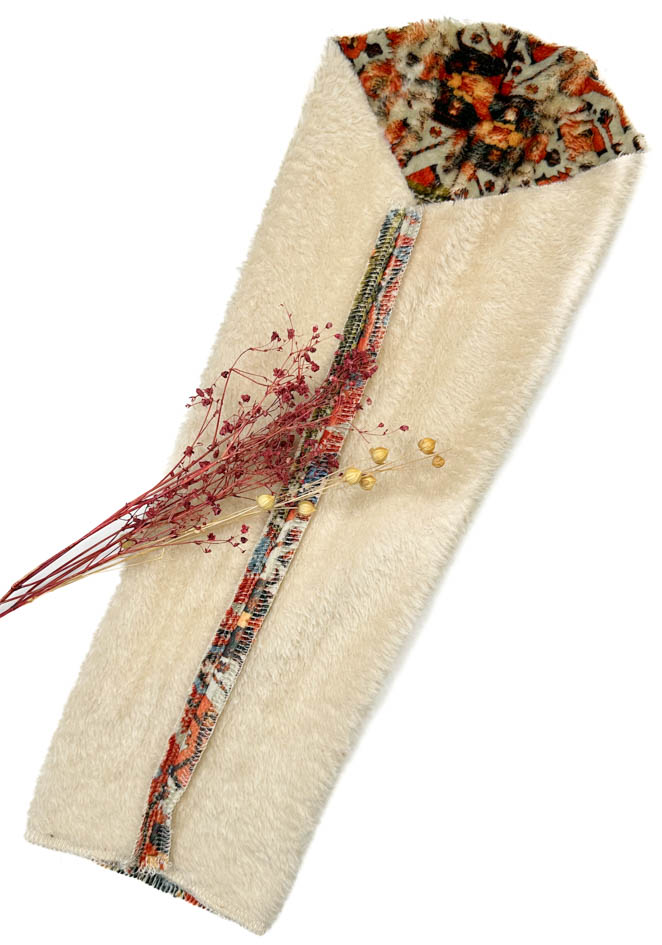
-main fabric and lining (for lined version) (see pattern for fabric requirements)
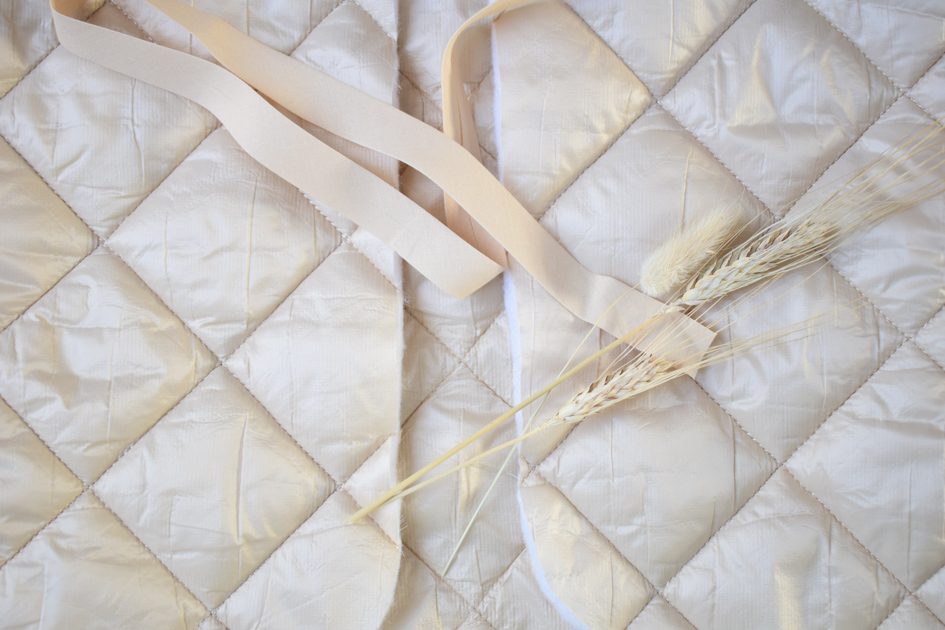
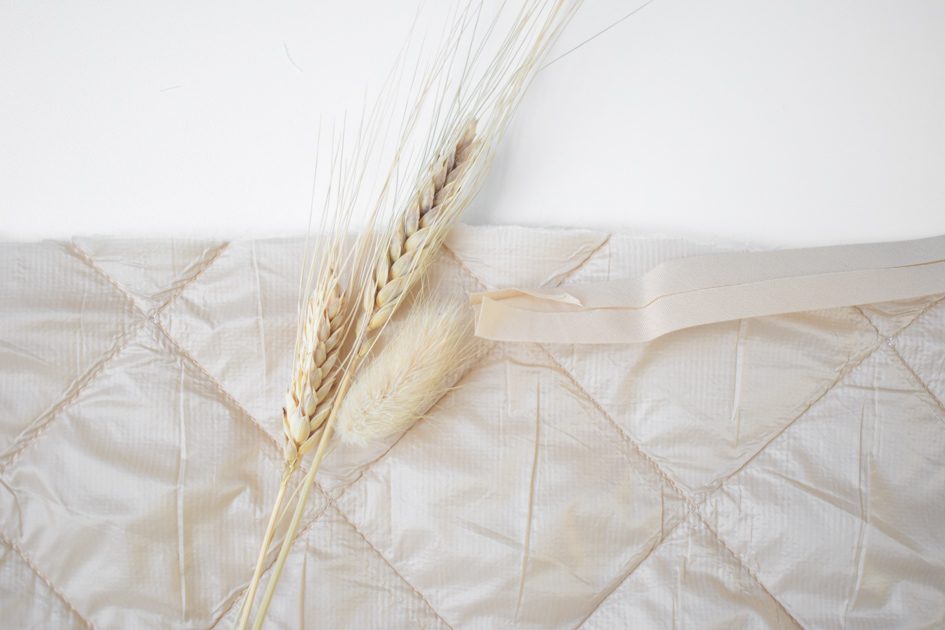
-bias tape (for unlined version) (see pattern for notion requirements)
-matching thread
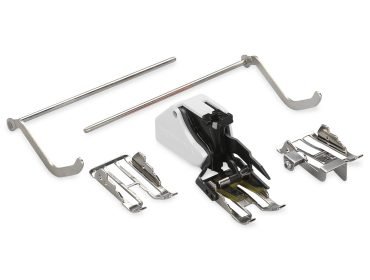
I work with my BERNINA 480, my unmissable Three-Sole Walking Foot with Seam Guide #50 and overlocker BERNINA L 890


Tutorial
1.VERSION WITH BIAS TAPE
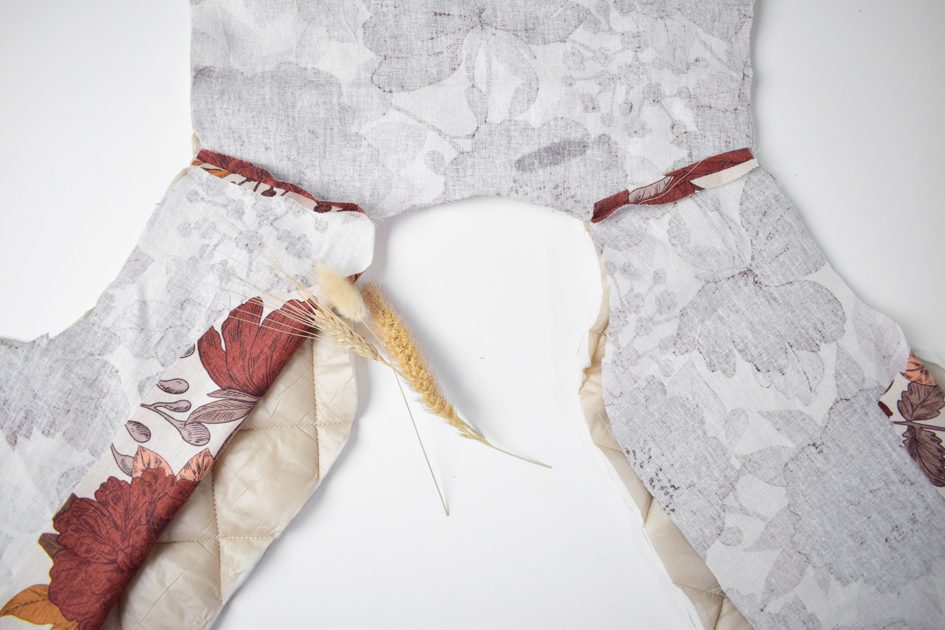
Attention, if you’re making the women’s version in size 50 or 52, you will first need to stitch both pattern pieces together.
To do this, lay both pattern pieces on top of each other right sides together.
Pin and stitch the center back seam.
Press seam open.

1A. Finishing the armholes
Are you adding sleeves?
Go to step 1B and proceed from there :-).
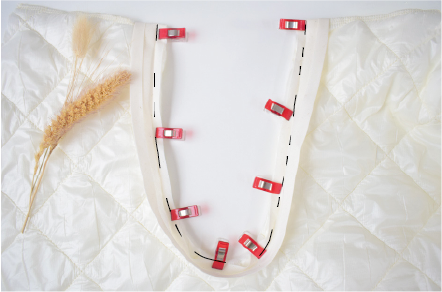
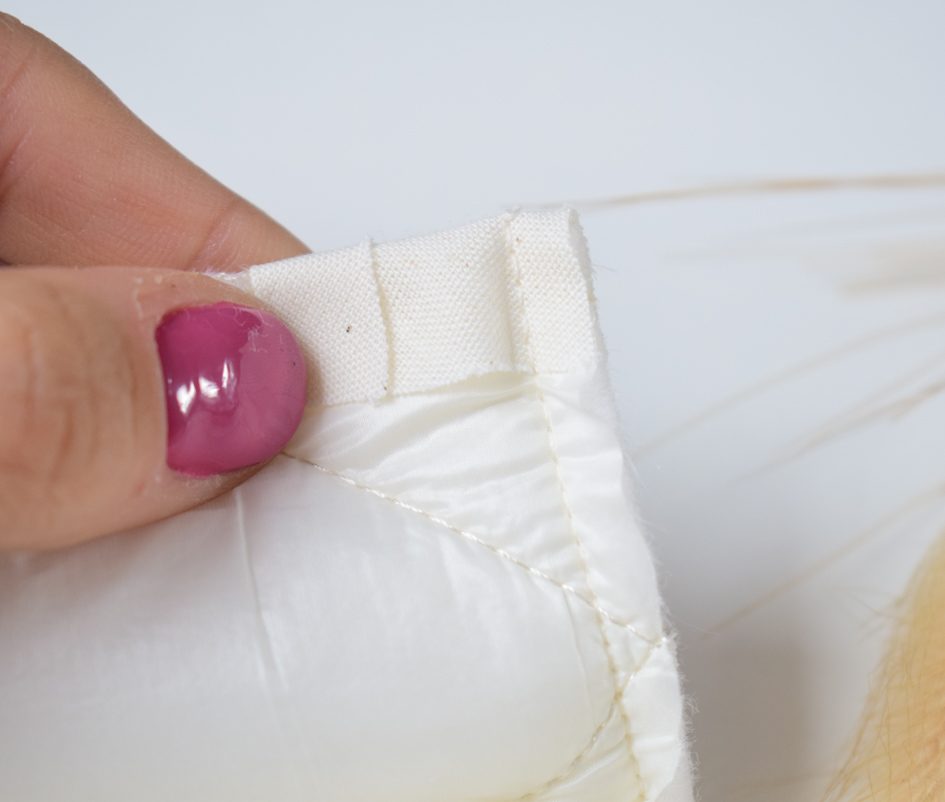
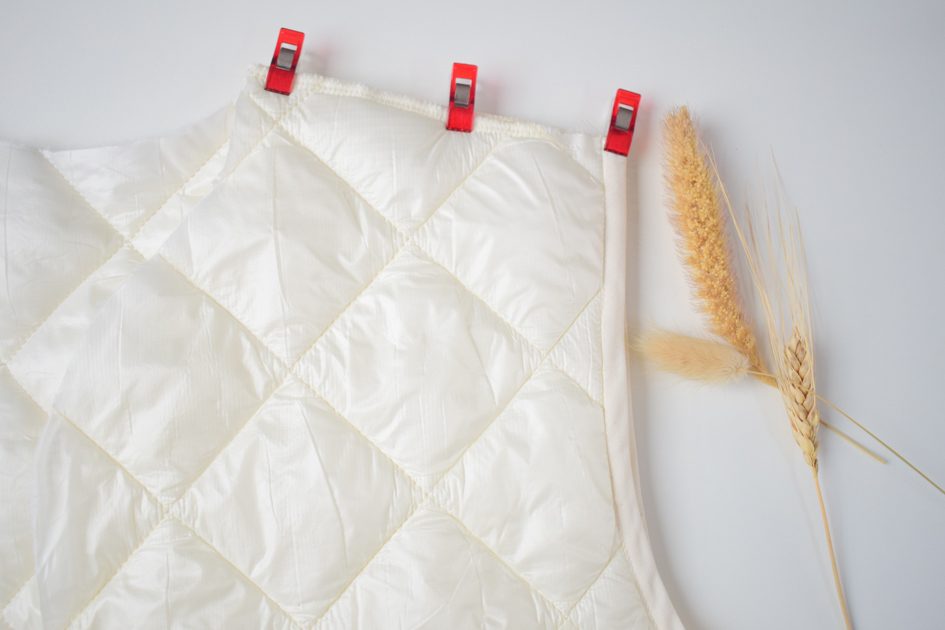
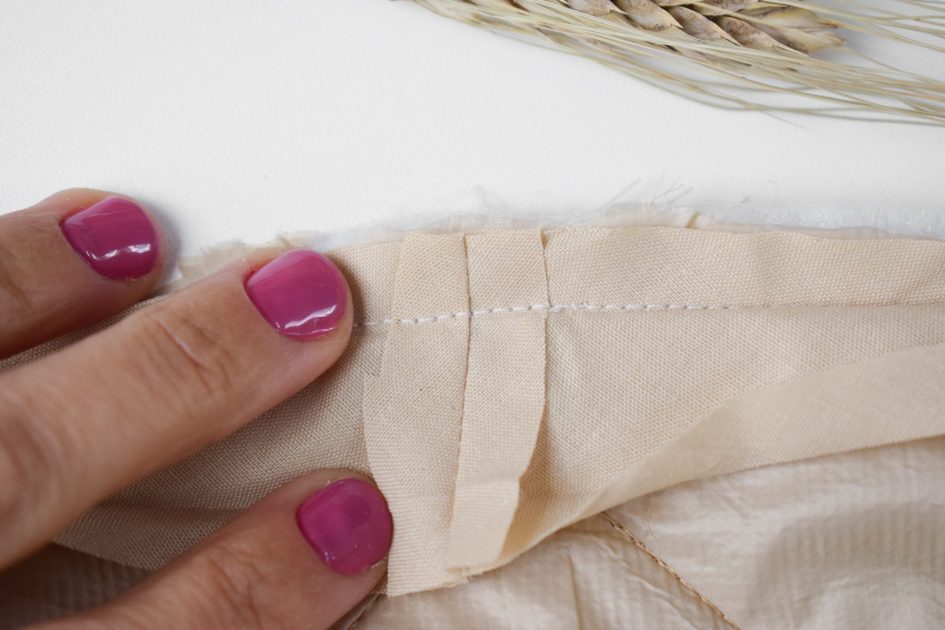
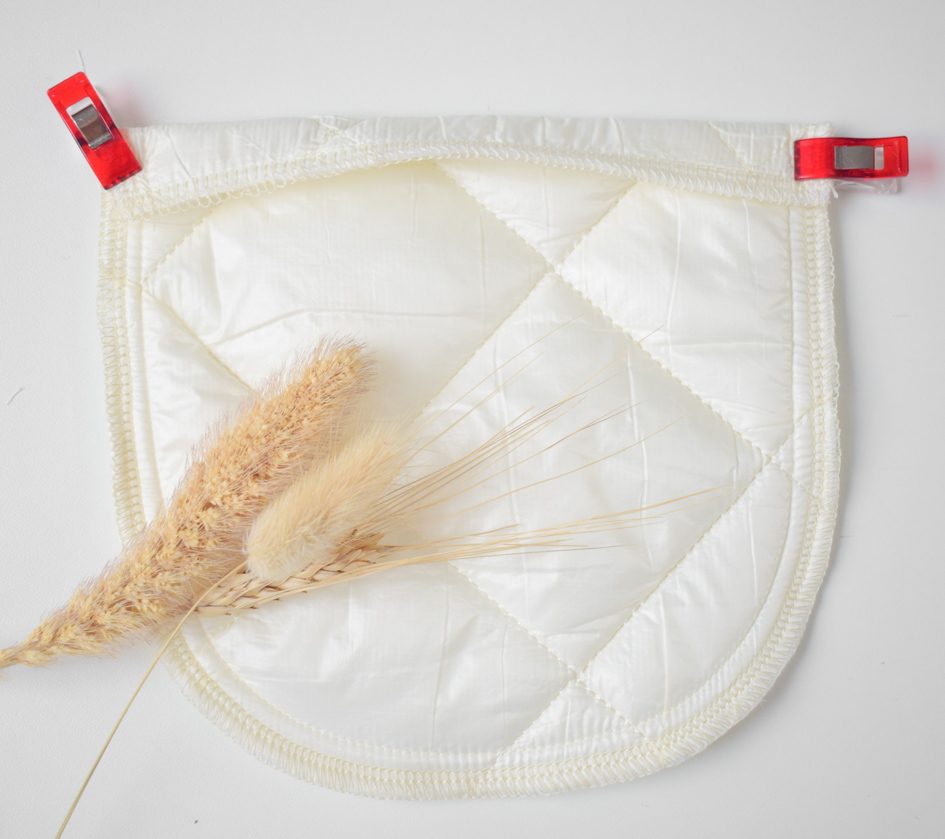
We’re going to finish the armholes with bias tape.
To do this, pin your bias tape to the wrong side of the fabric.
Let your bias tape extend about 1 to 1.5cm above the shoulder seam.
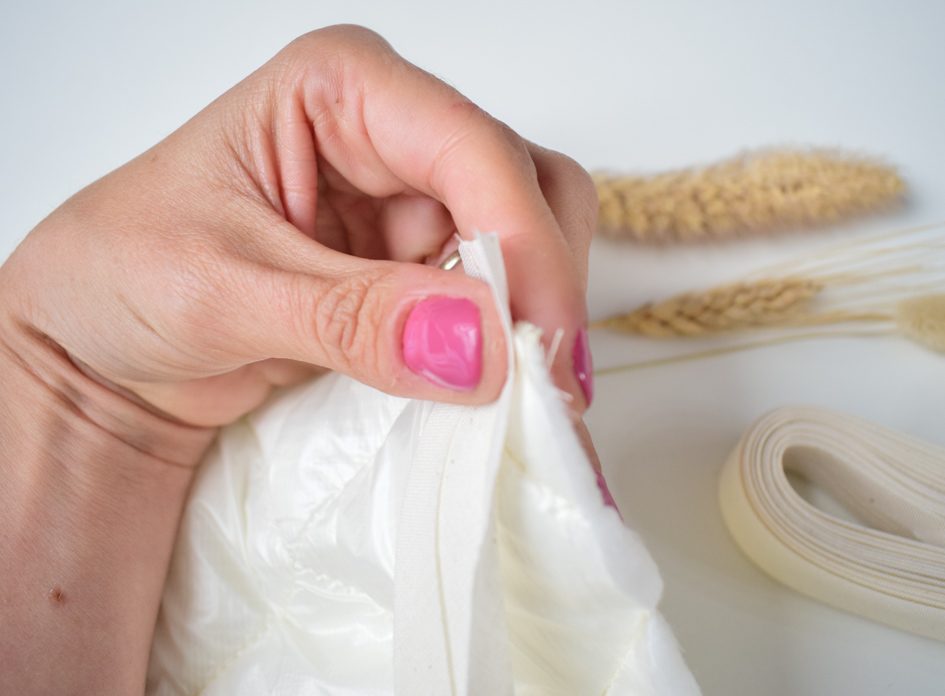
Fold around the shoulder seam and pin into place.


Pin all the way around and fold the bias tape over the other shoulder seam too.
Stitch your bias tape to the armhole, from shoulder seam to shoulder seam.
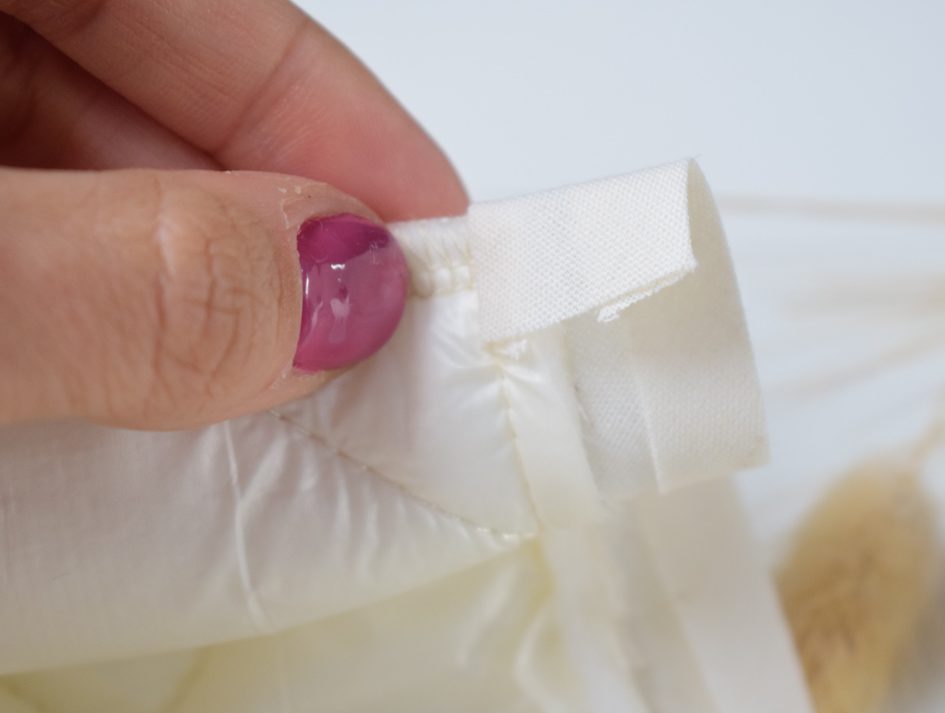
TIP!
Don’t exactly stitch into the pressed foldline of the bias tape but just next to it.
To do this, move your needle 1 to 2mm to the right.
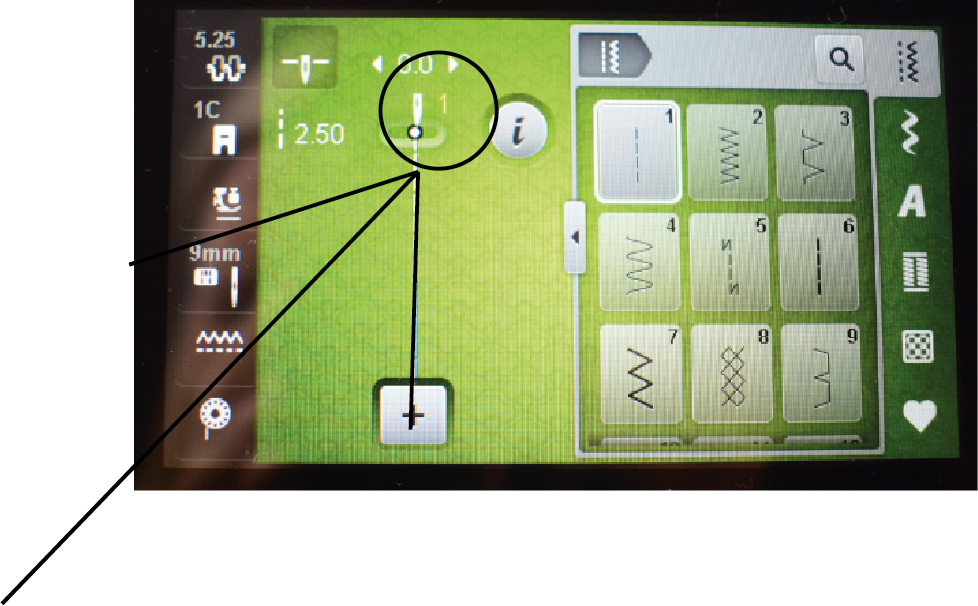
This will help you fold over the bias tape later.
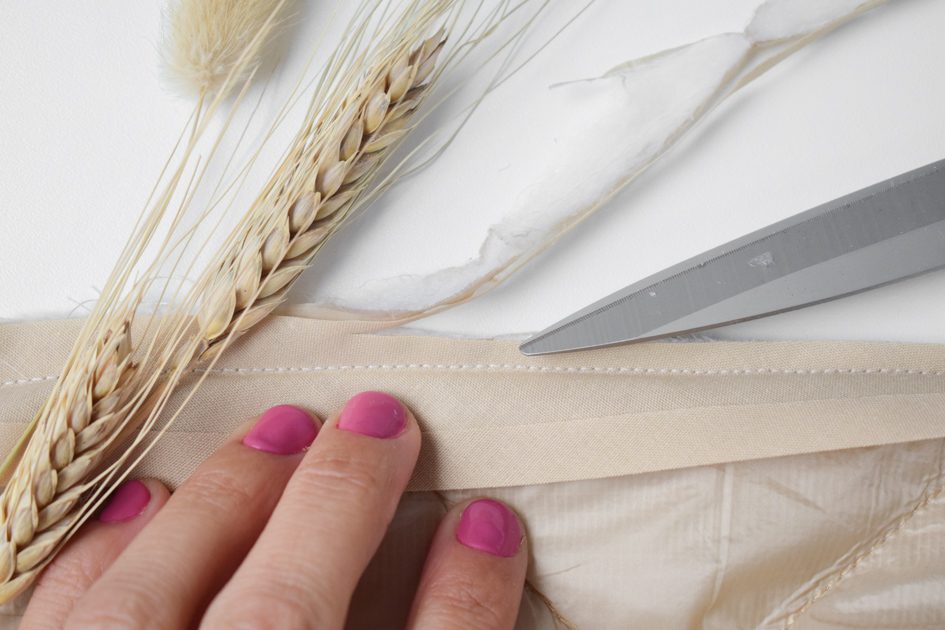
Reduce seam allowance to 0,5cm.
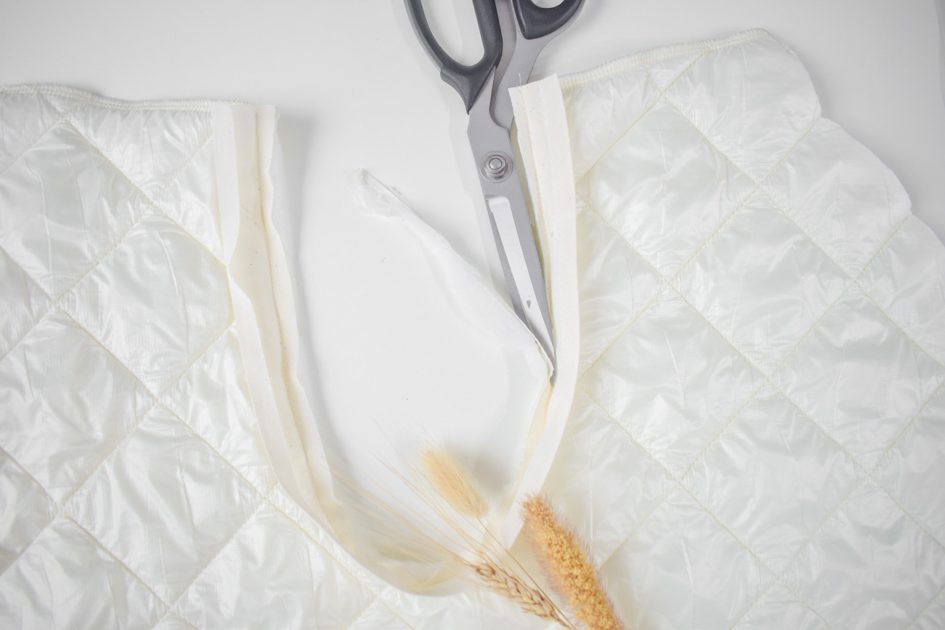
Give small cuts in the curves.

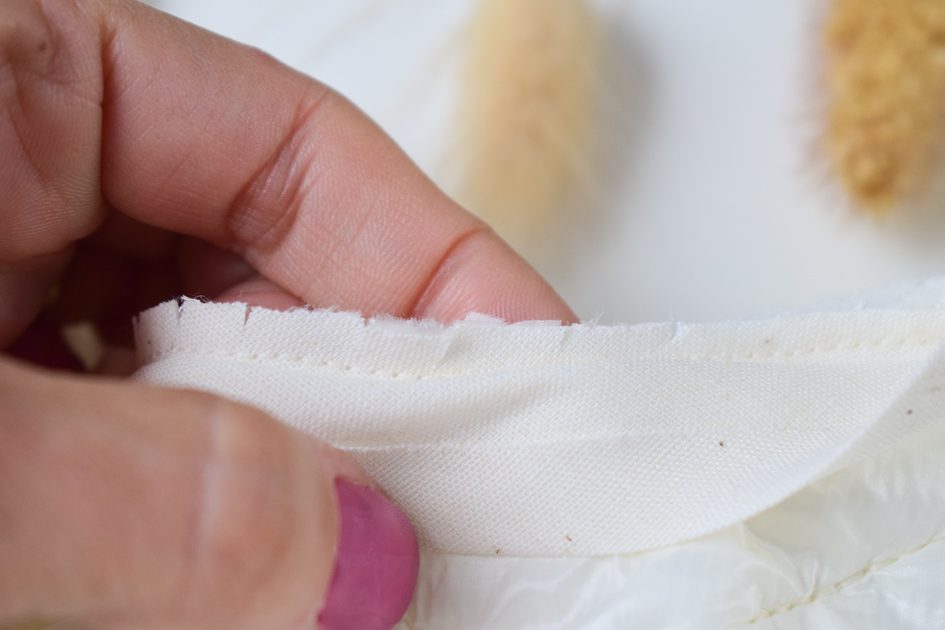
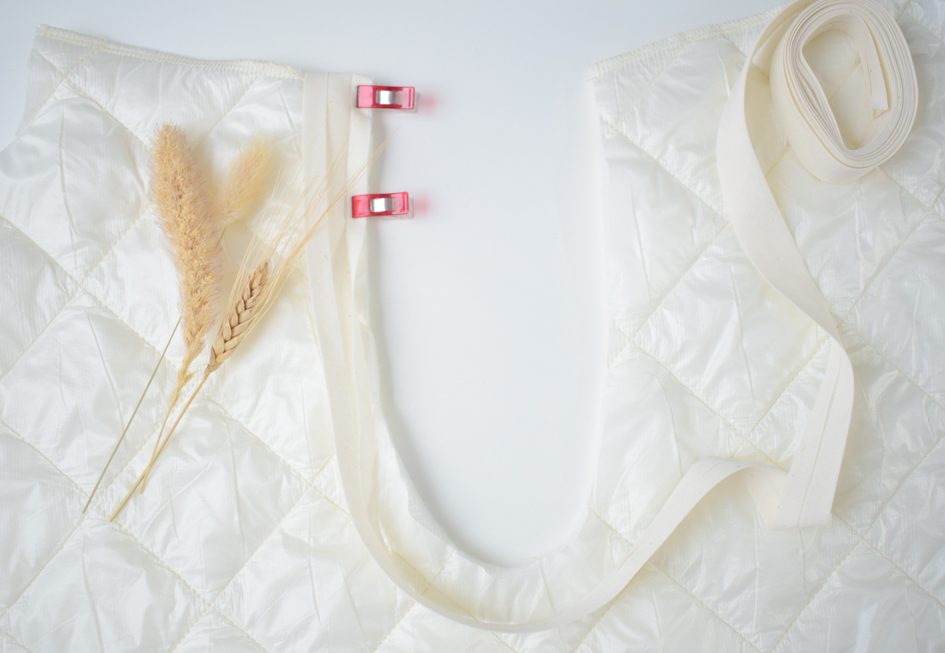
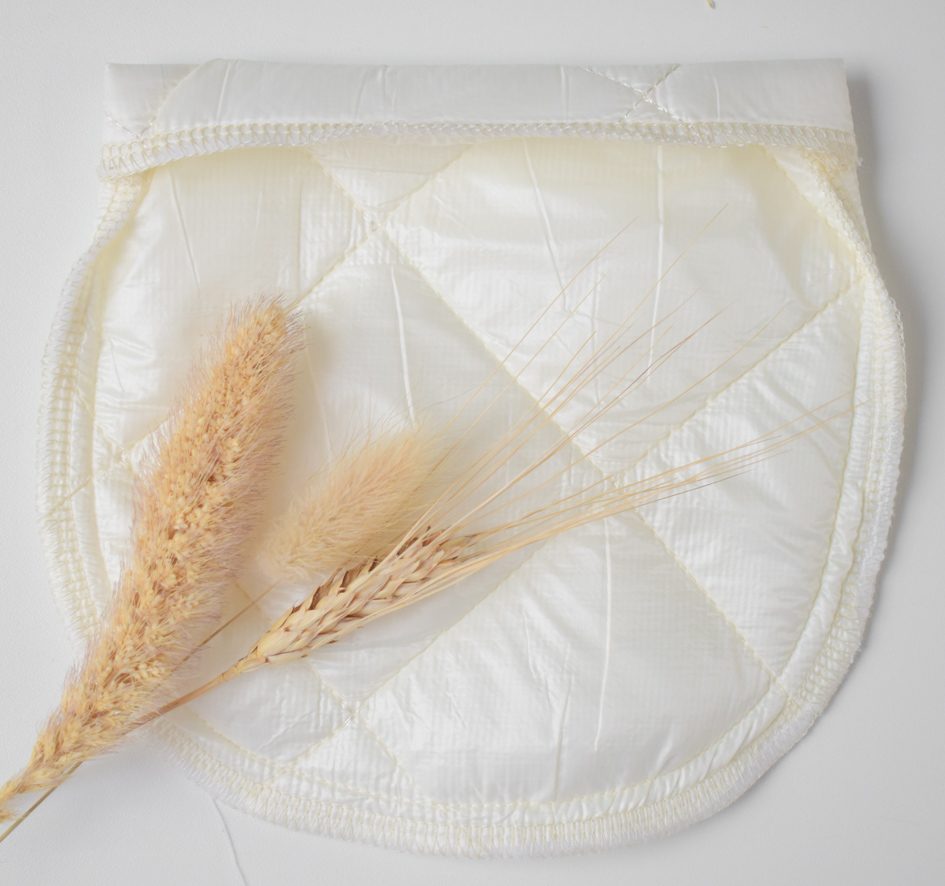
Fold your bias tape over to the right side of the fabric.
Pin carefully into place, just over the stitchline.
Start and finish at the shoulder seams.
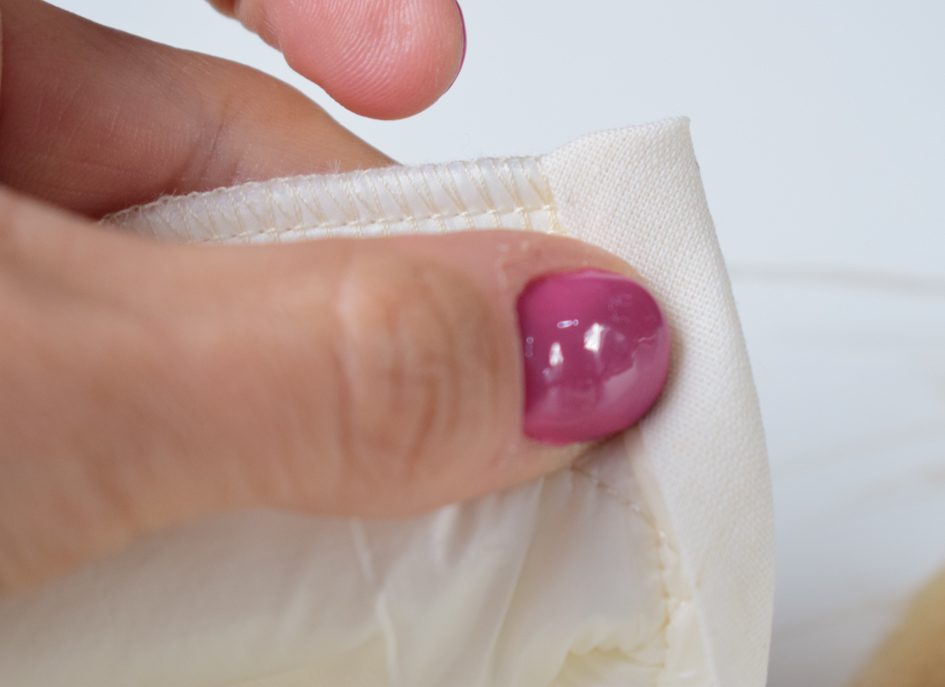
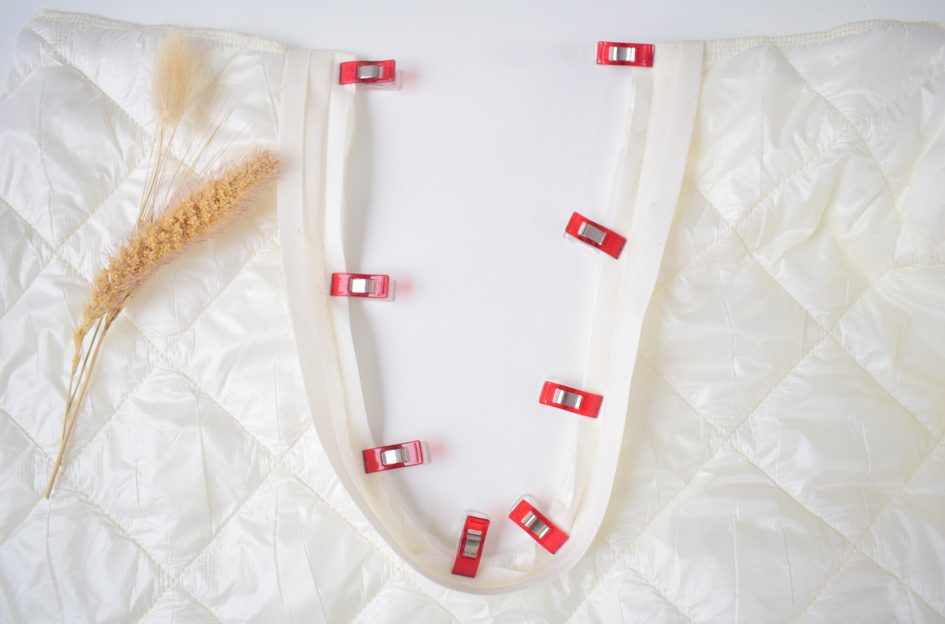
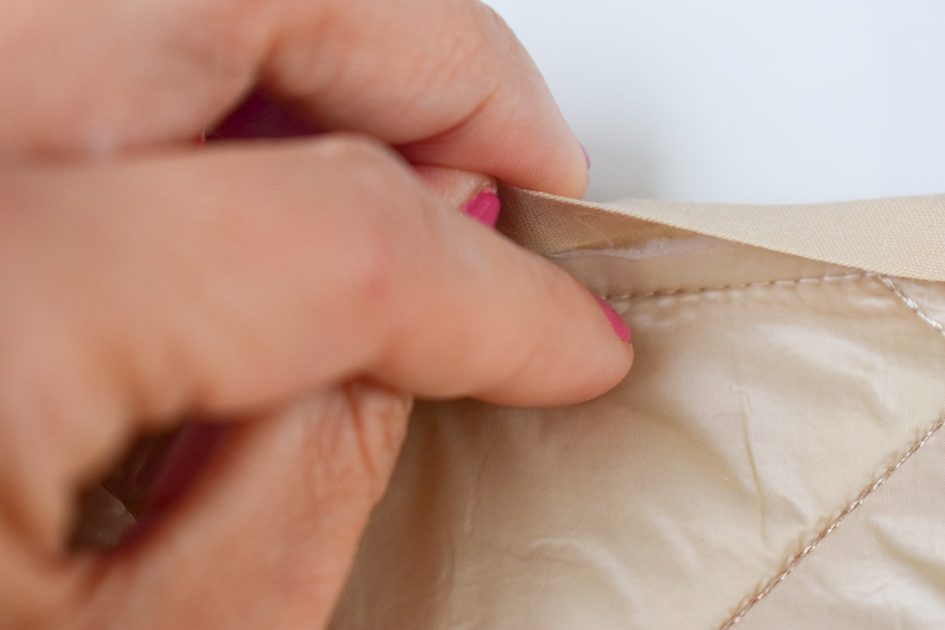
Stitch the bias tape into place at 2mm from the edge, start and finish at the shoulder seams.
Stitch slowly and accurately for the best result ;-).
Press seam.
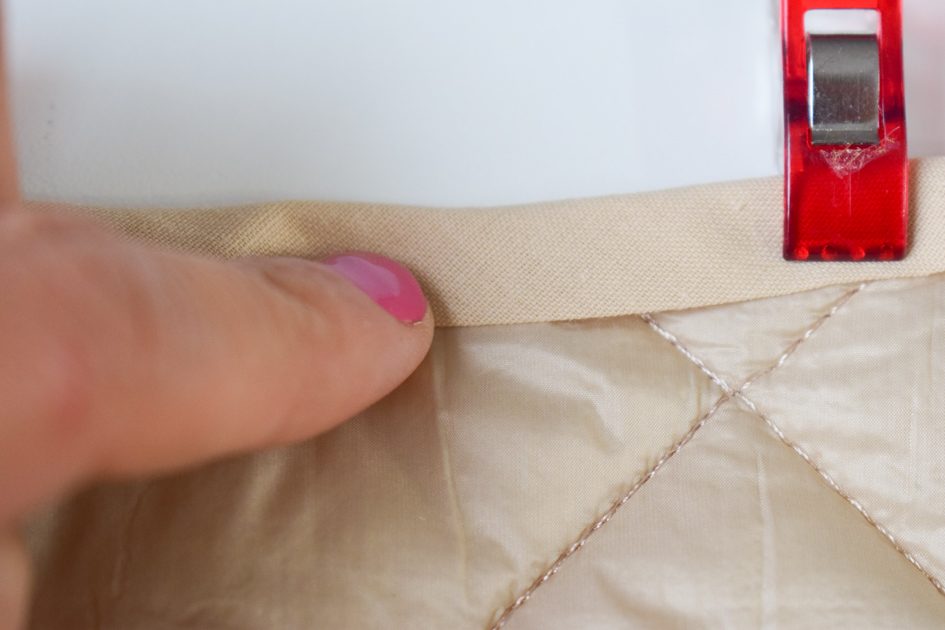
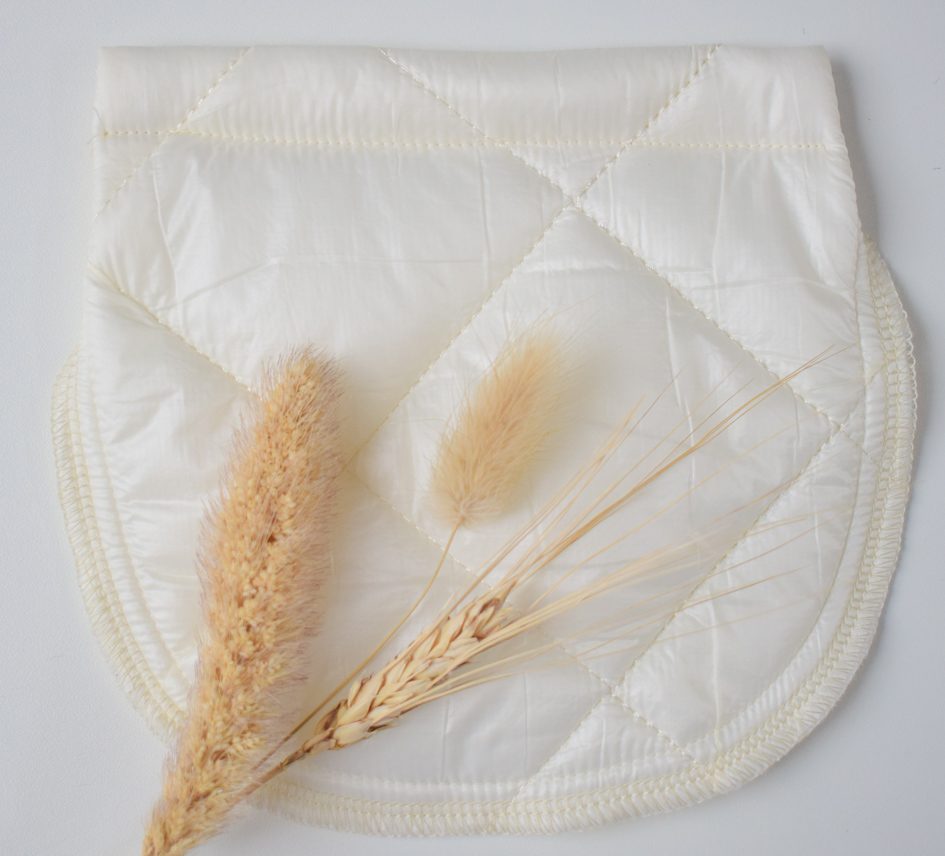
Repeat for the other armhole.
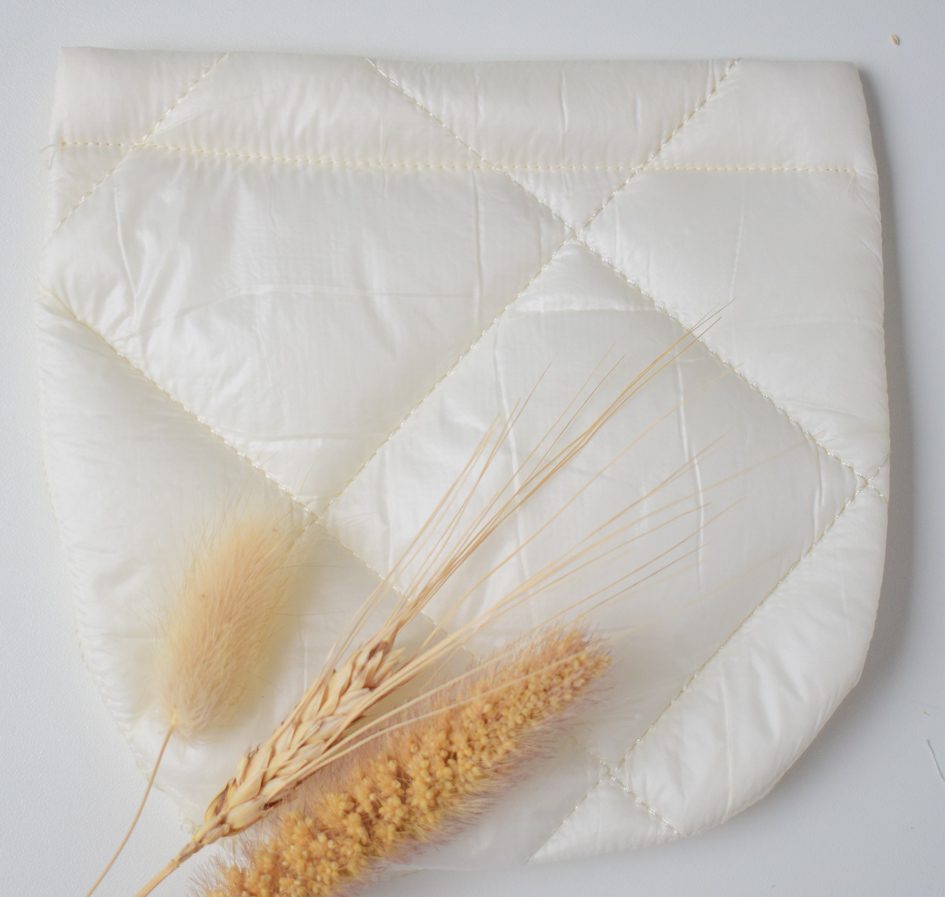
1B. Shoulder seams
Pin the shoulder seams of front and back together, right sides facing.
Stitch and press seams open.
1C. Mouwen
Are you making the sleeveless version?
Go to step 1D 🙂
Pin sleeve side seams right sides facing.
Stitch seam and press open.
Turn your vest inside out.
Turn your sleeve right side out.
Slide the sleeve into the armhole so right sides of sleeve and armhole are facing each other.
Make sure to slide the right sleeve into the right armhole.
Check the front notch on the sleeve.
Pin sleeve head to shoulder seams and sleeve seam to armhole seam.
Pin the rest of the sleeve between those 2 points.
Stitch sleeve into place and finish seam with your overlocker or use a zigzag stitch.

Press the hem of the sleeve 2cm inwards and stitch into place.
Press.
Your sleeve is in, good job!
Repeat for the other sleeve.
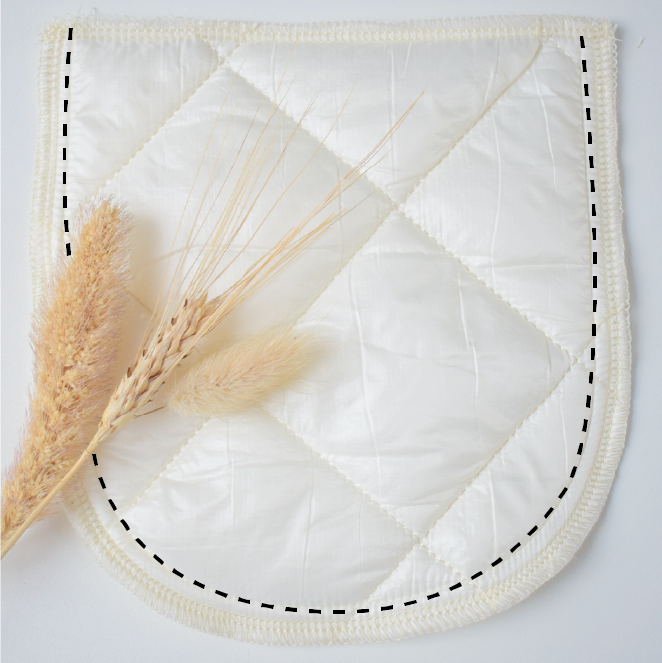
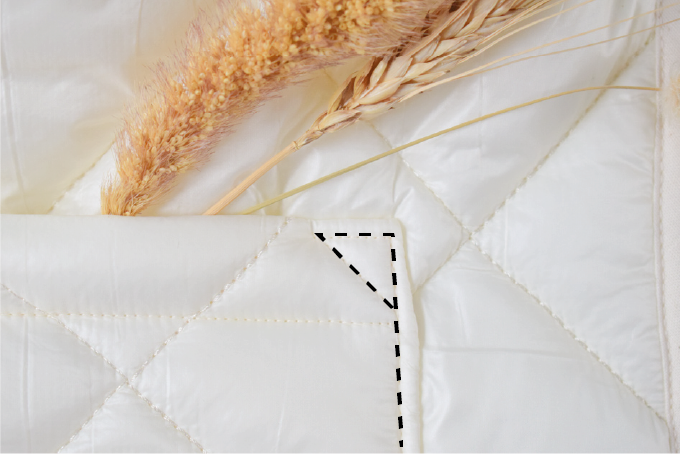
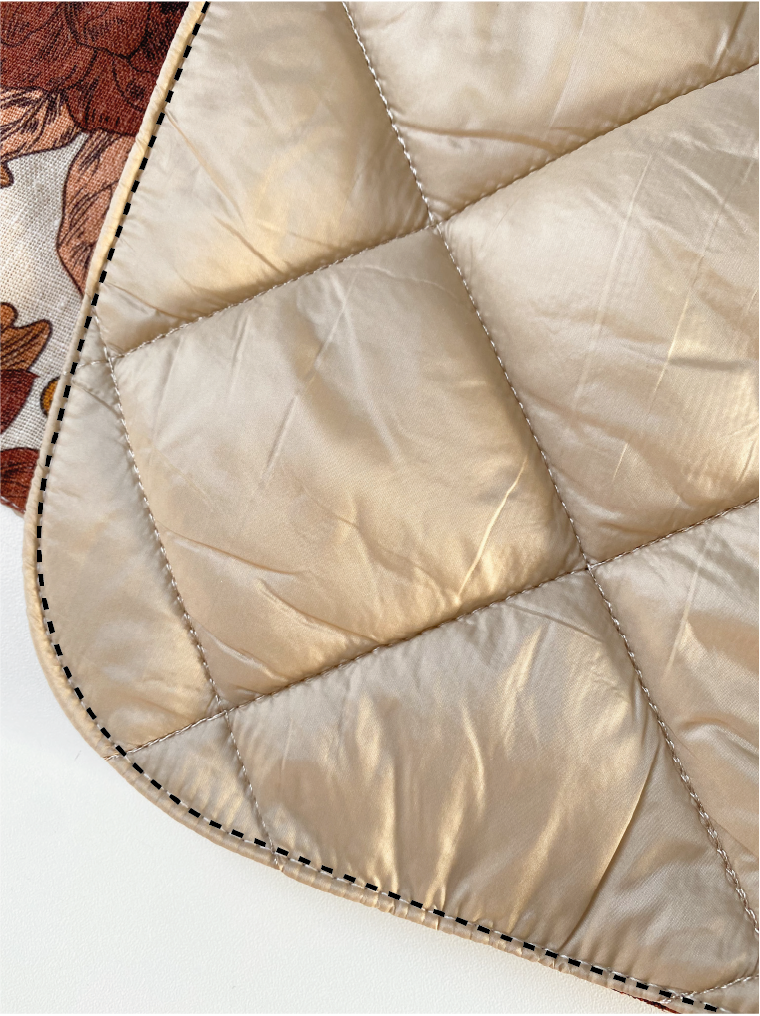
1D. Finishing the edges
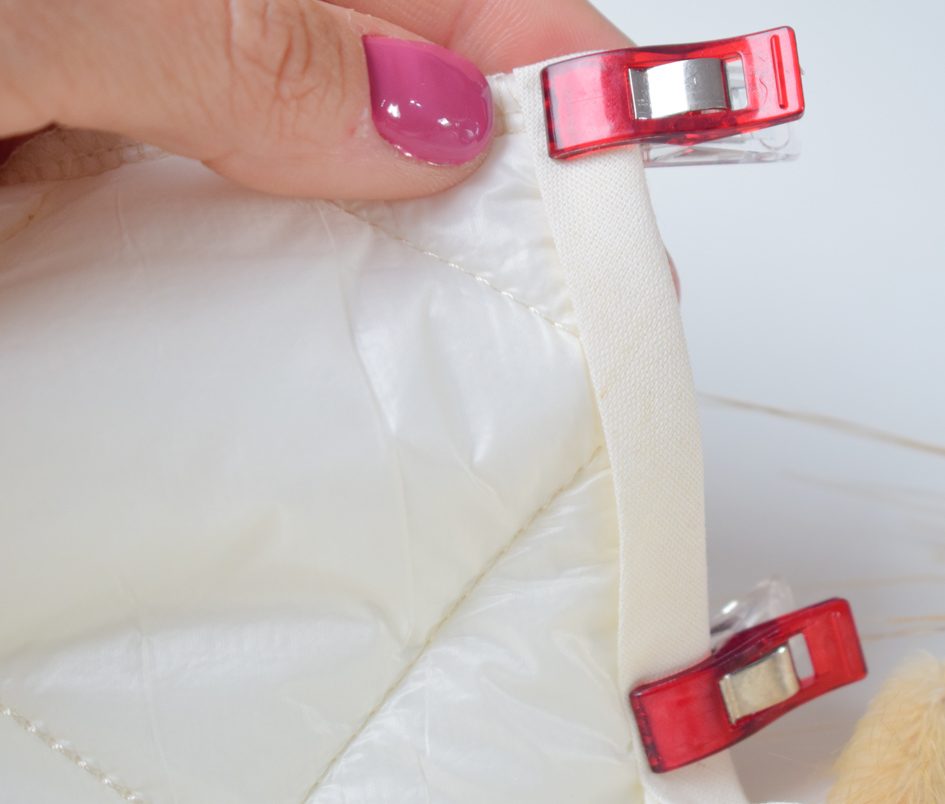
We’re going to finish all edges with bias tape.
To do this, pin your bias tape to the wrong side of the fabric.
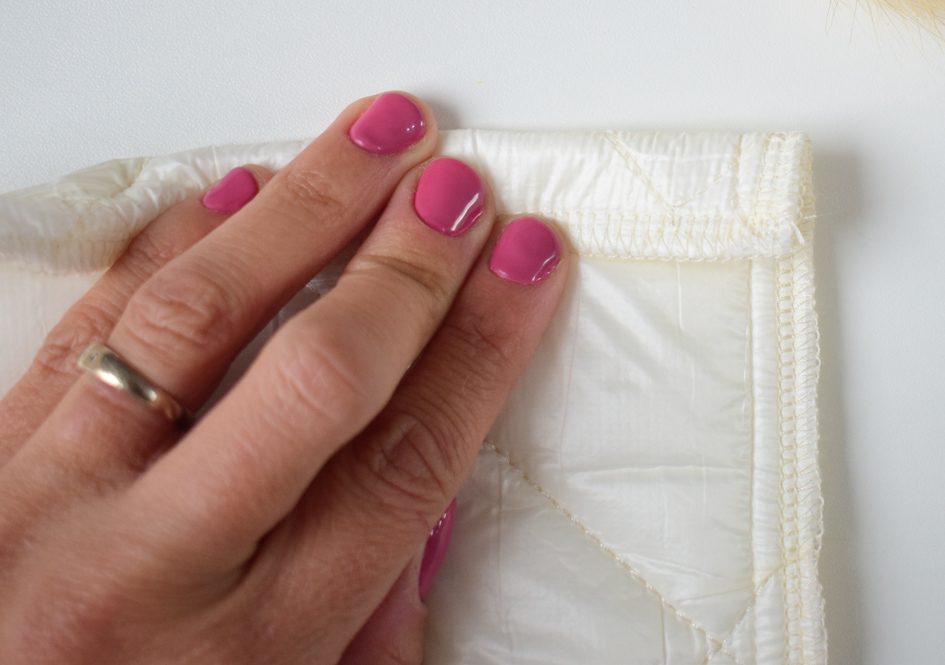
Start at center back of the hem of your vest and go all around.

Give the bias tape enough room around the curves to prevent it from ‘pulling’ after stitching it.
When back at the start, let the end of your bias overlap the beginning by about 2cm before cutting it.
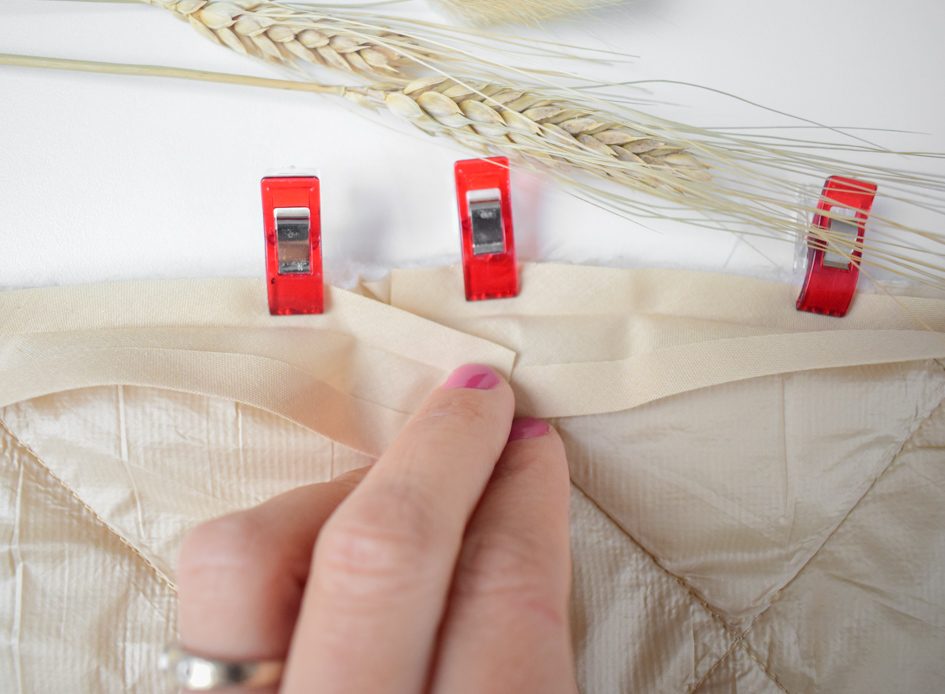
Time to stitch the tape into place.
Again, start at center back hem.
Let the first 2cm of your biais hang loose and start stitching from there.
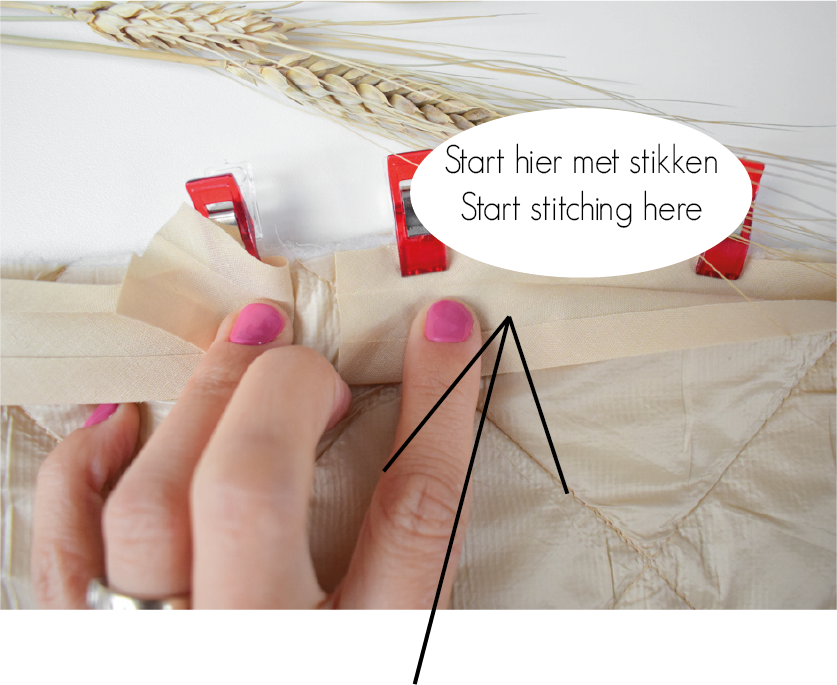
Again, it is useful that you do not stitch exactly in the foldline of your bias, but just next to it.
To do this, again move your needle 1 to 2mm to the right.
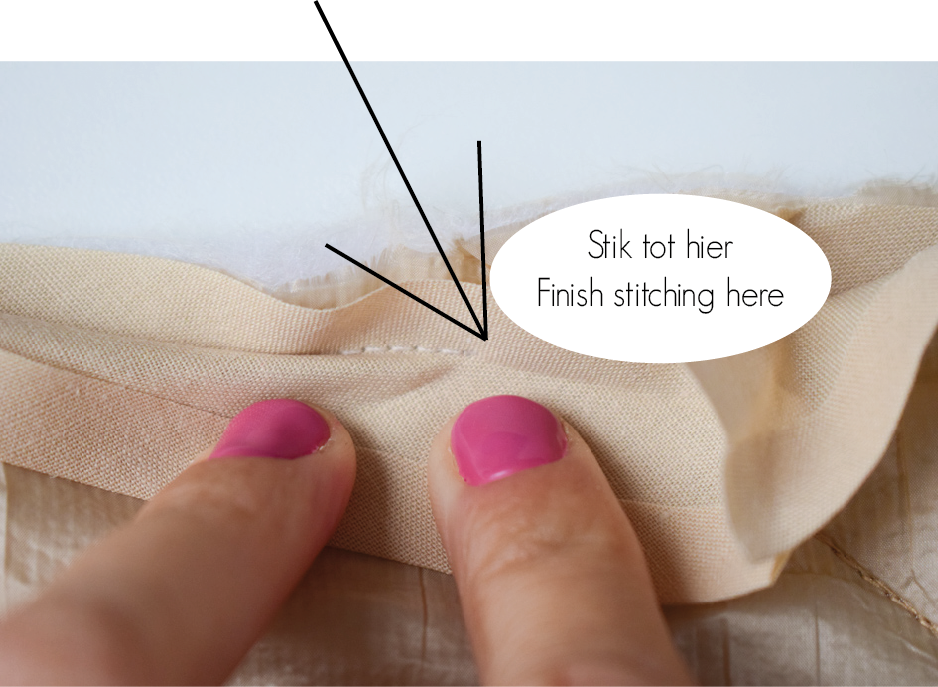
Stitch all around and be extra precise at the curves.
Finish at 2cm from the end of the bias tape, letting the last piece hang loose.
We are going to attach the ends (beginning and end) of the bias tape together.
To do so, pin the ends of your bias tape right sides facing each other.
Make sure the finished lenght of the bias tape precisely matches the hemline length.
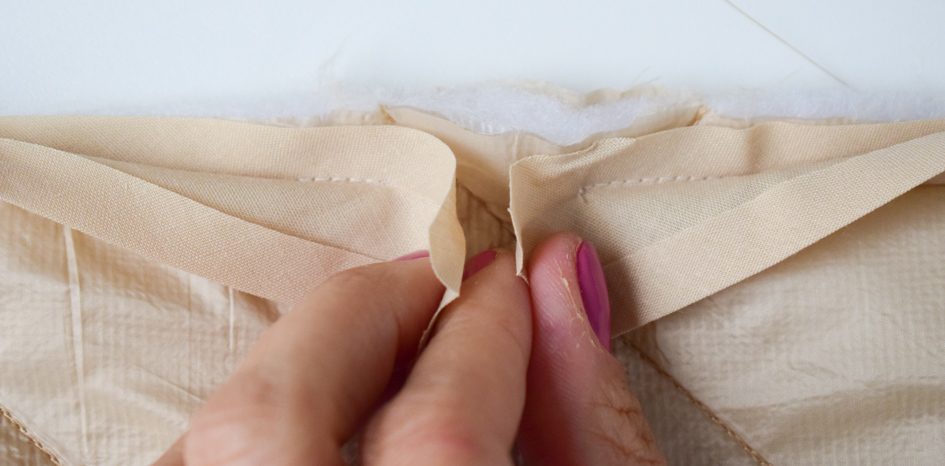
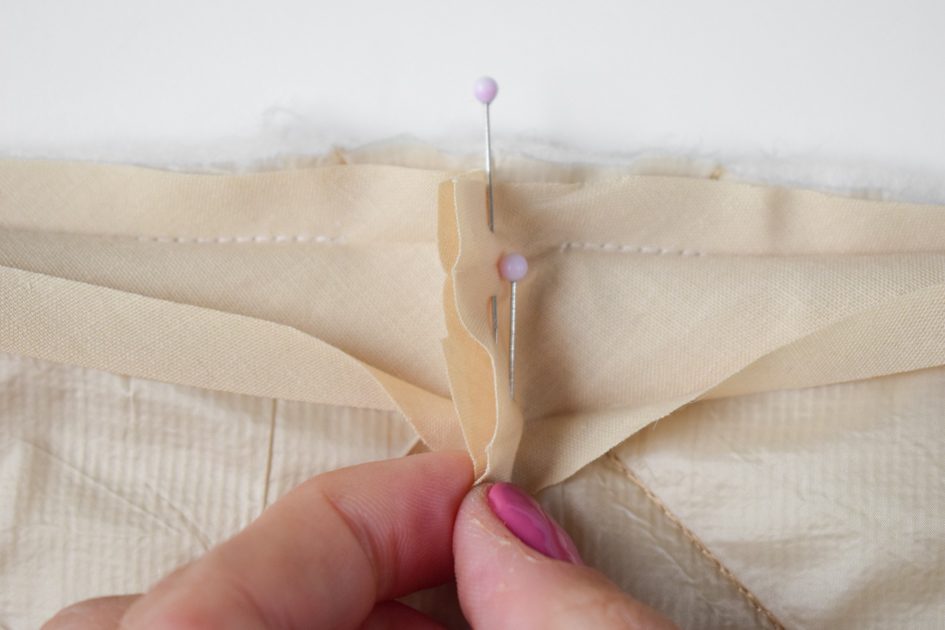
Stitch the ends together and press the seam open.
Pin to the hemline and stitch the remaining piece into place.
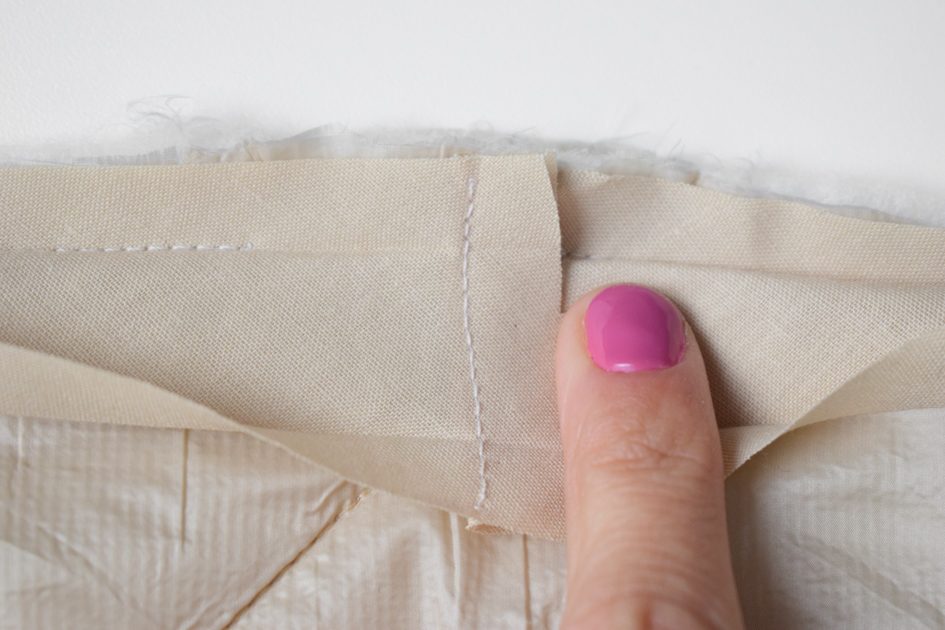
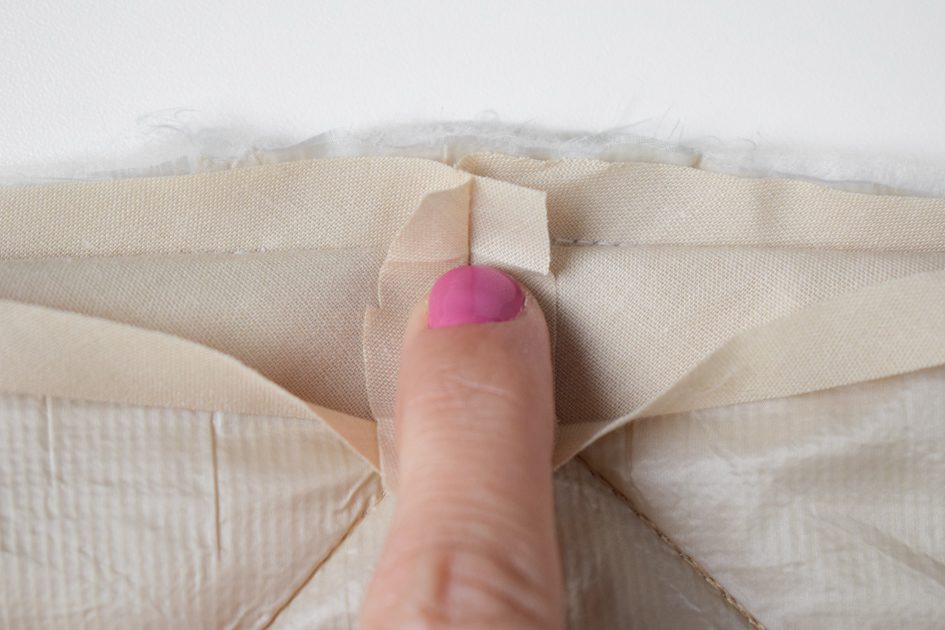
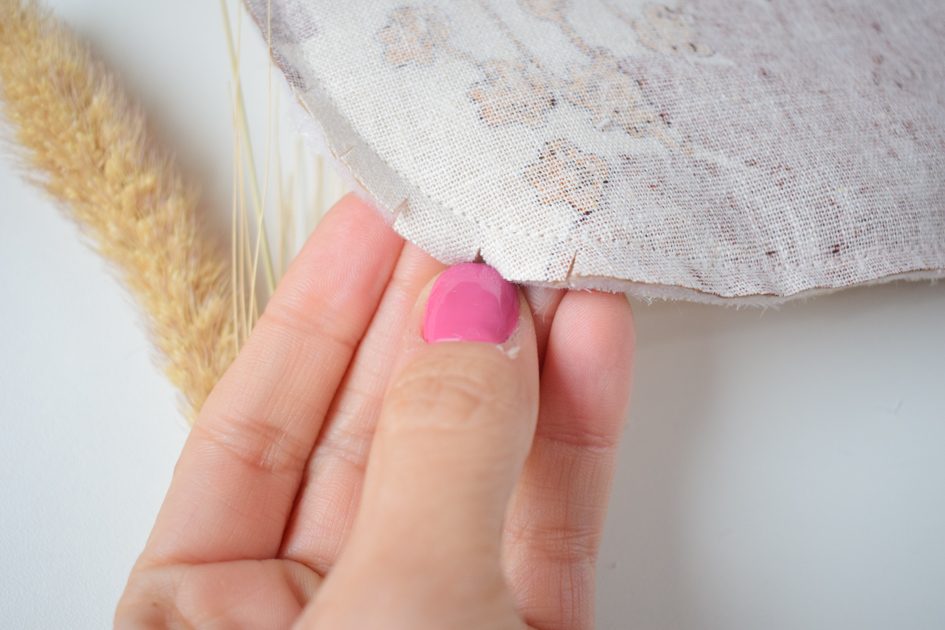
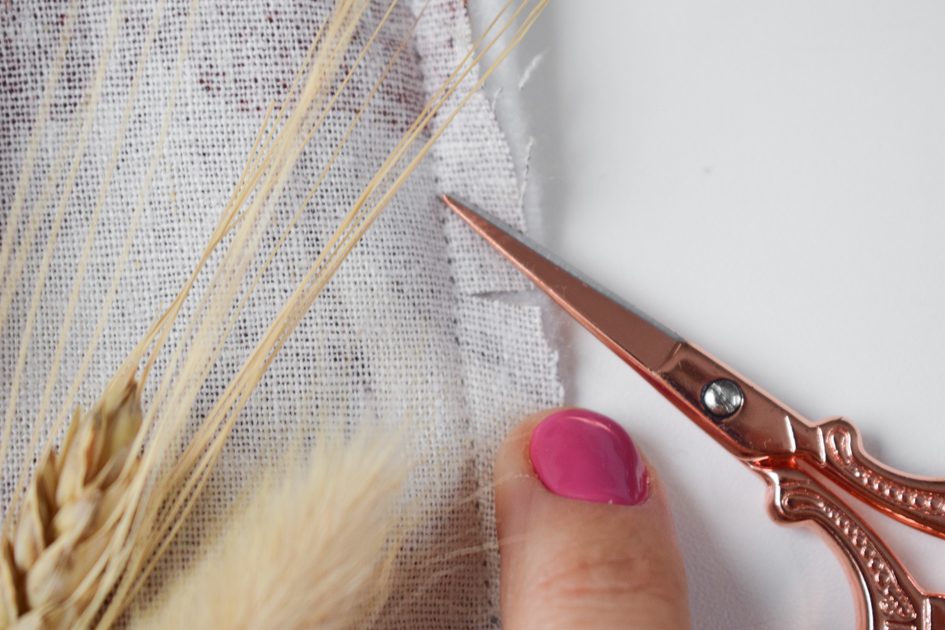
Reduce seam allowance to 0,5cm.
Give small cuts in the hemline curves and in the neckline.

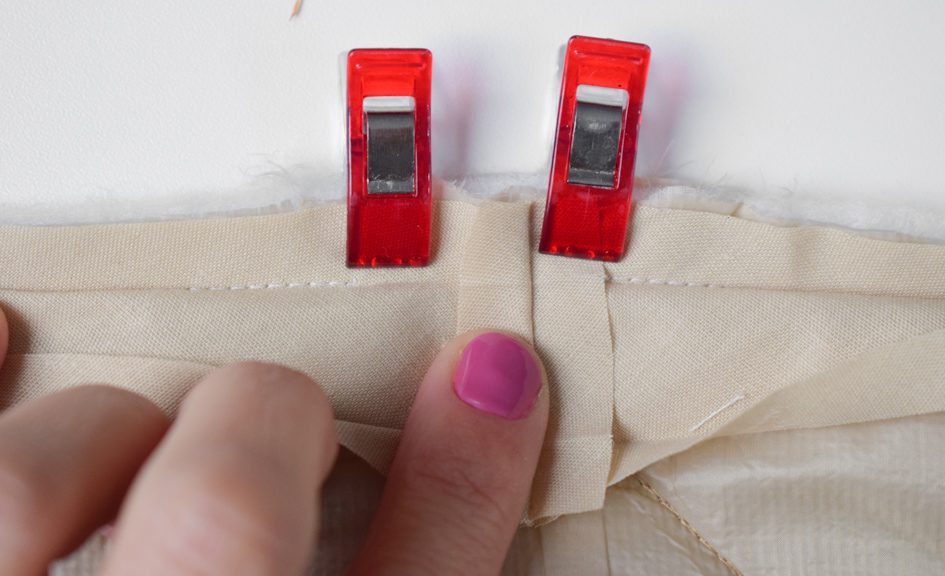
Fold the tape to the right side of the fabric.
Pin carefully, just over the stitched seam.
Start and end at center back of the hemline.
Stitch your bias tape in place at 2mm from the edge, starting and ending at center back of the hemline.
Stitch slowly and accurately for the best result ;-).
Press seams flat and your edges are neatly finished.
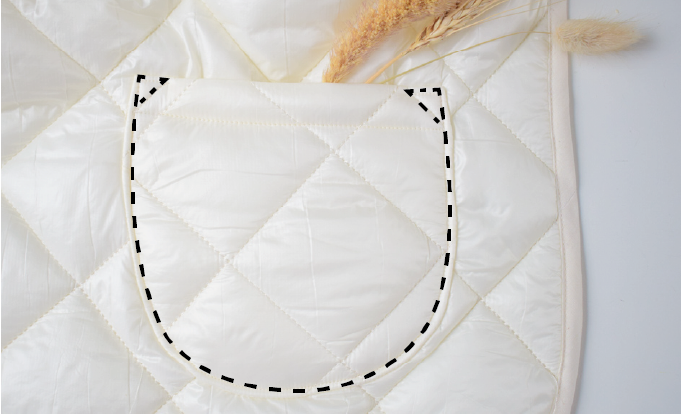
1E. Pockets
Stitch a guideline at 1cm from the edge of the pocket pieces.
Increase the tension of your thread a little, this will help you with pressing and stitching the curves.
Fold over 2cm at the top of the pocket, right sides facing.
Pin into place.
Stitch both sides of fold into place at 1cm from the edge.

Fold back into place and push corners out.
Topstitch at 1,5cm from the top edge.
Press the pocket seam 1cm inwards.
Use the stitched guideline to help with the curves.
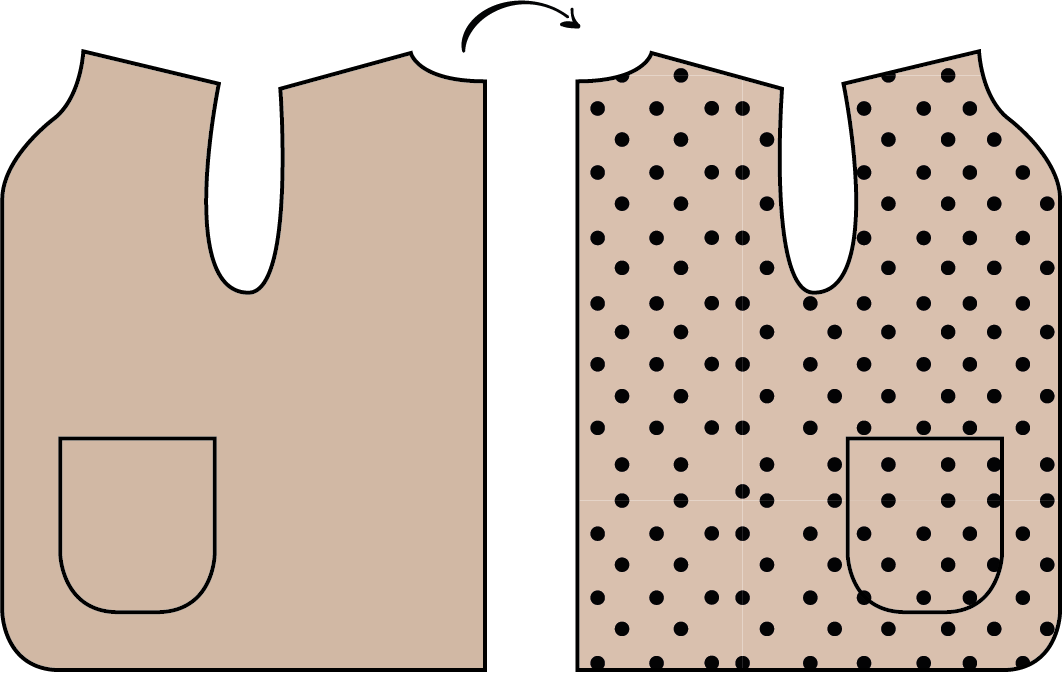
Pin (or use a glue stick) your pocket to the indicated place on the front panel.
Stitch at 2mm from the edge.
Stitch a “corner” at the beginning and end for extra strength.
Press your vest and you’re done!
Great job!
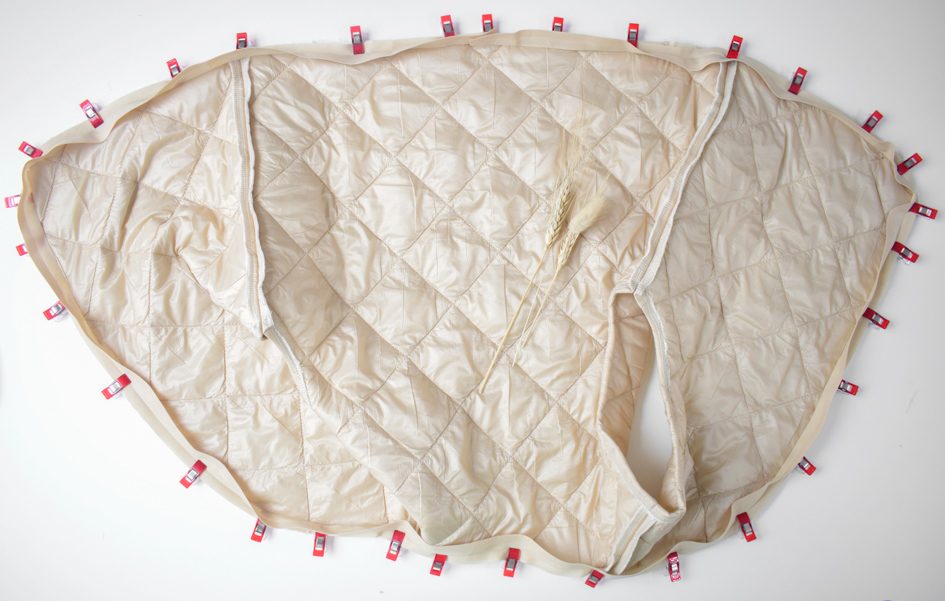
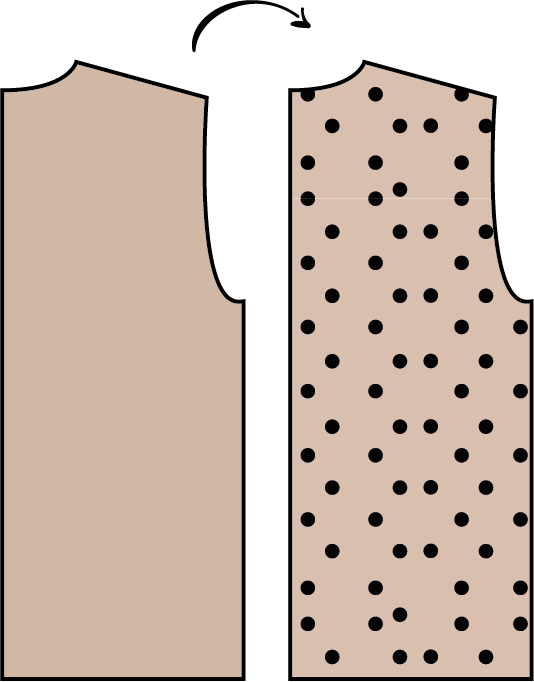
2. Lined/reversible version
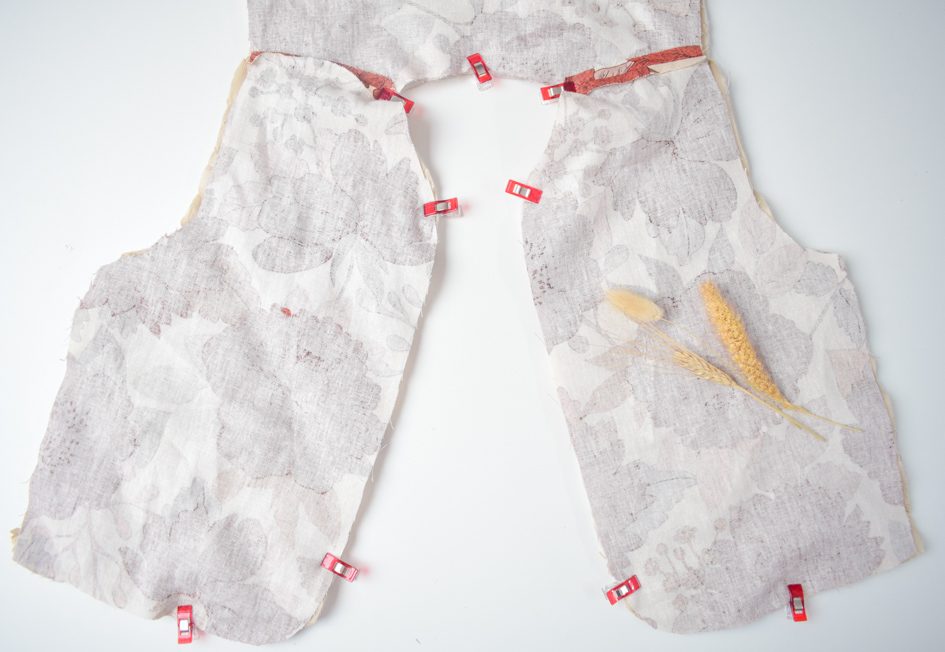
Attention,if you are making the women’s version in size 50 or 52, you’ll need to stitch back pieces together first.
Put both pattern pieces on top of each other, right sides facing.
Pin and stitch center back seam.
Press seam open.

2A. Pockets
Do you want to add pockets?
Let’s do that first :-).
Follow the instructions from step 1D (see above)
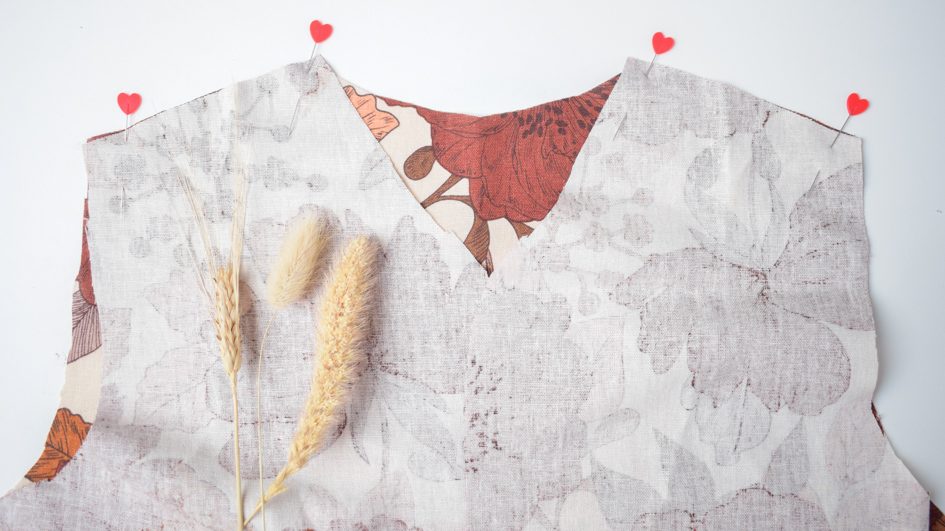
2B. Shoulder seams
Pin shoulder seams of front and back piece, right sides together.
Stitch and press seams open.
Repeat for the lining.
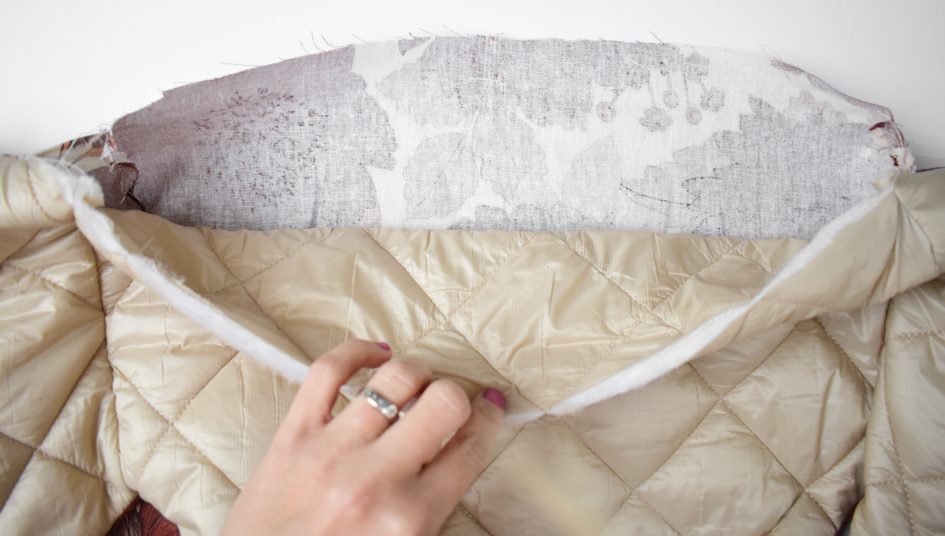
2C. Attaching main fabric and lining
Lay the outer vest right side facing up.
Put the lining on top of the outer vest, right sides facing each other.
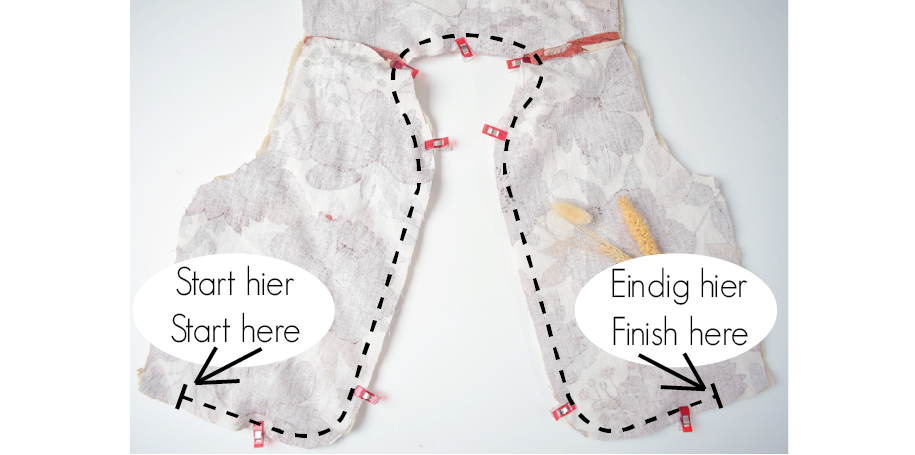
Pin the bottom, center front seam and back neckline together.
Stitch pinned seams together.
Be sure to start and end about 3cm from the side seams.
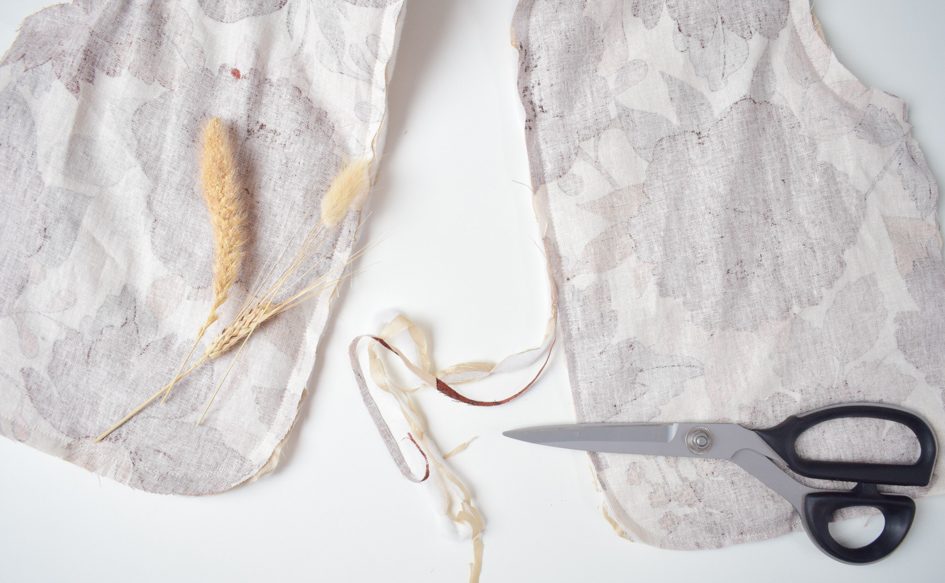
Reduce seam allowance to 0,5cm and clip curves.
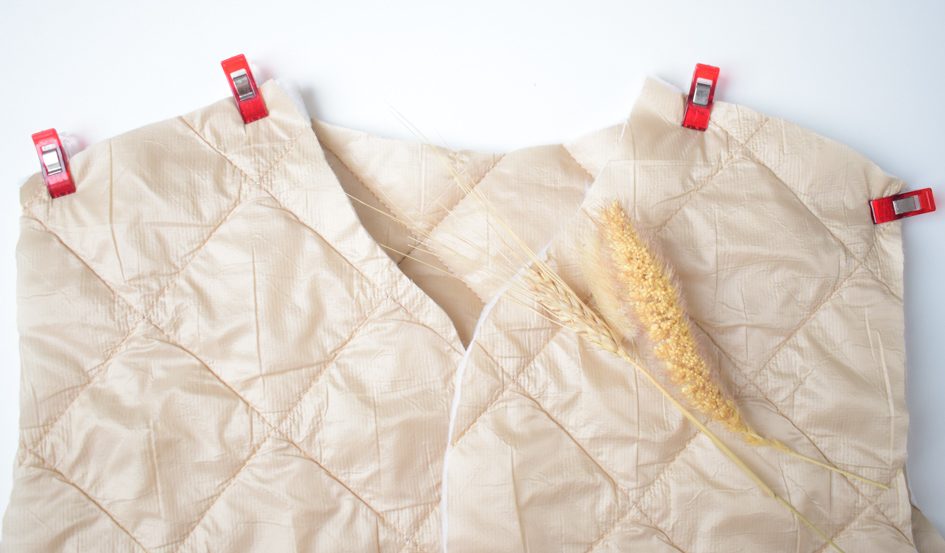
2D. Stitching the armholes
Pin armholes of main fabric and lining fabric together.

Stitch into place and clip curves.

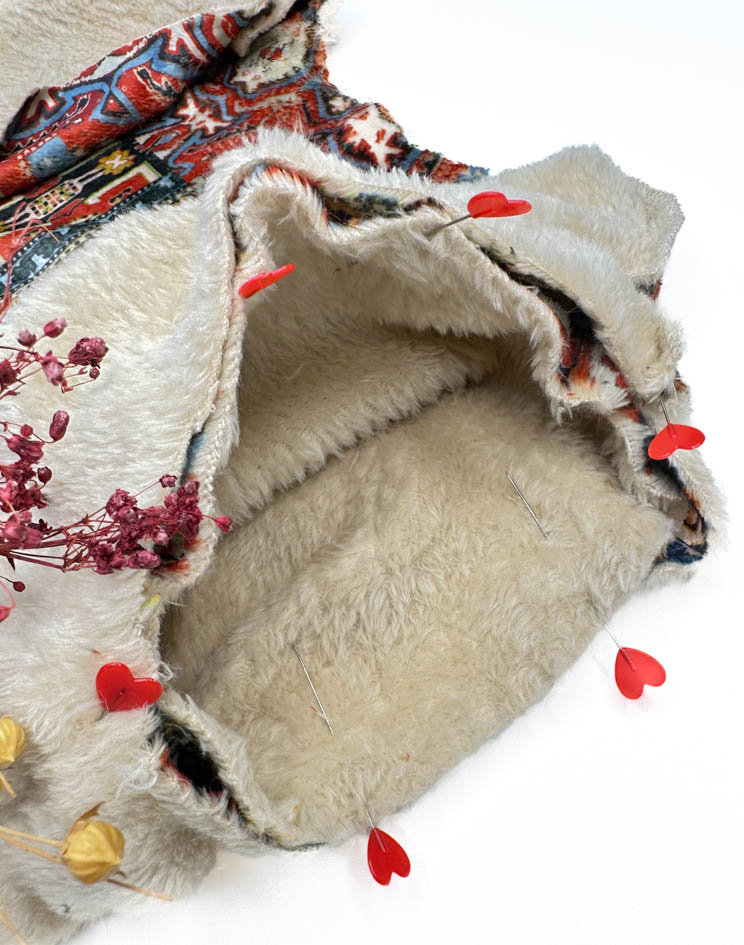
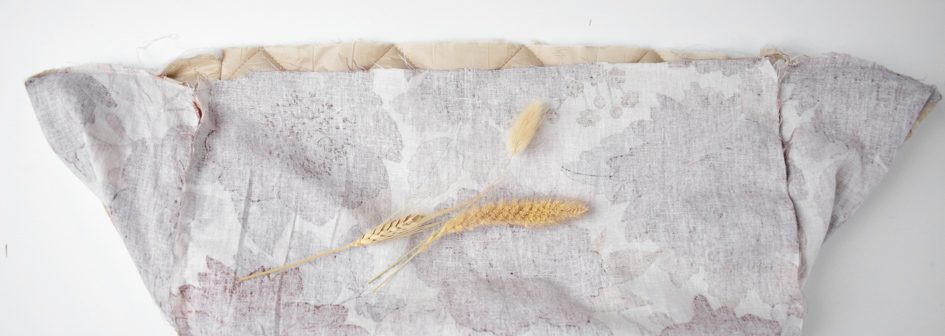
2E. Side seams
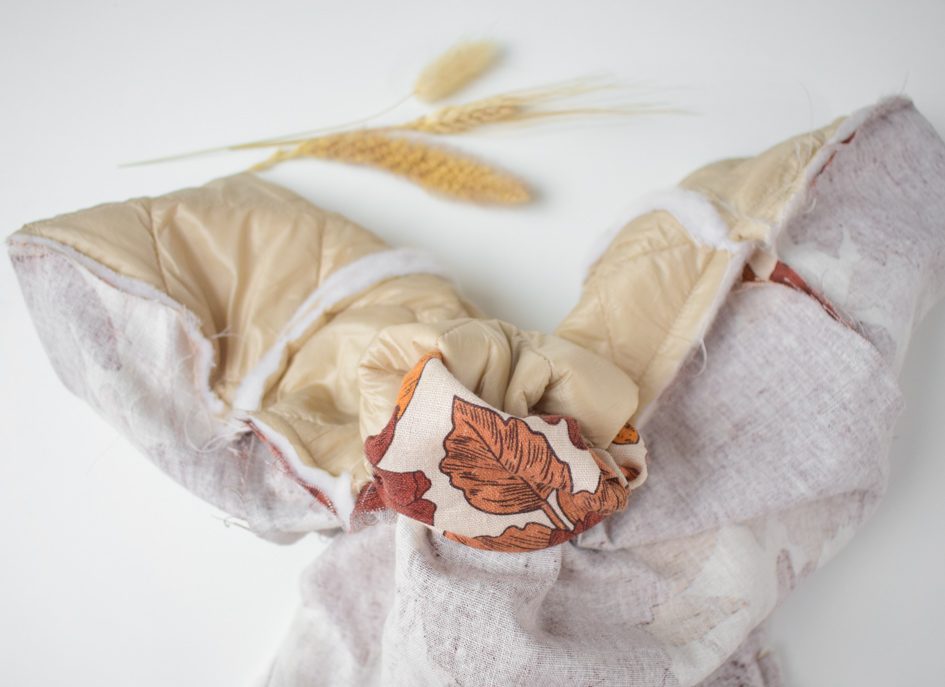
Turn your vest right side out.
To do so, reach between main fabric and lining and pull the front pieces through the shoulder seams.
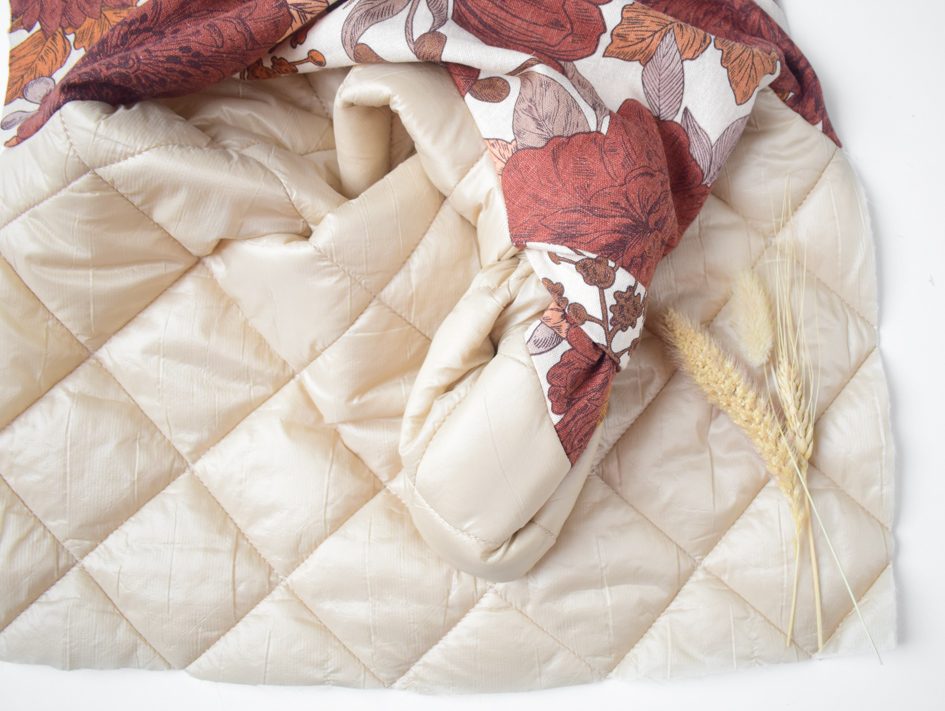
Press.
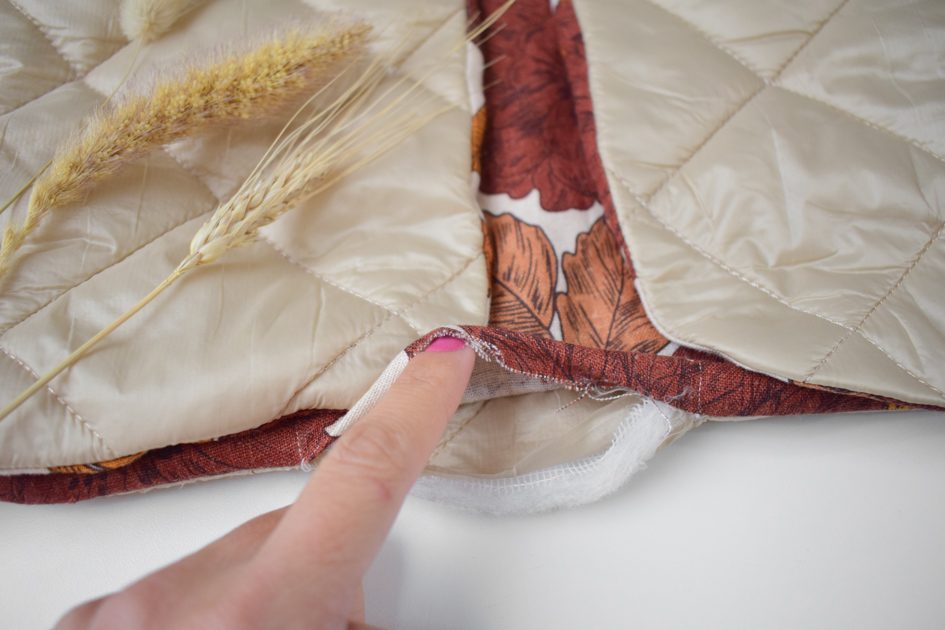
Put the side seams of the outer fabric right sides together and pin.
Be sure not to pin the lining yet.

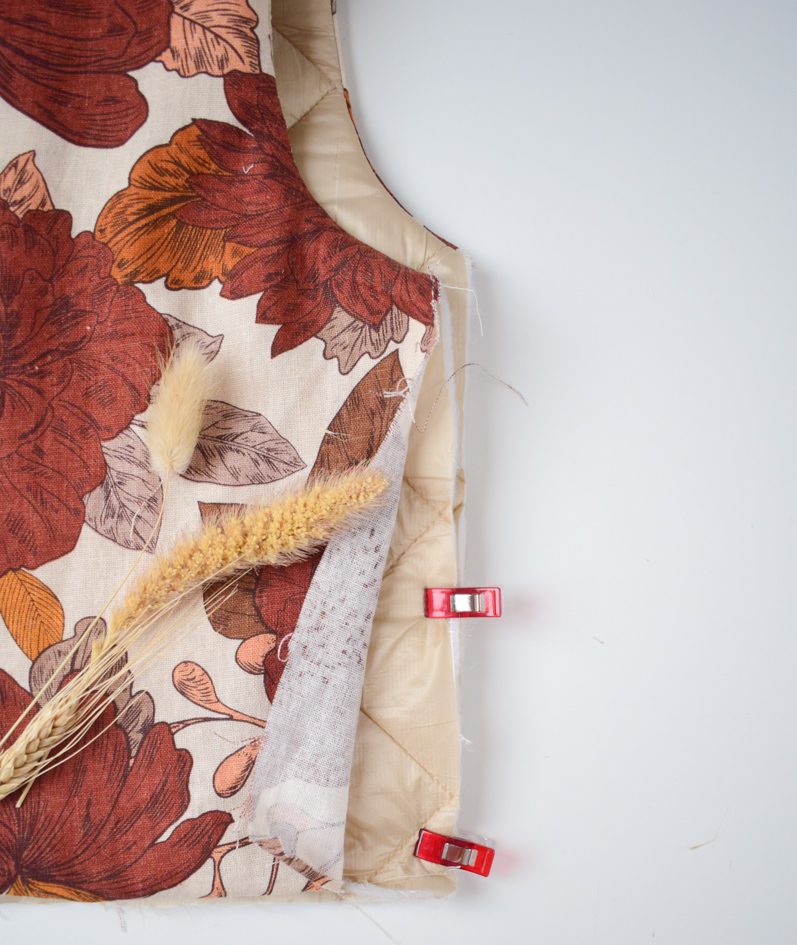
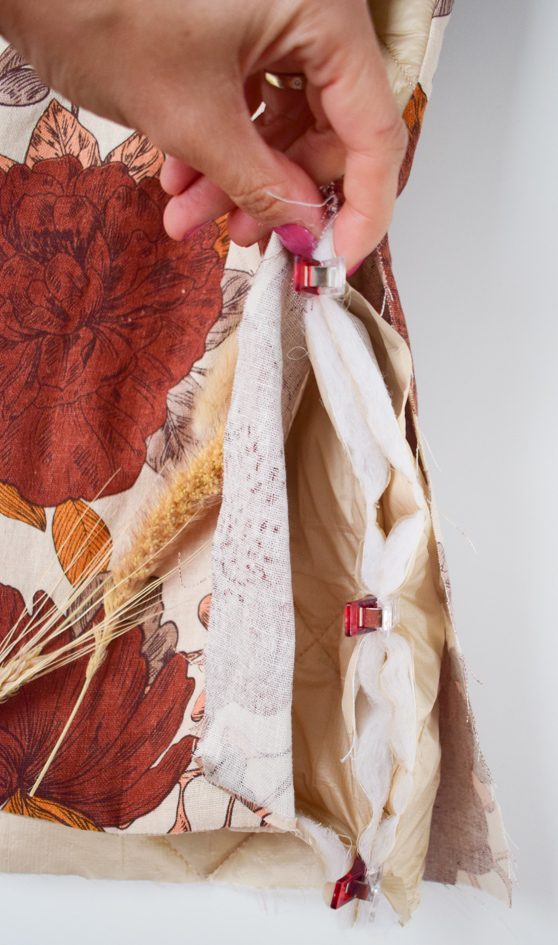
Keep on pinning, you will automatically reach the side seams of the lining, pin them right sides together too.
Your seams will curl a bit, but that’s totally normal 😉
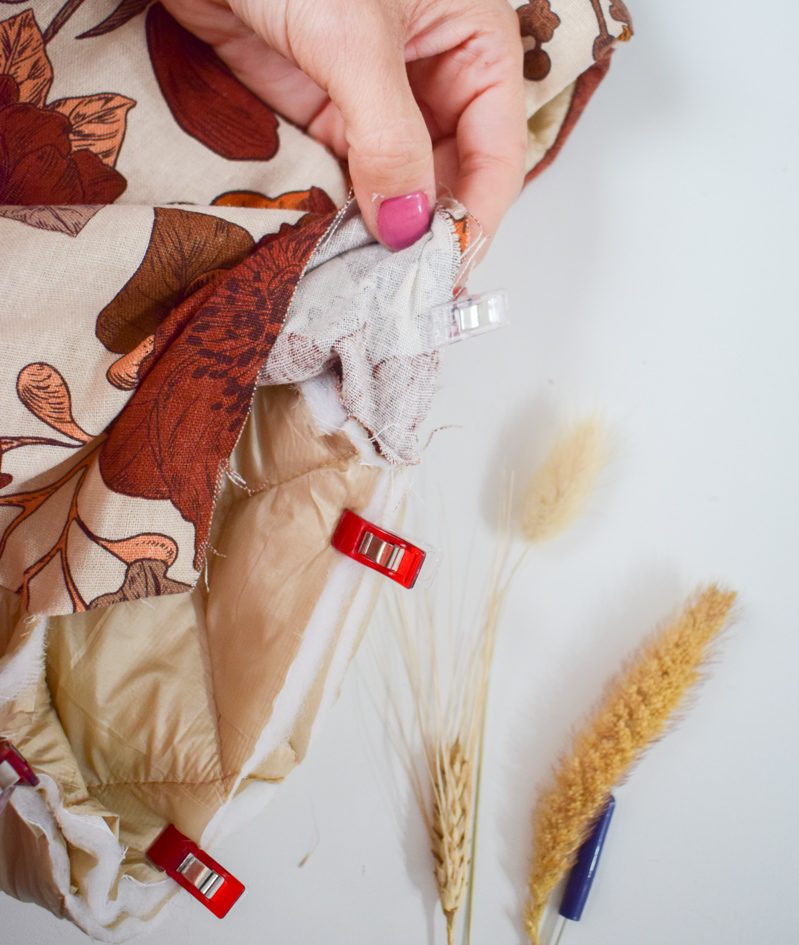
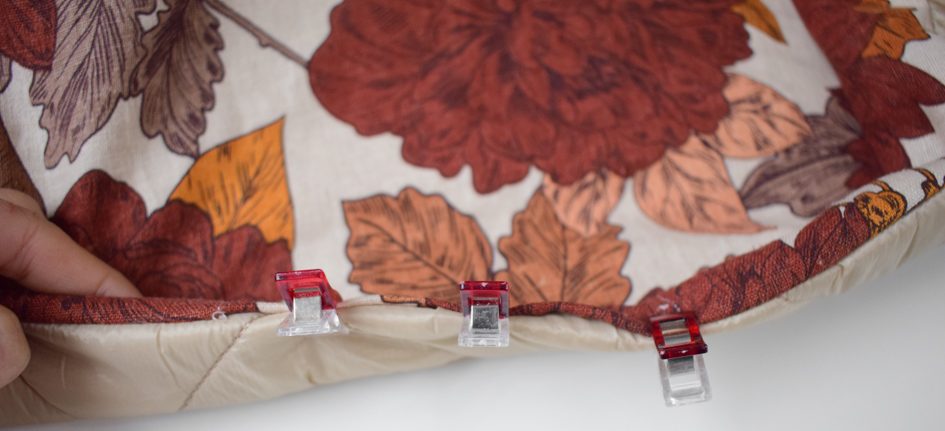
Stitch the side seams together in one continuous seam.
Start at the bottom of the outer fabric and continue to the bottom of the lining.
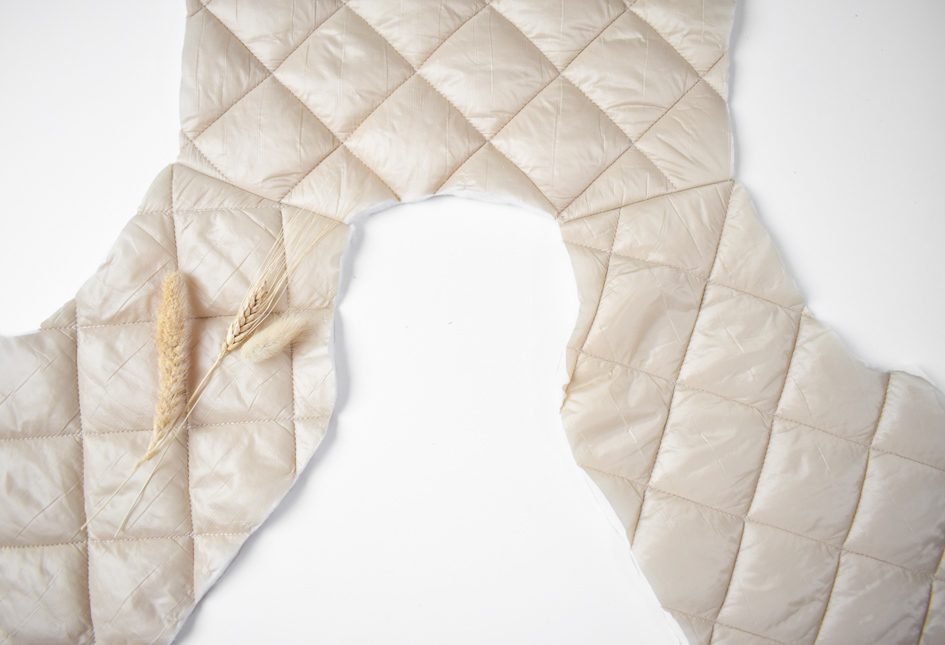
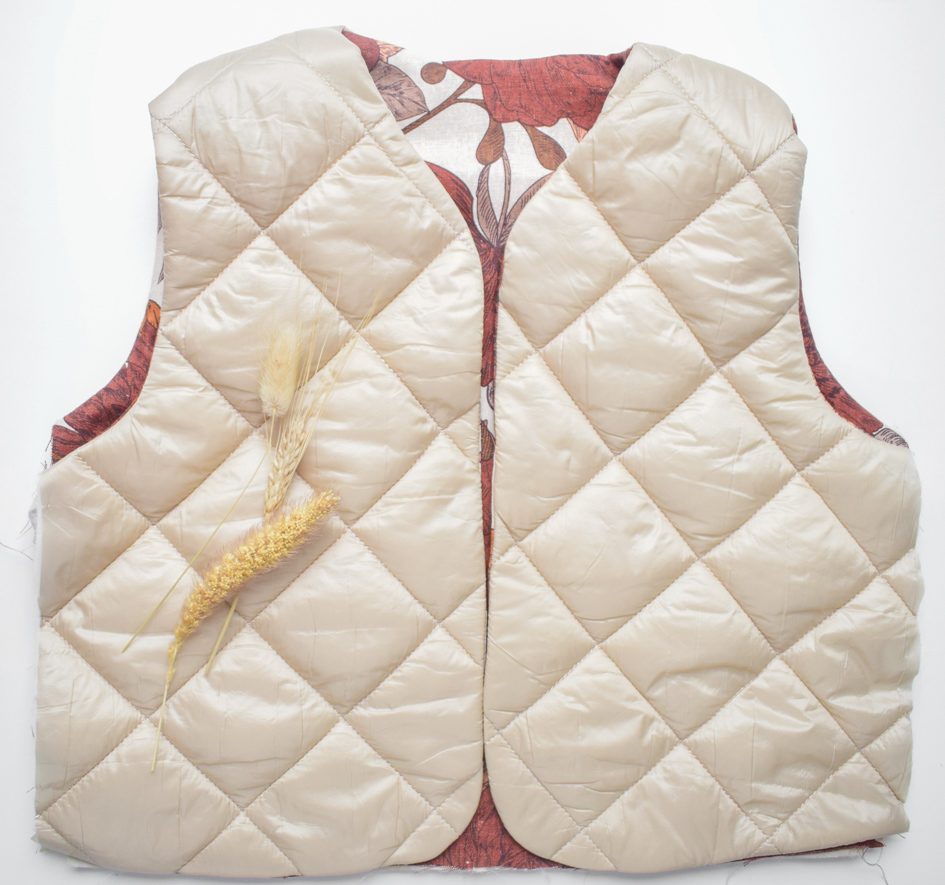
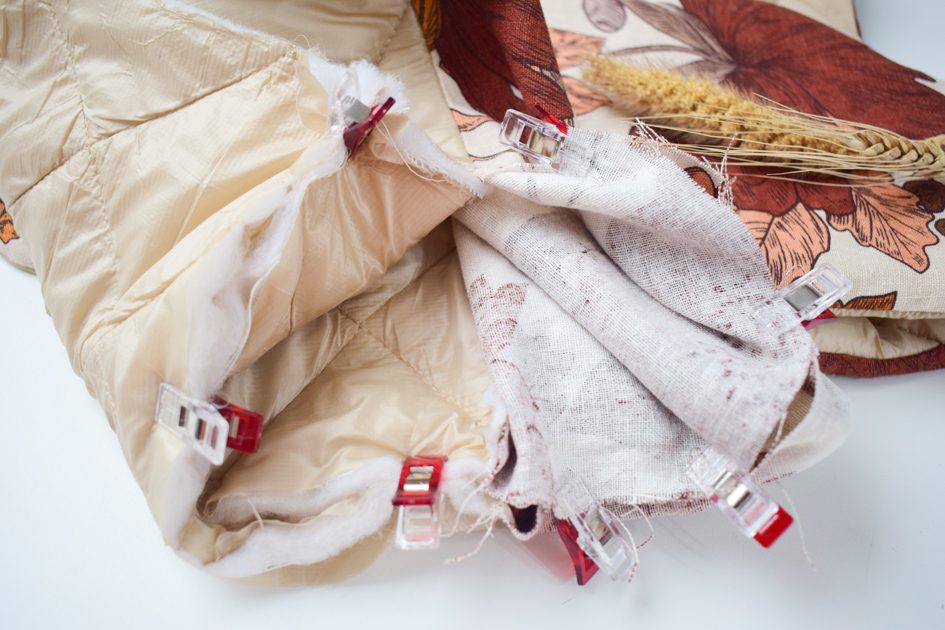
Press seams and your vest now looks like this:

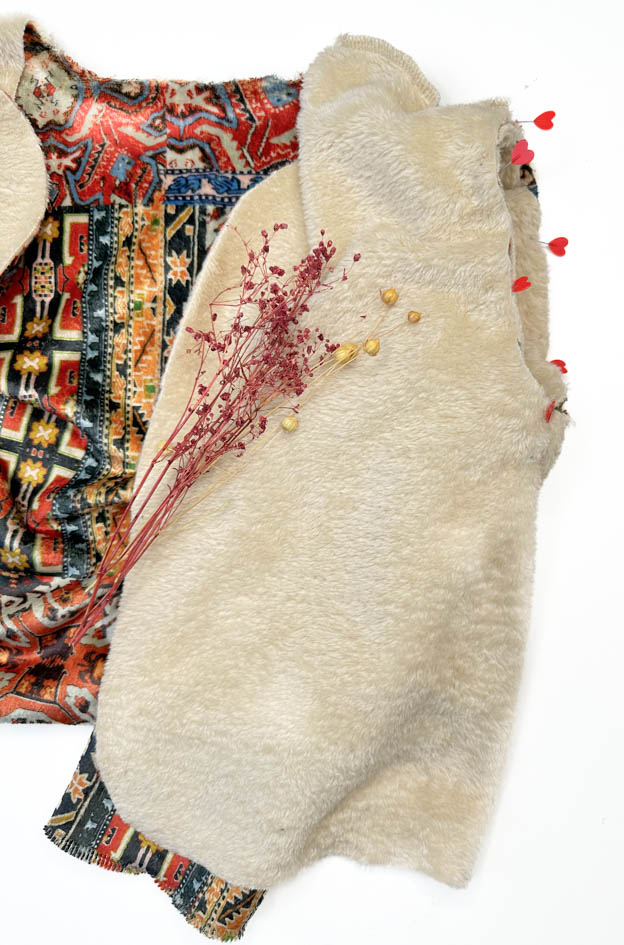
2F. Closing the bottom
Turn your vest inside out again through the opening at the bottom.
This way the hemline seams of outer vest and lining vest will face each other, right sides together.
Pin the hemline seams together and stitch into place.
Leave an opening of about 10 to 15cm to turn your vest again.
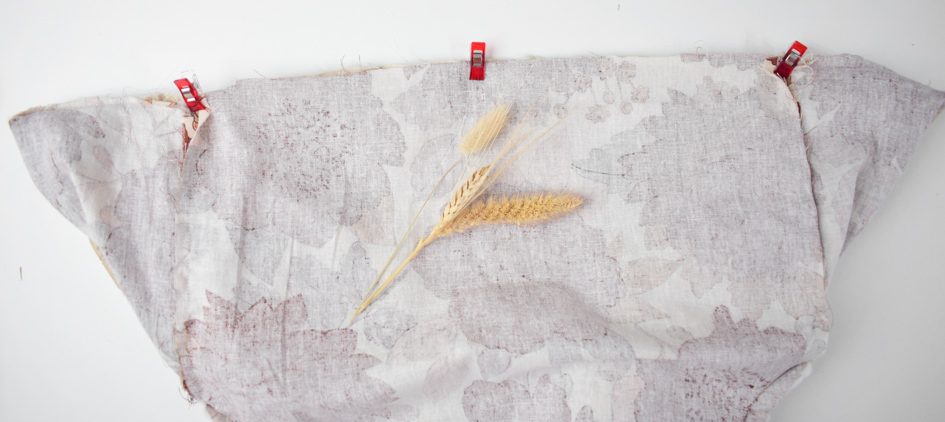
Turn your vest right side out through the opening you left.
Press all seams nice and flat.
Close the opening at the bottom by topstitching the seam or with a blind (hand)stitch.
Optionally you can topstitch the edges of your vest, all the way around.
Press your vest again and you’re finished!
Great job!

I look forward to seeing your versions pop up!
Always welcome over at our Instagram account for more inspiration: @_beletoile_
Happy sewing and kind regards,
Isabel


0 Responses