 BERNINA Corporate Blog -
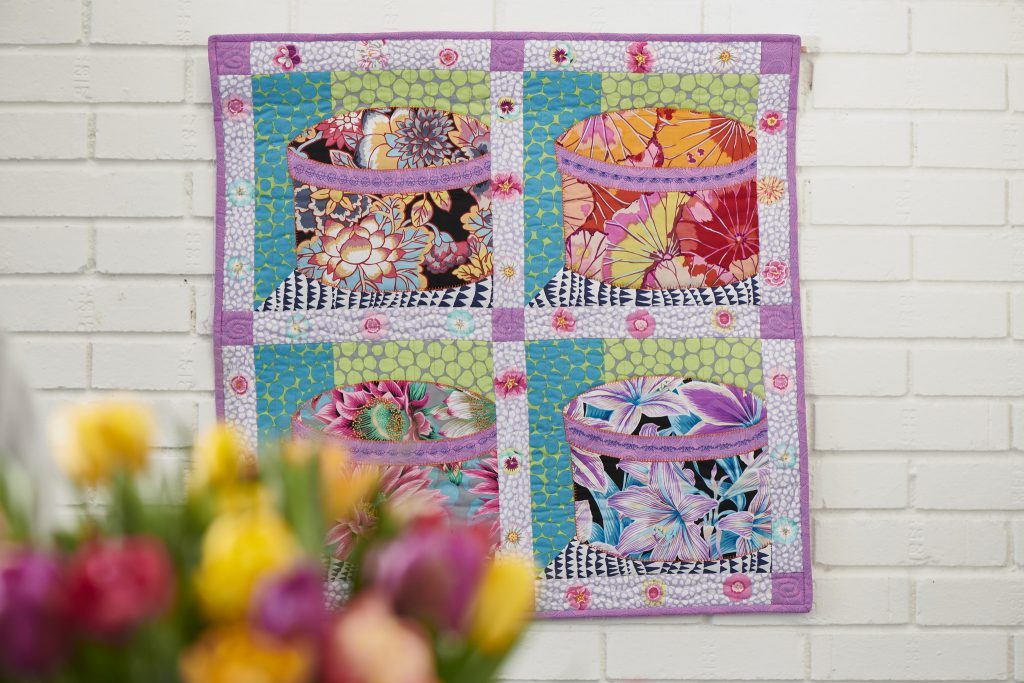
Now that you have finished your Kaffe Hat Box blocks, it is time to wrap up with our final week.
This is a tutorial shared by our colleagues from weallsew.com.
Structure of the Kaffe Hat Box Quilt-Along
We shared four parts of the Quilt-Along here on the blog. If you missed any part, don’t worry, you can find all available instructions here:
To all Kaffe Hat Box Quilt-Along articles
When you have finished a part of the Quilt-Along and you would like to share it with our community, you are welcome to use our Community Section. By the way, you can find a lot of inspriration there.
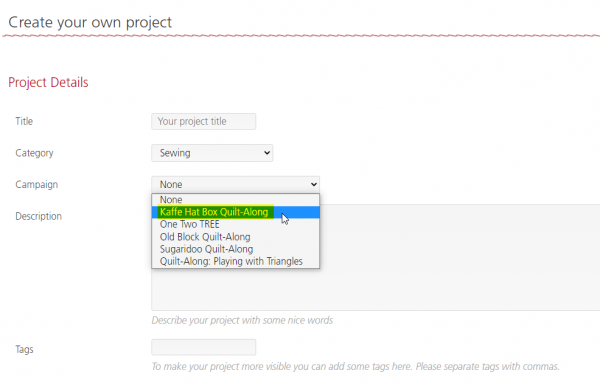
When uploading to the Community Section, make sure you select “Kaffe Hat Box Quilt-Along” in the “Campaign” drop-down list:
And if you don’t want to miss any article, you can subscribe to the newsletter and stay up to date.
Sign for the BERNINA Blog Newsletter for free
Let’s start! 
Today we will share the 4th and last part of the Kaffe Hat Box Quilt-Along. There will be lots to do…piecing the quilt top, quilting options and binding techniques!
Materials for the Kaffe Hat Box Quilt-Along
- Open Embroidery Foot #20
- Patchwork Foot #97
- optional: BERNINA 770 QE PLUS Kaffe Edition

- 2 yards Ultra Clean & Tear Stabilizer
- optional:
- Fusible Woven
- Mettler Silk Wrapped Finish 50 wt Cotton Thread
- Mettler Poly Sheen Thread – purple and orange
- 36” square batting
- Plastic template
- Temporary Marker
- Quilting Ruler with 45 degree mark
- Rotary Cutter
- Scissors
Note: Seam allowances are 1/4” unless otherwise noted.
If you have just discovered the Kaffe Hat Box Quilt-Along, you are not too late! Start now and download the free templates for the Kaffe Hat Box Quilt-Along here:
1. Piecing the Quilt Top
Find the sashing and cornerstone fabric pieces that were cut out the first week. You should have (12) 2 1/2” x 12 1/2” sashing strips and (9) 2 1/2” square cornerstones.
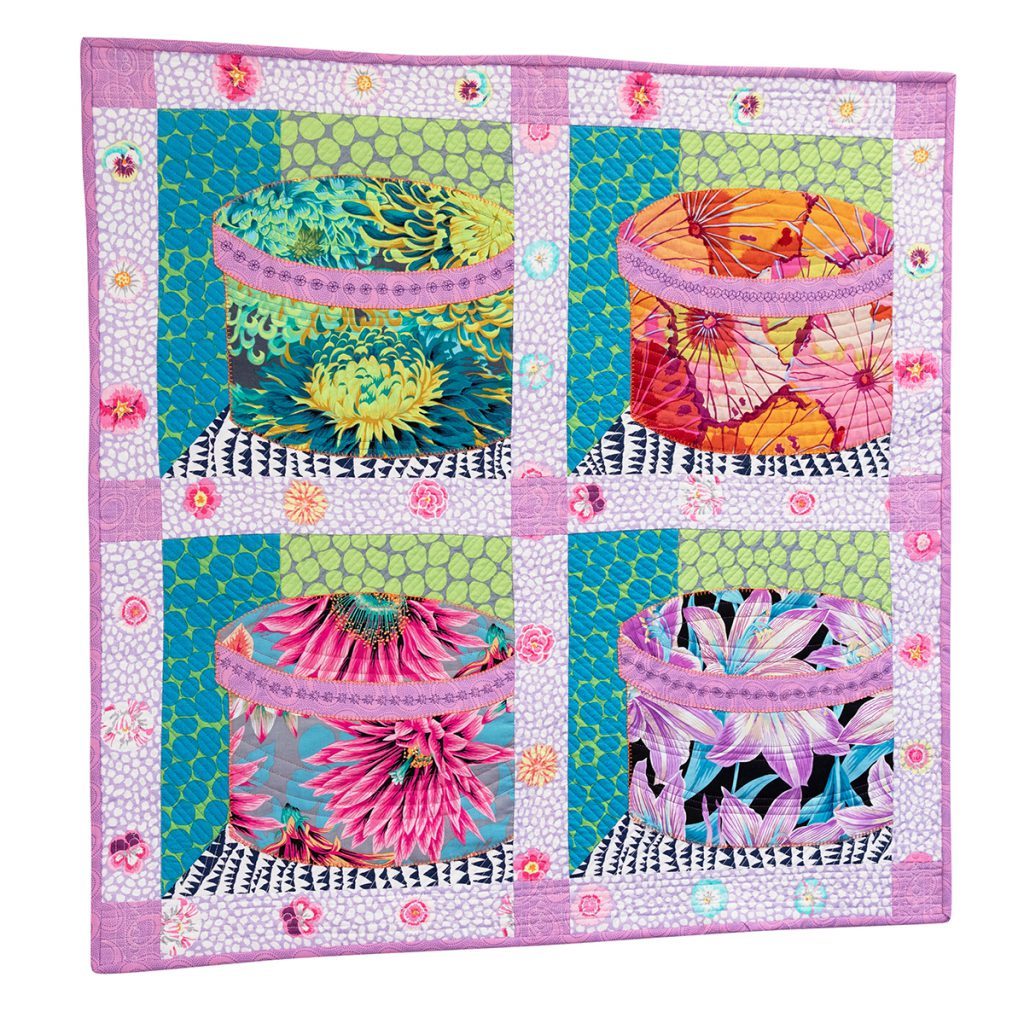
Layout the quilt top according to the diagram below. The quilt consists of 5 rows.
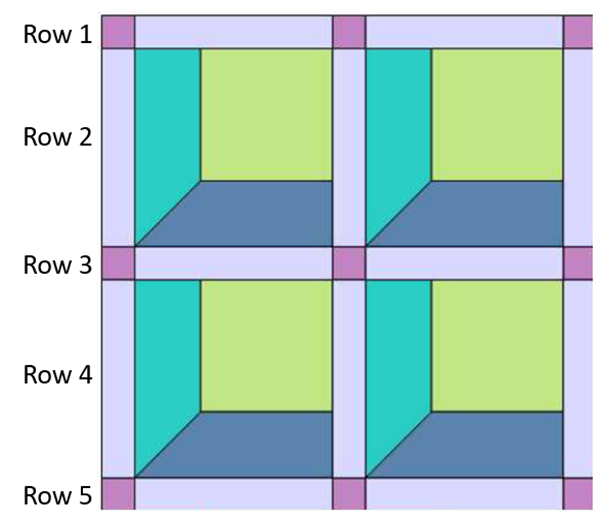
Attach Patchwork Foot #97D and Mettler Silk-Wrapped Cotton Thread in 50 wt. Sew all 5 rows.
Press seams to one side alternating directions by row. For example, press seams in Row 1 to the left, press seams in Row 2 to the right, etc. Sew the rows together nesting the seams. The quilt top measures 30 1/2” x 30 1/2”. Do you have leftover fabric or a favorite Kaffe fabric? If you want a bigger quilt, a 3” or 4” border can be added here.
2. Quilting
Cut out the batting and backing at least 2” larger on all sides. Baste the quilt sandwich with temporary basting spray and/or pins. I like to do a combination of spray and pins.
There are many options for quilting the top. One option is to free-motion quilt with the BERNINA Stitch Regulator. This awesome foot comes with the B 770 PLUS Kaffe Edition. If you enjoy free-motion quilting or want to learn, here are a couple of links to get you started!
WeAllSew Blog: BERNINA Stitch Regulator: Three Soles, Three Roles
WeAllSew Blog: BERNINA Stitch Regulator: Everything you need to Know
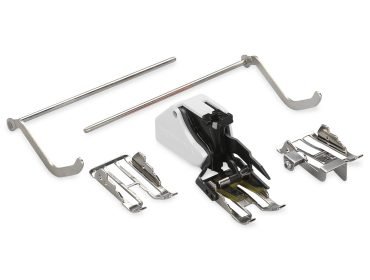
Another option is directional quilting with the Three-Sole Walking Foot with Seam Guide #50. Following is a link all about straight line quilting with the walking foot. It is from one of my quilt-alongs using Ruby Star fabric.
WeAllSew Blog: Stay Gold Quilt Along: Straight Line Quilting
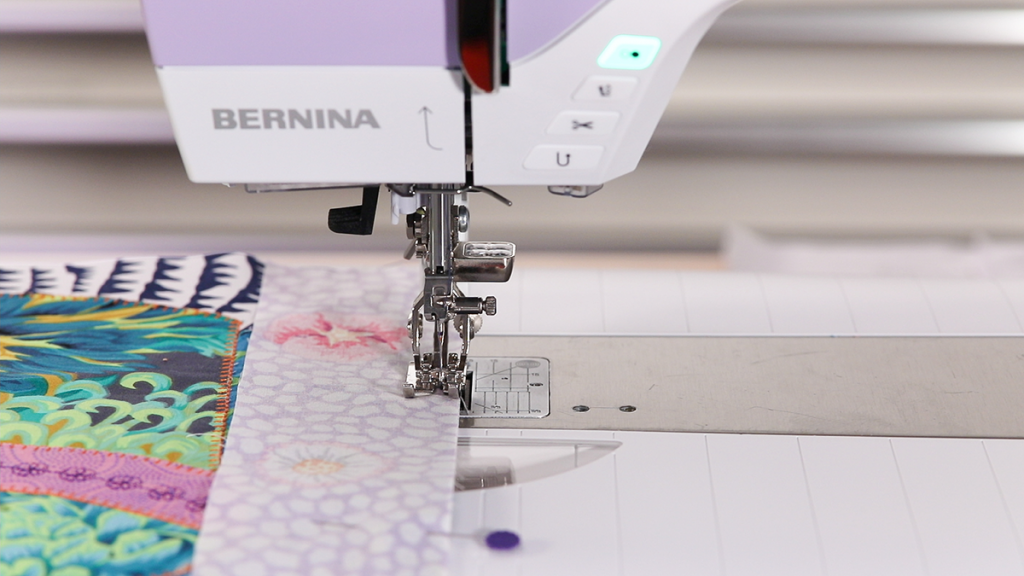
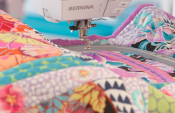
Here are a couple pictures of why using a walking foot for quilting is so important. The first picture shows quilting with Reverse Pattern Foot #1D. See the fabric puckering under the sole? Dual Feed is designed for 2 layers of fabric. Without rubber grips along the sole, the top fabric is not feeding evenly with the batting and backing.
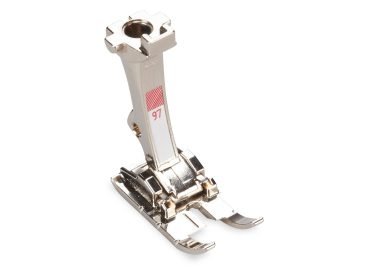
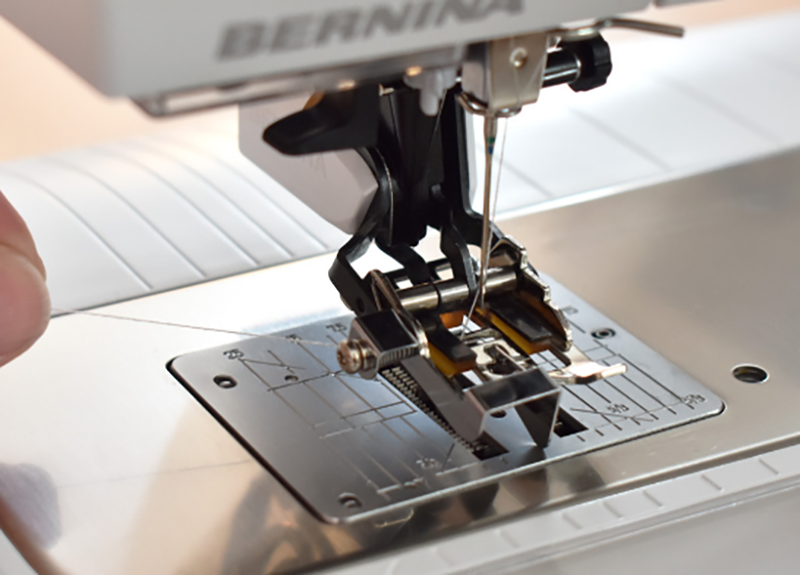
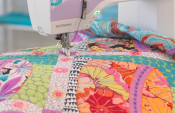
This next picture shows quilting with Walking Foot #50. Notice there is no puckering; it’s nice and flat. The rubber grips along the sole are helping to feed the fabric evenly with the batting and backing.
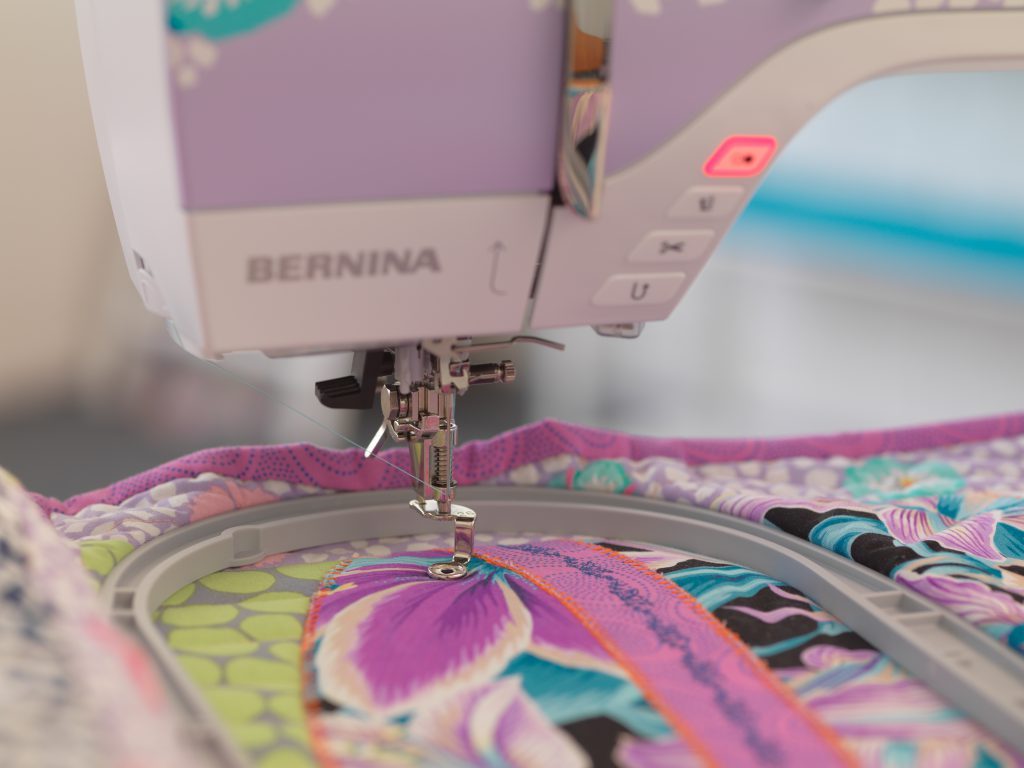
For my Kaffe quilt, I used Walking Foot #50. First, I used the Center Guide Sole to stitch in the ditch along the sashing. The Center Guide goes into the “ditch” and butts up against the seam allowances that are pressed to one side. I like to use a 60 weight thread when using this method. It is a thinner thread and hides beautifully in the seams.
Next, I quilted lines in the block background for texture. I switched to the Standard Sole. With a temporary marker, I drew the first line. After that I used the 1/4” mark on the foot to keep my lines straight and consistent. Instead of cutting threads after every quilting line, I stitched on the side where it was least noticeable and continued with the next line.
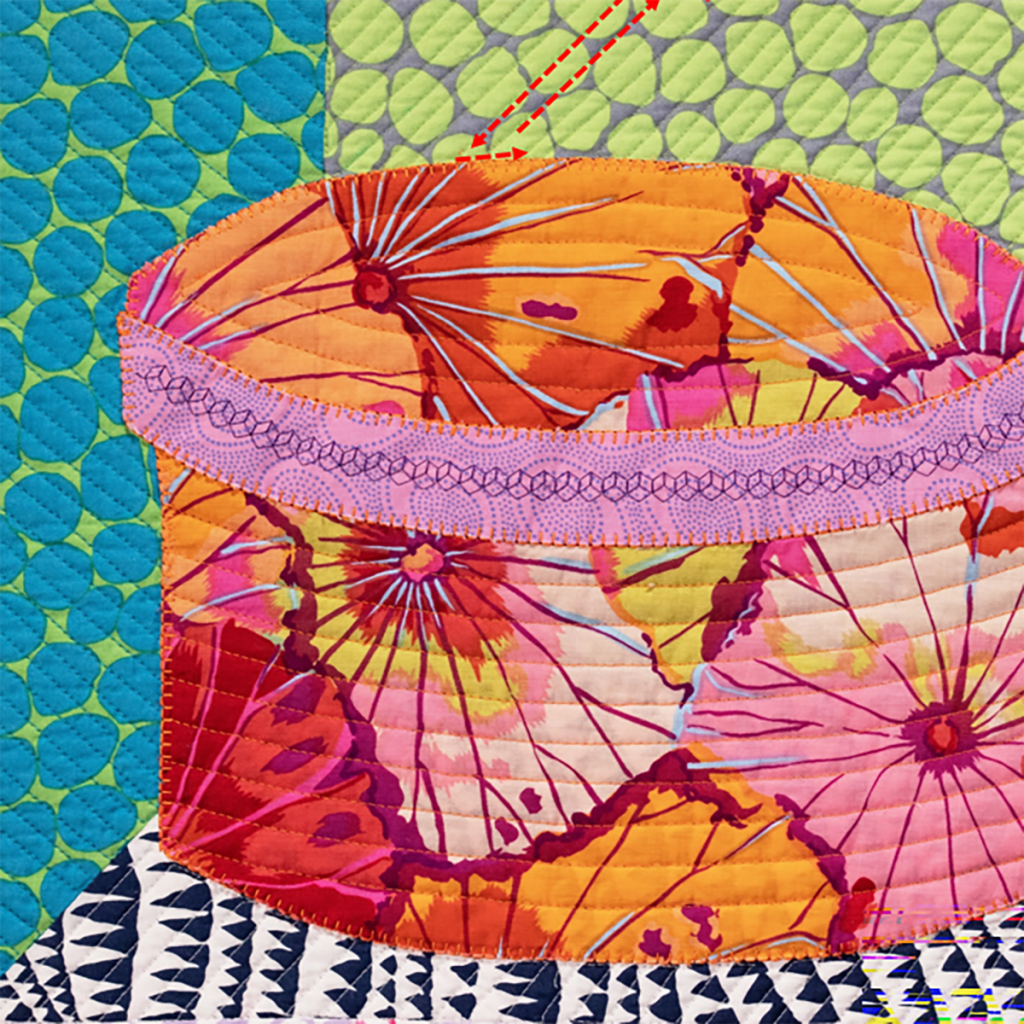
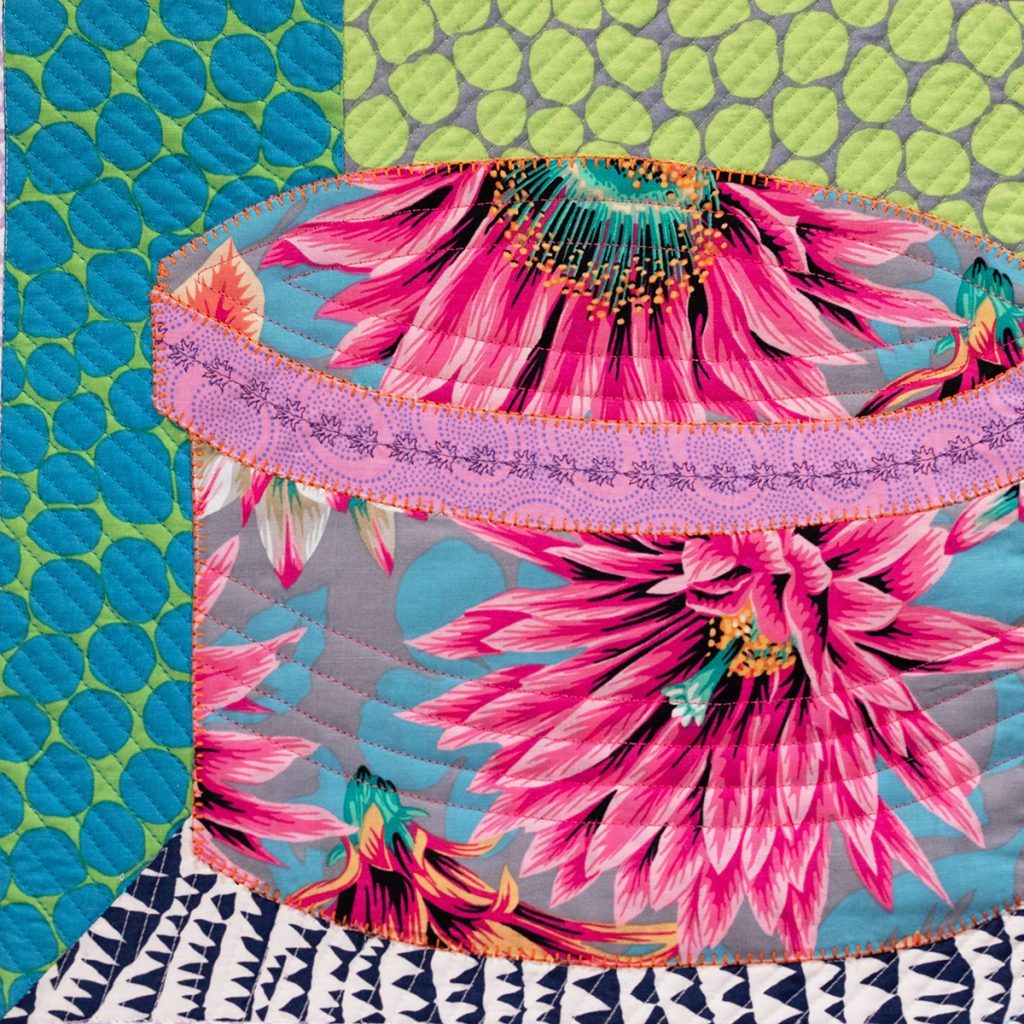
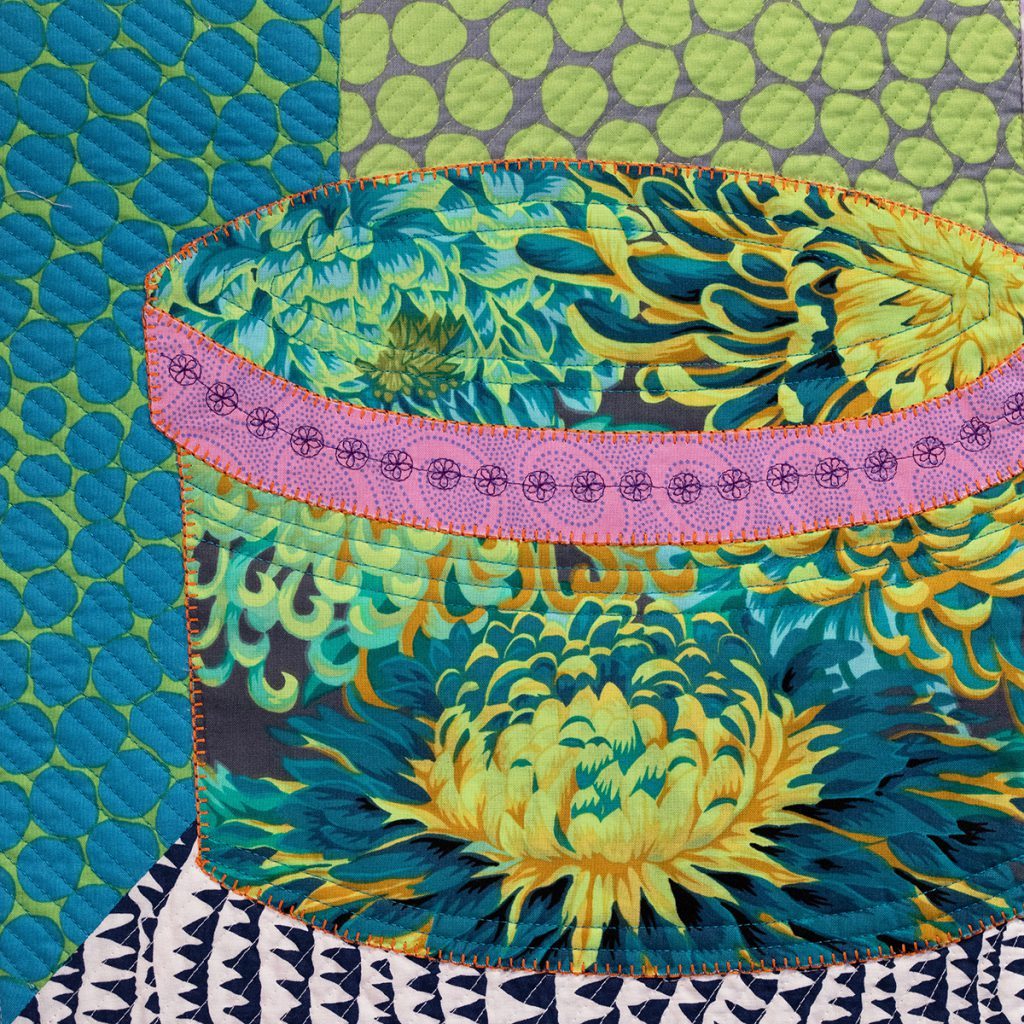
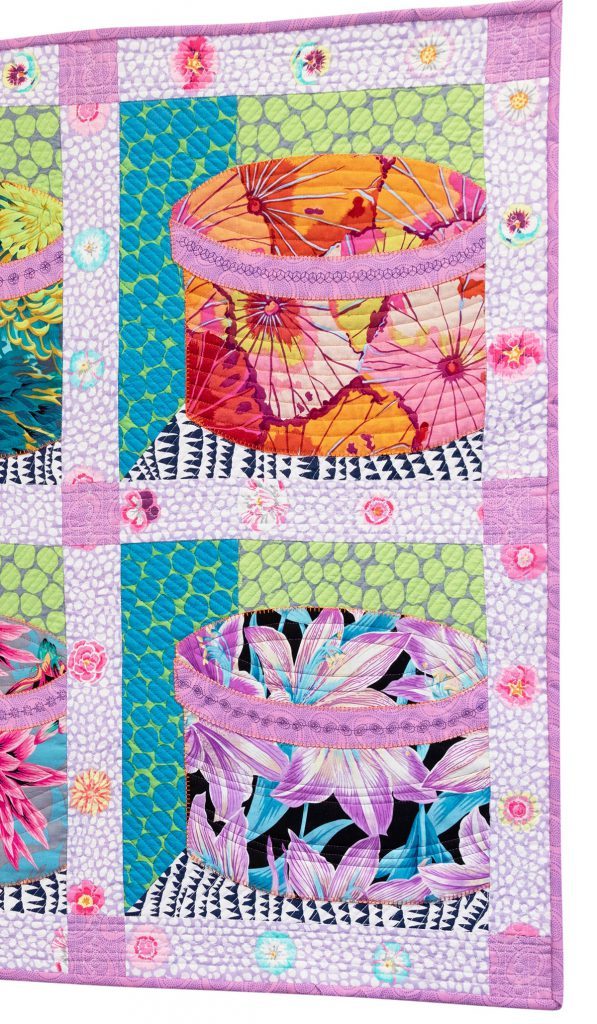
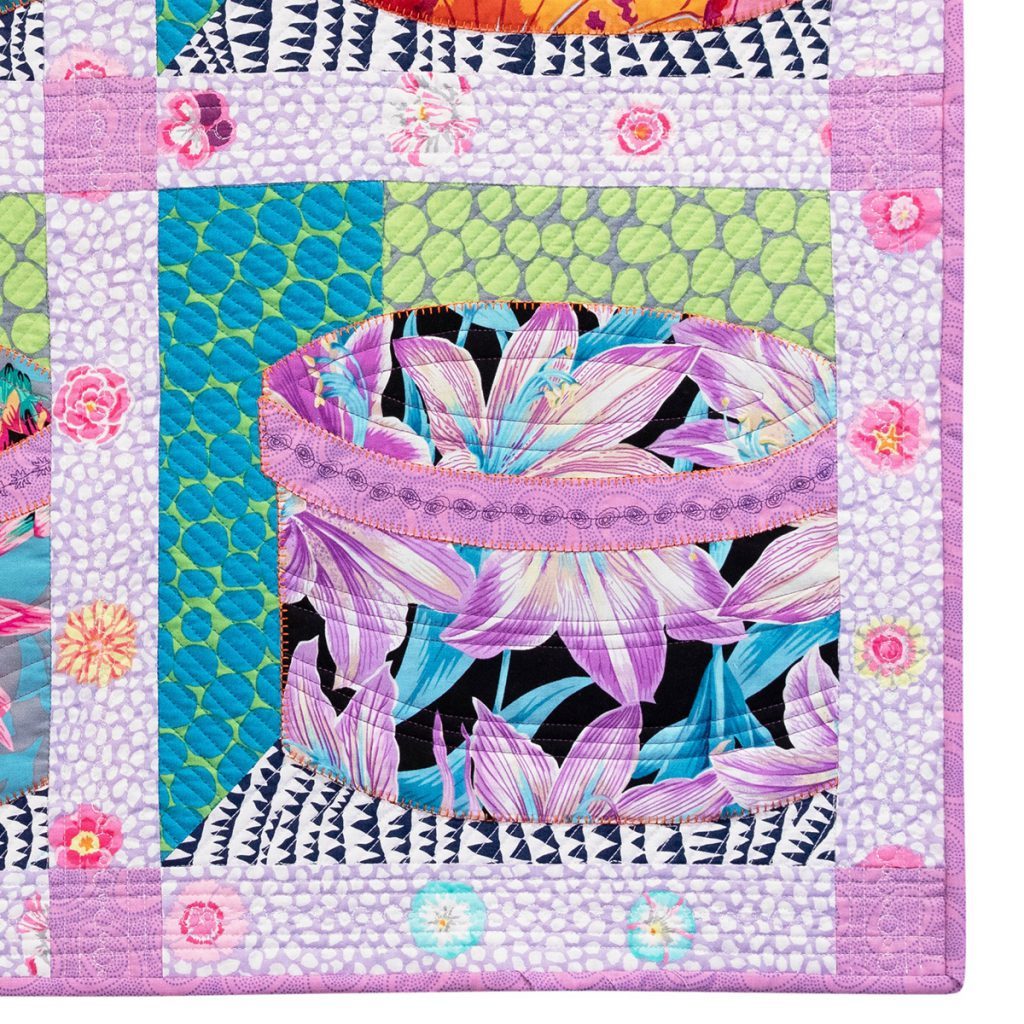
For the Hat Boxes, I followed the curve of the box and the lid to echo stitch lines. I added different line combinations for each box. Use the Seam Guide to echo lines that are more than 1/2”.
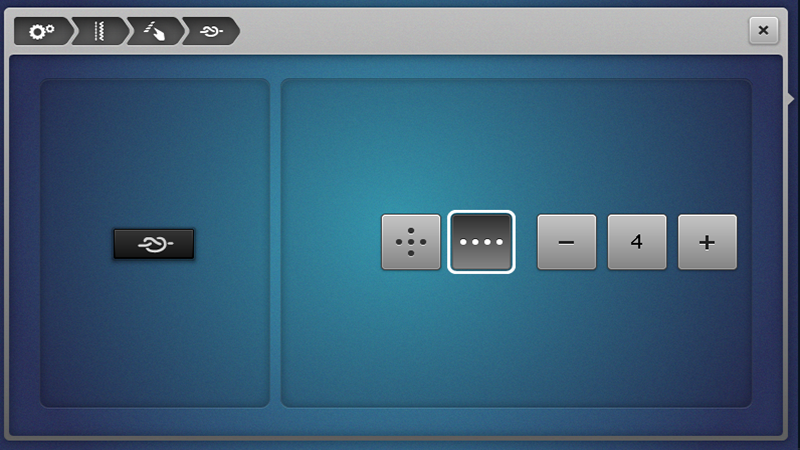
Activate the Secure Button to secure stitching at the start and end. In my Sewing Settings, the Secure Button is programmed to sew 4 tiny stitches in a row.
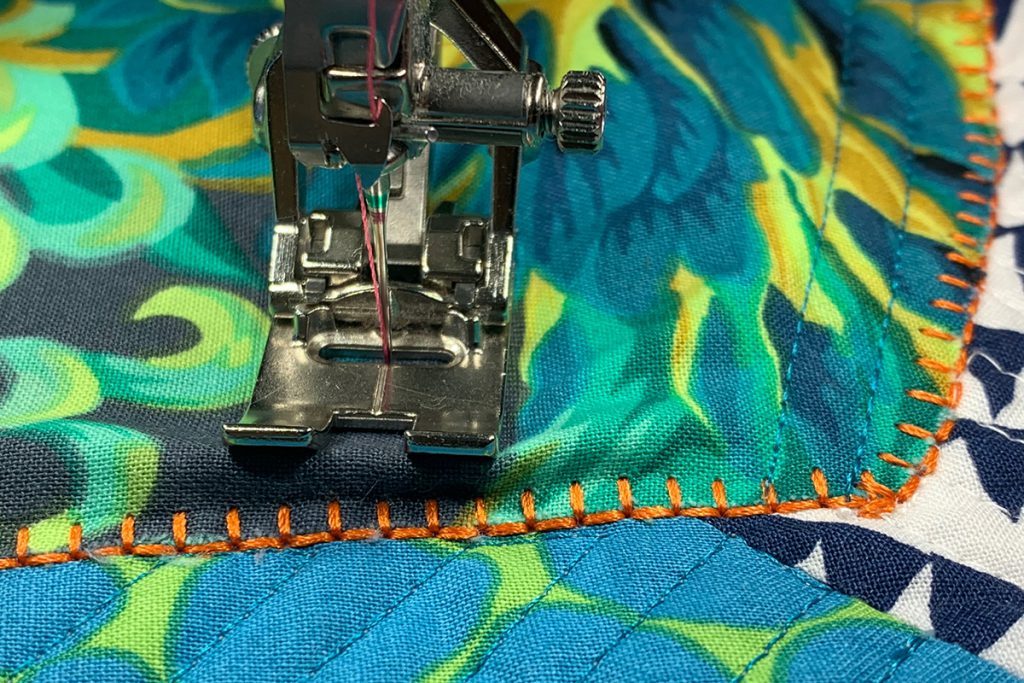
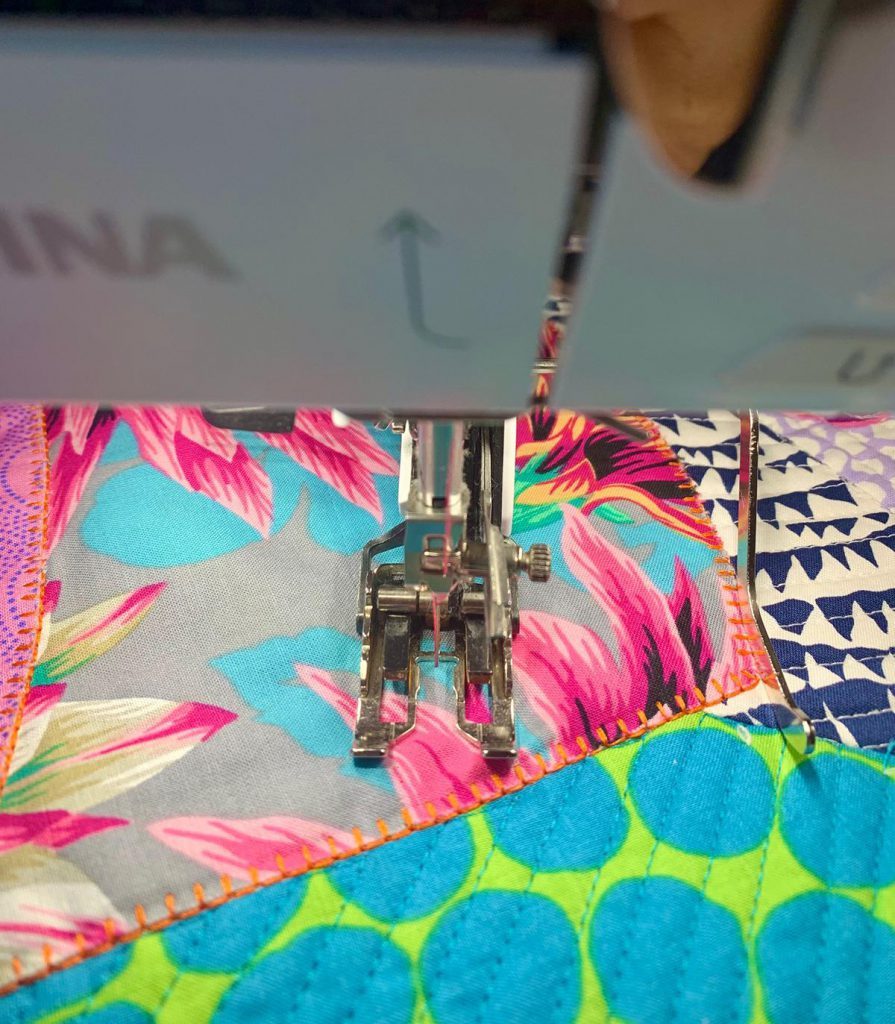
Also, I stitched rows of straight lines in the sashing and cornerstones. I created two rows of parallel lines 1/4” apart on each side. This left enough room to sew a 9 mm decorative stitch in the center. My quilt is very secure with the previous quilting, so I knew I would be ok to use ##foot 1 Foot #1D or Foot #20C. This allows me the option to stitch at a 9 mm width. I selected Stitch #607.
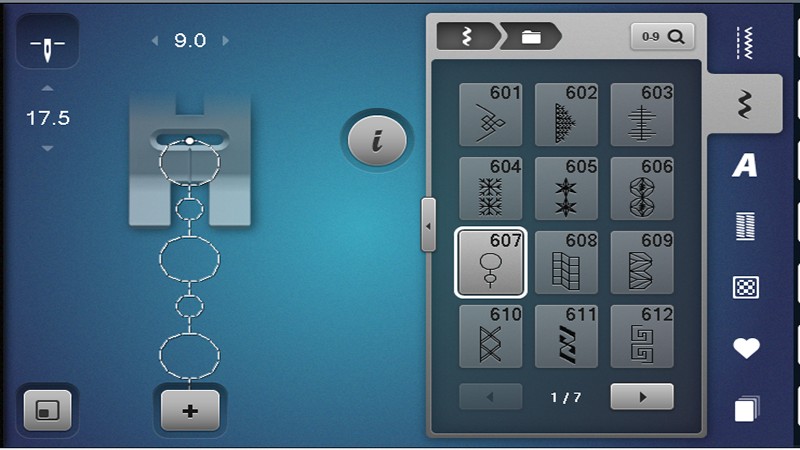
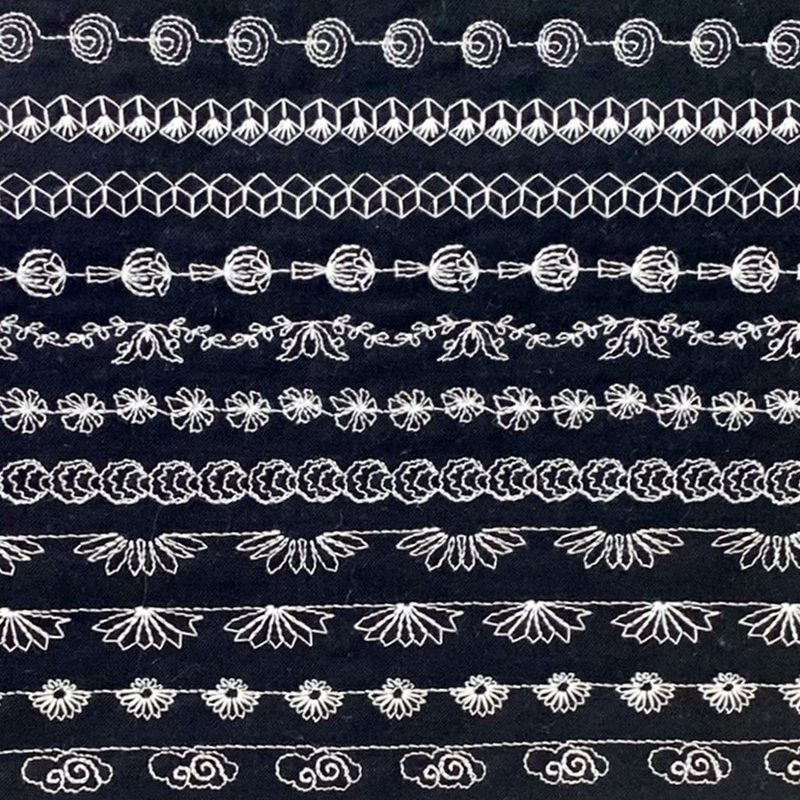
Remember the exclusive Kaffe decorative stitches in your machine! There are some cool options!
3. Binding
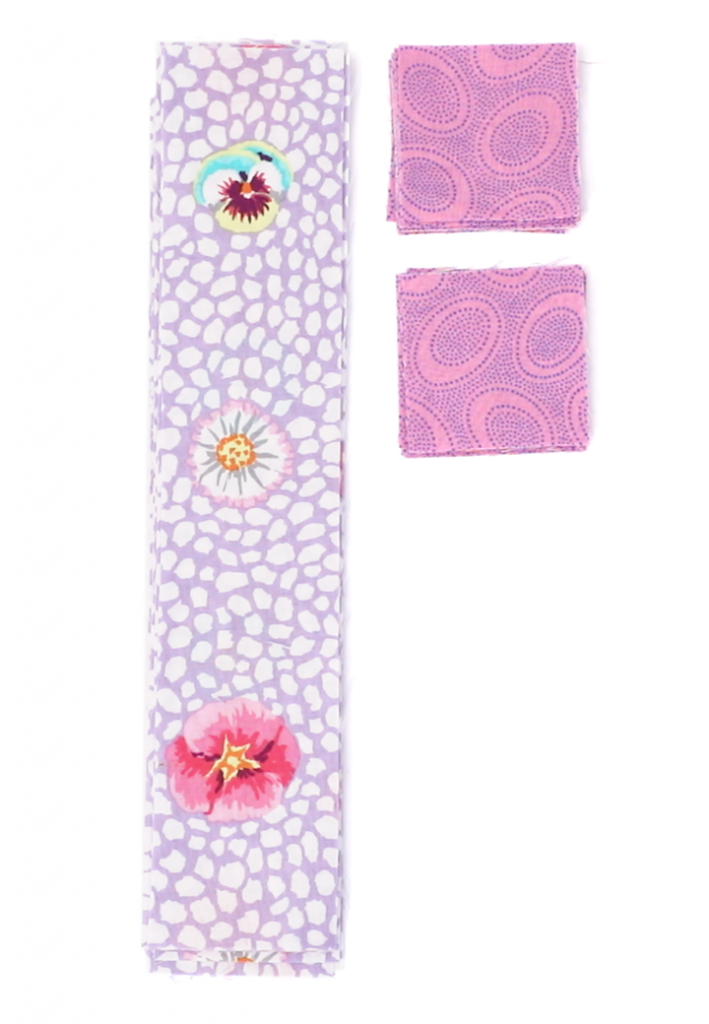
Find your binding strips from the first week. You should have 4 strips. Sew them together to create one long continuous strip. Press in half lengthwise.
We are at the end of our Kaffe Hat Box Quilt-along Series. I hope you had as much fun as I did! There’s always something new and exciting at BERNINA in the sewing, quilting and embroidery world. Remember to visit us often. See you soon!
Kaffe Fassett Hat Box Quilt Series
Join in the quilt along fun by sharing your Kaffe Fassett Hat Box Quilt on social media #kaffehatboxquilt. We’d love to see your Hat Boxes!

0 Responses