 BERNINA Corporate Blog -
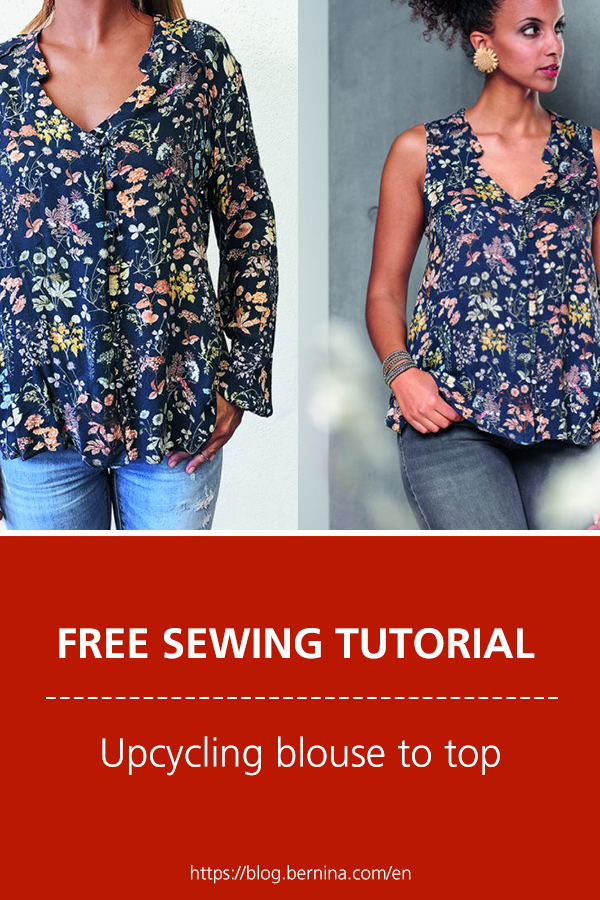
Much too precious to throw away, but you don’t want to wear the blouse like this anymore? So why not convert it?
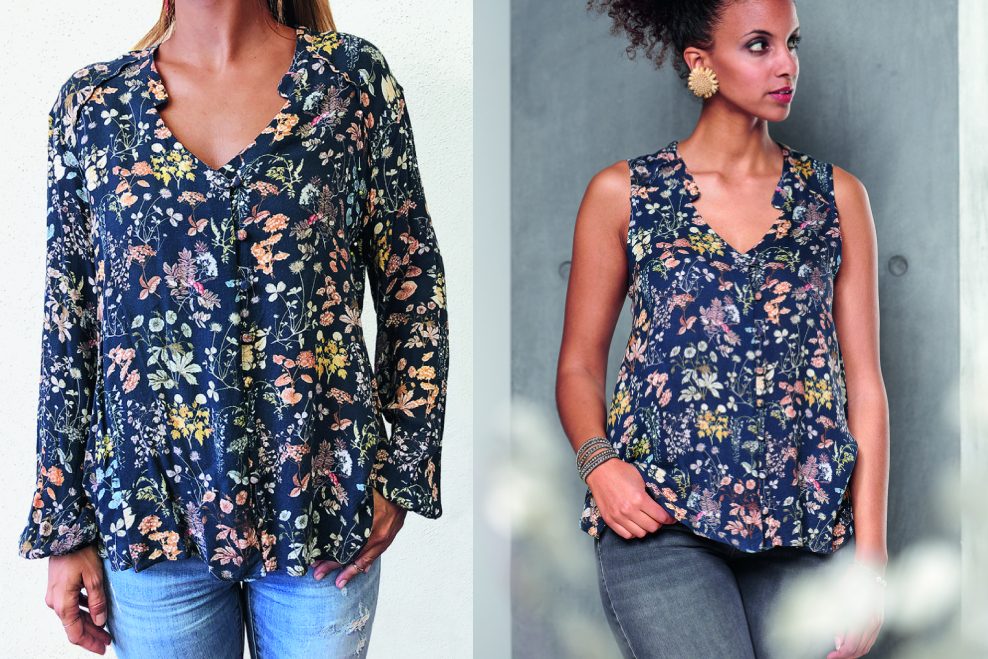
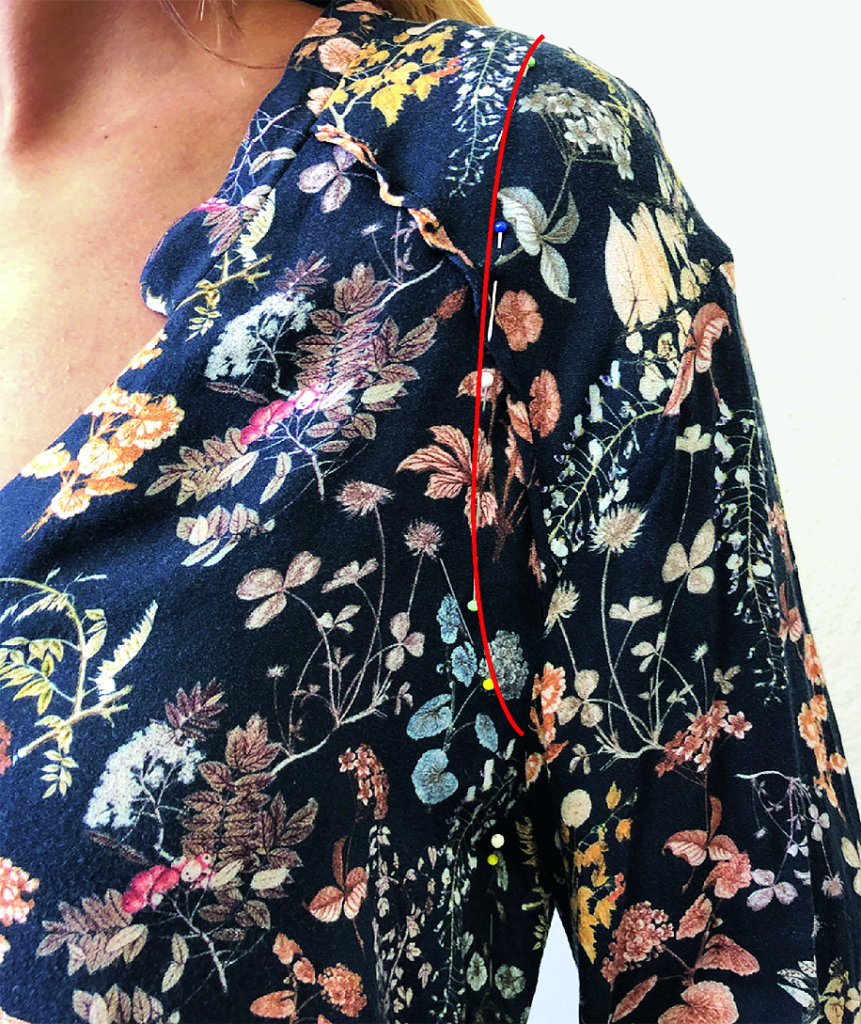
To find a new armhole shape, first put on the blouse and mark the position of the new armhole.
NOTE
If the armhole should become too deep with a loosely fitting blouse, a bit of width can be taken away. In general, the armhole will then be higher.
- Cut the sleeves along the seam first. Open the buttons and place the blouse in the centre back on the fold. Carefully pin all shoulder, side and dividing seams on top of each other. Cut out the fabric according to the new armhole with an extra allowance, correcting the curve slightly if necessary.
- Cut the sleeves along the seam first. Open the buttons and place the blouse in the centre back on the fold. Carefully pin all shoulder, side and dividing seams on top of each other. Cut out the fabric according to the new armhole with an extra allowance, correcting the curve slightly if necessary.
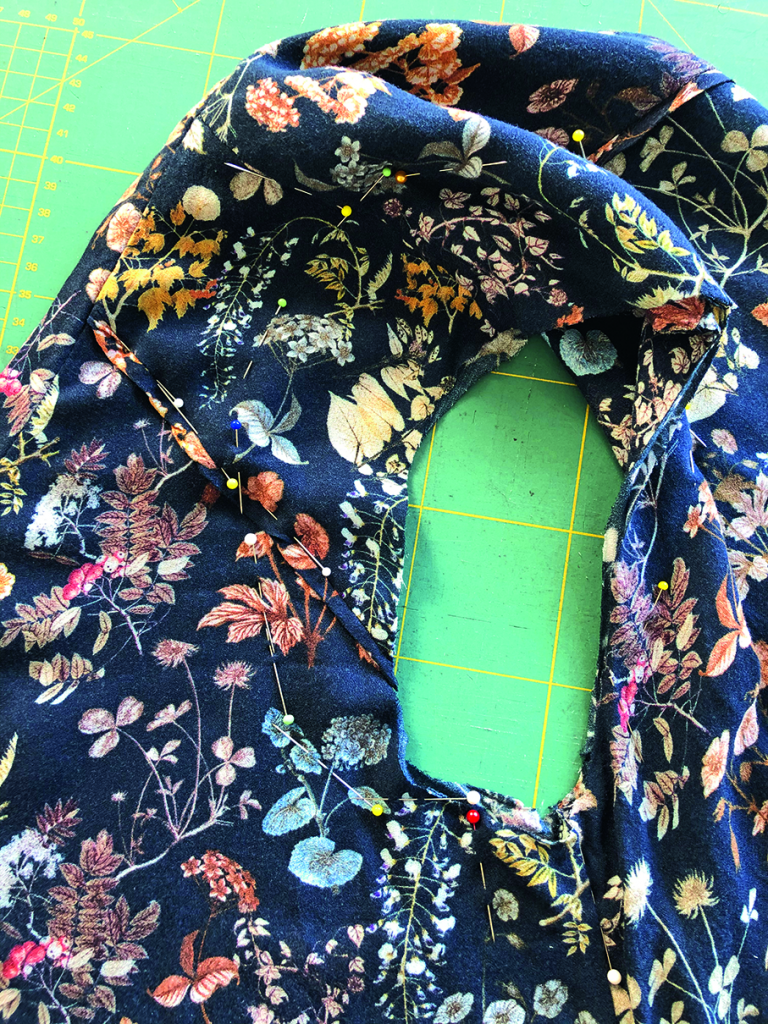
- At the shoulder, make sure the blending between front and back is harmonious.
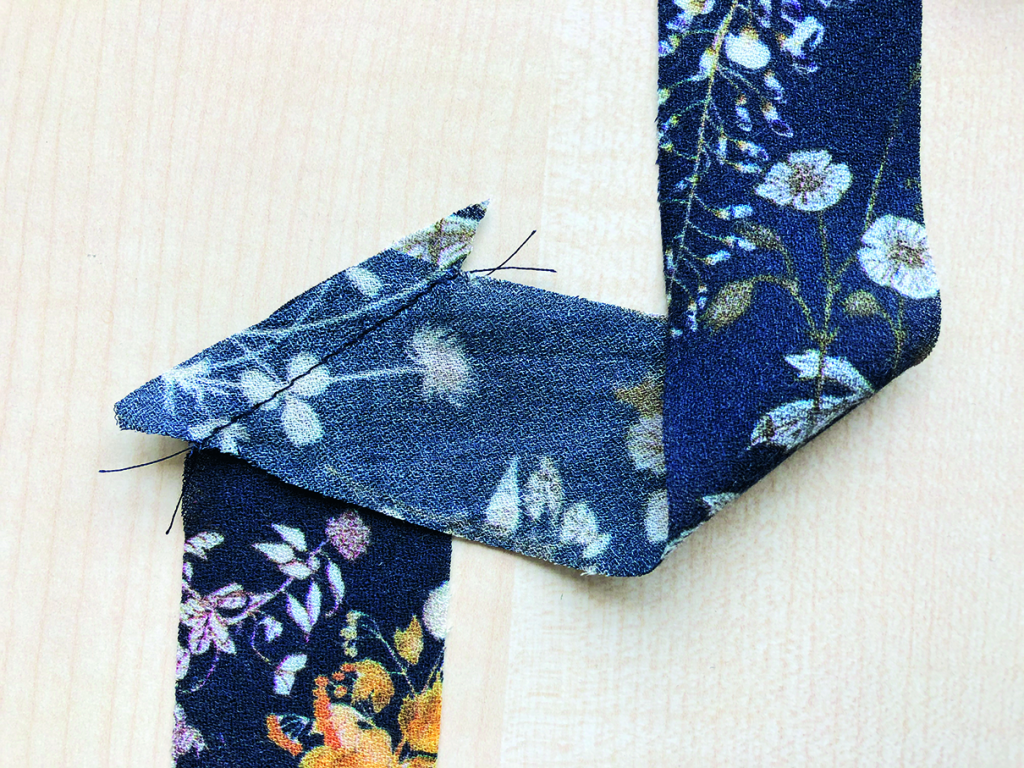
- Cut off one sleeve cuff. Cut open the sleeve seam. Cut 3.5 to 4 cm wide strips in the diagonal grain – it does not necessarily have to be the obligatory 45° grain – according to the length of the armhole. Make two strips in armhole length. Place the strip ends on top of each other and cut both at an angle at the same time. Place the strip ends right side on right side on top of each other and sew them together. Iron the allowances apart. Put the long edges on top of each other and iron them in a slightly offset fold.
- Attach the bias tape to the armhole so that all the additions are in layers. This saves a later stepped cutting back of the allowances and ensures a smooth border. Sew it on just slightly foot-wide, gathering the tape under the arm along the curves. Iron the tape over the allowances. Clip the allowance of the blouse under the arm vertically to the seam. Fold the tape inwards and pin it in place.
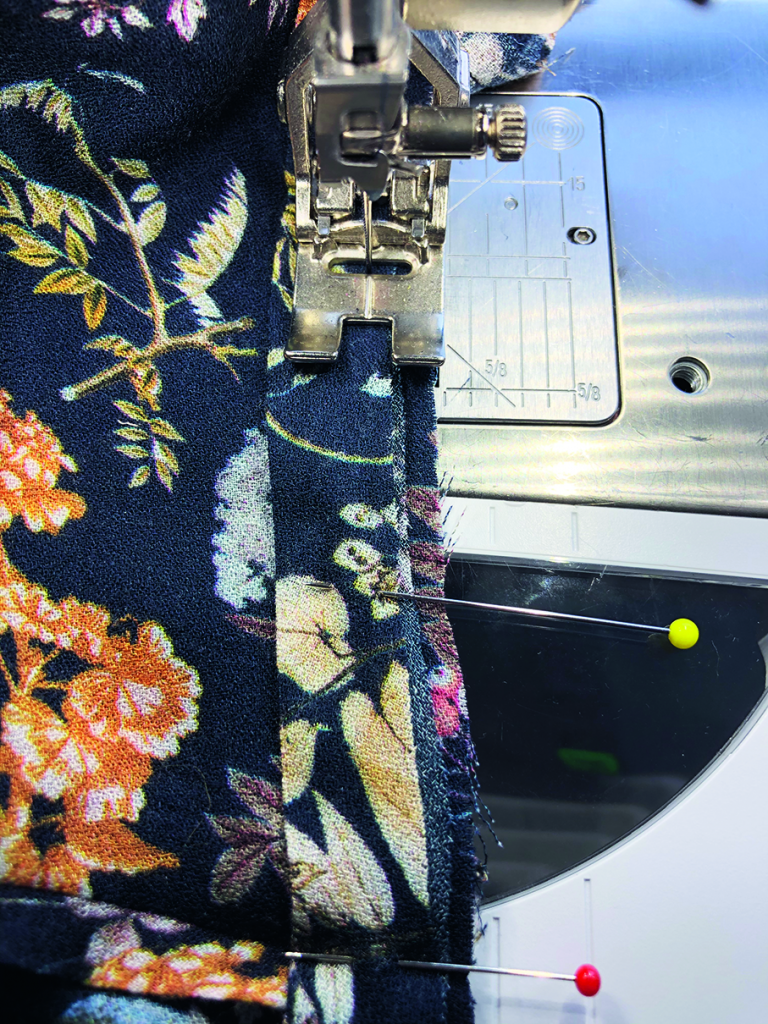
- Stitch the armhole from the right side at the width of the foot.
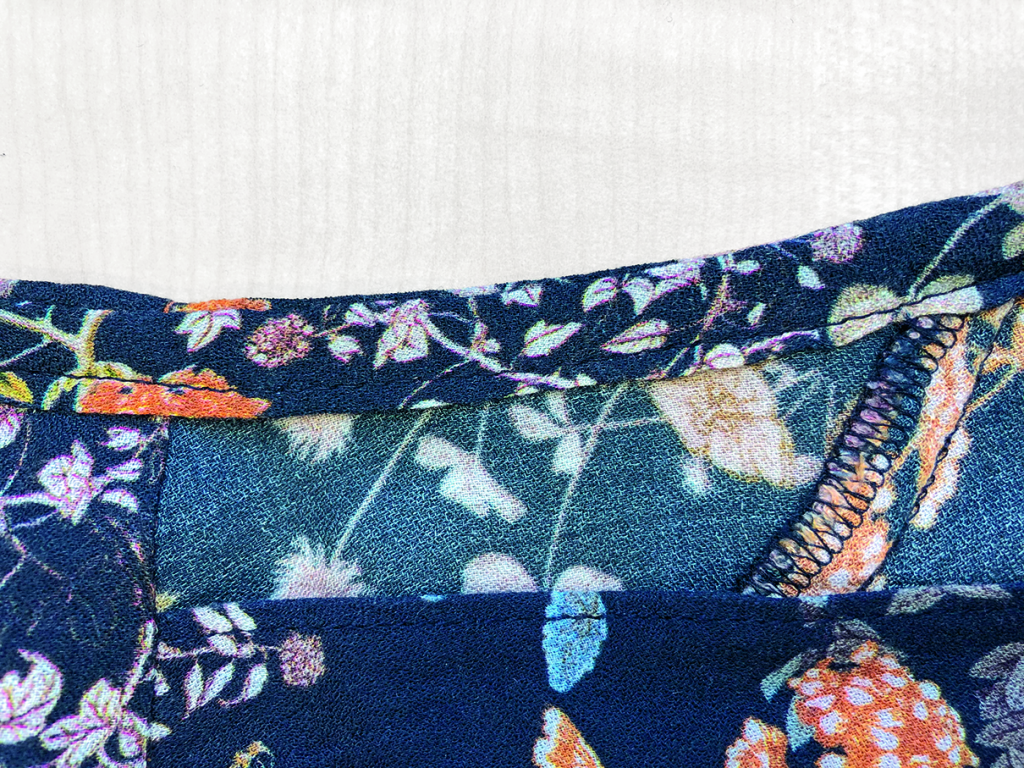
- Ready


0 Responses