 BERNINA Corporate Blog -
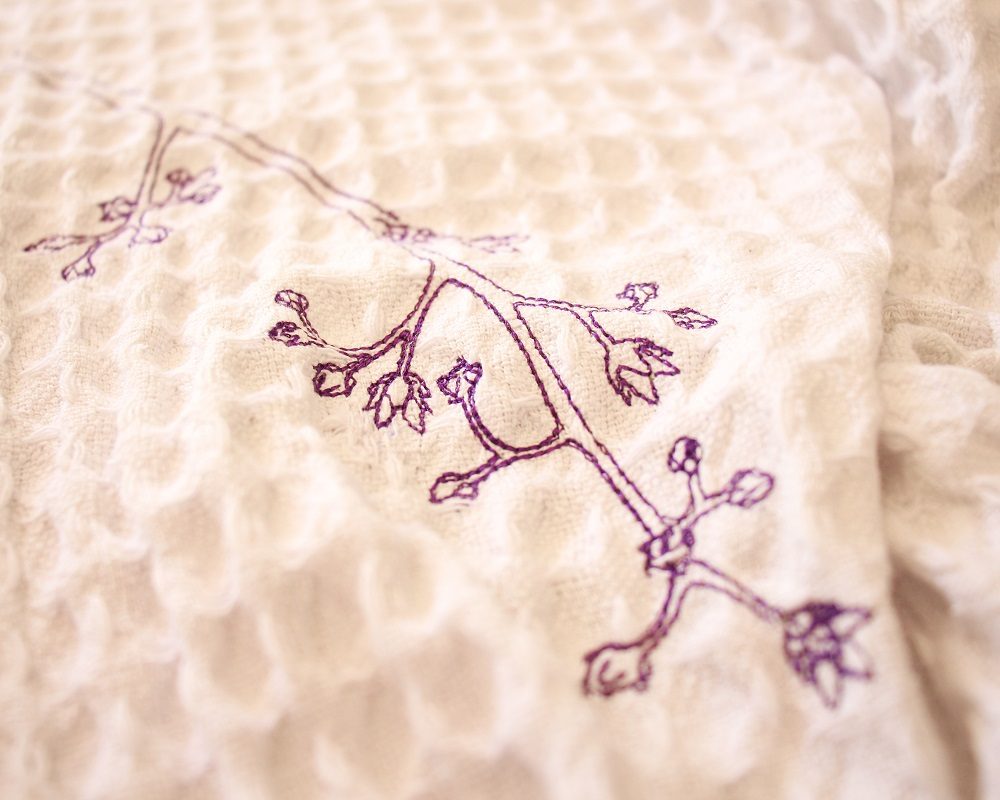
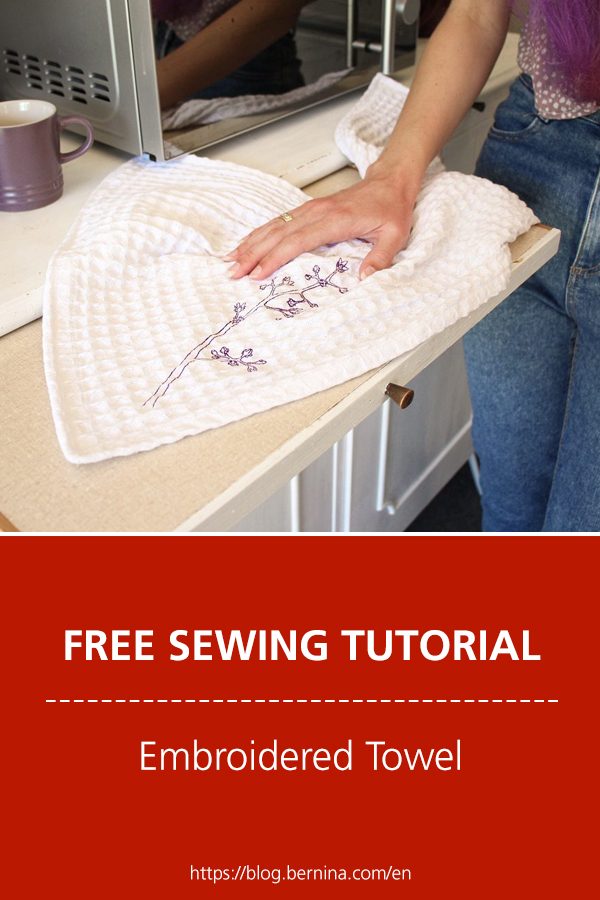
I created an embroidery design for my part in Bernina’s Advent Calendar.
You can download the embroidery design for free from my post for the advent calendar here: Advent Calendar 2022 ‒ the 19th door
I wanted to share with you how I created the embroidery design with Bernina’s Embroidery Software 9 and Corel Draw so that you can create your own.
What will be needed:
- Bernina Embroidery Software 9
- Artwork/image
Digitize

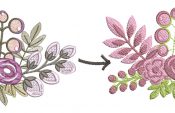
I created this artwork by drawing lines over a picture of my plant. This can be achieved in Corel Draw by using the Freehand, Pen or 2 Point Line Tool.
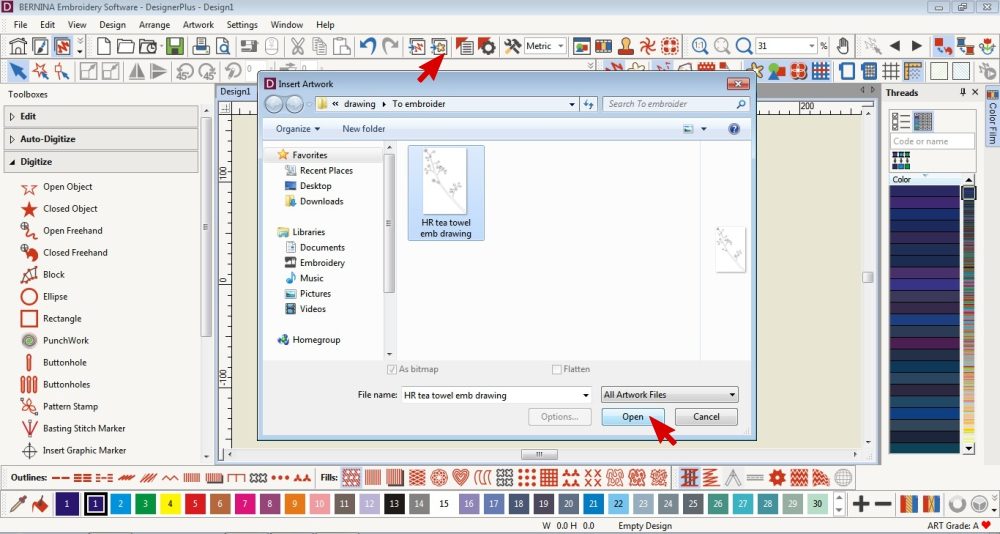 Insert artwork.
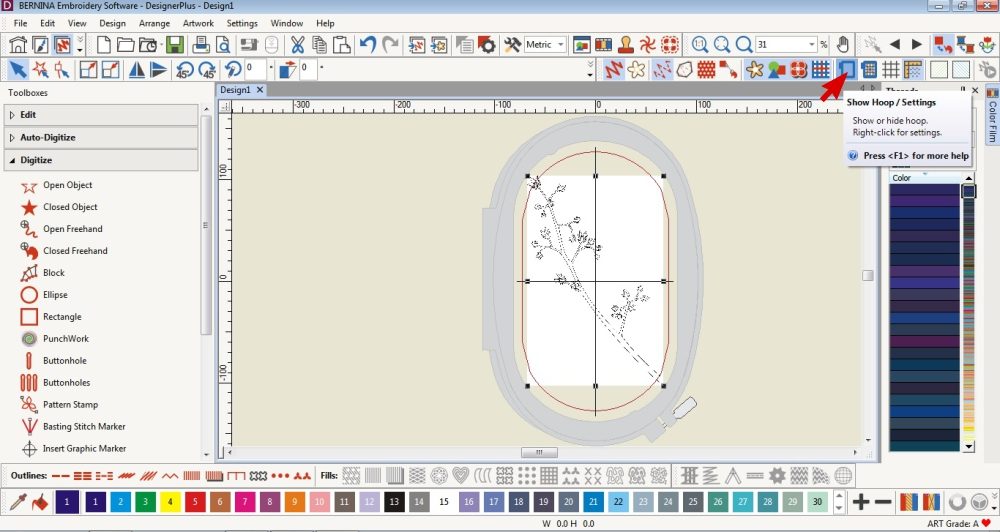 Select the hoop you will be using.
Right click on the Show Hoop to see the settings and choose a hoop.
I am using the Large Embroidery Hoop so I select that one.
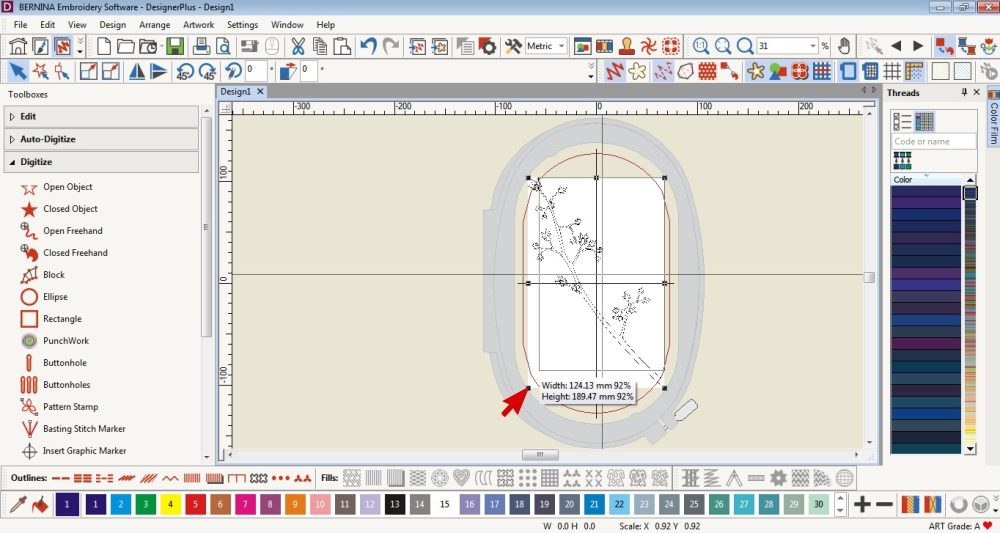 Resize the artwork to fit within the hoop/fit the item you are going to embroider.
Auto Digitize
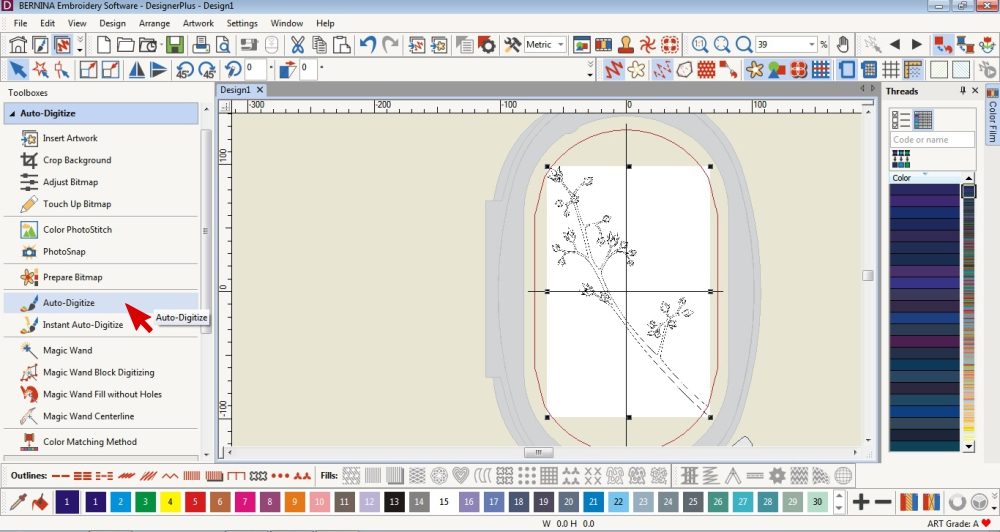 Select the Artwork and click on the Auto-digitize tool.
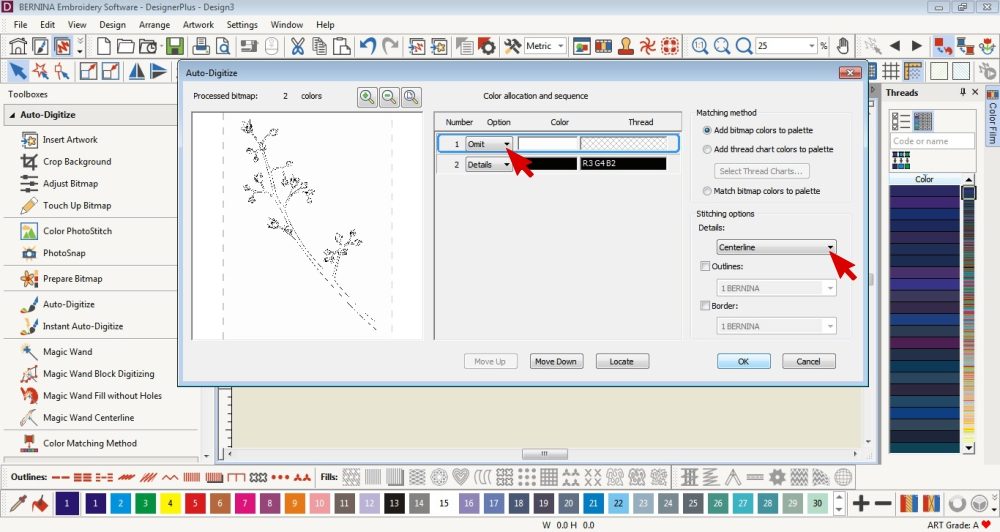 Choose what colours to omit.
I didn’t want the white background to be converted to embroidery so I omitted it.
Select Centerline under the Stitch Details Tab.
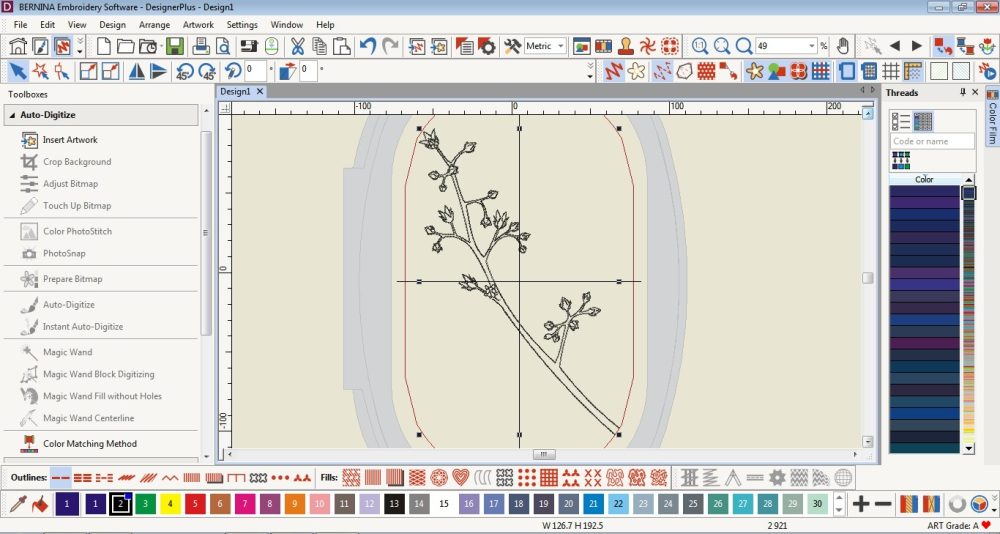 Delete the artwork and reshape the digitized object or edit its properties if necessary.
Finishing Off
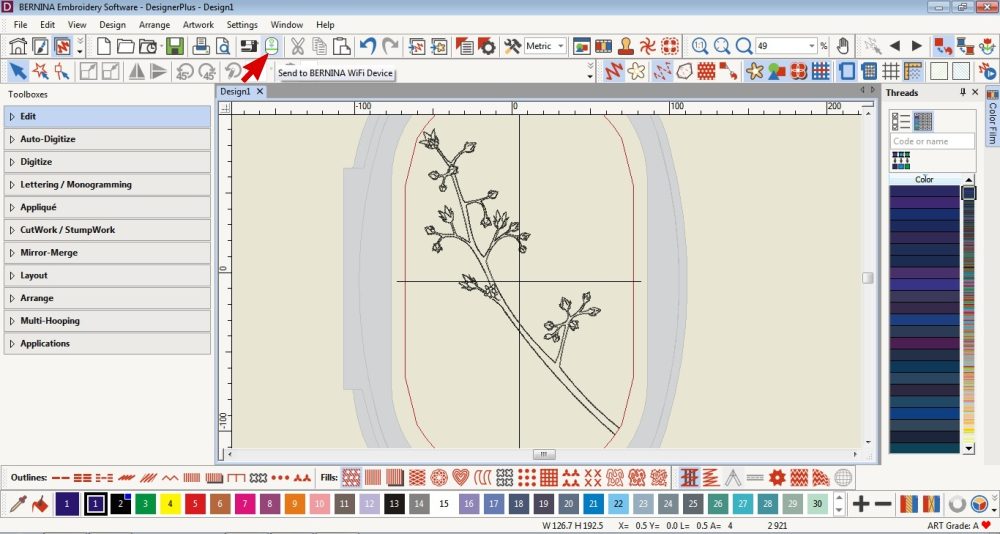 Save, export or send to your Bernina machine via the WiFi Device.
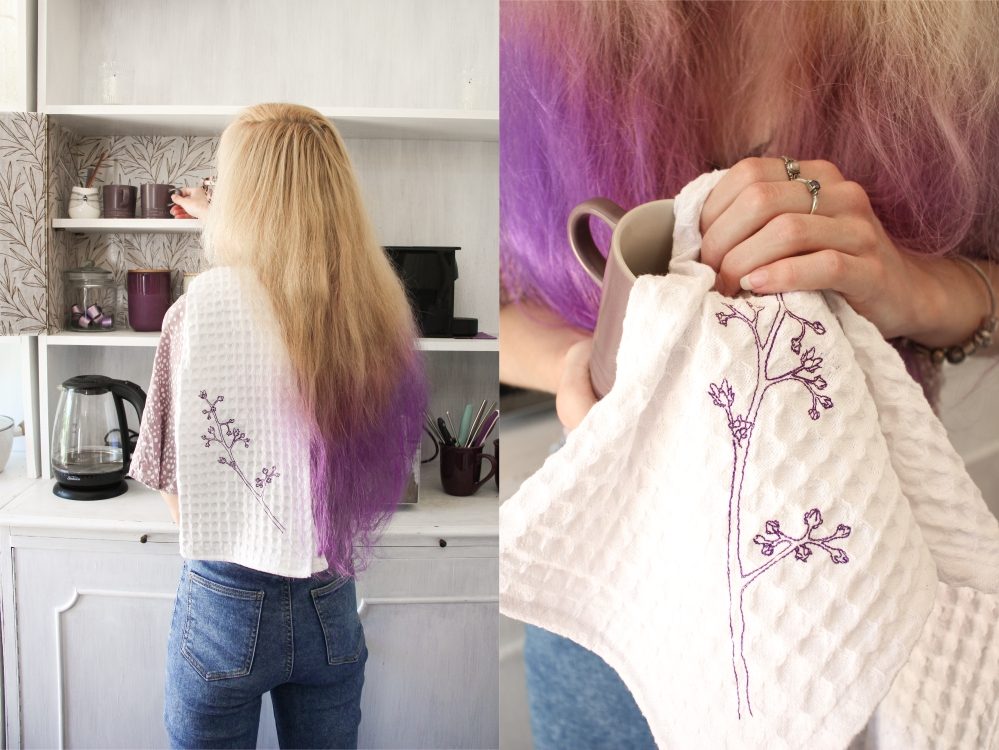

I would love to see what you make, please feel free to share with me!
Instagram
Facebook
-Hannah-Rose


Do you think that this can be achieved in a creator version or do I need this software.
Hi Melinda 🙂
It’s my understanding that BERNINA Embroidery Software 9 Creator has the Auto Digitizing Tool so you can convert a graphic in to embroidery like I did.
However it does not have CorelDraw (which comes with the DesignerPlus version) which is what I used to create the line drawing.
You could import a picture or scan a drawing in to the embroidery software.
Hope that helps 😉
Your tutorials a wonderful! Can’t wait to try this. It is great having these for the embroidery module. Thank you!
Thank you so much 🙂 I’m glad that you are enjoying them.