 BERNINA Corporate Blog -
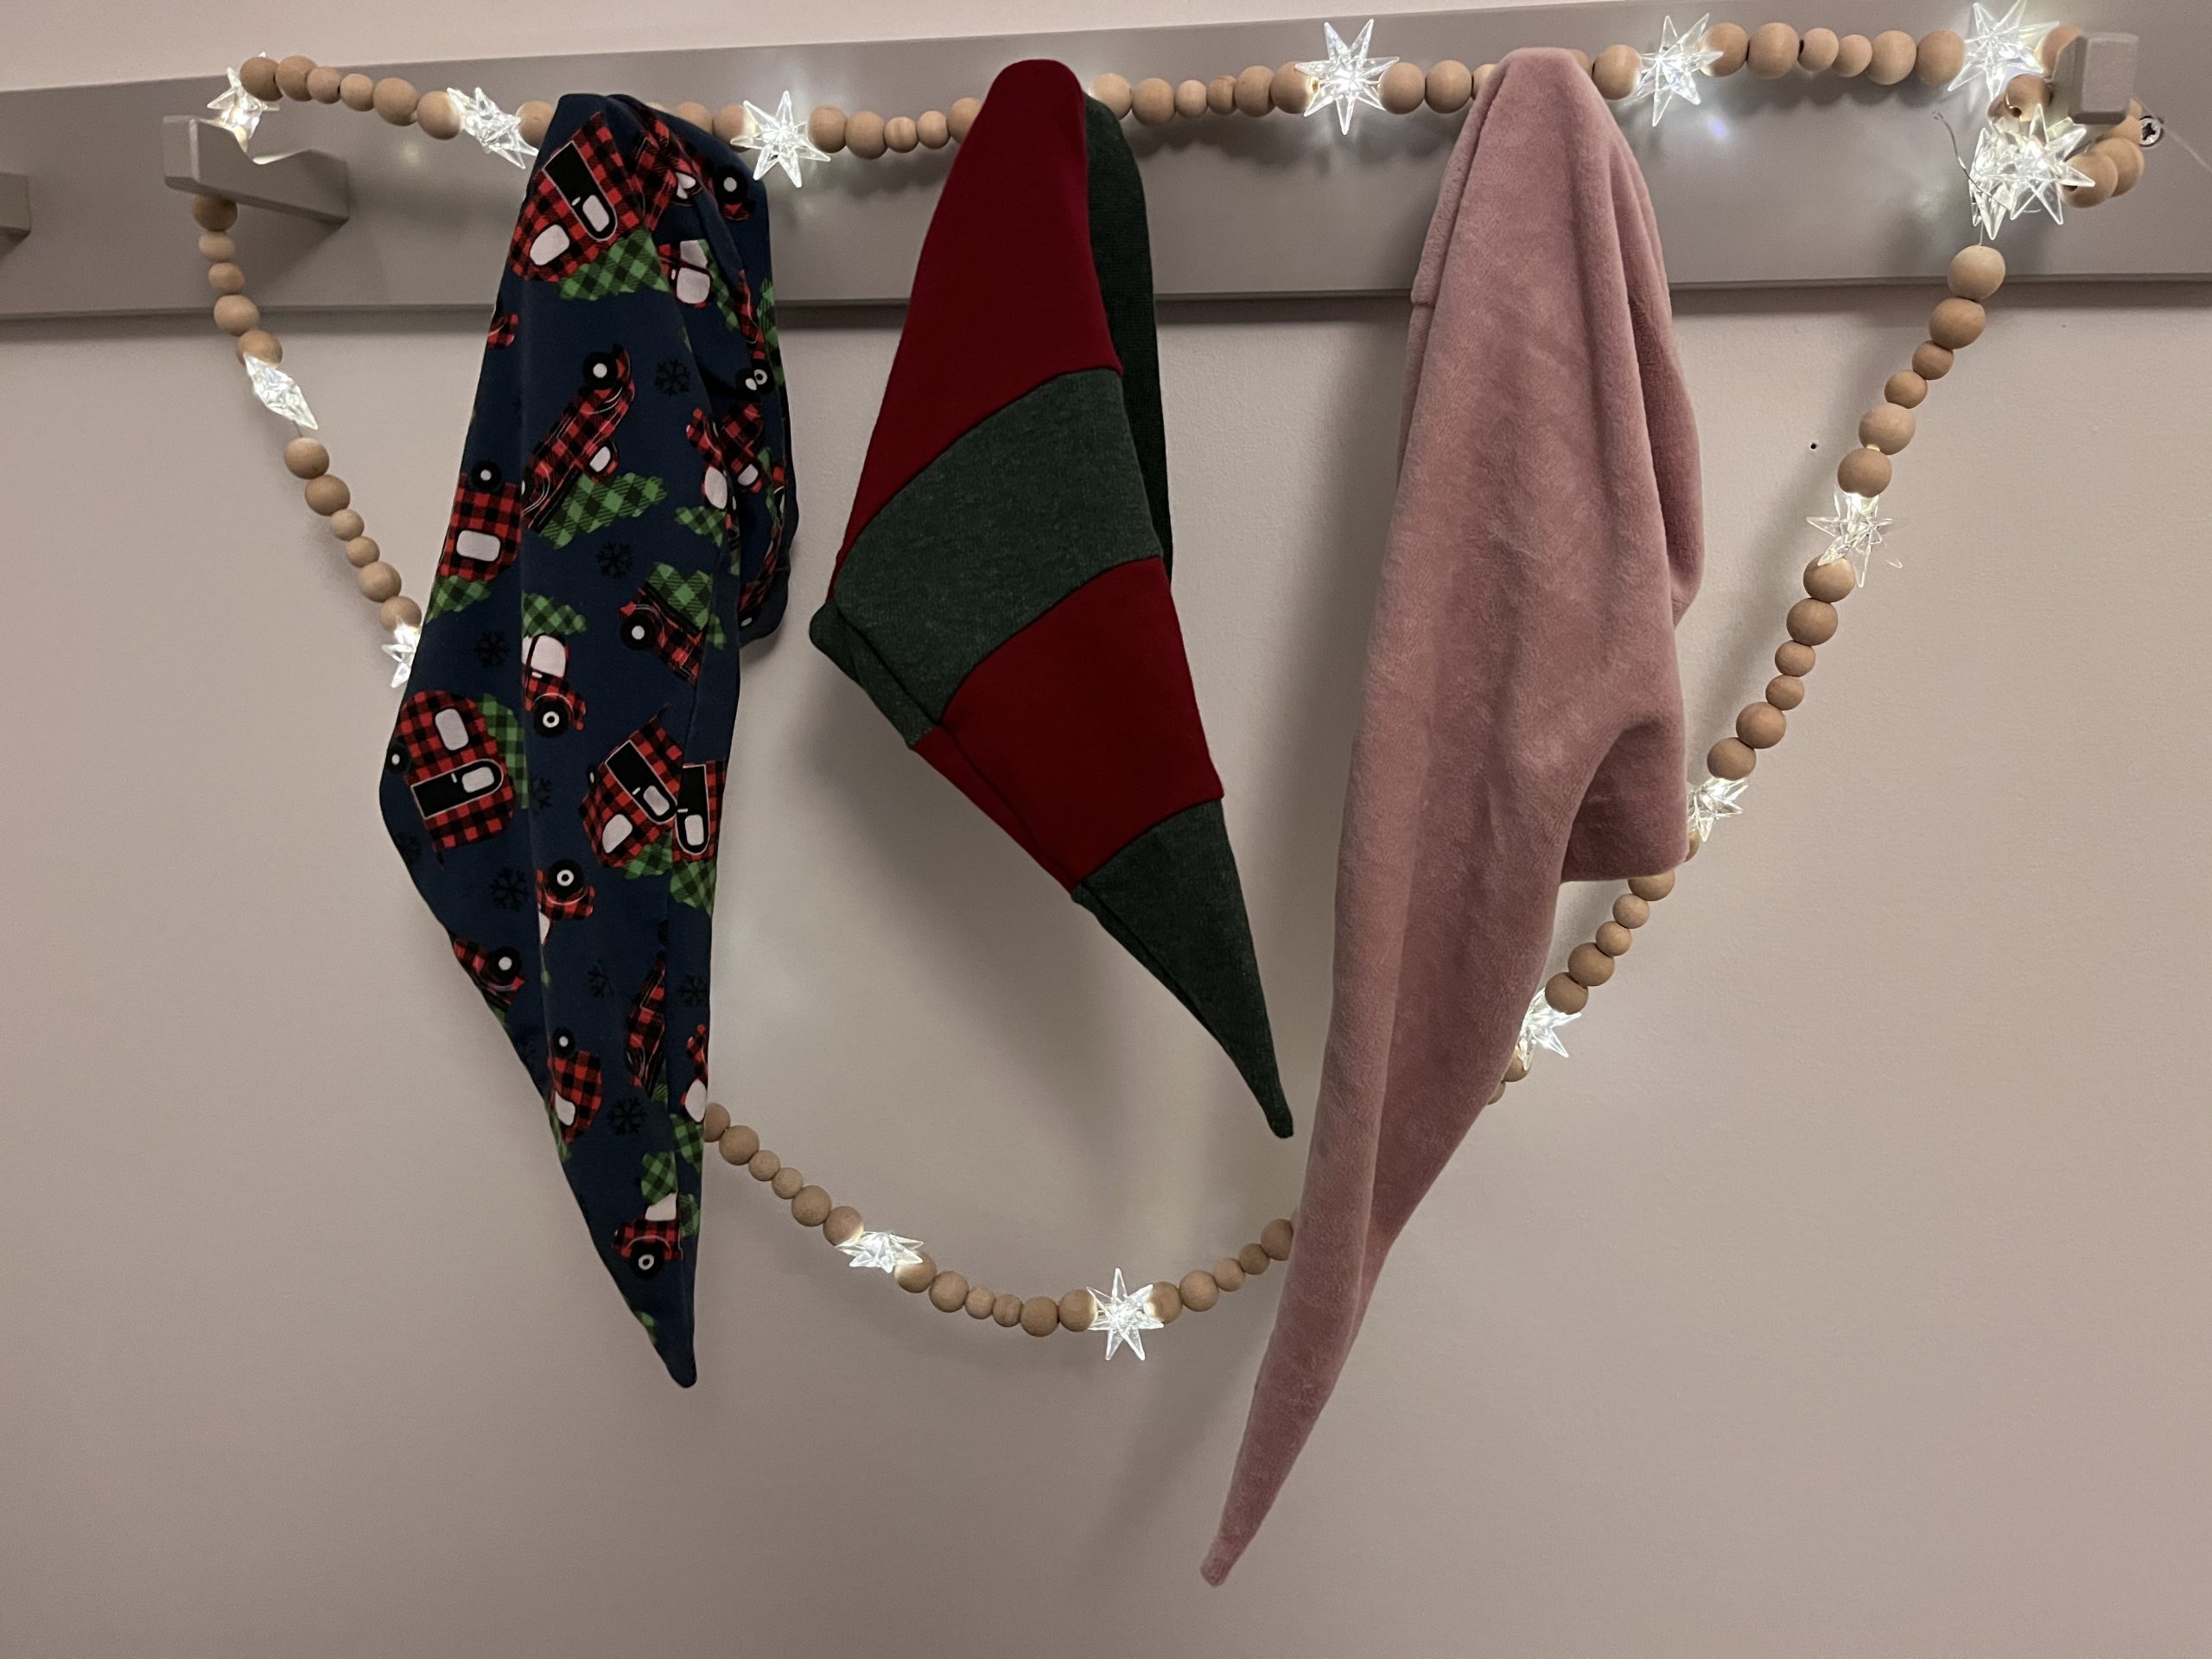
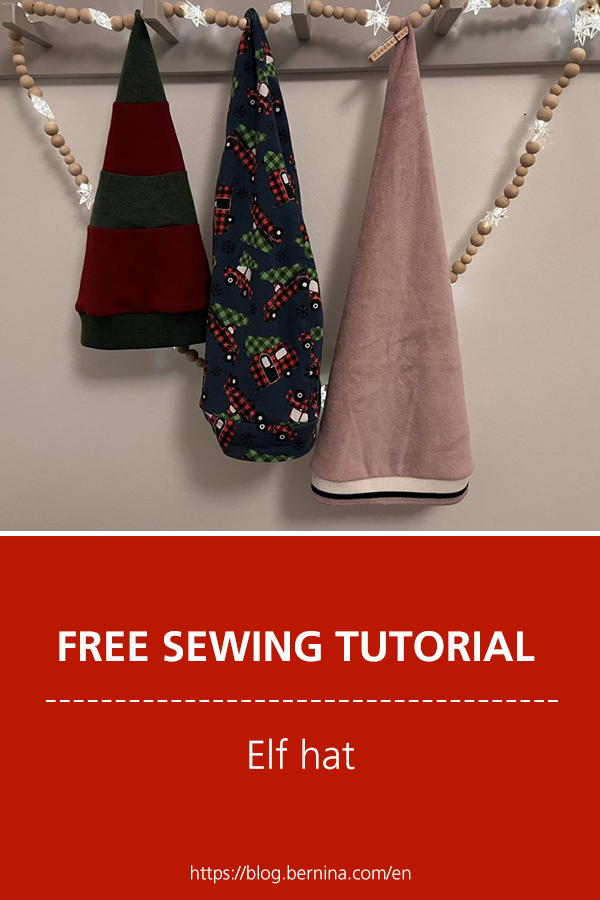
Colorful elf hats are popular with my children during the Christmas season. If it were up them, they would never take them off. As these are so easy to quickly sew, you can also make two, so basically one for each outfit. Today, in the seventh door of the BERNINA Blog Advent calendar, I am going to show you how to sew colorful elf hats like this. You will learn how to draw the pattern for your own colorful elf hat and how to sew it.
Sewing instructions for a colorful elf hat
Materials
To create the pattern, you will need:
- Paper (definitely A3)
- Pen
- Ruler
- Bobbin thread
To sew the hat, you will need:
- Sweat fabric (these elf hats are great for using up leftovers)
- Cuff fabric
- Overlocker thread (I love Seracor or Seraflock from Mettler)
Drawing the pattern for the elf hat
First, measure the head circumference of the hat wearer. (In my example, the head circumference is 46 cm)
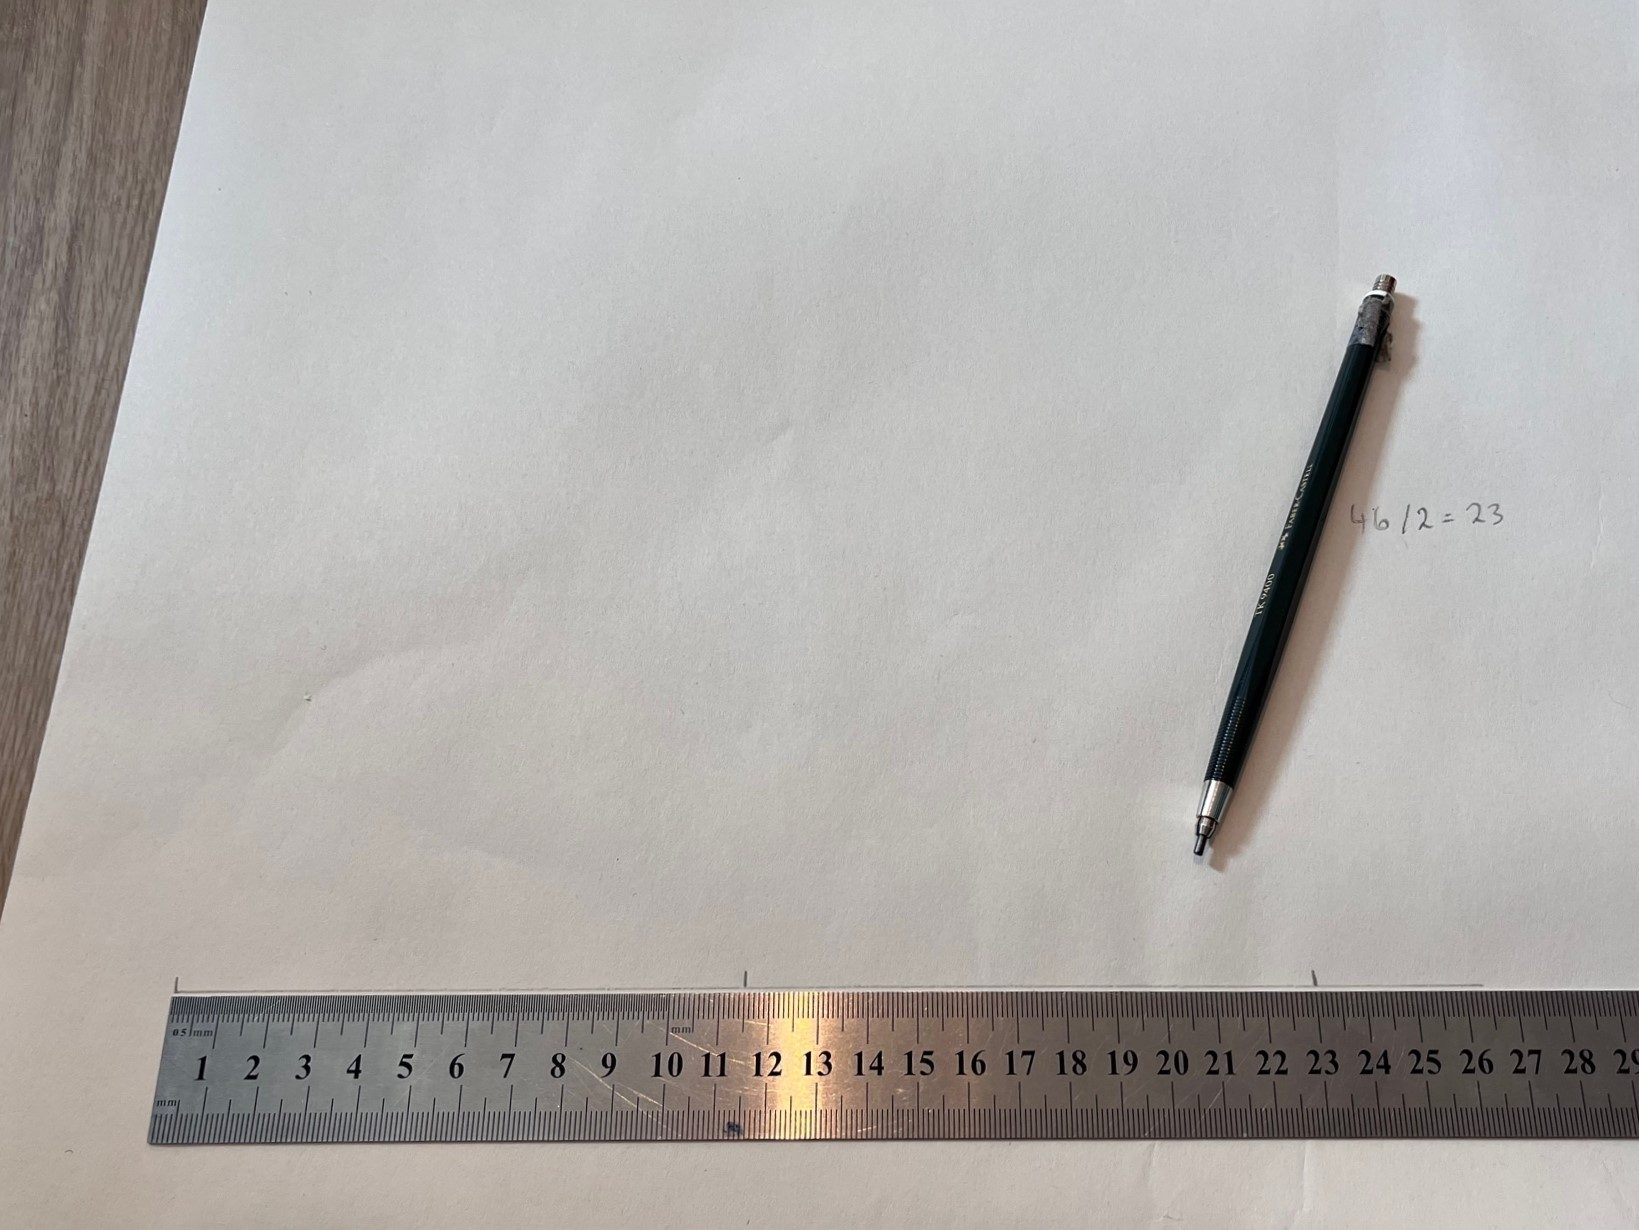
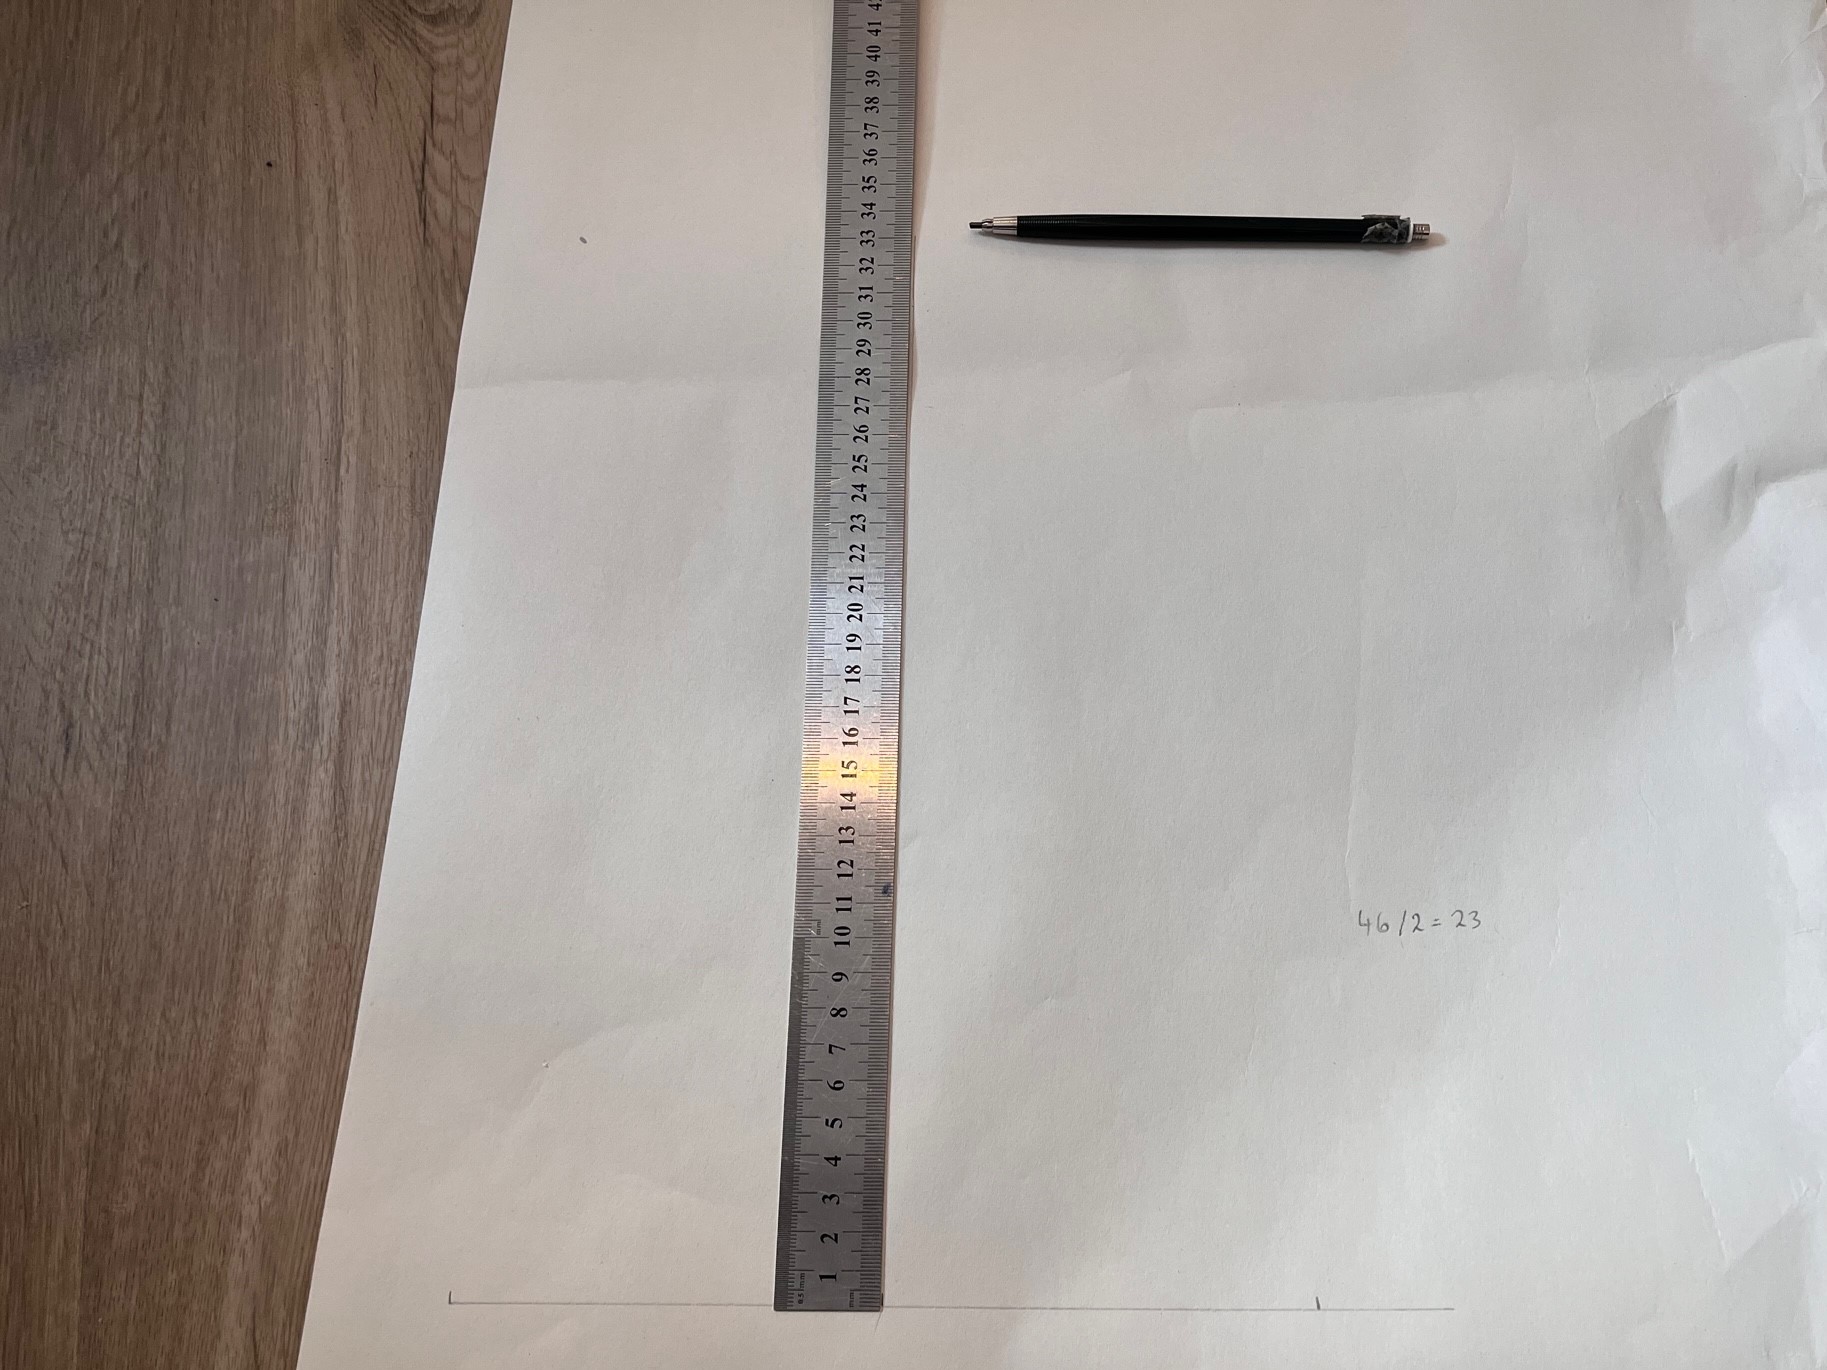
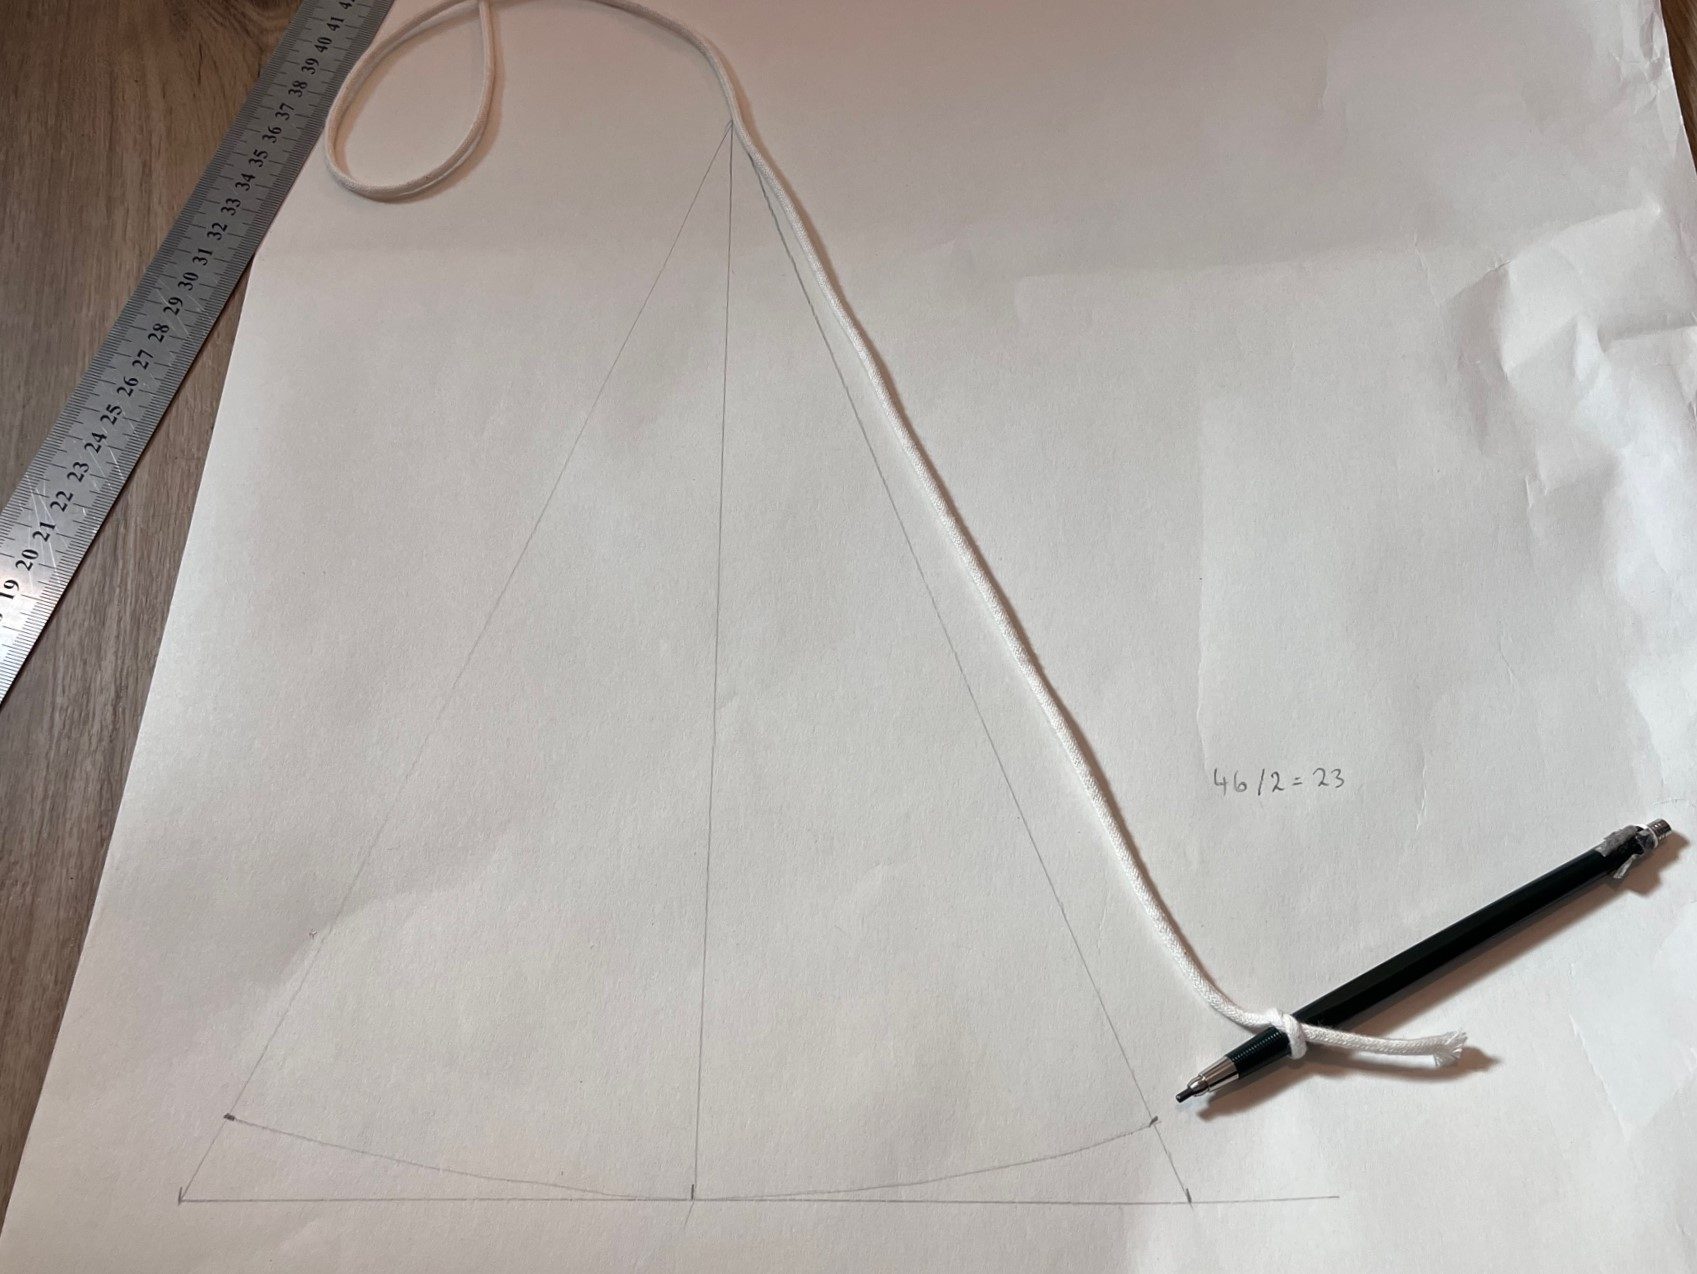
Divide this by two and draw a line with exactly this measurement on your paper (in my case this is 23 cm). In the middle of this line, draw a vertical line that corresponds to the desired length of the hat (i.e. at 11.5 cm).
For example, the red-green striped is 33 cm long and works well up to a head circumference of 46 cm. The bigger the head, the longer the hat can be. The pink hat, on the other hand, is 50 cm long with a head circumference of 50 cm.

Now draw an isosceles triangle from this T.
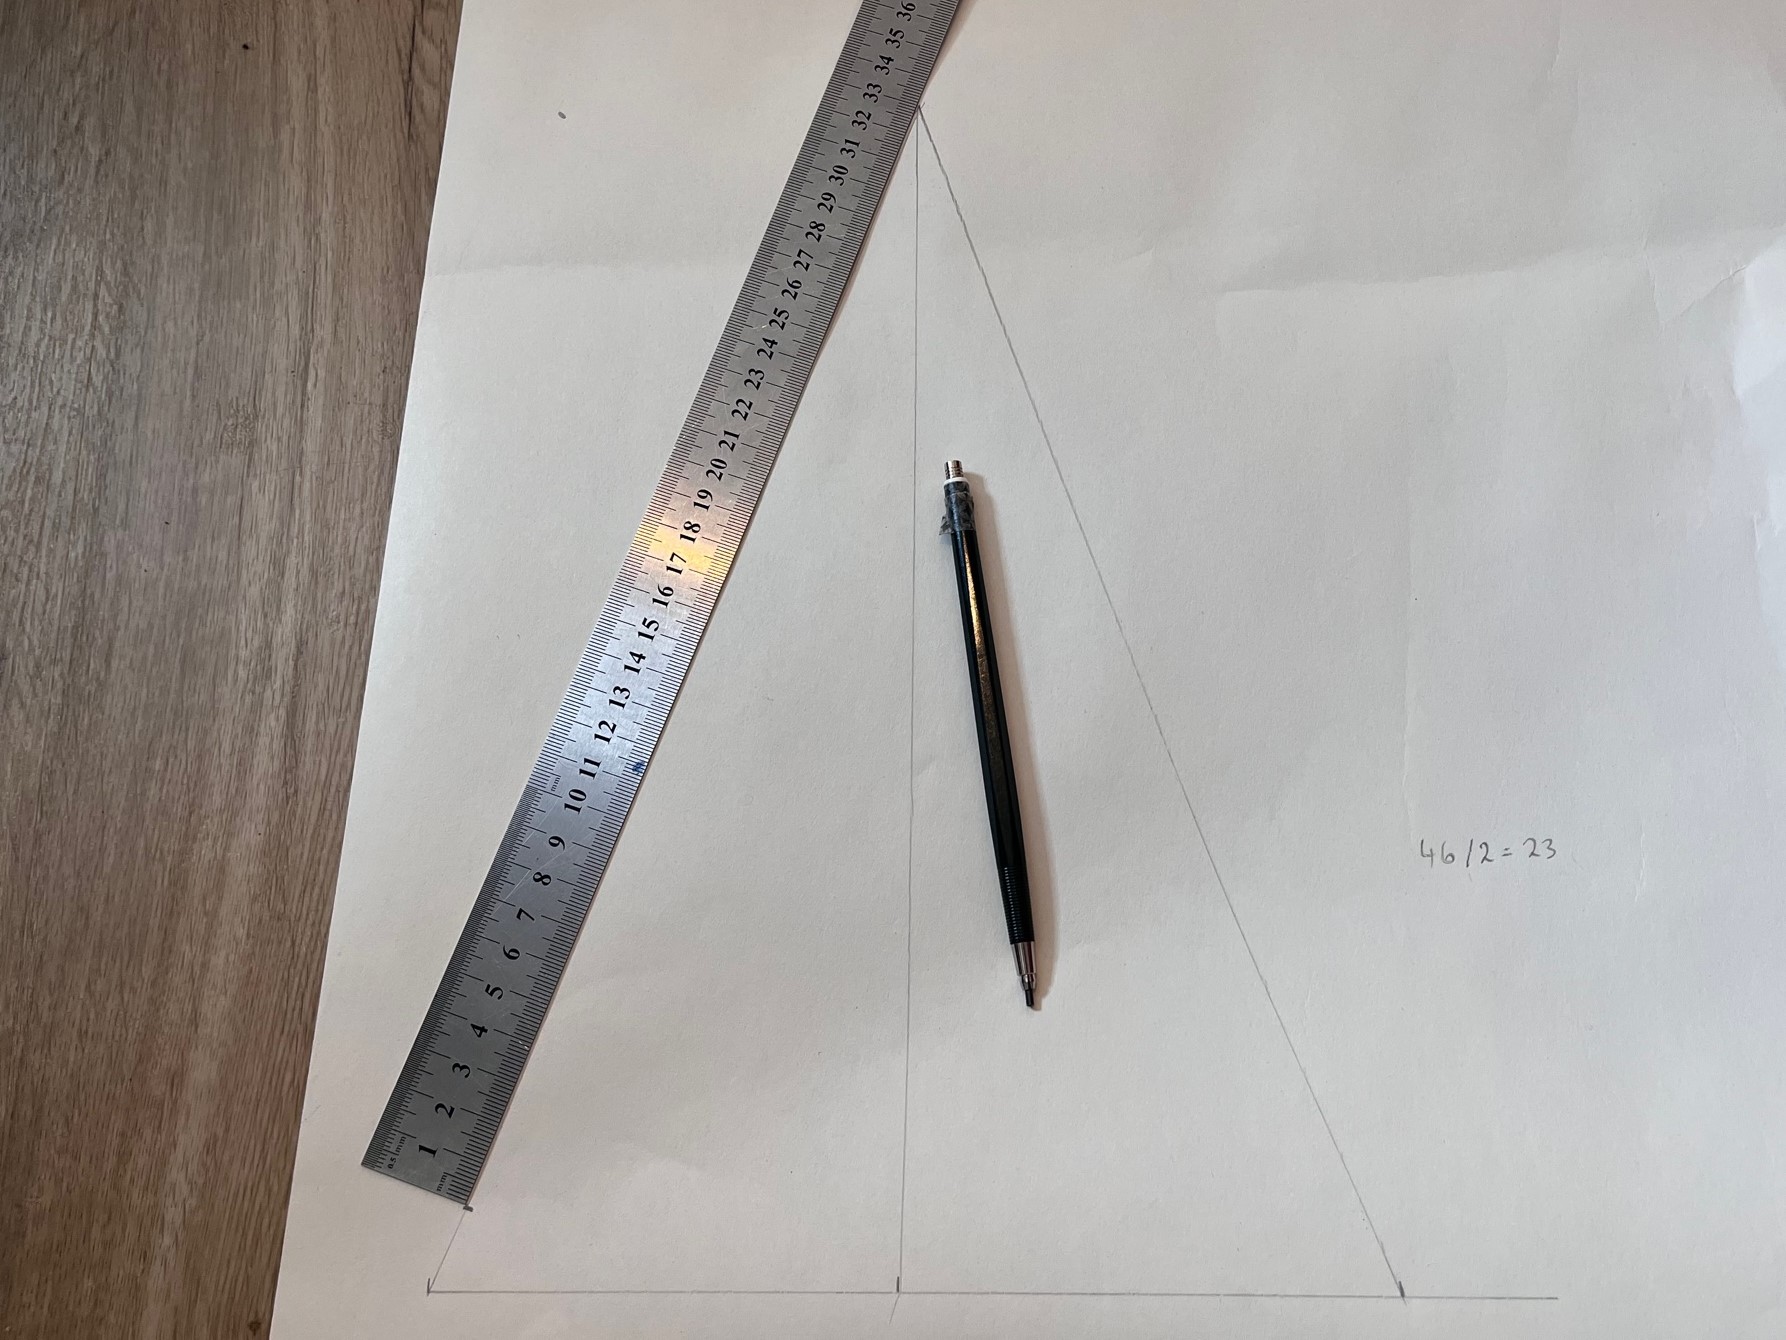
With a home-made compass created from a pencil and string, draw an arc from side to side with the desired hat length. For a single-color elf hat, you are already finished at this point and can skip the next steps.
If you also want a striped lower part, use your compass to draw more arcs.
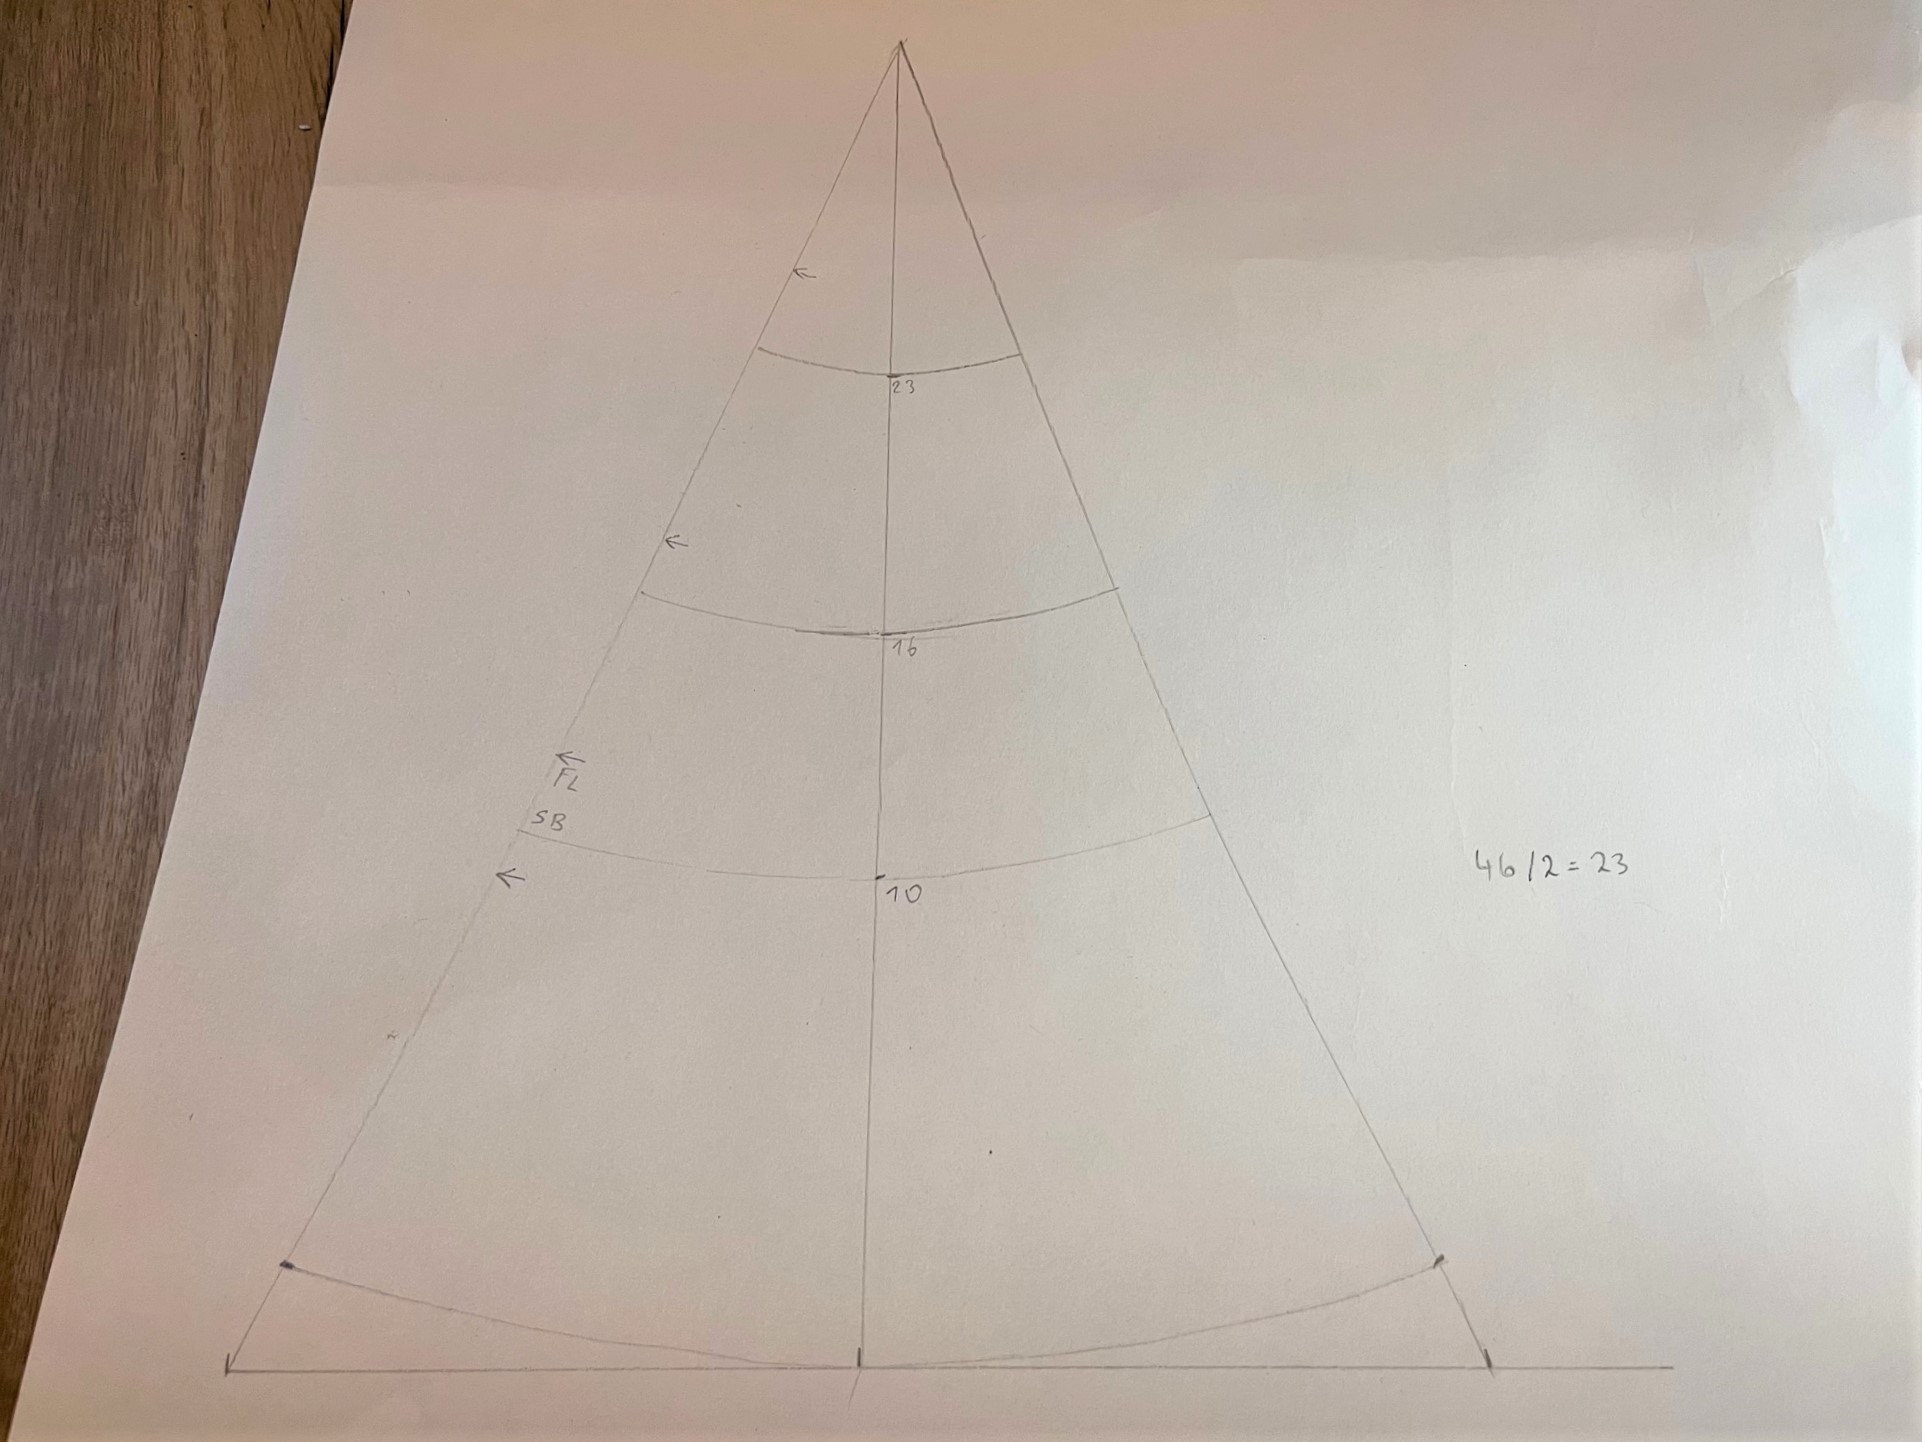
Your pattern for the elf hat is ready.
All you have to do is cut it out, pin it onto the fabric, cut that, and then start sewing.
Sewing the elf hat

The hat has already been cut out. Cut out an additional piece of cuff. This should be 10-12 cm high and 0.75x the length of the head circumference. The non-striped hat is even faster and you can start a few pictures further when sewing up the back seam.
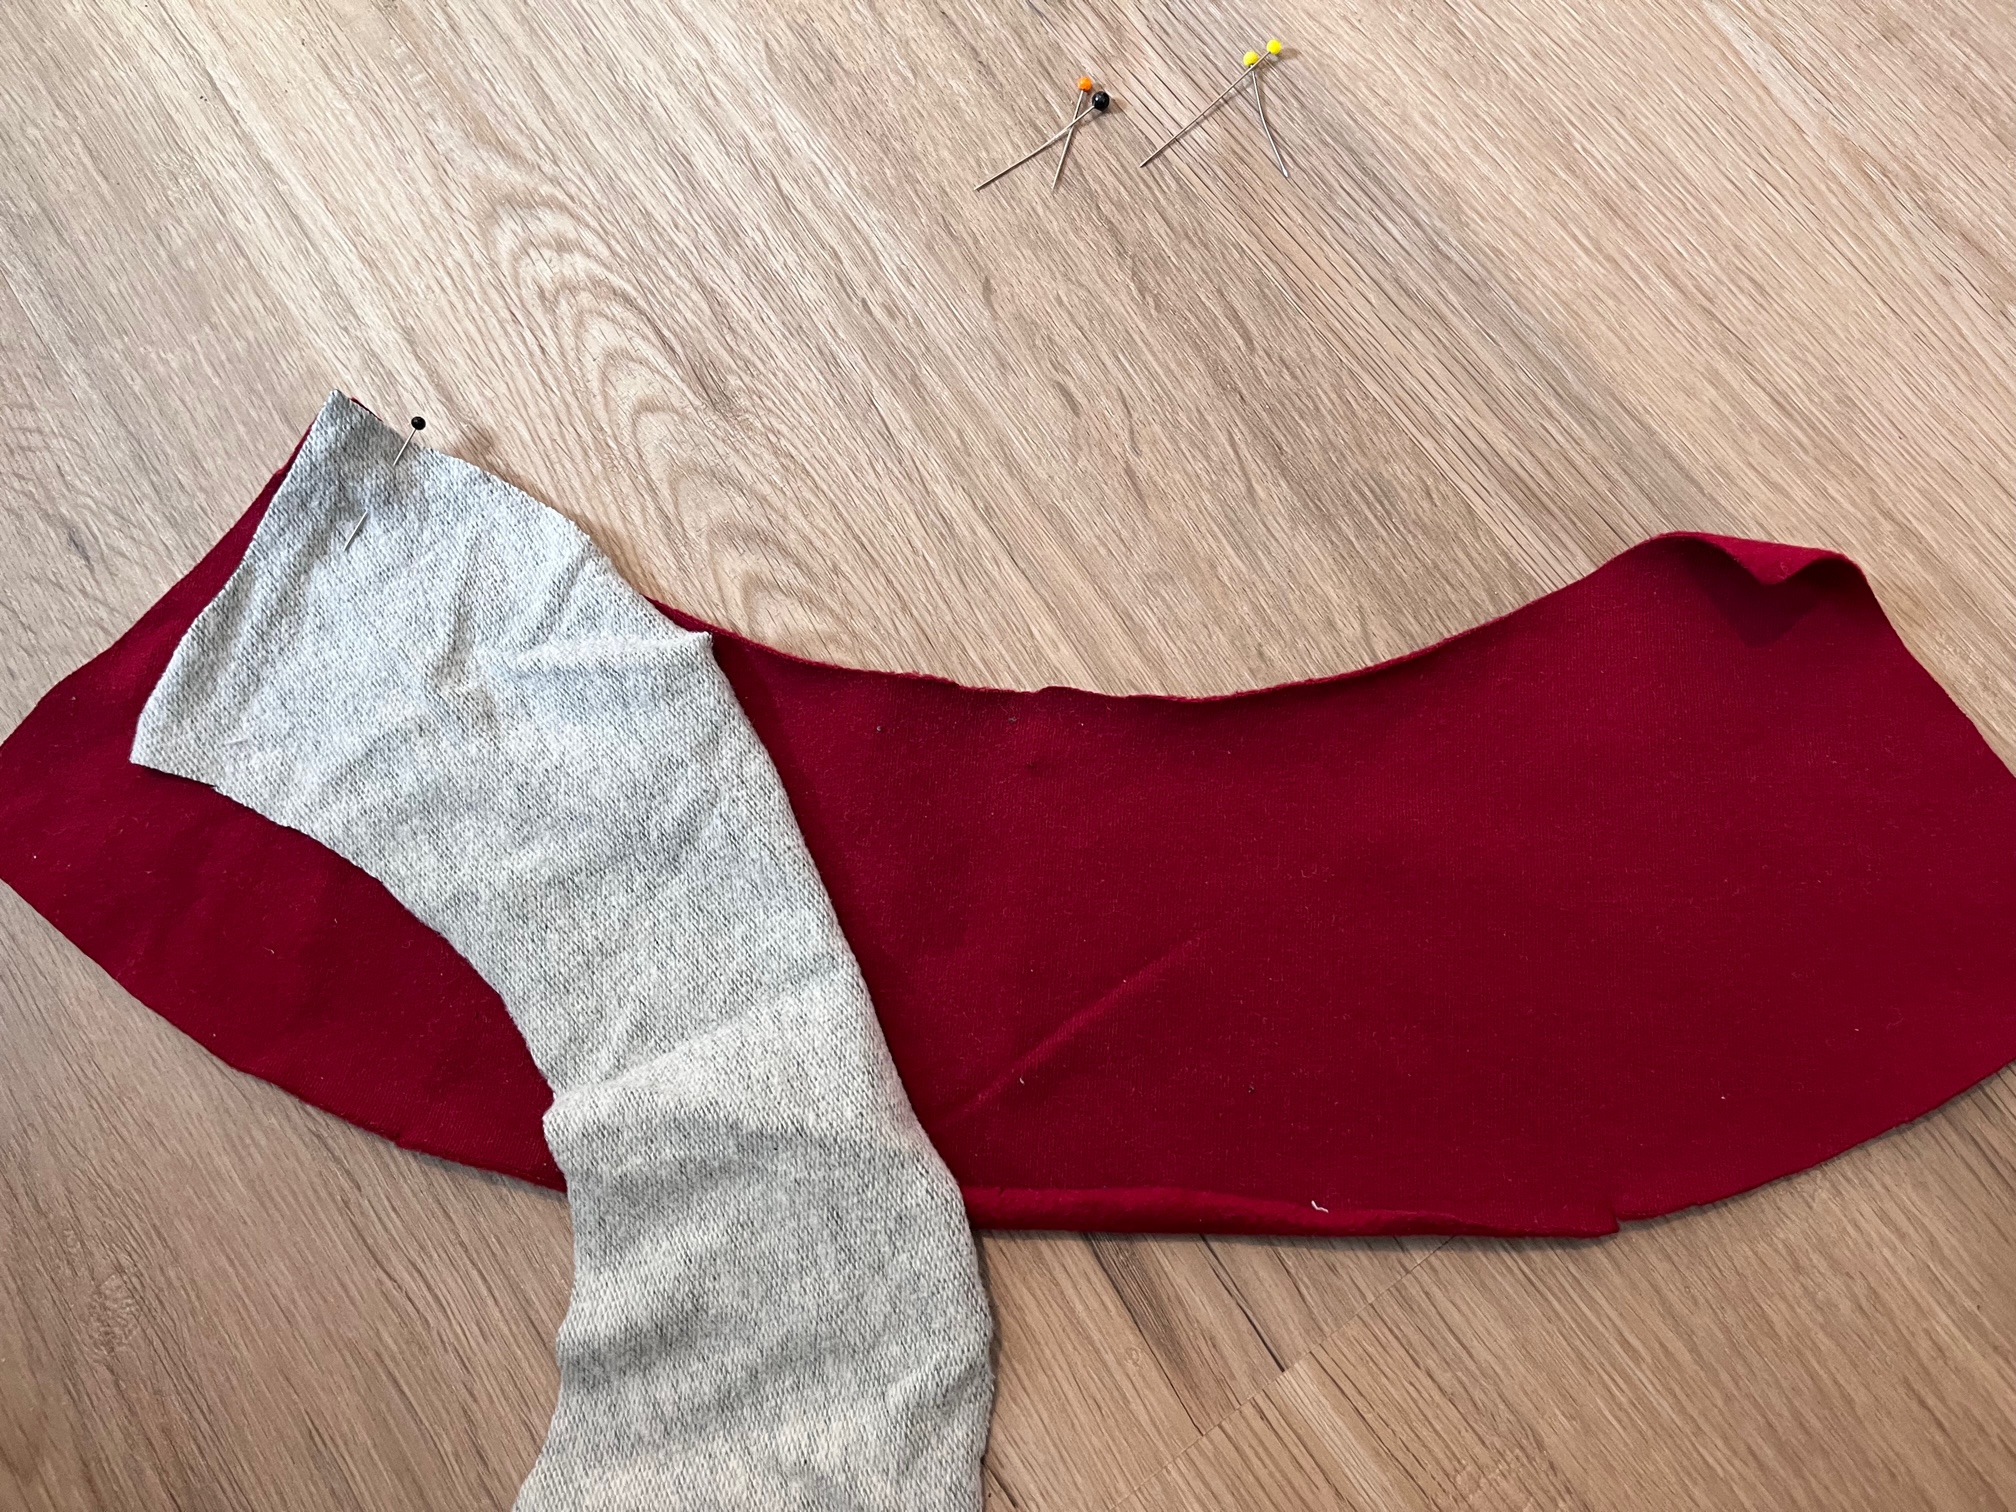
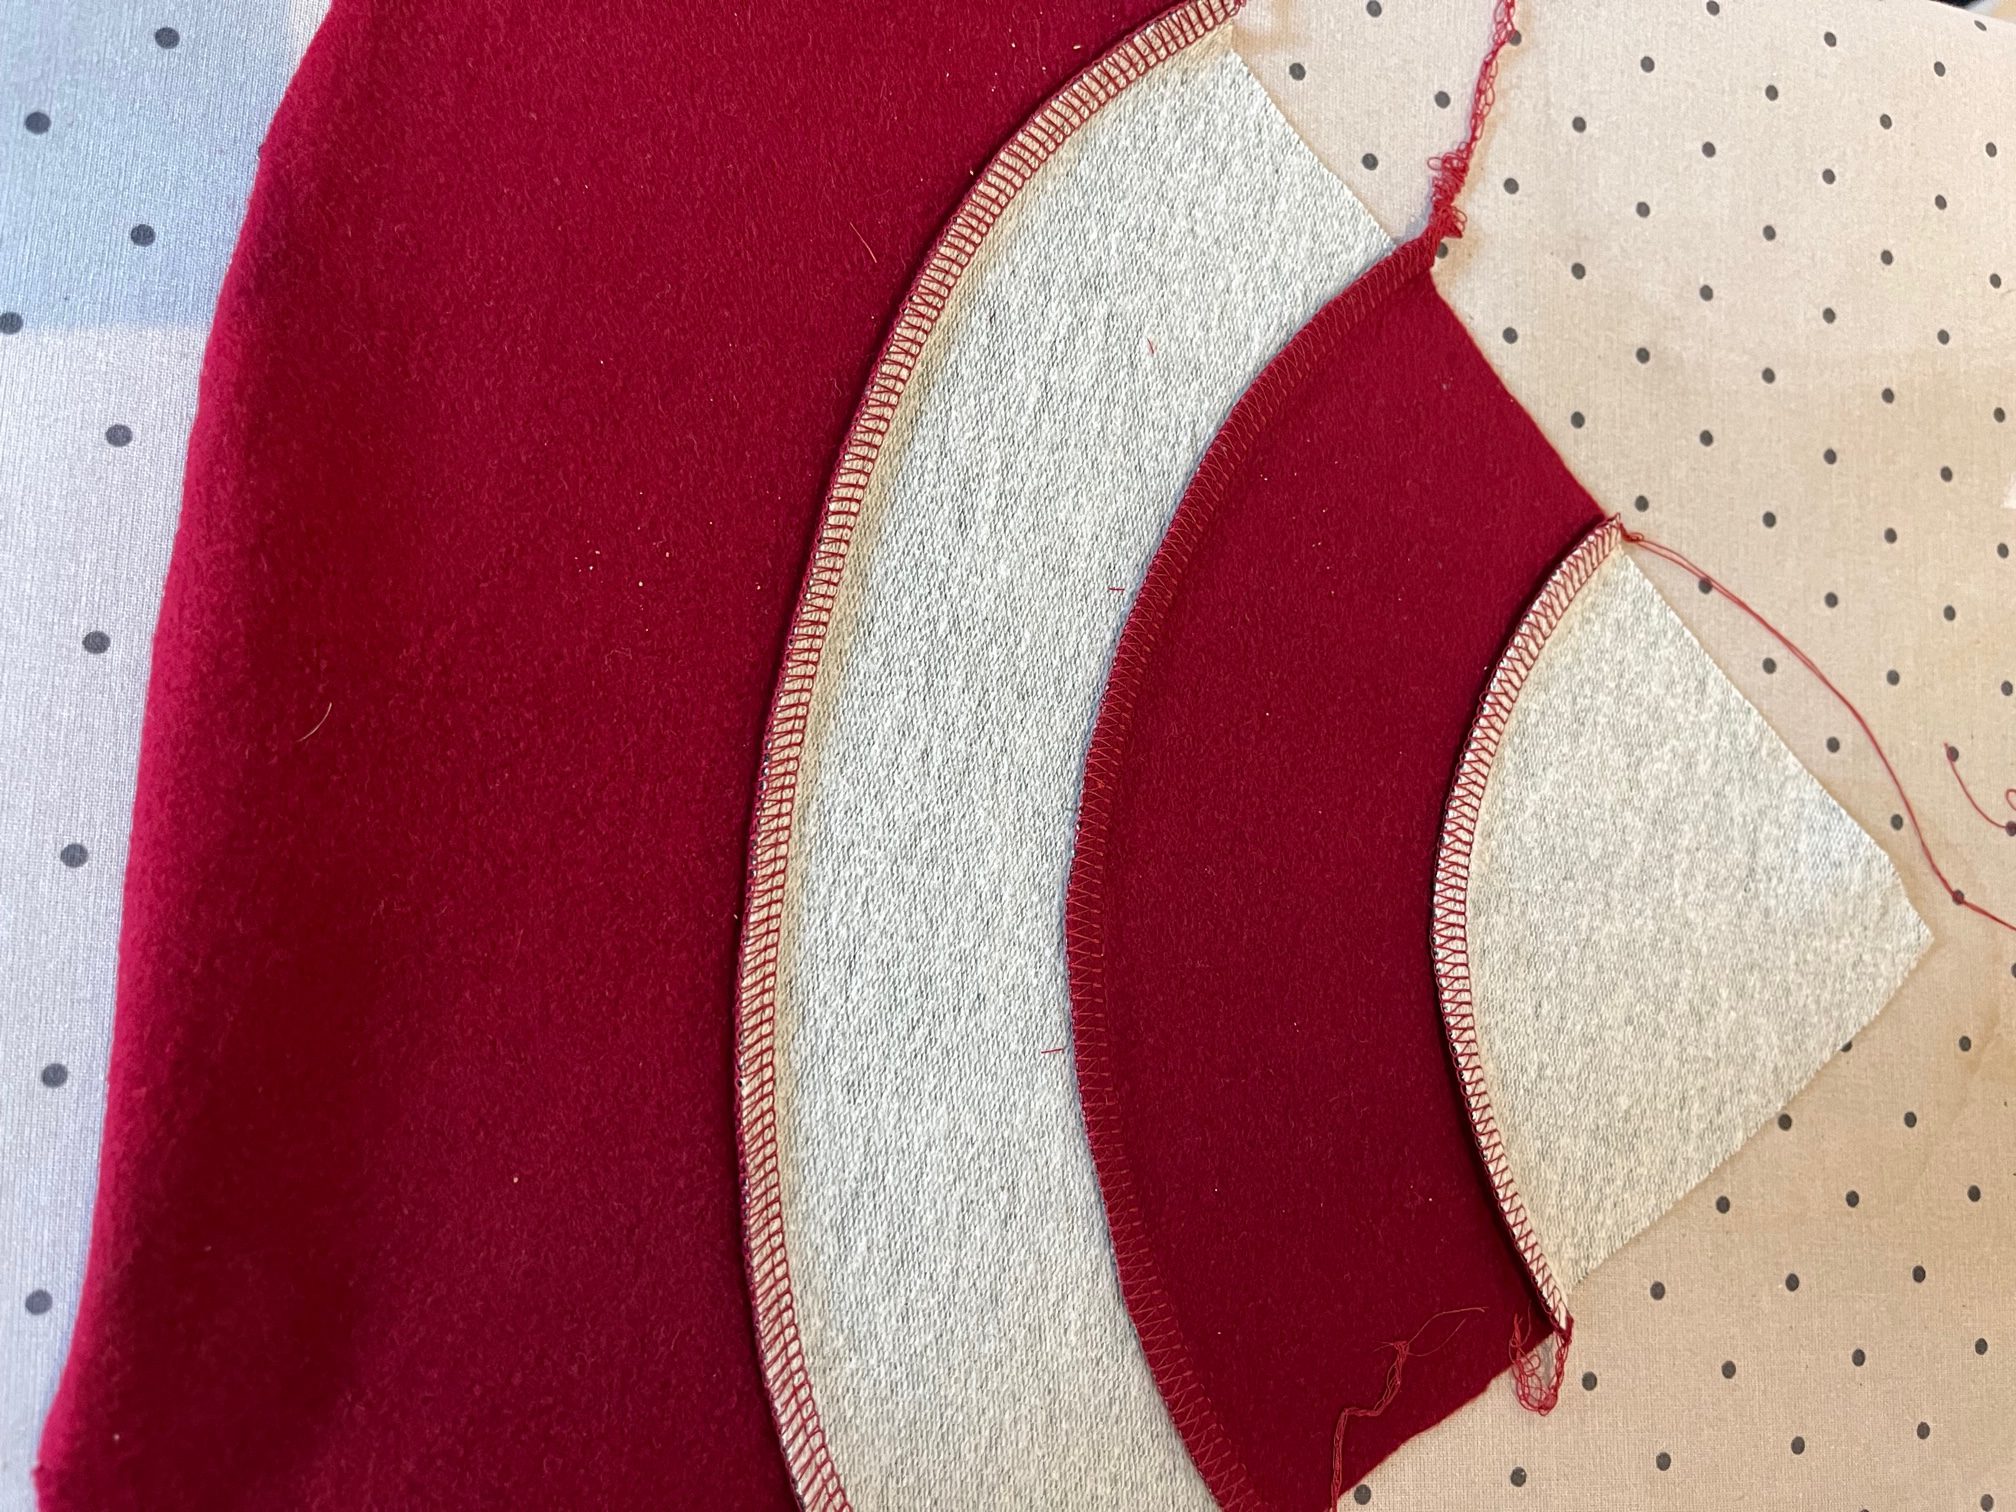
When you put the arcs together, start at a corner, then put the middles on top of each other and then the second corner.
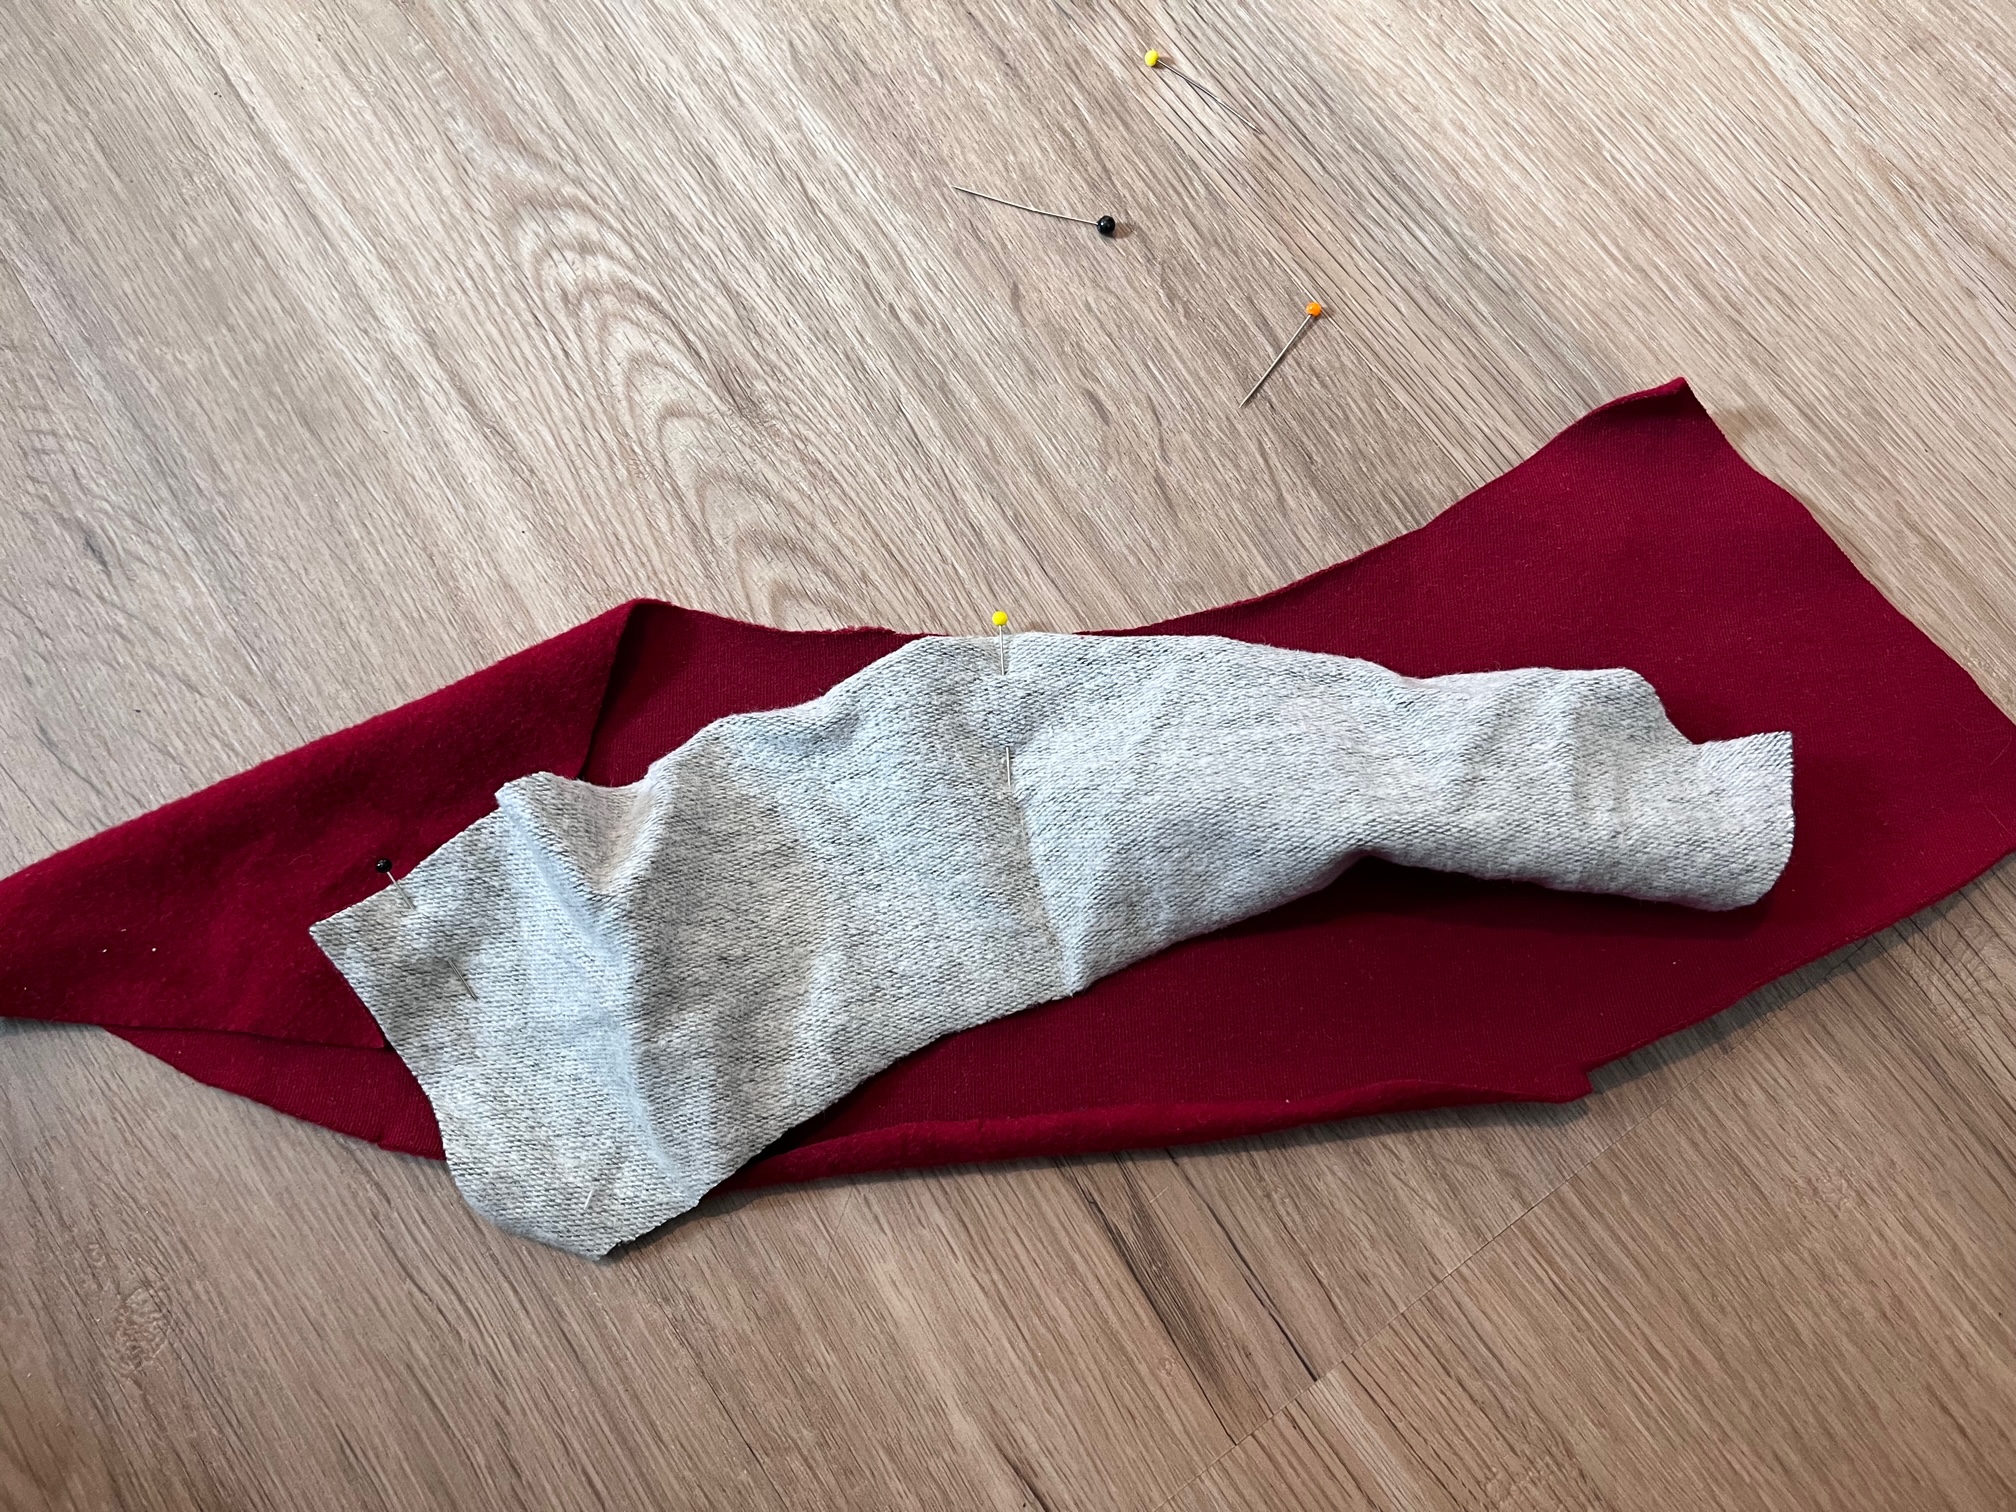
Then pin the pieces in between. Or you can sew the arcs together using the three pinned points and the overlocker. I use the BERNINA L 850.

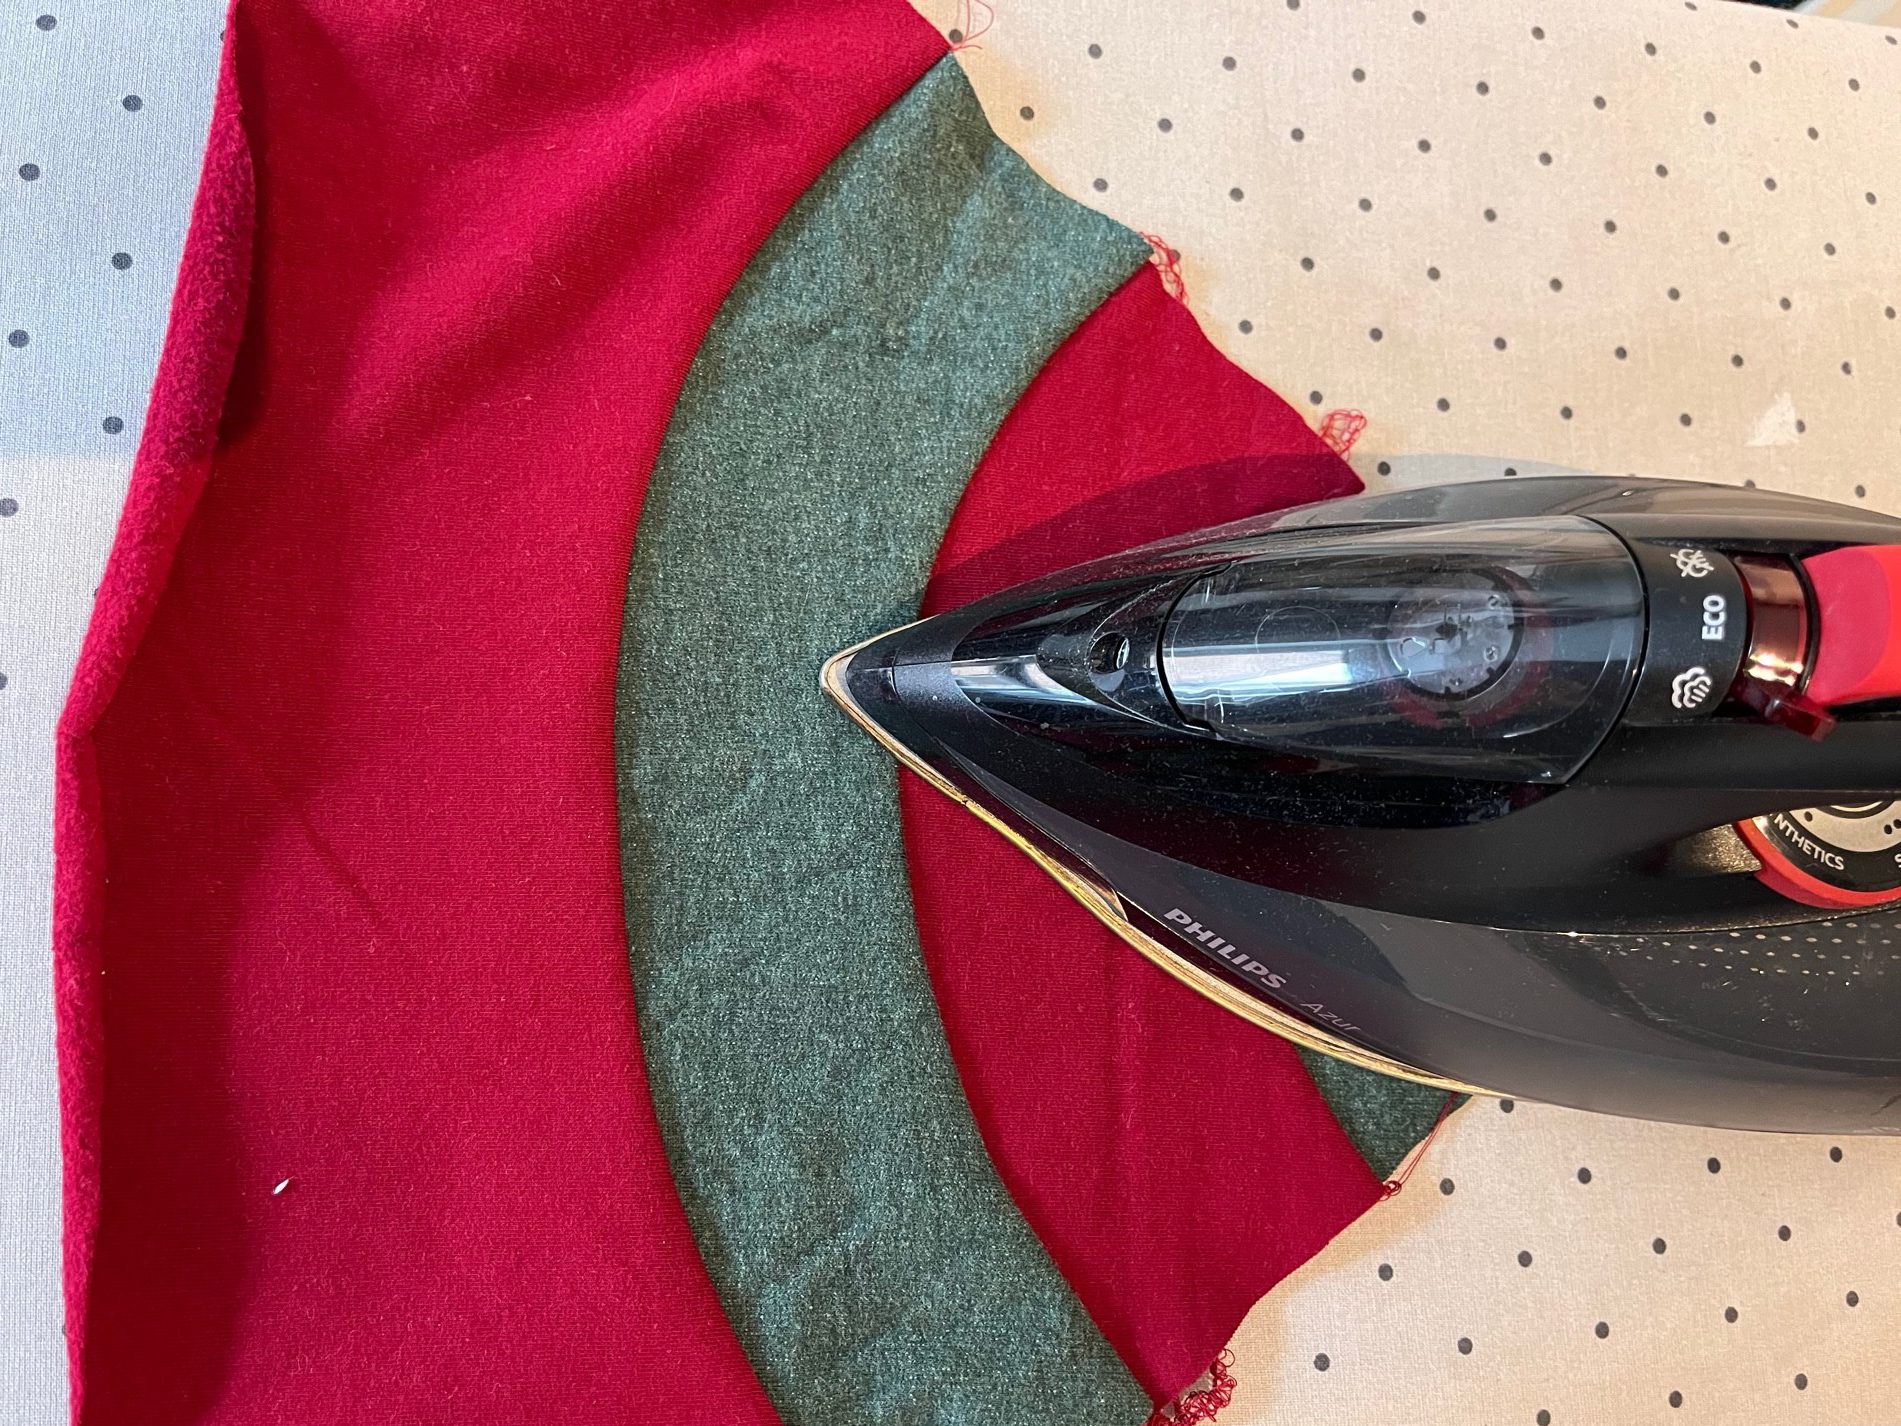
Gradually, sew all the arcs together and iron all the seam allowances in one direction. I ironed all of mine in the direction of the large curve.
With the back seam, the 2D hat becomes a 3D hat as it is sewn together.
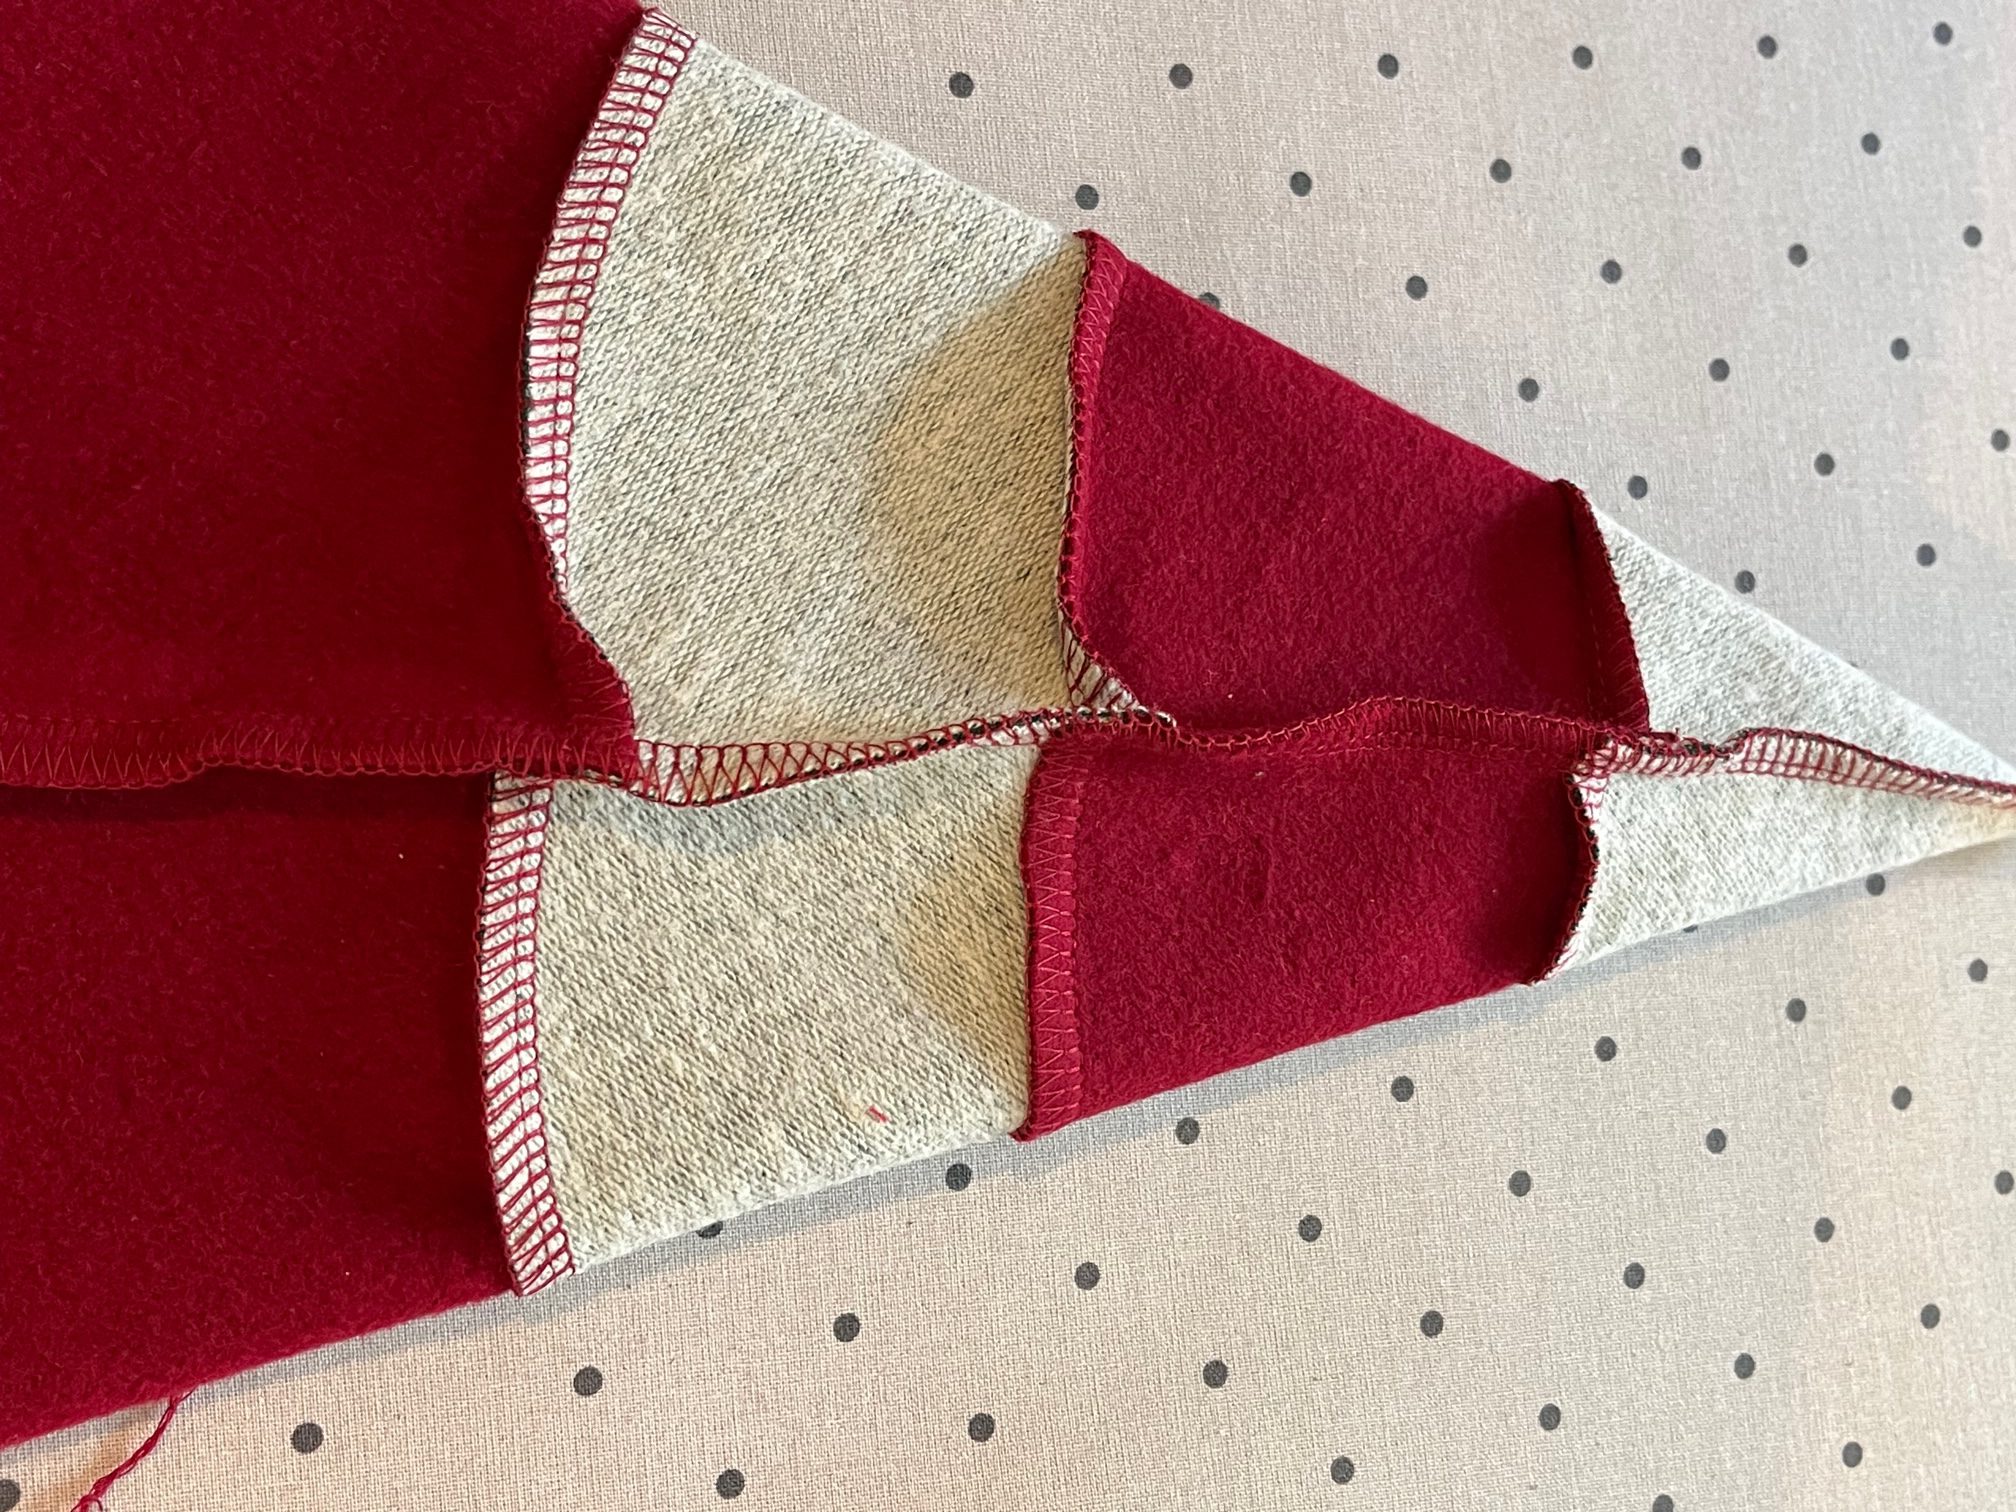
When sewing, you can place the fitting overlock seams in different directions. This means the seams won’t tug so much.
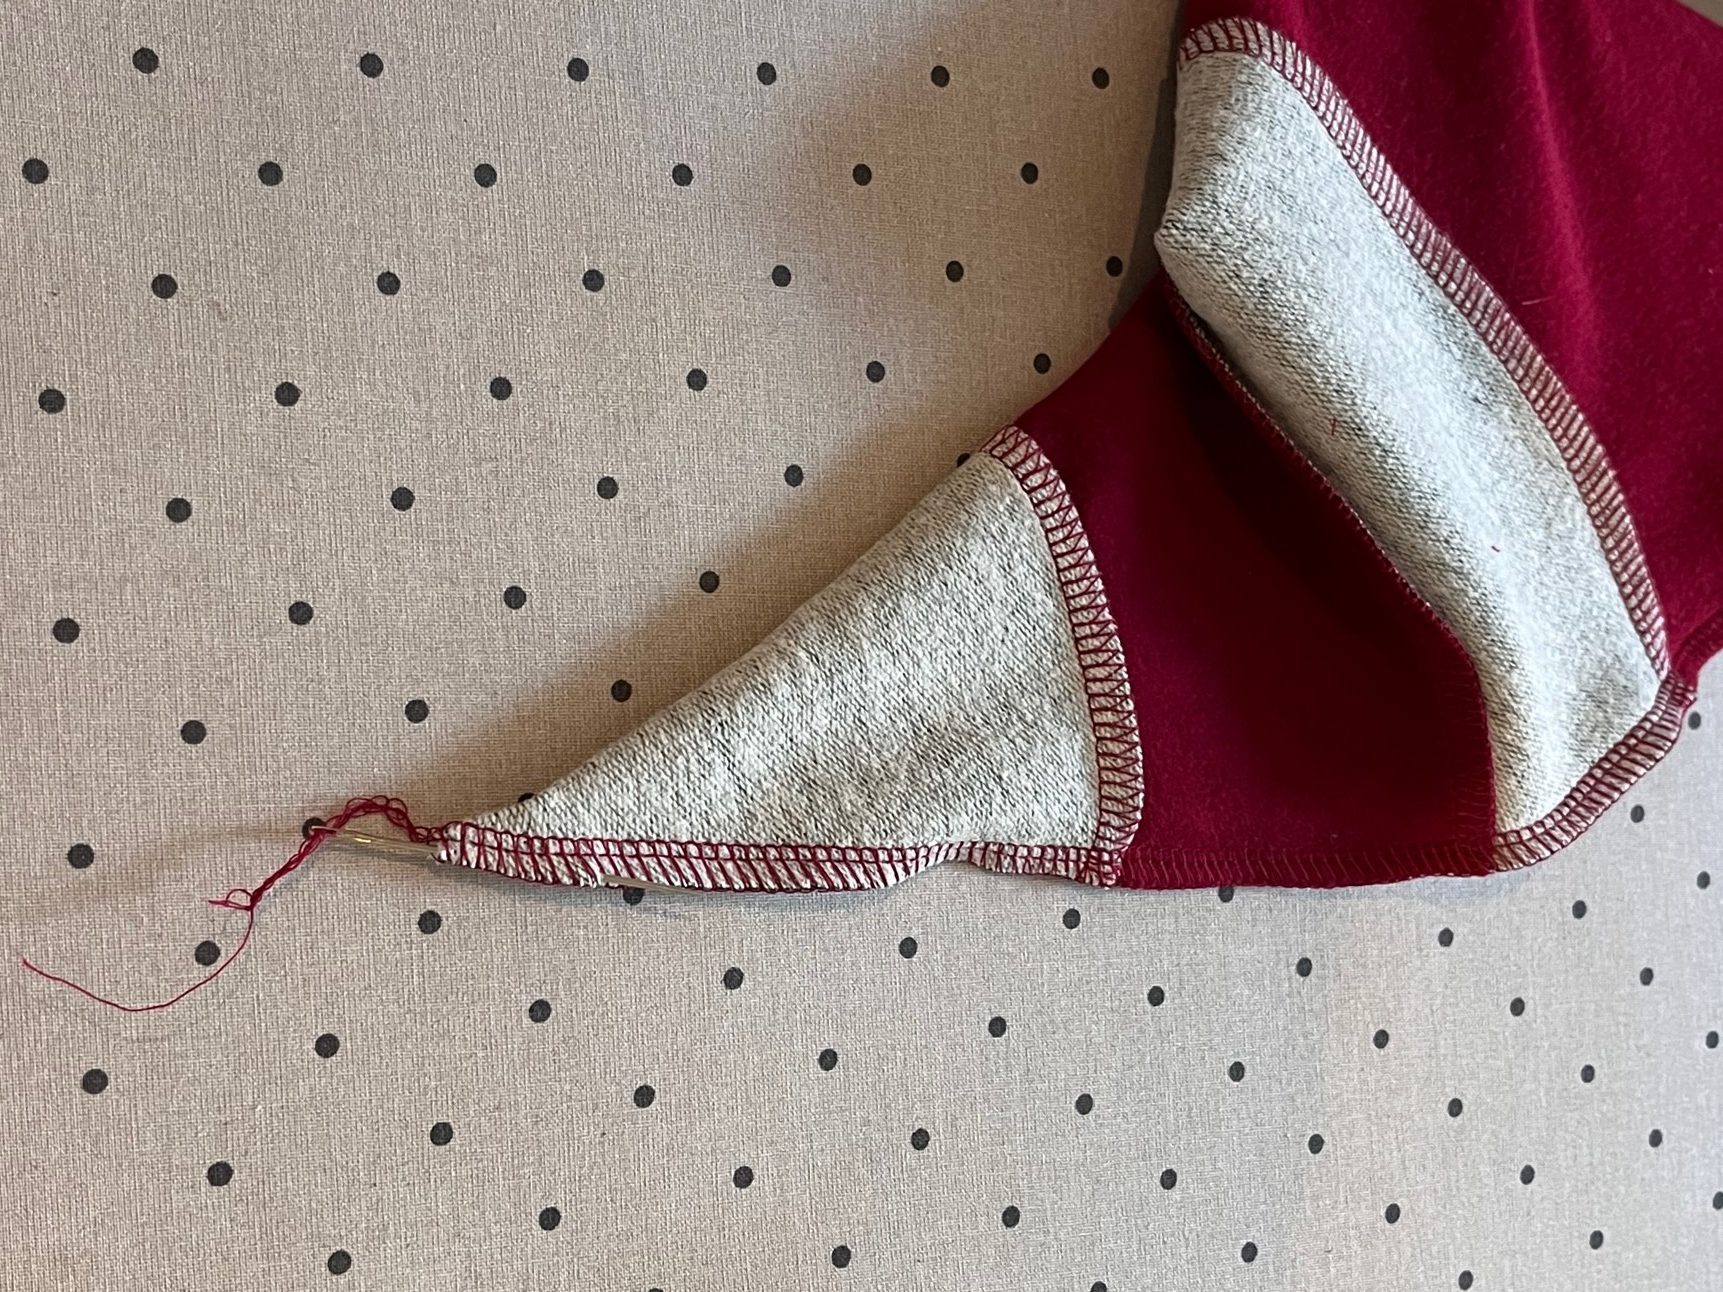
Then pull the protruding bead into the overlock seam with a thick darning needle.
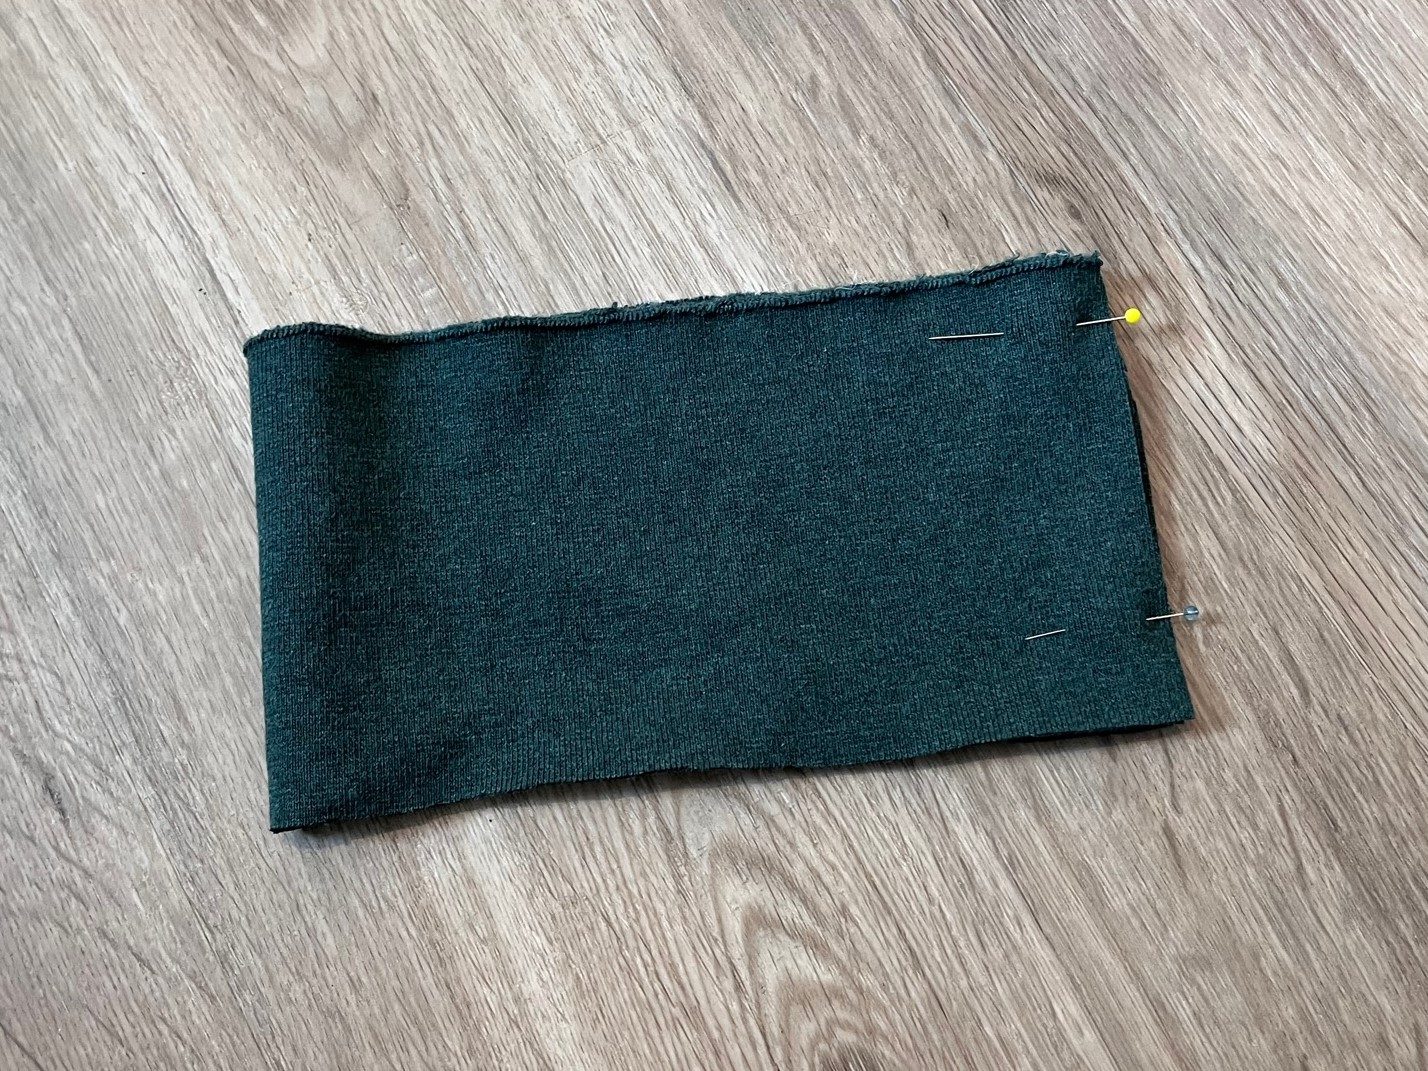
The cuff closes on the short side to form a ring.
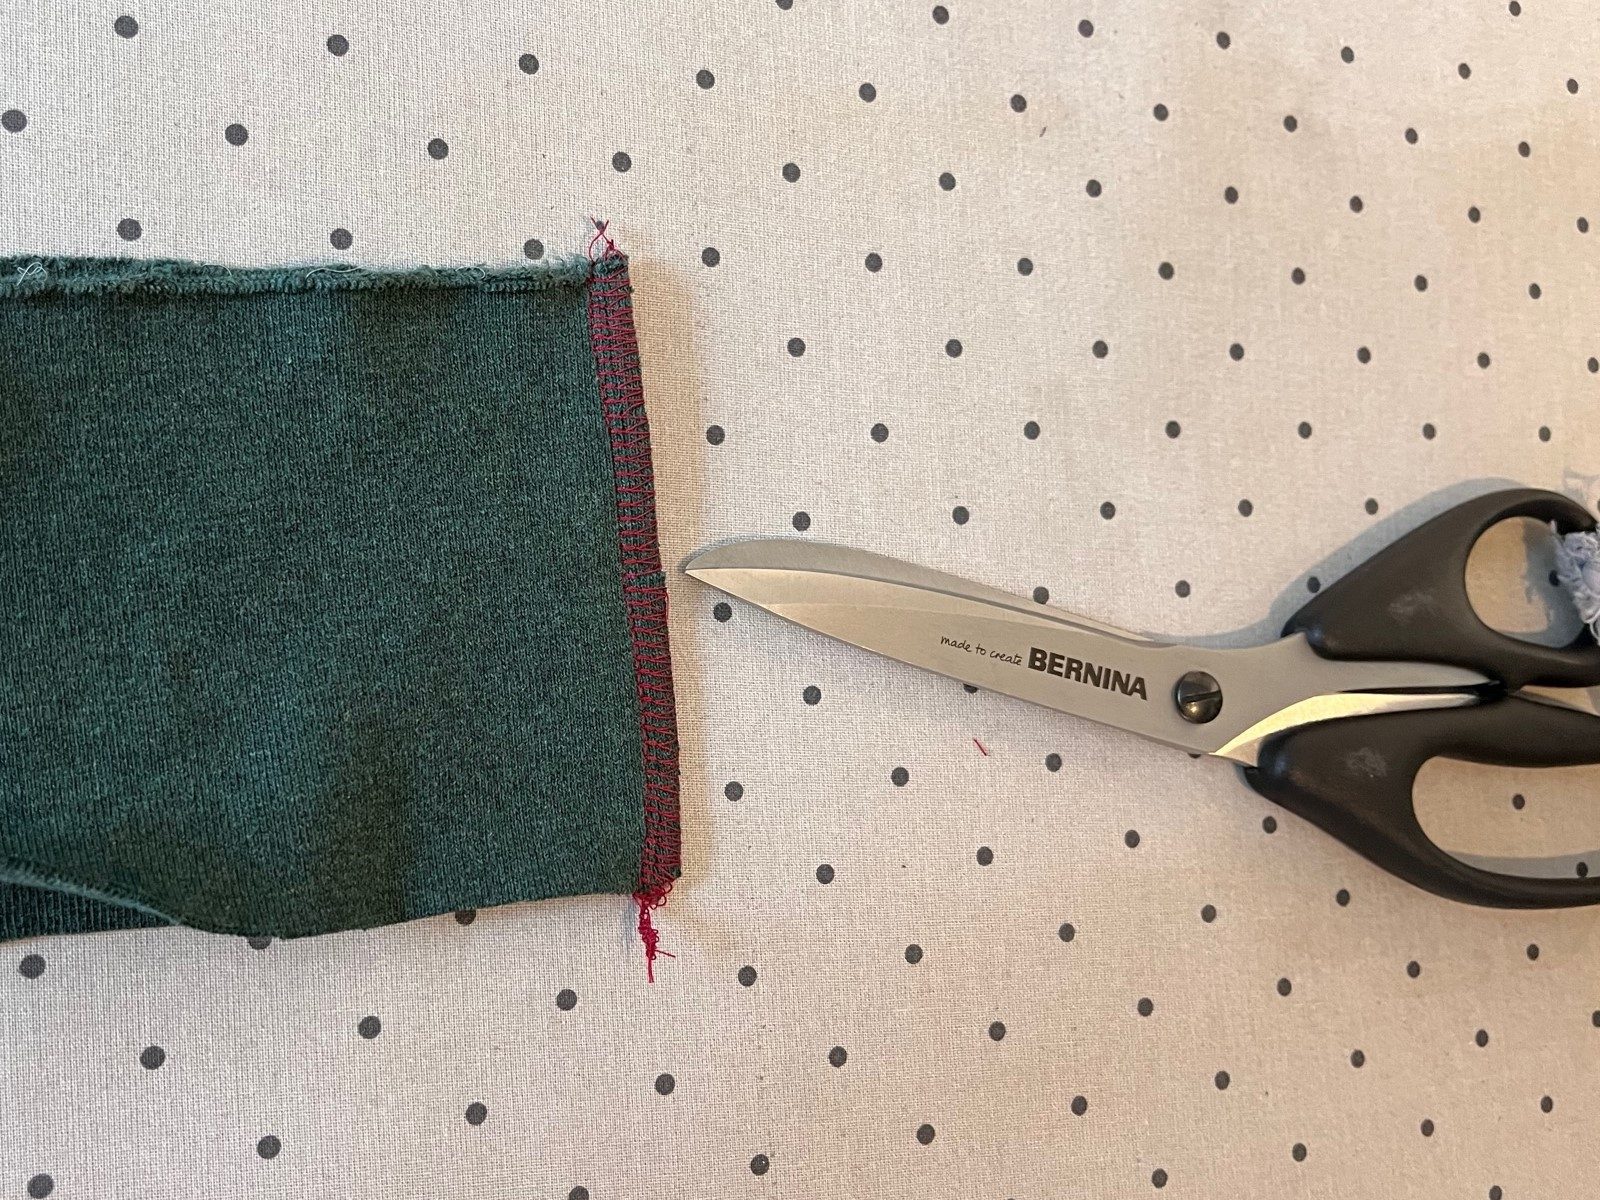
With scissors, you can cut into the center of the seam allowance so that you can unfold the seam allowance in the next step. But please note: only cut until just before the left needle thread.
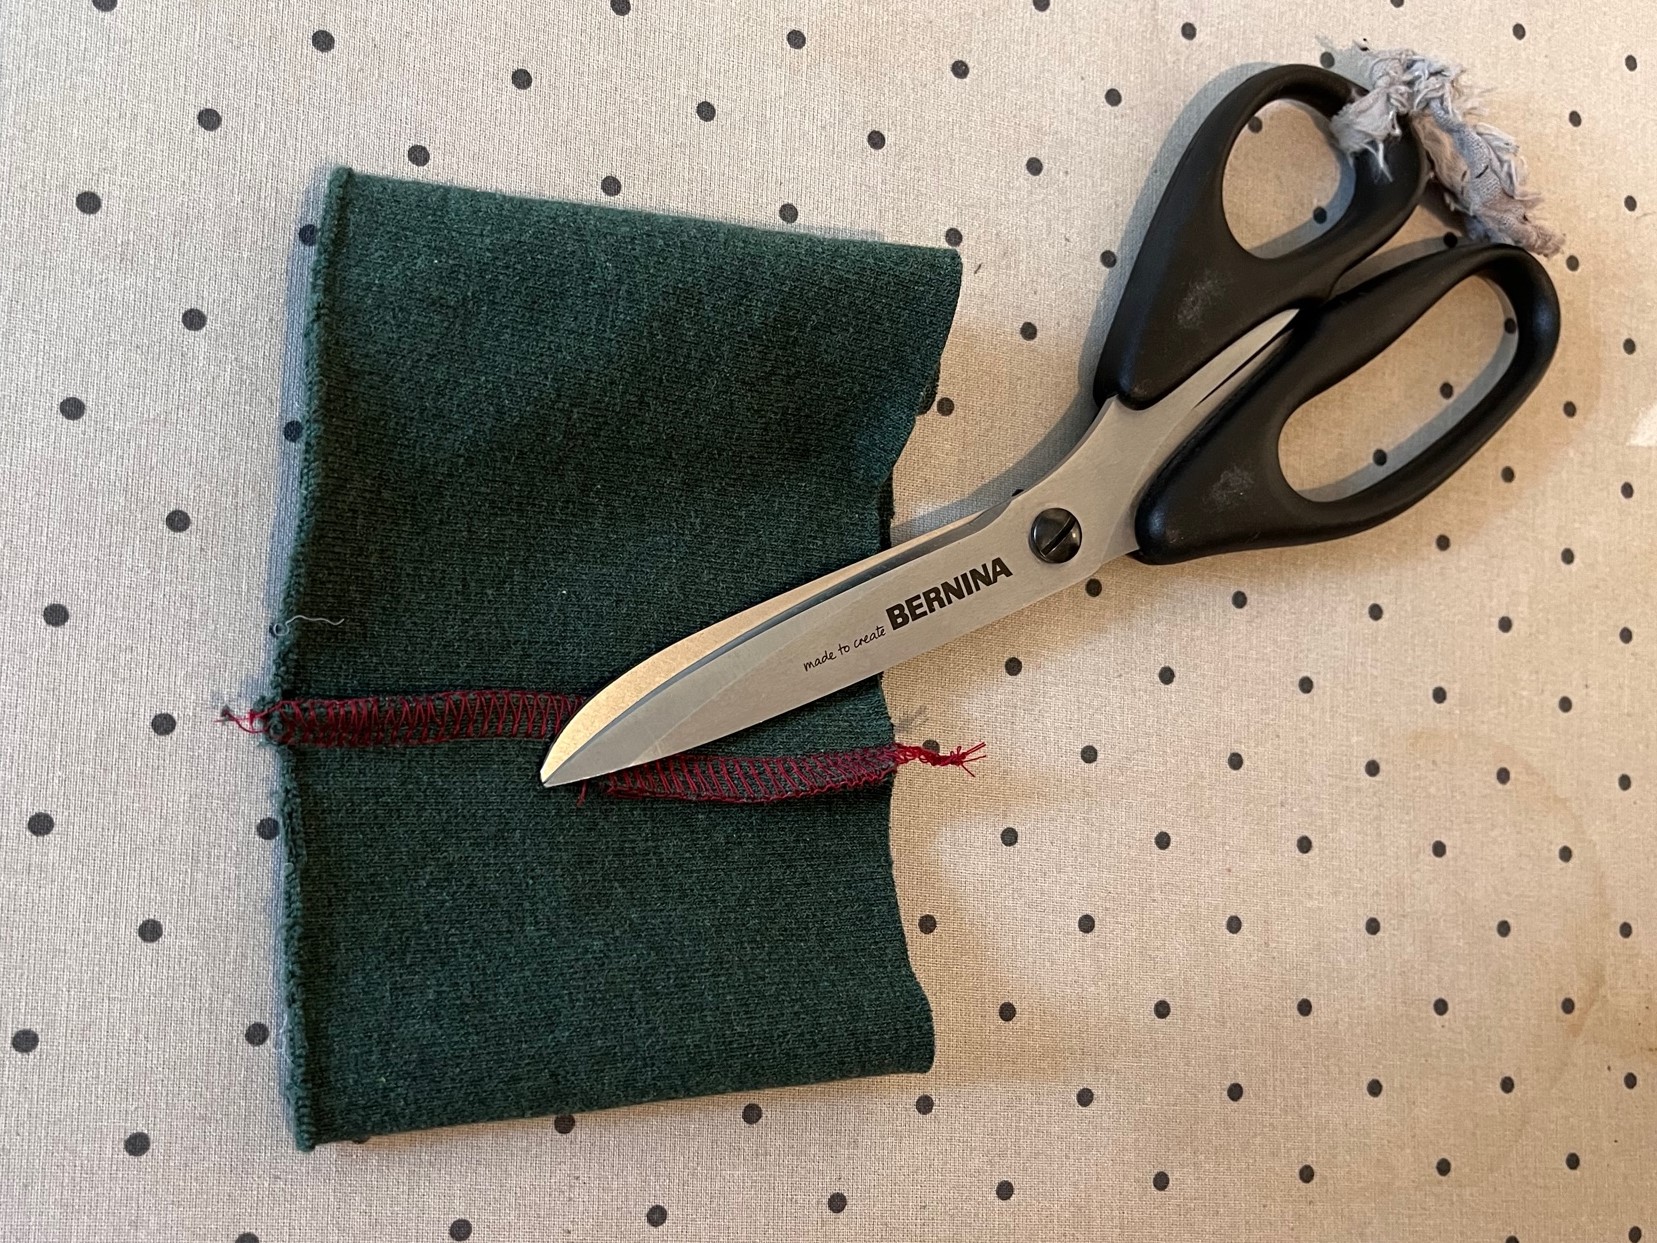
You can now unfold and iron the seam allowances so that they are not so thick when being halved.

The cuff is now halved and attached to the hat with the open edge.

Your colorful elf hat is now finished!

As already mentioned, you can, of course, sew the elf hats in a single color – this is even quicker. For example, the pink hat is made from Nicky fabric. Here I used a finished cuff – it fits so perfectly in terms of color and the cut was exactly right.
Or you can use a patterned Christmas fabric 😉 There are no limits to your imagination here.
I wish you a colorful Advent!


0 Responses