 BERNINA Corporate Blog -
Hi everyone!
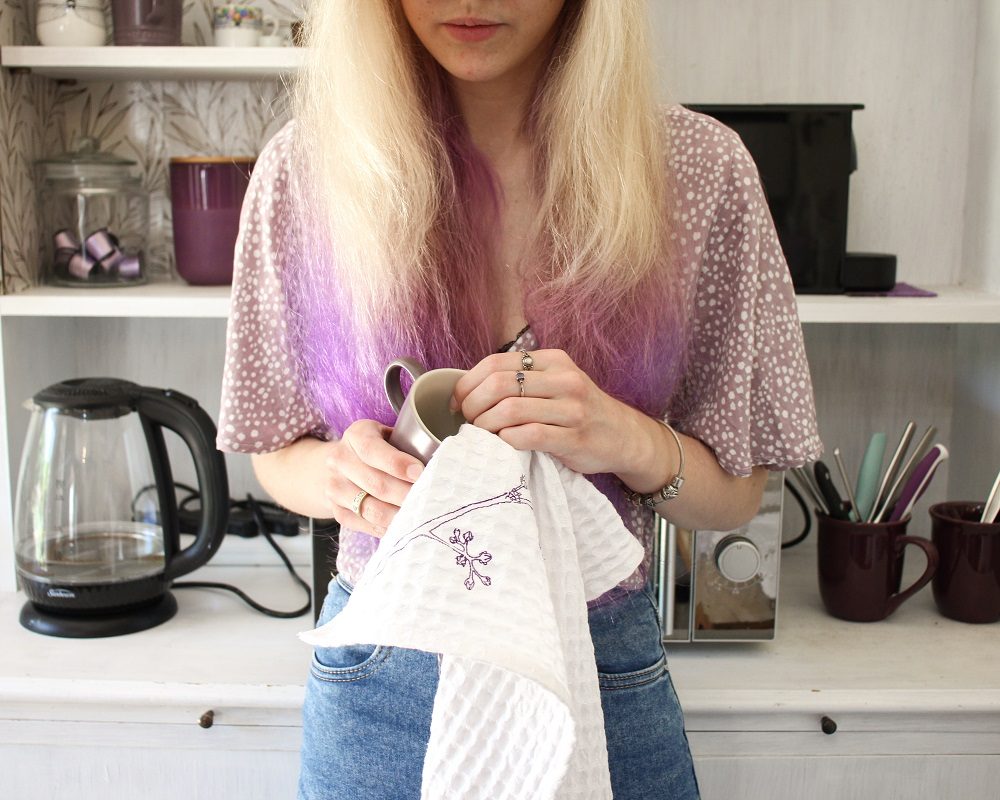
Today I’ll share with you how to add a pop of colour to your Christmas with an embroidered kitchen towel.
As a gift to you, I have provided my embroidery design for free so you may use it to add to your Colourful Christmas décor or to create special gifts.
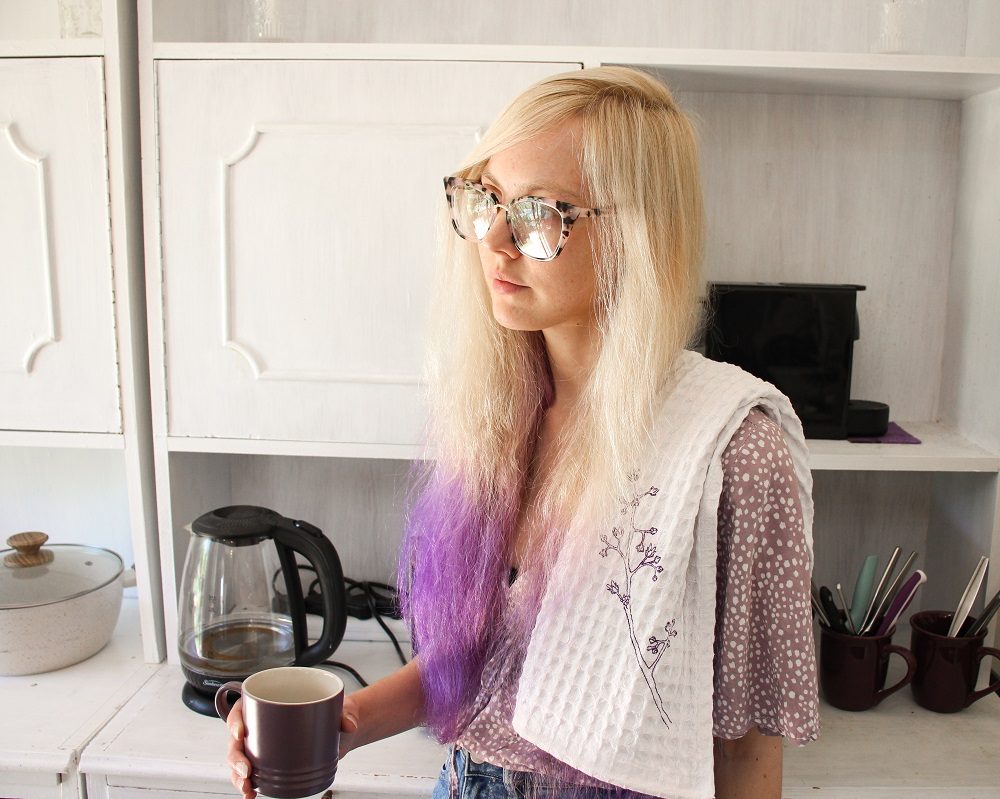
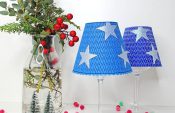
When it comes to using colour, I prefer a neutral colour pallet with pops of bold colours (usually some shade of purple!)
I recently repurposed a set of thrifted cupboards to make myself a kitchen unit. I painted them white, wallpapered inside and brought in hints of my favourite colour with doorknobs and crockery.
With the festive season and entertaining coming up, I wanted to extend my interior decorating taste with matching kitchen towels. These would also make special gifts as they are quick and easy to make. You can change the thread colours to match the recipient’s colour scheme for a thoughtful touch.
I love the versatility of the design and how it means the kitchen towels can be used year round.
What will be needed:
- Sewing machine (735)
- Embroidery Module
–Drop-shaped Embroidery Foot #26
-Wash-away or Tear-away Stabilizer
-Colourful Embroidery Thread
–Large Oval Hoop
- Embroidery Design: Succulent line drawing by Hannah-Rose Smith
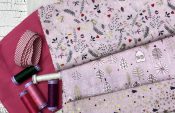
- Fabric for kitchen towels (absorbent natural fibres like Cotton or Linen are best)
- Thread to match fabric
- 10cm ribbon
- Ruler
- Fabric Marker
- Pins
- Scissors
- Edge Stitch Foot #10
Pattern
It is up to what size you want your kitchen towels to be.
The standard size (at least here in South Africa) is 40cm x 70cm.
You could get 2 kitchen towels out of 45cm from a regular 150cm wide roll.
You will need to add seam allowances to all the edges.
I recommend a 2cm seam allowance.
Embroider
 I created my embroidery design with Bernina’s Embroidery Software 9.
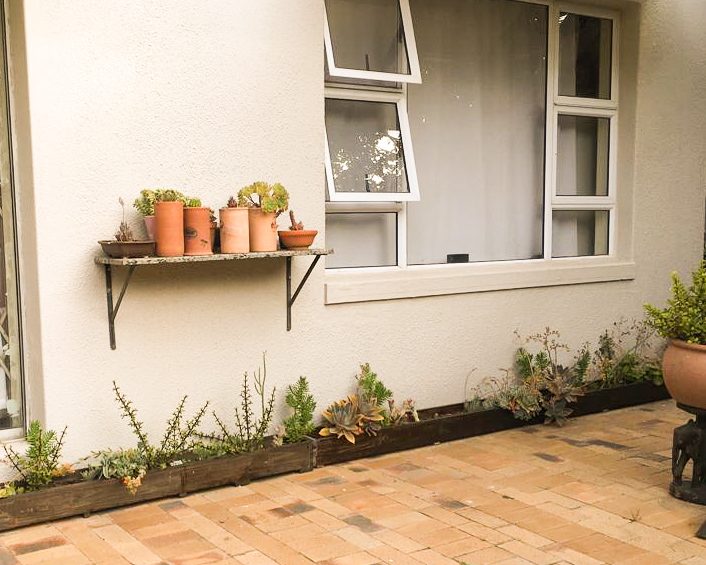
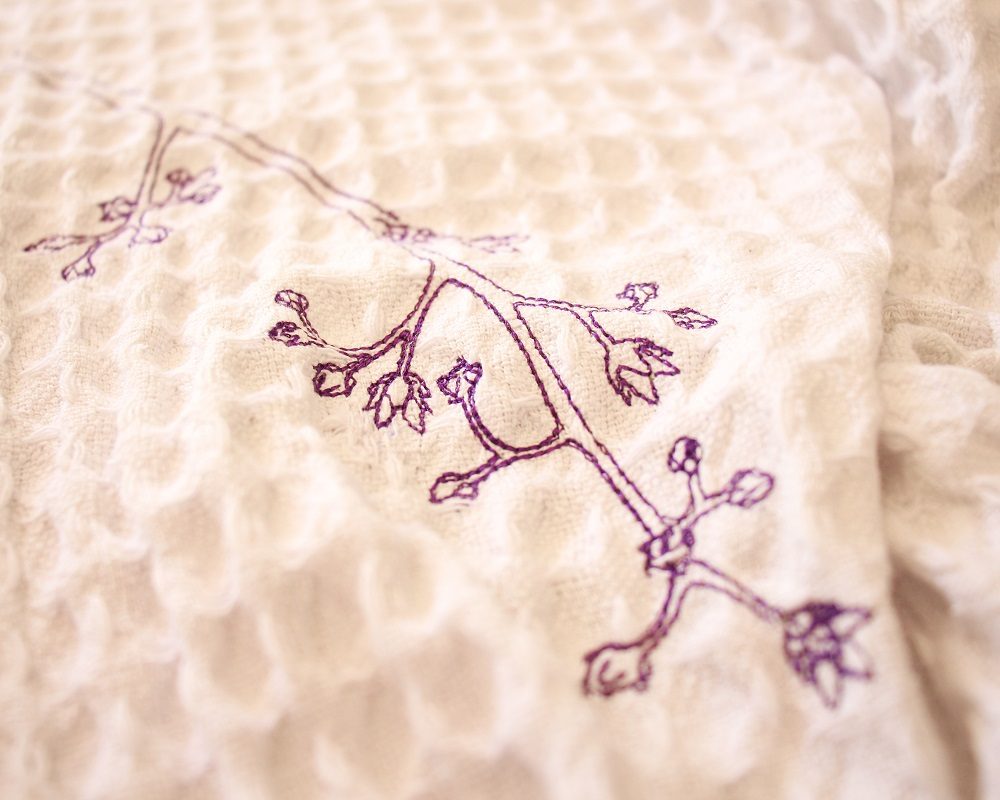
I was inspired by the beautiful succulents in the flower boxes that line the front of my home. They bloom pretty little flowers in Spring & Summer
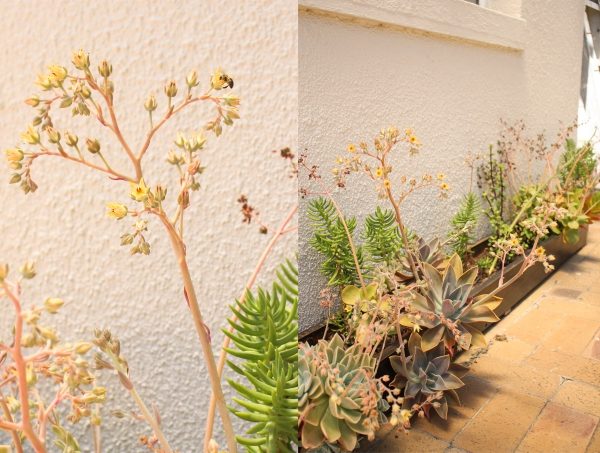
Can you spot the little bee?
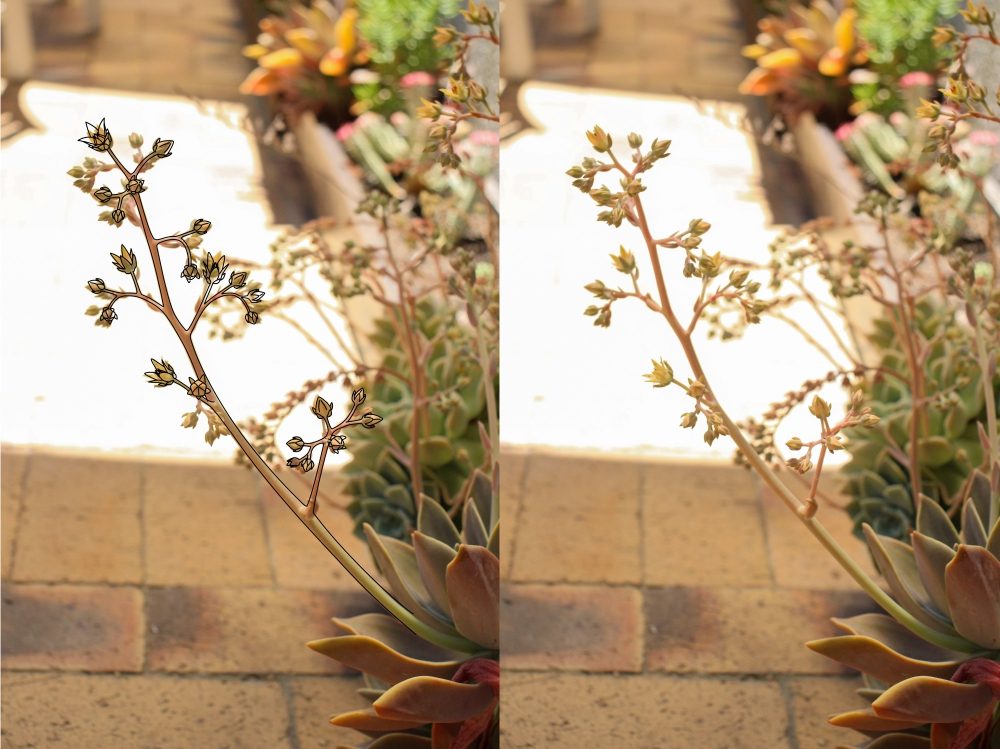
I drew over this picture in Corel Draw, imported the artwork into the embroidery software and converted it into an embroidery design.
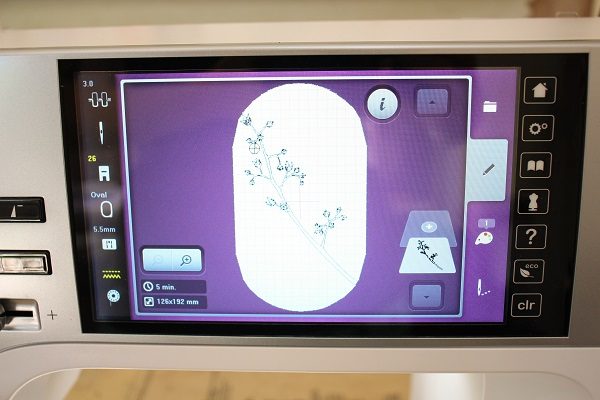 Download my embroidery design, unzip it and load it to your embroidery machine.
Succulent line drawing by Hannah-Rose Smith
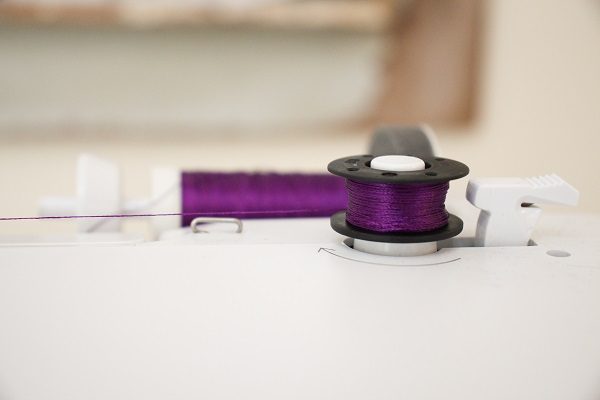 Wind your bobbin in the same top embroidery thread so that the design will be the same on the underside.
You can of course make the bobbin thread the same colour as your fabric.
 Load the fabric in the hoop with tear-away or wash-away stabilizer below.
See Tips for why I used Wash-away stabilizer.
Place the hoop at the top right corner (this will be the bottom right corner when the towel hangs vertically) of your rectangle as close to the edge as possible.
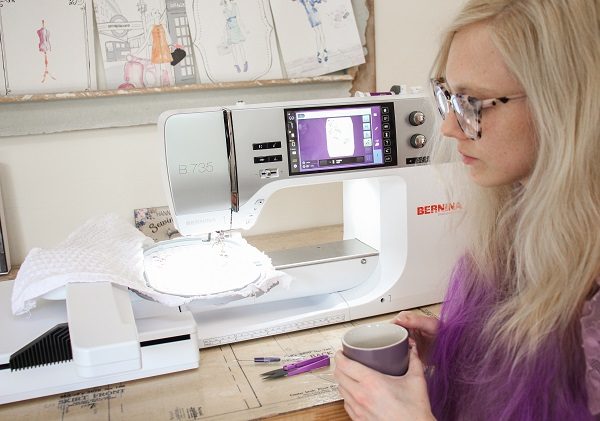 Embroider as usual.
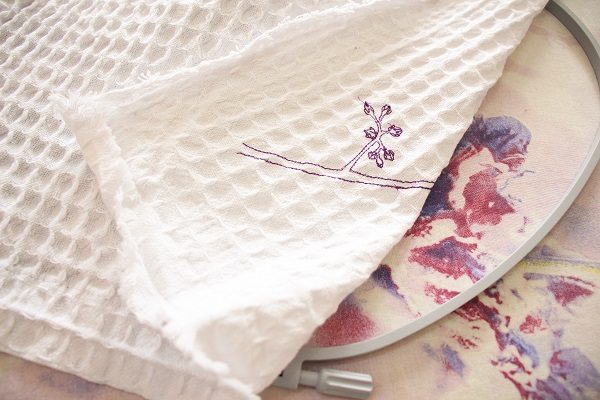 Remove the fabric from the hoop and carefully remove the stabilizer.

You can easily mirror the design on your machine if making a second towel.
Sew
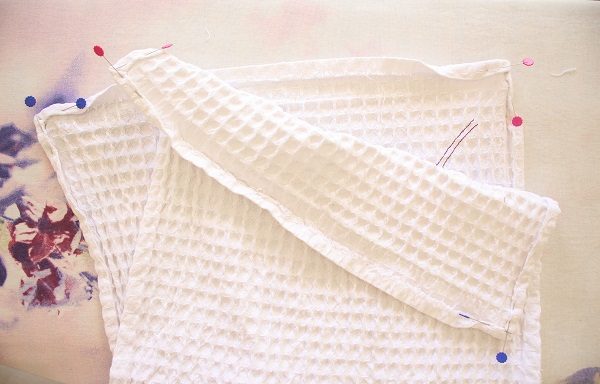
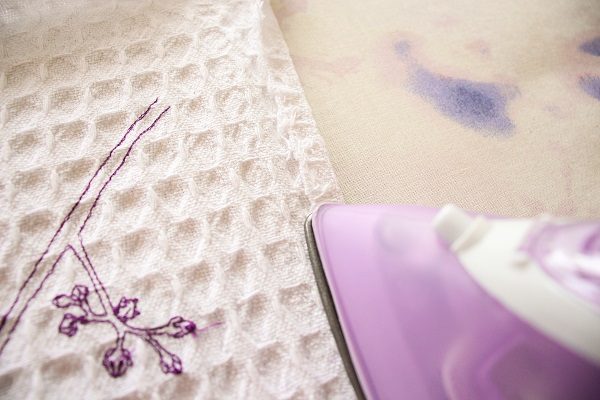 Fold the raw edges in by 1cm and press.
 Fold in by 1cm again and press.
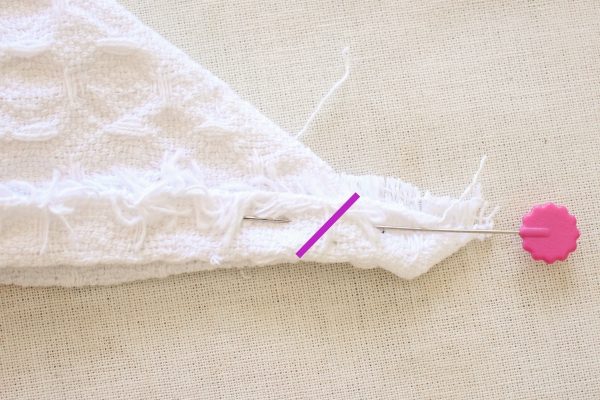
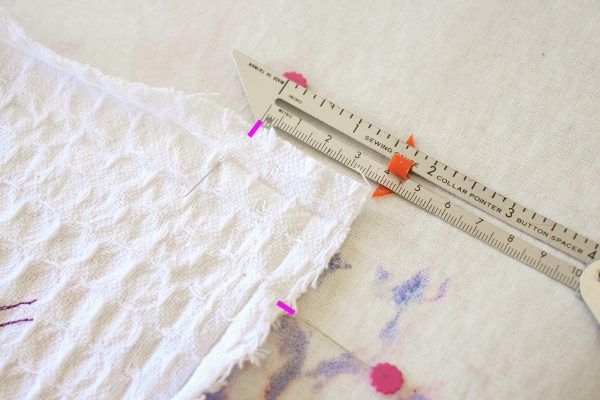 Measure 4cm out from each corner and make a mark.
The measurement for this step is double your seam allowance.
Eg 1.5cm seam allowance x 2 = 3cm or 2cm seam allowance x 2 = 4cm
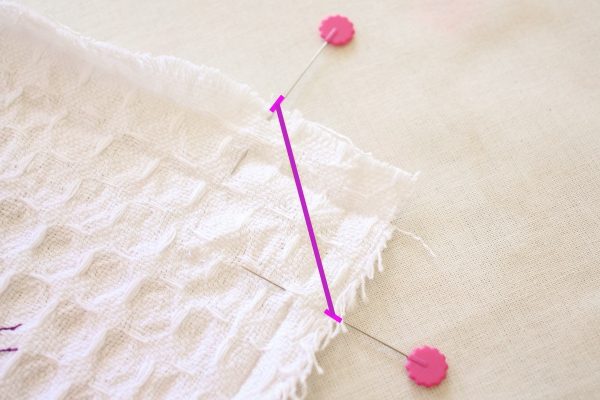 Draw a line joining the marks.
 Fold the fabric in half at a corner and match up the marks.
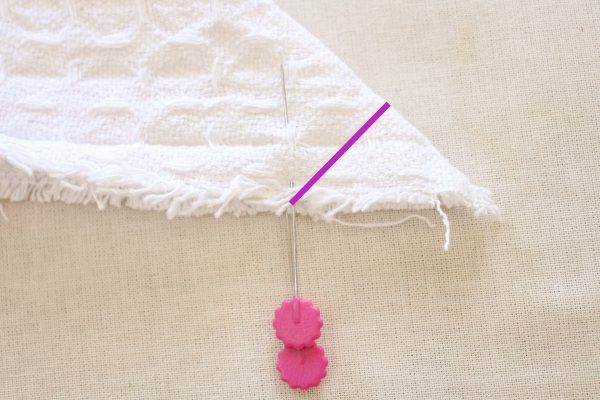
 Fold in the raw edge along the 1cm pressed line.
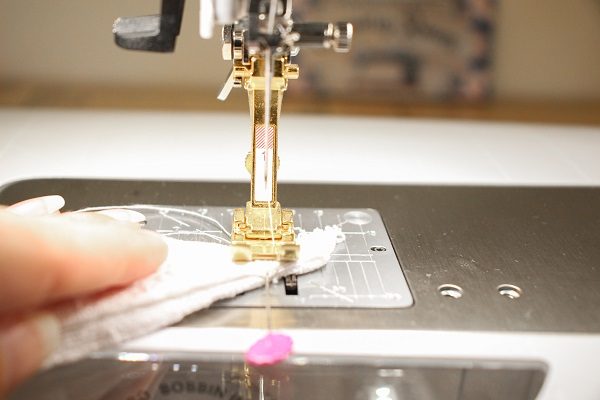 Straight stitch along the drawn line.
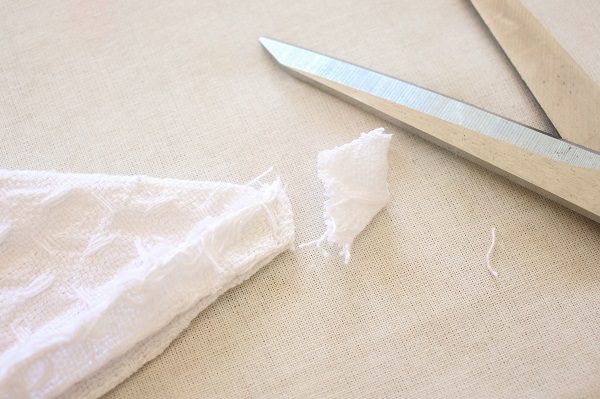 Reduce bulk by trimming above the stitch line and snipping the little corner.
Don’t cut your stitches.
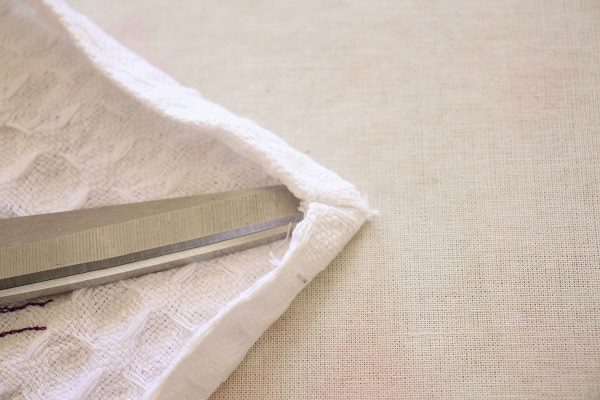 Turn out the corners.
Carefully use the point of your scissors or a knitting needle to turn out sharp corners.
Be careful not to push through the fabric and make a hole.
 Repeat the above steps for all the corners.
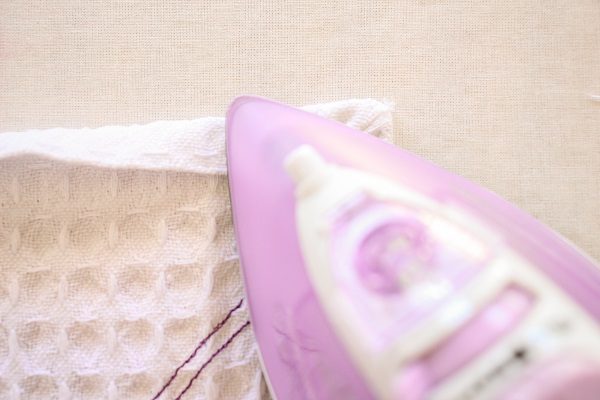 Press the corners and press along the fold lines again.
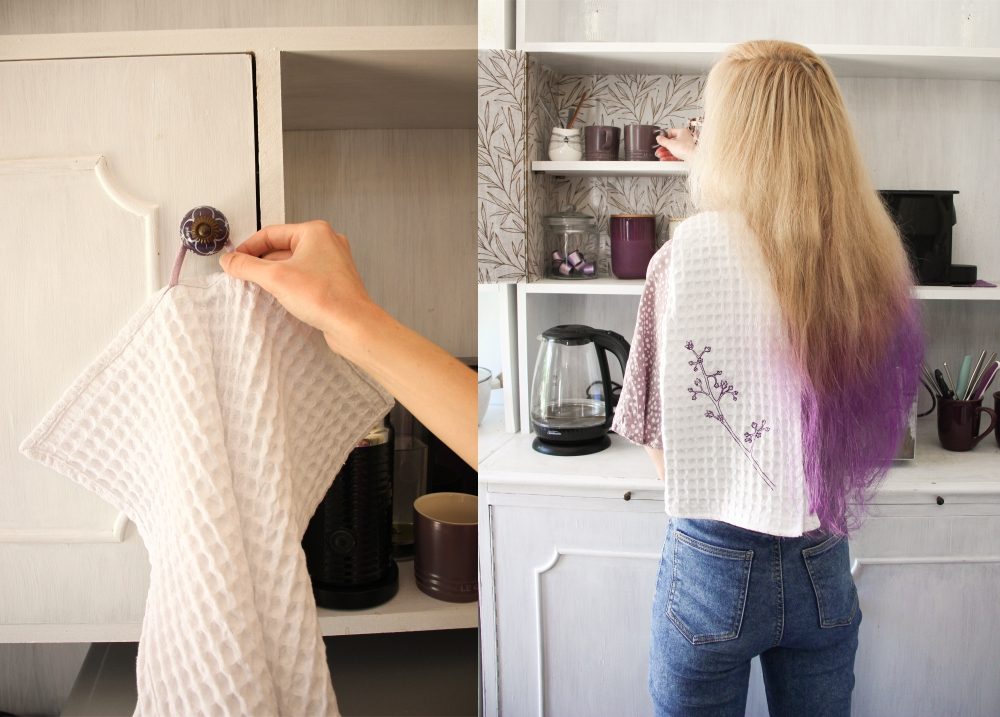
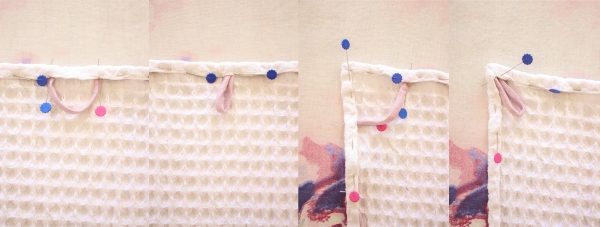 Place the ends of your ribbon under the fold at a top corner or at the centre top.
You can shorten the ribbon to your preferred length.
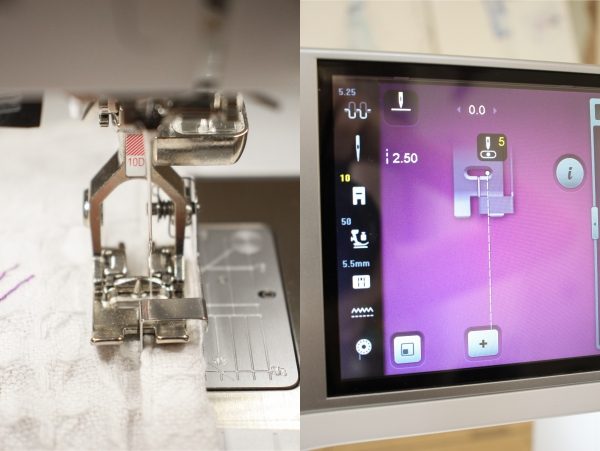 Sew just in from the folded edge. The Edgestitch foot helps give a neat and even row of stitching.
Place the needle down when you get to a corner, pivot the fabric and continue stitching.

Tips
- Christmas is in Summer here in Cape Town, South Africa so the light and airy colour pallet works well.
You can create unique kitchen towels with your choice of fabric colour, fabric texture and thread colour.
You could even go very bold with a bright colour fabric and a complimentary bright coloured thread. - You could embroider a ready-made kitchen towel if you don’t have enough time to sew. However, you likely won’t be able to get the embroidery design as close to the edge due to the bulk of the stitched edges.
- I used wash-away stabilizer as the embroidery design has some intricate details and I don’t have the time to spend removing it all.
Also the design will be visible from the underside so I didn’t want any stabilizer visible.
I just popped the finished towel in the wash to fully remove the stabilizer.
I would love to see your makes, please feel free to share them with me!
Instagram
Facebook
Happy Sewing and Happy Holidays!
Hannah-Rose

0 Responses