 BERNINA Corporate Blog -
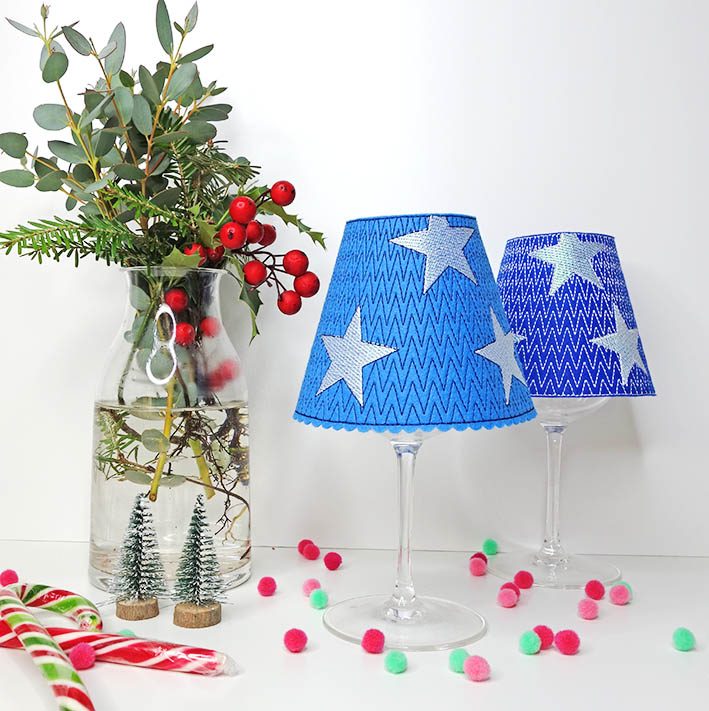
I love decorating when the evenings start to get darker. I prefer to use lots of light jars, bag lanterns, etc. The light always radiates so nicely and makes the ambiance very cozy. The small light magic lampshades can be quickly made and are perfect for decoration or as a gift. Today, I will show you how to make them and I will provide you with the embroidery file as a freebie.
We are already on the 20th window of the Blog Advent Calendar.
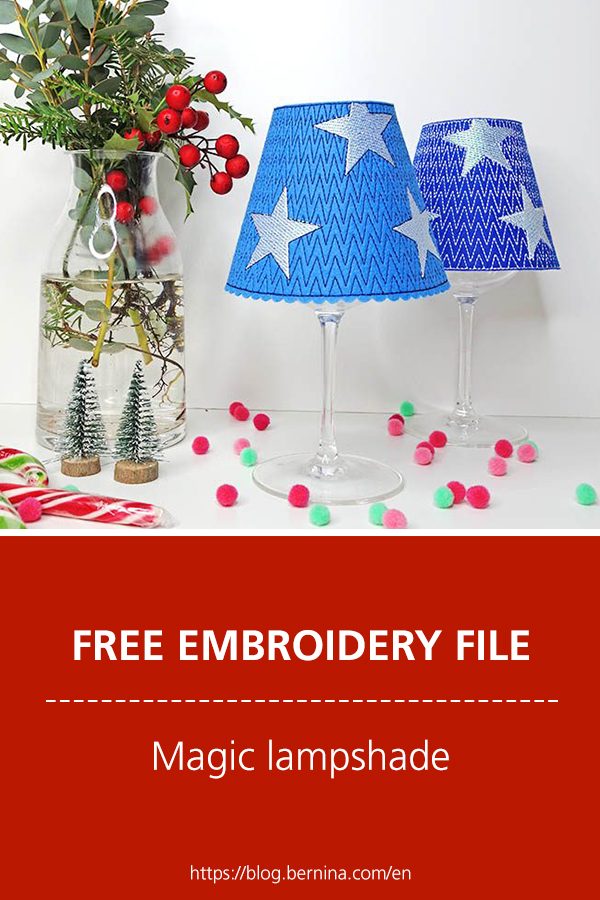
Light magic lampshade – Free embroidery file
You can download the file as a freebie in all the standard formats via the following link:
Download the light magic lampshade embroidery file
Don’t forget to unzip the ZIP file after downloading!
The free embroidery file is suitable for the Maxi embroidery hoop.
You will need:
- Maxi Hoop (the embroidery design is 132 x 299 mm)
- Tear-away stabilizer
- 20 x 30 cm, 1.5 mm thick embroidery felt or textile fleece 120 (thick Lutradur)
- Embroidery threads
- Transparent textile glue, e.g. HT2
- Wine glass – 32 cl with a diameter of 6 cm (top edge), e.g. “Storsint” 32 cl from Ikea
- Battery-operated light or string of lights
- Optional: special effect embroidery film
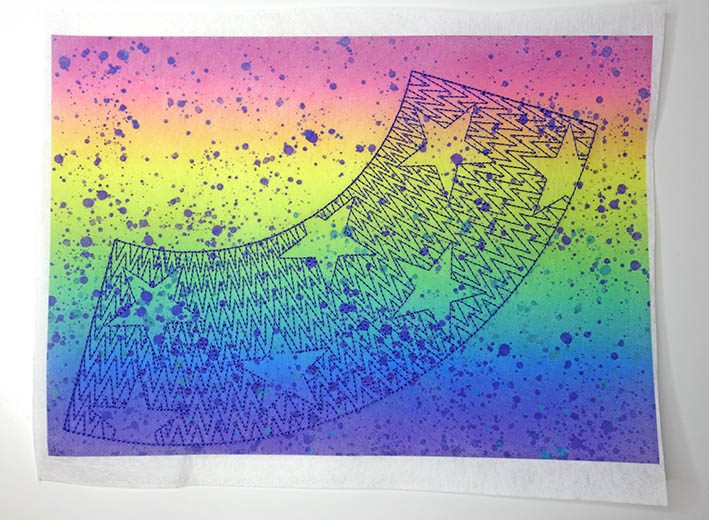
Embroidering the light magic lampshade
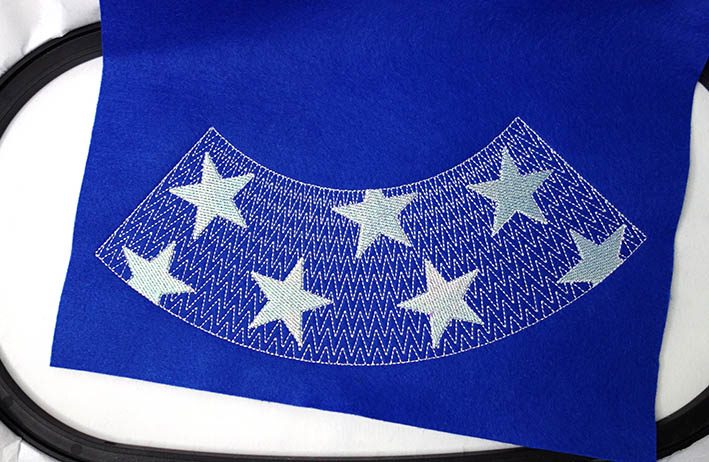
Insert the stabilizer and embroider the first color – this is the placement line.
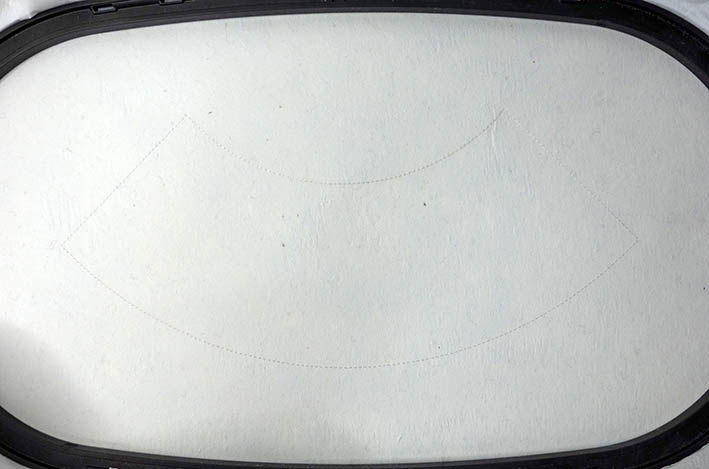
My tip: Lutradur and embroidery felt can also be hooped and embroidered without the stabilizer. The large hoop creates a lot of waste, but you can use the remnants for other projects. In this instance, the first two embroidery steps can be omitted.
Place the material over the placement line, making sure that there is enough material on a straight edge for an adhesive tab. The second color attaches the material to the stabilizer.

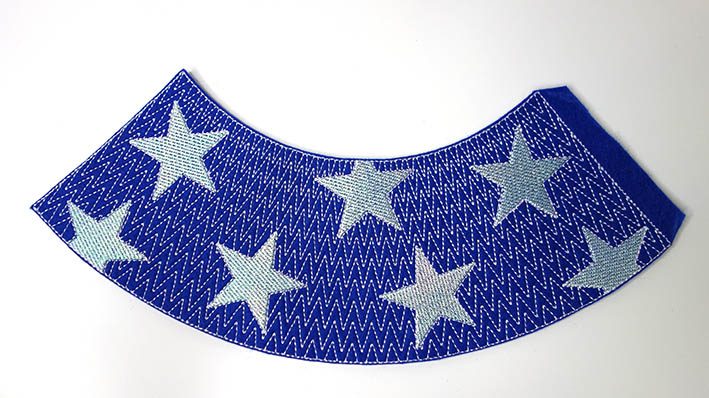
If desired, the embroidery film can now be applied and the third color can be embroidered. With the embroidery film underneath, the stars look like you have embroidered them with metallic thread. You can also embroider the stars without using film. The stitches are not very thick, which allows the background material and the film to show through. This creates a nice color effect.
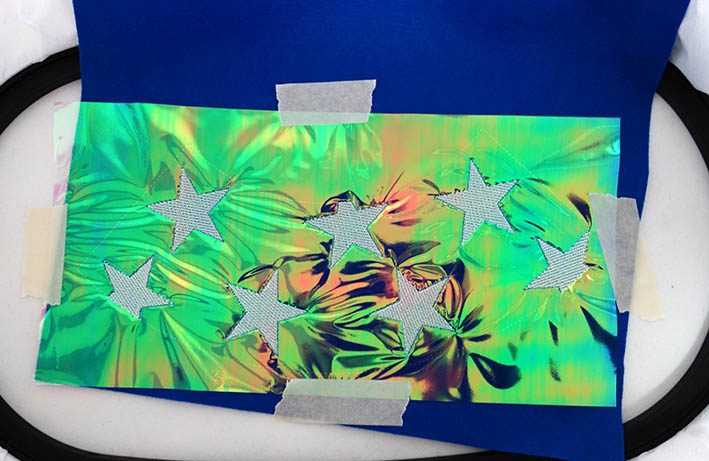
The special effect embroidery film
After embroidering, the special effect embroidery film is easily torn off.
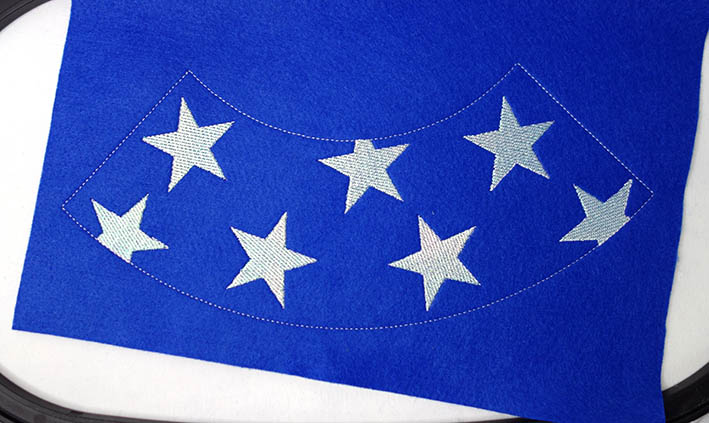
Then the final color is embroidered and the project is removed from the embroidery hoop.
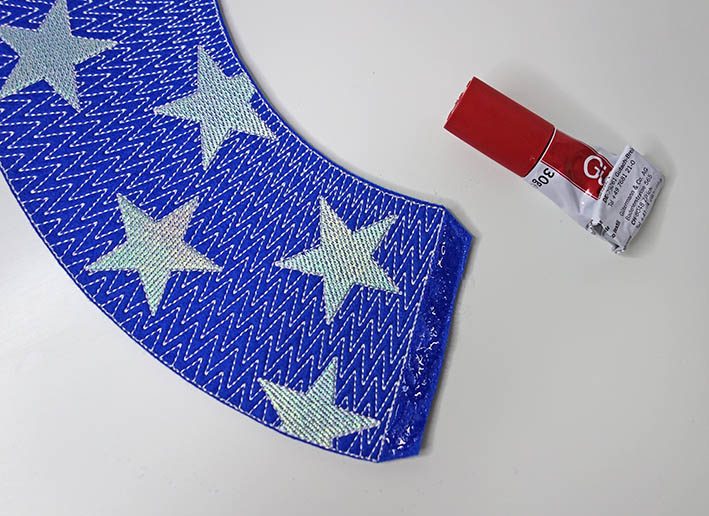
Now draw the adhesive flap, which is approx. 1 cm wide, and cut out the lampshade with a small allowance of 1 to 2 mm.
Finishing the light magic lampshade
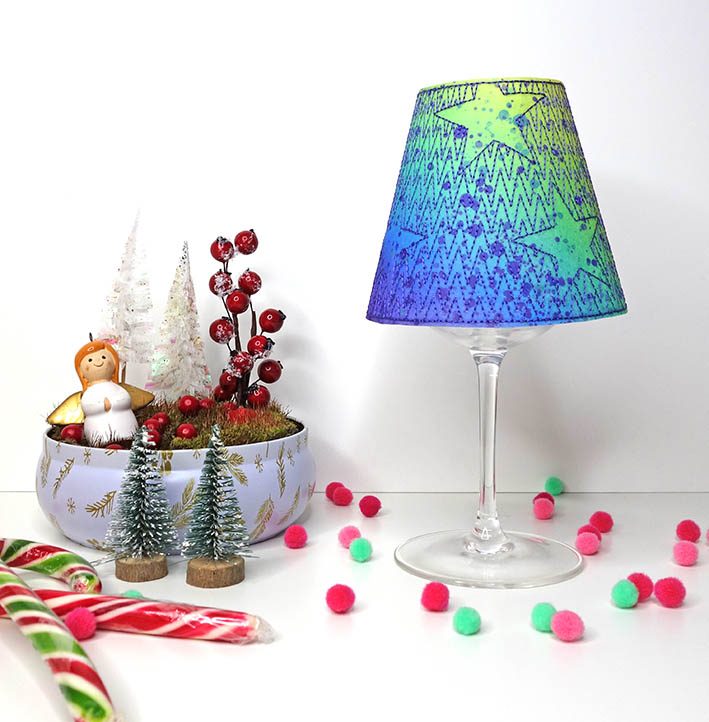
Apply adhesive to the flap and attach the shade together.
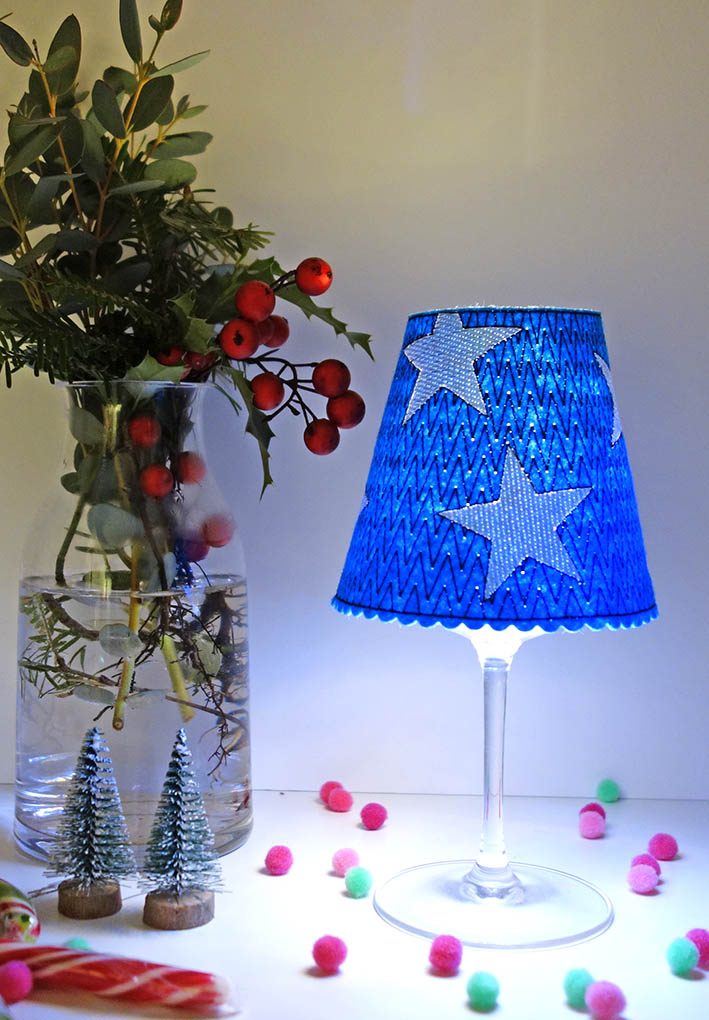
The wine glass is used as the lamp stand.
The magic is ready!
My tip: skip the third color to create an alternative effect. In this example, I sublimated Lutradur beforehand and did not embroider the third color. Lutradur can also be beautifully painted with various colors (watercolors, diluted acrylic paints). White embroidery felt can also be sublimated, but not painted.
If you want to give this pretty item as a gift, you can fill the glass with some chocolate or delicious nuts and then package it in cellophane, with a little decorative shredded material. For favors placed on a table, you can forego the cellophane packaging.
I hope you have lots of fun sewing, and a wonderful holiday!
Kasia


0 Responses