 BERNINA Corporate Blog -
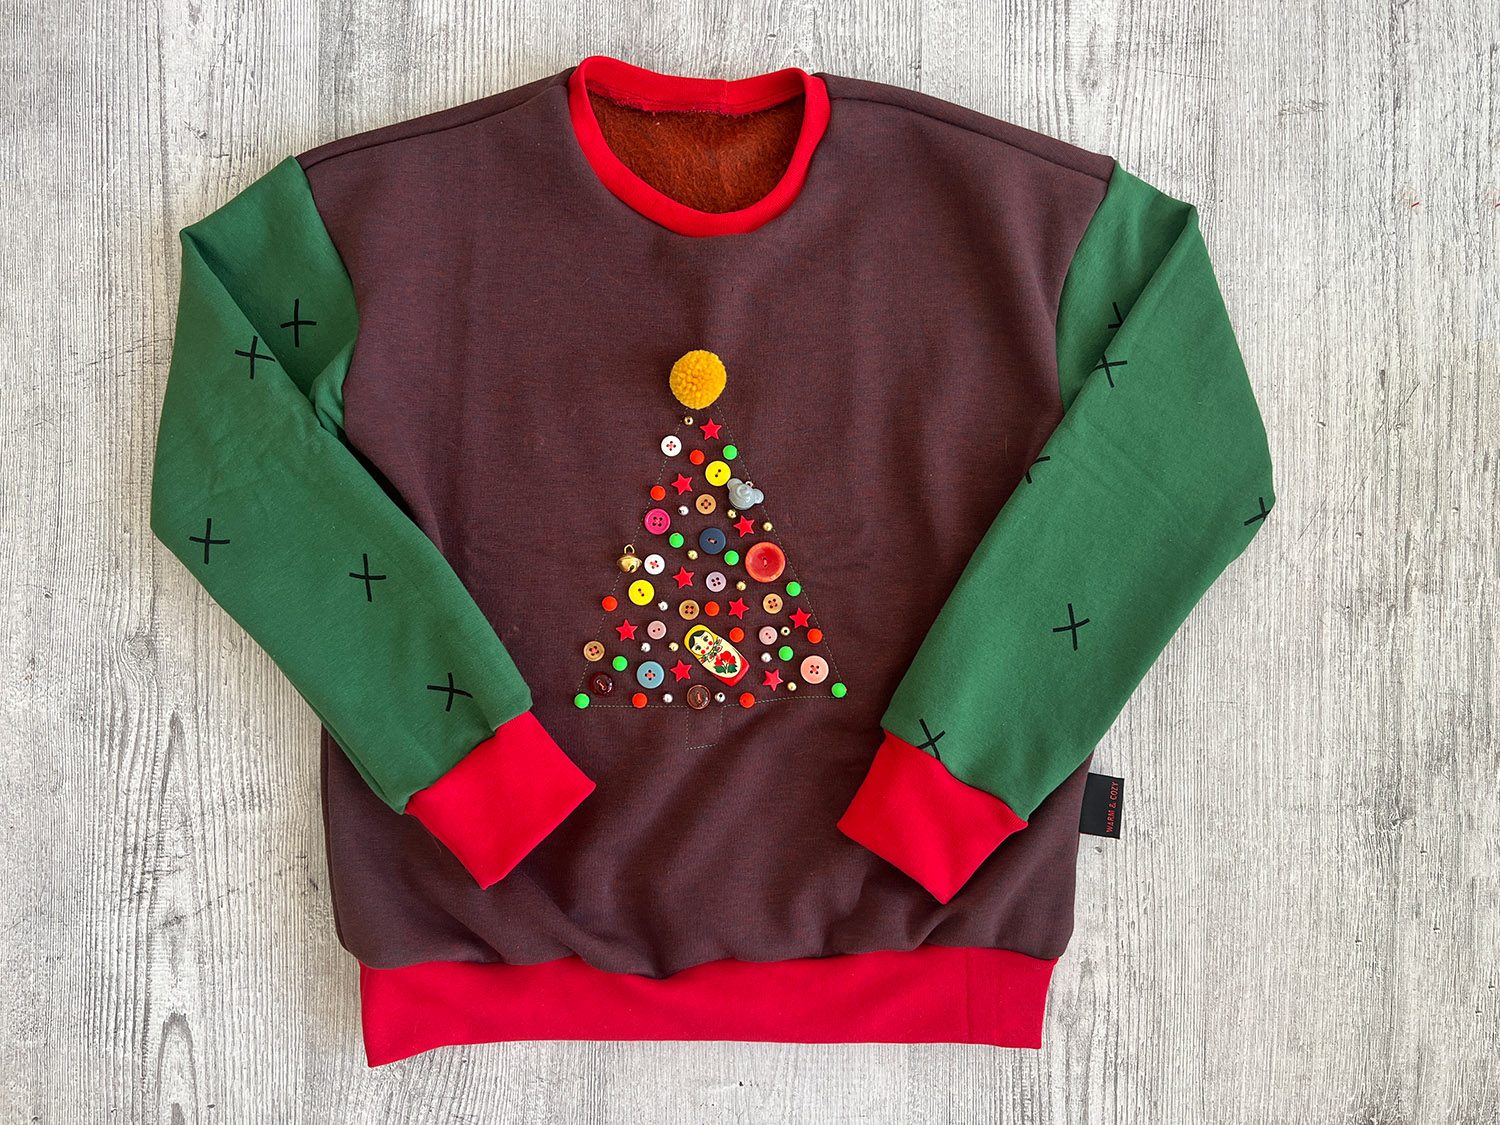
Hi, we are already on the sixth door of the Blog Advent calendar. Today we combine the practical with the beautiful and sew a colorful “ugly Xmas sweater” – but it’s not actually that ugly. Practical and beautiful because we also create a bit of space in the sewing box and material storage area as a result. After all, a Xmas sweater like this needs to be richly decorated and EVERYTHING is allowed.
Quickly grab buttons, trims, eyelets, sequins, beads, KamSnaps and whatever other junk you’ve accumulated over the years and let’s get started!
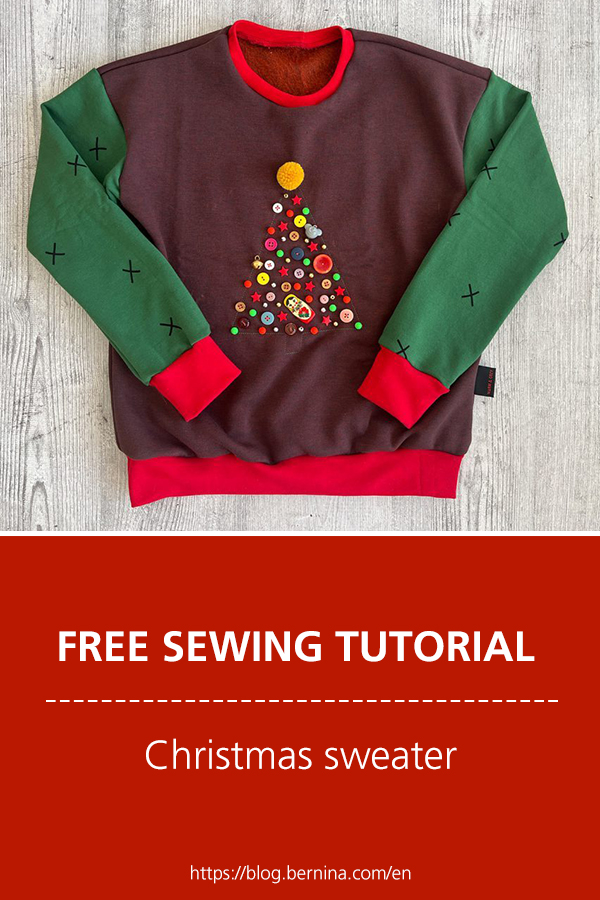
Sewing instructions for an ugly Xmas sweater
Pattern
I want to put a small, colorful Christmas tree on the sweater. Since my ideas are all being implemented with “bulky material”, I decide to use a boxy and rather wide sweater cut.
The sweater from the book Hej. I have sewn mini fashion by Jules Näht a few times and really like it on my son.
But basically, any other pattern is also possible, and of course such an ugly Christmas sweater can also be sewn for the whole family. Your sweater should be made wide enough, as KamSnaps, eyelets and bells can prick you if they are too close to the body. If you use flat materials or directly cut all the decorations out of Flex film (small “glass balls” can be punched out really nicely with a hole punch), you can also use a more figure-accentuating cut for a long-sleeved top. However, the more that is sewn onto it, the more difficult it is to pull on if it has a tight cut.
Fabric selection
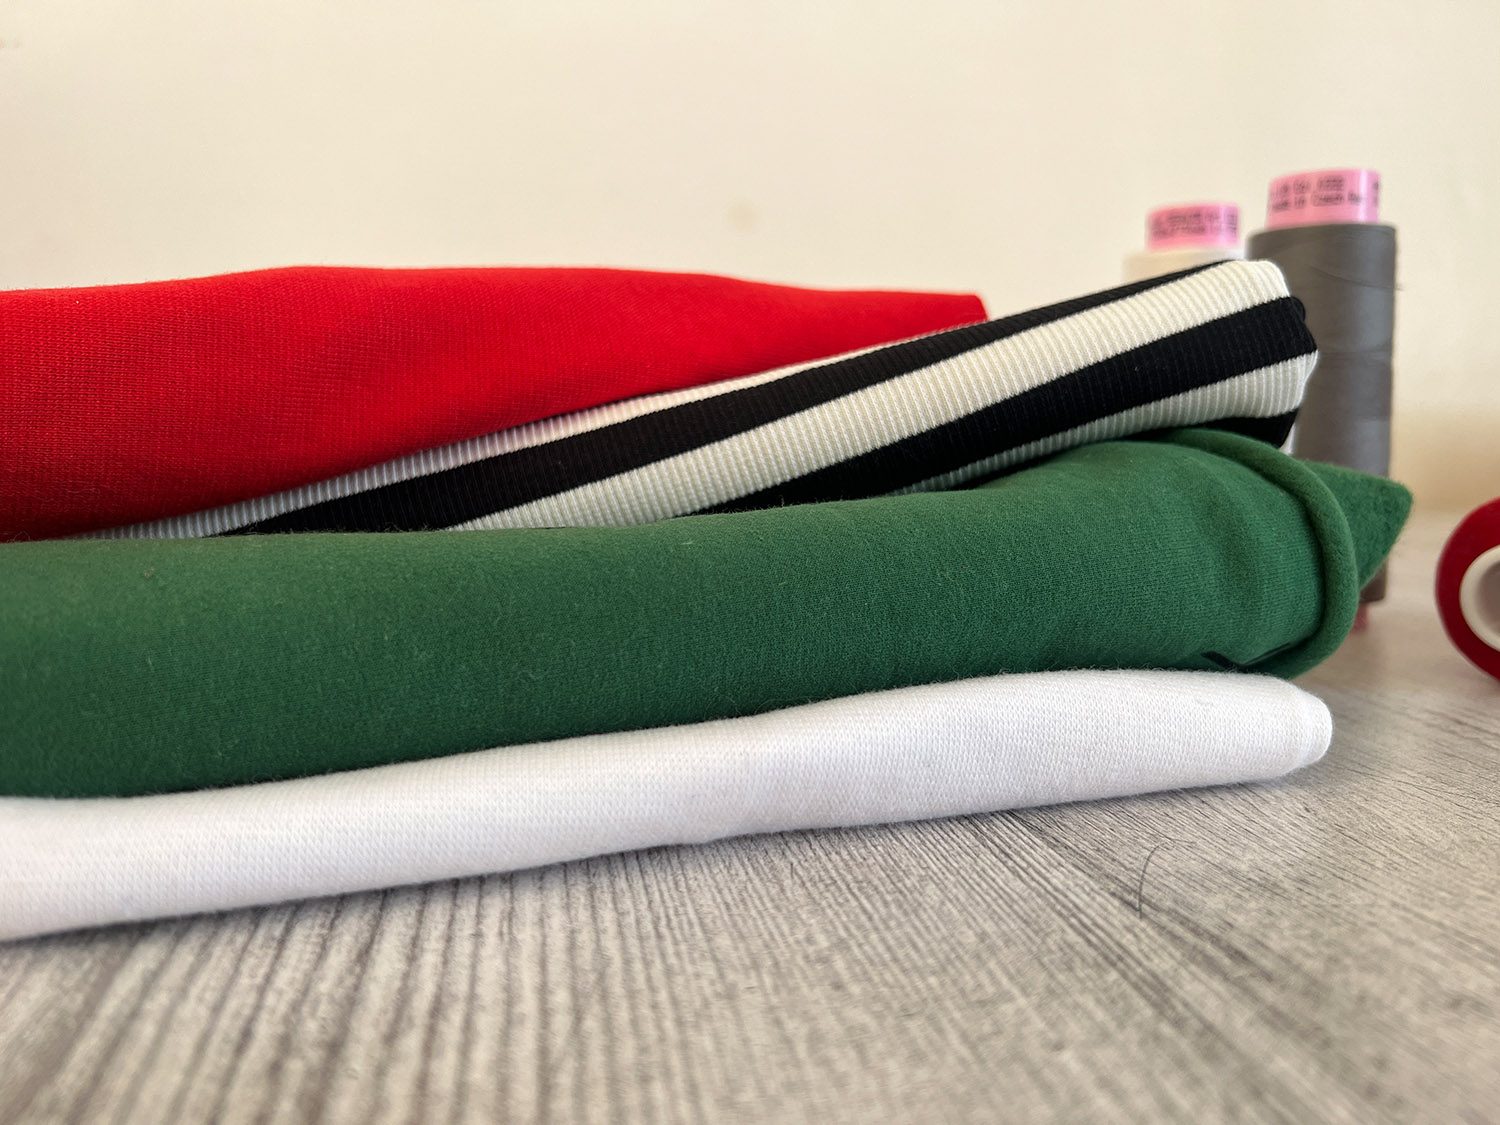
If you really want to make it Christmassy, it is important to use typical Christmas colors, such as red and green, when choosing the fabric. It can also be nice with striped fabric with white as a combination. That quite simply forms the perfect basis. I would have done that, but in the end I found it better to use some leftovers for this project. When sewing a sweater that will only be worn for a short time it is better to use up any leftovers you have. So we have some wine red mixed with the bright red.
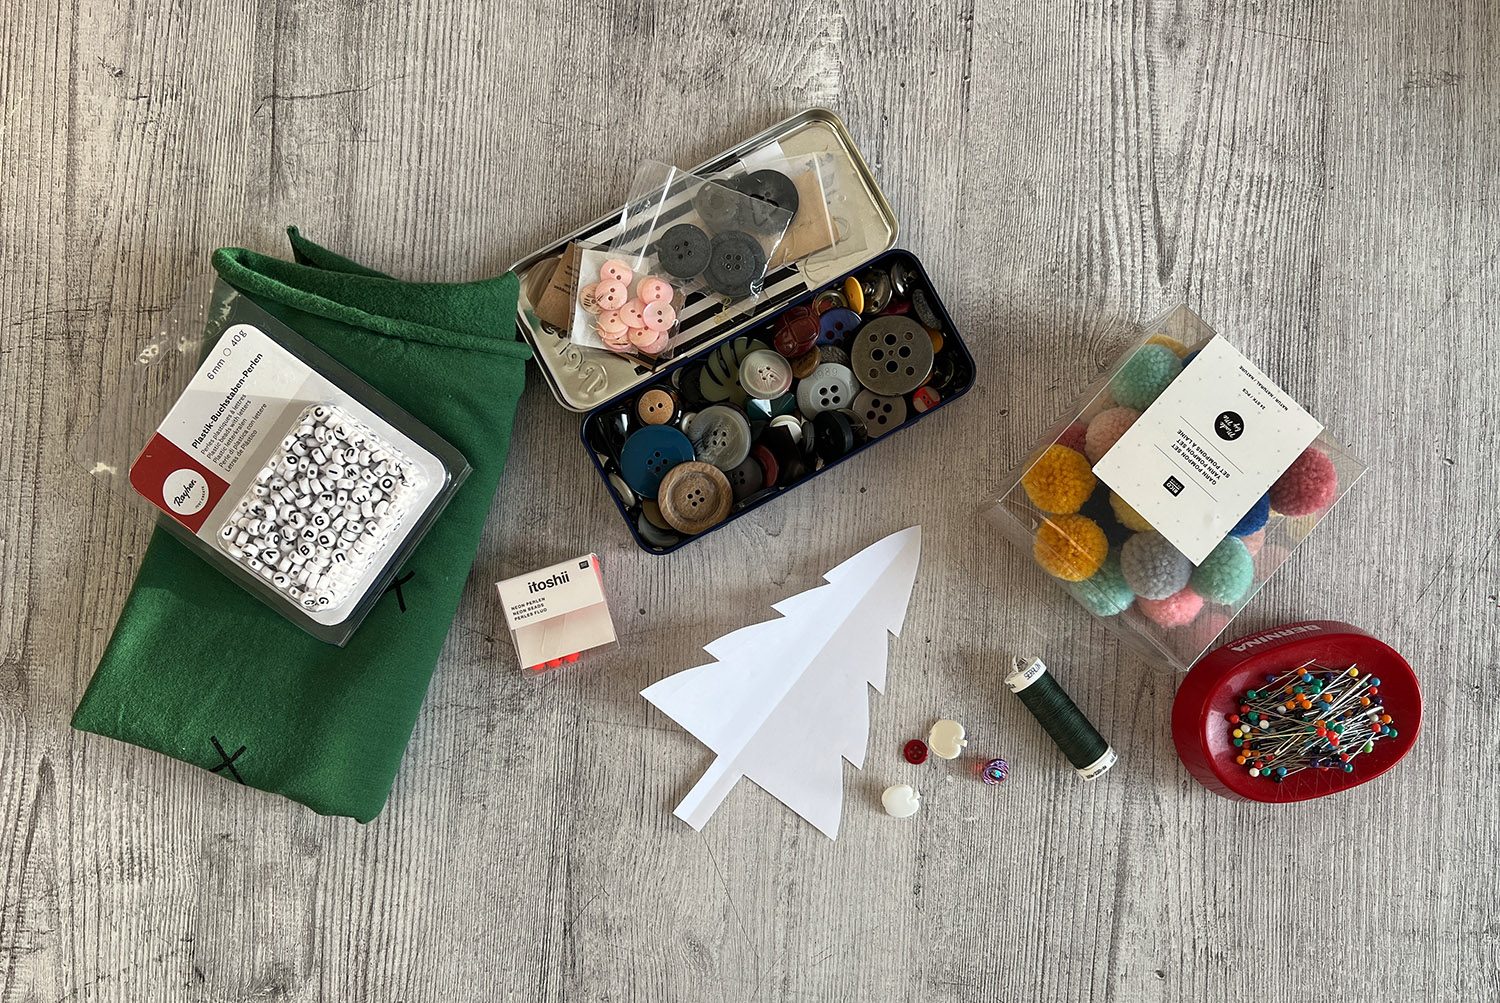
Decorative material
My Xmas sweater goes by the motto “The more the merrier”. I first put together all the materials that came to mind. A bit of classic, a bit of bright neon colors and perhaps a hint of glitter. I think that will be really funny. And certainly very colorful.
Design
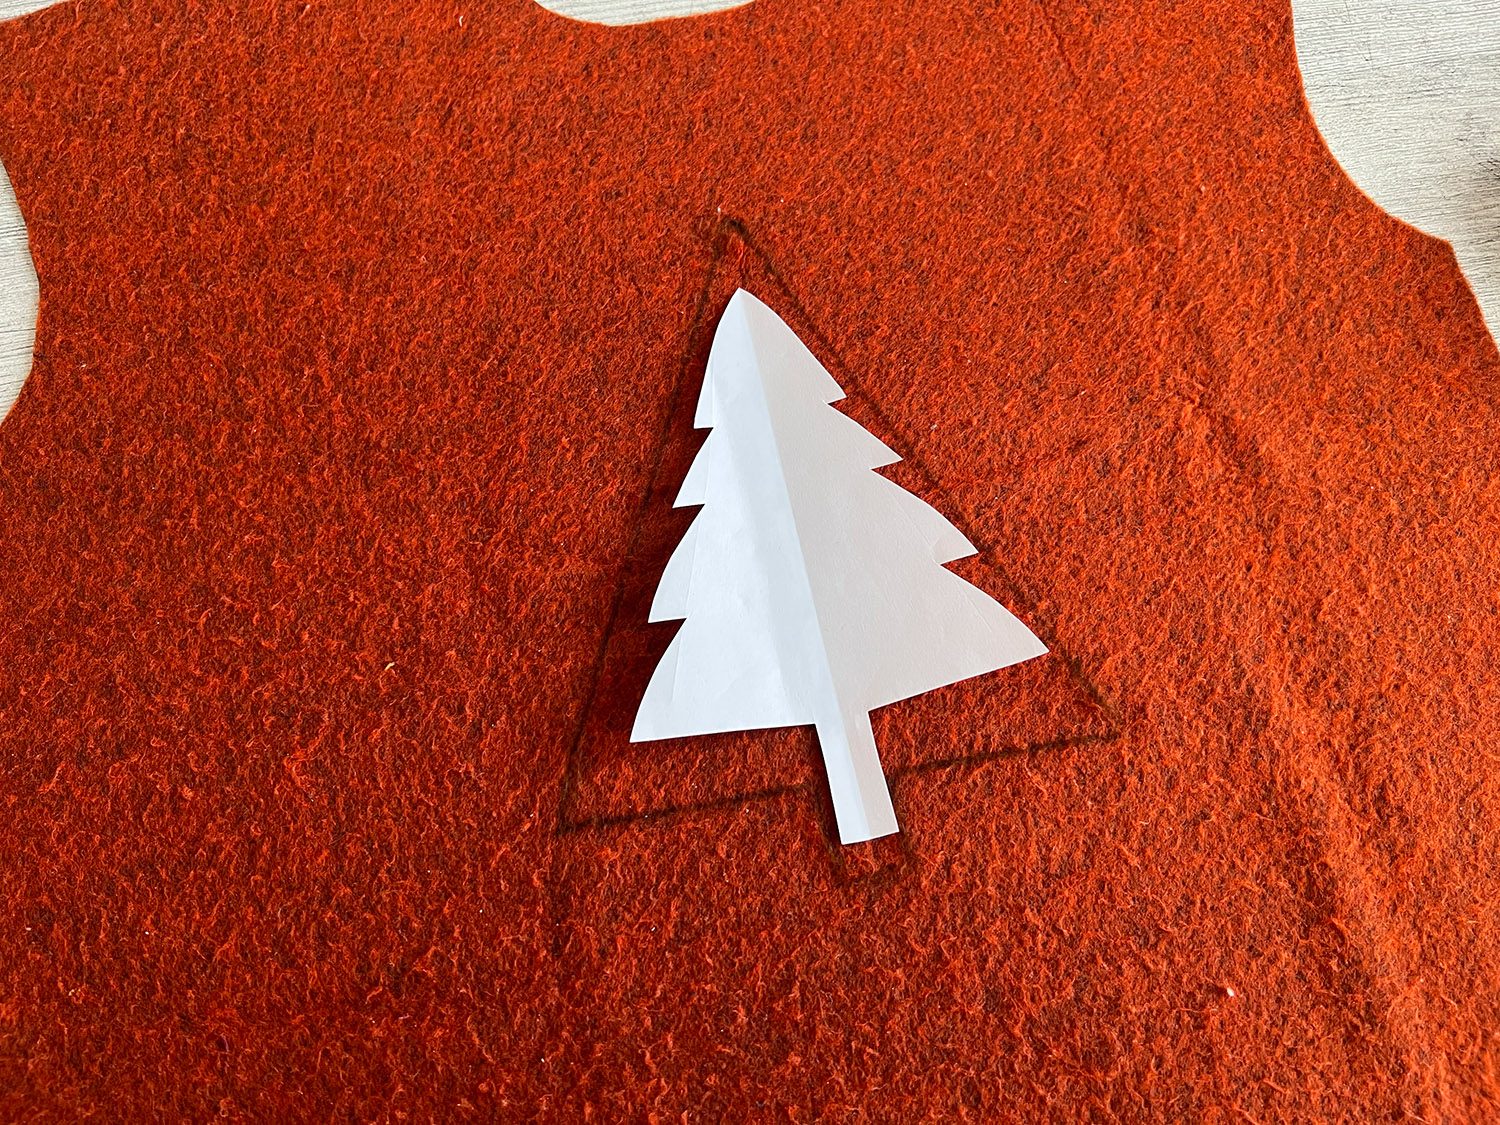
To create the design, I simply folded a sheet of paper in the middle in order to draw a symmetrical tree. In the end I didn’t use it because it was too intricate for my choice of material, but it was useful in determining the size at least 😉 With its help I also drew a very simple Christmas tree on the back of my front piece. I used washable self-erasing (Trick) markers for this. Although it’s the back, it is good to be careful in case it comes through a bit.
Sewing the tree
Once the outline of the tree is on the pattern piece, you can get started. I stitch the outline with a medium stitch length and very slowly. As I stitch from the left, for a green Christmas tree my bobbin thread is of course in the appropriate color. Starting at one corner of the tree, I sew to the next corner, lower the needle, lift the presser foot and carefully turn the fabric until the next straight line is in the “sewing direction” again. And I continue in this way.

Back at the beginning of the outline, I don’t use the automatic thread cutter, but leave the thread to be a little longer. This means I can put it neatly on the back and knot it there. If you want a more visible outline, sew the line several times, use bulk thread or let a narrow cord run along it.

Decorating the tree
The tree is there, so now it can be decorated. Anything you like is allowed. However, I would like to add a brief note: you can decorate more beautifully and more evenly if you decorate from large to small. This means that the large parts are first applied evenly, then the smaller ones. To start, I laid everything out to see what I want to use.
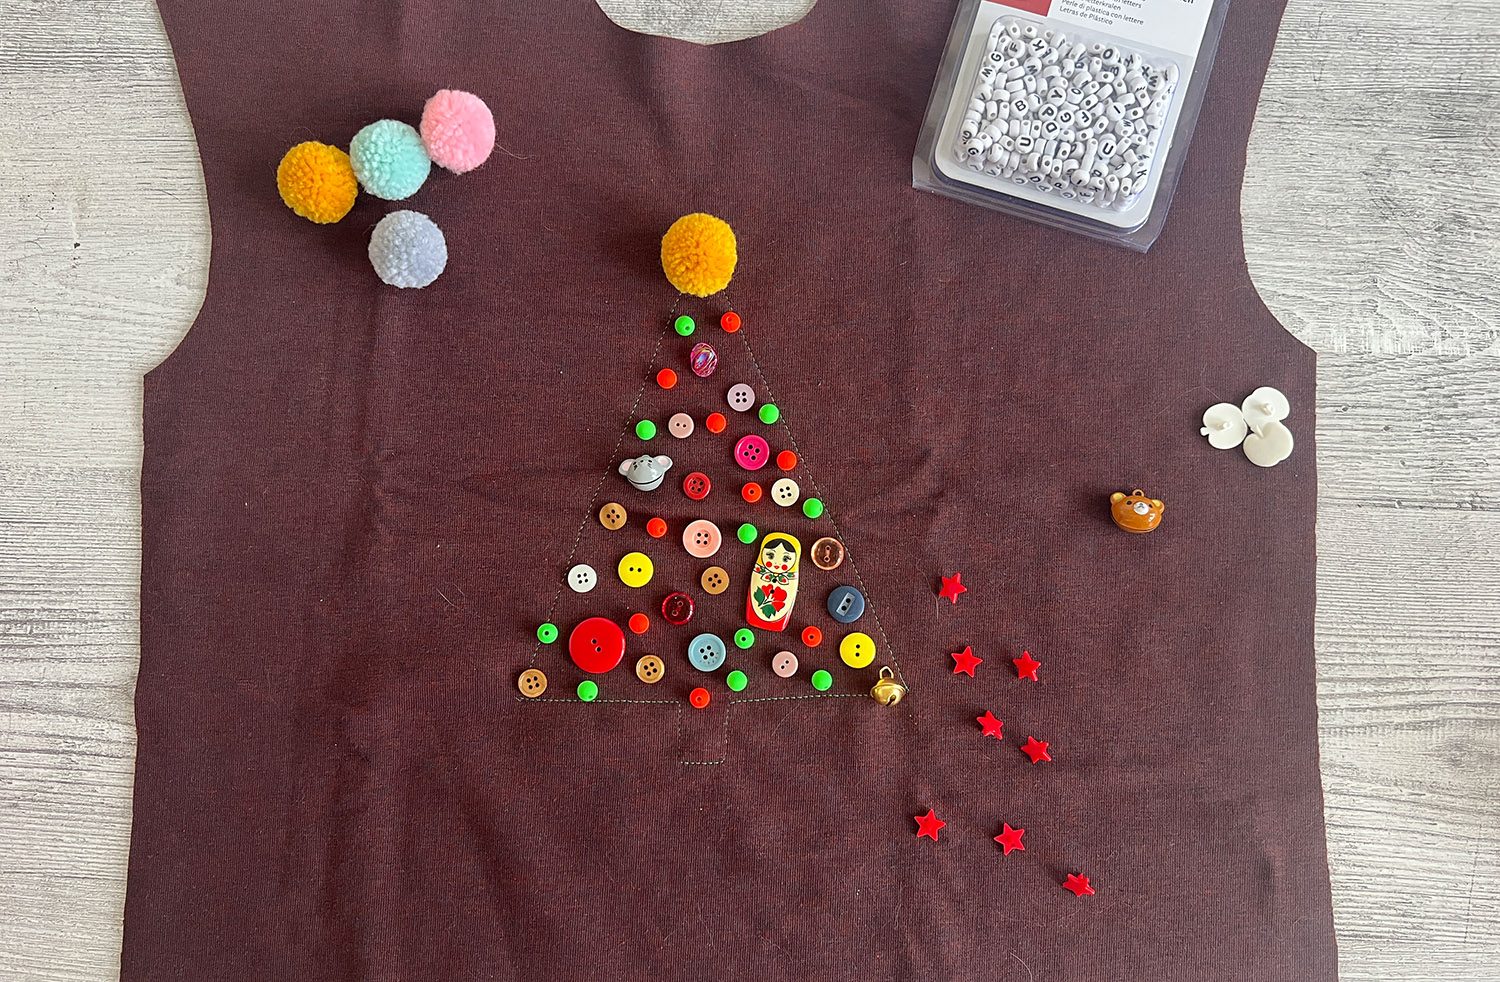
I found a few KamSnaps with a star shape. It’s like they have been waiting for this project! They are my first decorative element, and I distribute them evenly on the tree.

Then come the large buttons. Then the smaller ones. I try to distribute not only the button sizes but also the colors evenly.
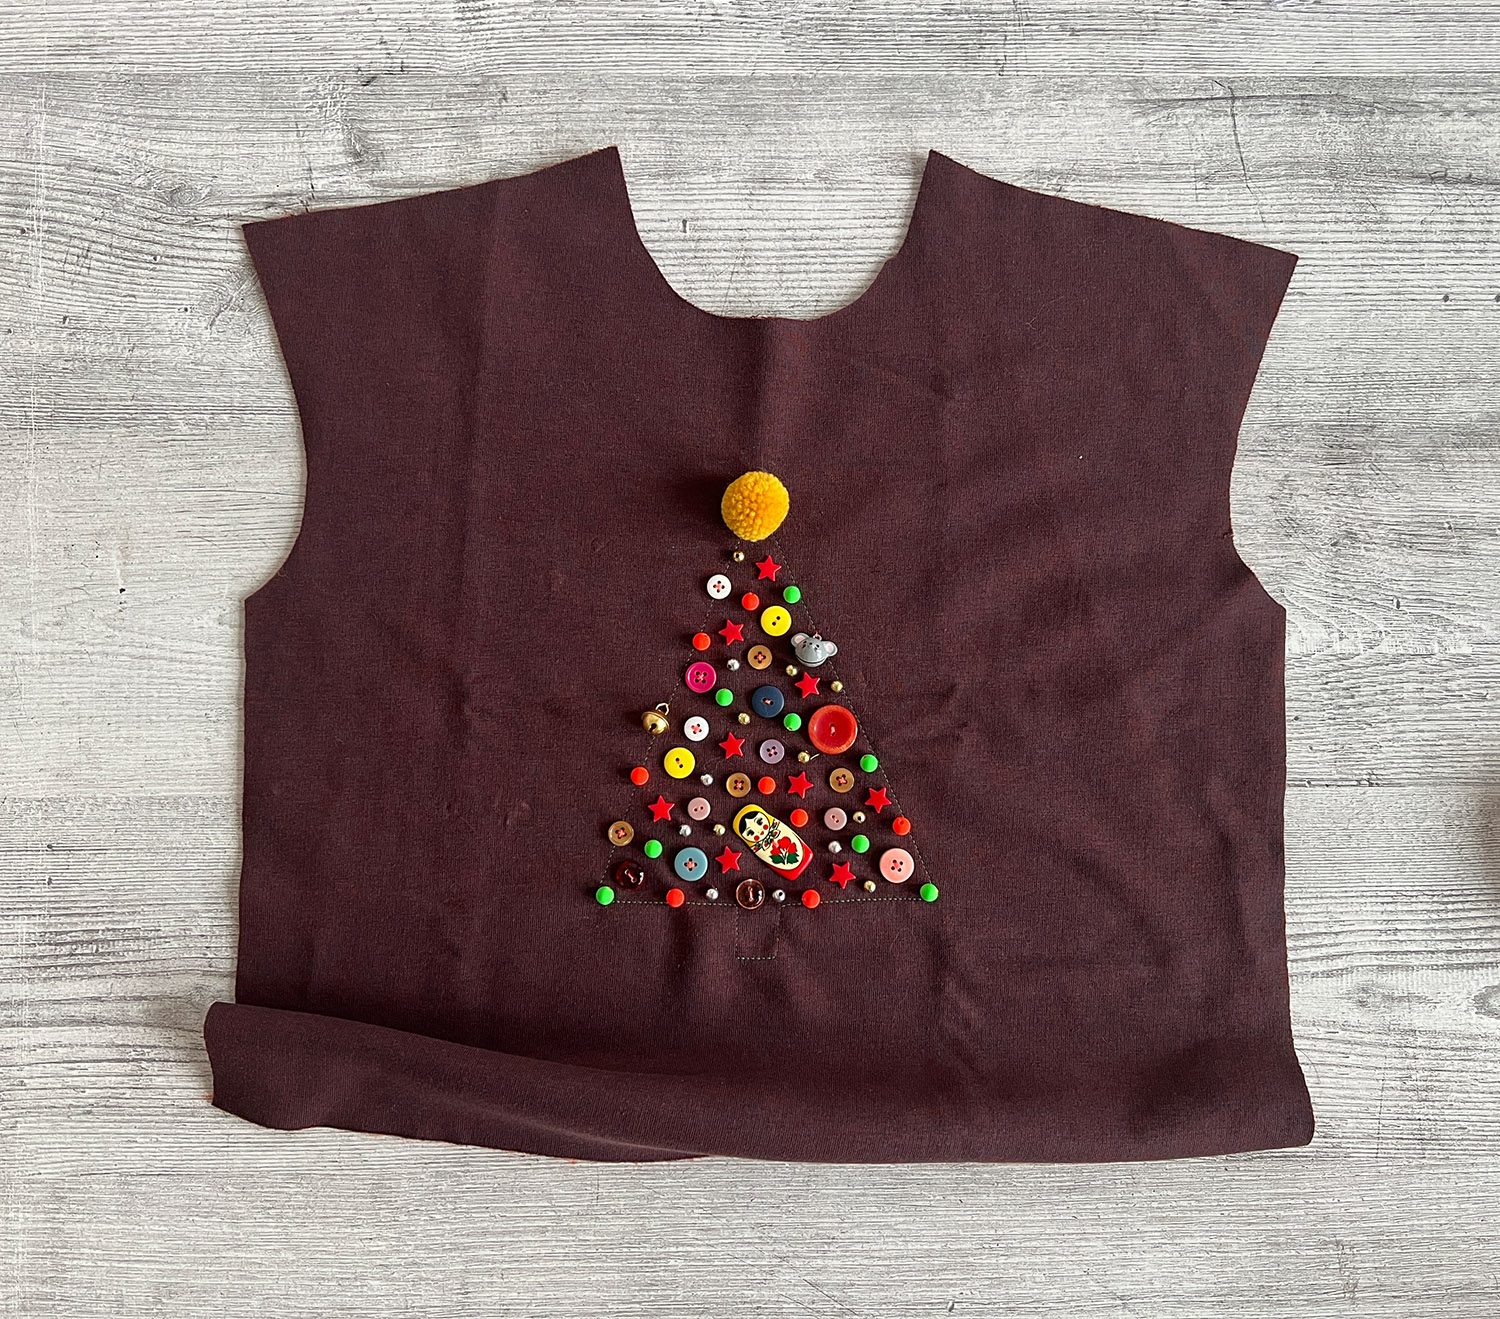
I fill gaps with small beads. And then even smaller ones. And even smaller. A few little bells to create Christmas spirit are also nice for an Xmas sweater. And they tinkle so beautifully when sewing…
It would have been nice to end with some small sequins, but I don’t have any here, so my tree is finished. Take your time decorating the tree. It takes a little while, but is a very comforting thing to do. By the way, I chose an extra colorful and somewhat thicker thread for attaching my buttons. The bulky thread in neon pink gives the sweater an additional splash of color. It is sufficient to attach the buttons with two or three threads.
After all the decorative fun, it now gets almost a bit boring, because of course the sweater still has to be sewn together. But the fun will return by the next Christmas party, when the new Xmas sweater makes its entrance!
I wish all my readers a creative Advent and colorful holidays!

Is the sweater washable? We will see… If you want to play it safe, undecorate your little tree before washing it – after all , a real Christmas tree has to be redecorated every year anyway 😉


Your blog post was a true gem amidst the vast sea of content online. It stood out with its exceptional quality.