 BERNINA Corporate Blog -
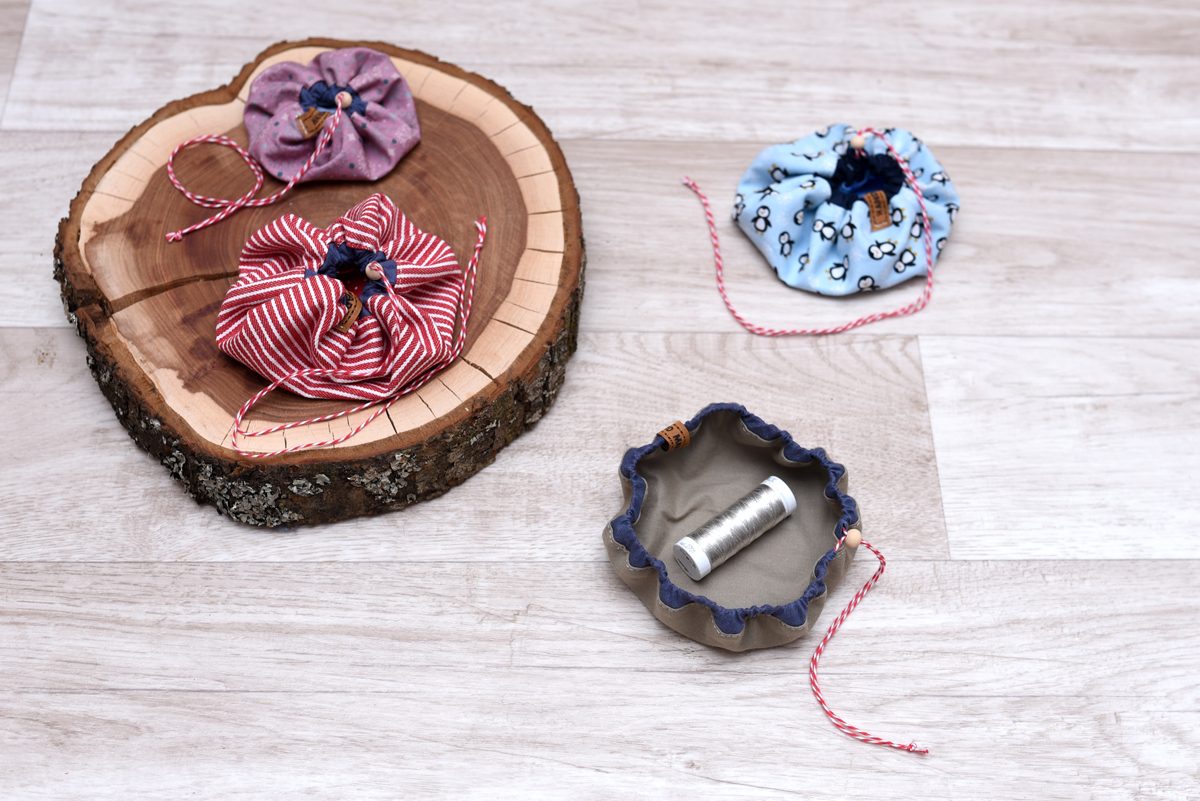
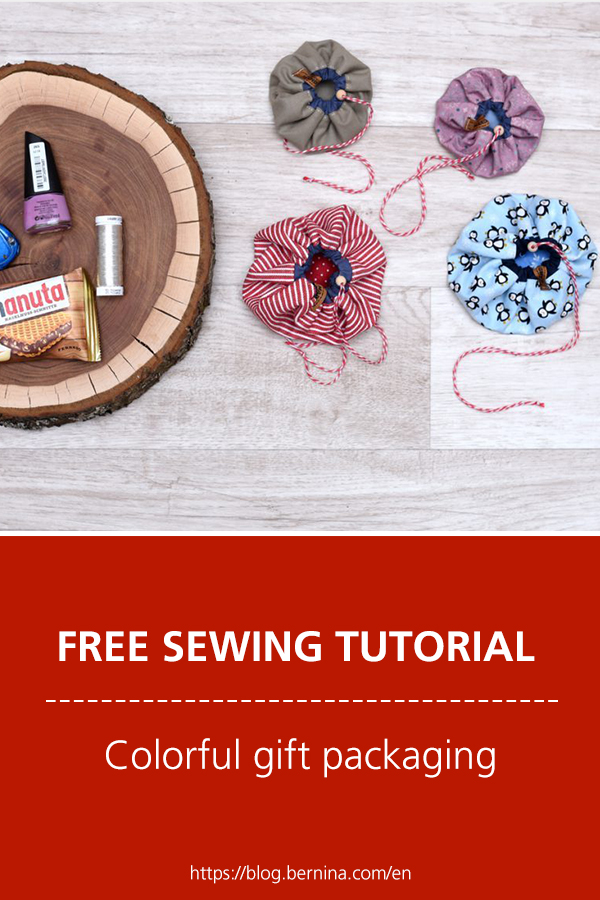
Good morning, you lovely people, in the eighth door of this year’s Blog Advent calendar, we will be sewing small round bags that are ideal as wrapping for small treasures for Christmas.
As the instructions involve quite simple circles, there is no separate pattern for them. At the end of the article, you will find a few ideas for what you can put in the little bags. Of course, you can give free rein to your creativity regarding what to give as presents.
Sewing colorful small bags
Materials
You will need:
-
- Cotton leftovers – whether multi-colored or plain is up to you
- Bias tape
- If necessary, a small label and a wooden bead
- Cord or tie
- Thread used: Christmas Collection from Amann Mettler
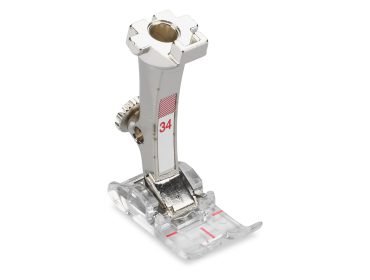
- Presser feet: Reverse Pattern Foot with Clear Sole #34 and Edgestitch Foot #10

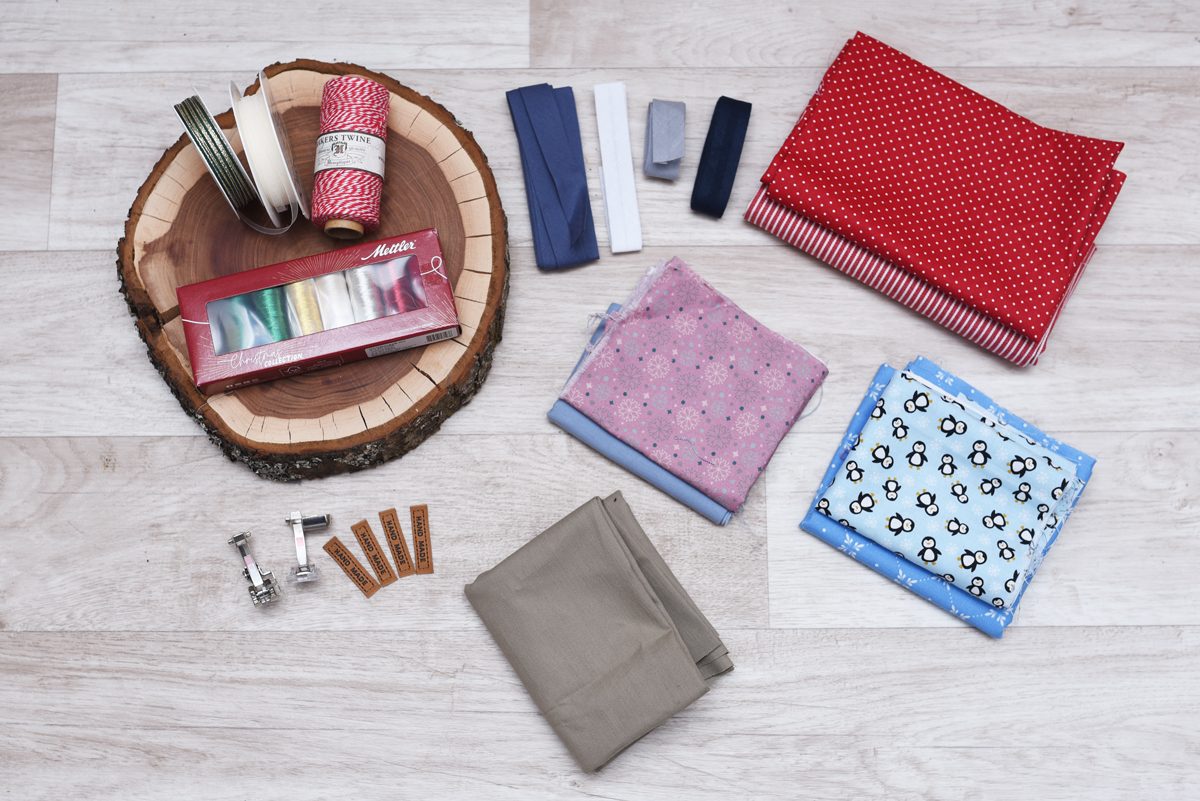
For each bag, you need to have two circles of the same size made of cotton fabric. I used diameters of 15 cm and 20 cm.
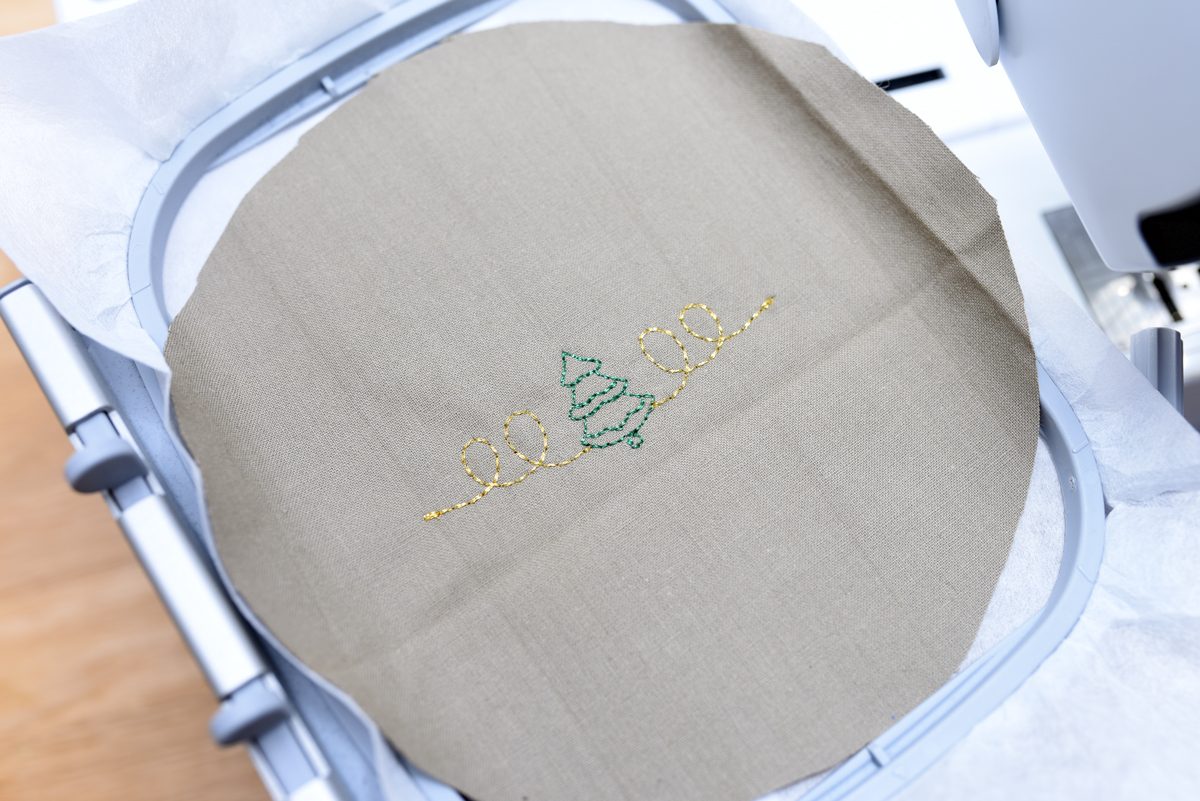
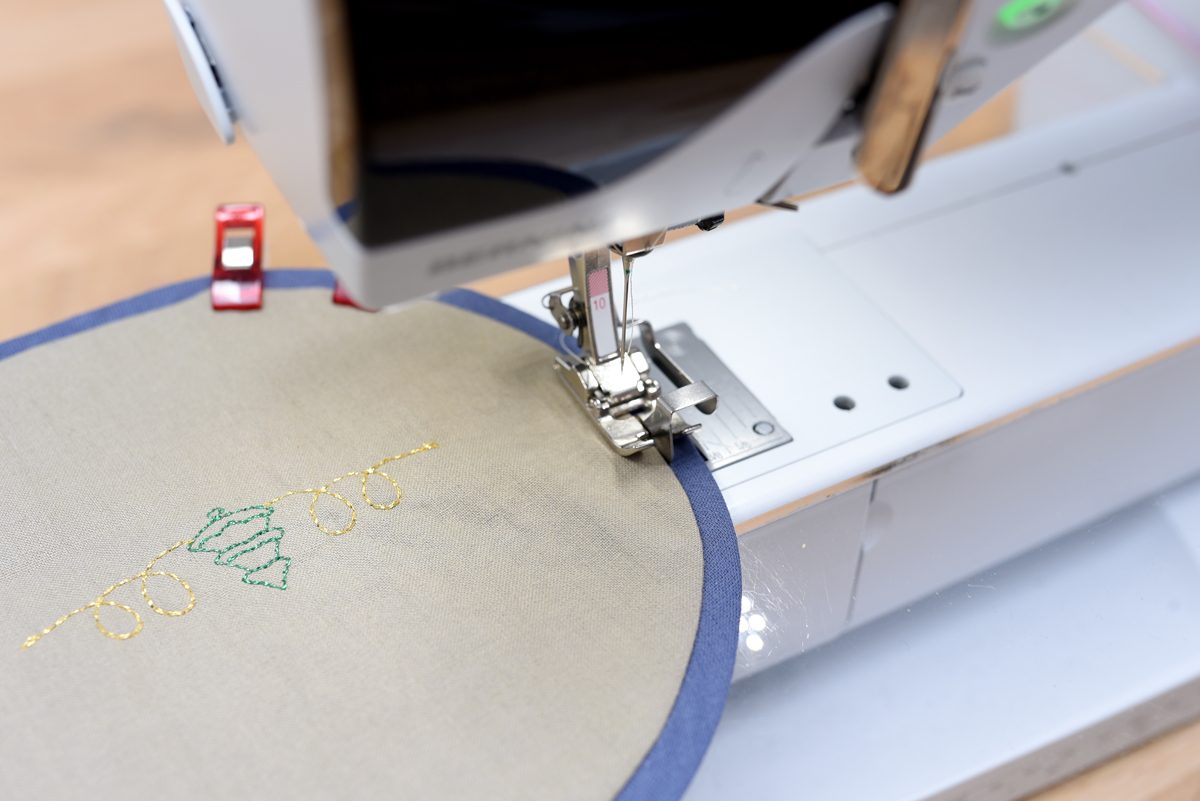
You can simply sew your little bags using cotton fabric or embroider them beforehand. Because I like the metallic thread so much, I embroidered a bag. For this, I used this embroidery file from OESD.
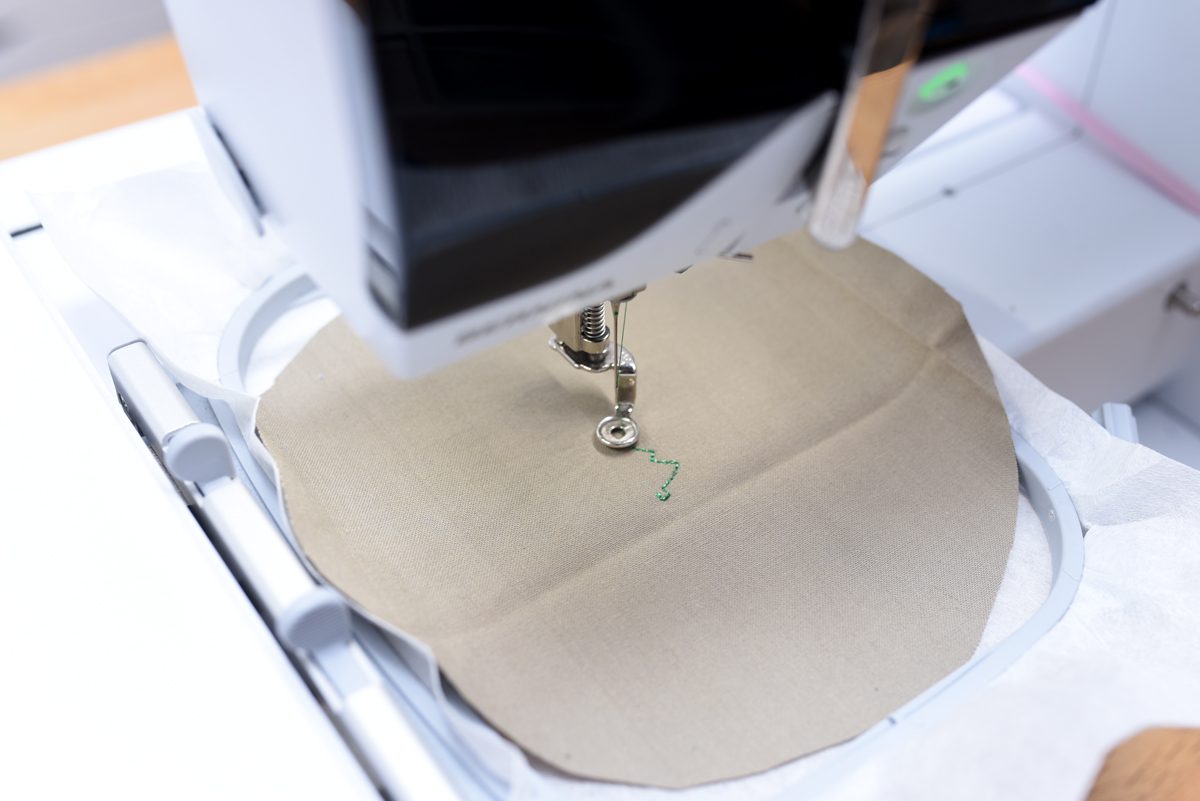
If you want to embroider, you will also need your embroidery tools.
Sewing a bag
Trim the bias tape by using the perimeter of the circle plus 1.5 cm as the length. Then iron the tape apart and halve it in the middle. Fold the short edges inwards by 1 cm.
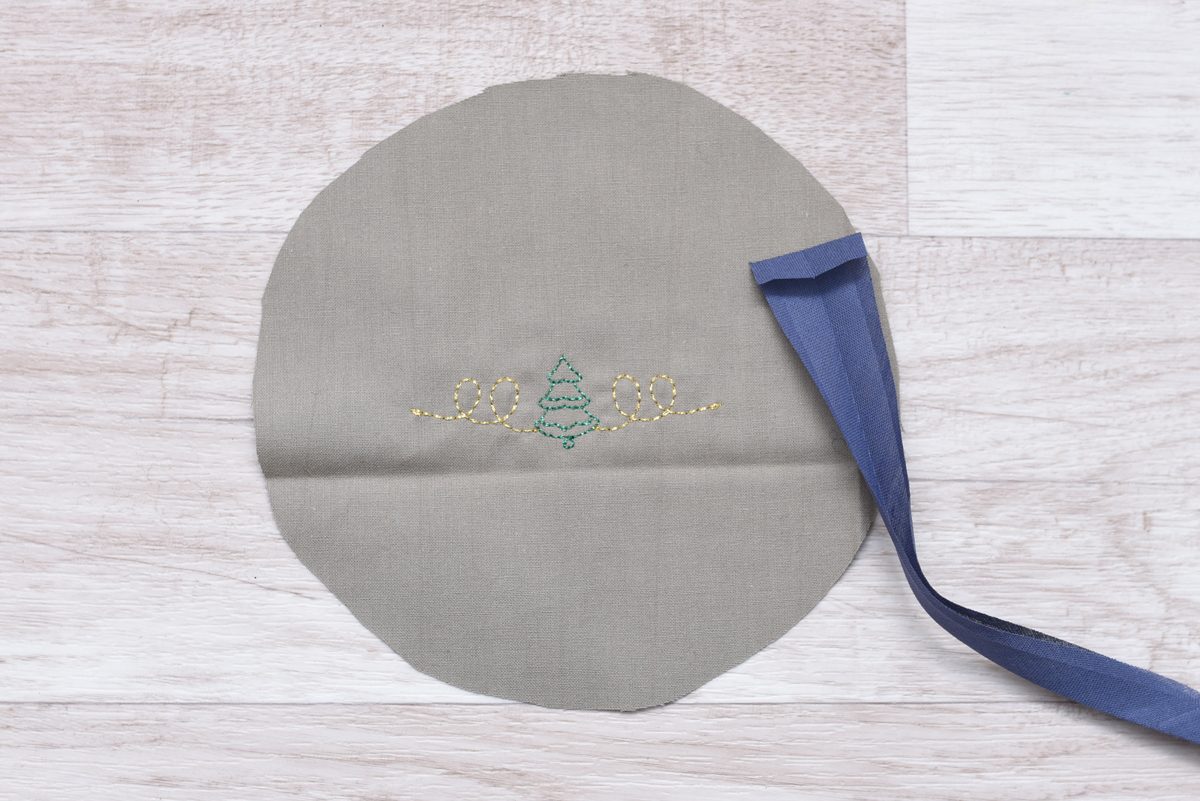
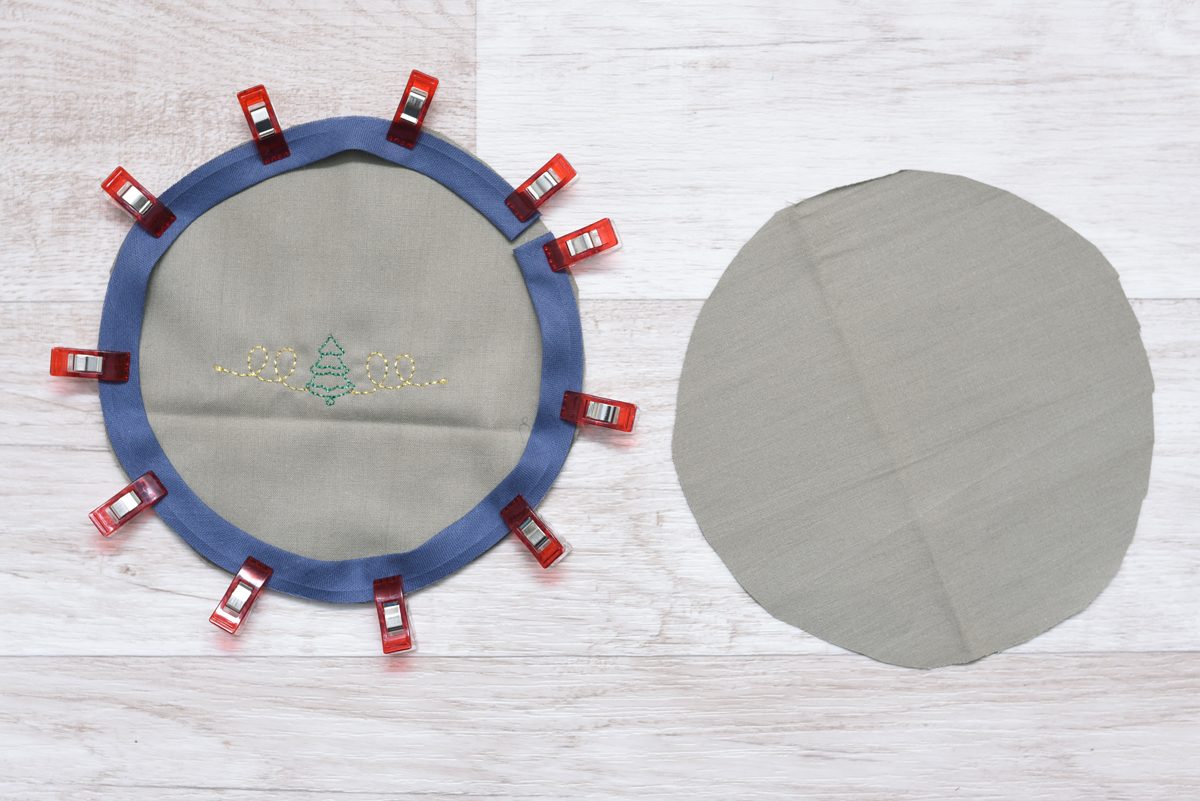
Pin the bias tape around the edge. Because it is easy to stretch, it fits nicely into the curve. Then attach the second fabric circle to it with the right sides together.
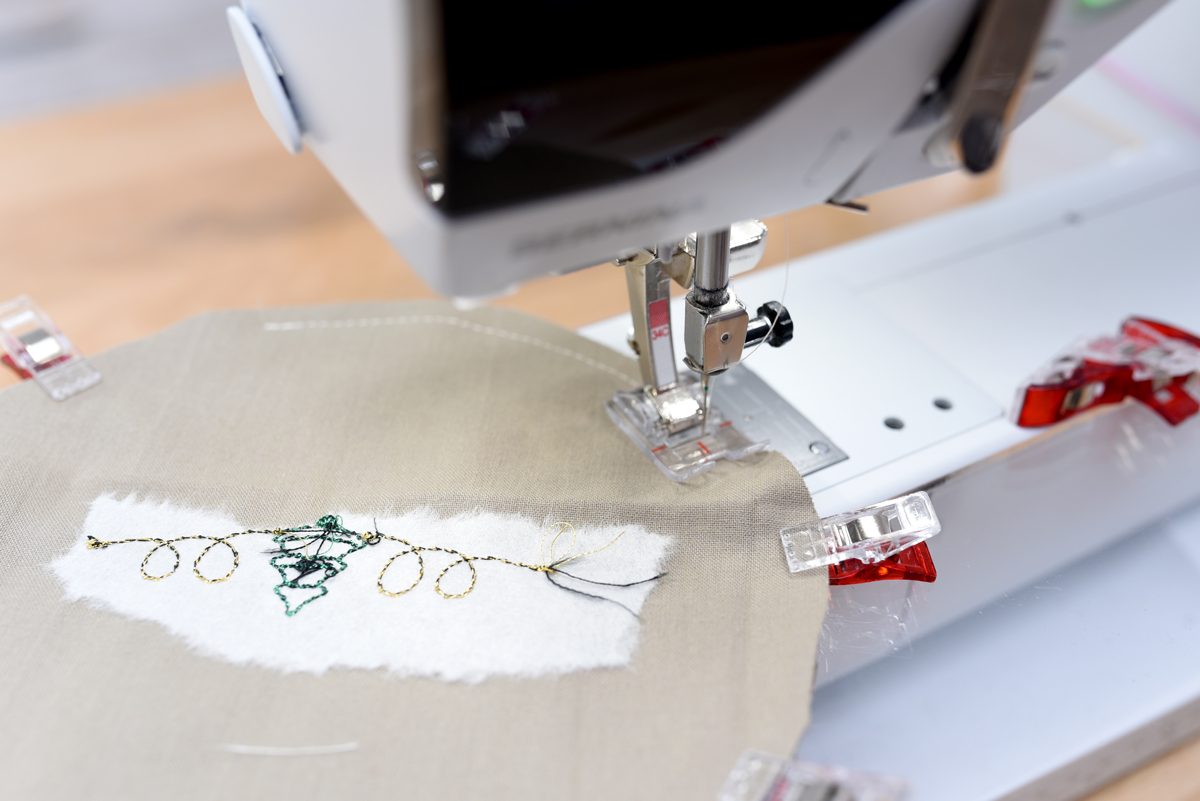
Sew these layers together, leaving a small turning opening.
Turn the bag through this opening and iron out all the edges nicely. The opening must be carefully ironed, as it is not a straight line. But with a bit of practice, this works fine. Now stitch the seam allowances close to the edge onto the fabric circle. If you like, you can then attach a small label or similar.
Finally, use a safety pin to pull the cord or tie through the tunnel. If you want, you can attach a bead or ball. Then pull the cord firmly together, so that the bag closes down to a small opening. In the case of large circles, I recommend a cord stopper so that the bag does not open again by itself. With this size, however, it stays together nicely.
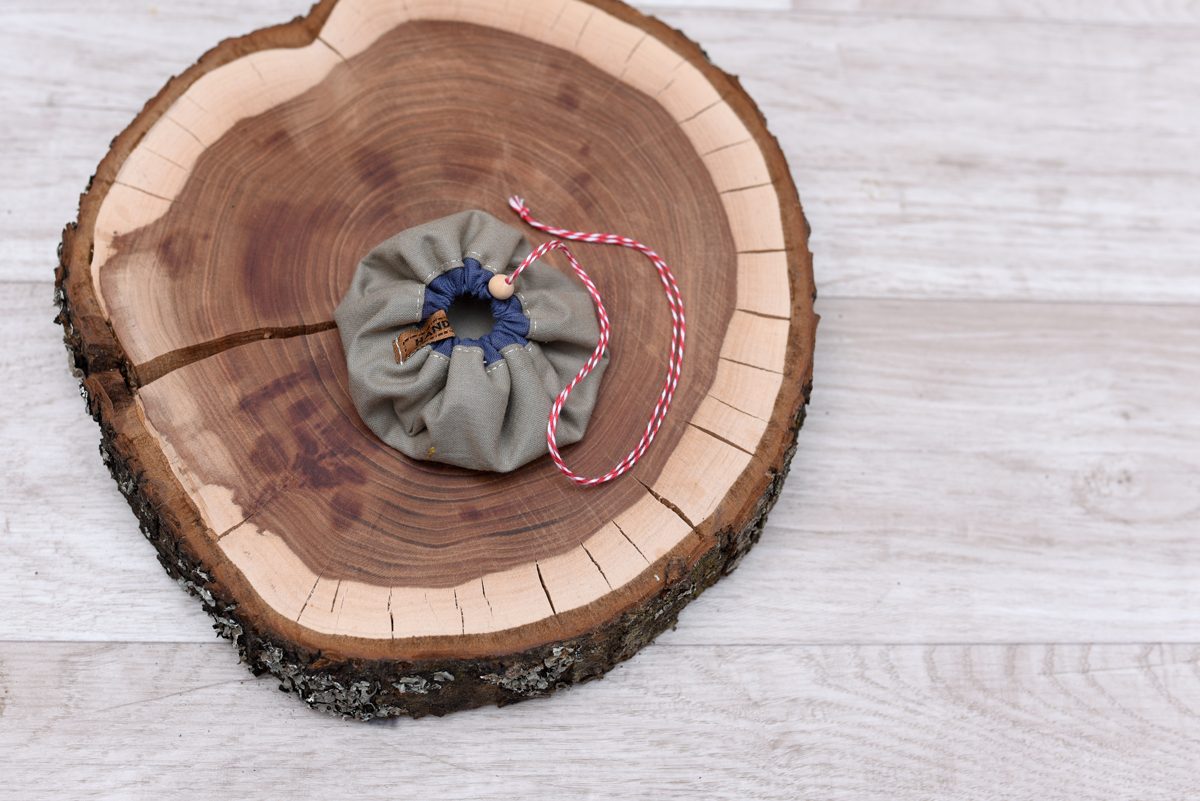
Congratulations, your small, delicate gift bag is finished.
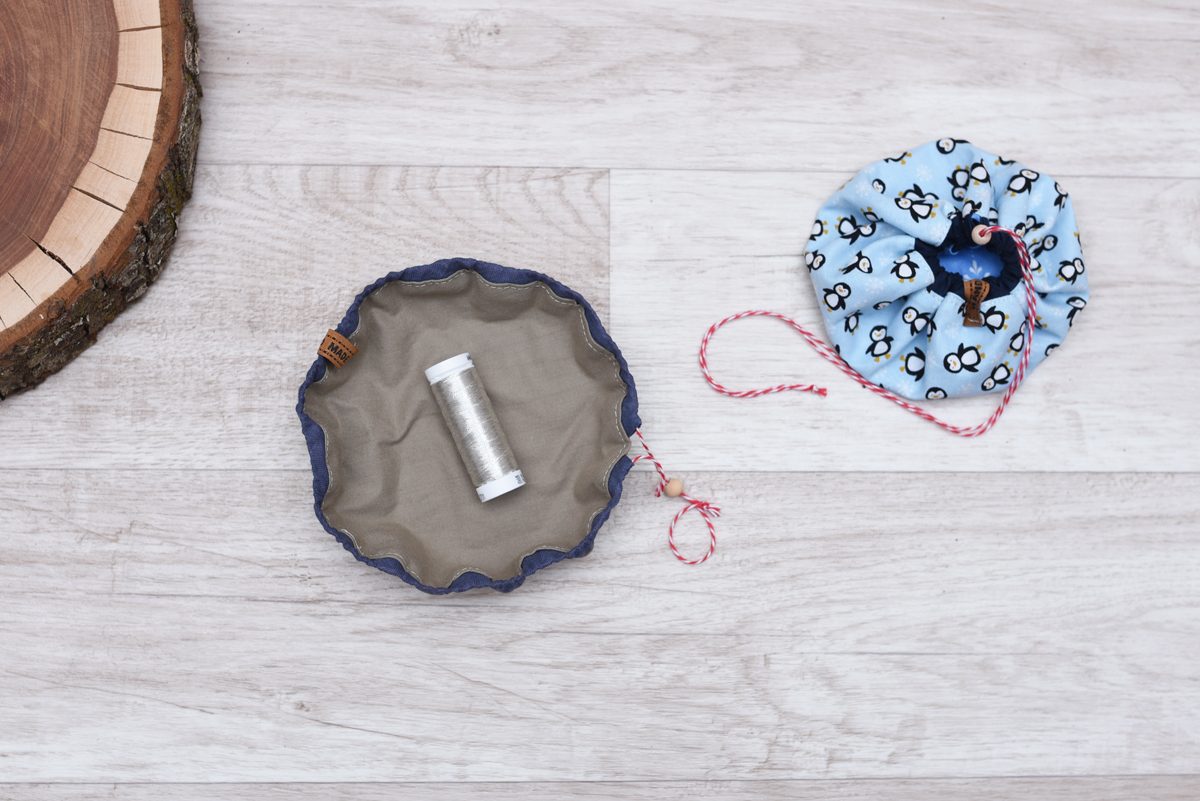
Sew and fill bags, but with what? For your sewing friend, maybe a special thread spool, and children are sure to like a small car or cosmetics, and a cute greeting is a pleasure for everyone.

I wish you lots of fun making your own bags and giving presents, as well as a lovely Advent season.
All the best,
Sara


I made my first reusable gift bags this year based on the burlap one I saw on the We All Sew site. These little ones would be perfect for stocking stuffers.
Dear Denise, thank you and best wishes, Sara