 BERNINA Corporate Blog -
Sewing a Christmas bolero with a fur trim
Christmas will be colorful this year! It’s time to enjoy the festive season in color and with loved ones. In keeping with the theme of “Colorful Christmas”, I am opening the ninth door in the BERNINA Advent Calendar today. I am going to show you how to sew a bolero that gives any outfit a colorful Christmas update.

The idea
If you have children, you know that this year as well, Santa Claus is on a tight schedule and has to move on very quickly, i.e. he comes and goes while the children are not looking. I am doing an internship with Santa Claus this Christmas and am allowed to deliver the presents. I have already sewn my work clothes for this.
The classic Santa Claus costume is not only old, but also often looks rather cheap. If you’re going to do Christmas kitsch, then do it with style! However, I didn’t quite have time for a complete “Lady Santa” costume. So I came up with the idea of simply completing my Christmas outfit with a fluffy jacket. Not much fabric or time is required to sew this bolero. I did it in one evening.
You will need:
- 1 m sweat fabric in your favorite color
- 0.5 m jersey fabric for the inside of the hood
- 0.5 m fake fur in off-white
- Fusible interlining for reinforcement
- Suitable sewing thread
My sewing accessories:
- A jersey needle for the sewing machine, size 80
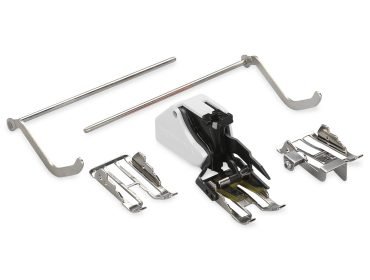
- Possibly a walking foot
The pattern
I used the “KAPA” pattern from Schwalbenliebe here. It is a lightweight bolero with a hood, and can be closed over the chest at the front.
You can also use your favorite cardigan or jacket pattern for elastic fabrics. Here on the BERNINA Blog you can find plenty of inspiration and free sewing patterns.
How to sew the bolero
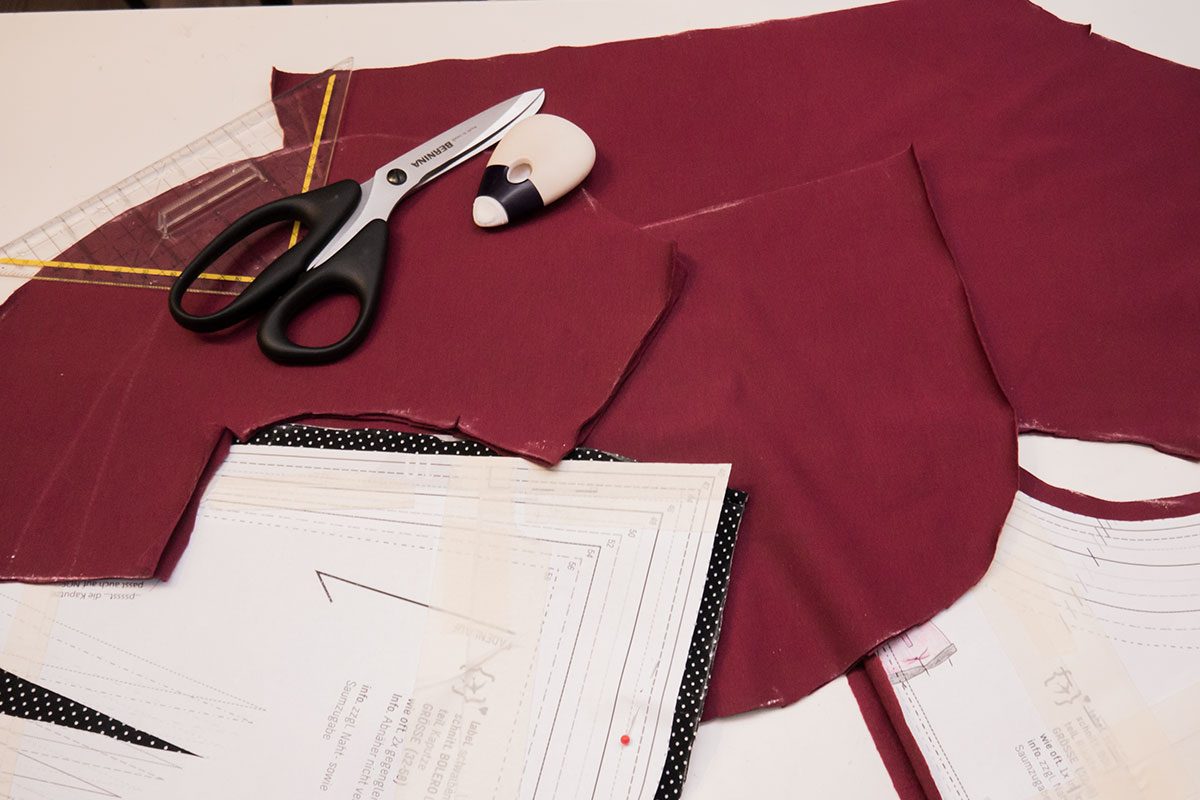
First, I cut the pieces for the bolero out of the magenta-colored sweat fabric and the two hood pieces from the jersey fabric as well.
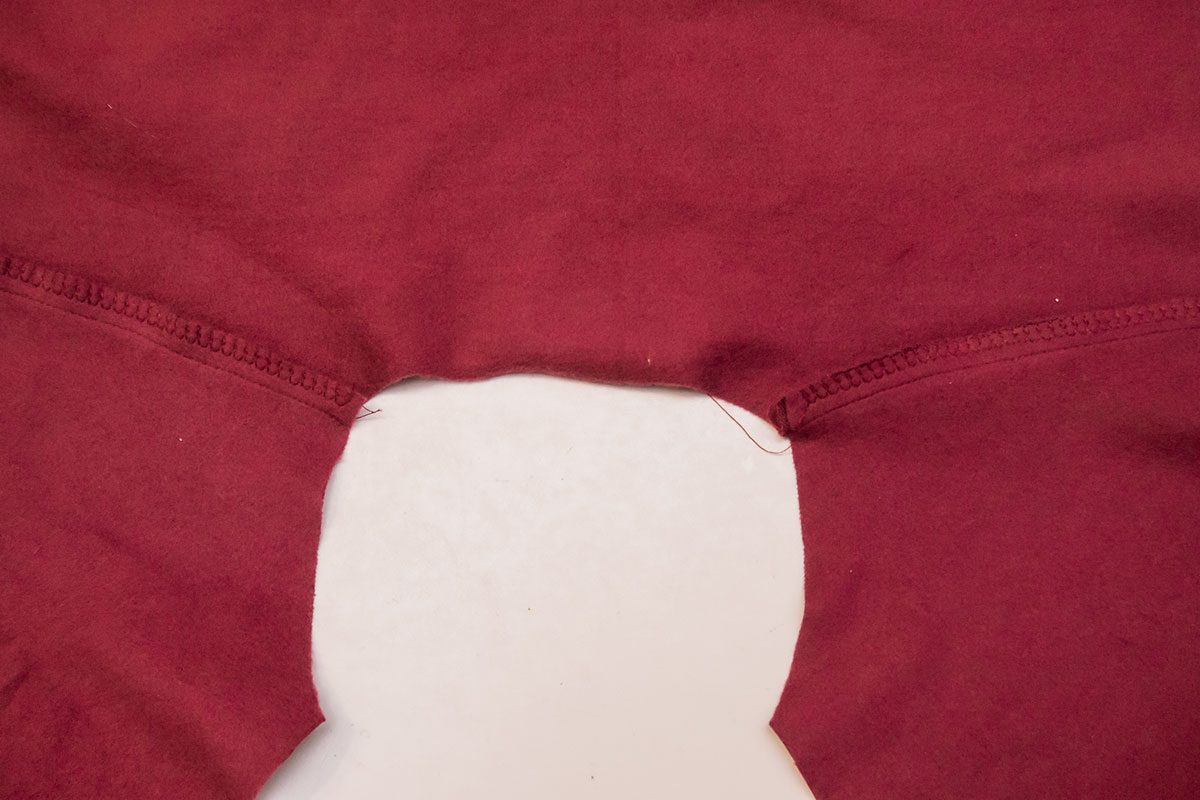
Then I pin and close the shoulder and side seams.
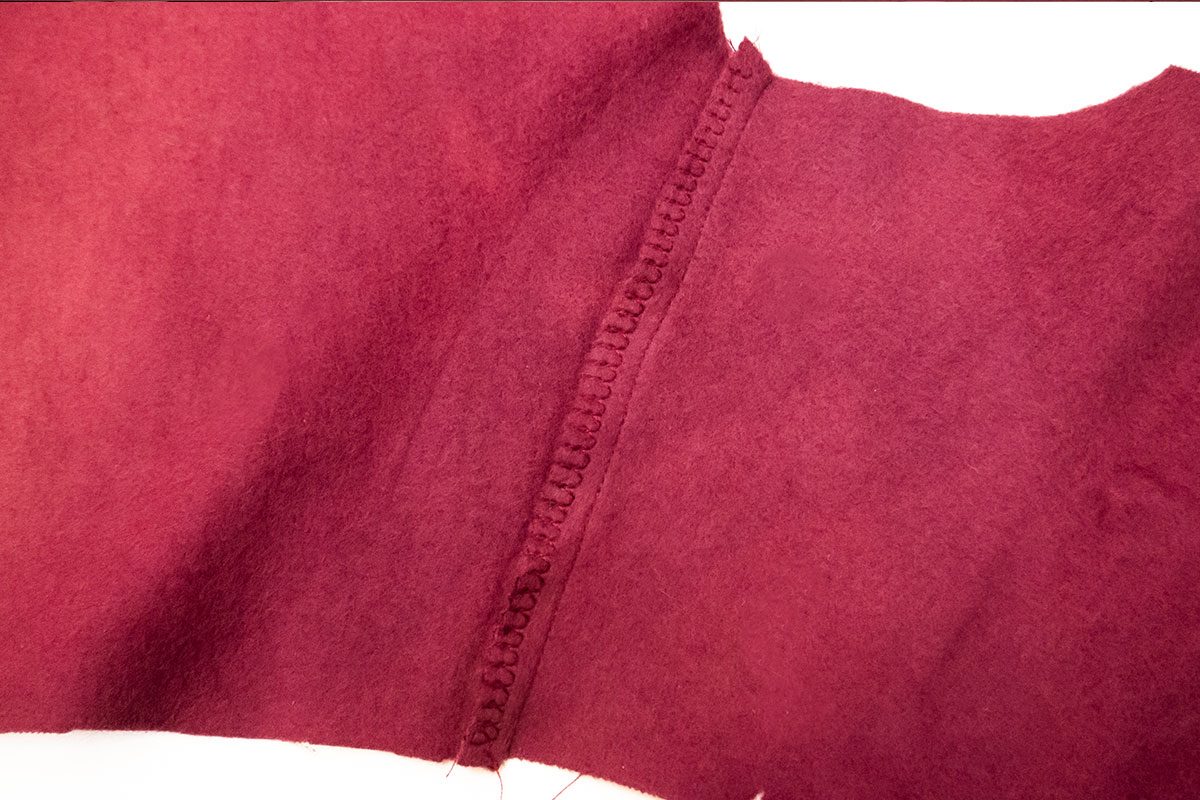
Neaten the seams using a tricot stitch

In the case of elastic fabrics, the seams do not really have to be neatened, as they cannot fray. Personally, however, I find that a cleaner “inside” of a garment is simply nicer. I therefore neatened the inner shoulder and side seams using the tricot stitch no. 14 on my BERNINA 480, and then ironed them towards the back piece.

Reinforce the edges with iron-on interlining
I reinforced the entire edge with a strip of seam tape so that the rounded edges of the bolero will later fit nicely onto the body and do not get any waves.

You can use finished seam tape for the edge or you can simply cut out a strip of lightweight fabric fusible interlining and iron it onto the edges.
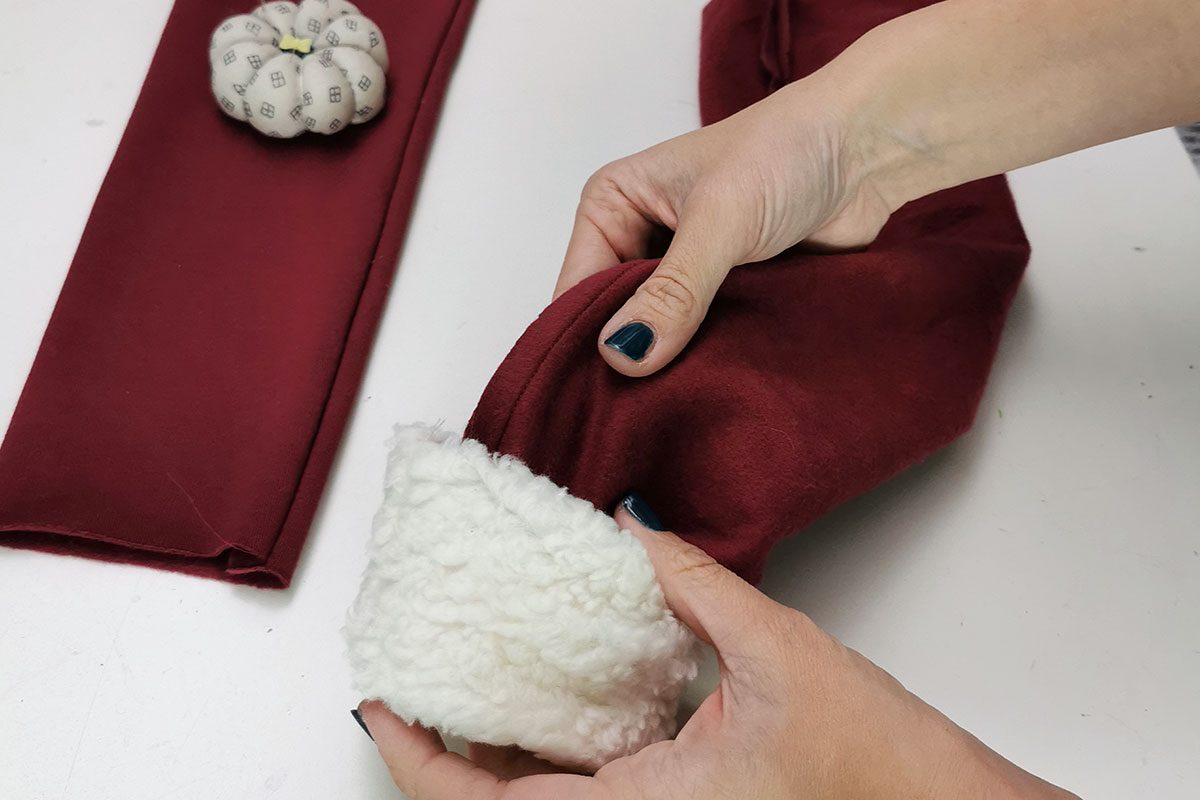
Sewing the hood
The hood sections each have a dart; these ensure that the hood fits nicely around the head later.

Once the darts are closed, they are ironed to the back center. Then I sewed the two parts of the hood together, once from the shell fabric and once from the lining fabric.
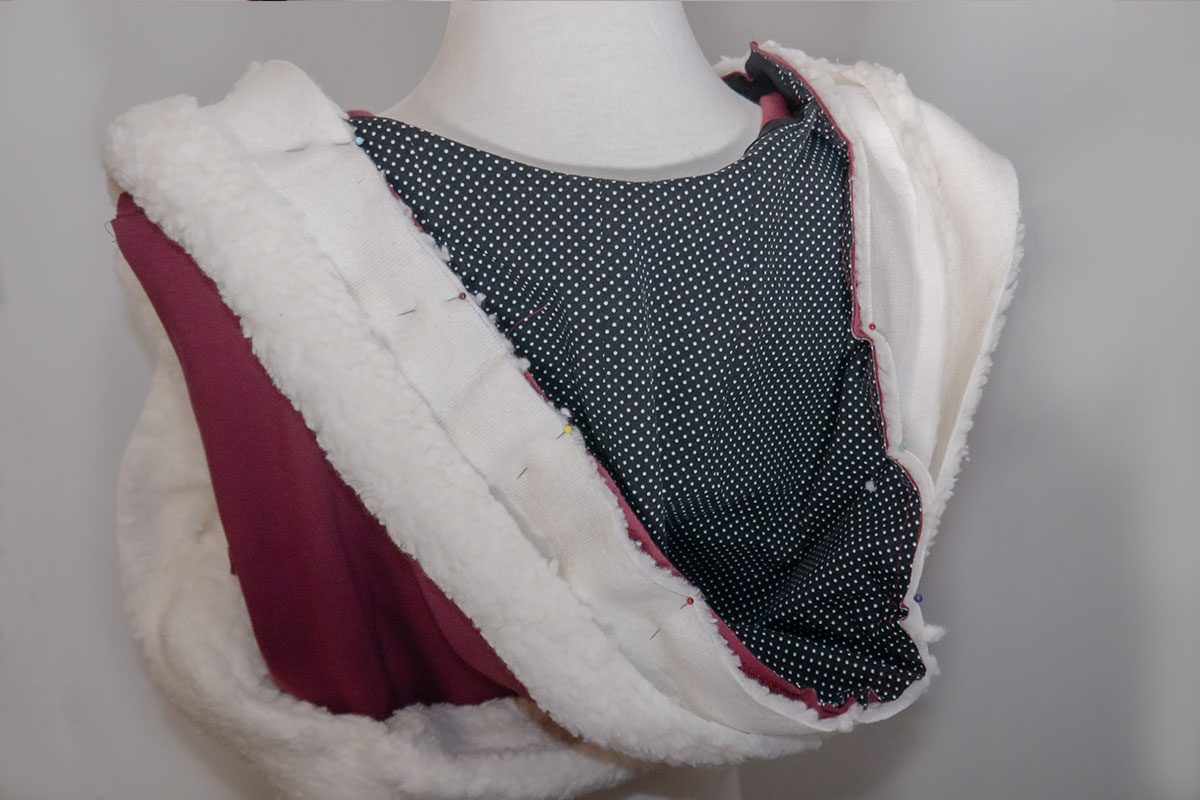
After ironing the middle seam apart, I pinned both hood pieces together and pinned them to the neckline
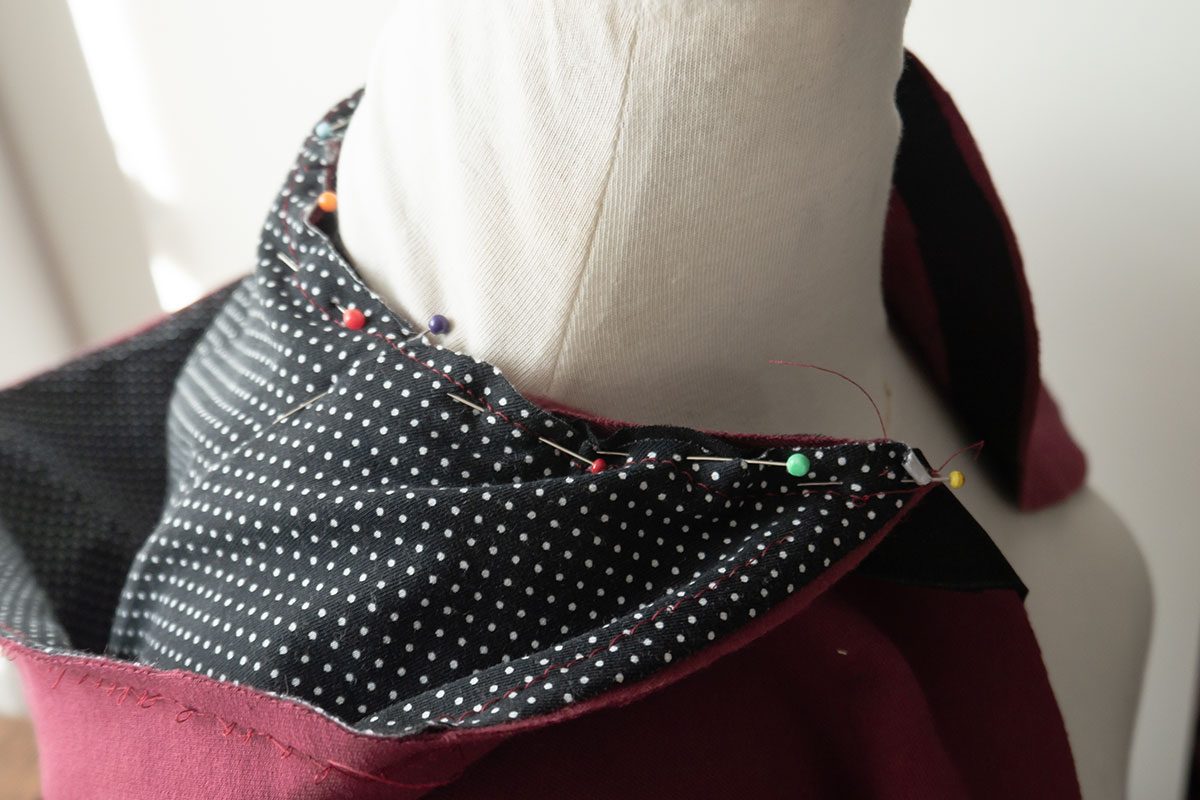
Then I sewed both parts of the hood together onto the neckline.

As an option, you can also use a 2.5 cm jersey ribbon to neaten the seam allowance on the inside. This is not absolutely necessary, but looks pretty, especially if you wear the bolero open.
Now it is time for a quick test to check whether the bolero fits well.
Cut out the fur trim
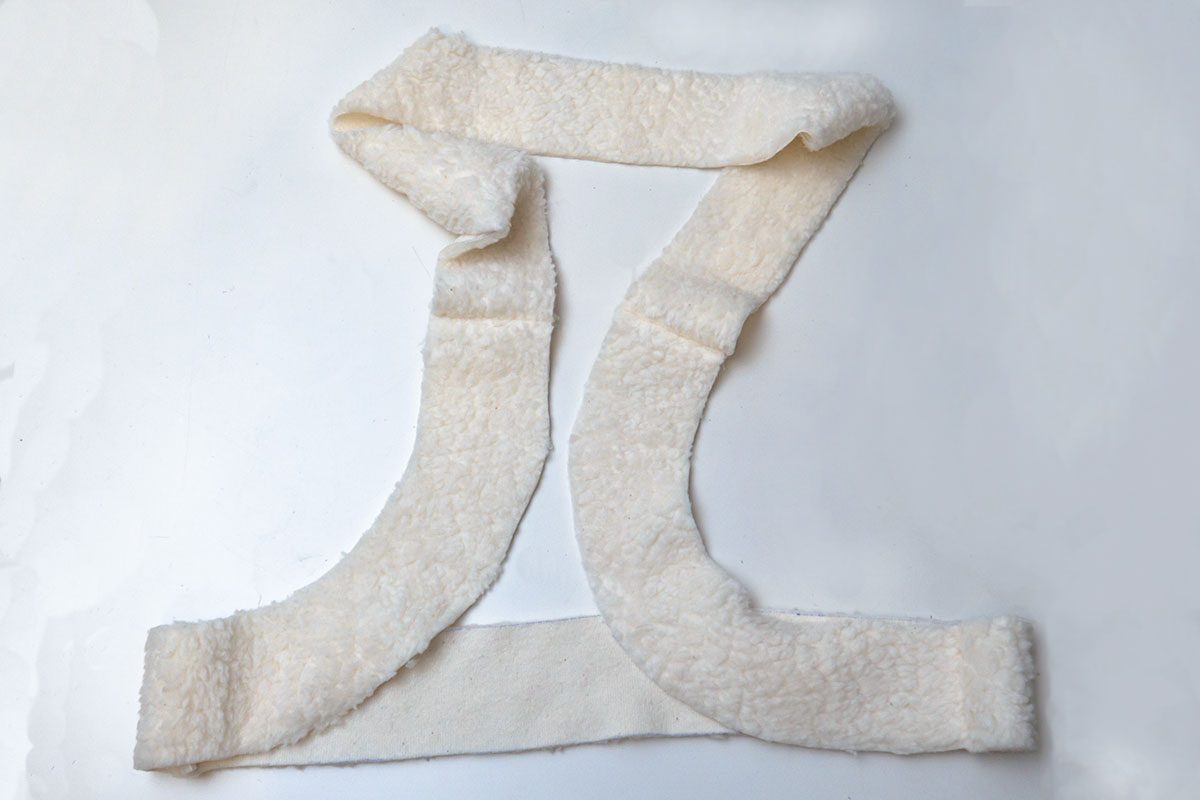
My fur trimmings are 5 cm wide. In order to ensure that the facing sits beautifully around the curve of the front section later, I removed the pattern from the front of the bolero. For this, I measured 5 cm from the edge and transferred it to my own pattern piece. This is the area marked in orange in the picture.

I cut out the remaining trim strips for the back and hood as straight stripes. With a seam allowance, you have a width of 7 cm, and I also added a seam allowance of 1 cm to the length at the front and back ends.
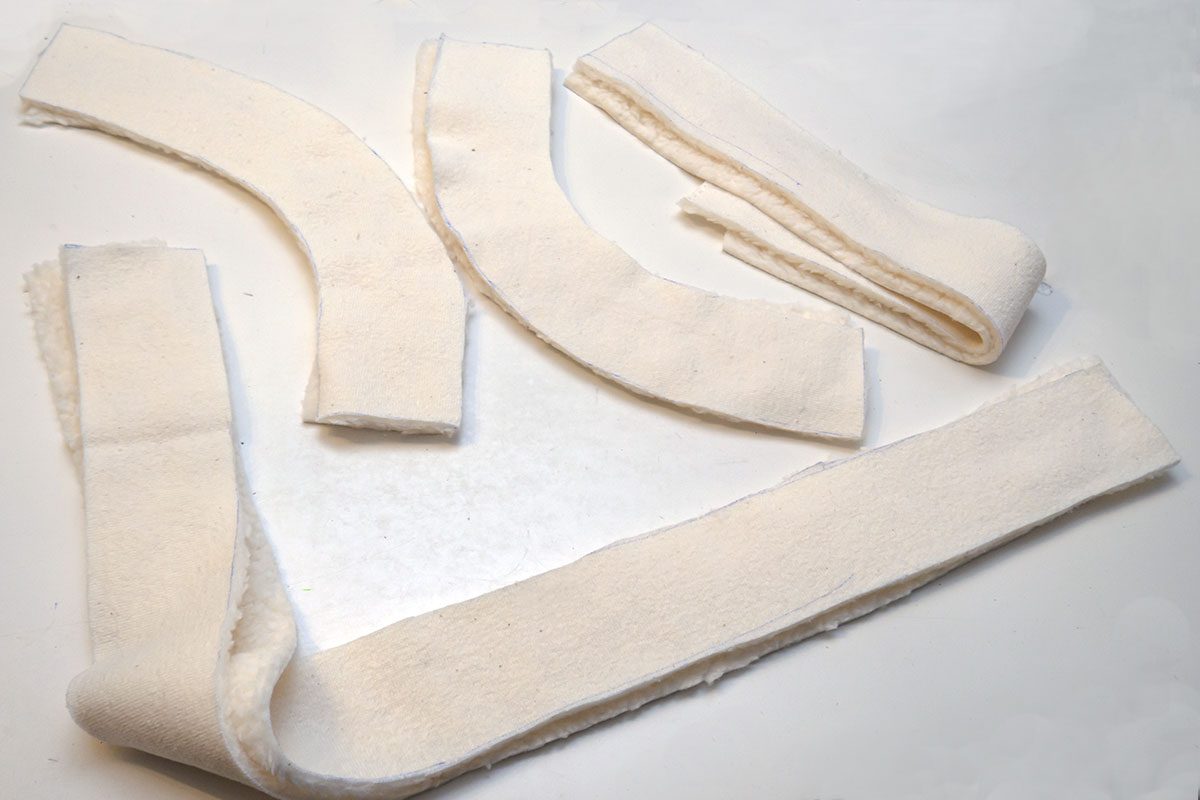
Make sure to cut each trim strip twice, once for the outside and once for the inside.
By the way, I intentionally did not cut the trim directly with the rest of the jacket. In order to determine the correct length for the trim pieces, I first tried on the bolero and then removed the length dimensions of the pieces from there. This means I have less waste because the trim no longer has to be shortened afterwards.
Reinforce the facing
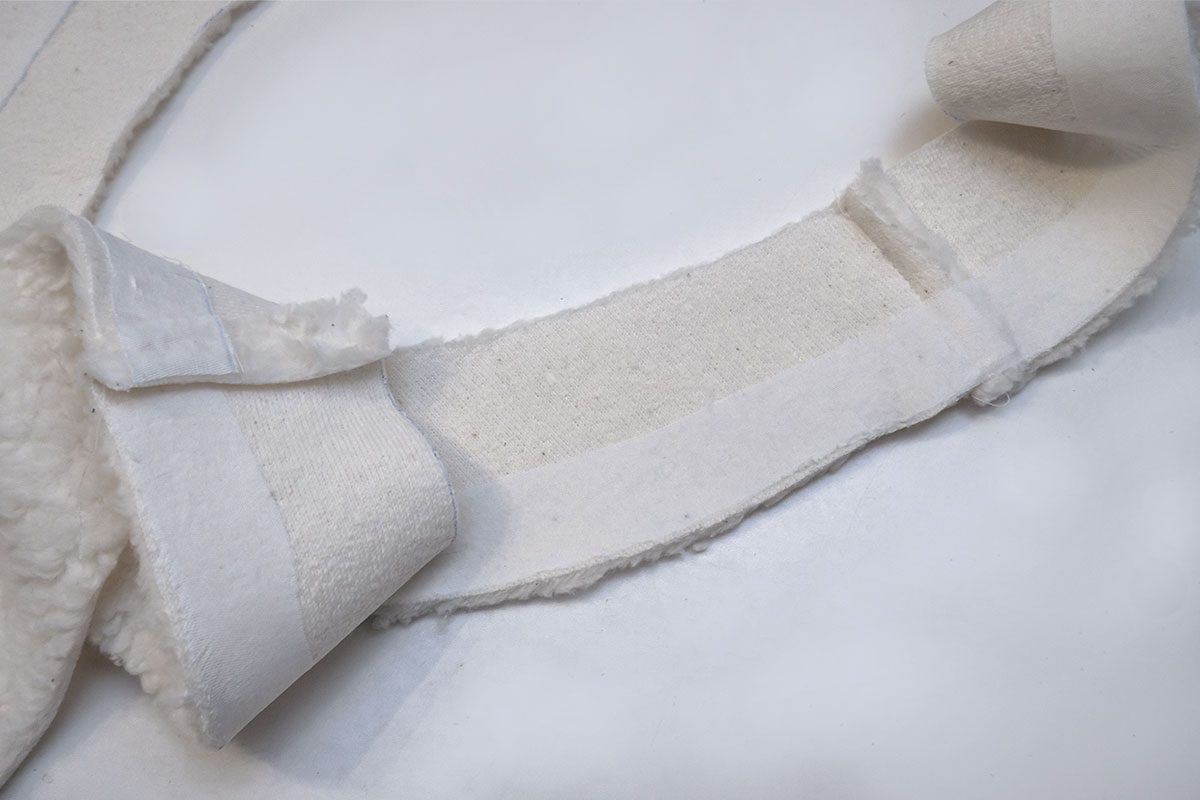
For the trim, I also reinforced the outer edge of the inner section with fusible interlining, to ensure that the fur sits nicely around the curve of the edges and so that the trim stands up a little.
Sewing the fur trim
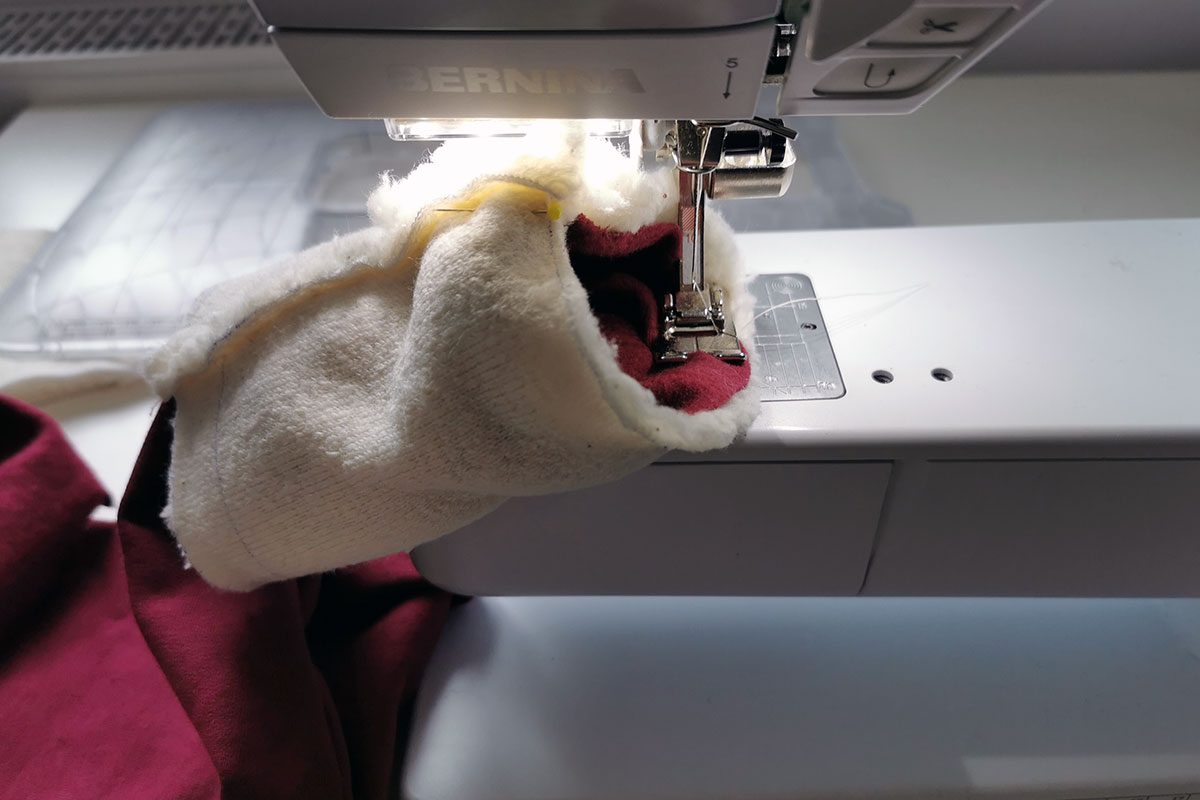
Then sew all the trim pieces together, once for the outer trim and then for the inner trim. For sewing fake fur, I recommend using Three-Sole Walking Foot with Seam Guide #50. This prevents the fur from getting caught during sewing and being pulled into the machine. If you do not have this foot for your sewing machine, you can also reduce the pressure exerted by the foot somewhat, which also helps.
Then I pinned the two pieces together with the right sides and joined them together to form one piece.

The trim is then folded out again, pinned onto the bolero with the right sides together, and sewn down. Make sure that neither the bolero nor the fur are stretched when sewing, otherwise unsightly waves will occur in the fabric.
Once the trim is sewn in place, you can carefully try to iron the edge. Be sure to pay attention to the ironing instructions for the sweat fabric and fake fur. If you iron them both with excessive heat or with steam, the fur may be pressed flat or the sweat fabric may begin to shine in a greasy way. When ironing this material, it is therefore best to be careful and test the suitability for ironing on a small leftover piece first.
Finishing work on the trim
Because my fake fur is not very suitable for ironing, I only carefully ironed the edges of the sweat fabric area at a low heat. I then pressed the seam edge into shape with my fingers and pinned it in place.
On the inside of the bolero, the seam allowances for the fake fur lining (1 cm) are now turned inwards and pinned. To ensure that the seams are nice even without ironing, I pulled them into shape with my fingers and then pinned them in place for a few hours. Then I sewed the folded-in inner edges of the fur onto the seam line by hand.

Adding sleeves
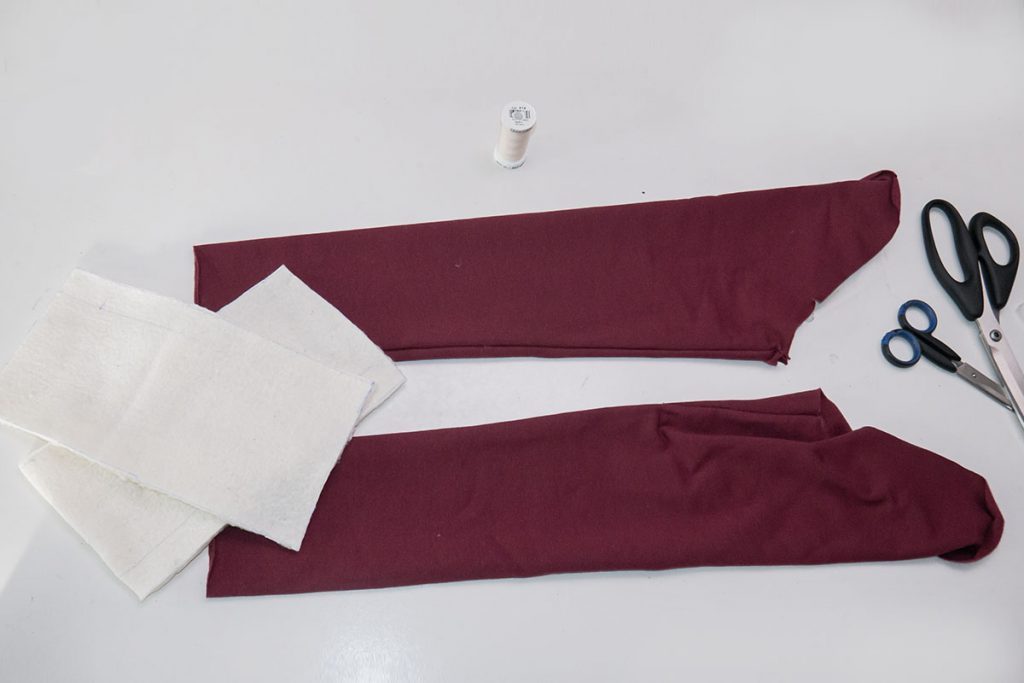
Now it’s time for the sleeves! First, sew the side seam of the sleeves. Then add fur trim onto the sleeves. As the sleeve hem is straight, it can easily be cut on the fold. This results in a height of 12 cm with the seam allowances. The length of the trim corresponds to that of the sleeve hem (don’t forget the seam allowances)
The sleeve trim is sewn together on the side and stitched onto the sleeve hem with the right sides together.
Then turn it inwards. Just like with the edge of the neckline, I fold it in 1 cm again here and sew it onto the base seam by hand.
The sleeves are then inserted into the armholes, and the buckles and shoulder markings meet. Finally, I also neaten the seam allowance on the sleeves with the tricot stitch and then carefully iron it towards the sleeves.
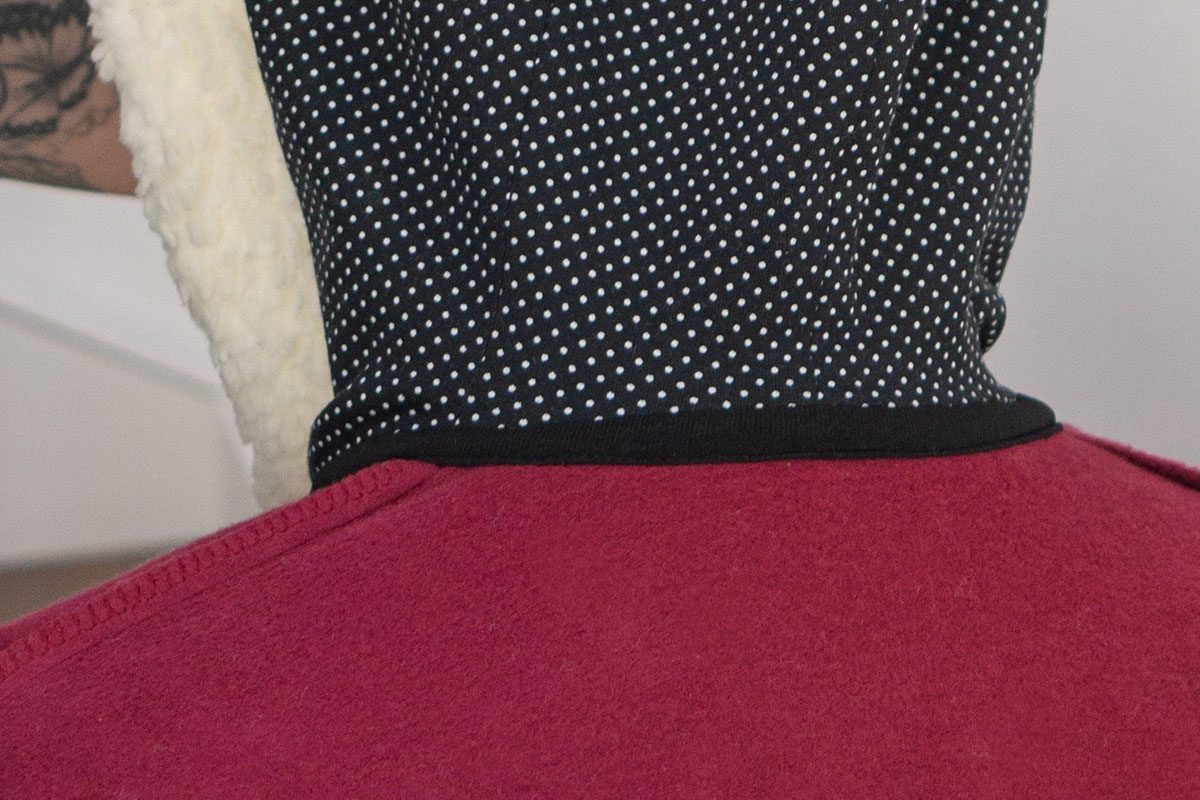
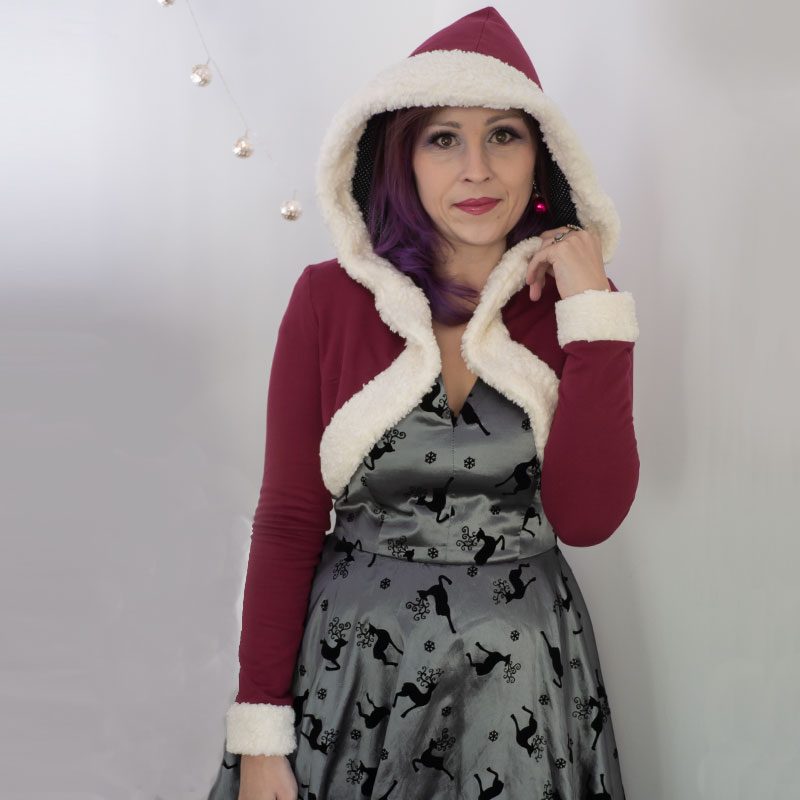
And my Christmas bolero is ready!
I put the hood on and I’m really in the Christmas spirit!

Even if all the present-wrapping and cookie-baking meant there was no time for a Christmas dress, this bolero – which is quick to sew – makes every outfit really festive in a flash.
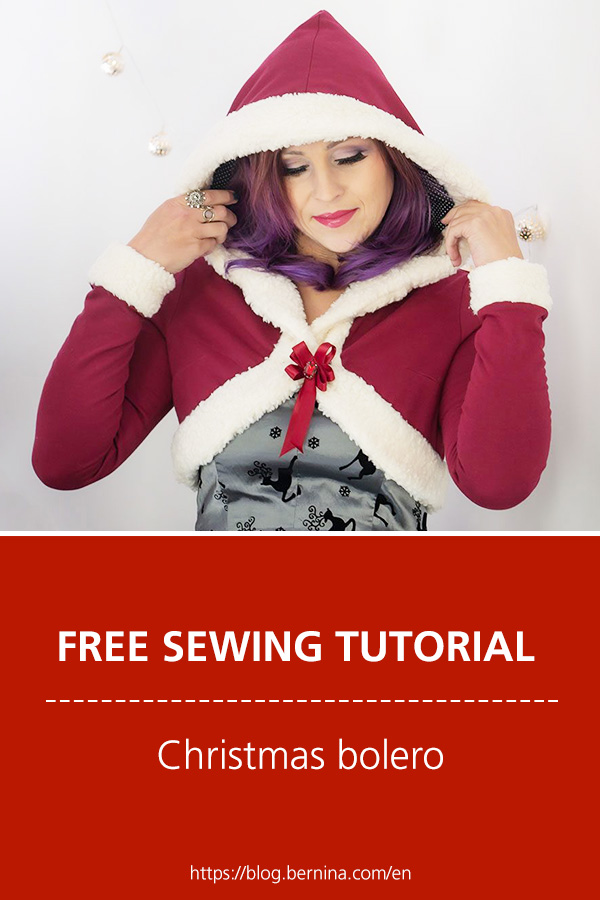
Whether you’re wearing pajamas, last year’s evening dress or just a favorite sweater, it really elevates your look. It is particularly festive thanks to the home-made brooch with a gift bow, which I quickly made myself – completely last minute – using a piece of gift ribbon and a safety pin.

Whether for the office Christmas party or at home with loved ones under the Christmas tree, this bolero transforms your everyday look into a Christmas outfit in just seconds! Not only is it stylish at Christmas, it also has a certain degree of sustainability. Without the brooch and the Christmas decoration, it can also be an everyday companion for all types of winter outfits. Short-sleeved dresses and t-shirts are made suitable for winter wearing and it warms the arms on cold days. Because I didn’t choose bright red, but instead a berry magenta, it also doesn’t look like a Santa Claus costume 😉
Christmas is not only a celebration of family and peace, it is also a celebration of color this year. Sew with us and make the world a bit more colorful! With this, I wish you a merry and peaceful Christmas with lots of creative ideas and great sewing projects.
Would you also like to sew a bolero? Please post your ideas as a comment!
Theresia aka Lasercat


0 Responses