 BERNINA Corporate Blog -
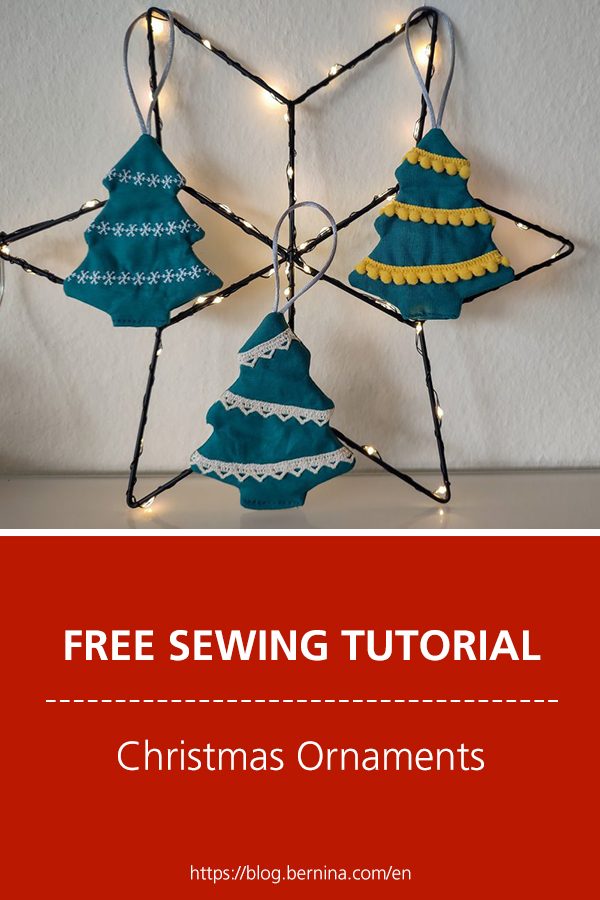
Welcome to the 14th window in the BERNINA Blog Advent Calendar, which has a “Colorful Christmas Season” theme this year. Today I am sharing a quick Christmas project that you can easily complete in one evening. We will sew colorful ornaments in a fir tree shape. With these ornaments you are spoiled for choice – you can make them for yourself or for gifting, put in extra effort by adding pom-pom fringe and lace, for example, or stick to a simple design for quick sewing.


Sewing the Christmas Ornaments | Fir Trees
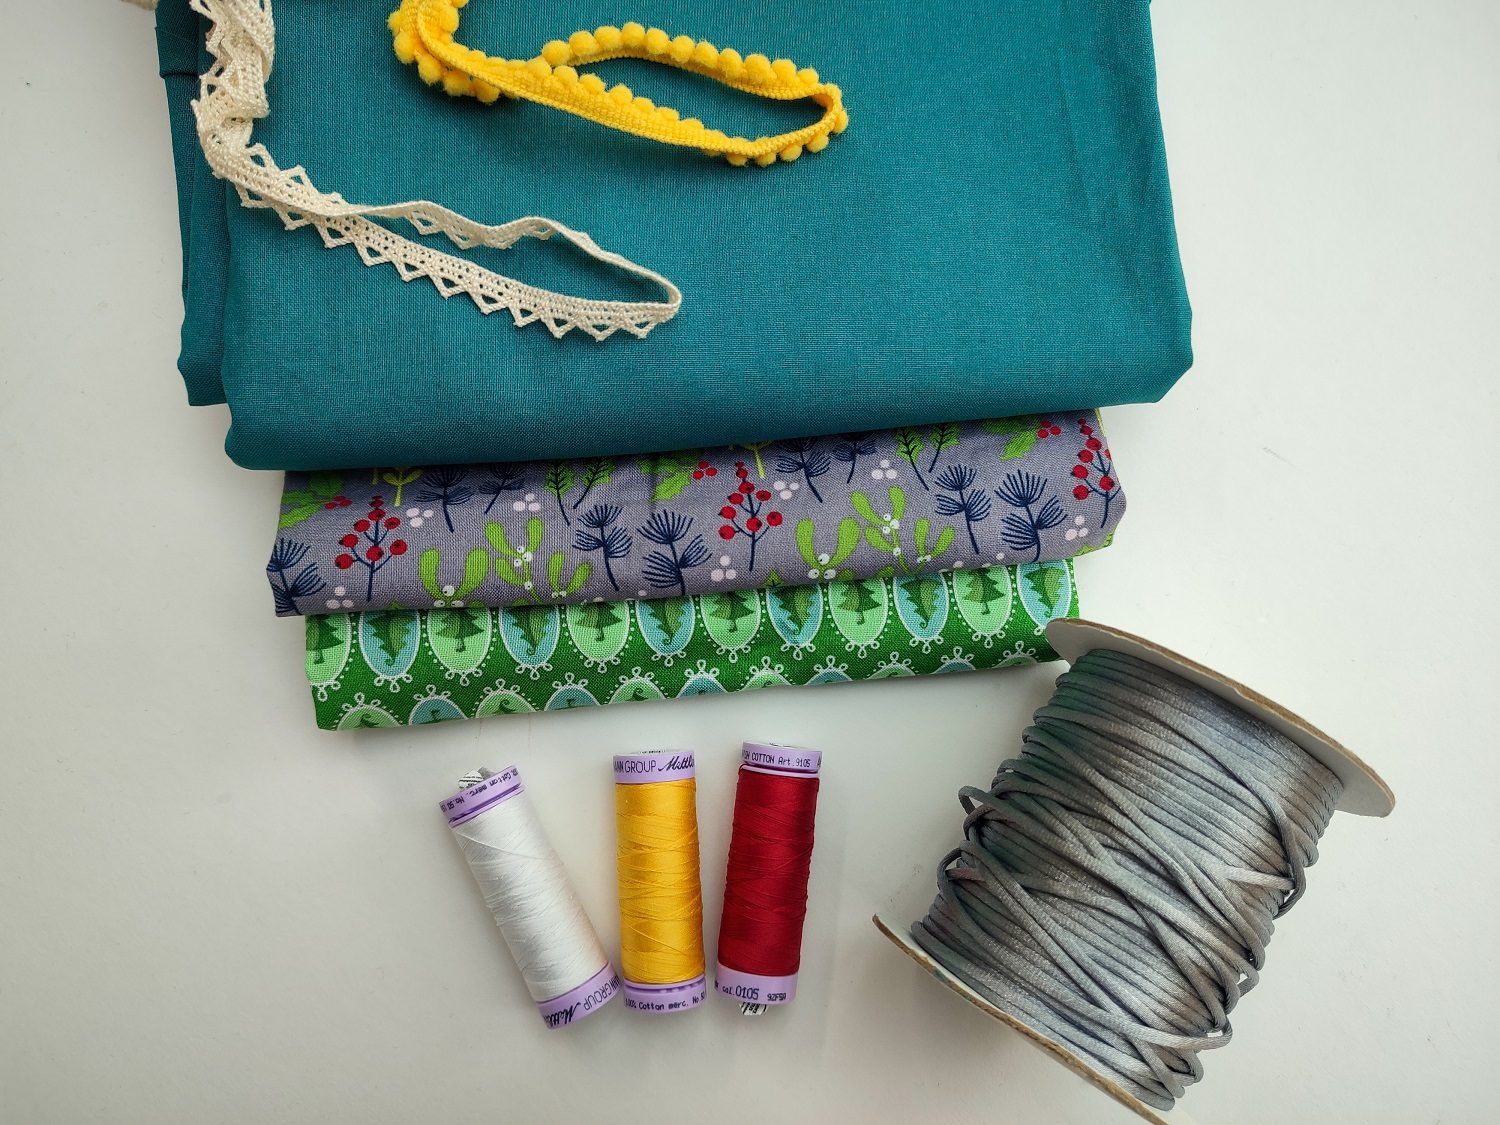
Materials
For the ornaments, you will need:
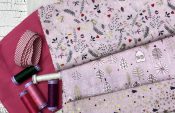
- Fabric remnants: either plain or patterned
- Wadding, e.g. H640 or alternatively some fiberfill
- Thread, e.g. Silk-Finish Cotton from Mettler
- Ribbons, pinking strands, pom-pom fringing, or similar
Sewing pattern for the fir tree
First, draw a pattern for the Christmas ornament – or print out my pattern:
Download the sewing pattern for the fir tree (PDF)
When choosing your own designs, make sure that they are not too intricate, so that the sewing piece can be easily turned.
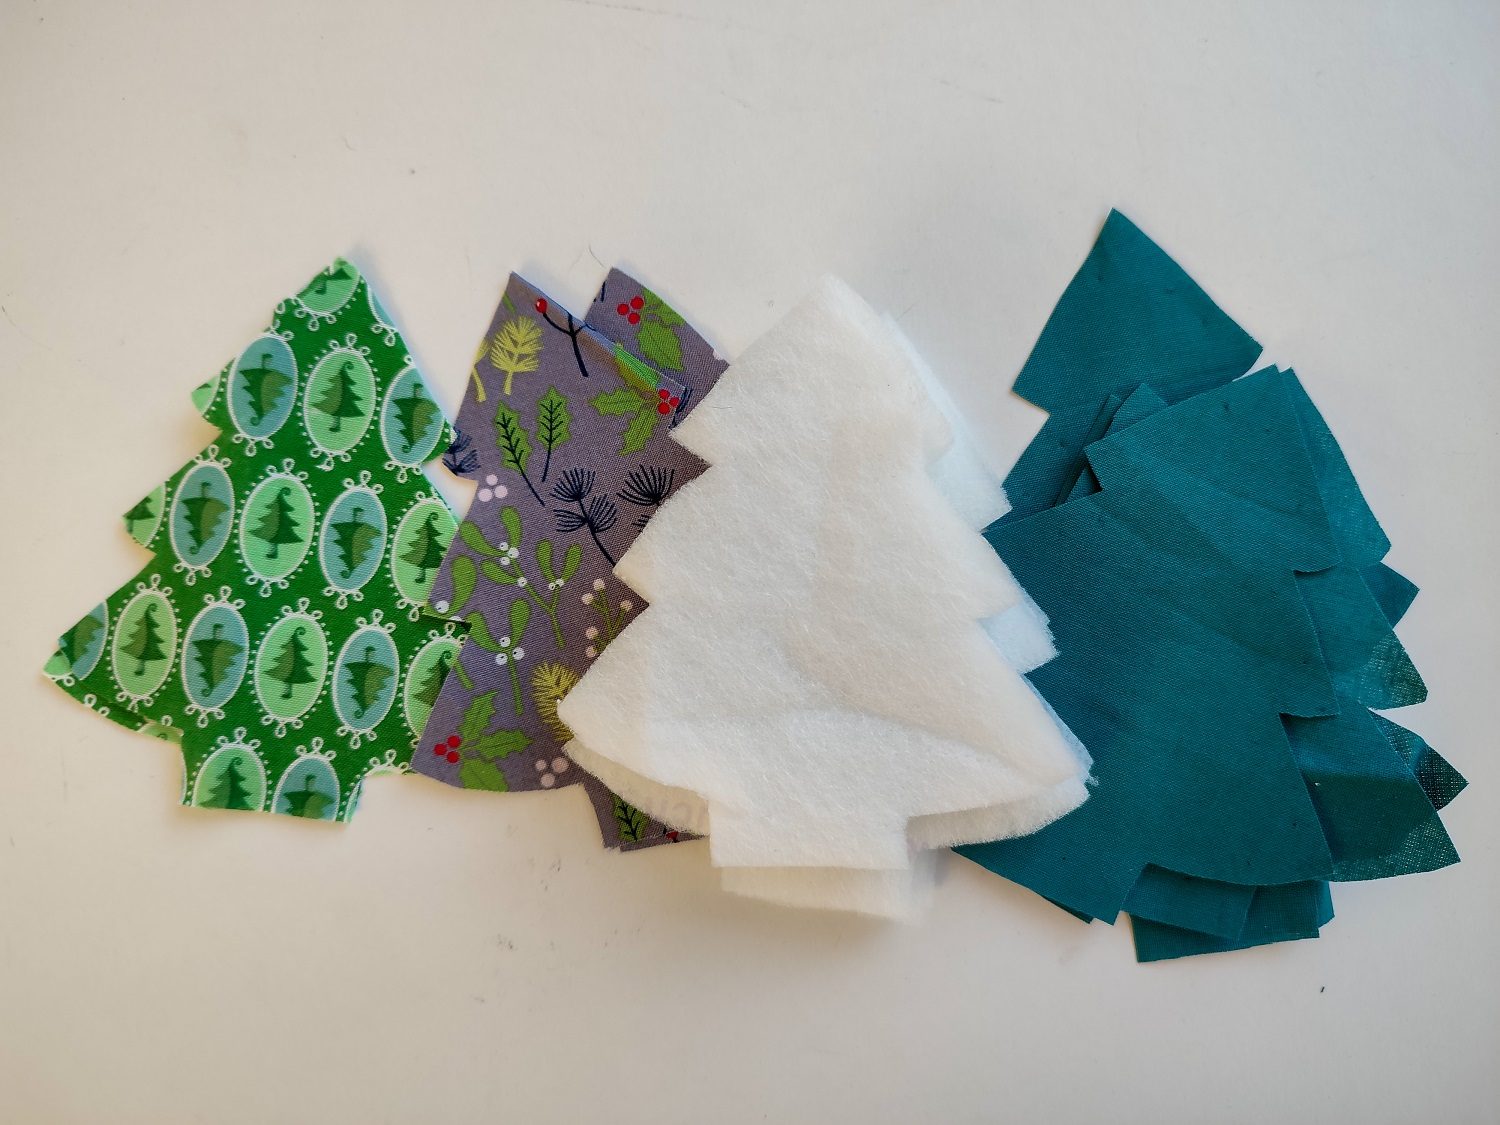
Cutting out and preparing the fir trees
Cut out the Christmas trees according to the pattern. You will need two pieces per tree. In order to make the ornaments look fuller, I also cut out wadding. Alternatively, you can stuff the trees later with some fiberfill. However, do not iron on the wadding yet.
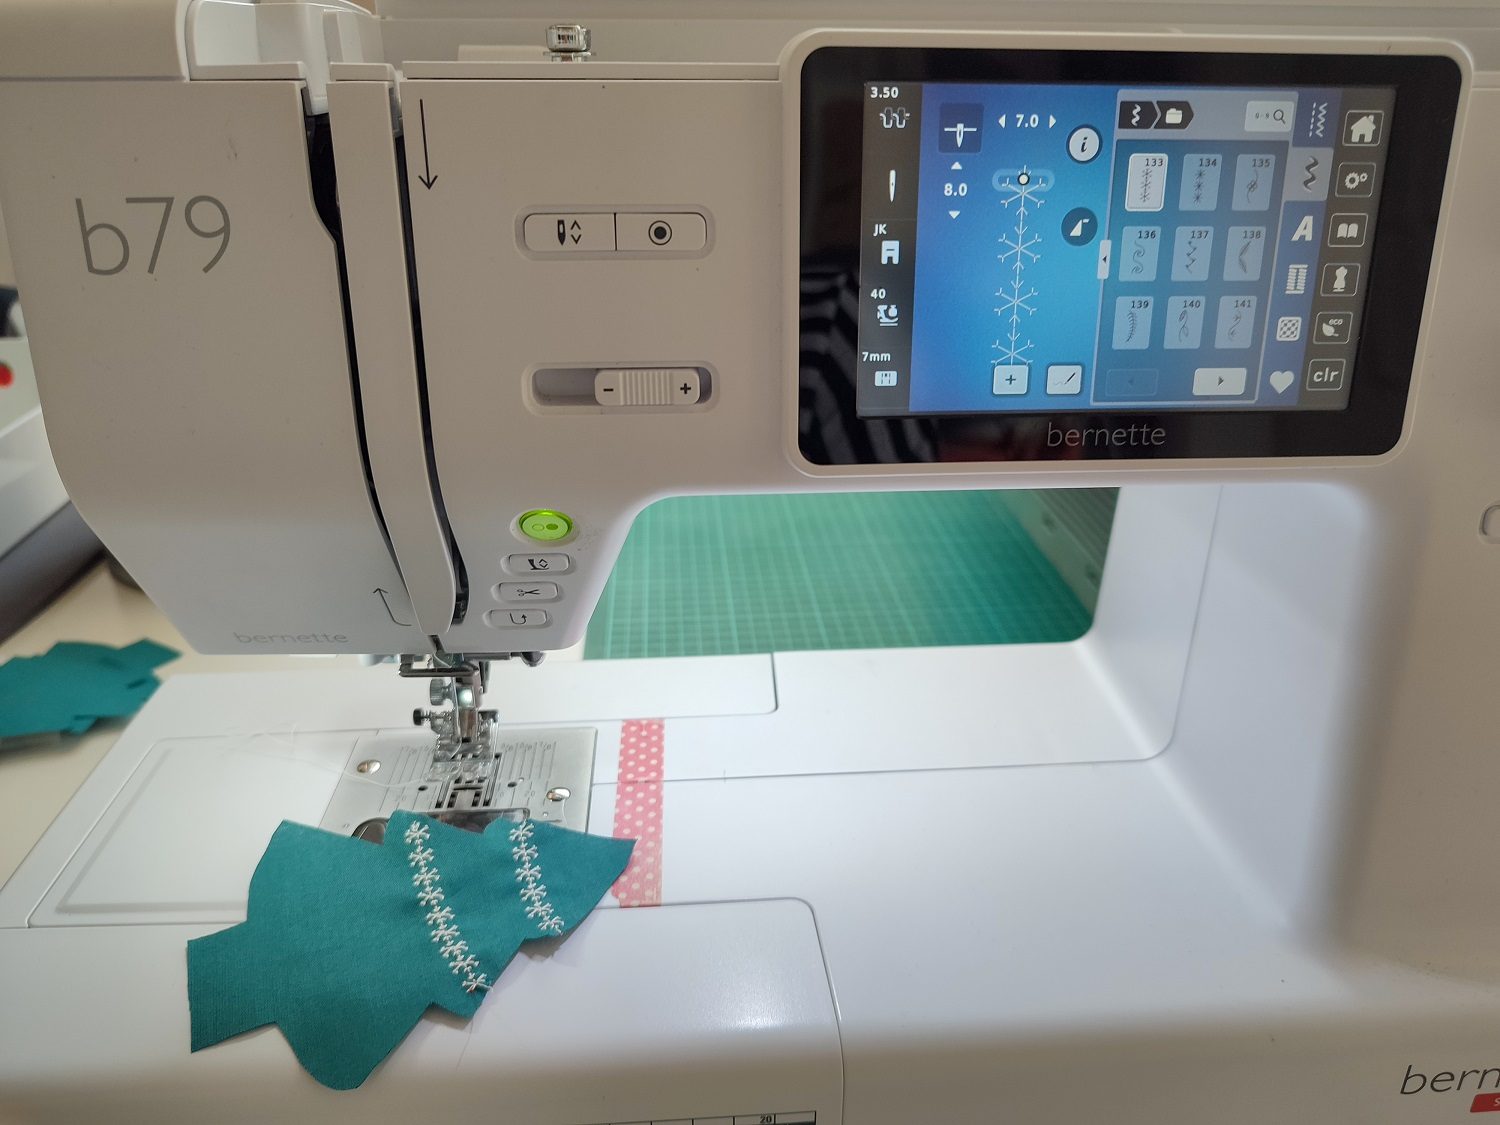
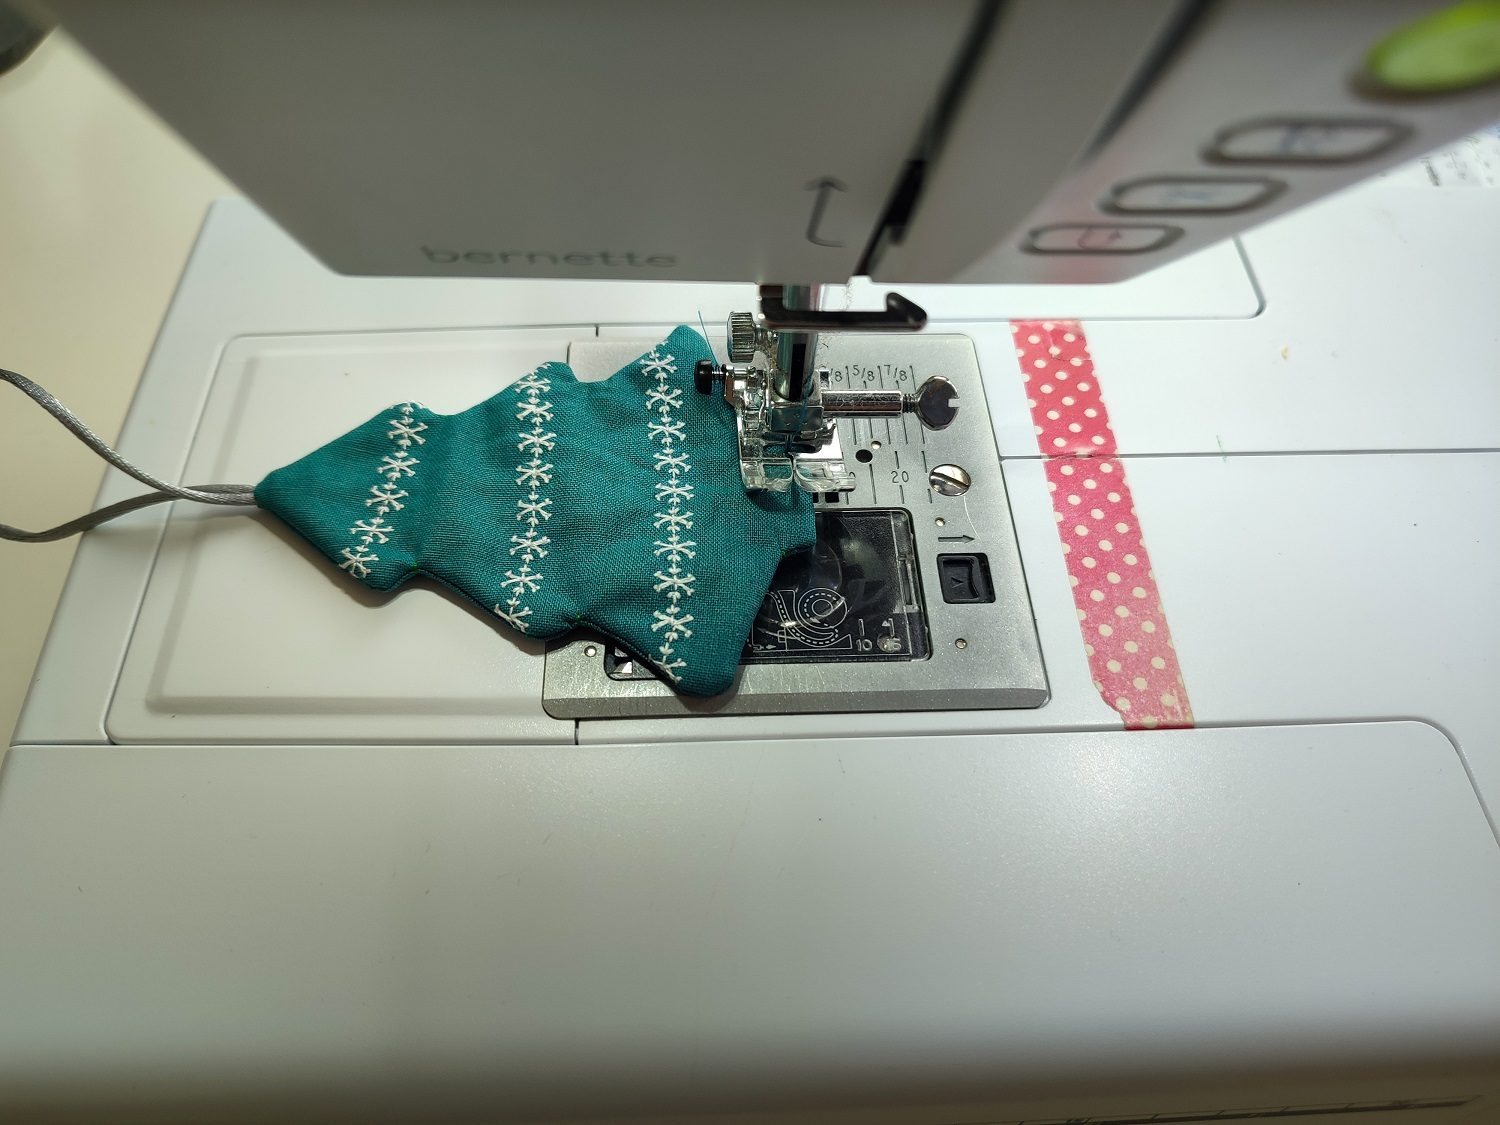
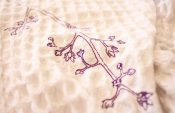
Now it’s time to start the sewing machine. You can now design the ornament according to your own preferences. Here, you can really let your imagination run wild. First I looked at the decorative stitches on my sewing machine. For example, my bernette 79 has a decorative stitch that looks like snowflakes. I used this one.

You can now either decorate both sides of the tree or only one. Then iron the wadding onto the wrong side of the tree.
Completing the decorations
Then place the two trees with the right sides together and place a piece of ribbon or string in the middle so that the loop points inwards, into the tree.
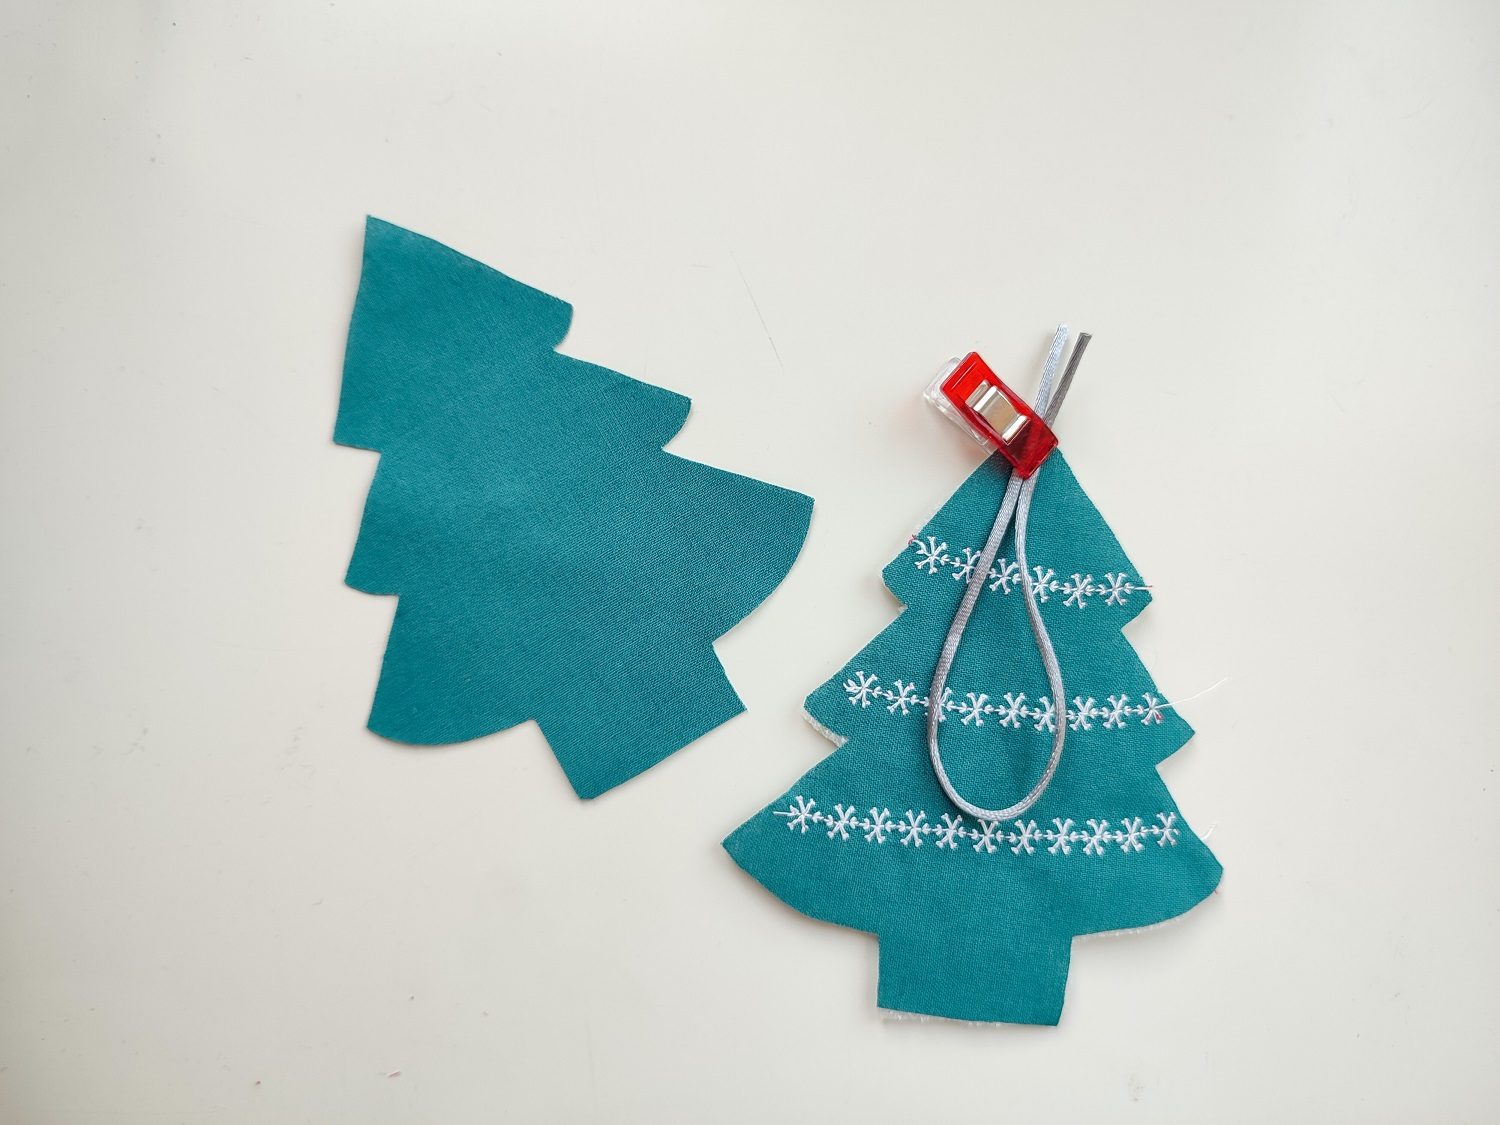
Now pin around the entire tree with pins or clips.
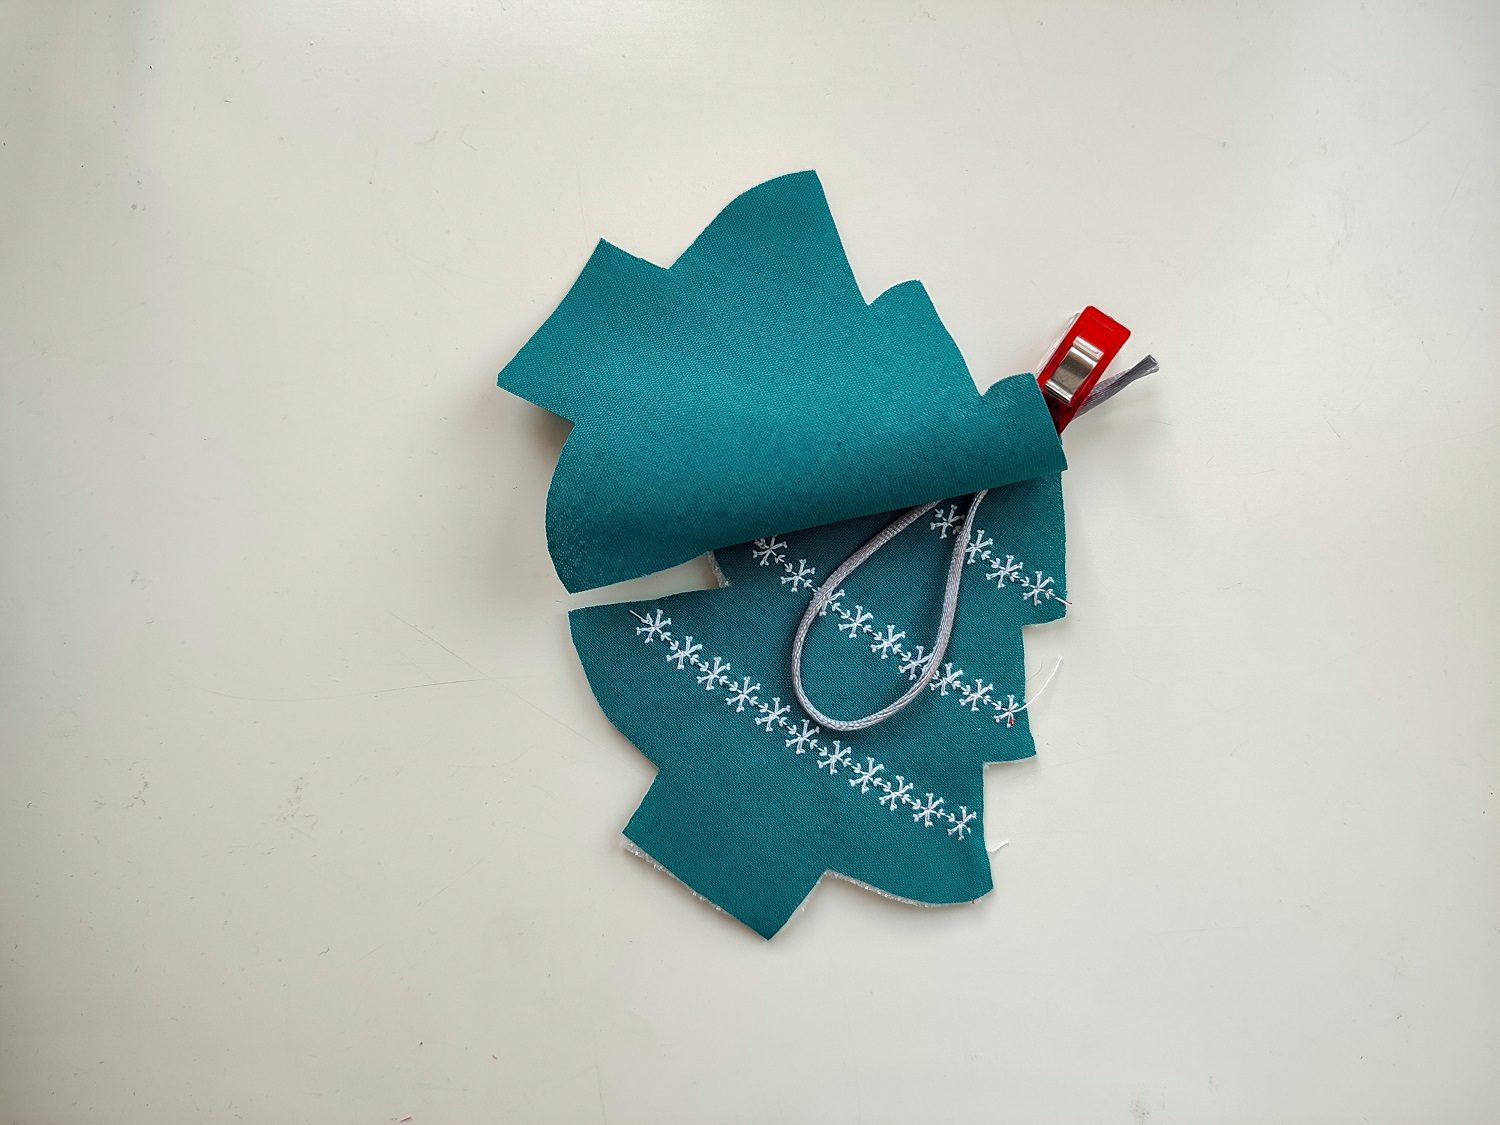
Now sew the tree together close to the edge, leaving a turning opening at the bottom of the trunk. Carefully cut back the seam allowance slightly. In addition, cut carefully into the corners, up to the seam.

Then turn the tree out and iron it very carefully. I like to use a toothpick when turning.
If you have chosen the version with fiberfill, add a little stuffing to your ornament. Then pin the fabric of the seam allowance inwards at the turning opening and close the turning opening. You can do this either by hand or with your sewing machine.
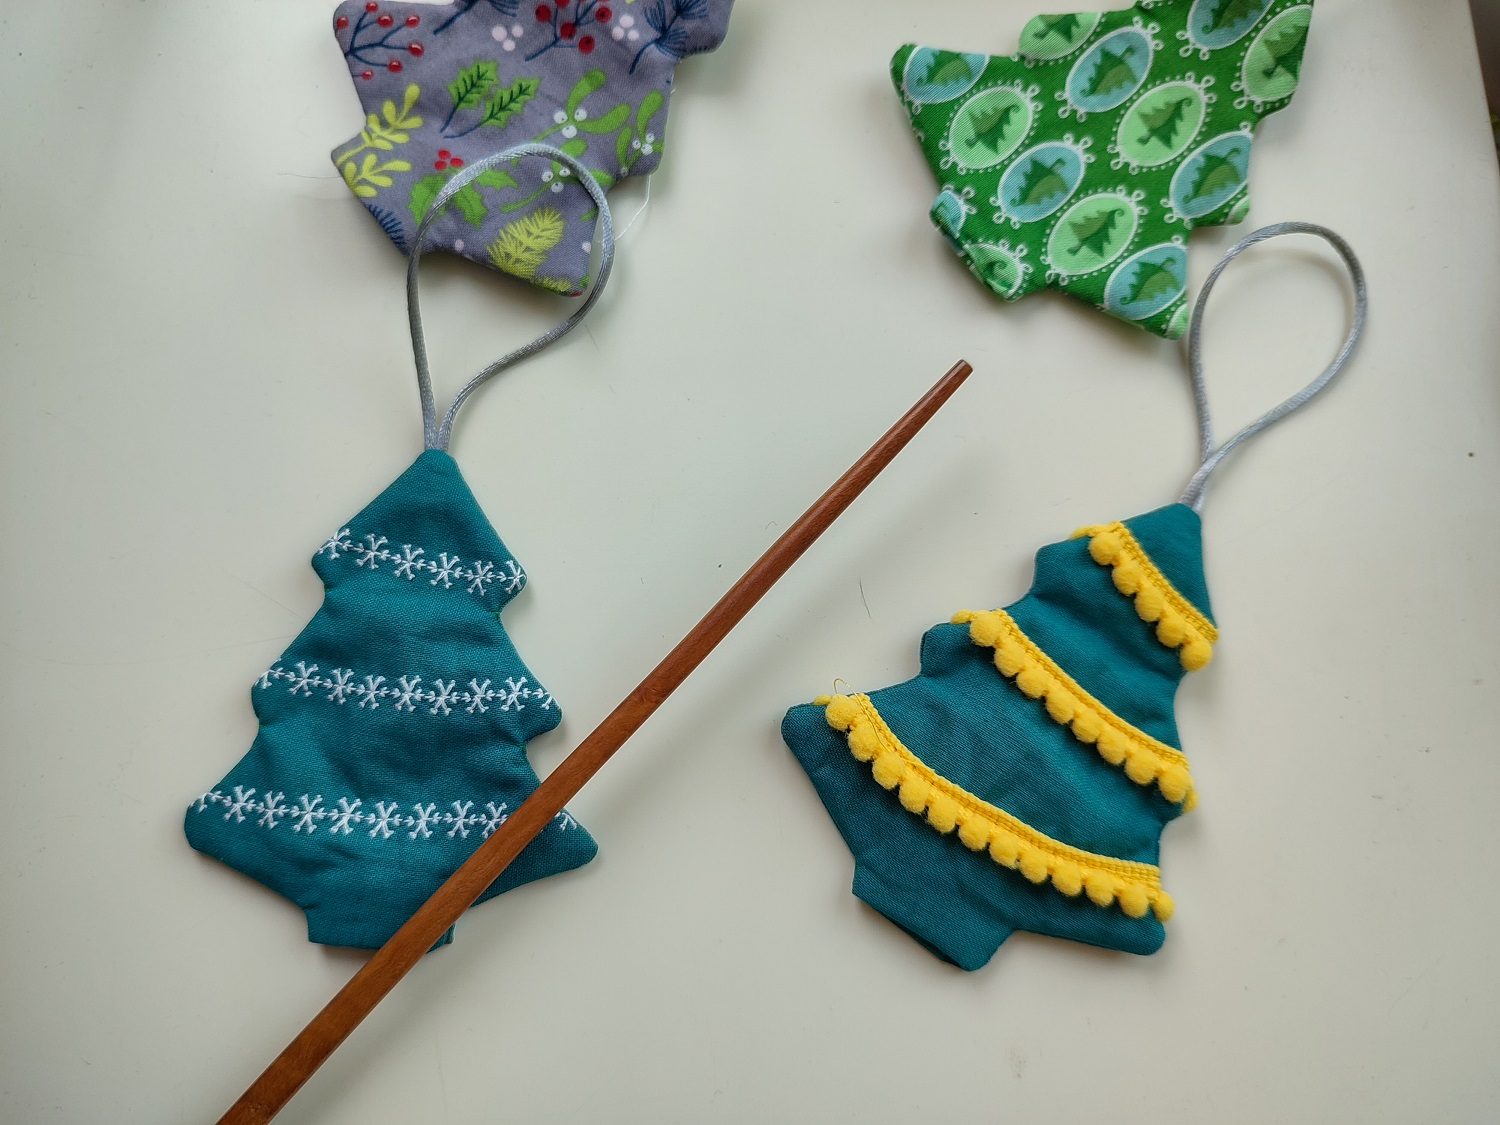
Christmas ornament varieties
You can experiment with shape when sewing your own ornaments. Stars or other shapes are also possible. Or you can play around with the decoration of the Christmas ornaments. Here, for example, I sewed on a pom-pom fringe and crochet lace for the other tree.

You can also use fabrics with Christmas patterns for the Christmas ornaments. These look particularly nice when you topstitch them around the edge after turning them. The addition of a little distance also creates a nice look.

You can use the ornaments as decorations or as pretty tags for your wrapped Christmas presents.
I hope you enjoy your Christmas sewing!
Yours truly, Yohy


0 Responses