 BERNINA Corporate Blog -
Welcome to the second door of the Advent calendar on the BERNINA Blog! Colorful Christmas… I have to admit, that is the perfect topic for me. I love colorful things, and if I’m really lucky there is a bit of glitter involved as well. Here is my tutorial “sewing colorful cookies”.
Tested by my two girls, they really make children’s eyes light up. Grandmas and grandpas can play with the kids by putting sausage & cheese and colorful noodles in the shopping cart. For the play kitchen, however, the provisions for afternoon tea with donkeys and teddy bears were lacking for a long time!
This sewing idea is of course also suitable as a nice table decoration for the Advent season – 100% zero calories! – as a pendant for the Christmas tree or as a gift tag.
Sewing cookies tutorial


Let’s get started!
Material for sewing the cookies
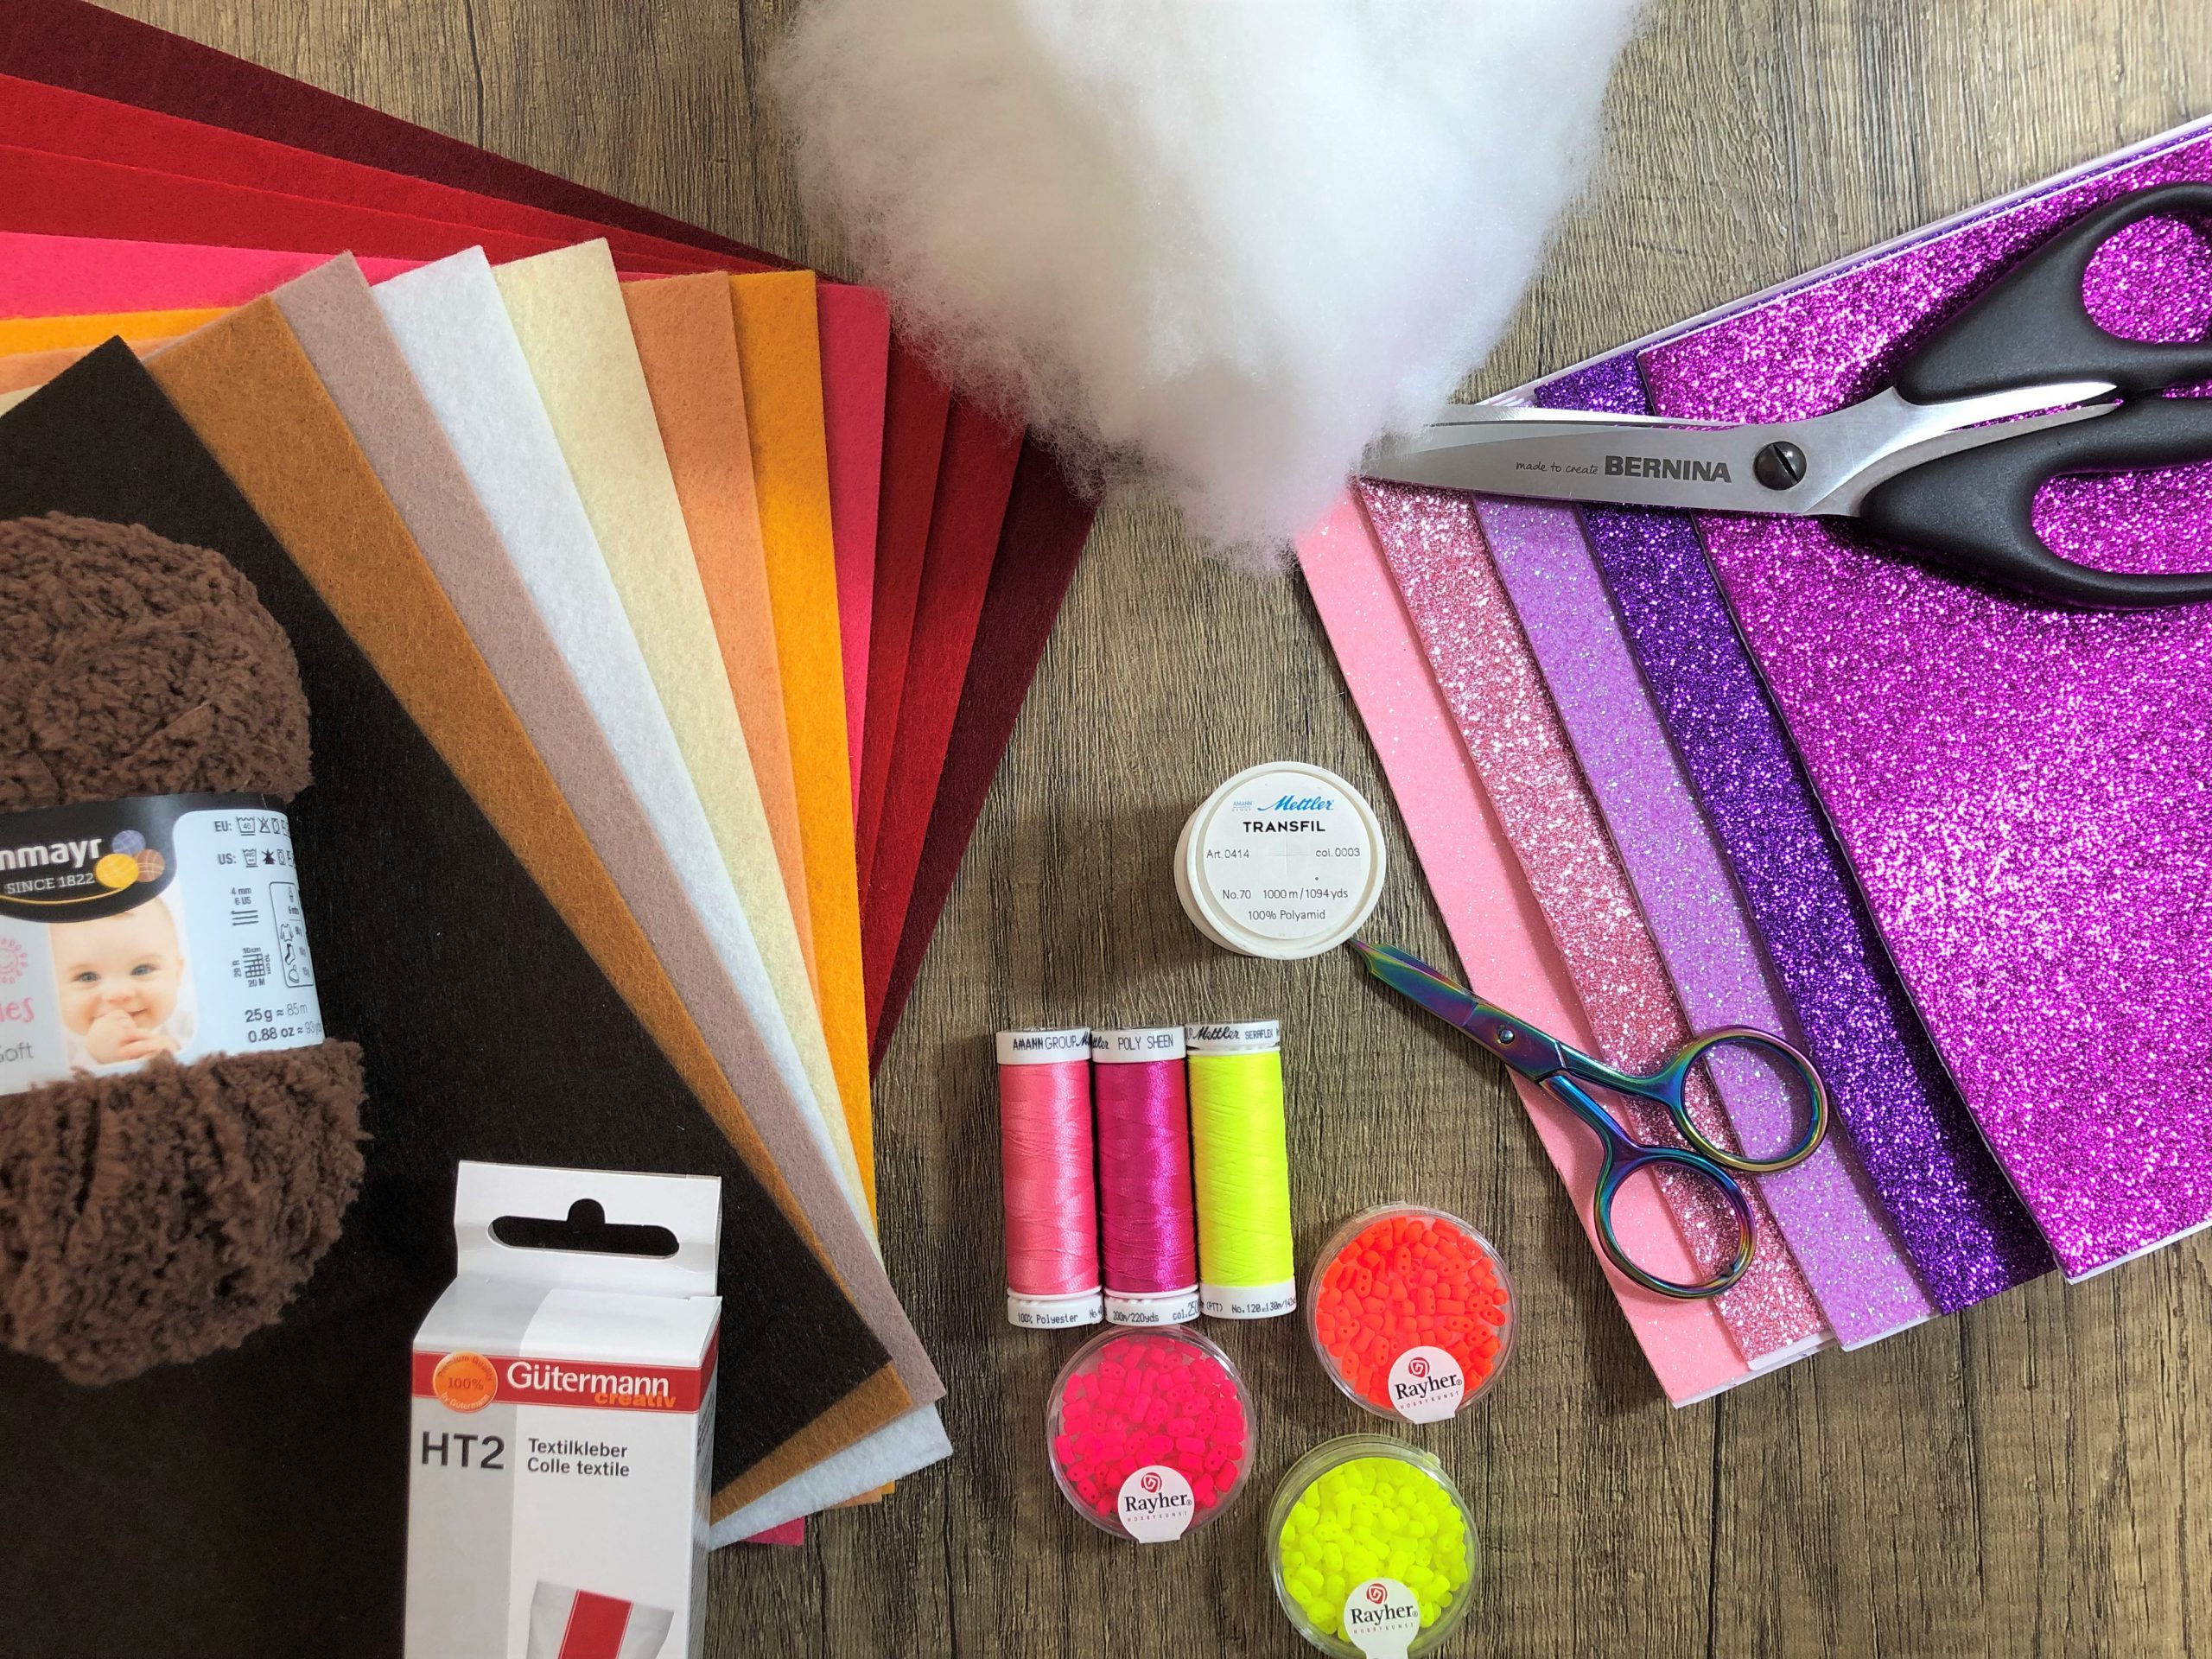
- Textile felt 0.2 mm in beige, medium brown, dark brown, red, taupe and cream
- Beads (glass double hole bead Neon, glass bead mix, wooden beads)
- Foam rubber plates glitter
- Fiberfill
- Seralon sewing thread
- PolySheen Multi embroidery thread
- Transparent Transfil sewing thread
- Baby Smiles Lenja Soft wool
- Universal needle NM 80
- Textile adhesive HT2
- Hand sewing needle, scissors and pinking shears
- and your sewing machine!
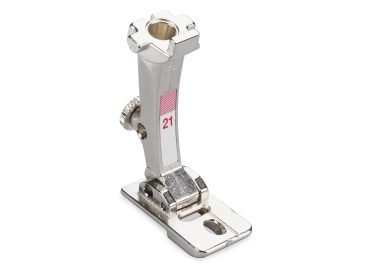
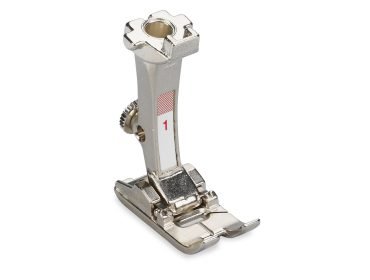
I use the following presser feet for sewing the cookies:


I love glitter!

Free pattern for the cookies
You can download the pattern for the cookies for free as a PDF from the following link:
Download the pattern here (PDF)!
When printing out the pattern, ensure that the correct size is selected on the printer (you must deactivate the “Scale to Fit Page” option because this could cause the pattern to be reduced in size).
Now it’s time to sew!
Sewing cookies with frosting
To sew one cookie, we need:
- 1 circle made of dark brown felt
- 1 square (8×8 cm) made of dark brown felt
- 1 pink felt for frosting
- Beads

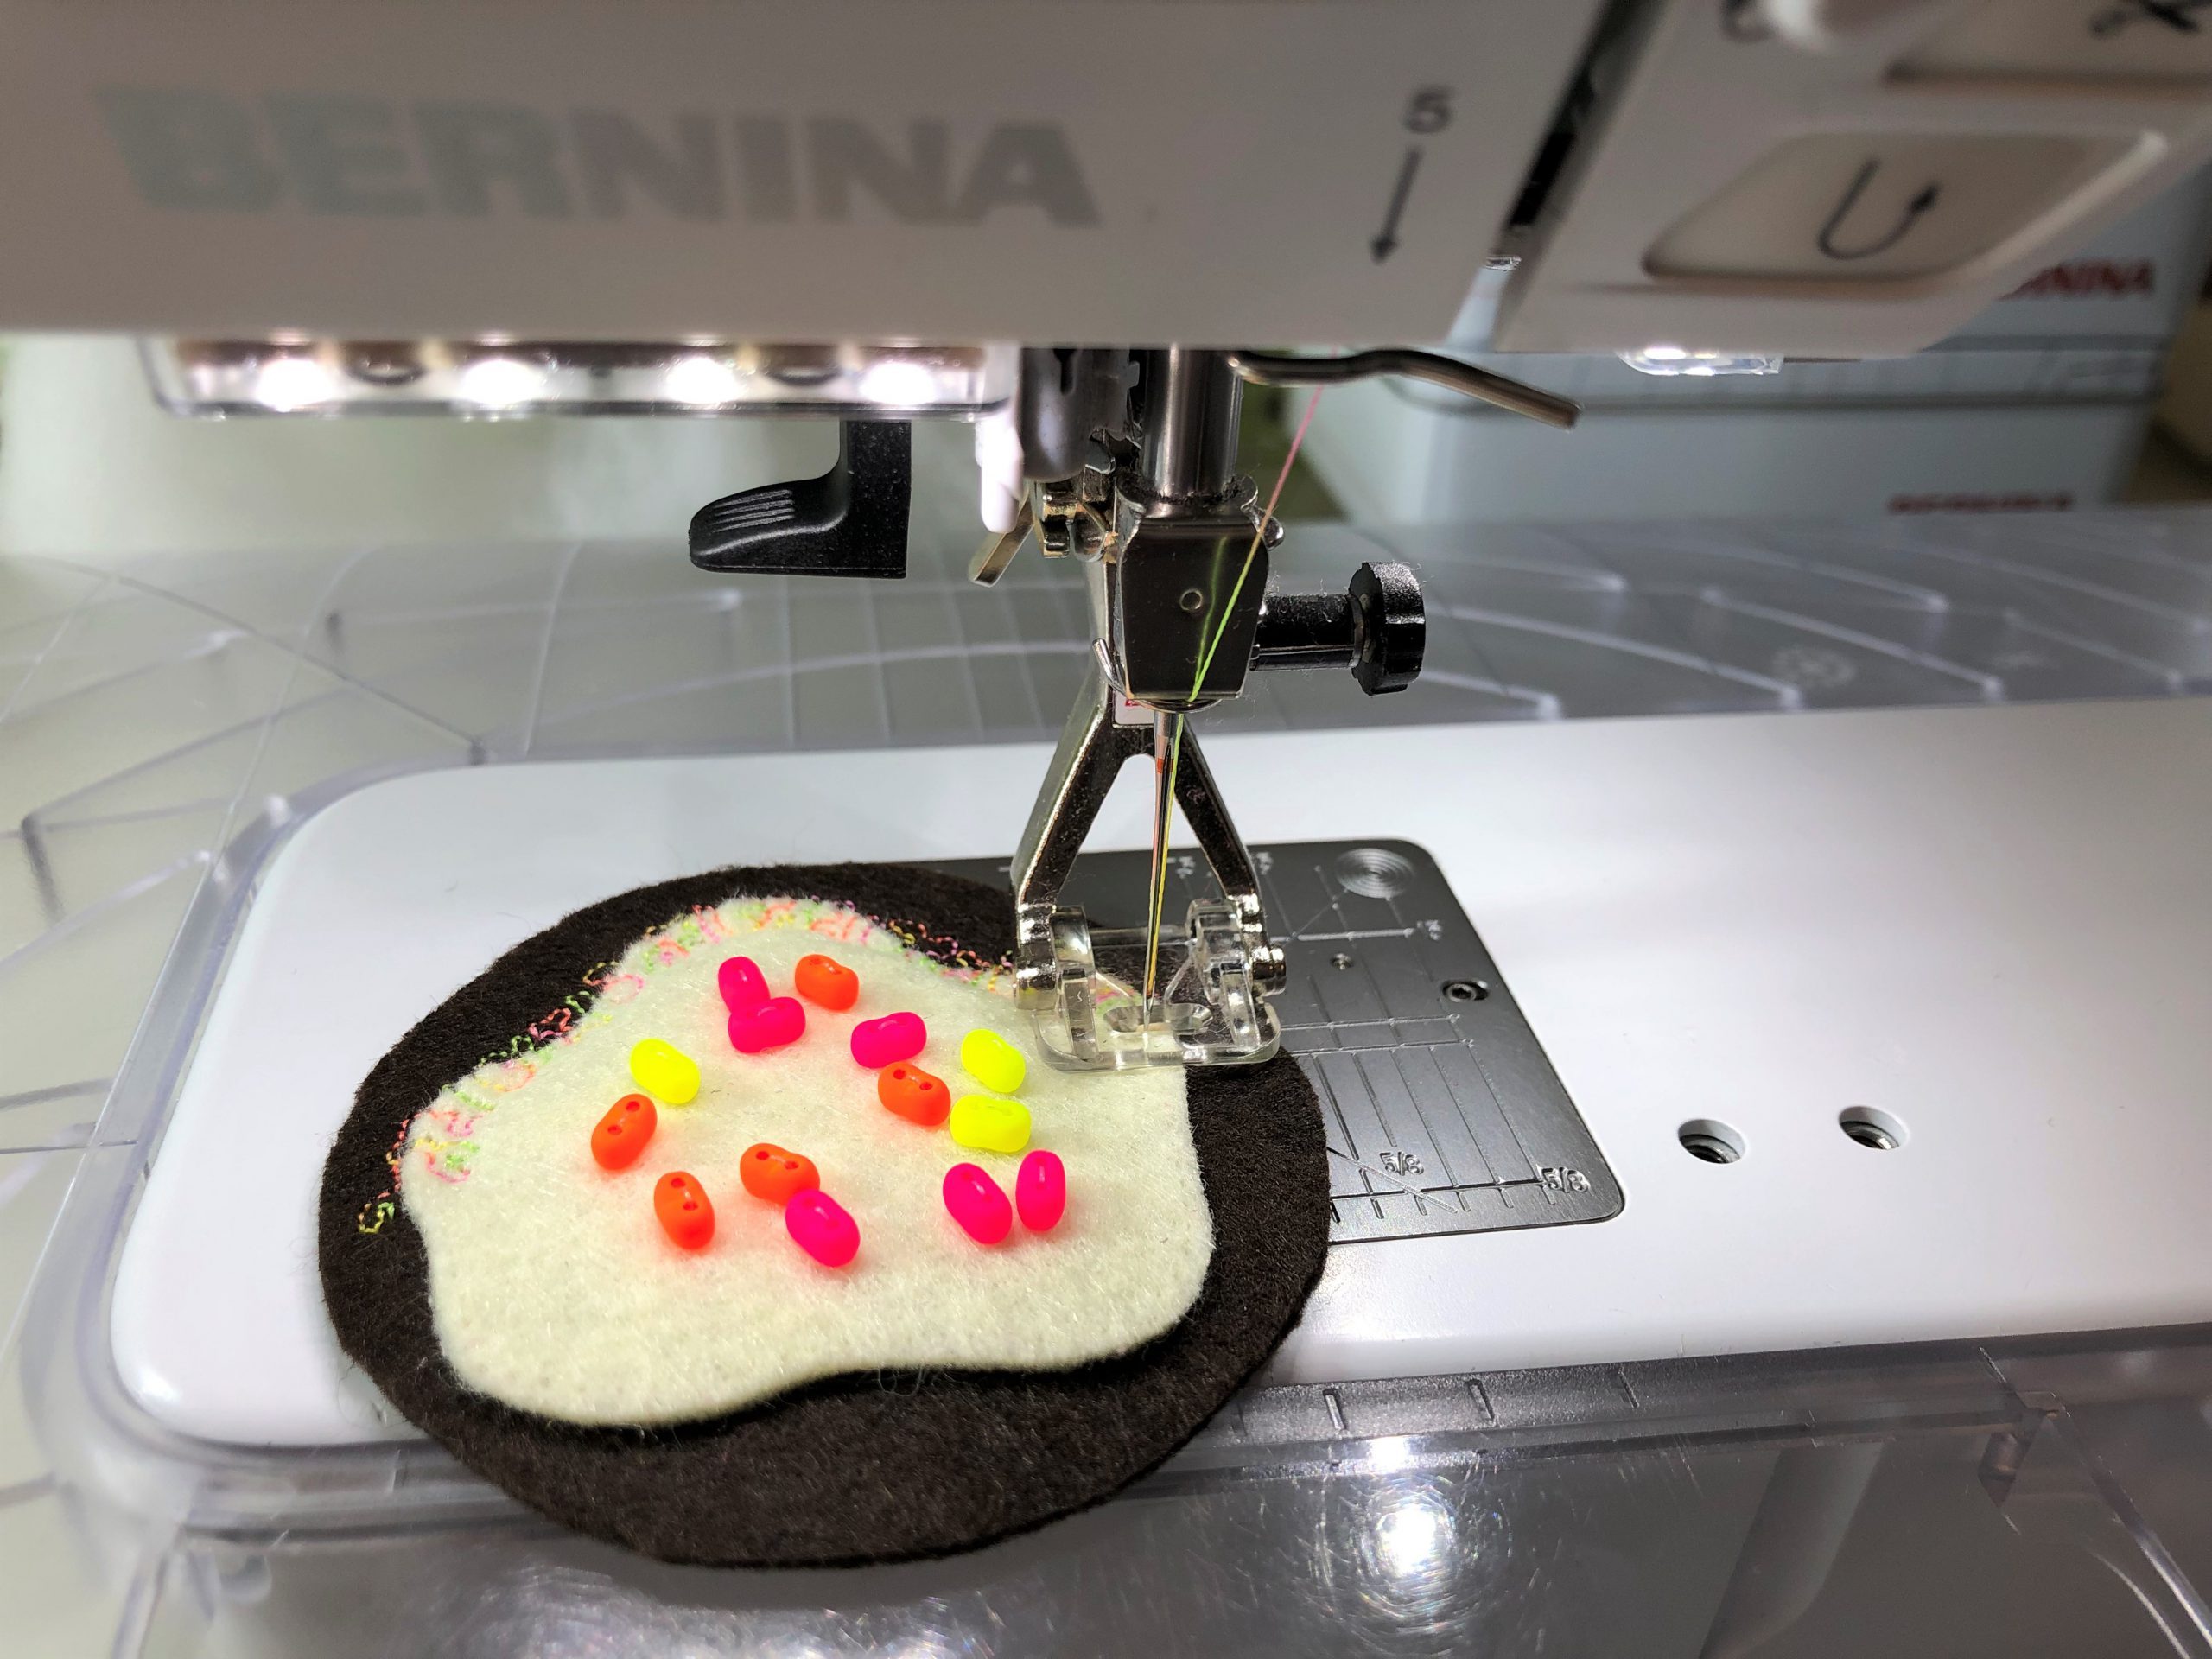
First, a little manual work is required: sew the beads onto the frosting with the Transfil transparent sewing thread. Of course, you can also stick on the beads, but this is not so good for the play kitchen. In general, this type of toy is only suitable for children over the age of 3, as there is a risk of swallowing small parts.
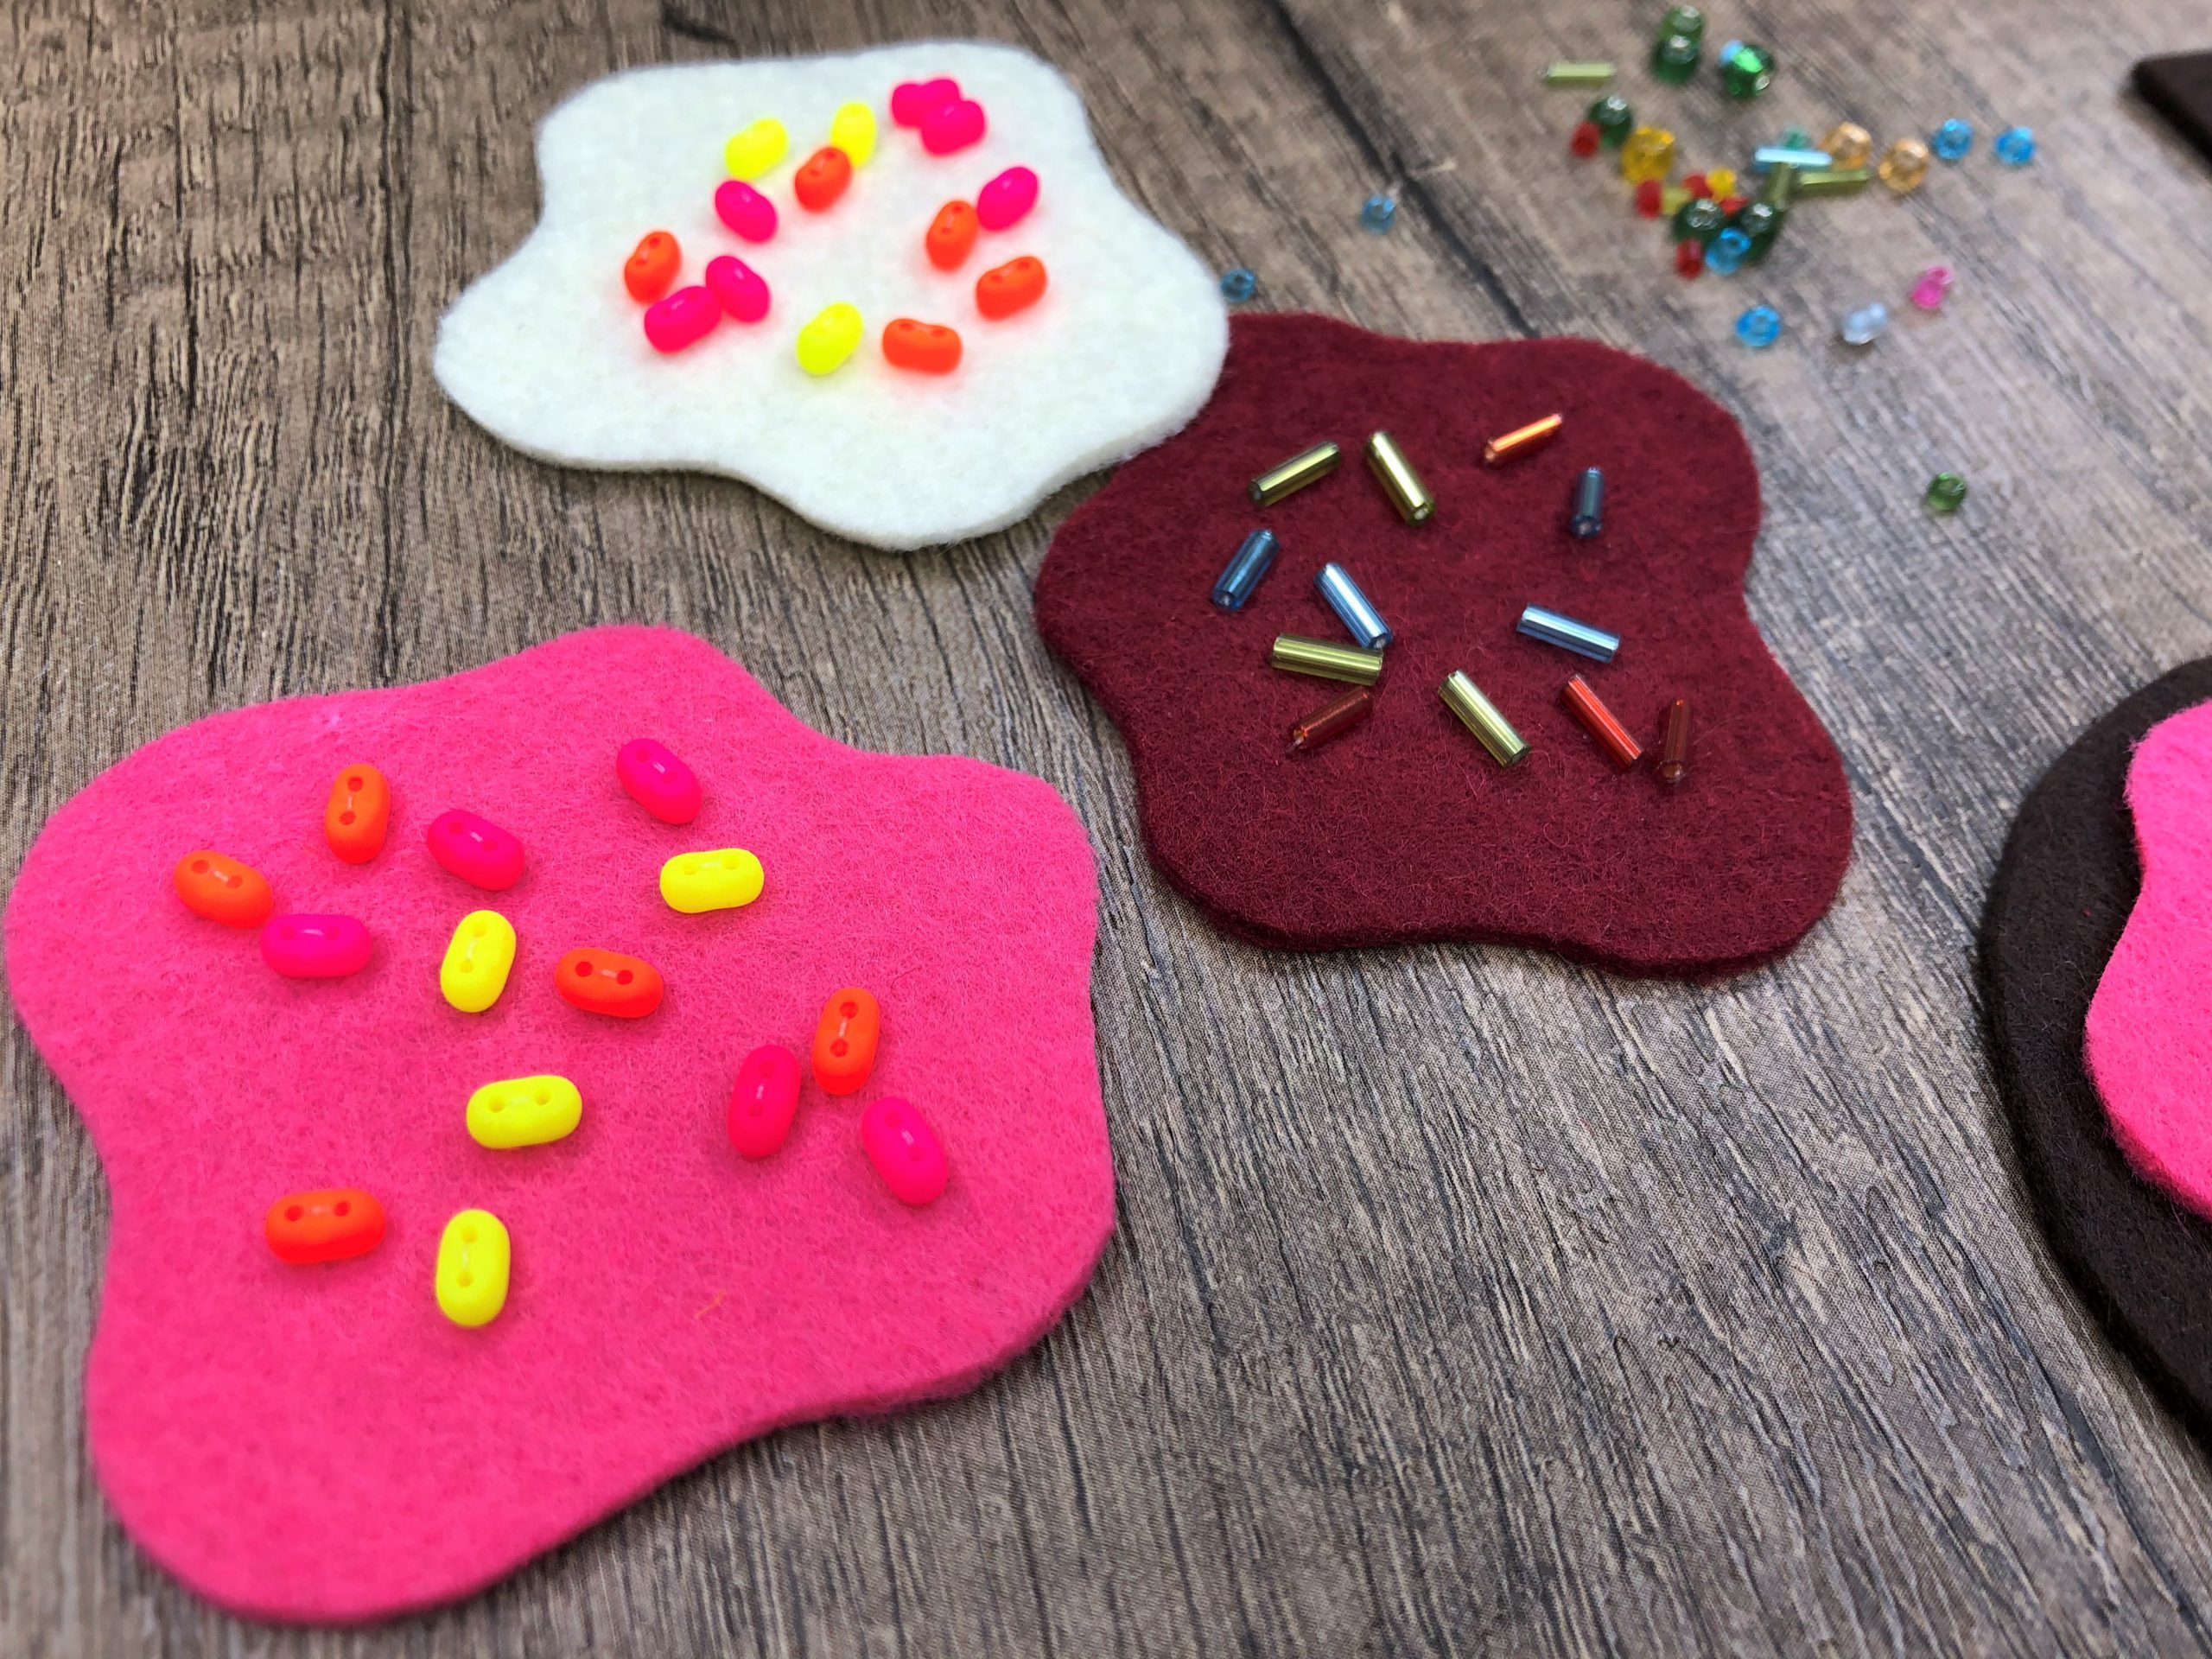
Now we need the sewing machine: sew the frosting onto the circle with the appliqué foot. Here, I used the stippling stitch/meandering quilt stitch no. 1331 of my BERNINA 480. In addition, a multi-colored PolySheen Multi thread, which is also suitable as an embroidery thread for sewing, creates a great effect.

For the pink cookies, I used blanket stitch no. 1313.
Sew the top of the cookie with the Edgestitch Foot #10, while adjusting the needle to the left. Before the cookie is completely sewn together, stuff it with a bit of fiberfill (I will show you how to do this for nut nougat cookies) and then cut it out.
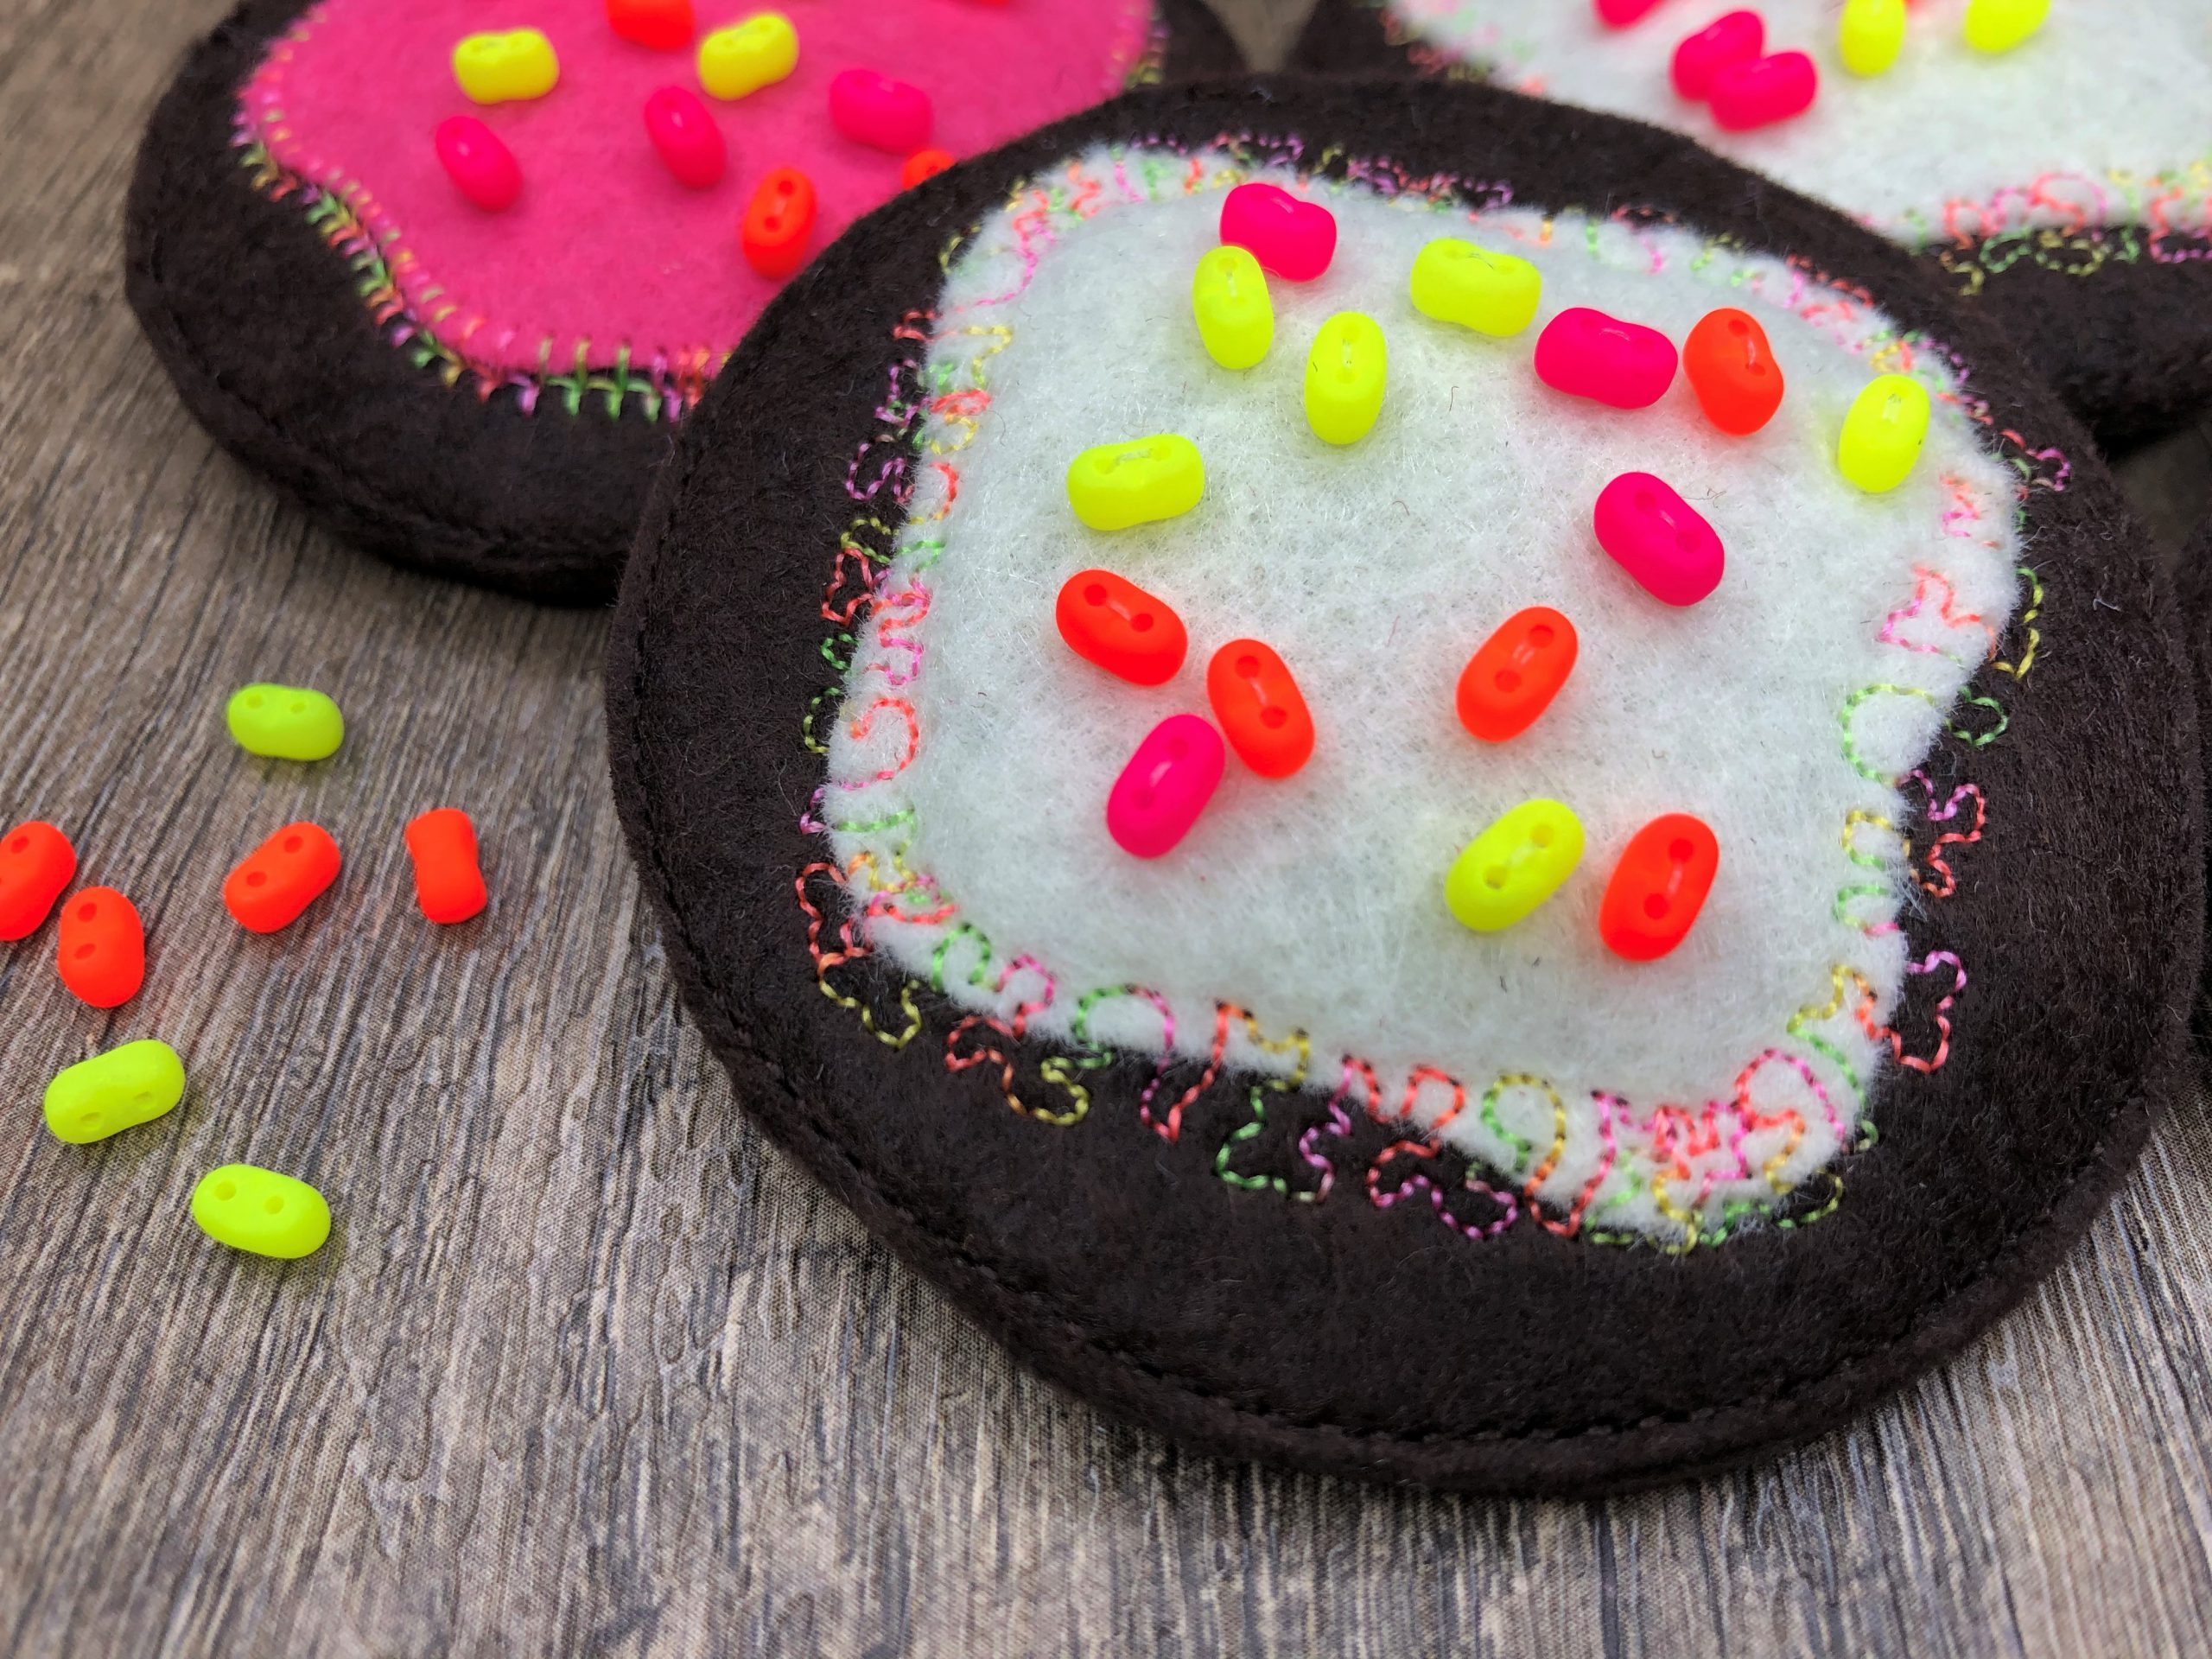
Here is a version in different colors, let your imagination run wild!
Sewing nut nougat cookies
For one cookie, we need:
- 1 circle made of taupe felt
- 1 square (8×8 cm) of taupe felt
- Wool
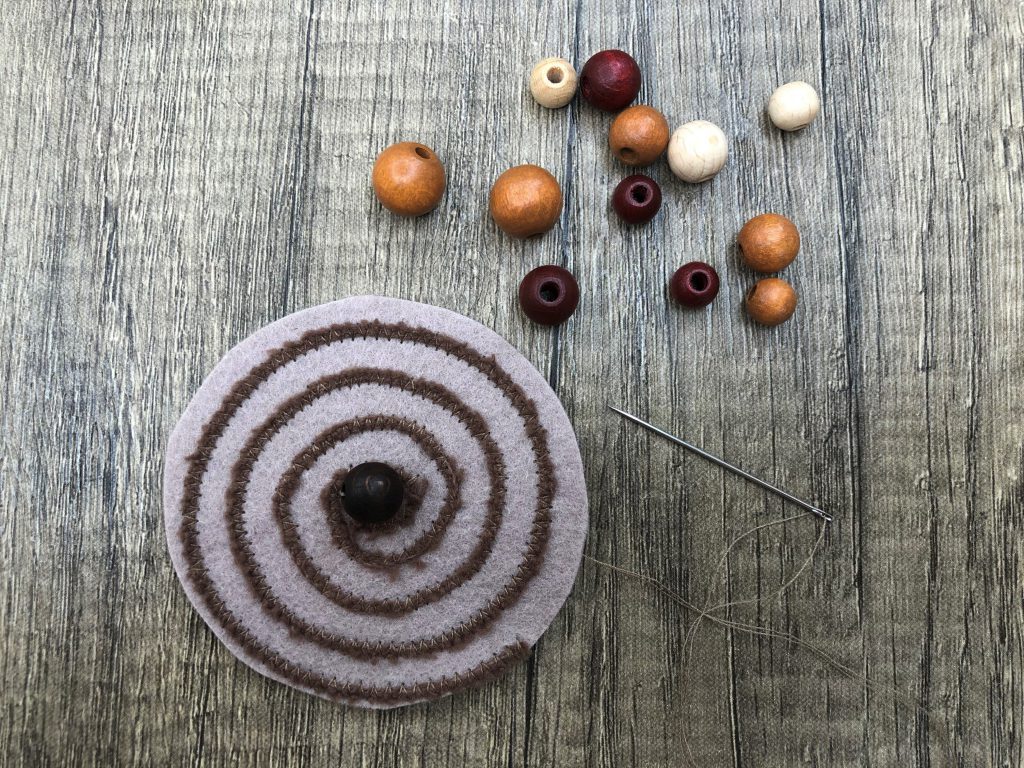
- 1 wooden bead
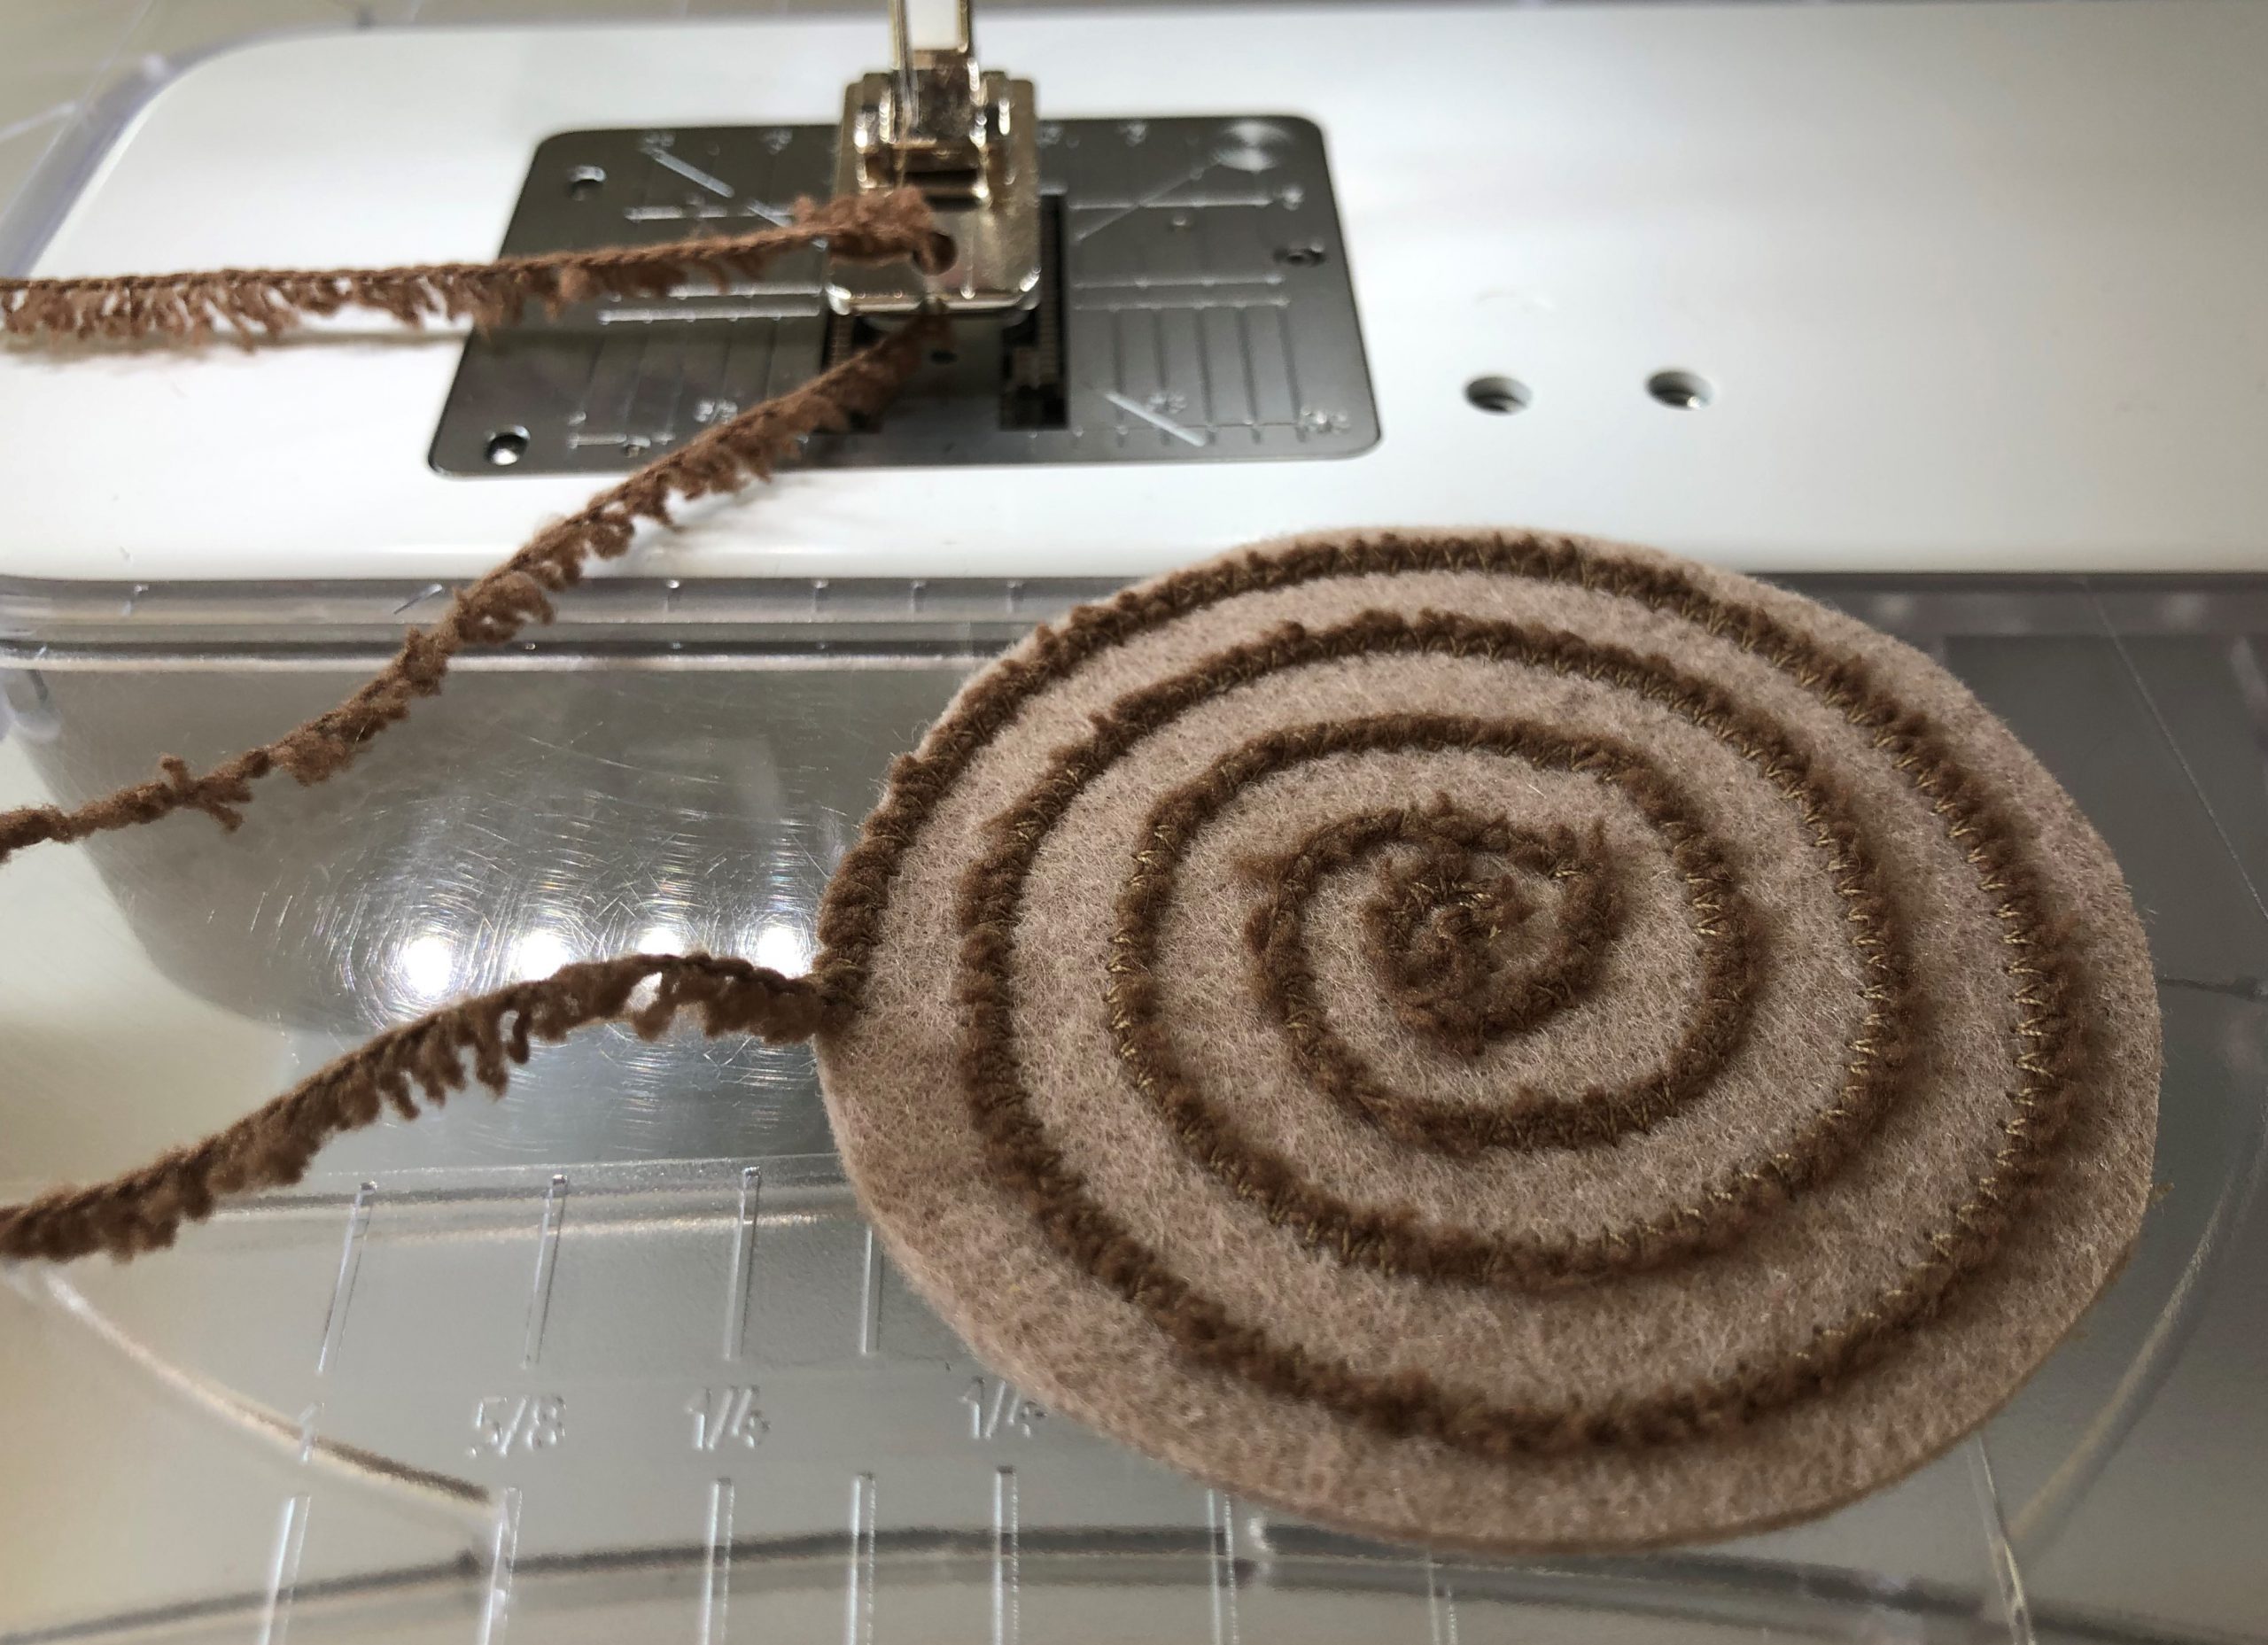
For this cookie, I use the cord foot. This makes it easy to sew on thin ribbons, cords and strands. With a beveled hole for yarns and cords with a diameter of up to 3 mm, this foot achieves even, clean sewing. Slowly sew on the cord using a zigzag stitch.
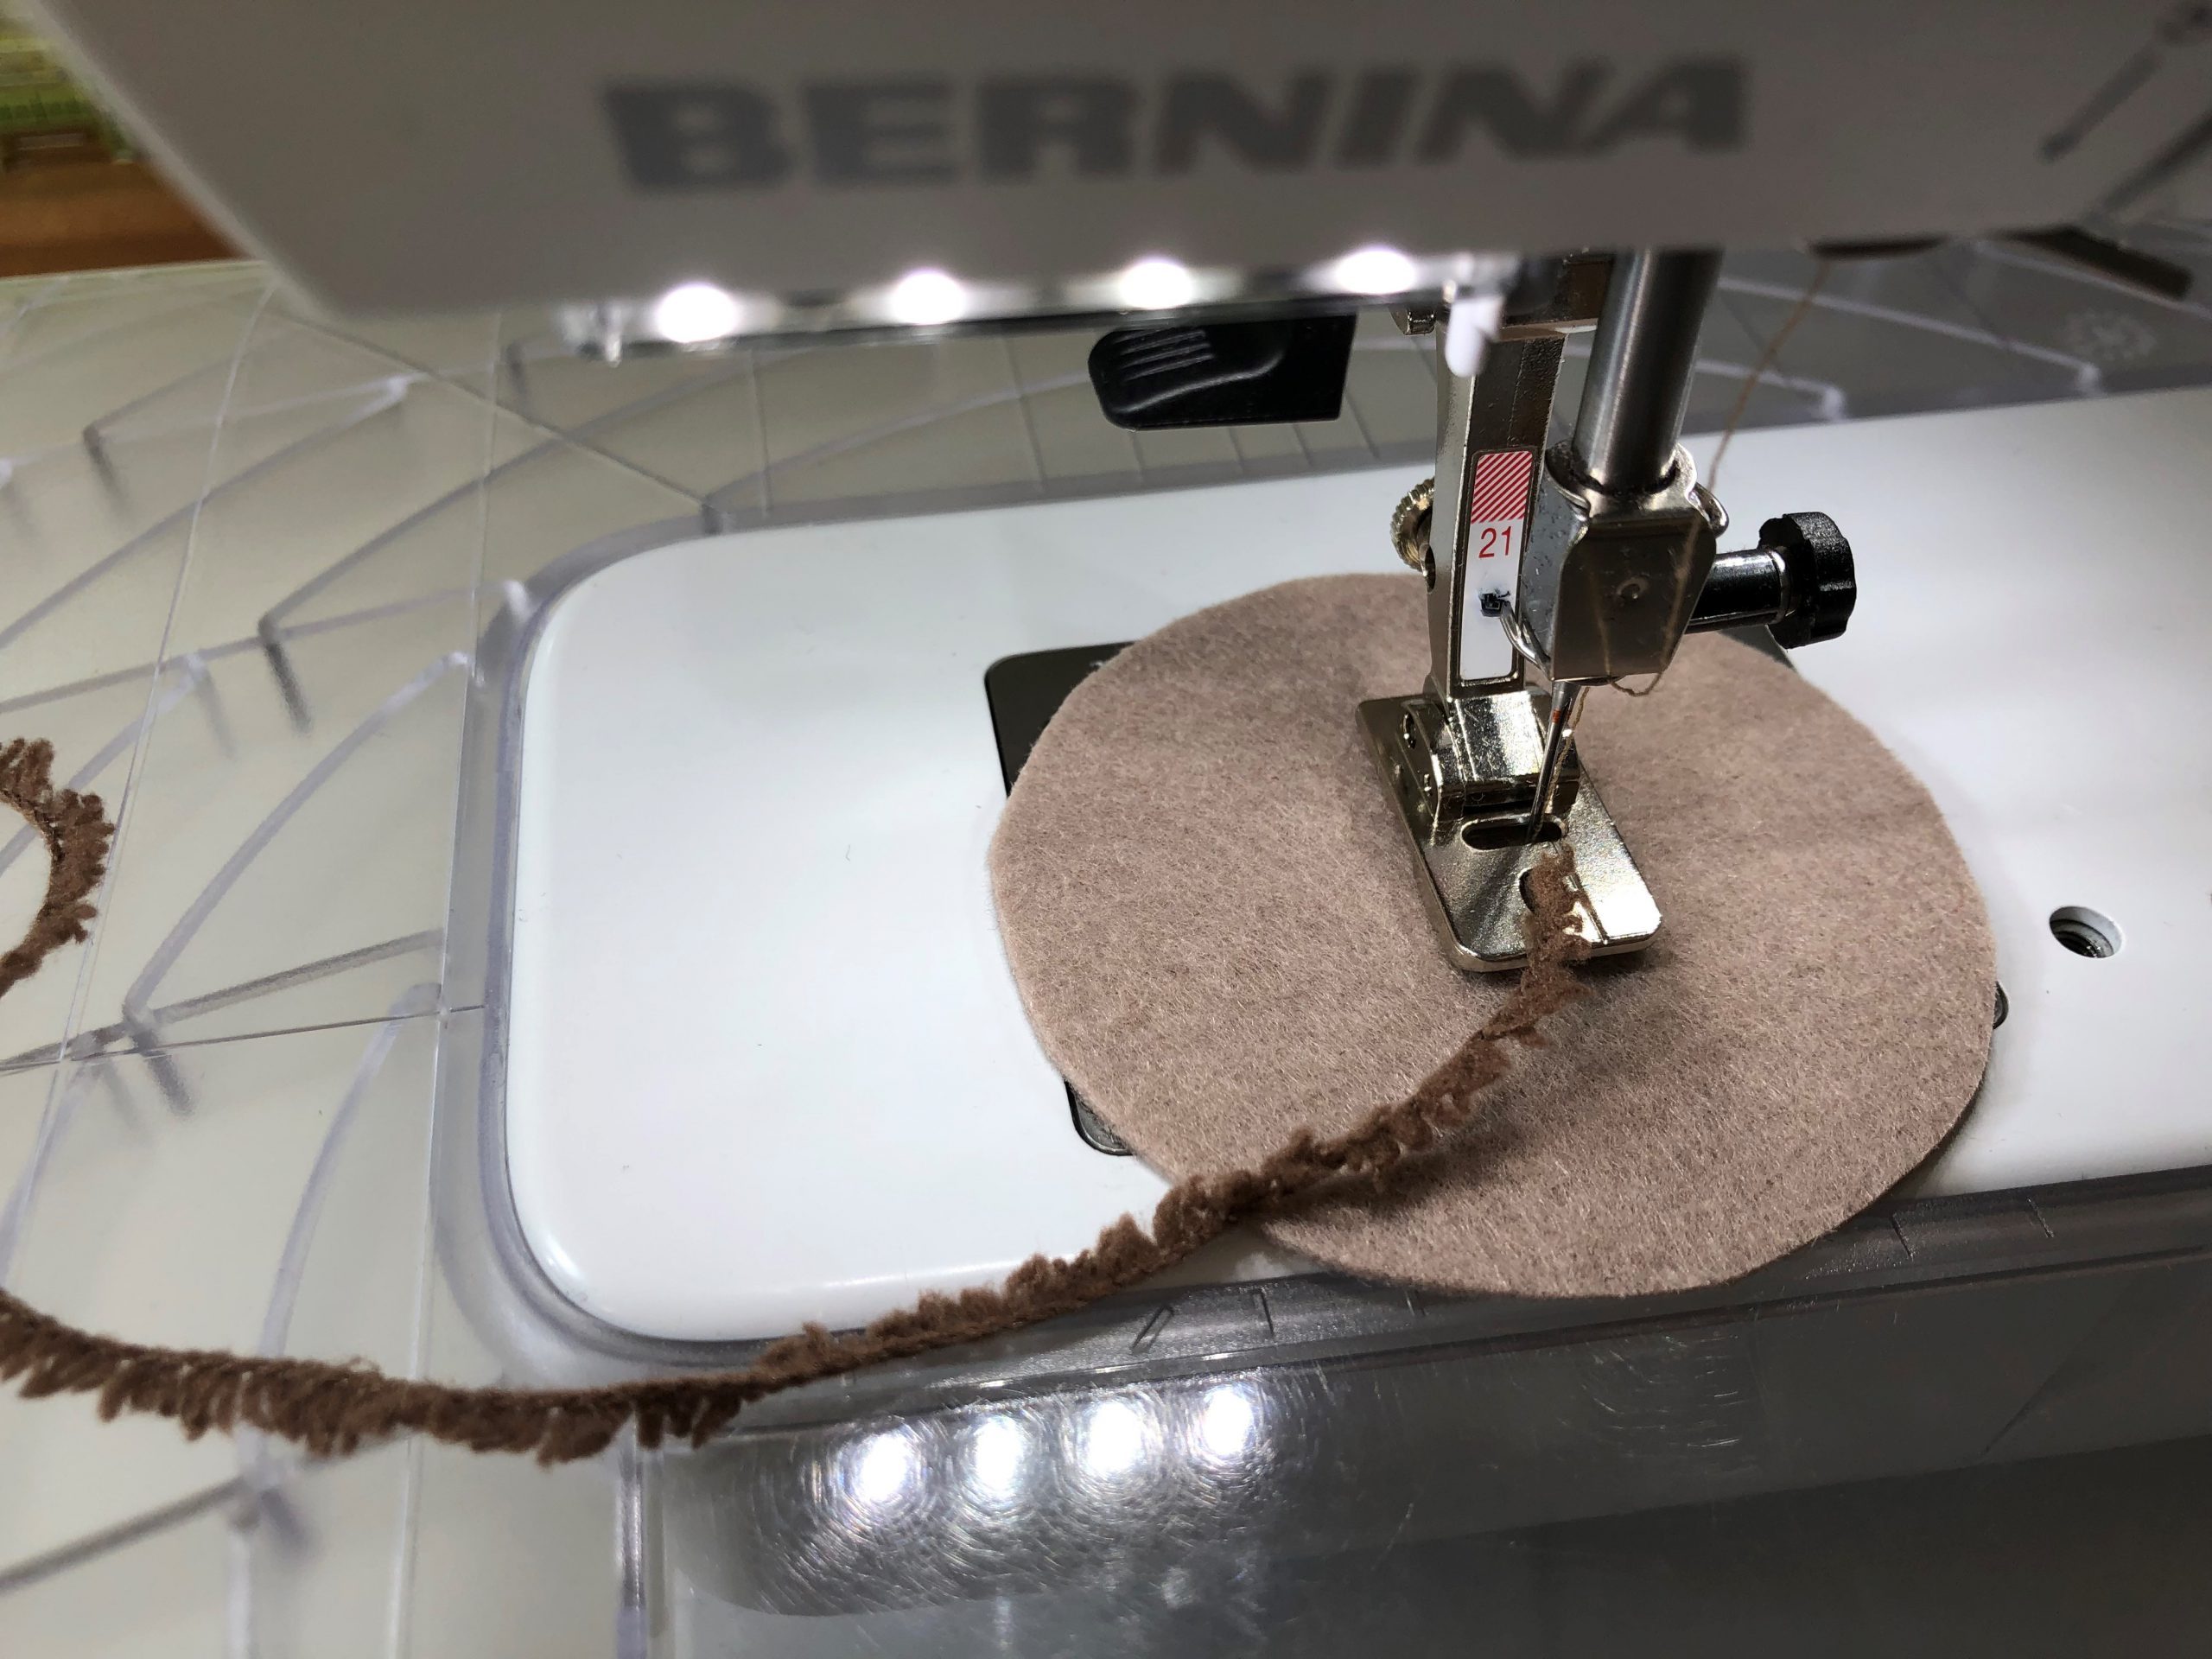
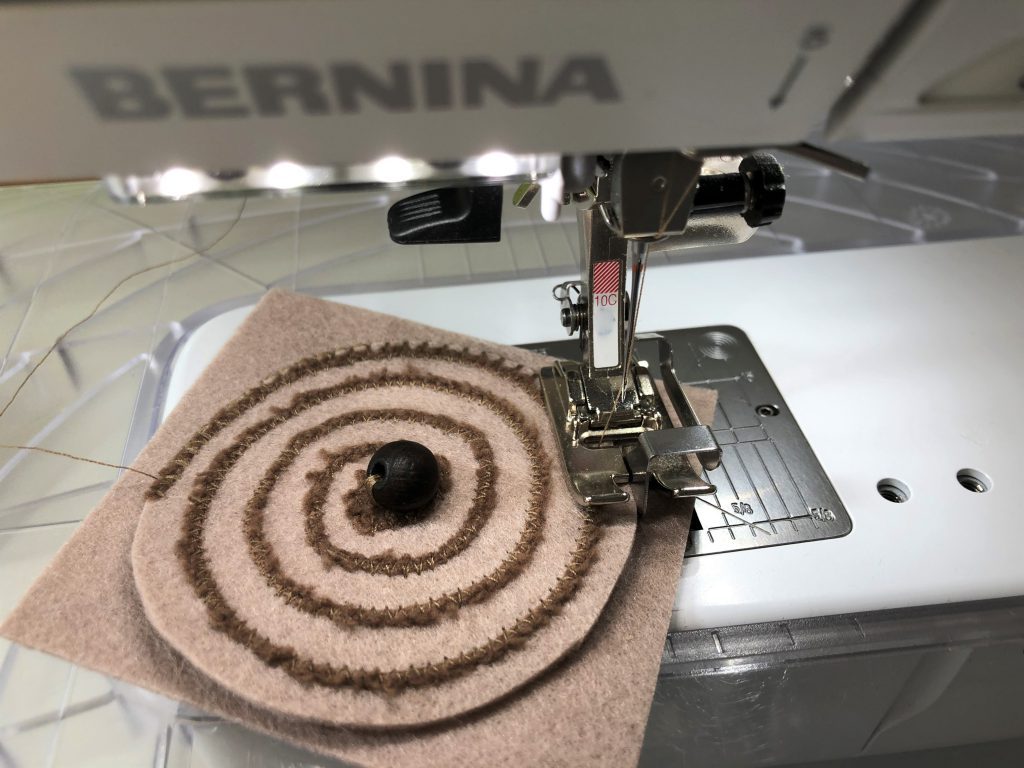
Then sew on a wooden bead – the nut – in the middle by hand.
Then sew the top of the cookie using Edgestitch Foot #10, while adjusting the needle to the left.
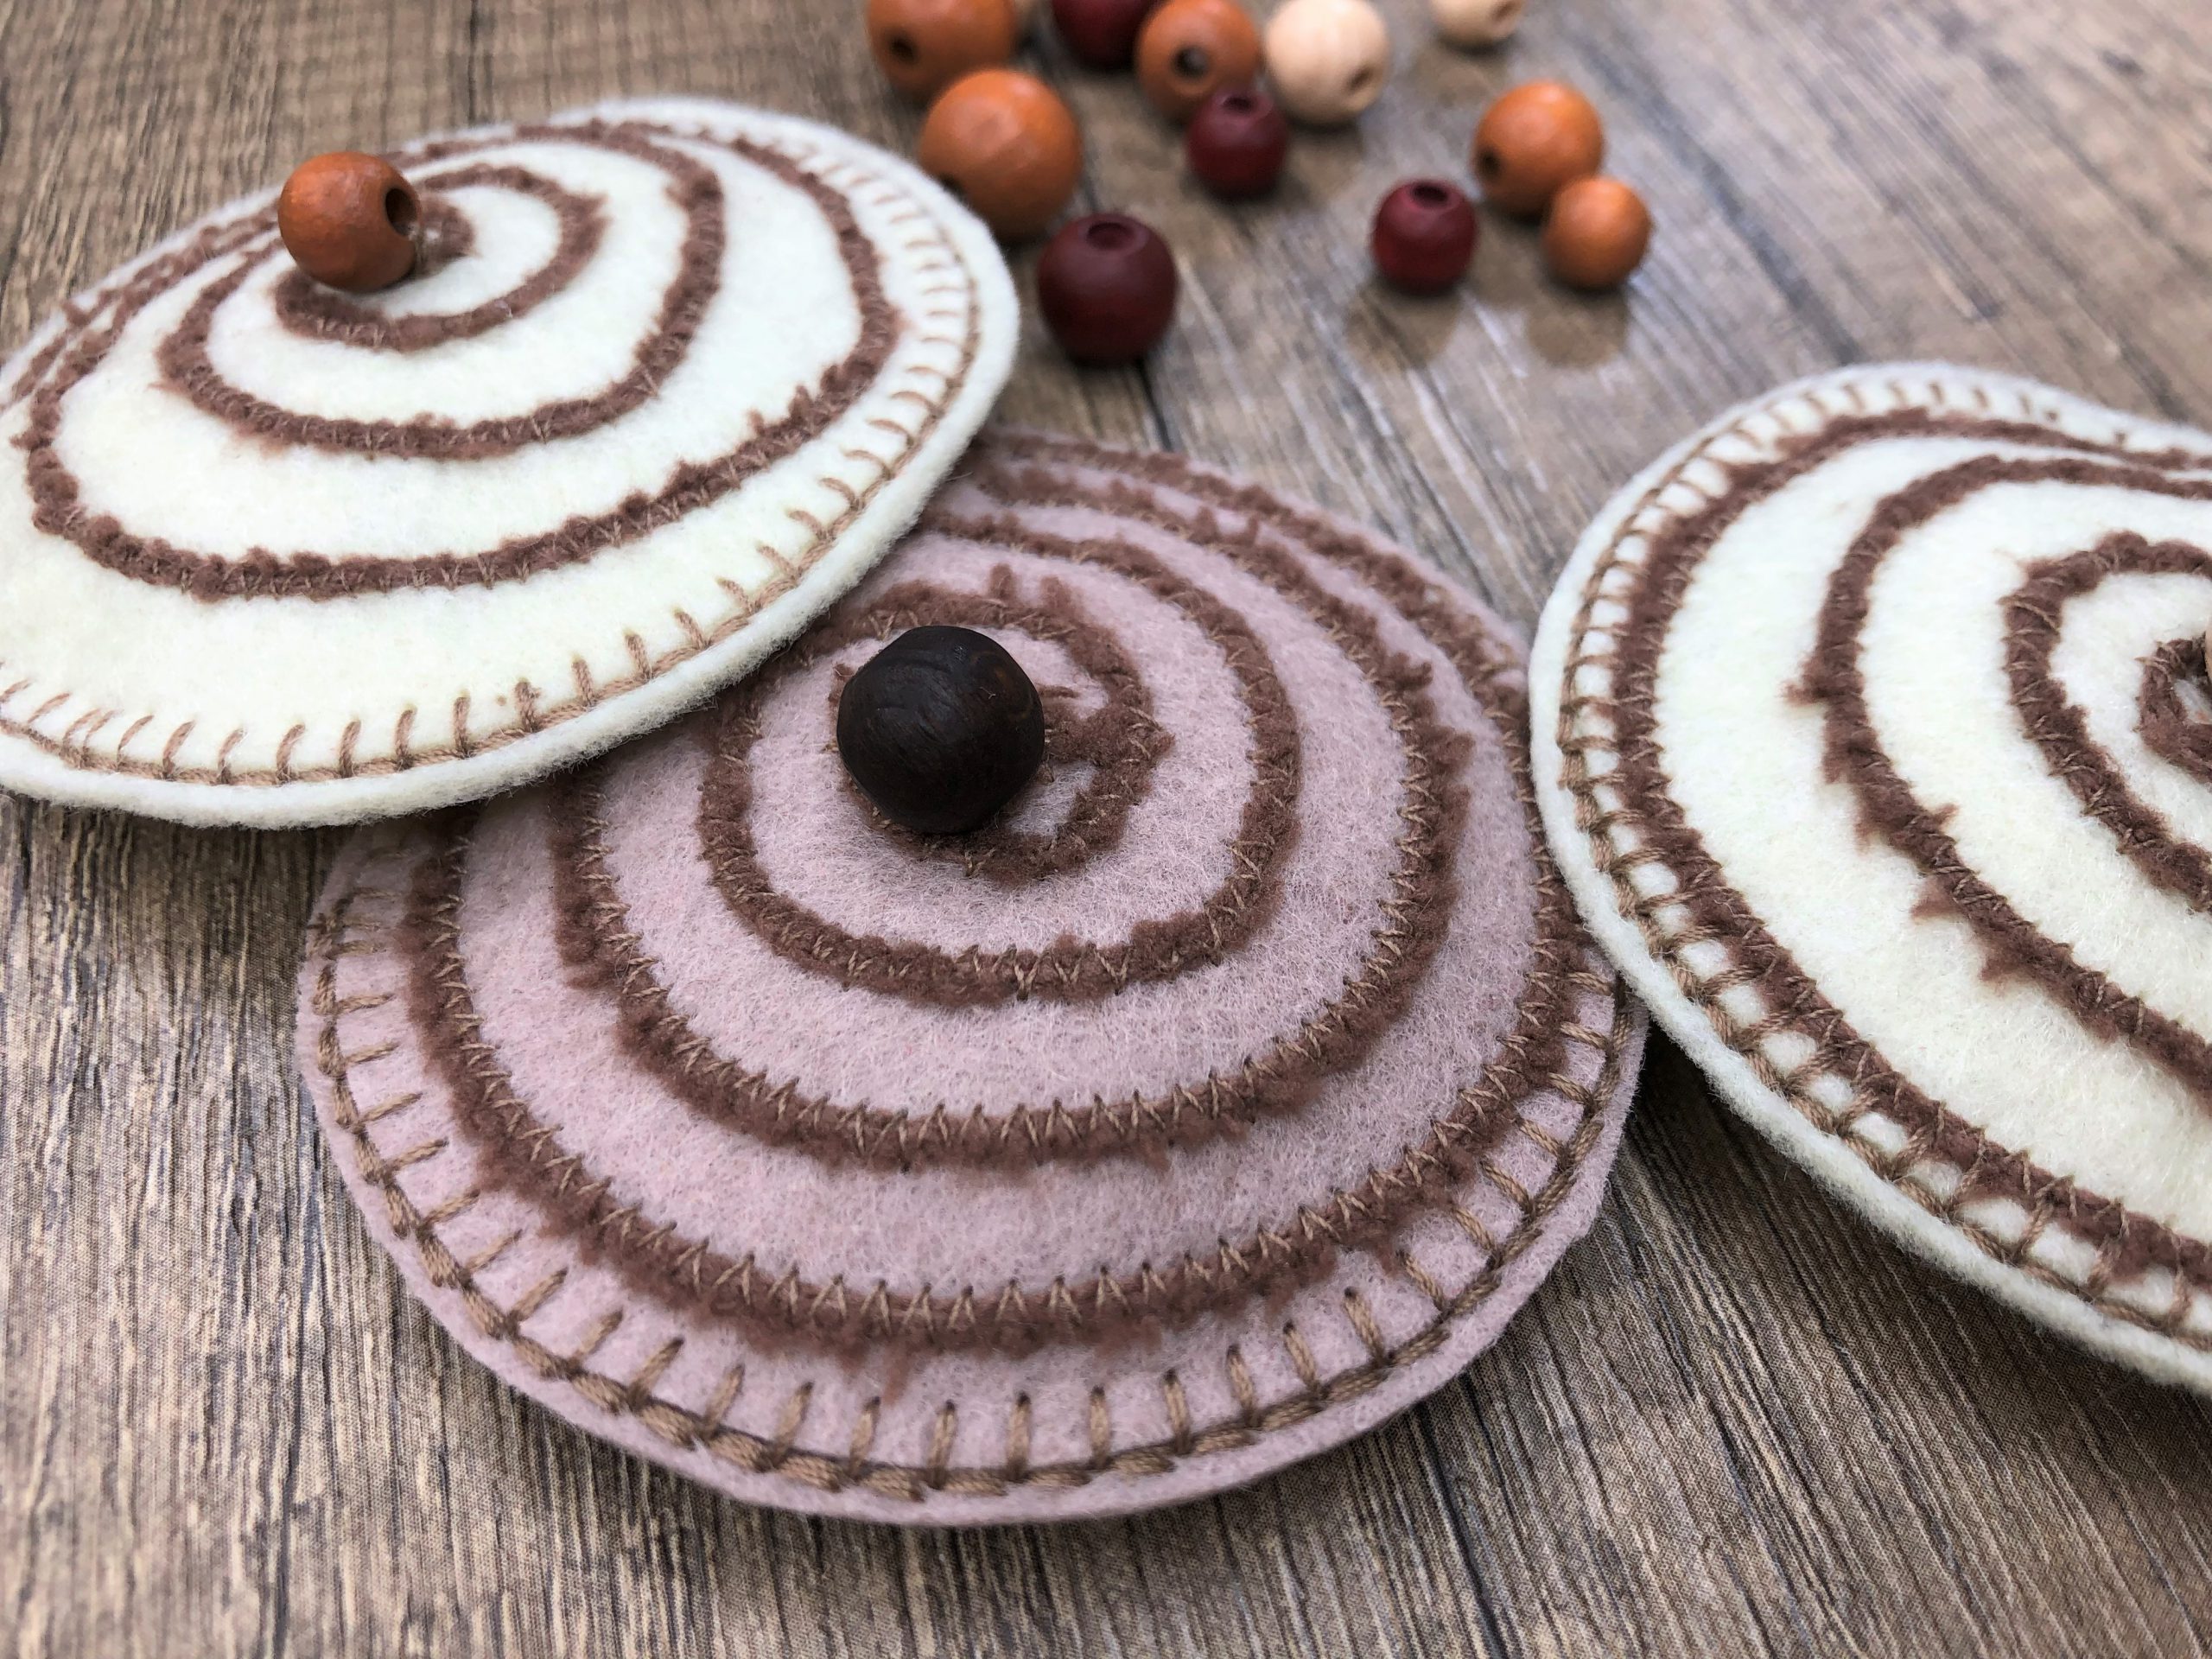
Before the cookie is completely sewn together, stuff it with a bit of fiberfill.

The nut nougat cookies with white and dark chocolate are ready.
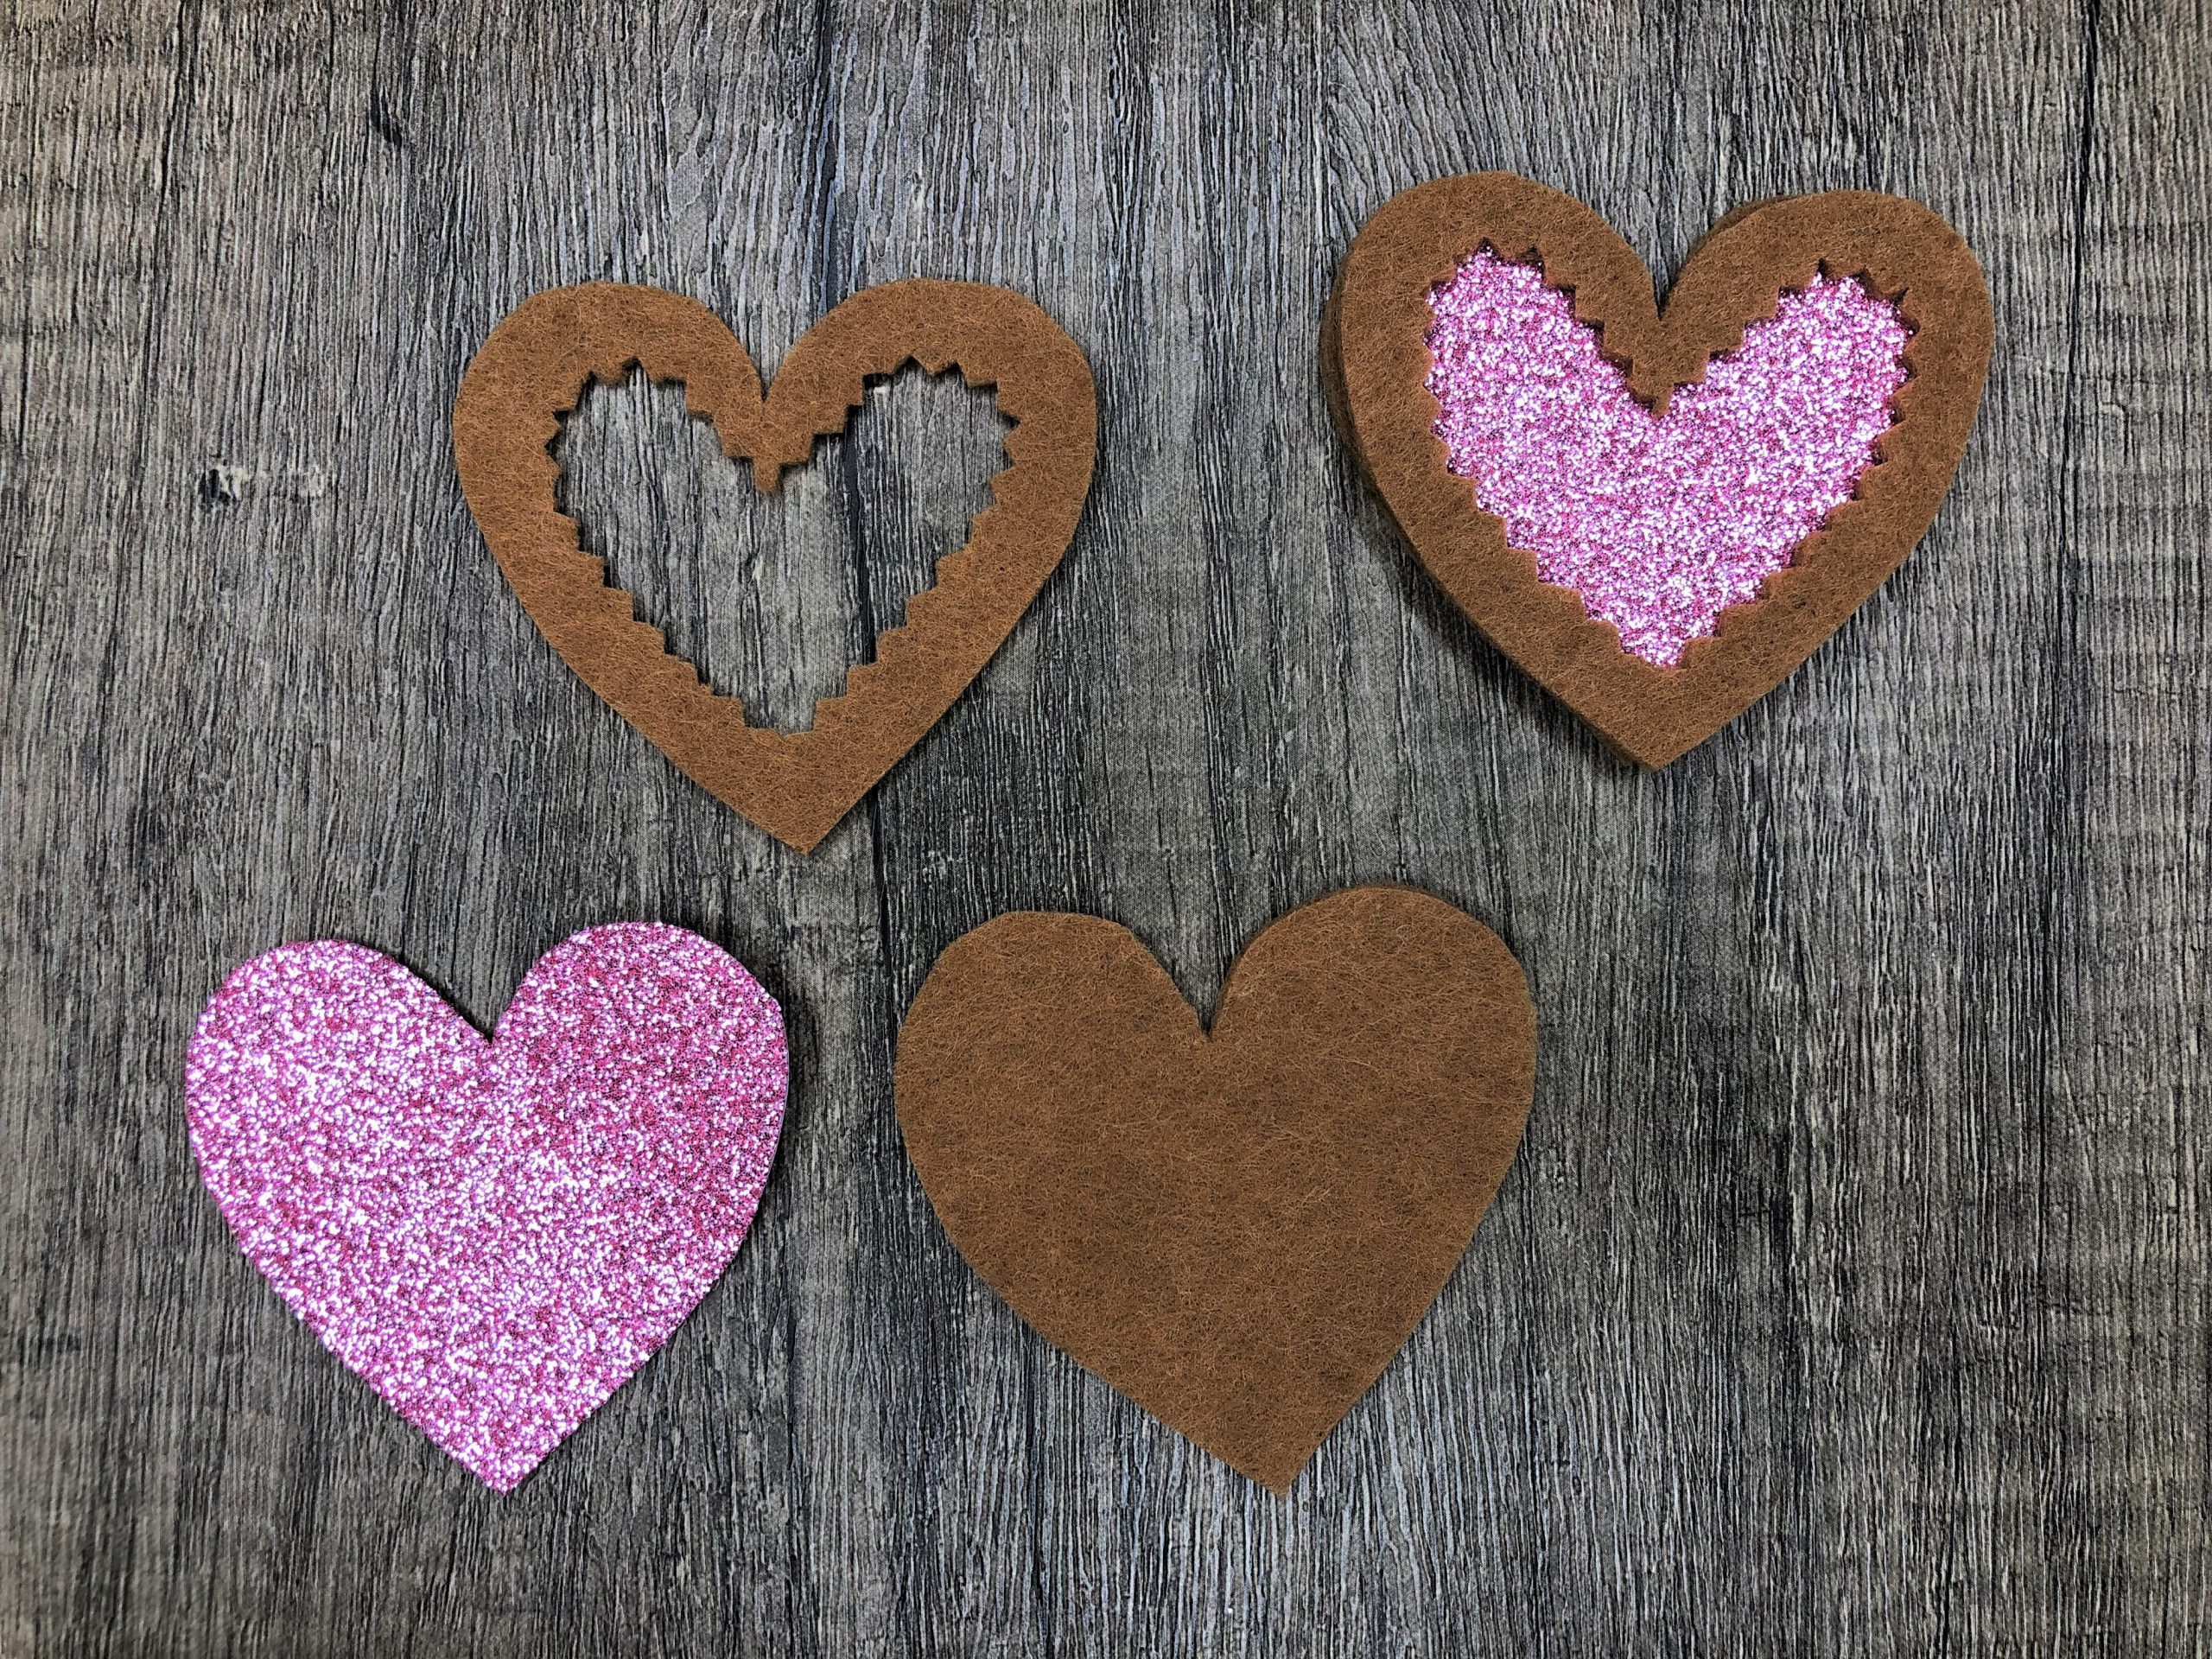
Sewing Linzer cookies
That’s what we call these cookies; they can also be called double cookies with a jam filling.
For 1 Linzer cookie, we need:
- 1 heart made of medium brown felt
- 1 heart made of medium brown felt with an opening (to do this, cut out the opening with pinking shears)
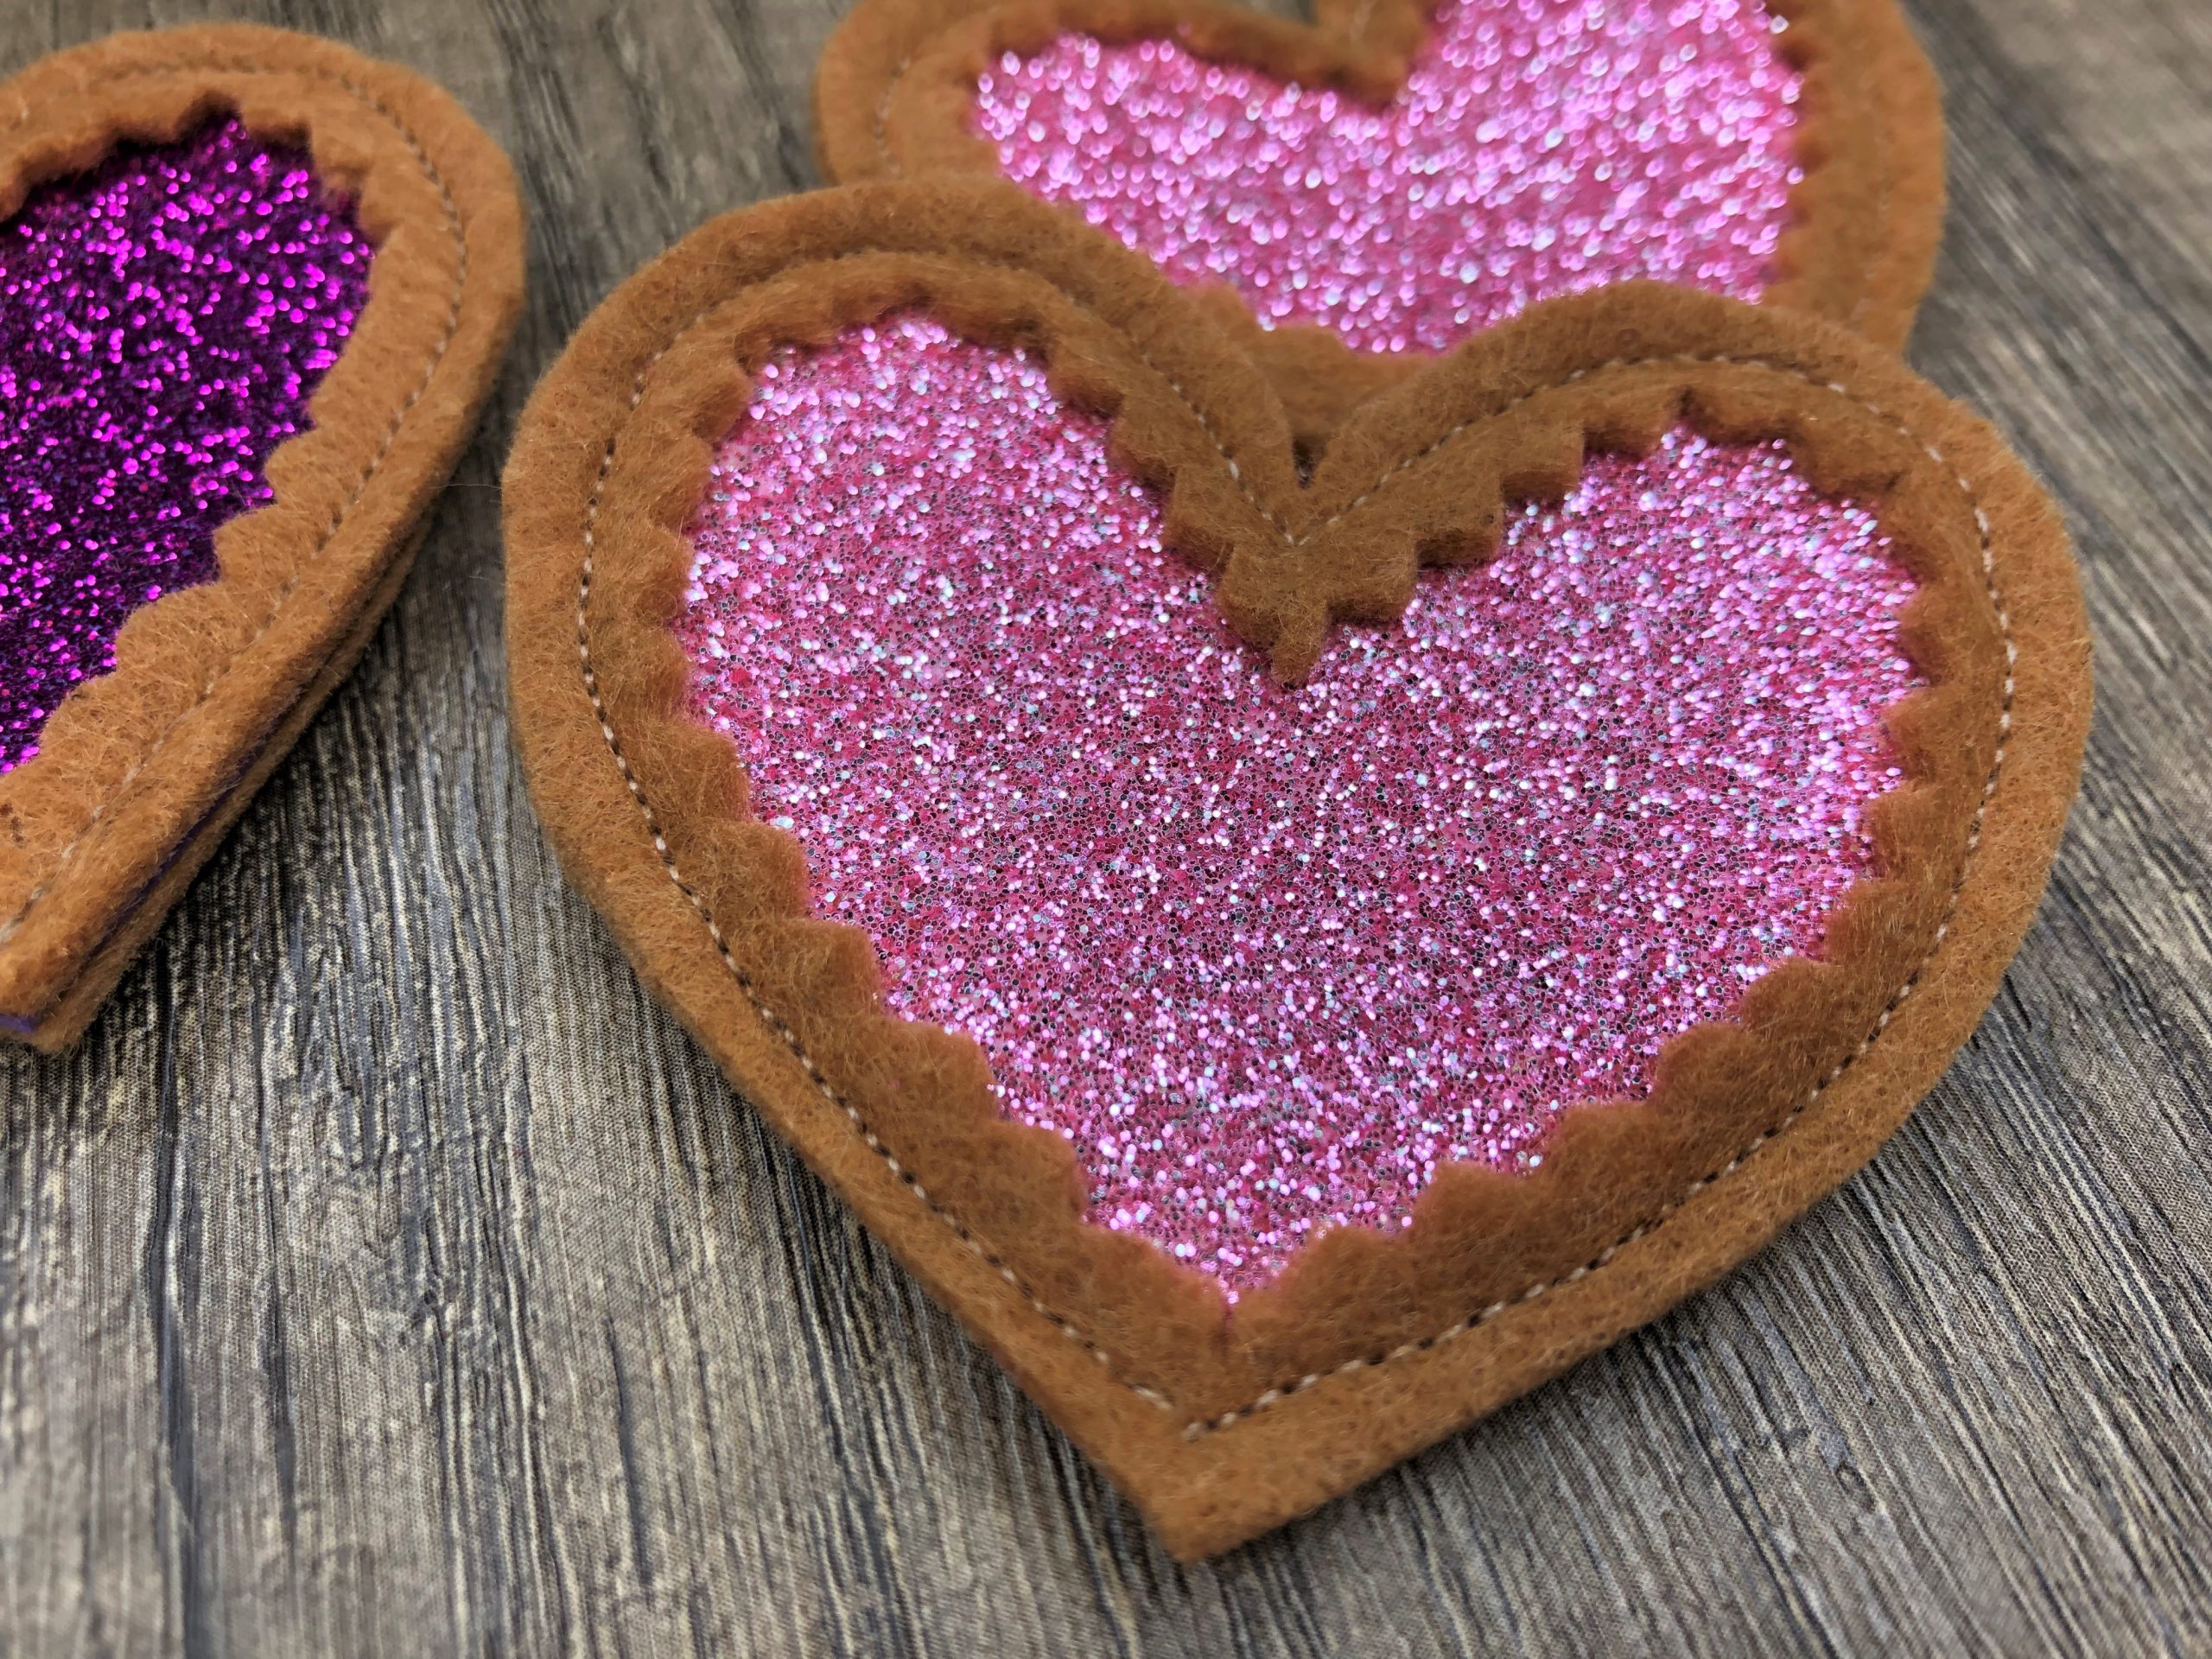
- 1 foam rubber heart
Place all the pieces together, the foam rubber can even be glued on. Then join all 3 pieces with a seam (note: sew carefully through the foam rubber, I recommend changing the needle after the project).

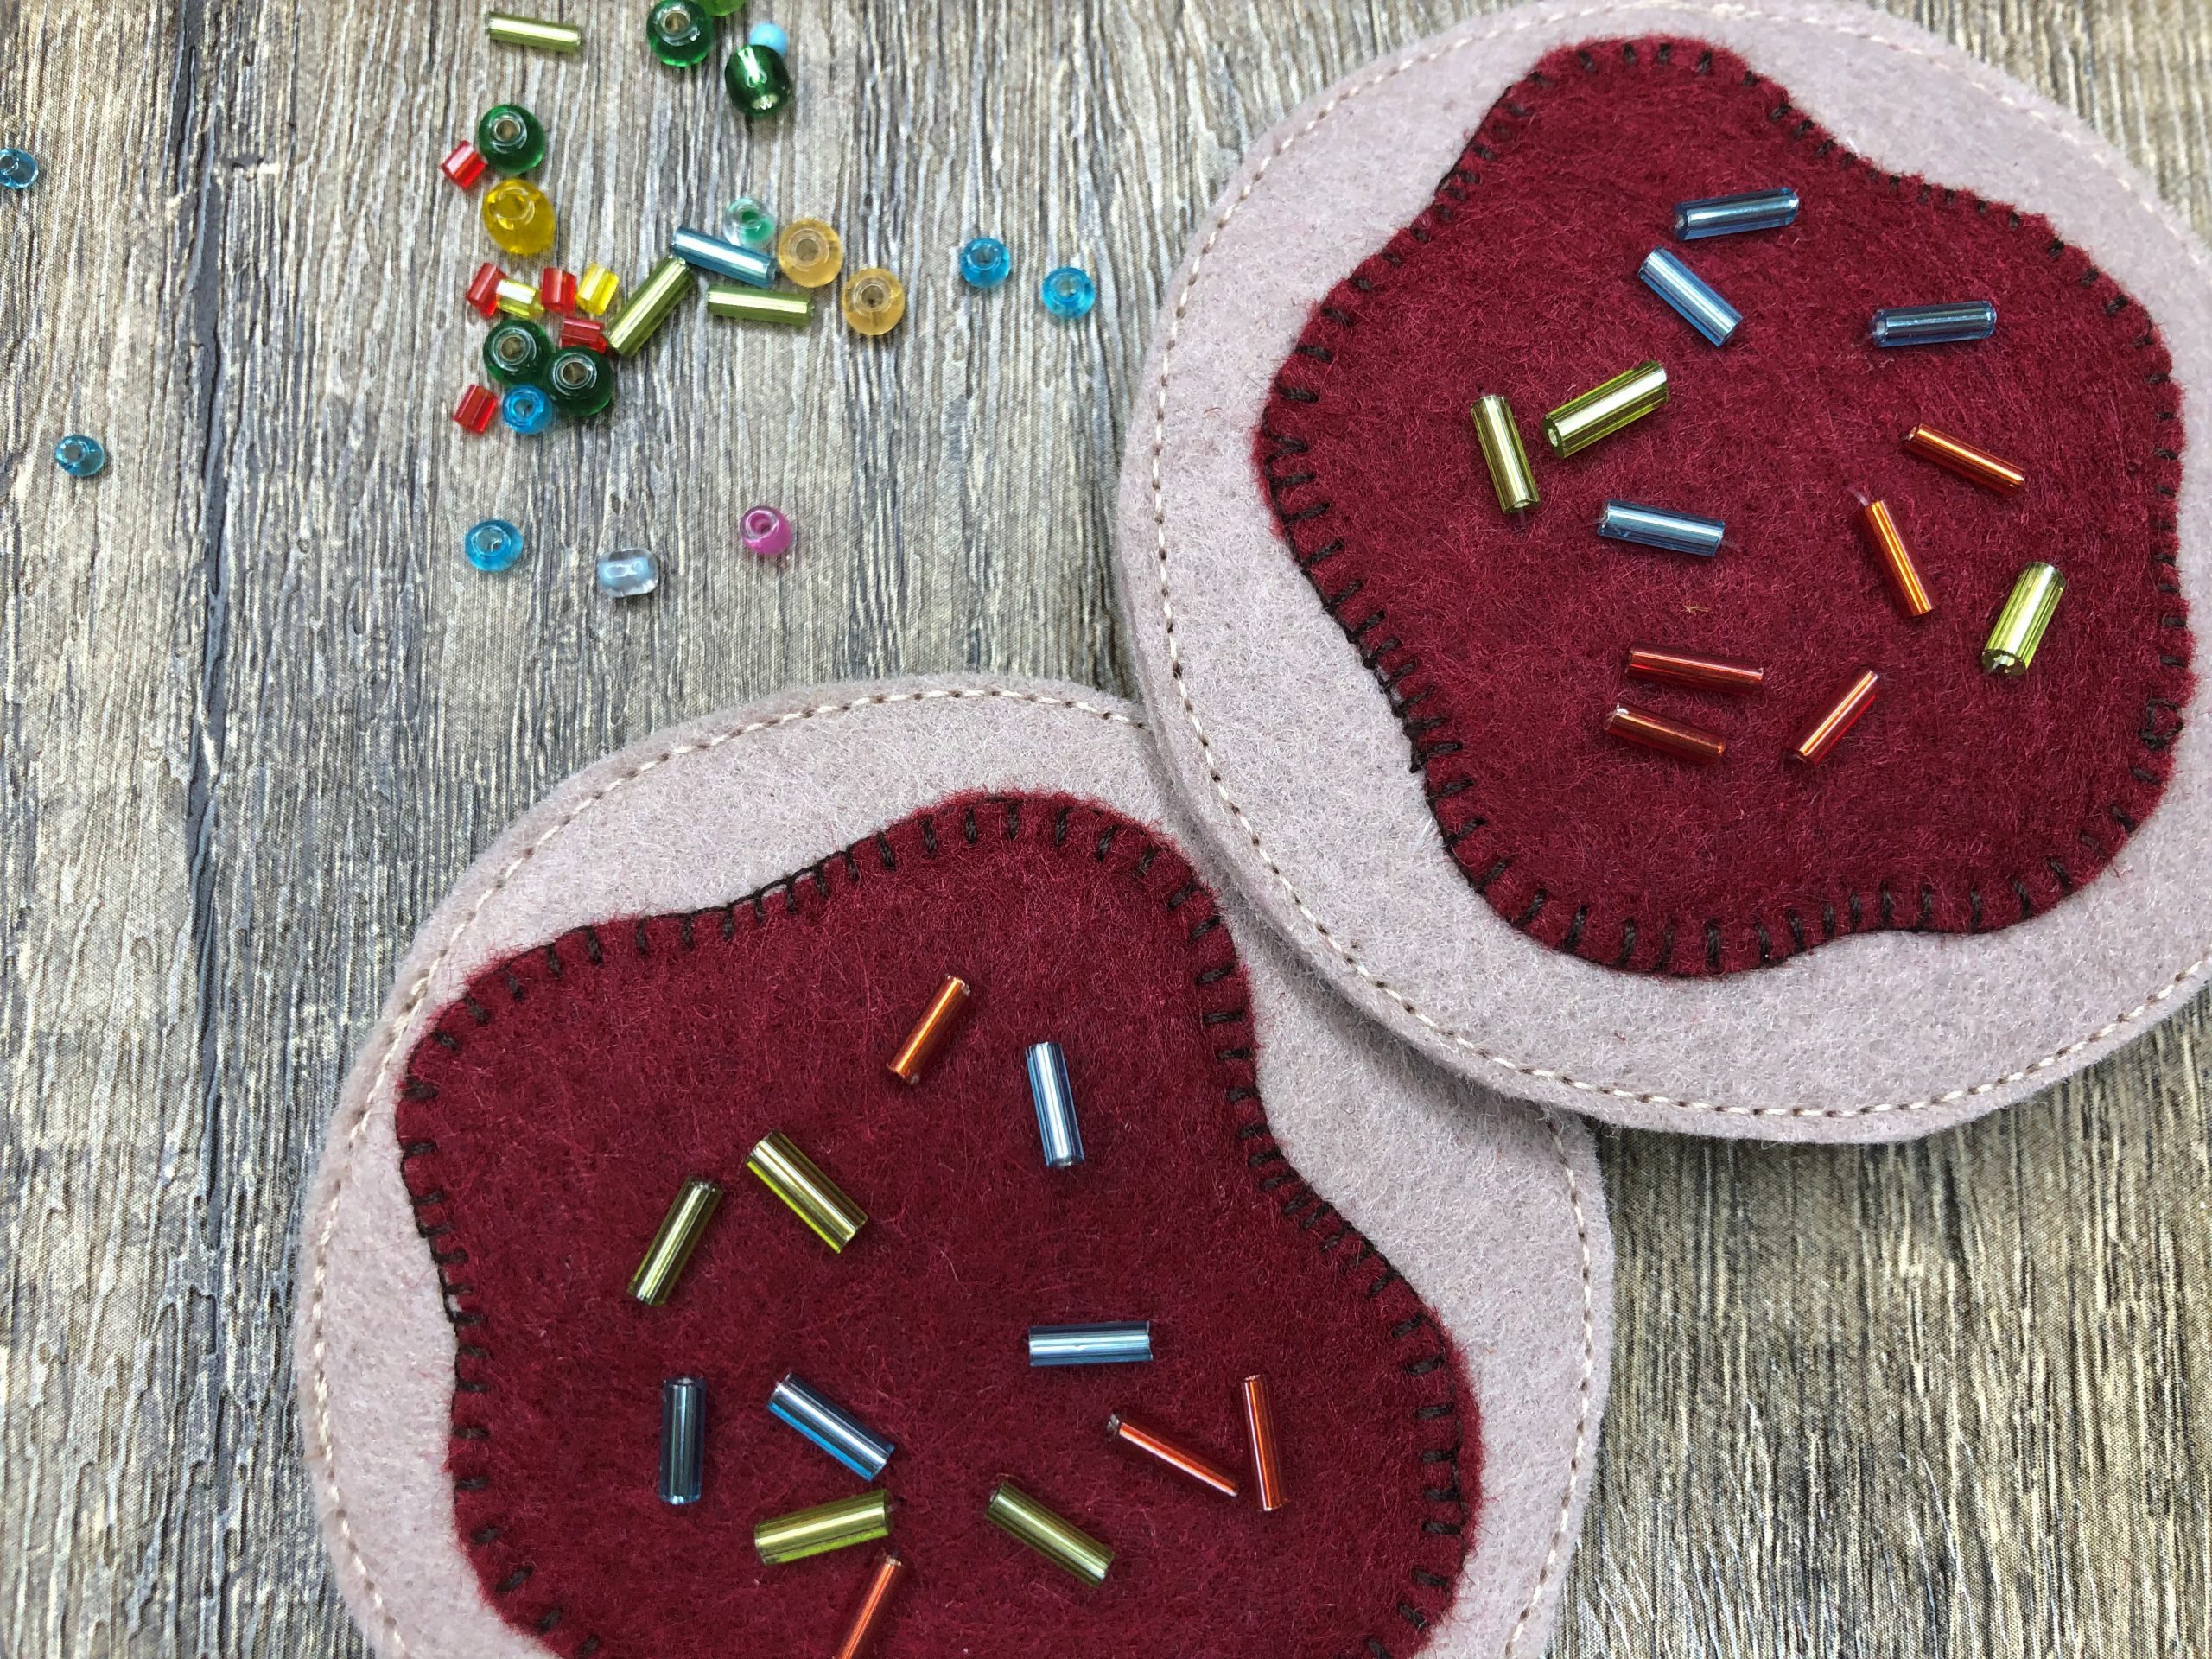
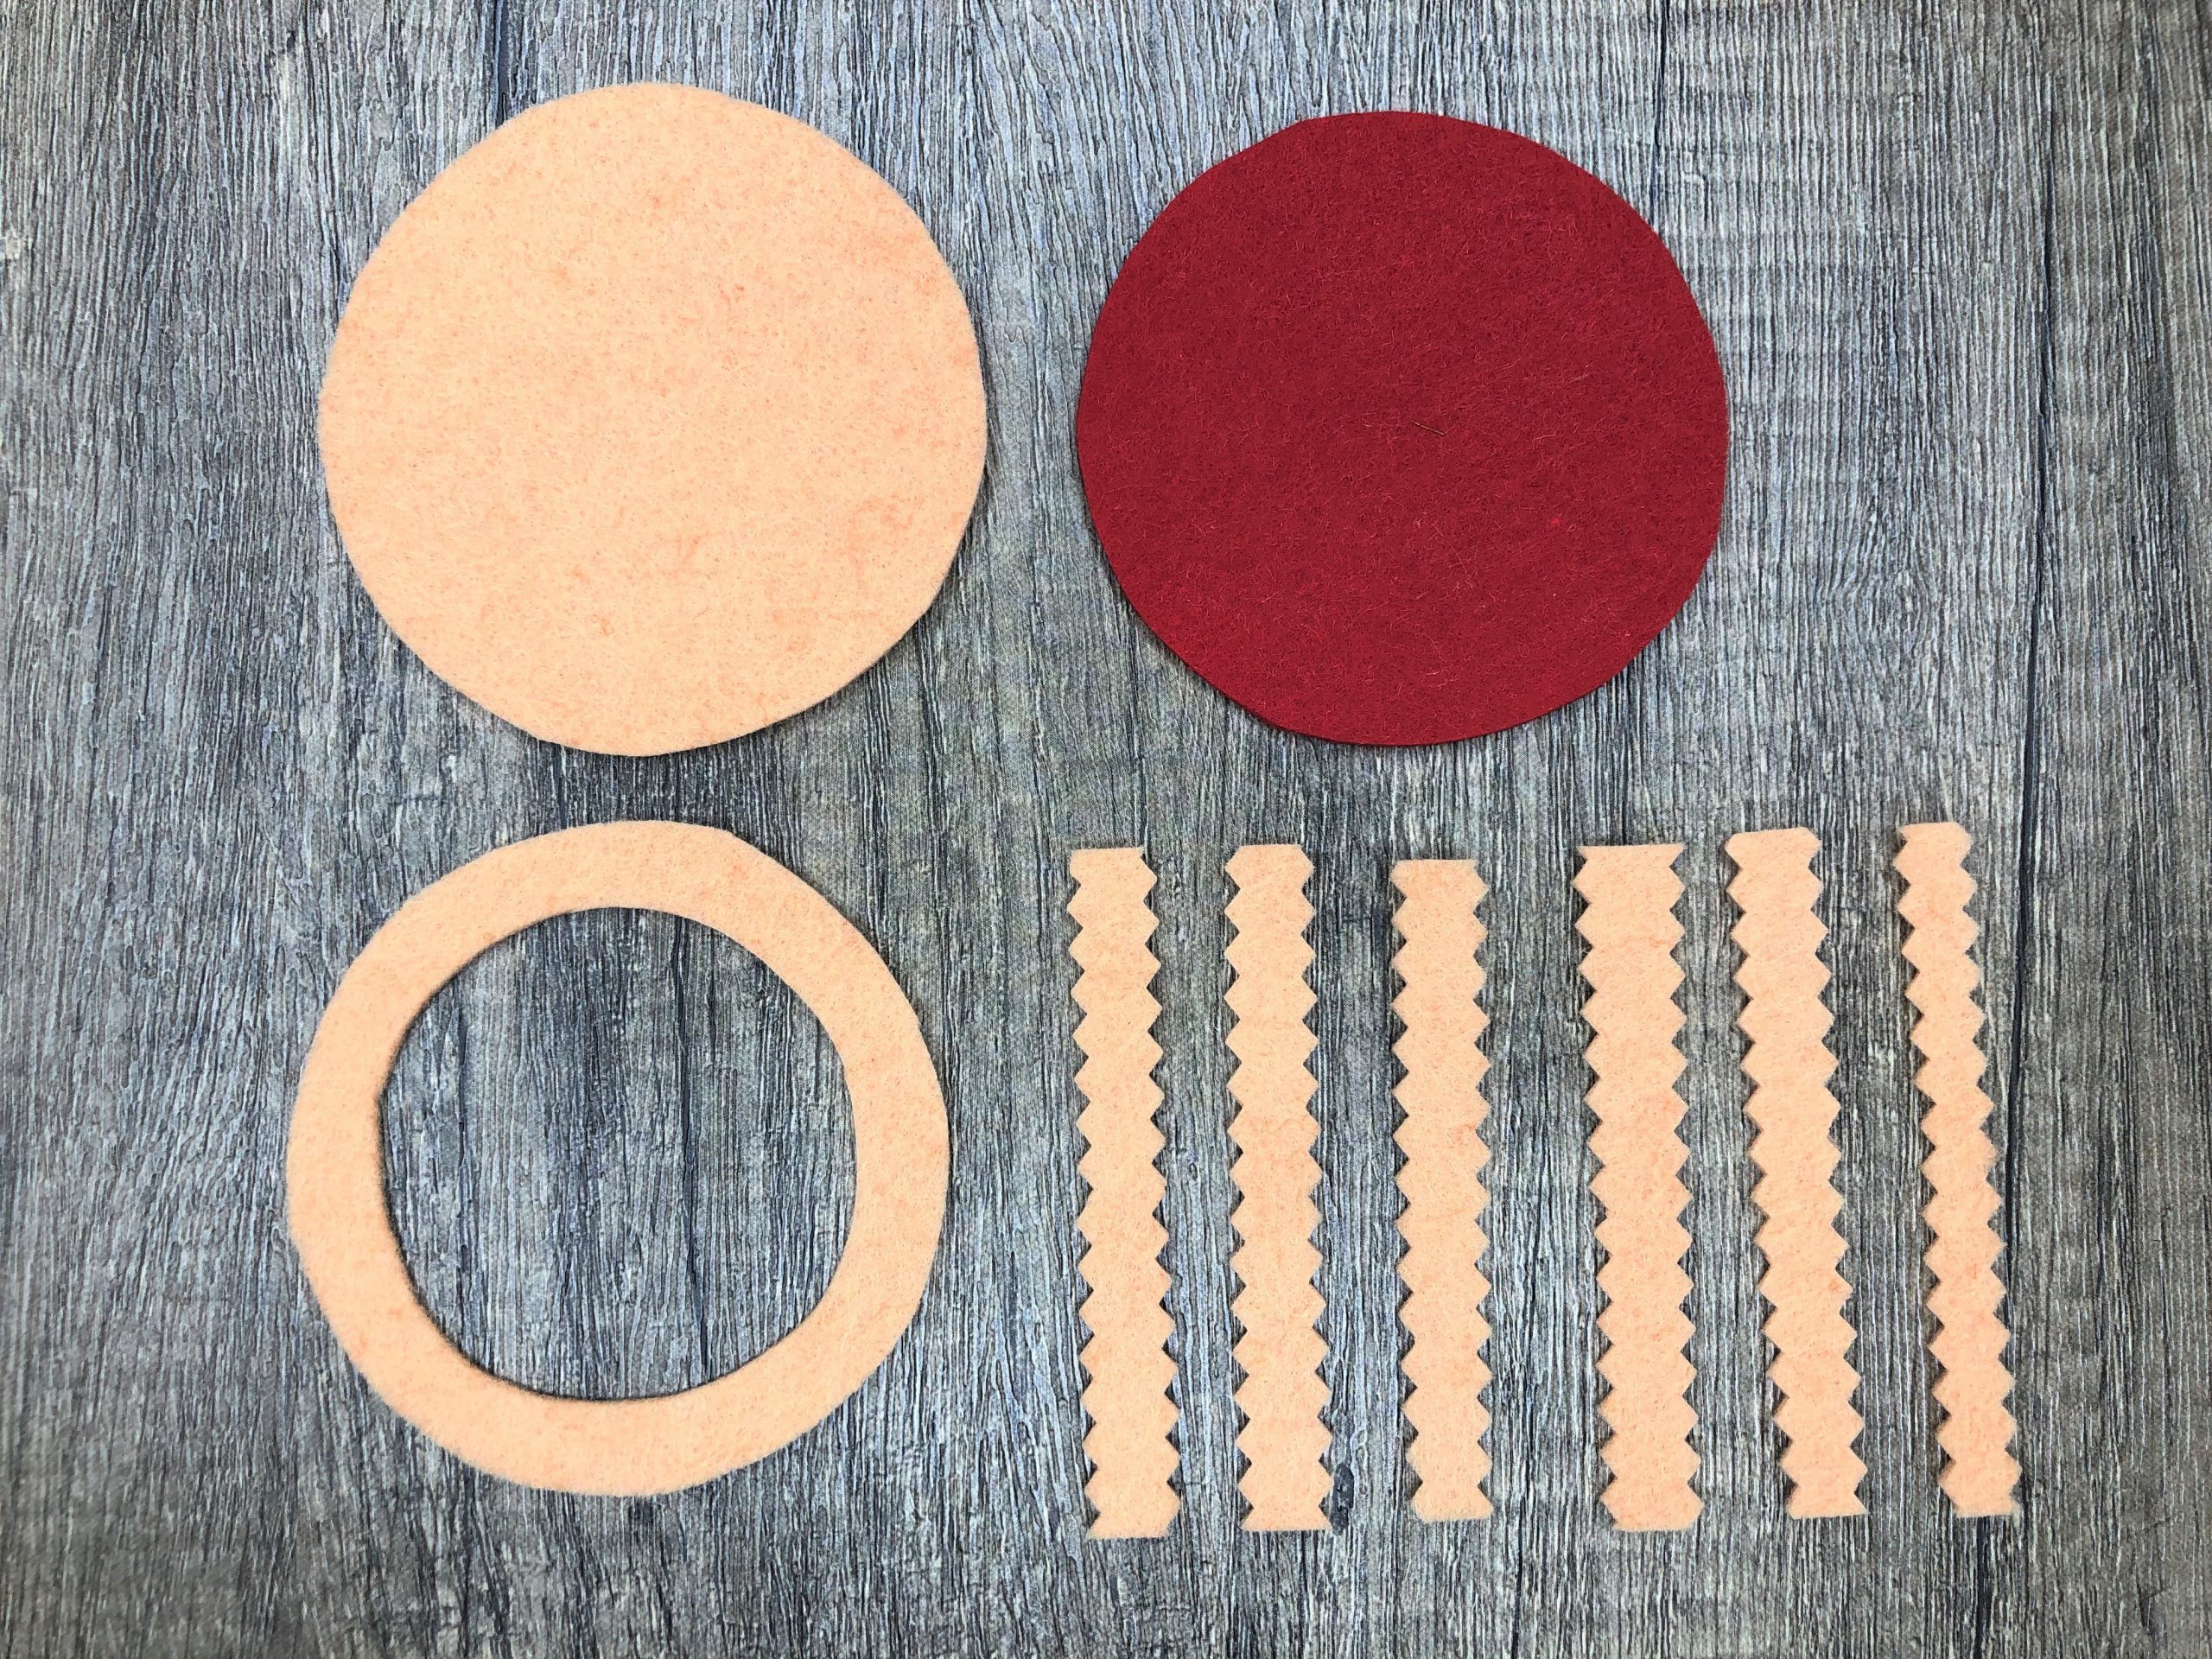
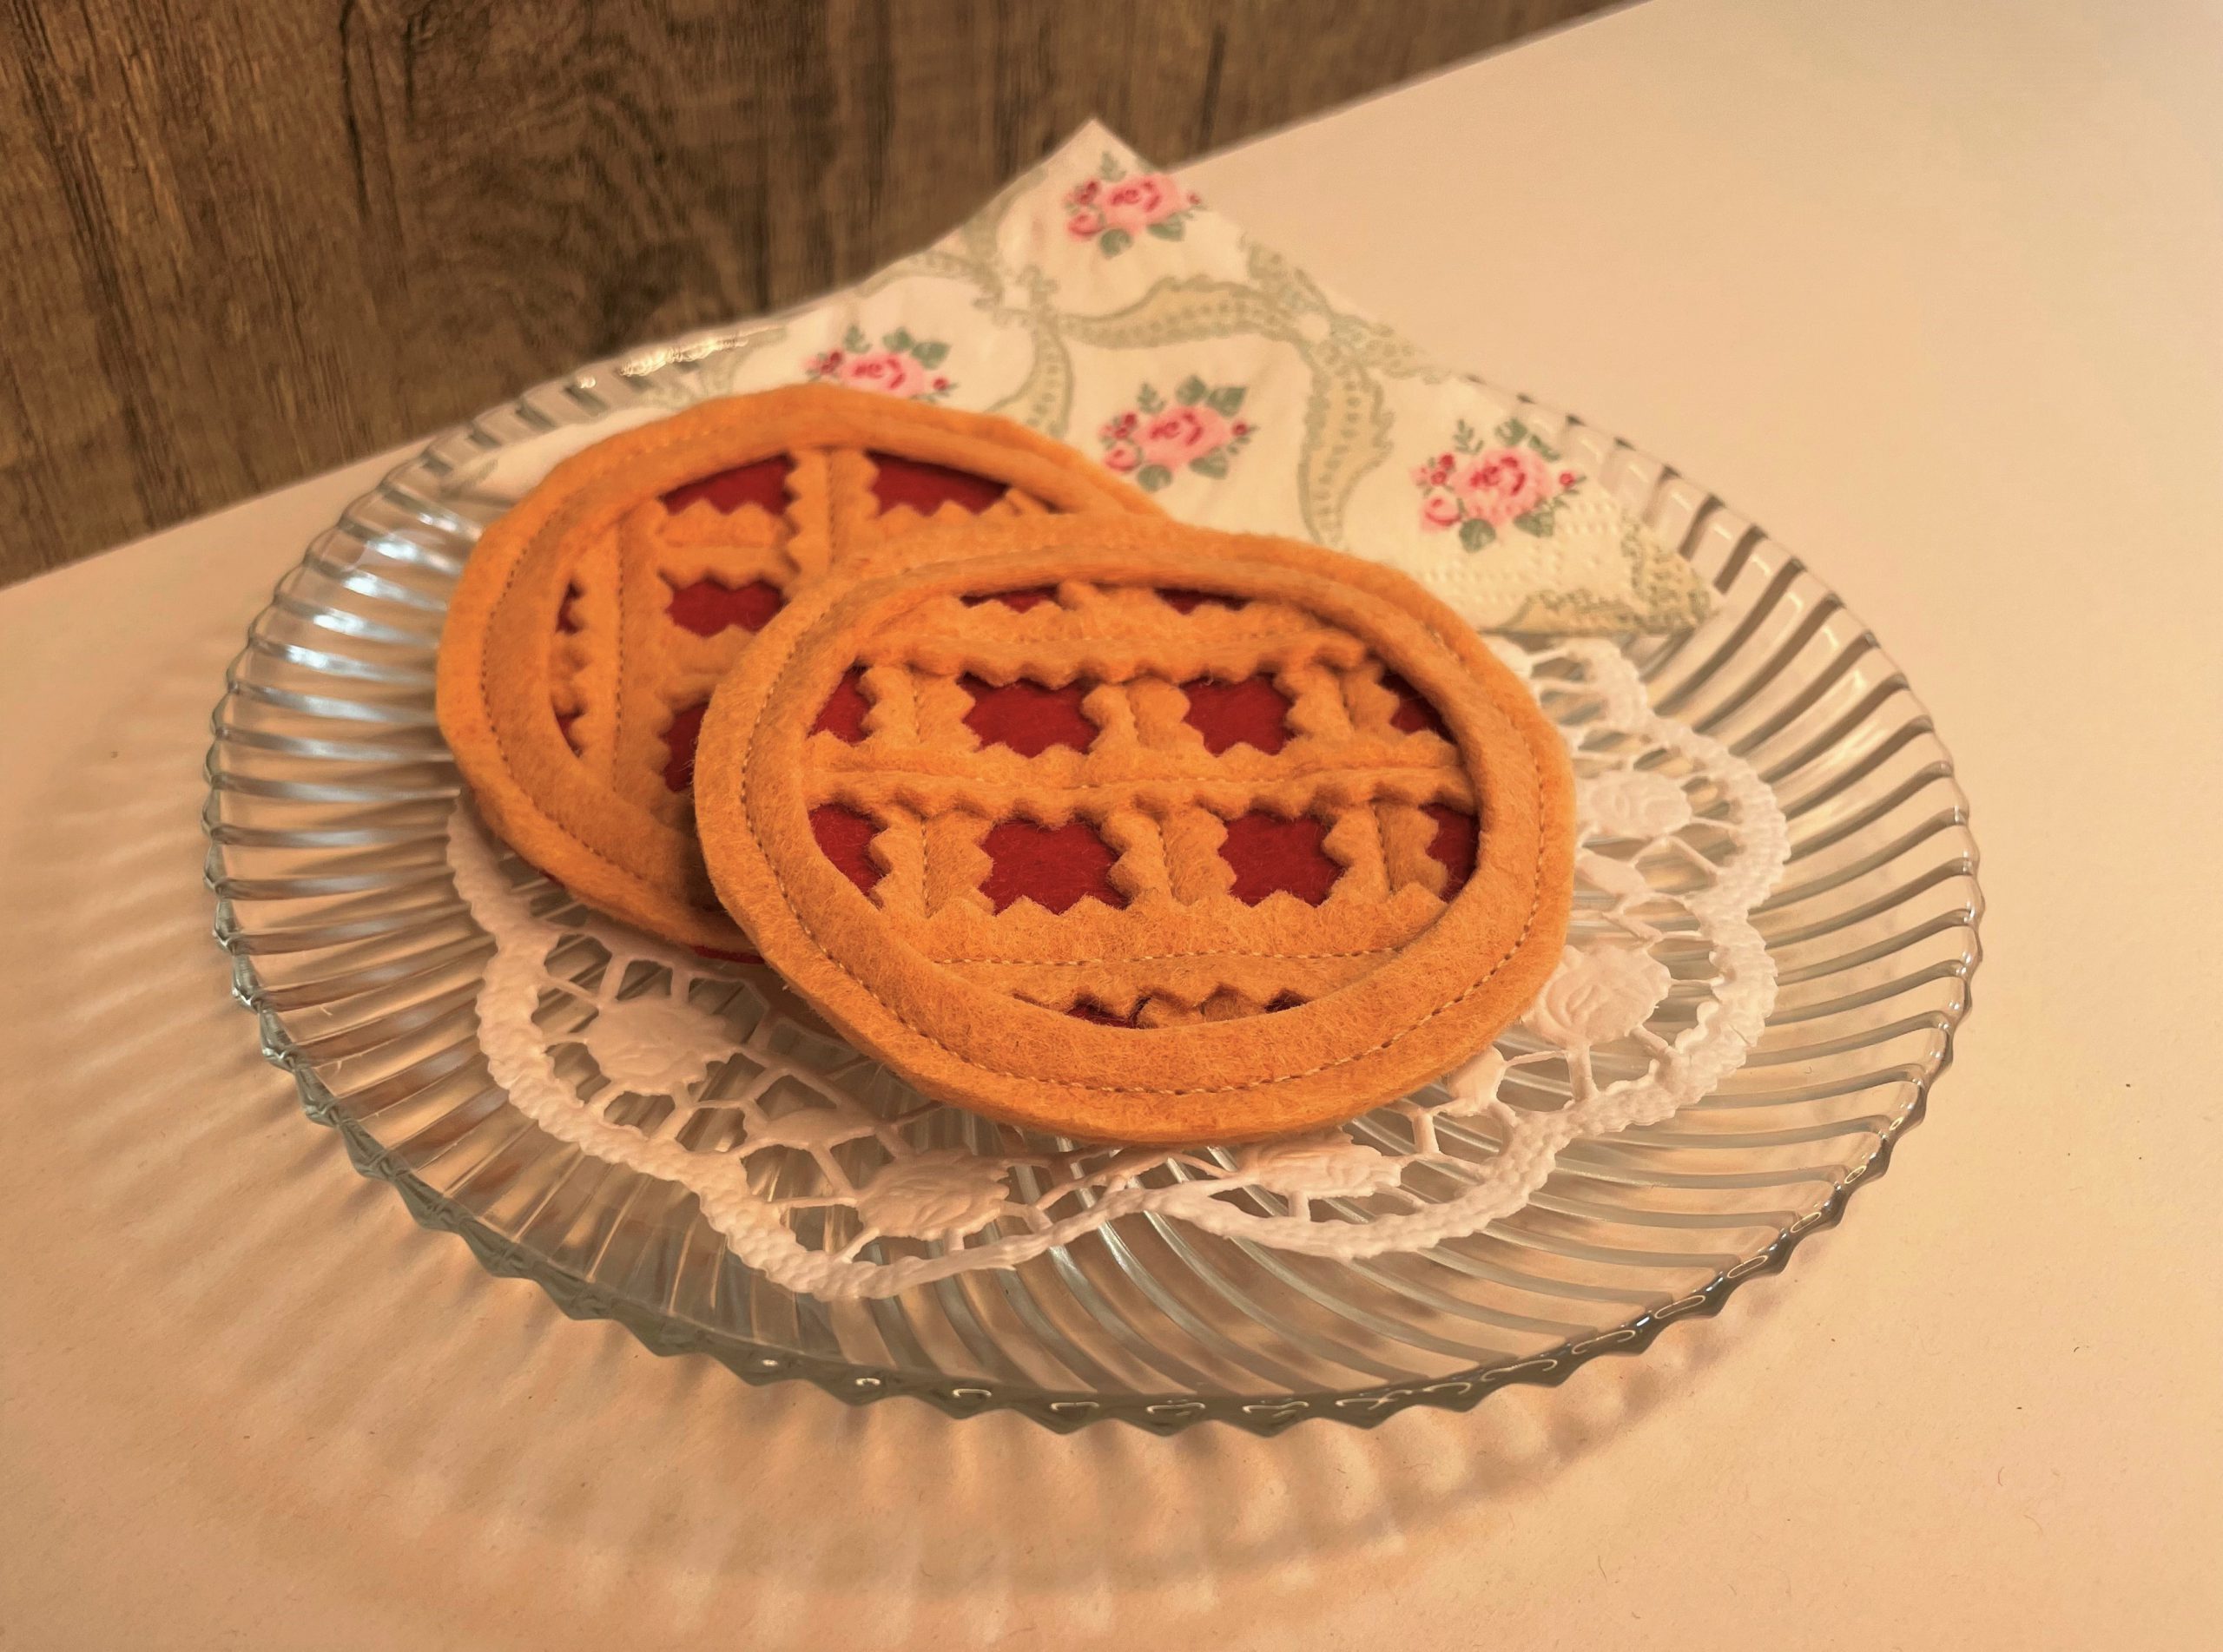
Sewing a mini-Linzer cookie
For 1 mini cookie, we need:
- 1 circle made of beige felt
- 1 circle made of red felt
- 1 circle made of beige felt with an opening (for this, cut out the opening with scissors)
- 6 strips with pinking shears, approx. 0.5 wide, 7 cm long
Place the red circle on the adjoining circle and sew on 3 strips with the Appliqué Foot (see photo). Then lay 3 strips across and sew over them.
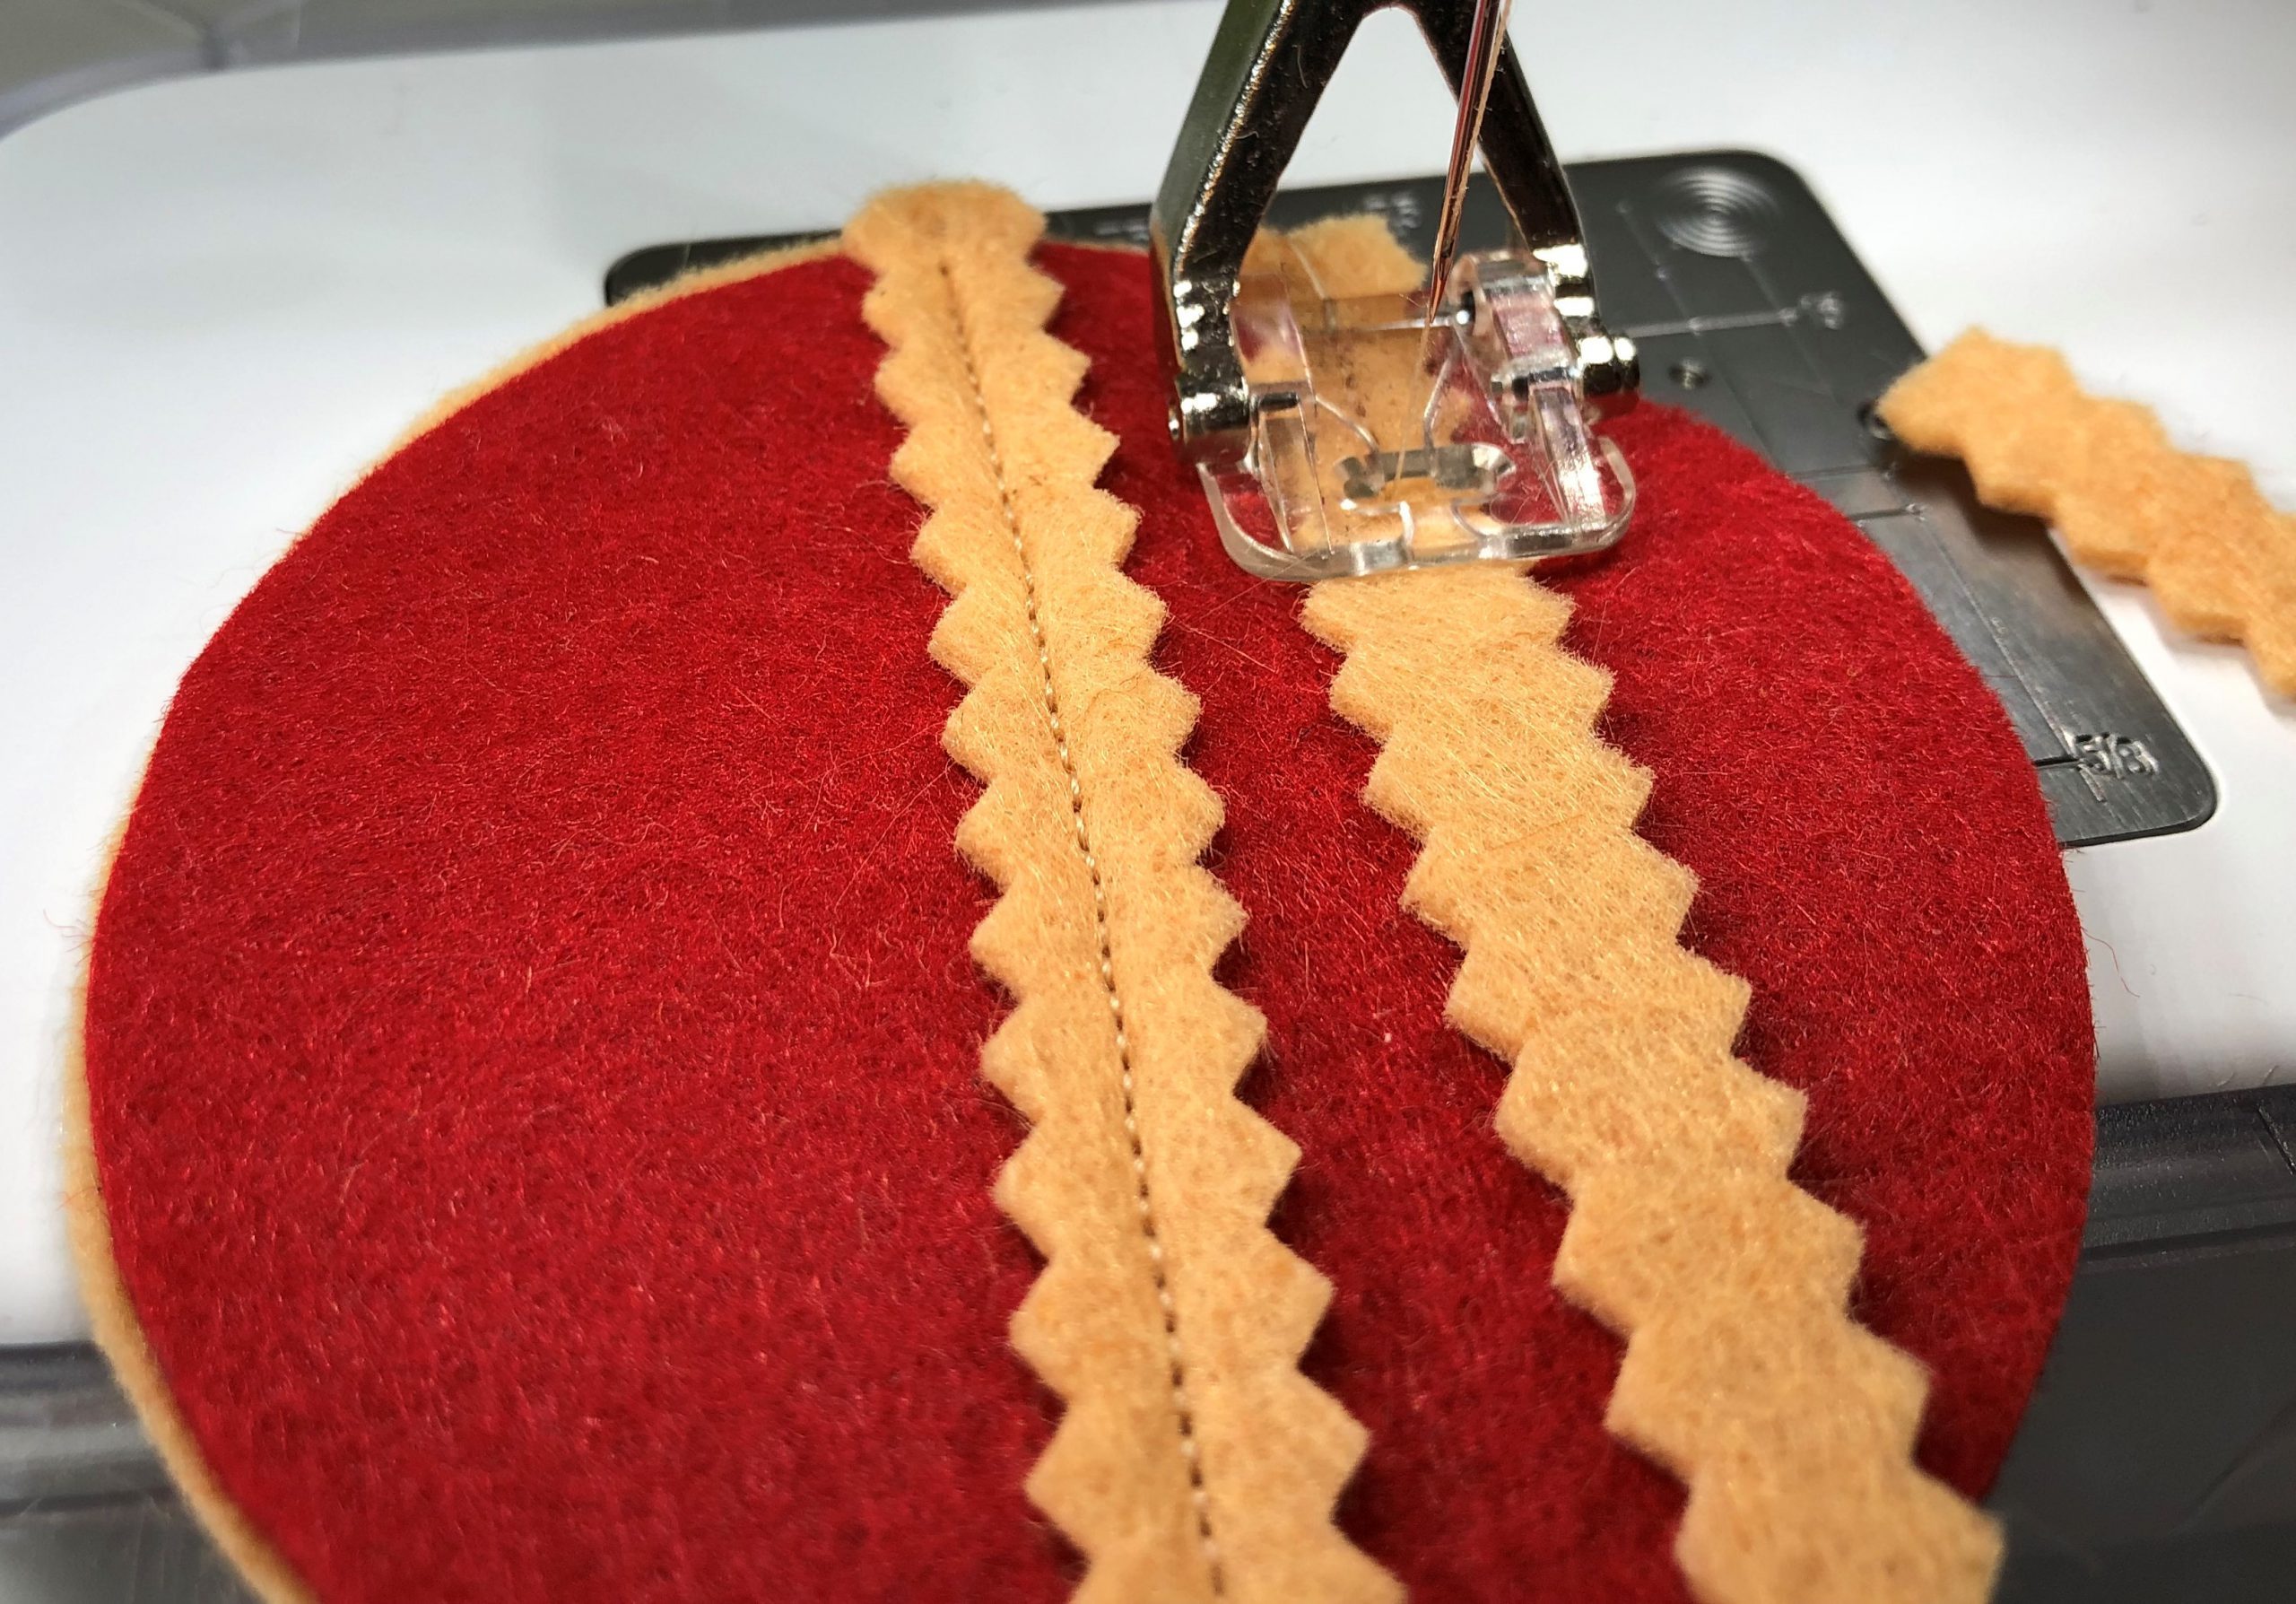
Finally, lay the edge on and sew it in place.
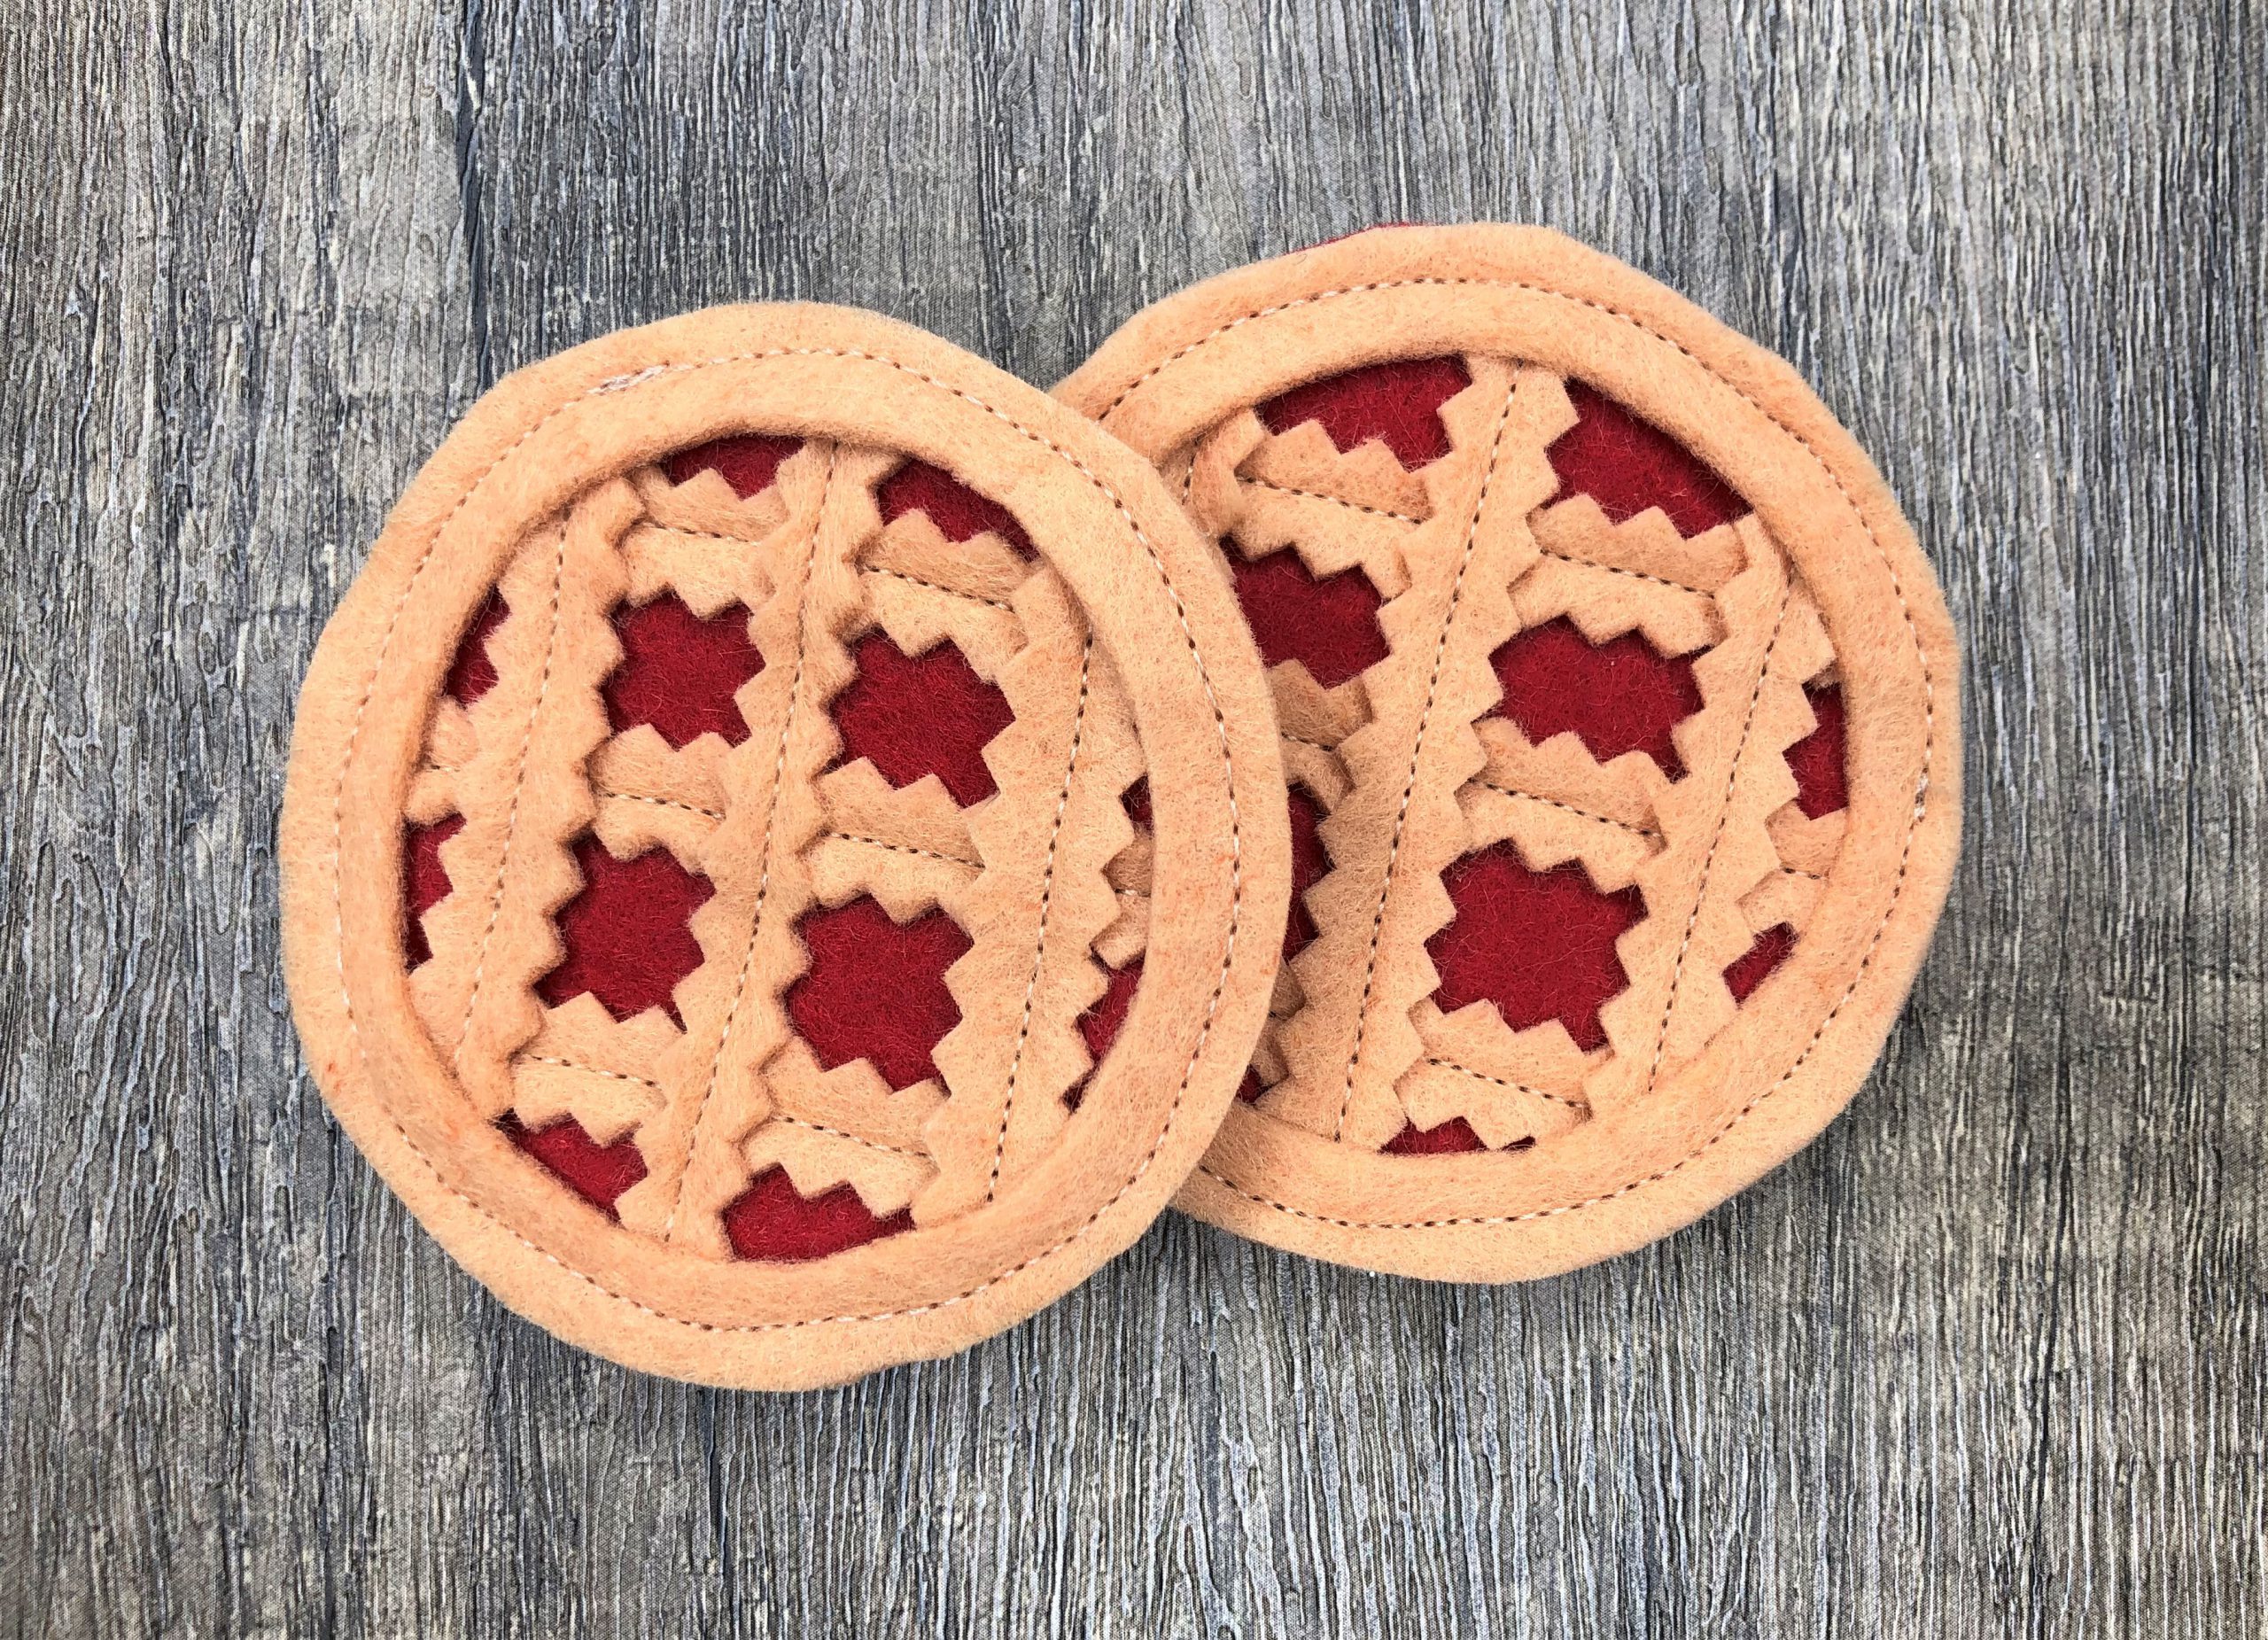
Done!

I wish you a wonderful Advent season, lots of nice moments with your loved ones and a relaxing Christmas!
Creativity soothes the soul!
Best wishes,
Stefanie


0 Responses